Just need some vents
To date we have used our fridge on 240v & 12v, as it was not vented it also keep the bus warm.
But now it’s time to make up the waterproof ducting for the vents for it’s final resting place.
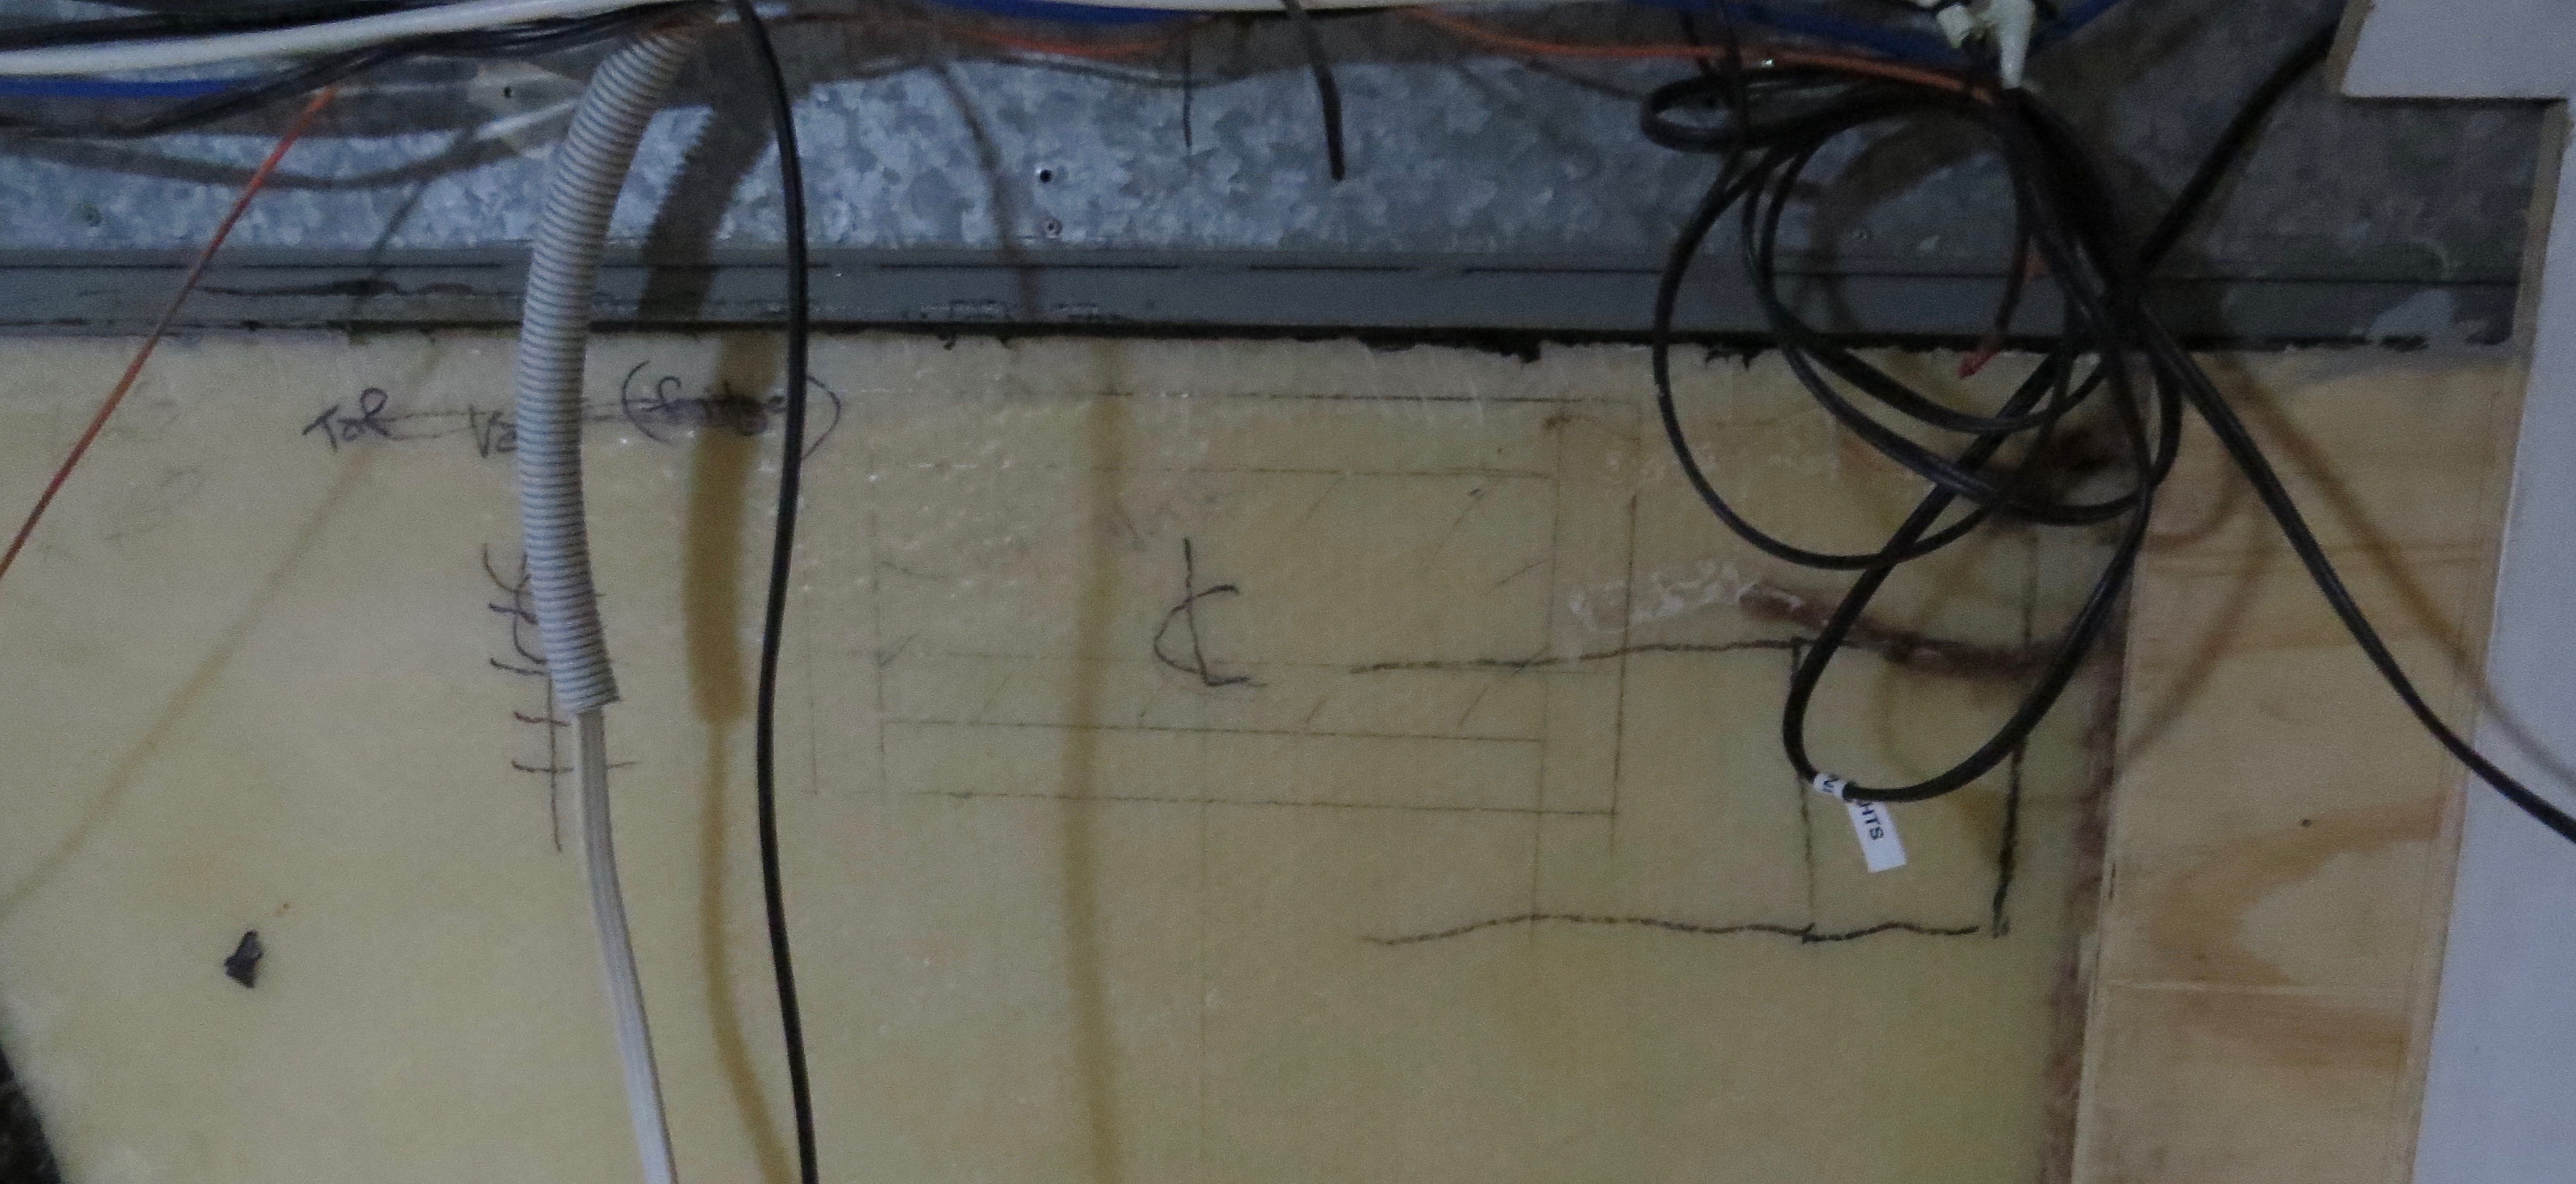
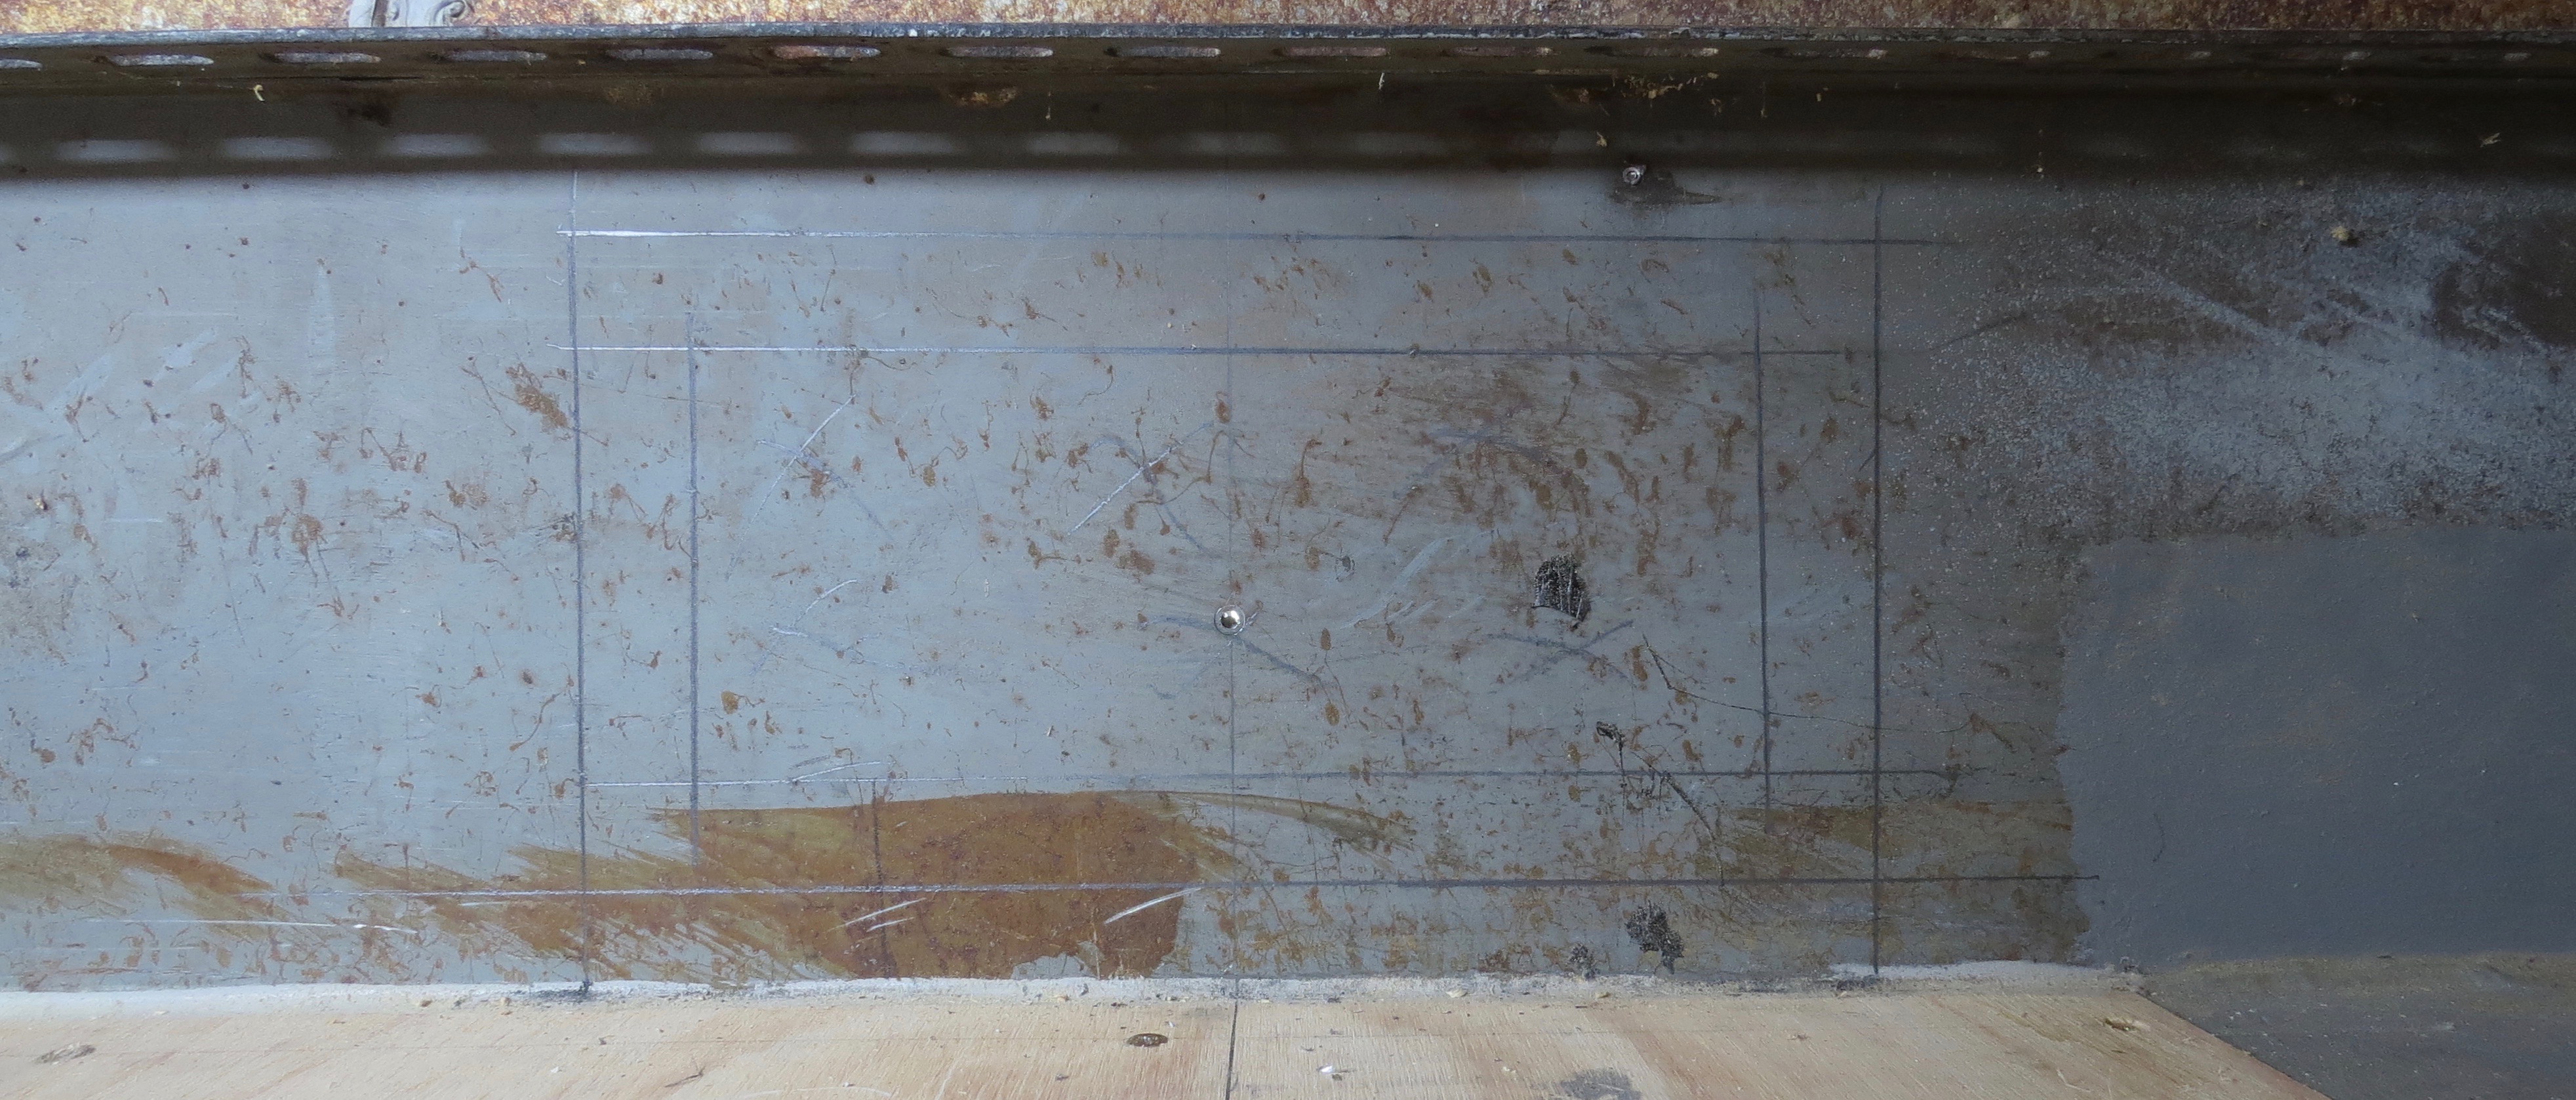
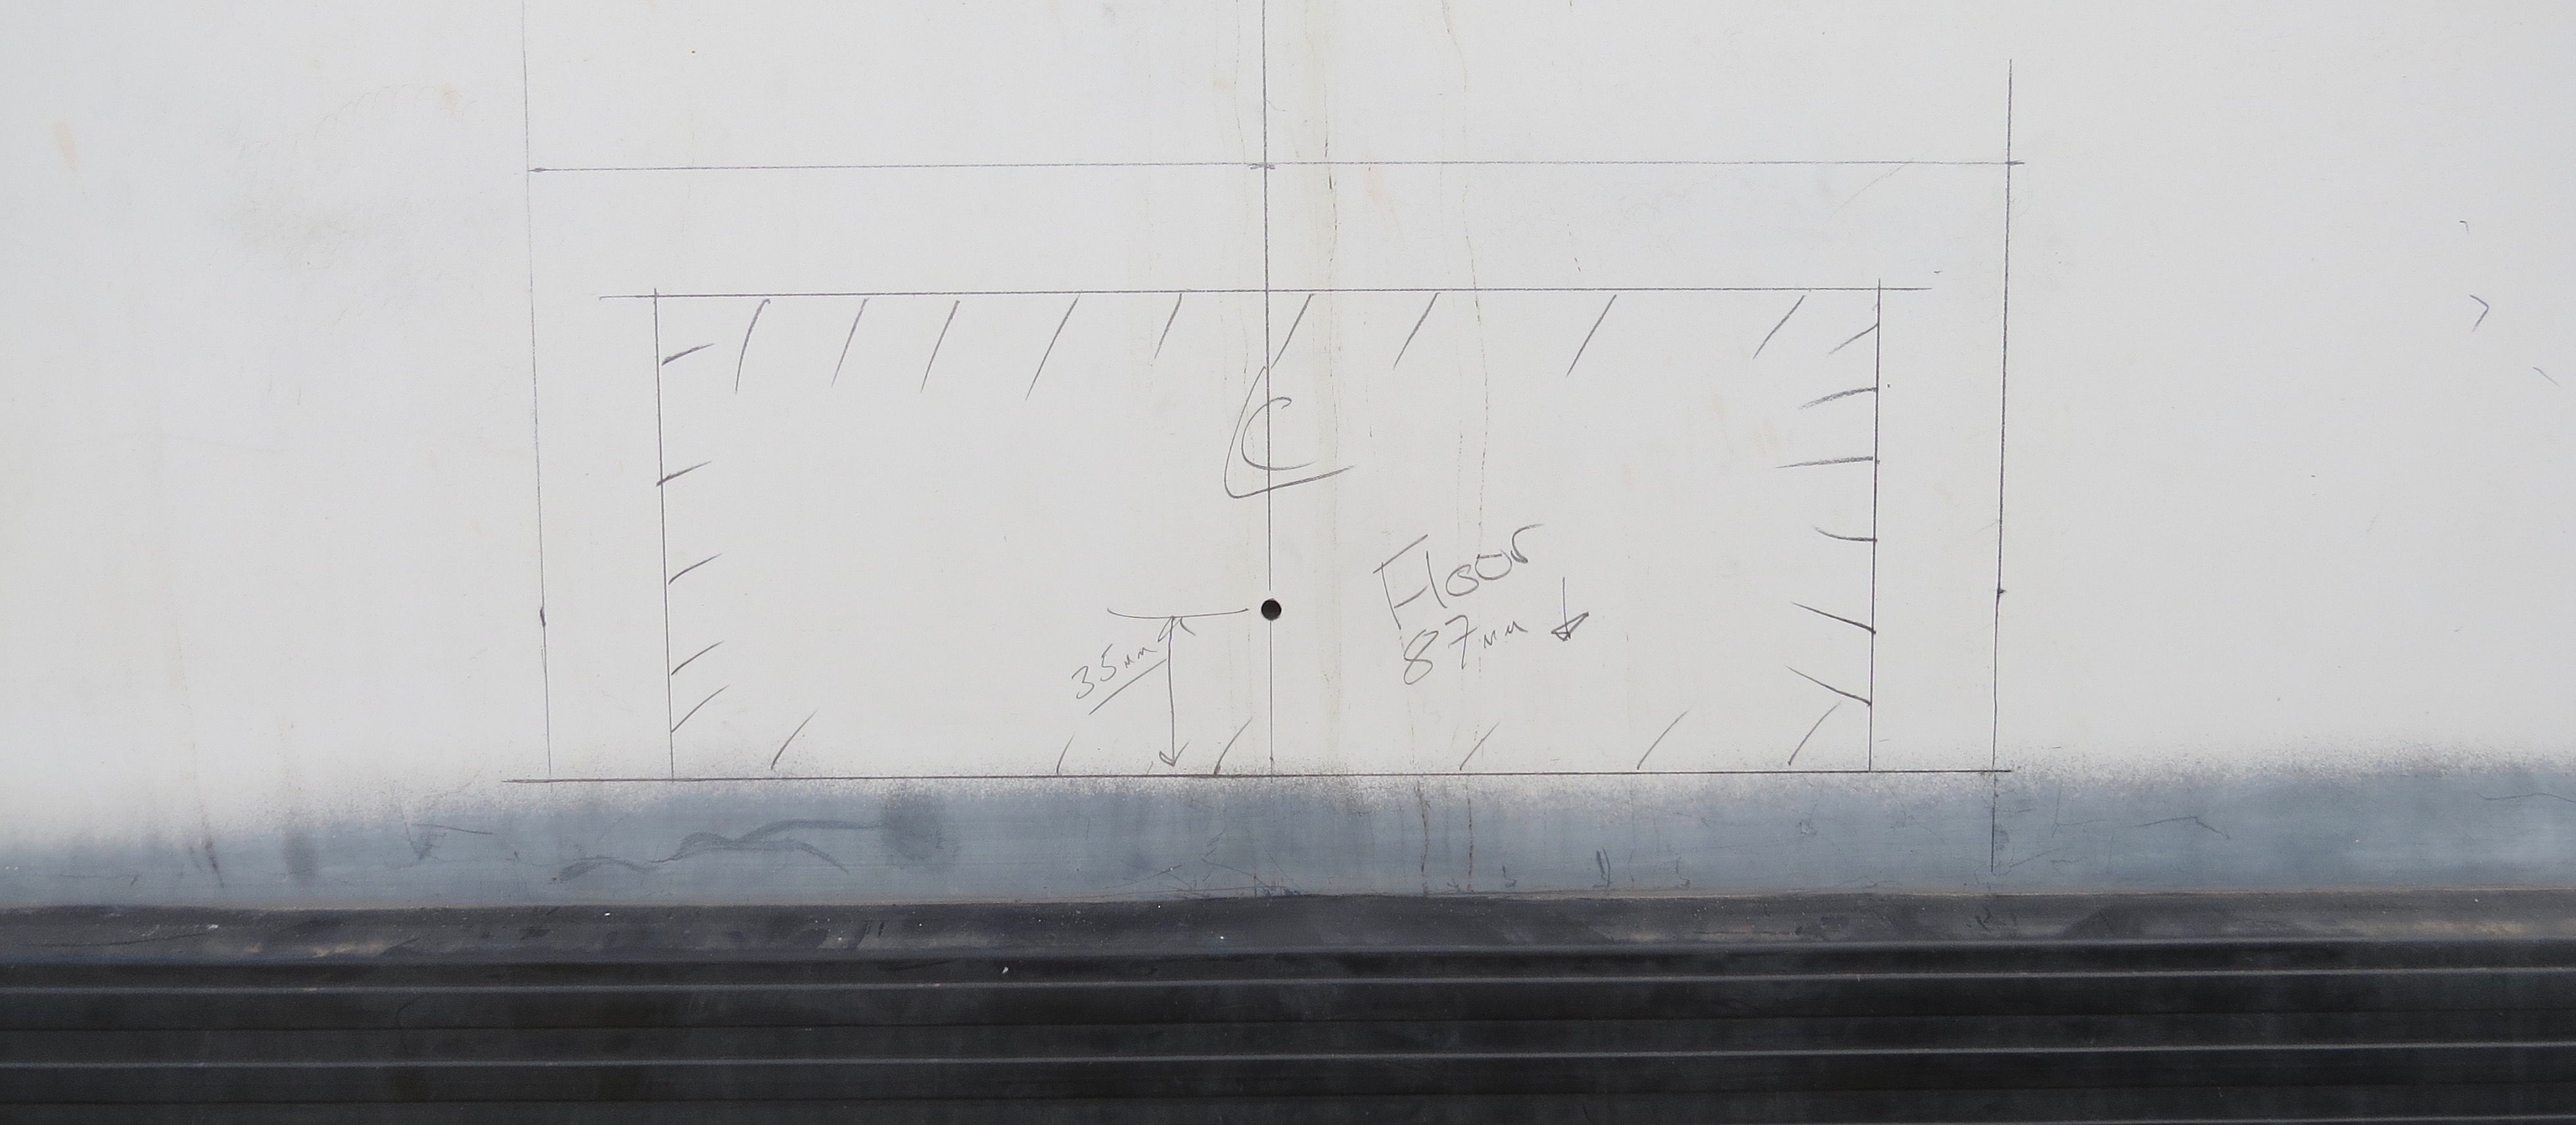
Sheet metal Time
After marking out for the vents, I’ll make a cardboard template to see if I’ve got my measurements right. Well the cardboard one worked perfectly so time to mark it out on some sheetmetal and cut it out.
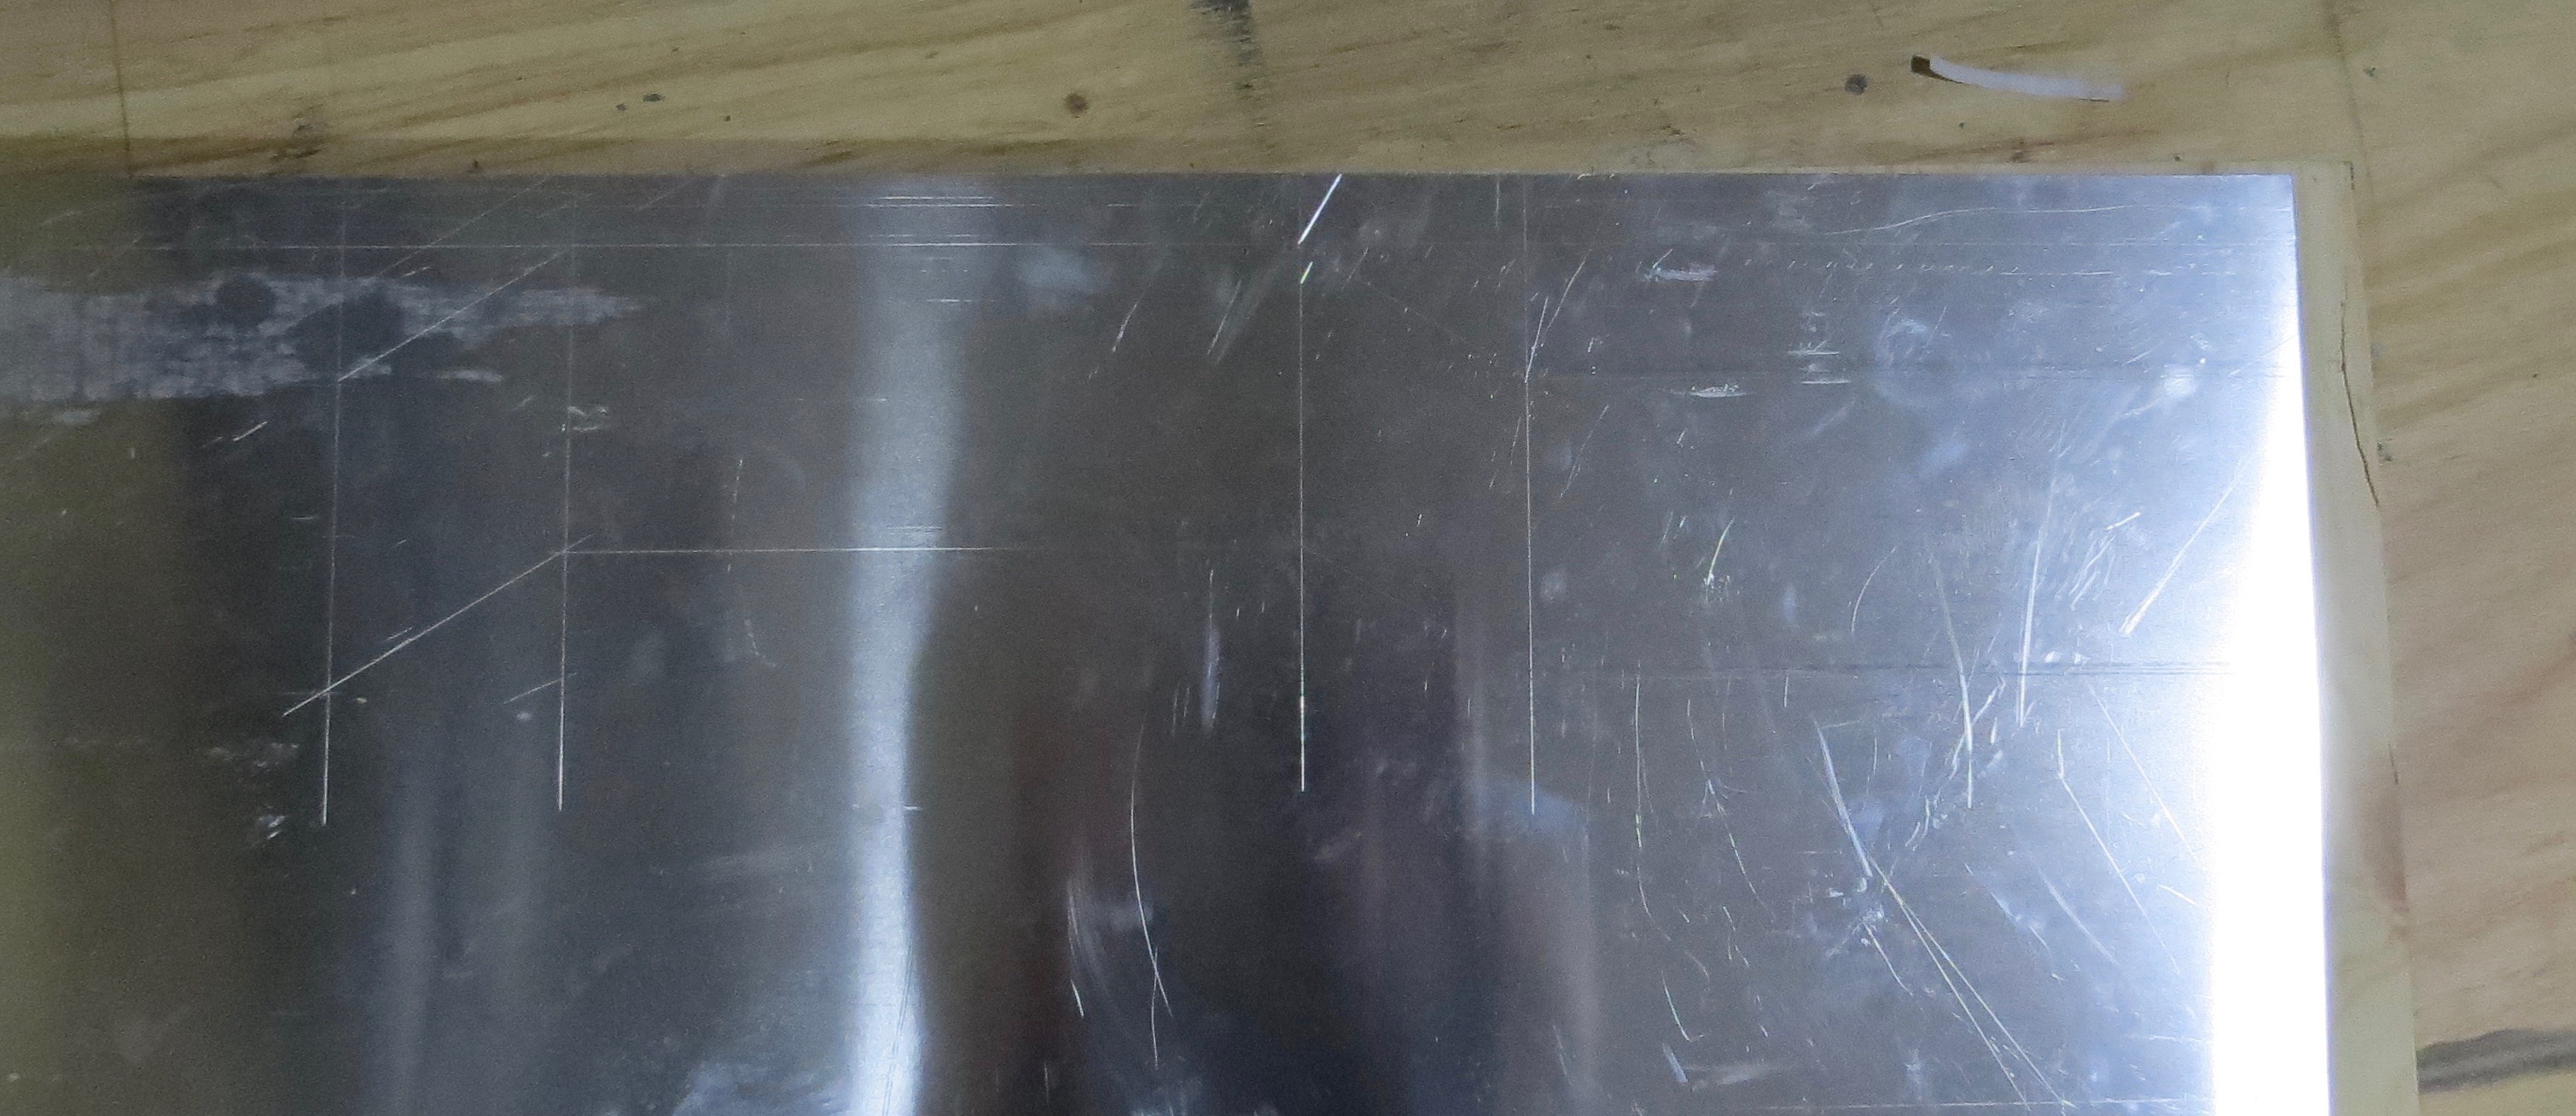
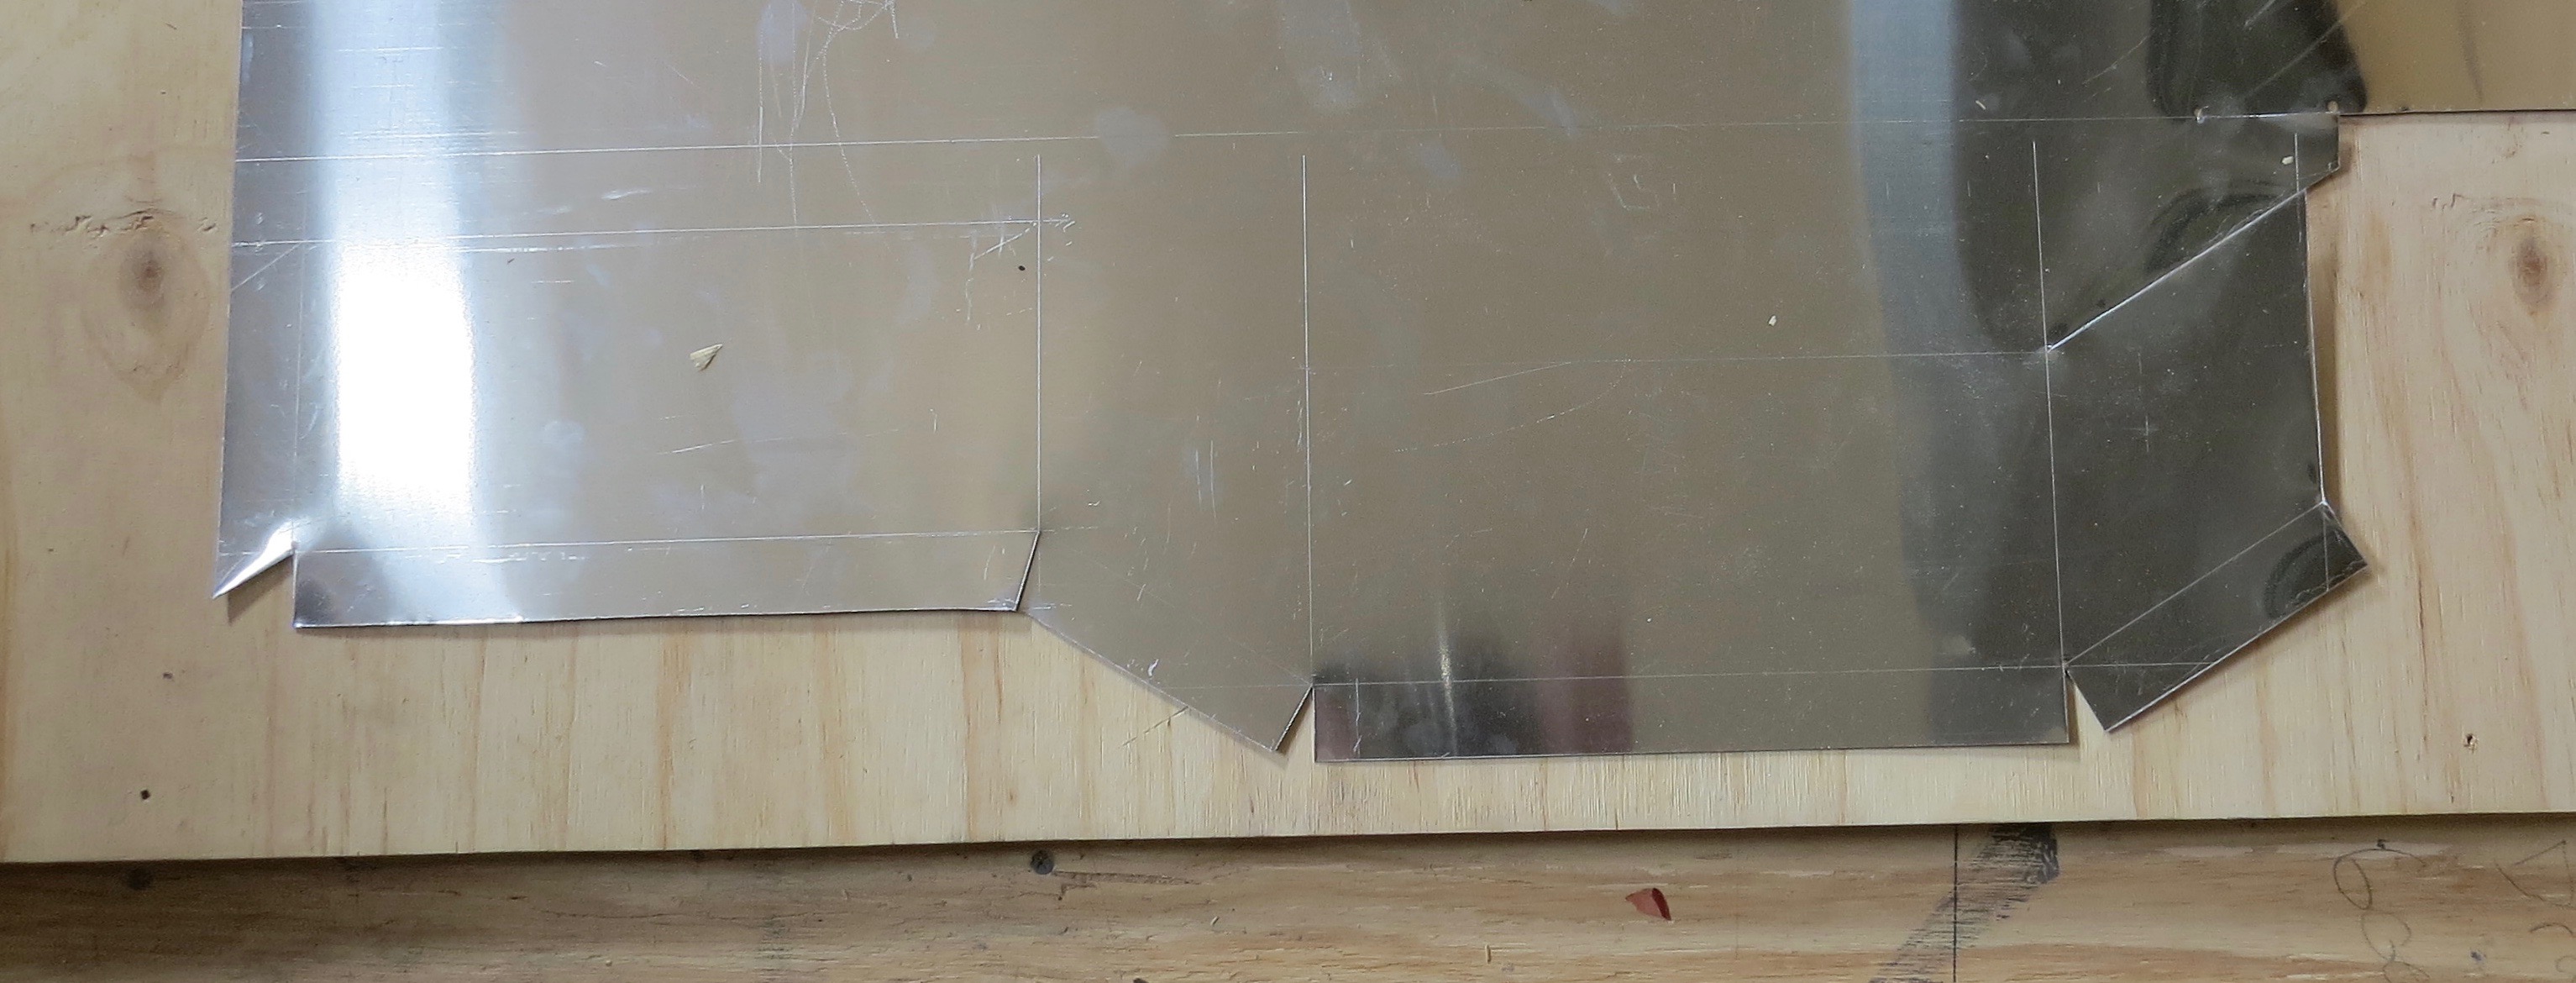
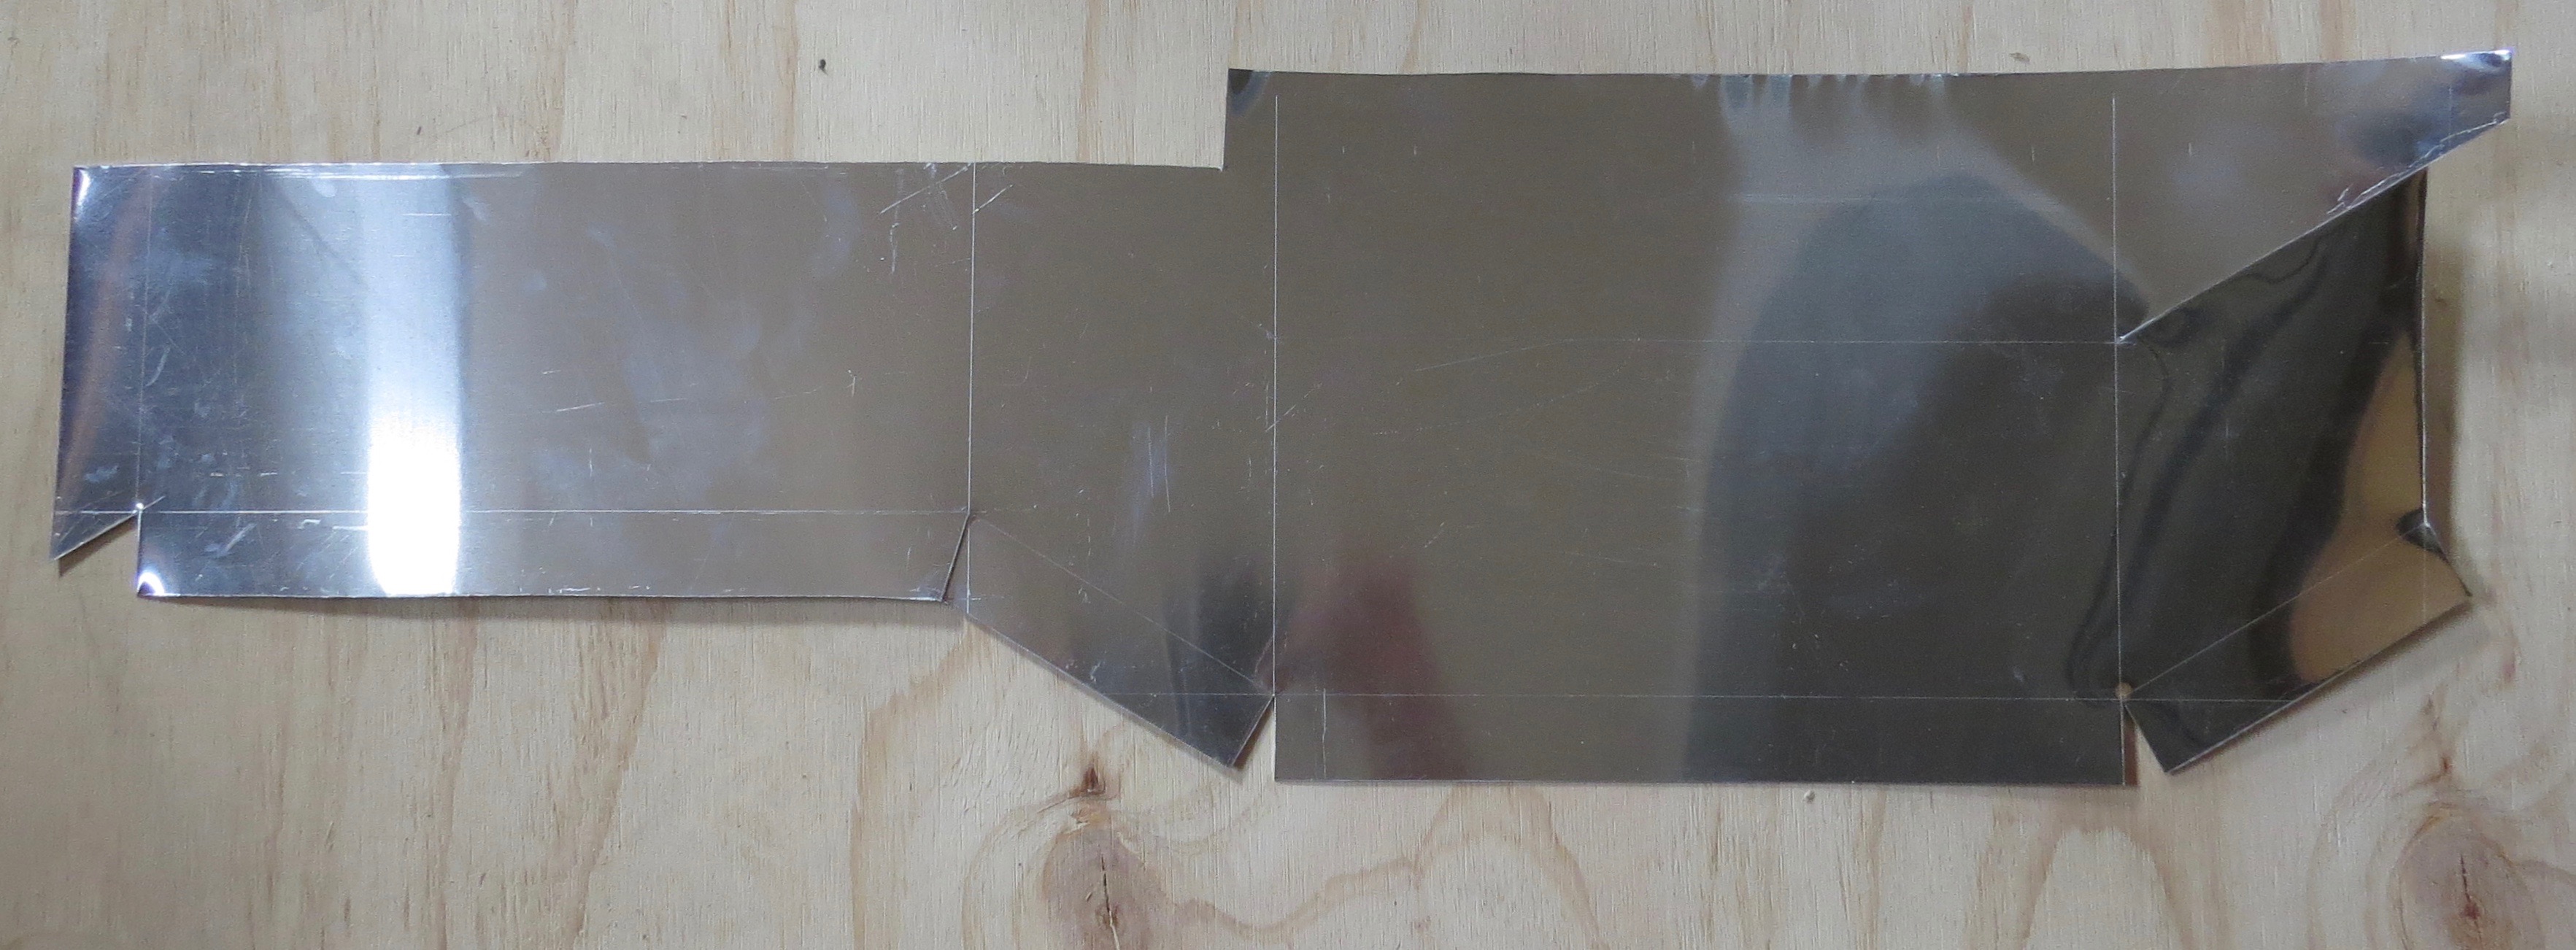
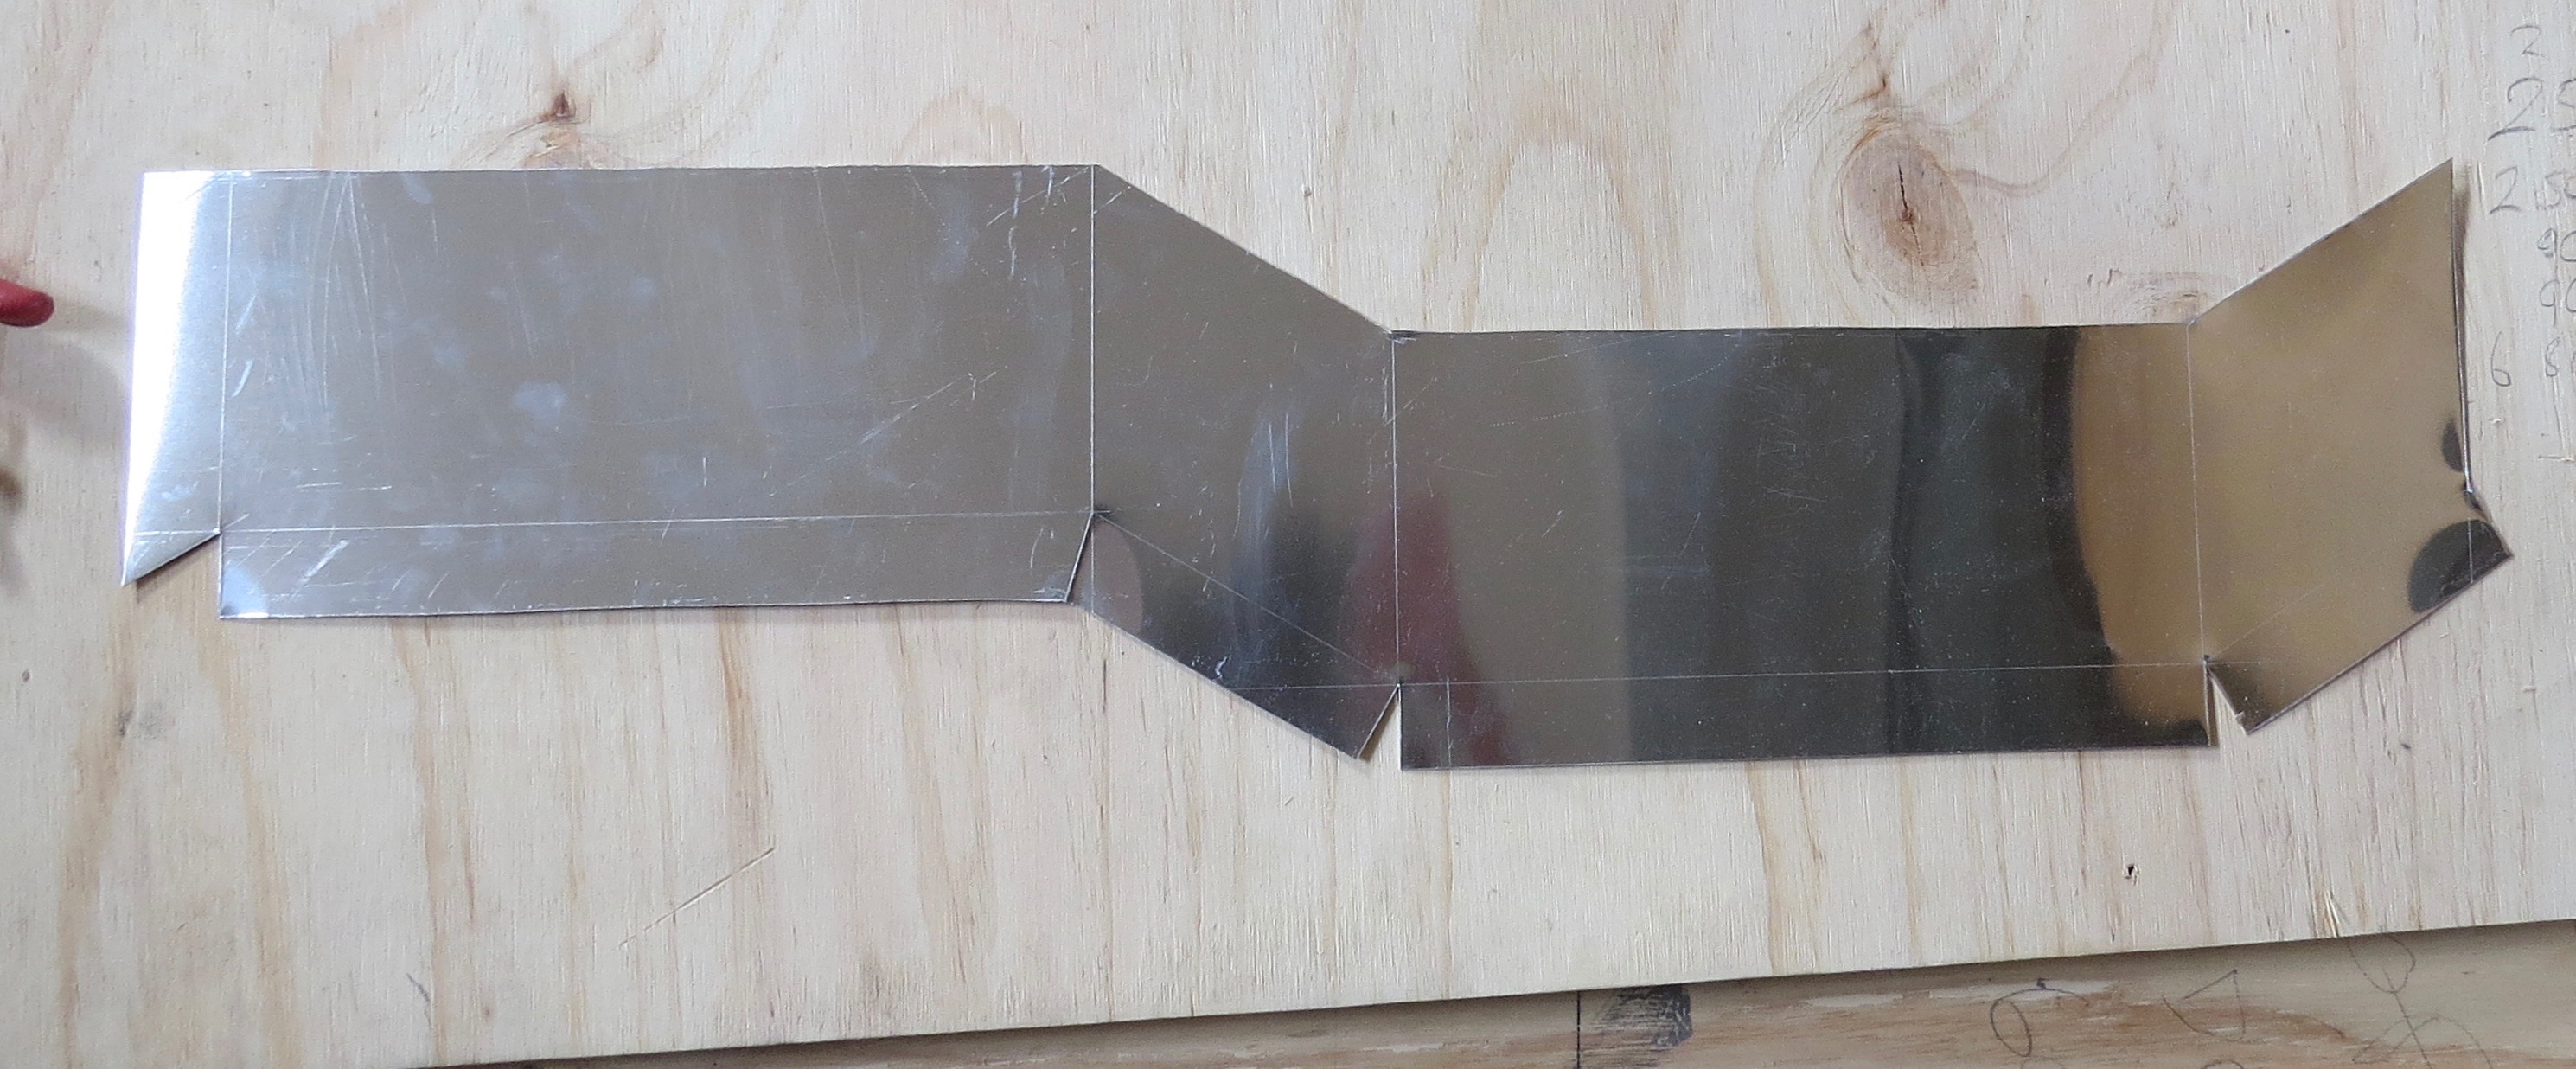
Where is a folder when you need one
It would be nice to have a folder, but there is no room on the bus for one of those. Lucky I’m only using 0.6mm alum sheet, so I can bend it by hand over some timber.
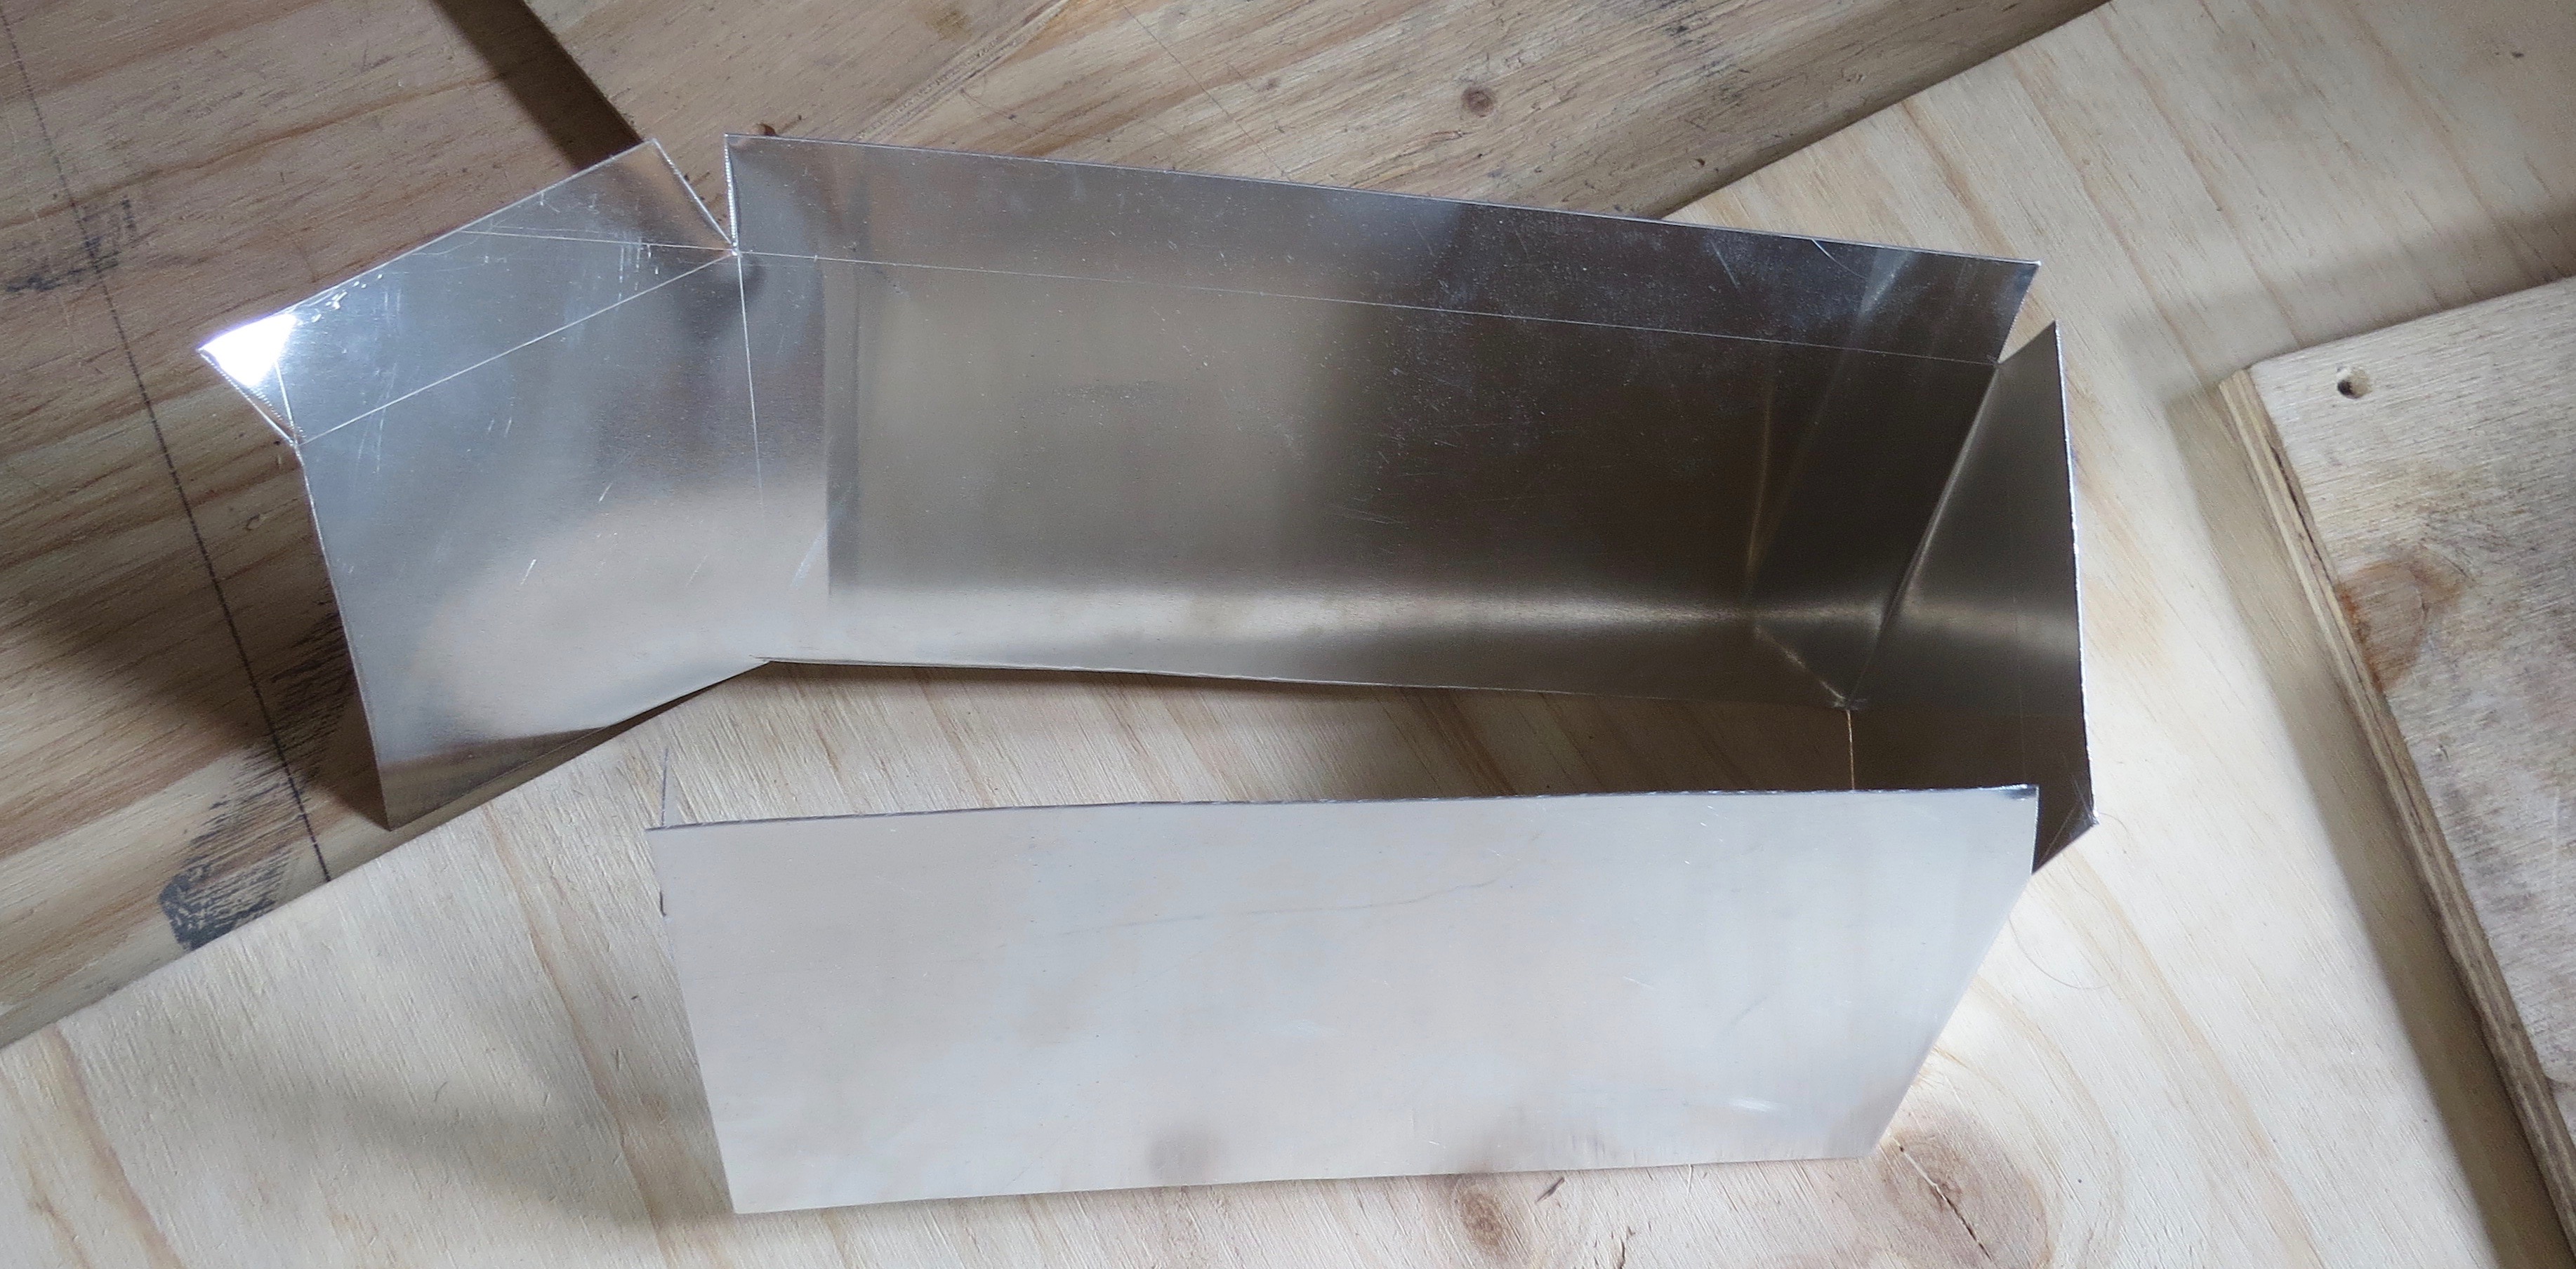
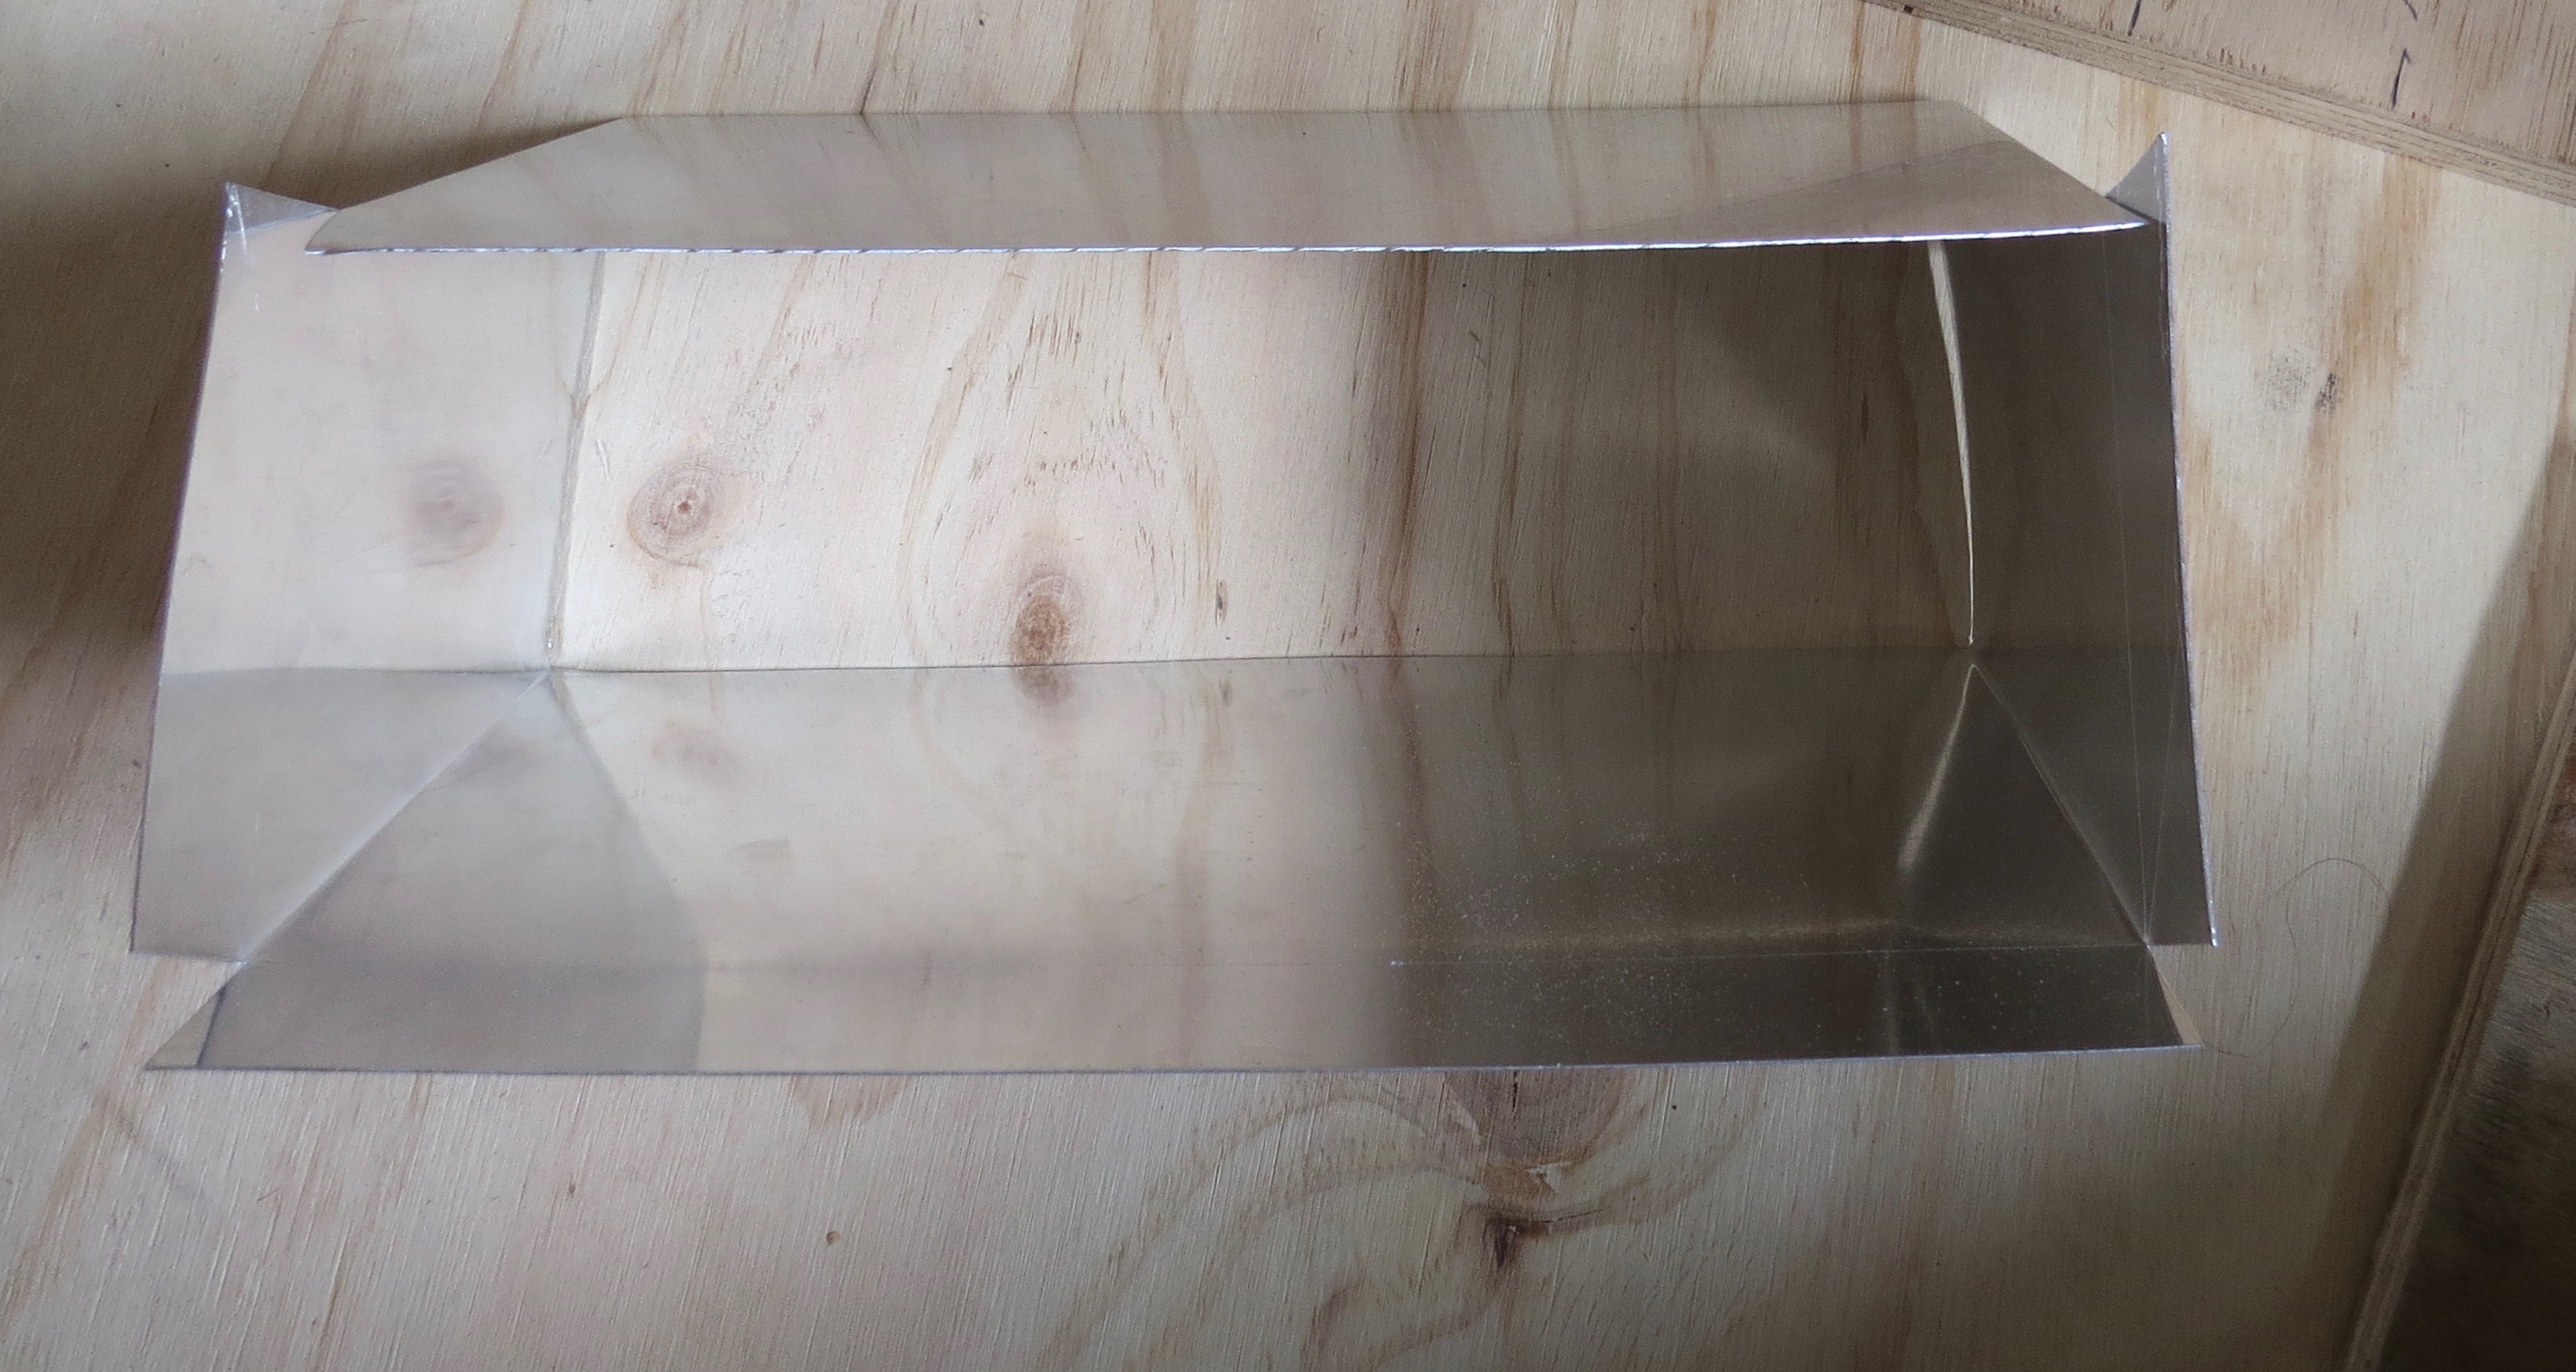
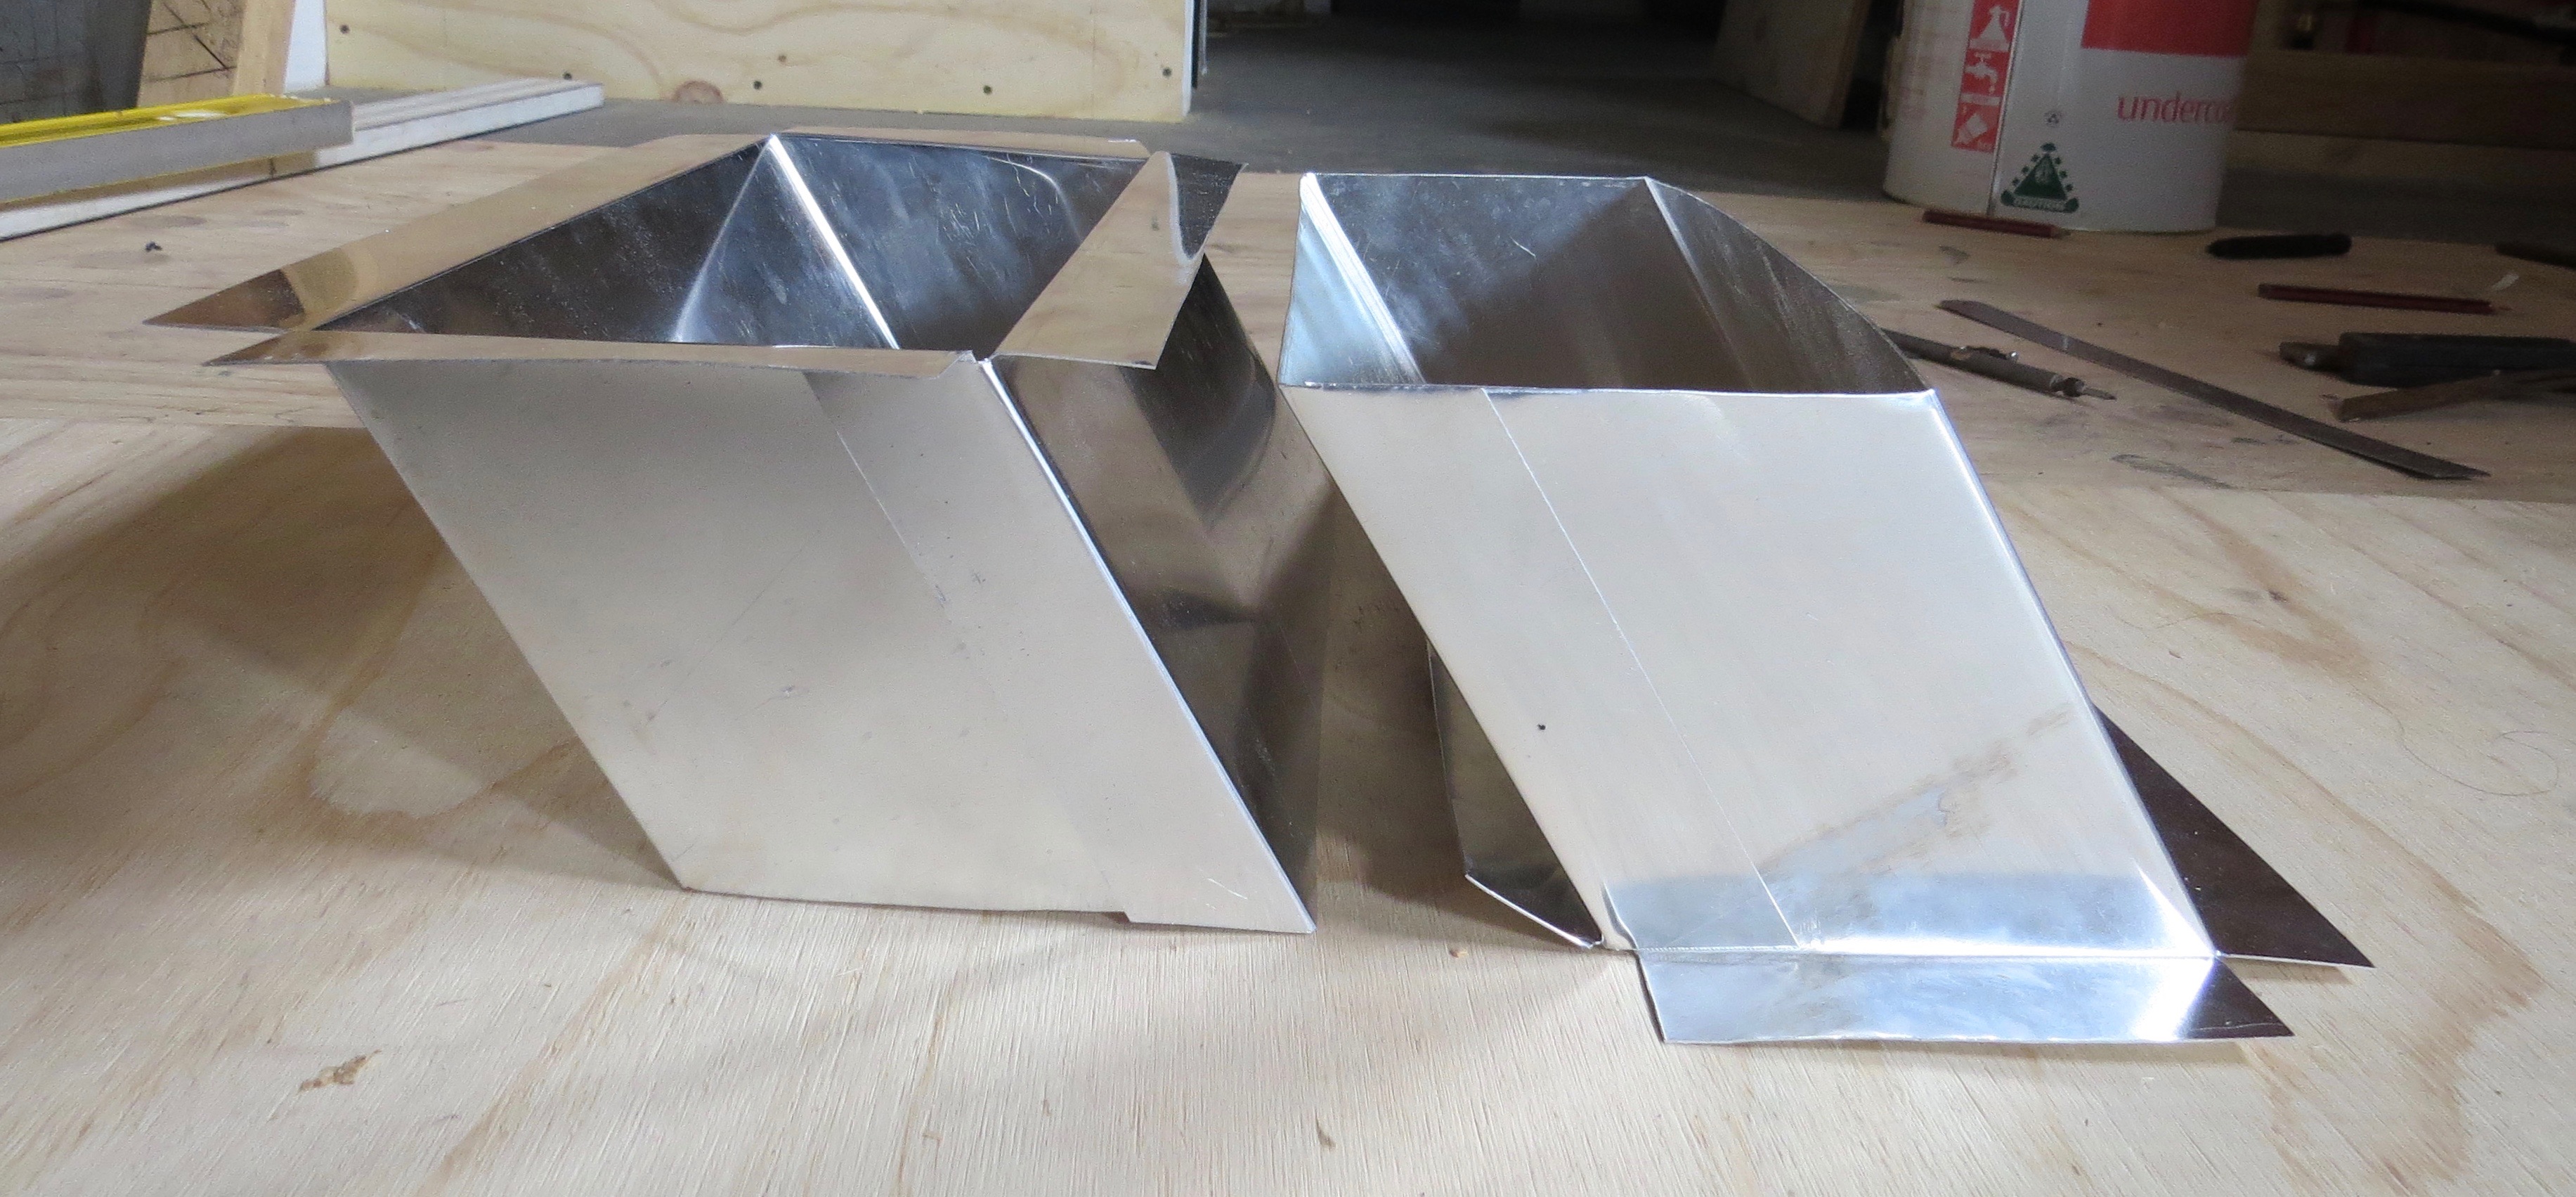
Time to cut more holes in the bus
Well I’ve made the ducting, now it’s time to fit them. Out with the grinder again, let’s hope I’ve marked it out right.
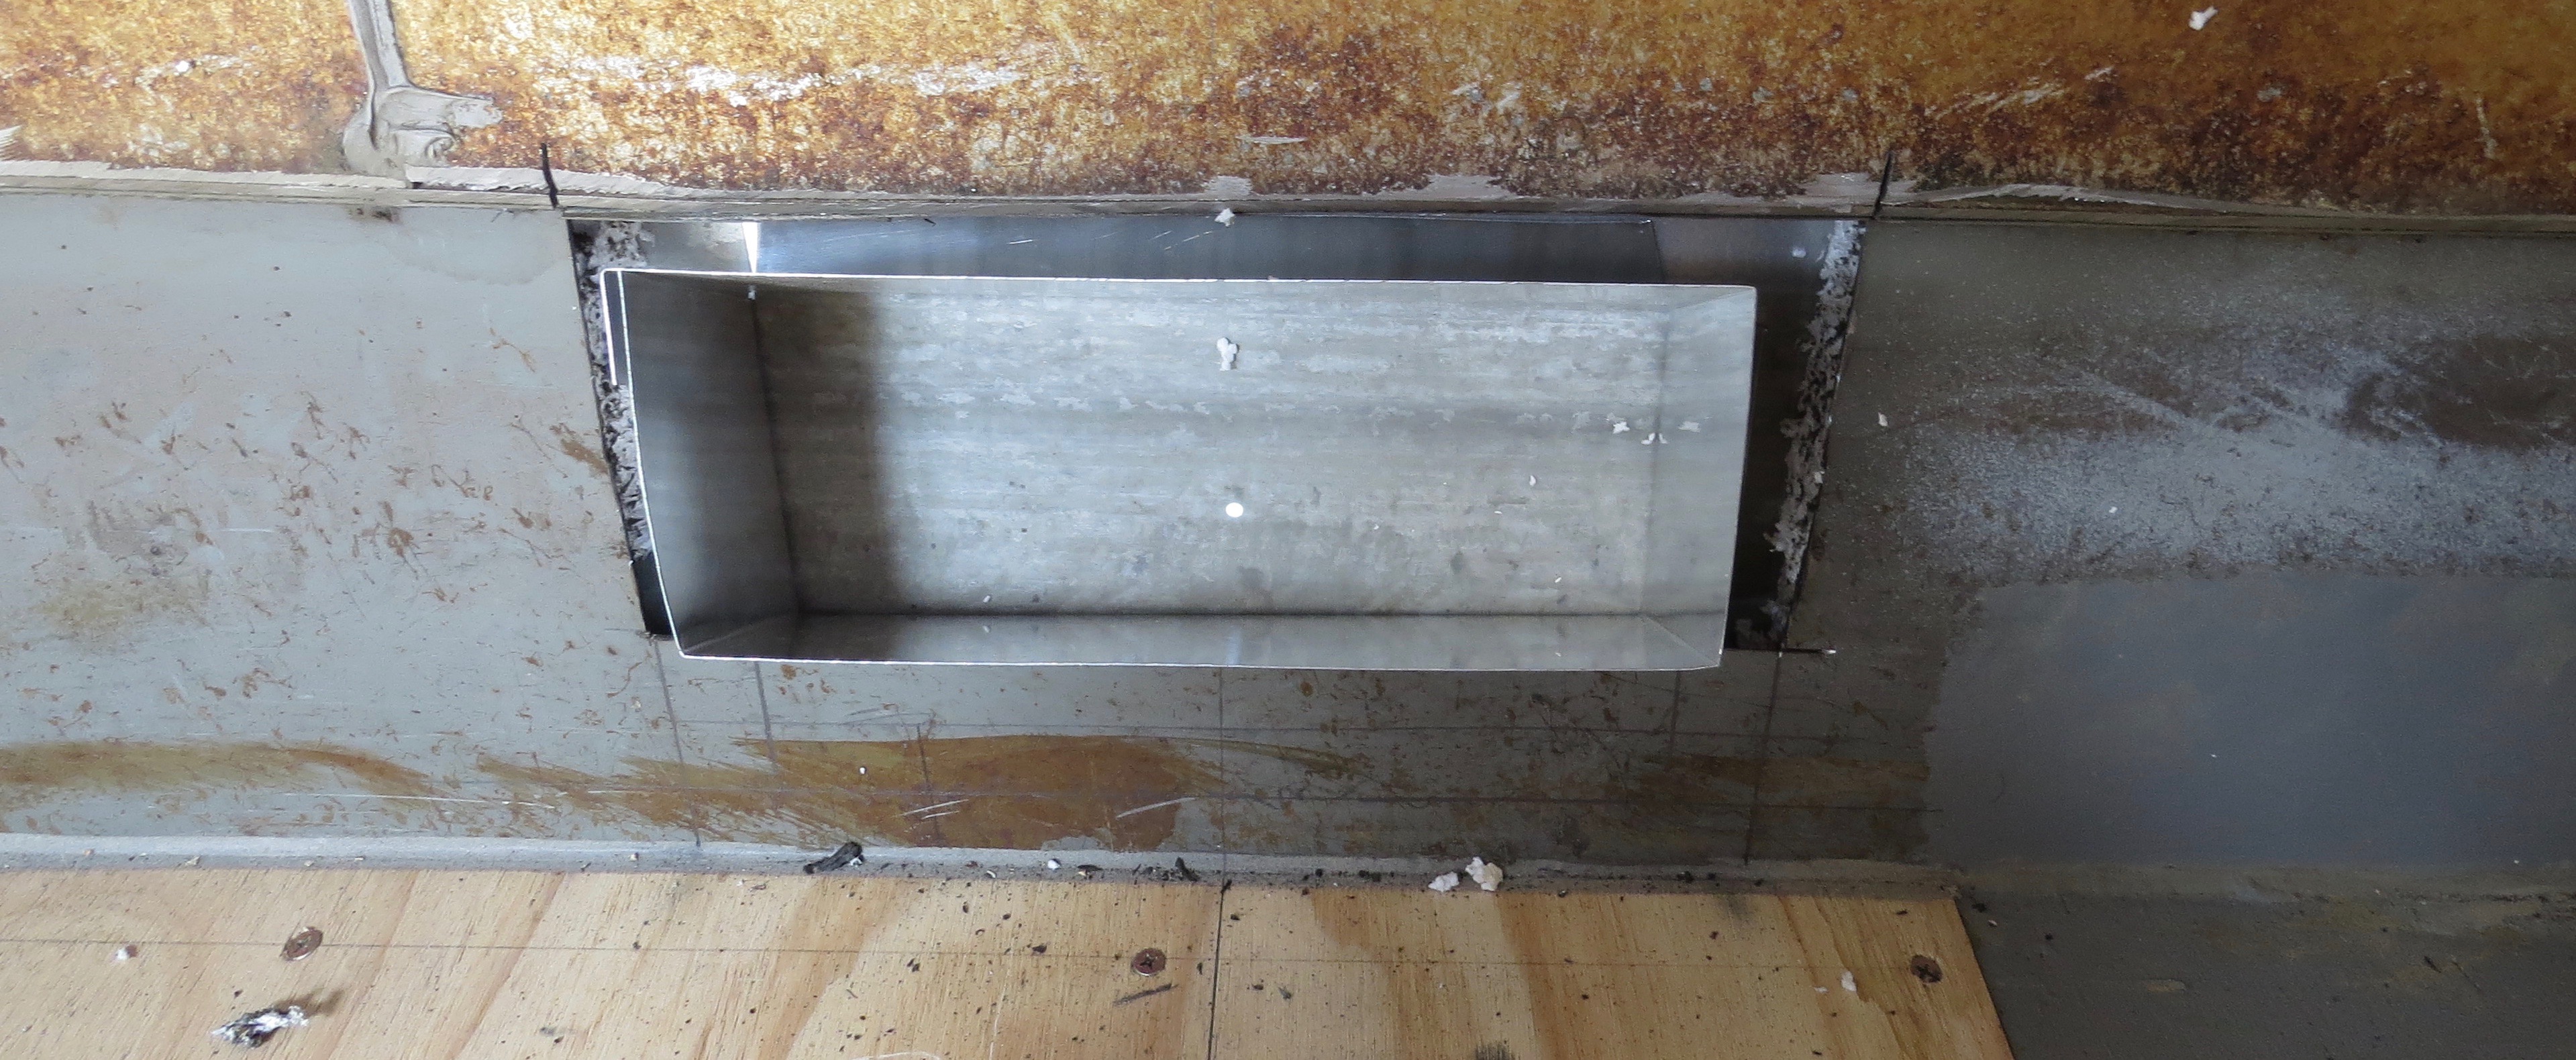
Just making sure that the outside hole will be in the right place before I go crazy with the grinder on the outside of the bus.
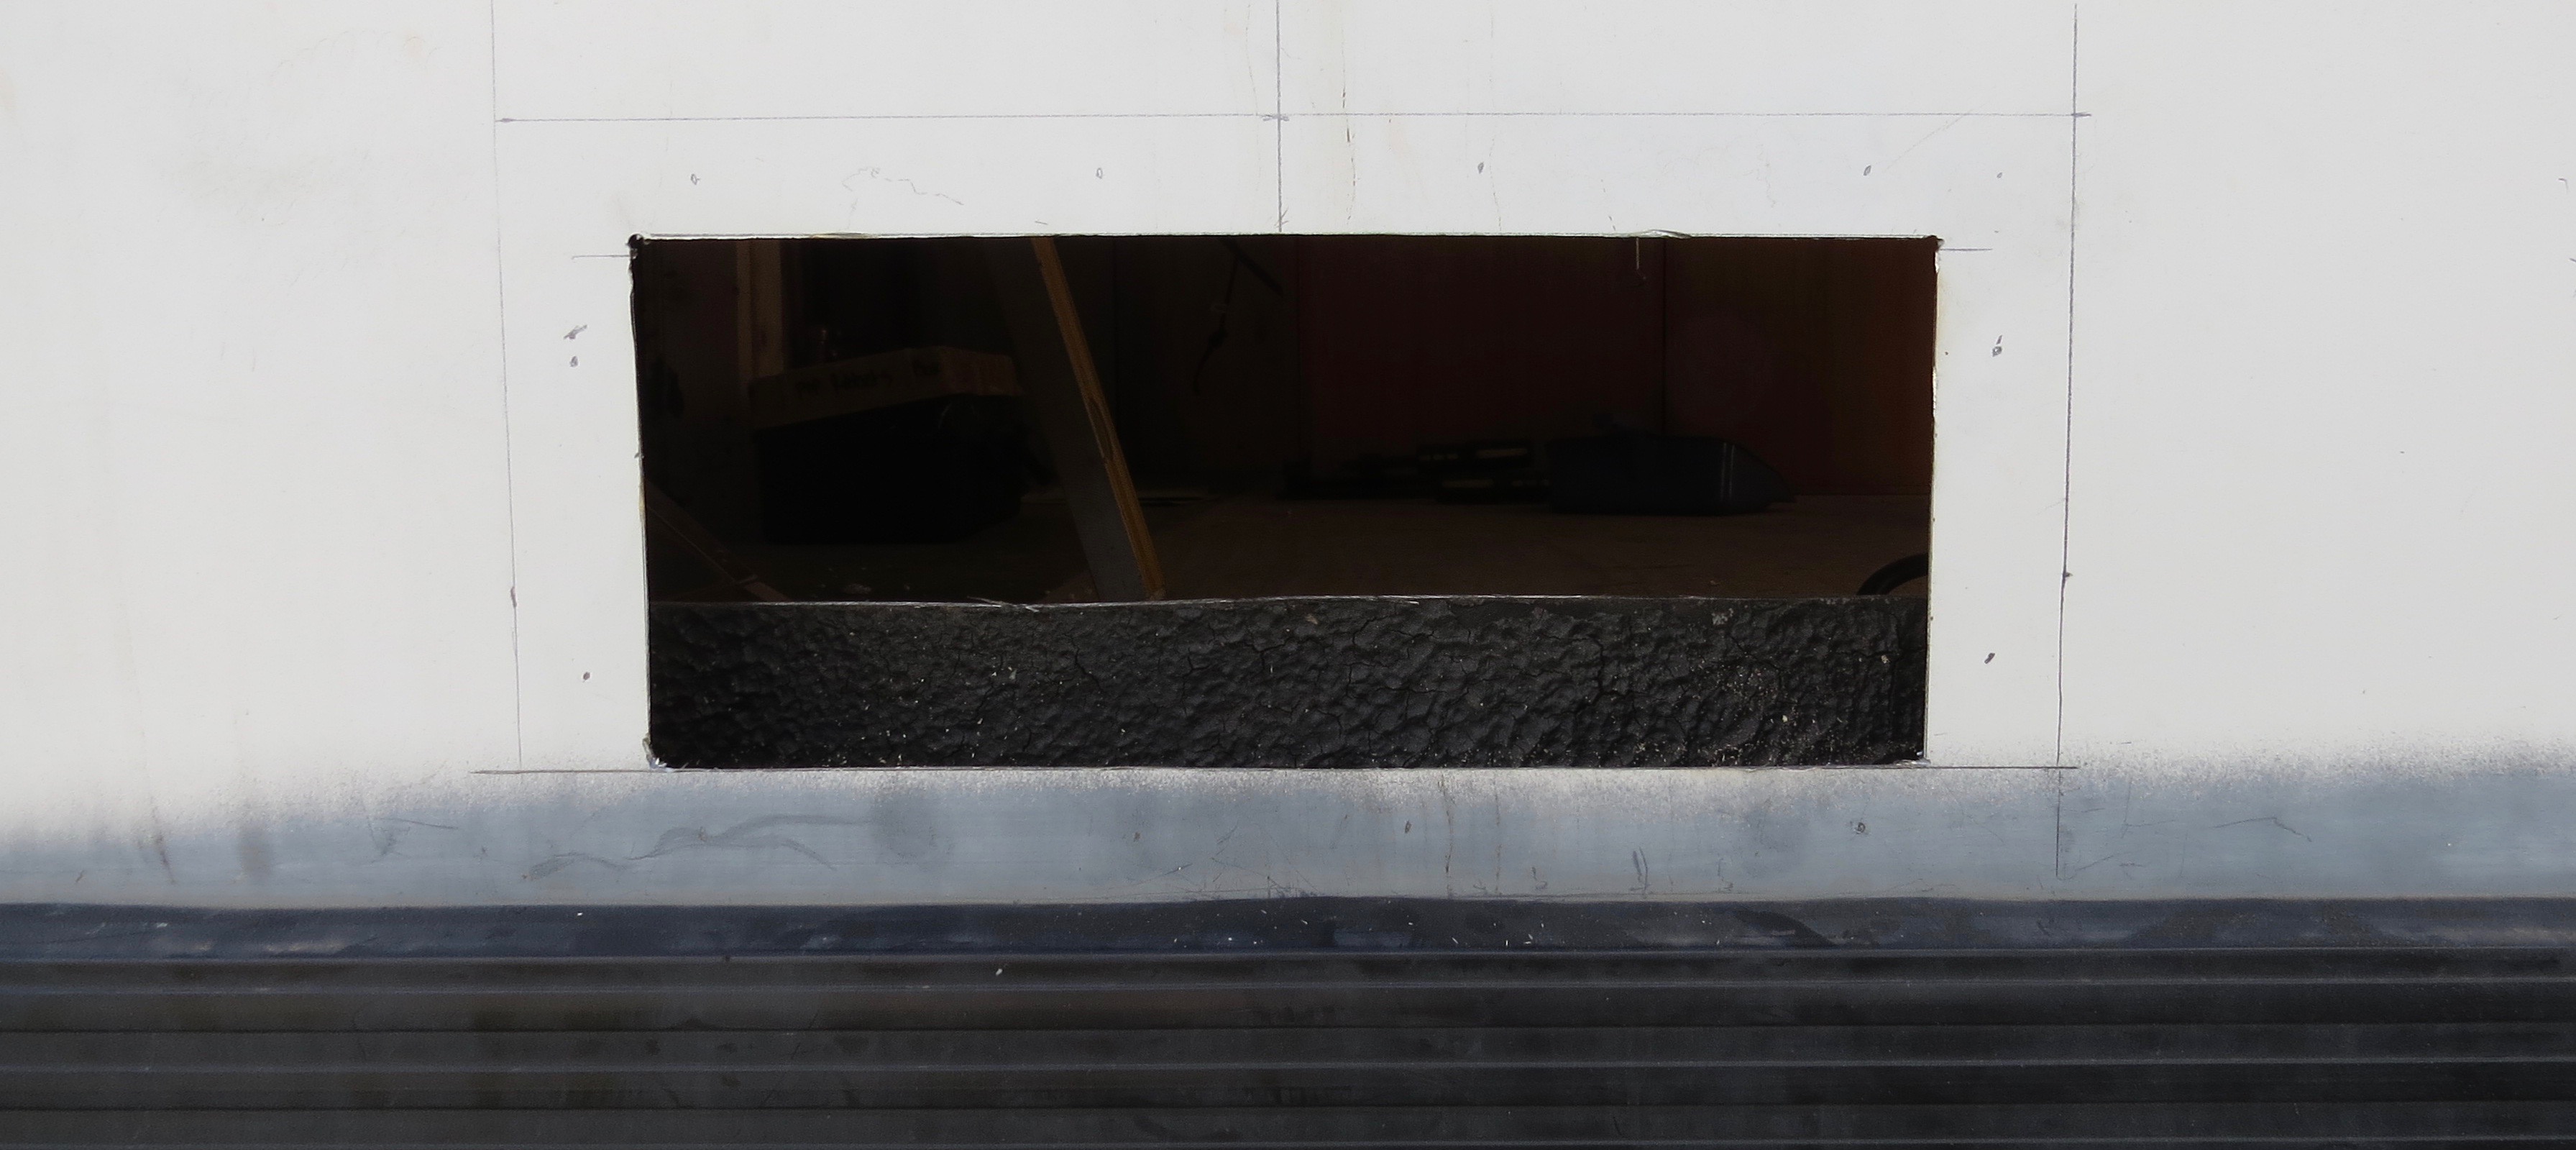
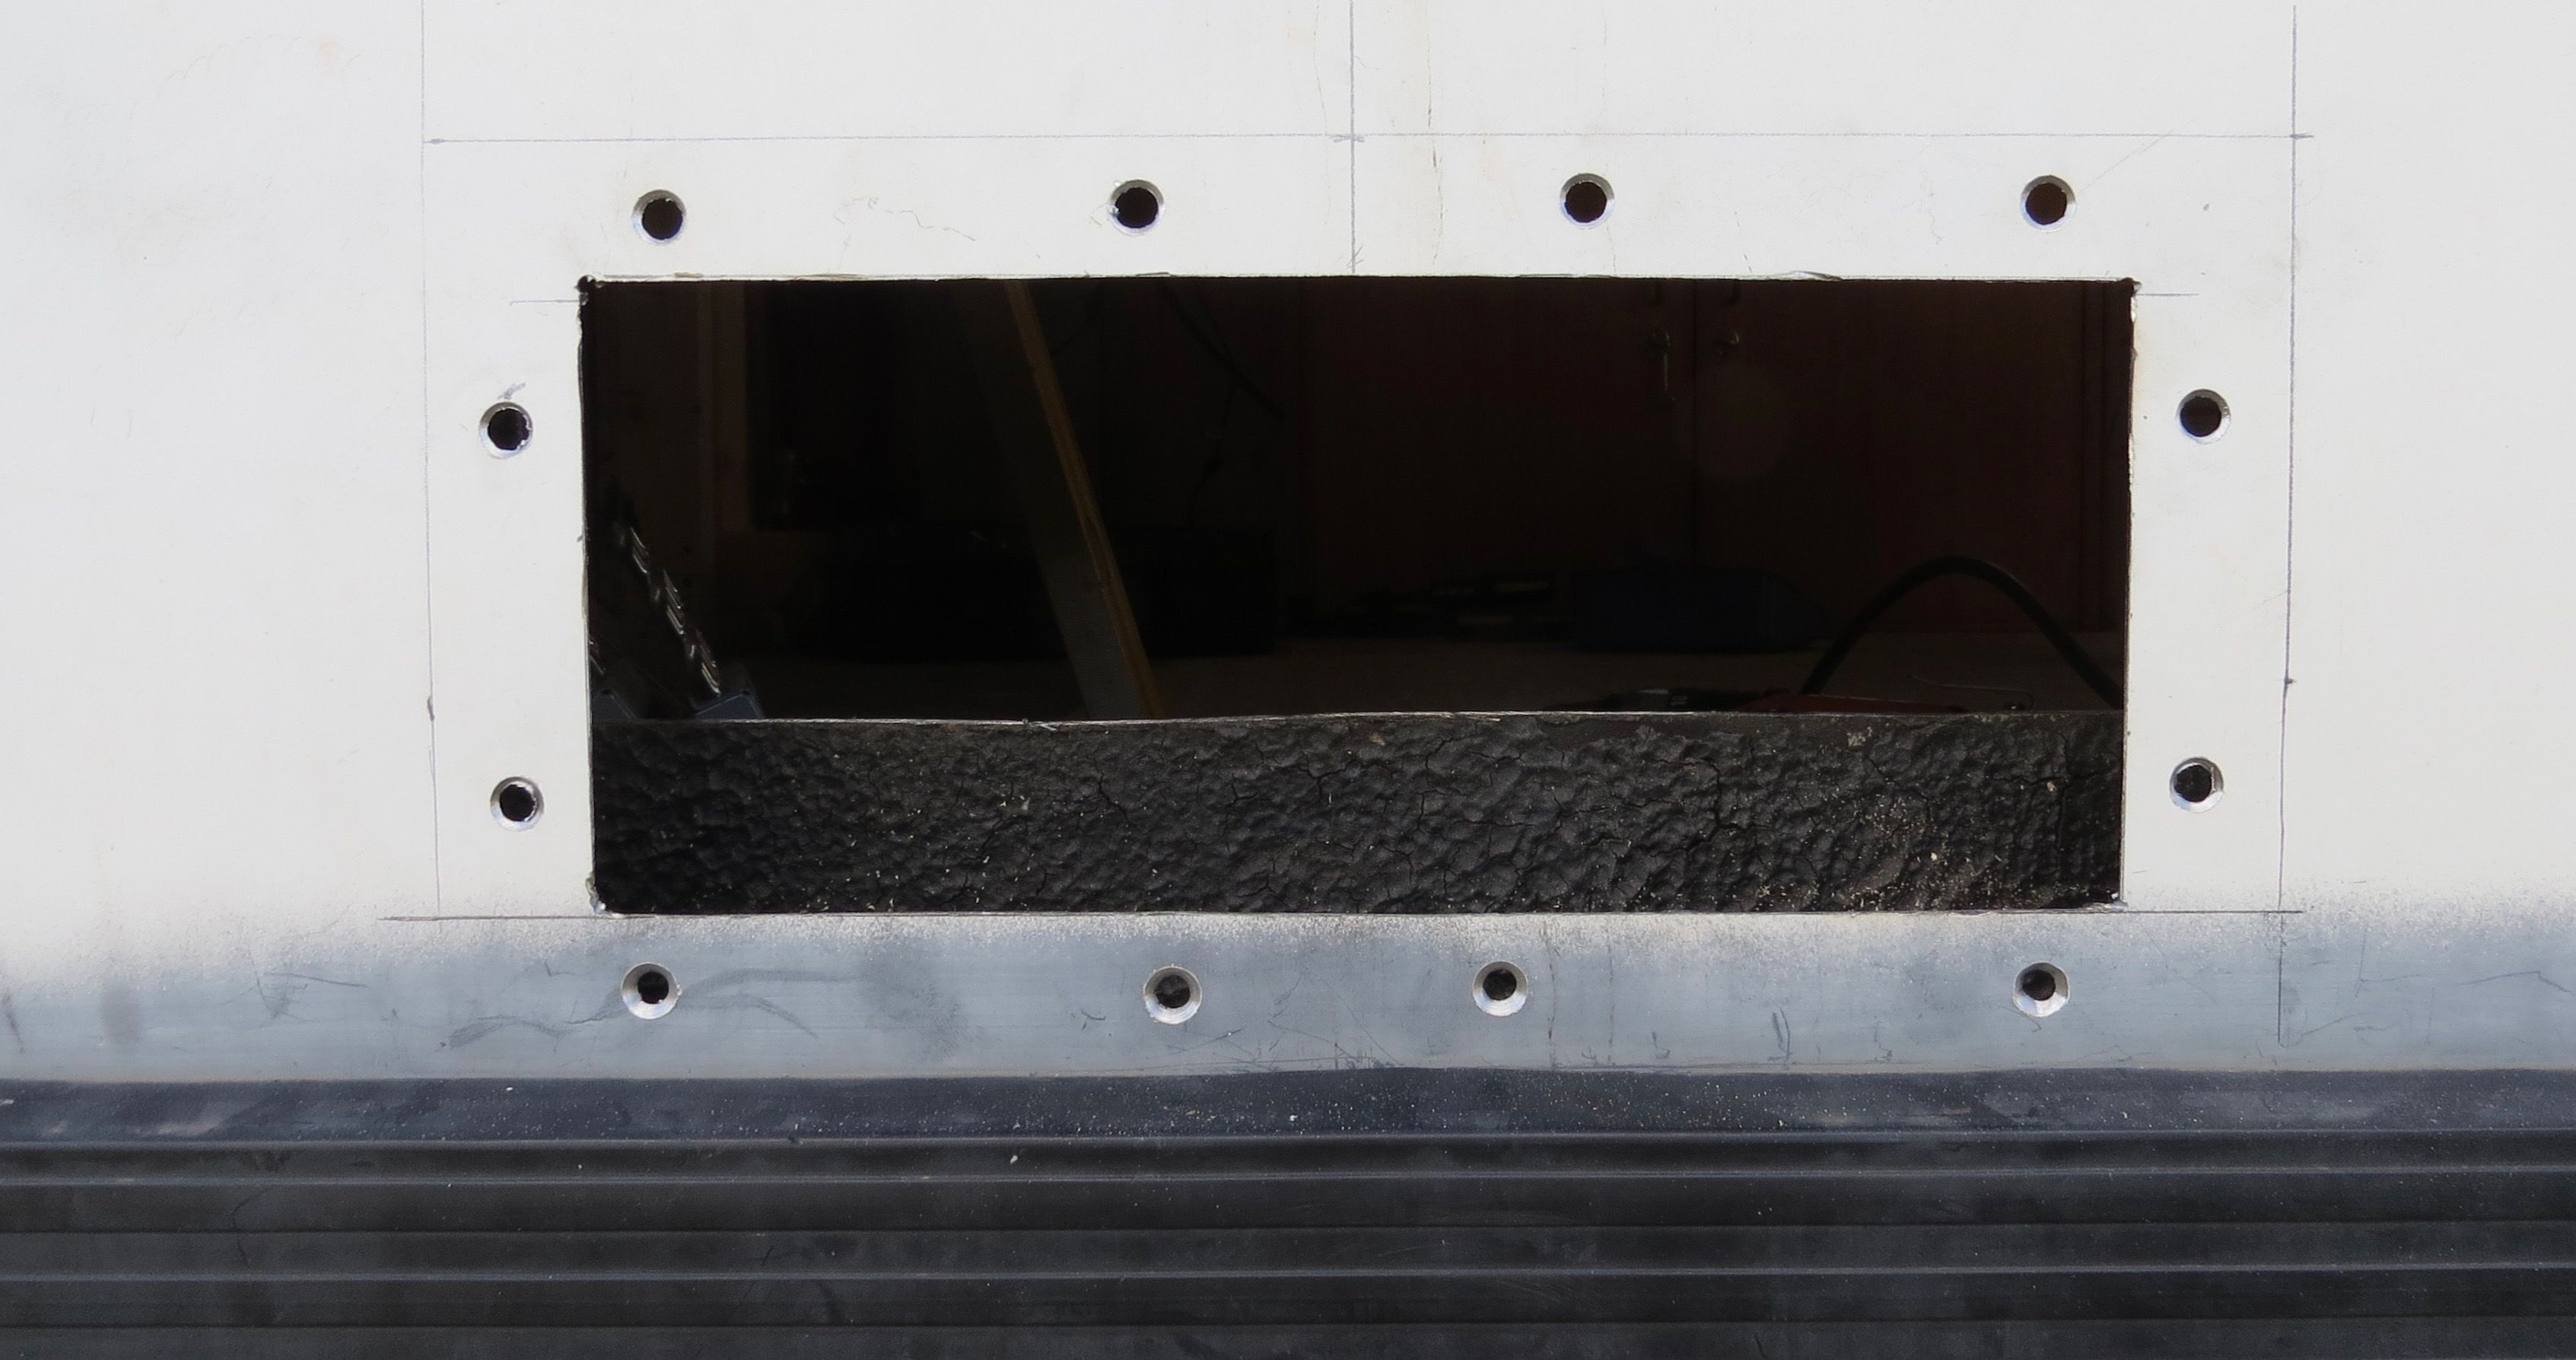
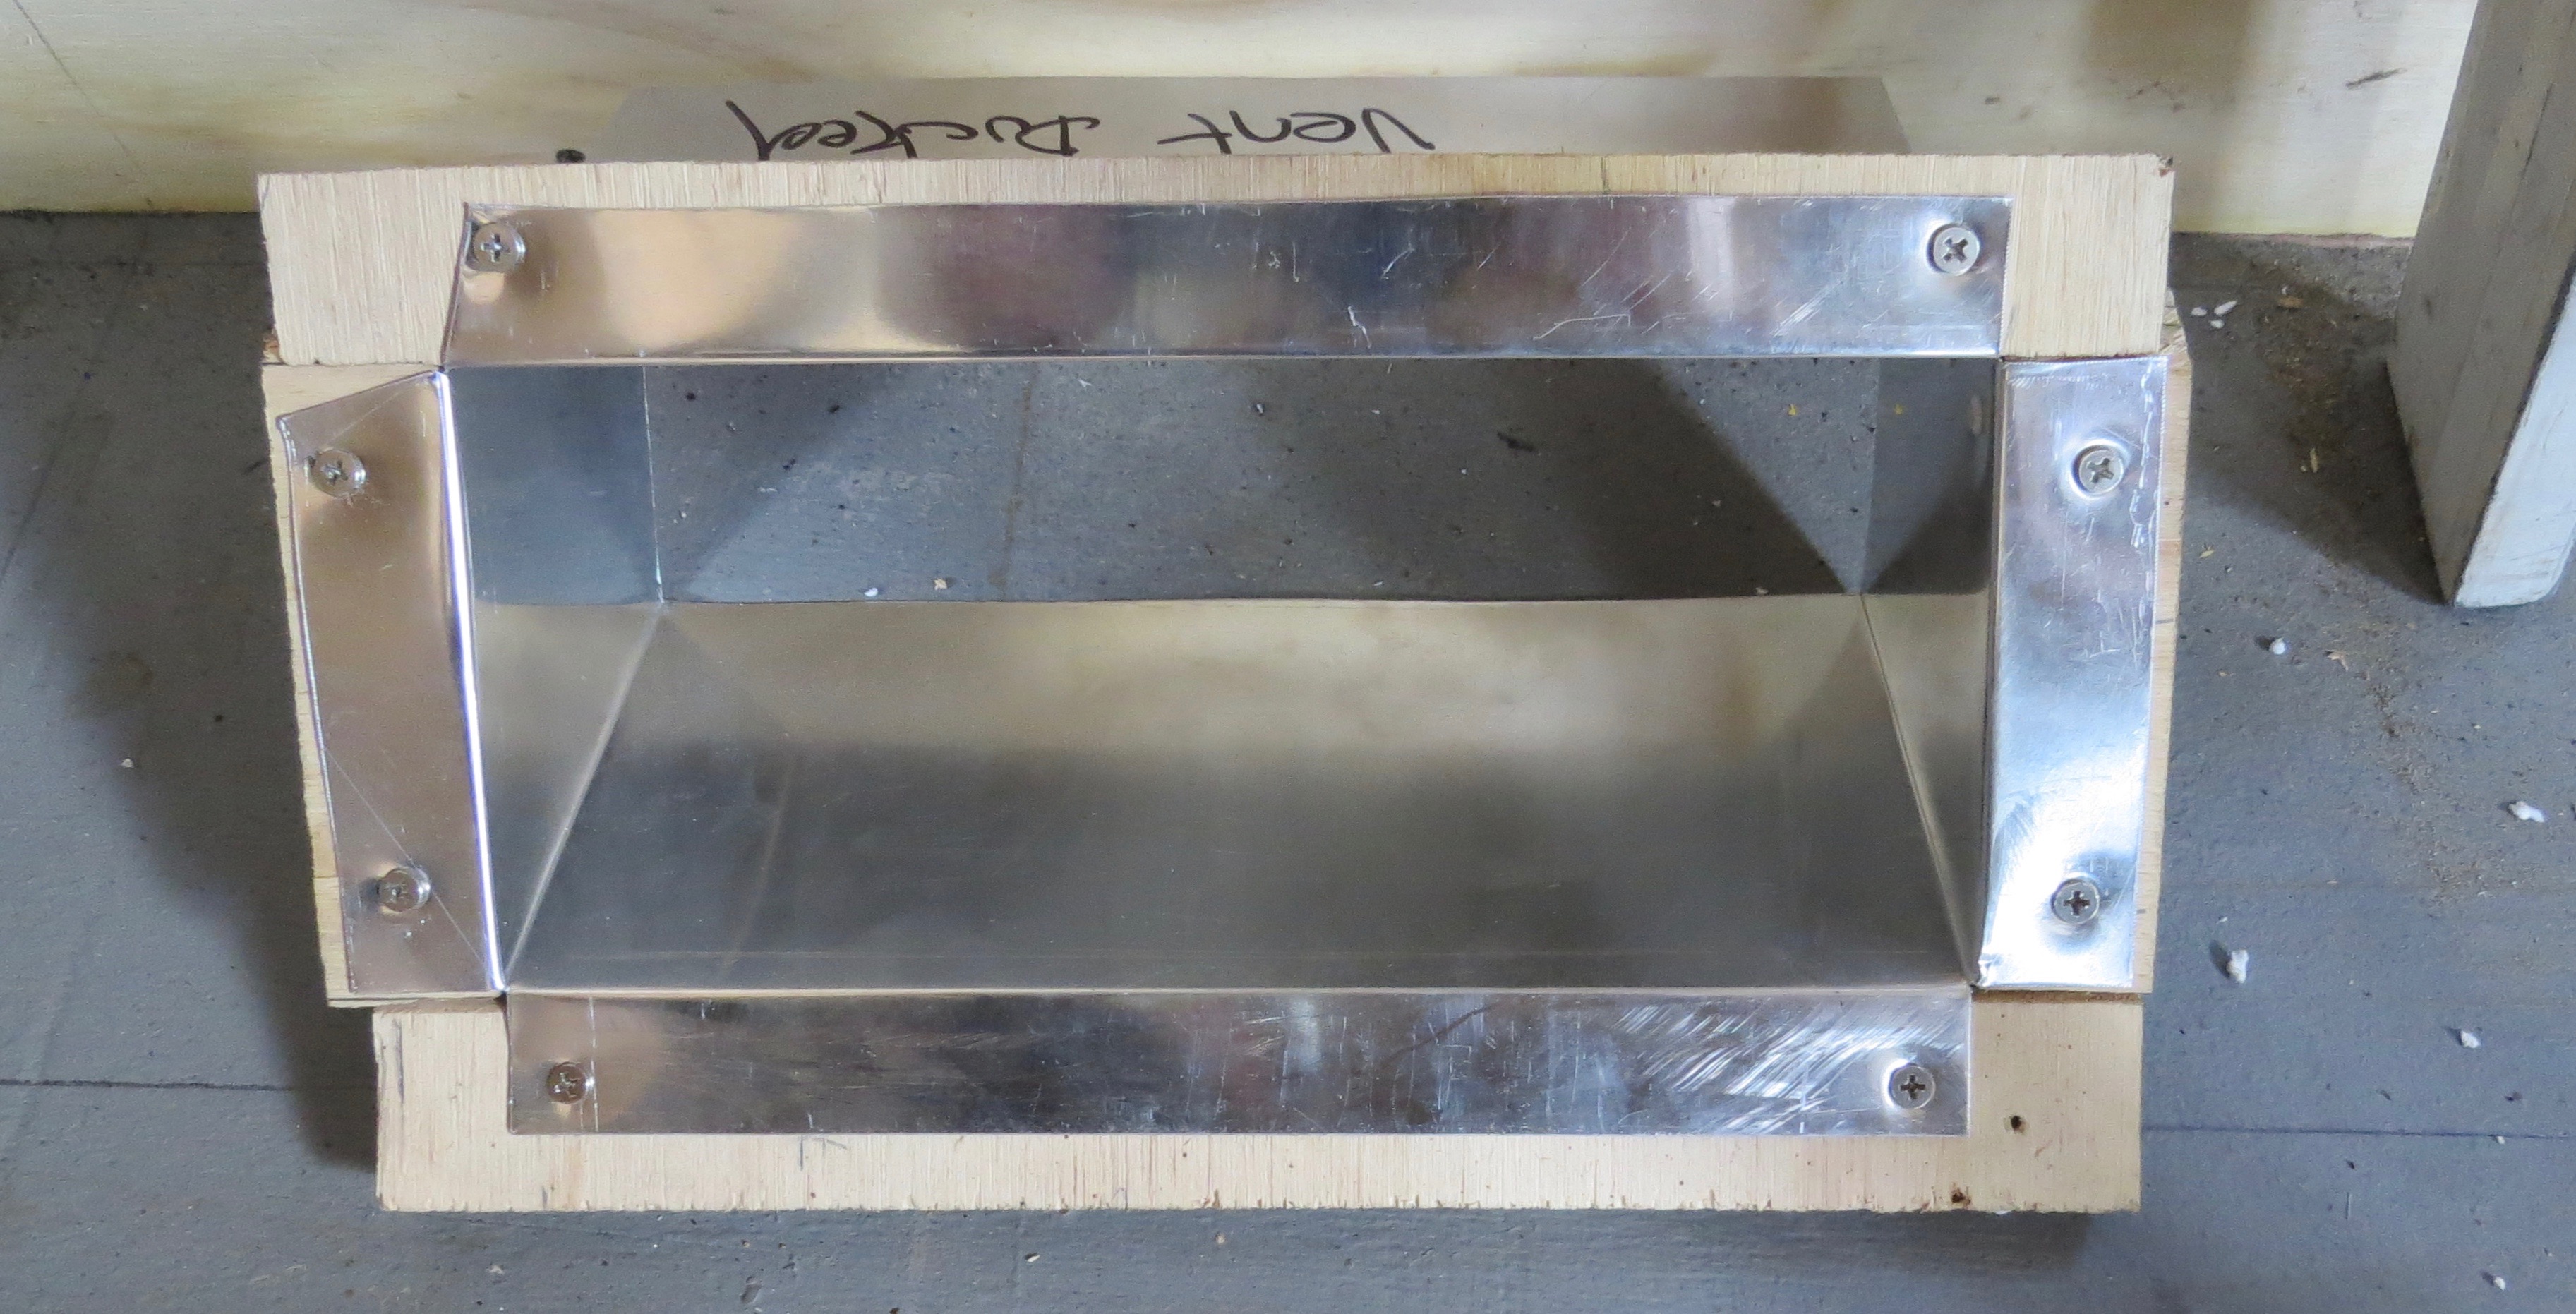
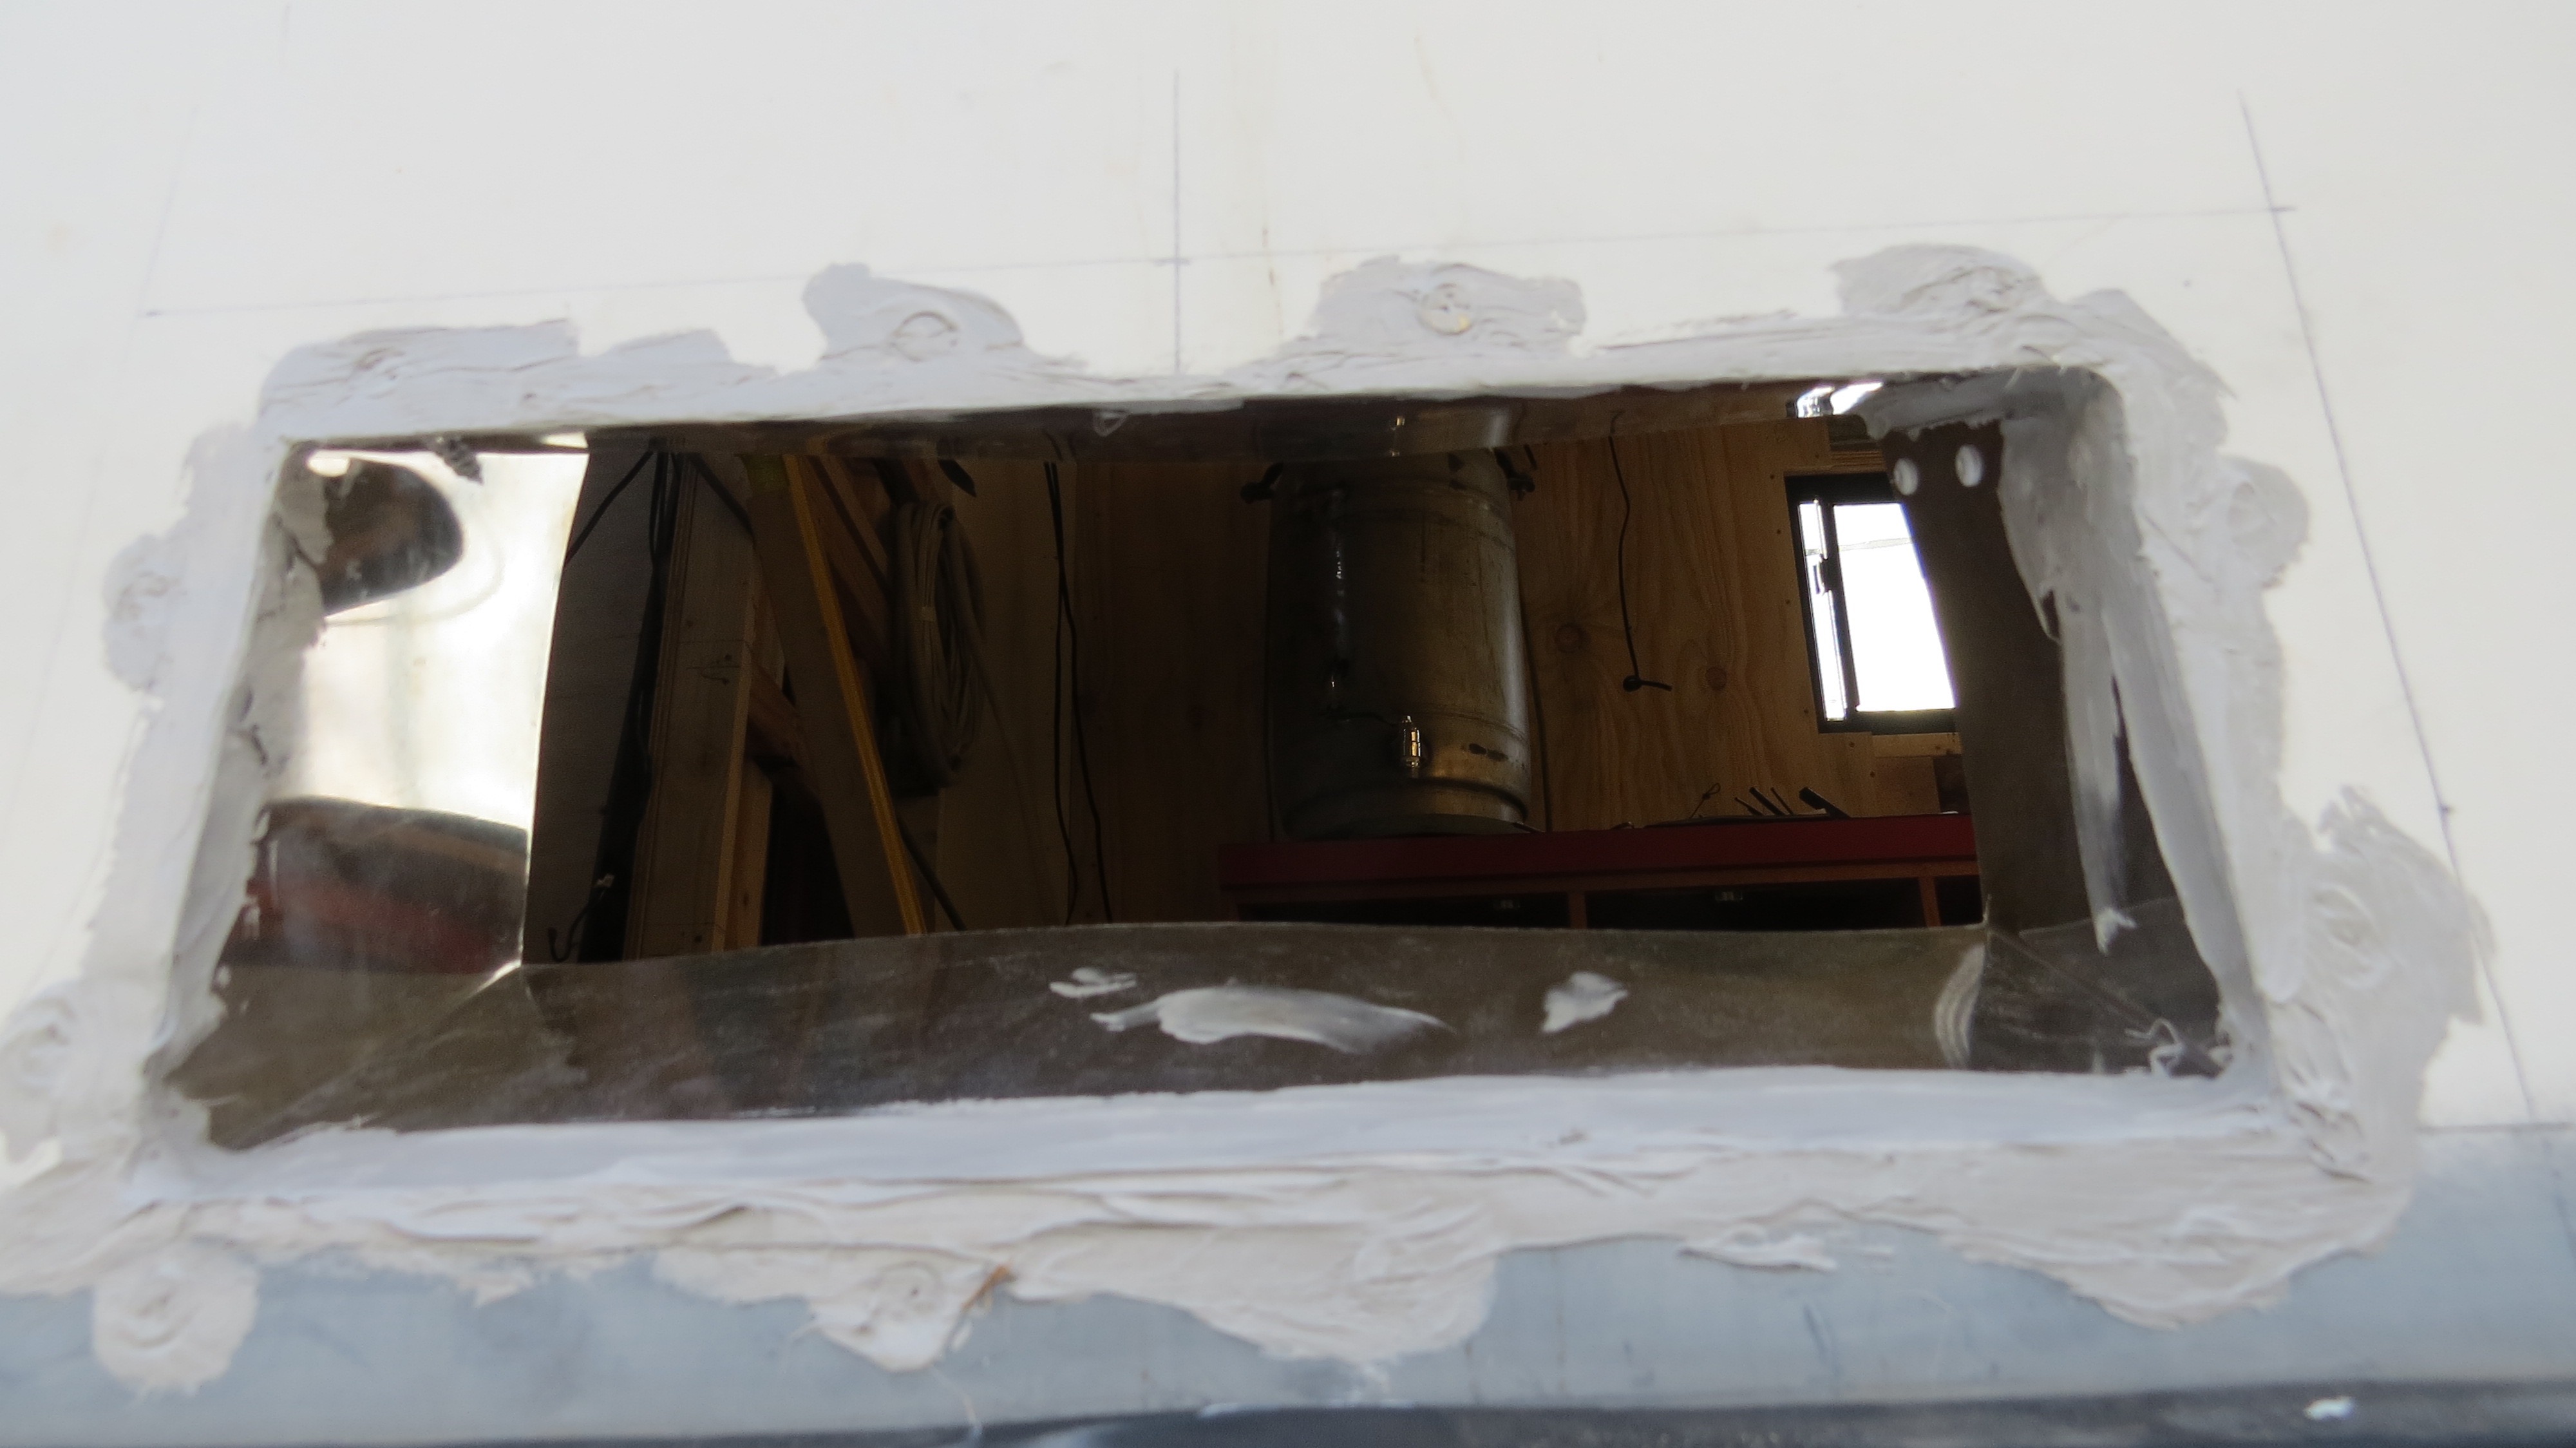
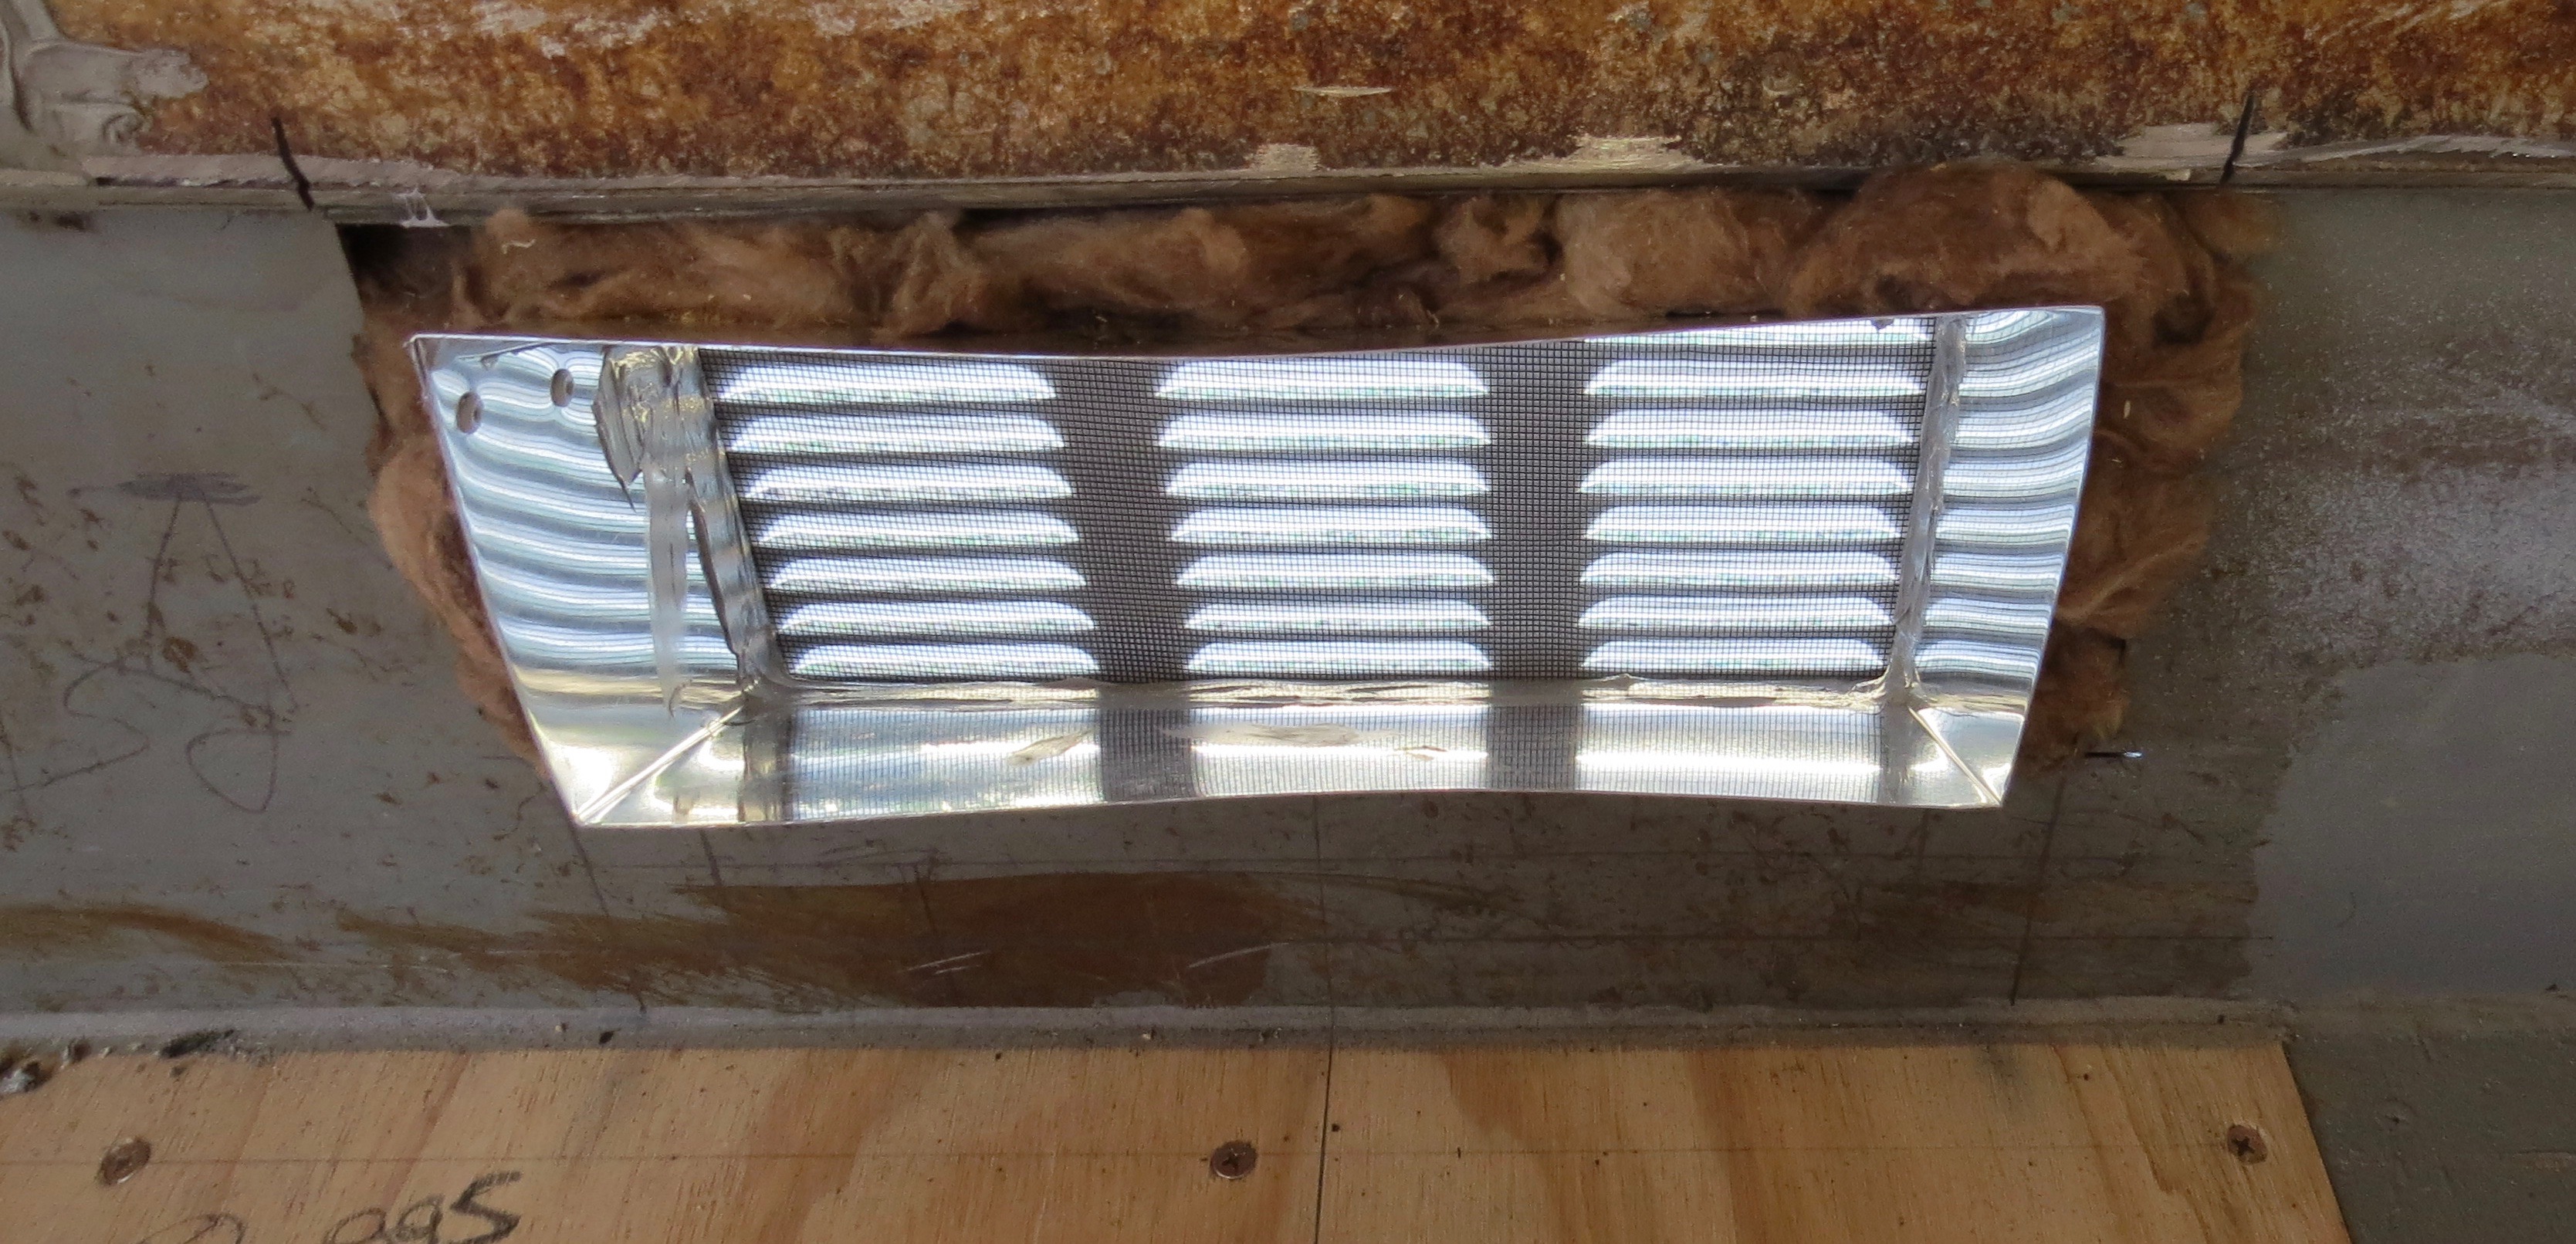
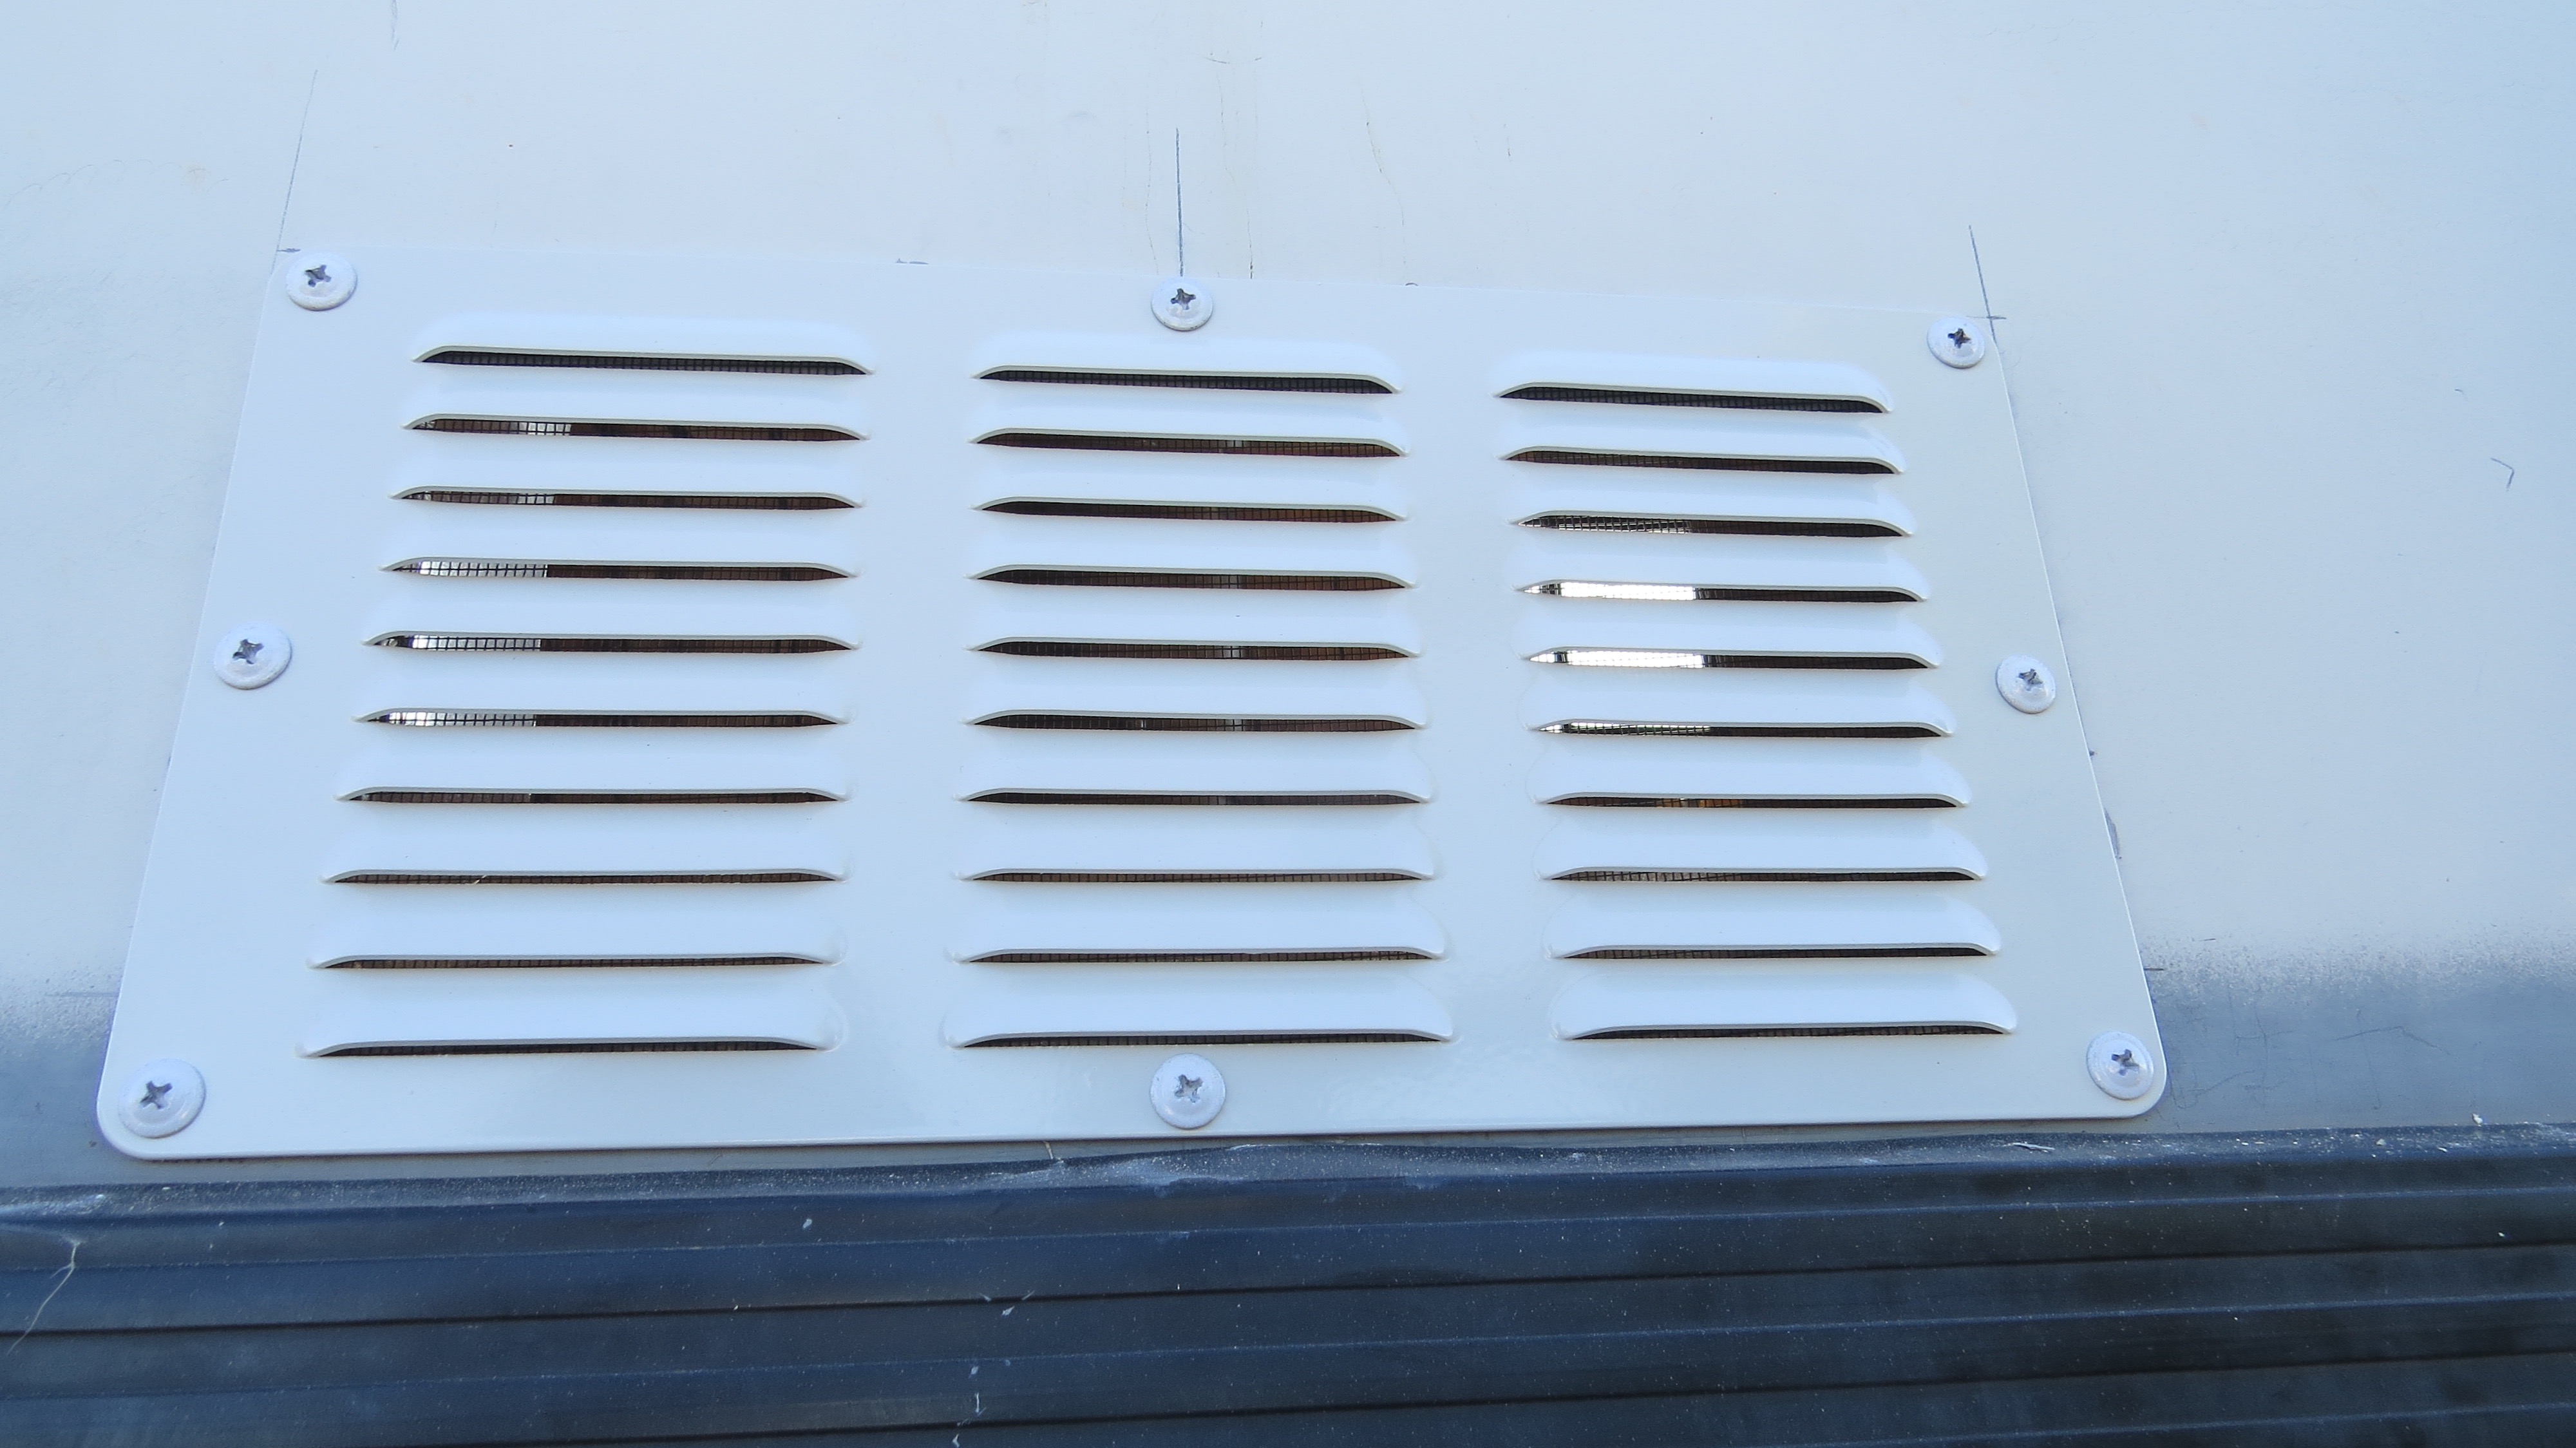
So that was the hard one, the top one will be a lot easier as I only have to cut through the fiberglass panel.
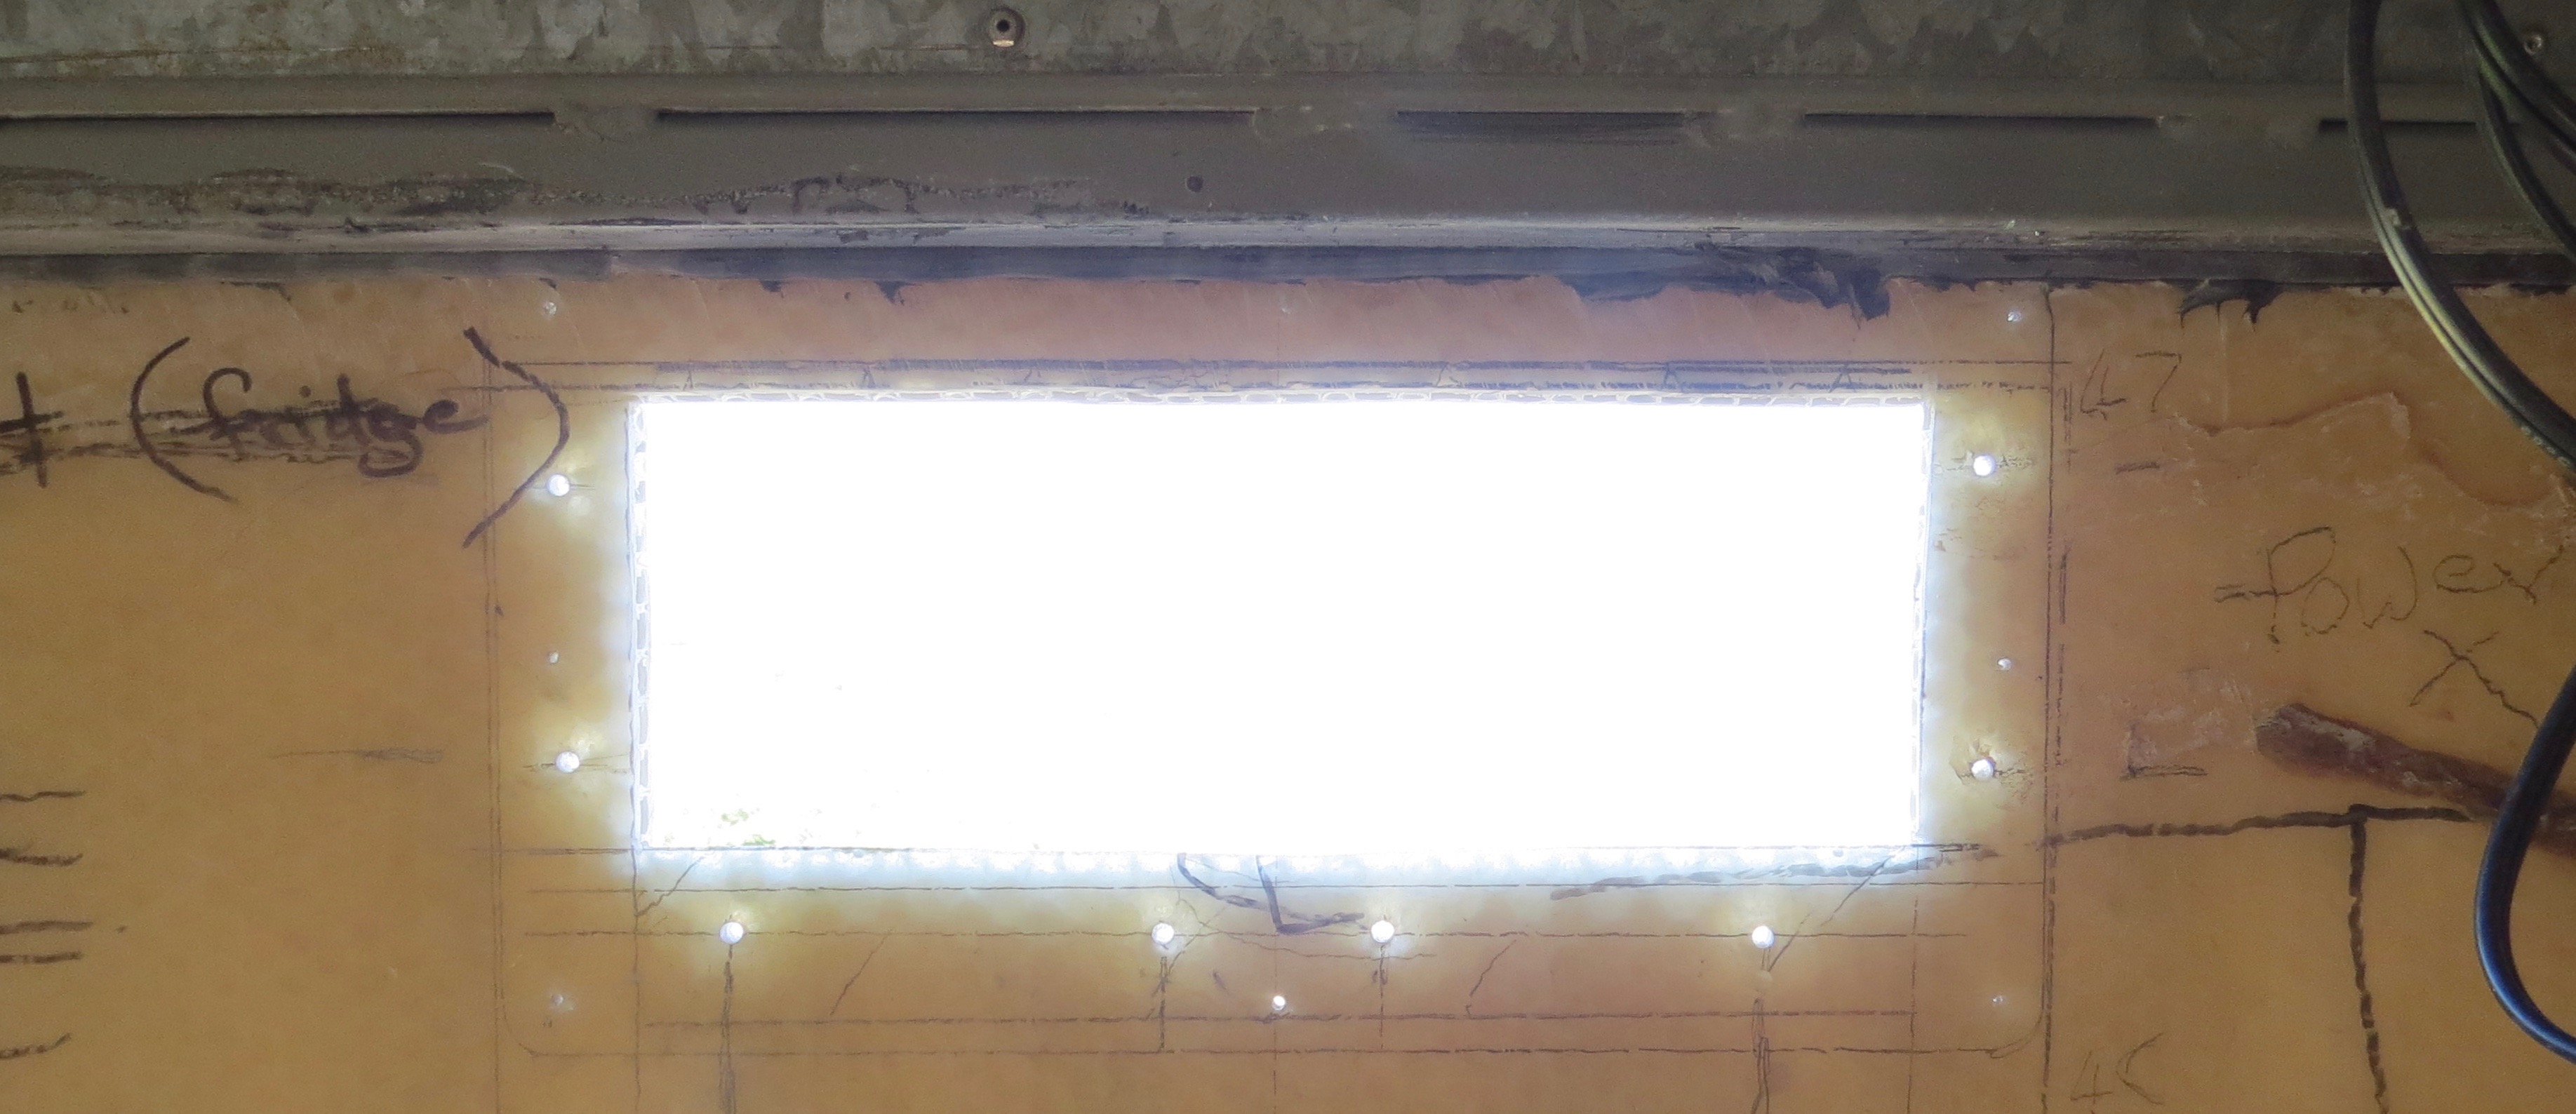
As I’ve only one set of hands I screwed the top vent into place, otherwise there was no way I could have done this vent by myself. Both top and bottom ducting are screwed from the outside of the bus.
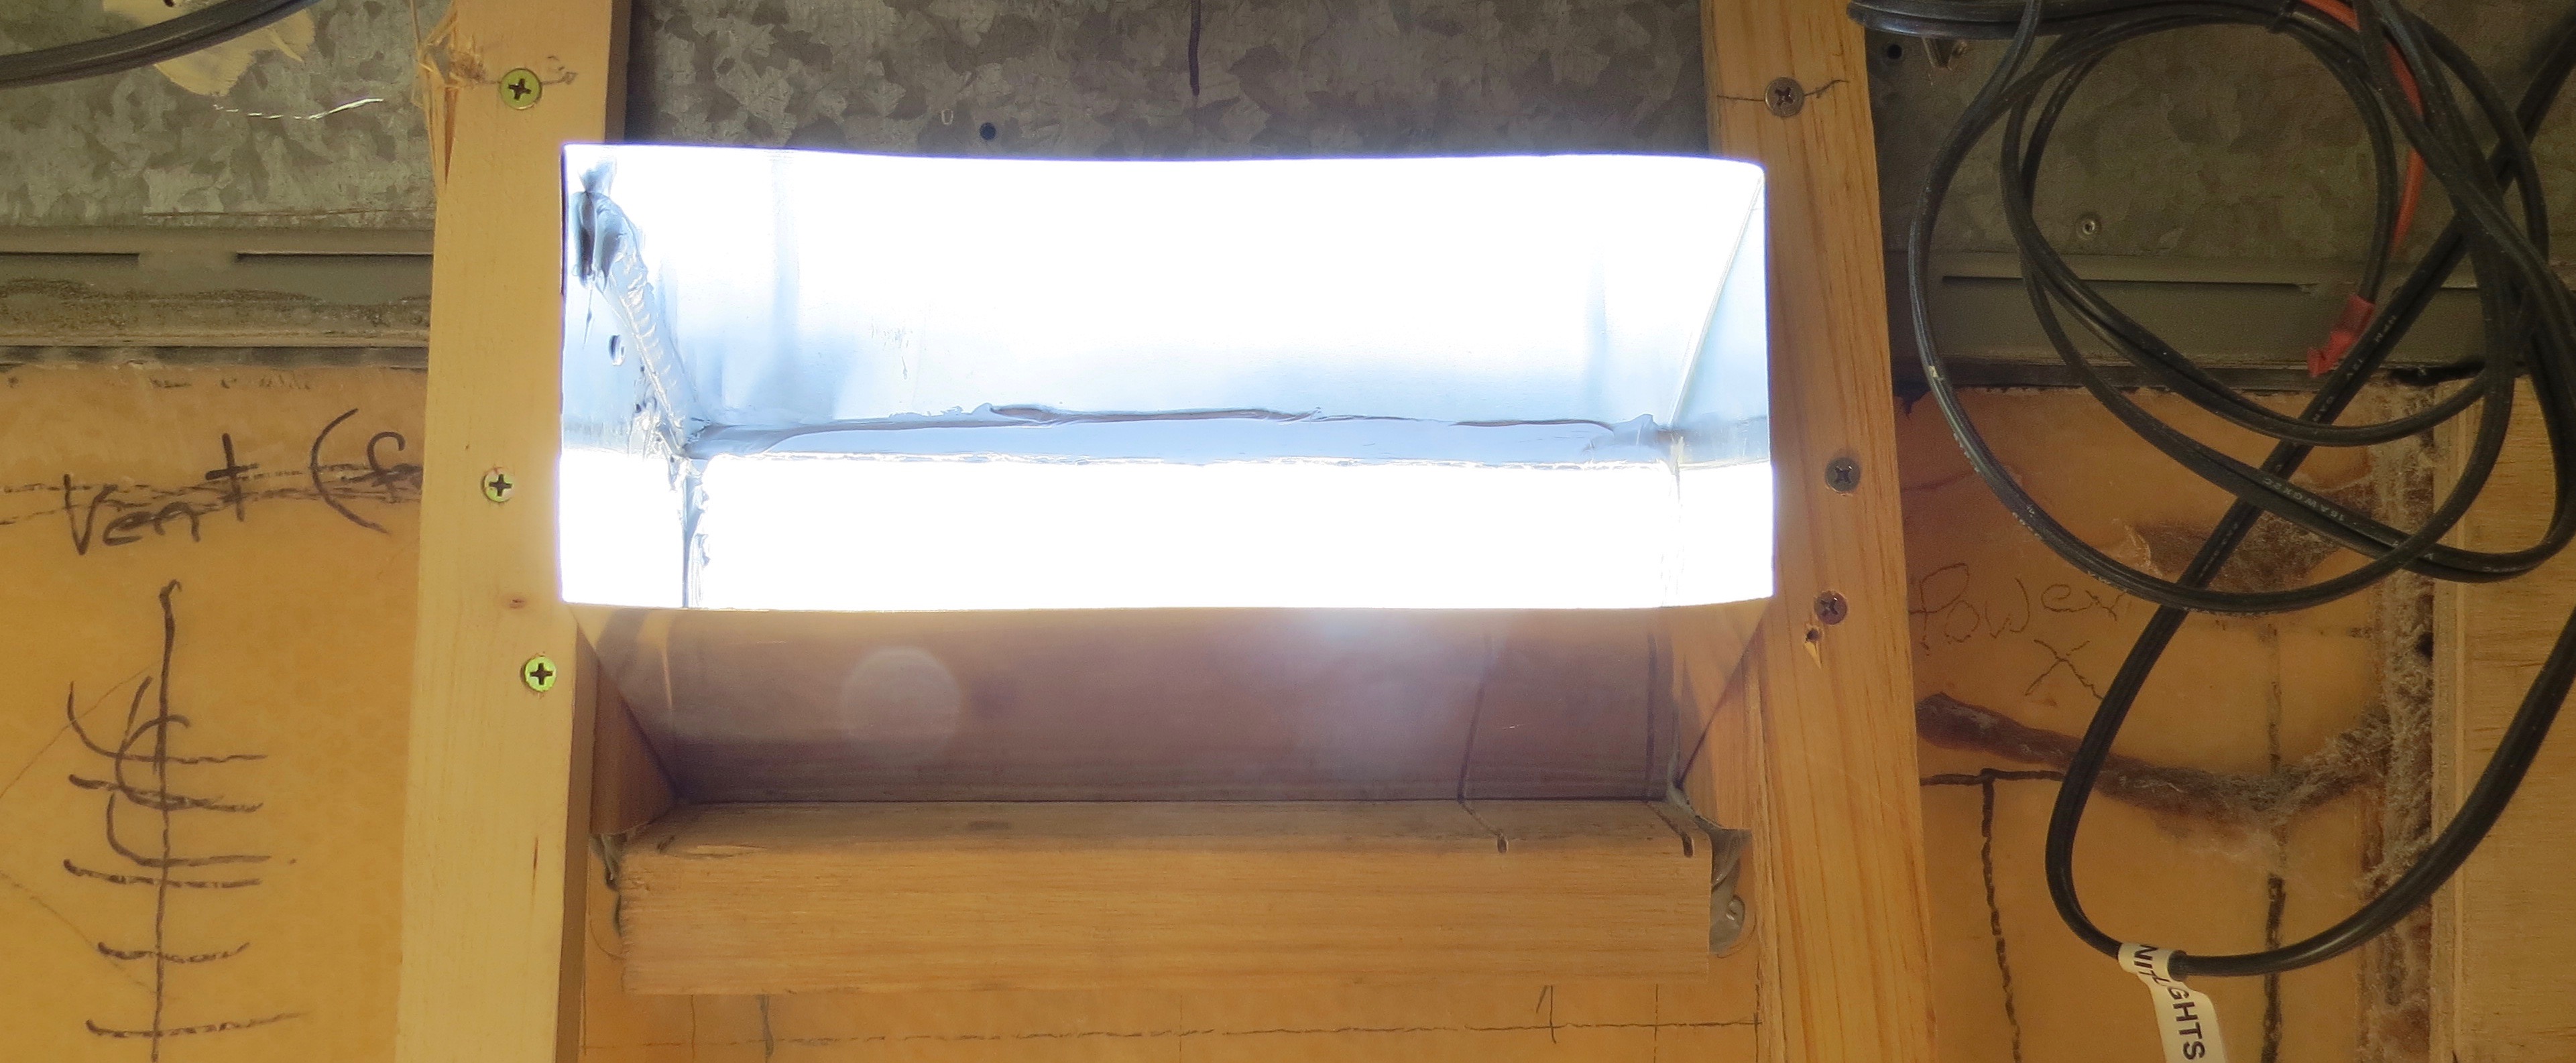
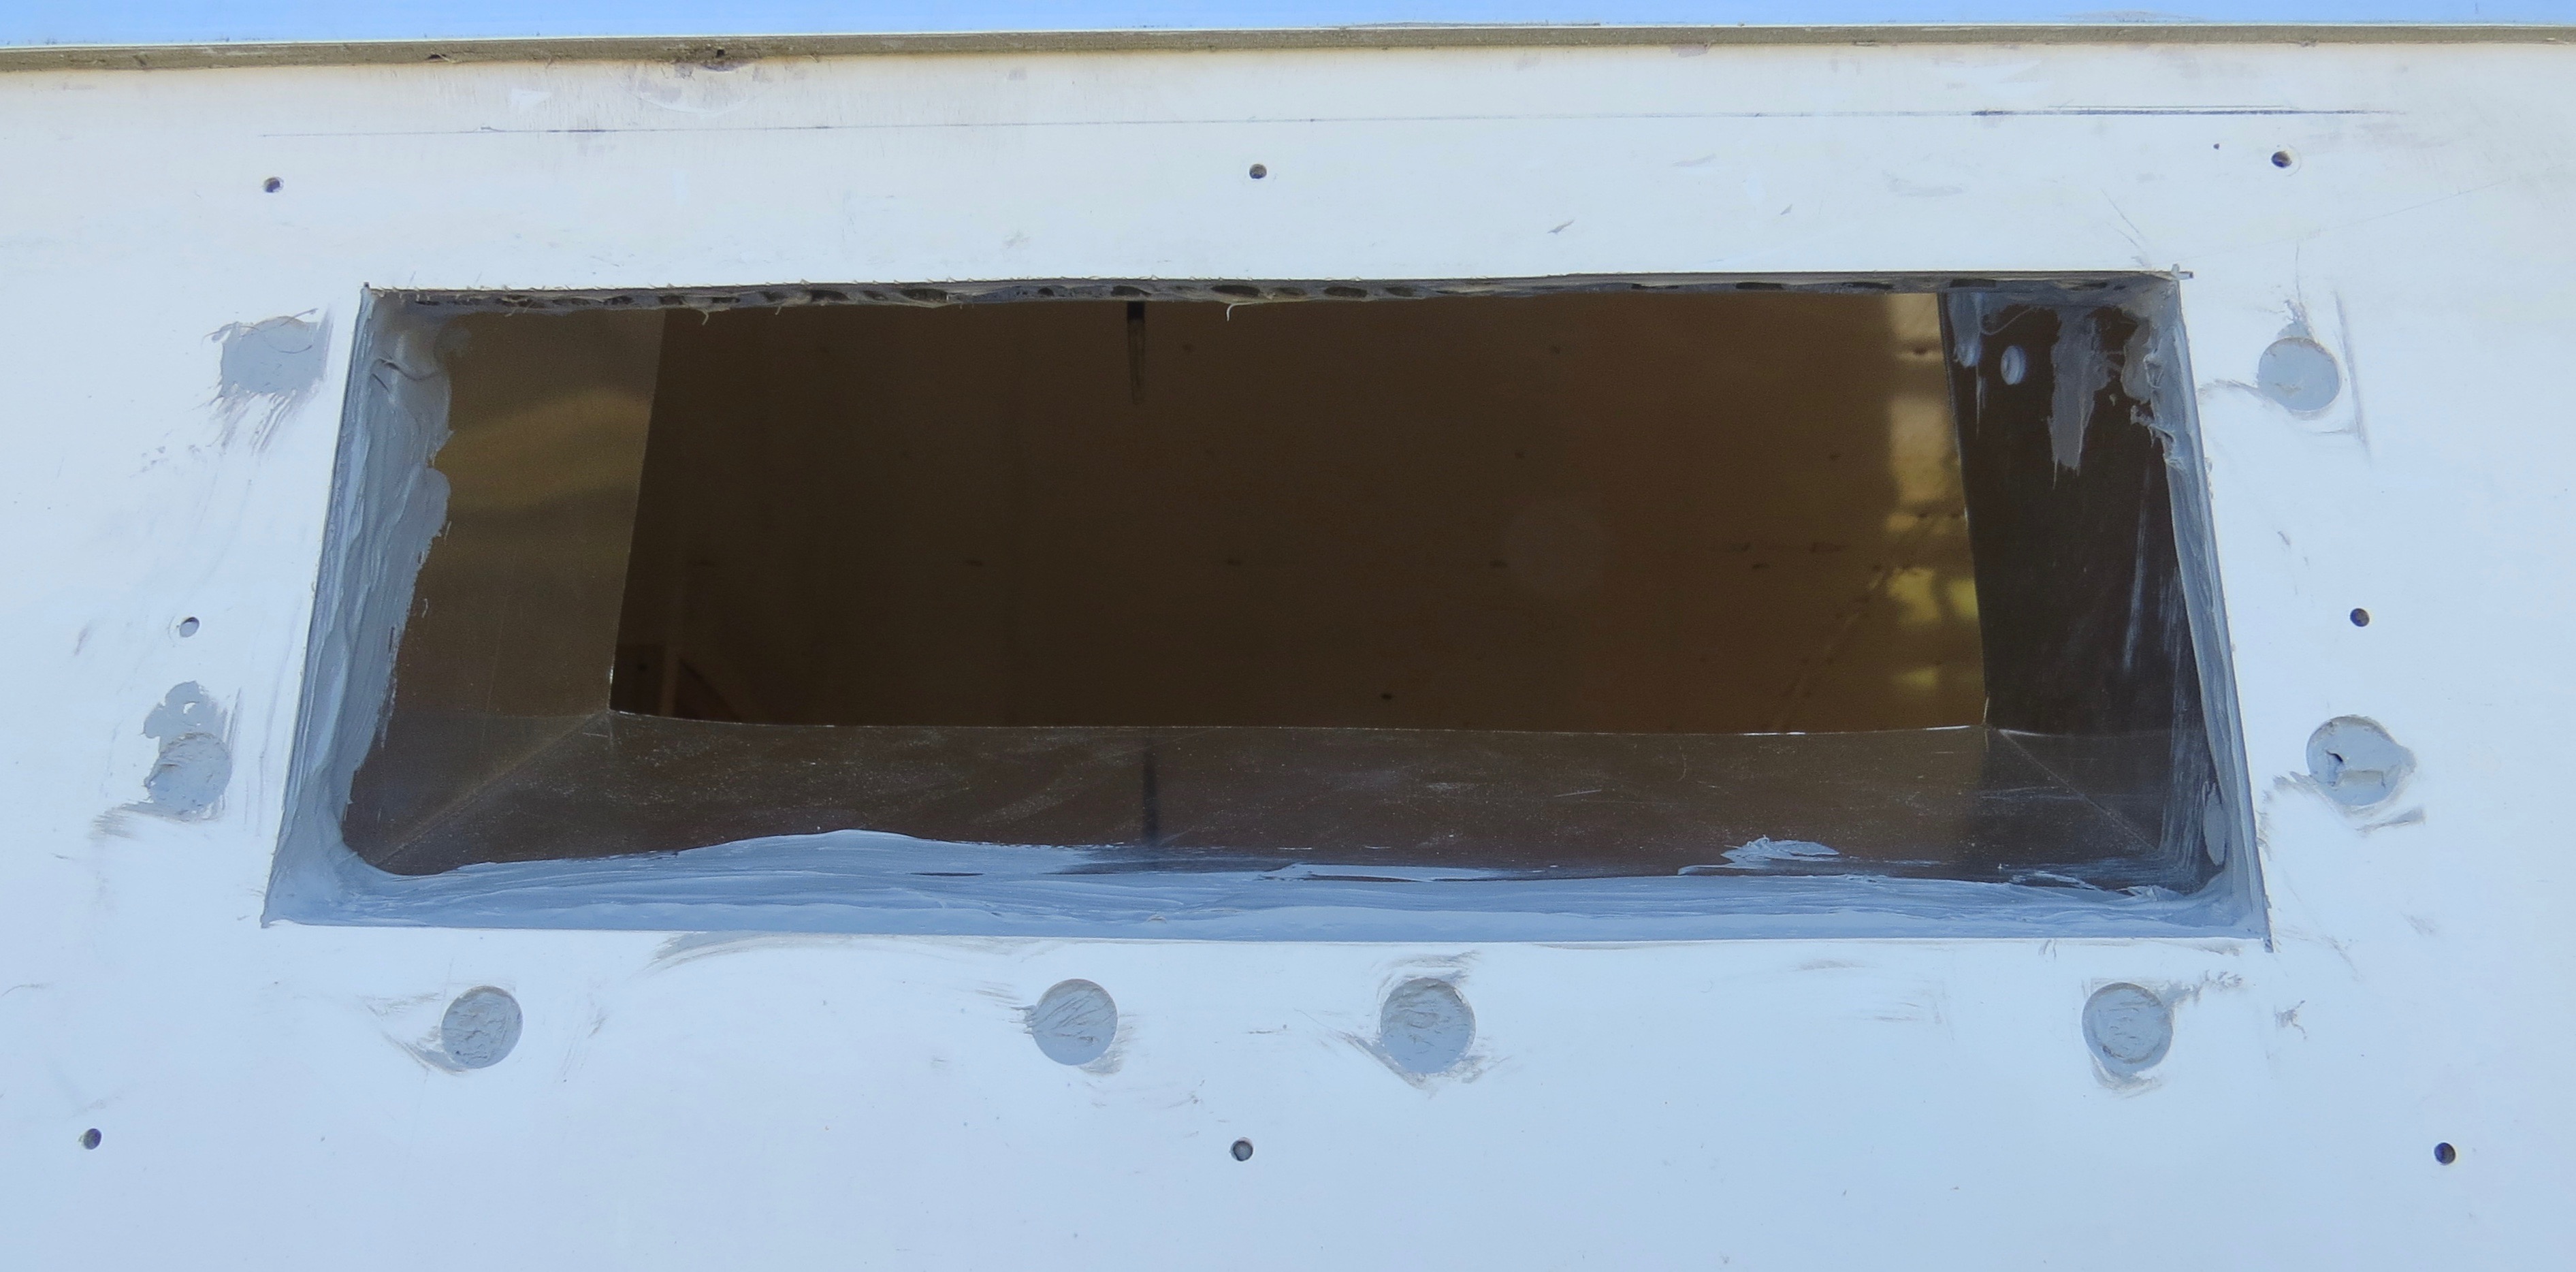
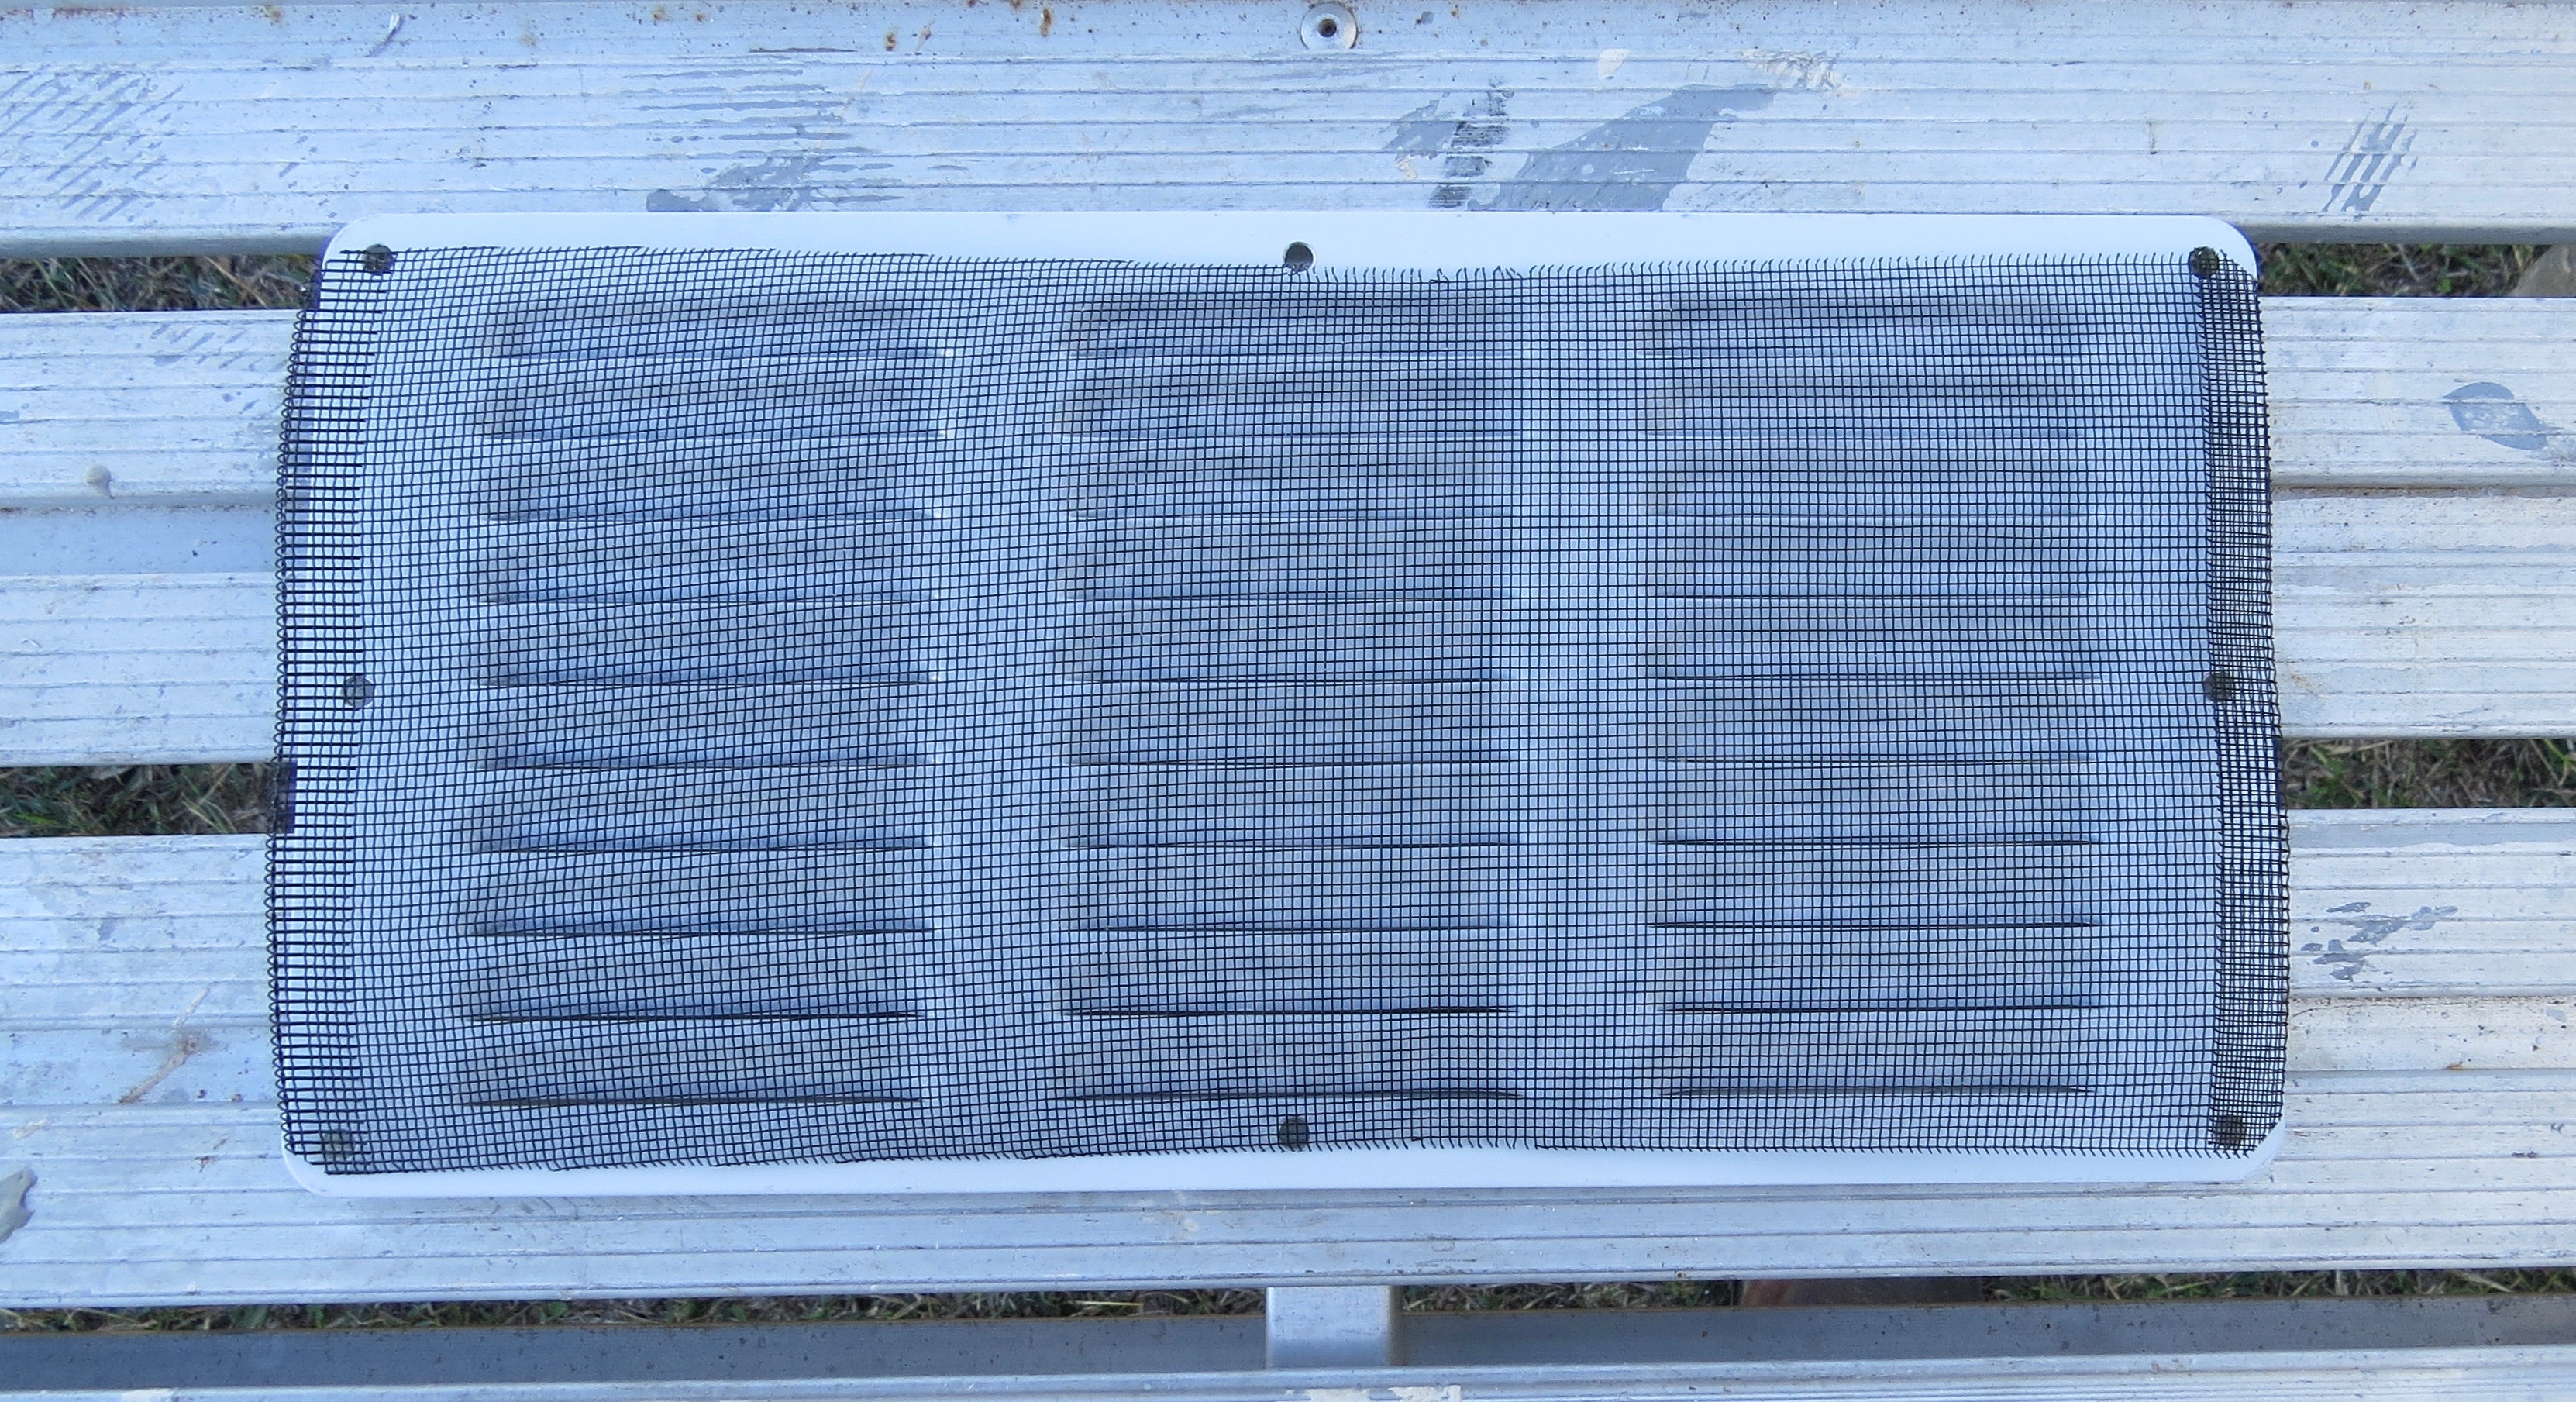
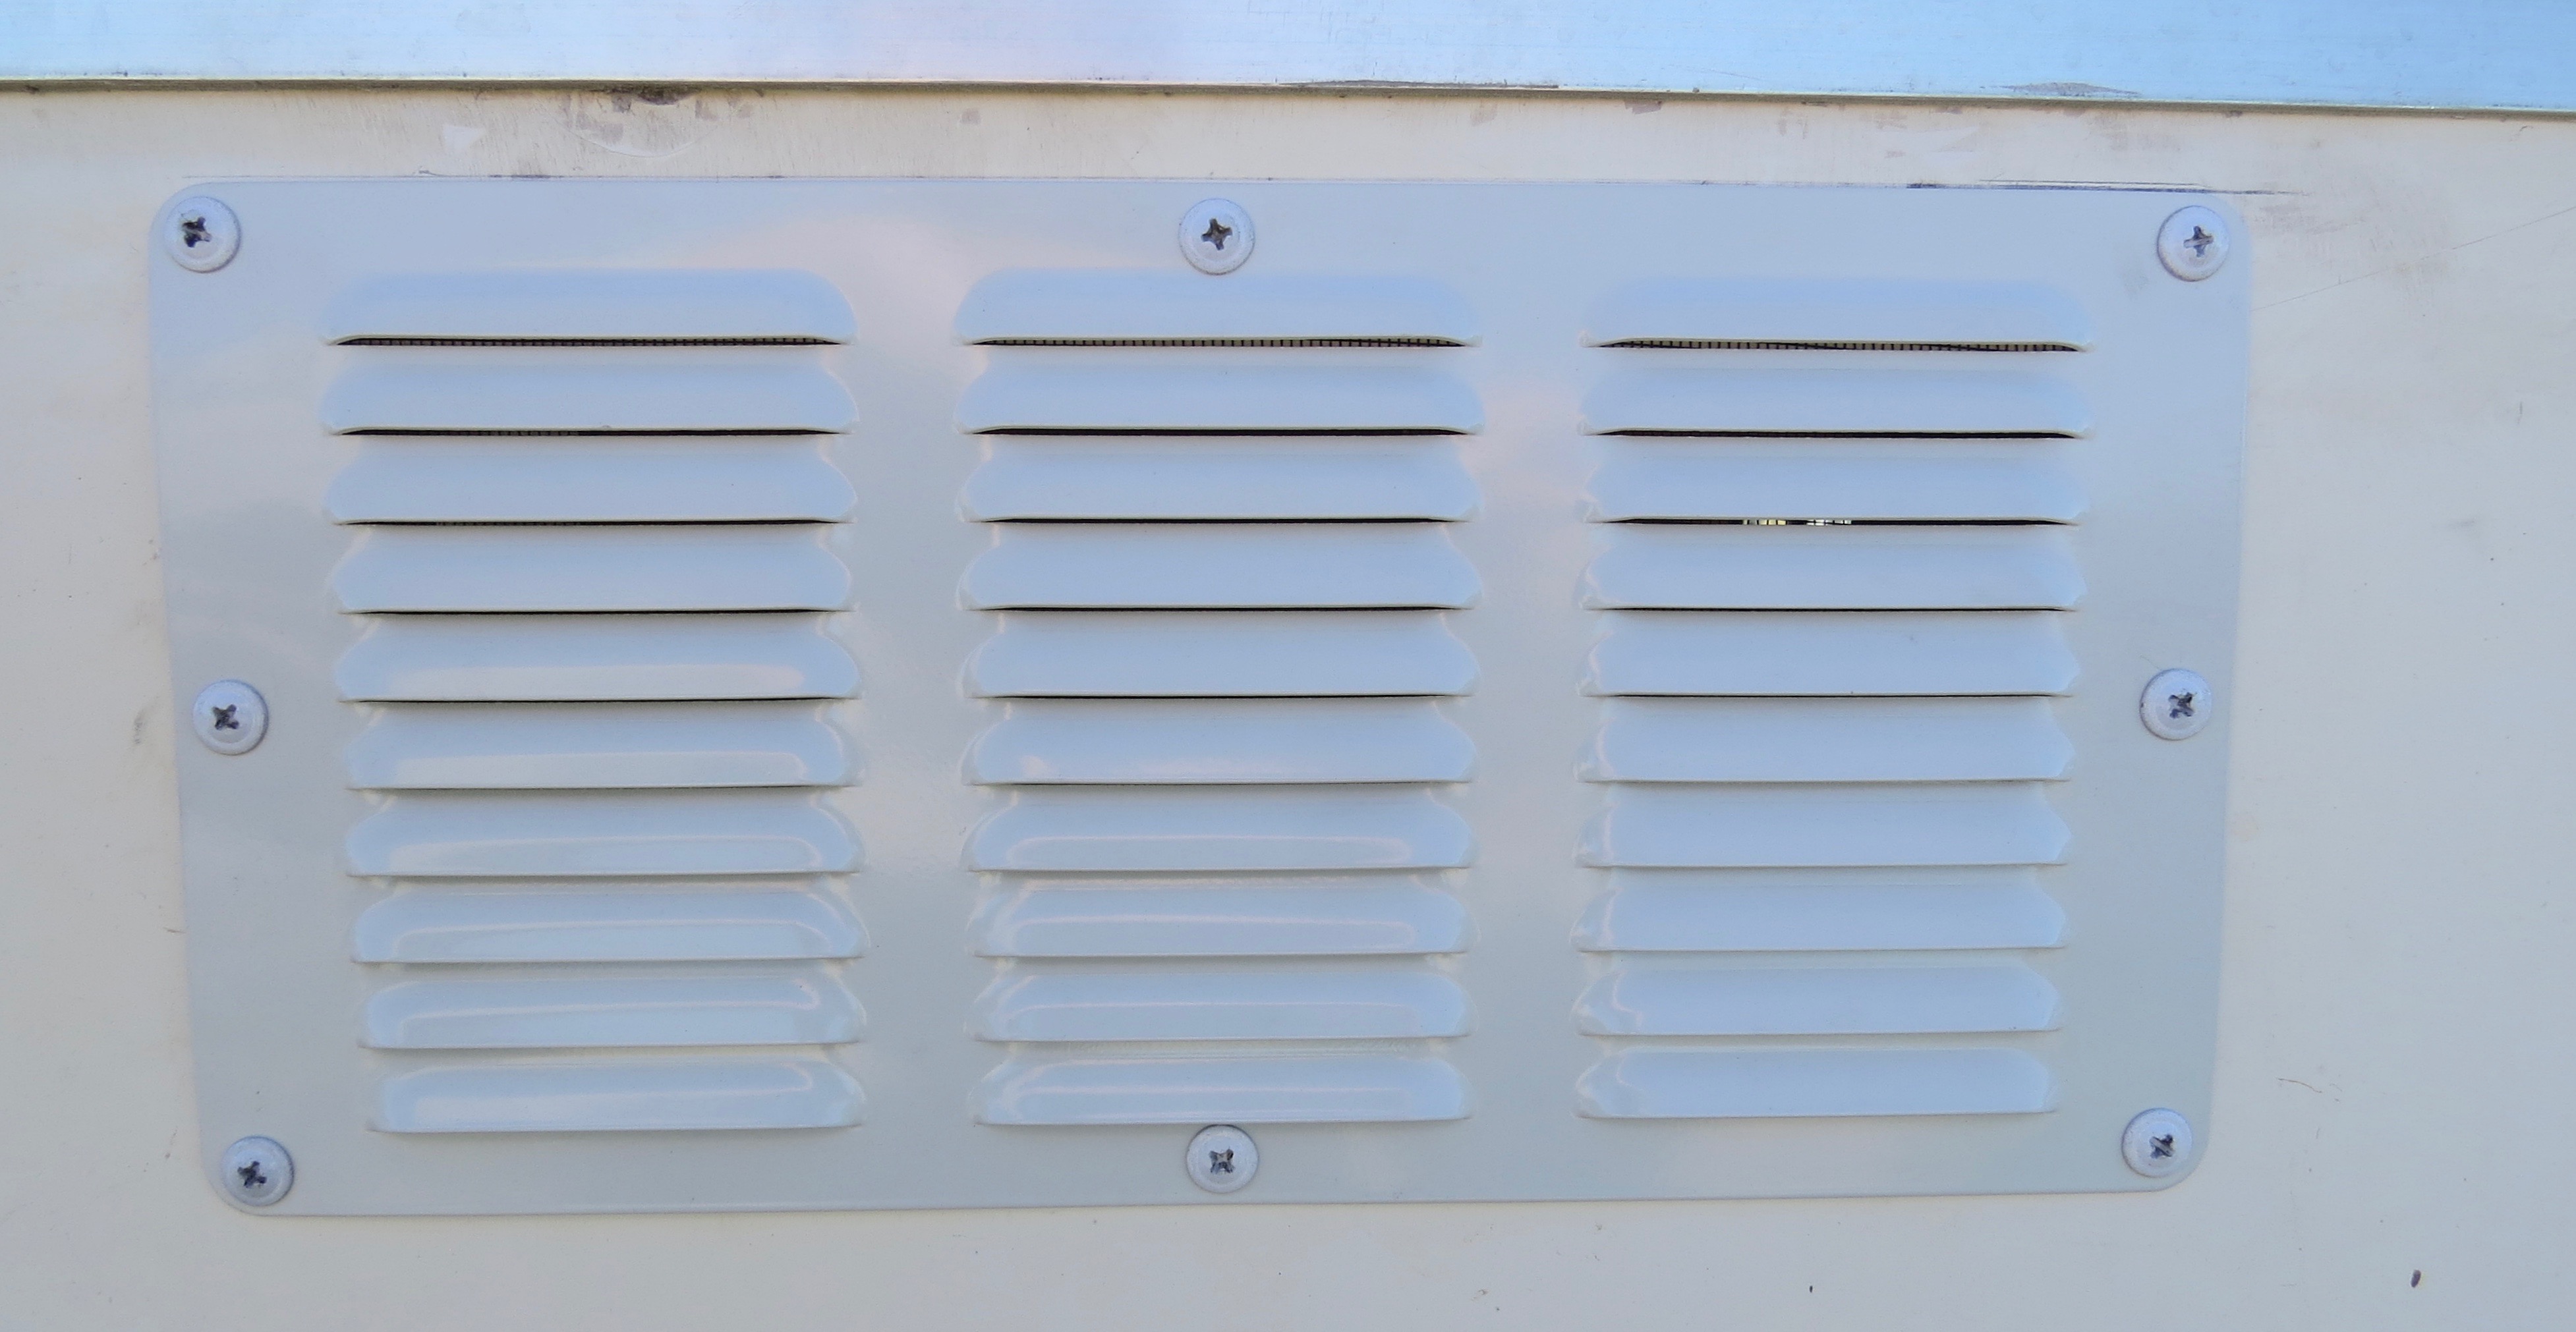
Both these vents can be unscrewed so I can clean the fly screen and also have access to the back of the fridge when I need to fix things. So next part of the project will be the kitchen walls, as well as some sparky stuff.
