
Getting closer to having a bathroom
With the bathroom floor in place and water proofed it’s now time to start on the walls. But first we have to work out were the toilet window will go and lets hope it’s in the right place.
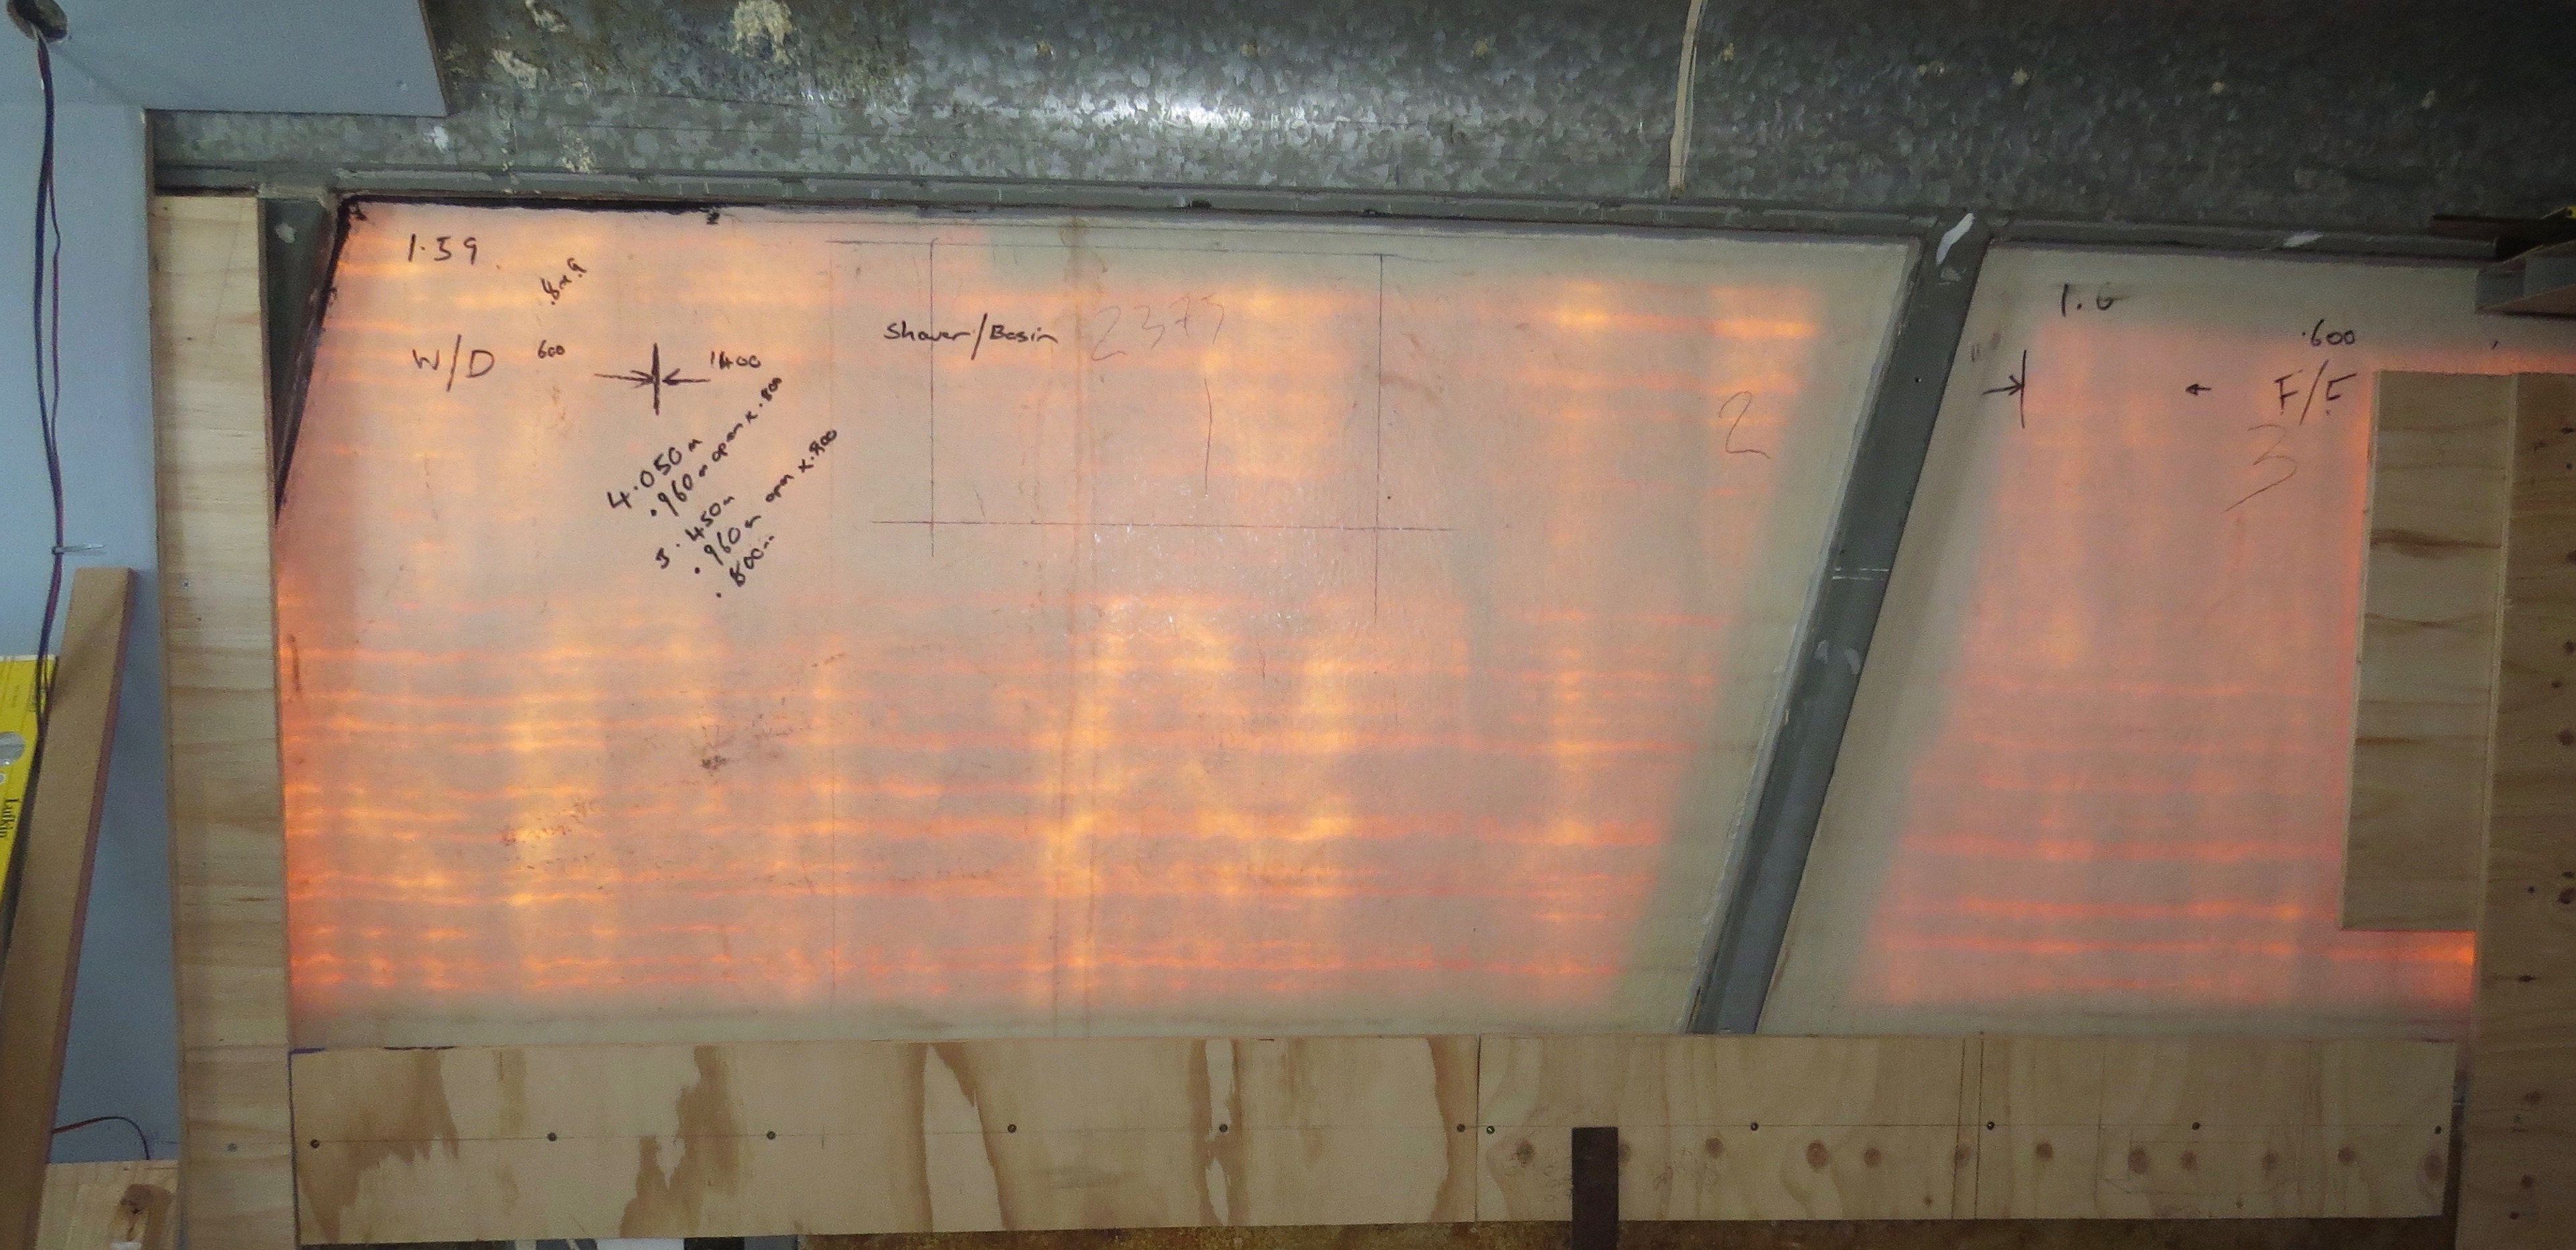
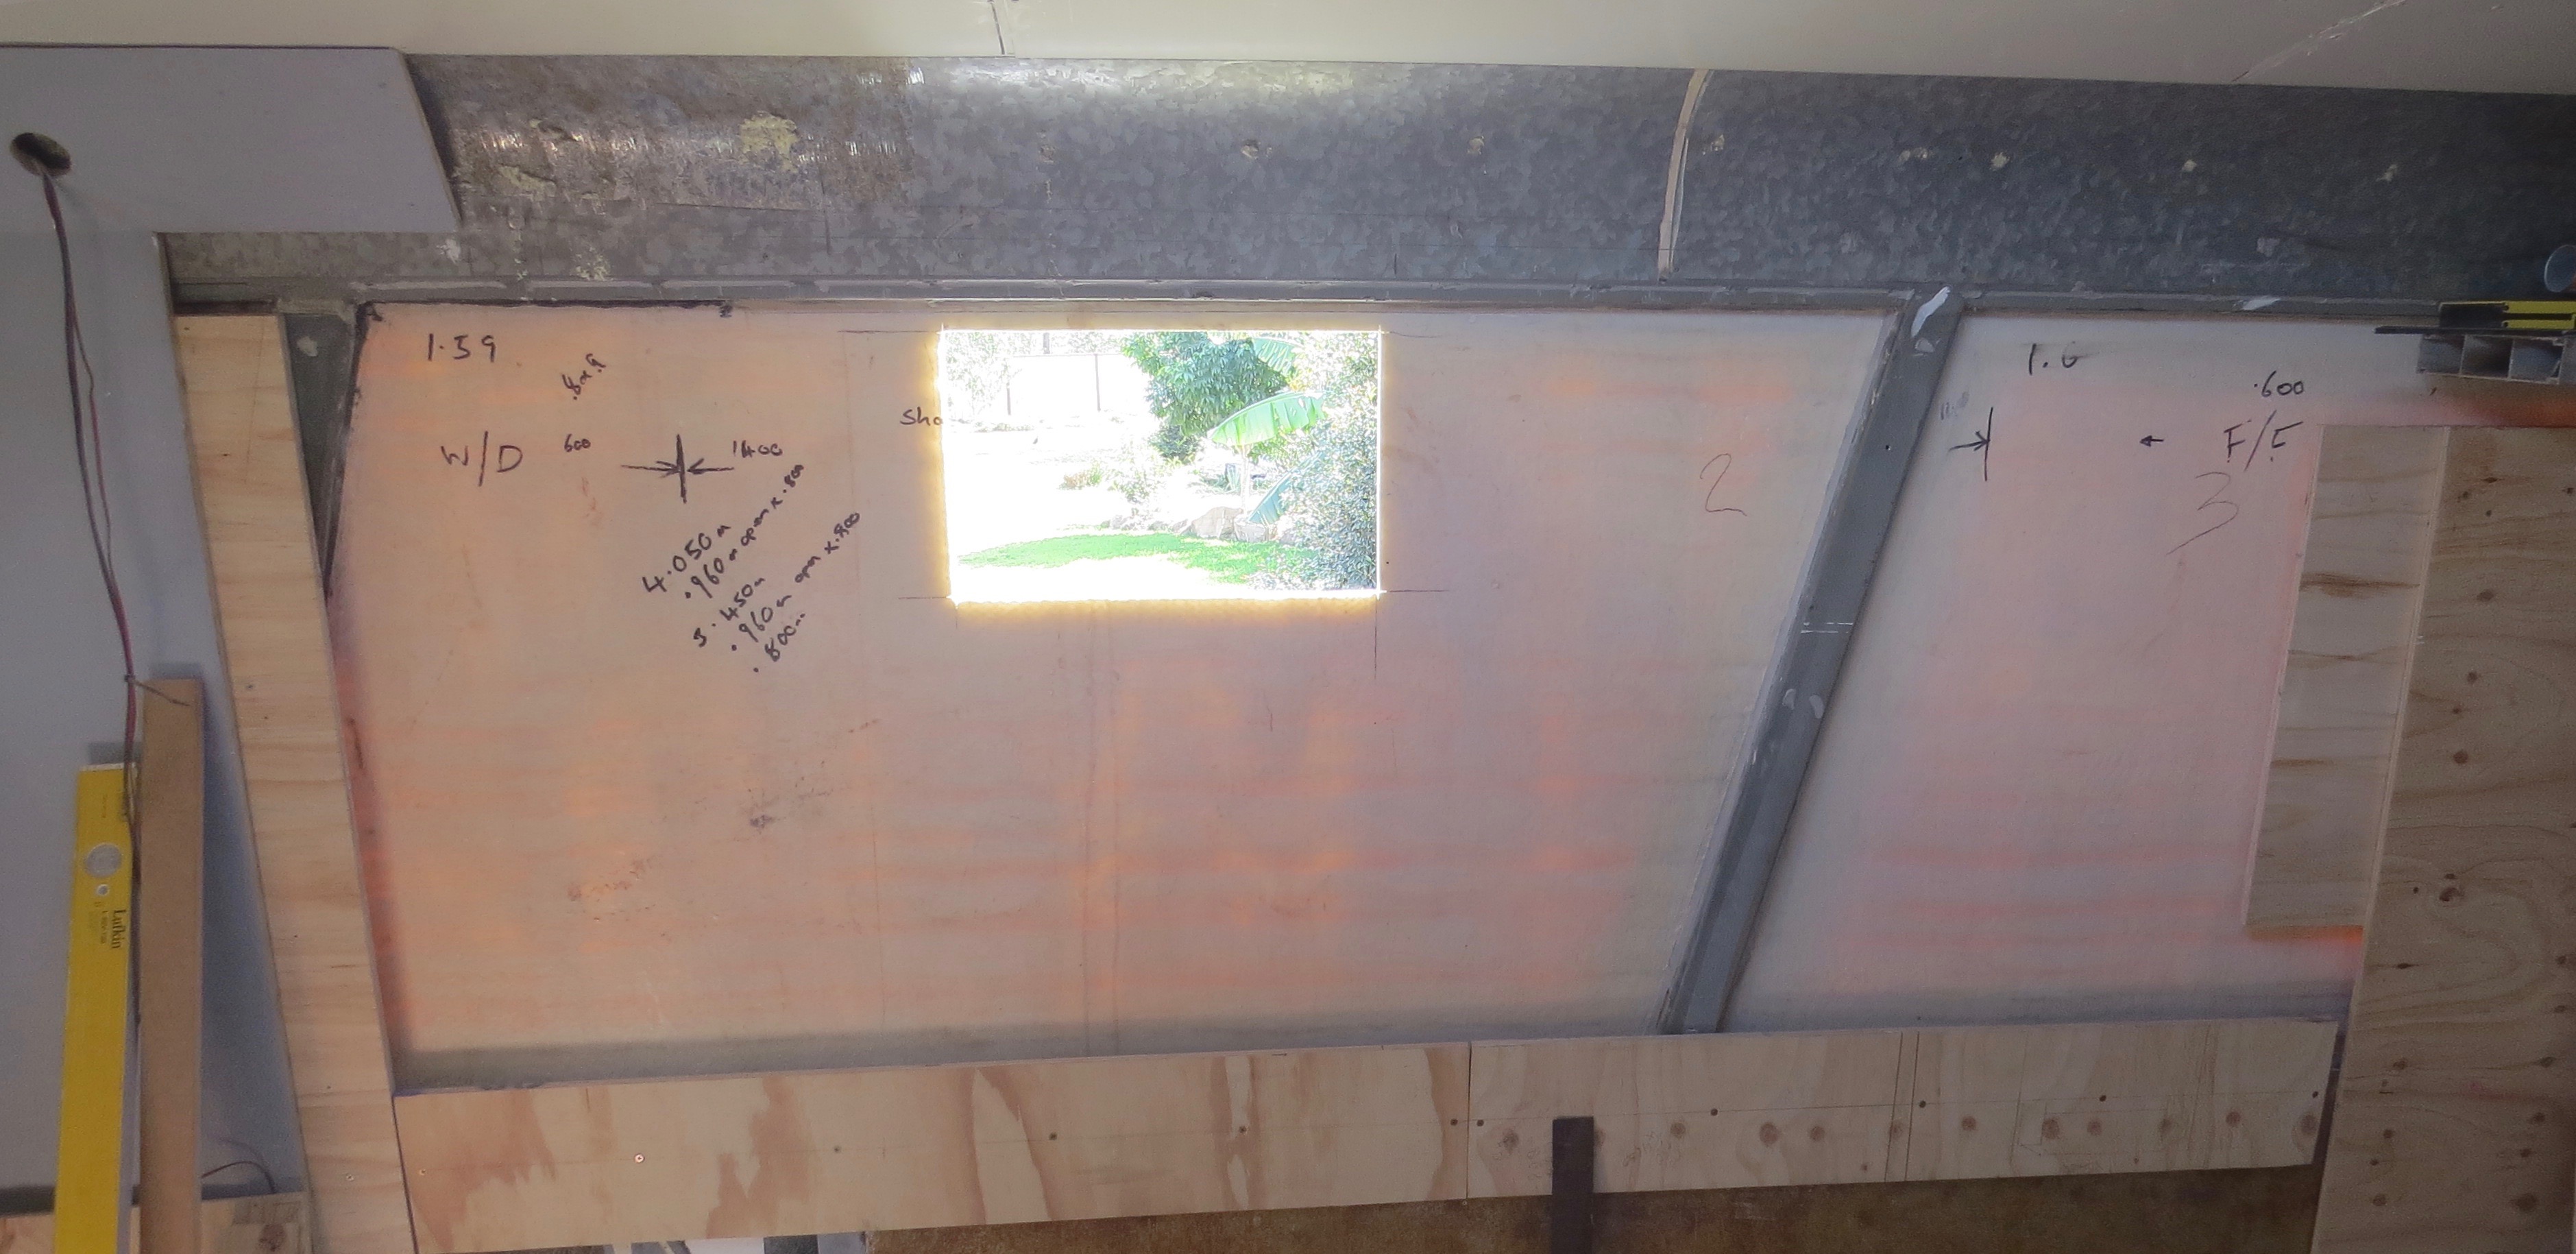
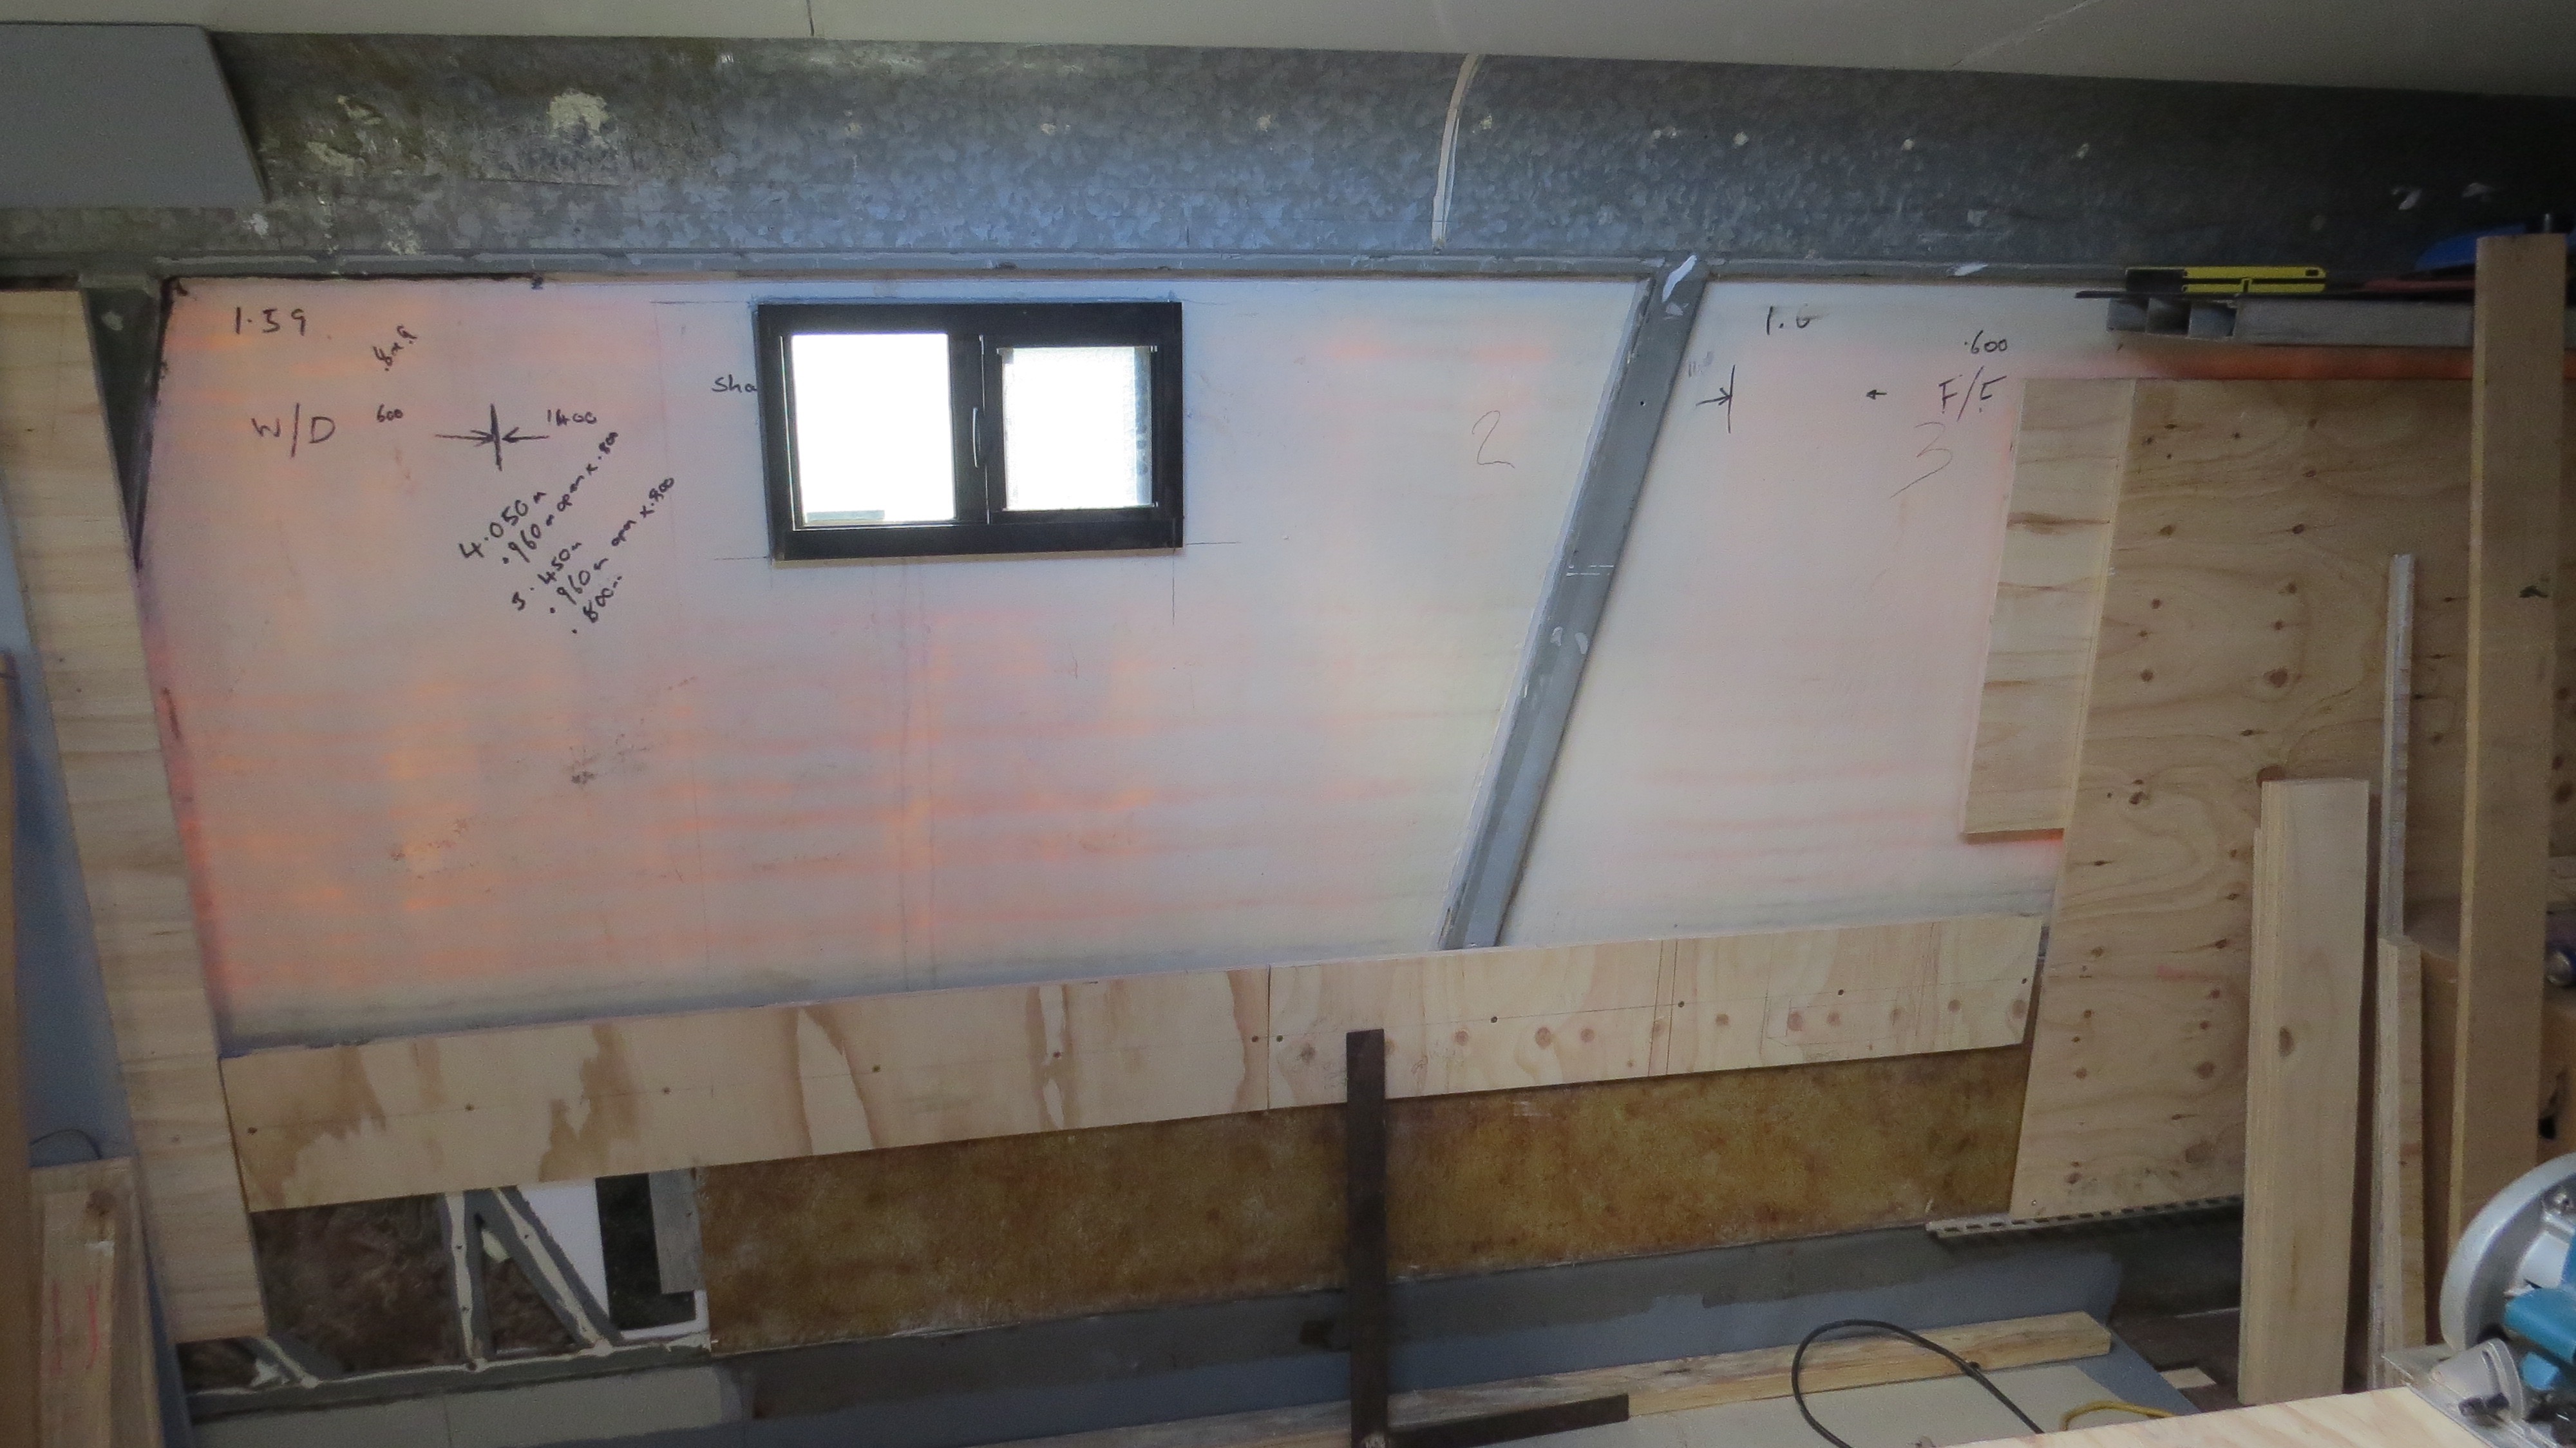
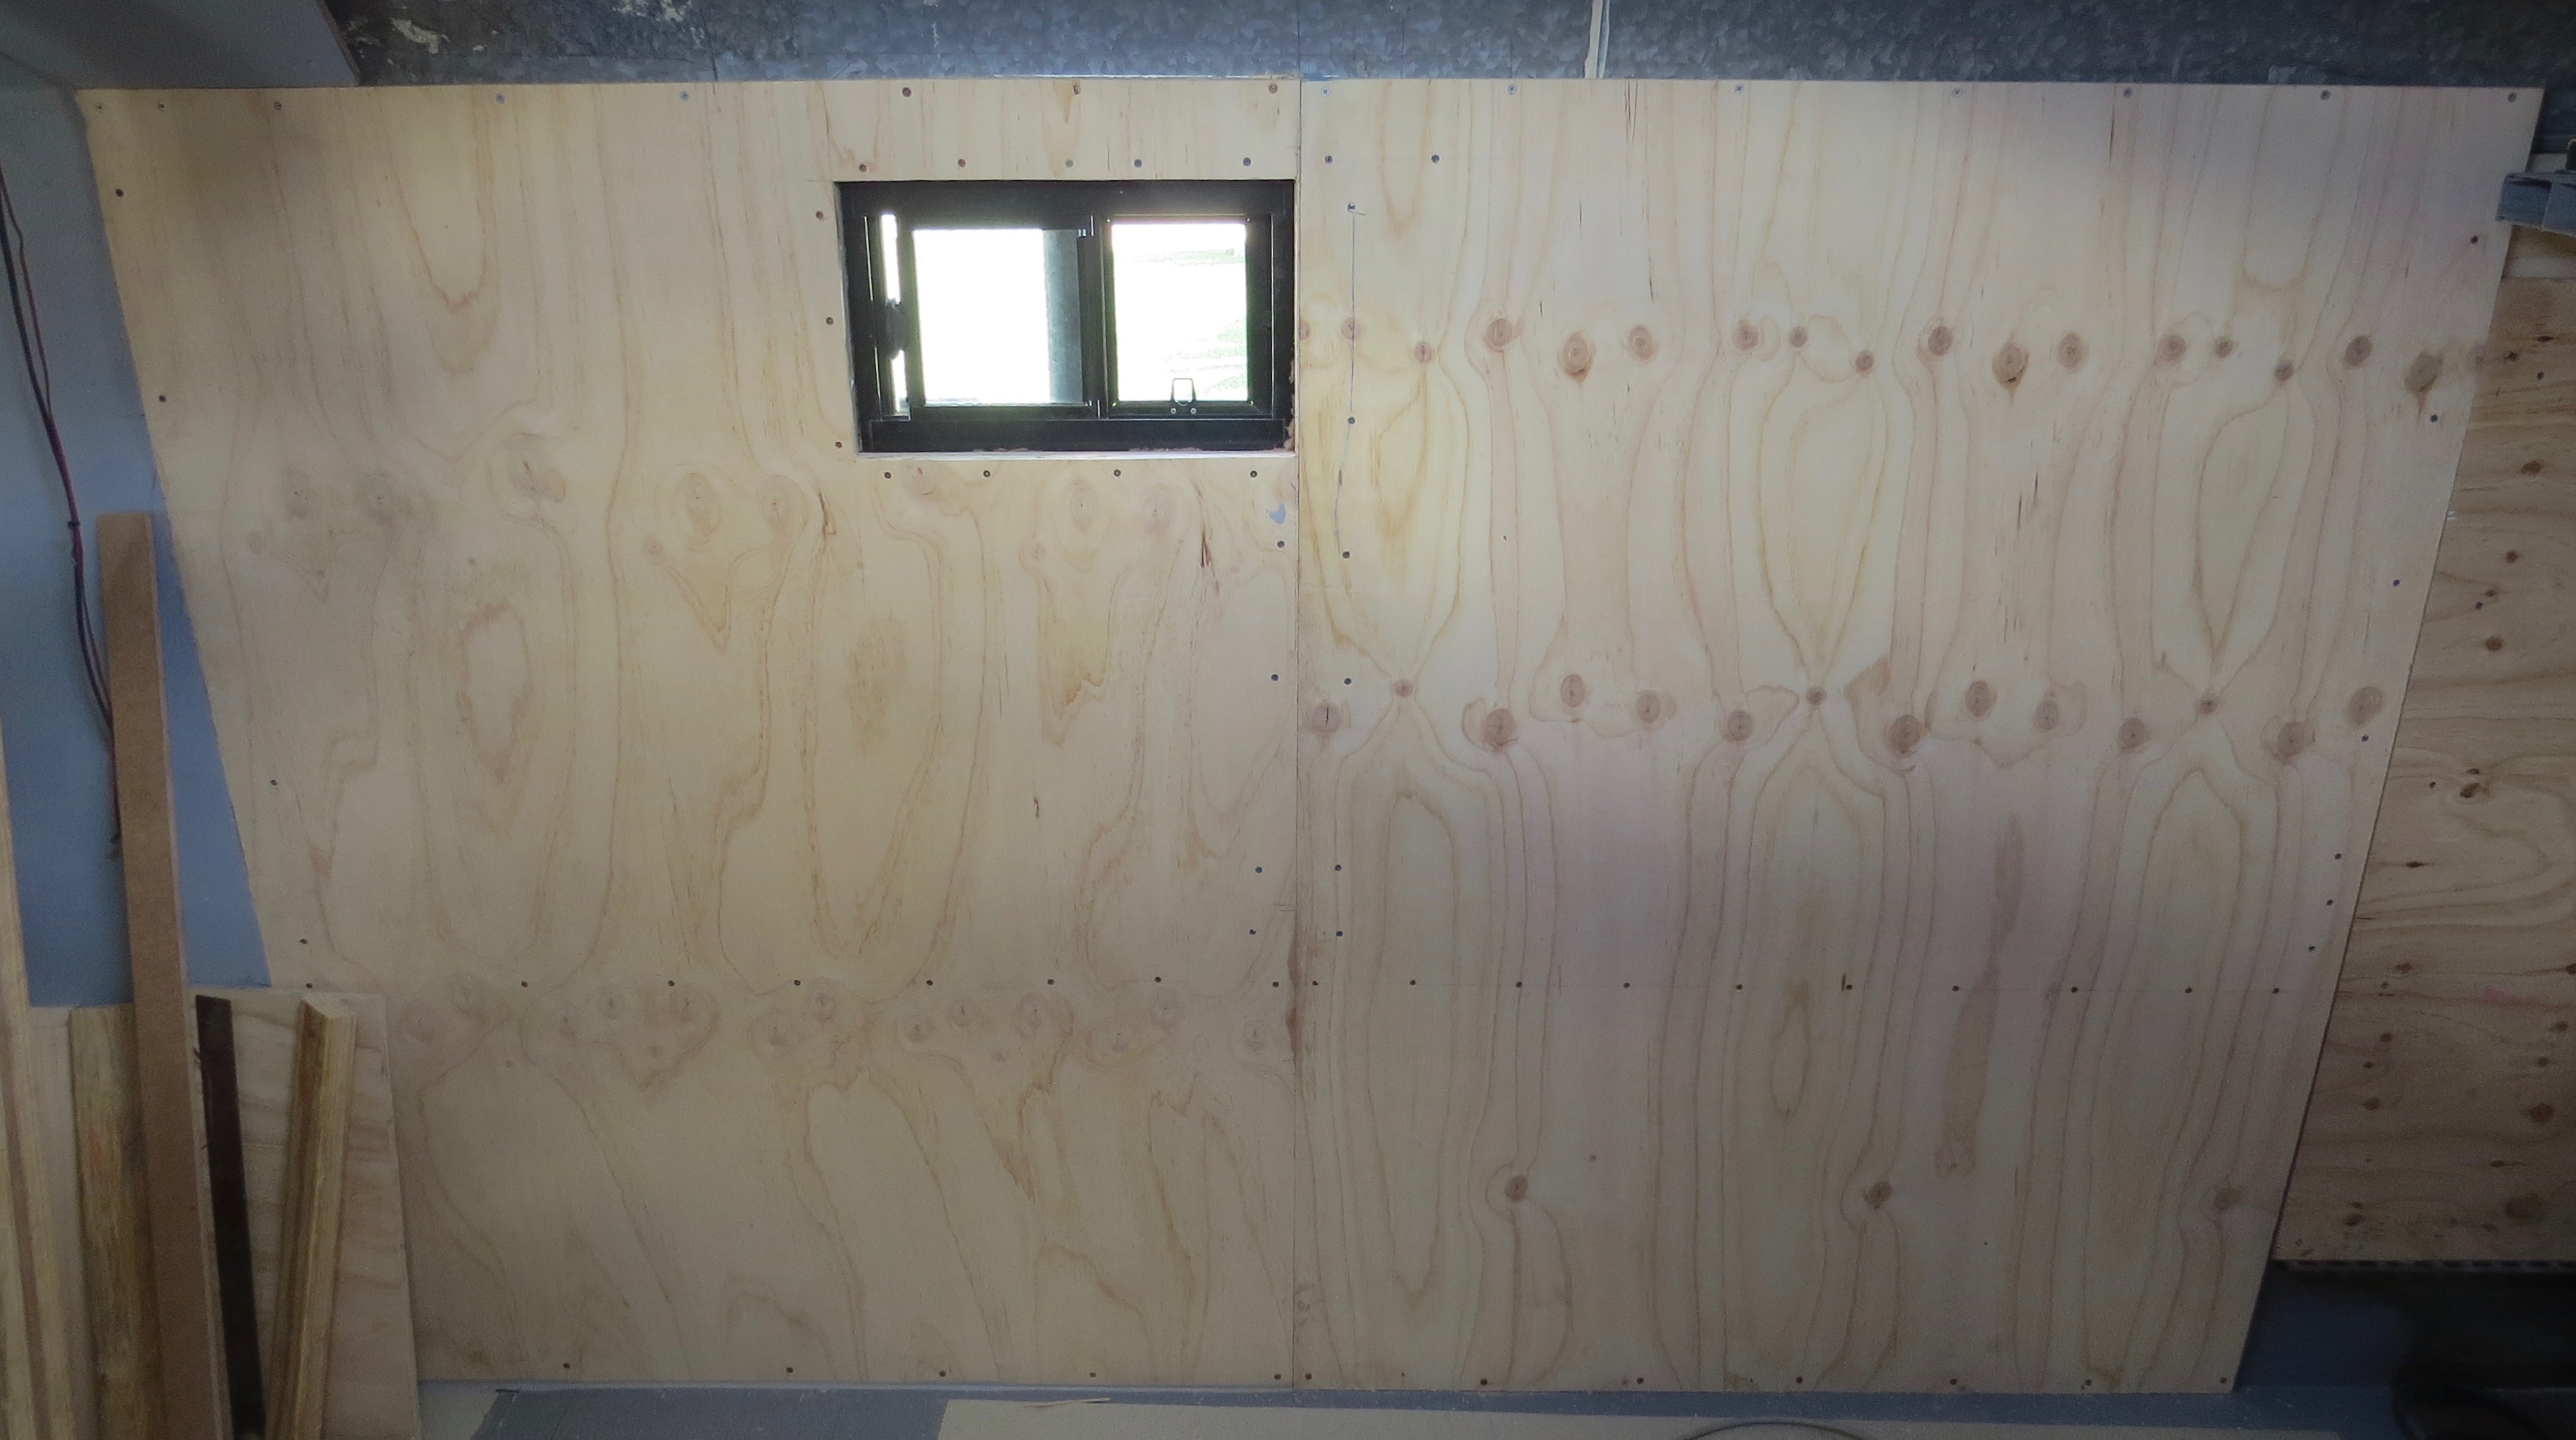
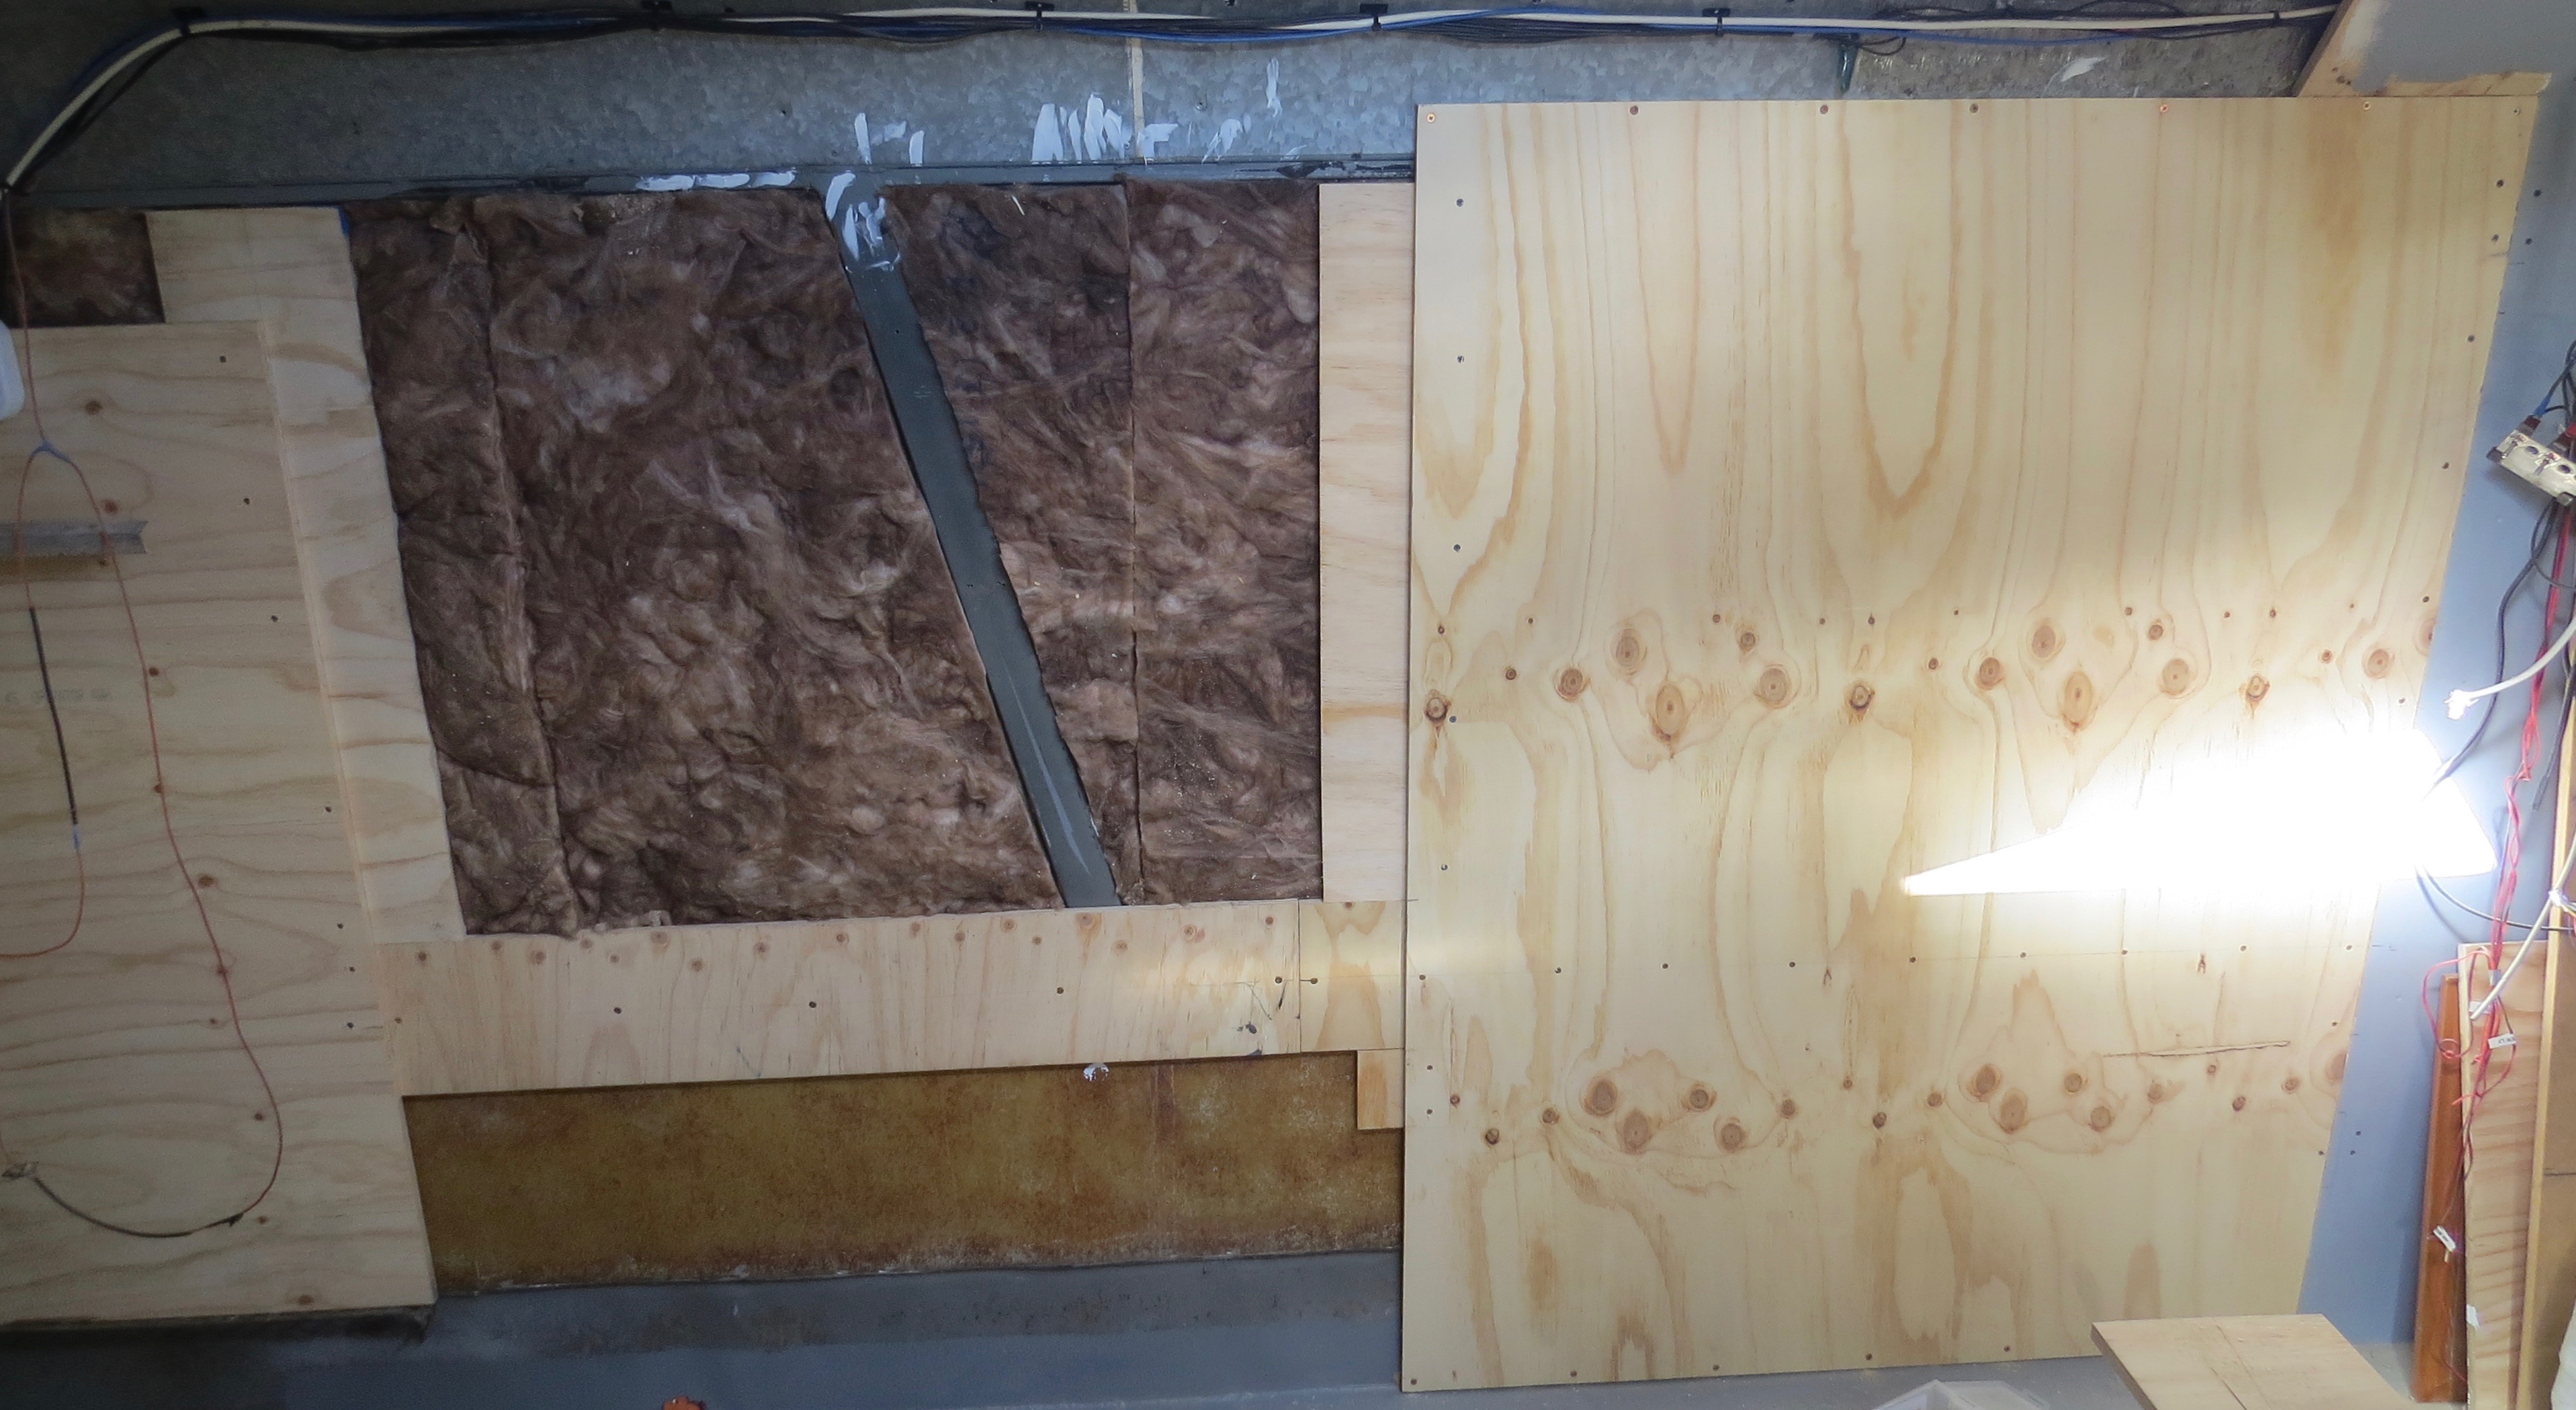
Now to start on the wall’s
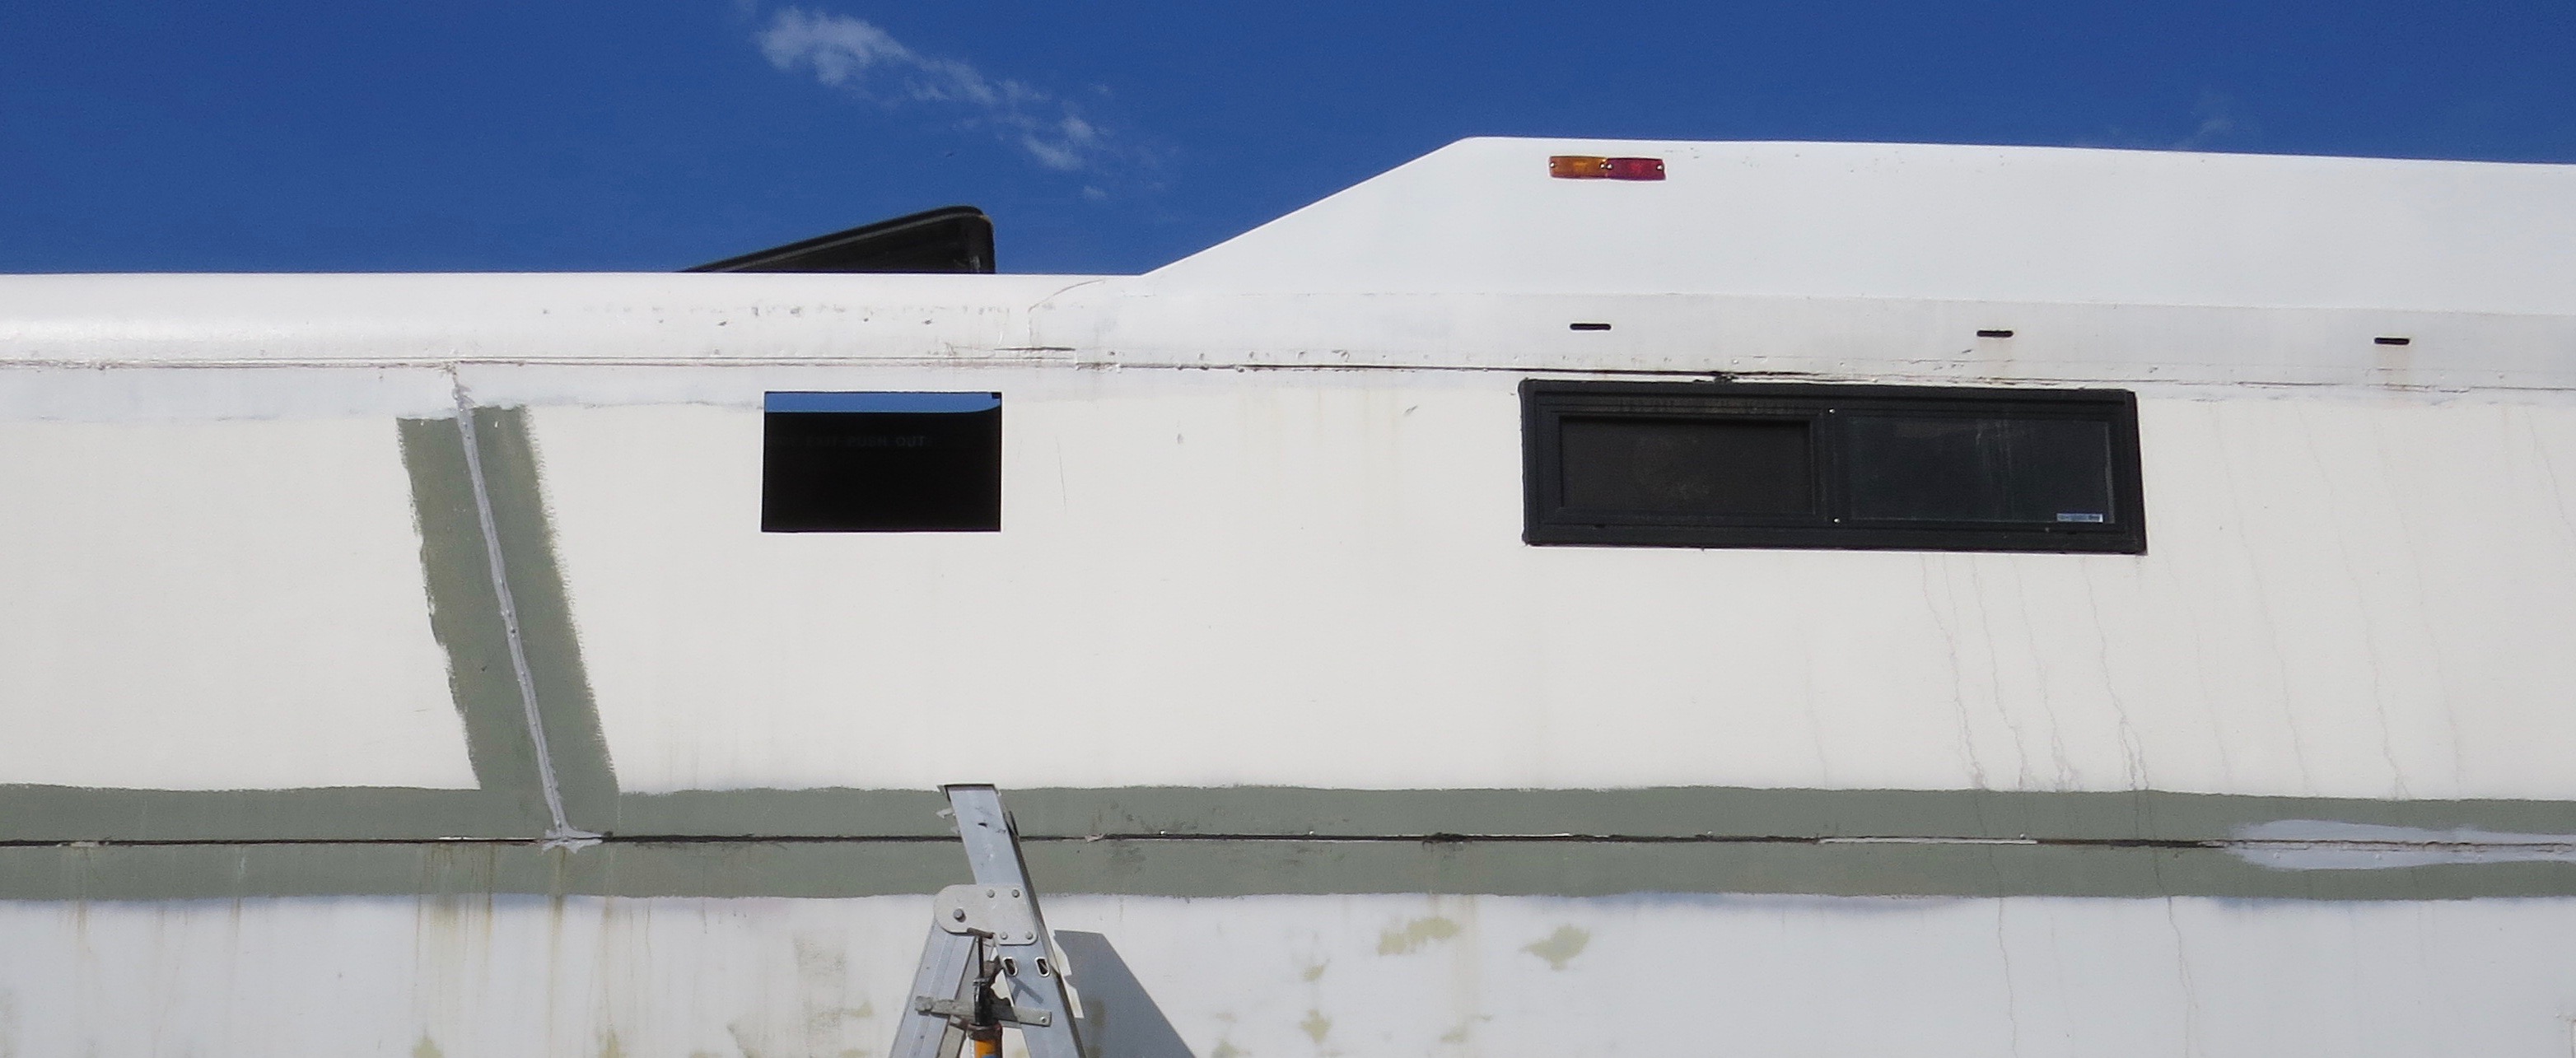
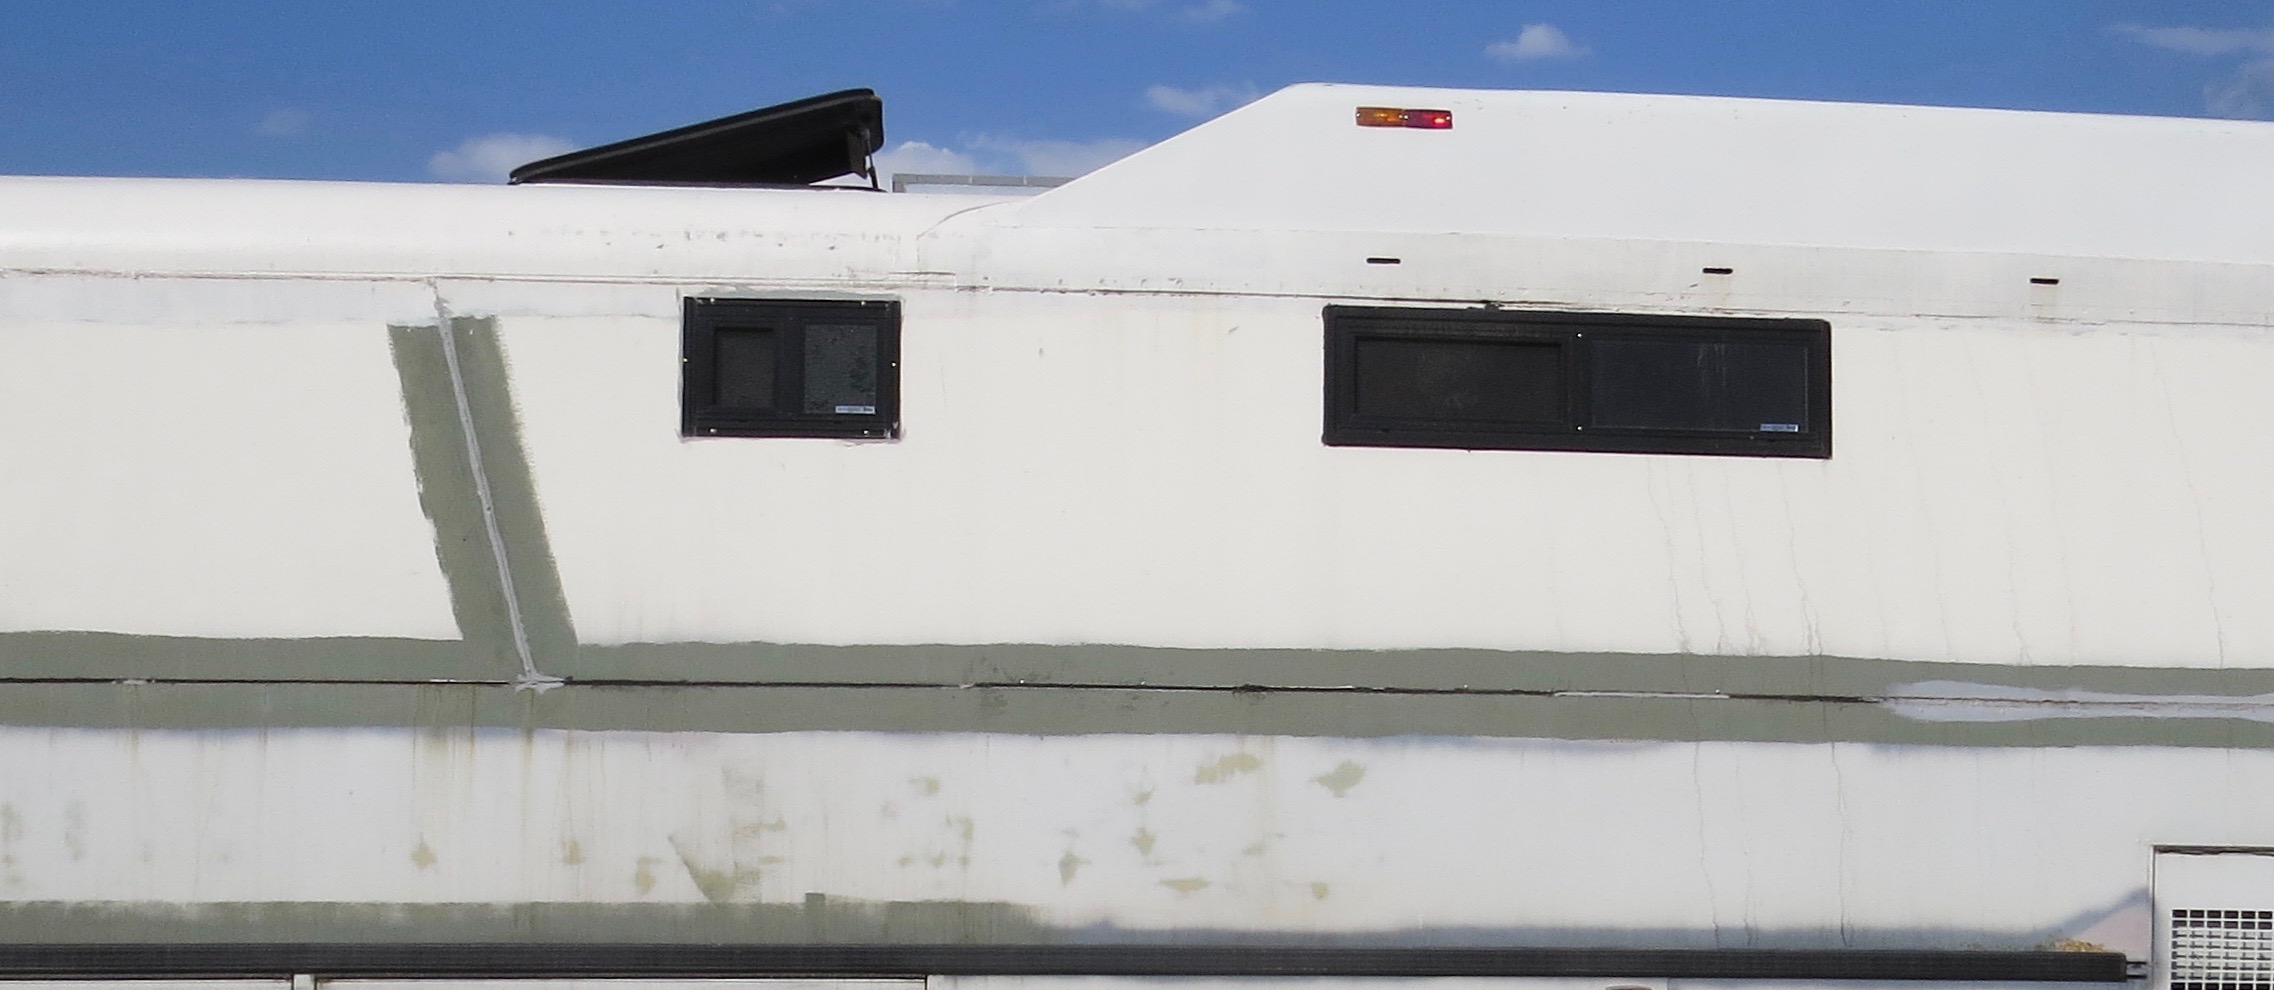
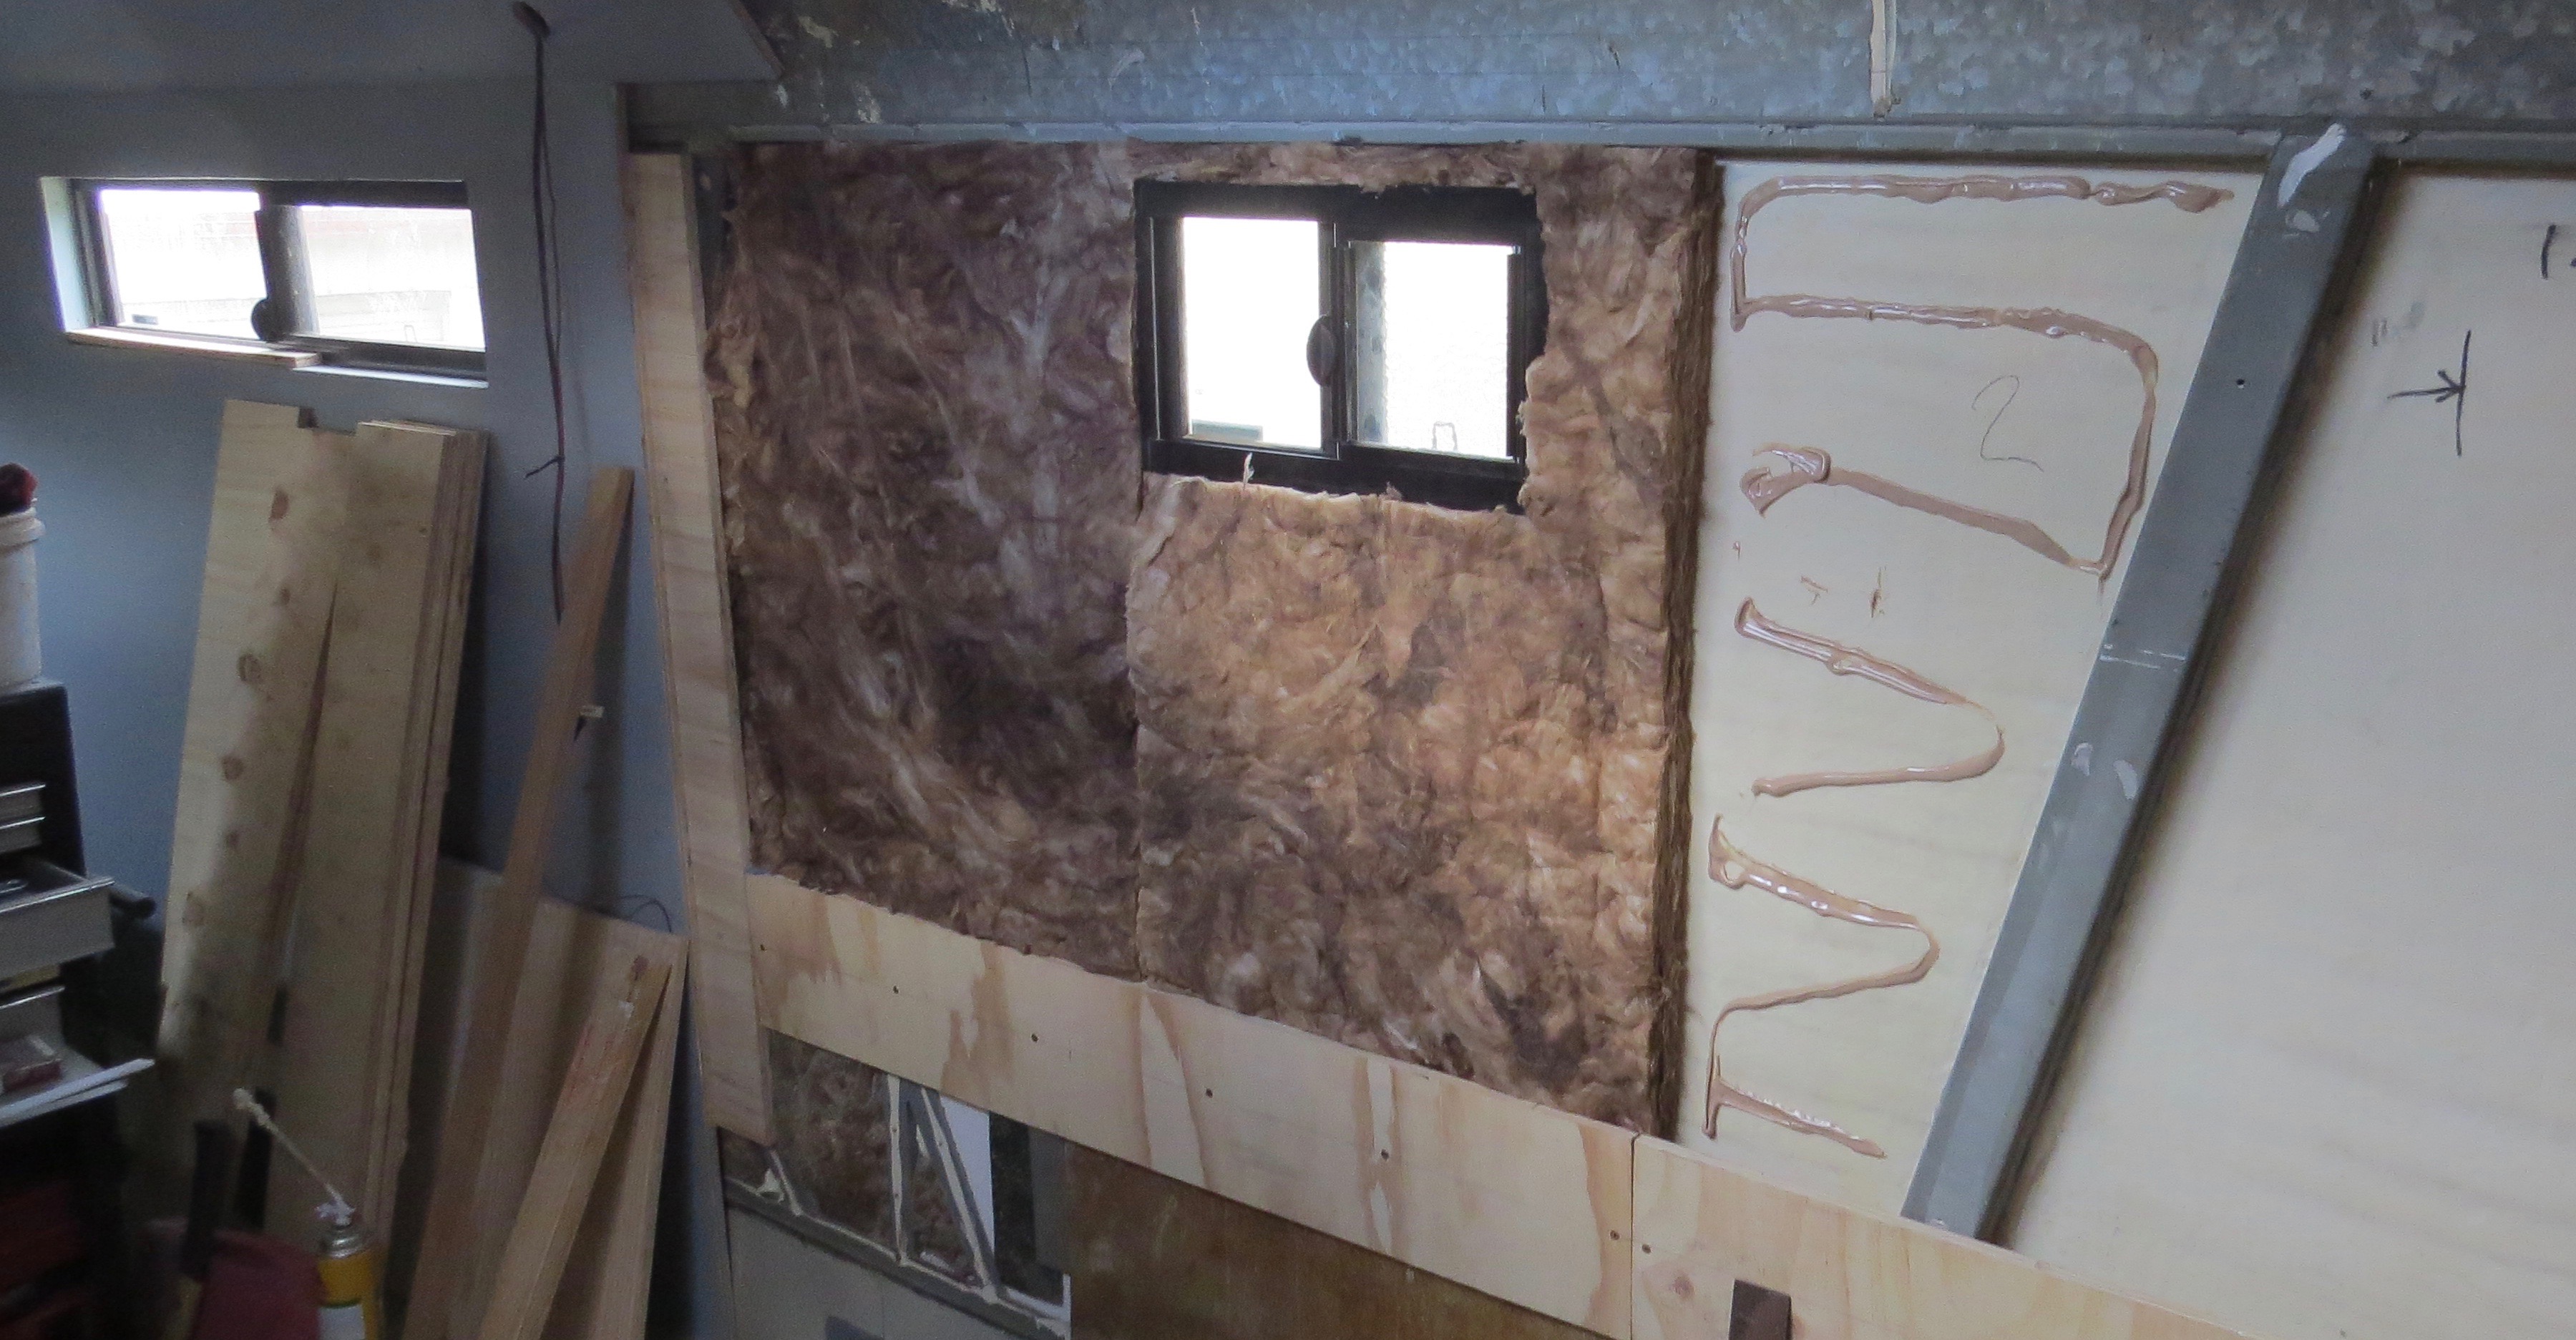
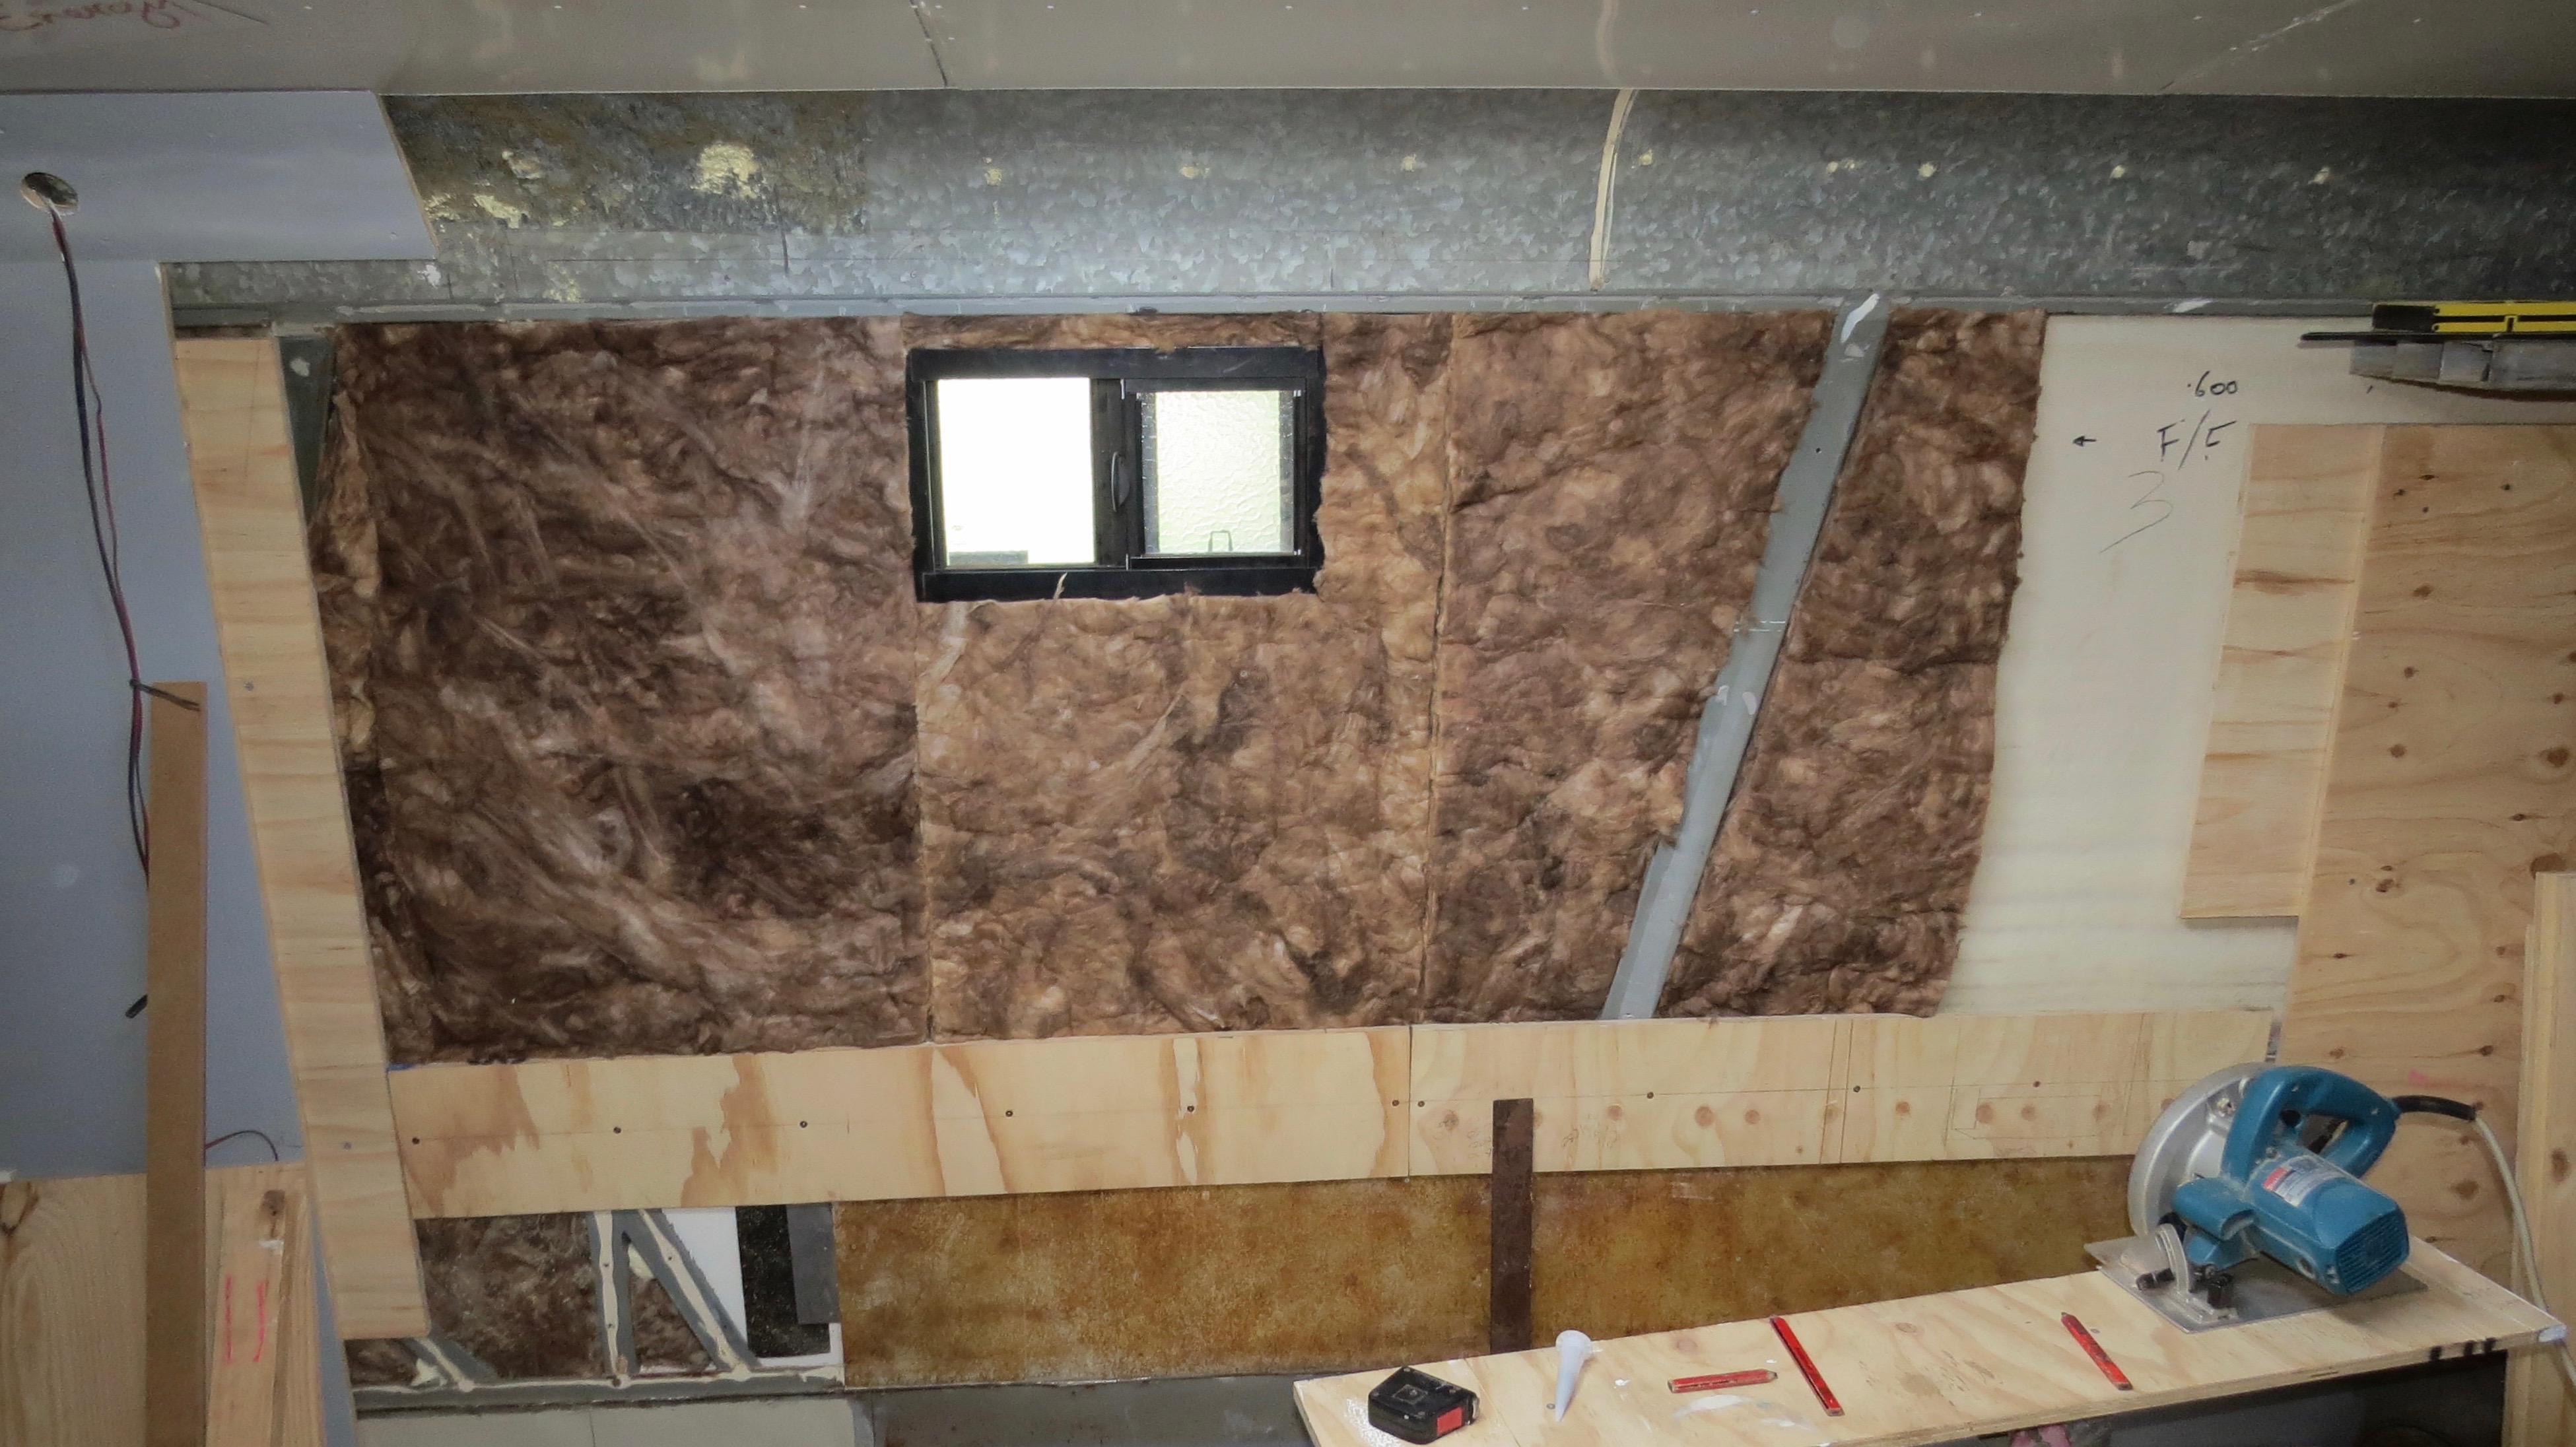
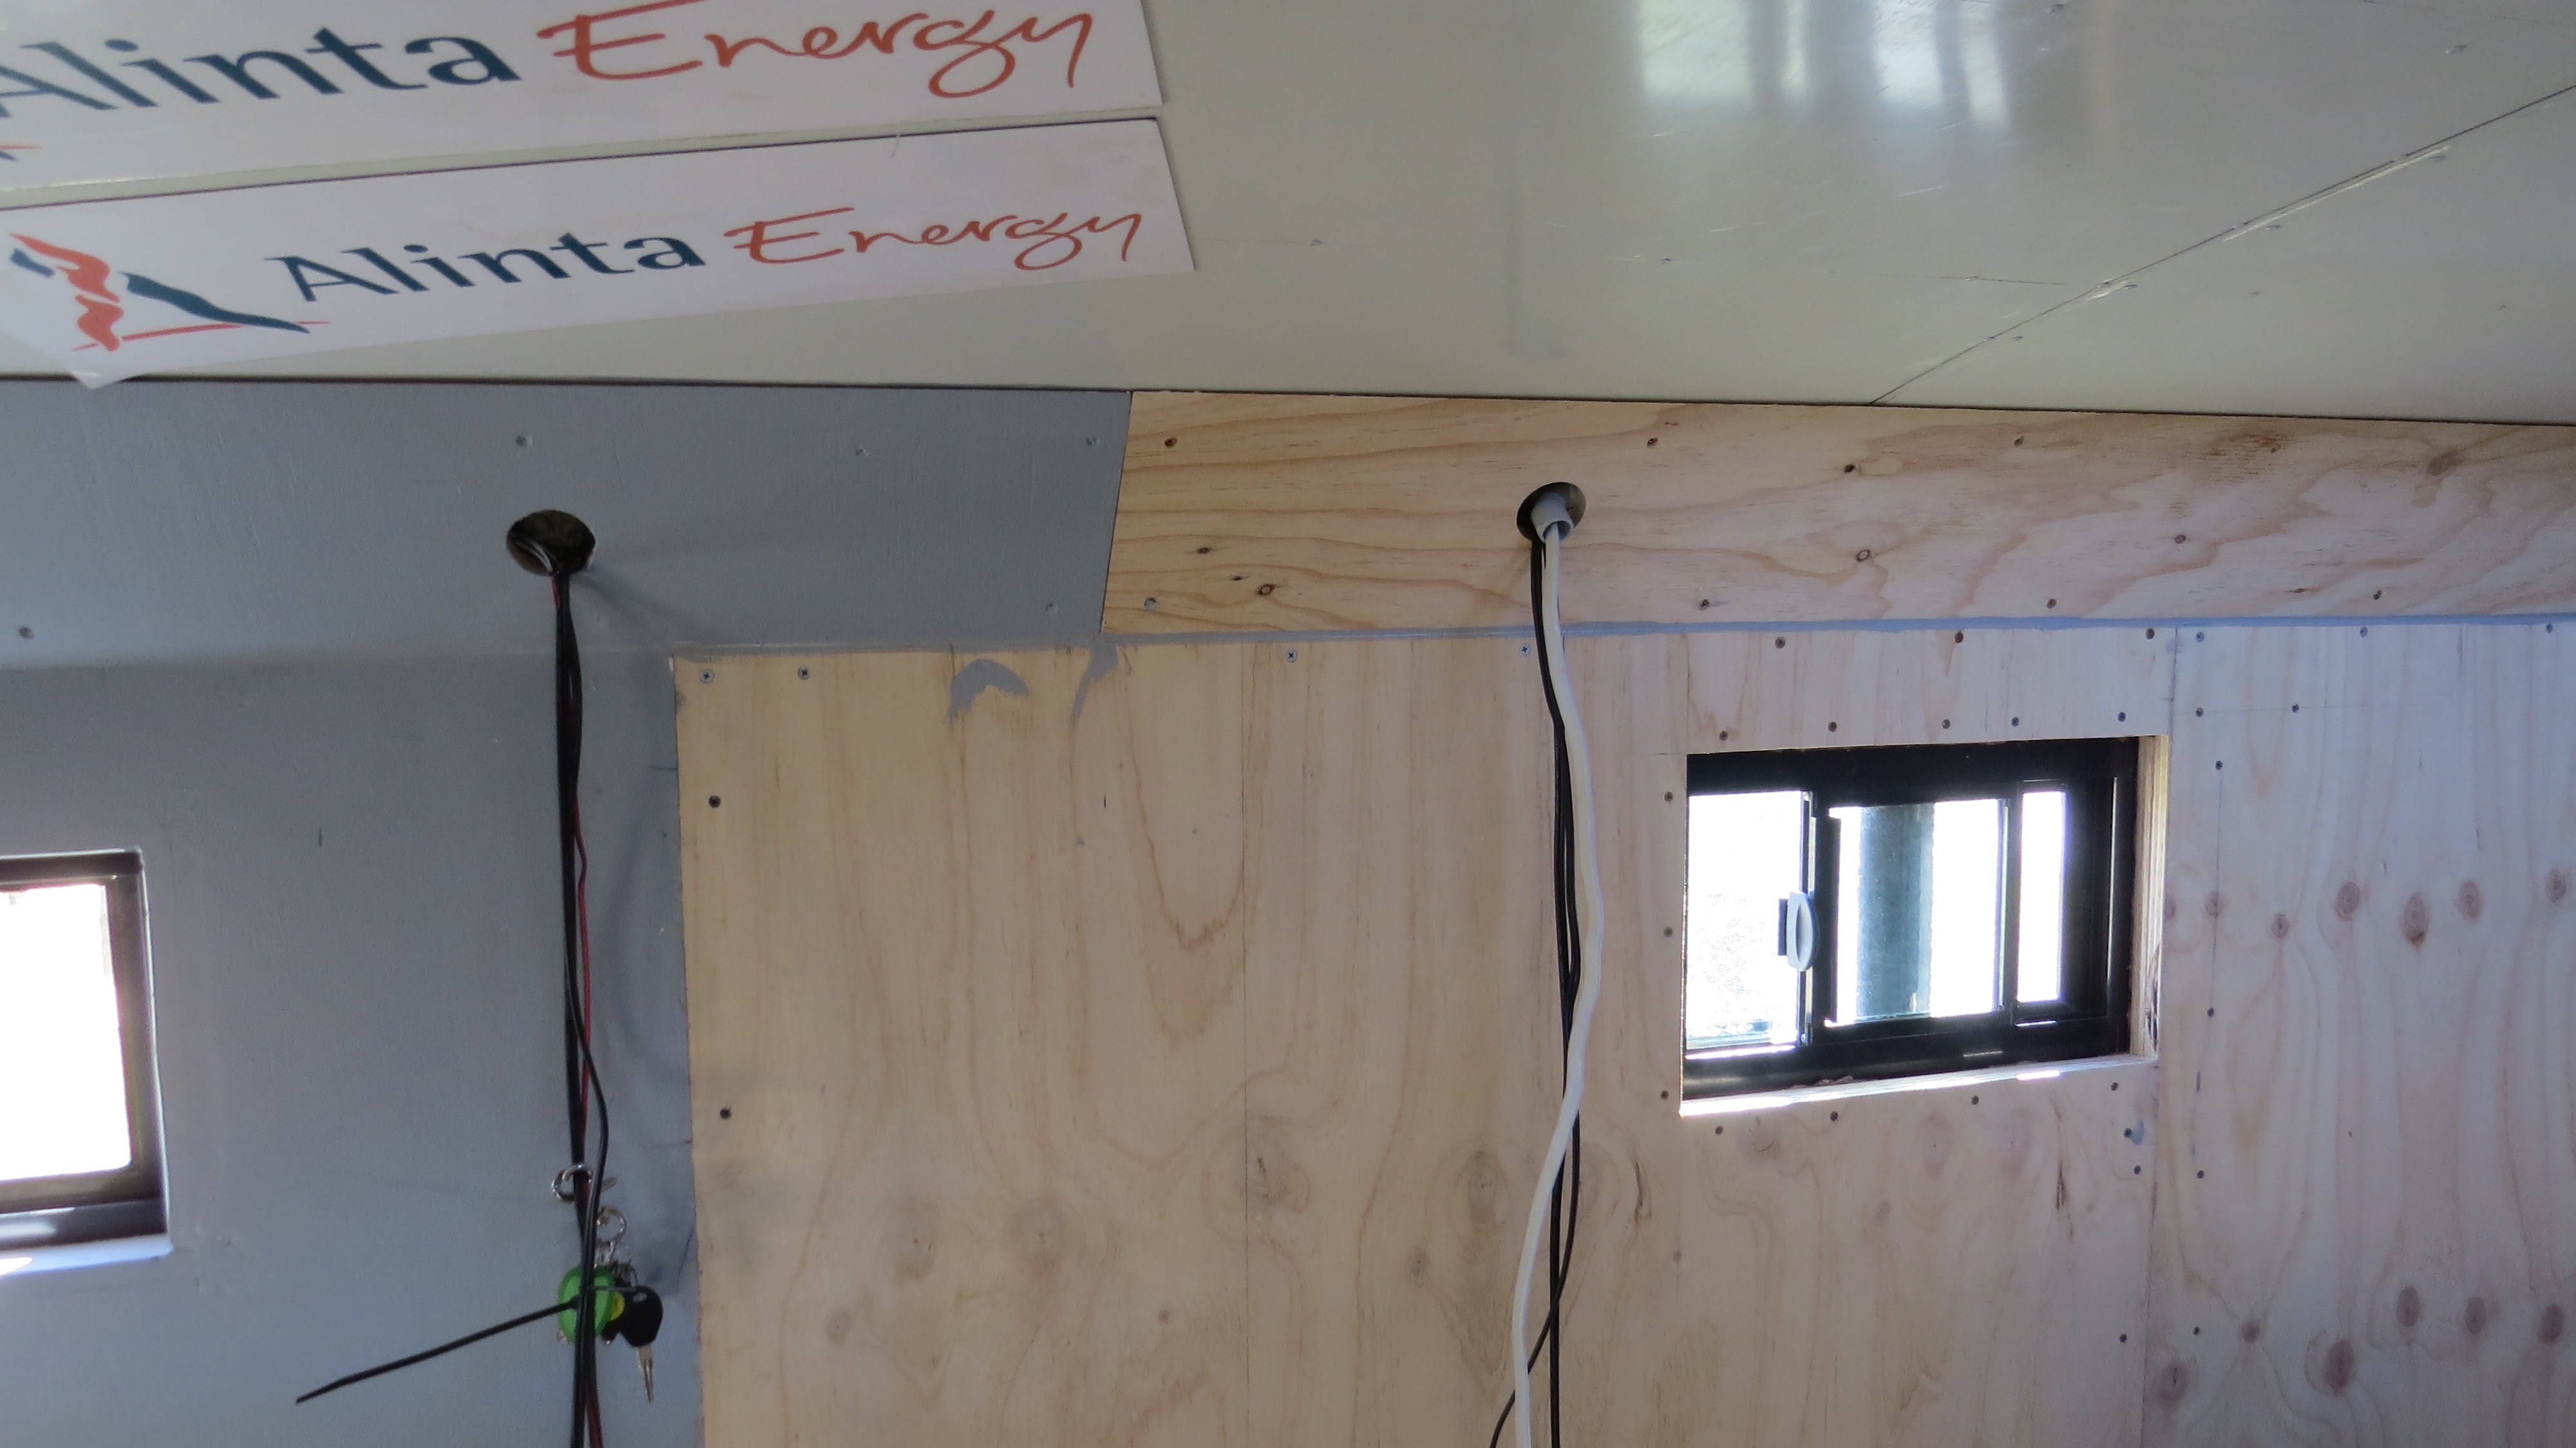
First off is to cut the insulation followed by gluing it in place, a job I love to hate. Second stage is to cut the first sheet of ply to size and making sure the window is cut out in the place. Now it’s time to start fitting it to the side of the coach.
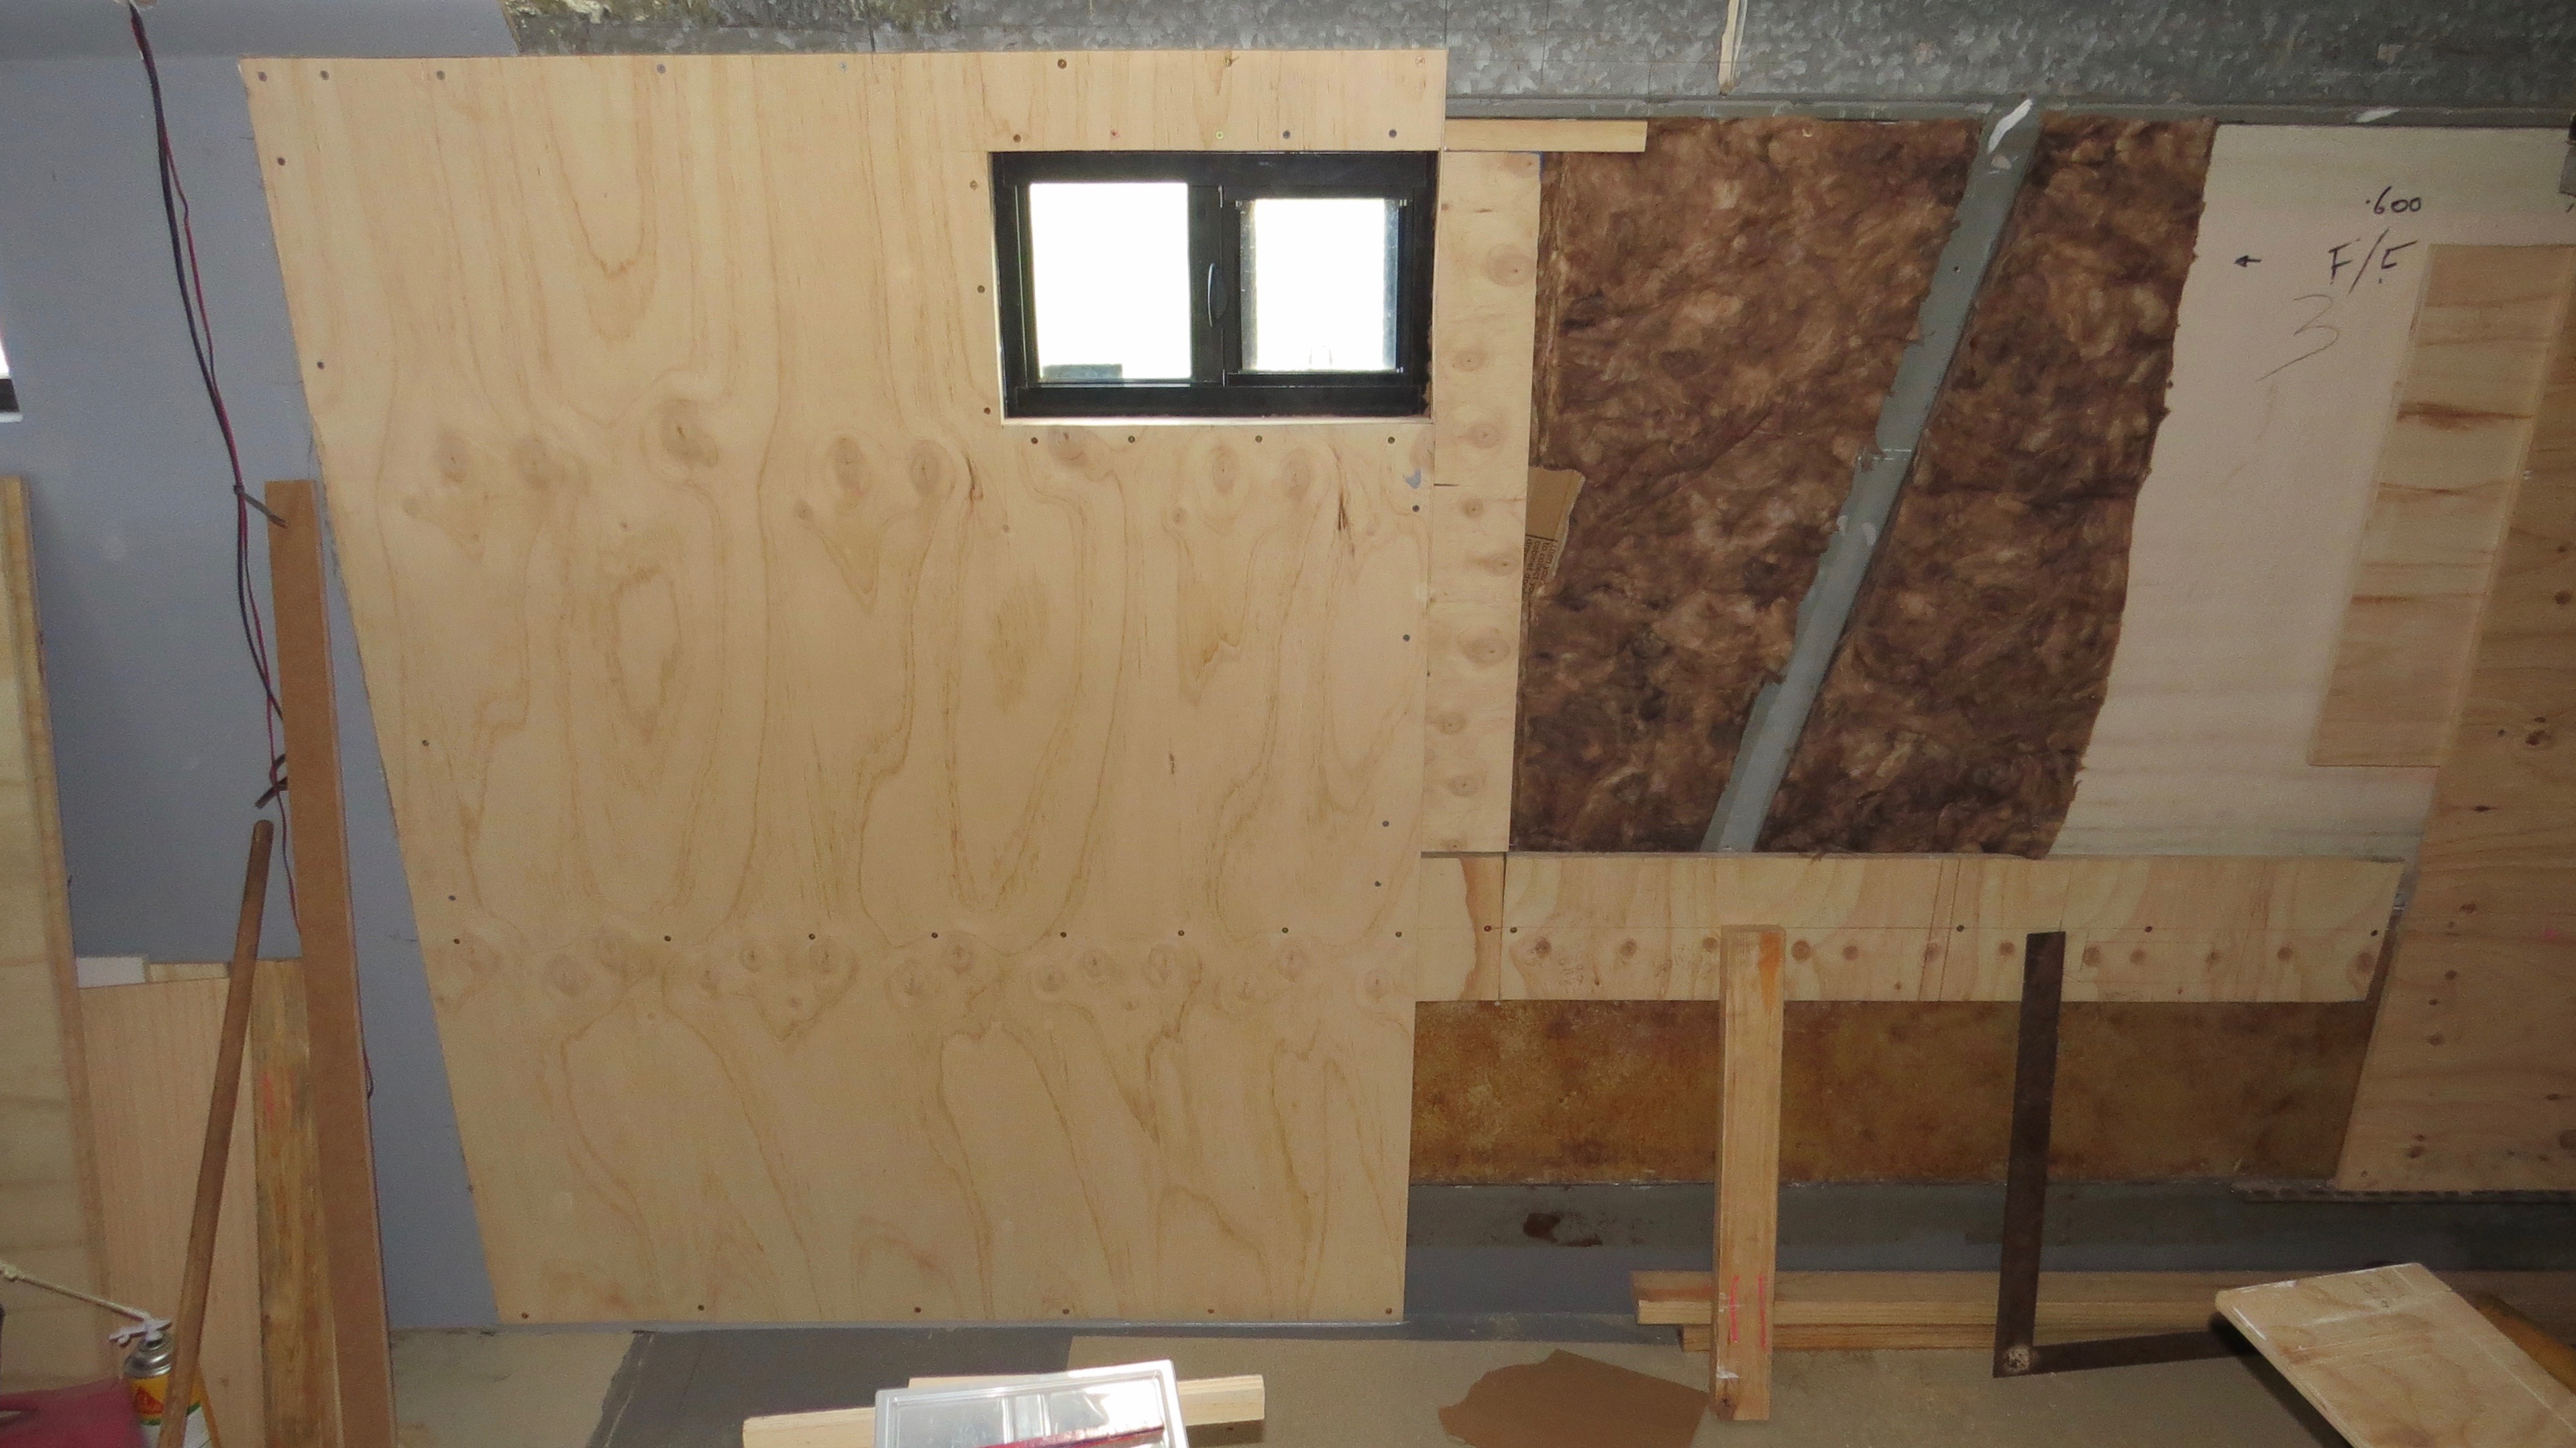
There will be one more sheet put up on this side for the moment which will finish off the bathroom wall and part of the kitchen.
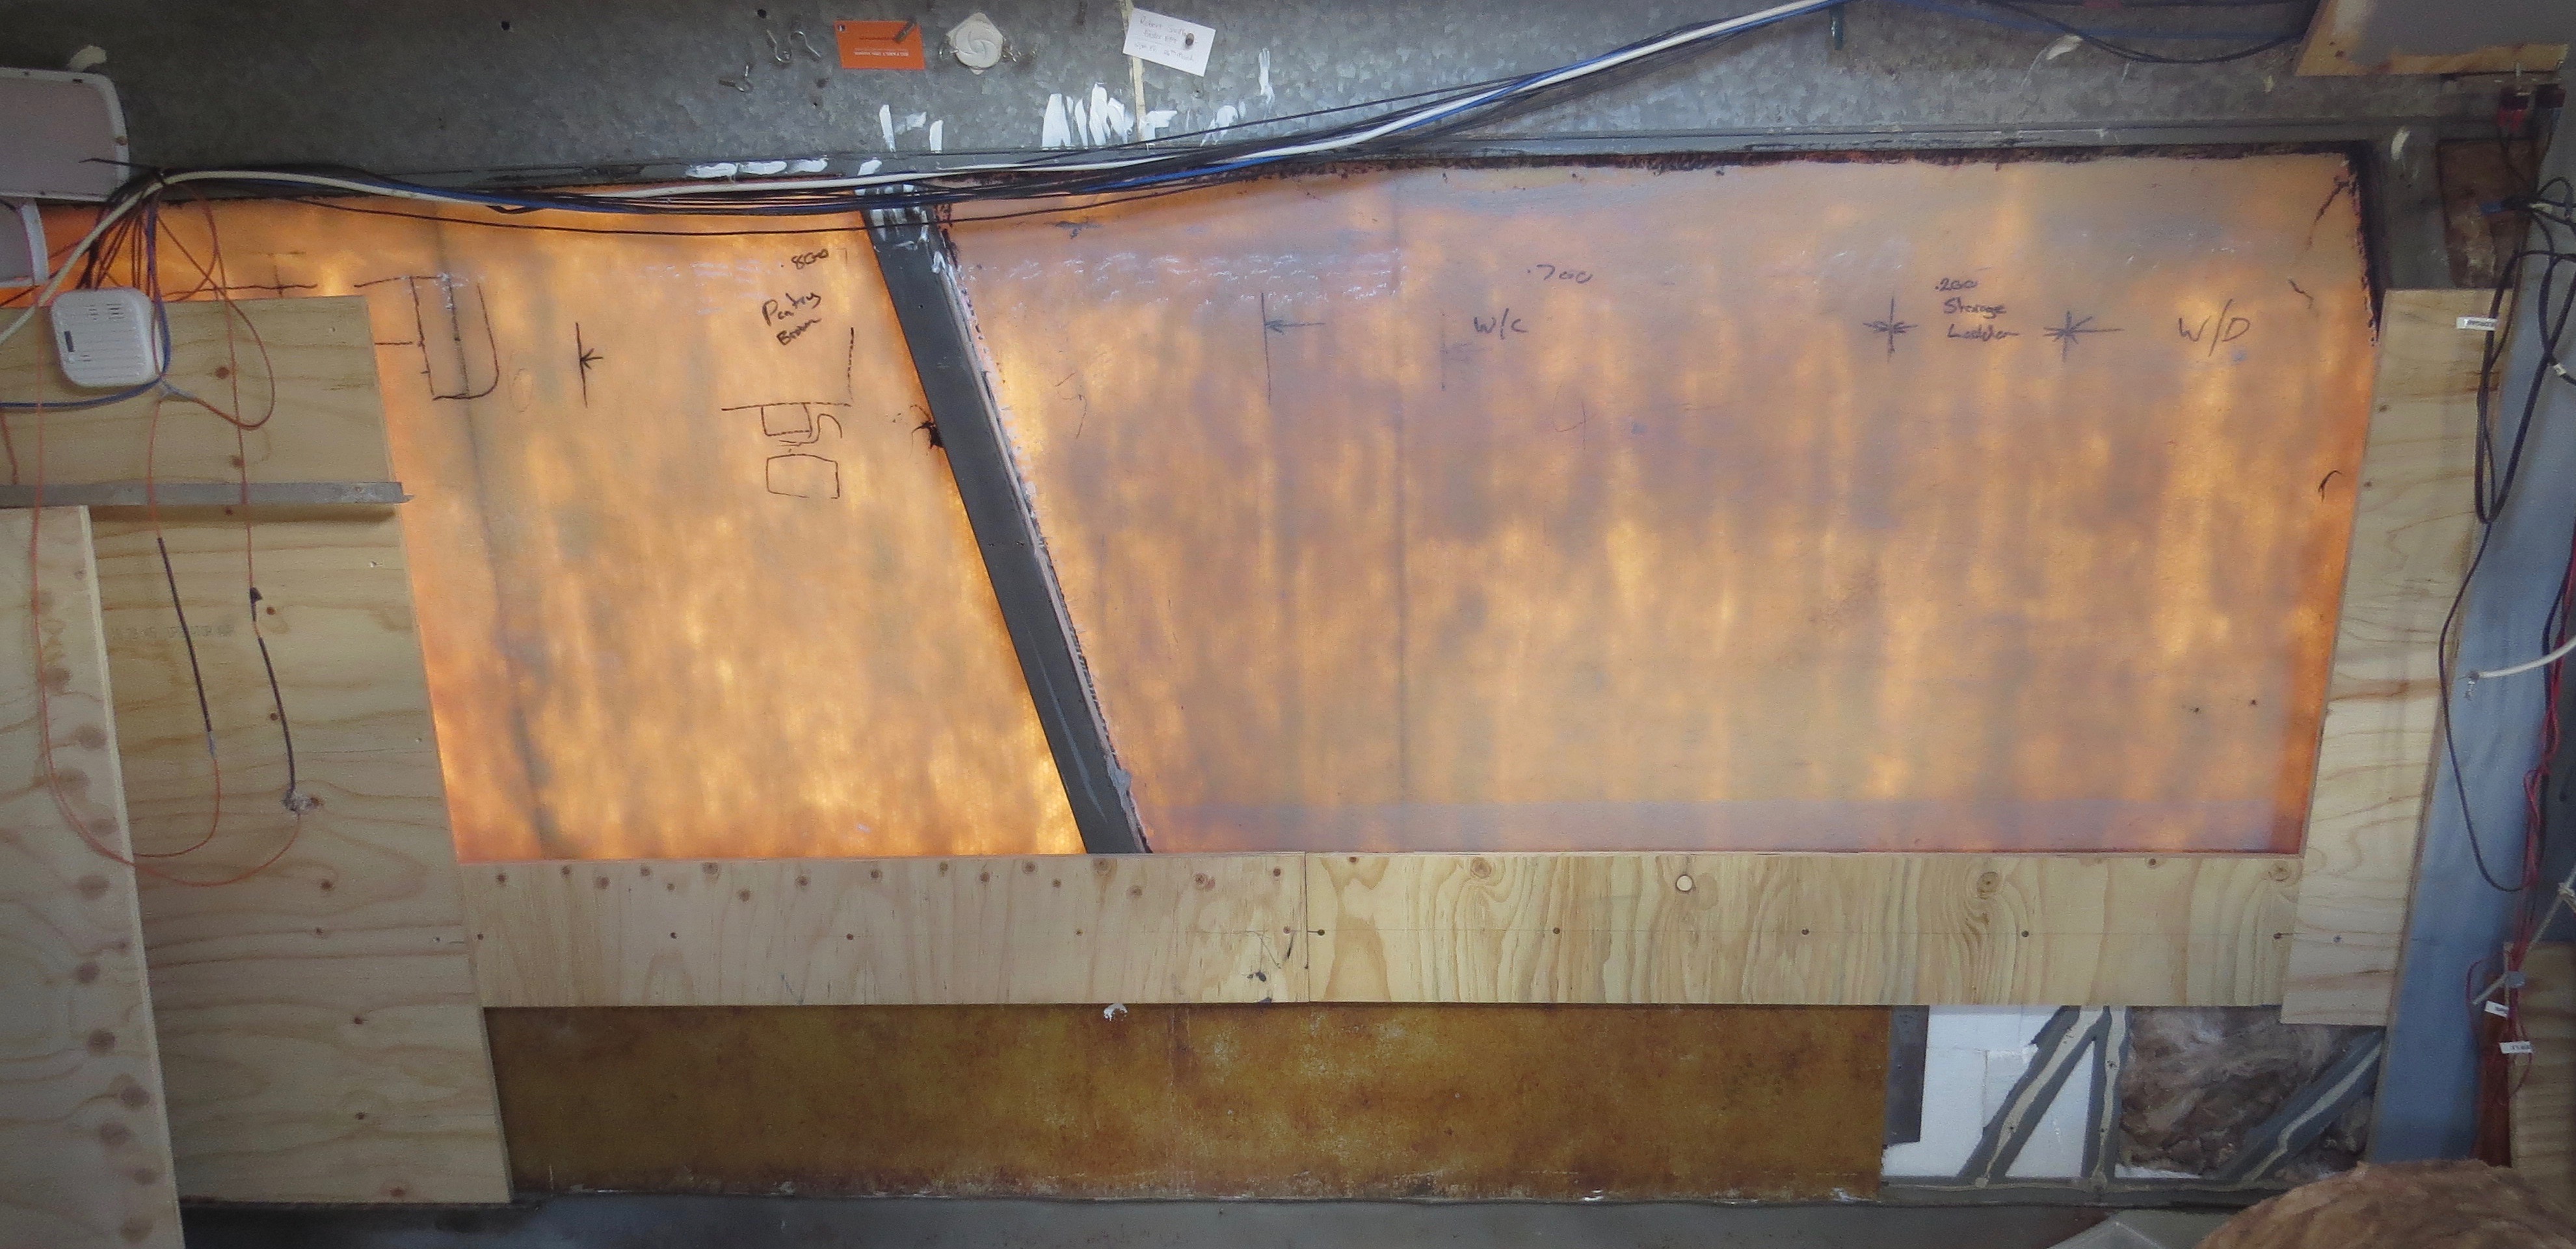
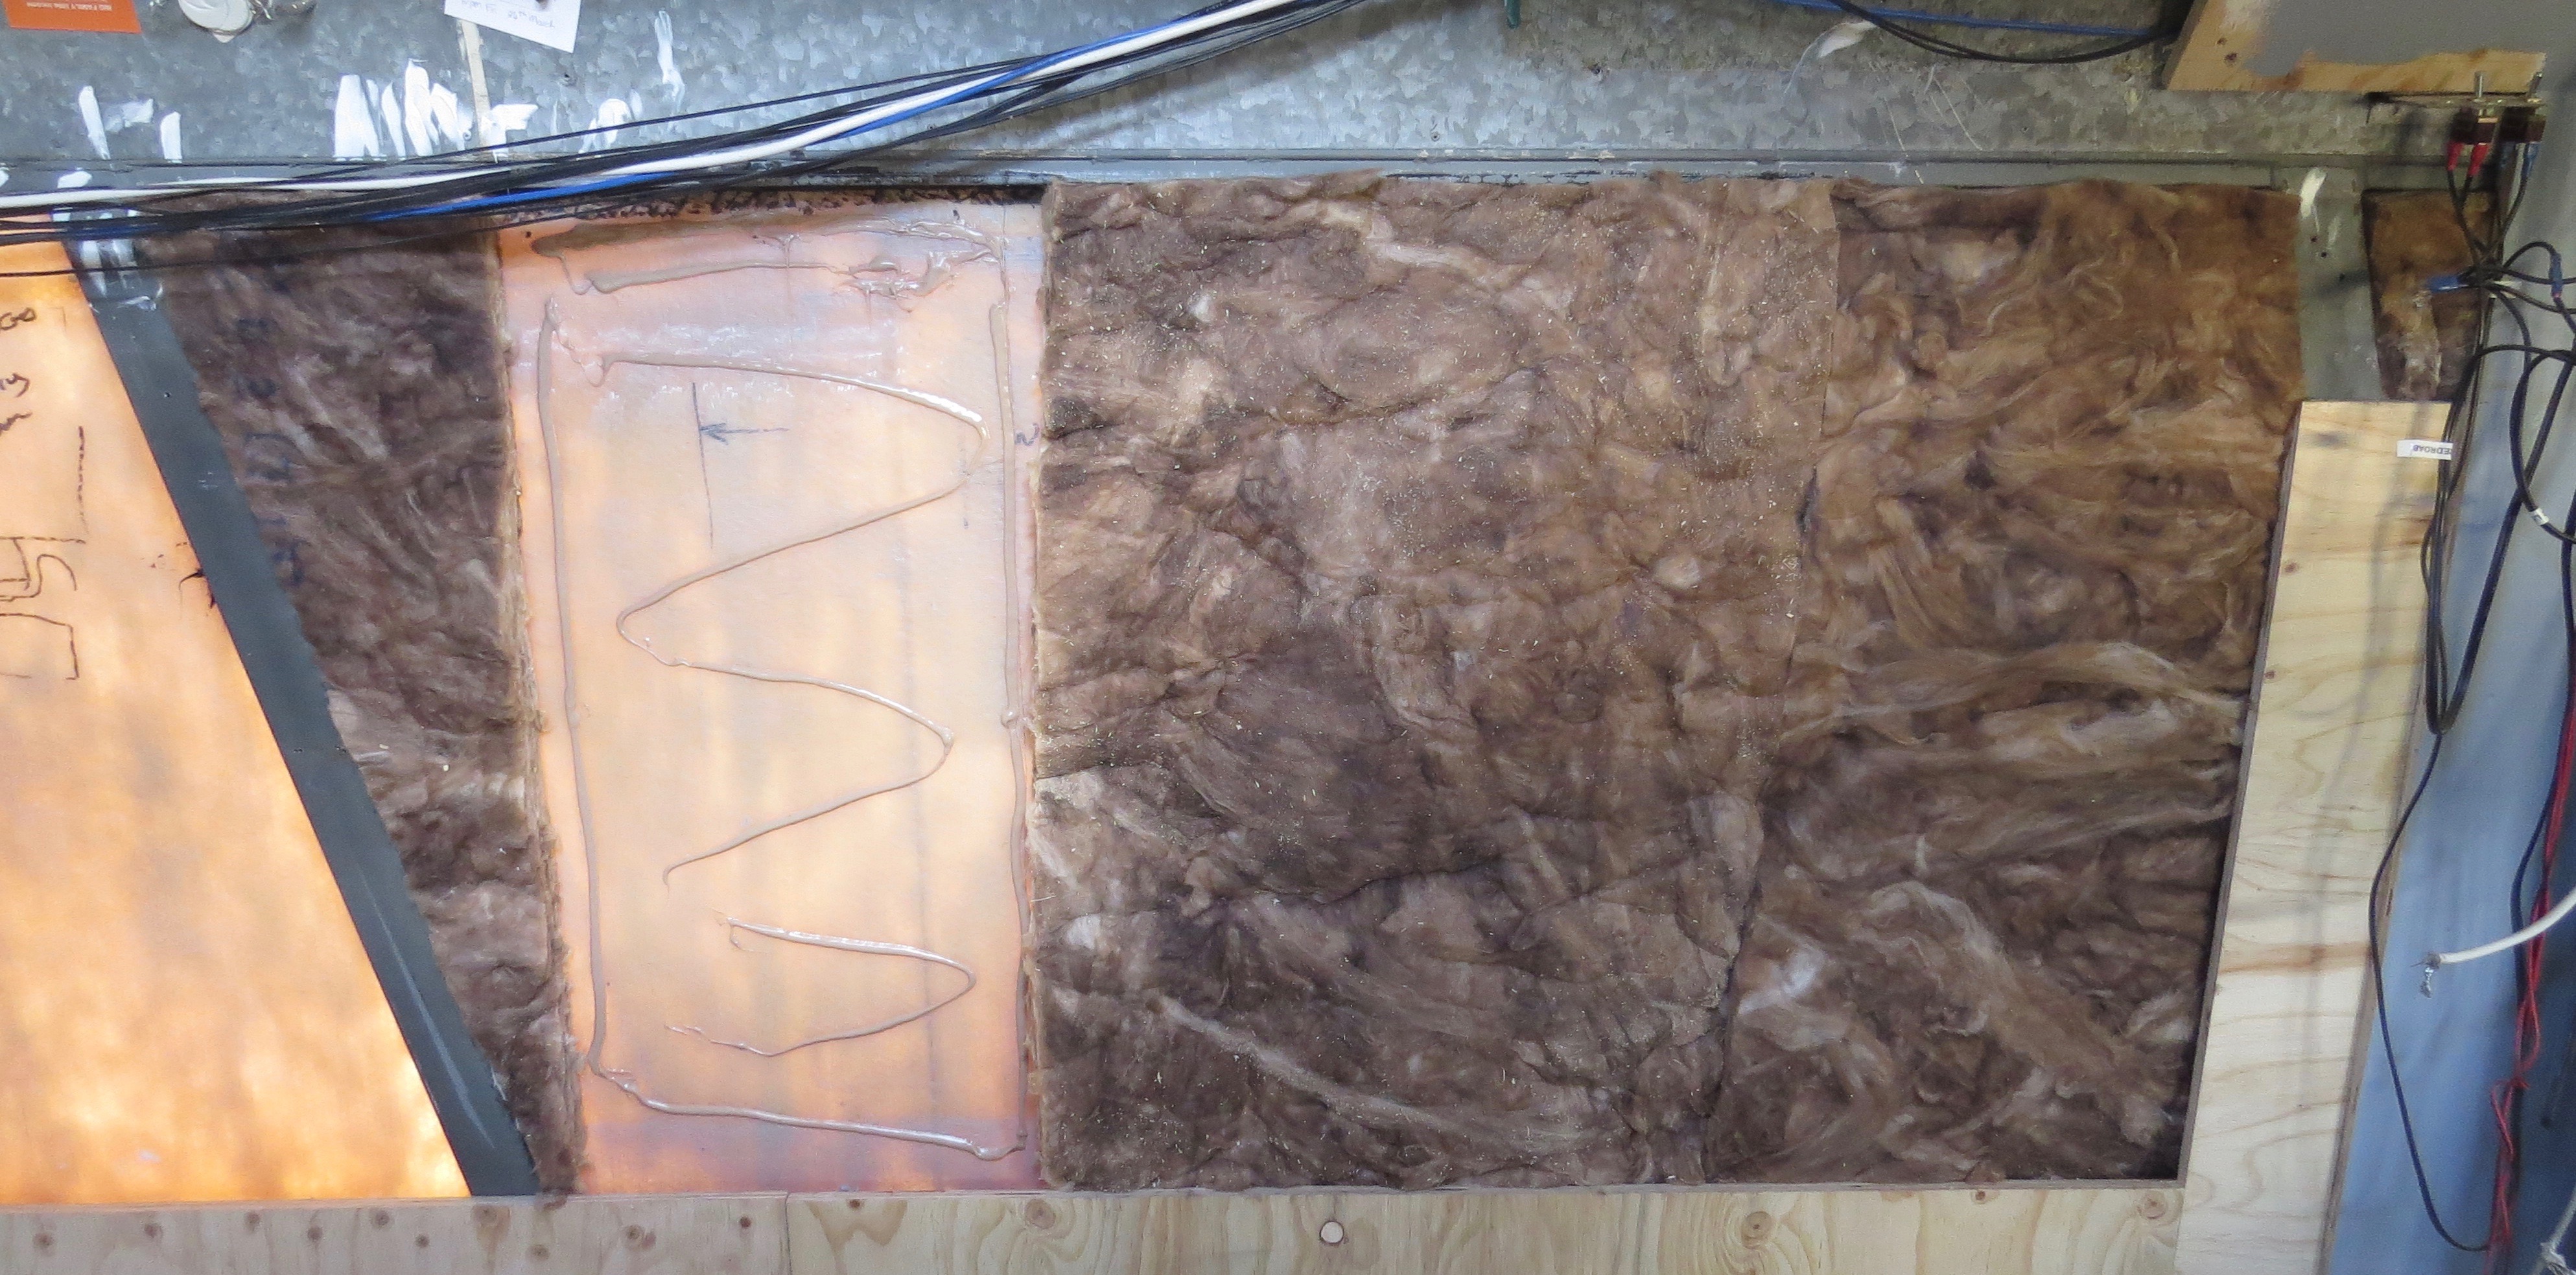
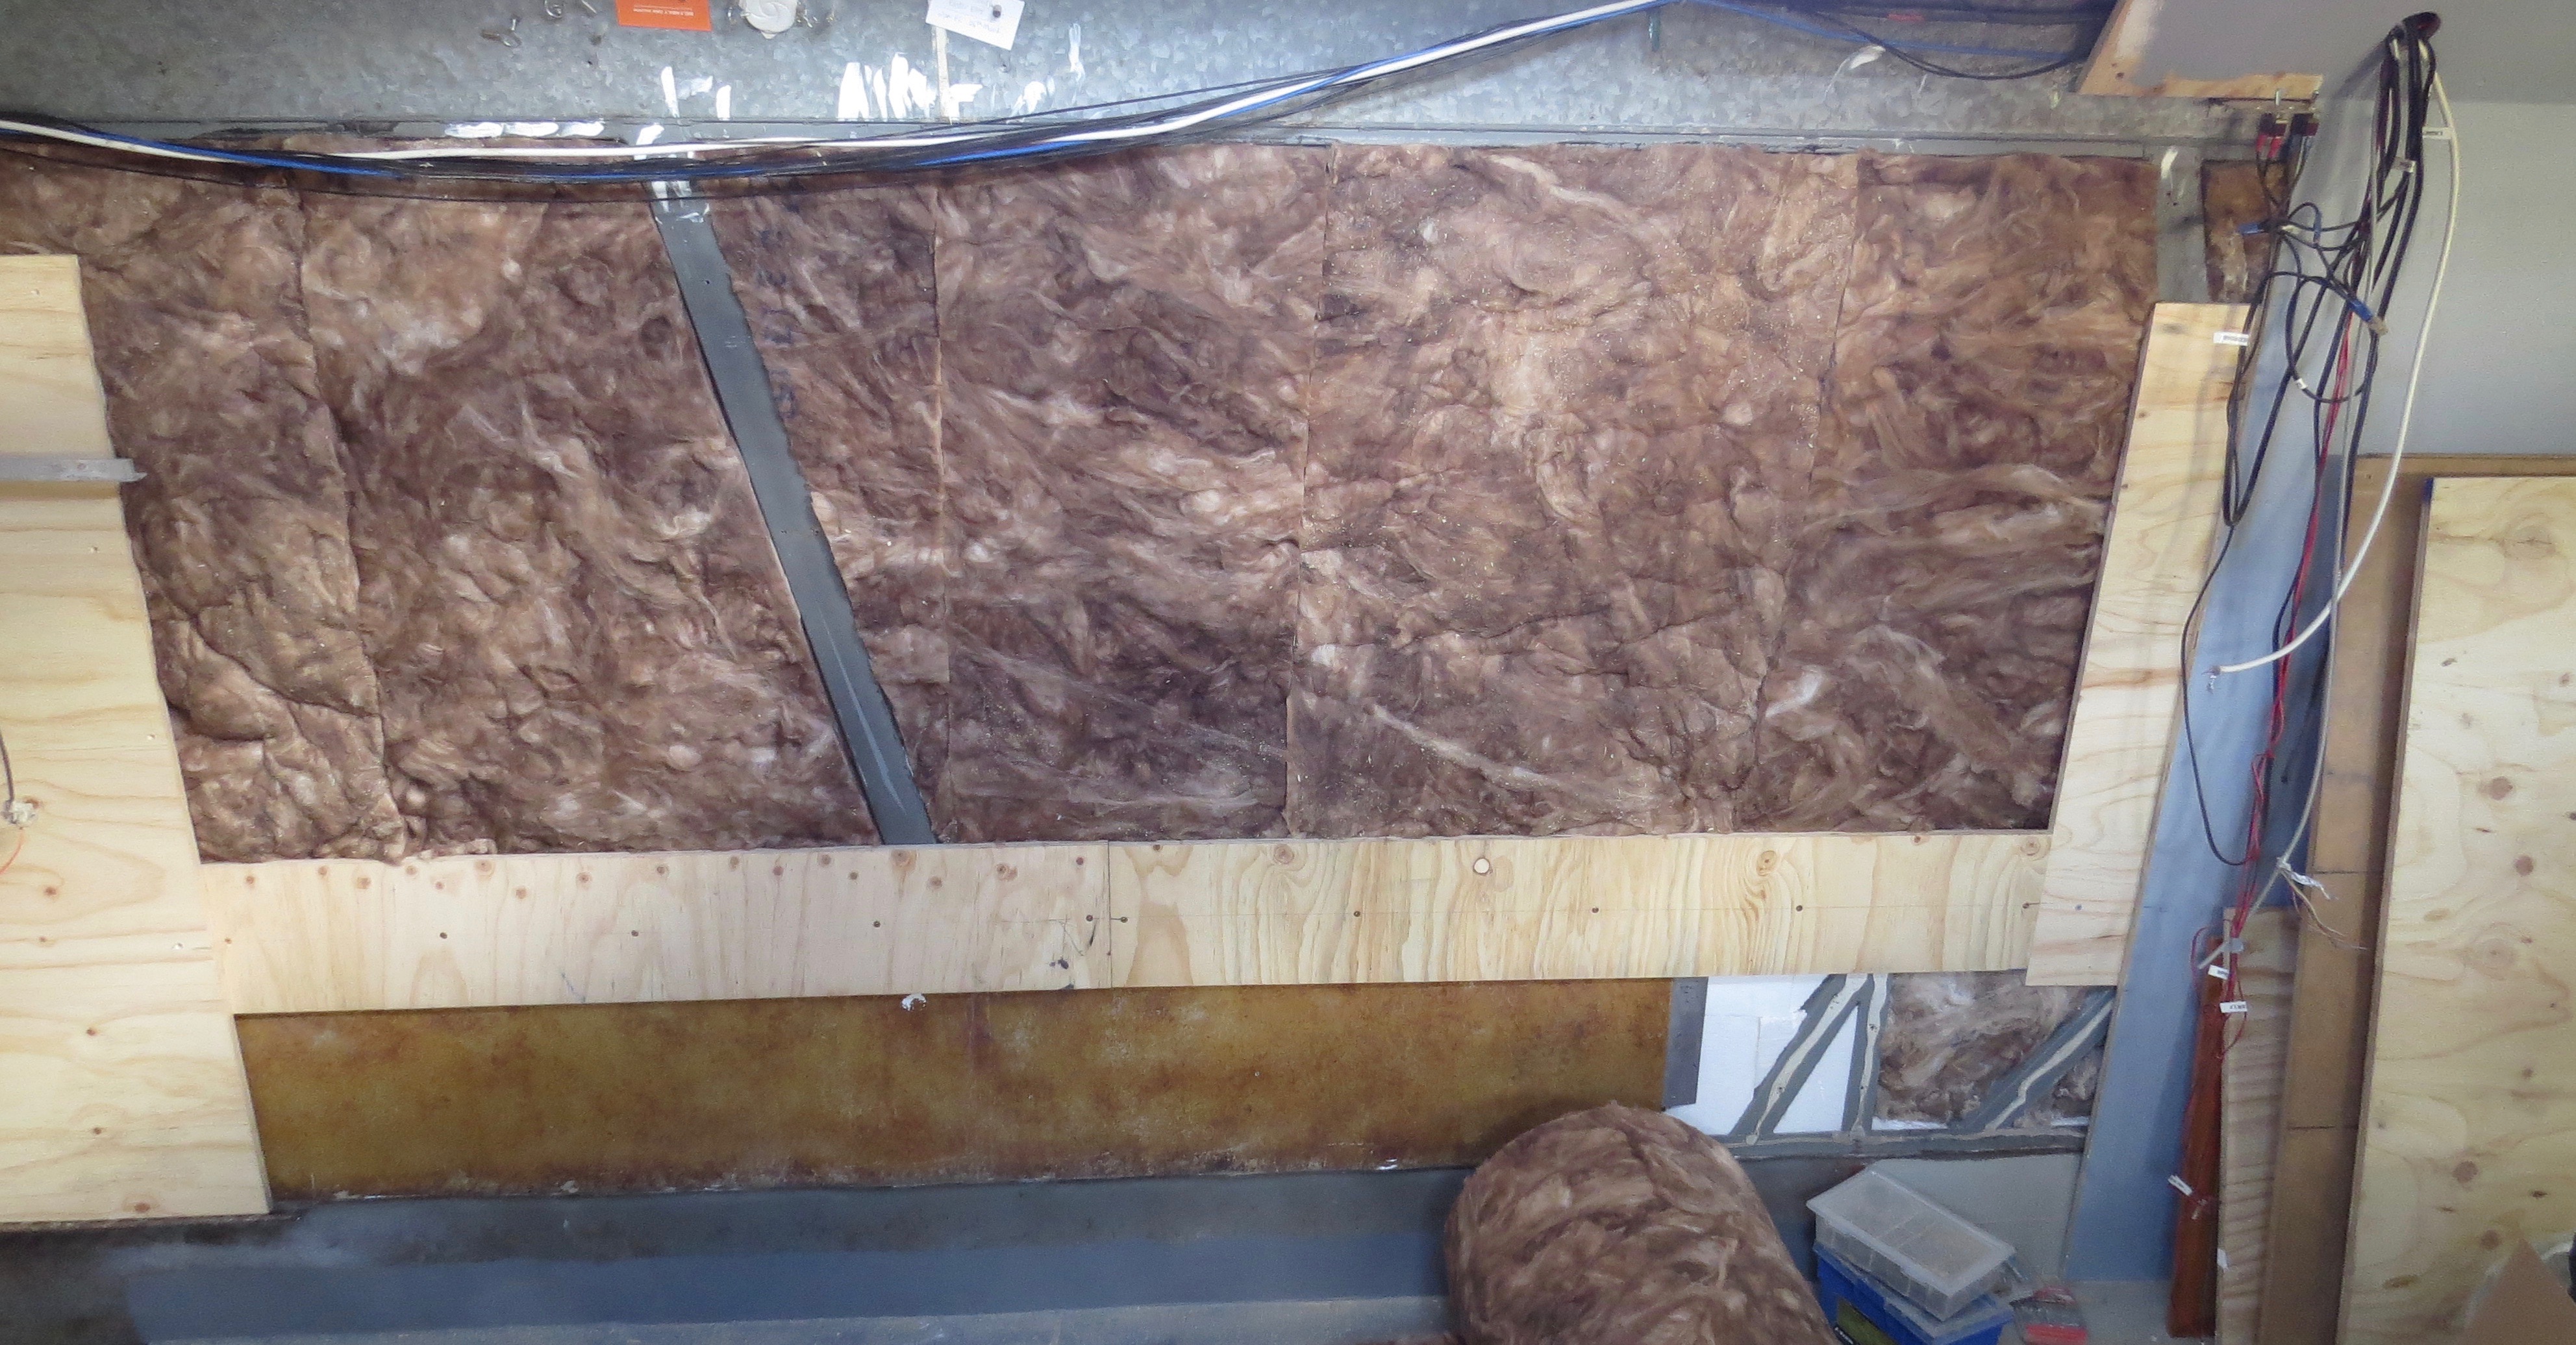
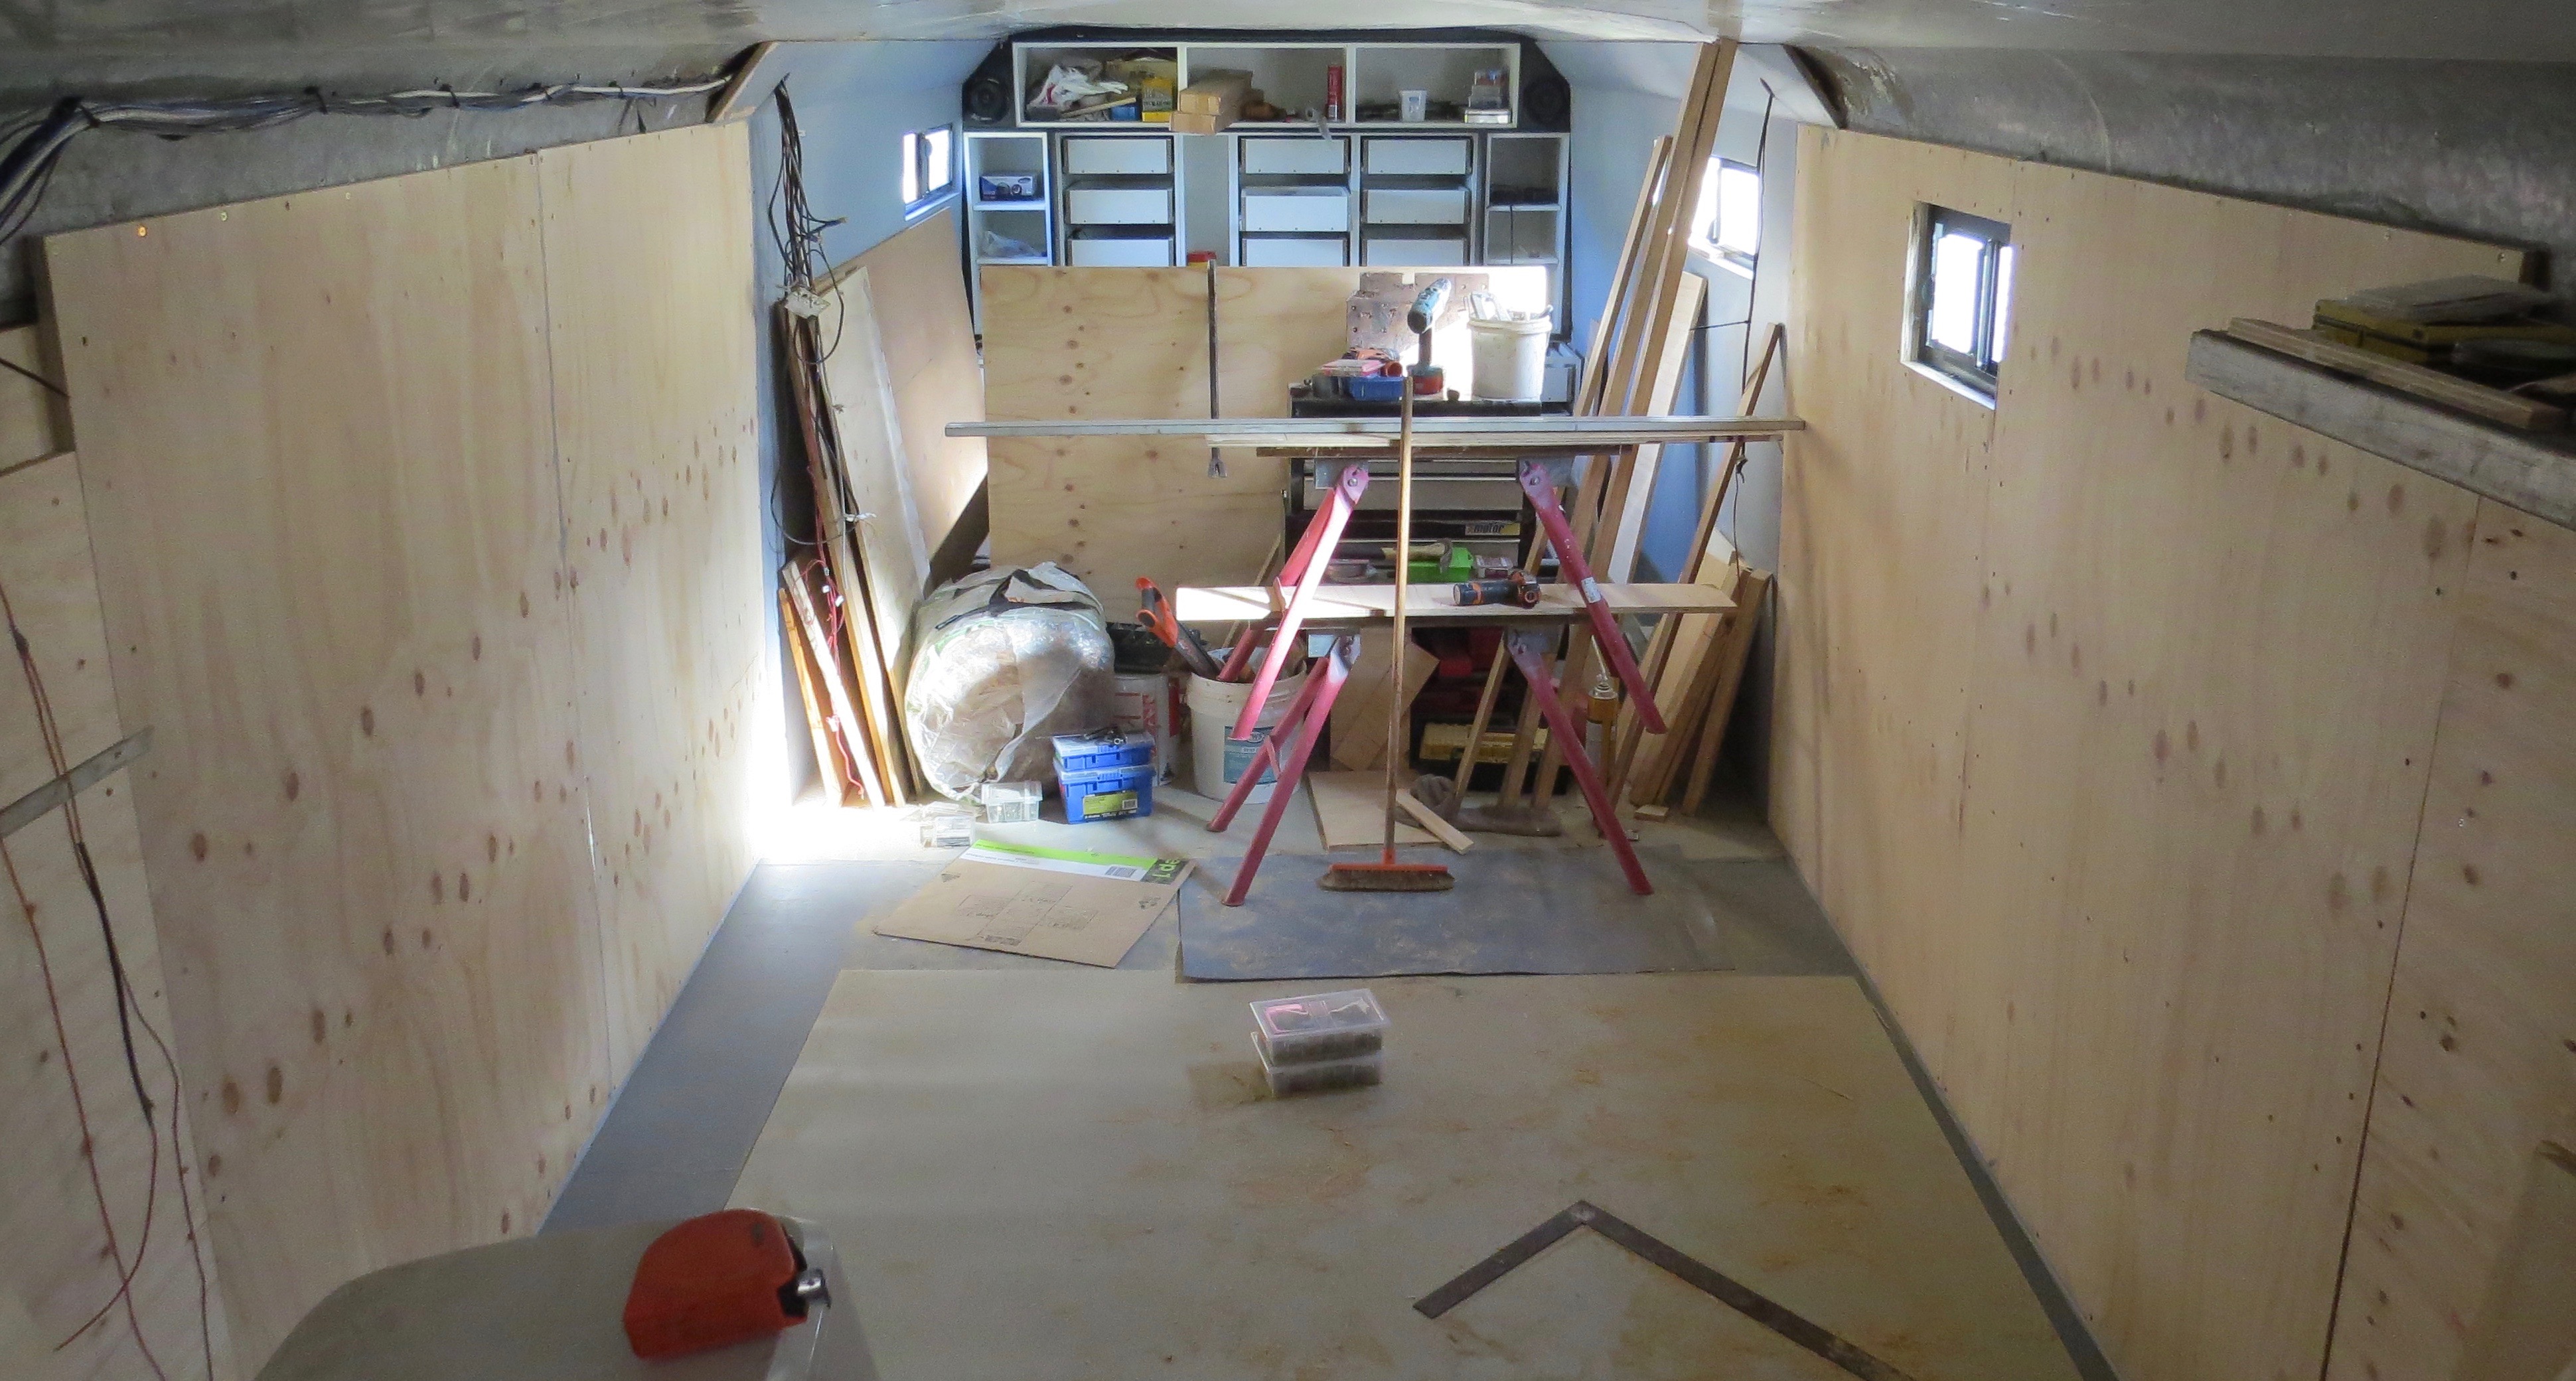
The vanity and laundry side
This side will be straight forward as there is no window to go on this wall at all. So it’s just gluing the insulation in place then cutting the ply to size. Screw some packing in place so I can glue and screw the ply to the wall.

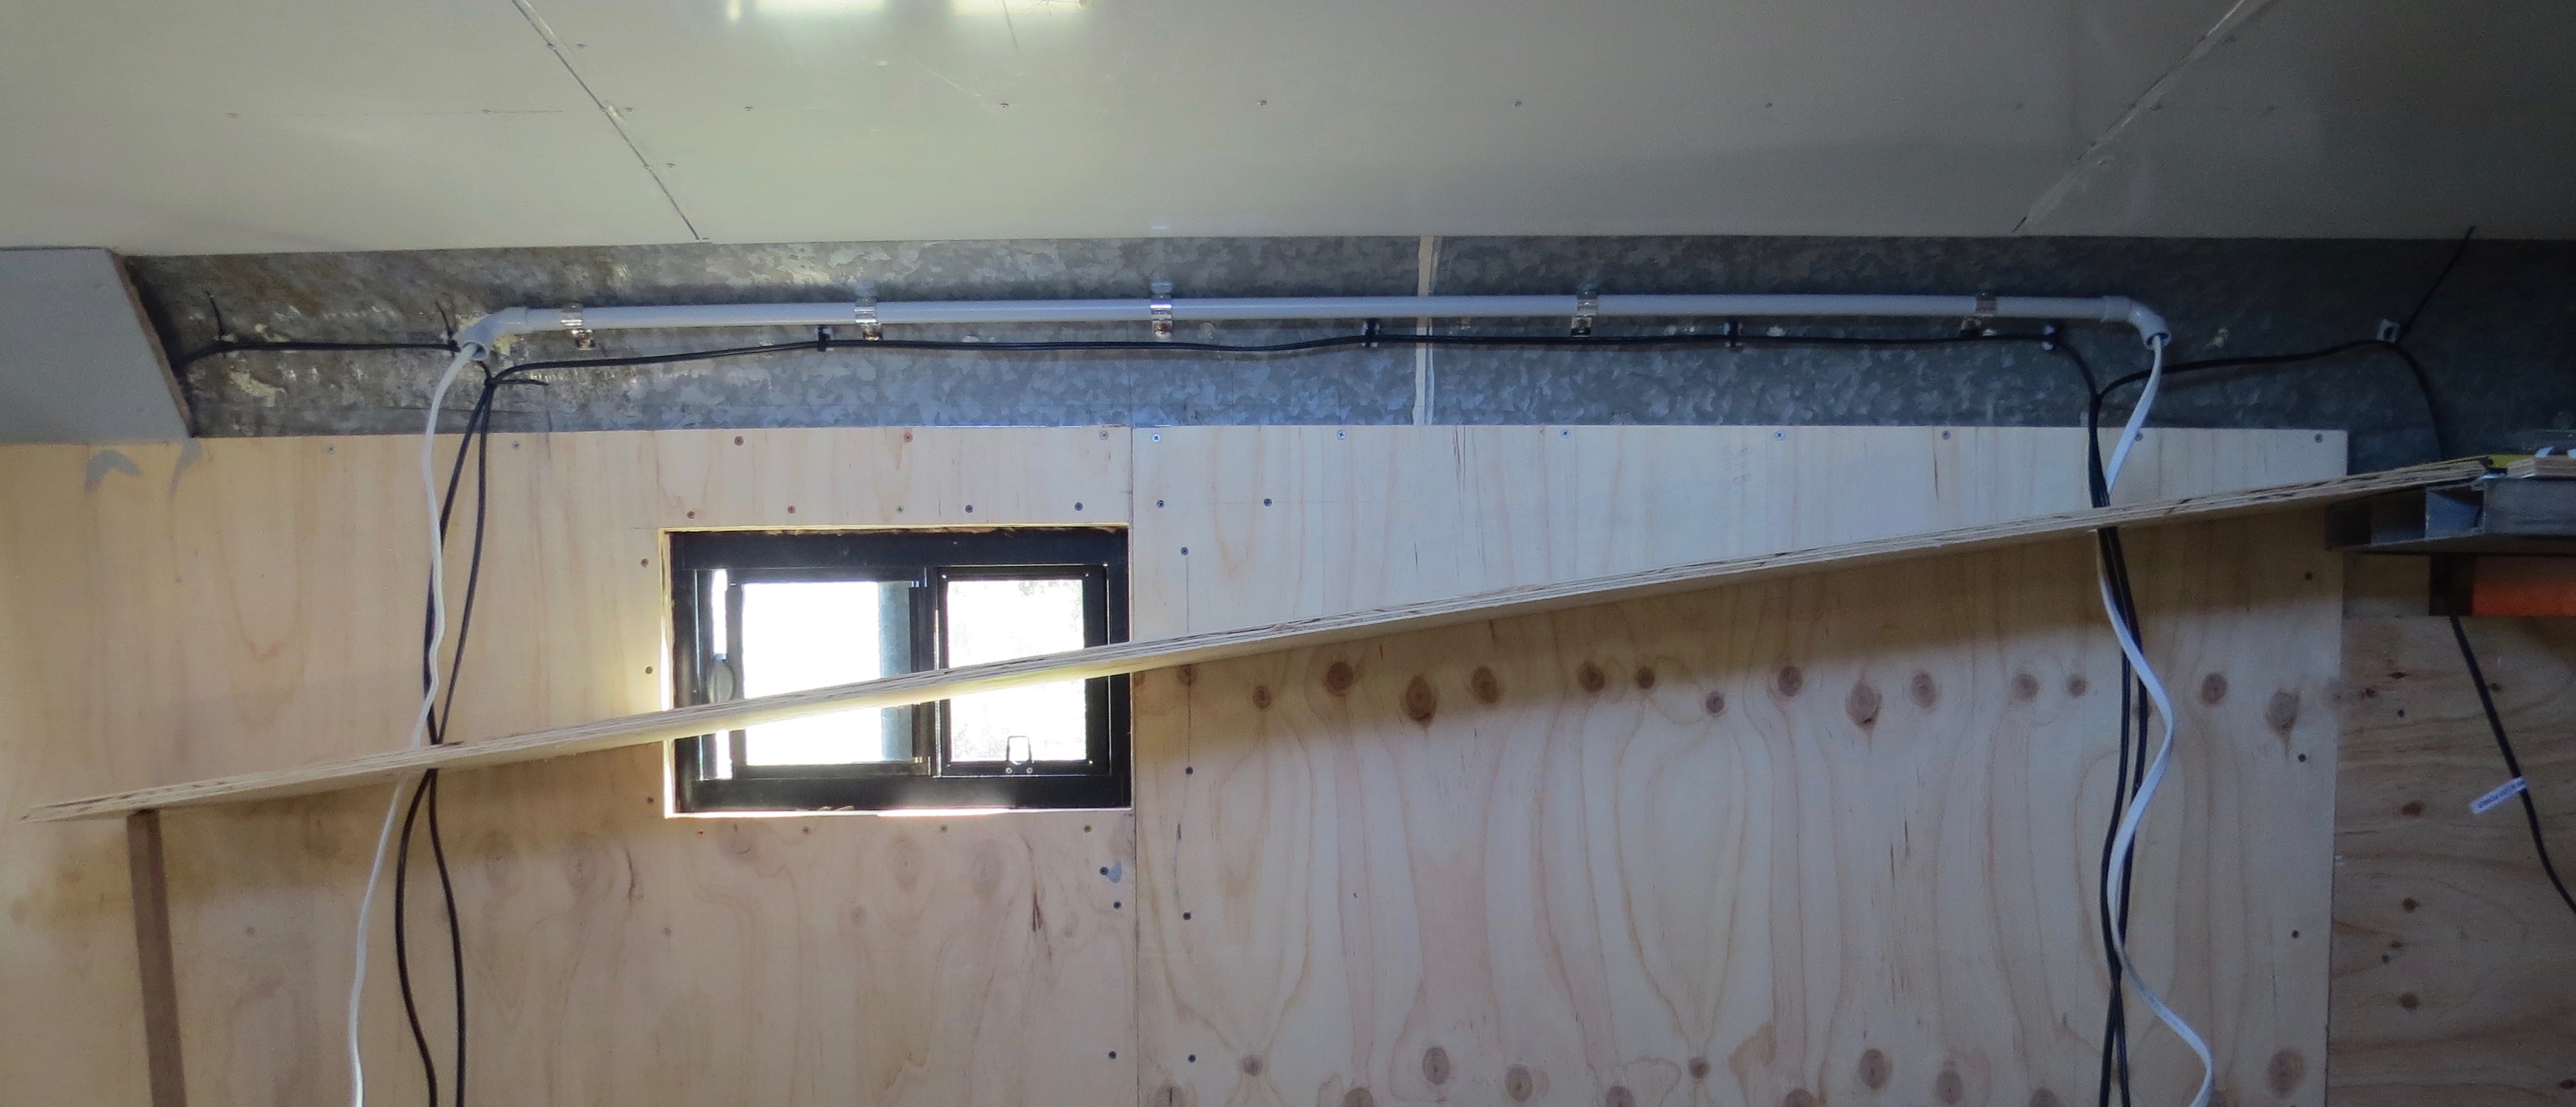
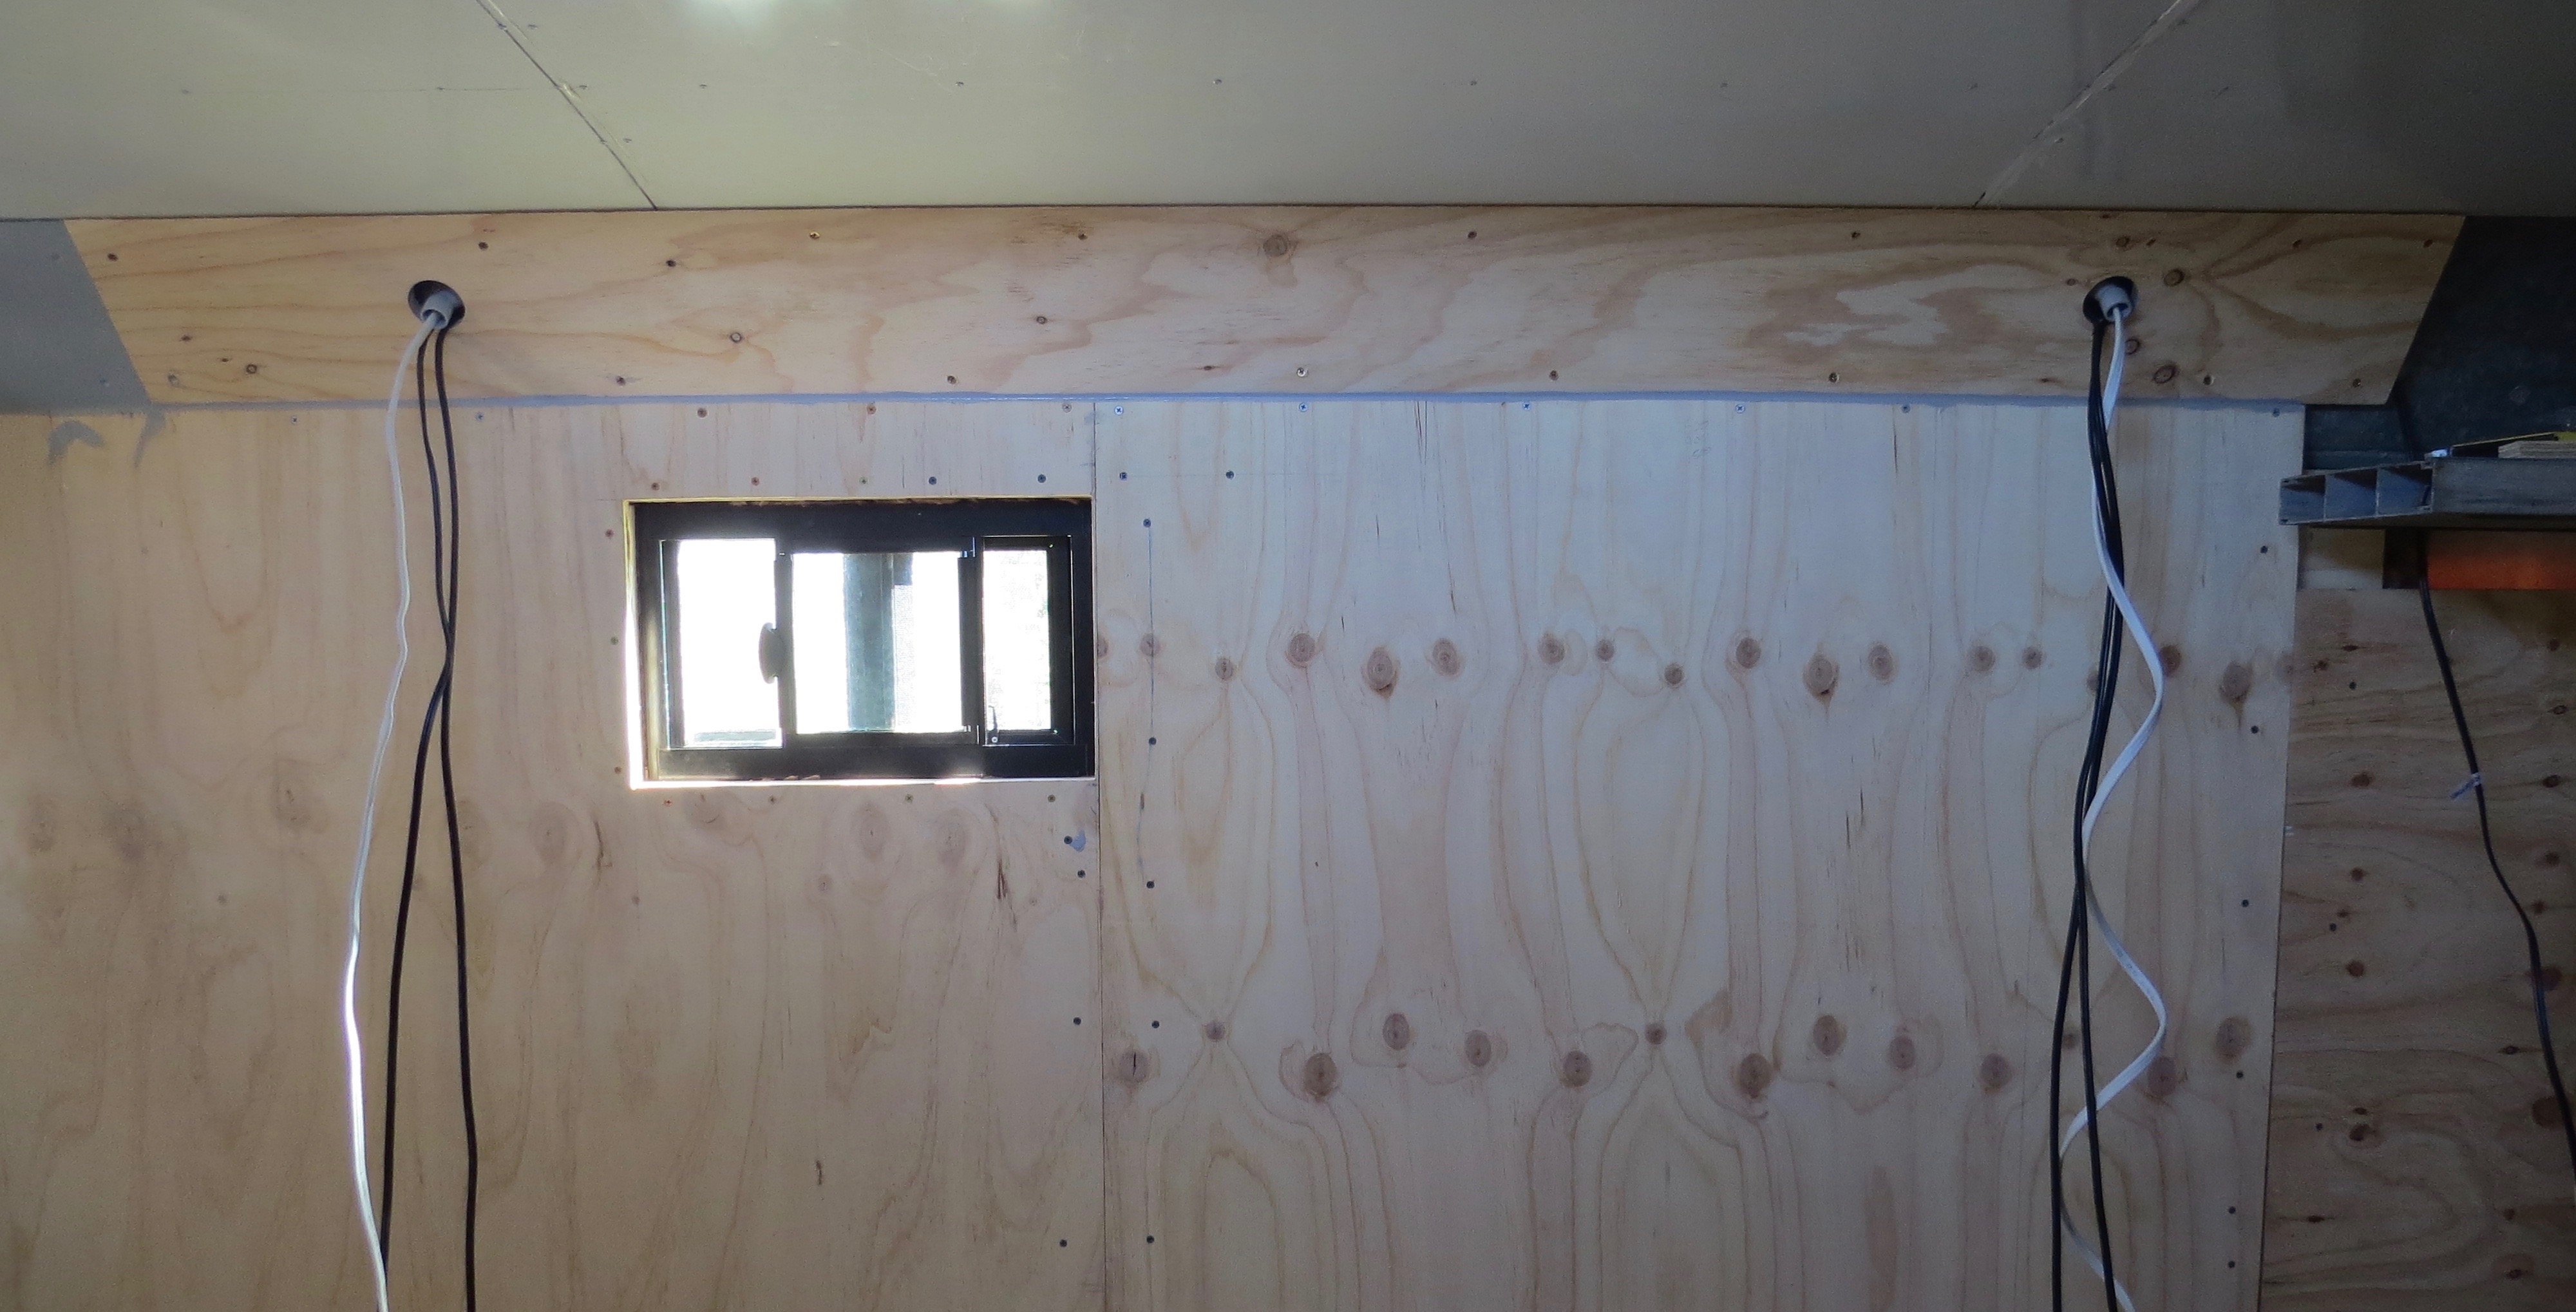
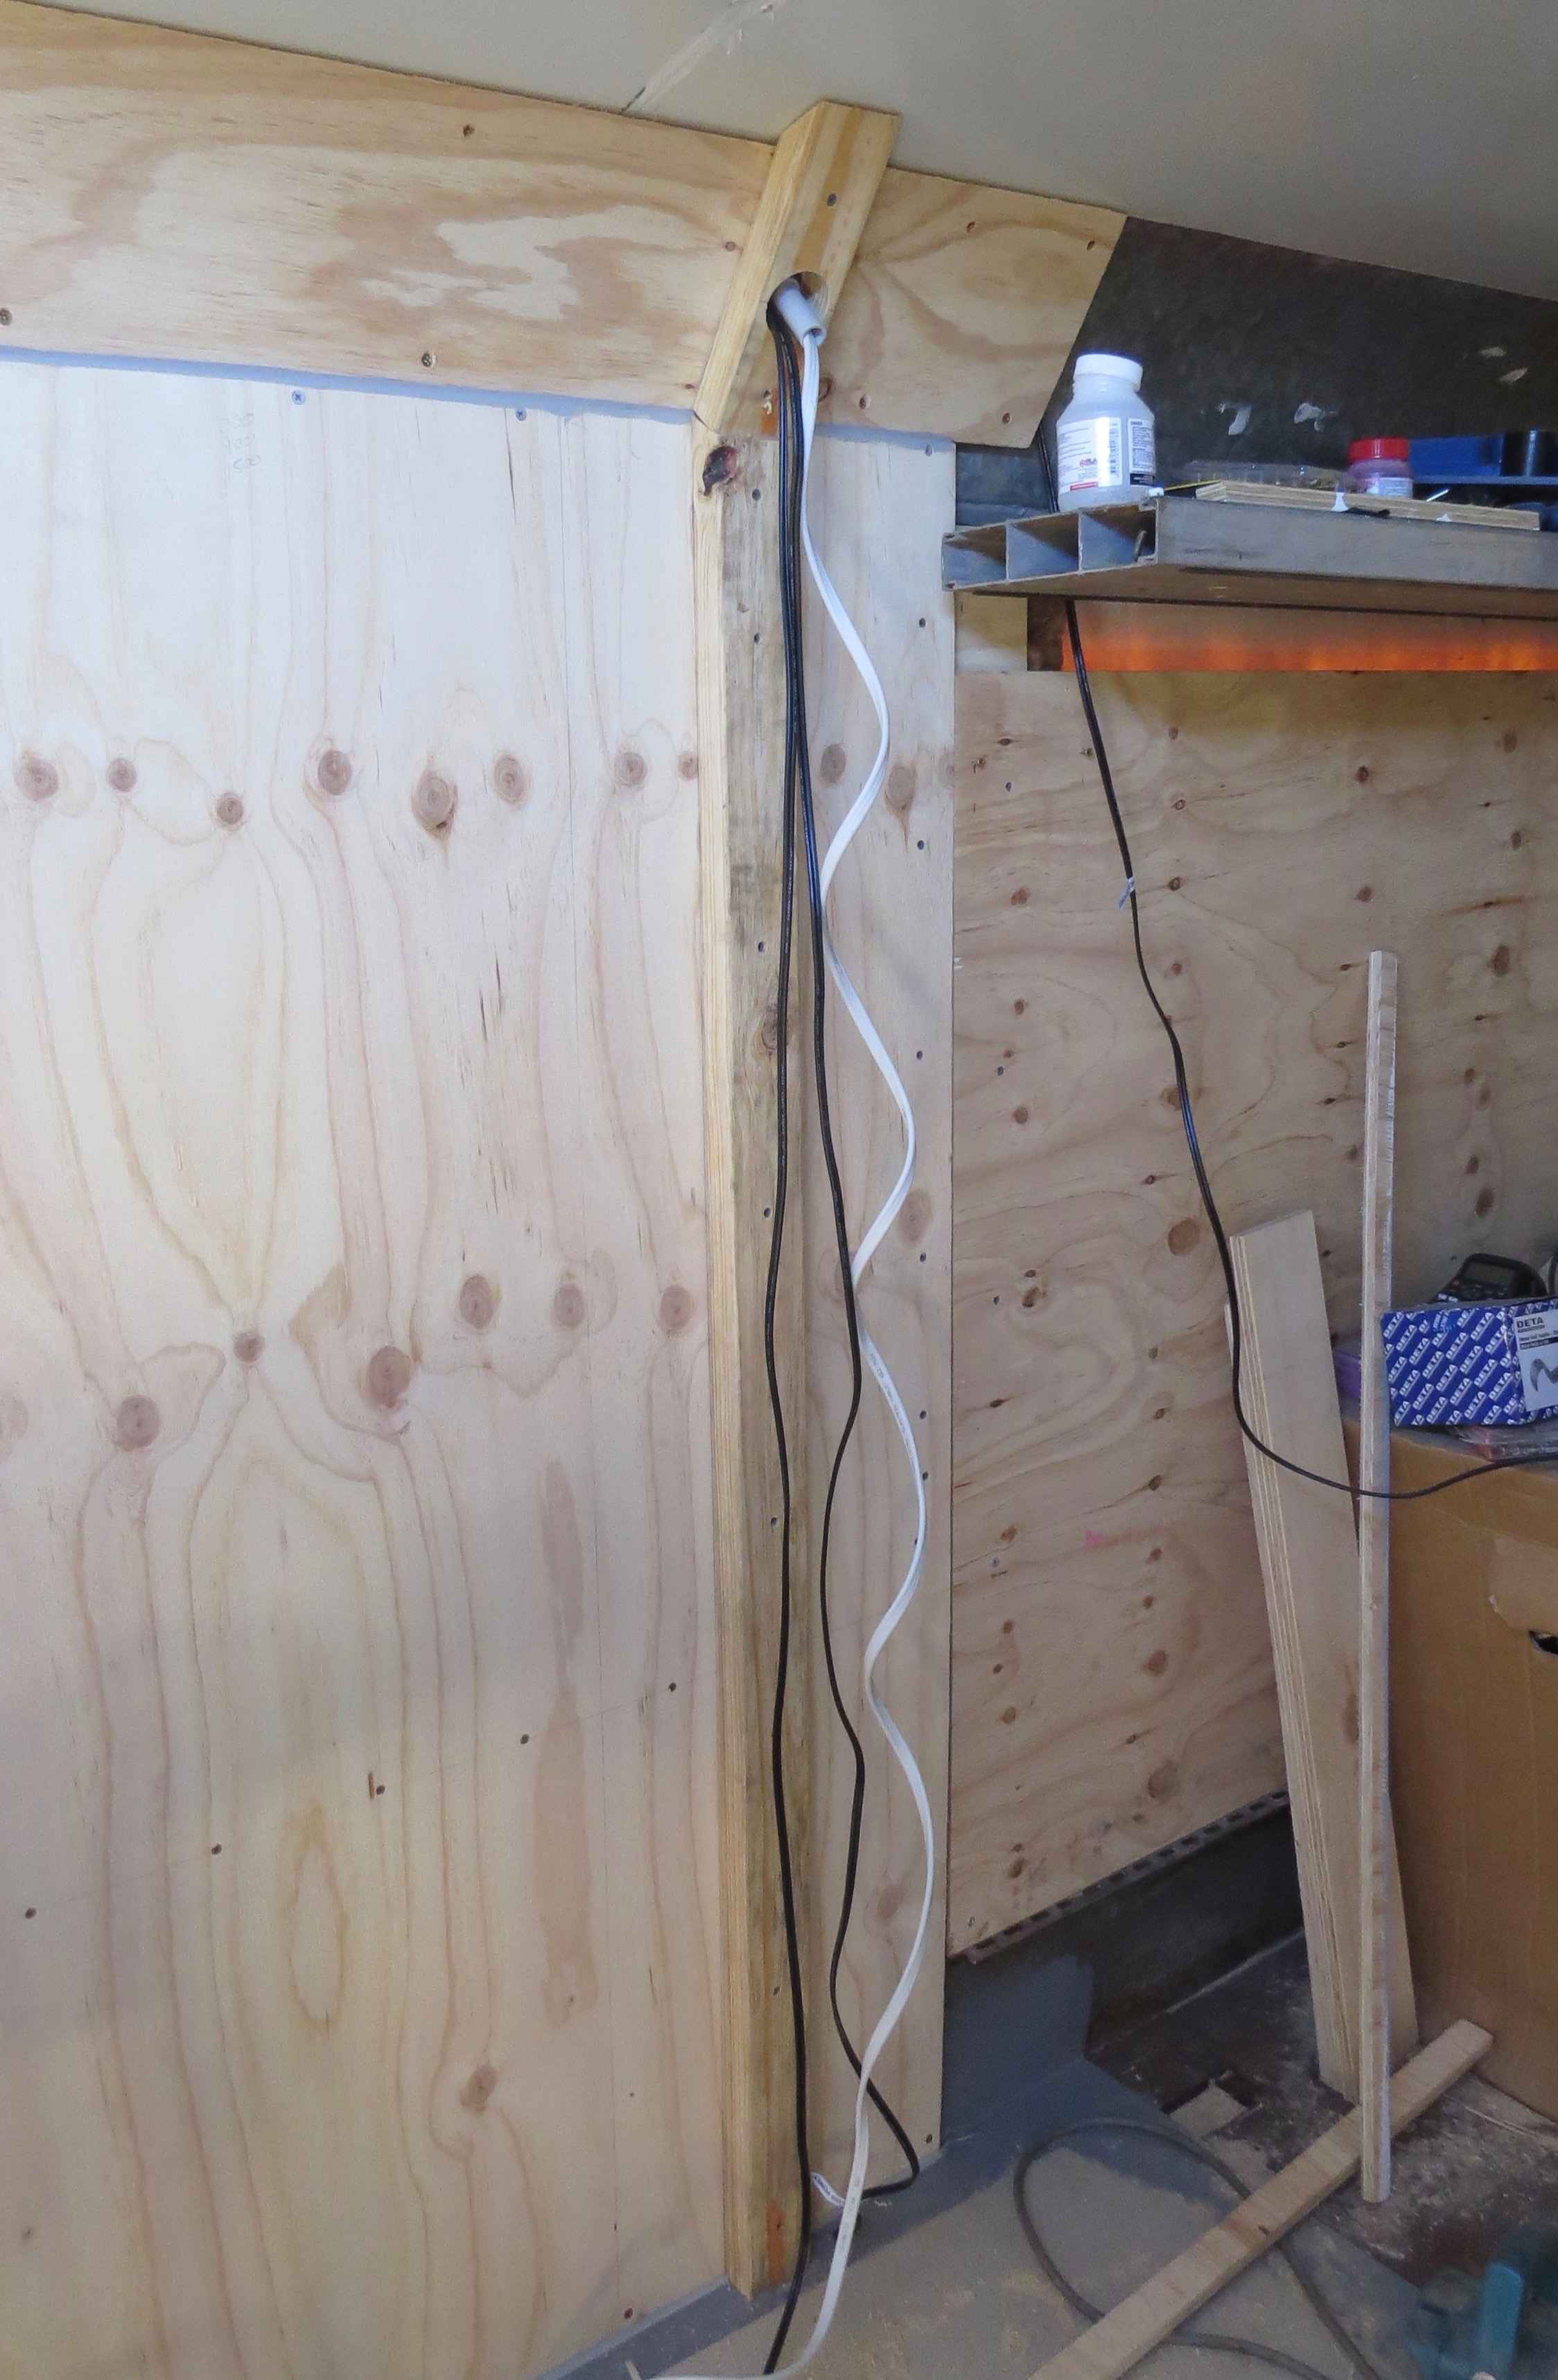
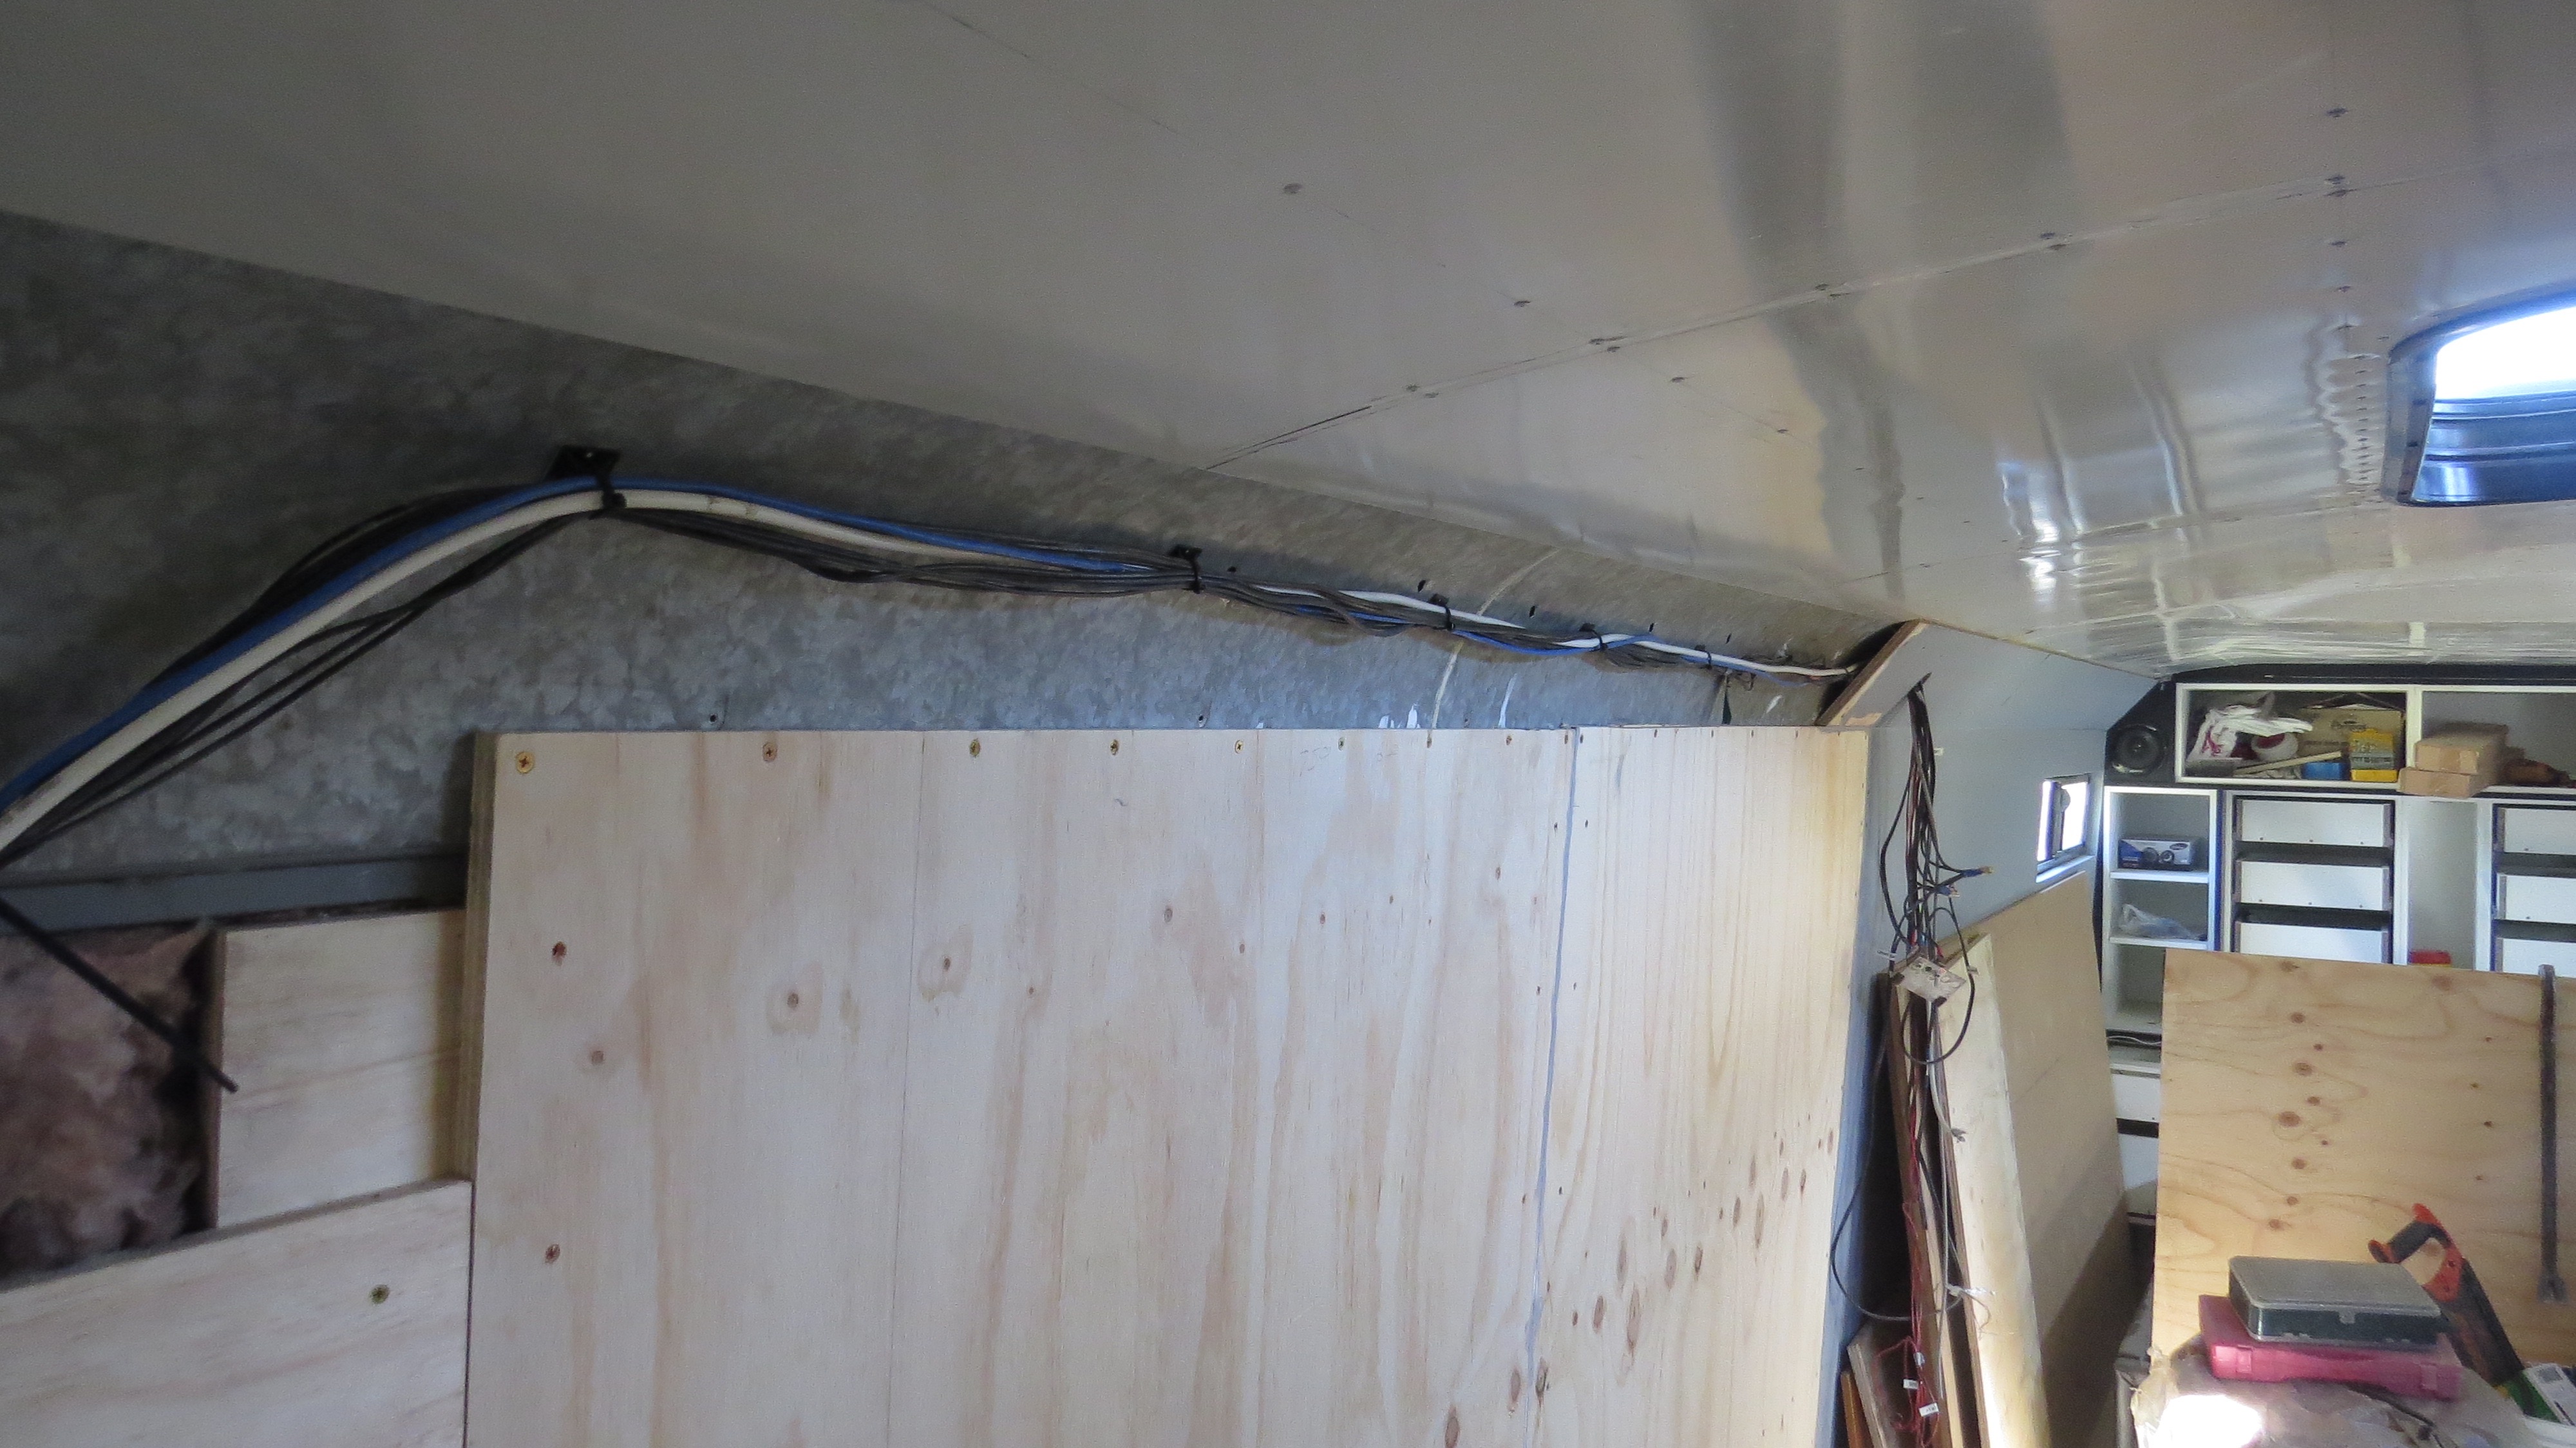
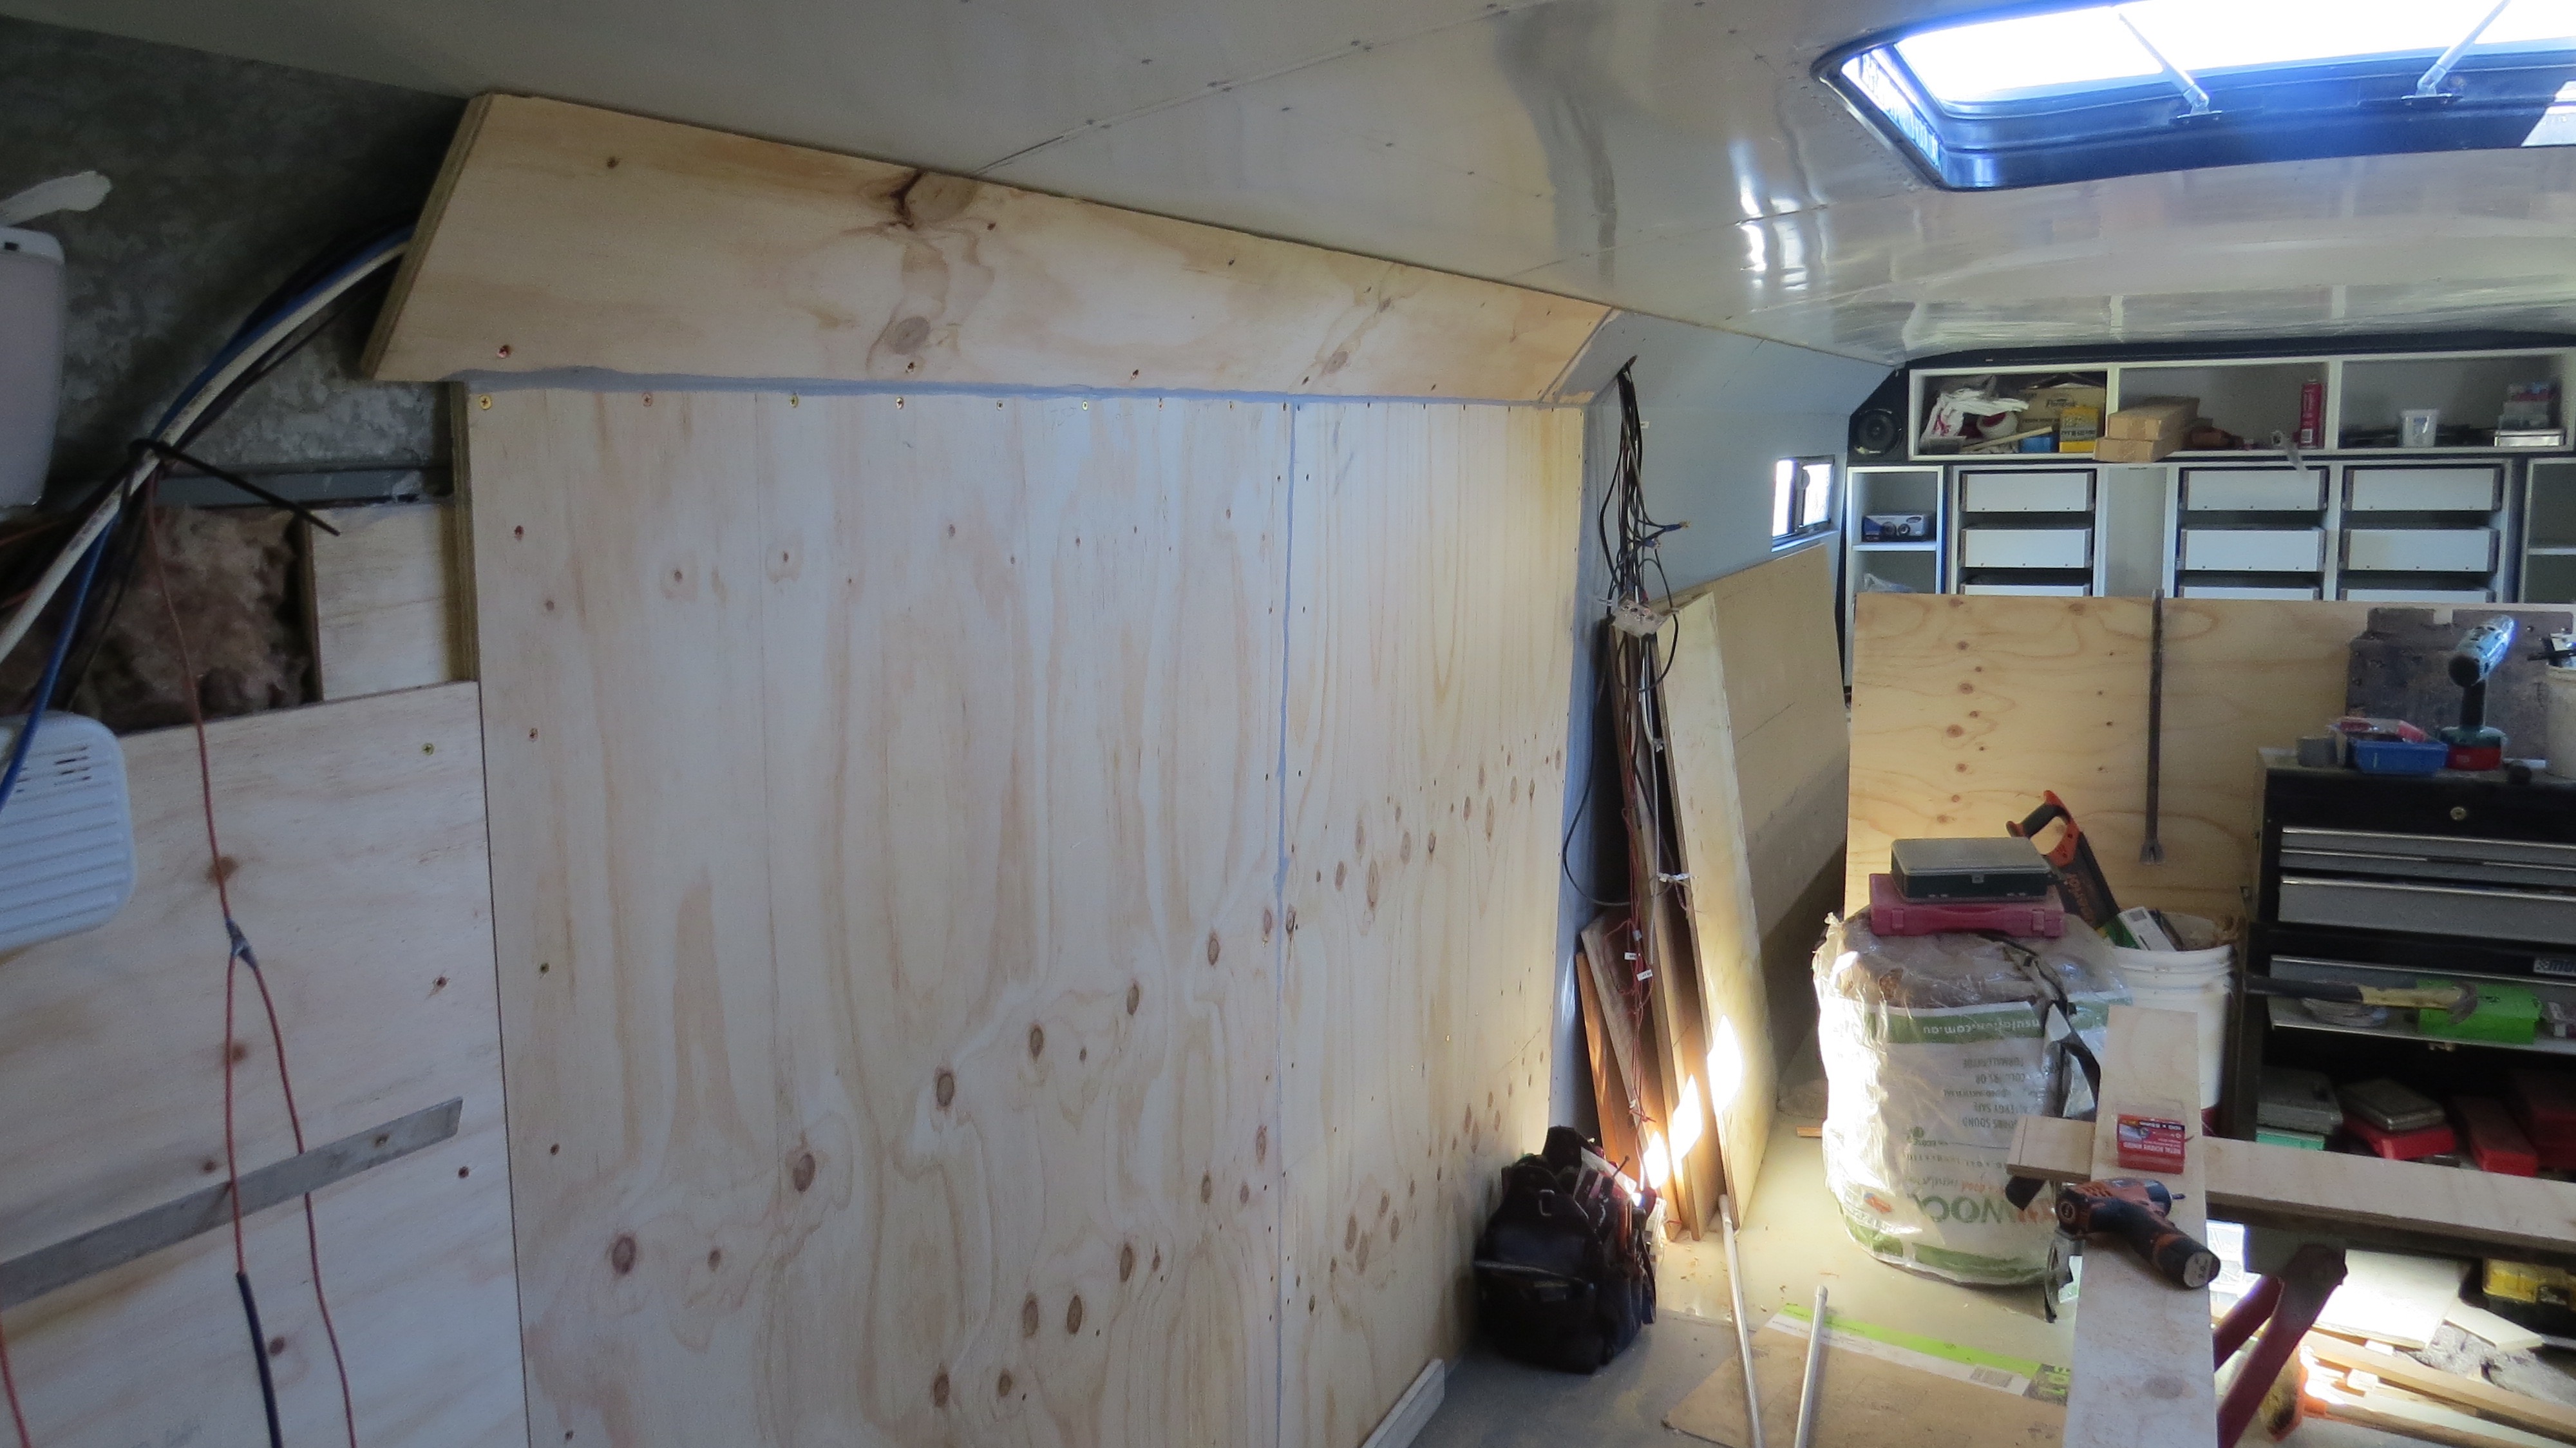
After running some more power cables around the top of the walls and finishing off the transition from the walls to the ceiling. Just some more painting for Charmaine to do to finish off the bathroom walls for now. Look’s like the next project will be to build some wardrobes to close off the bedroom from the bathroom.