
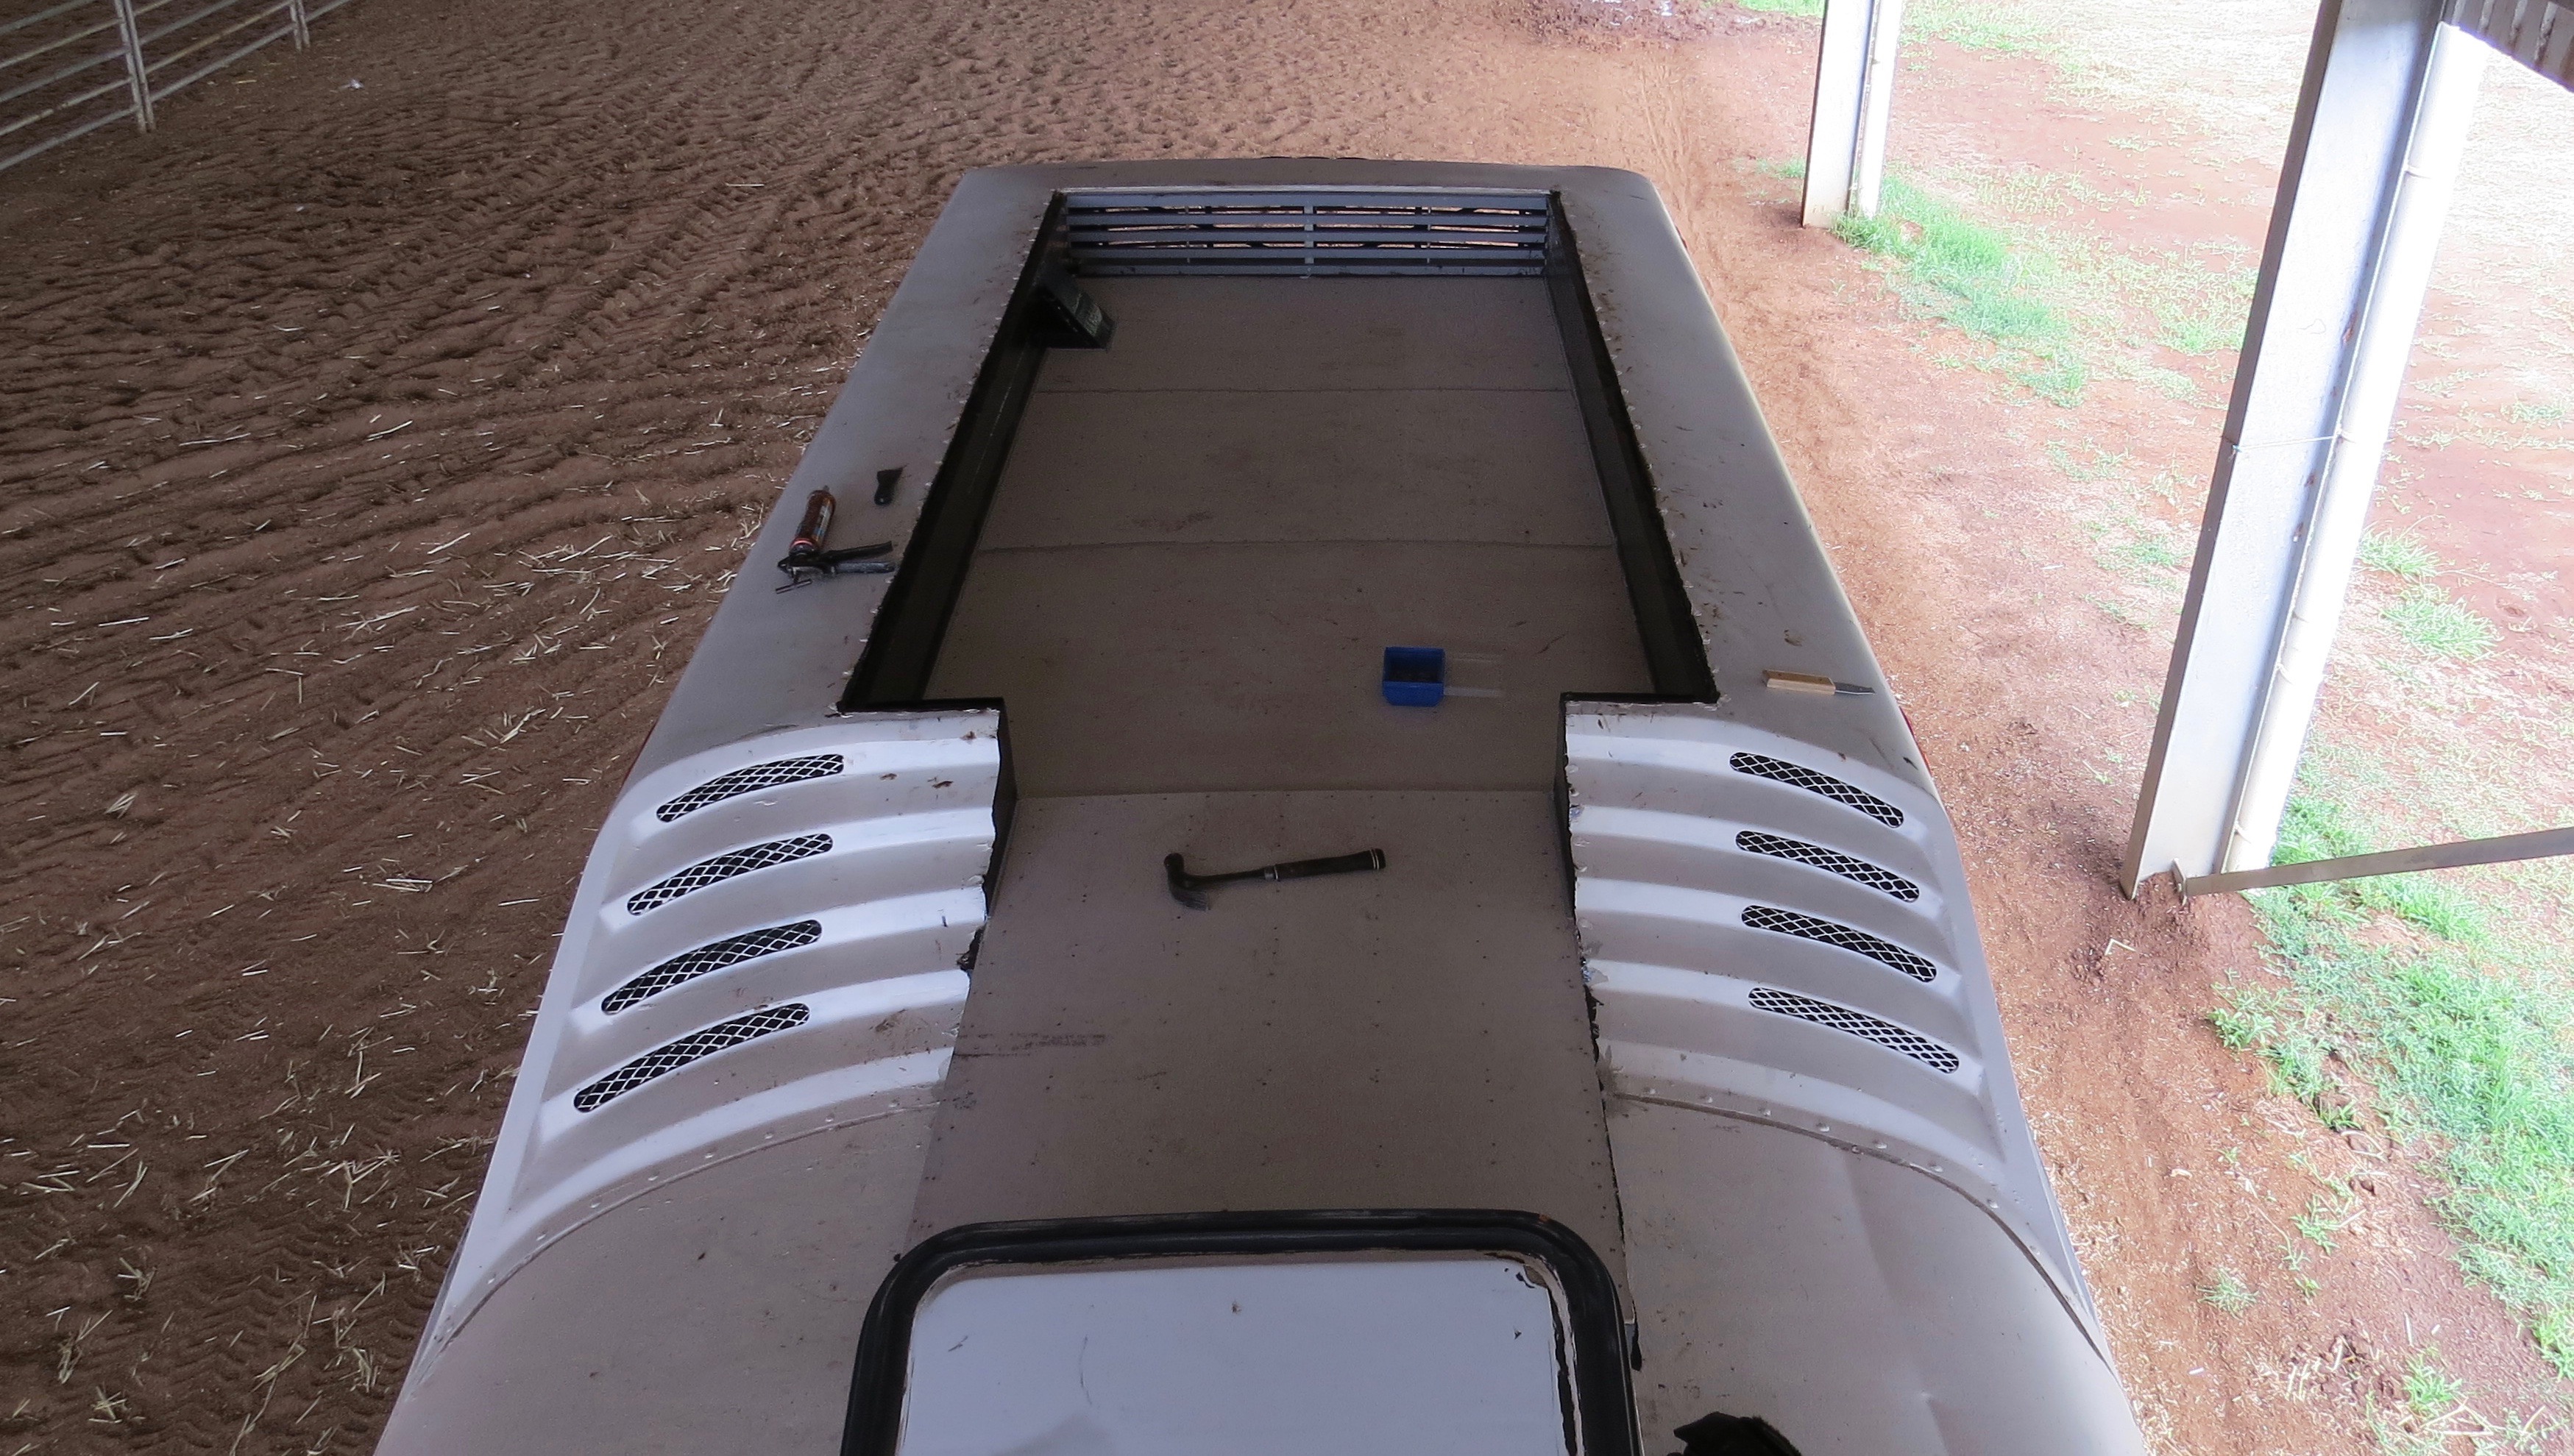
Leaking under the top deck
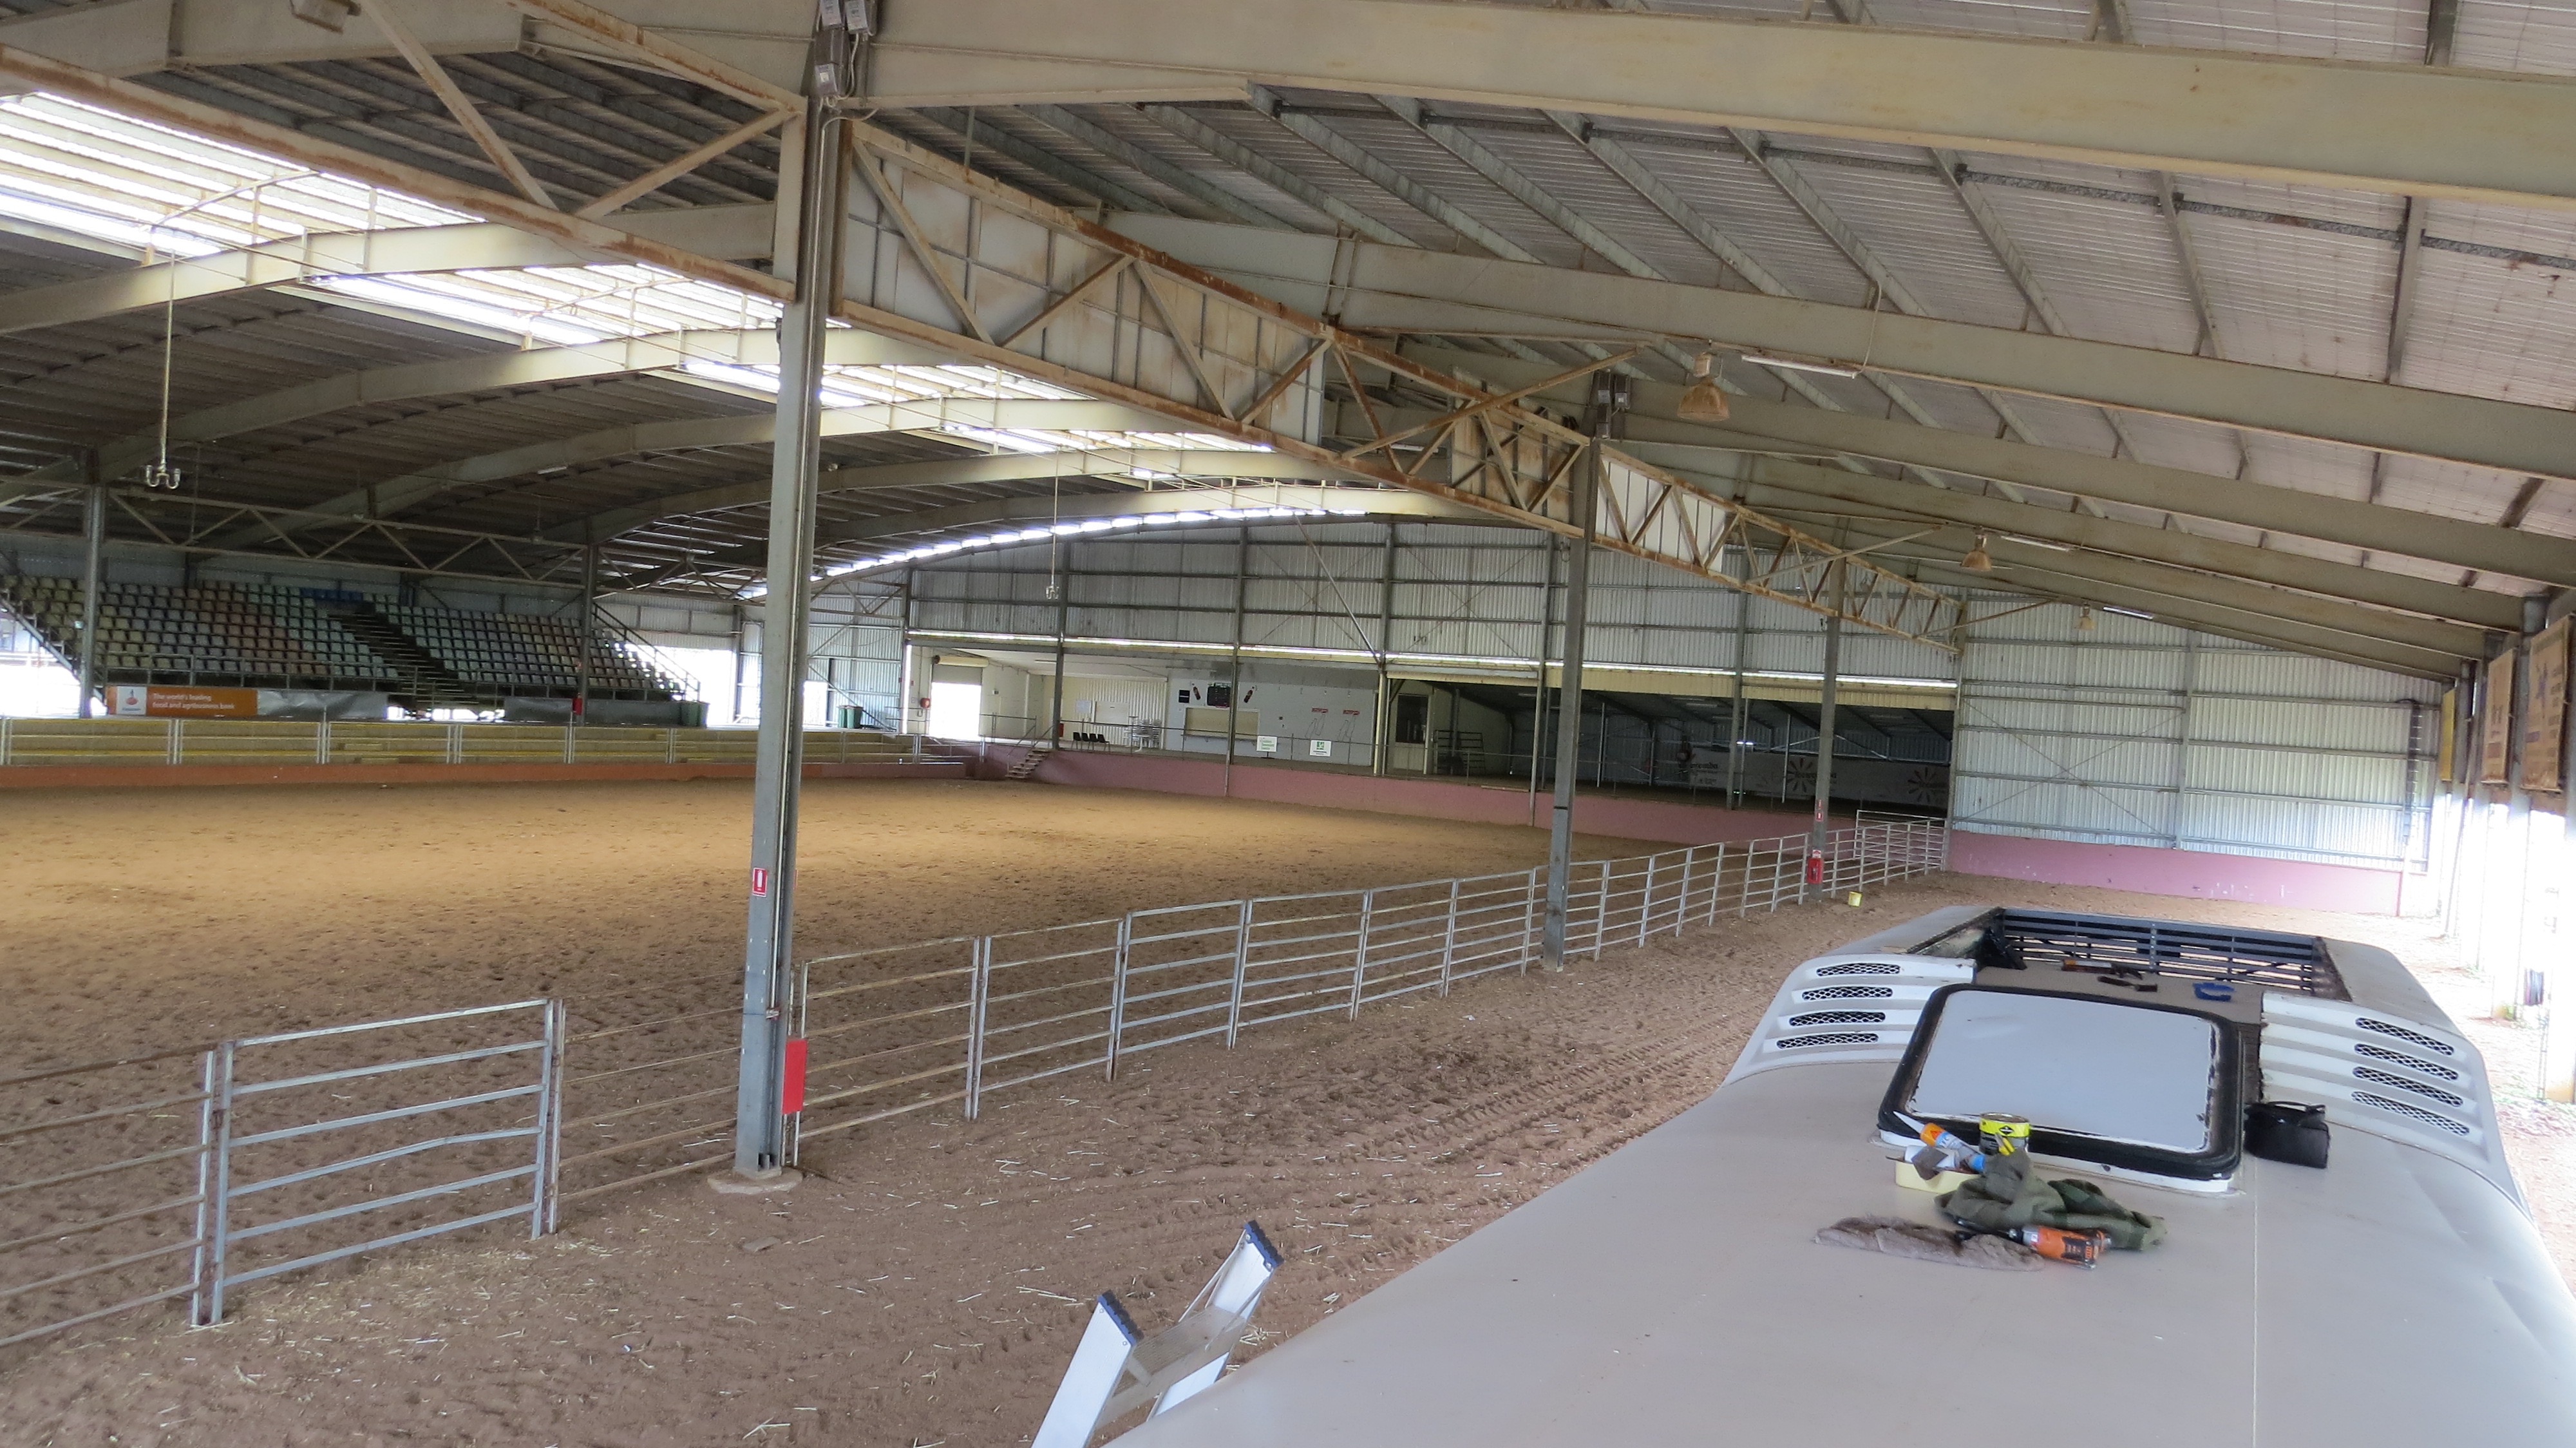
Thank goodness that I’ve been able to park the coach undercover for this job as there has been raining on and off. The Showgrounds have let us use one of the sheds for three weeks, thank you.
Now the fun begins
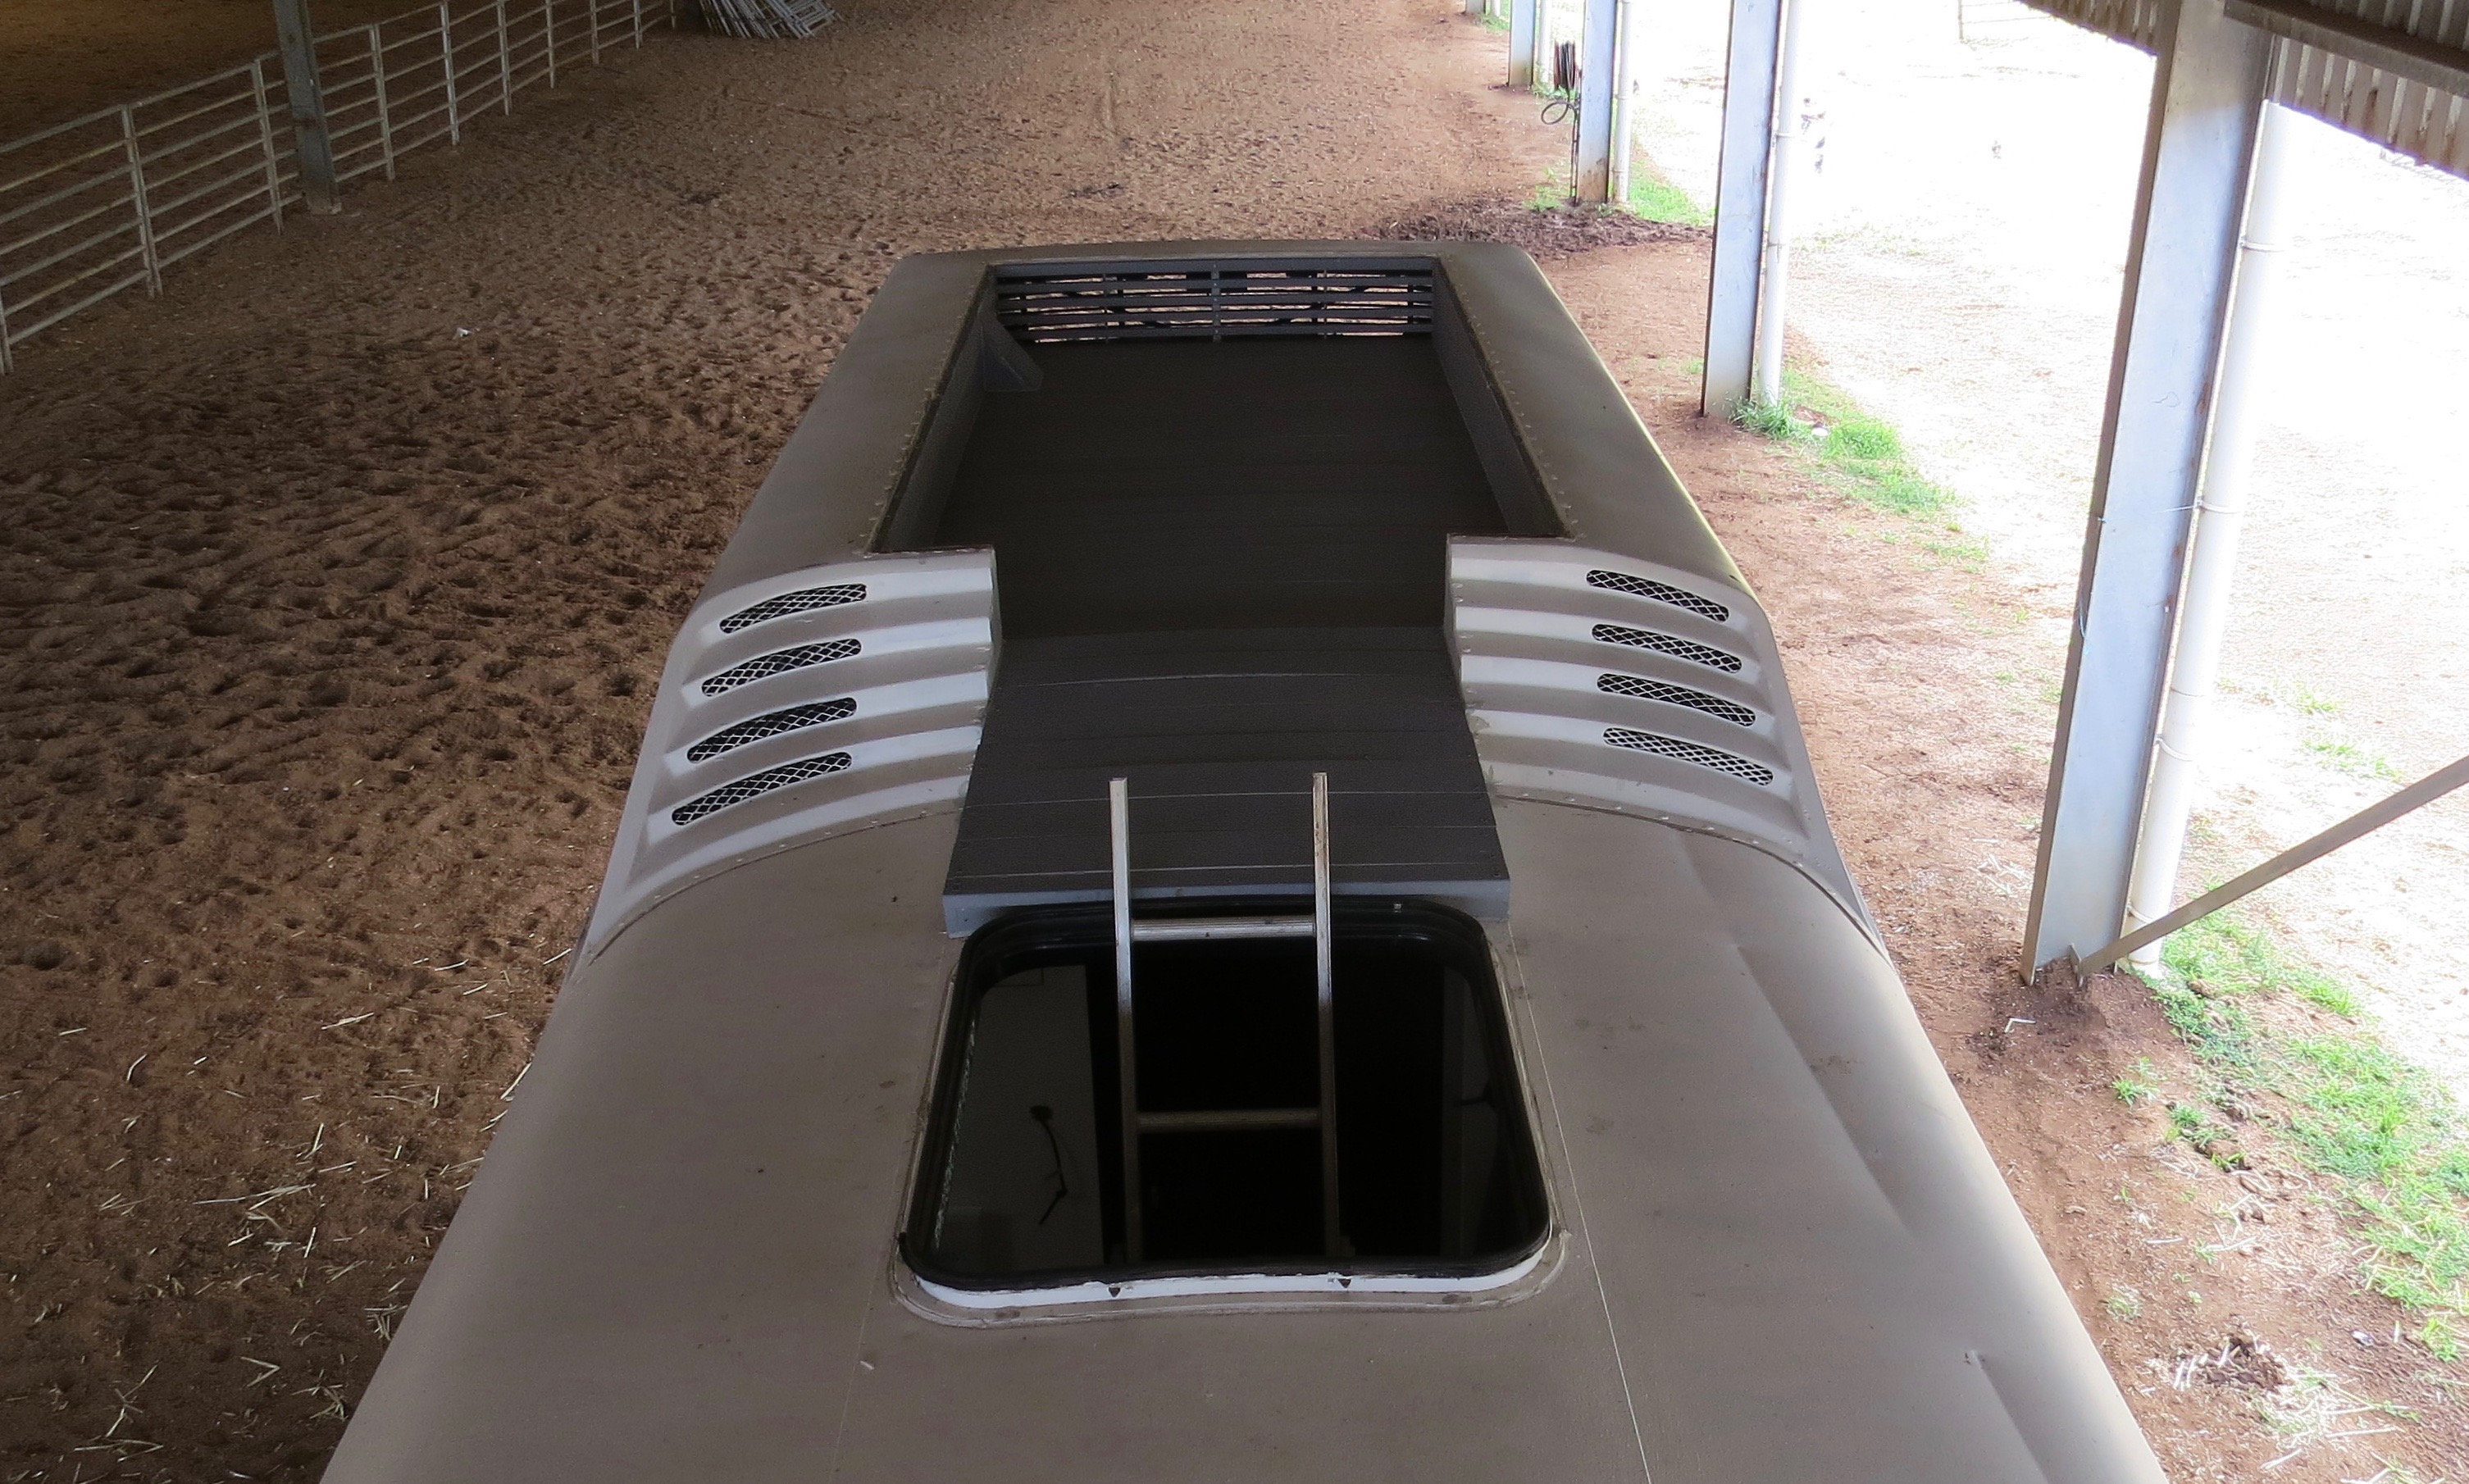
After trying to get the decking up and failing to do so, as I’d done a too good of a job gluing it down. Great! I had to come up with another solution.
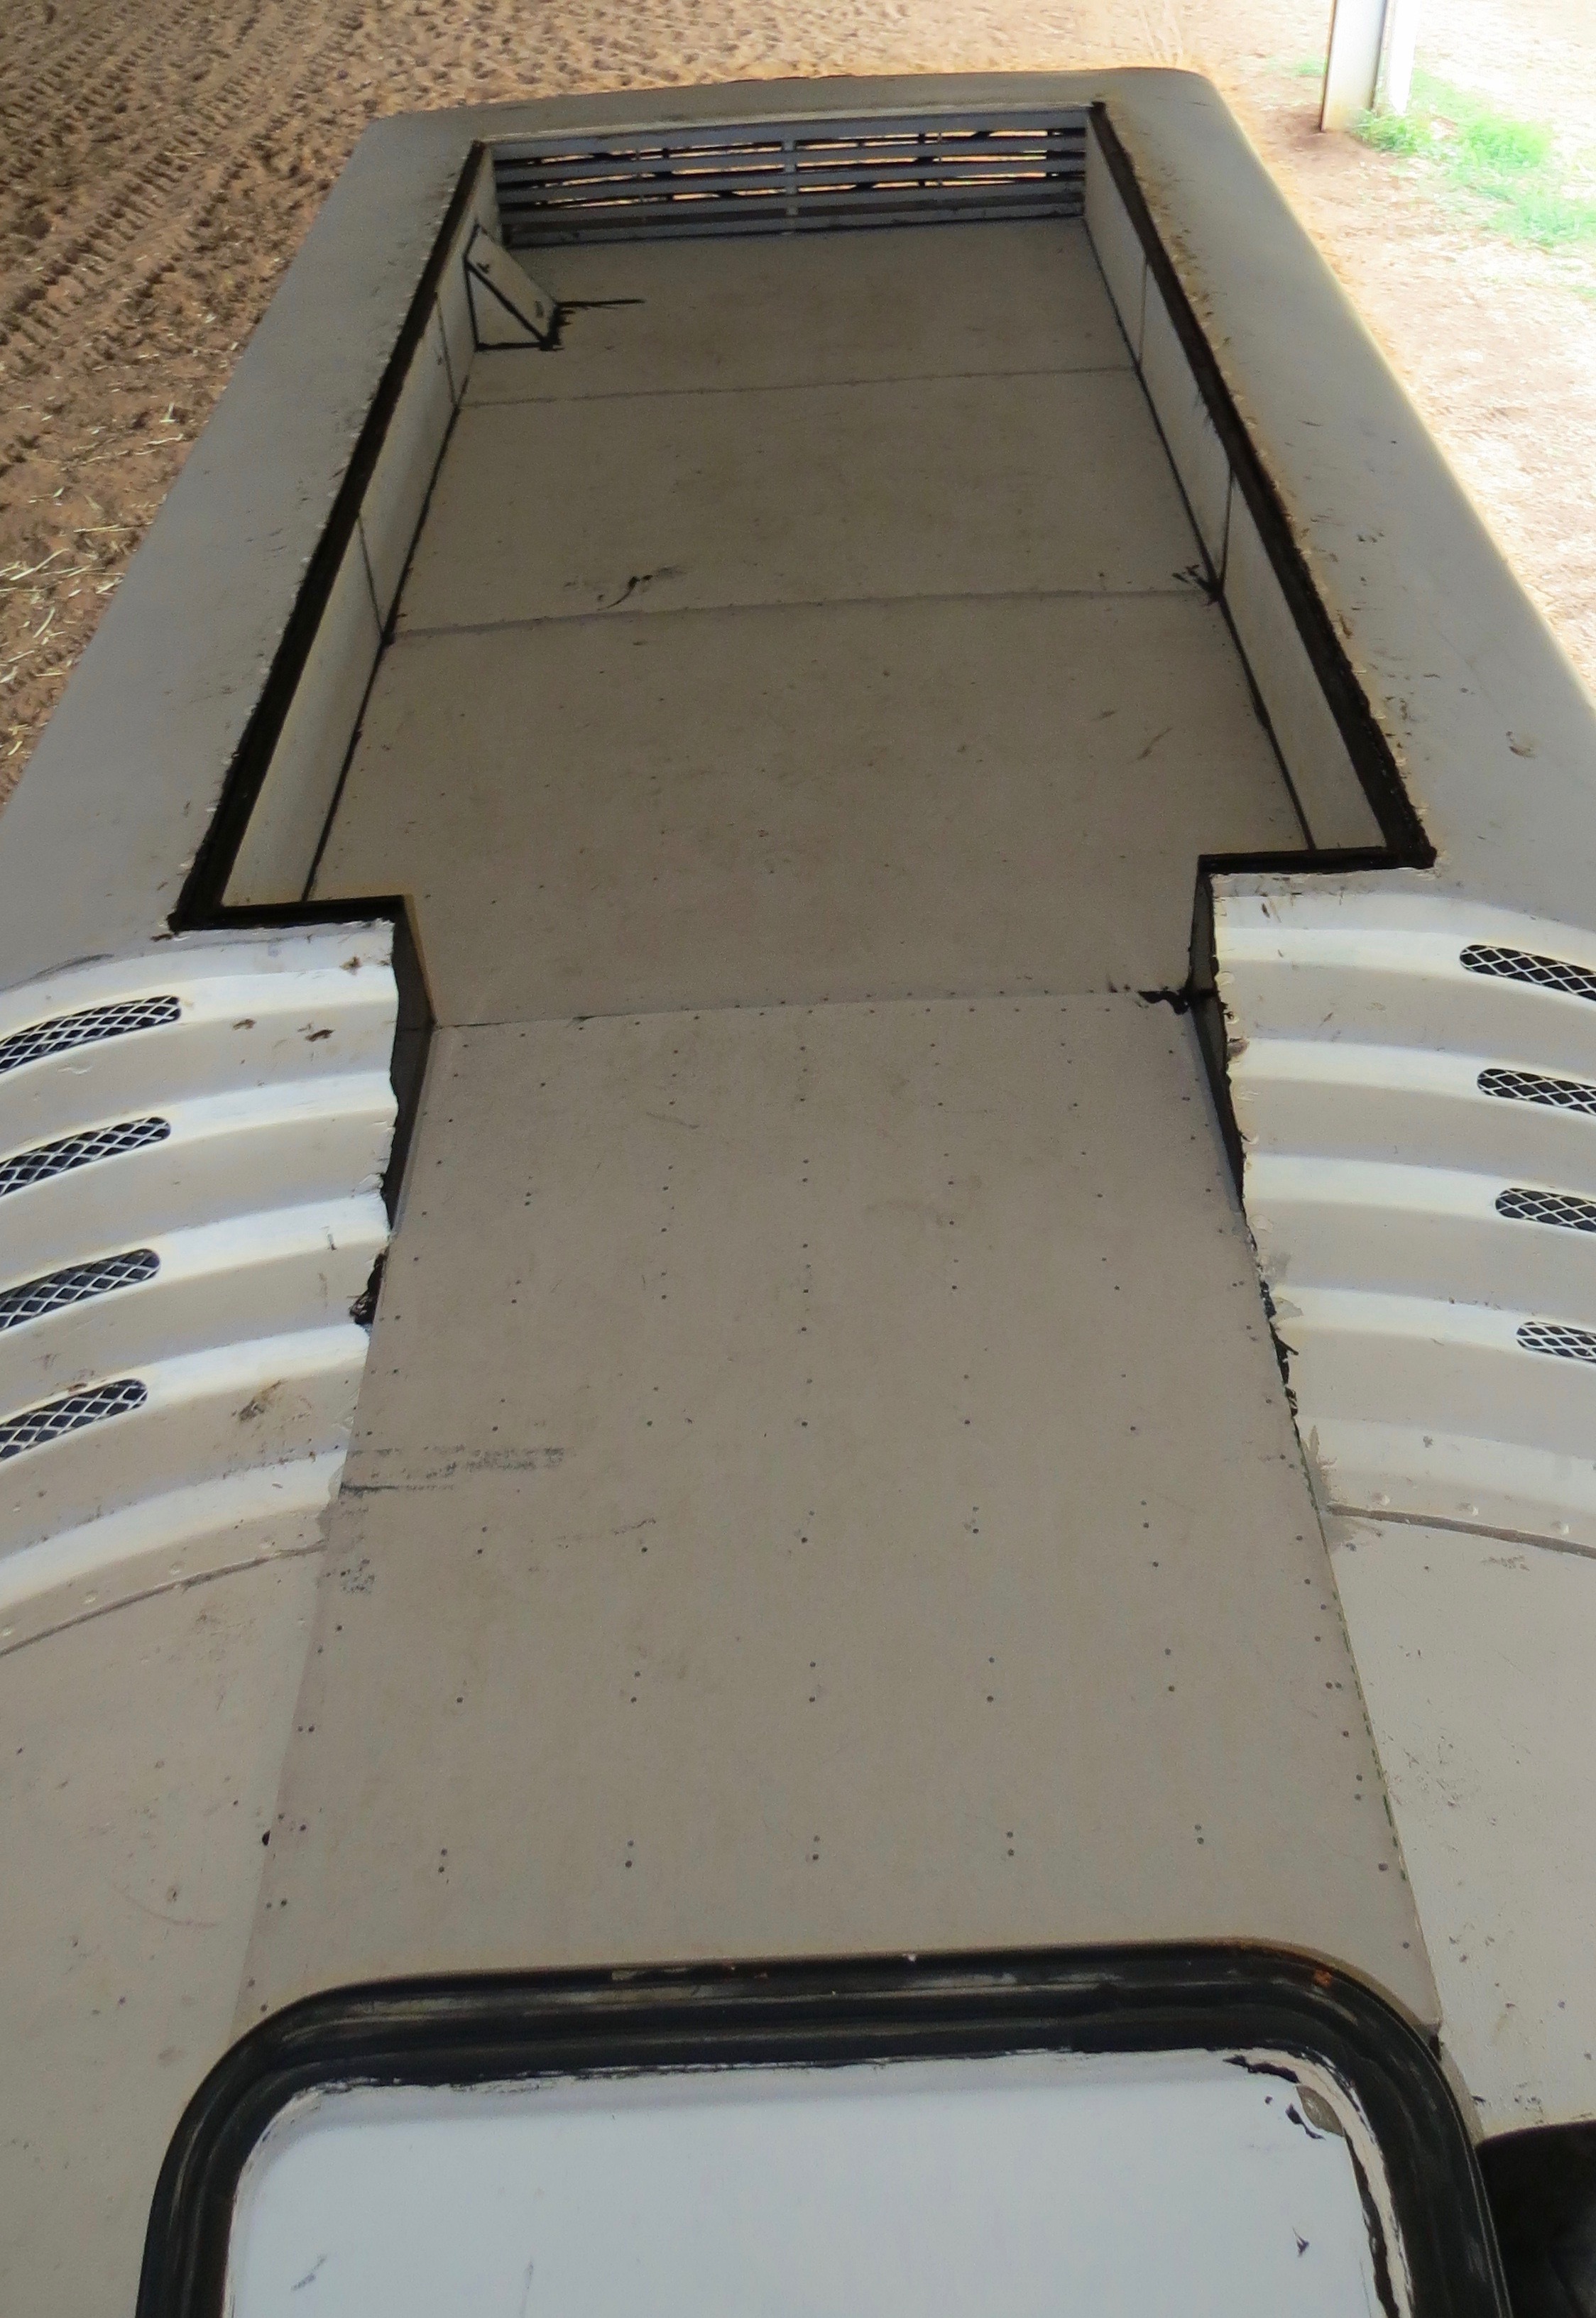
Going over the top of the deck and sealing it instead, this way I can lay down some tiles to finish it off.
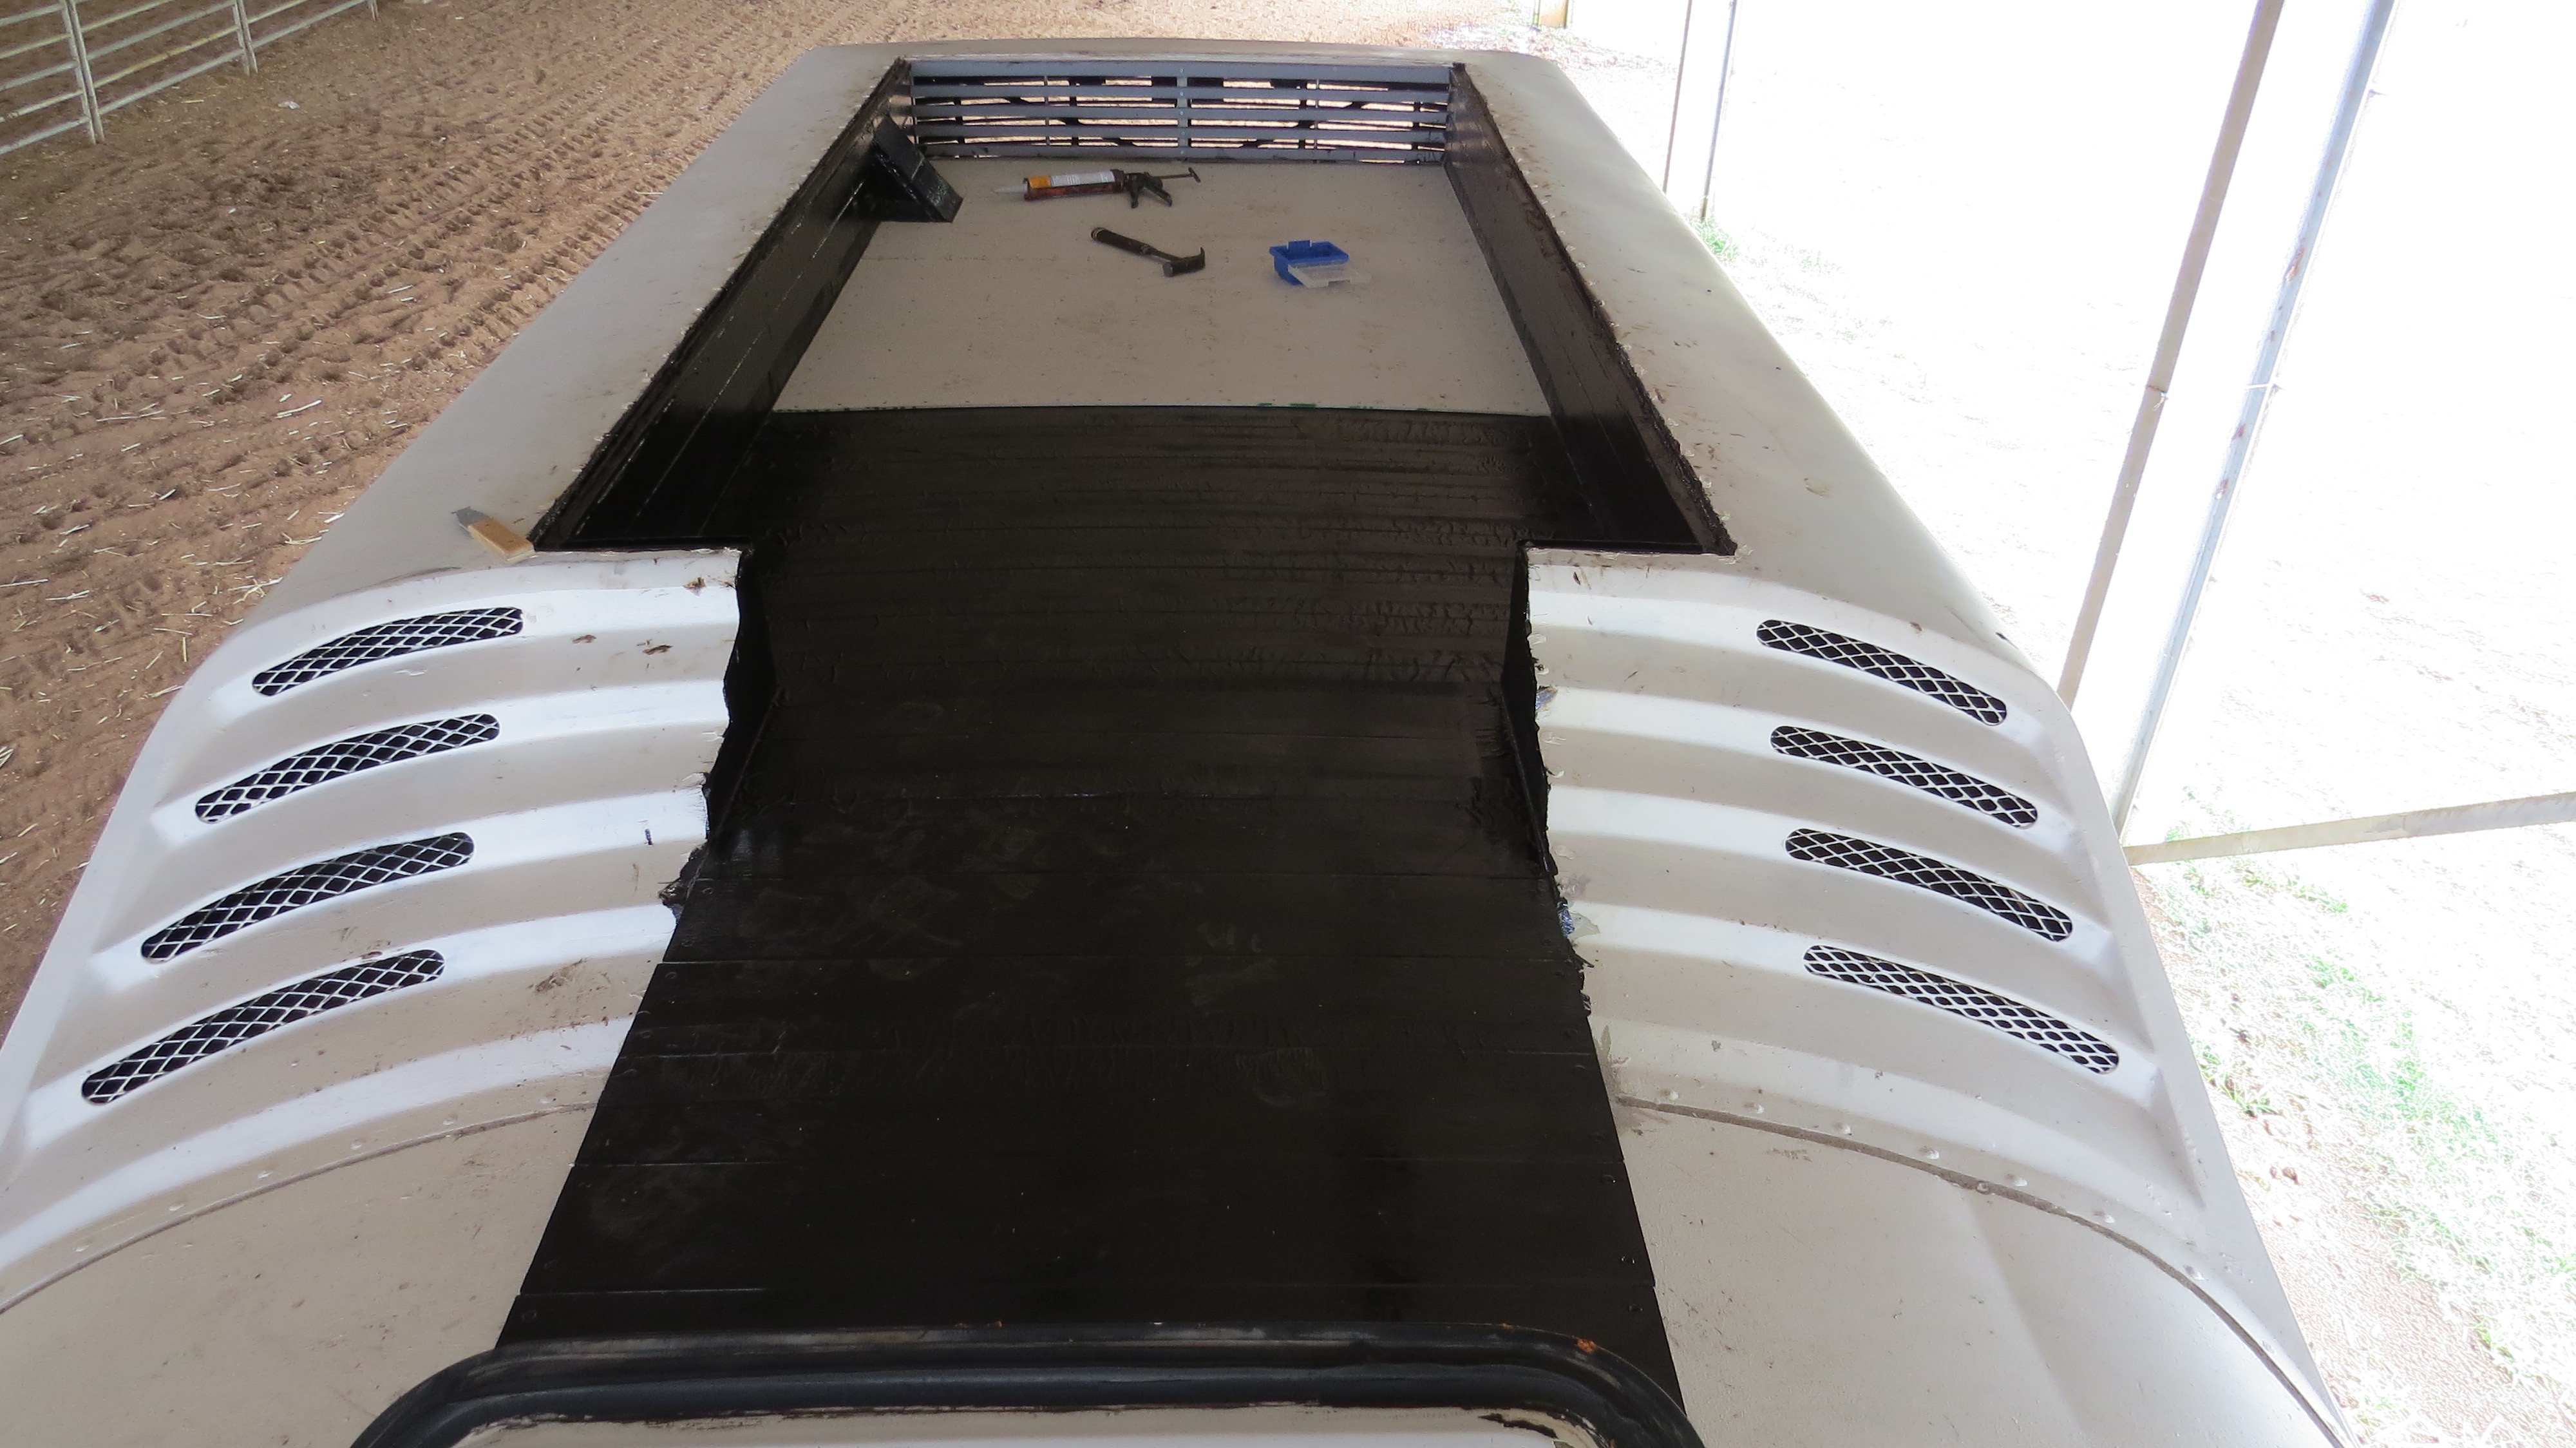
Time to seal it up
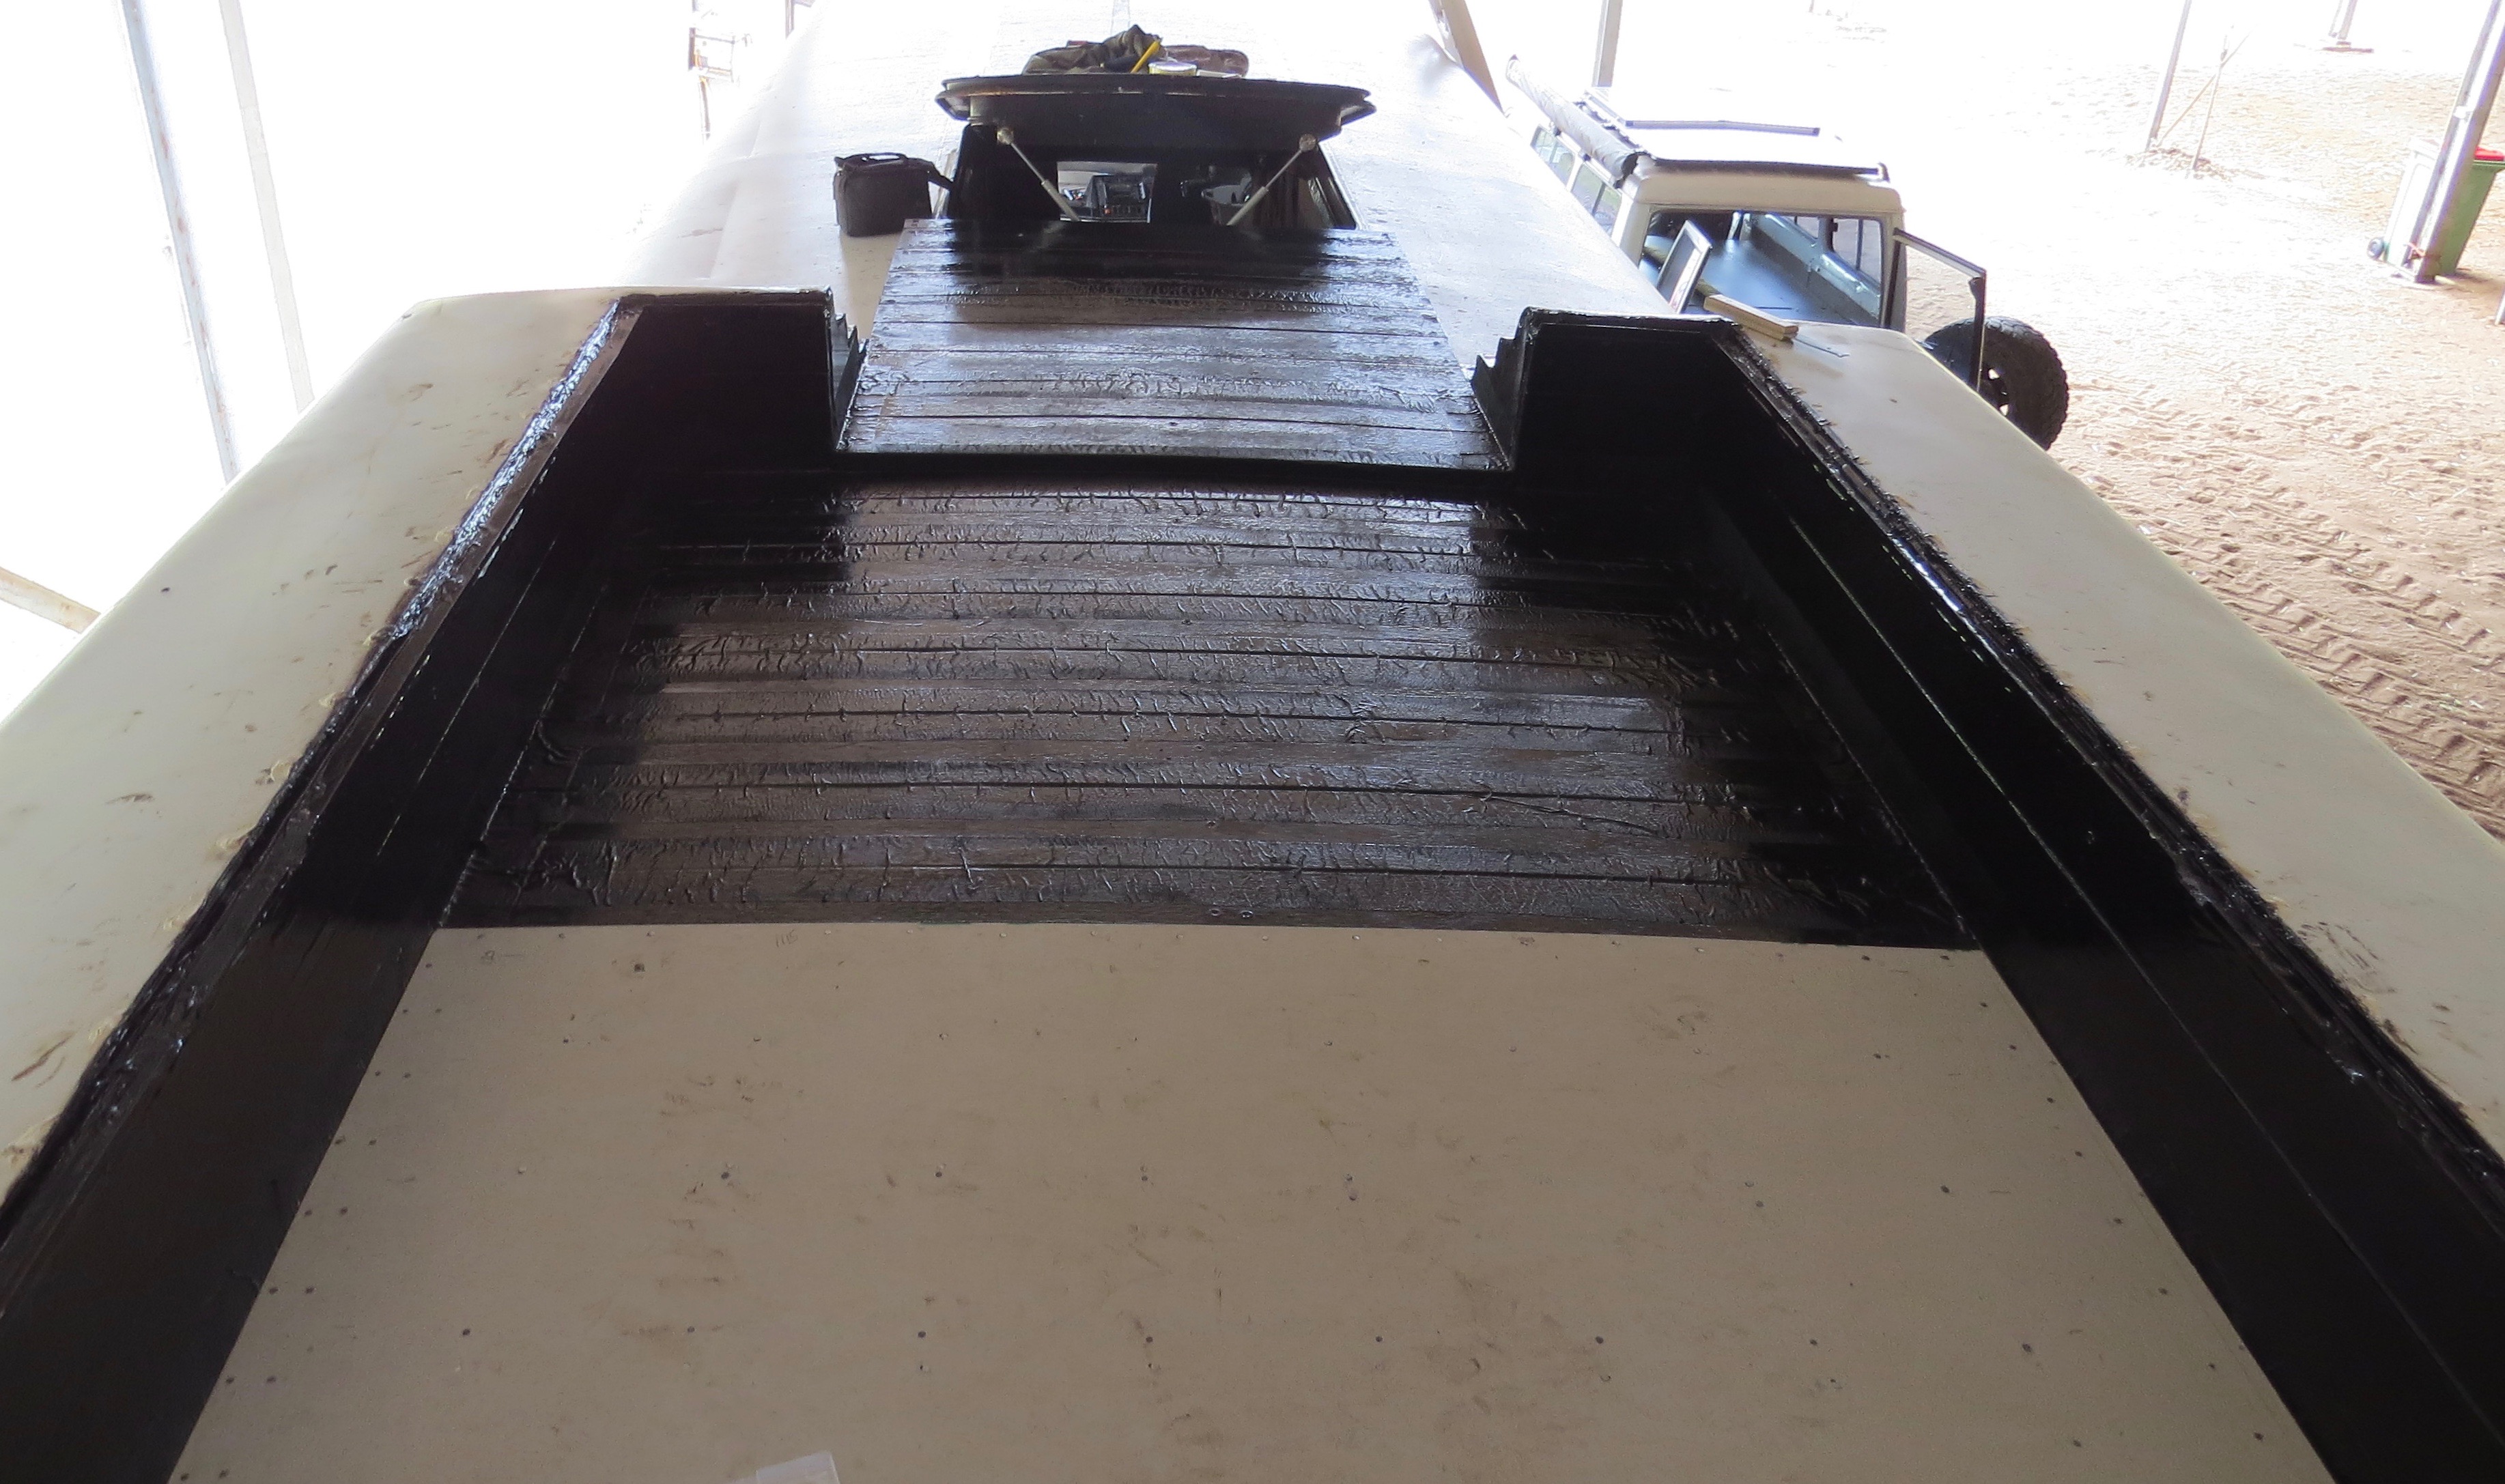
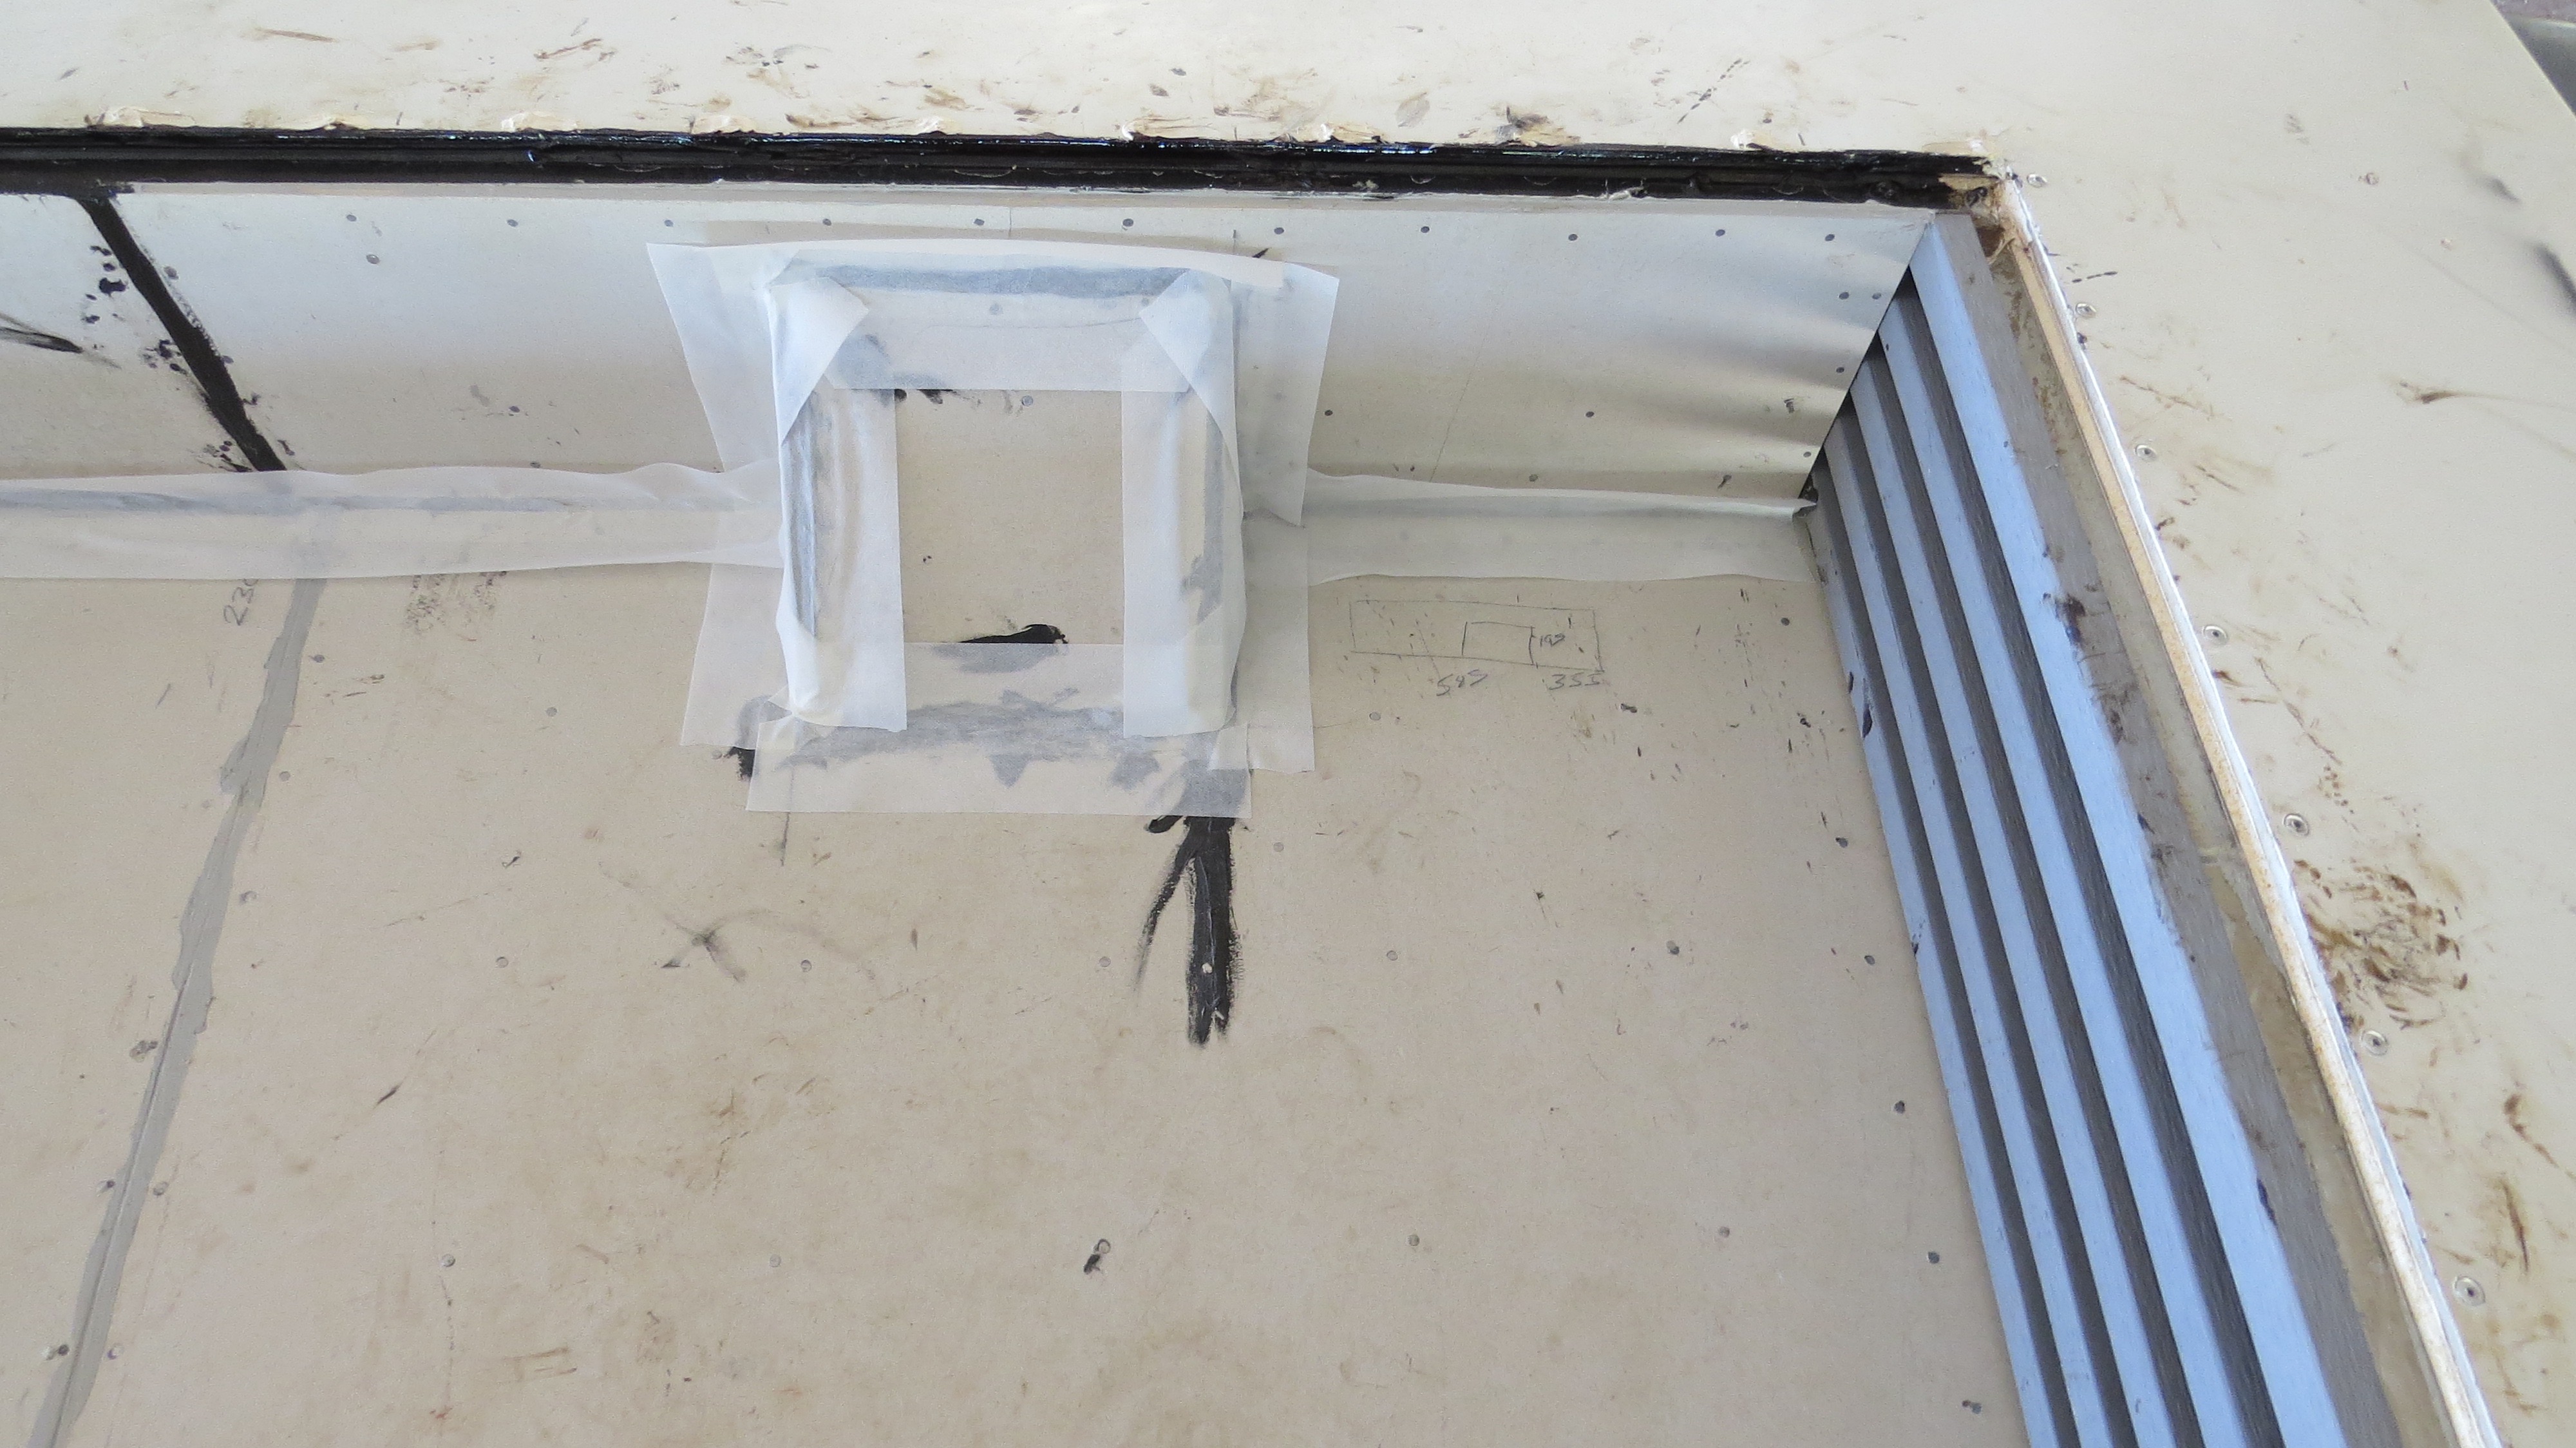
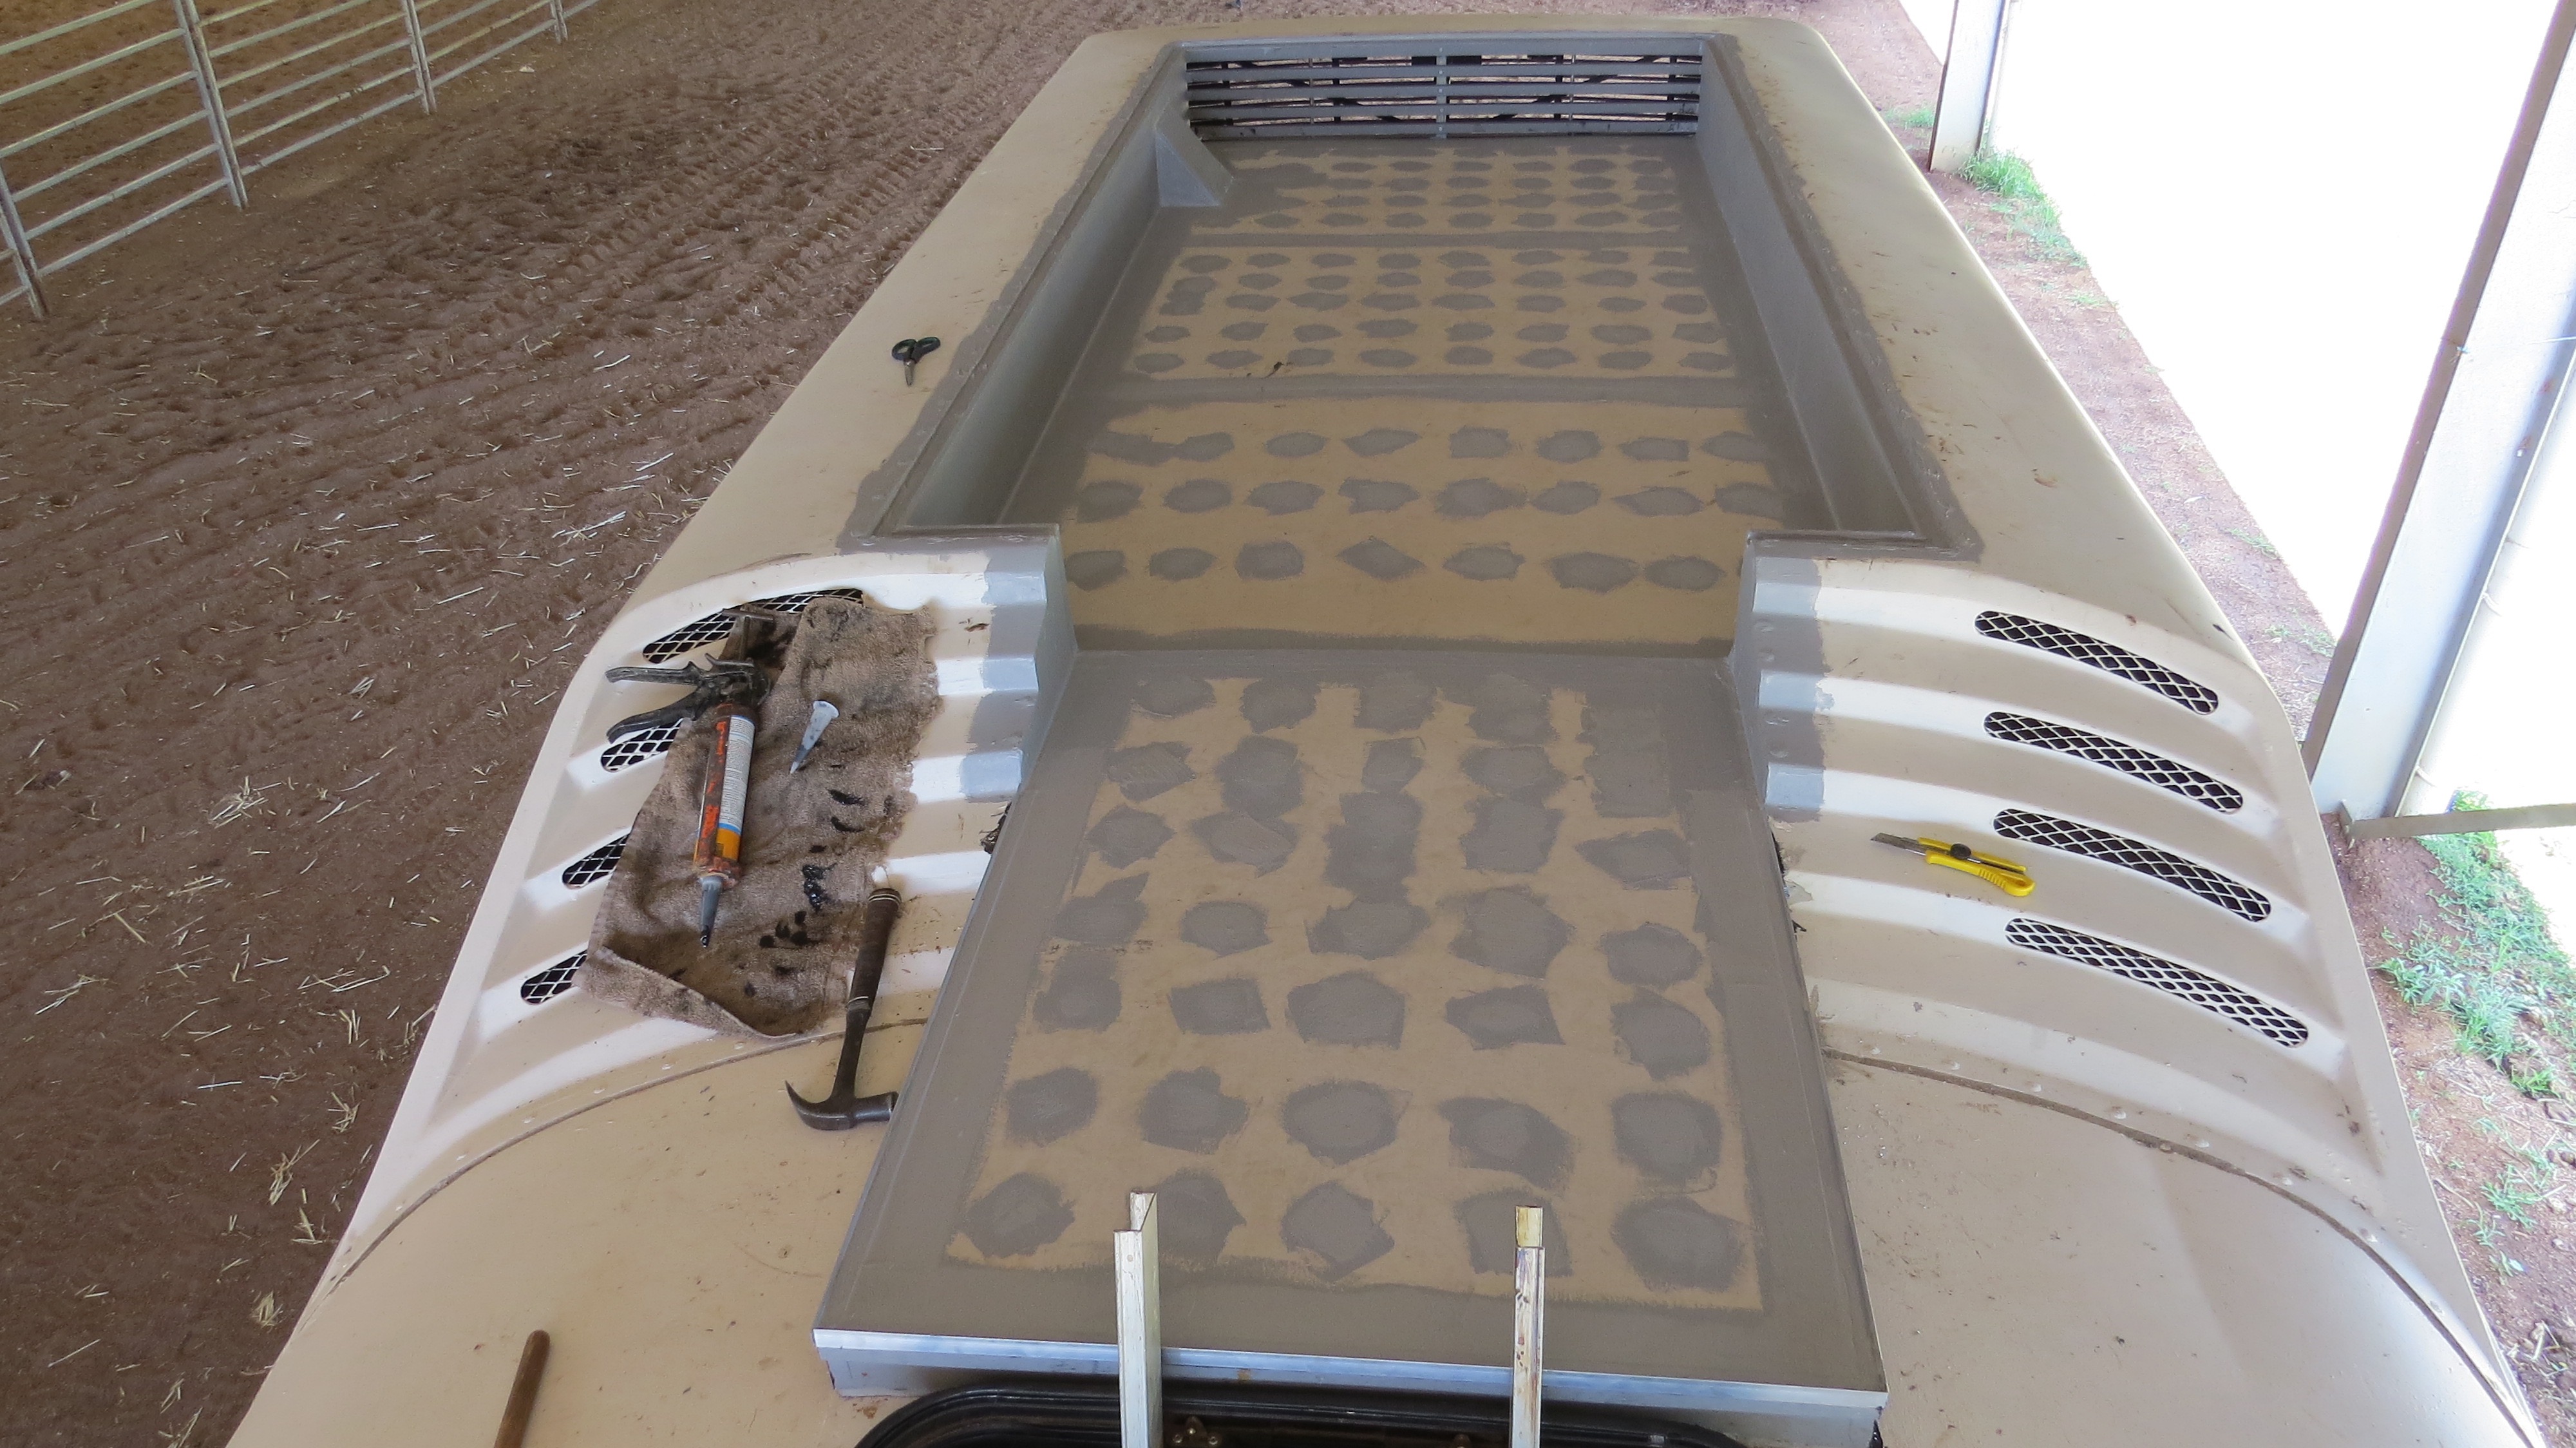
For some reason the Sikaflex didn’t stick between the decking boards. So after scraping it all out I troweled in some bitumen putty to take its place. The next step was three coats of bitumen paint to go over the decking boards. After the bitumen paint had dried the next day I got the fire hose out and flooded the area for one hour with no water leaking any more.
Now the tile underlay goes down, after cutting it to size. A box of nails later it’s all in place ready for the wet area under tile waterproofing.
Next will be cutting the reinforcing bandage with bond-breaker for the edges. This will stop any damage to the waterproofing membrane if there is any movement.
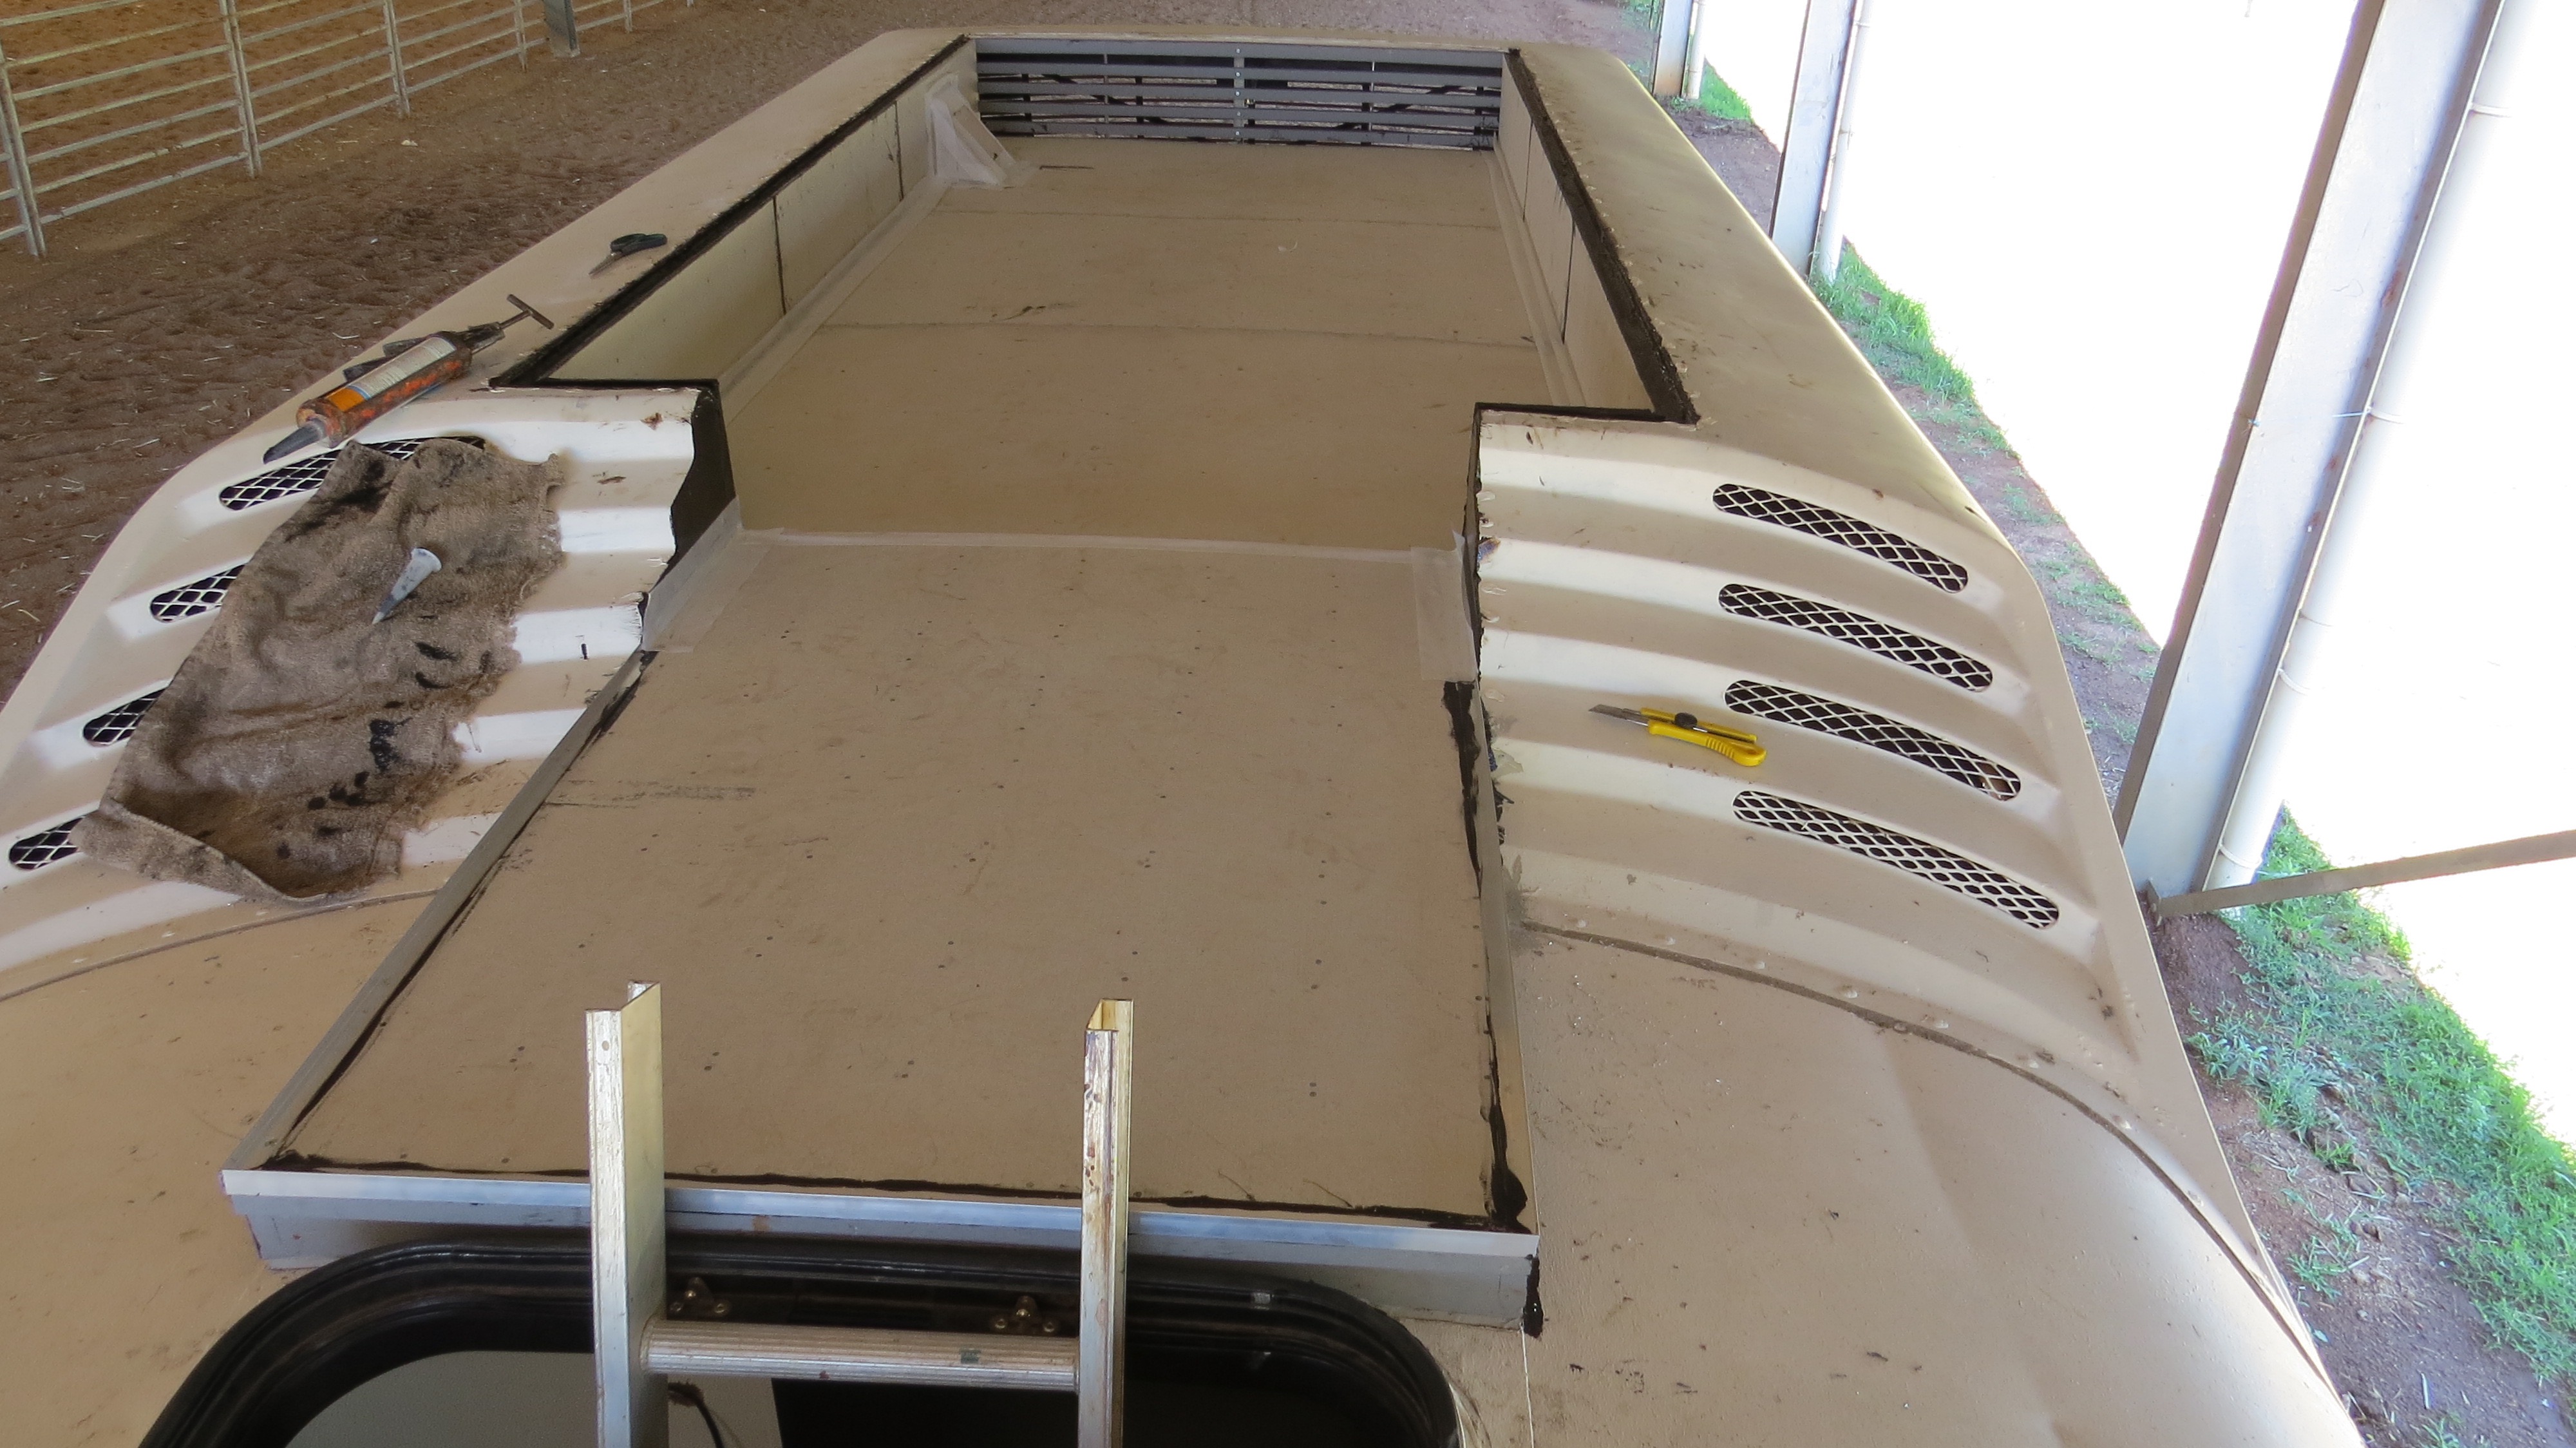
The under-tile waterproof membrane just paint on nice and easy thank goodness, so after going over the bandage and nail first. Then it was time for the first coat of three.
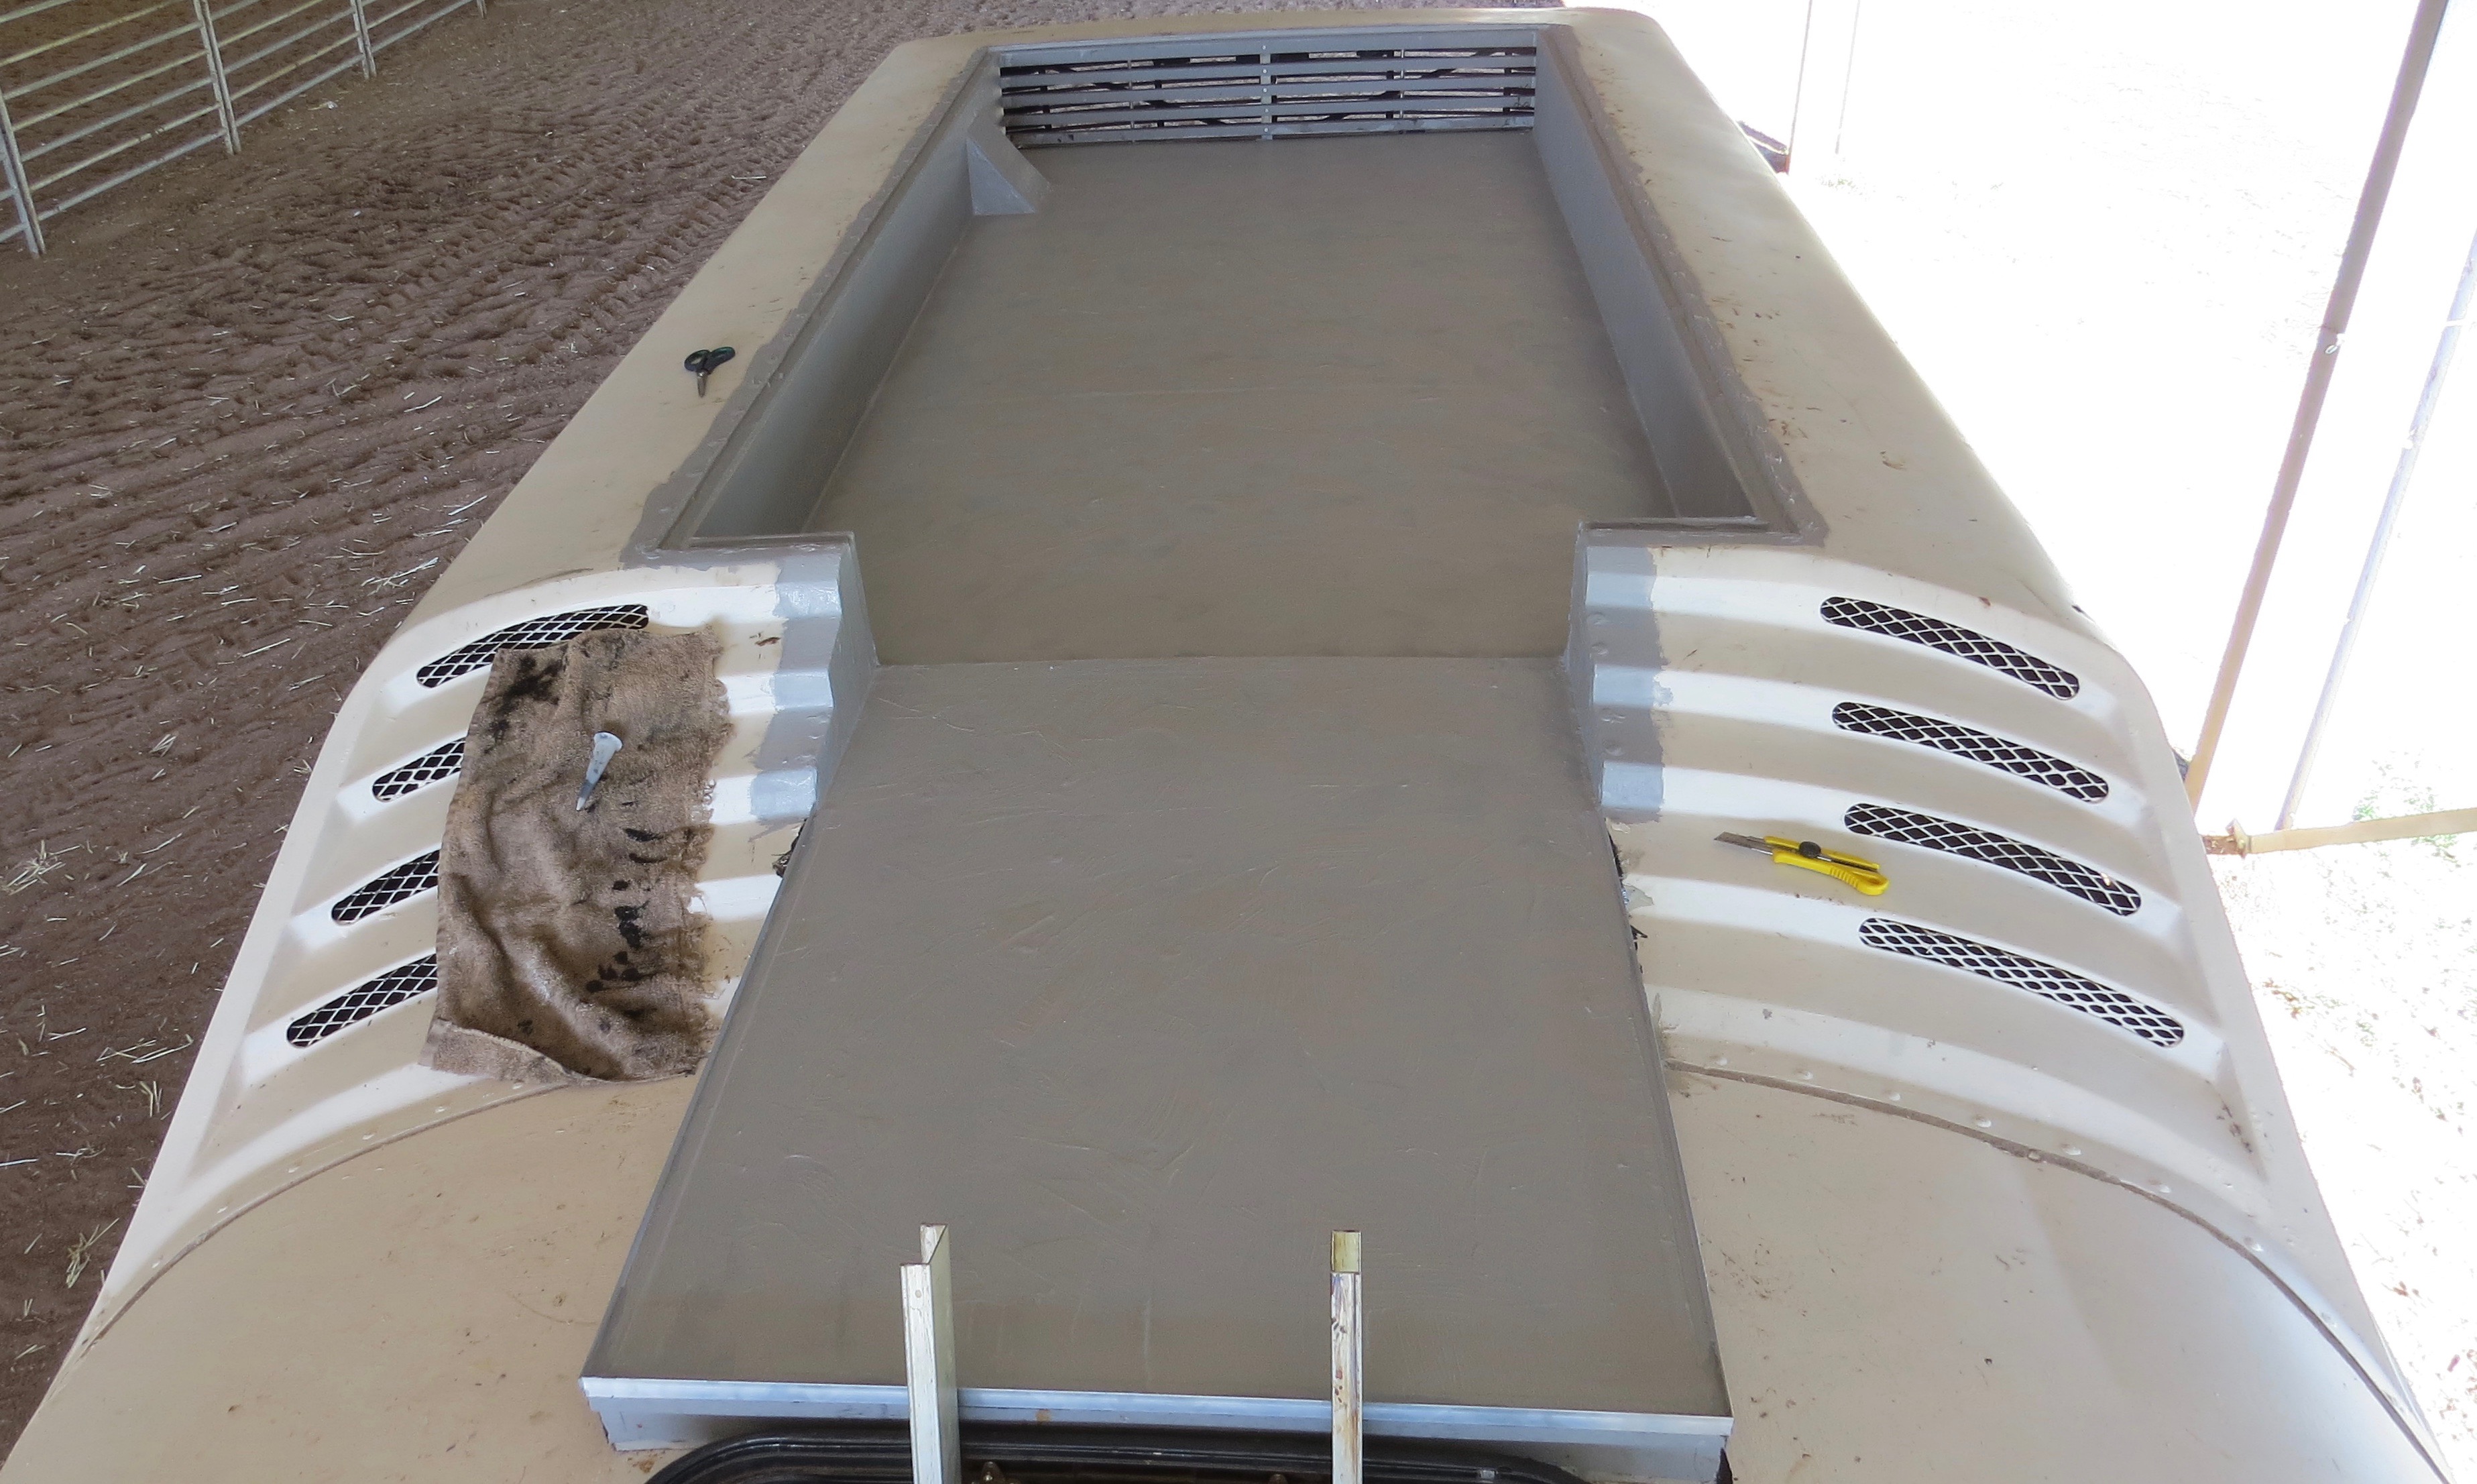
Next blog will be about the tile set out and the gluing of them in place, with all the other fiddle bits to finish it off.