Category Archives: Motorhome fit out

Still Removing The Old Coach Air Conditioning

Back To The Air-Conditioning

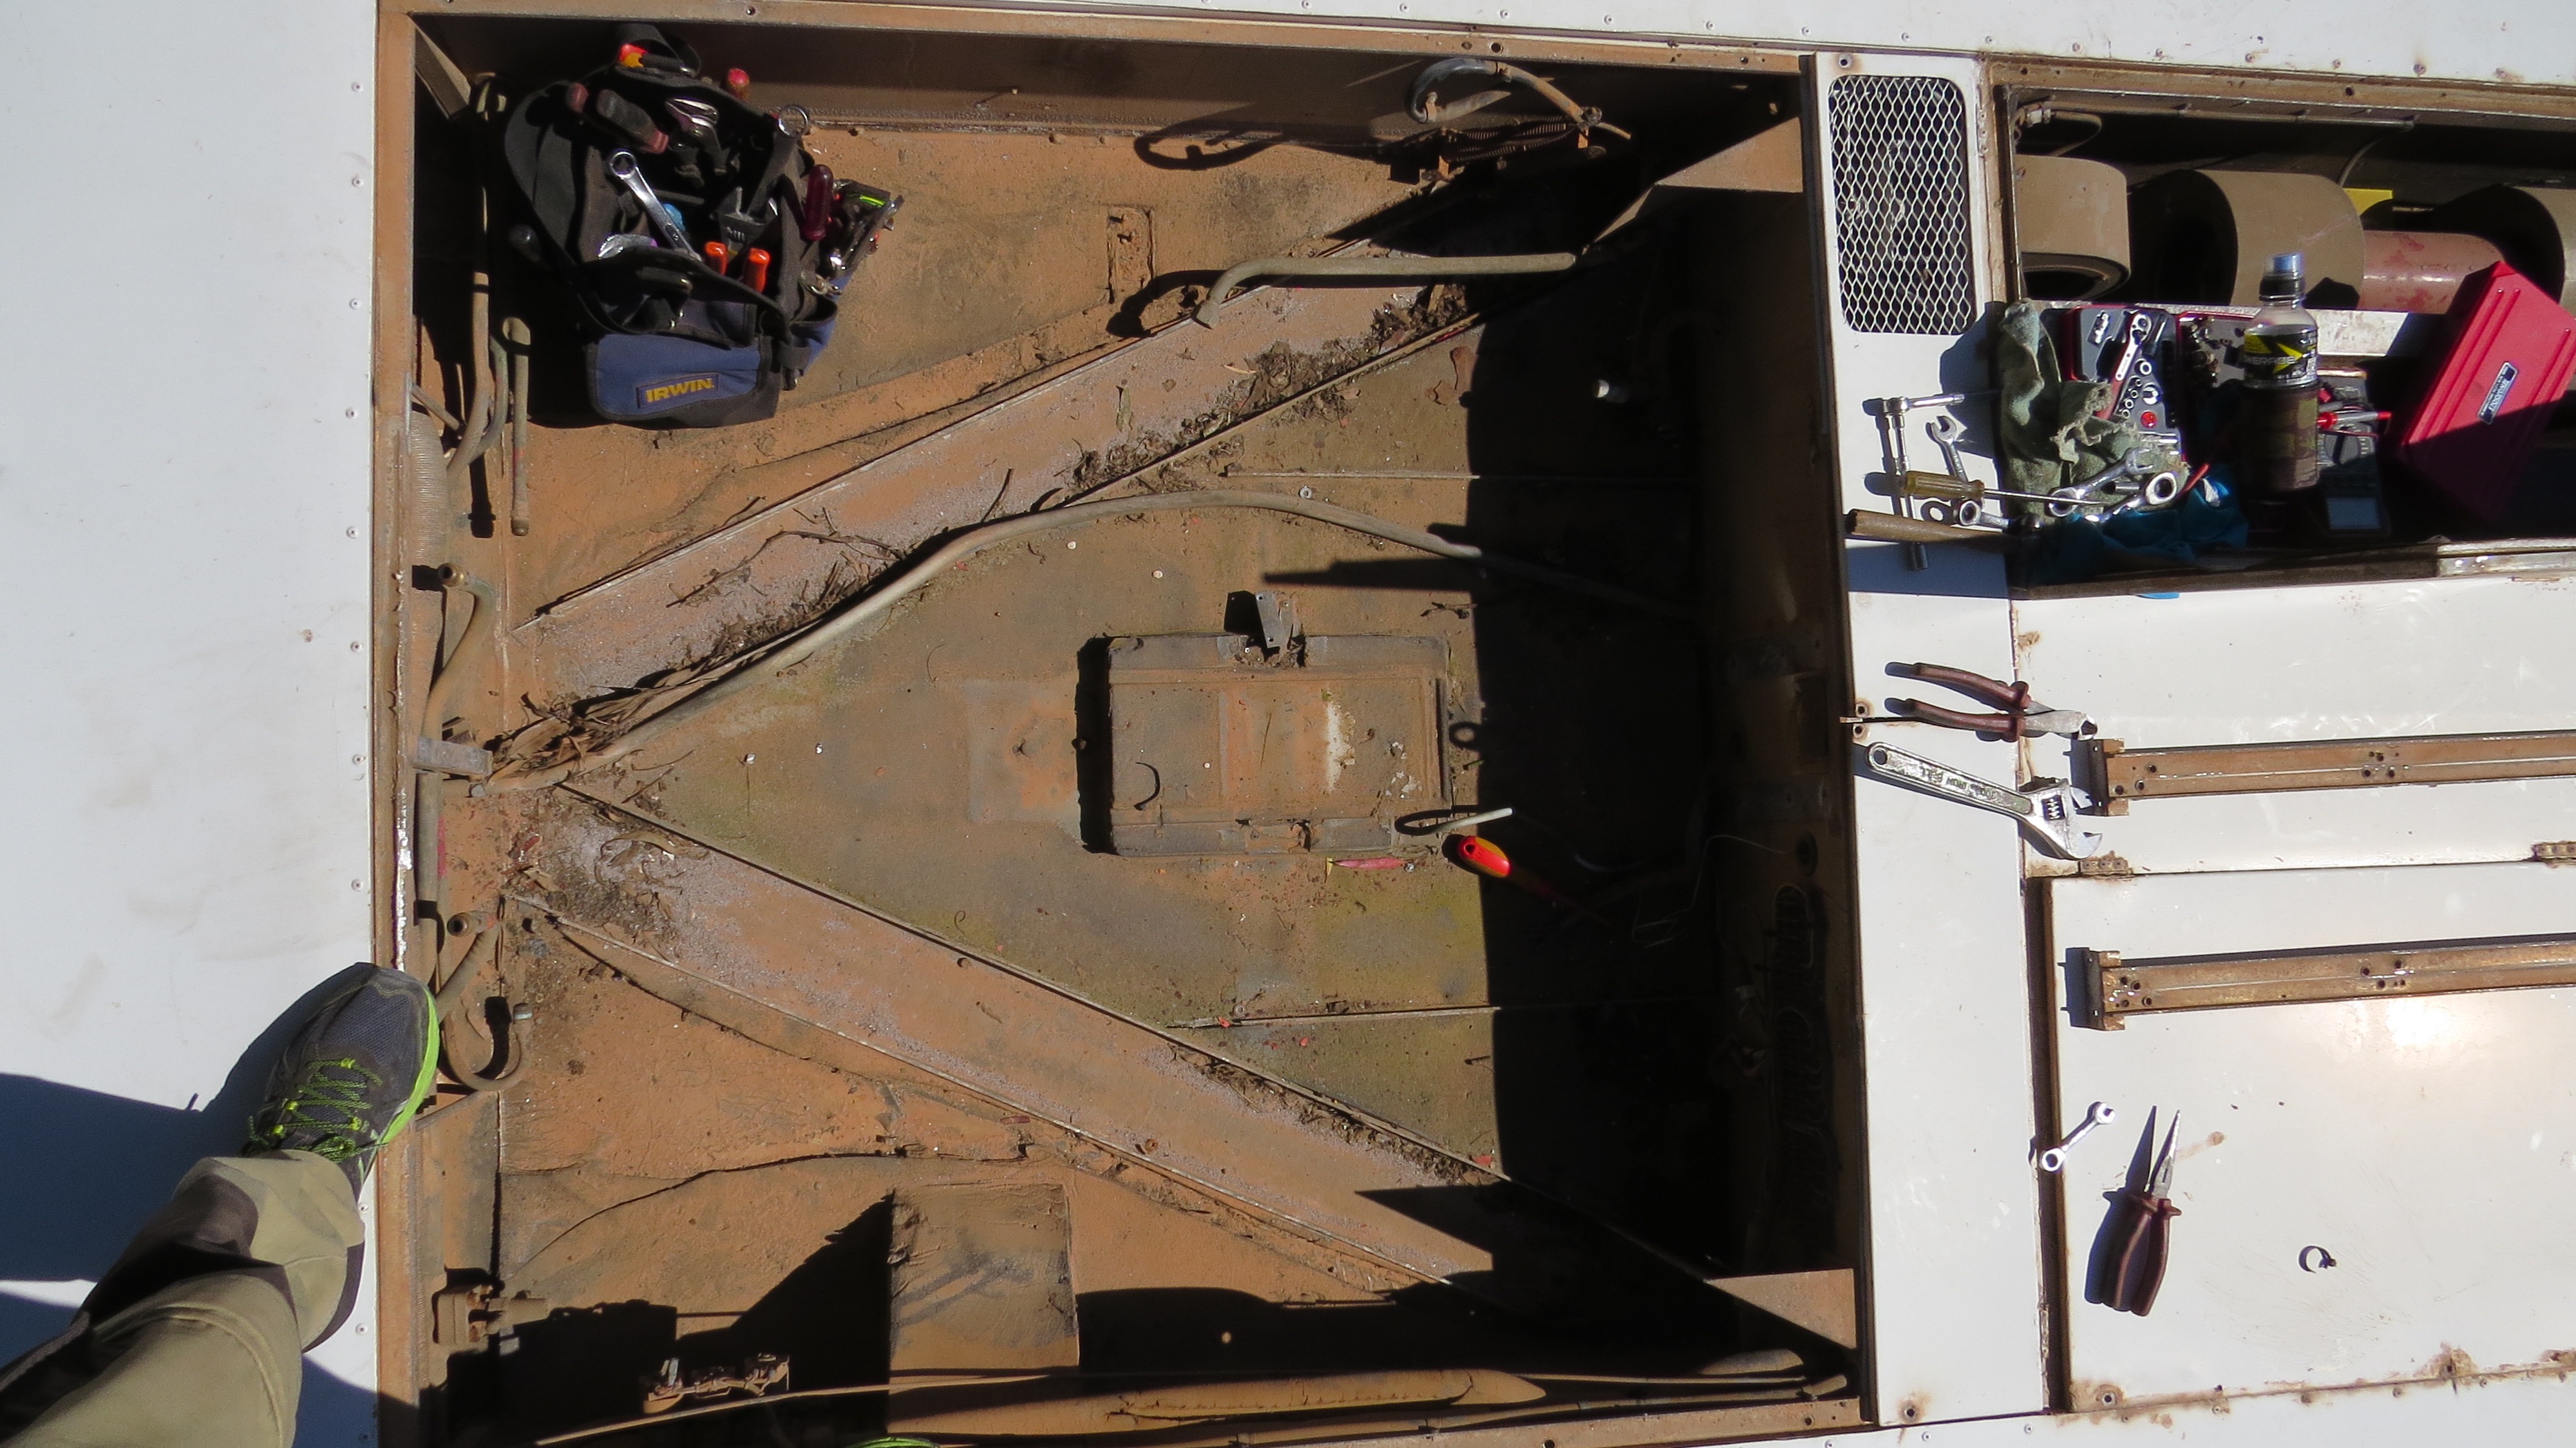
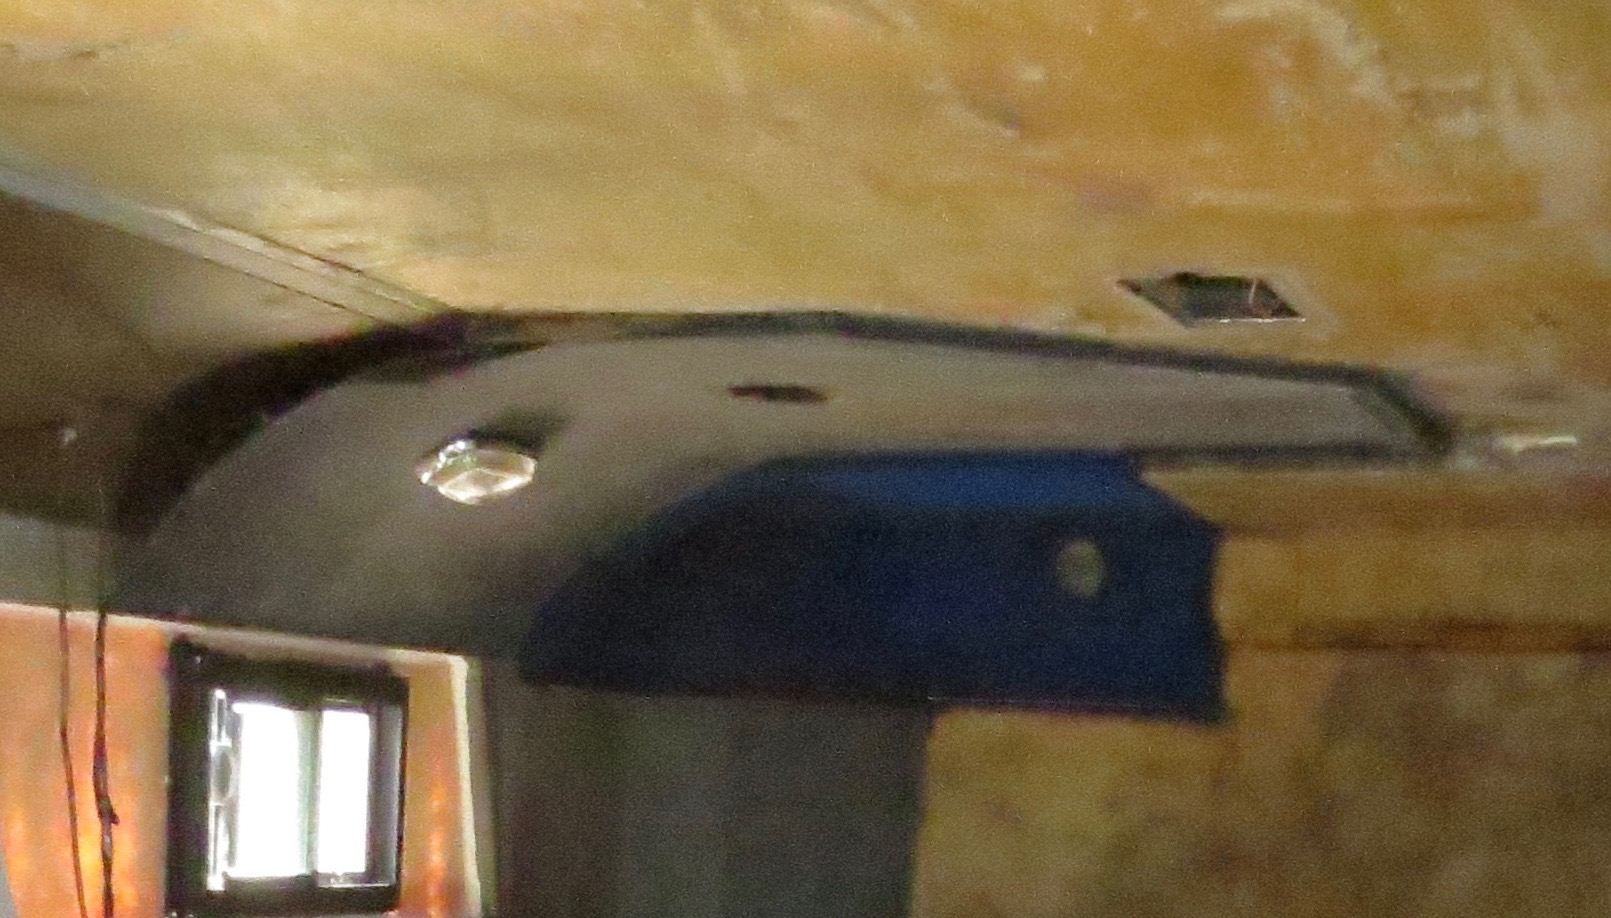
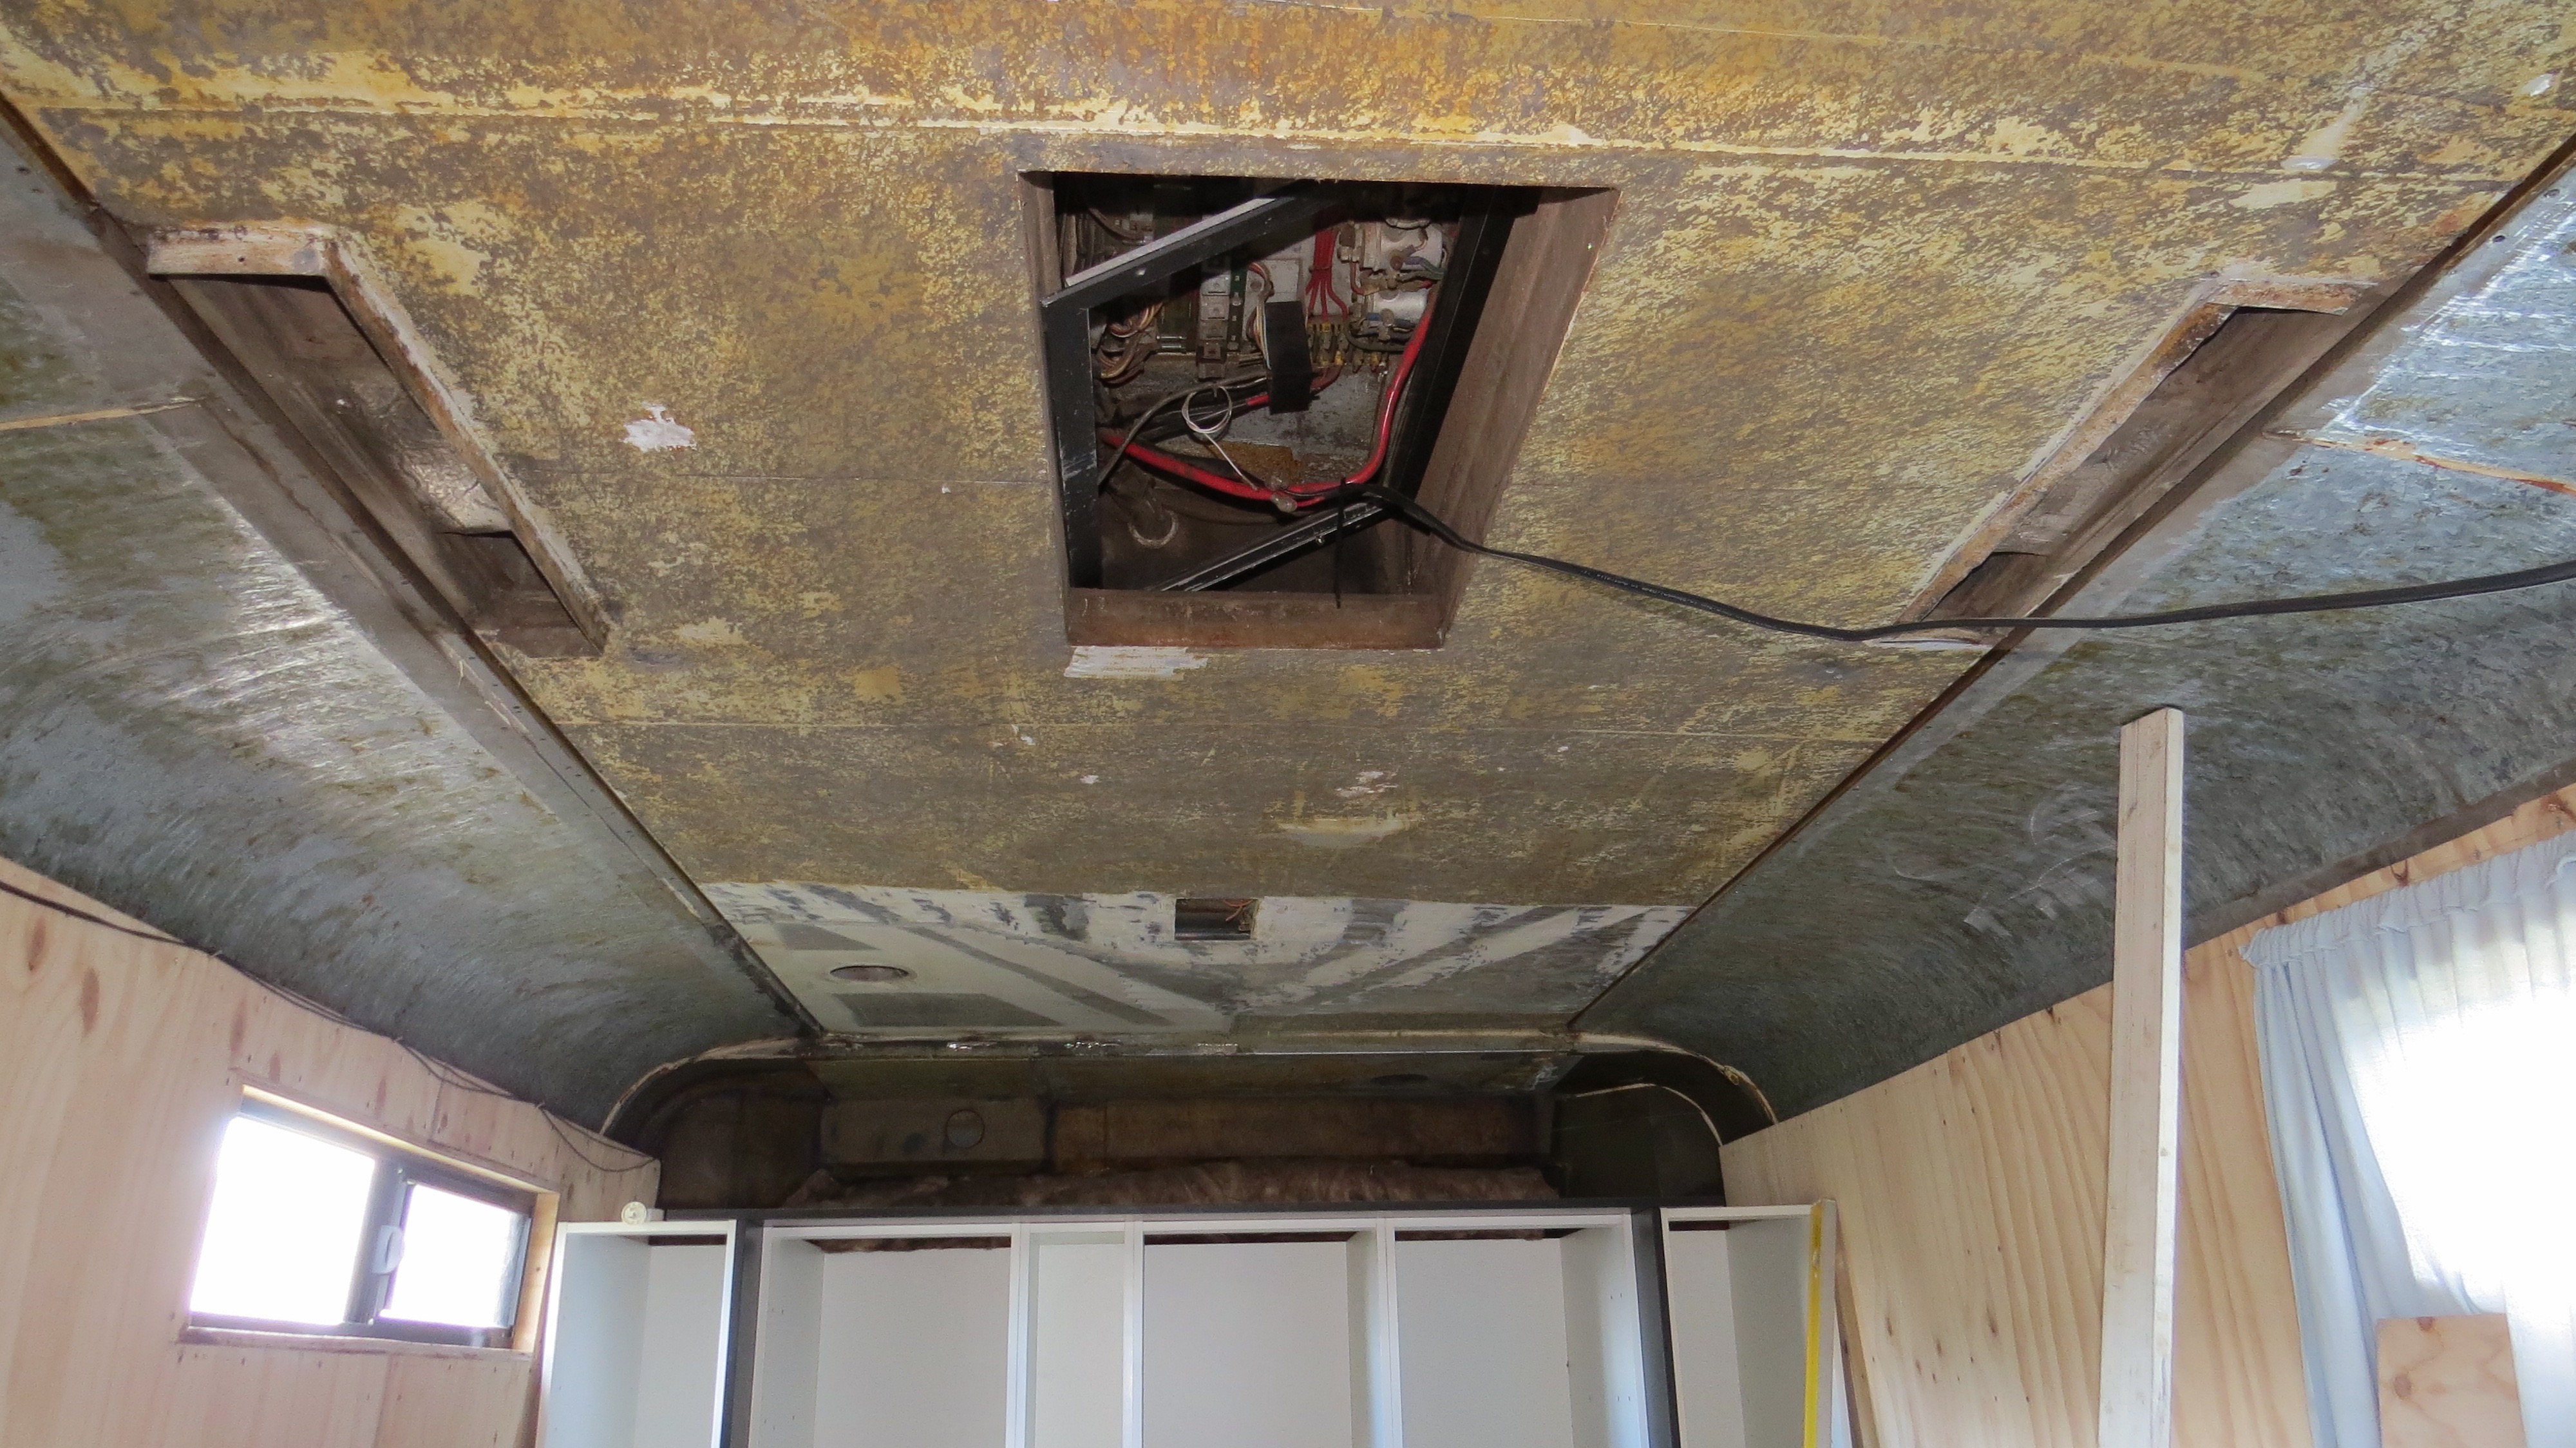
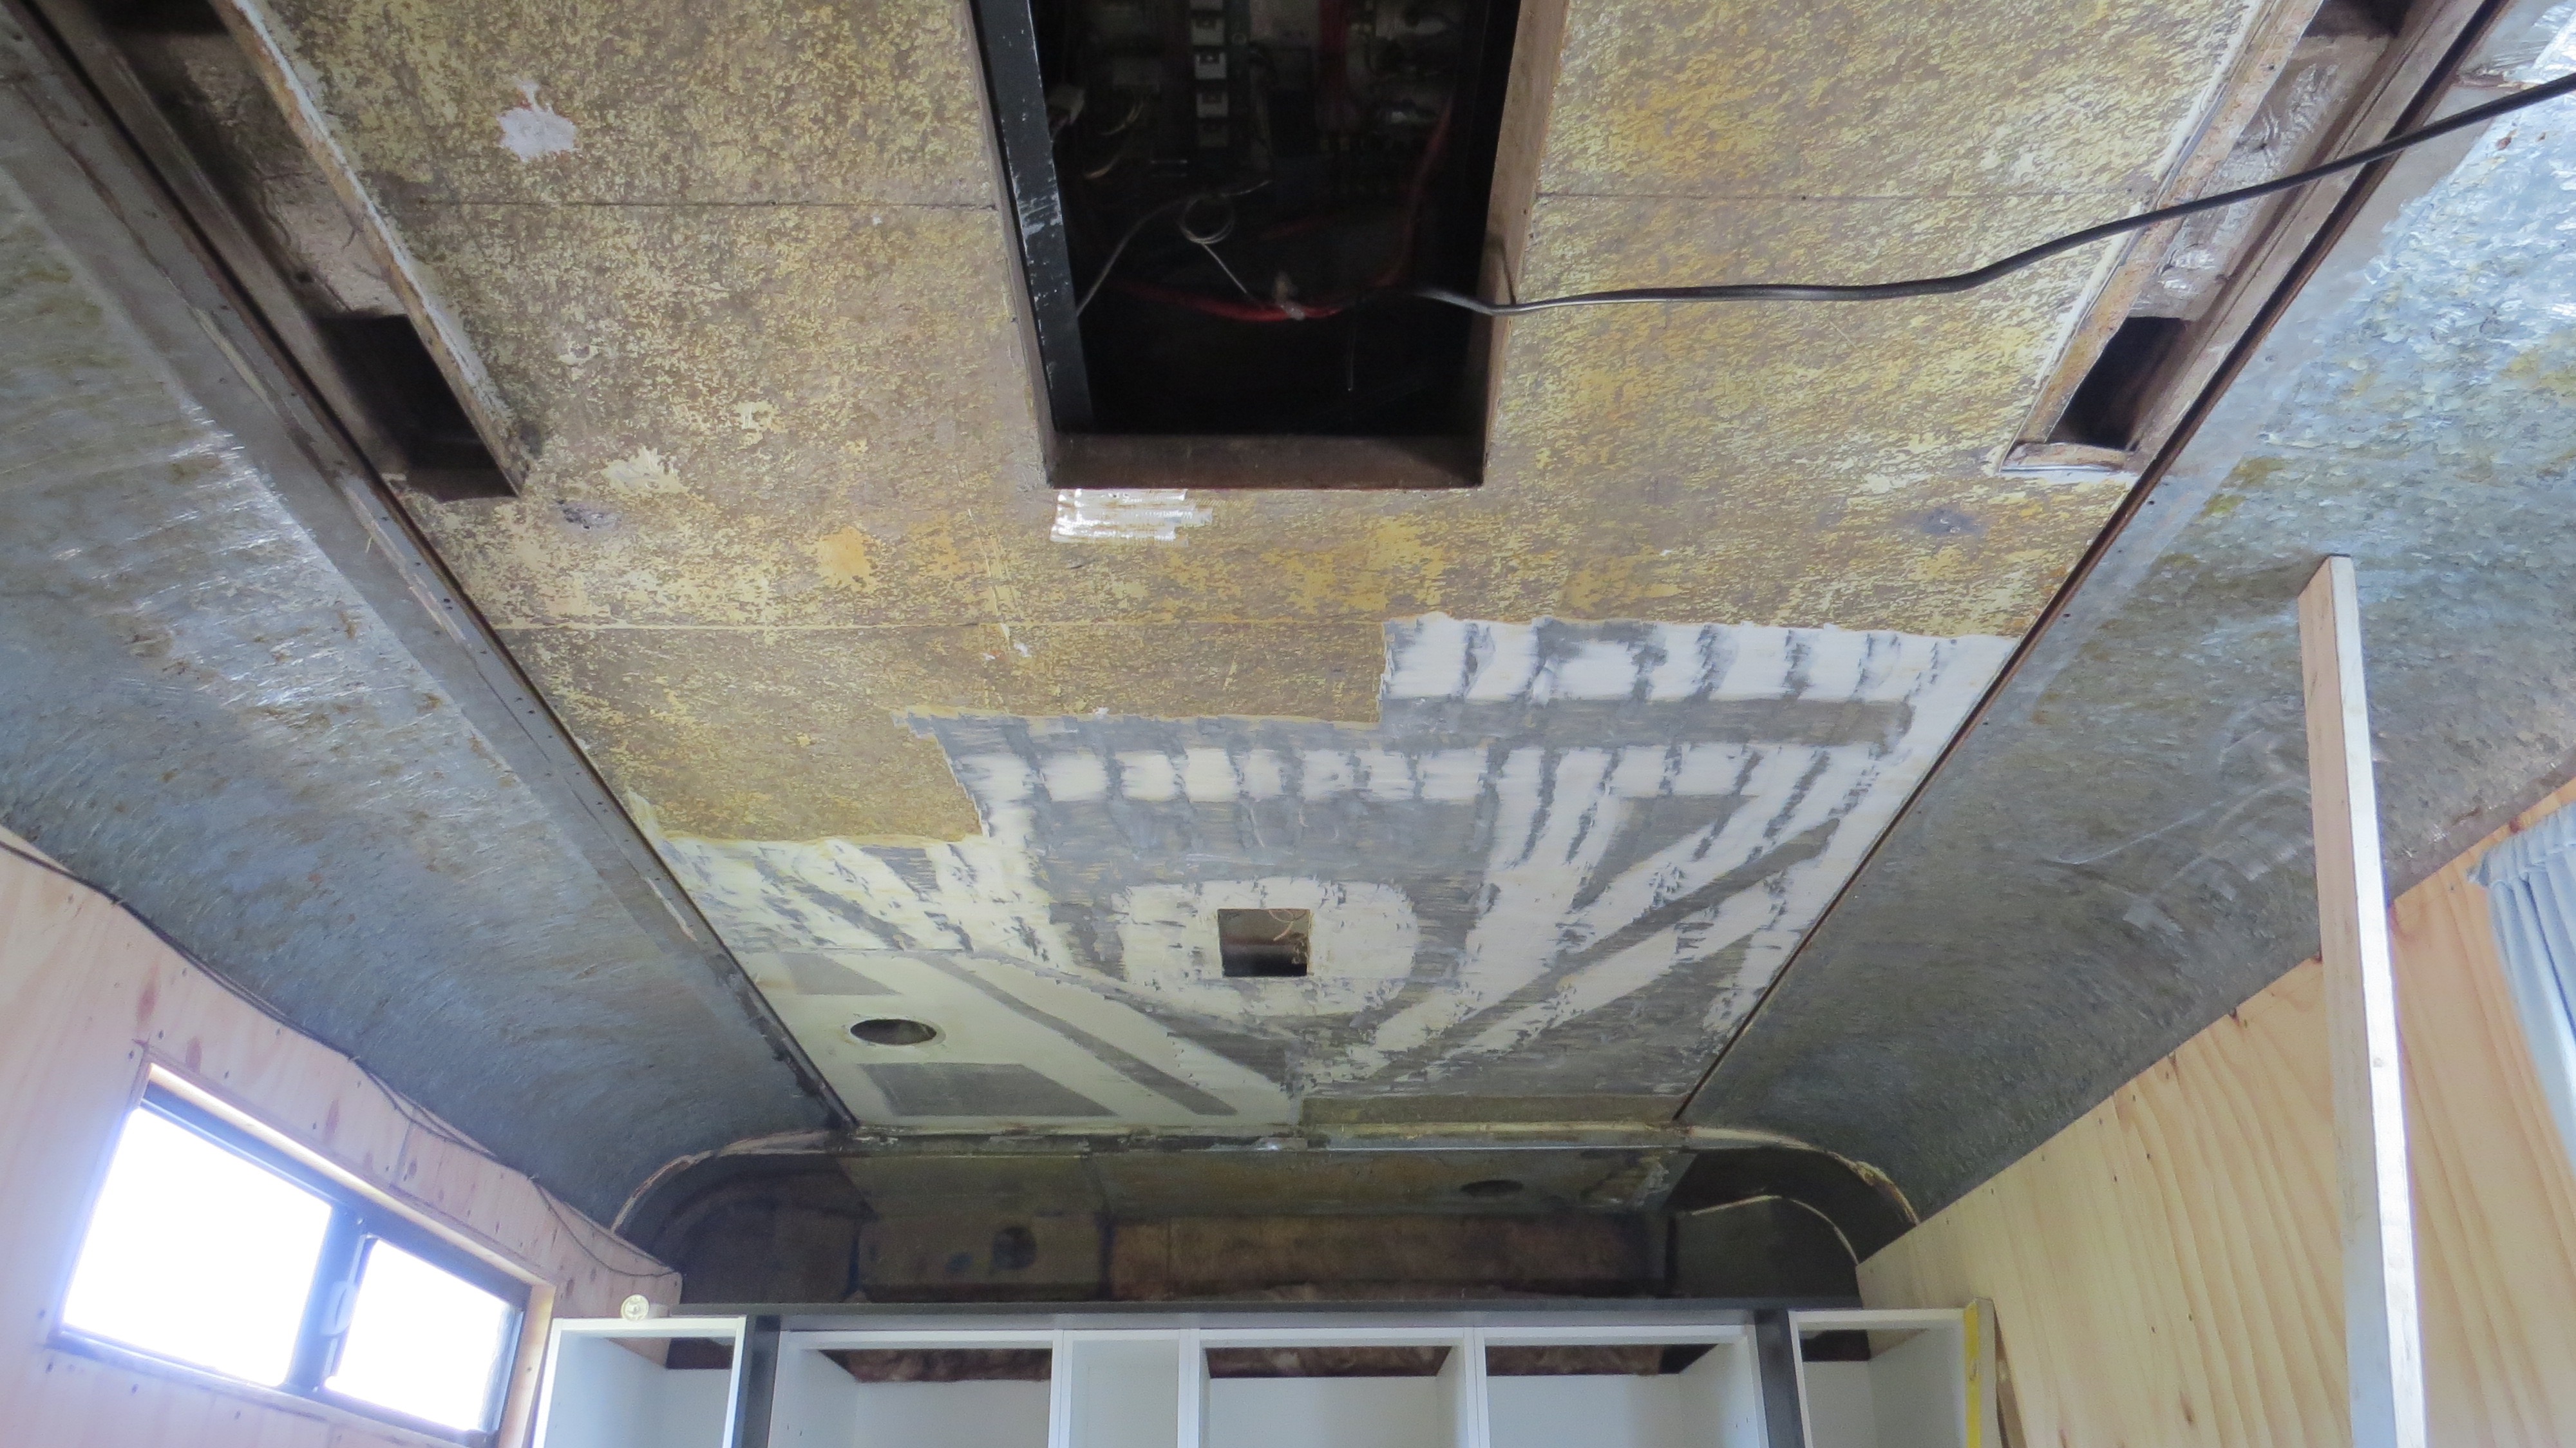
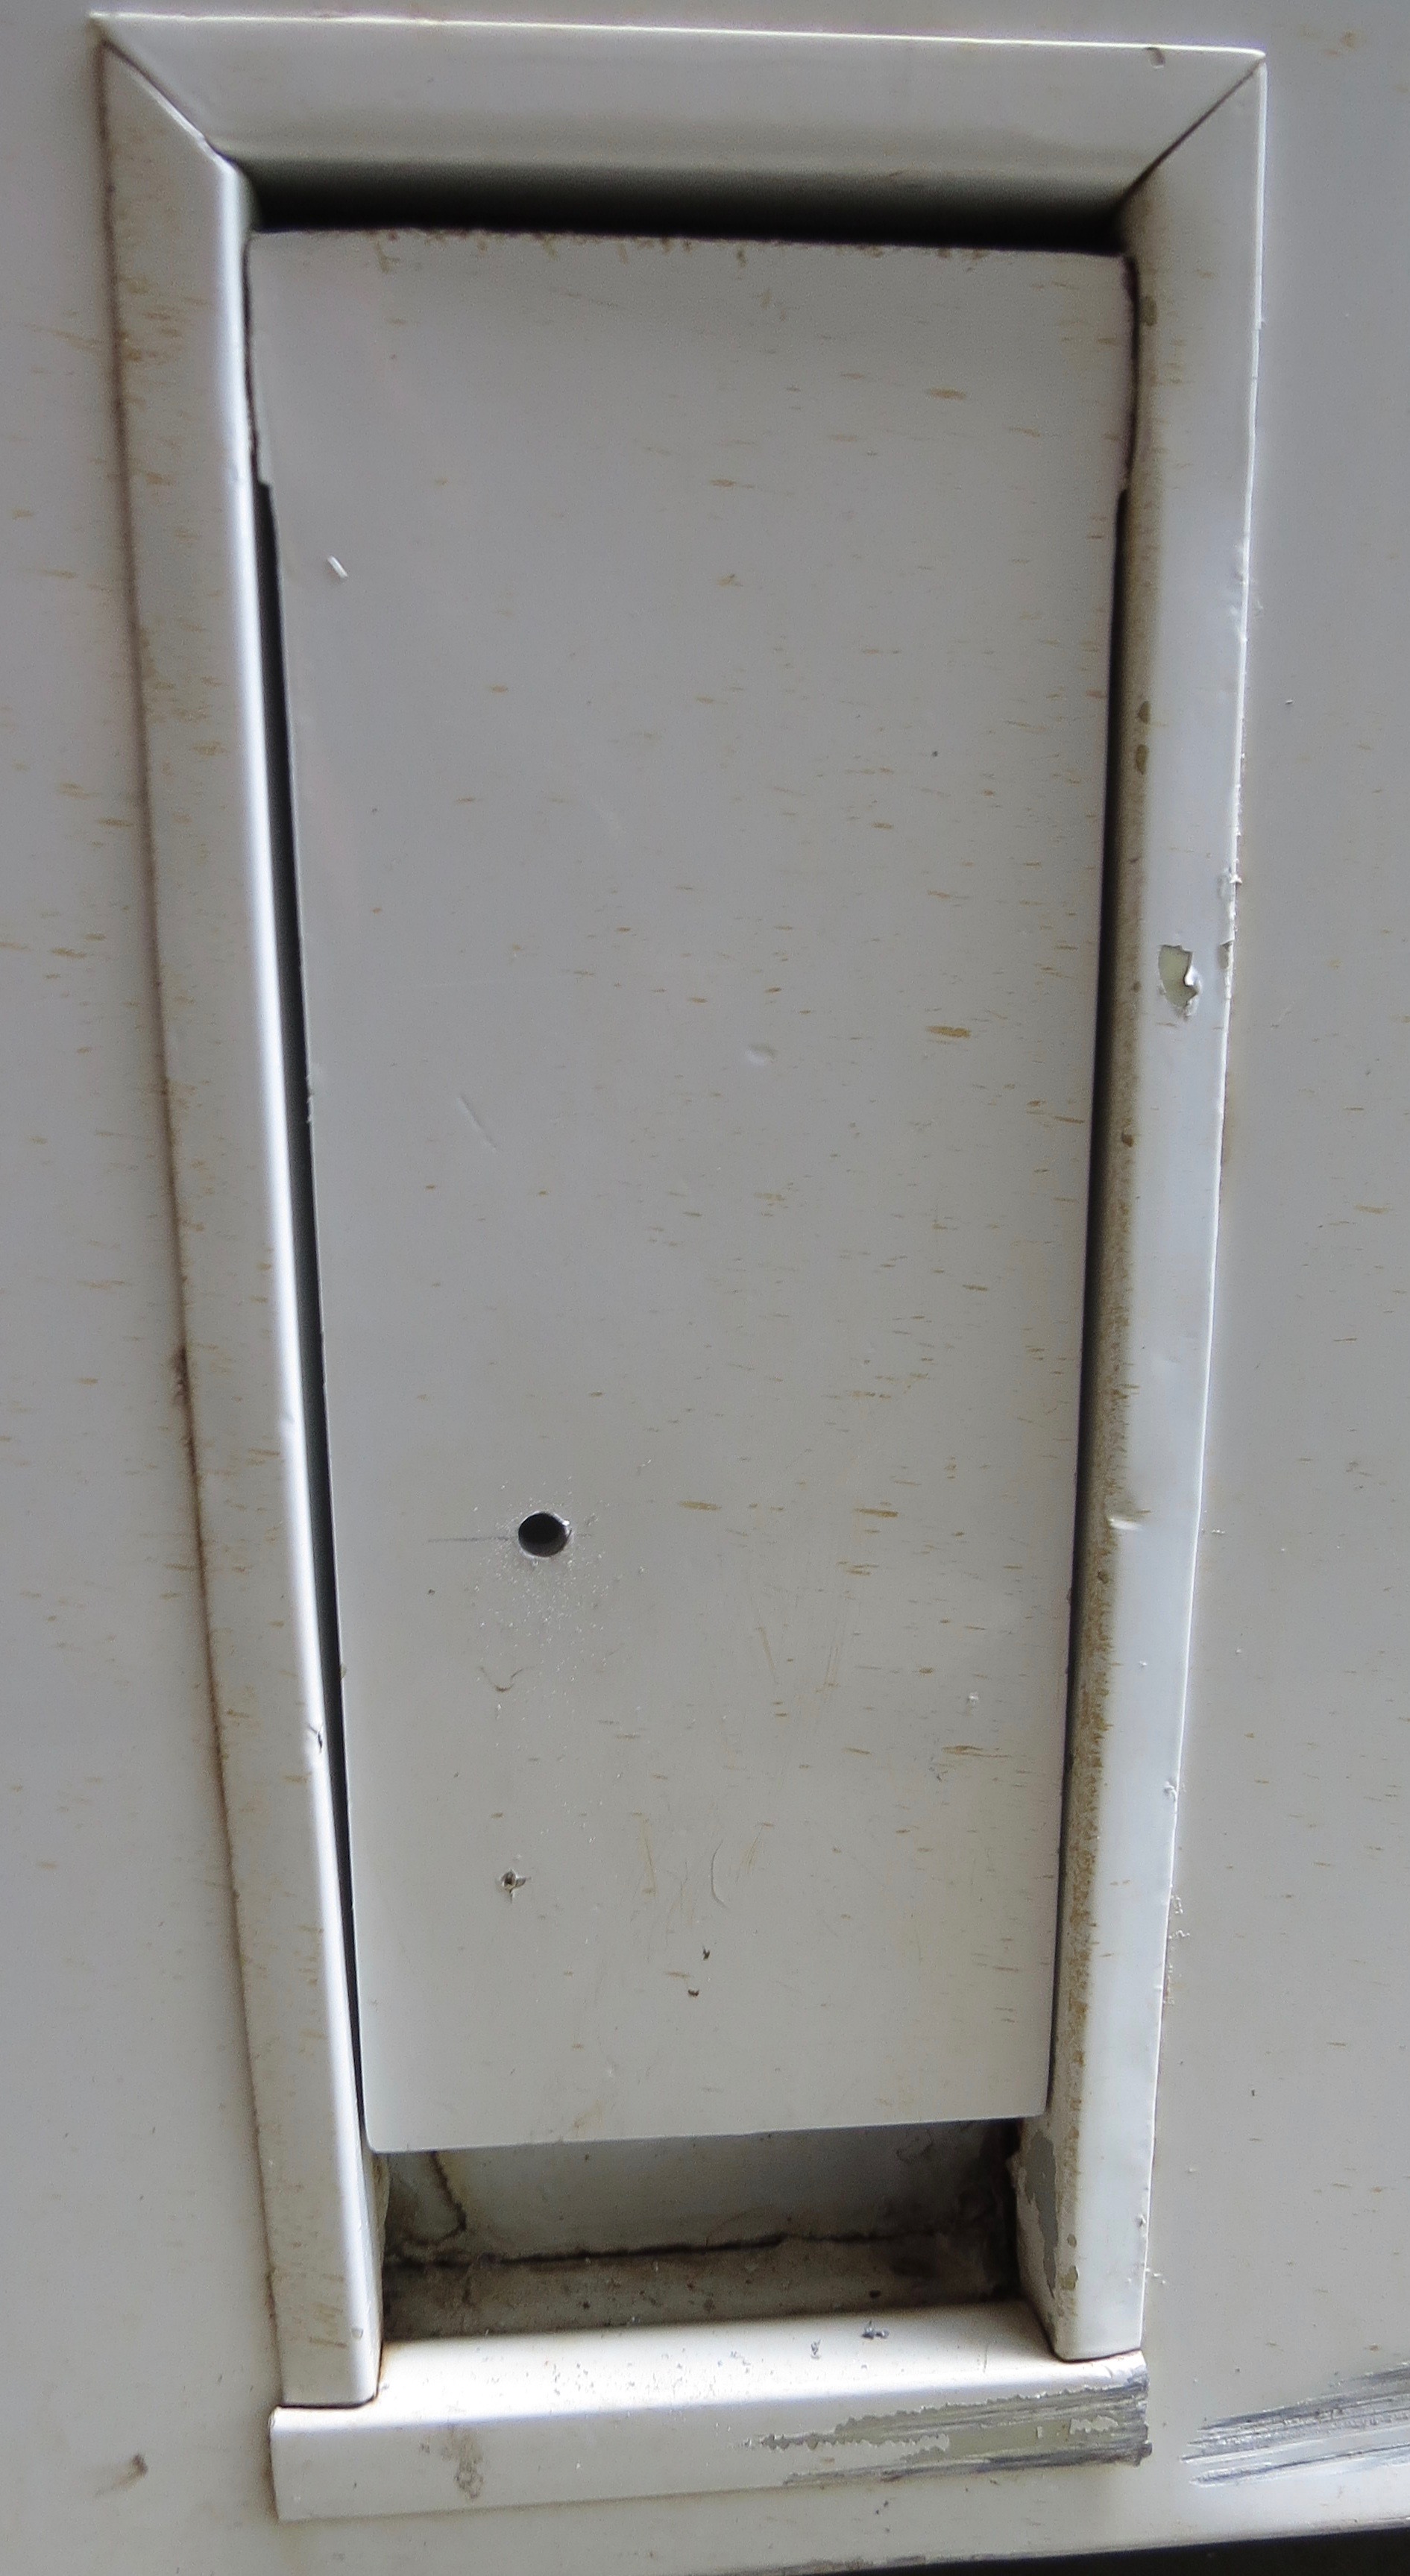
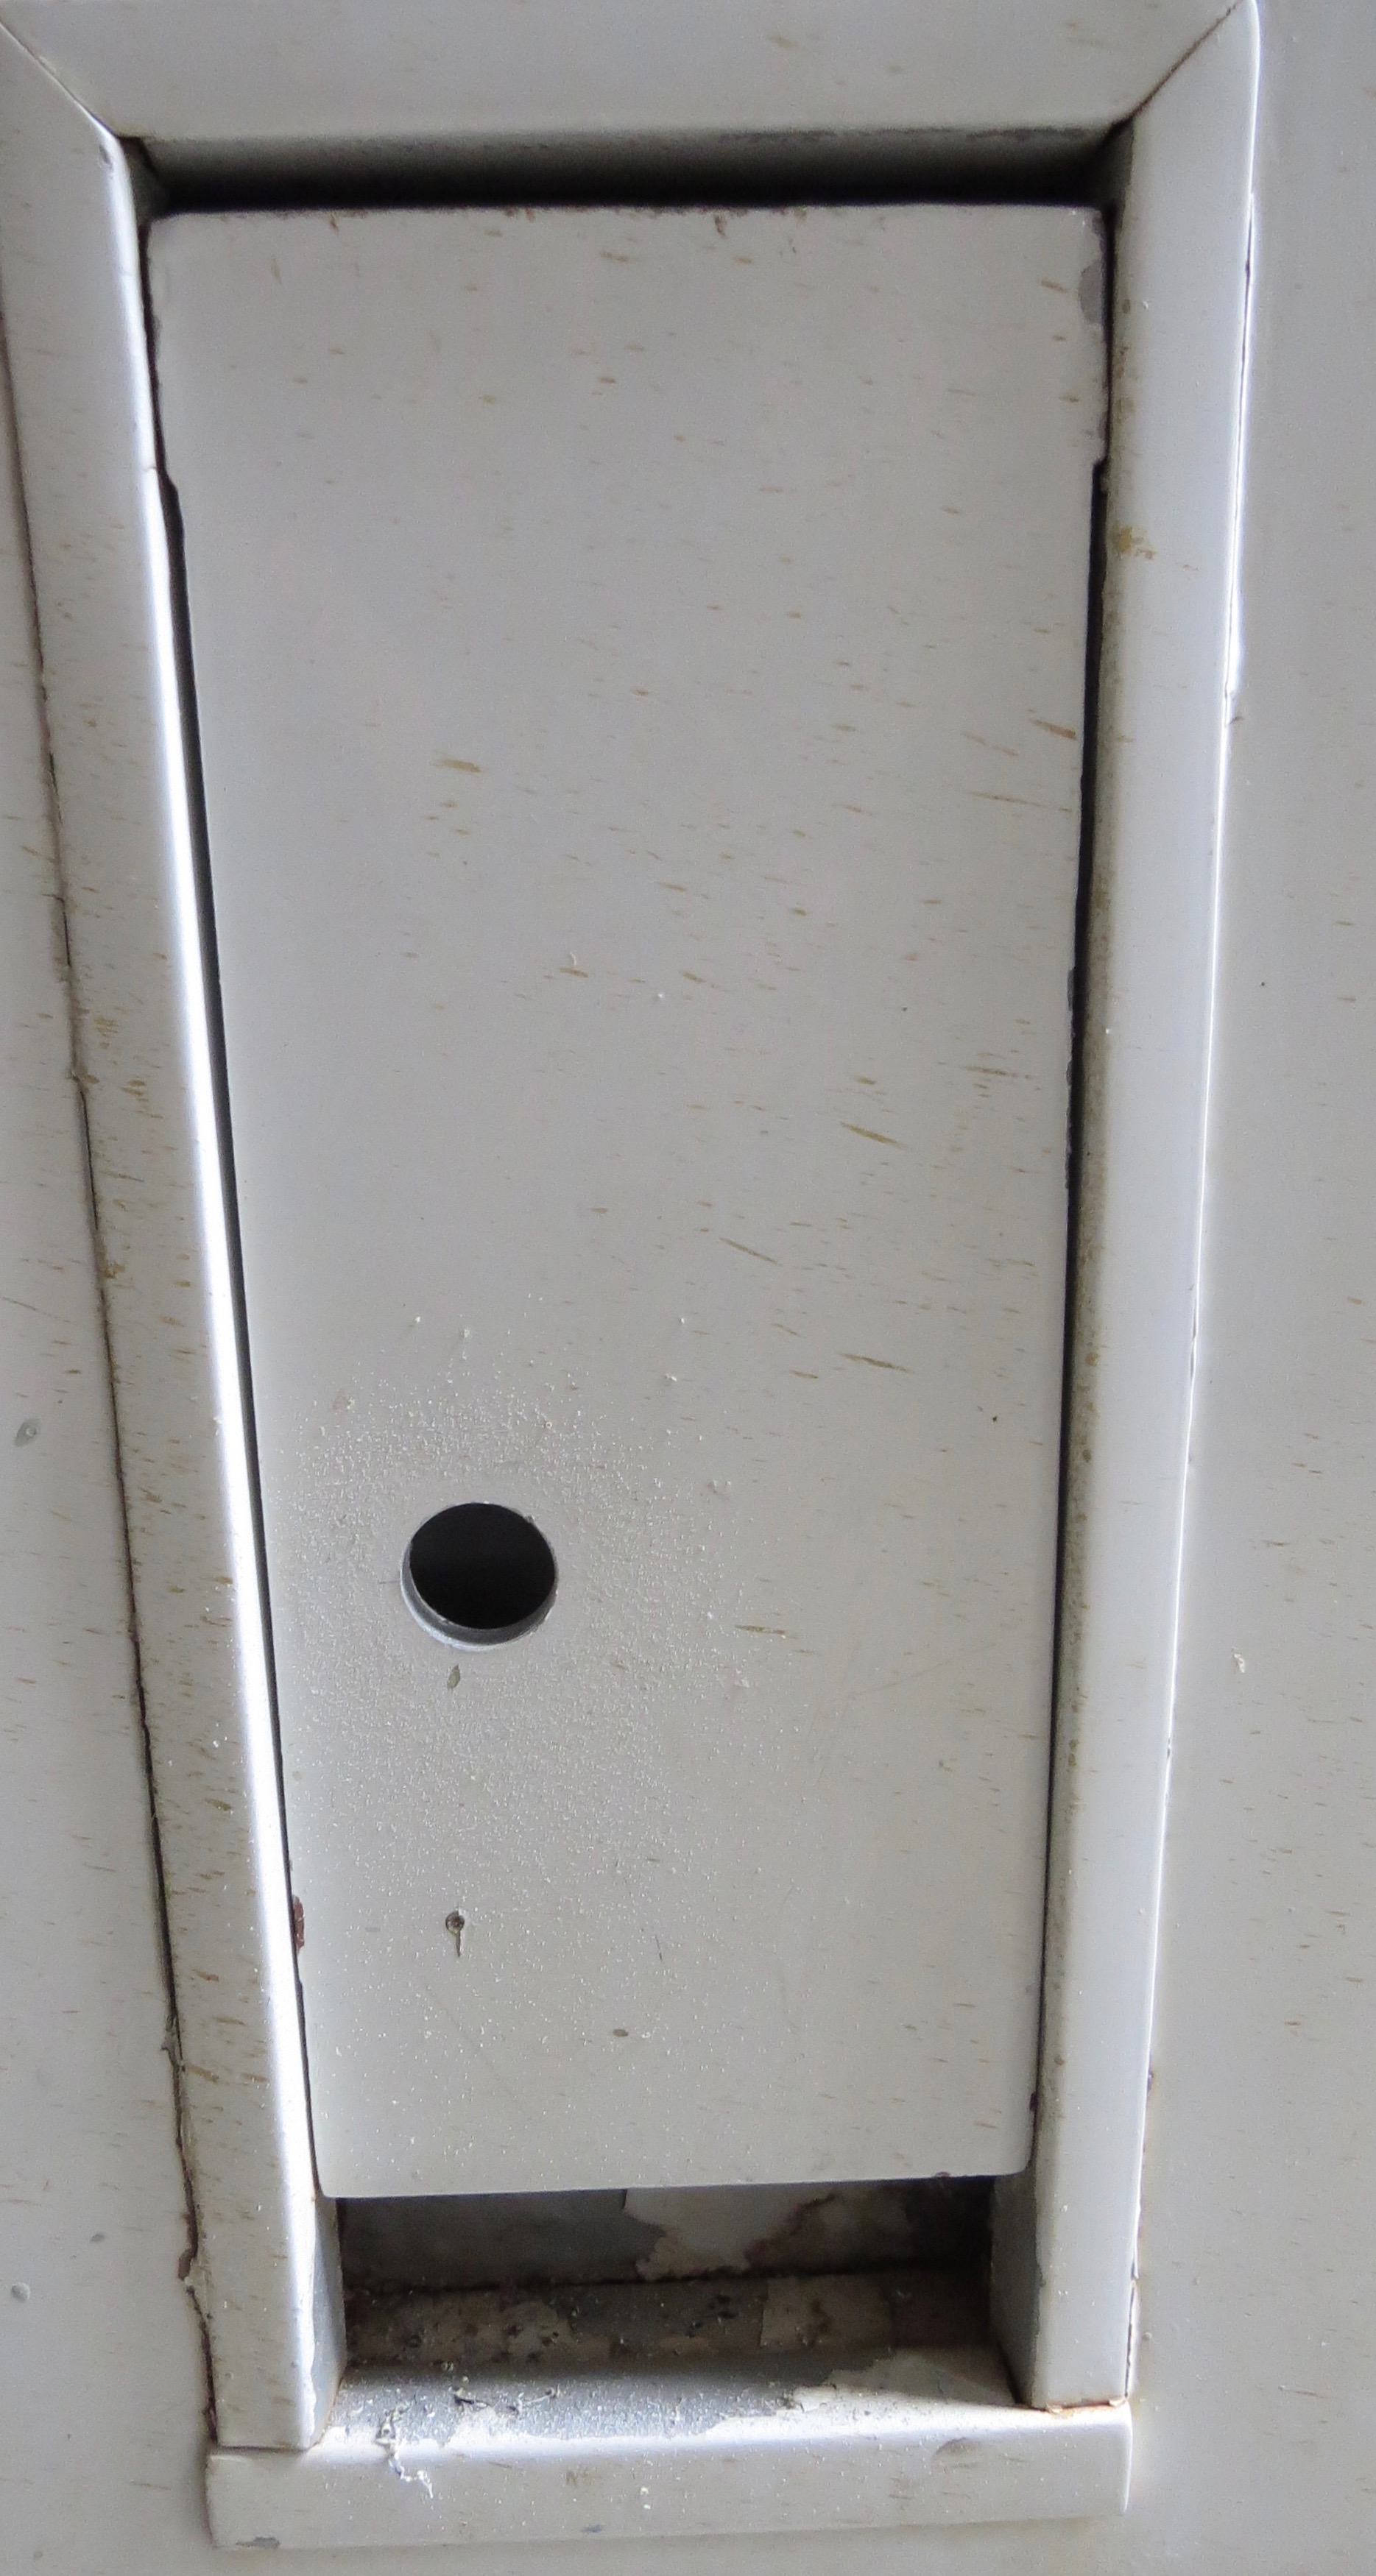
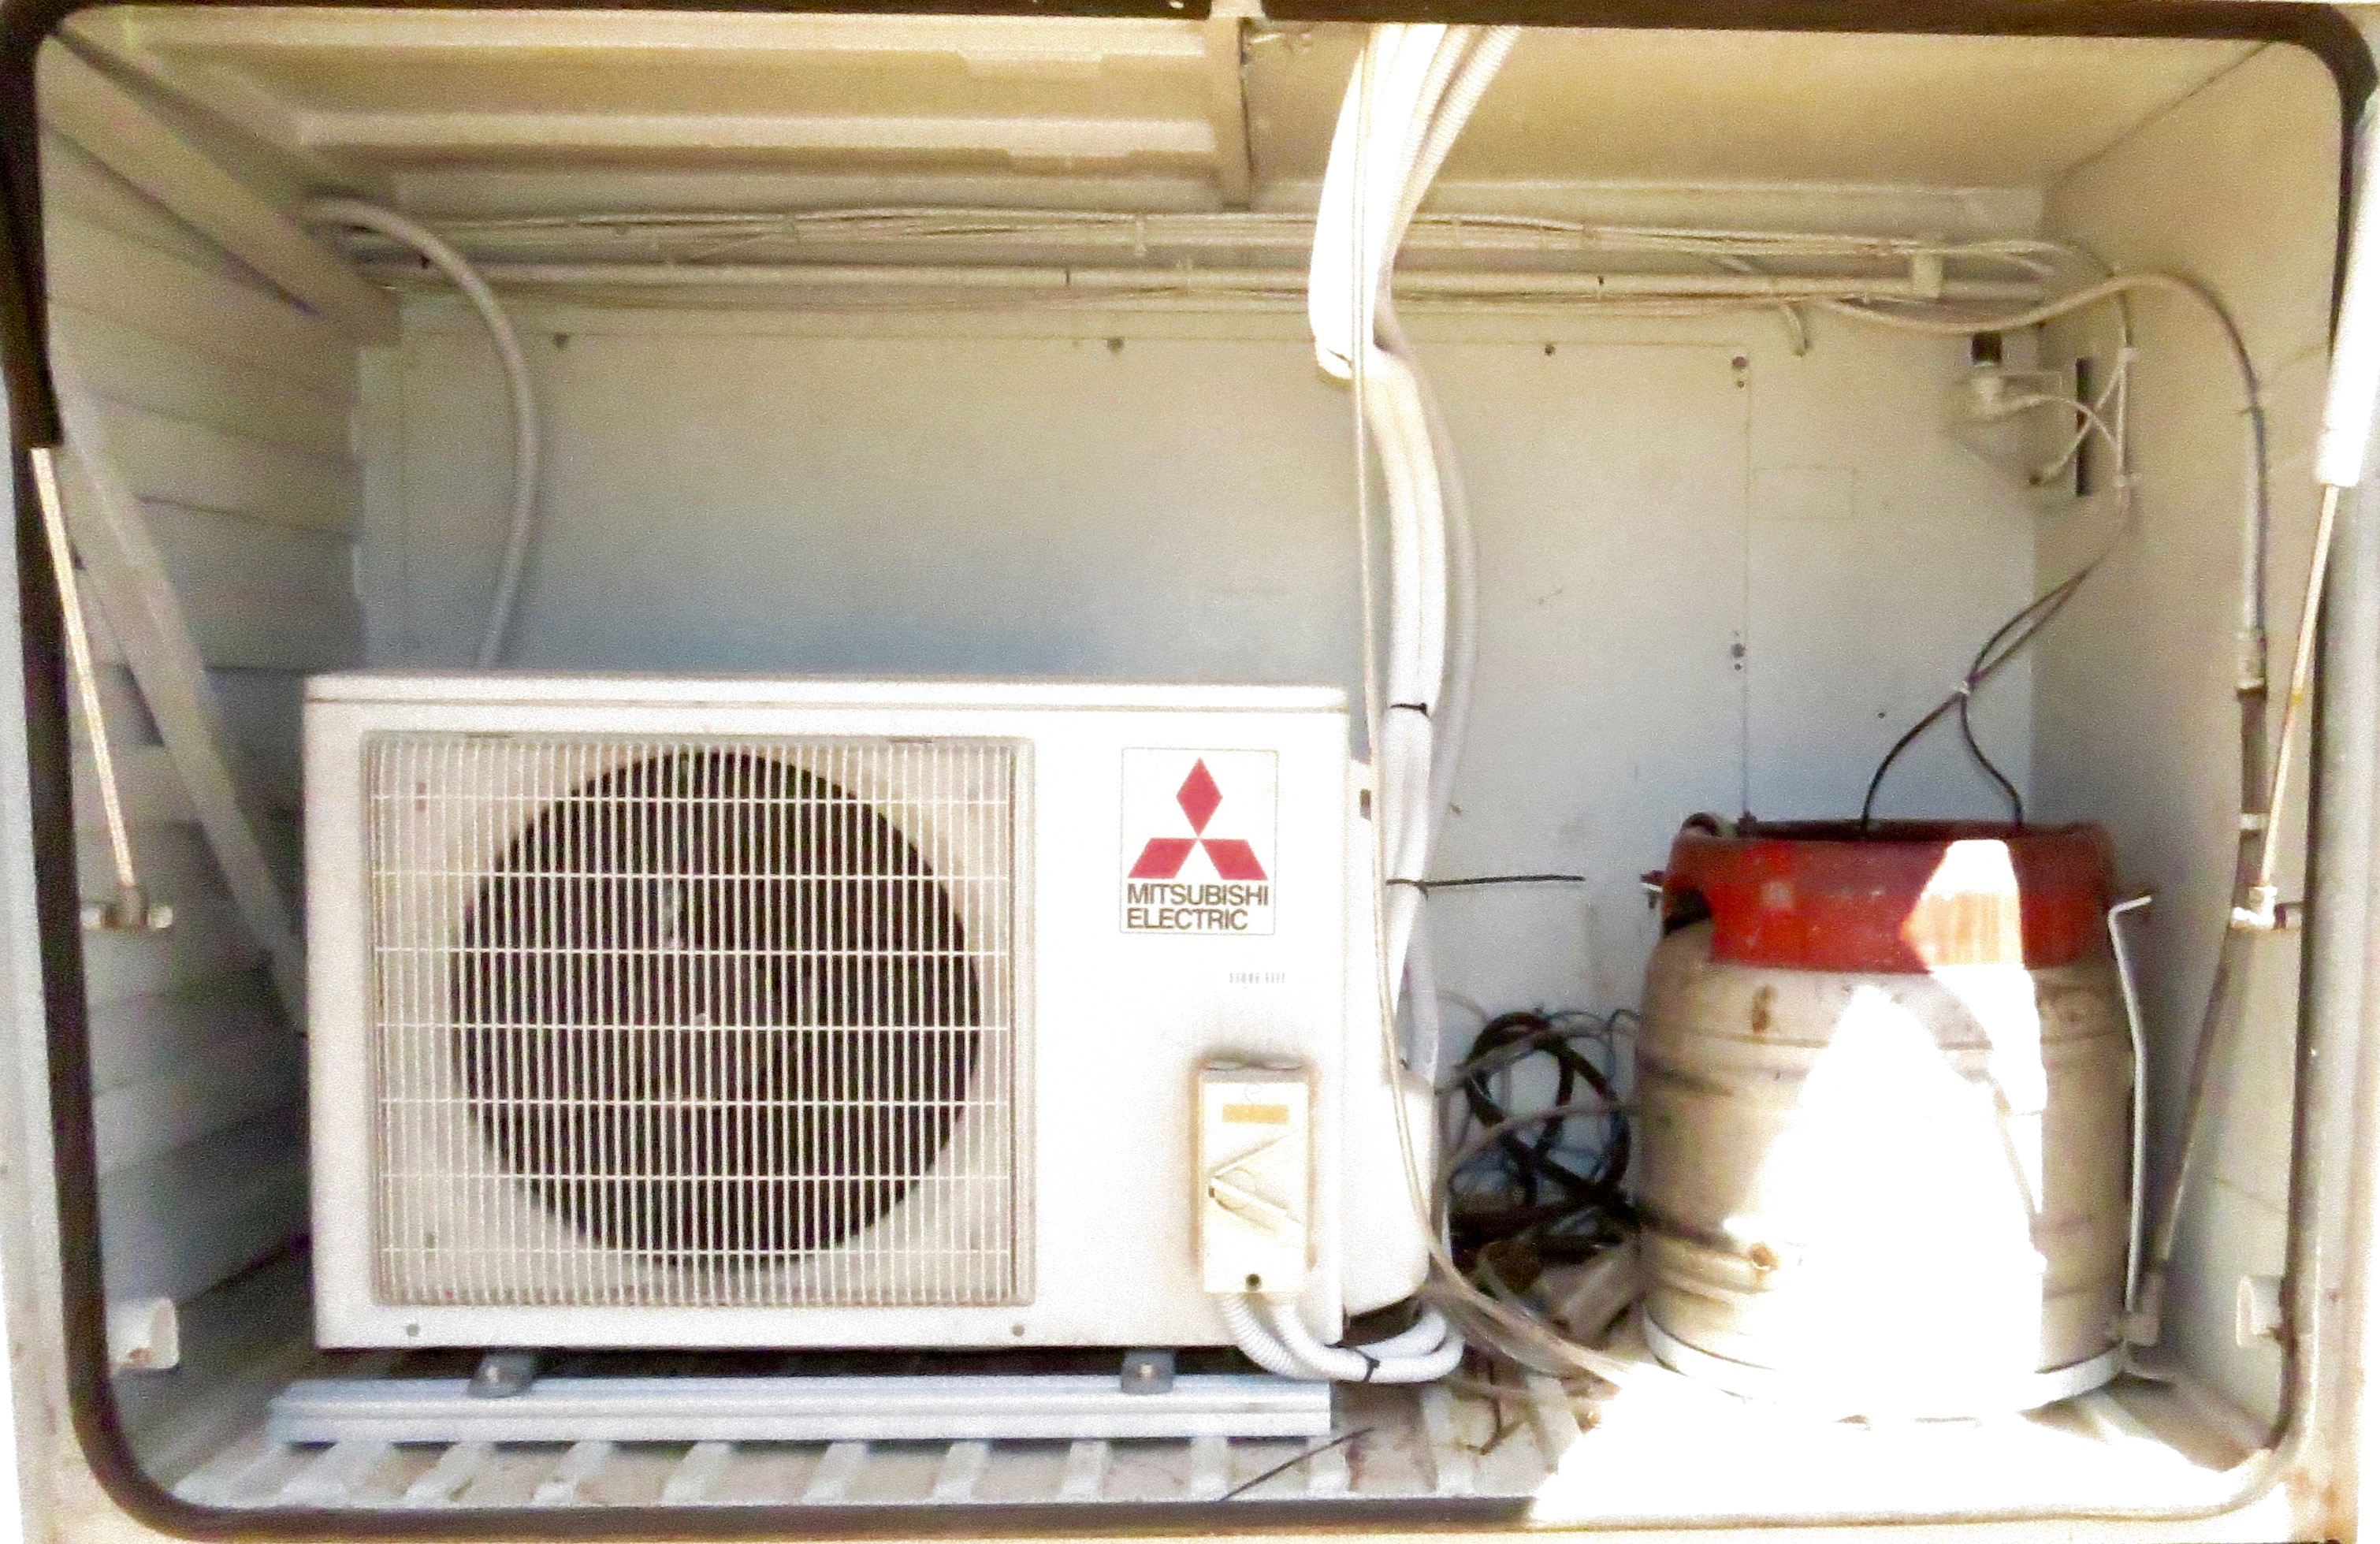
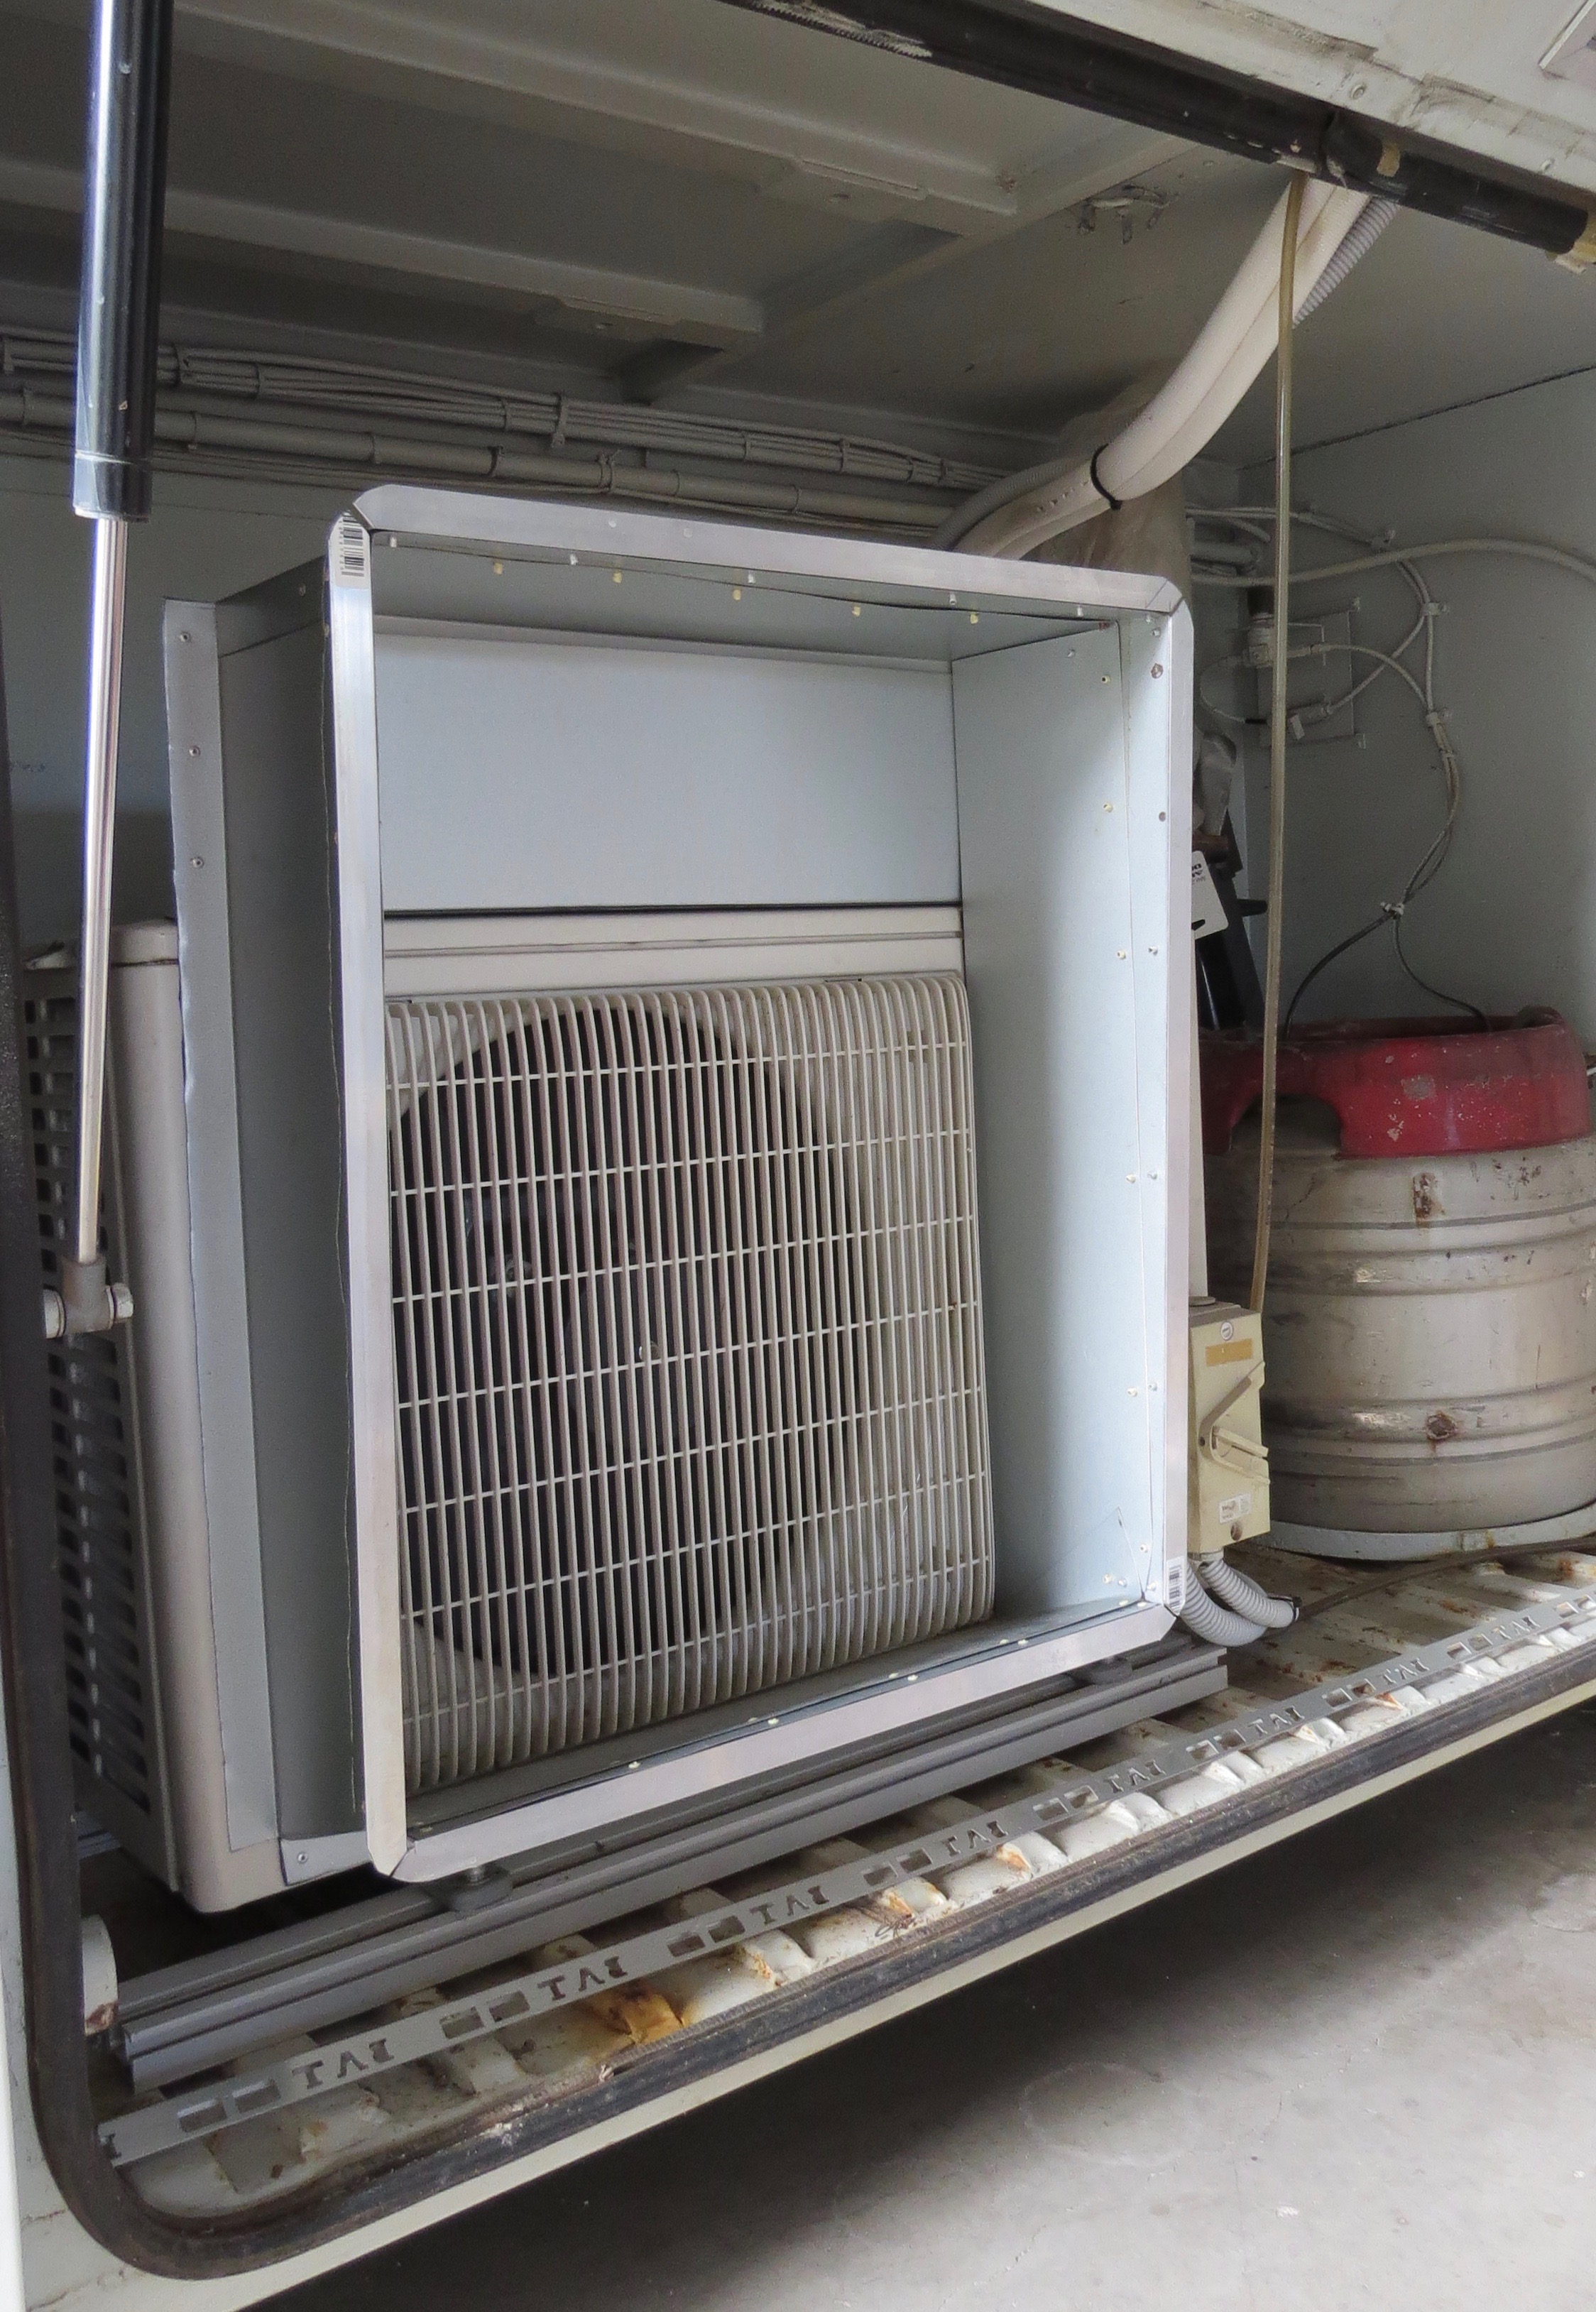
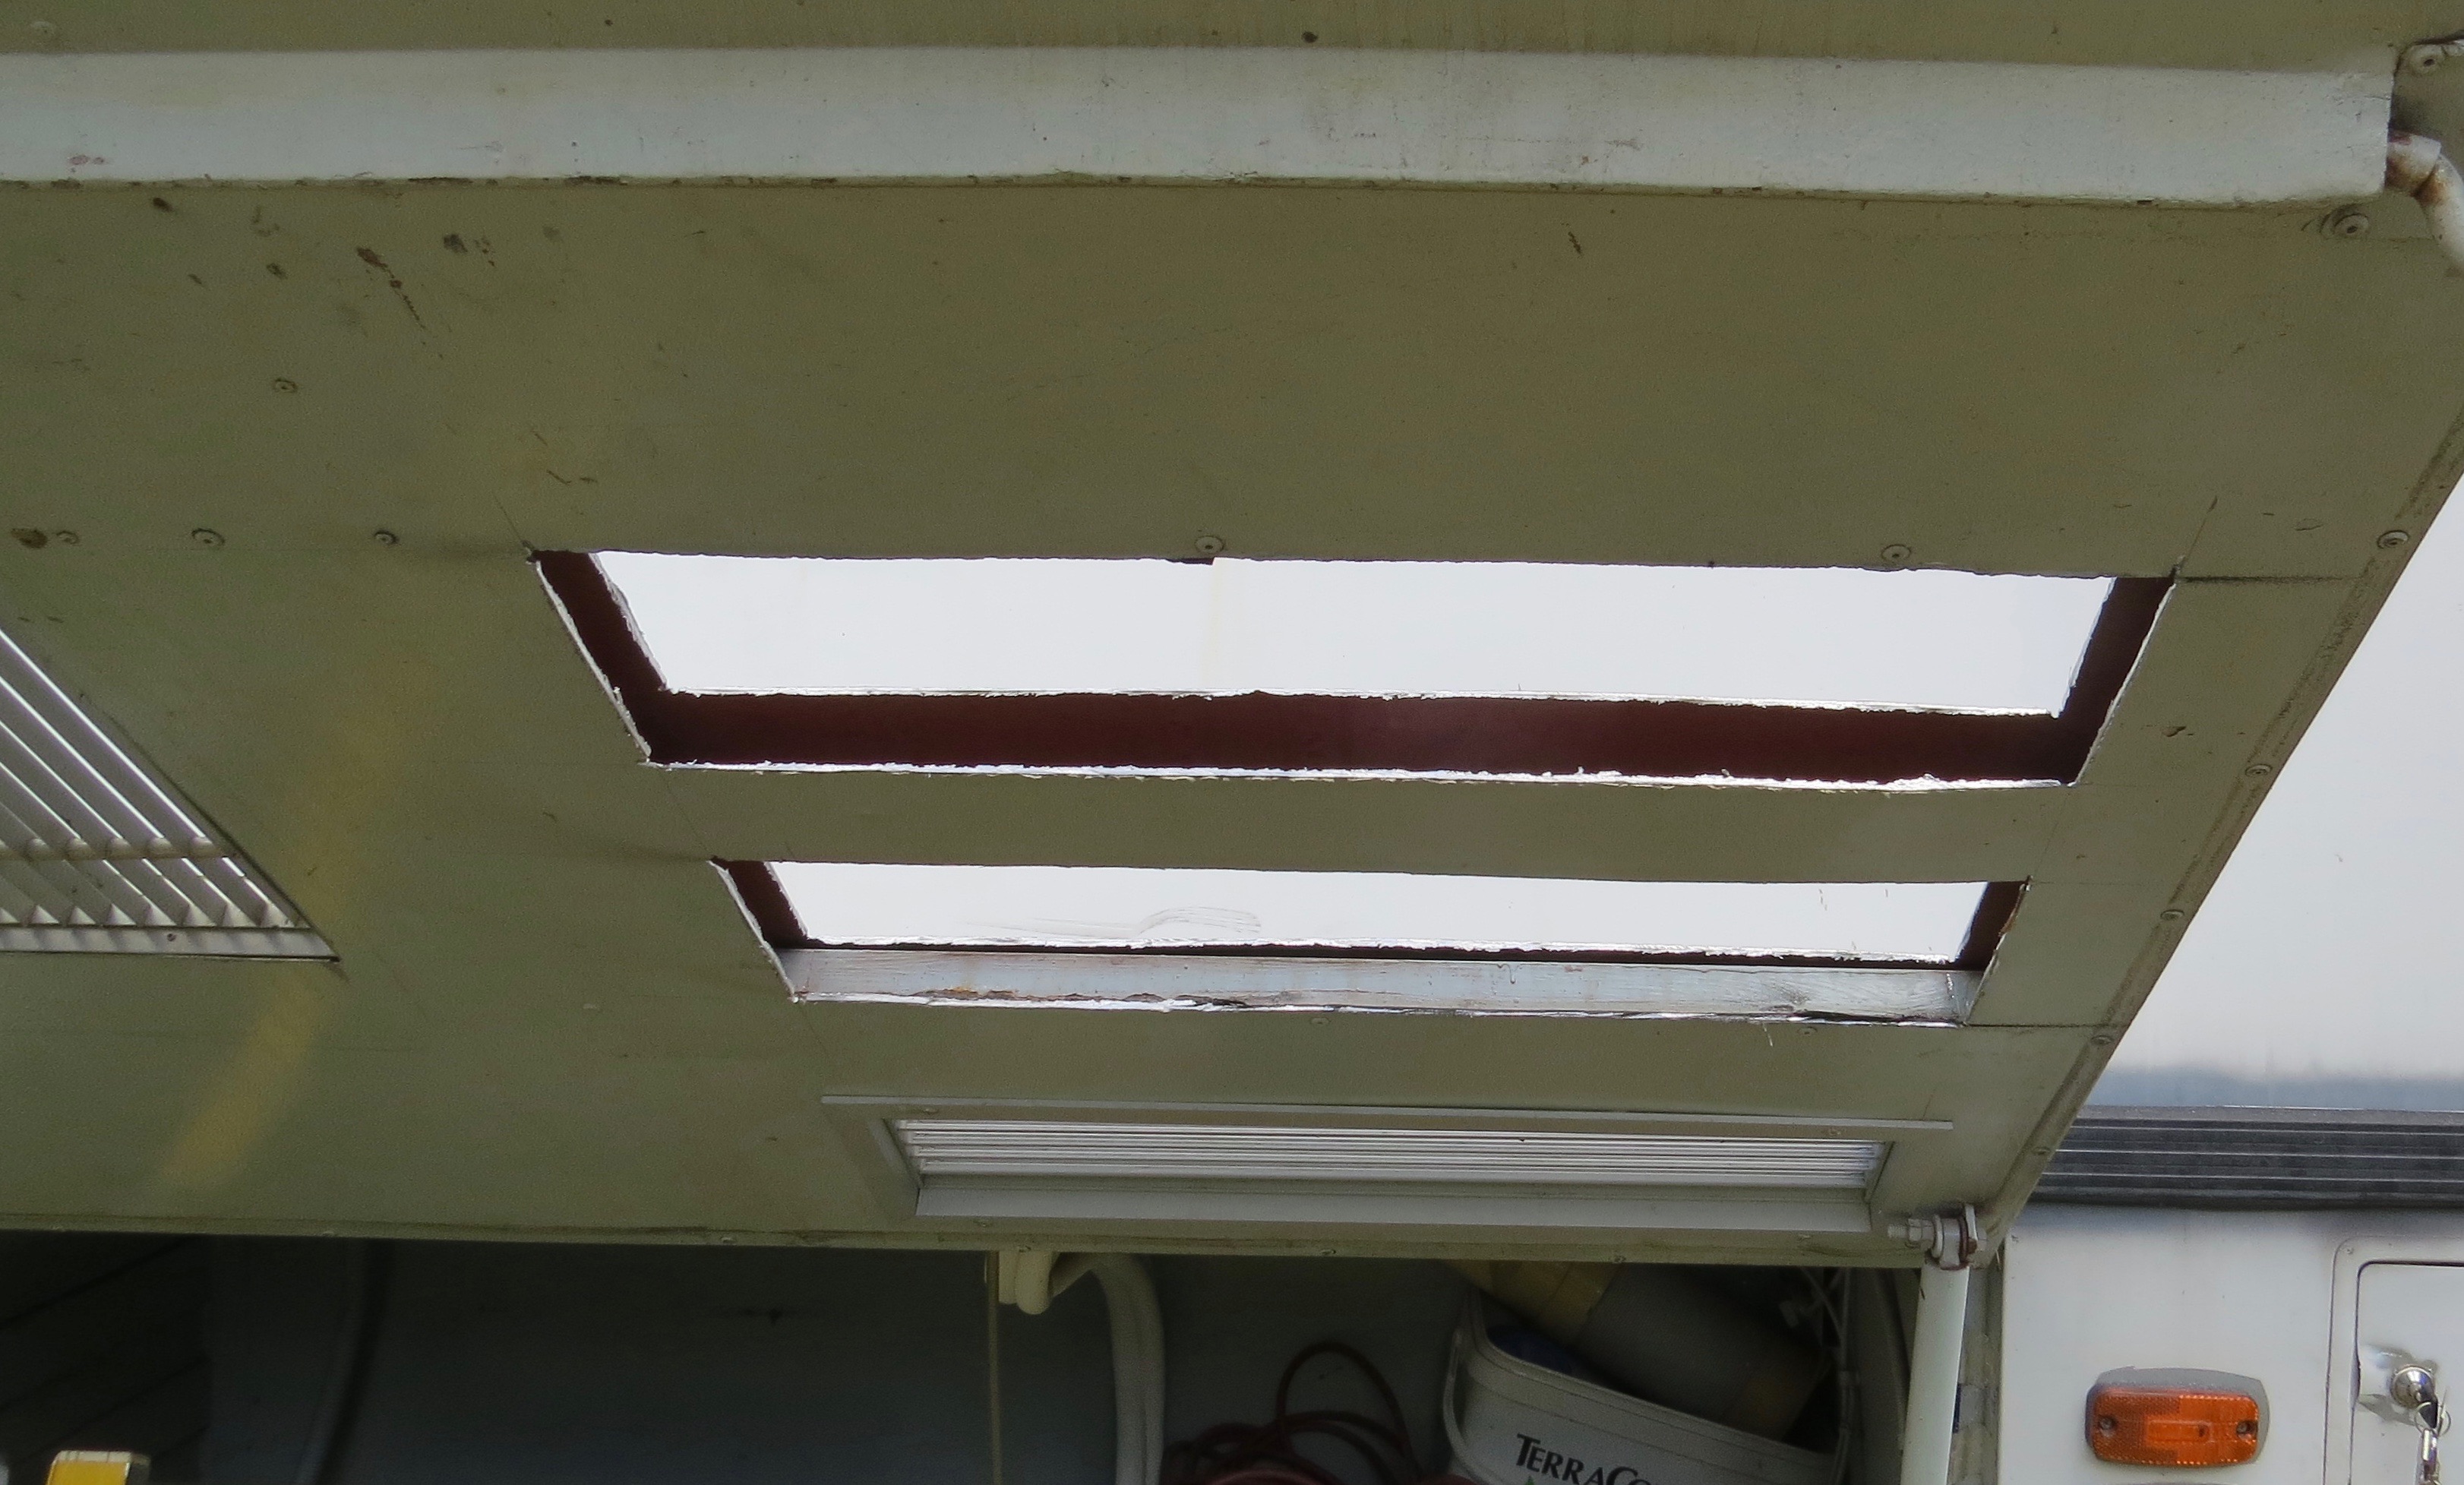
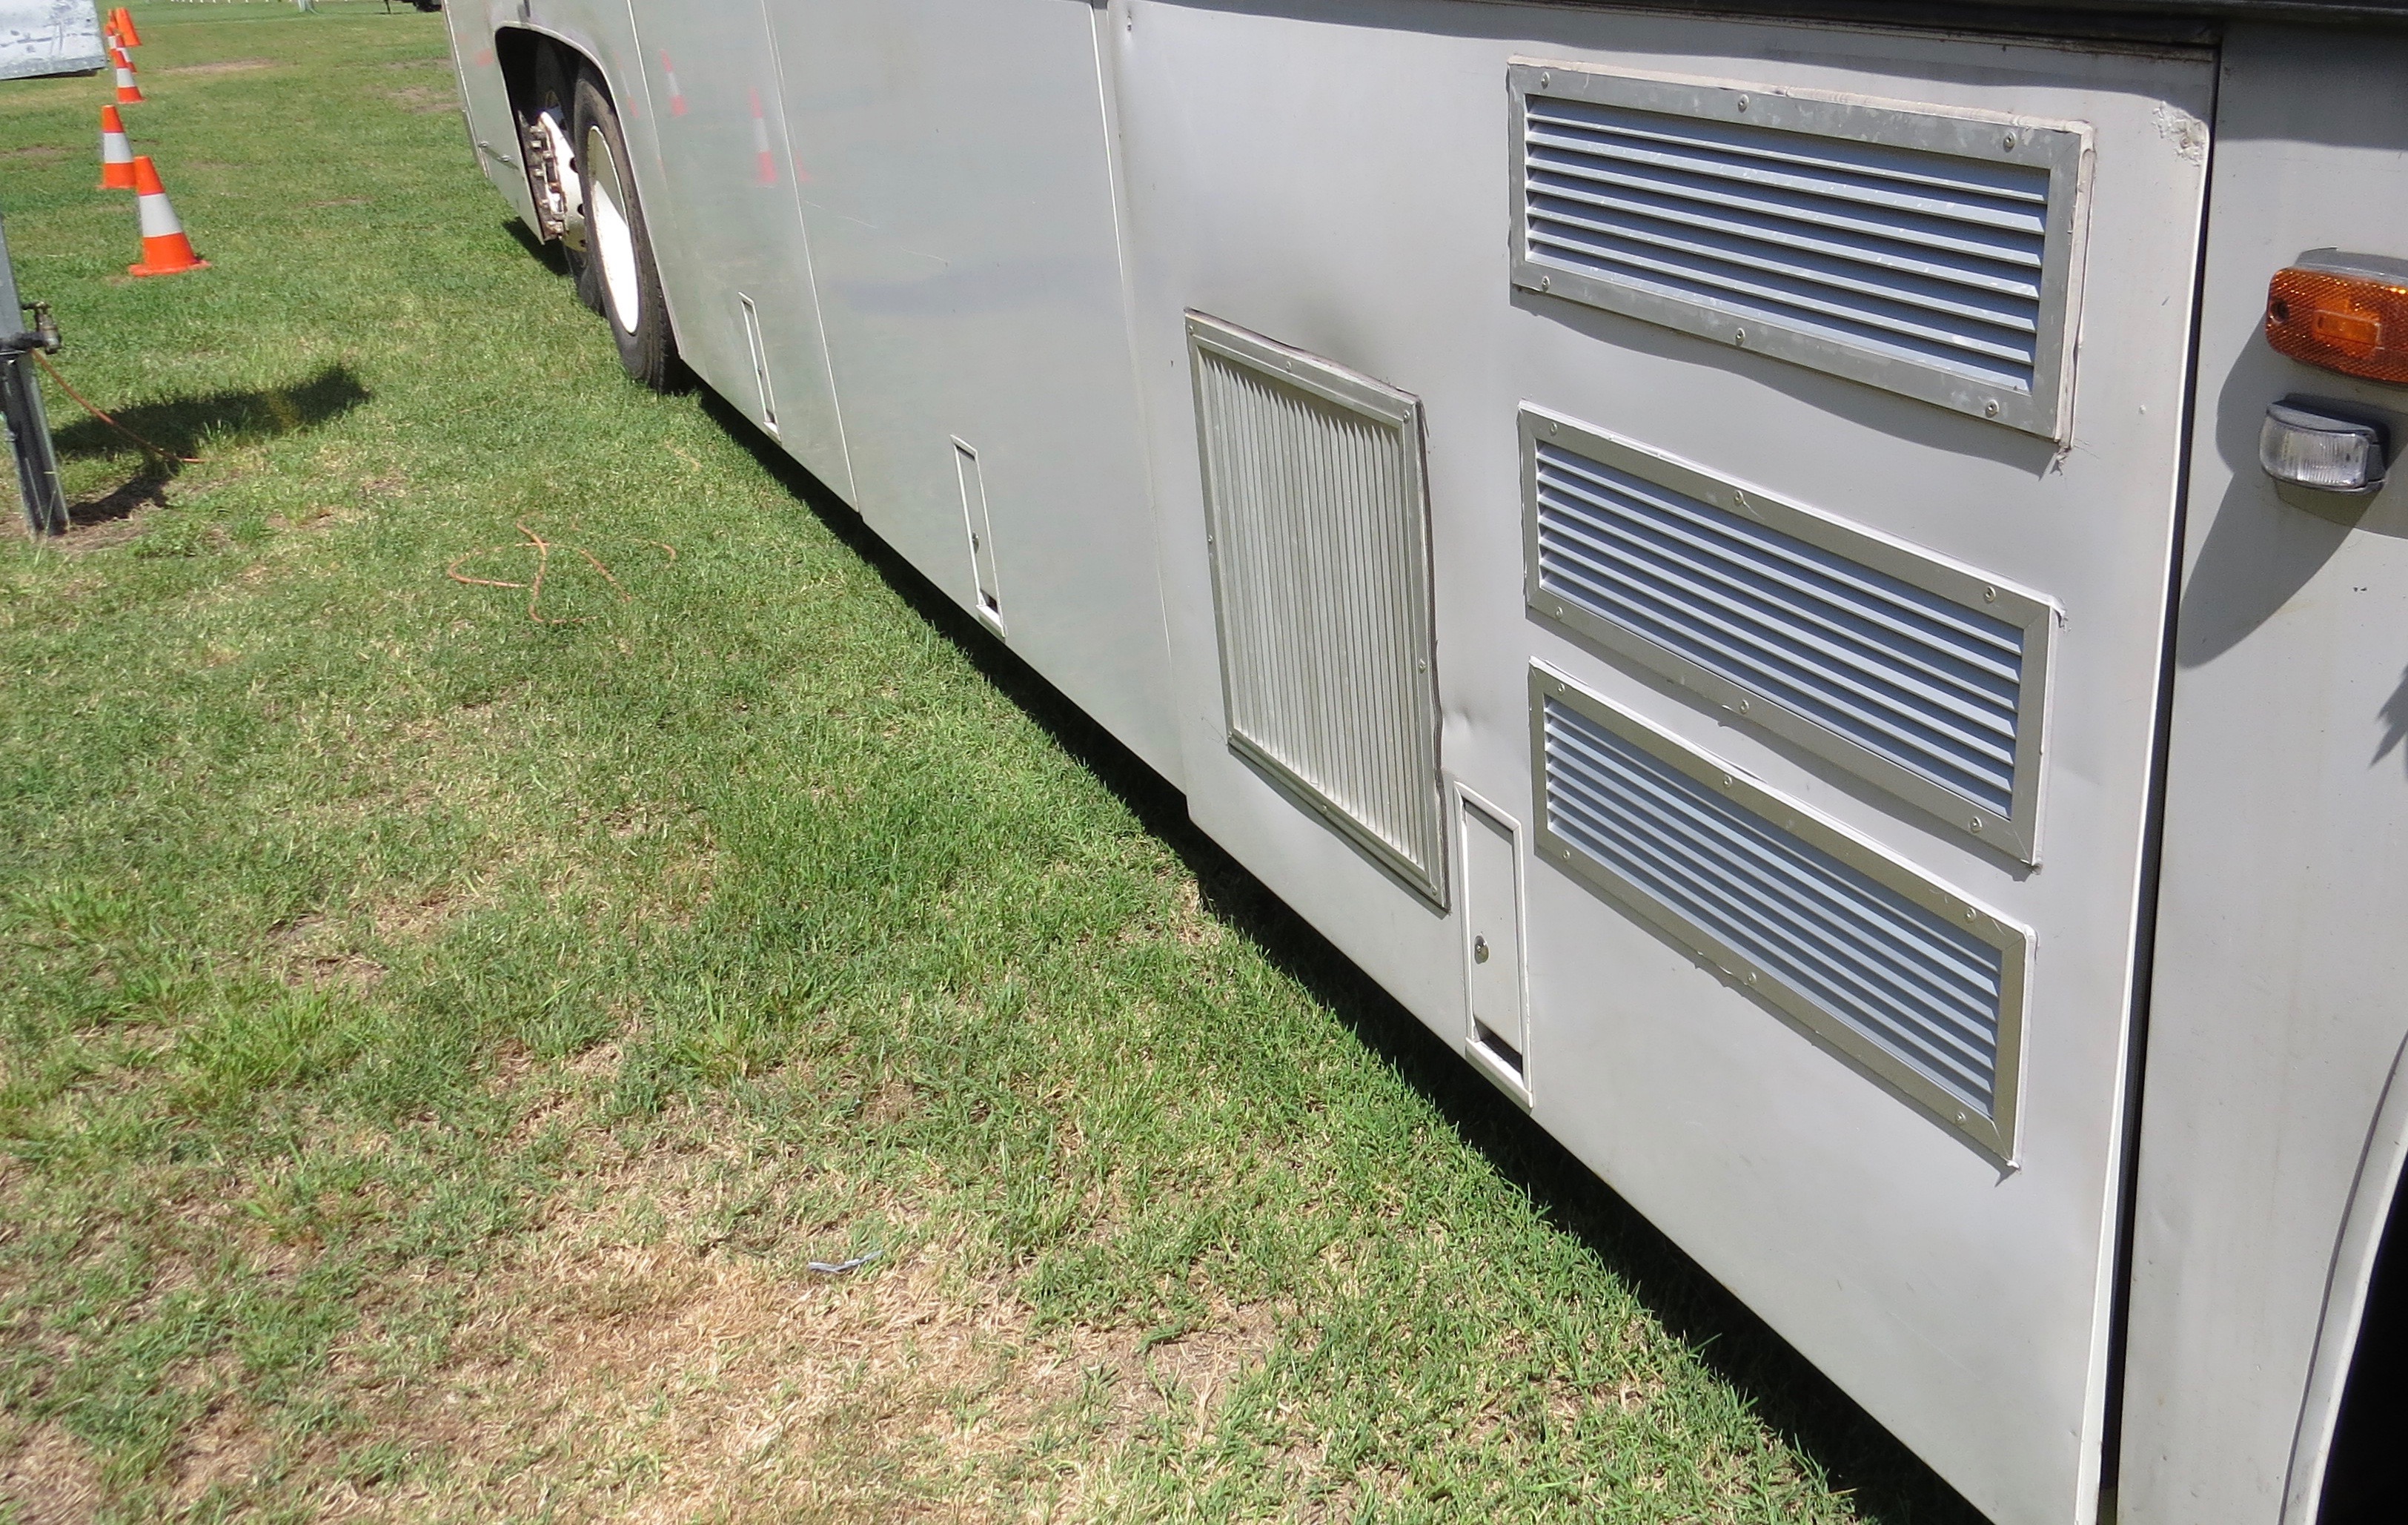
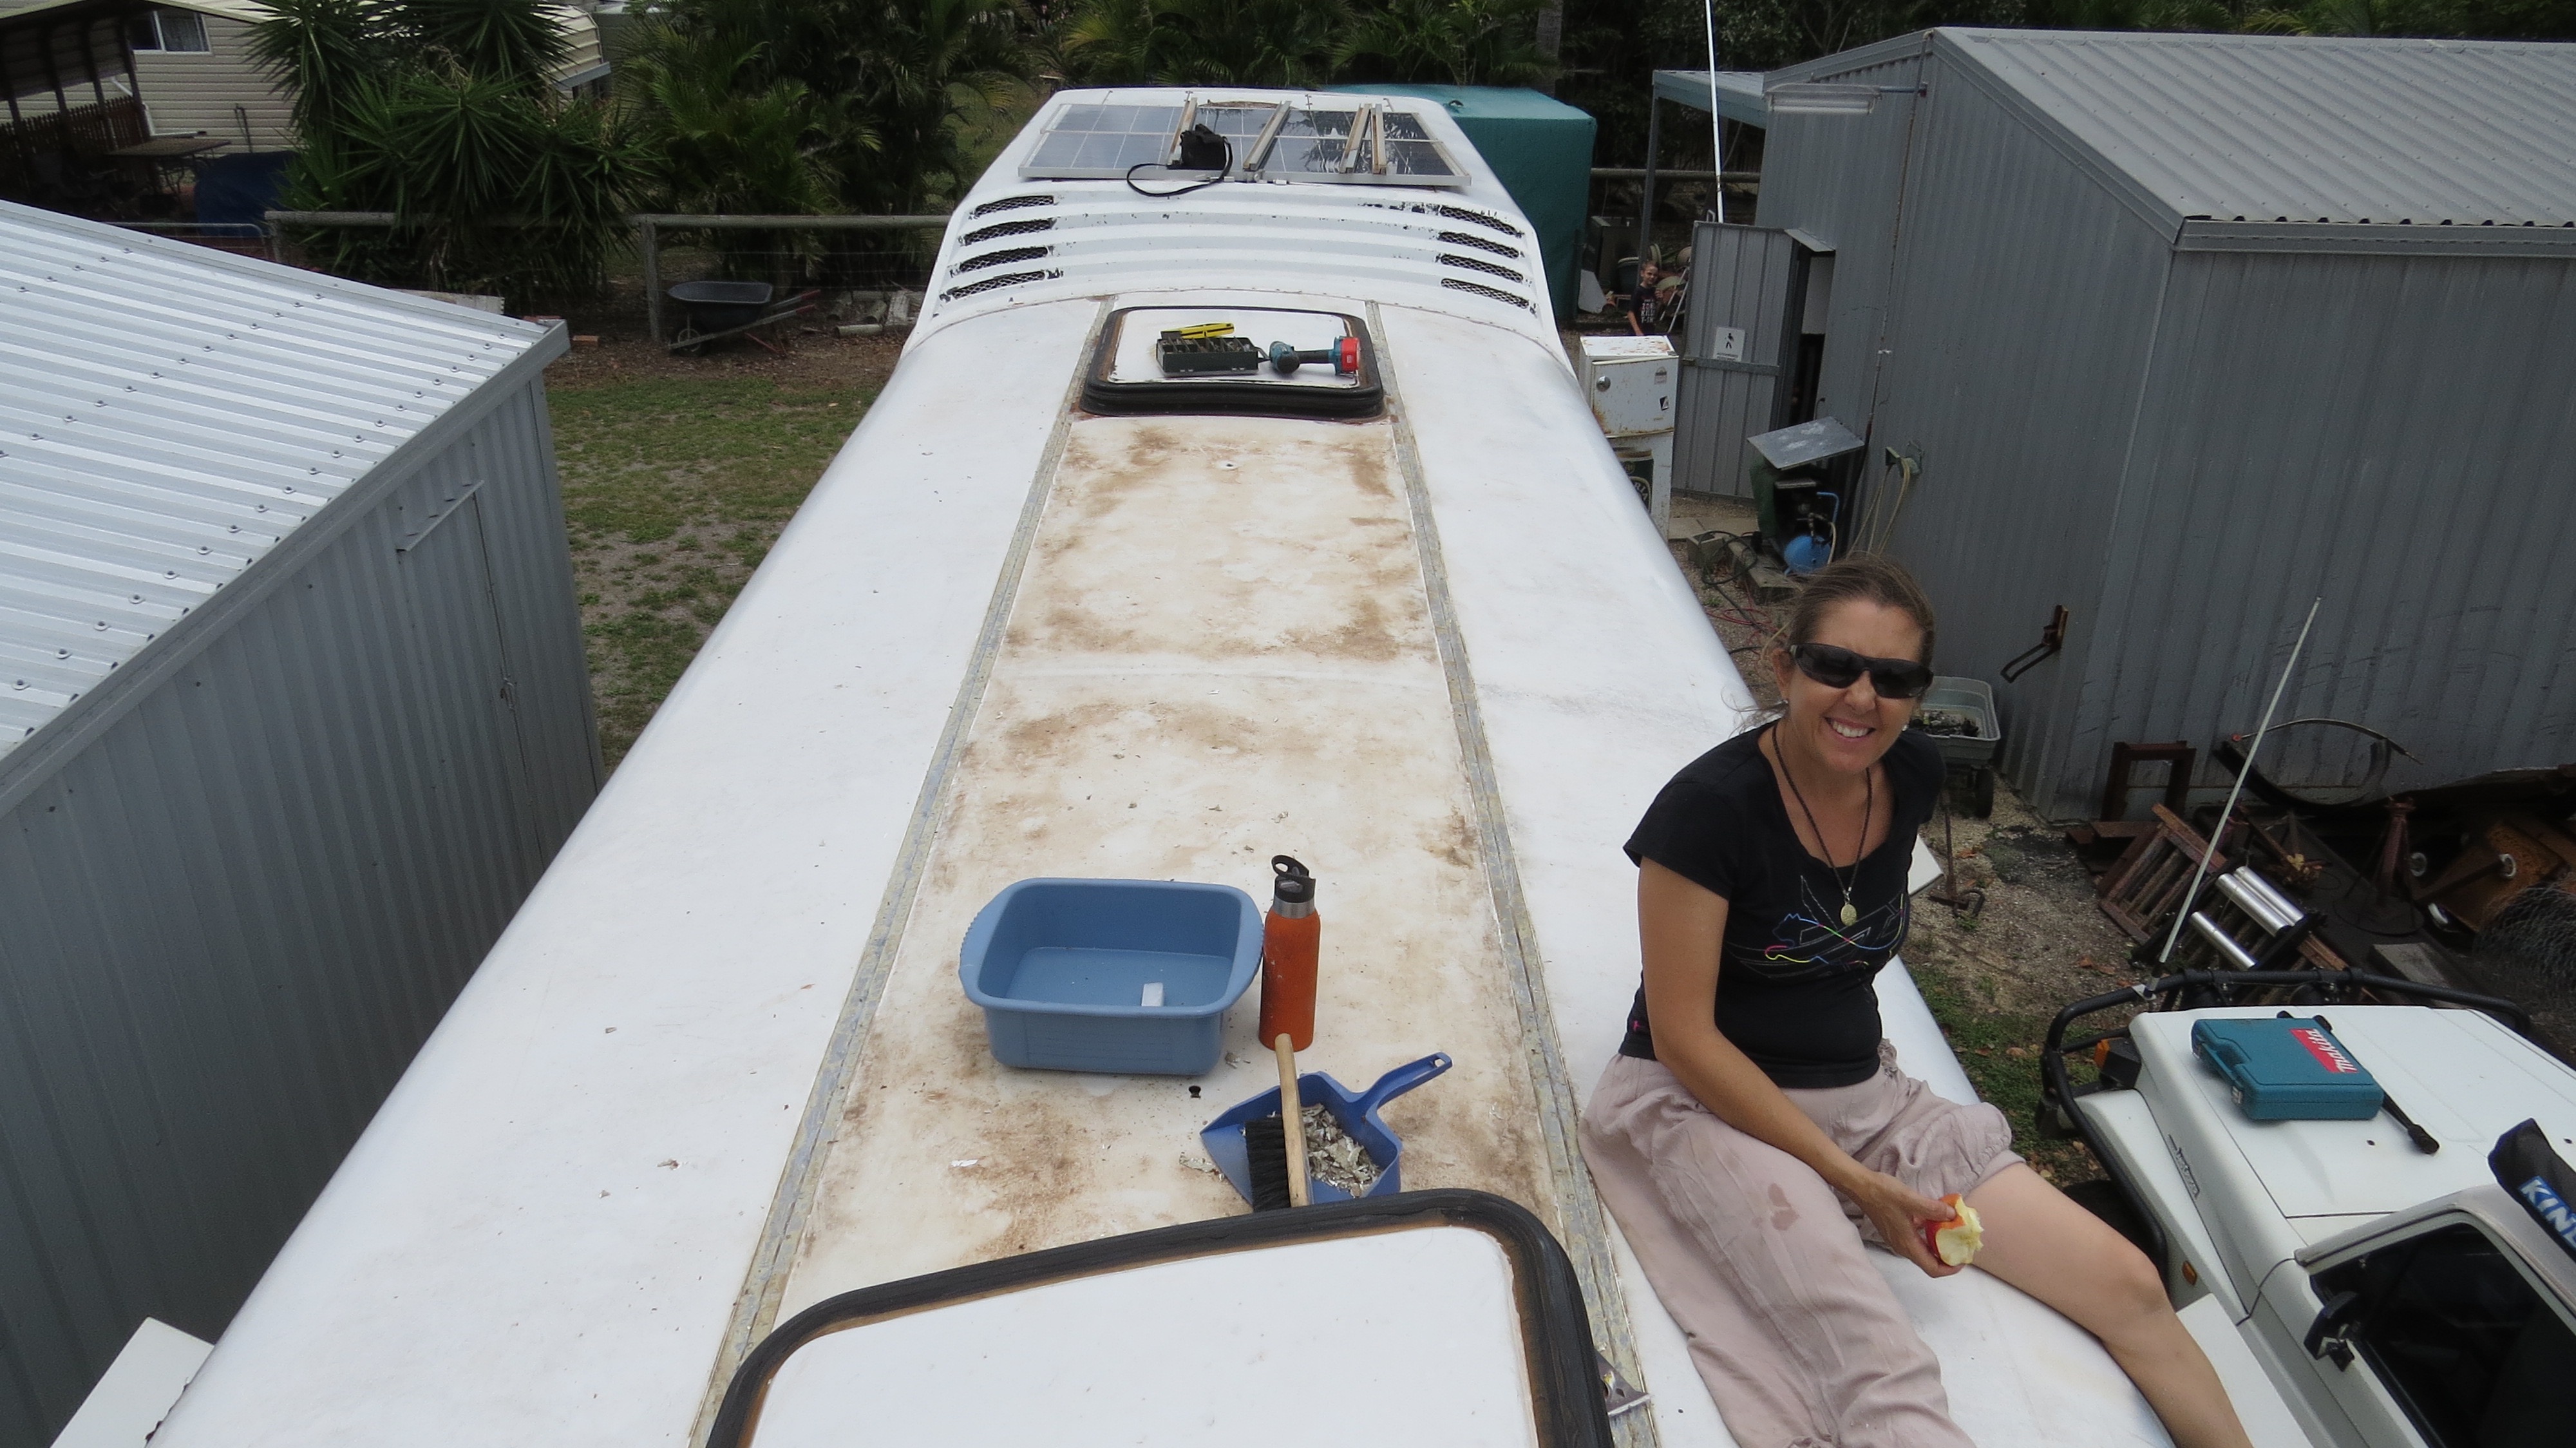
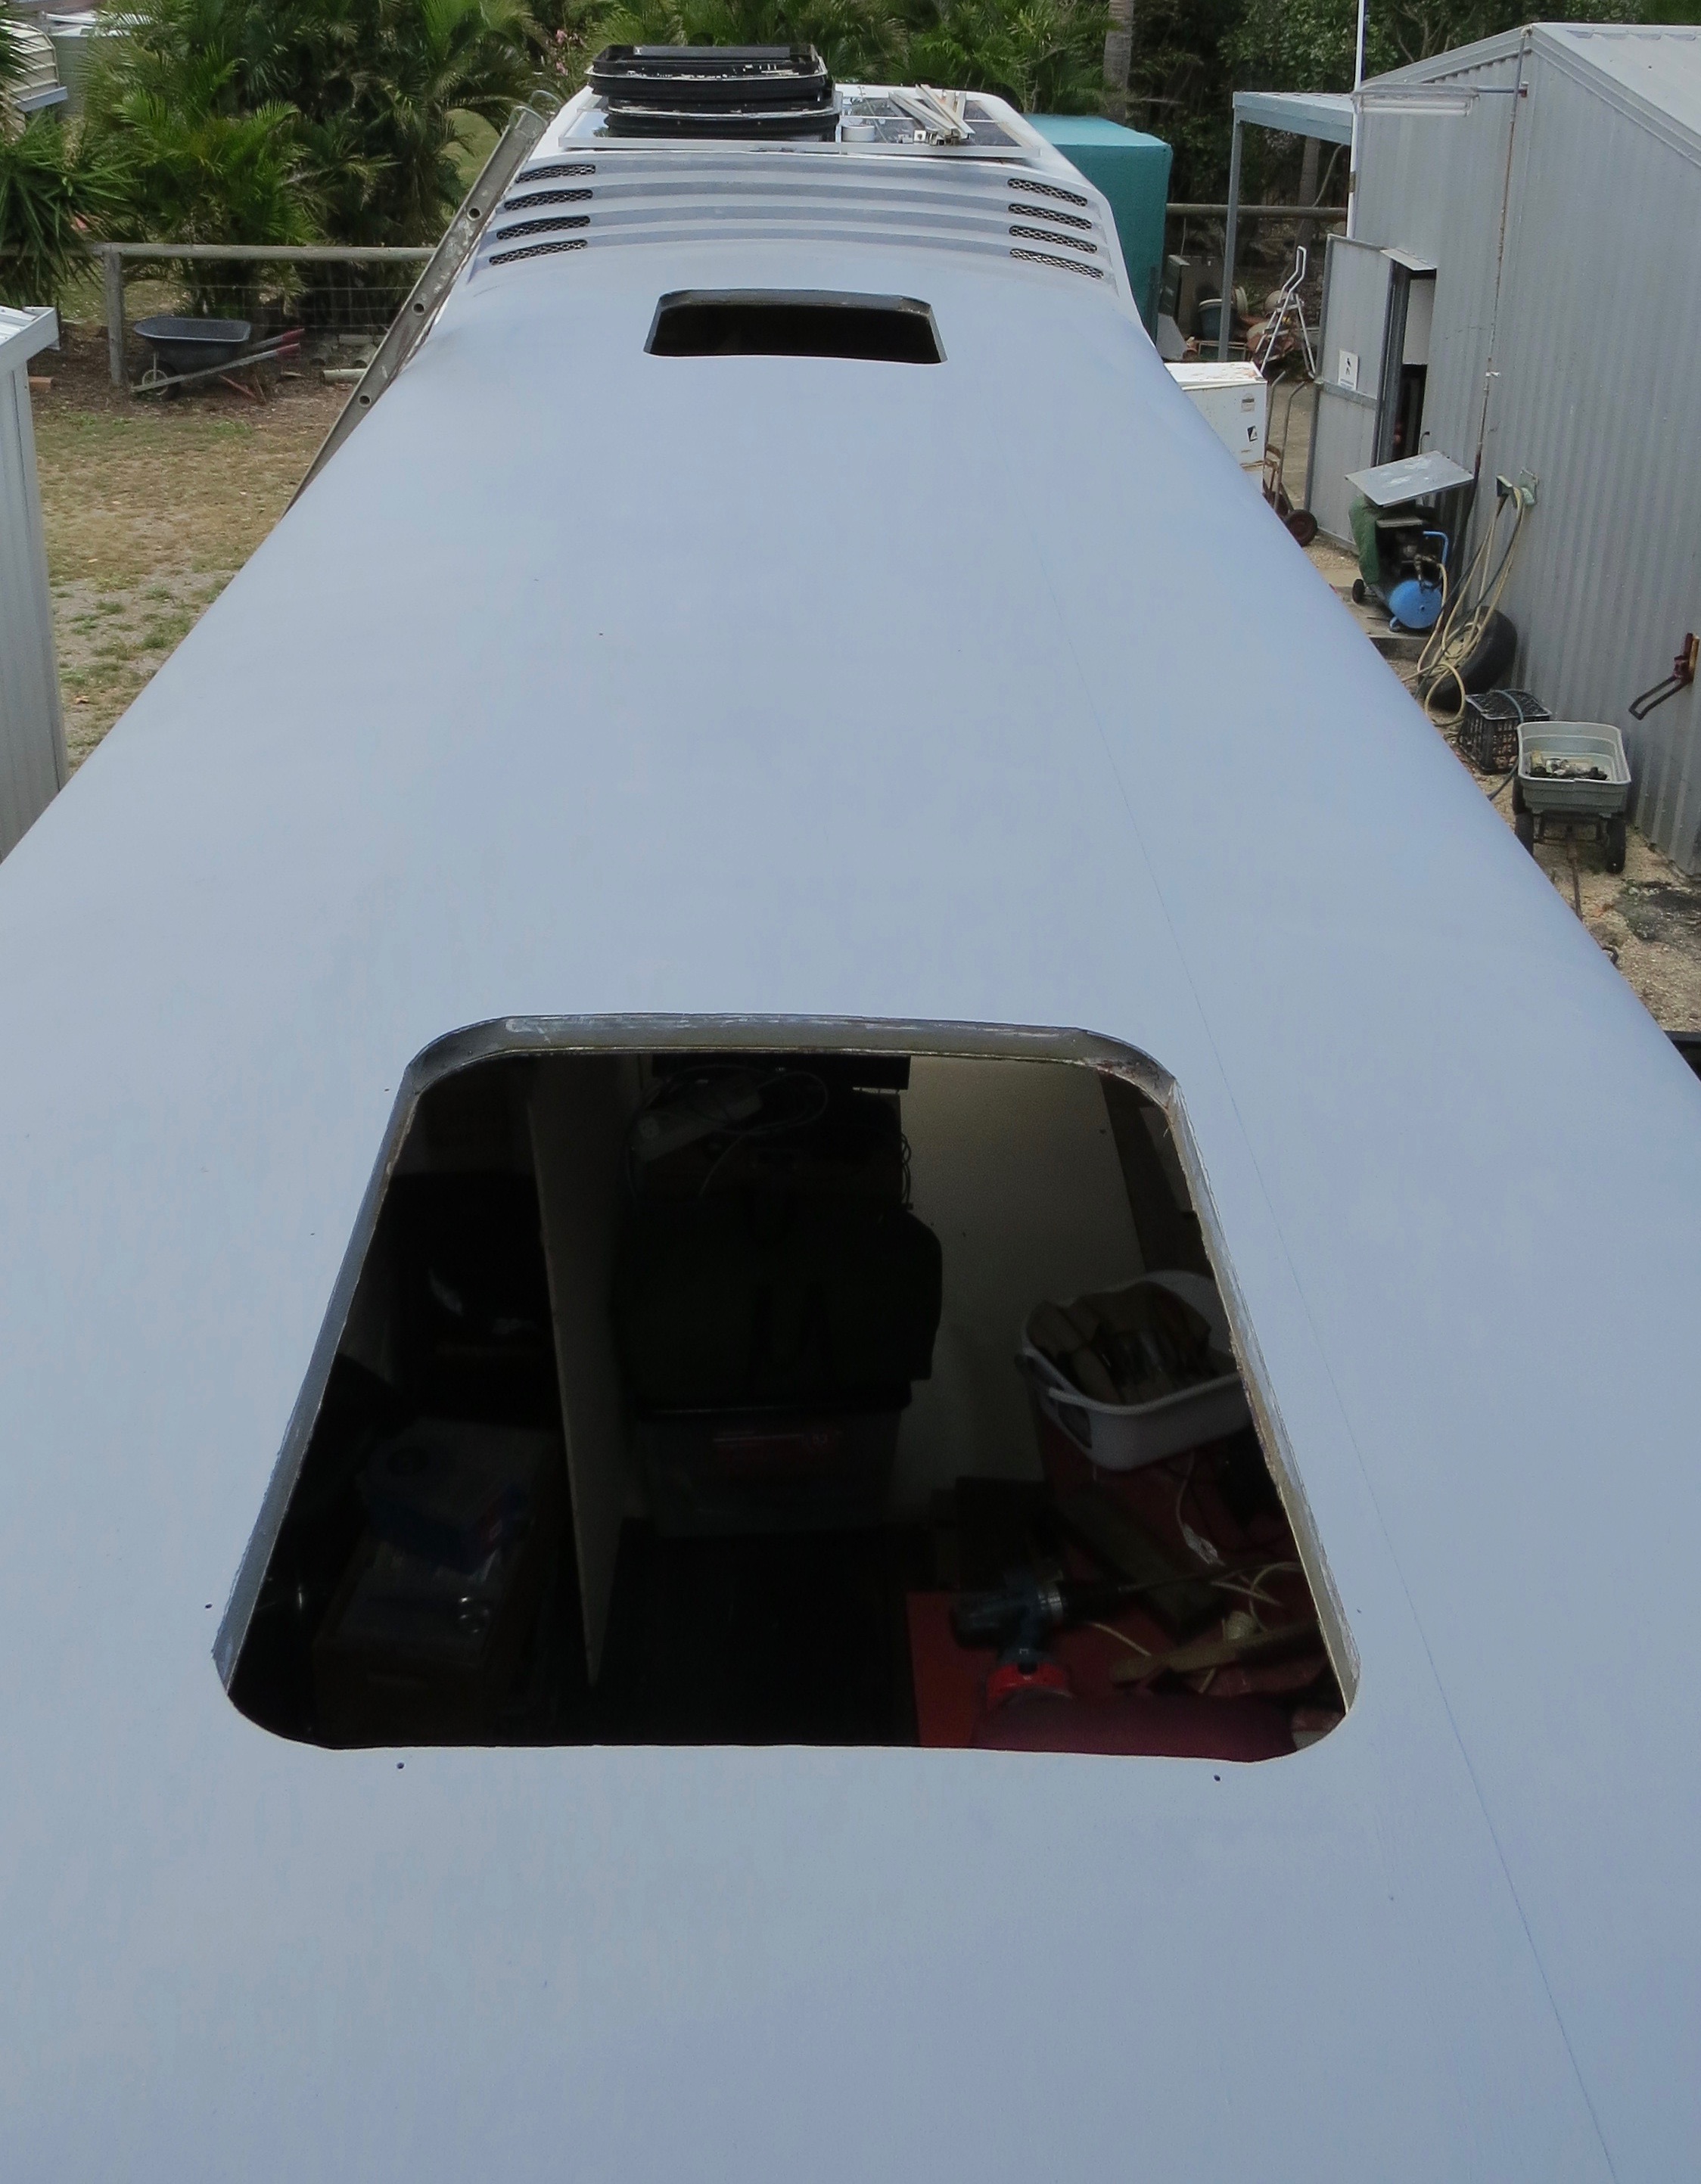
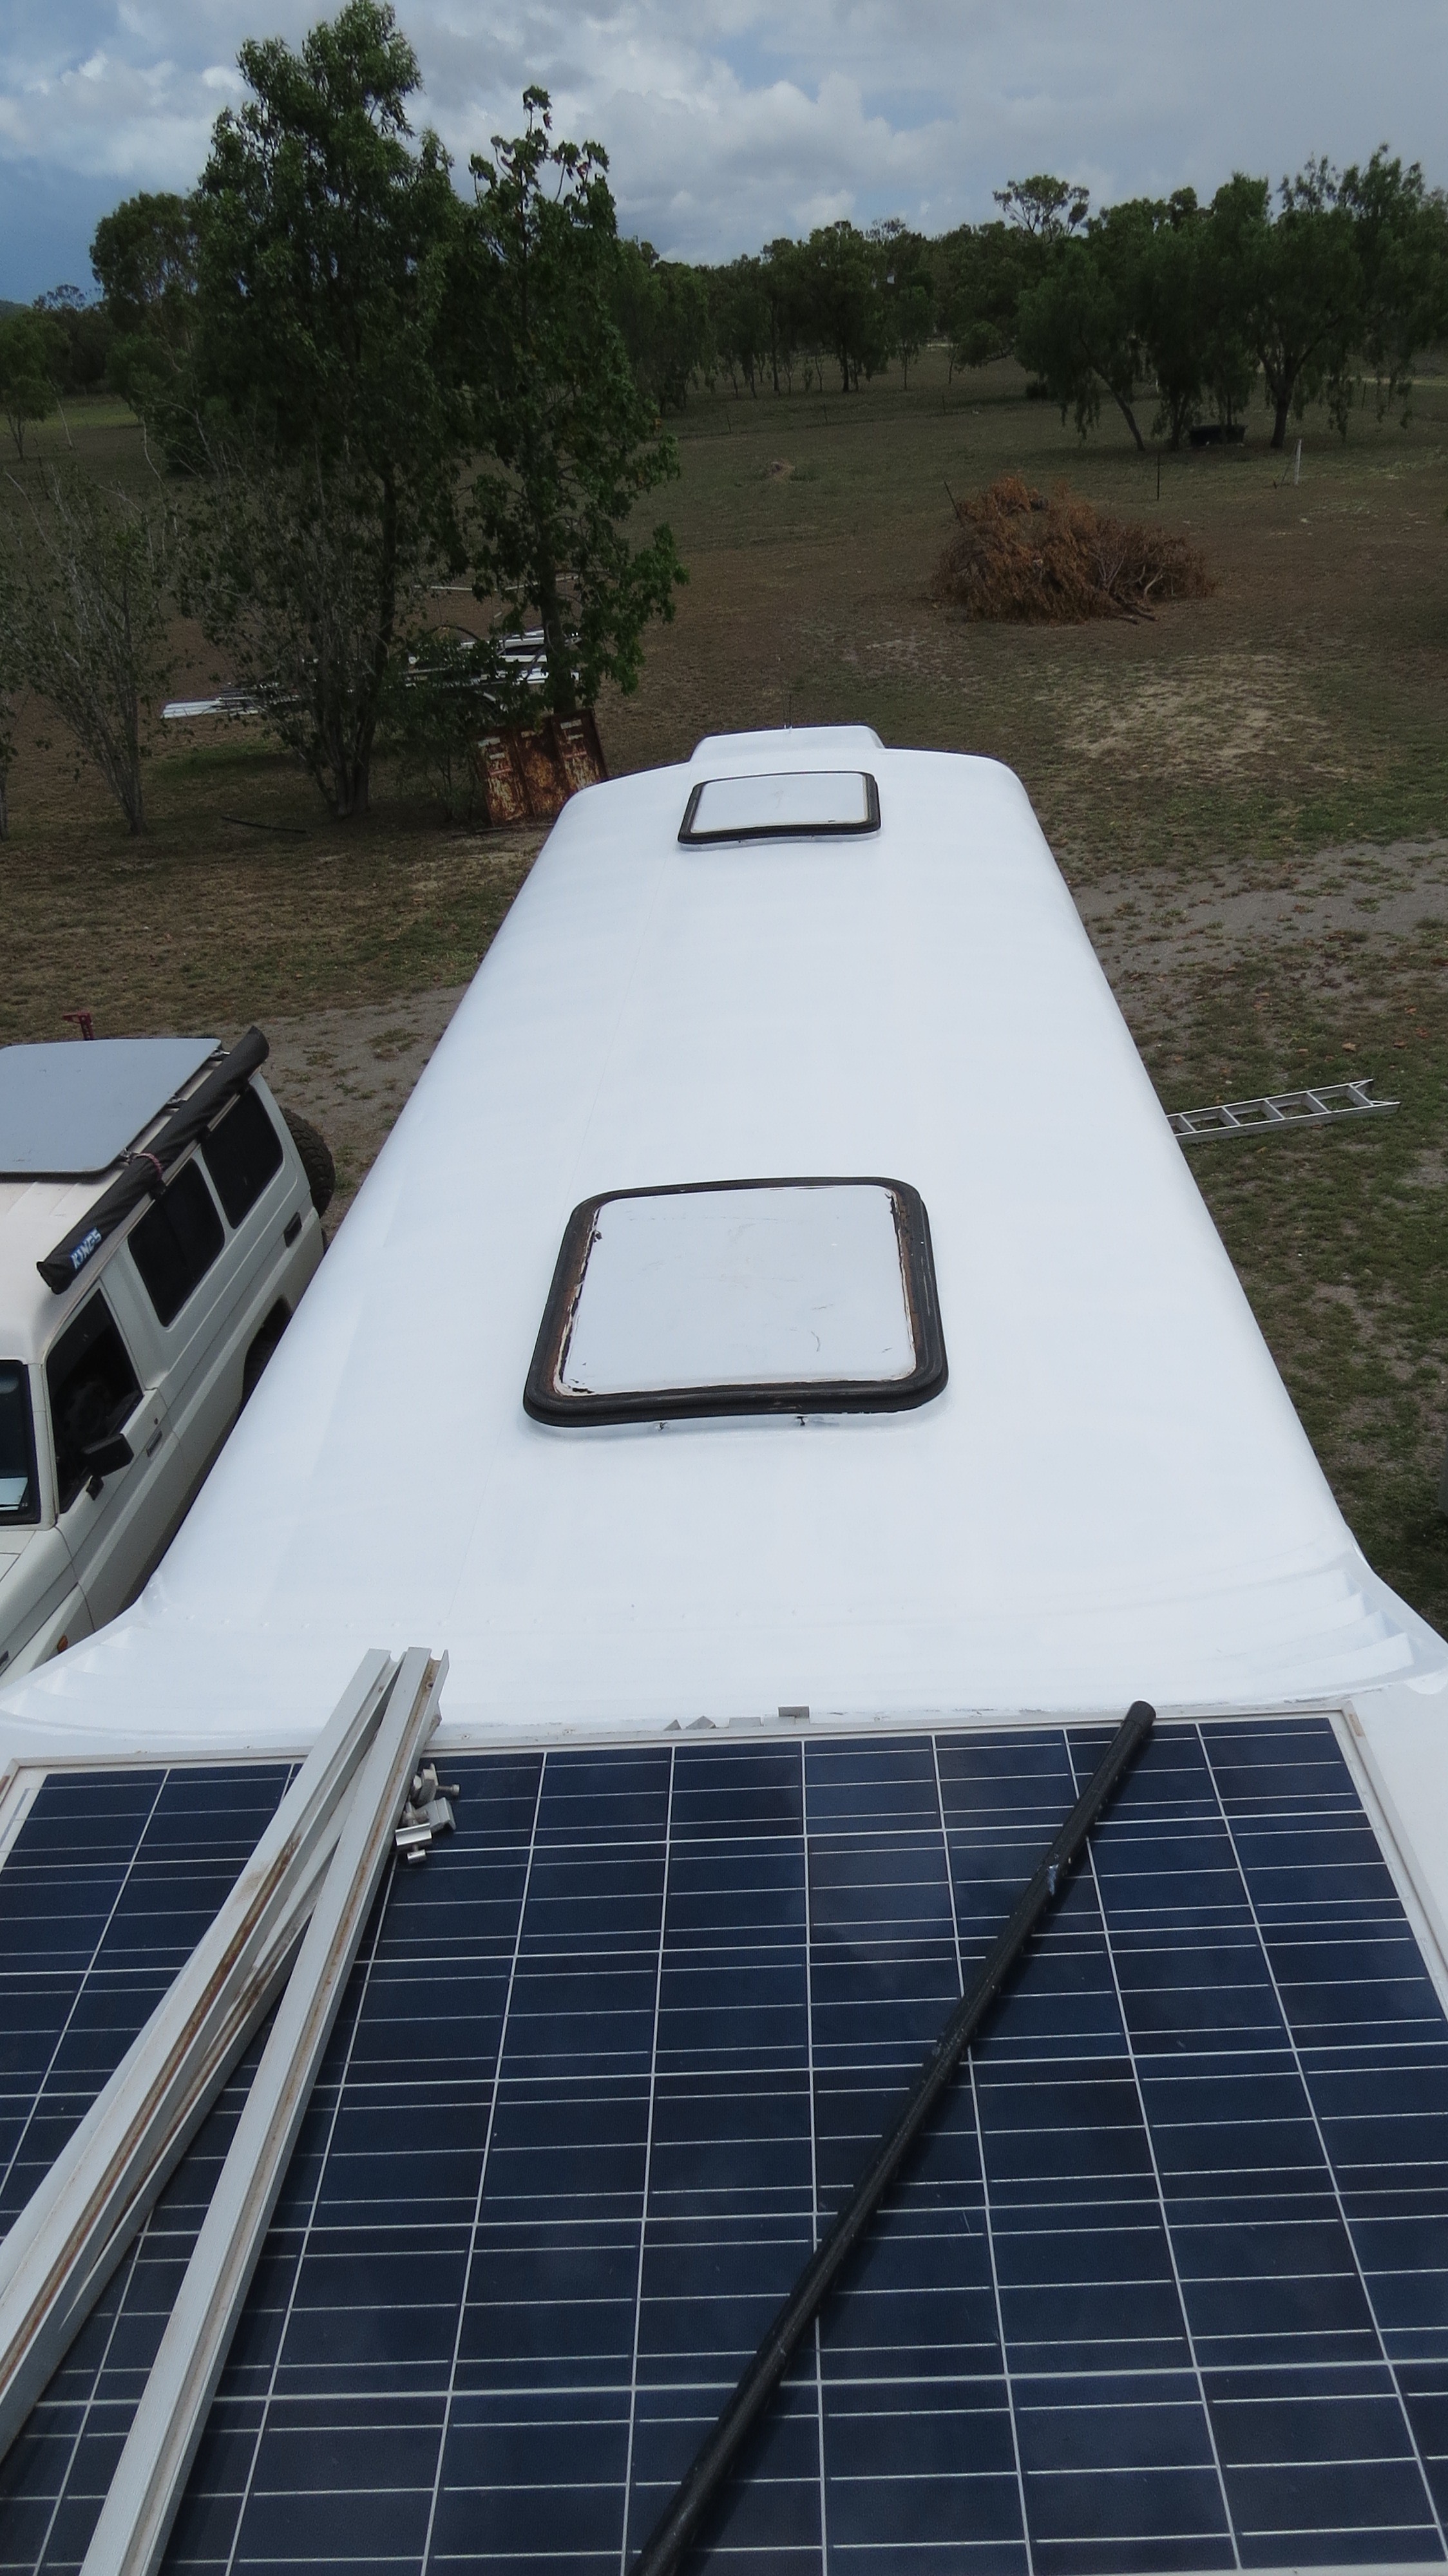
We had already done the first part of the work on the bedroom ceiling, but to finish that job. We had to rip the rest of the old air-con off the roof. I started with getting the sola panels off first, then remove the cover plates.

Now time to remove the solar panels again.
This will be the last time the roof looks like a coach roof

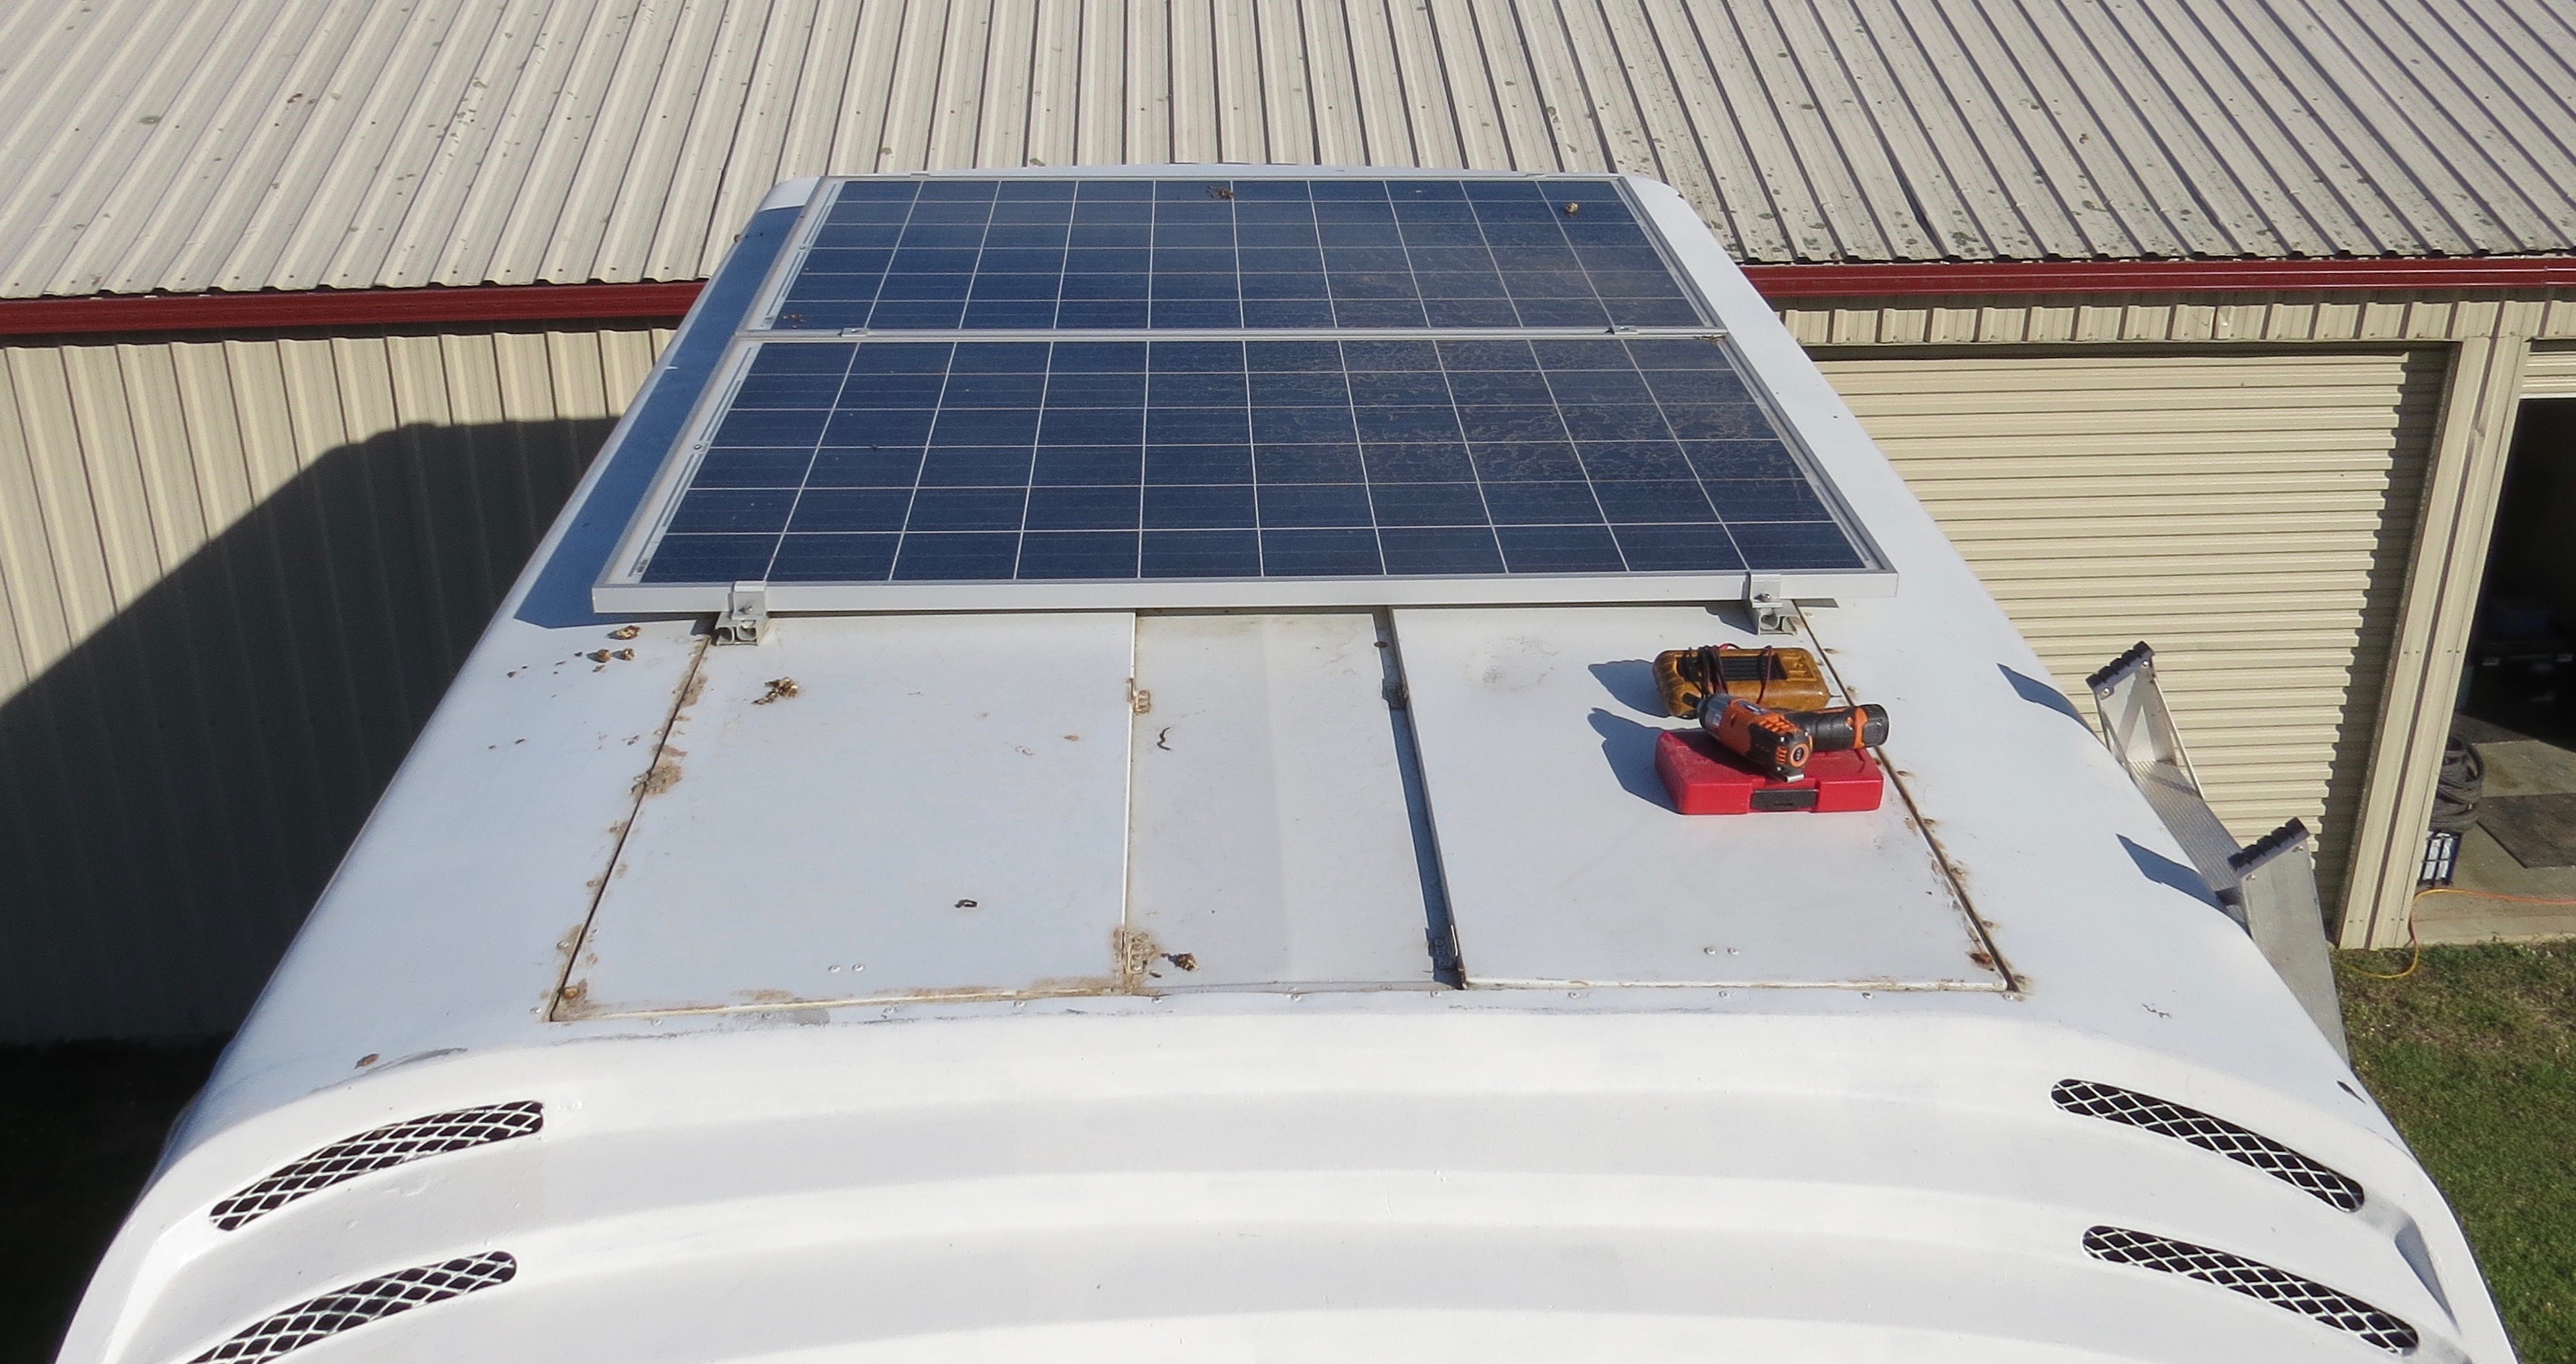
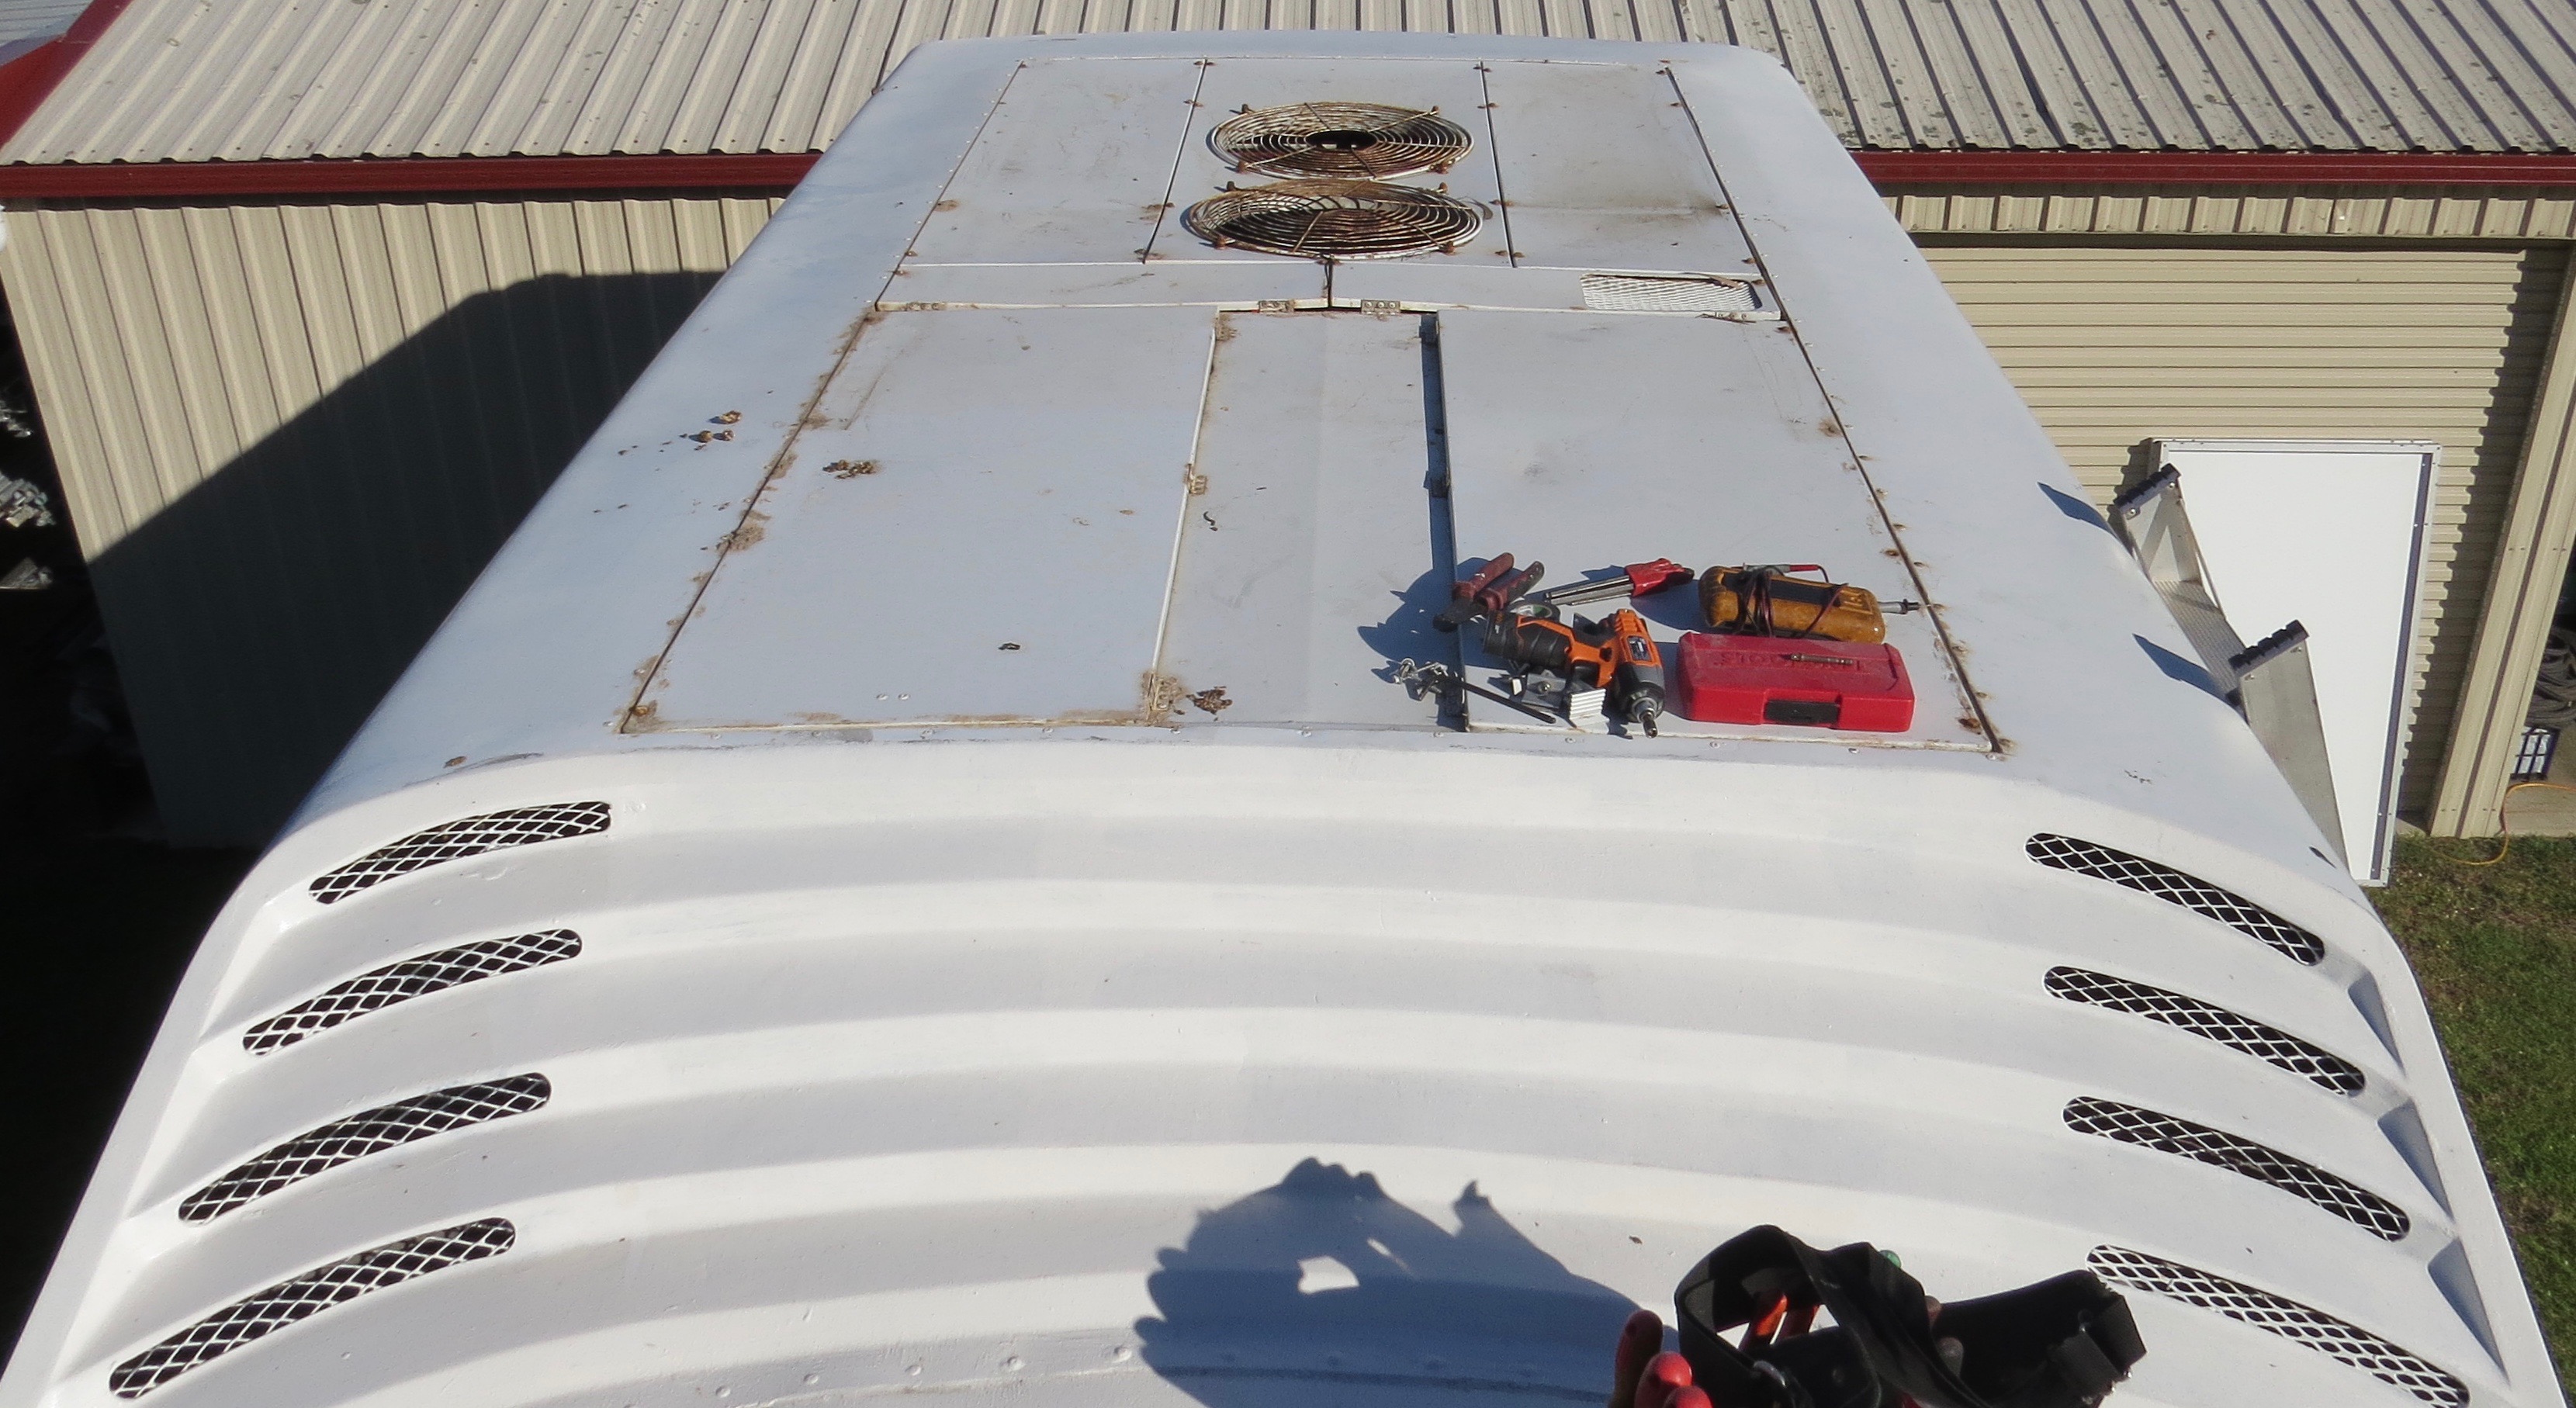
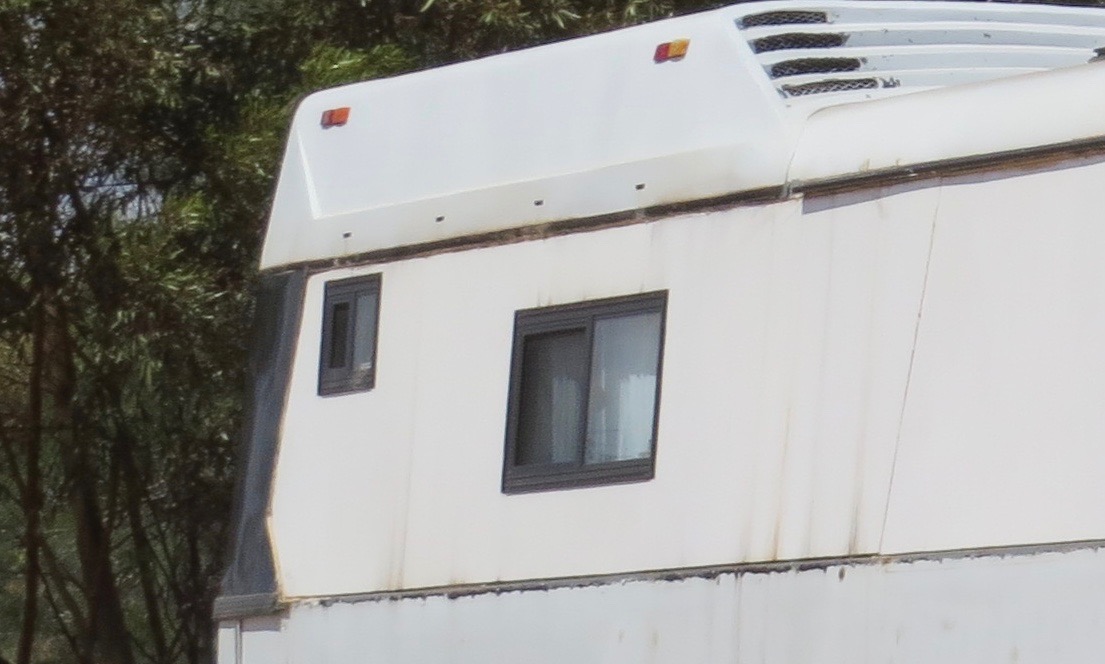
This will be the last time it will look like this.

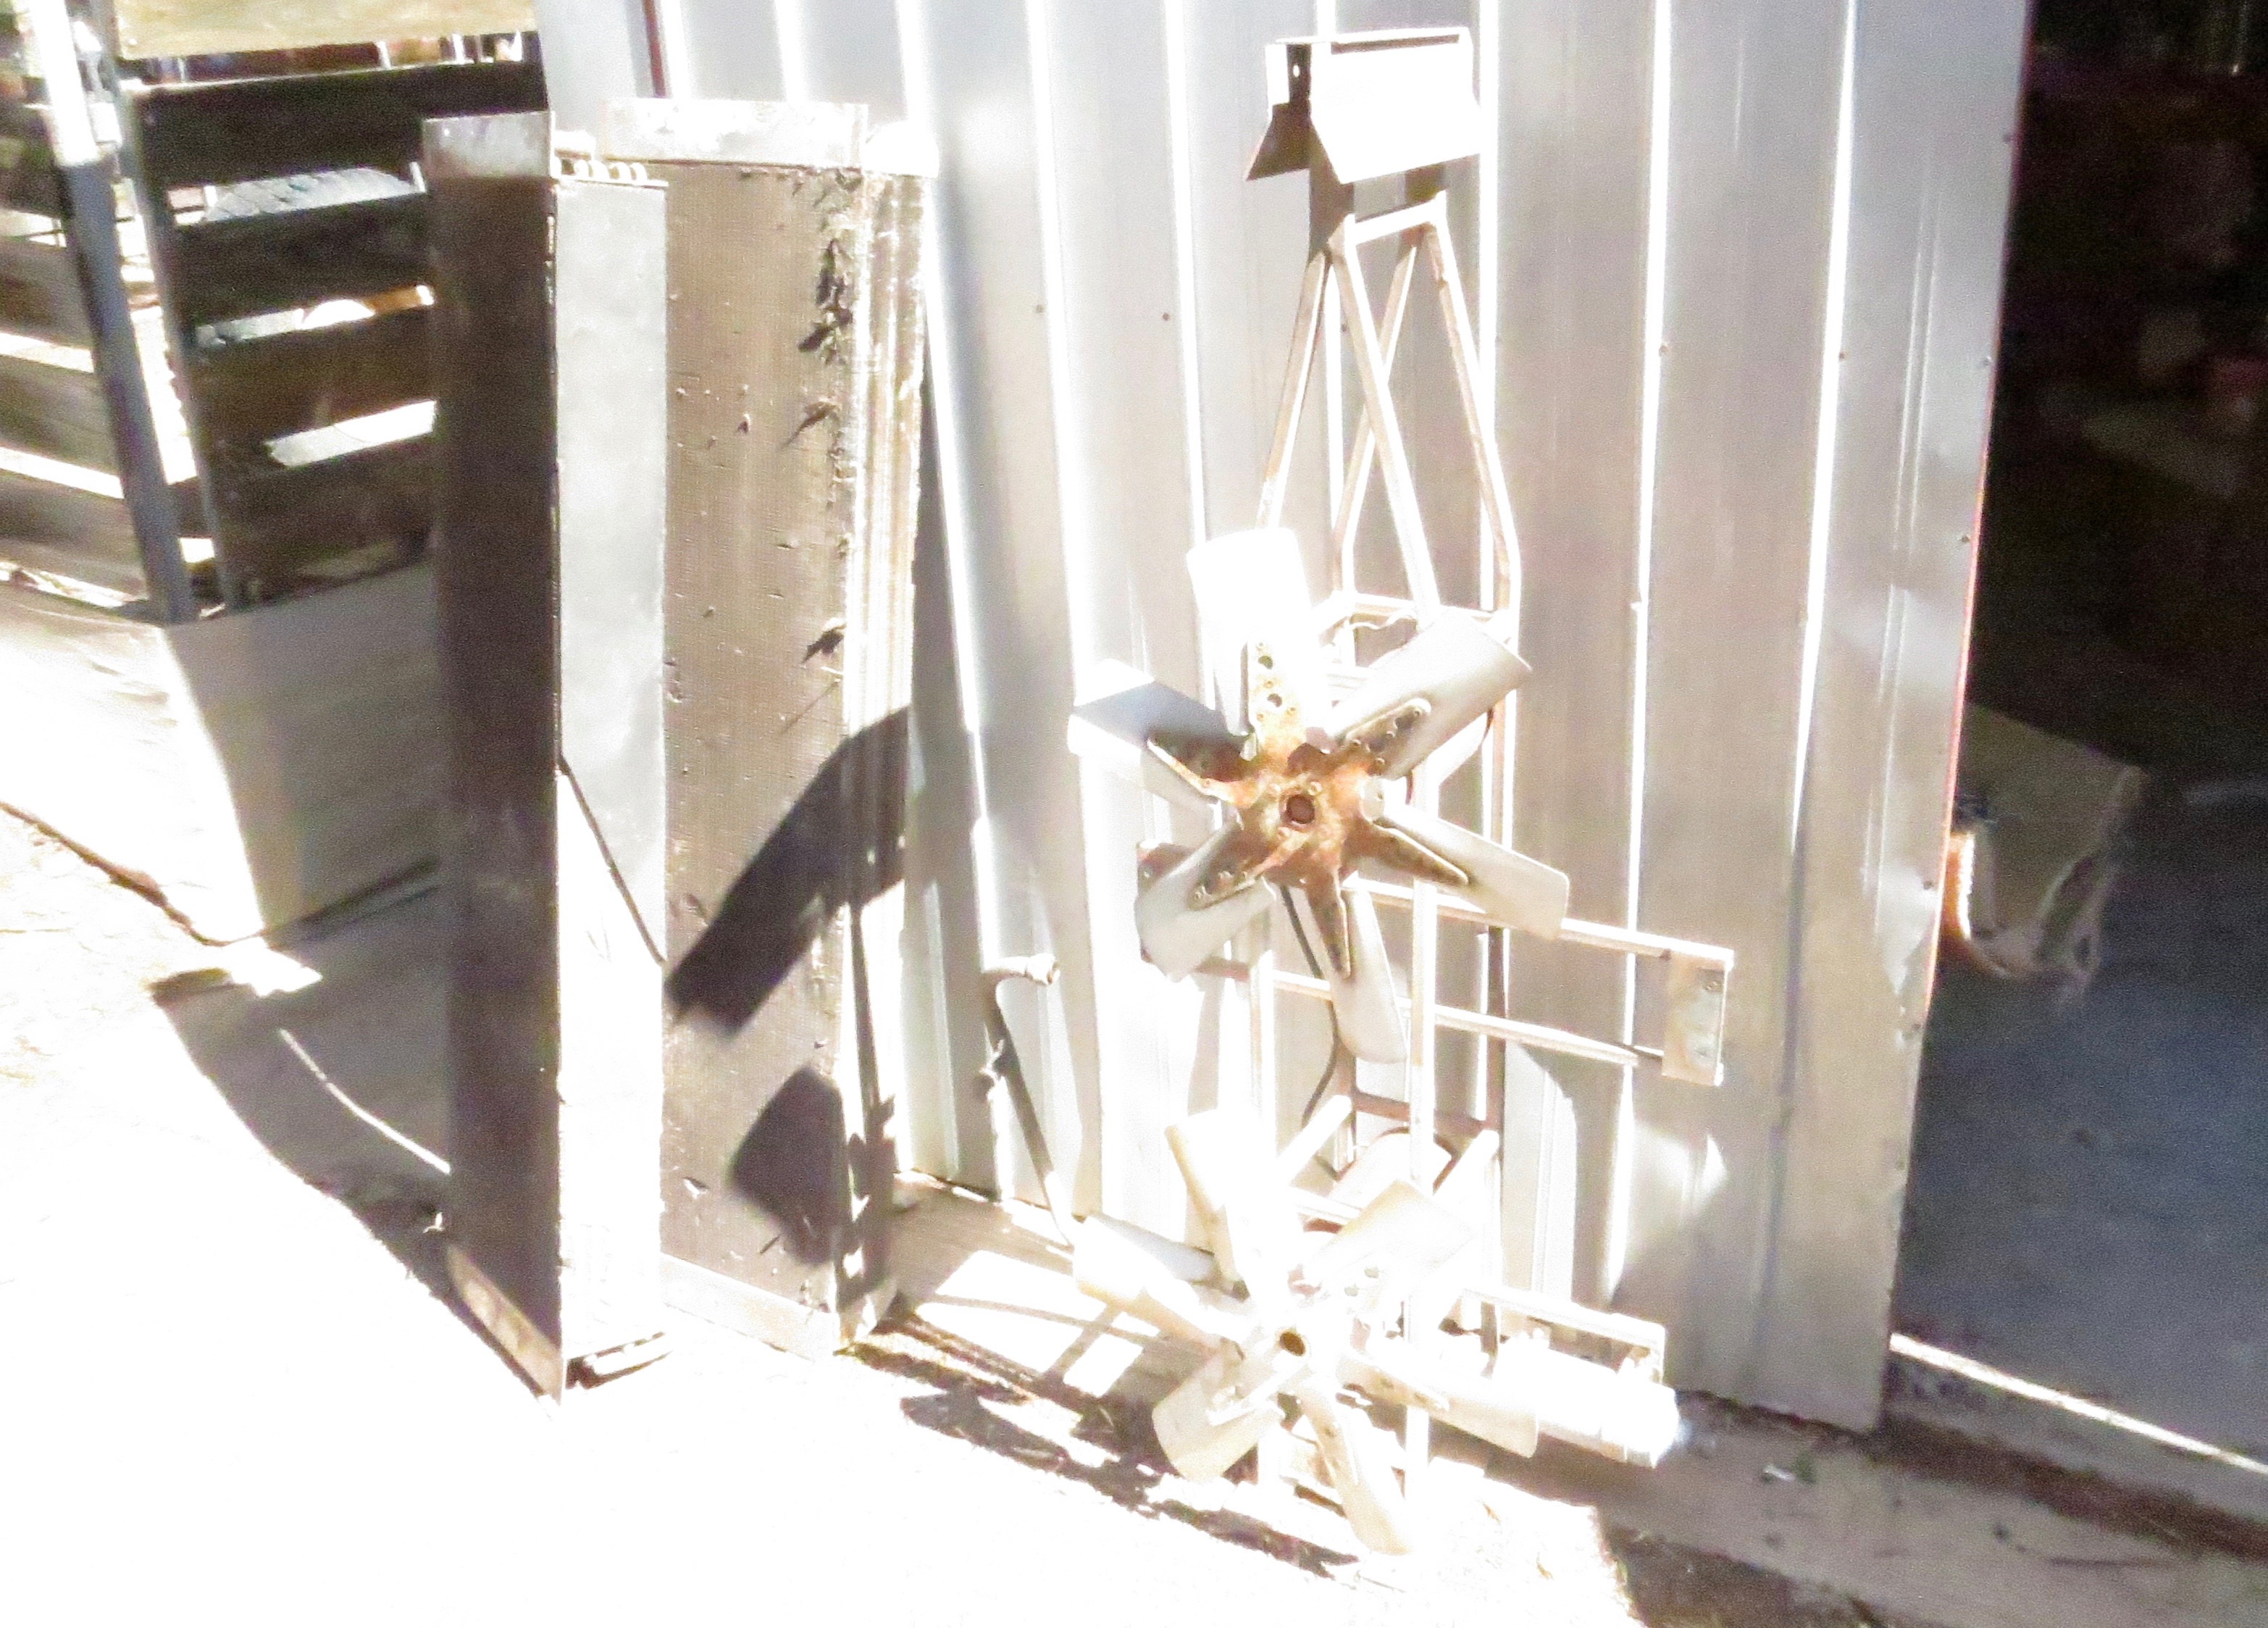
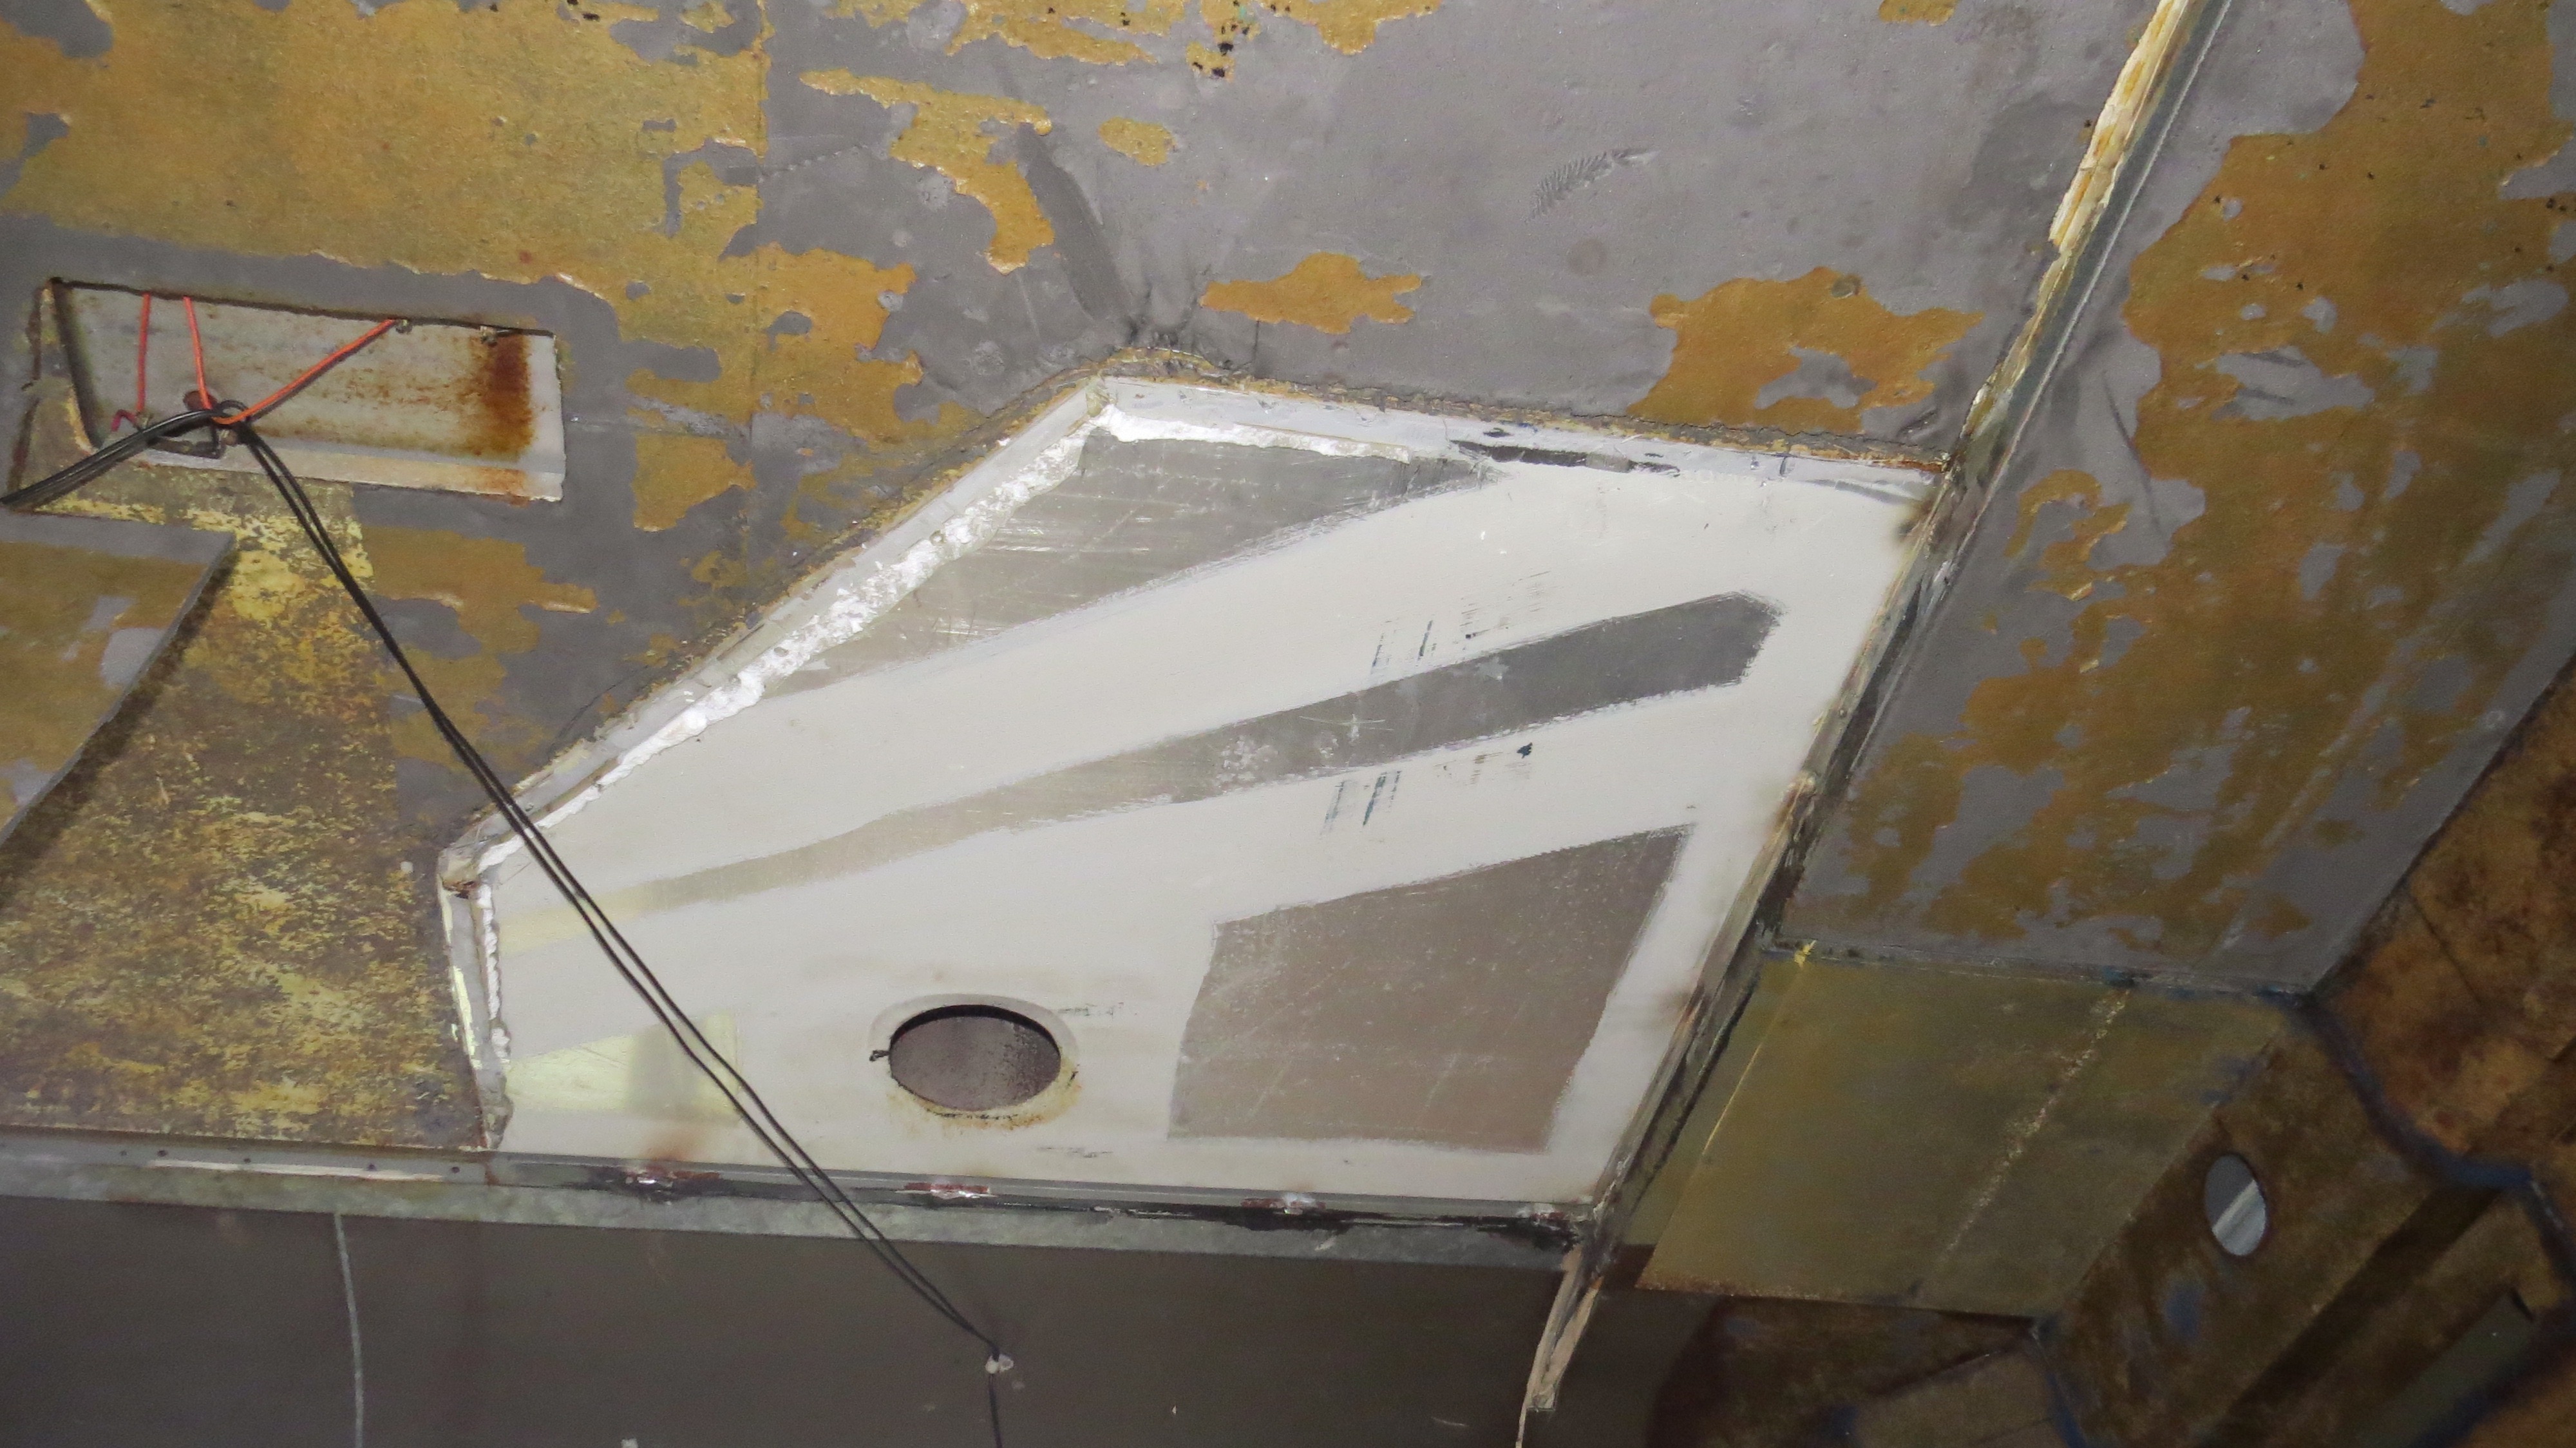
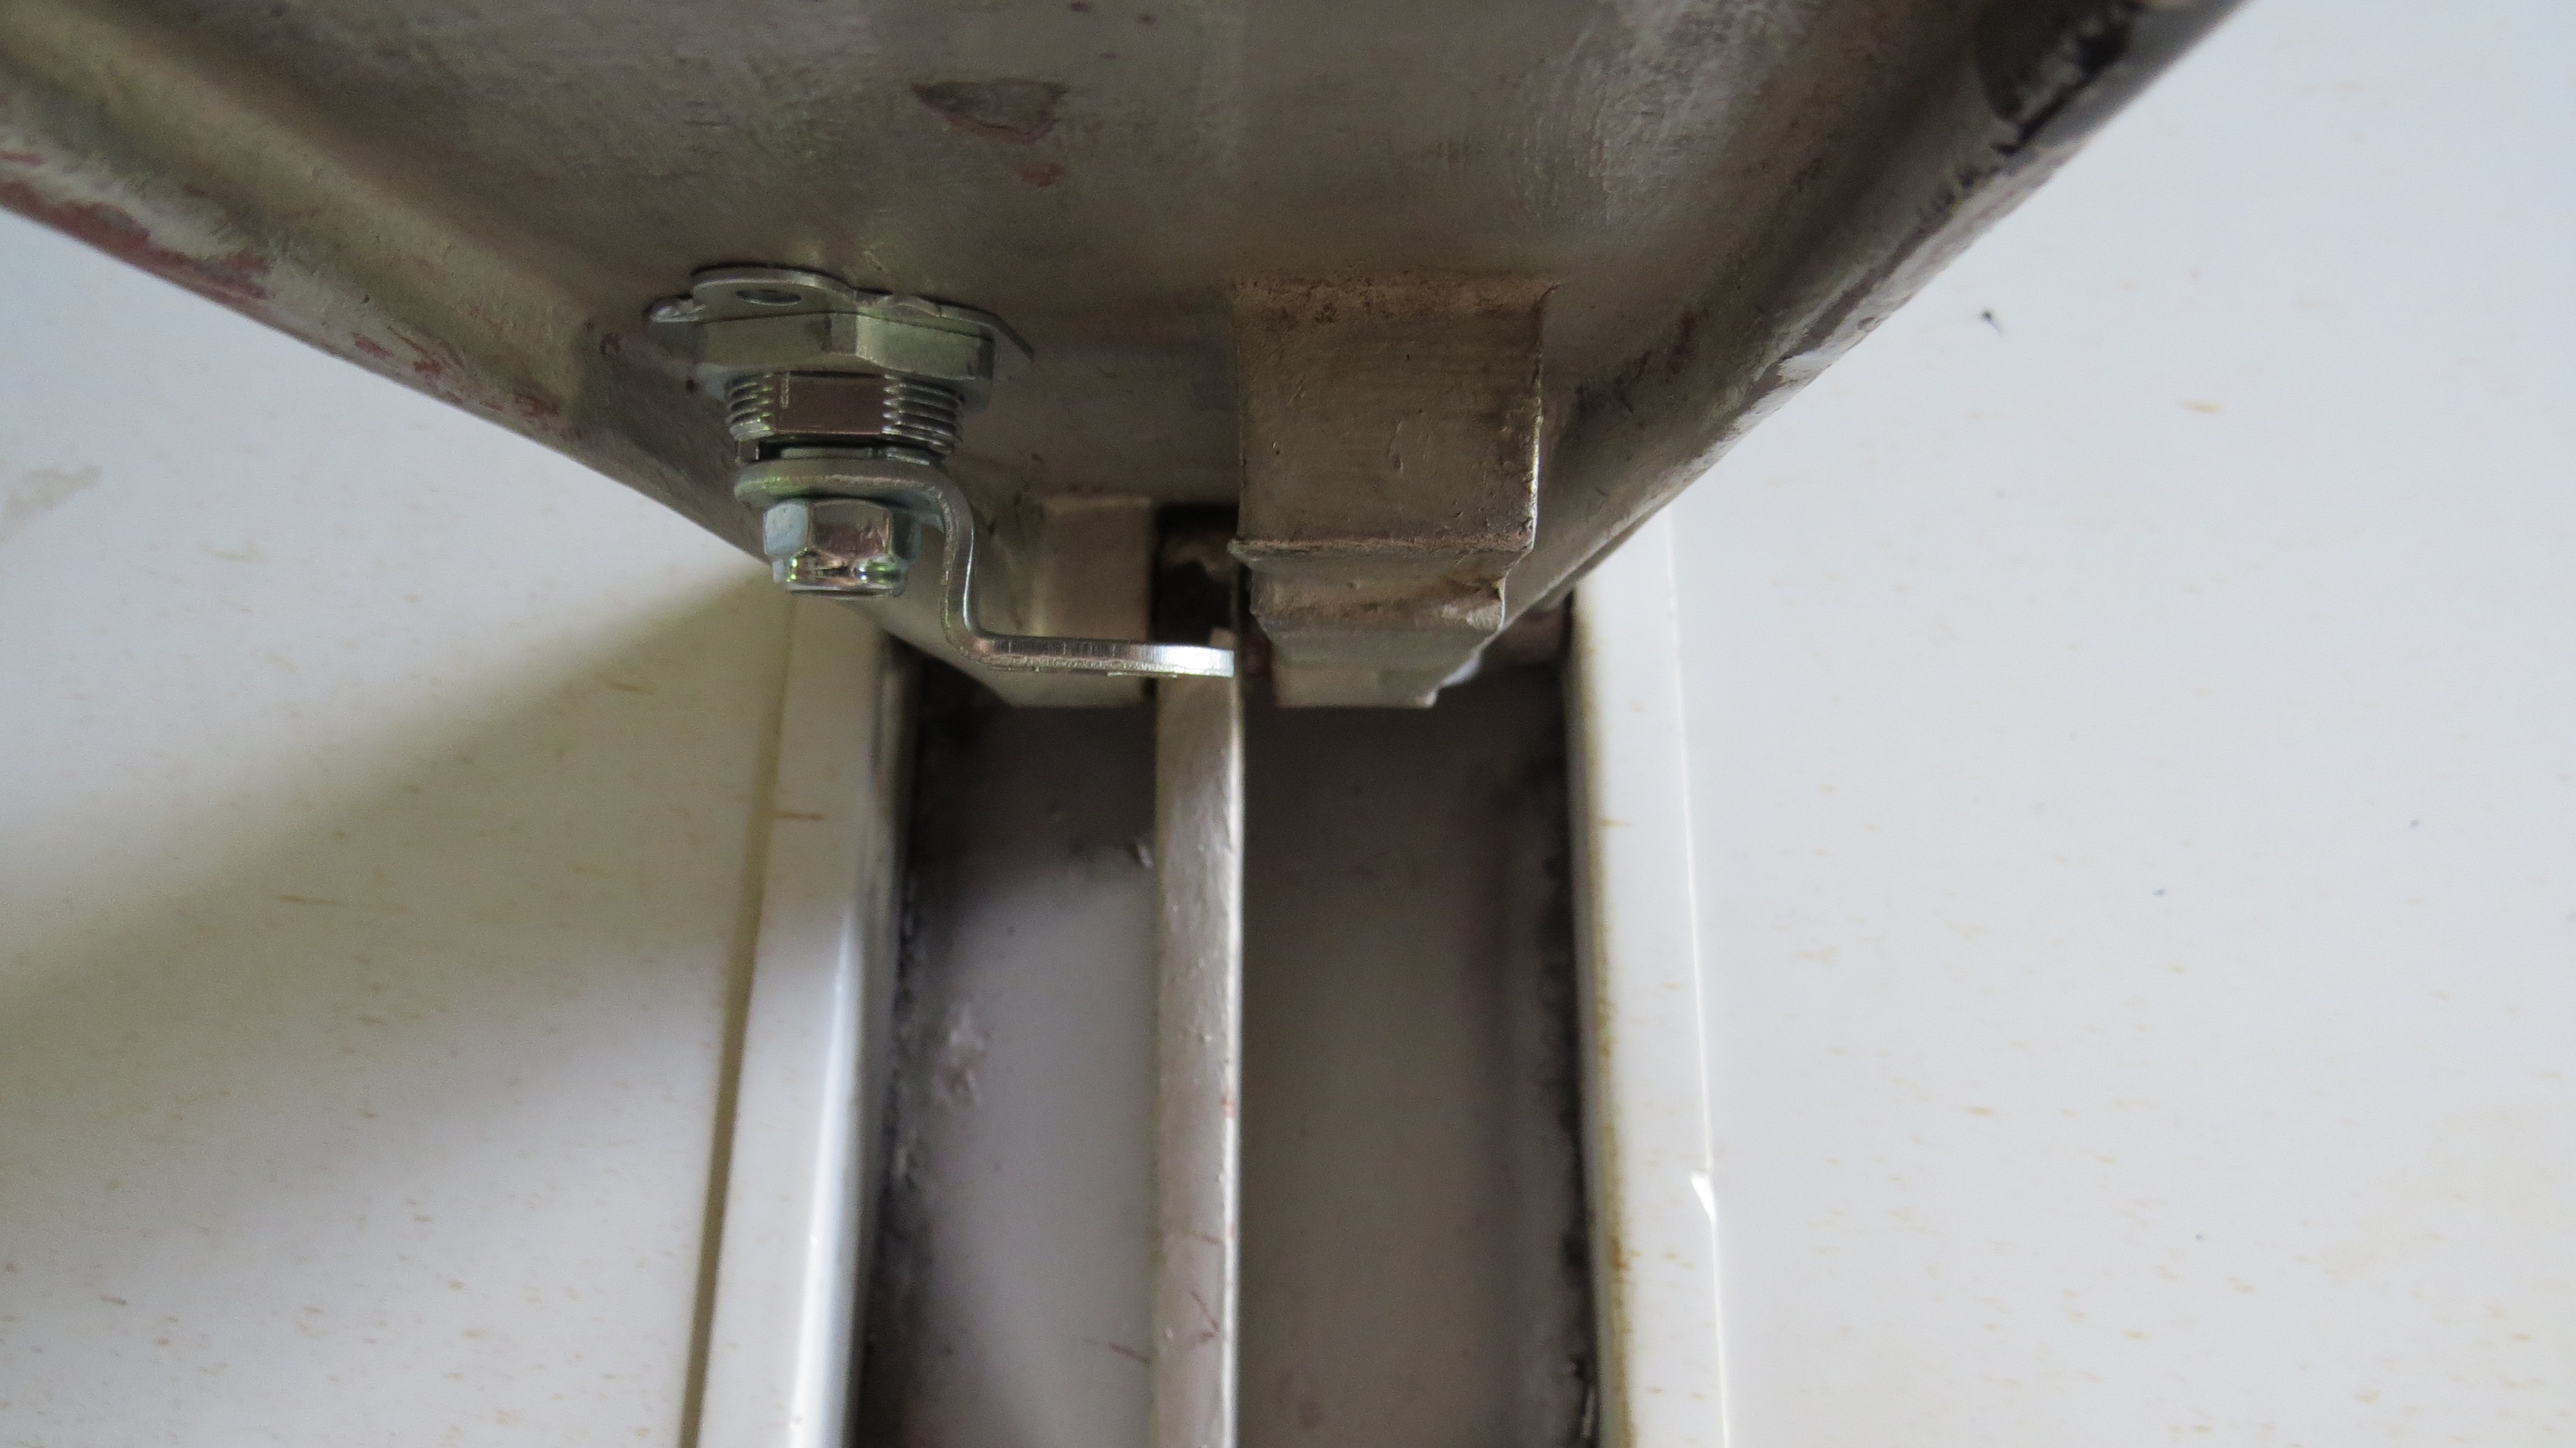
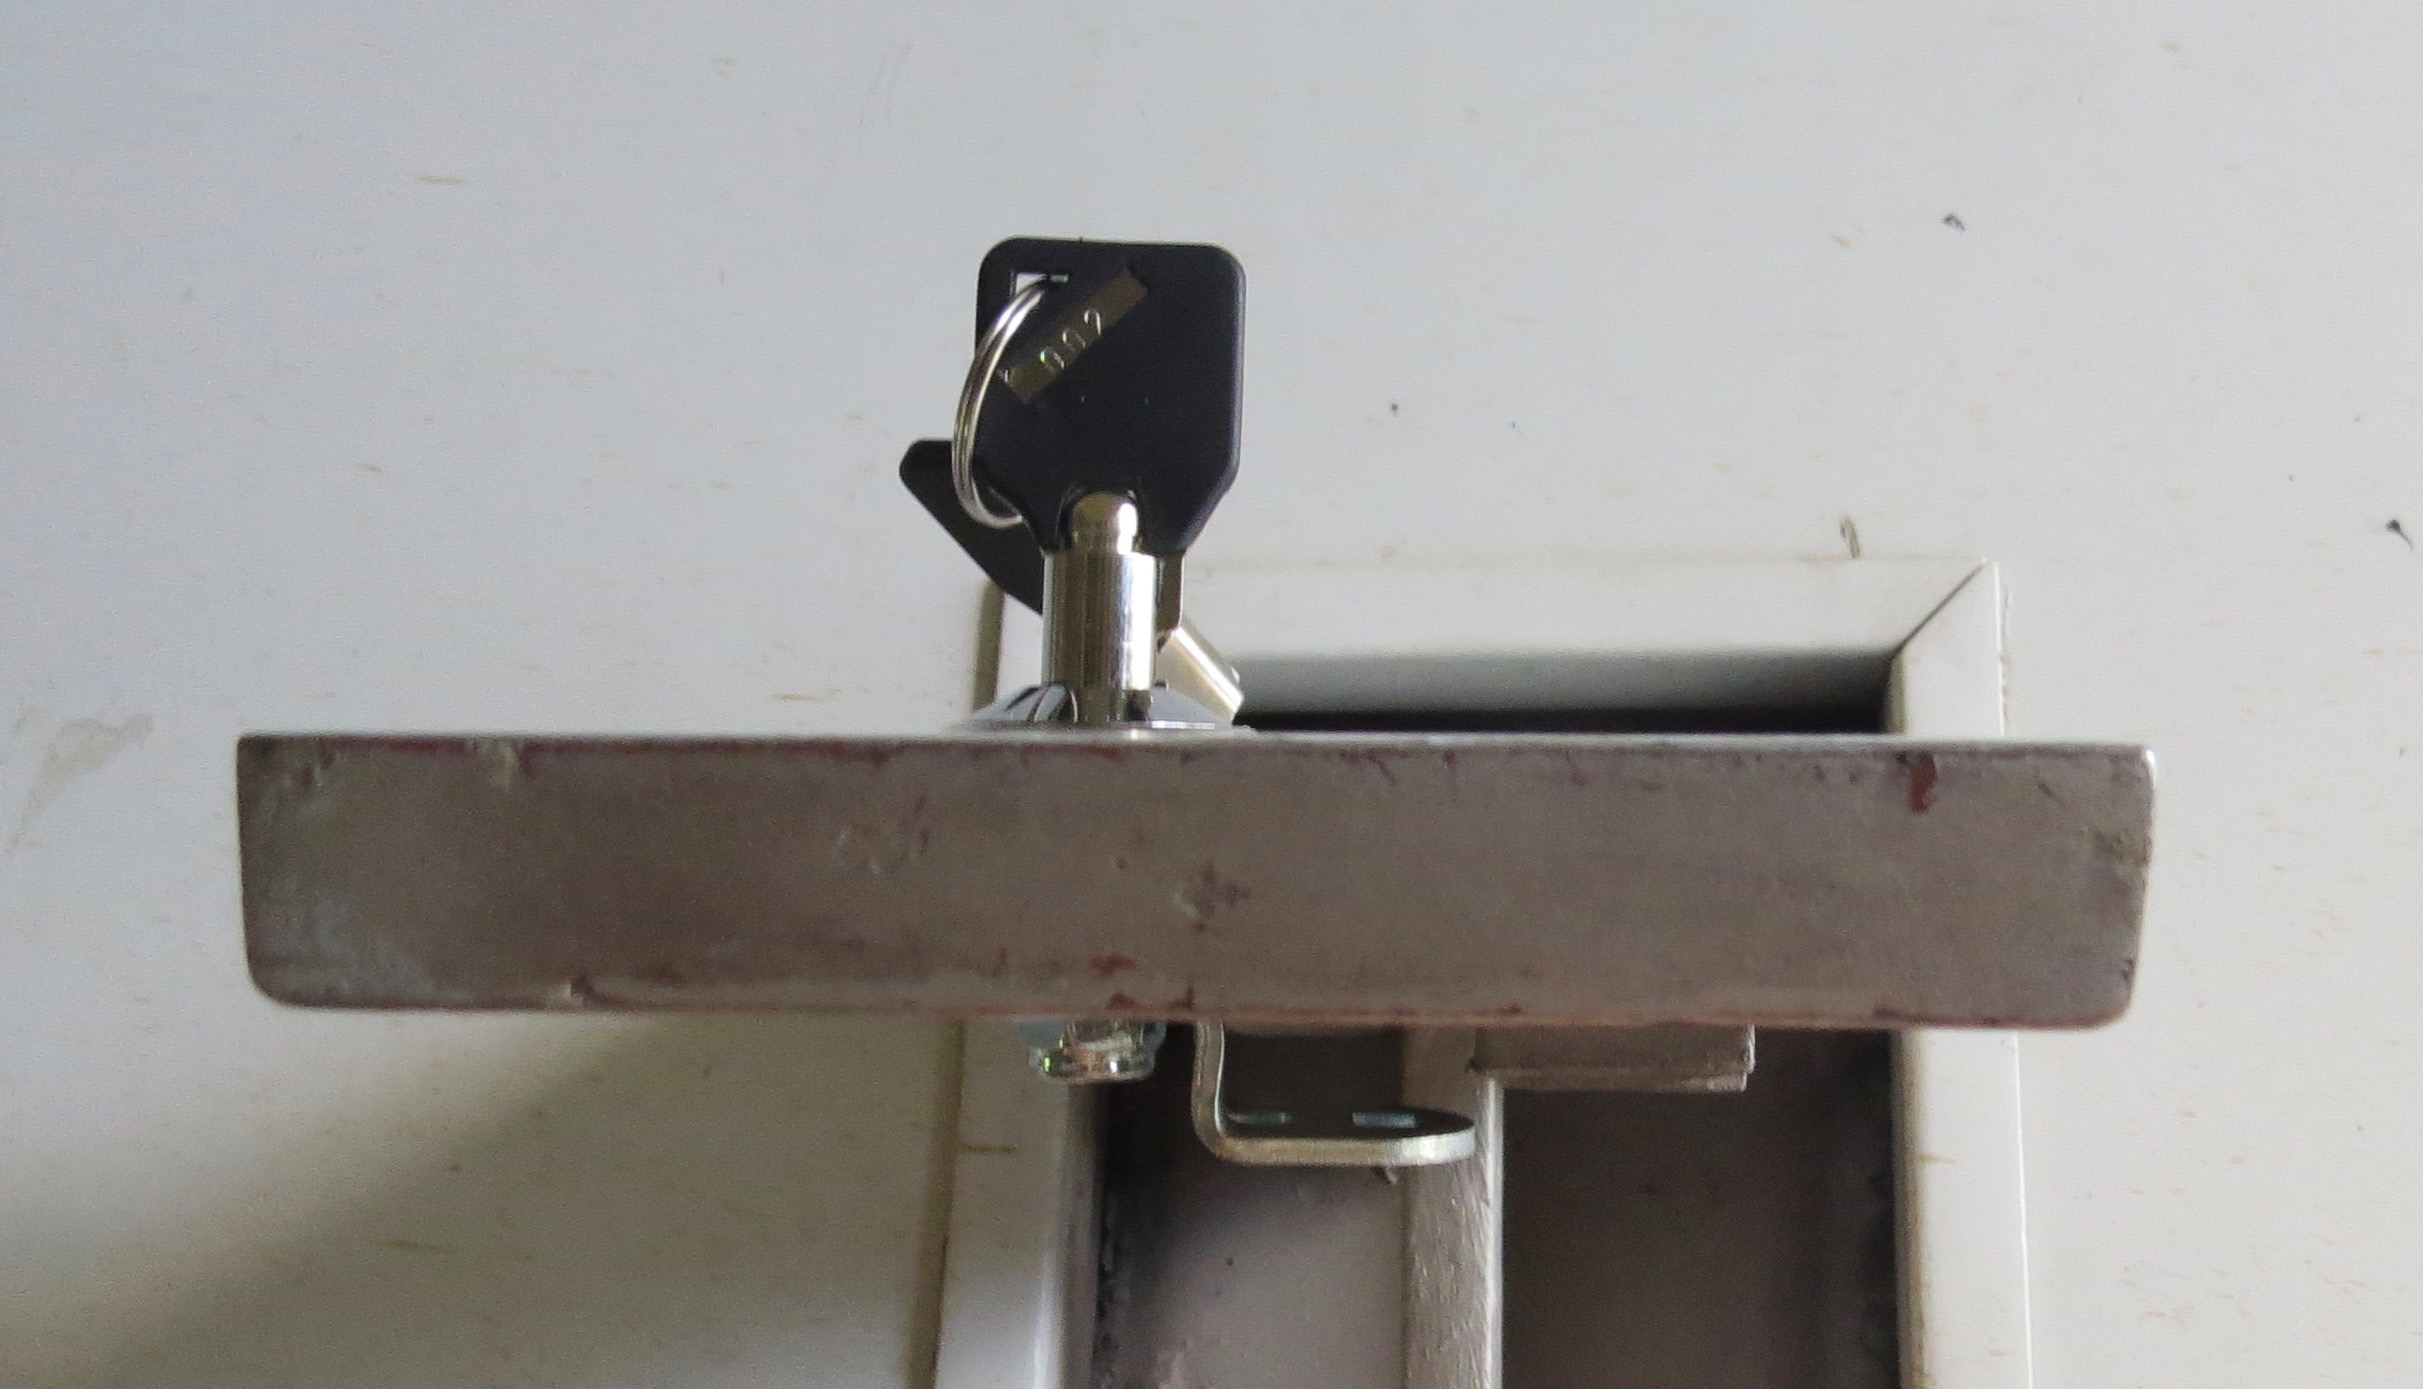
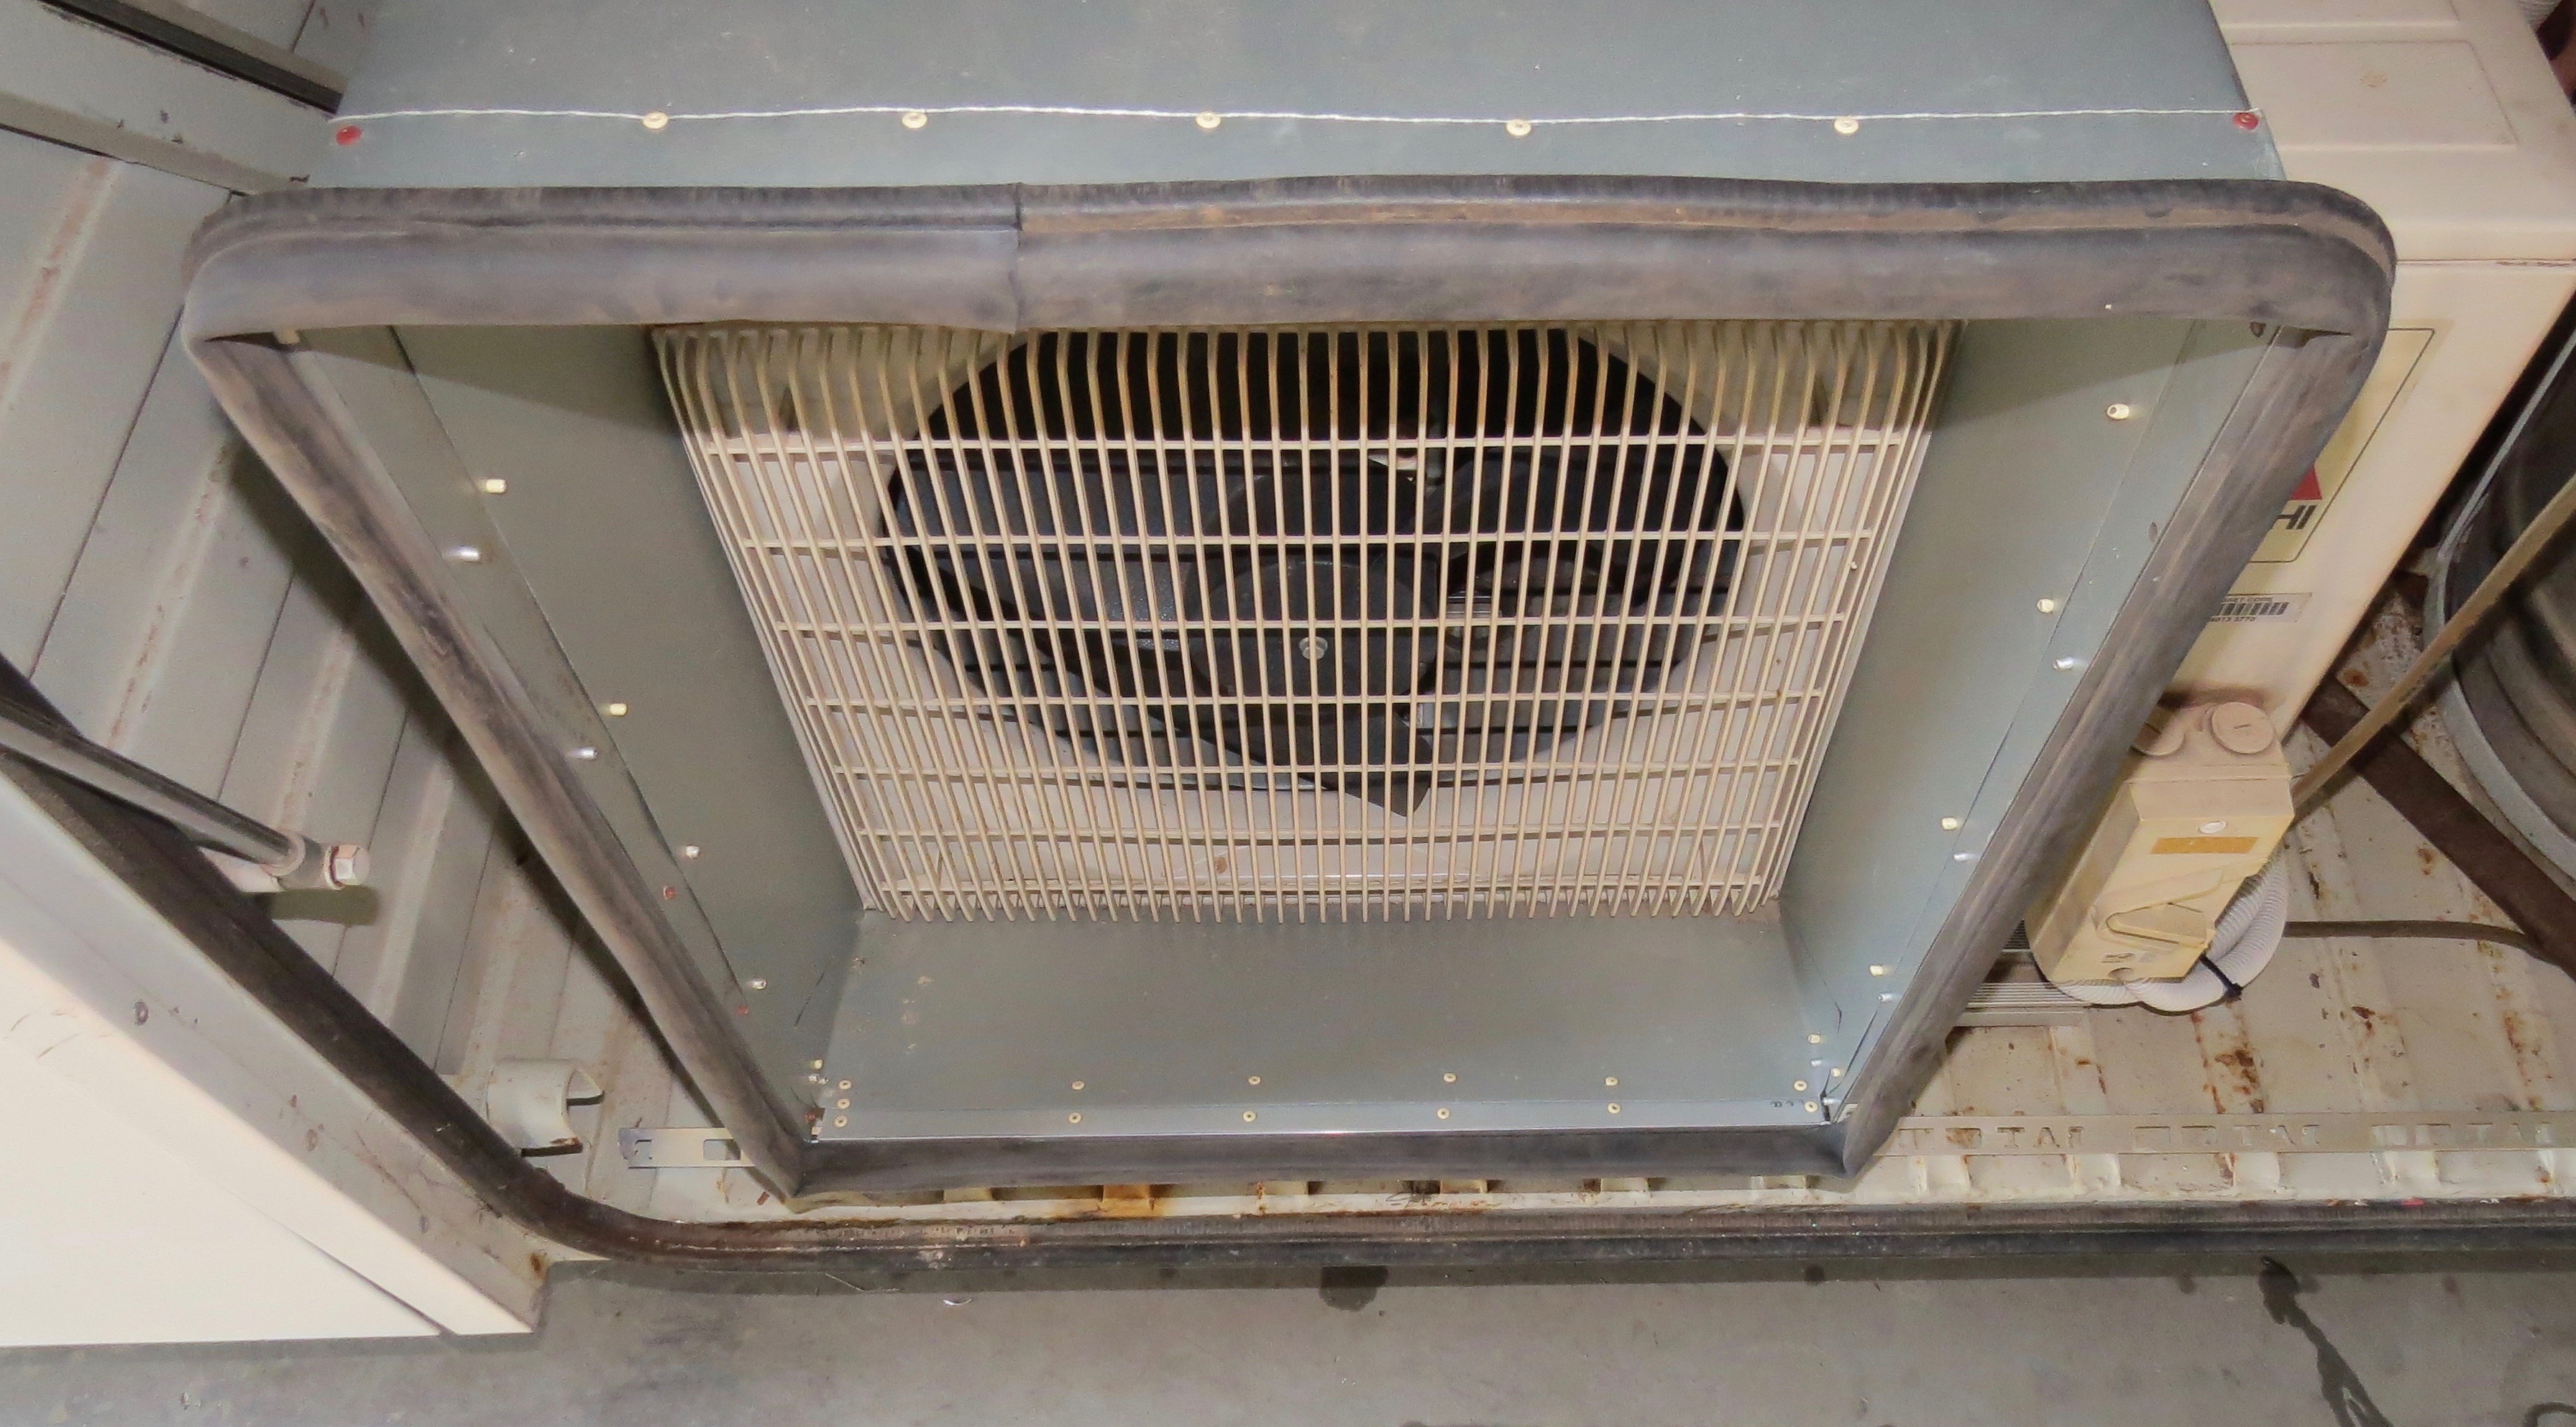
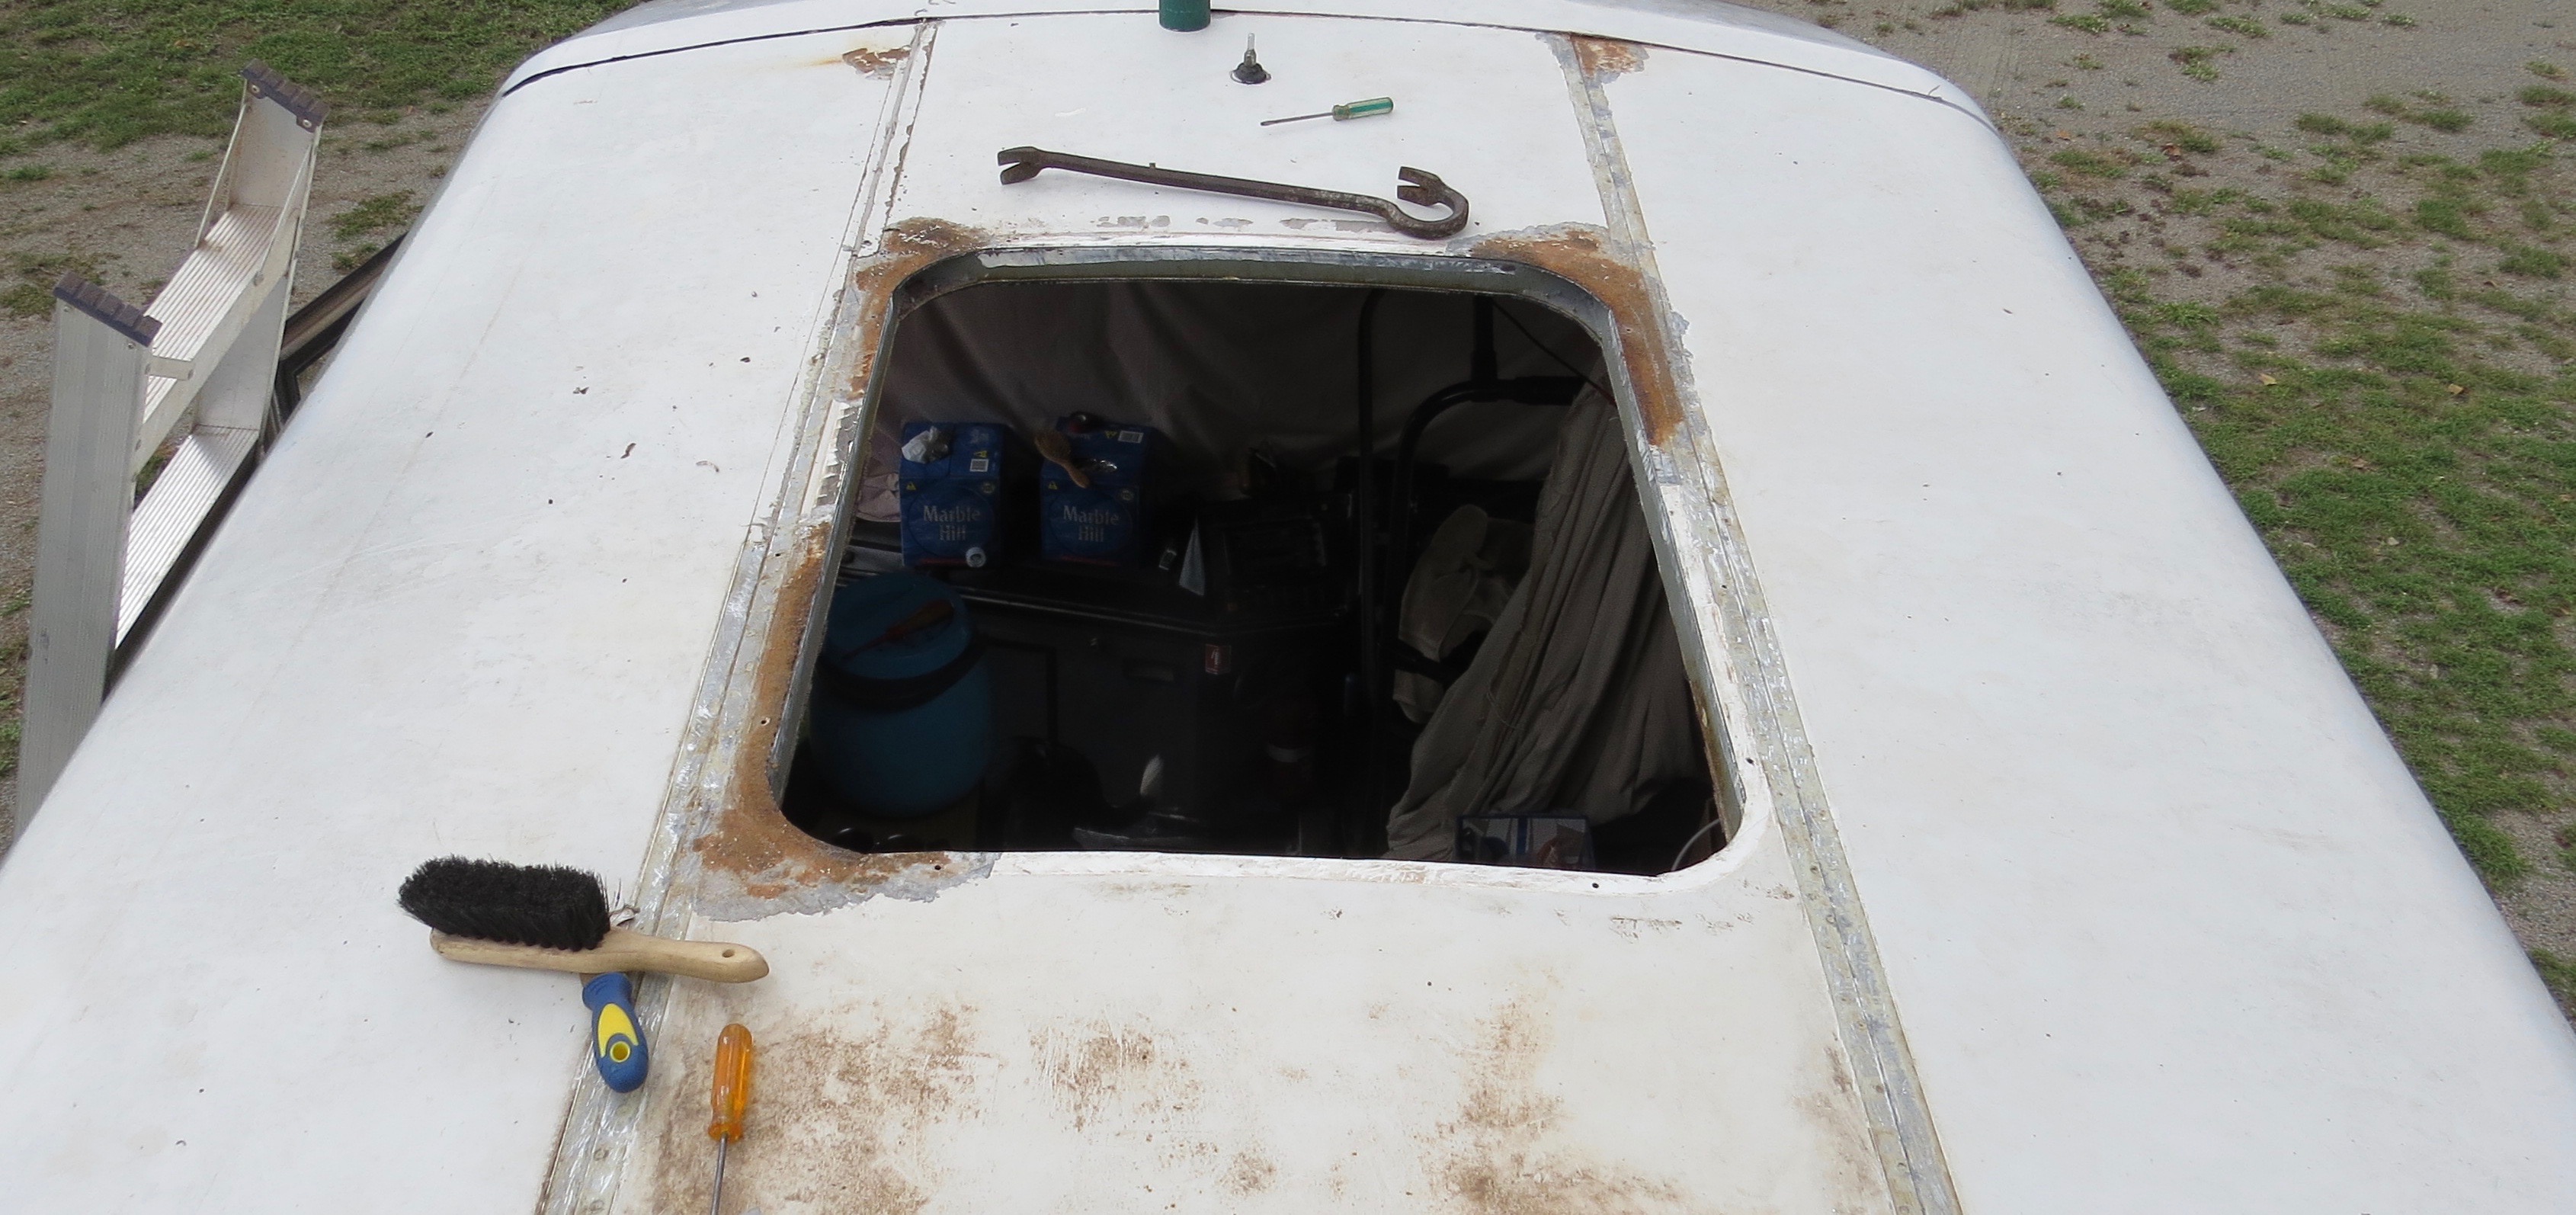
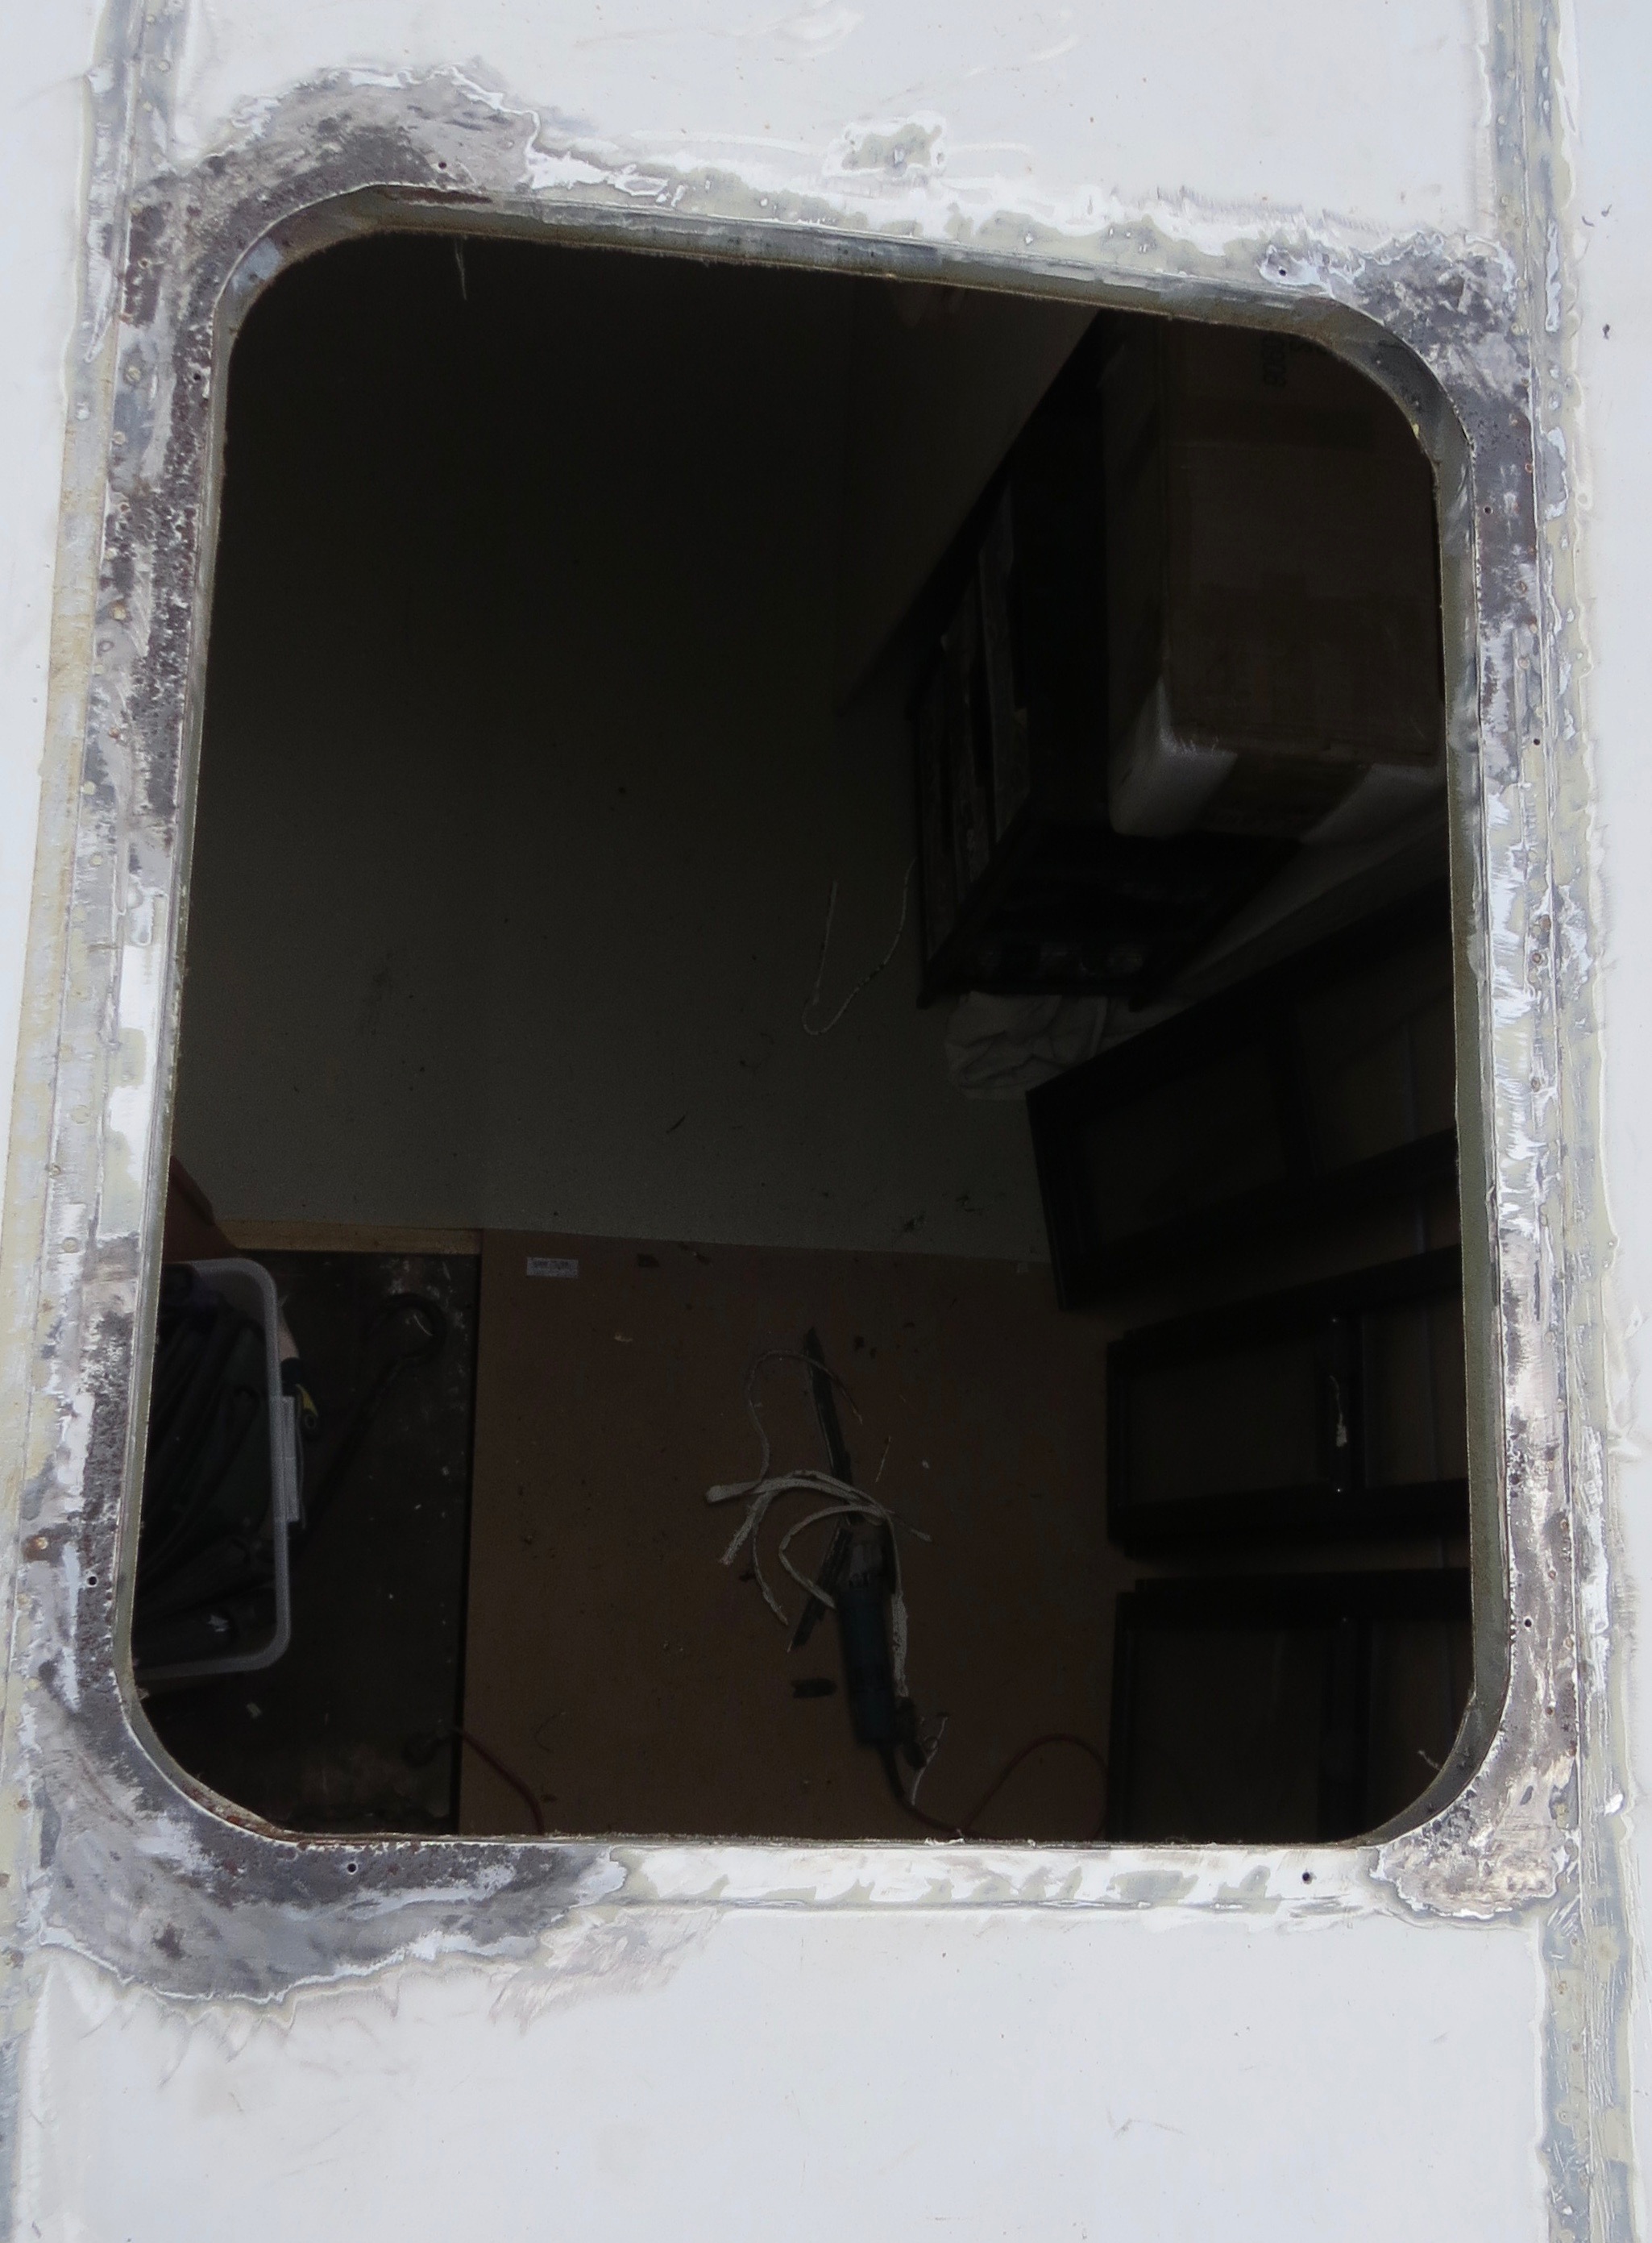
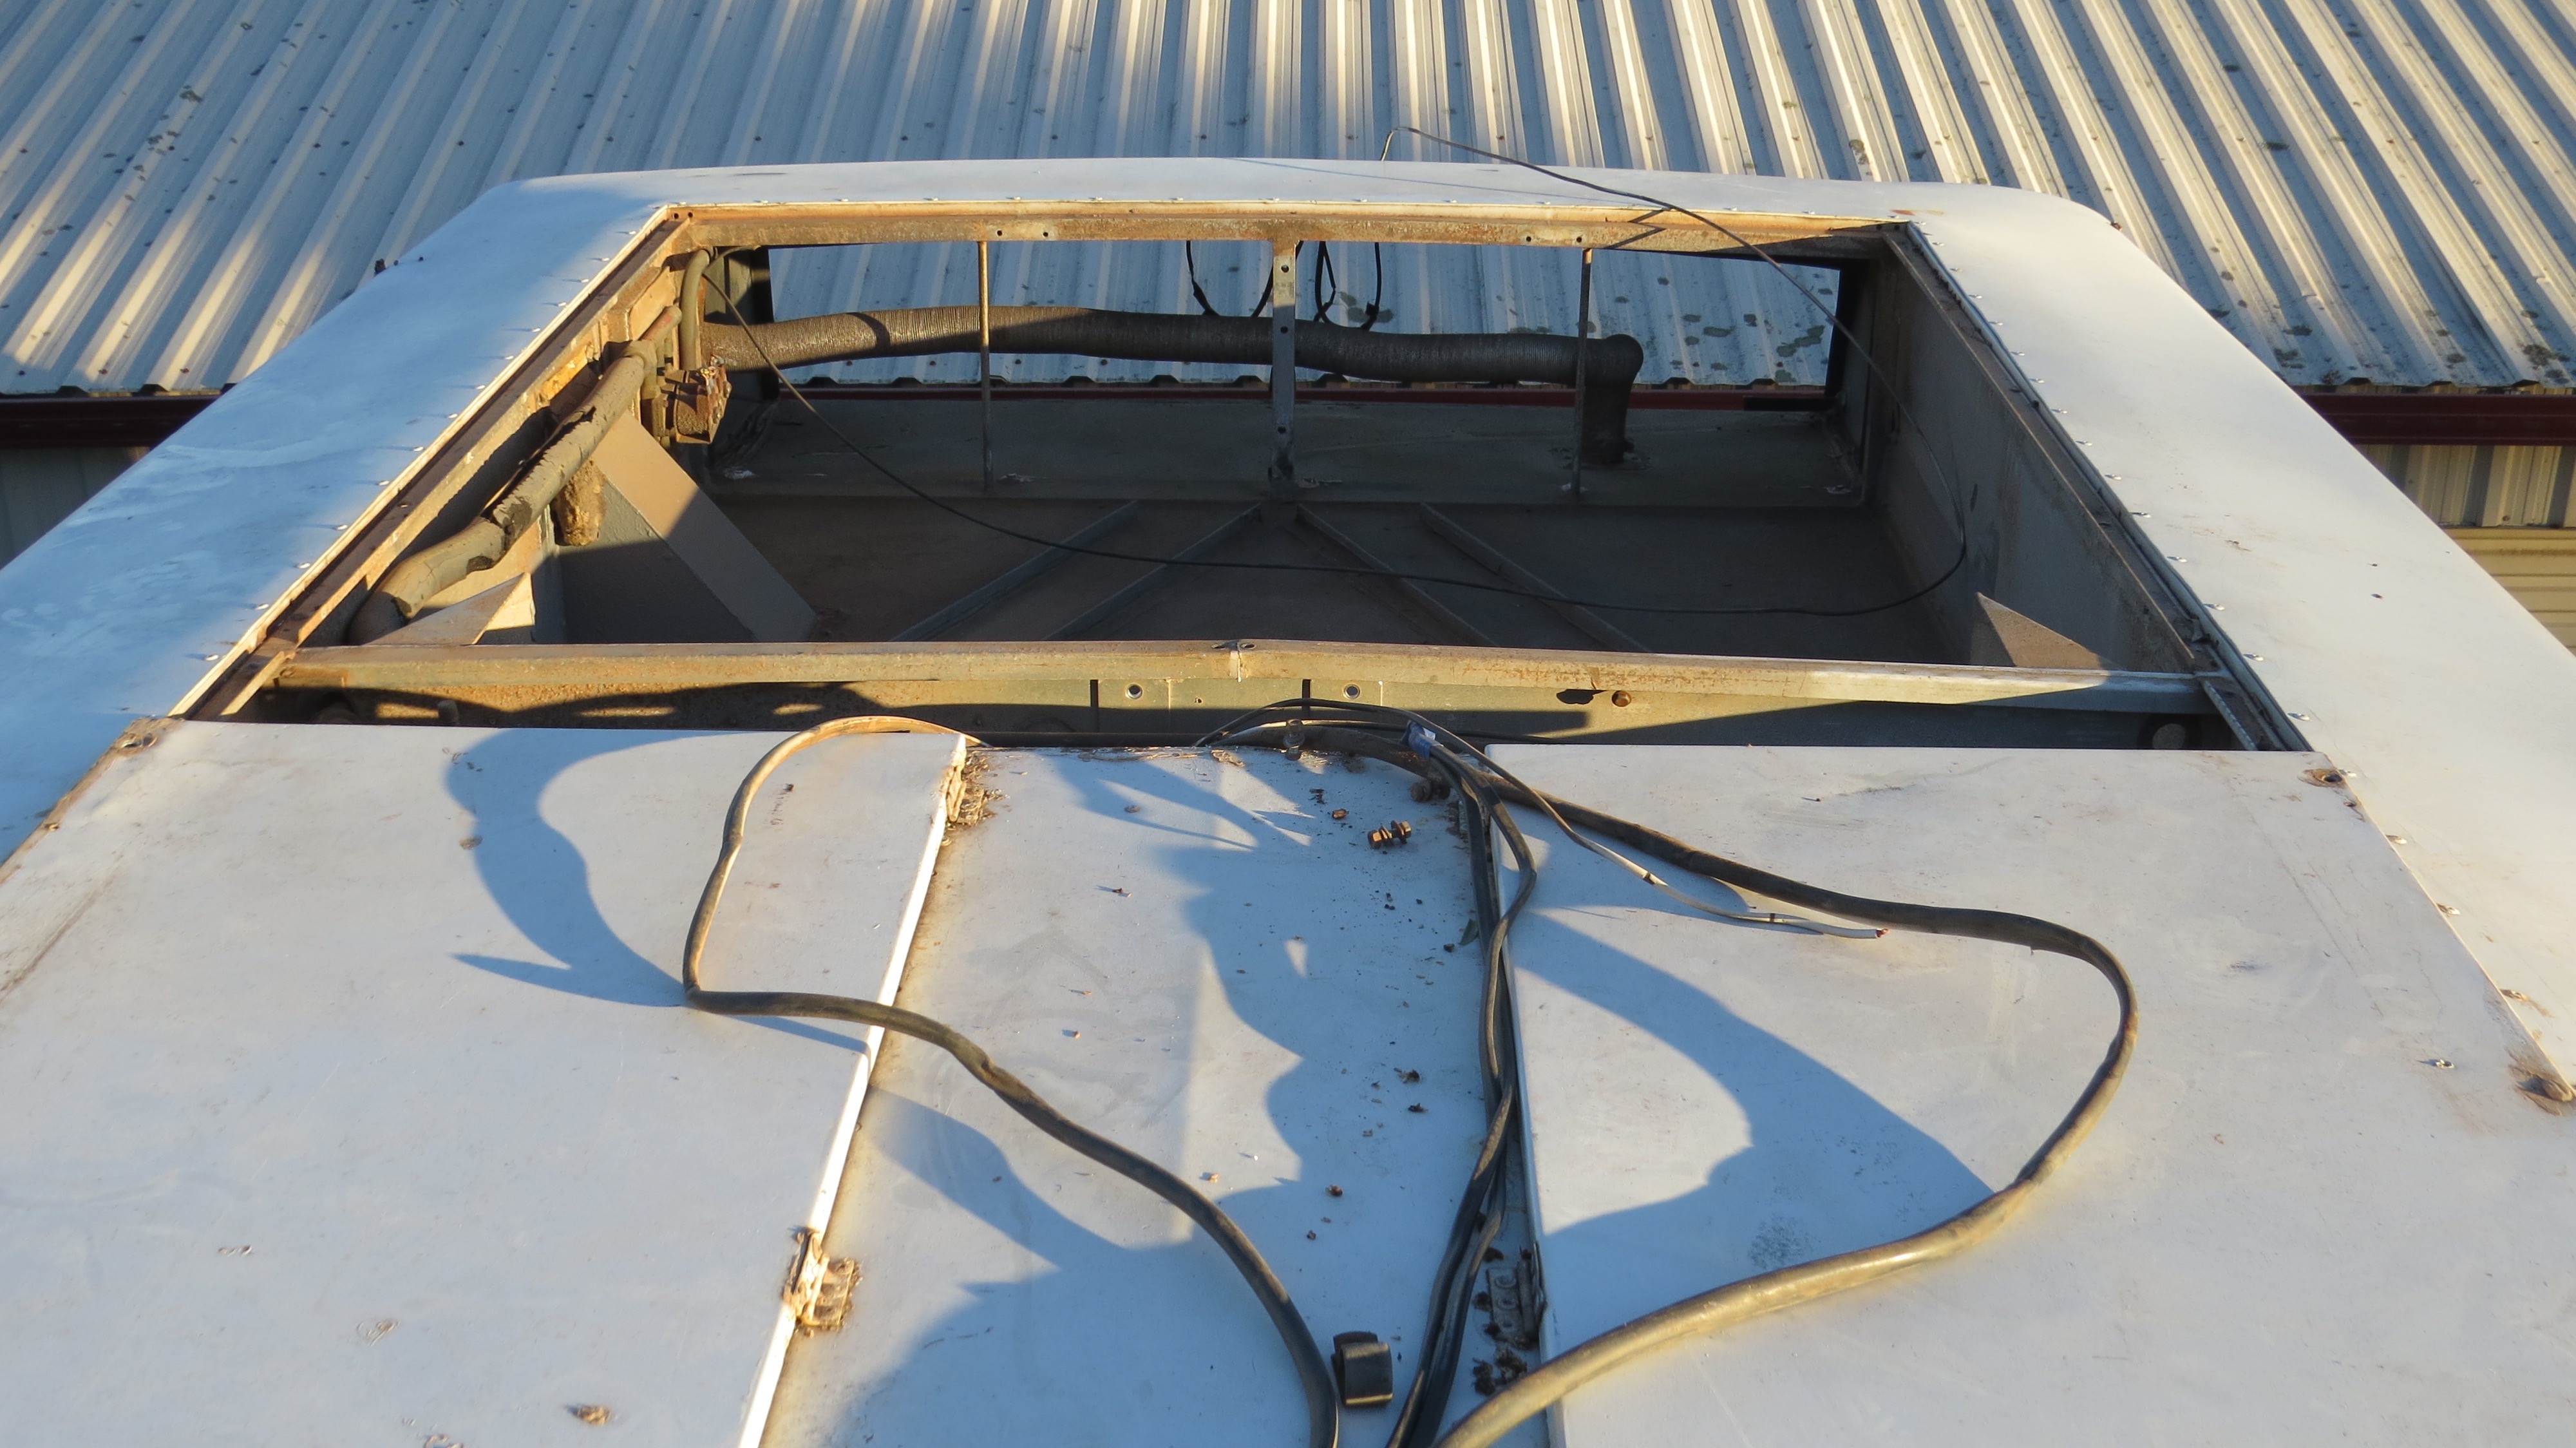
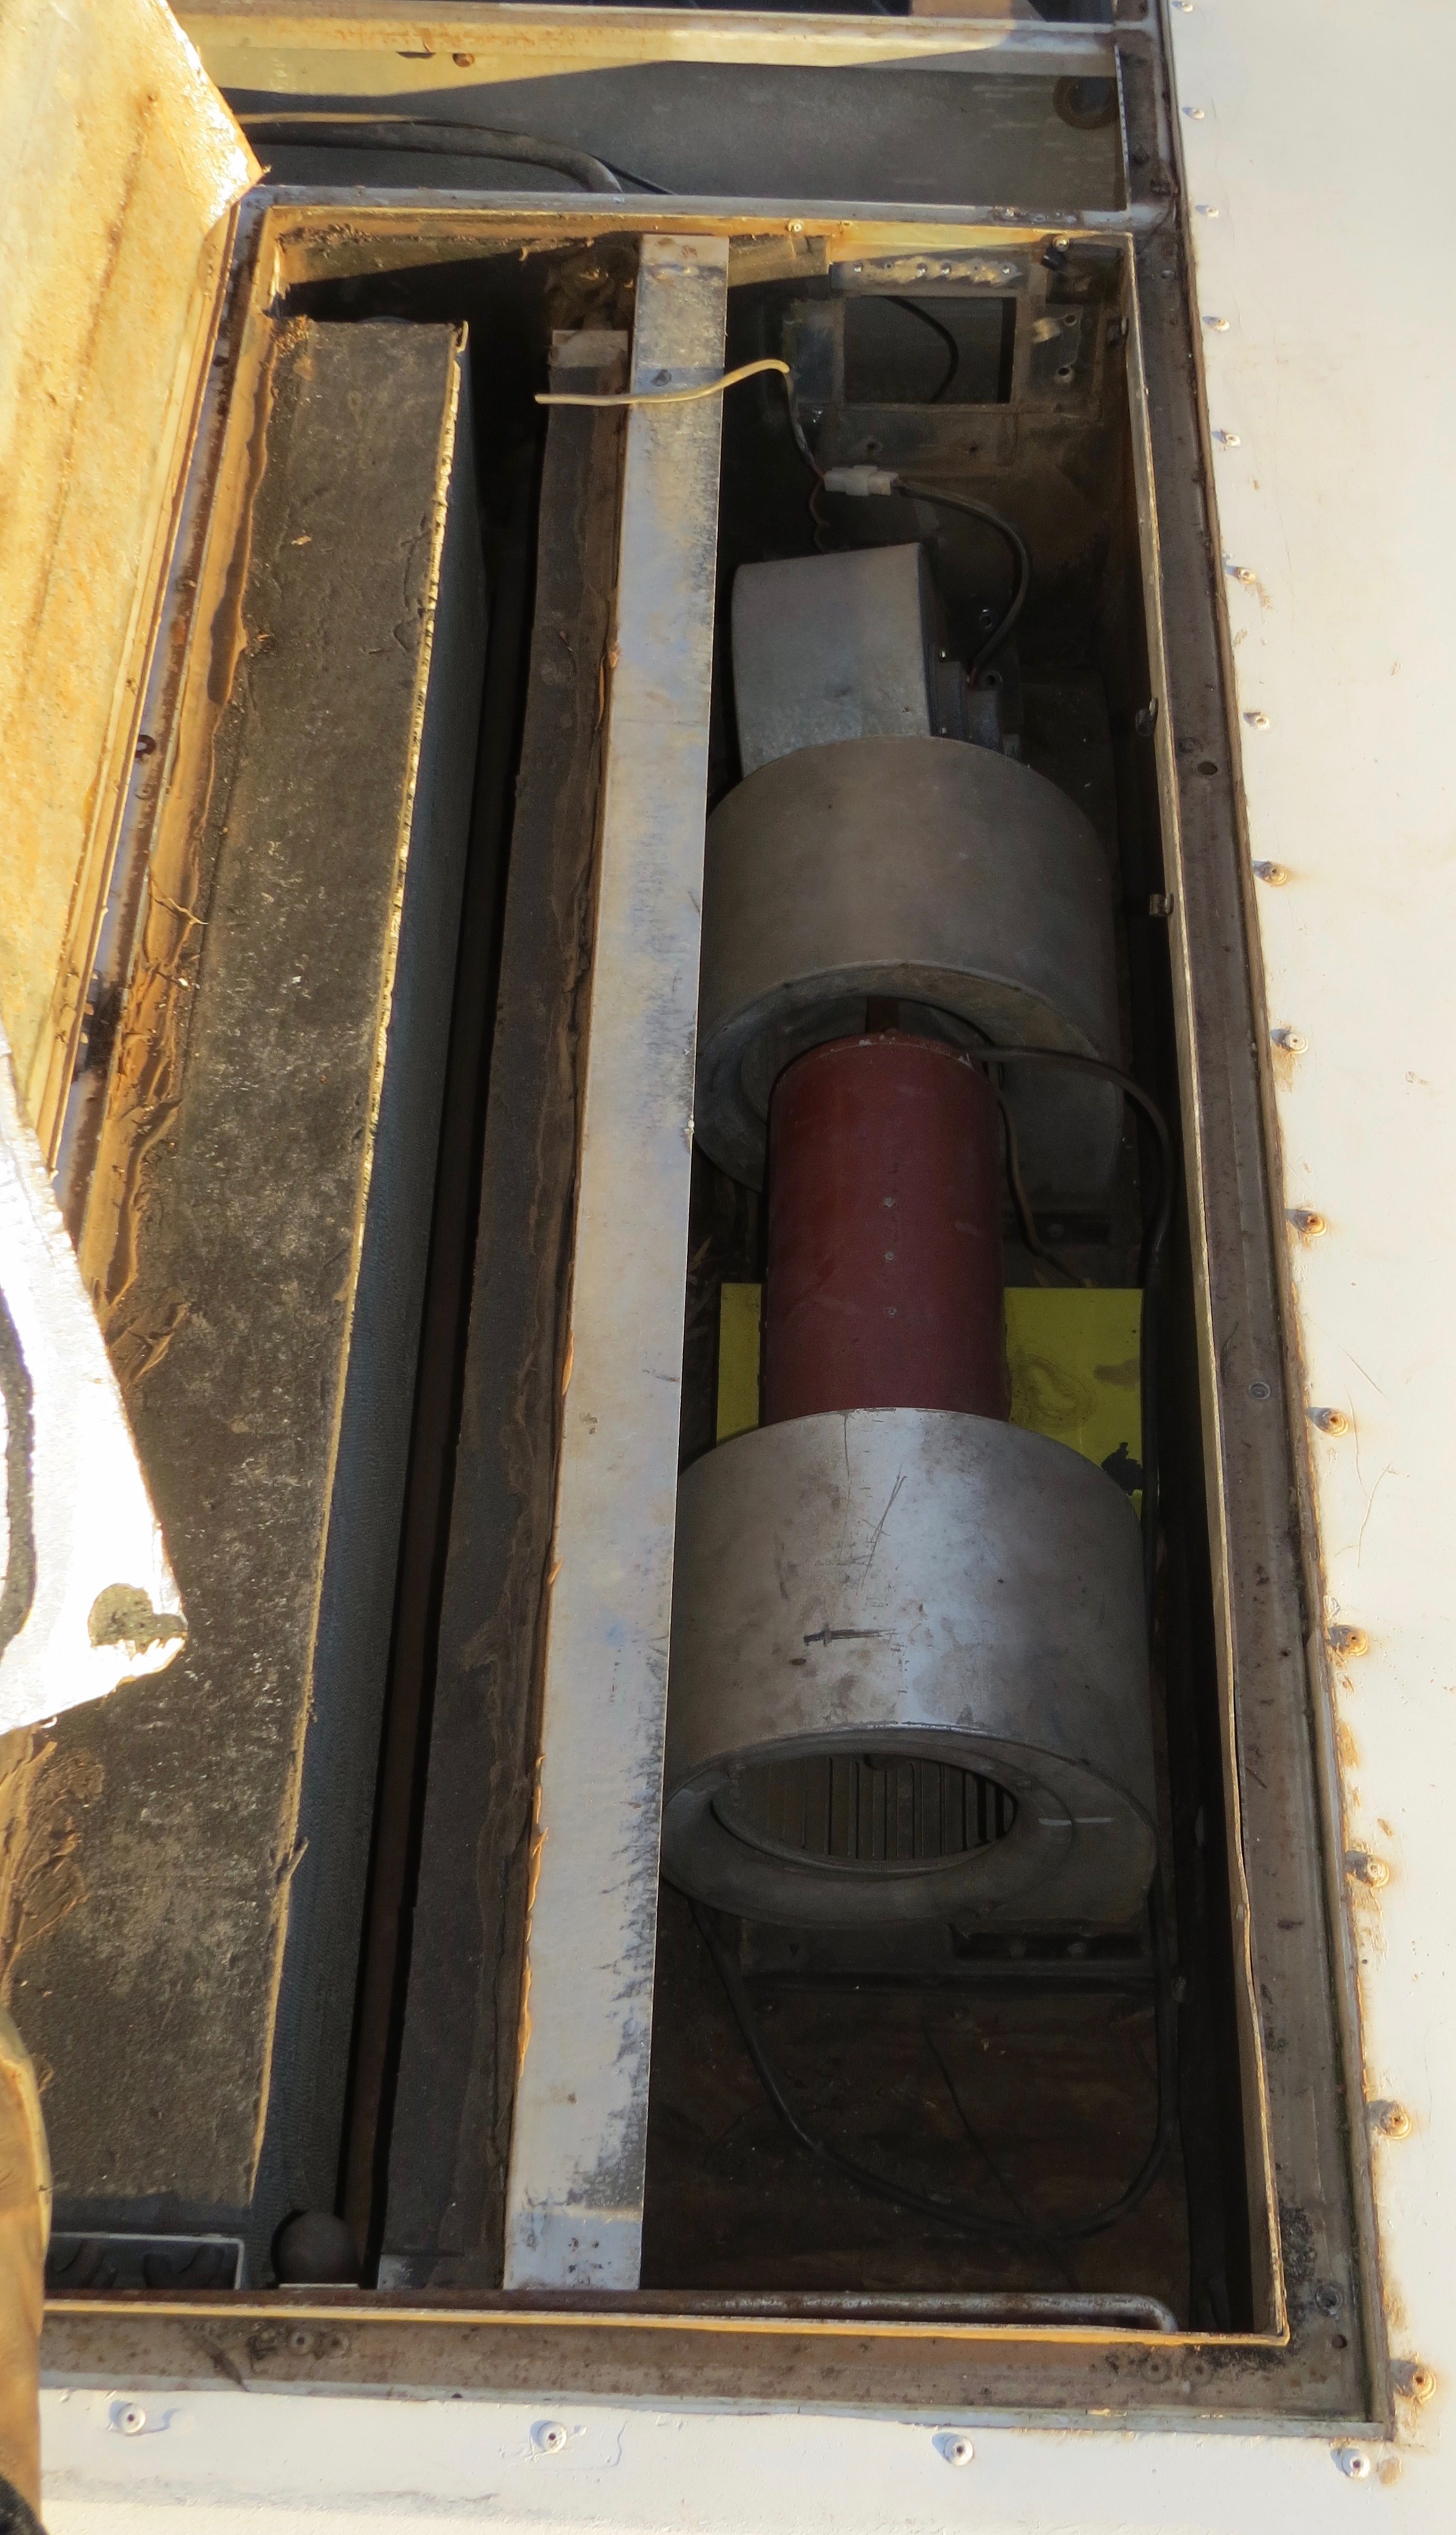
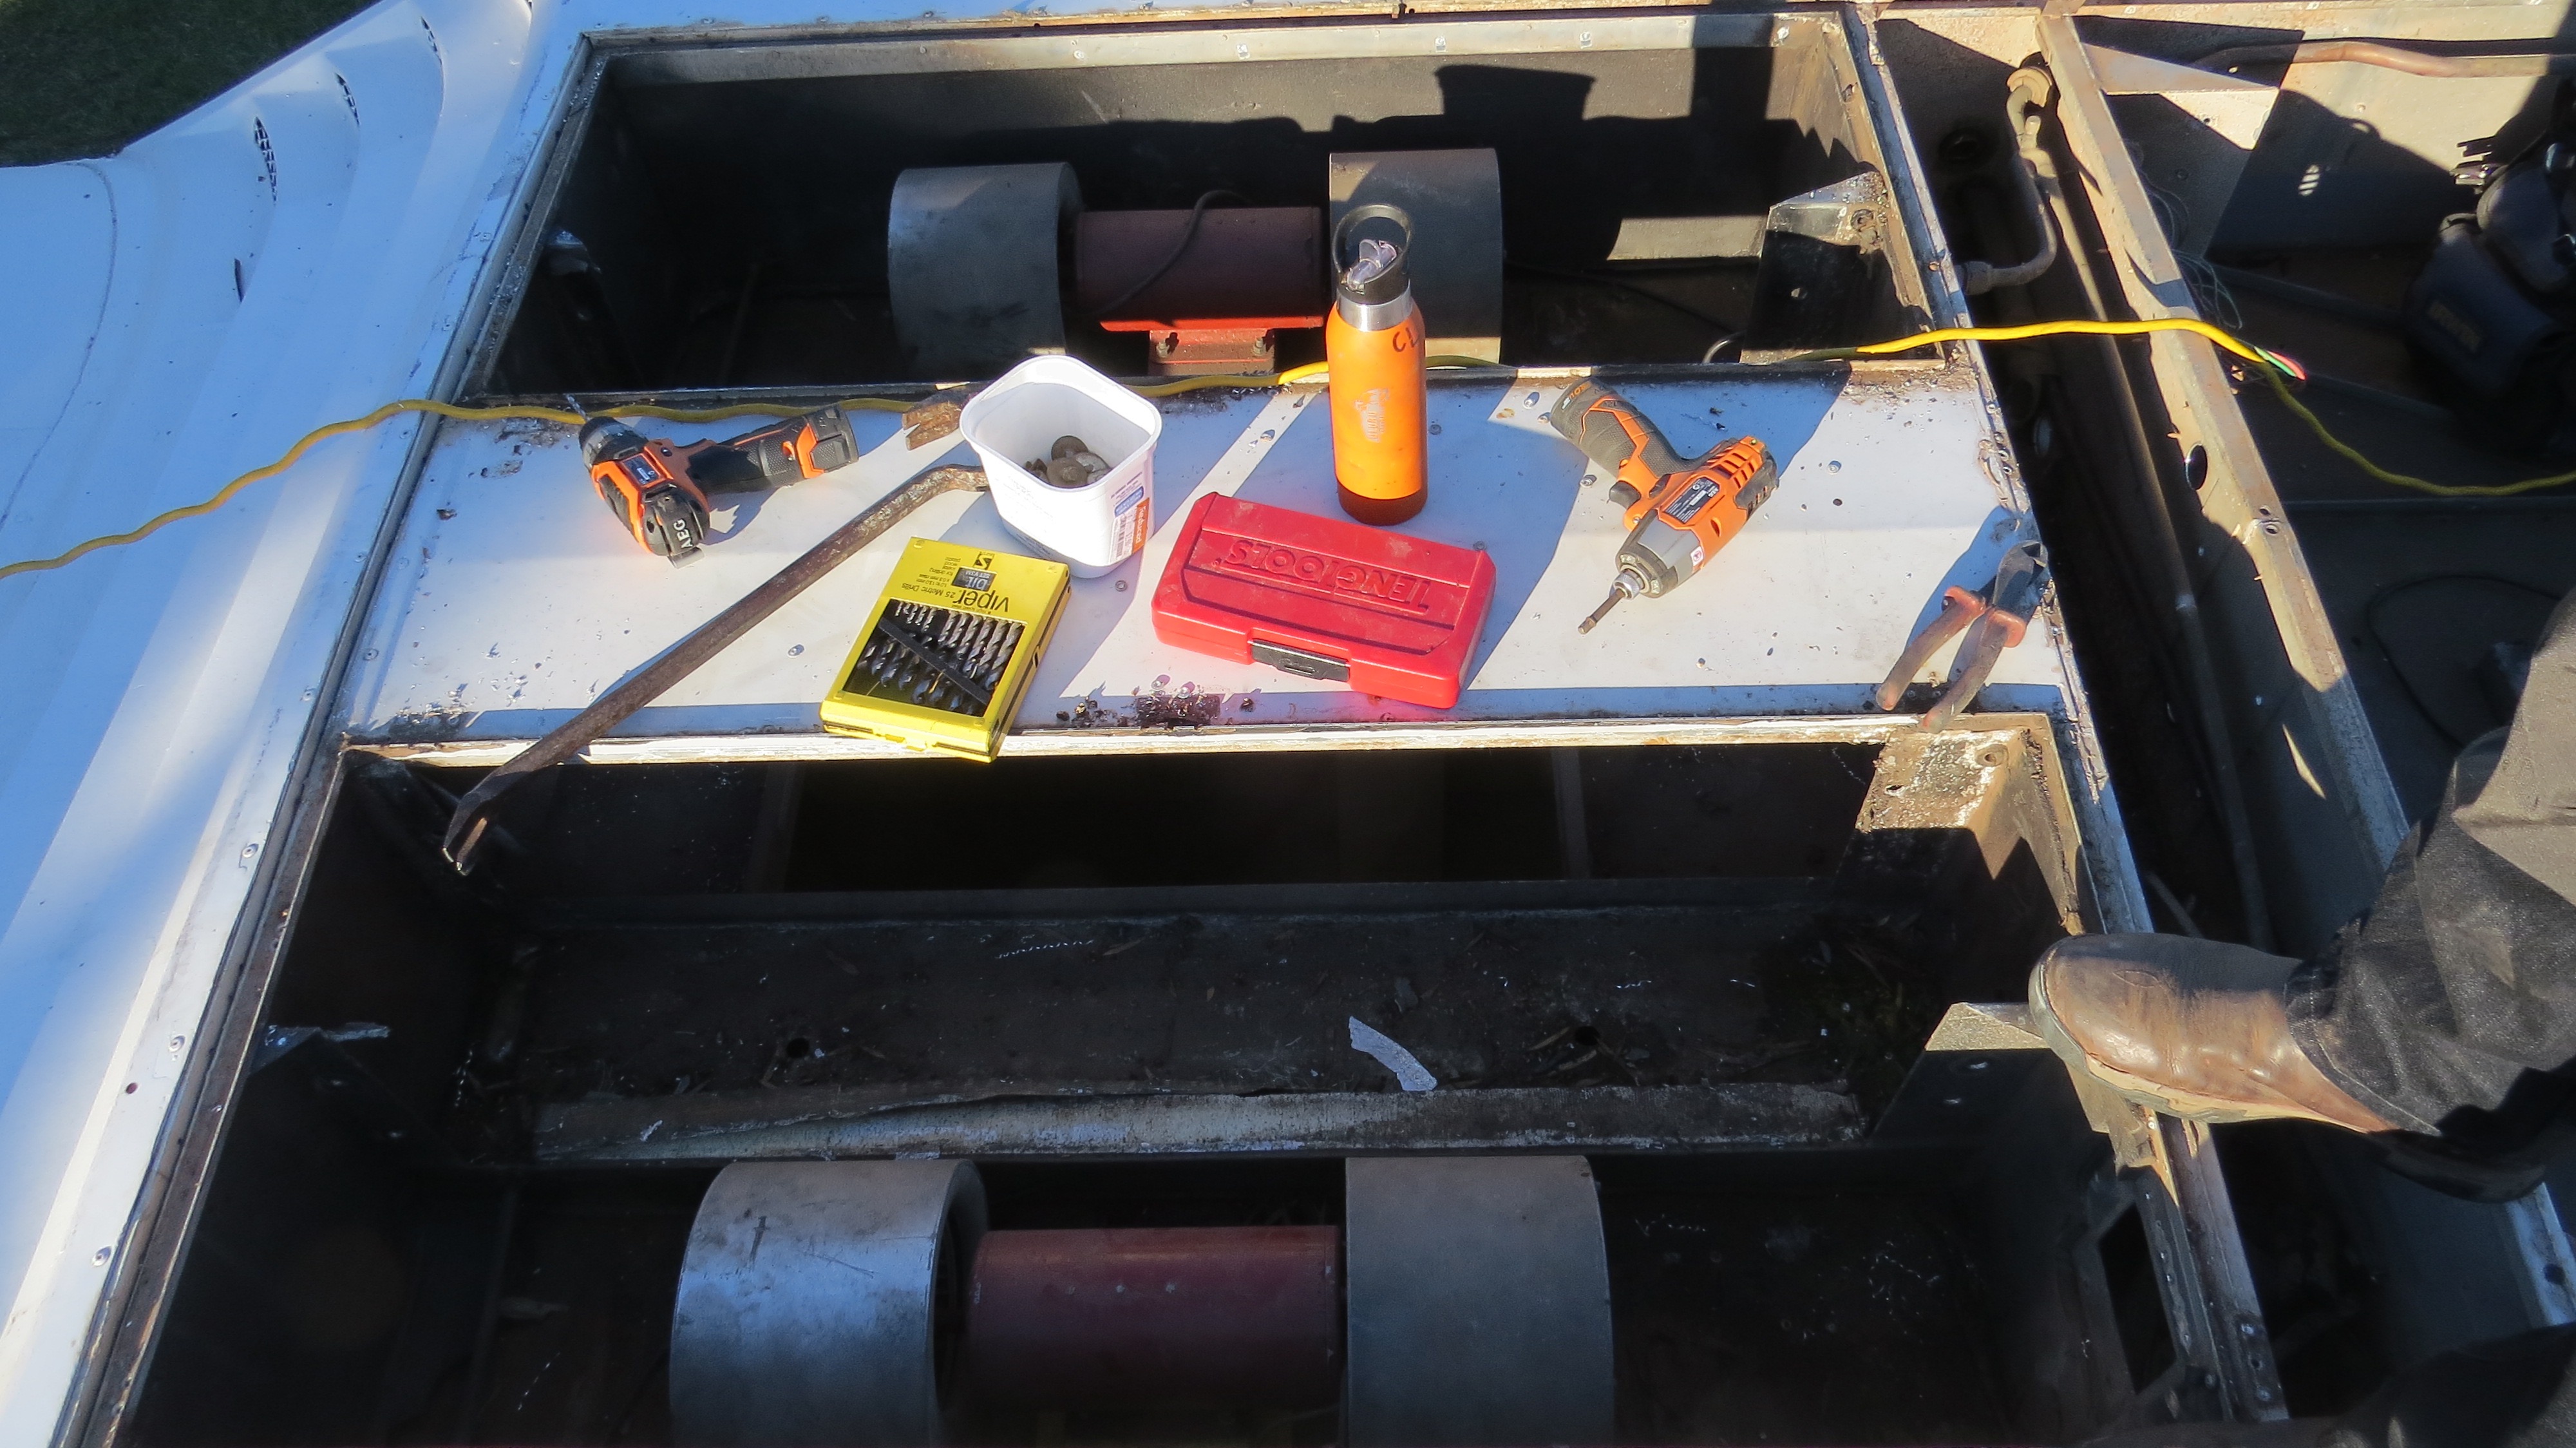
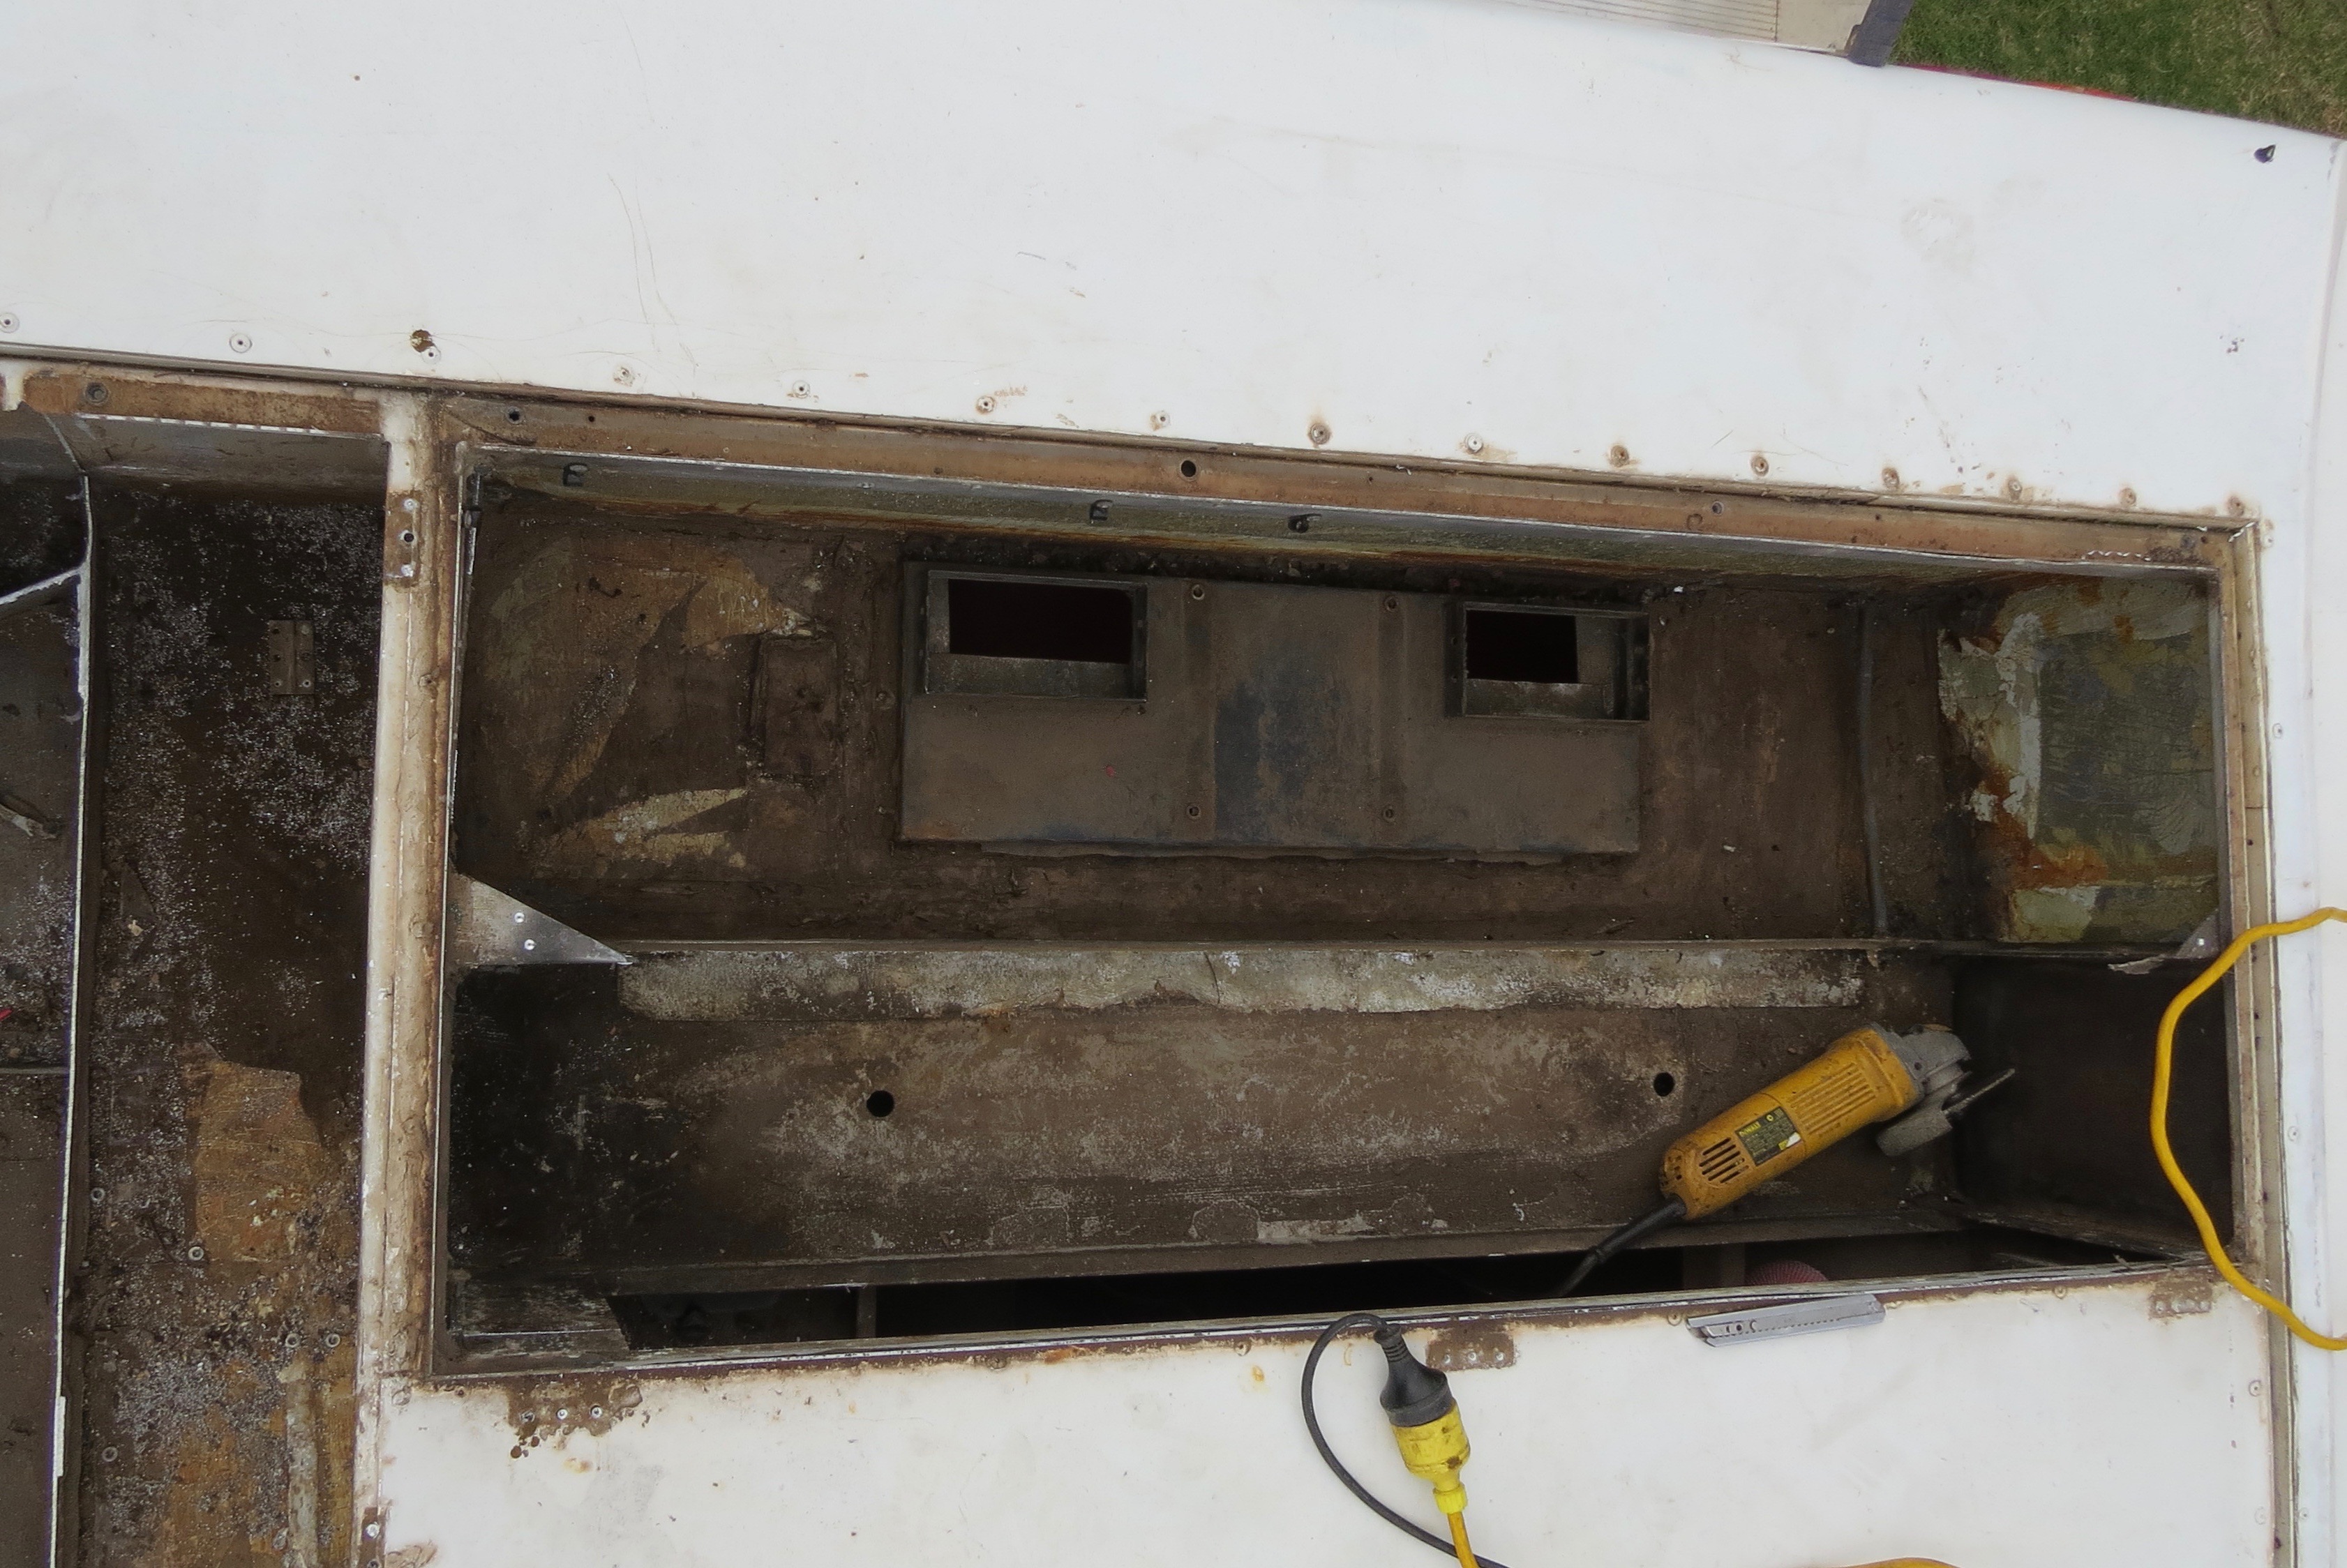
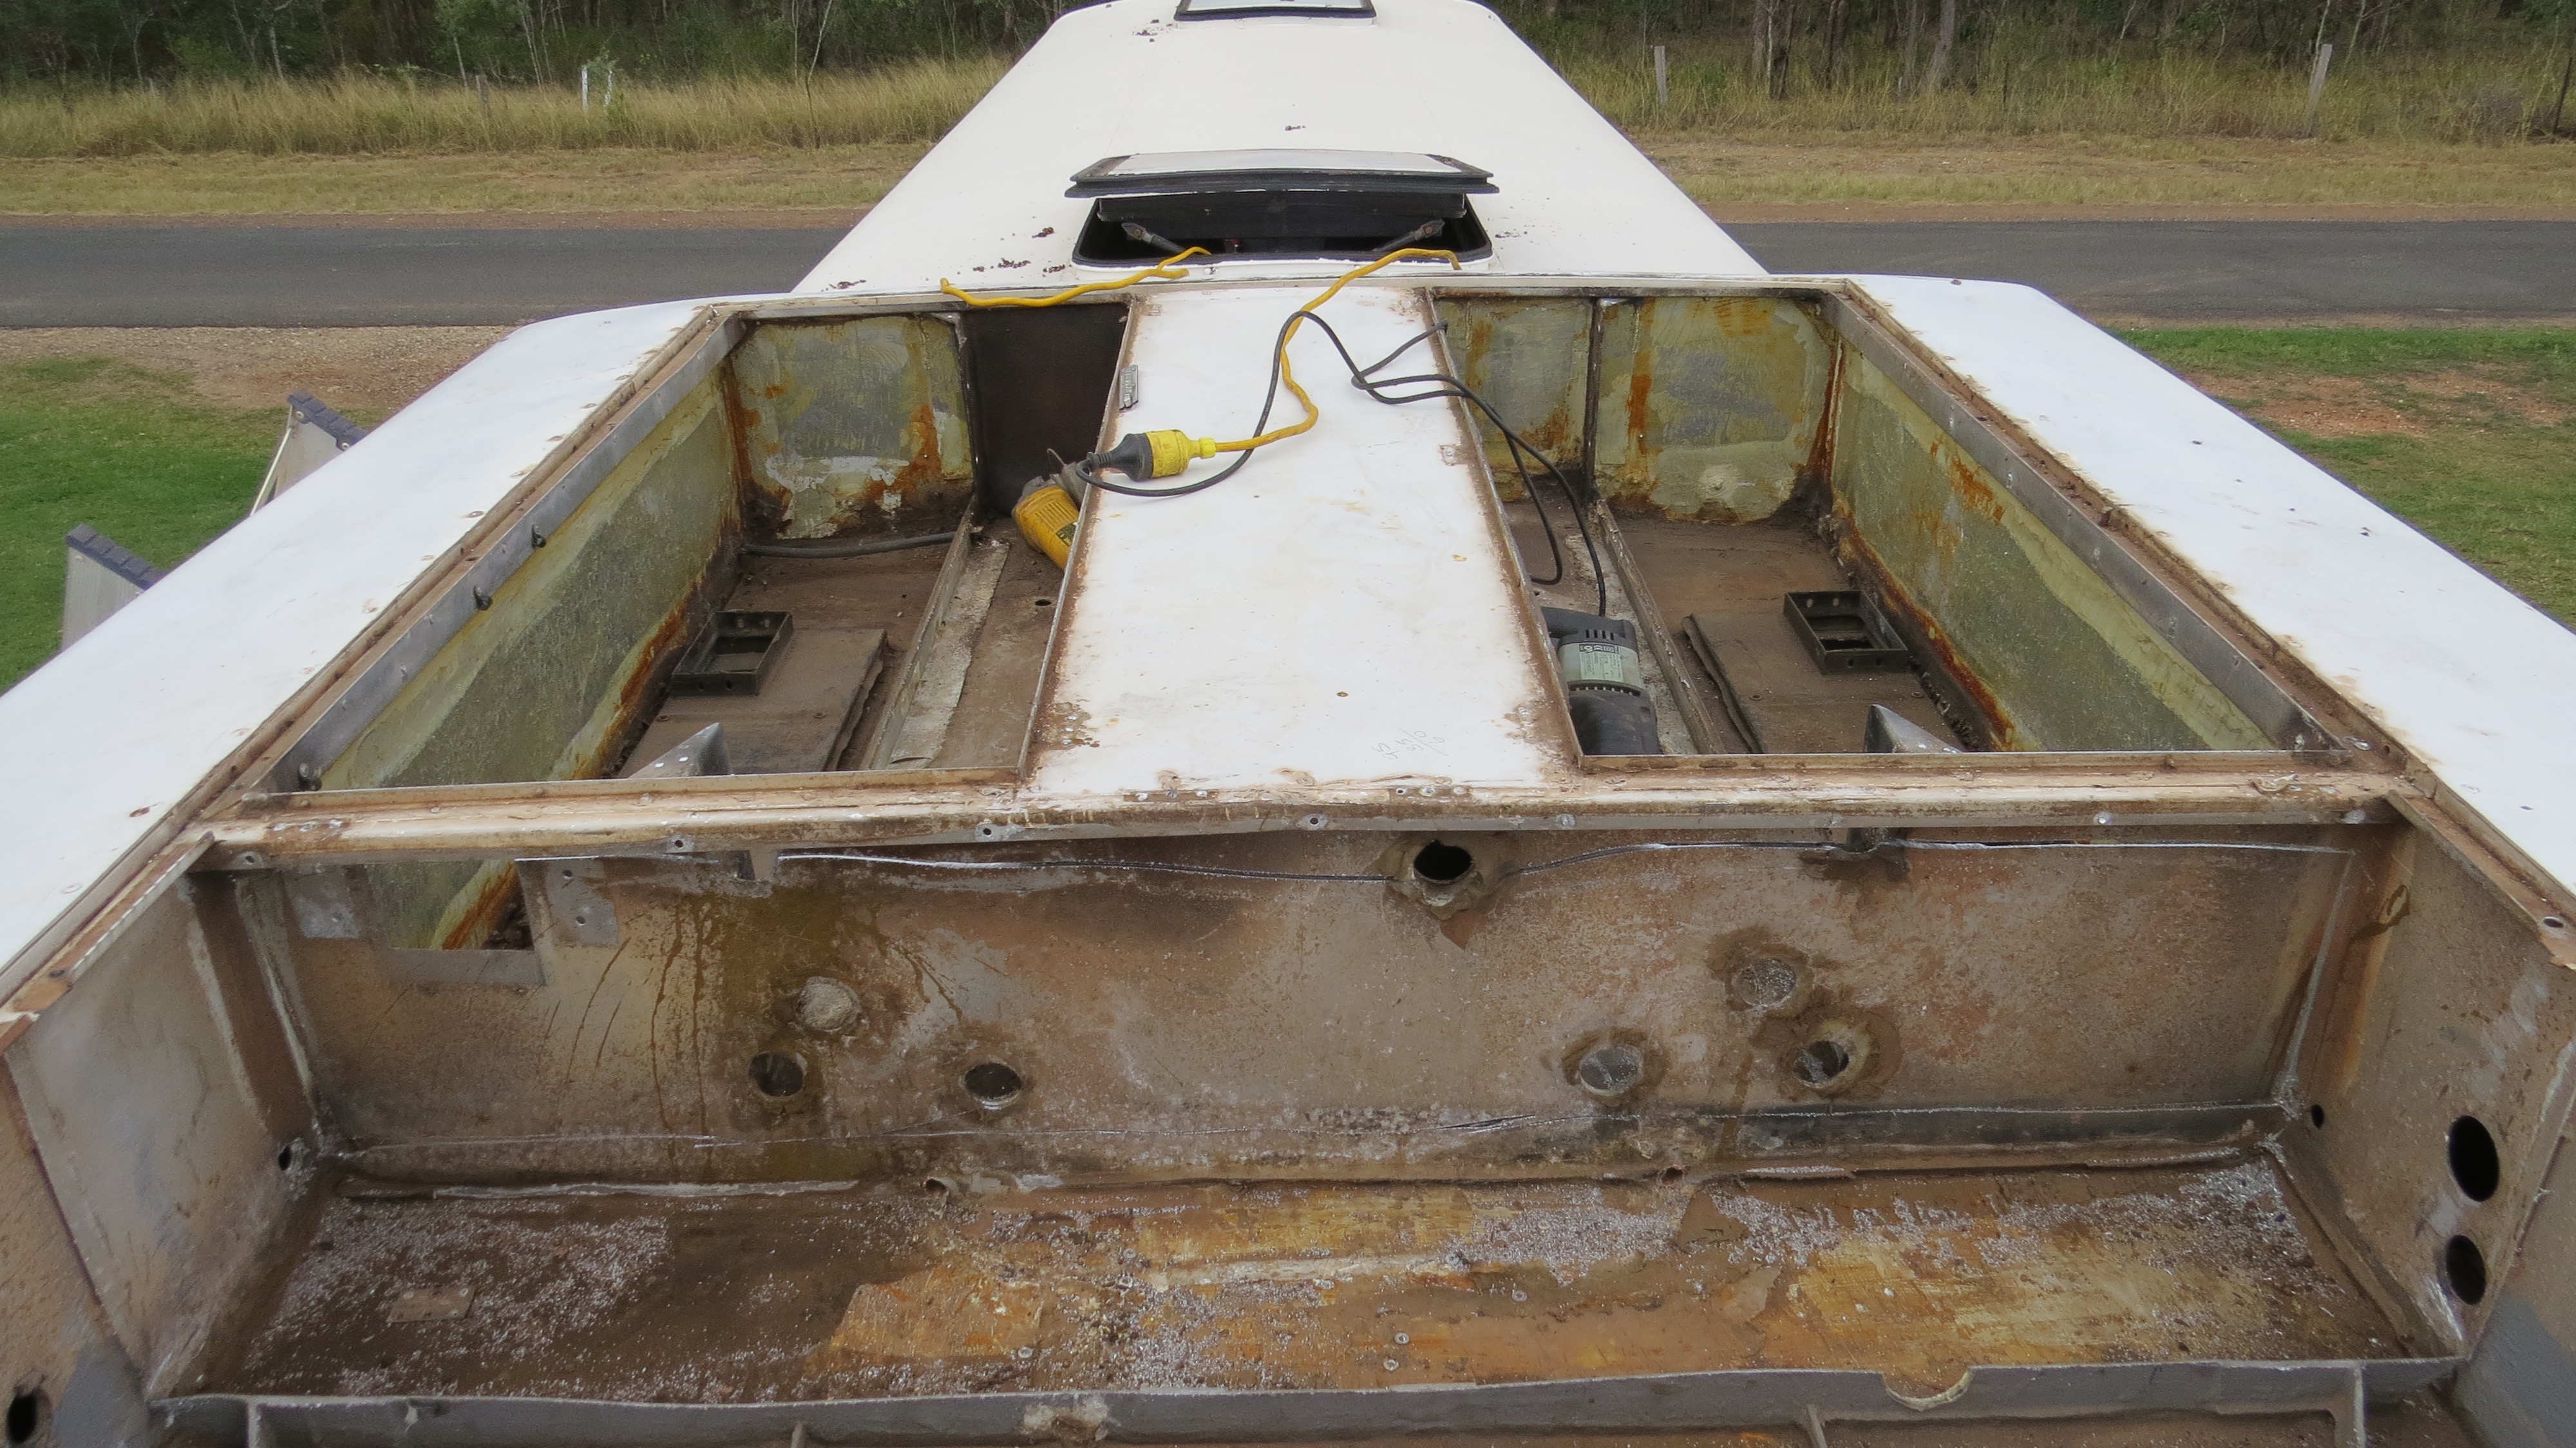
The finished look of this project we will have a roof top deck up here, but not now that is a job for an other day. Now it’s time to remove the evaporator, heat exchange radiators and blowers. Stripping out the copper pipe, heat exchange radiator pipes as well all the electrical pits.

Stripping all the sparky stuff and back grill to accessing the pipe work.
Old air condition control unit in the ceiling.
One side of the evaporator, heat radiators and blowers to be removed.
Heater units and evaporator removed.

More Stuff For The Scrap Yard

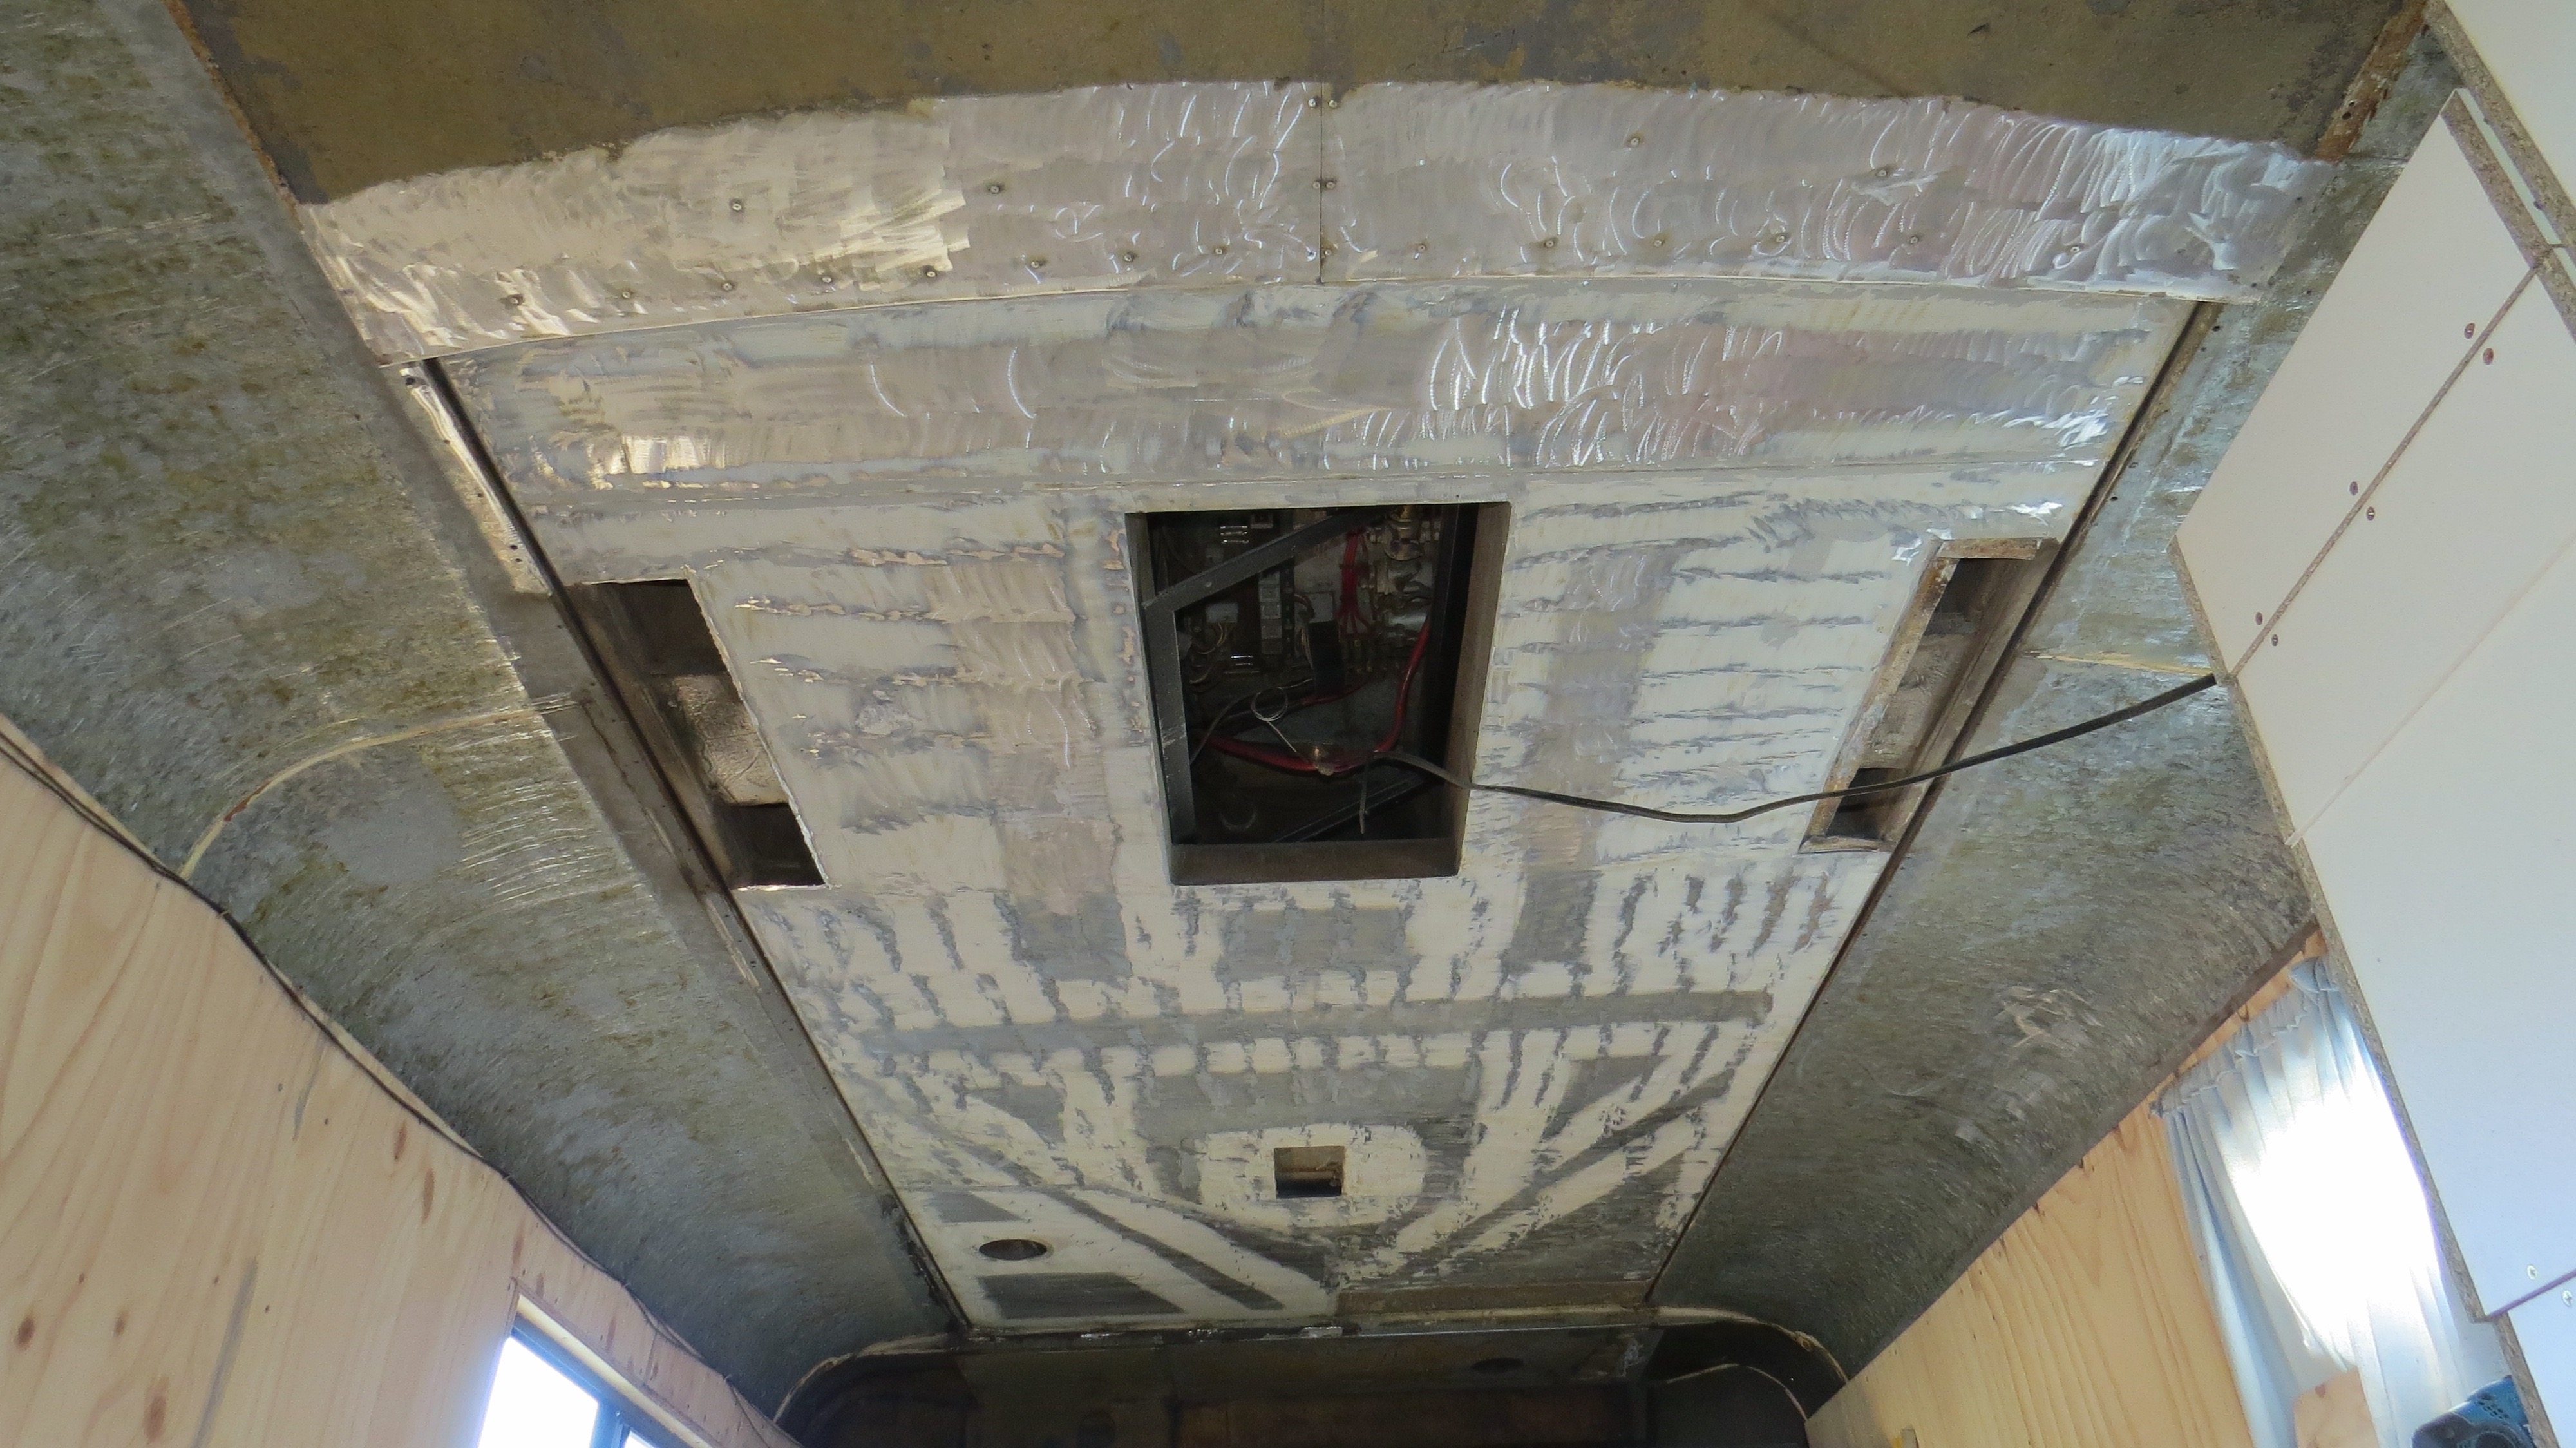
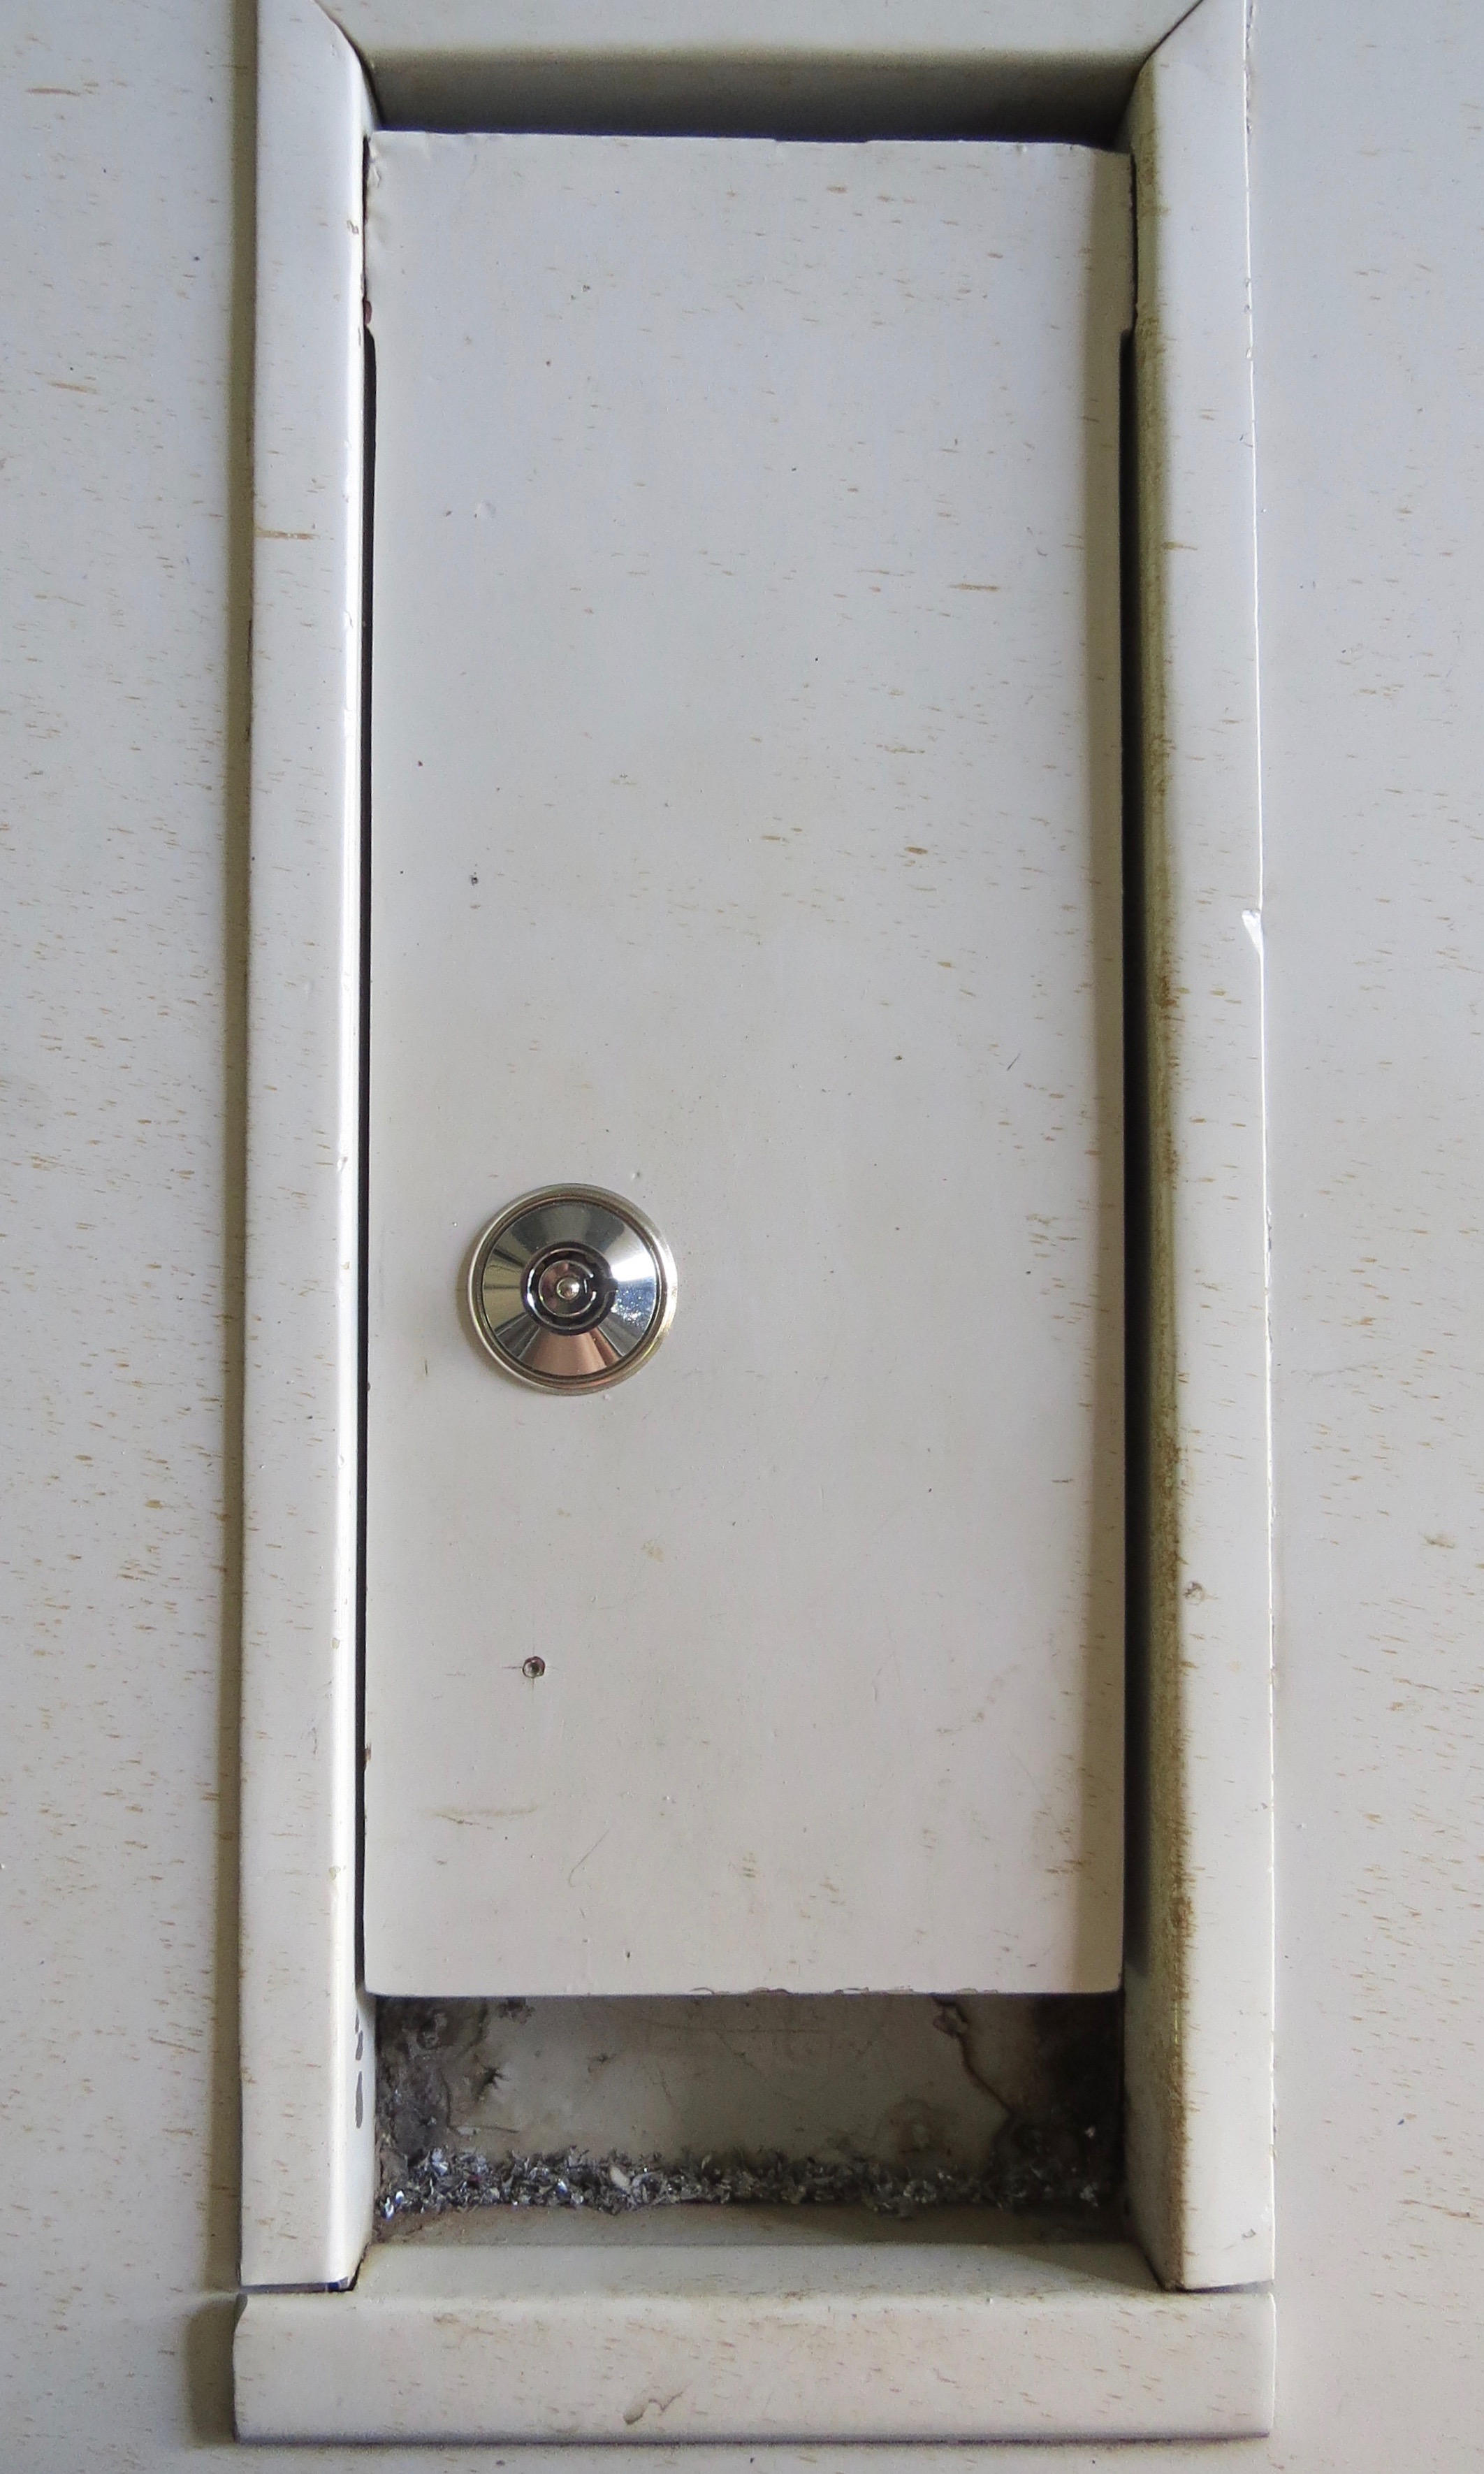
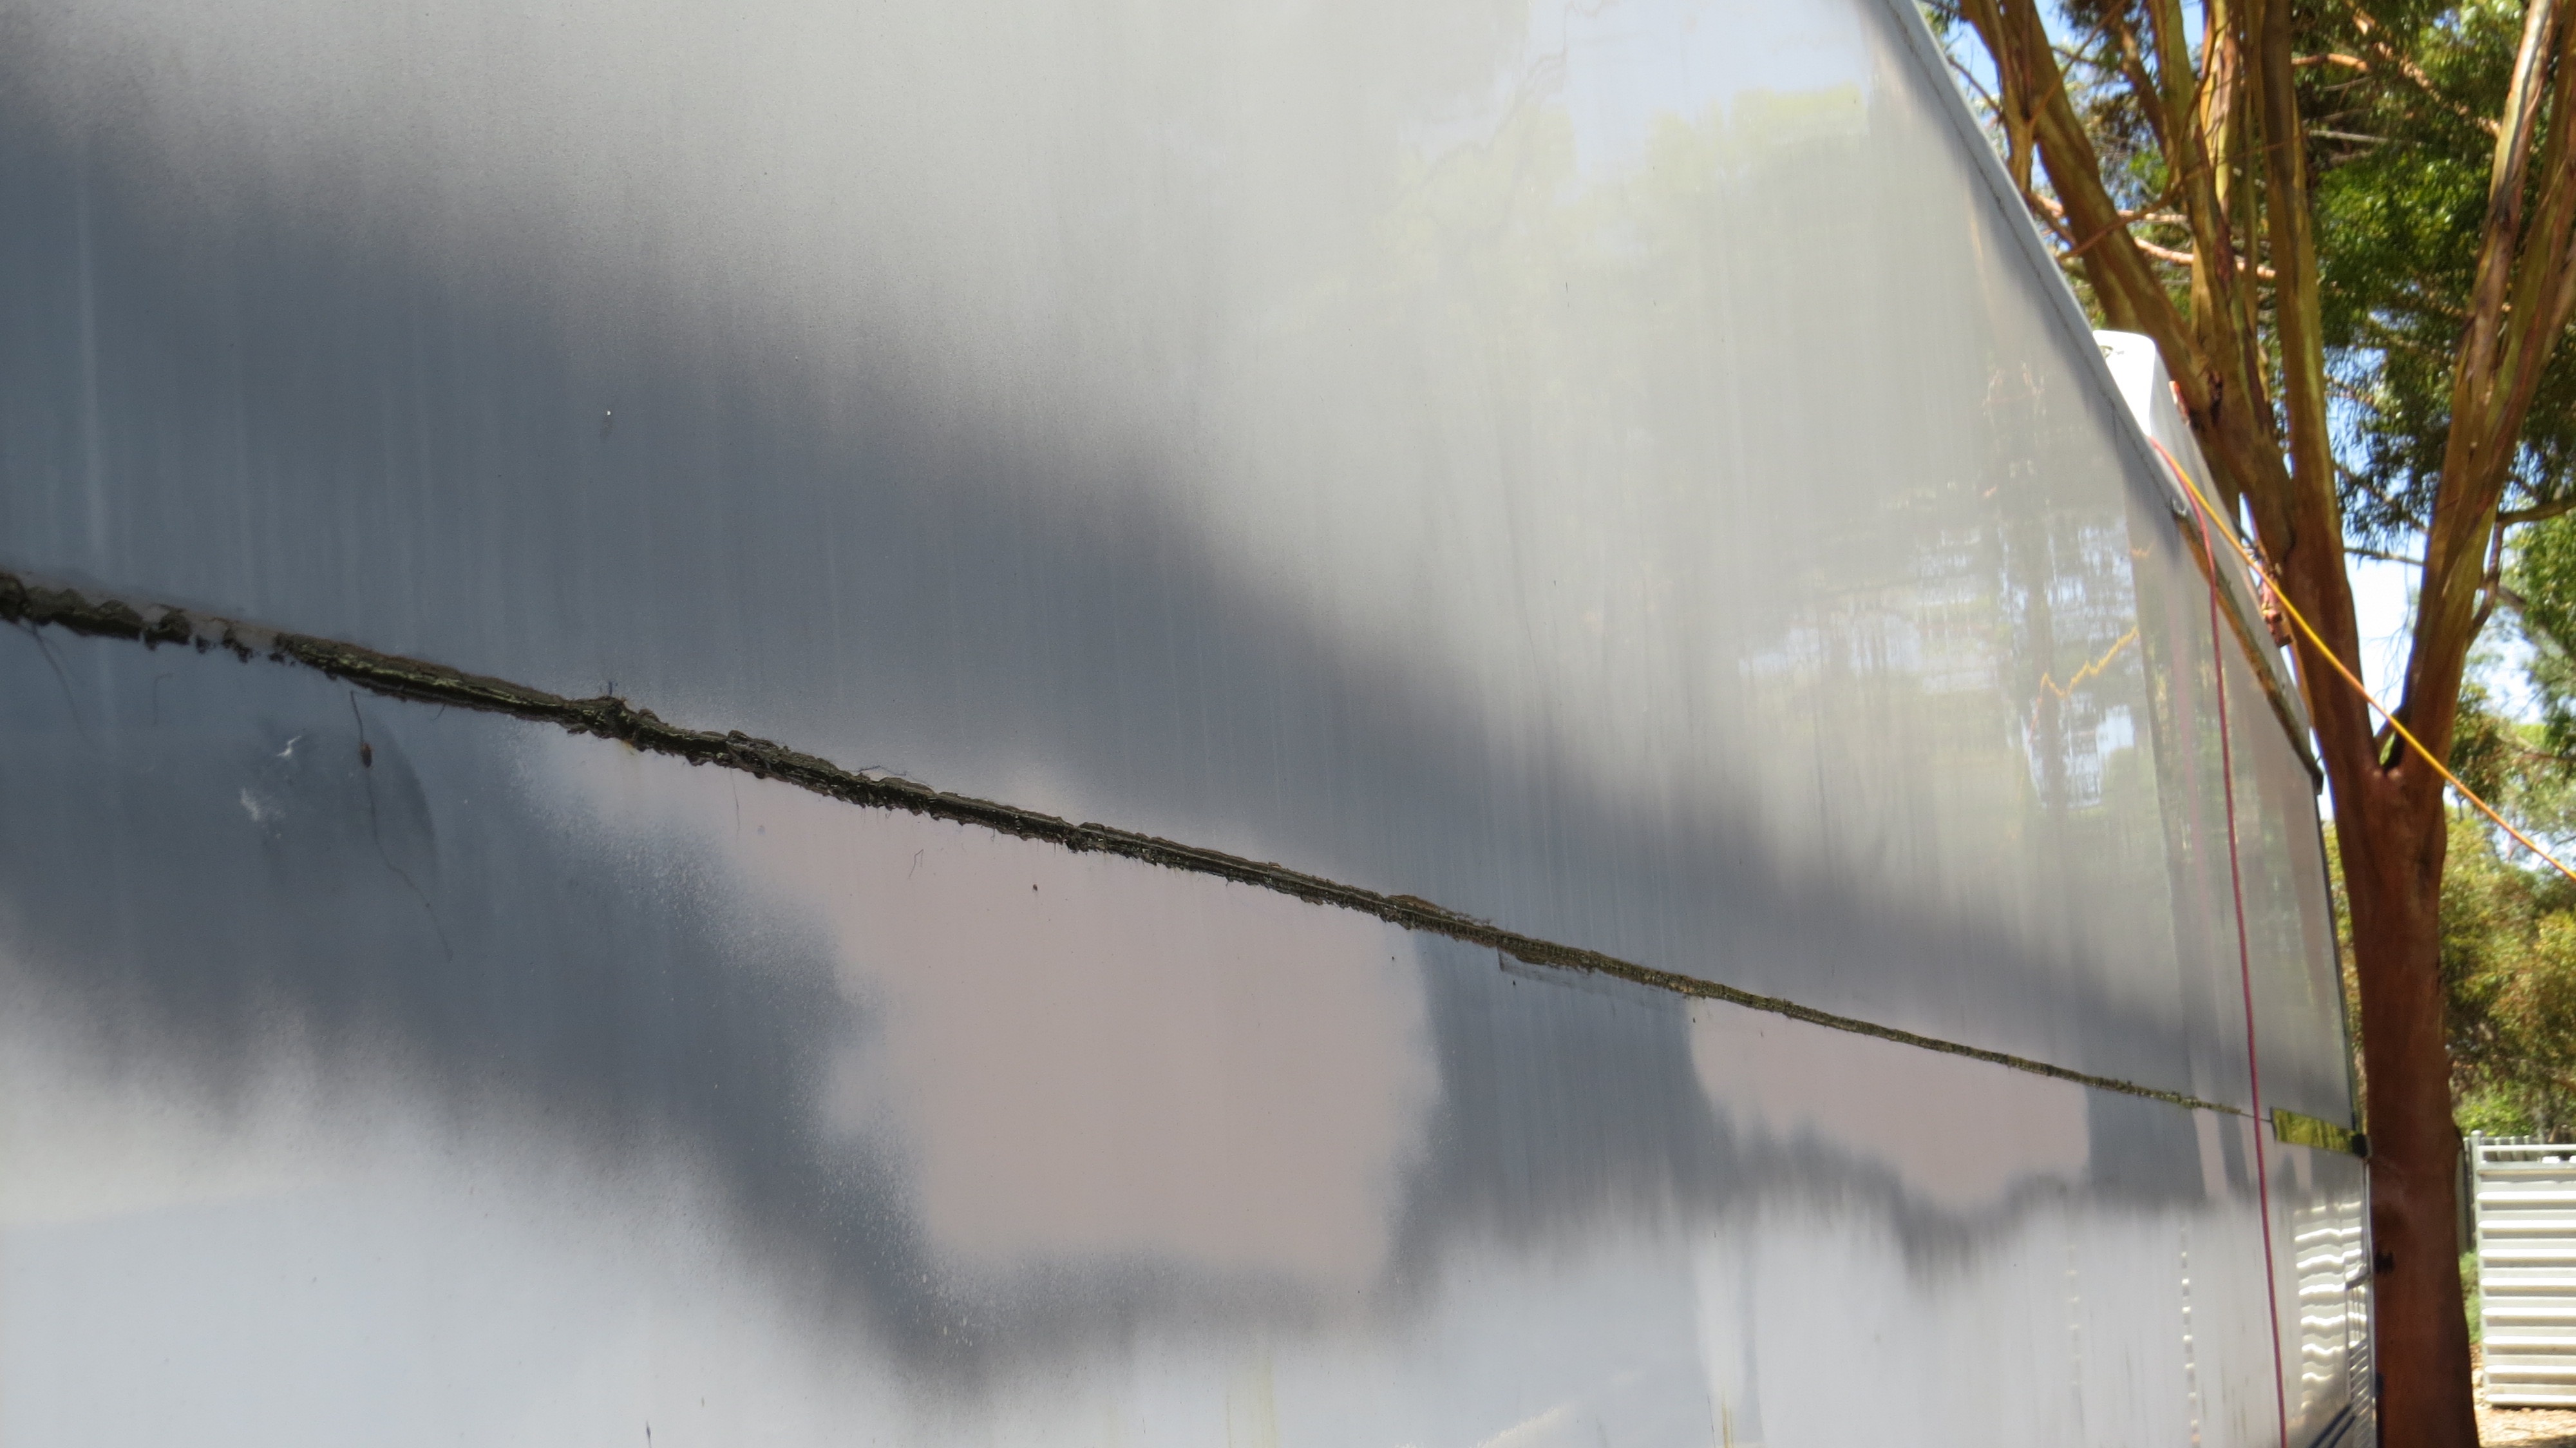
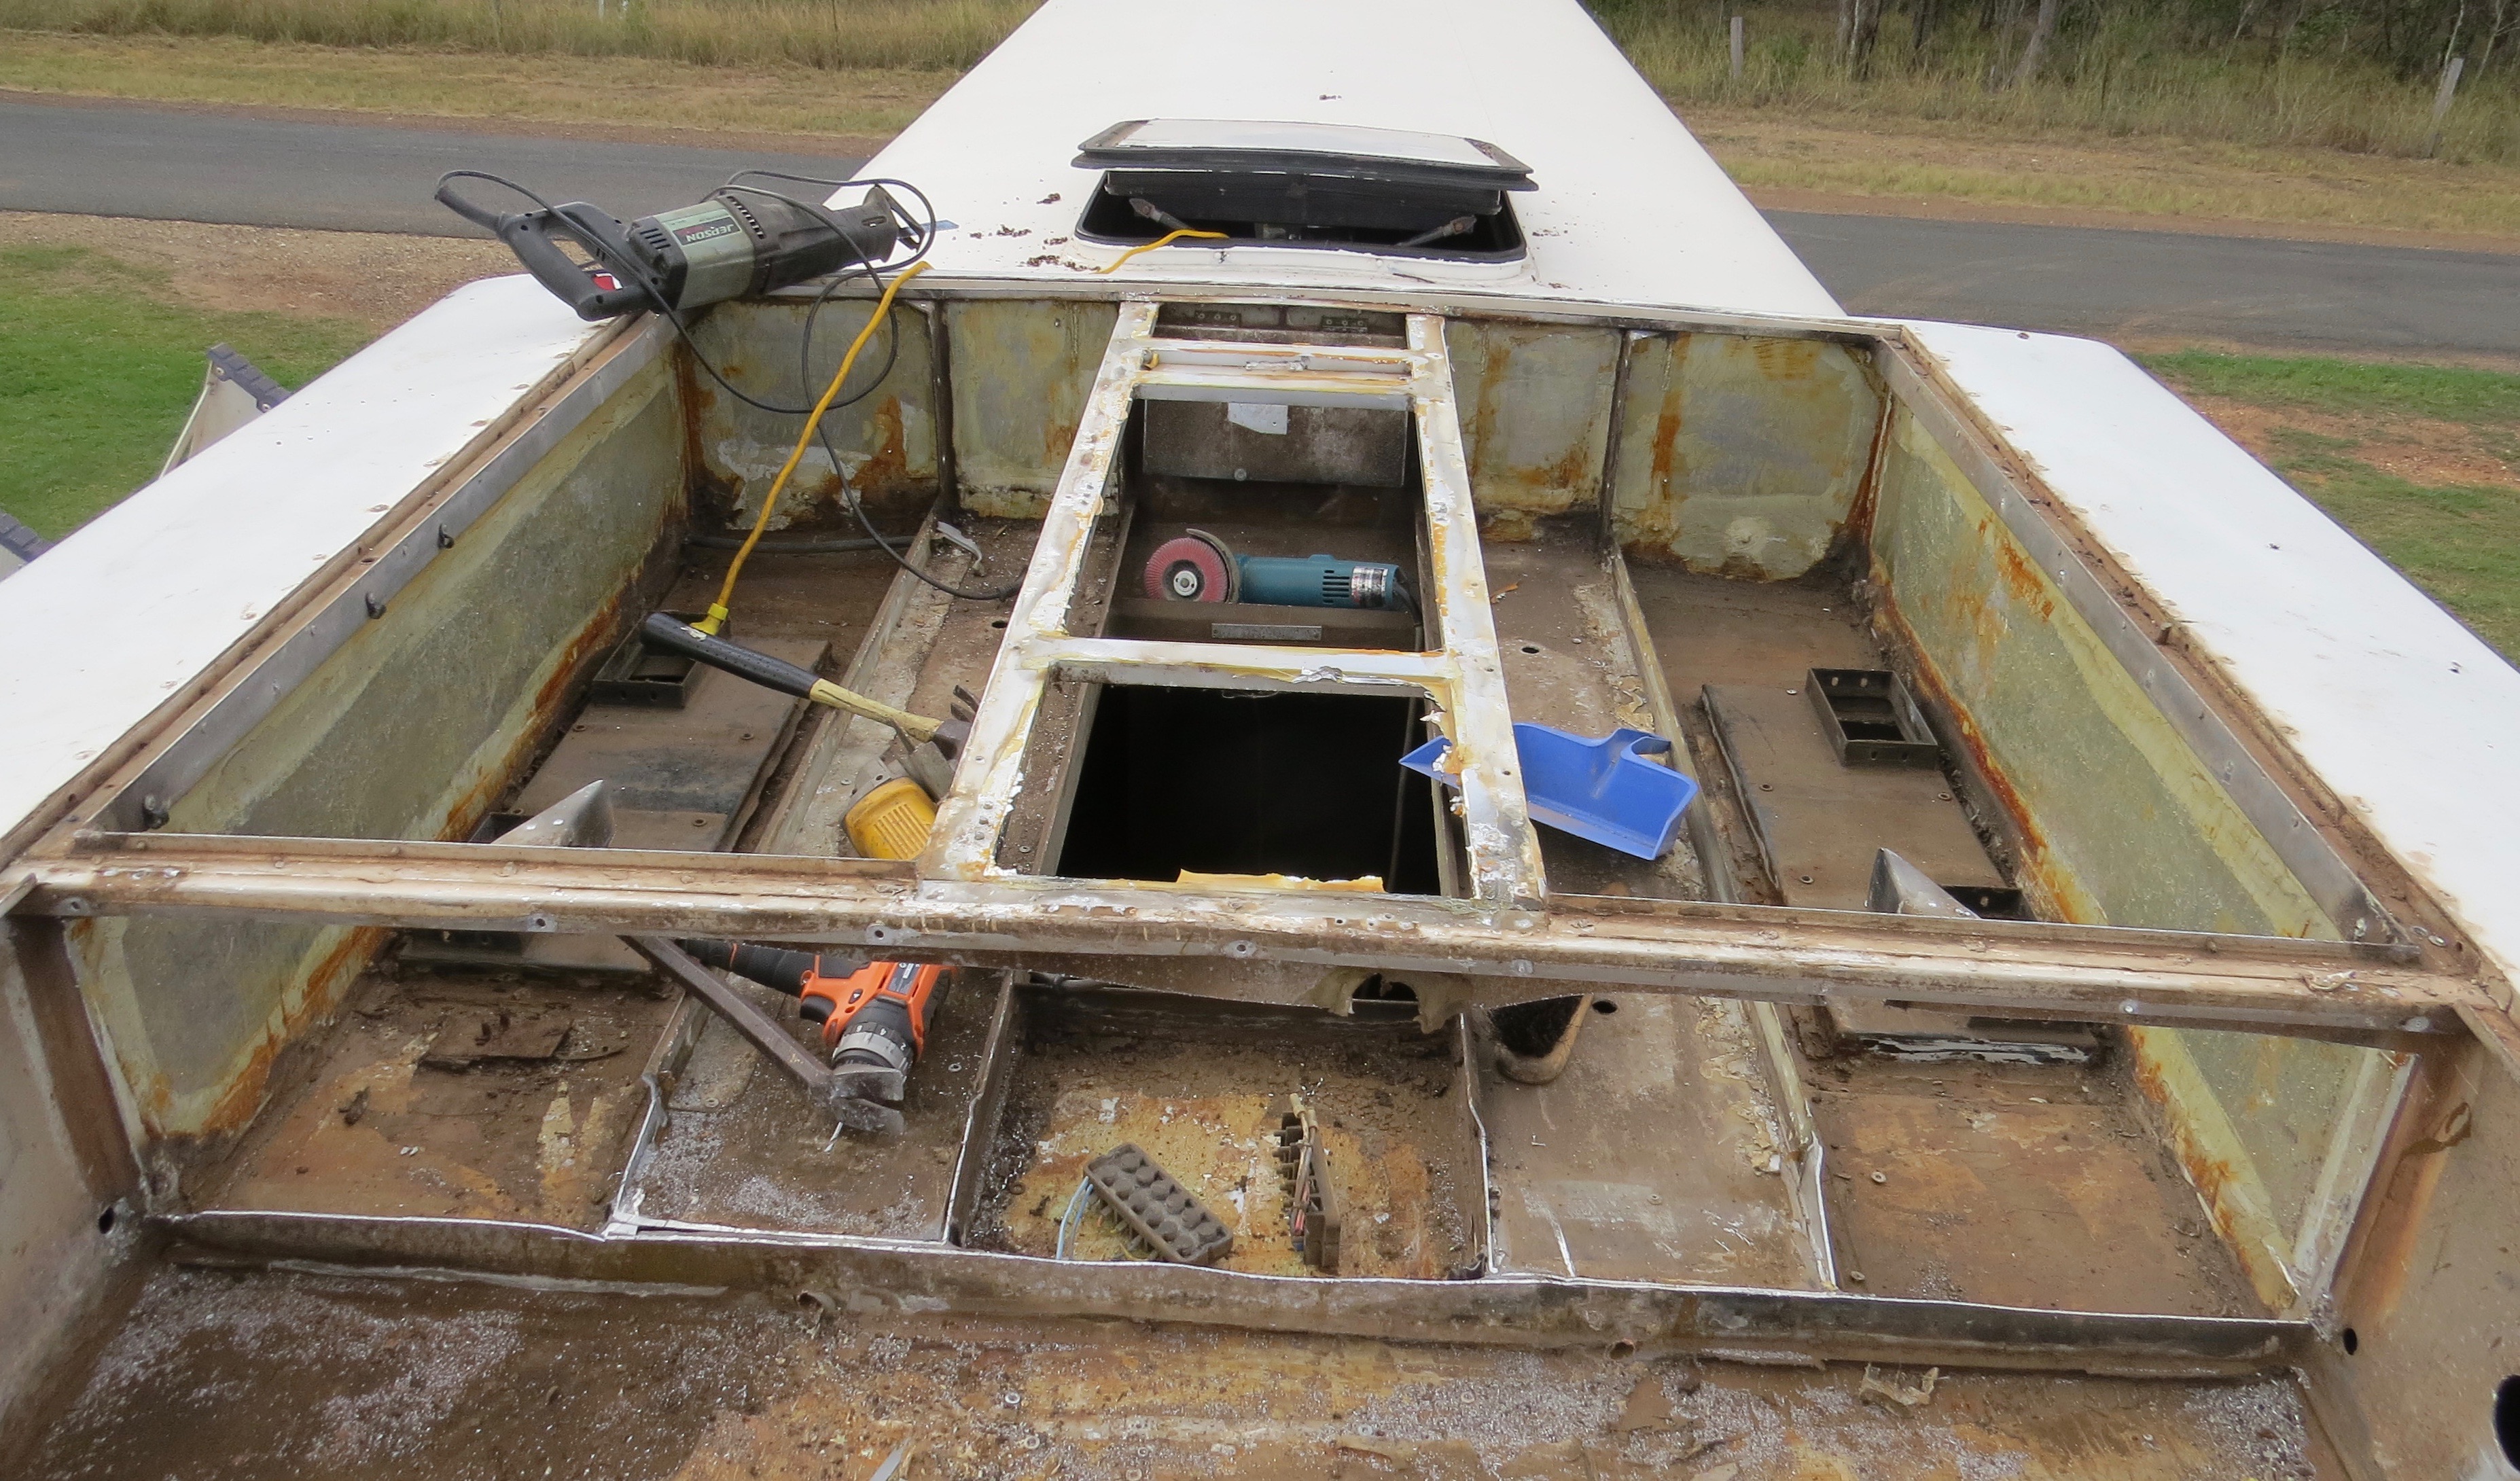
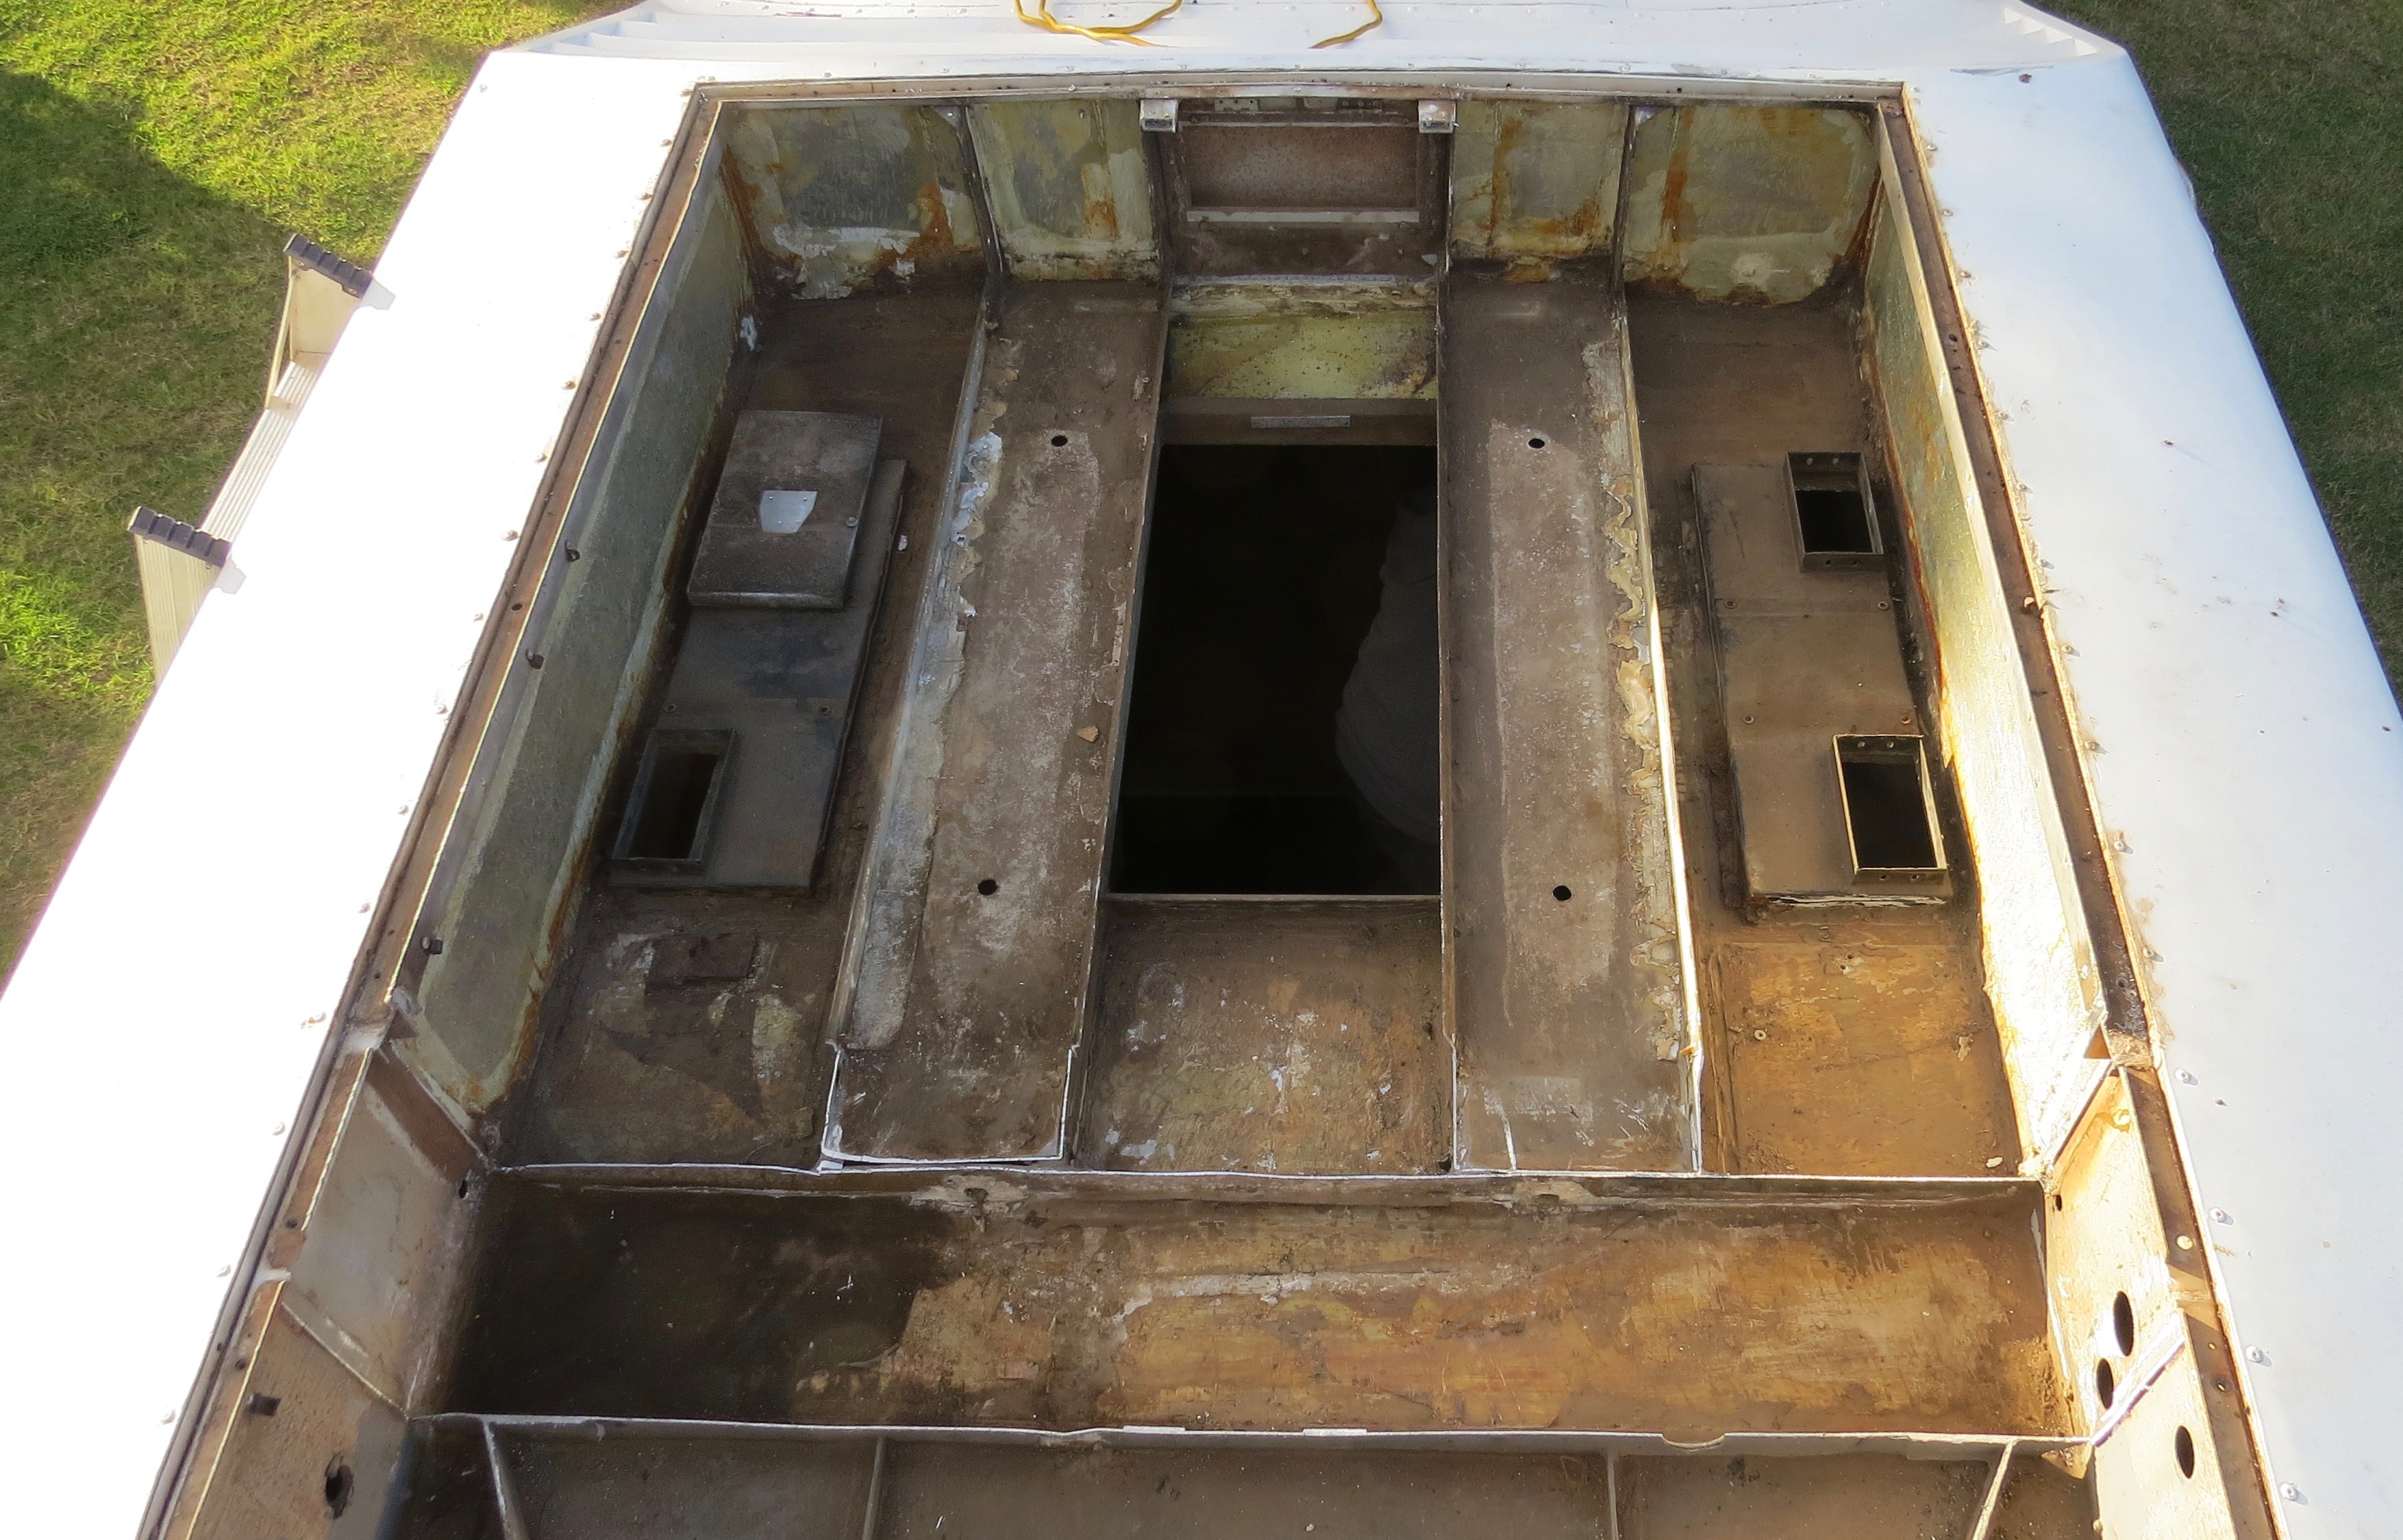
I did a trip to the scrap metal yard with all the copper, brass, evaporator and the heat exchange radiators. It’s always good to get some money back, that lot gave me $145 to put back into the project. Next will be cutting out all the aluminium  that we don’t need off the roof air-condition area. I all ready have some that we have removed so that we will have an other trip to the scrap yard soon.
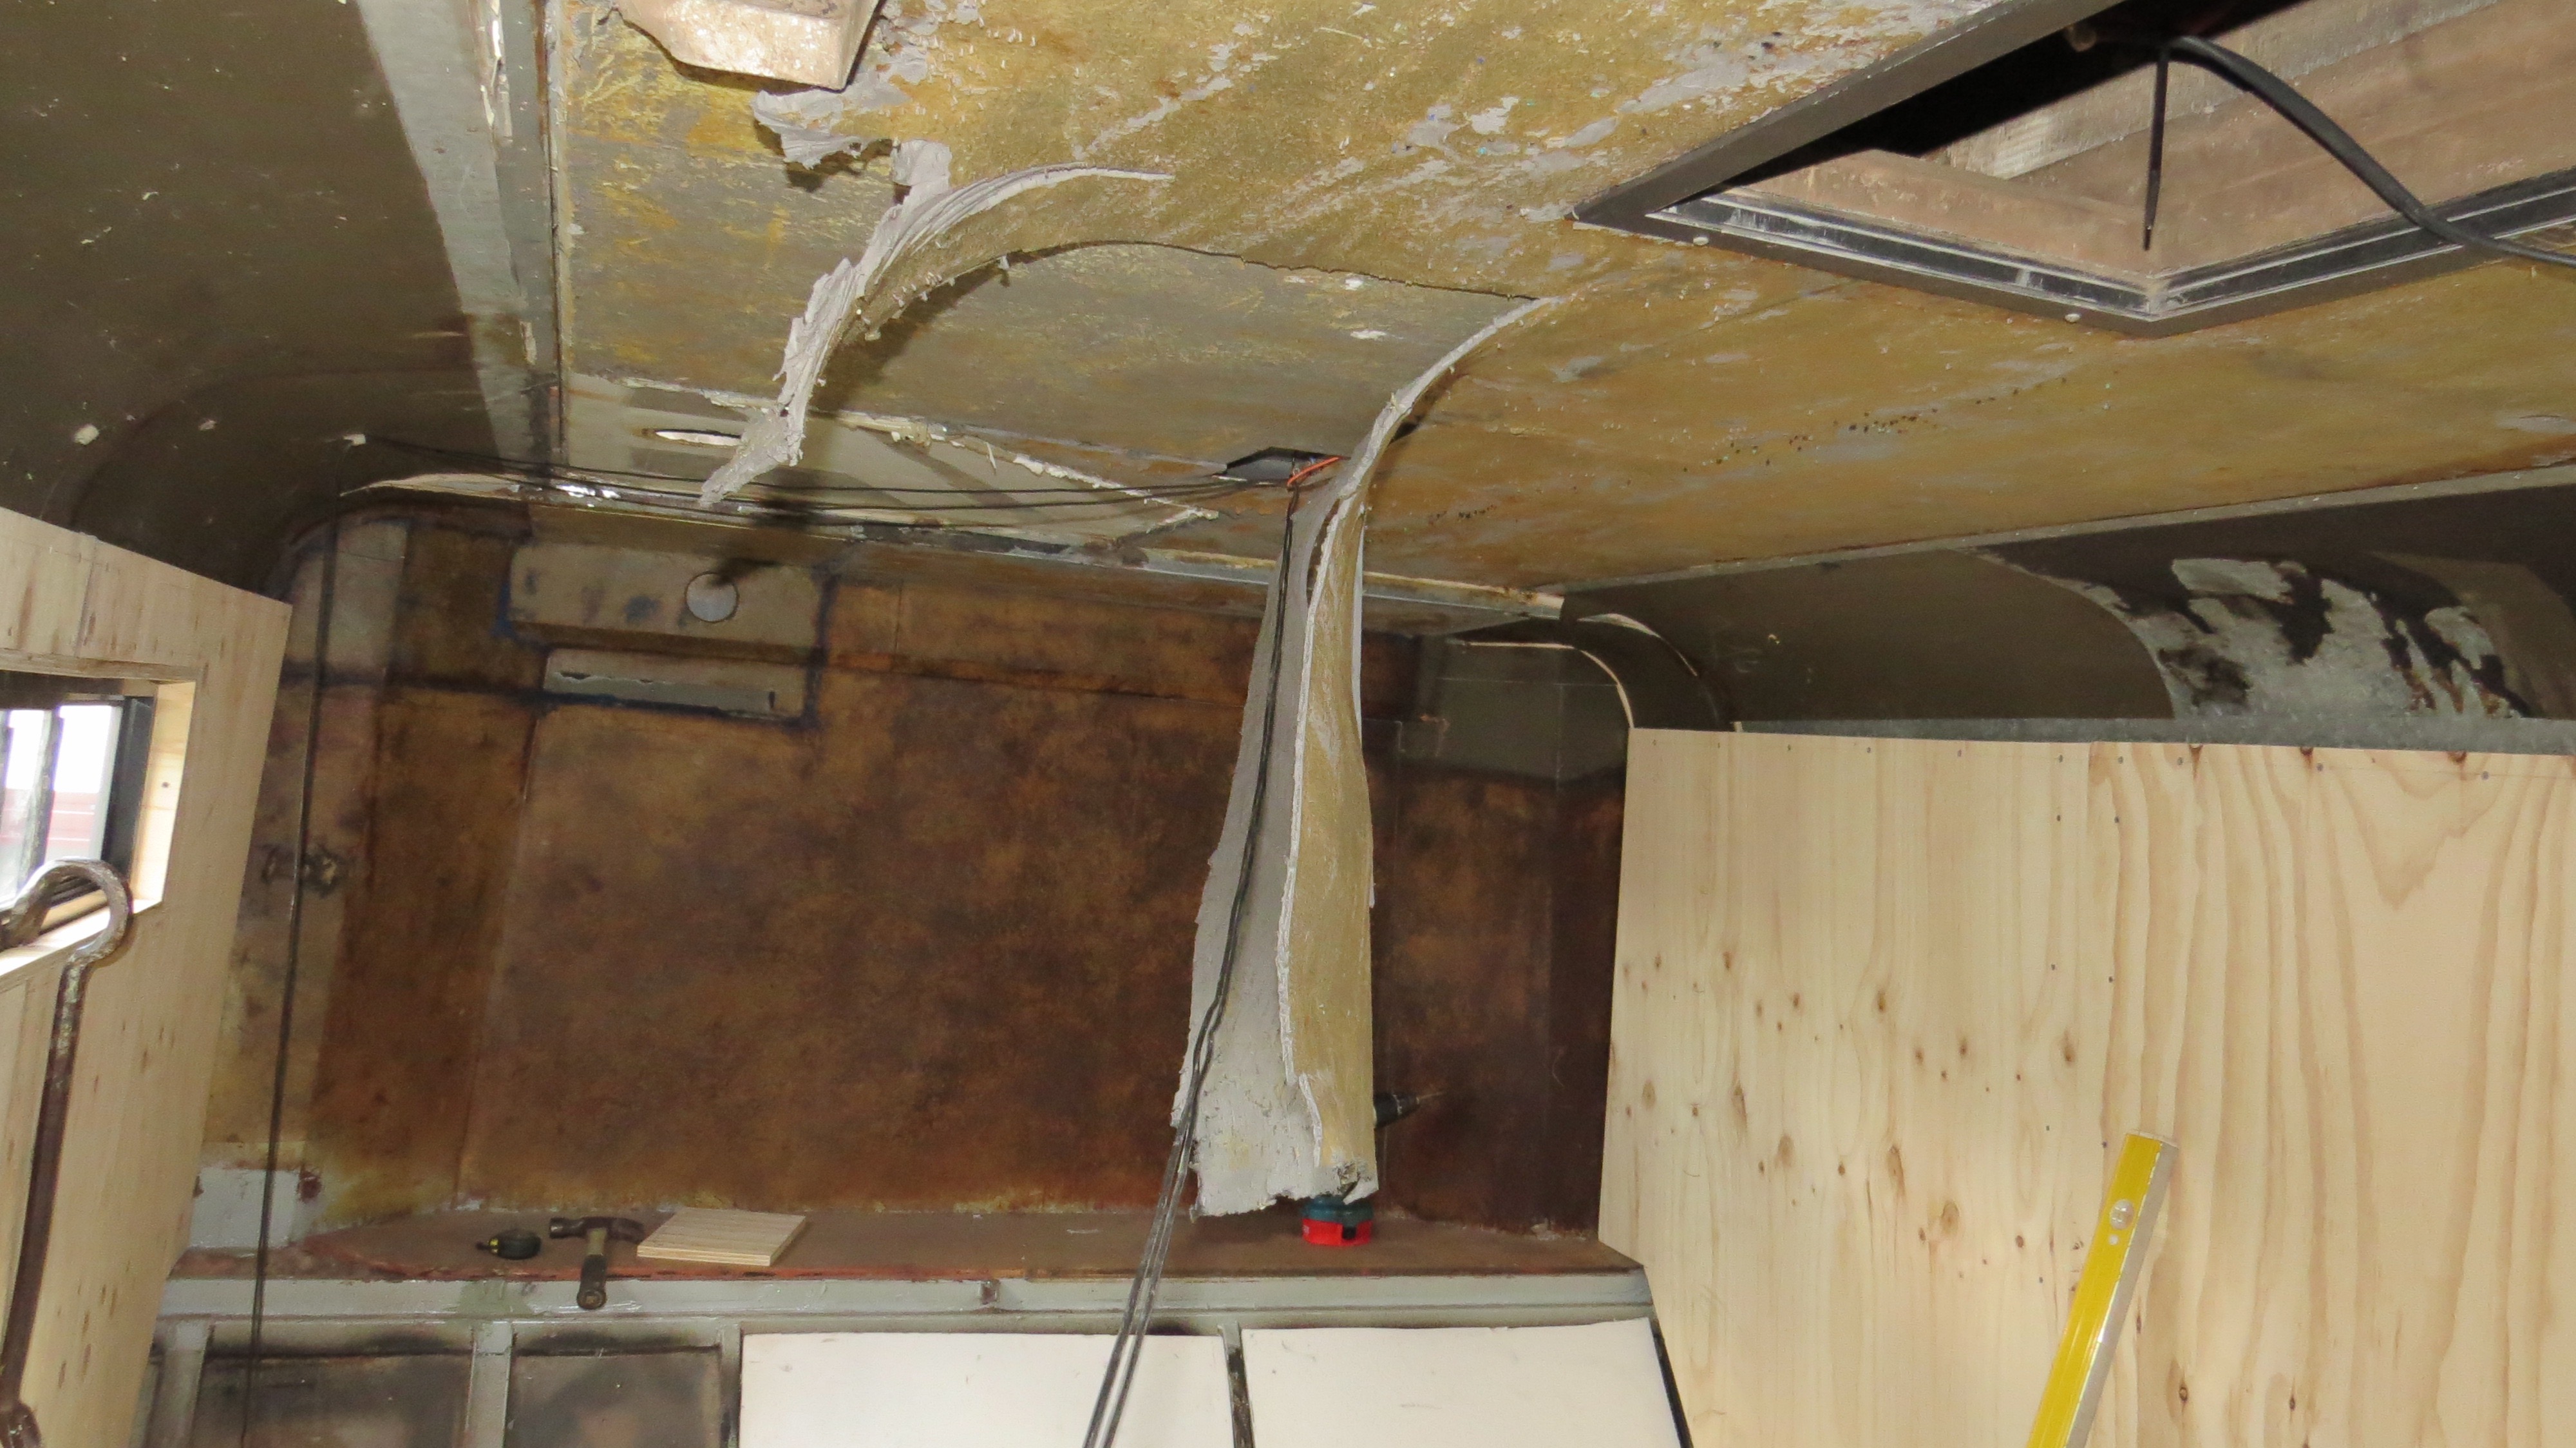
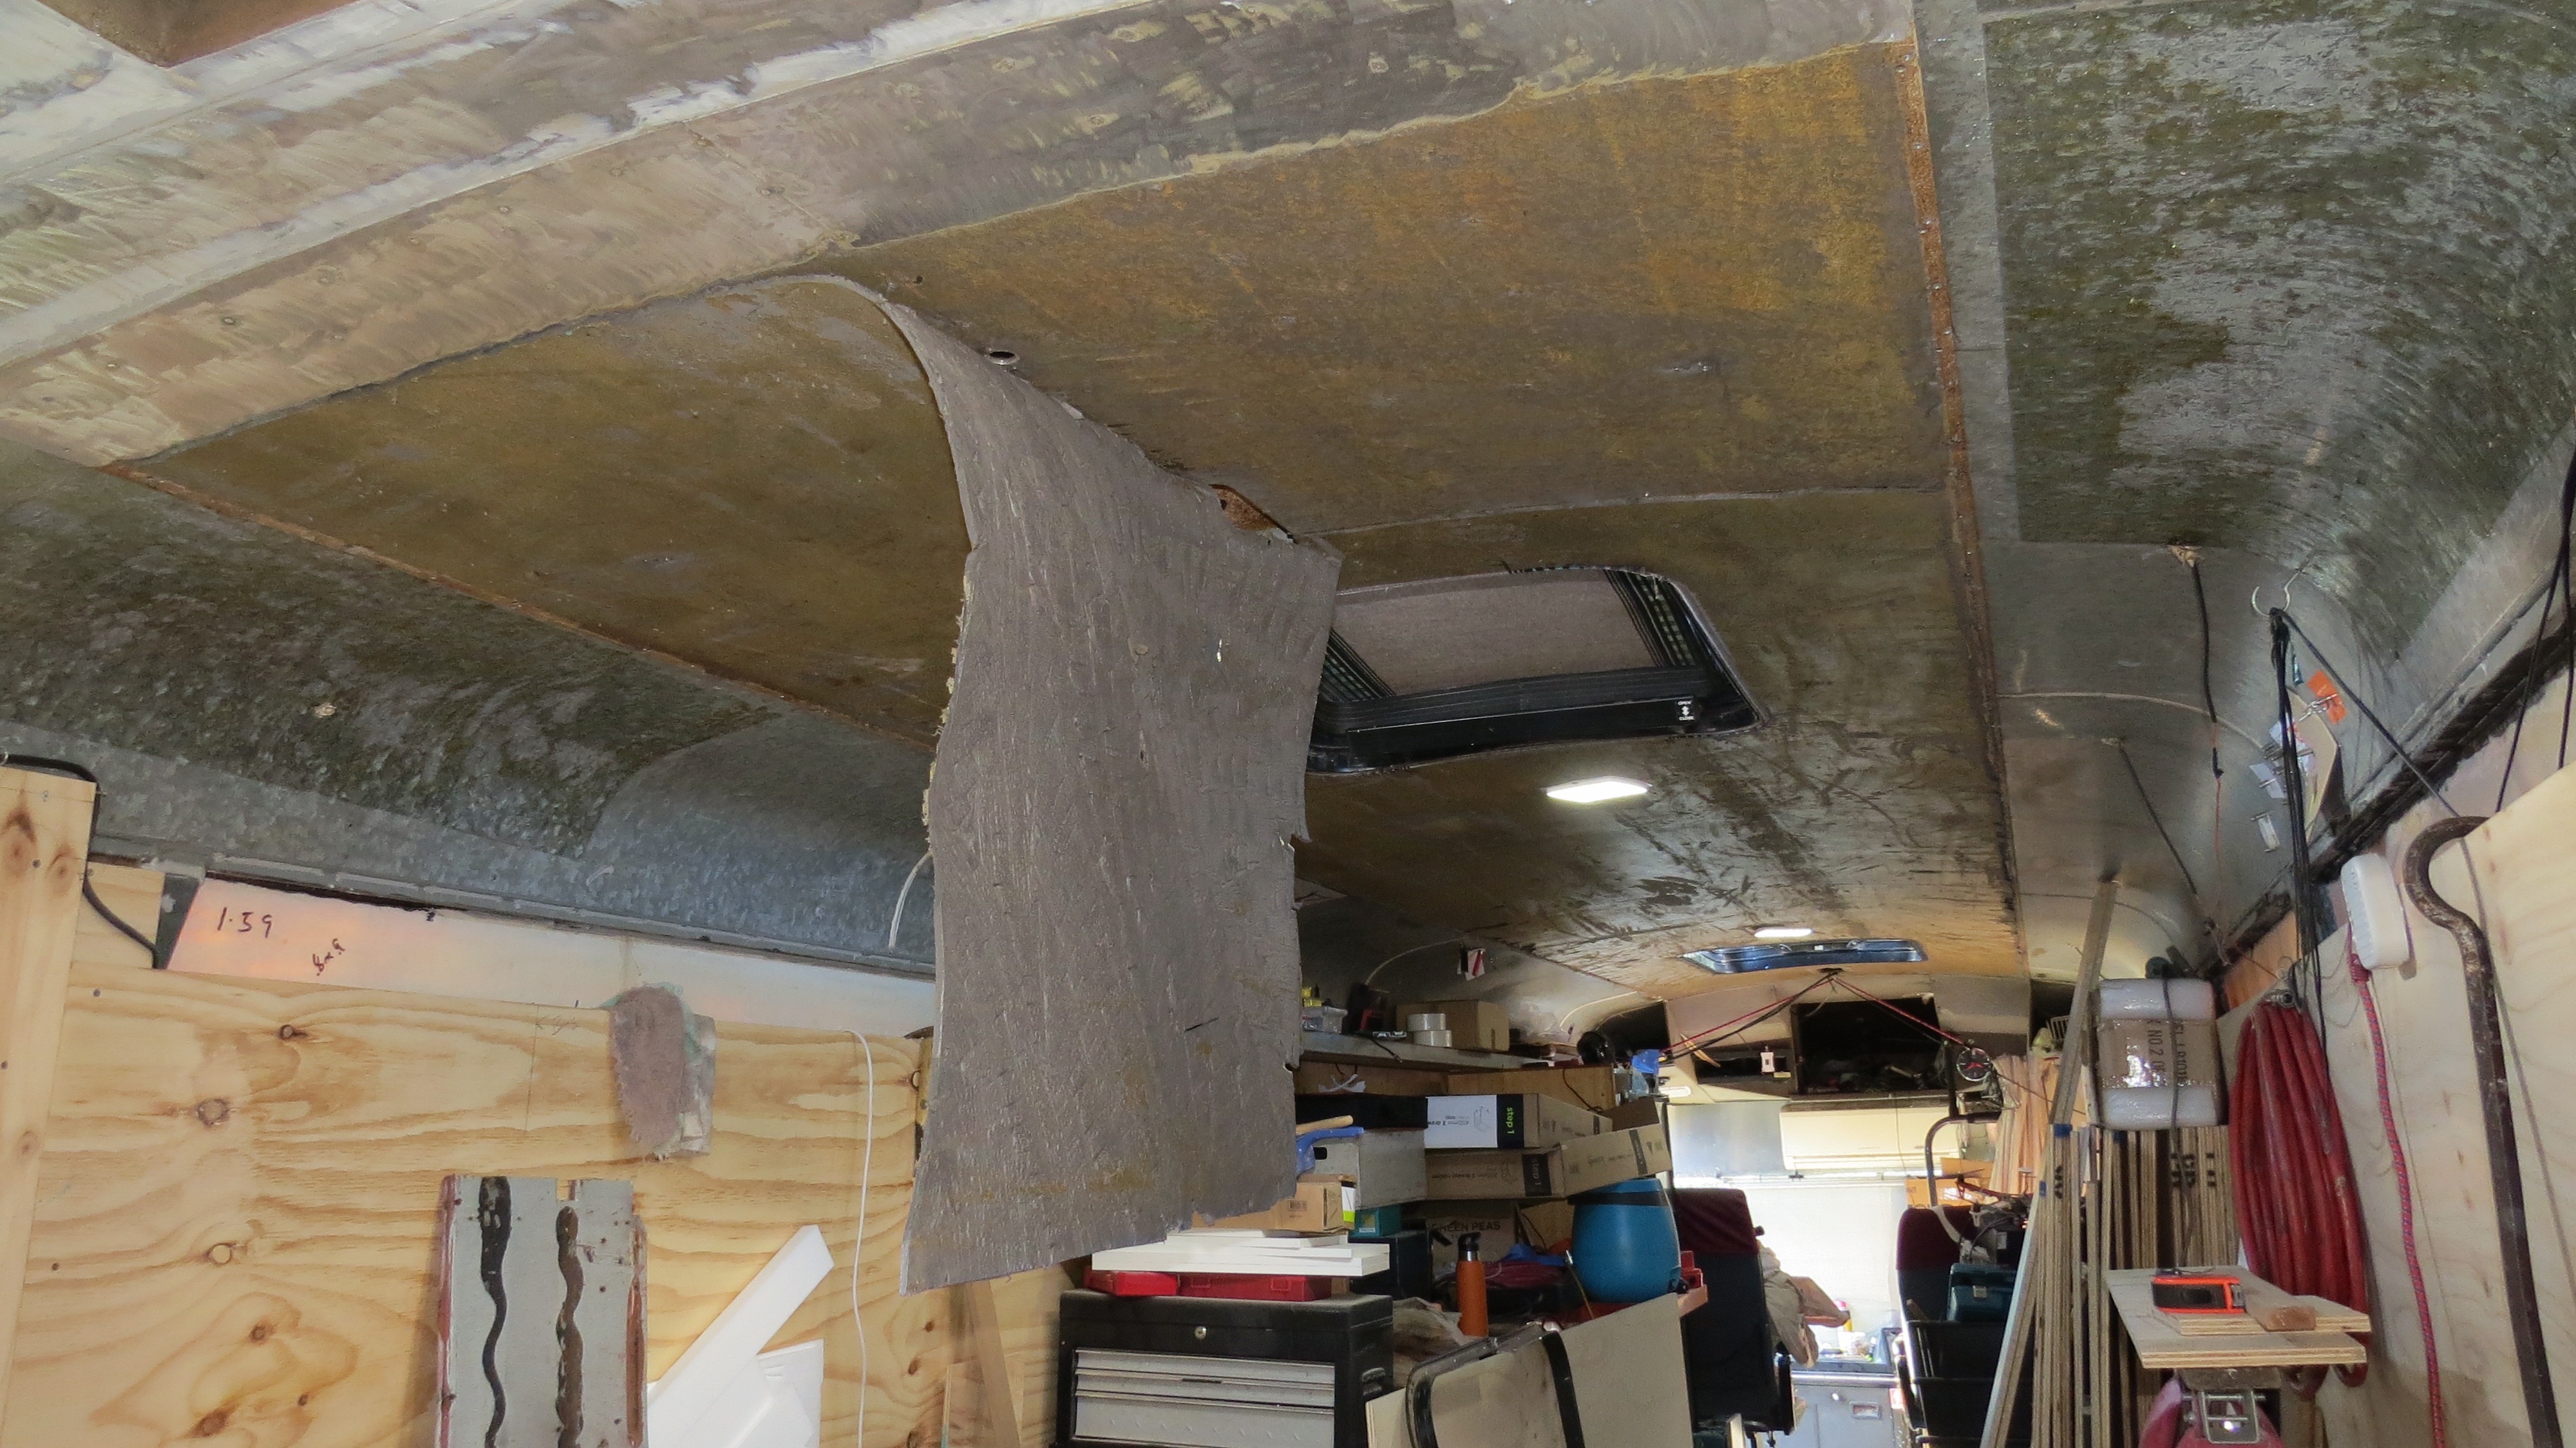
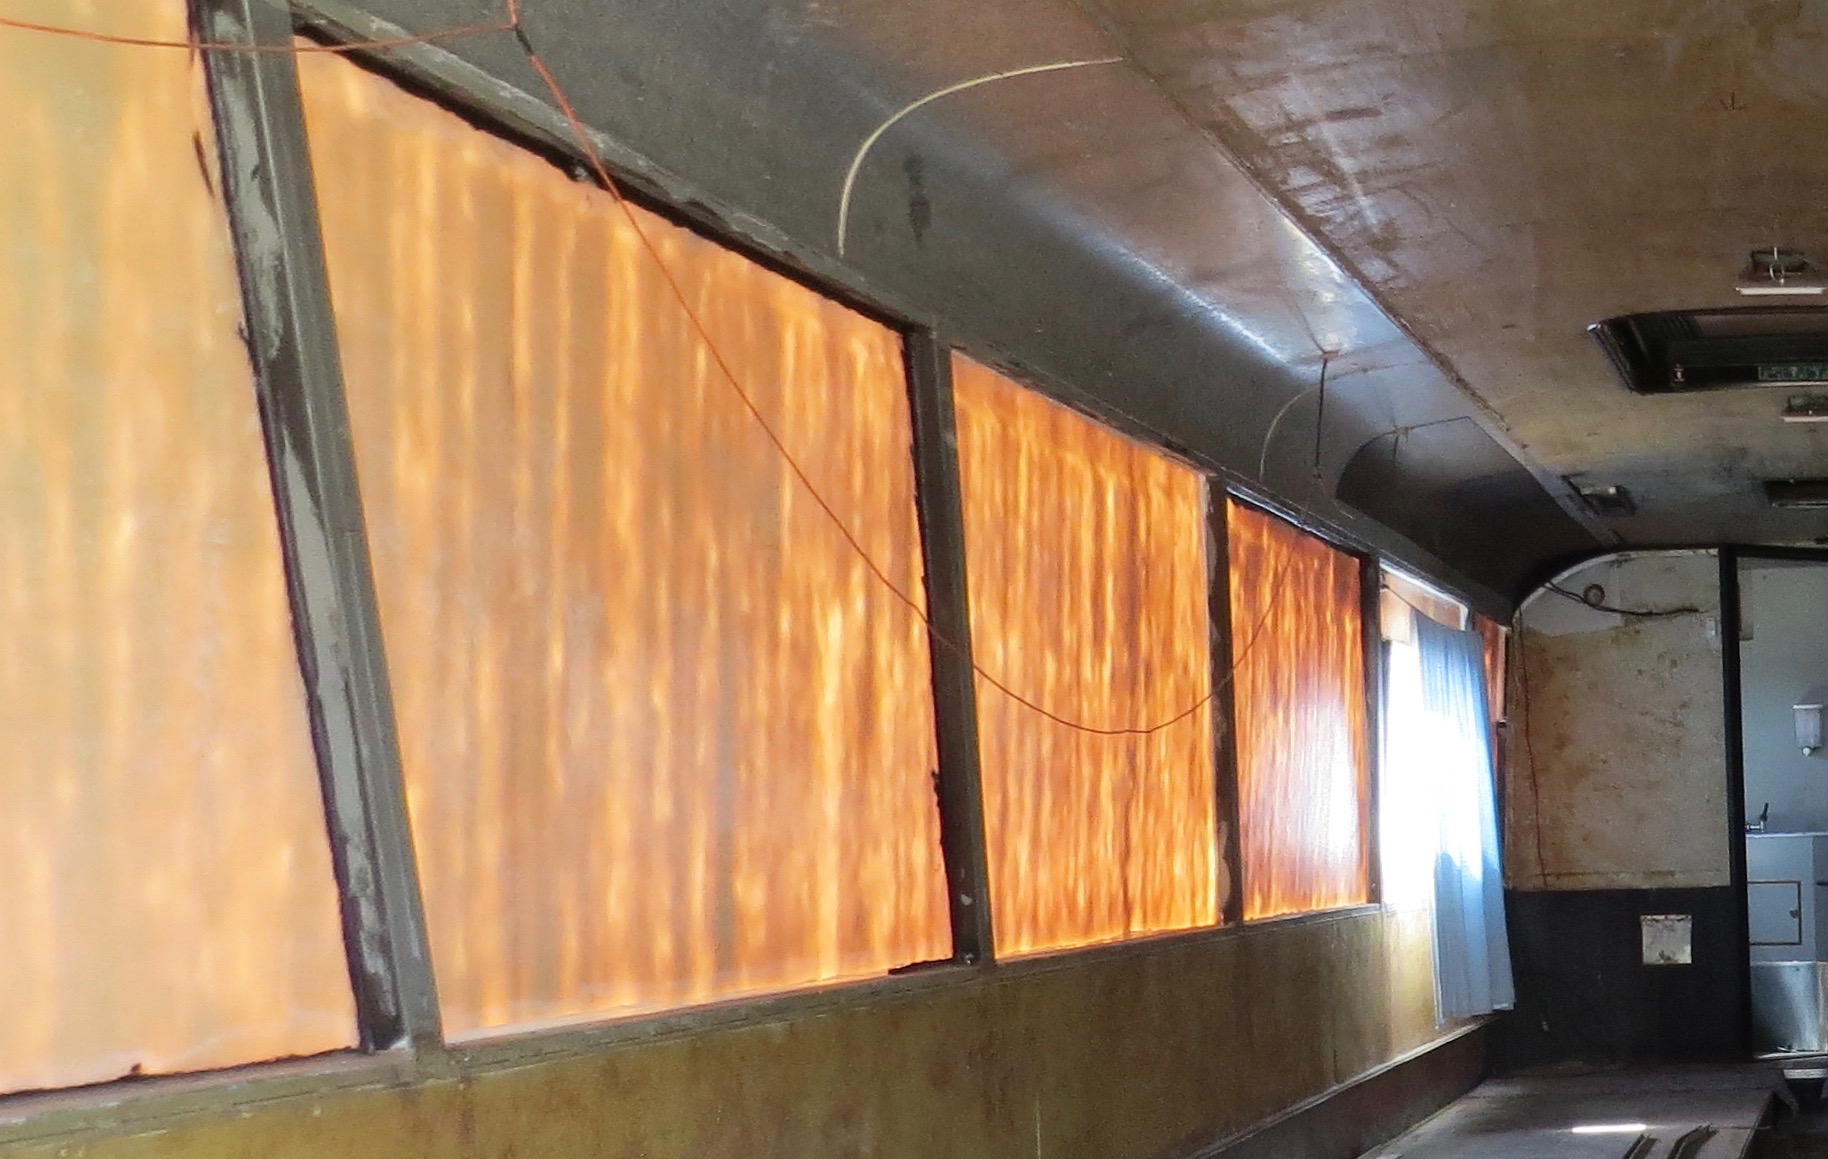
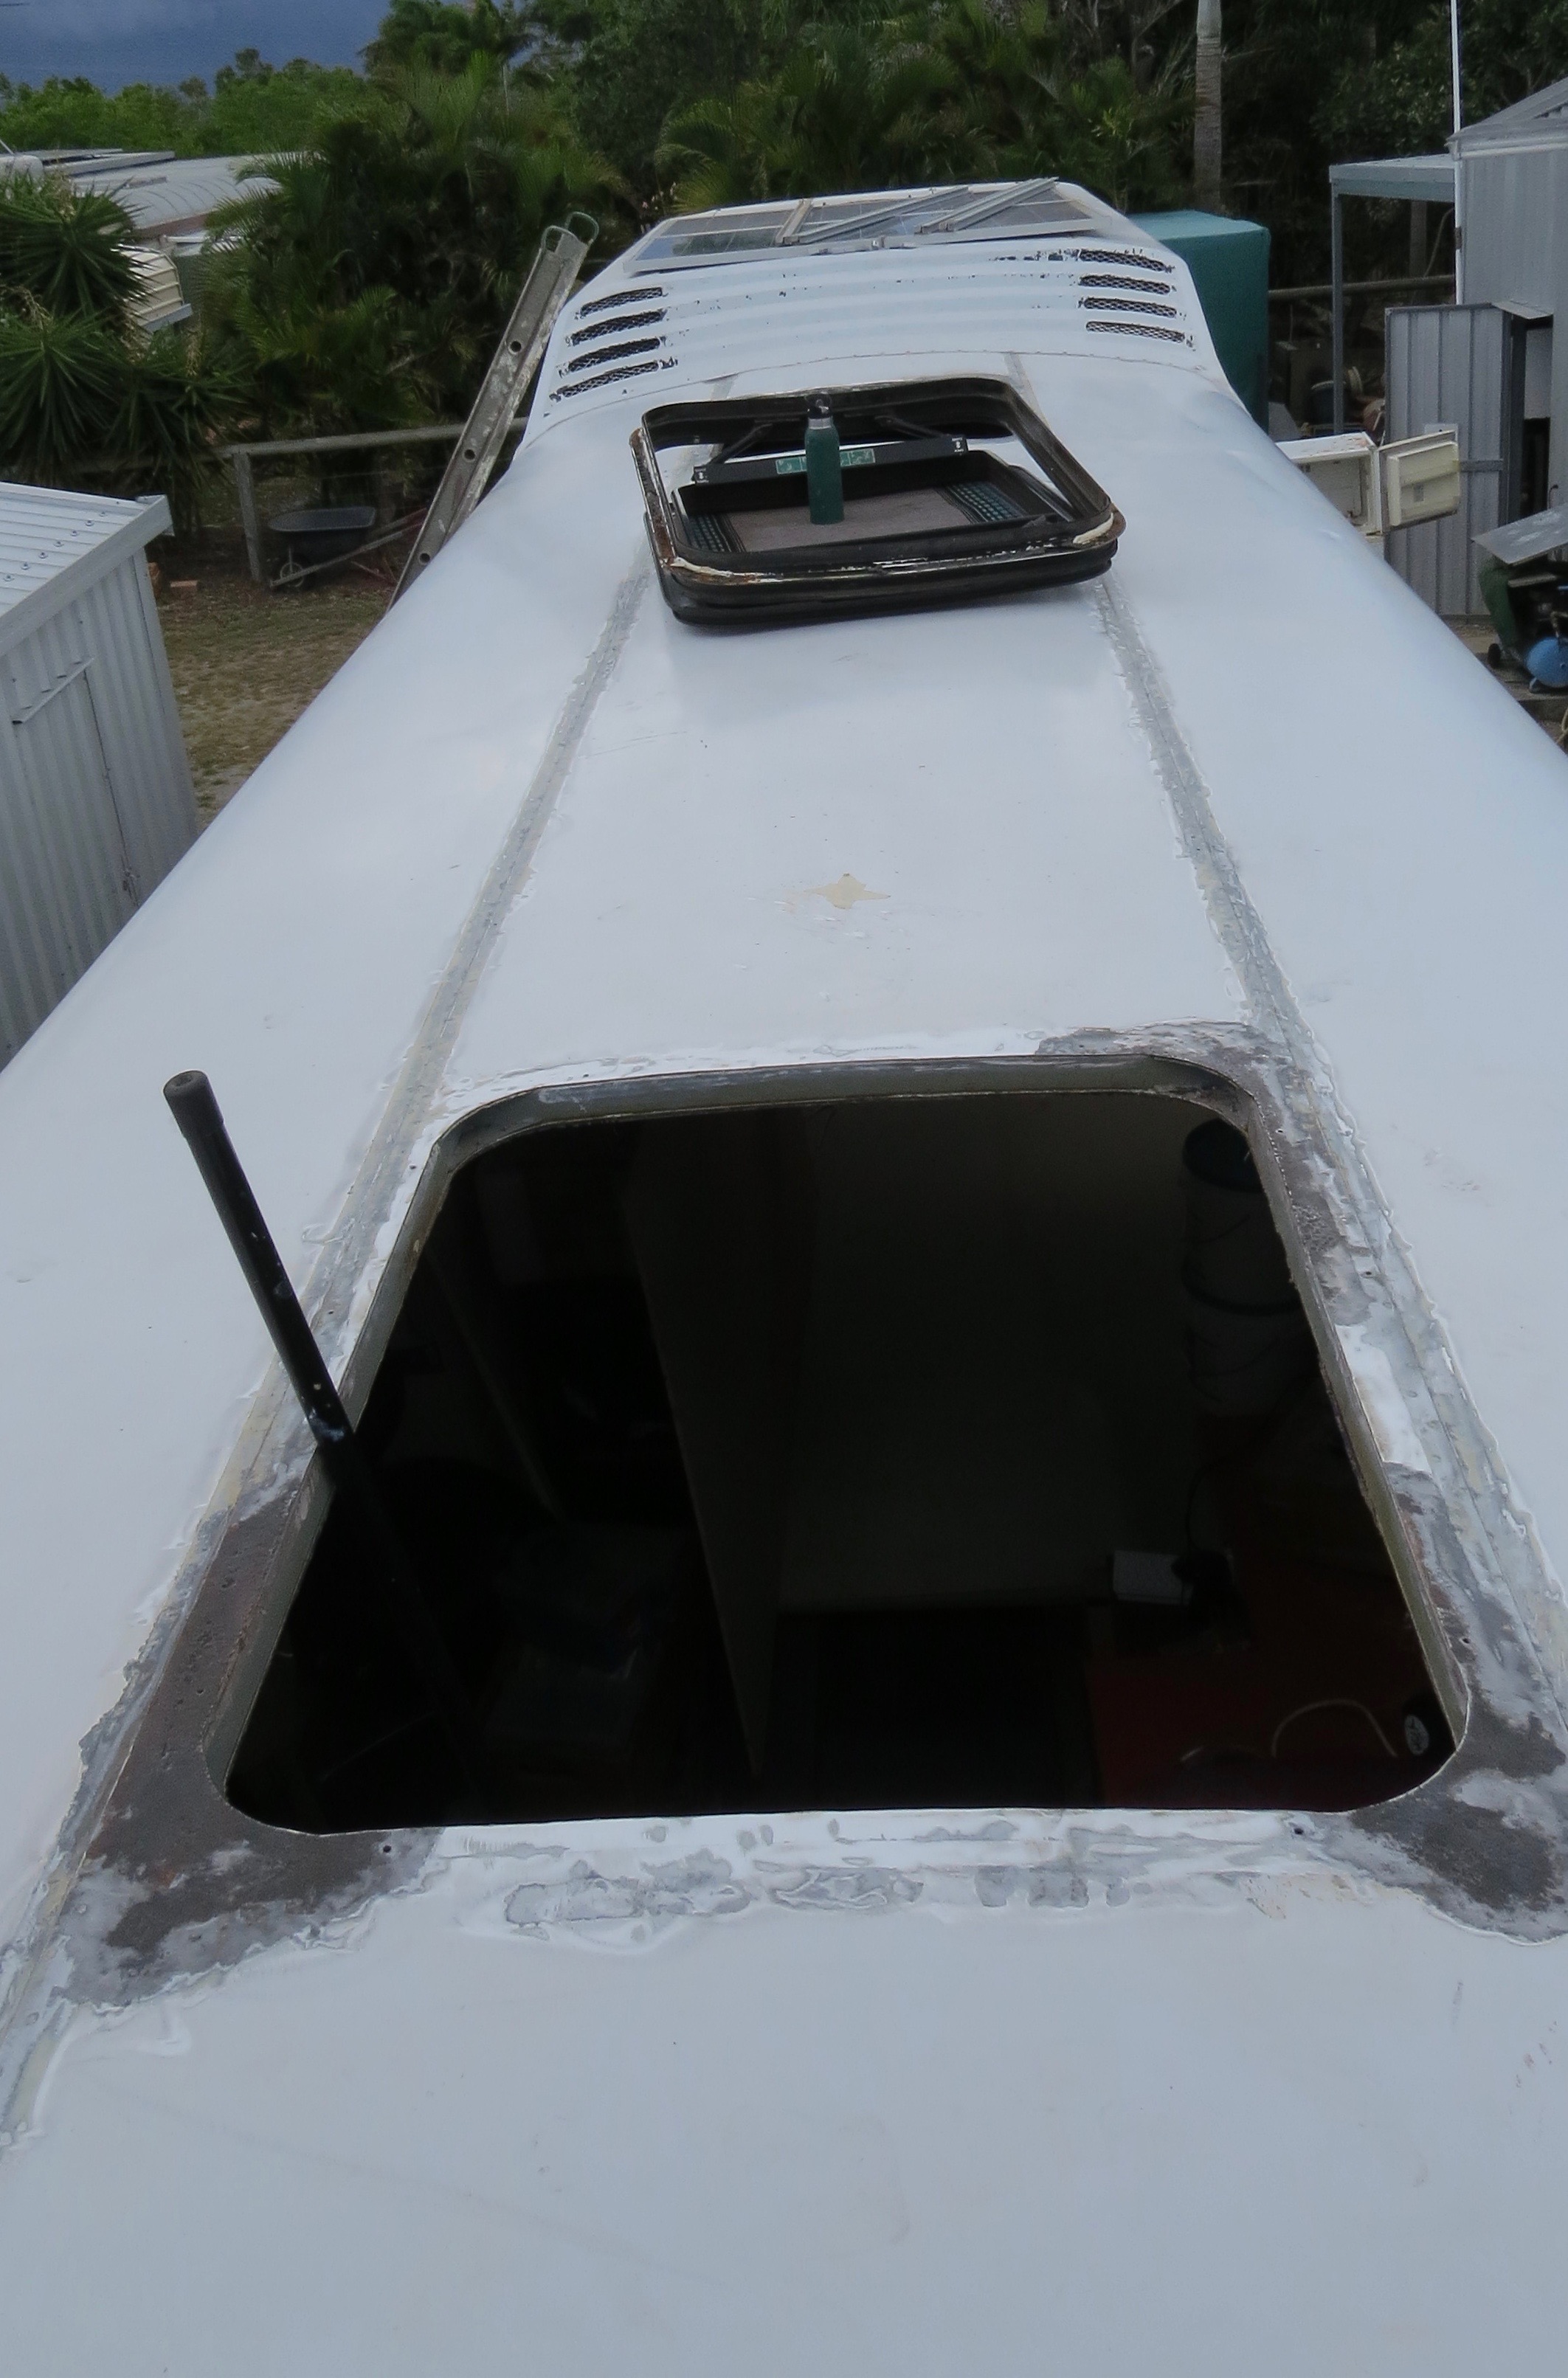
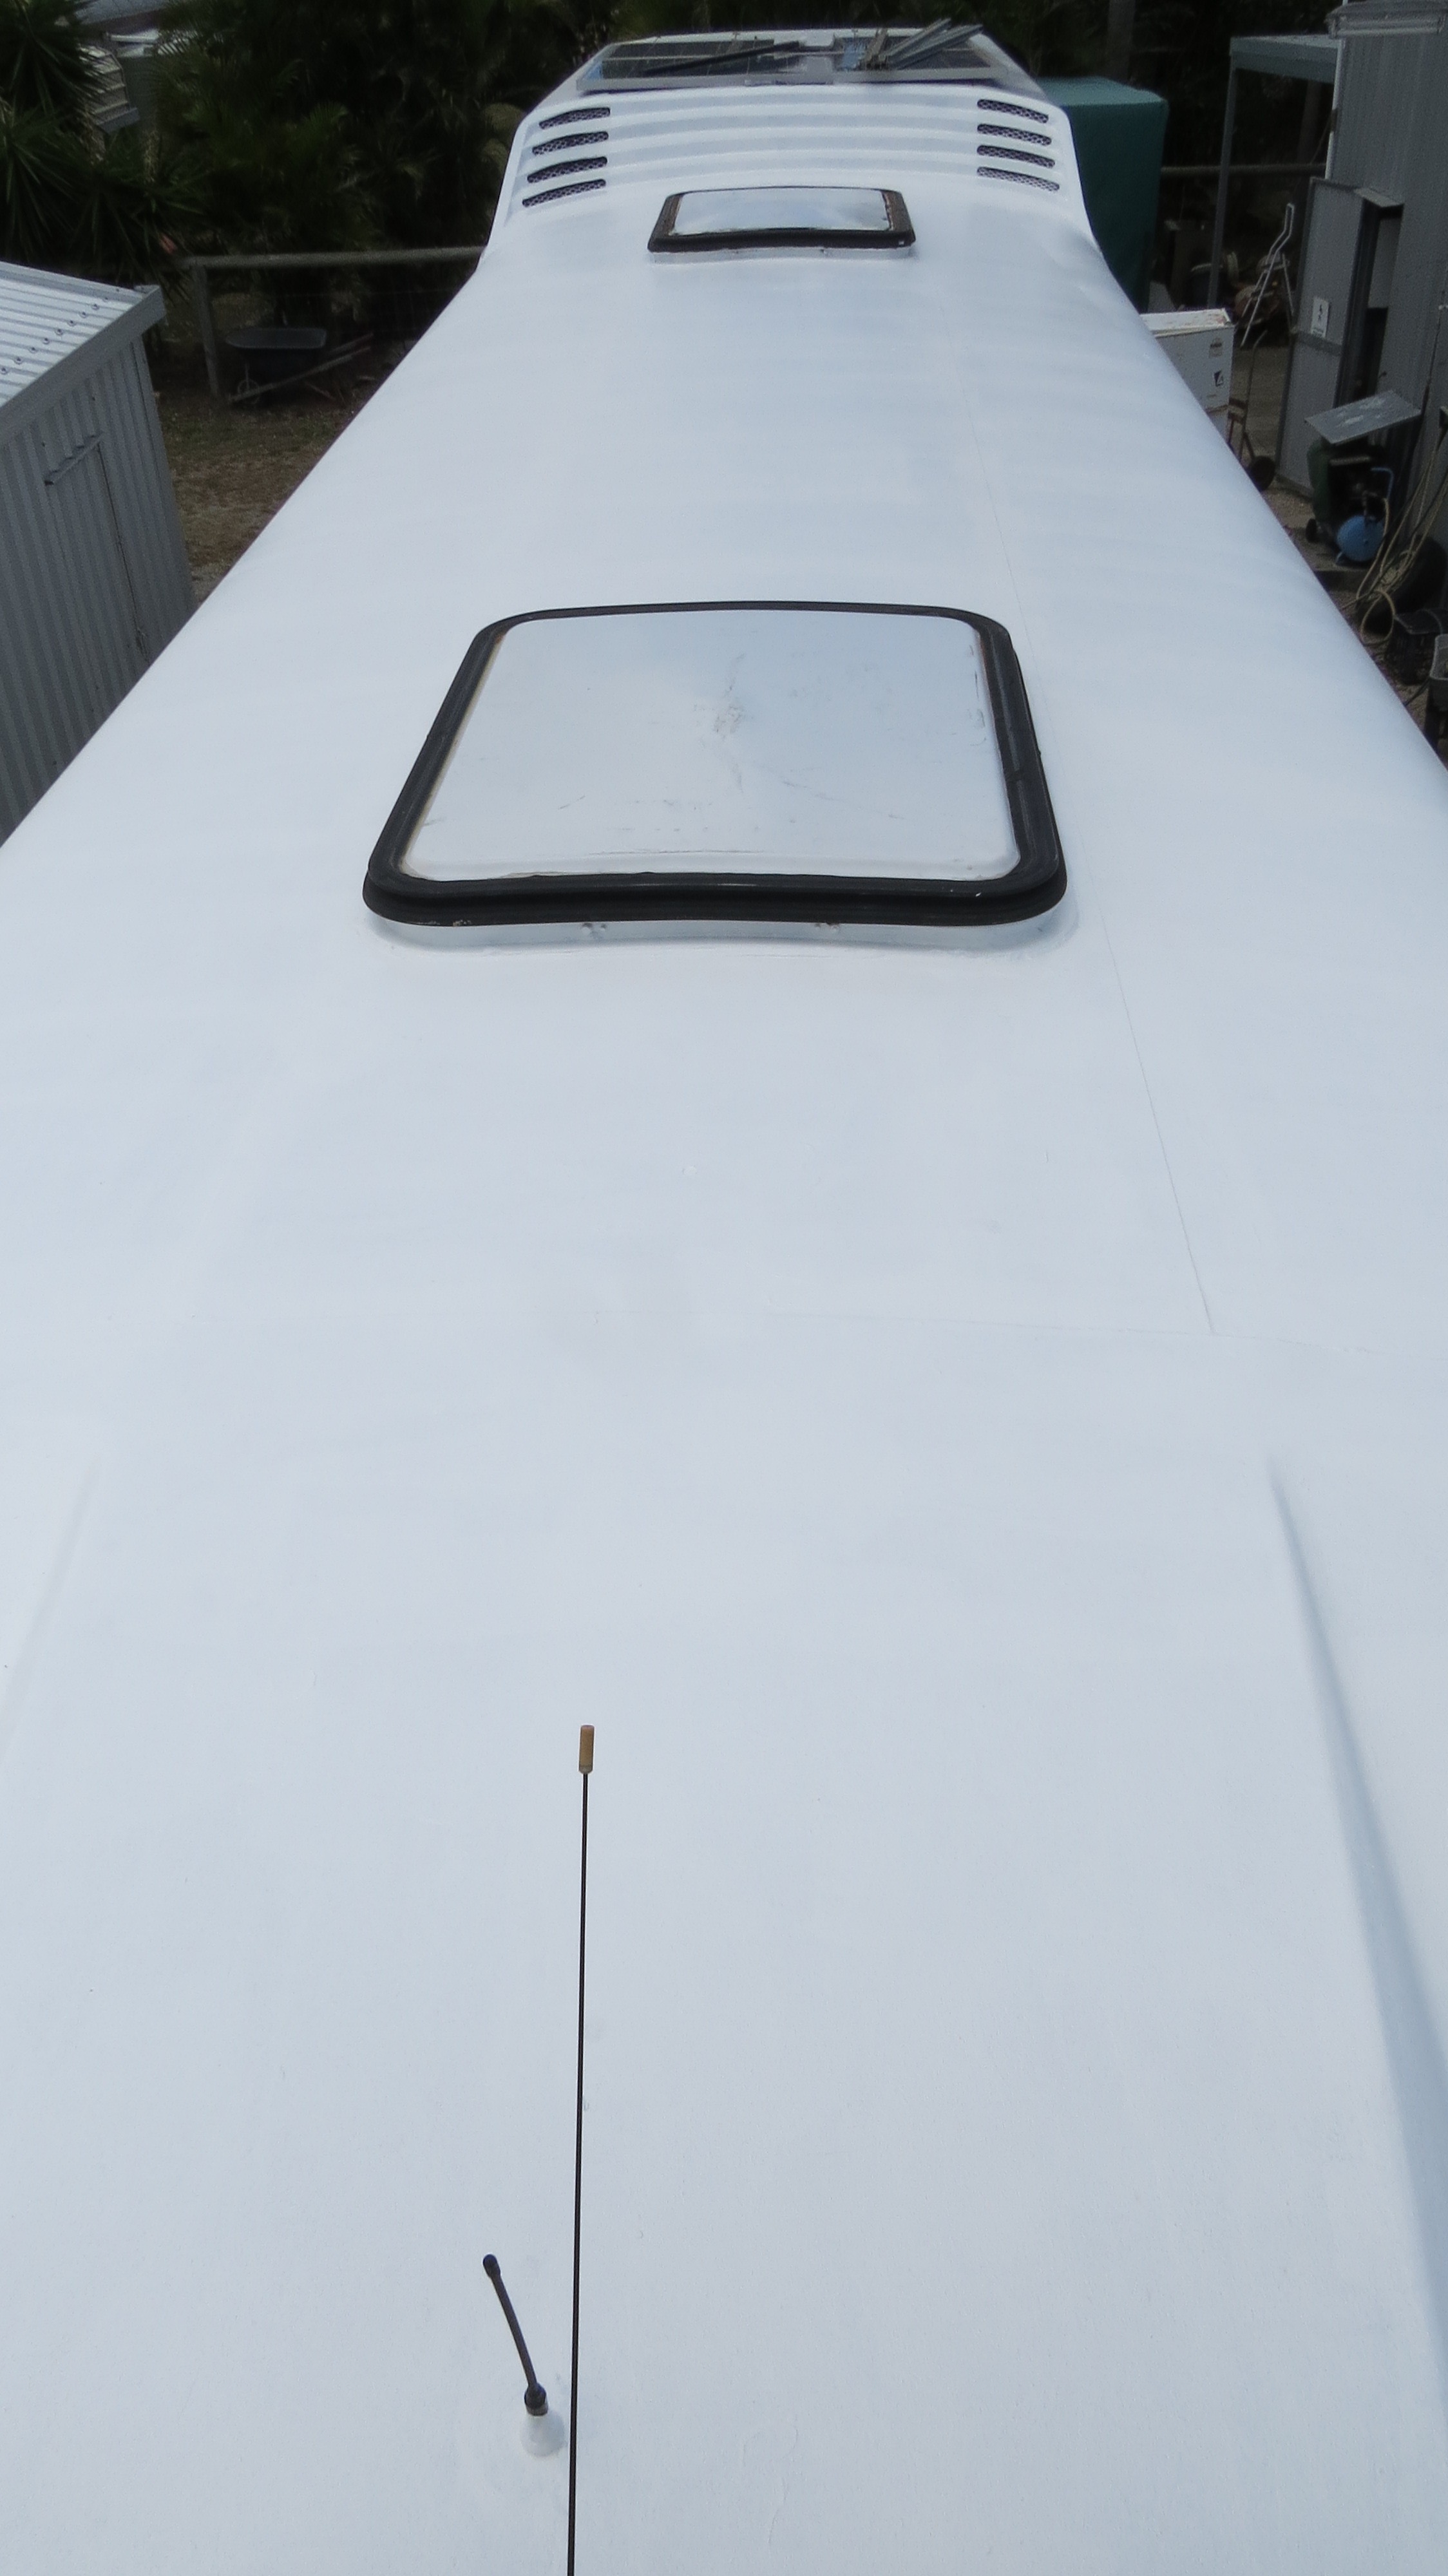
All the fans are out now,
Time to start cutting out all panels.
Almost there.
Let’s hope it doesn’t start raining.

Did I see rain?

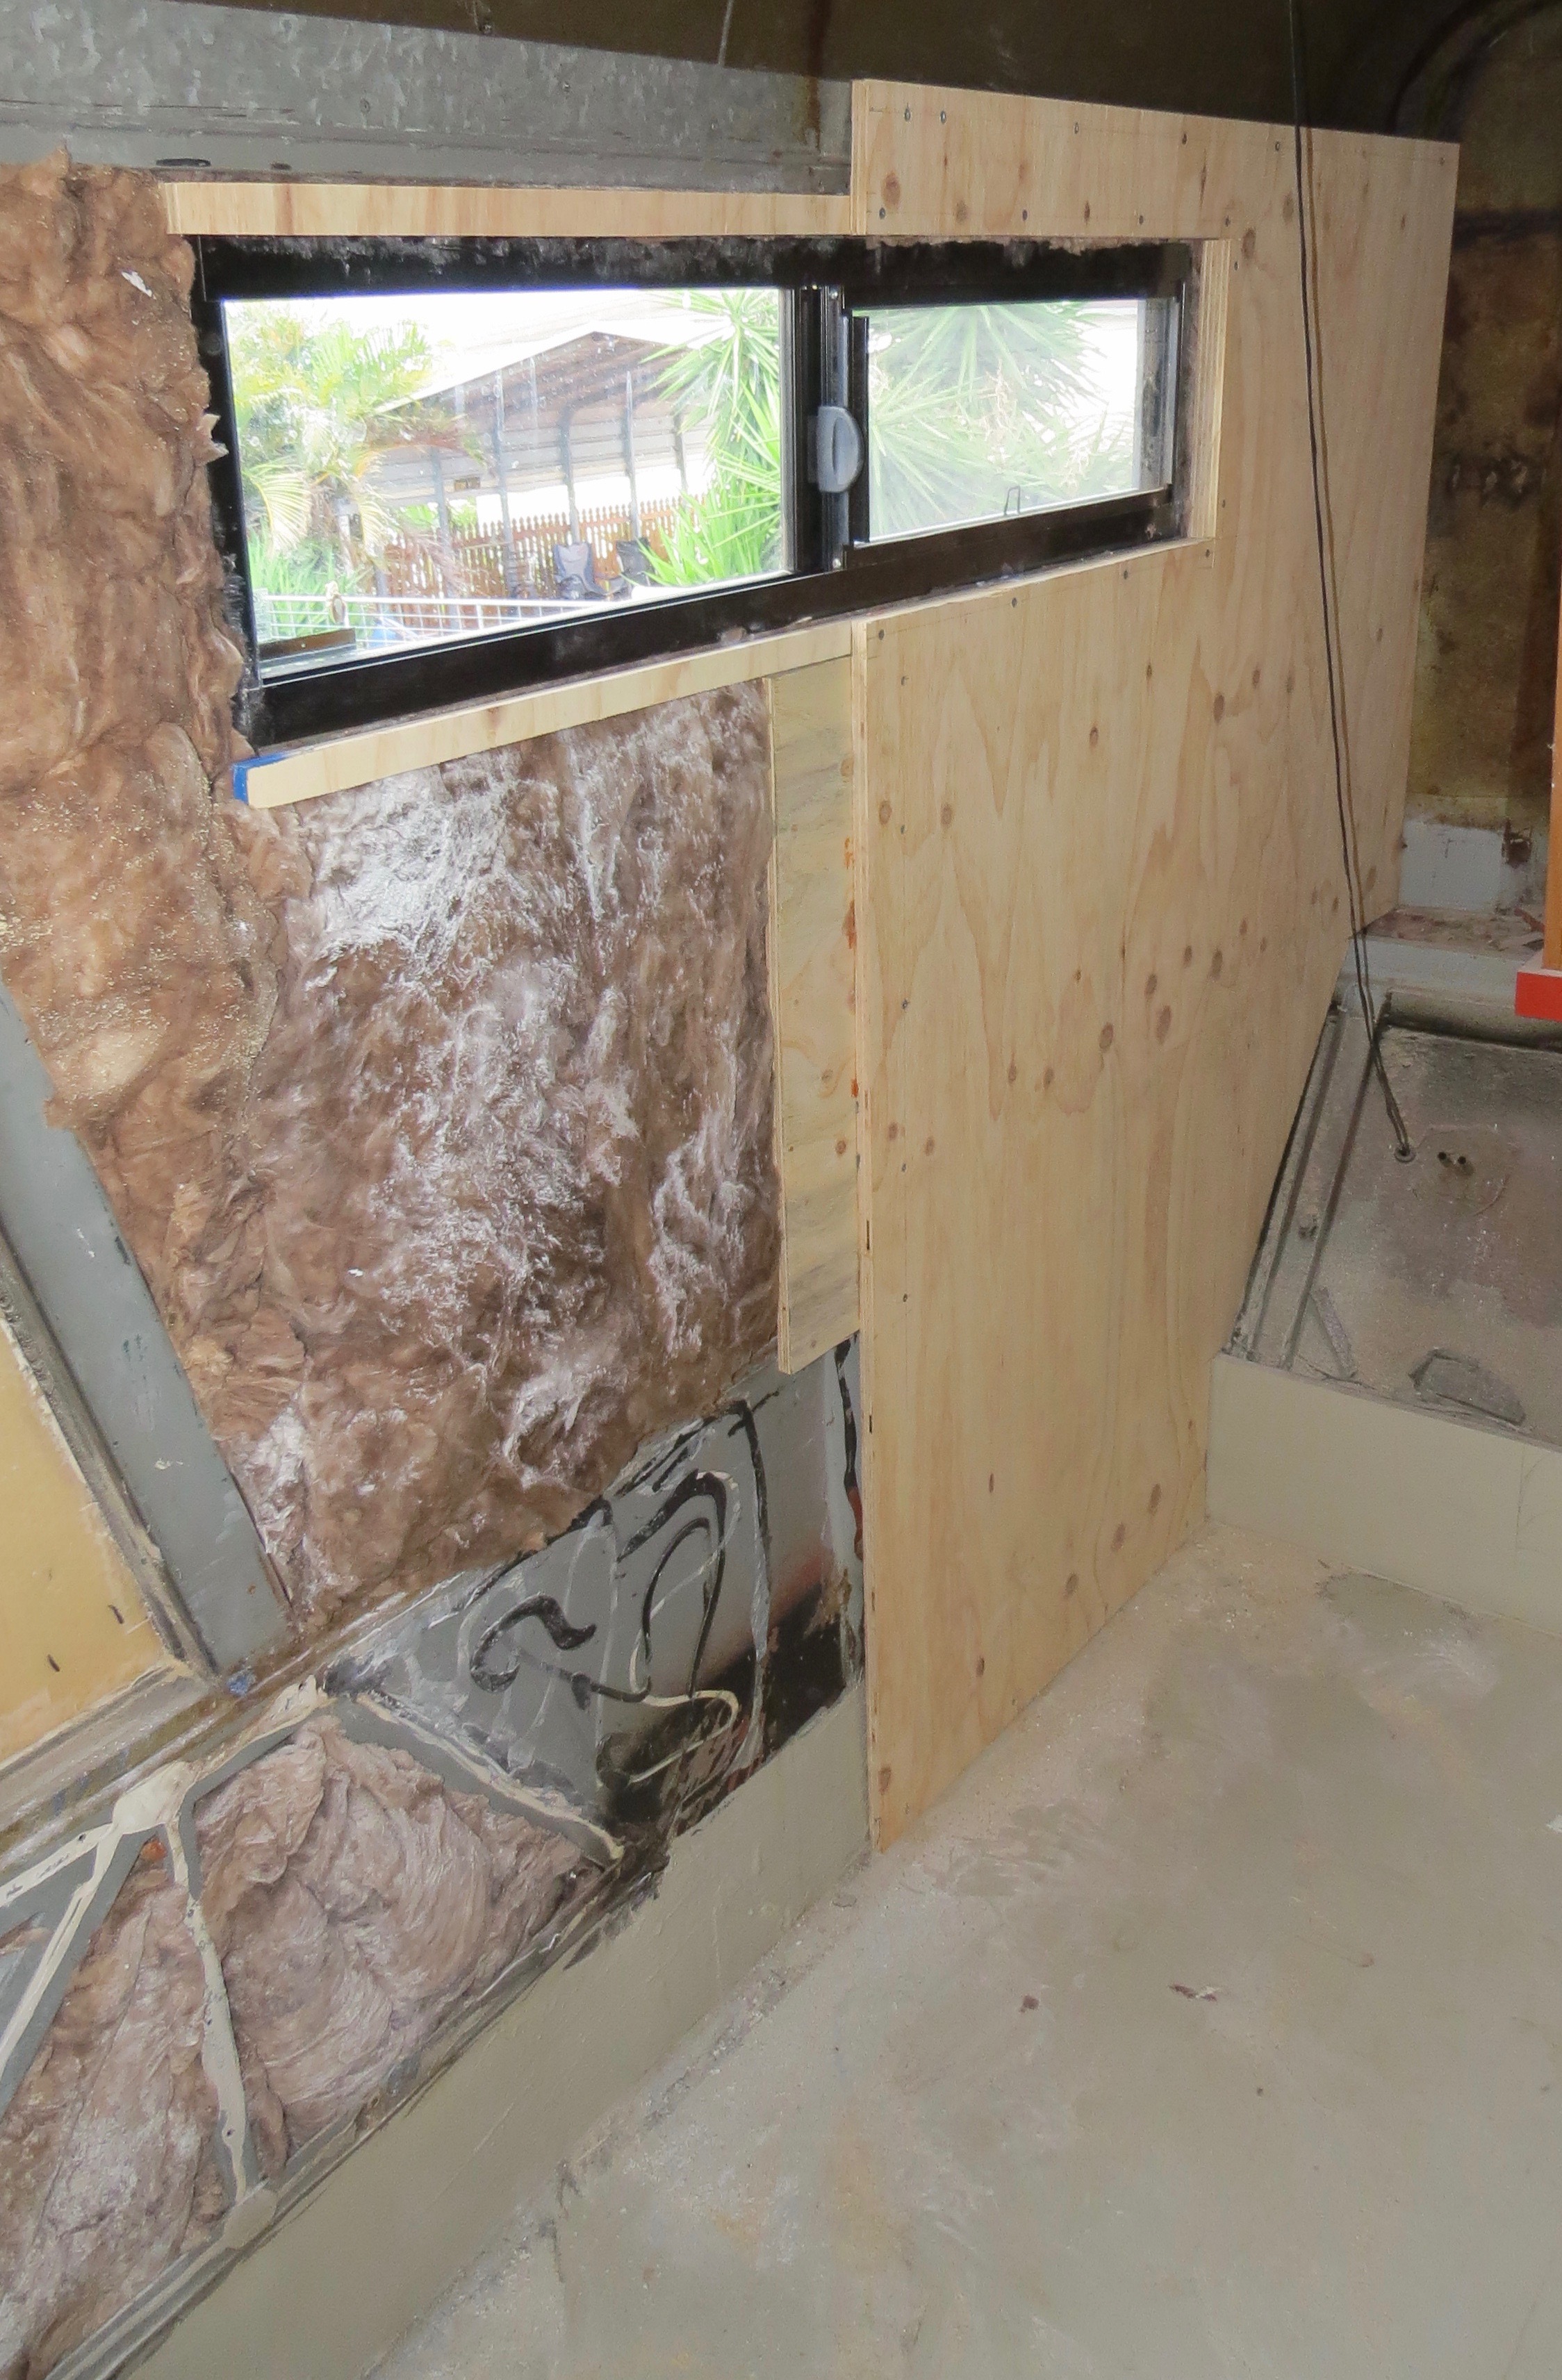
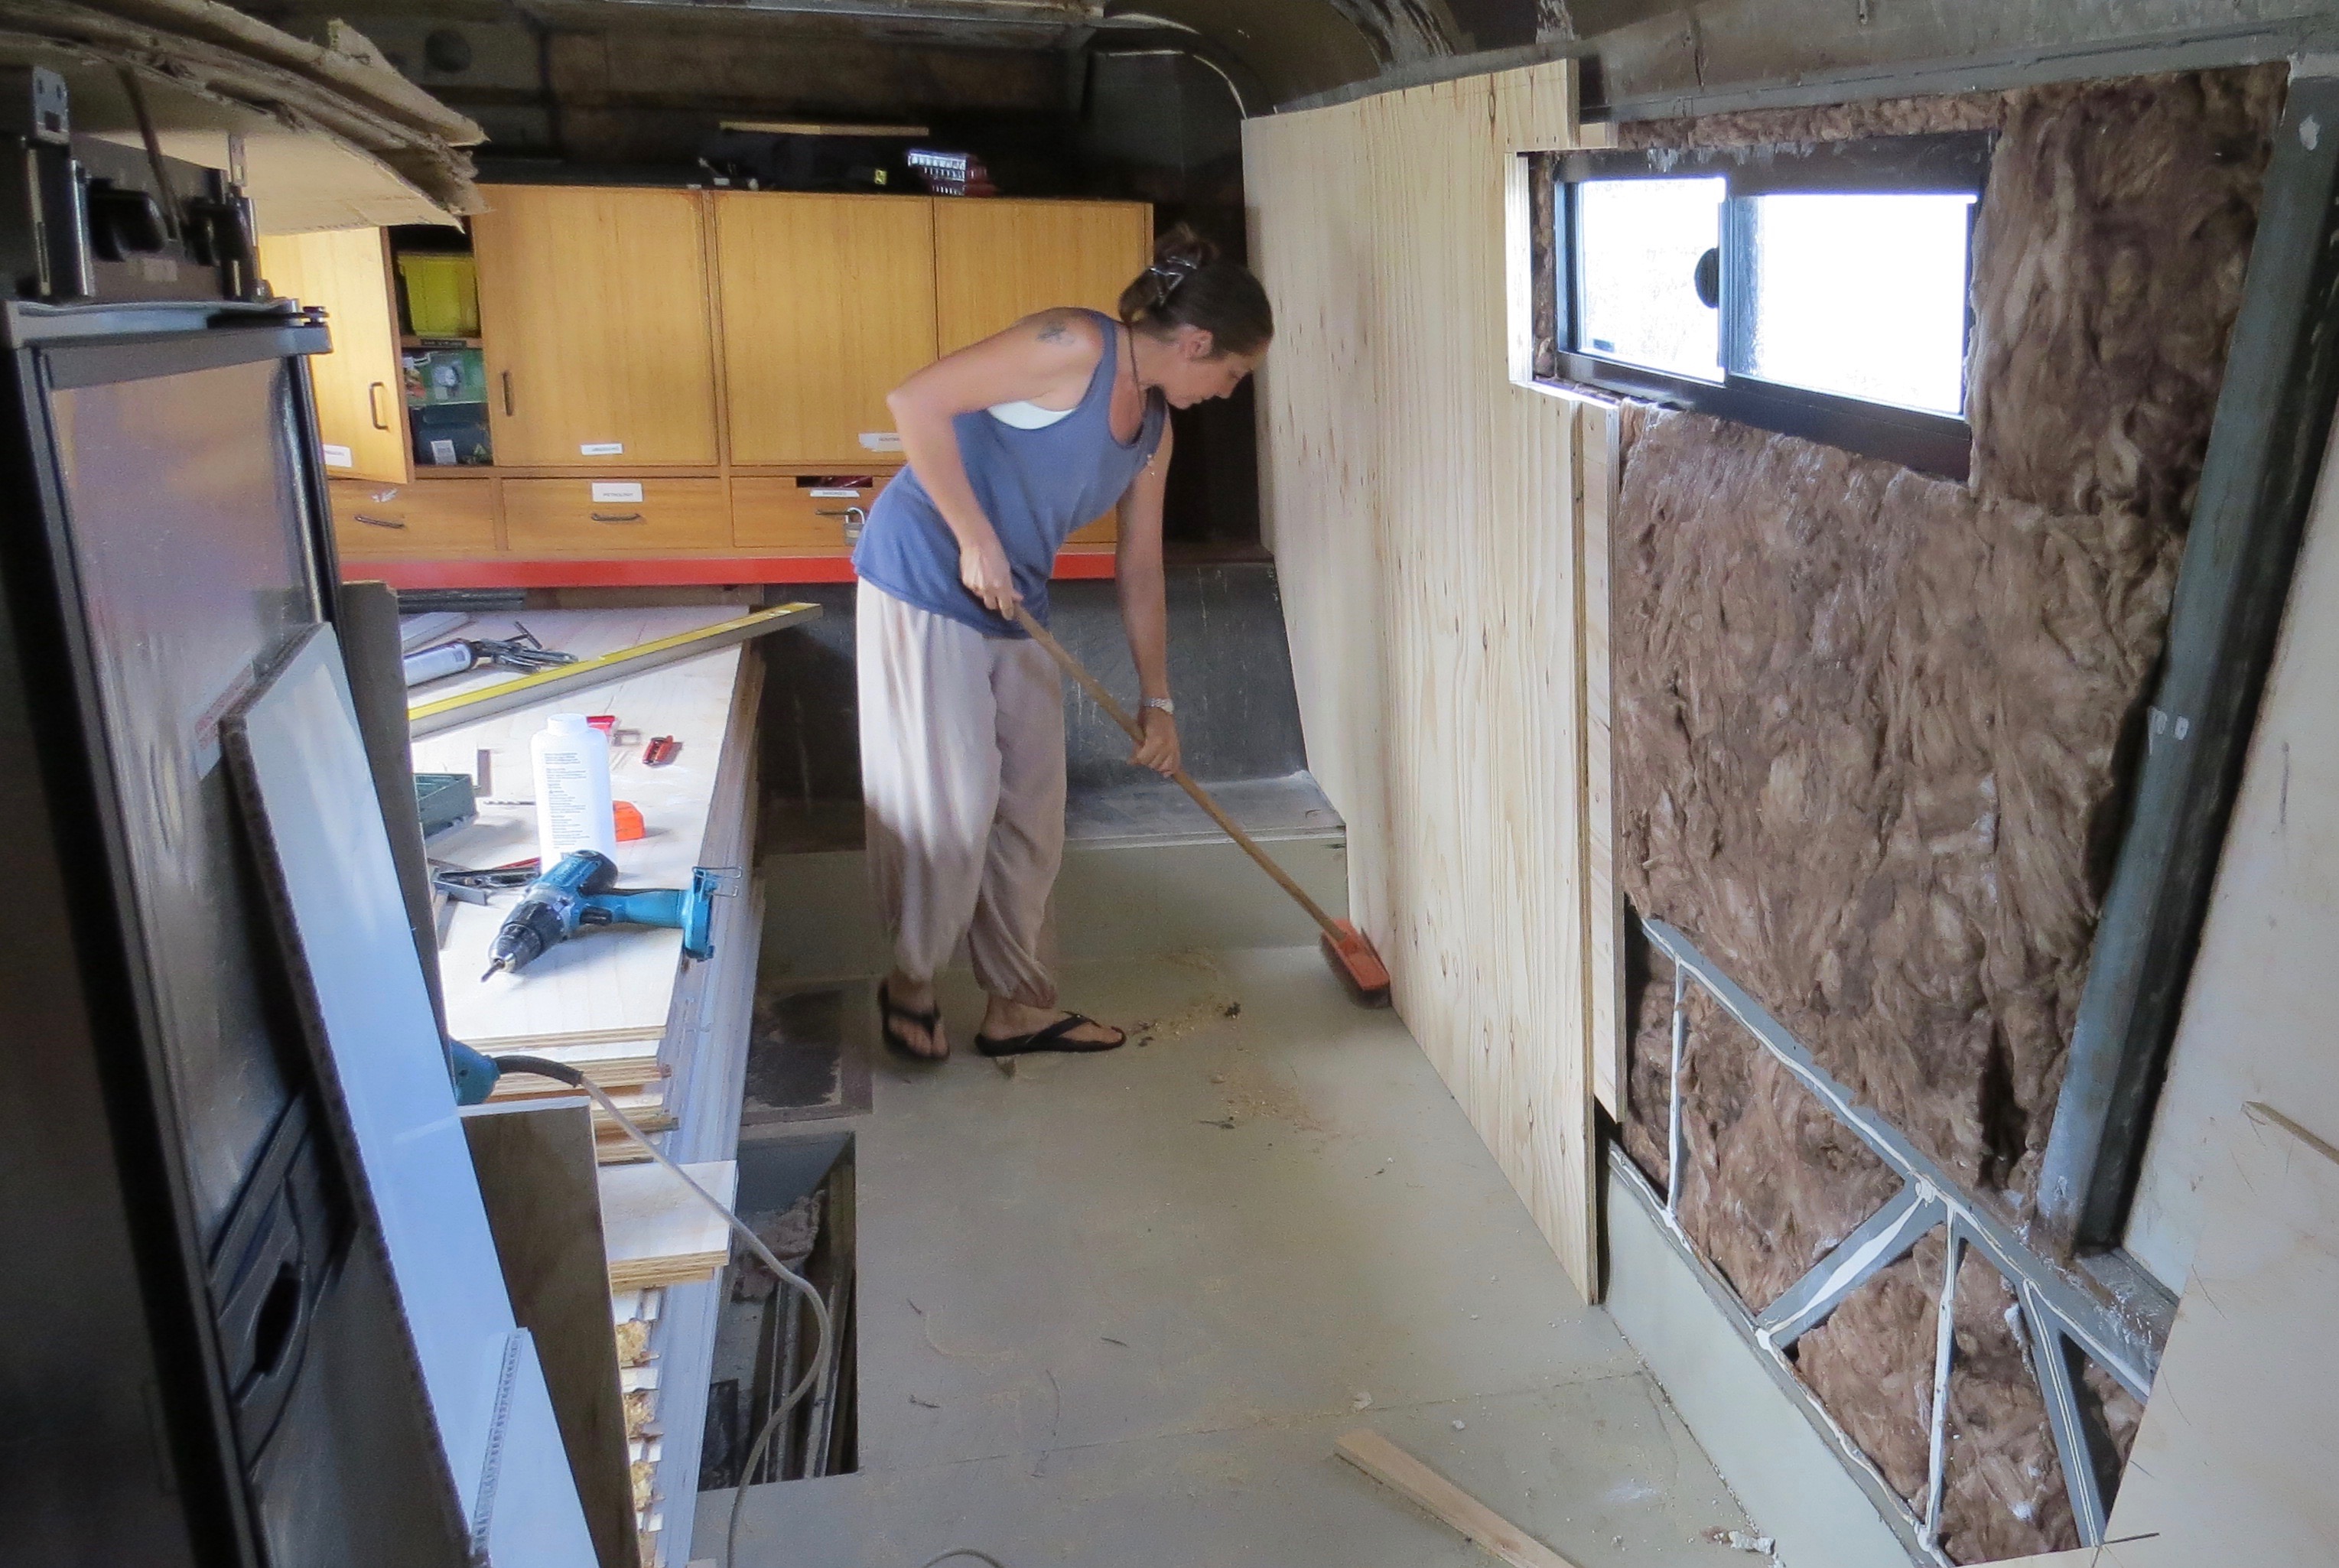
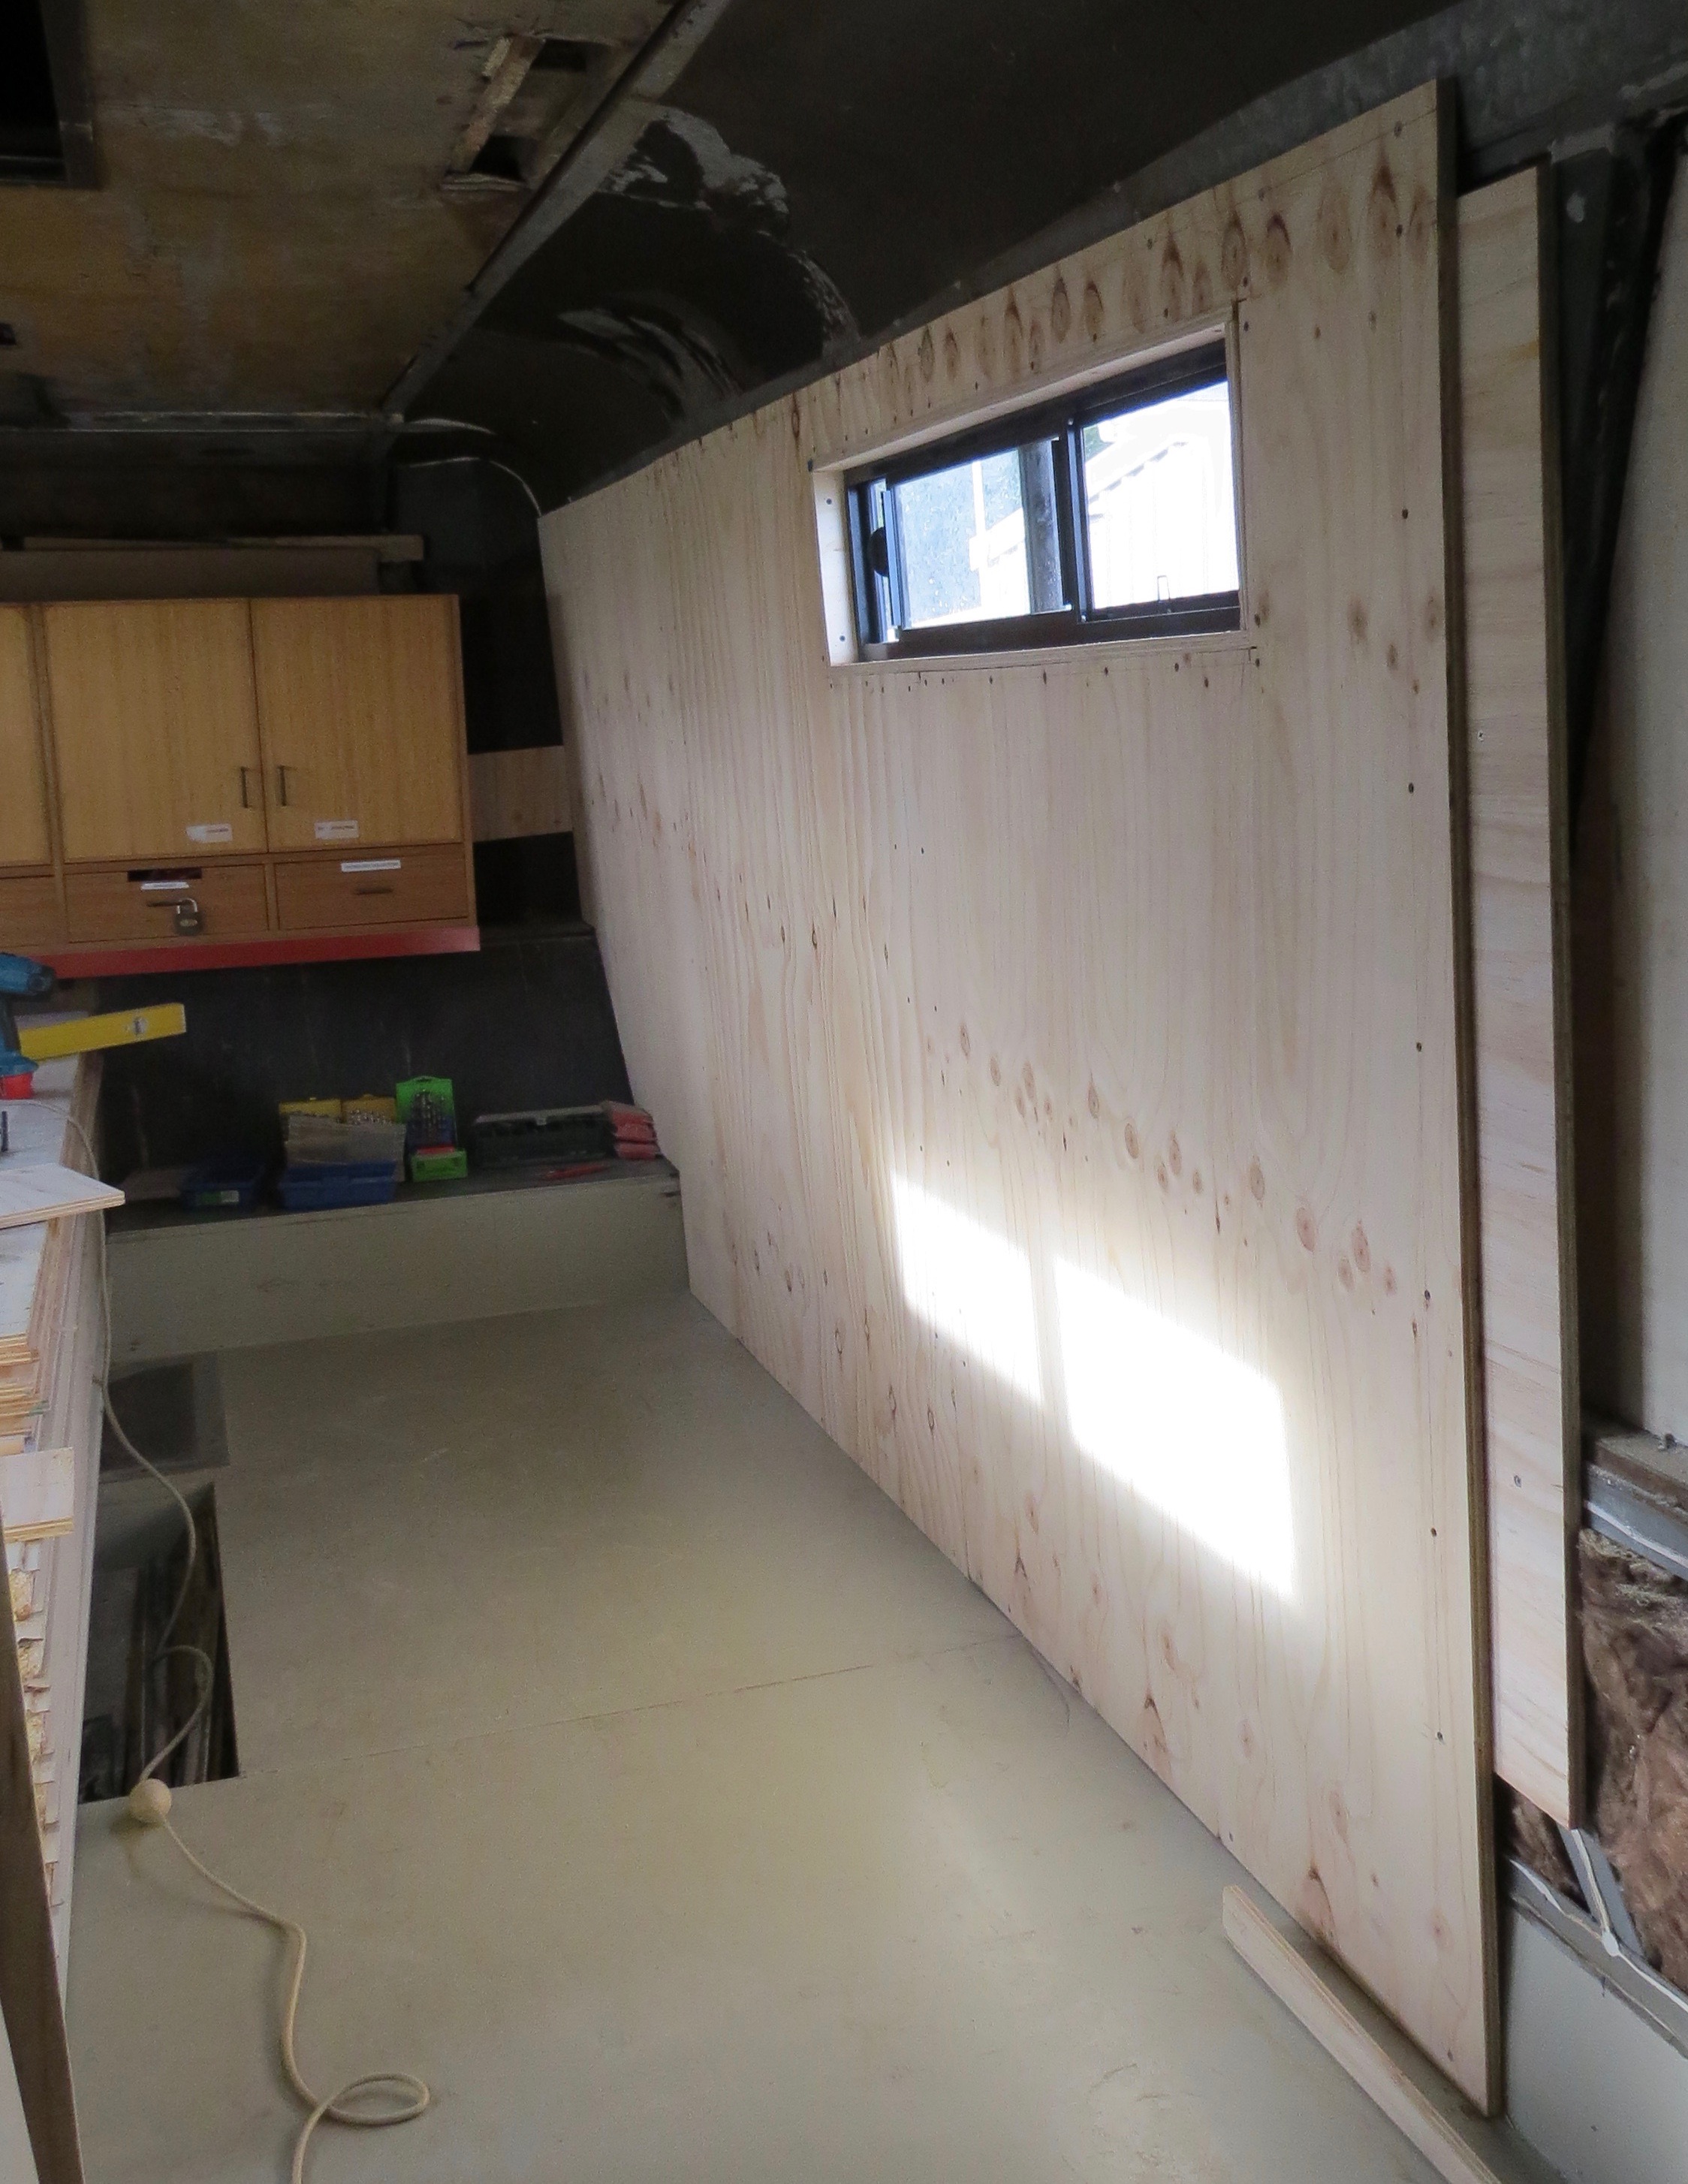
Well it did start raining on and off for a week, lucky we could put the covers over the holes and with some buckets inside it didn’t get too wet inside. This means I went back inside to do some more work on the bedroom/bathroom ceiling, while it rained but thats an other blog.

1st blog on  THE OLD COACH AIR CONDITIONING


Removing The Old Coach Air Conditioning

It doesn’t work so it has to go

From the start the old coach air conditioning never worked at all, the gas was gone and Des had already fitted a reverse cycle air conditioner into the coach before it ever became our project. I started to remove the old air-con in Leigh Creek S.A. in my free time.

The old compressor pump was the first thing to go.
One less thing we have to drag around. No more compressor pump.

The coach is getting lighter.

After taking out the compressor pump, which almost made me blow a pooper valve. After the compressor out it was onto the roof to remove the condensers and fan system. Now the coach is about 120kg lighter, every bit counts the lighter the better.

Condensers and the fan unit are no more.
This is where the condensers and fan came from.

Now Time To Pack Up.

It was starting to get to hot to be working on the roof at that time of the year in Leigh Creek S.A.  So before I put the panels back on we used this area store the spare set of wheel for the Toyota land cruiser. The next stop was to Yulara N.T. to do some camel farm work  which was great fun especially getting to race at the end of May in the camel races.  Curtin Springs Cattle Station was a six day a week job so not much could be done on the bus when we were there, until Zac came up for a trip to do the outside just before we left there in November 2016.

One of the main reasons we decided to head back to Brisbane was that we realised we could not both work and get the bus built properly. The other reason was that while in Yulara we bought a gas strut storage bed that costed us $500 and by the time we got it out to us at the farm it costed another $480. This was way too expensive, so on to Brisbane it was as we found out it was the cheapest way to get the parts we would need for the fit out on the bus.


Bedroom Ceiling…. Time To Prep

Over My Head….. Just.

The bedroom ceiling is the lowest overall in the back of the coach, so it just touches the top of my head. The old ceiling carpet had already been removed by Des, so all I had to do was grind the toilet ceiling panel off then scrap back the foam underlay that was glued to the ceiling.

Old Toilet ceiling, it had a 10mm step down made out of sheetmetal.
Toilet ceiling after removing the sheetmetal panel.

Time To Remove The Underlay

With scraper in hand it was time to start scraping back all the old underlay. This might sound like an easy job, but it had been glued up there very well. I thought it wouldn’t take to long, but I was wrong again as the bedroom ceiling end up taking around 8hrs just to get the foam off.

Stripping the foam off.
Last of the foam off the bedroom ceiling.

Now To Get Rid Of That Glue

With the contacted glue still all over the ceiling, the only way that I could think to do was to put a sanding disc on a grinder and go for it. Well… it worked, I had been covered in glue and dust. Thank goodness for a dust mask and safety glasses as once I was finished the job there was crap all over the place.

Now time to get covered in crap.
Almost there.
All the old glue has gone with most of it on me…

I’ll Just Keep On Going

Now that I’ve started on the ceiling, I’ll keep on going and finish it all off inside the coach. The next project will be the bathroom then onto the kitchen ceiling area, so once I have cleaned all that up it will be ready to glue and pop rivet some white Colorbond sheet metal that came with the coach from Des. The ceiling is a good job to do when the weather is wet and raining so while its nice and fine I will go finish removing the old air-con on the roof above the bedroom, they are the wholes in the ceiling you can see on the photo.


Locks For The Storage Bins

Time to lock up the bins

With so much stuff we need to fit out the coach, as well as tools, it was time to fix the bin doors on the coach as well as the diesel tank. I don’t need to lose 1000 Lt of diesel, so I got to work. When we were at the Sarina Ranges house sit home of Larry and Elaine.

Are they in the right place?

After marking out where I thought the locks should go, then realised  it won’t so it was time to mark them out again. I’m glad I didn’t drill the hole before double checking my work. Remember the rule measure twice cut once…., as it would not have been the first time I’ve stuff up.

Pilot whole to get started. (See punch mark in the wrong place below hole)
I used a whole saw to get the right size.
An a big hammer made the latch bar the right shape.
Barrel key alike so that the 1 key fit’s all locks.
Lock fitted in place just need to clean up.

One less job to do

So many small jobs to do when building a motorhome, you finish one and there are so many more to work on. At least all the bins are now locked up (six of them) and two diesel fill points on either side of the coach. If you ever start working on a project nothing ever go’s to plan, modification has become my middle name.


Bedroom Walls & Windows

Time For Some Inside Work

Now with the roof fixed while in Bowen, it was time to start on the bedroom. The first thing was the windows…. I had to remove the old toilet window which Des had put in, because for us it was in the wrong place.

Time to remove the old window so we can fit the new one’s
Replacement toilet window.
Old window out, now to patch up.
Des had kept the old panel he cut out for the window he put in.
Old panel back in place.
No more whole.

Time For Some Walls

With the window in place it was back inside to fit the insulation and wall paneling 16mm ply the we got when living in Yulara N.T.  First thing was to remove the old aluminium sheetmetal so we could put in the new insulation.

Removing old sheet metal to put the new insulation in.
Aluminium sheetmetal off

With the inside panels going on its starting to look more like a bedroom, later we will be putting some kind of lament over the ply to finish it off.

Right side insulation and paneling going on.
Charmaine doing some OH & S, Insulation in and starting on the timber paneling after fitting the bedroom window on the left side.
One side done one side to go.
Bedroom ready for the trip down the Queensland coast from Bowen.

So with the bedroom side walls in place it was time to set up the new sleeping area for the next part of our trip down the Queensland coast. We also had to re pack all the stuff we moved into the shed while house sitting in Bowen.

One step closer to having a motorhome, so the dream’s getting their slowly but we are on our way.

Big Bus Big Adventure Air Conditioner ???

Is The Air Conditioner Working

The condenser unit was fitted in the front bin on the drivers side and only had an out vent so if the bin door was closed, things didn’t work that well. This should have been one of the first things  that I should have fixed, but as we were not on the road much I didn’t think about it at all. Now after driving from S.A. to N.T. and now into QLD, it was defiantly time to fix it.

Only one vent that didn’t work to well.
Air-con that was fitted.

Time For Some Modifications

To start with we had to seal the air-con unit to the outside bin door, so off to the hardware store for some sheetmetal. Ended up getting some flashing which would mean I would not have to bend any 90 angles. So out with the tin snips and pop rivet gun to make some ducting.

Made up some ducting to get the air out.
Rubber seals in place so the hot air only go’s outside.

Time For Some Intake Vents

Now all we had to do was the intake vents,  I thought three would do for a start and thats all they had at the hardware. So back to the coach I went to start fitting the intake vents. First off was to mark out the holes for the vents then cut them out.

Marked and cut out ready for the new vents
New vents in place so no more over heating while driving down the road.

One Cool Motorhome.

Now that job is done It’s so much cooler inside when driving down the road. Also when we stay somewhere I don’t have to open up the air-con’s bin door again, now that all the hot air is blown outside.


Time To Fix The Motorhome Roof

Why Is It Wet In Here?

The only time it’s good to have a leaky roof is when their is nothing to get damaged inside. After a year thinking the roof was ok in Leigh Creek, we started having problems with the roof again. Mainly because where we moved to rained a bit more. To start off we thought it was only the fiberglass panels that were replaced from the old original bus windows that Des had fitted.

Thanks to Zac for his great help in getting the huge job started by cutting out the old Sikaflex. I was working six days a week @ Curtin Springs Station N.T., all I could manage was regluing after work. It did stop the water coming in around the fiberglass panels.

Fiberglass panels before we reglued then back in place.
Panels from inside

Its Still Wet In Here.

Our first house sitting job was in Bowen for Michael and Michelle. We had no rain forecast for the next few days so Charmaine and myself started on the roof to fix the rest of the leaks. The first job was to remove the solar panels and hatches from the roof.

Time to take the sola panels off
Removed the Solar panels now the hatches.
Time to start sanding back the roof.

The Fun Starts Now …….Not !!!

The fun of sanding back the old paint job as well as getting rid of the surface rust around the hatches. It was one of those jobs you love to hate, but had to be done, so with buckets of water and sanding paper in hand it was head down & ass up and off to work we go.

Rust all gone
Roof all sanded back and cleaned.

I Do Like Painting

Time to undercoat….. we had been so lucky as it had been raining all the way around us and only that a couple of rain drops on the coach. So after I Sikaflexed all the joints it was time to undercoat using  some Infrared Heat Reflective Primer.

1st undercoat.
Second undercoat, ended up with three coats
Infrared Heat Reflective Primer

Now for the topcoat, the best part of the job as it’s almost done. Des (the bloke we got the coach before us), had already paid for the paint, so now it was time for three topcoats.

Topcoat Solar Reflective Elastic Ceramic Membrane.
The roof finished with three topcoats
No more leaks on that area now.
A Job Well Done

So after four days we had finish painting the roof and the inside temp had gone down at least 4 degrees. The paint was a polyurethane membrane which meant no more water leaking when it rained and would be a lot cooler in summer. We just have to remove the old air conditioner unit which is now under the solar panels. This is way down the back of the coach once done the roof will be totally finished off, in time this back area will also have a deck for us one day.


The Bedroom Floor

Motorhome Madness

We started working on the coach when we were down in Leigh Creek which was around two  years ago now. I started by stripping out the old toilet down the back as this is where we would like the bedroom to go.

We started pulling things apart and should have know as a past chippy myself, that the job was bigger than we originally thought. As I started taking the loo apart I realised that it had been leaking for quite a while, (how long no one knows)….. not outside,  just under the floor so their were pools of slop and rust under the timber flooring. YUCK!

The old toilet and black water tank.
Just a bit wet and rusty under the old loo.

Clean up time

Some days you think to your self ……why did I start this motorhome project? …… but then, envisioning the big picture …..it’s going to be our permanent home.  The though of not having to pack up a house ever again makes these shitty jobs bearable.

So we started grinding the rust off and sanding the metal back which was a bit like a chemical shit storm in the coach, thank goodness for dust masks!  After the dust had settled and was cleaned up in was time for some painting.

No more rust and first coat of paint to stop the rust coming back

Water proofing the floor

It might be over kill but bugger it,  we though even if the roof leaks we know the floor is not going to rust again. So I used some polyurethane floor paint inside the back floor, with two coats before the flooring went down.

The floor is now water proof so no more rust

Flooring getting laid

Now the fun bit cutting up the timber to size, we are putting in a flat floor so the old aisle will no longer be there.  We will however  be able to use it as storage in some places and ducting in some other areas. Screwing as well as gluing the floor went down just fine.   We will be having an access point to get into the gearbox under the gas strutted bed.

Access to get to the gearbox just in case.
The bedroom floor in place and painted with concrete paint.