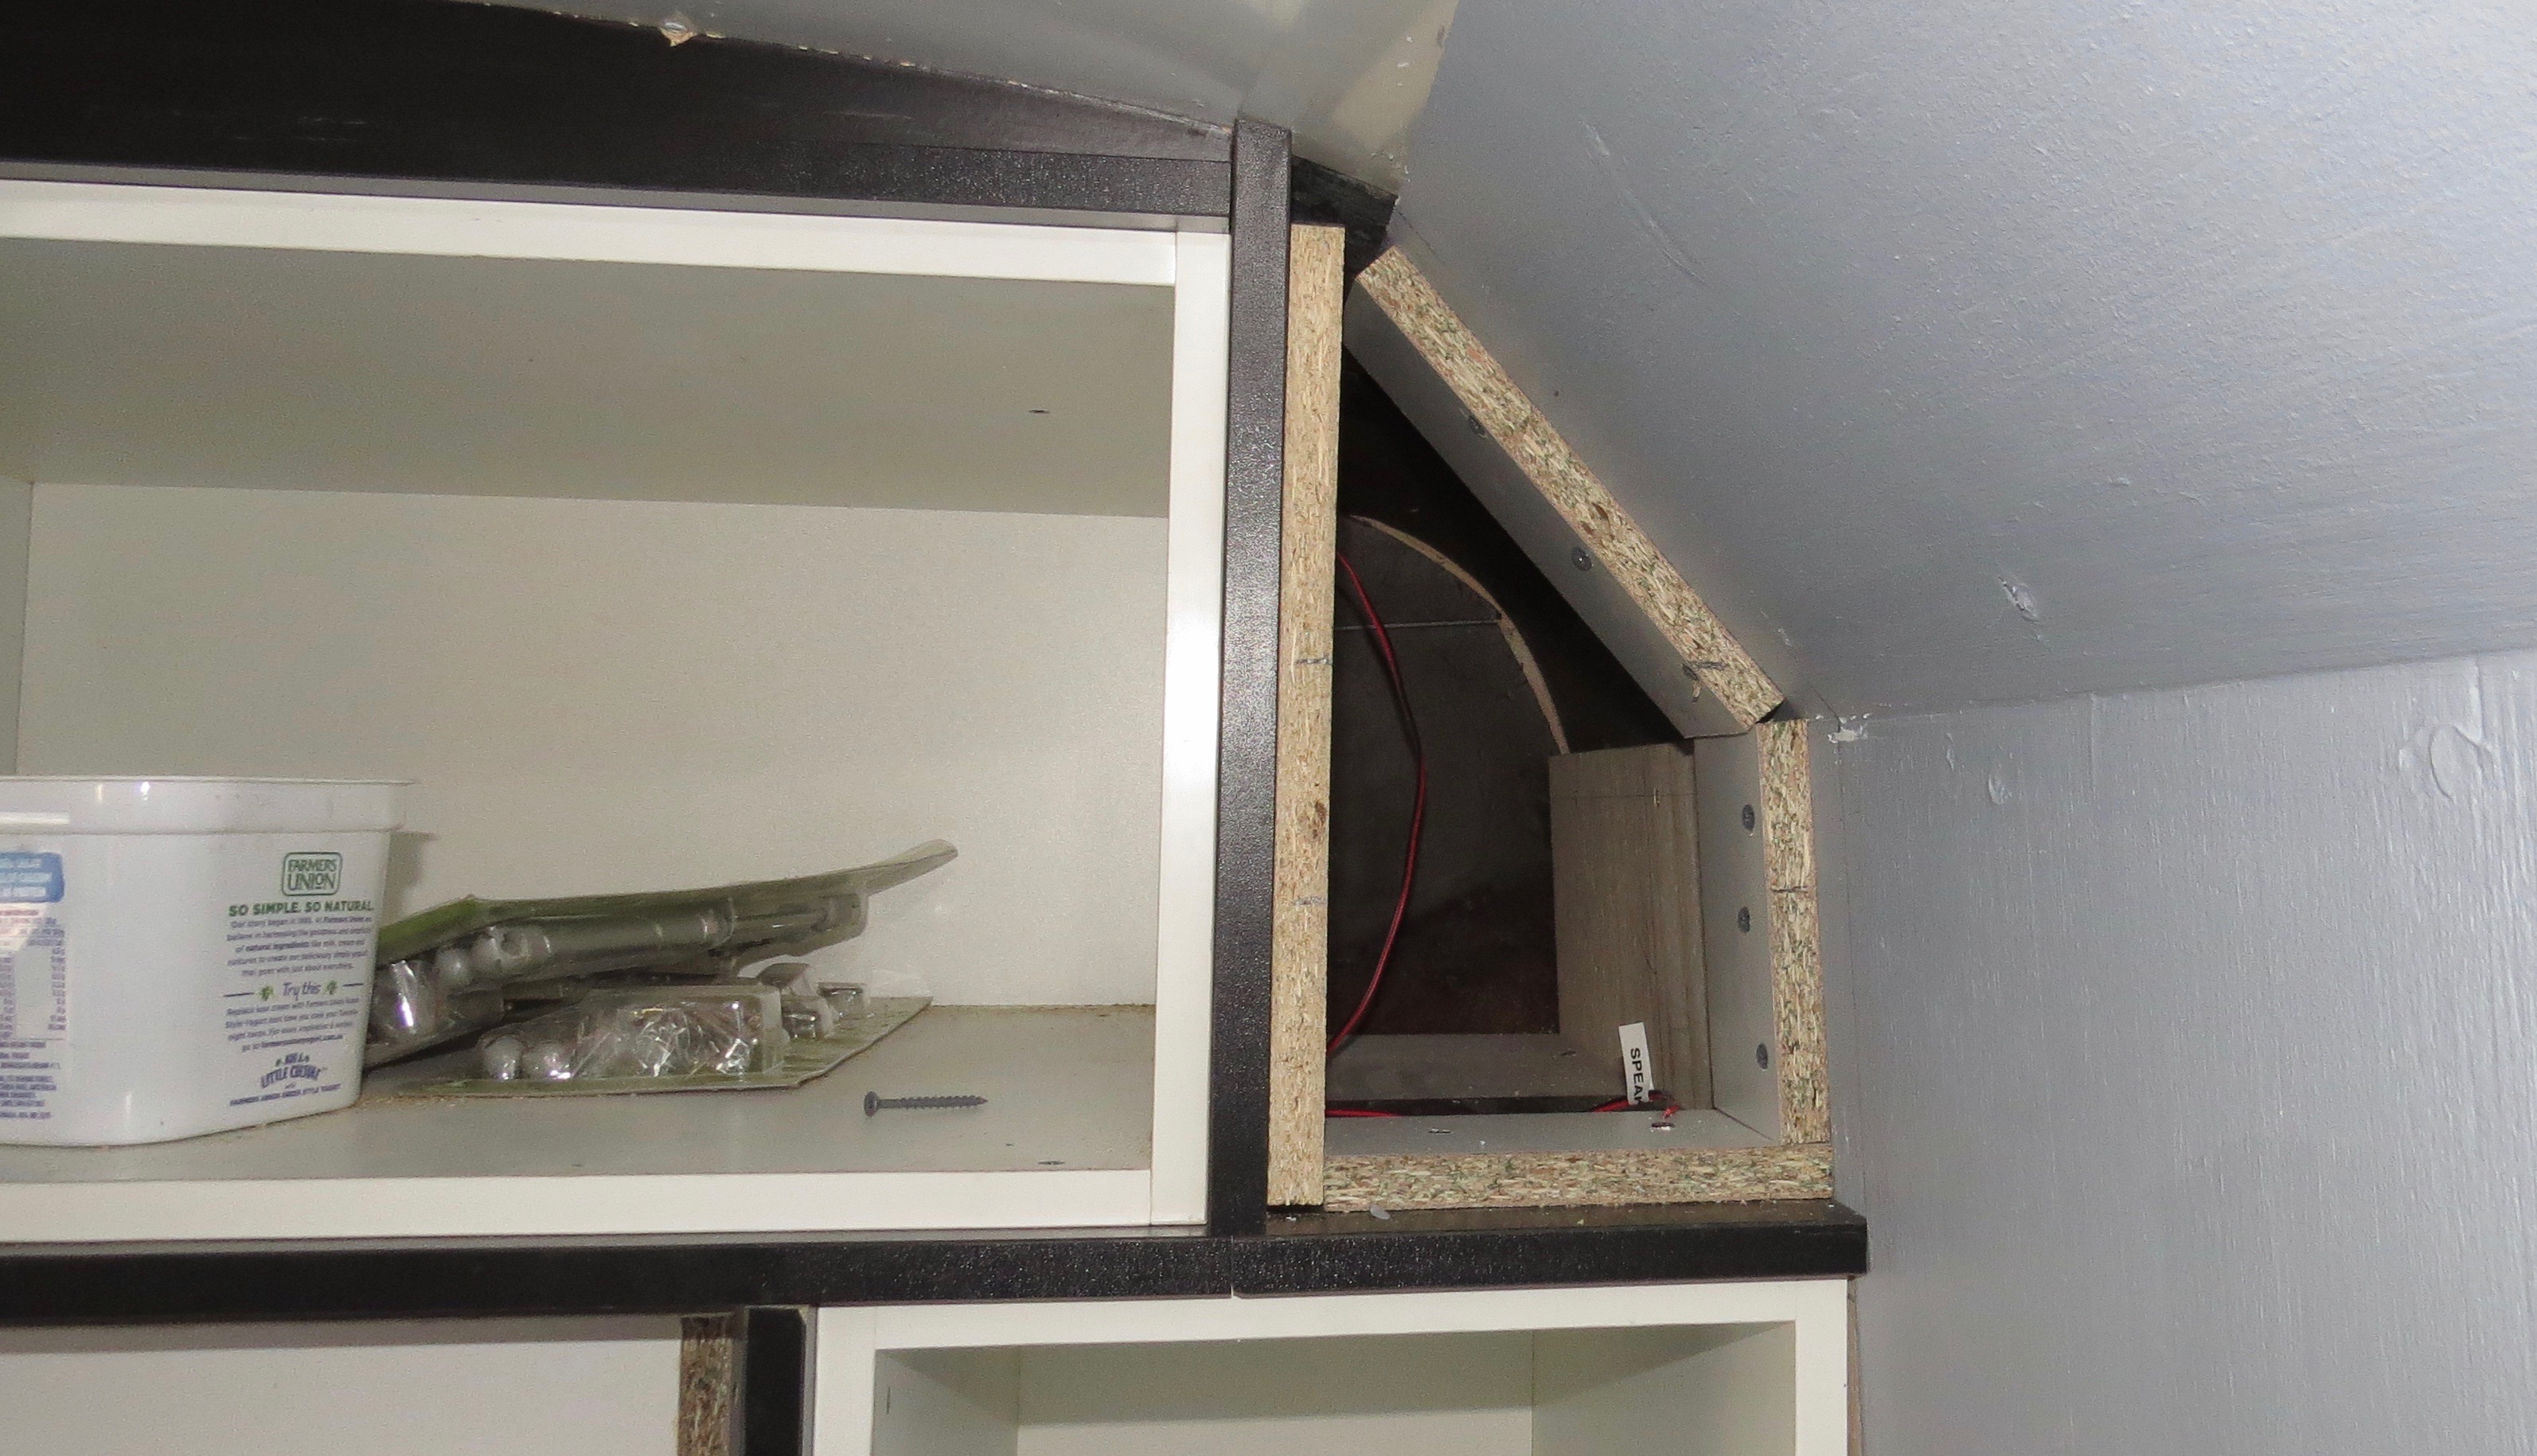
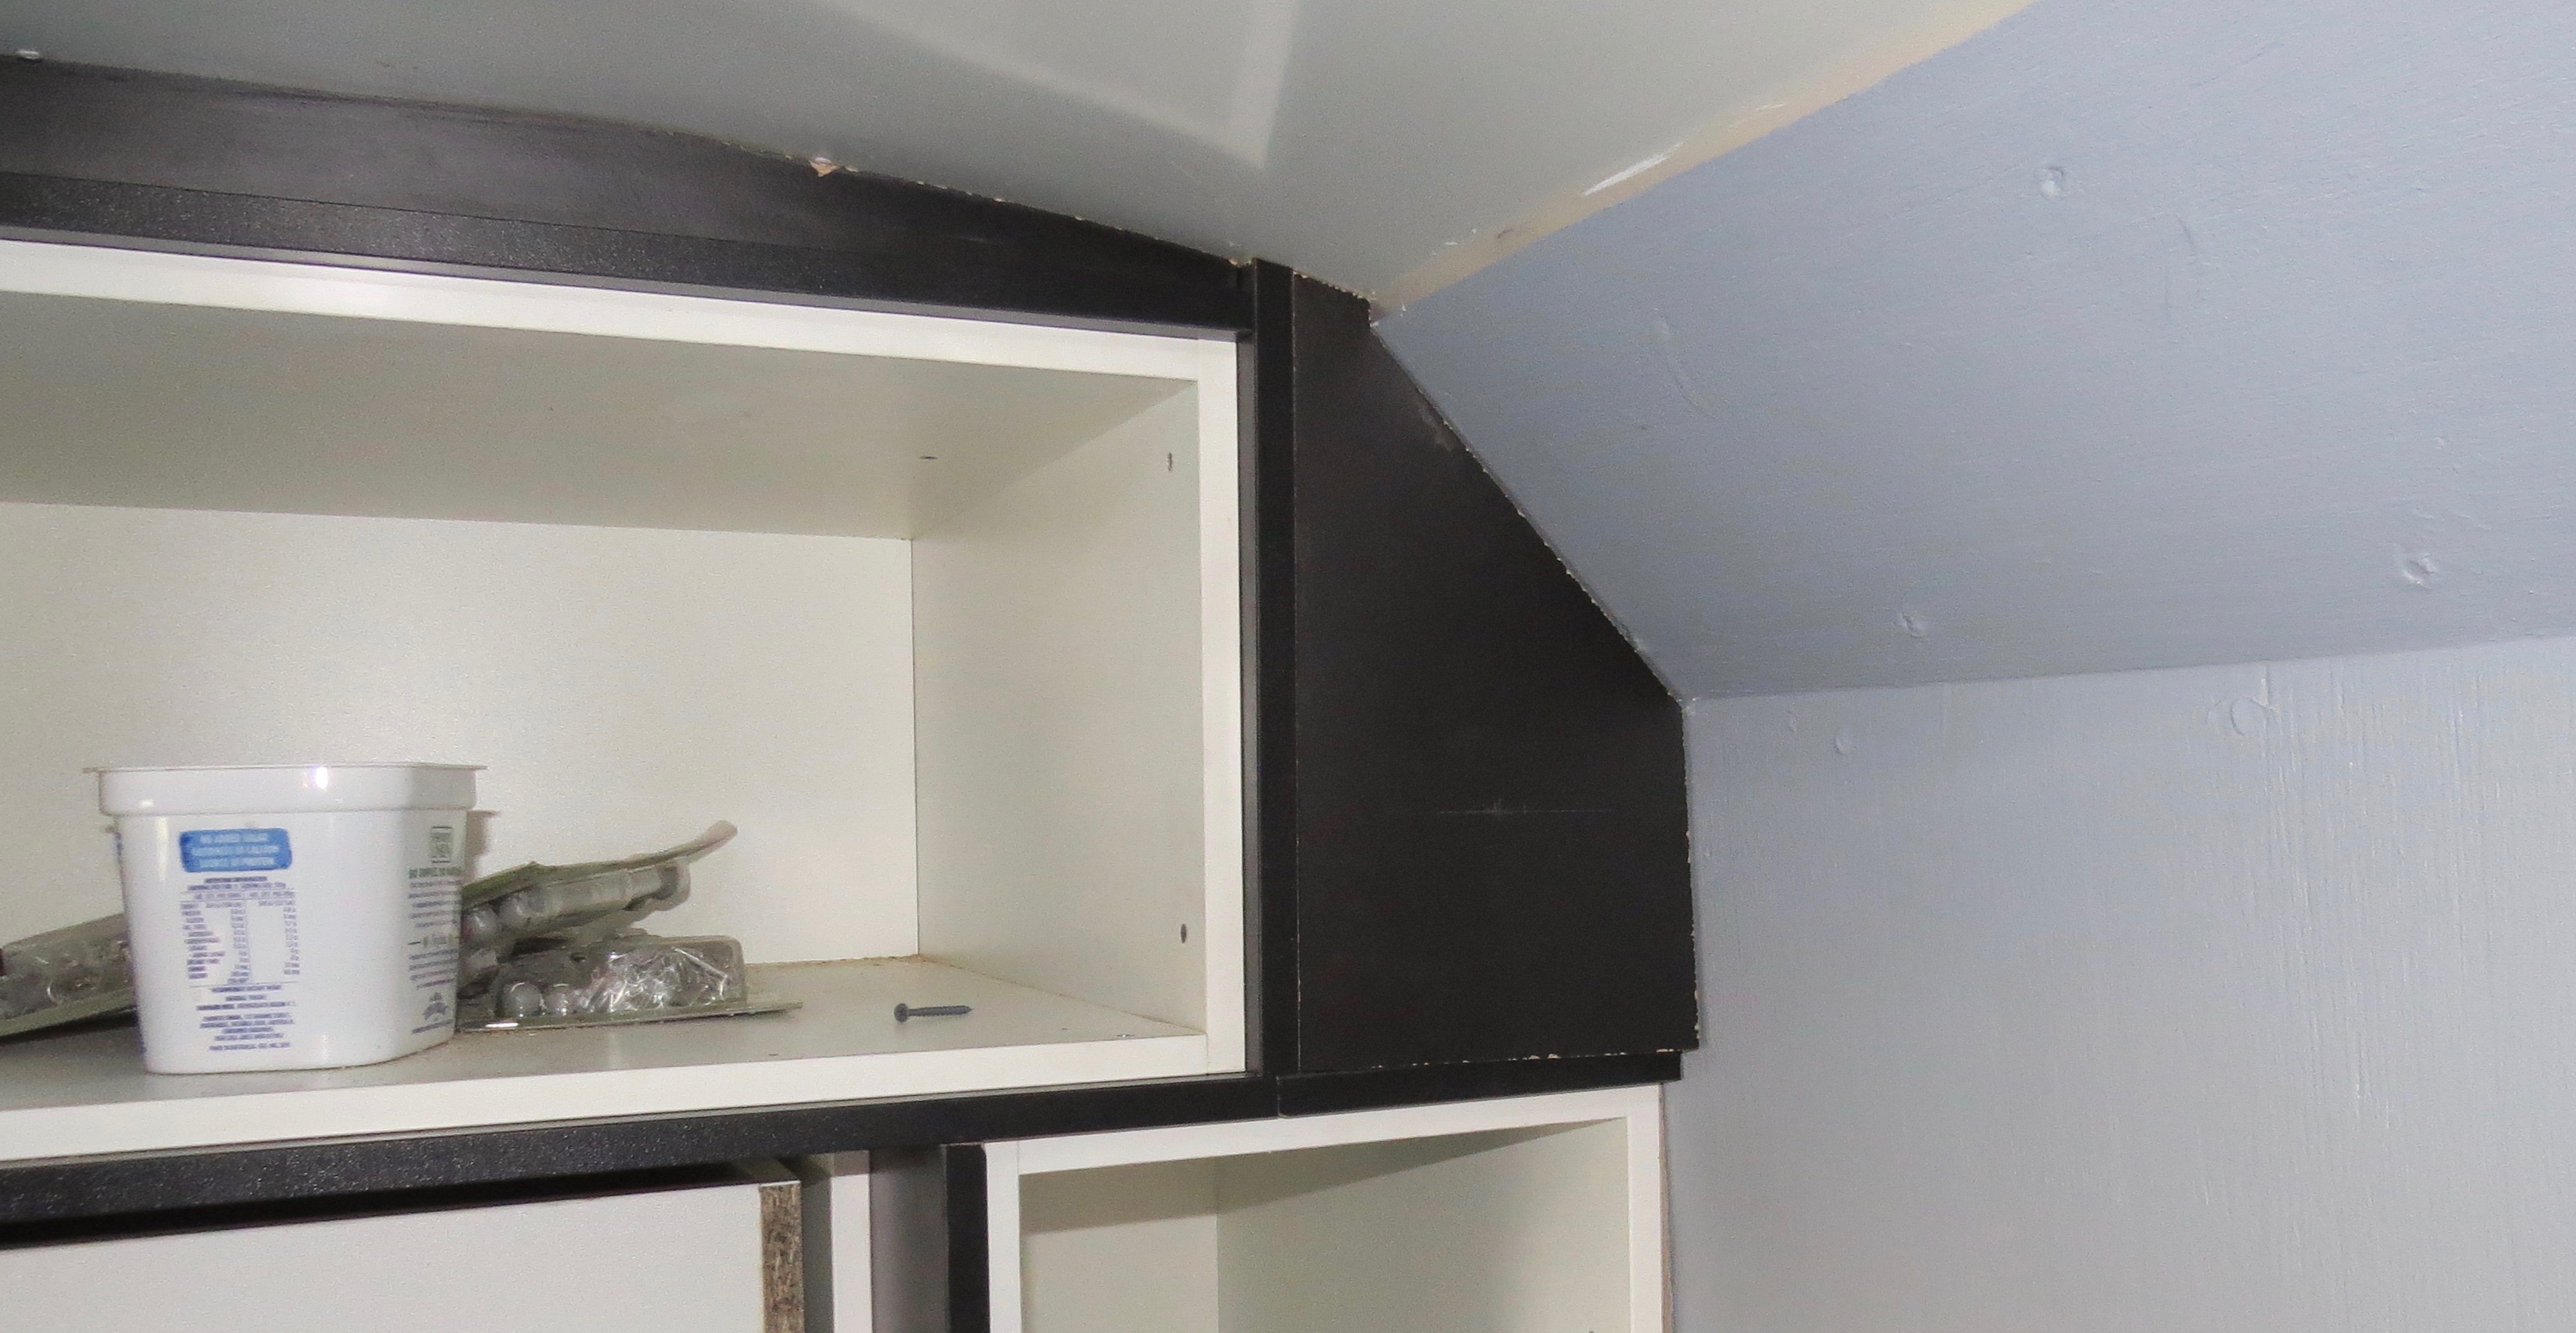
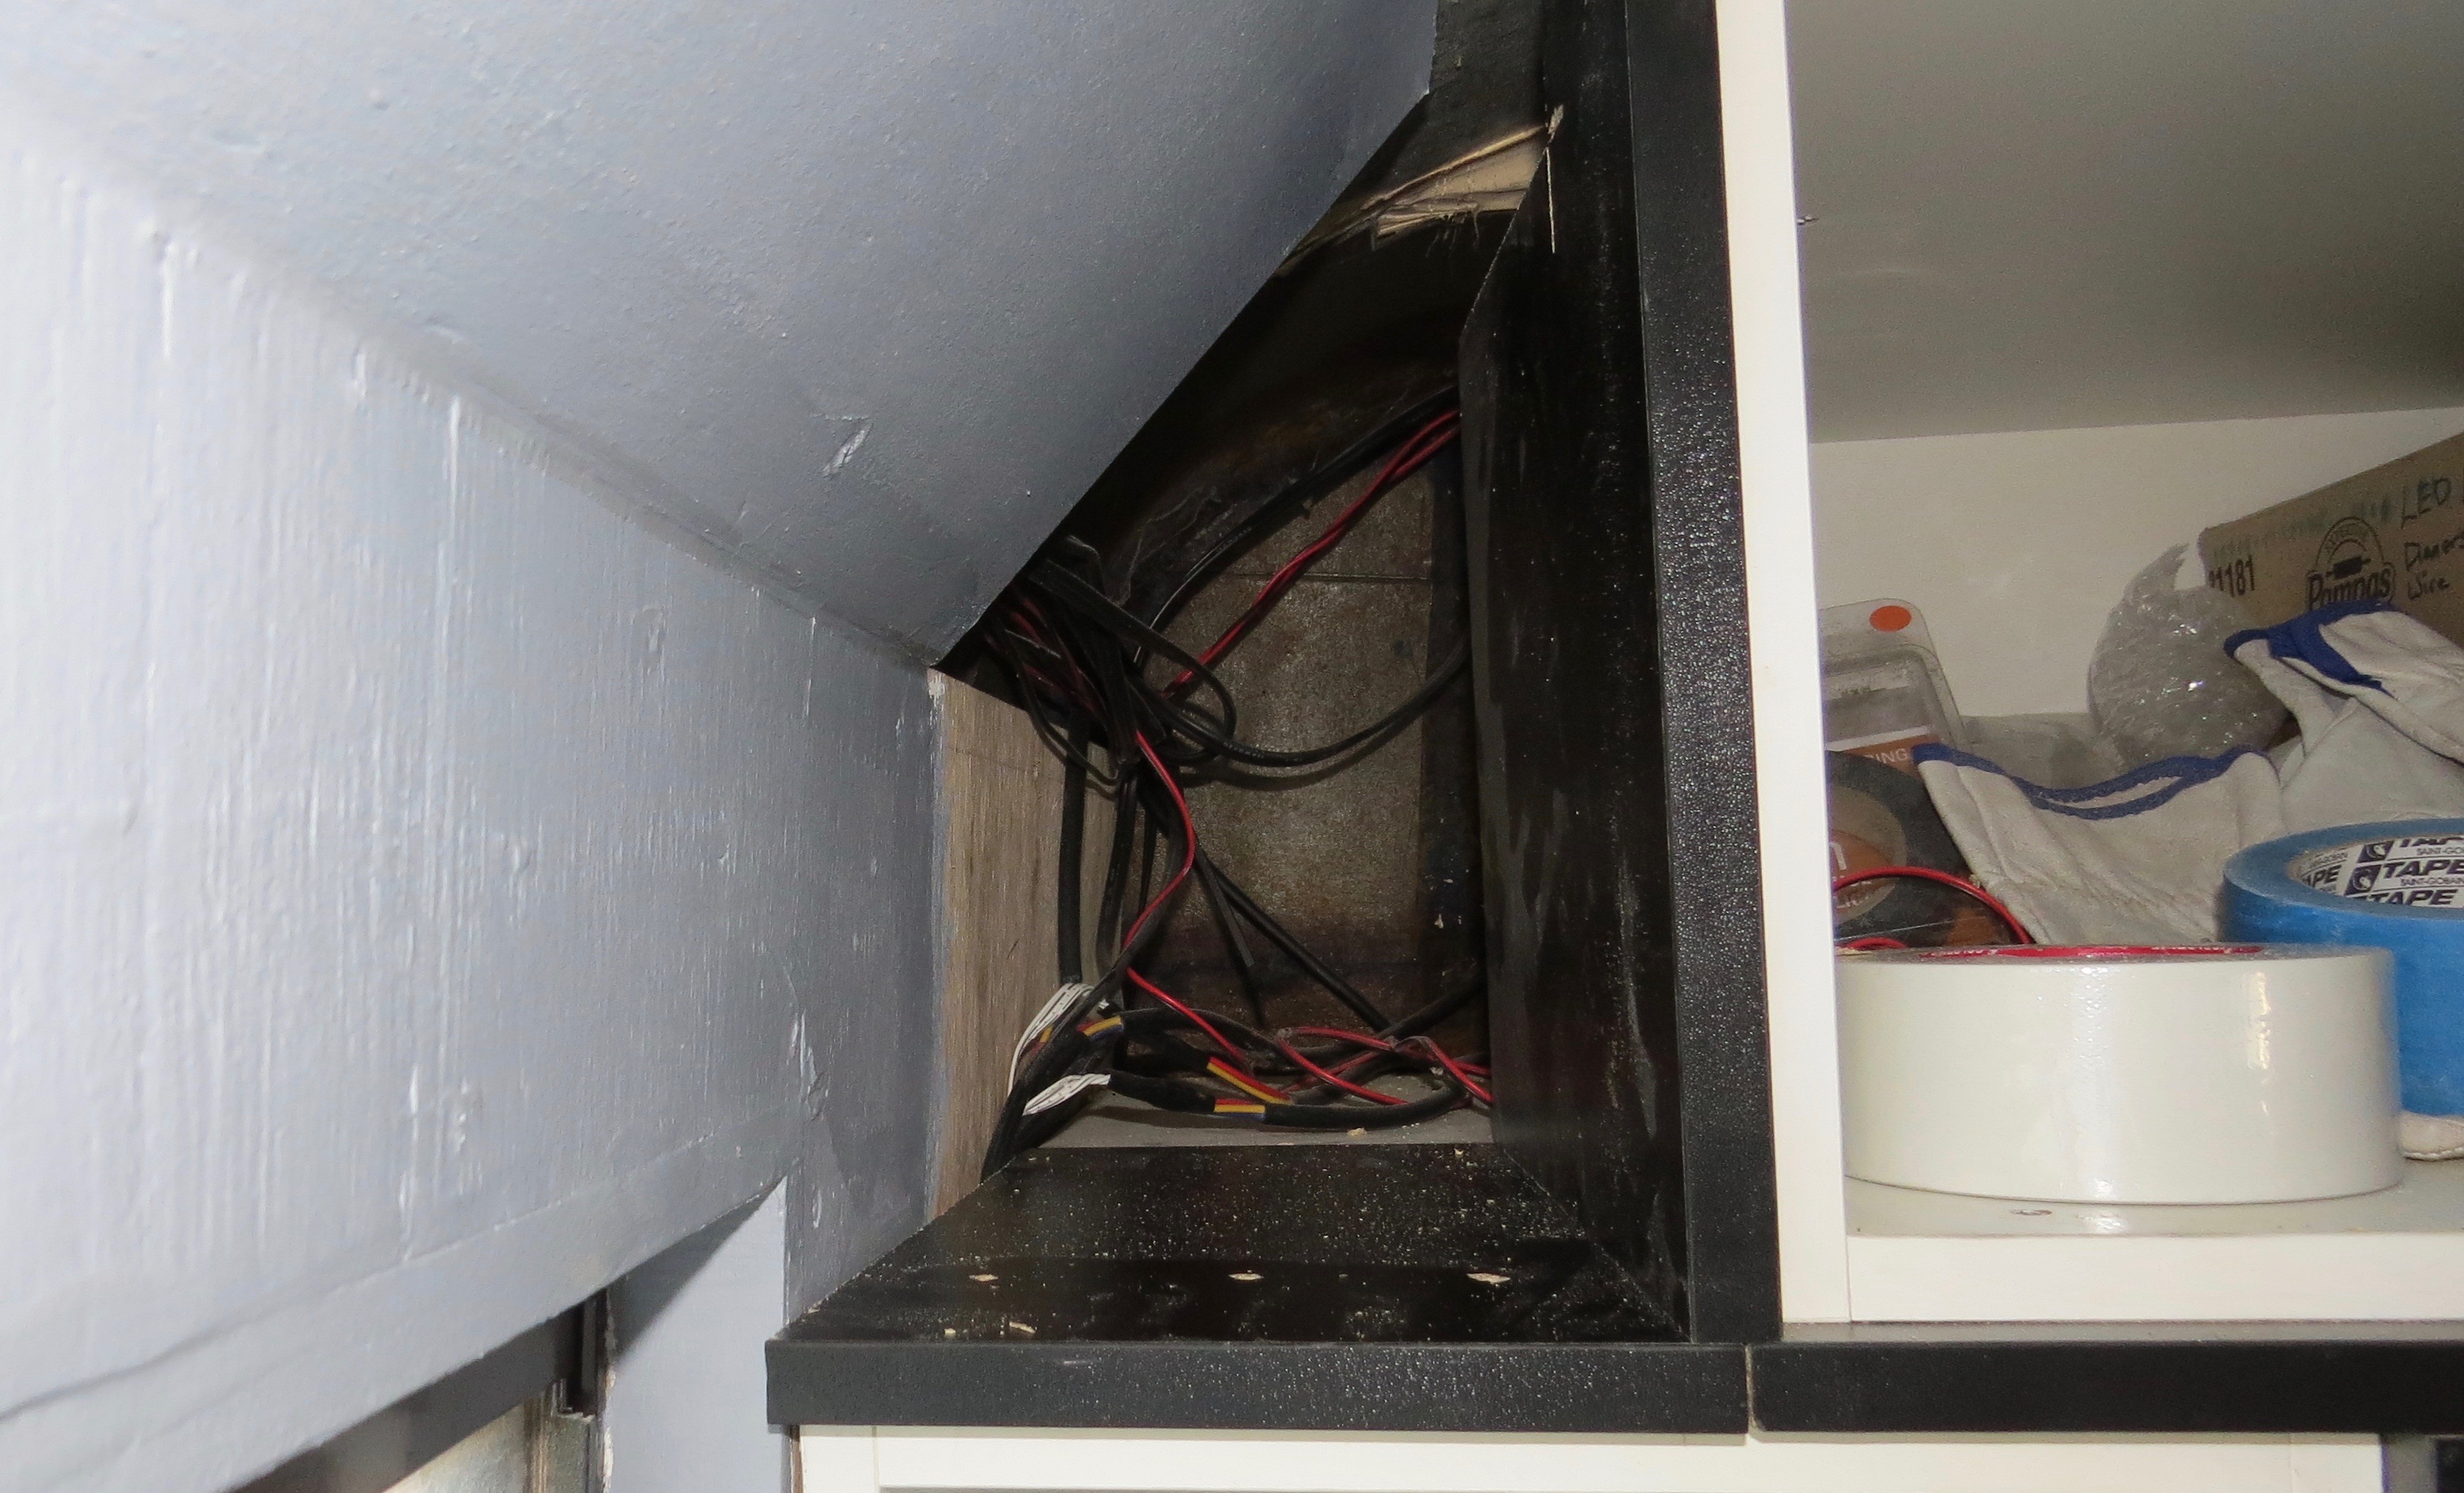
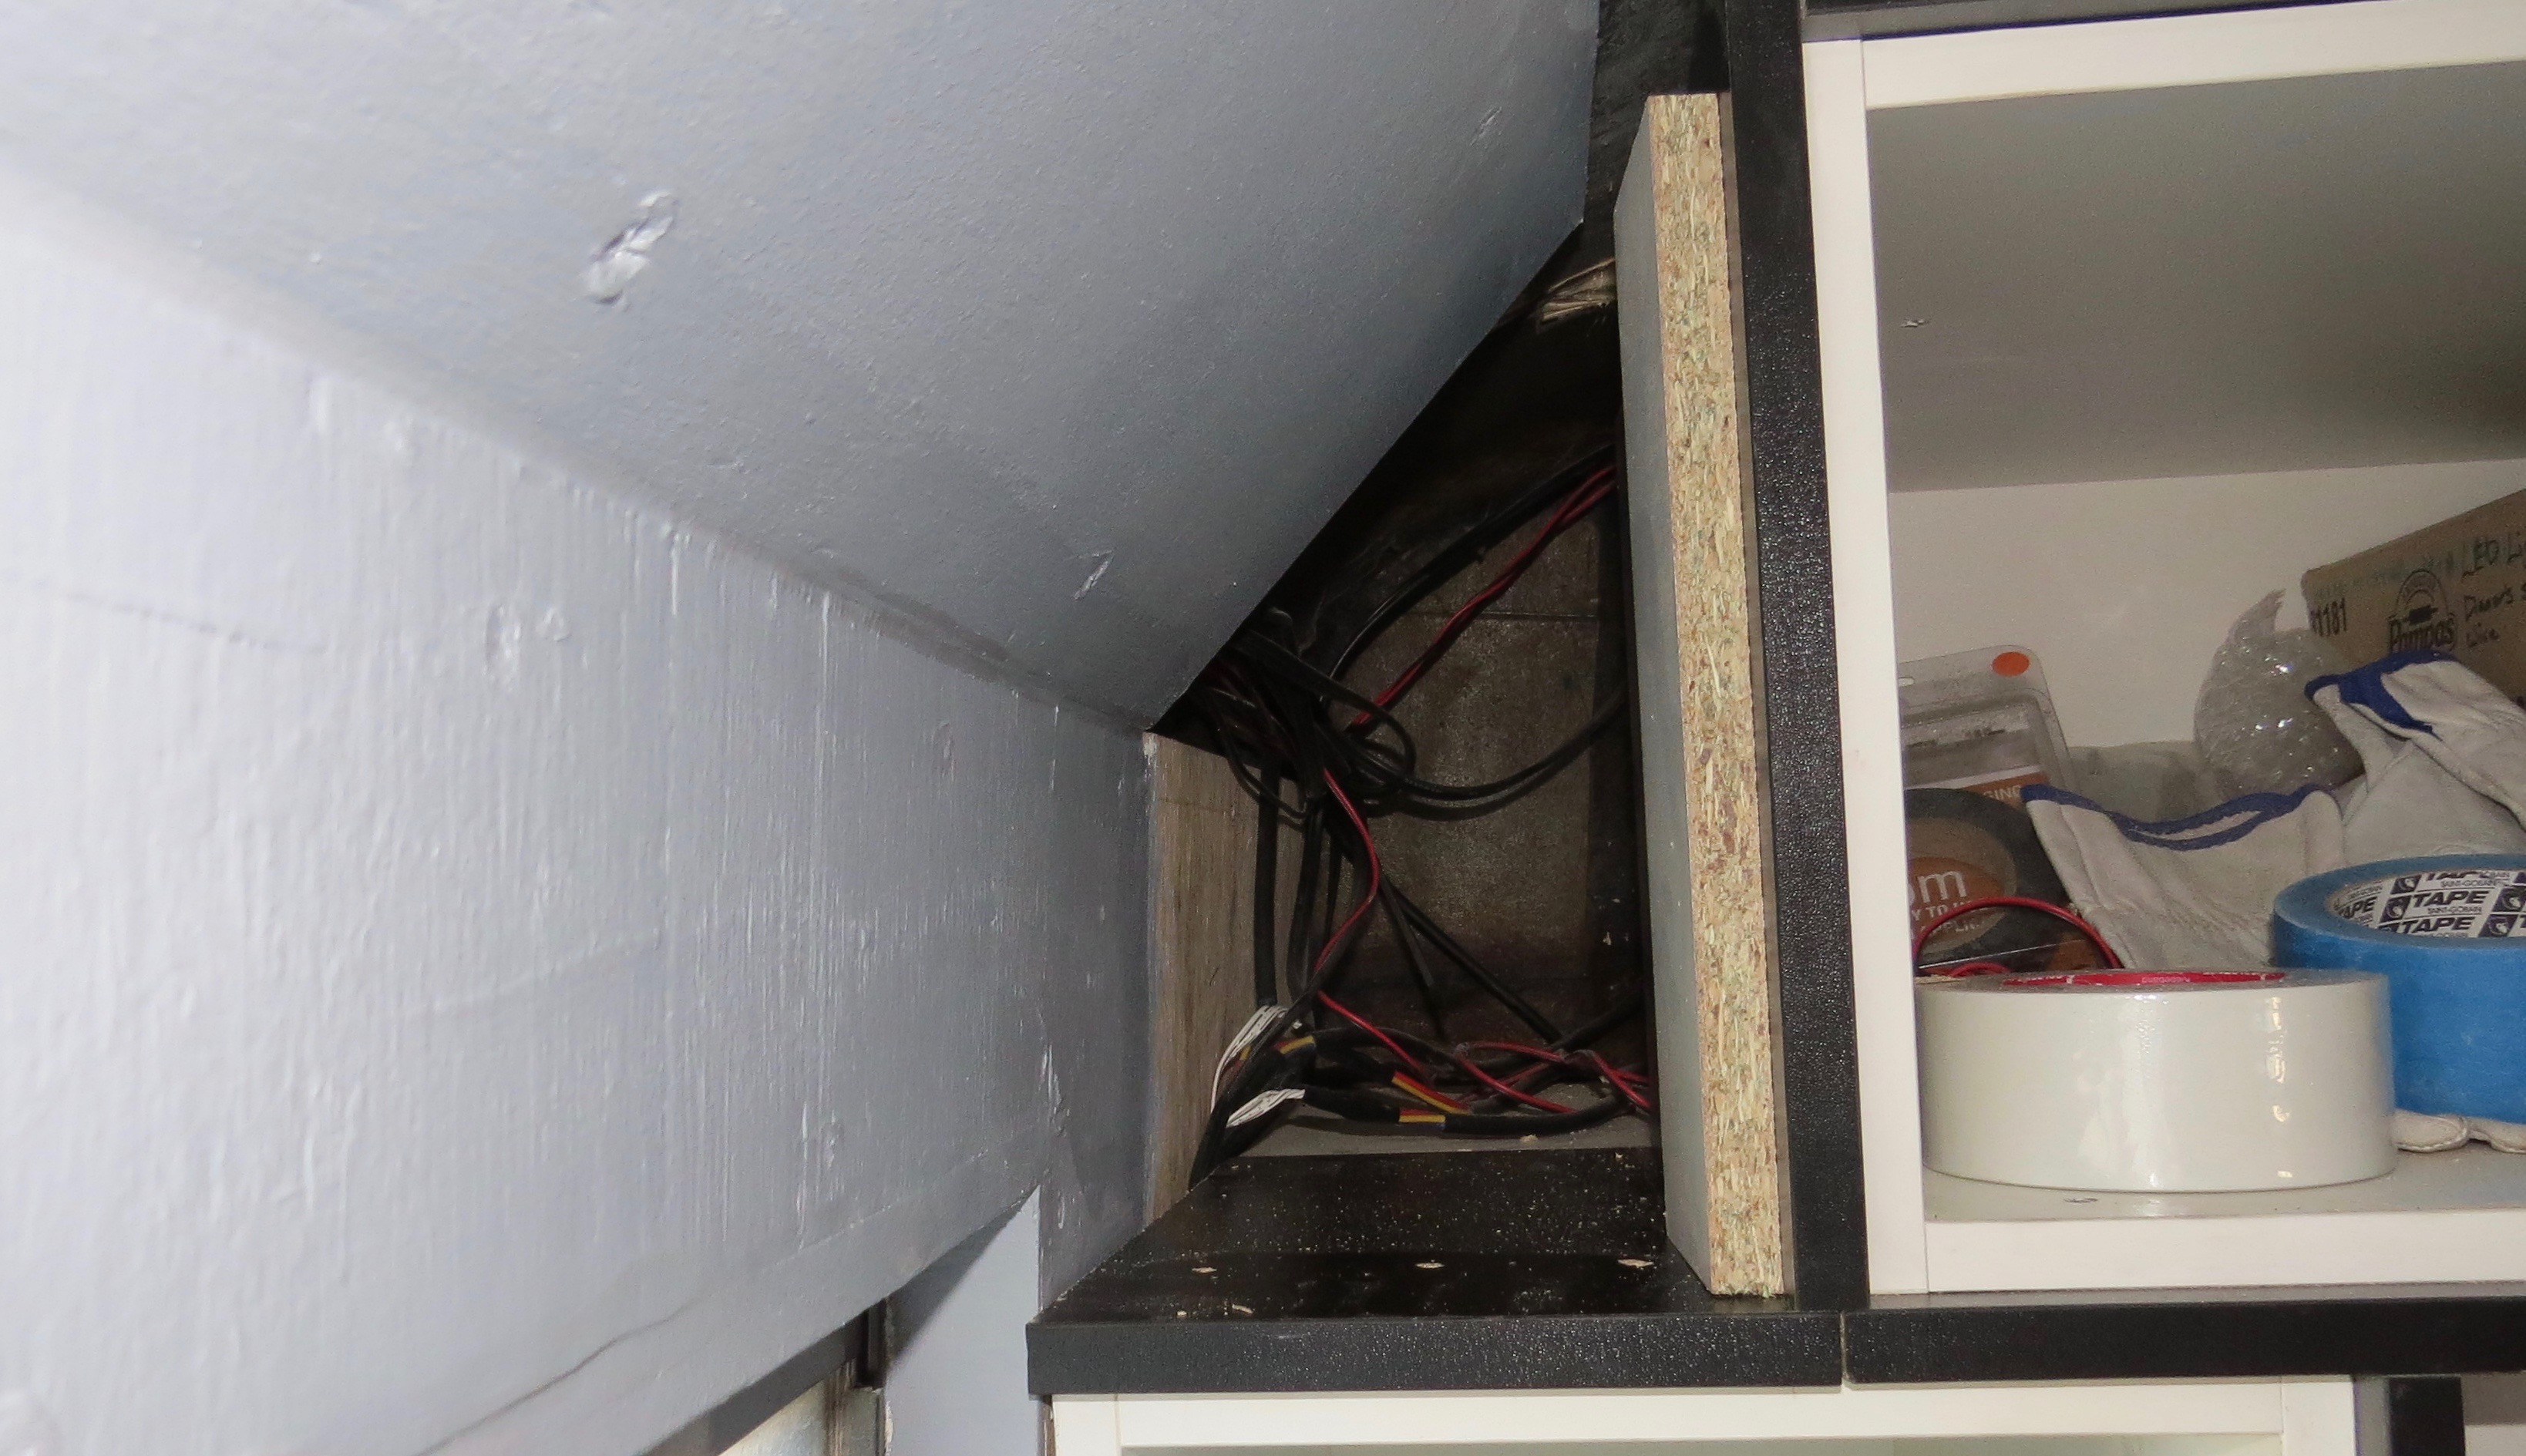
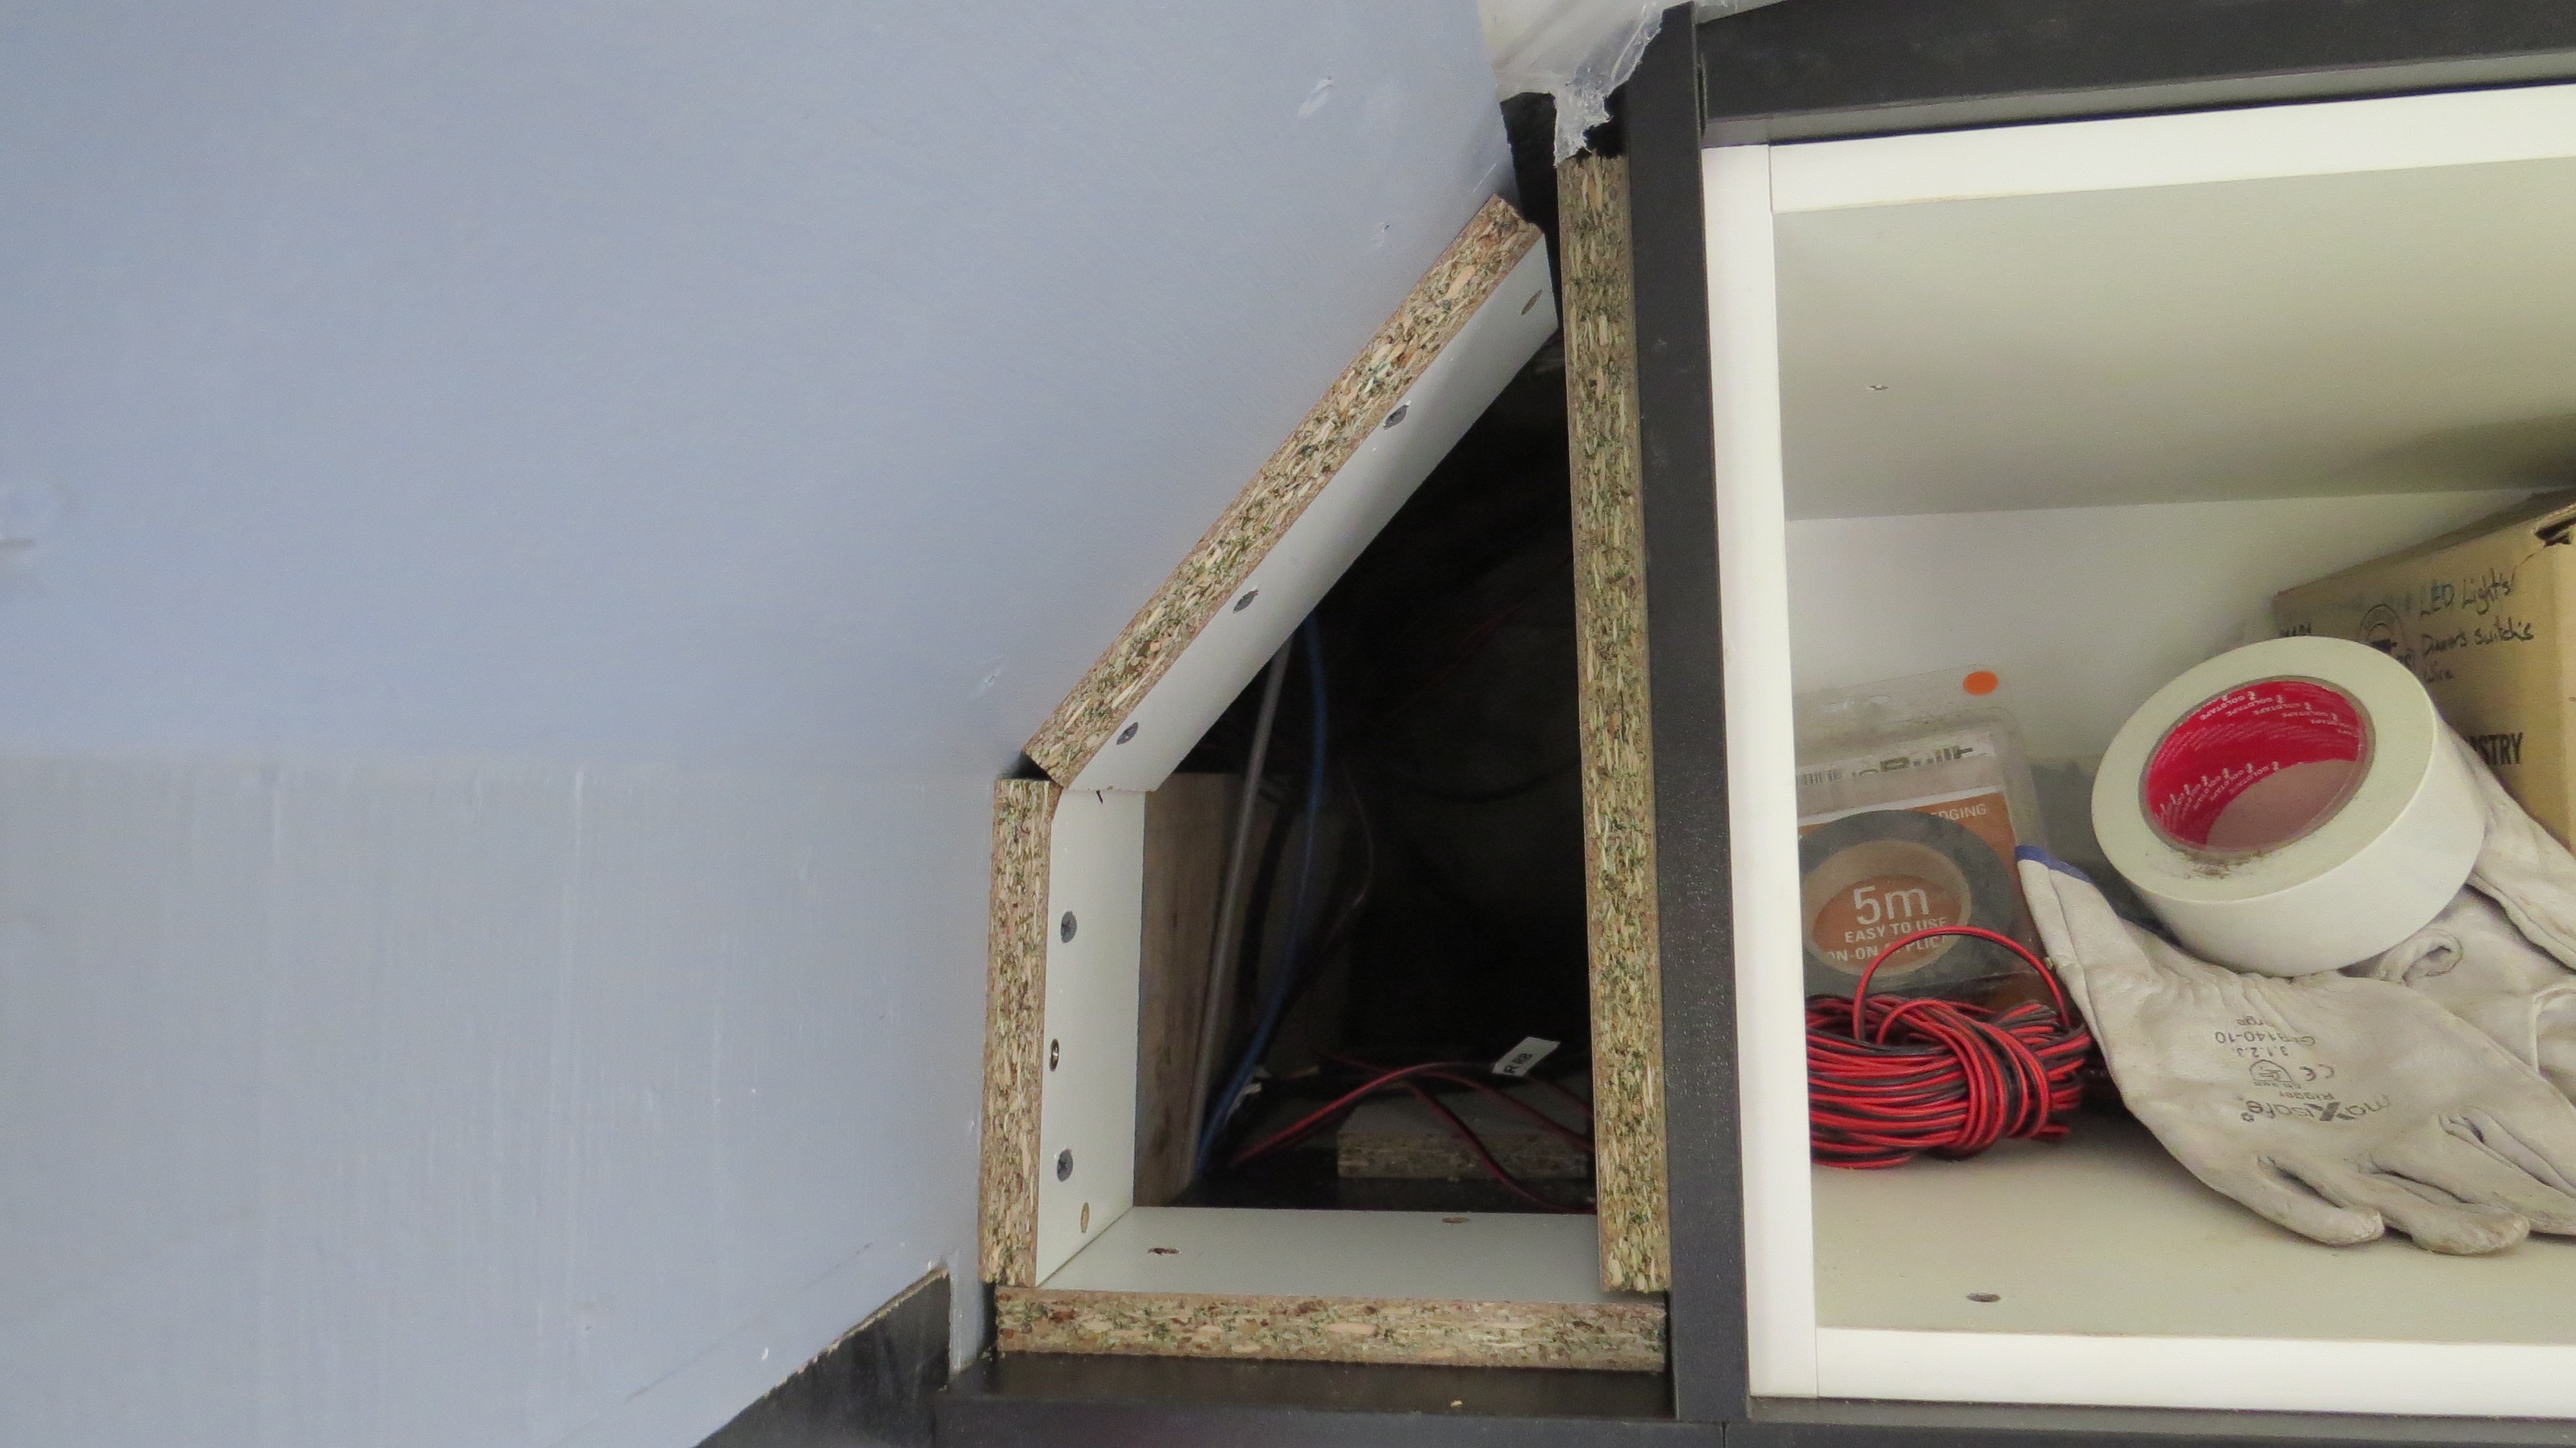
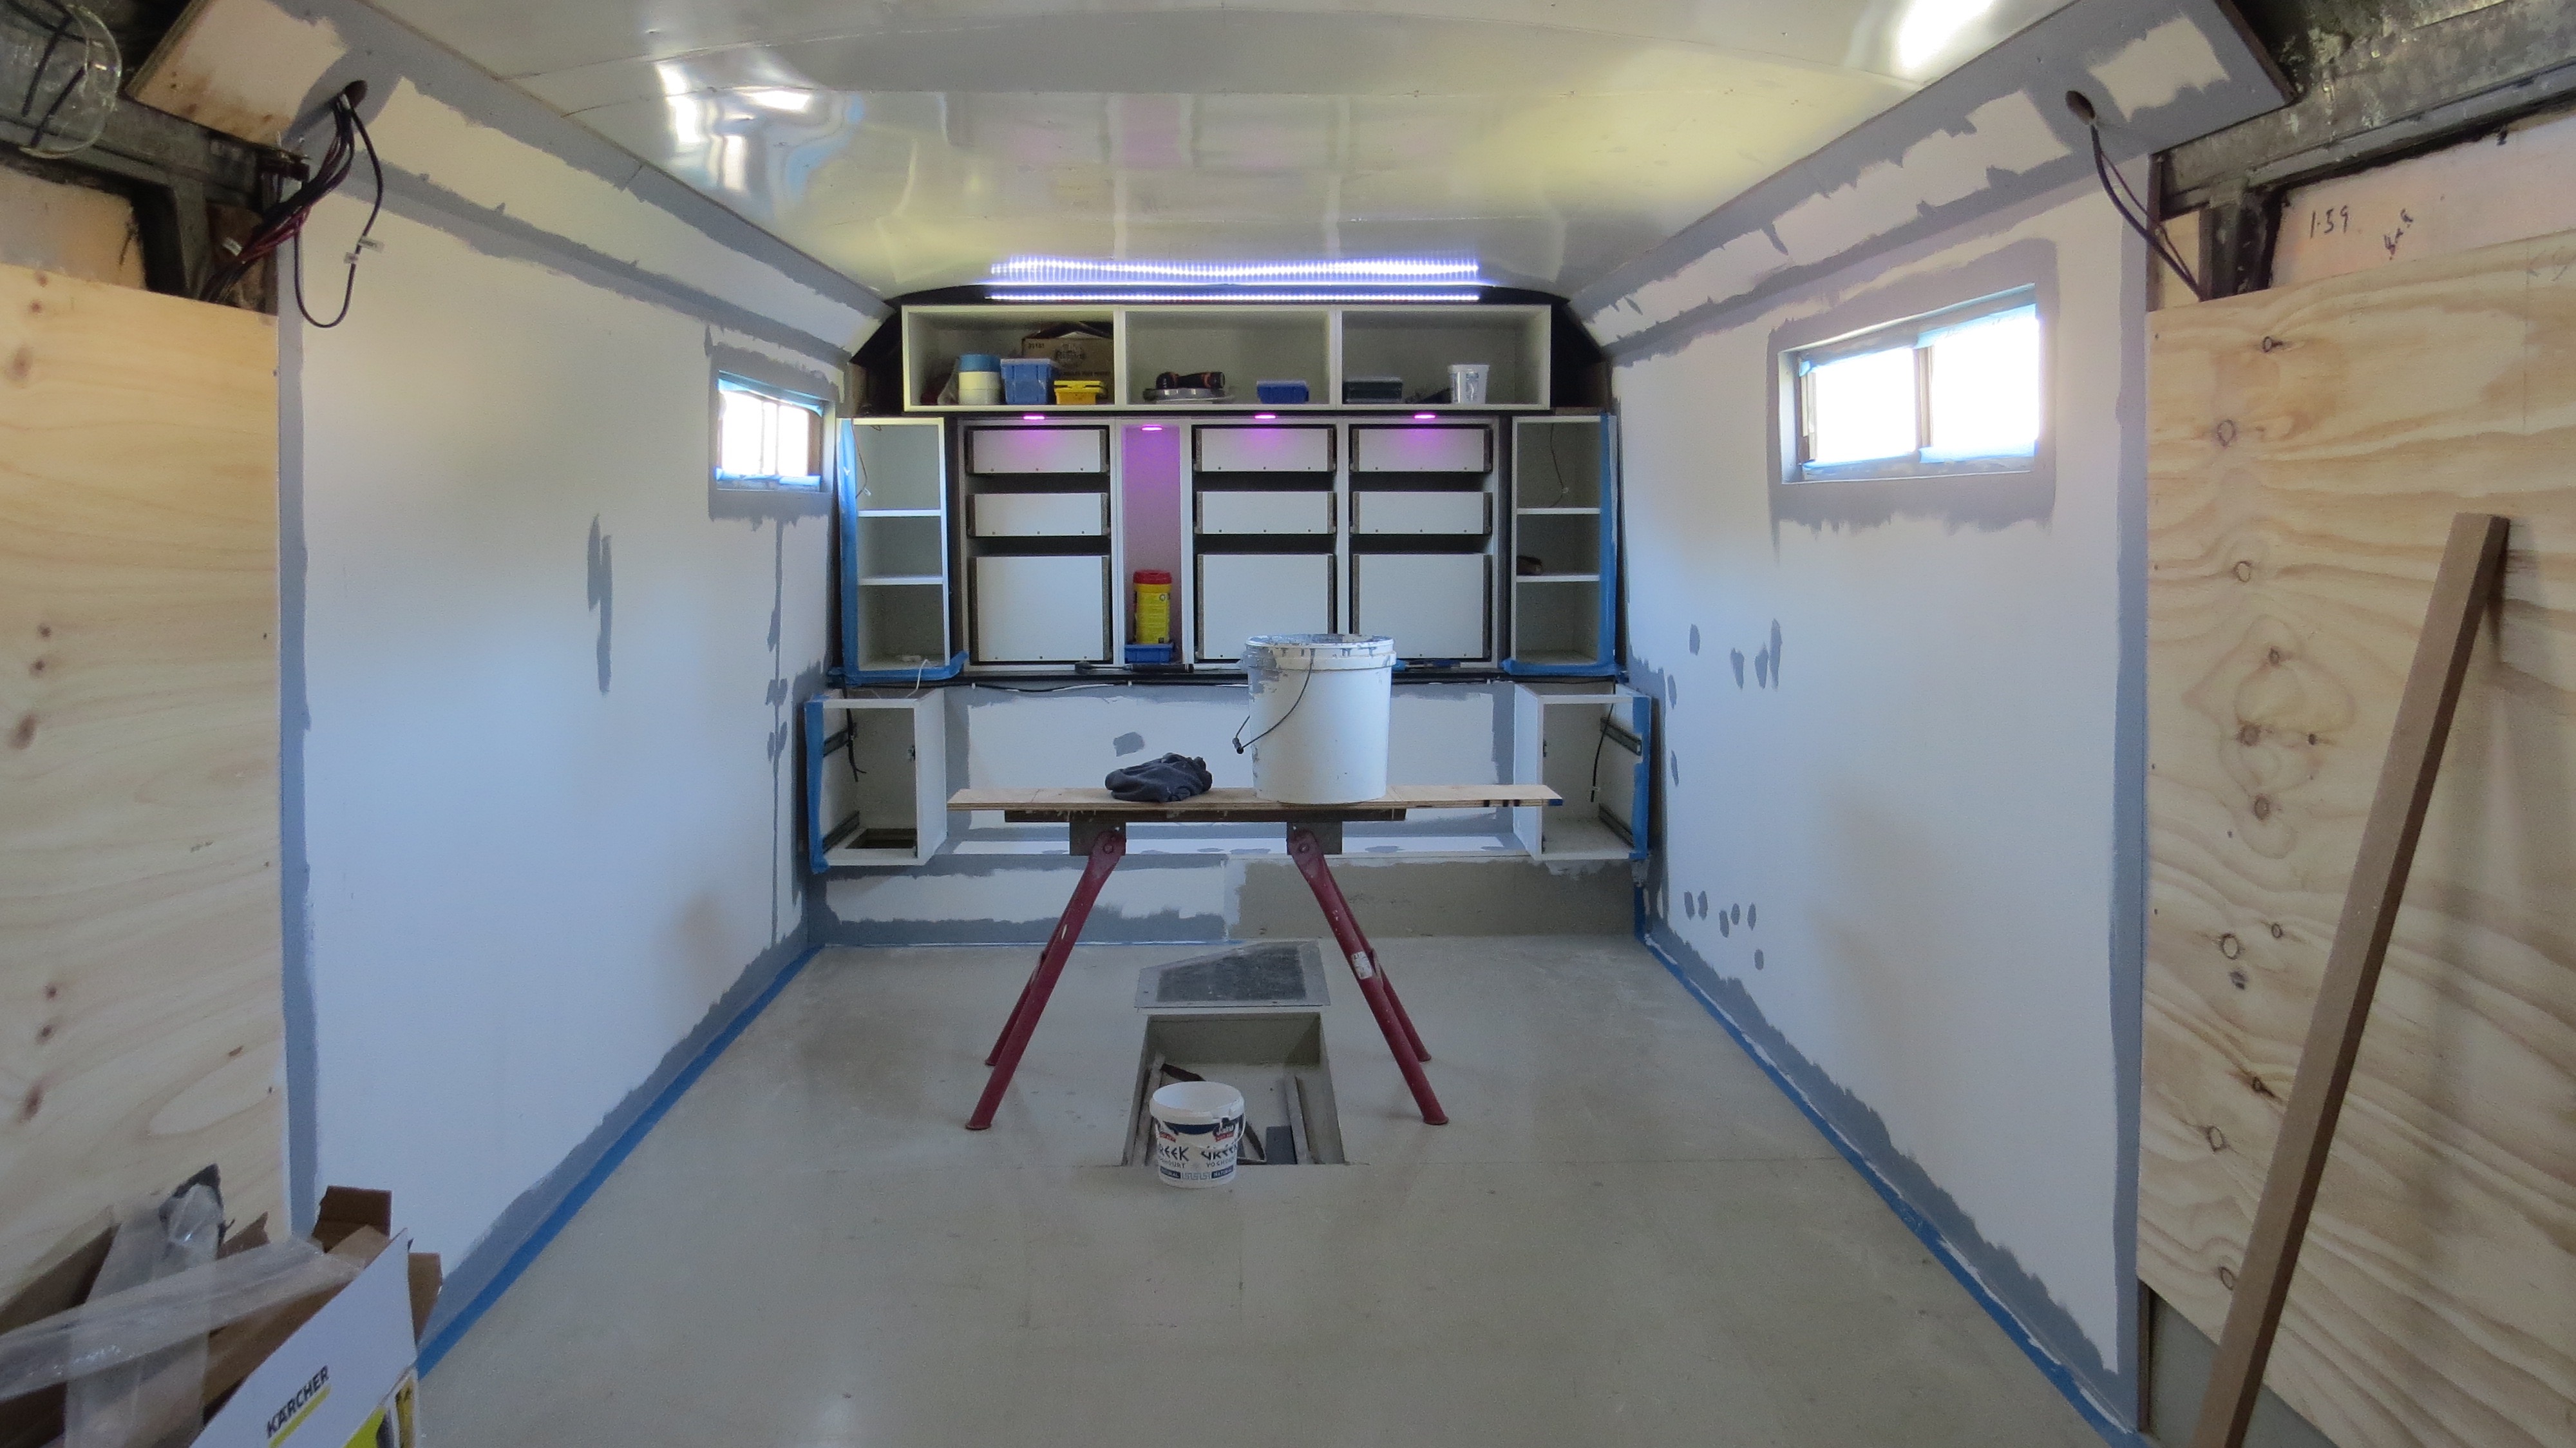
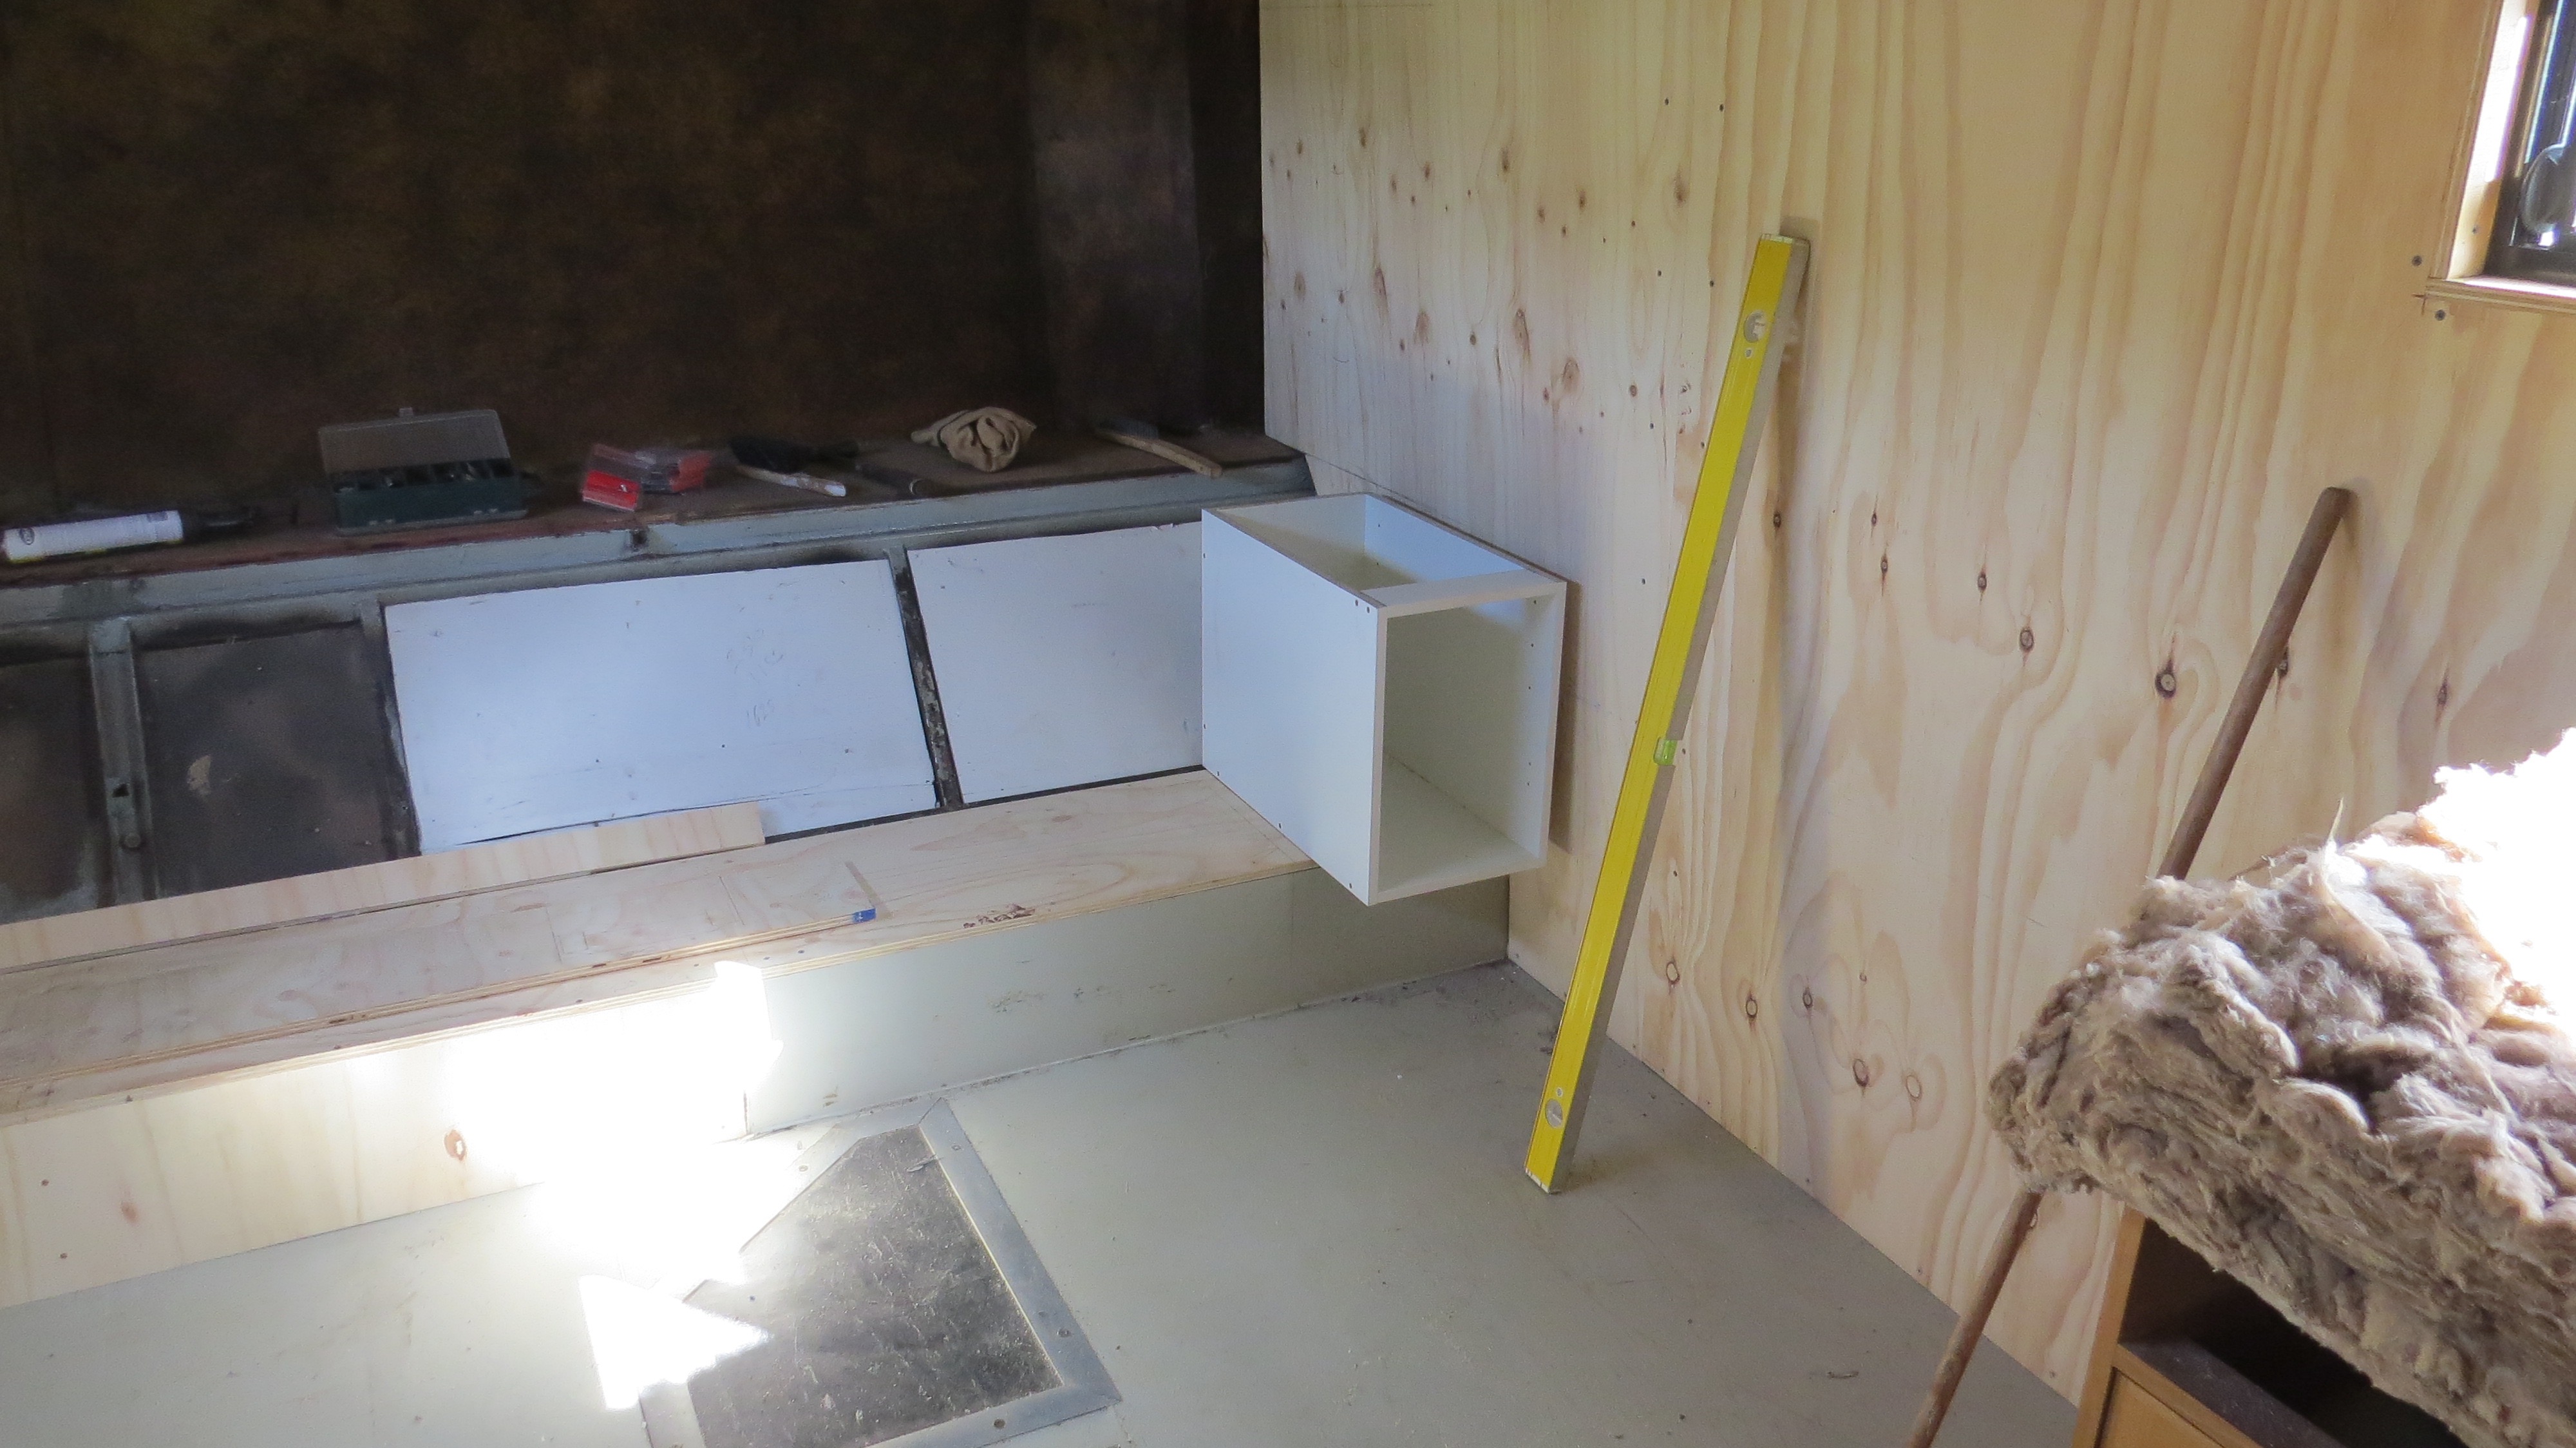
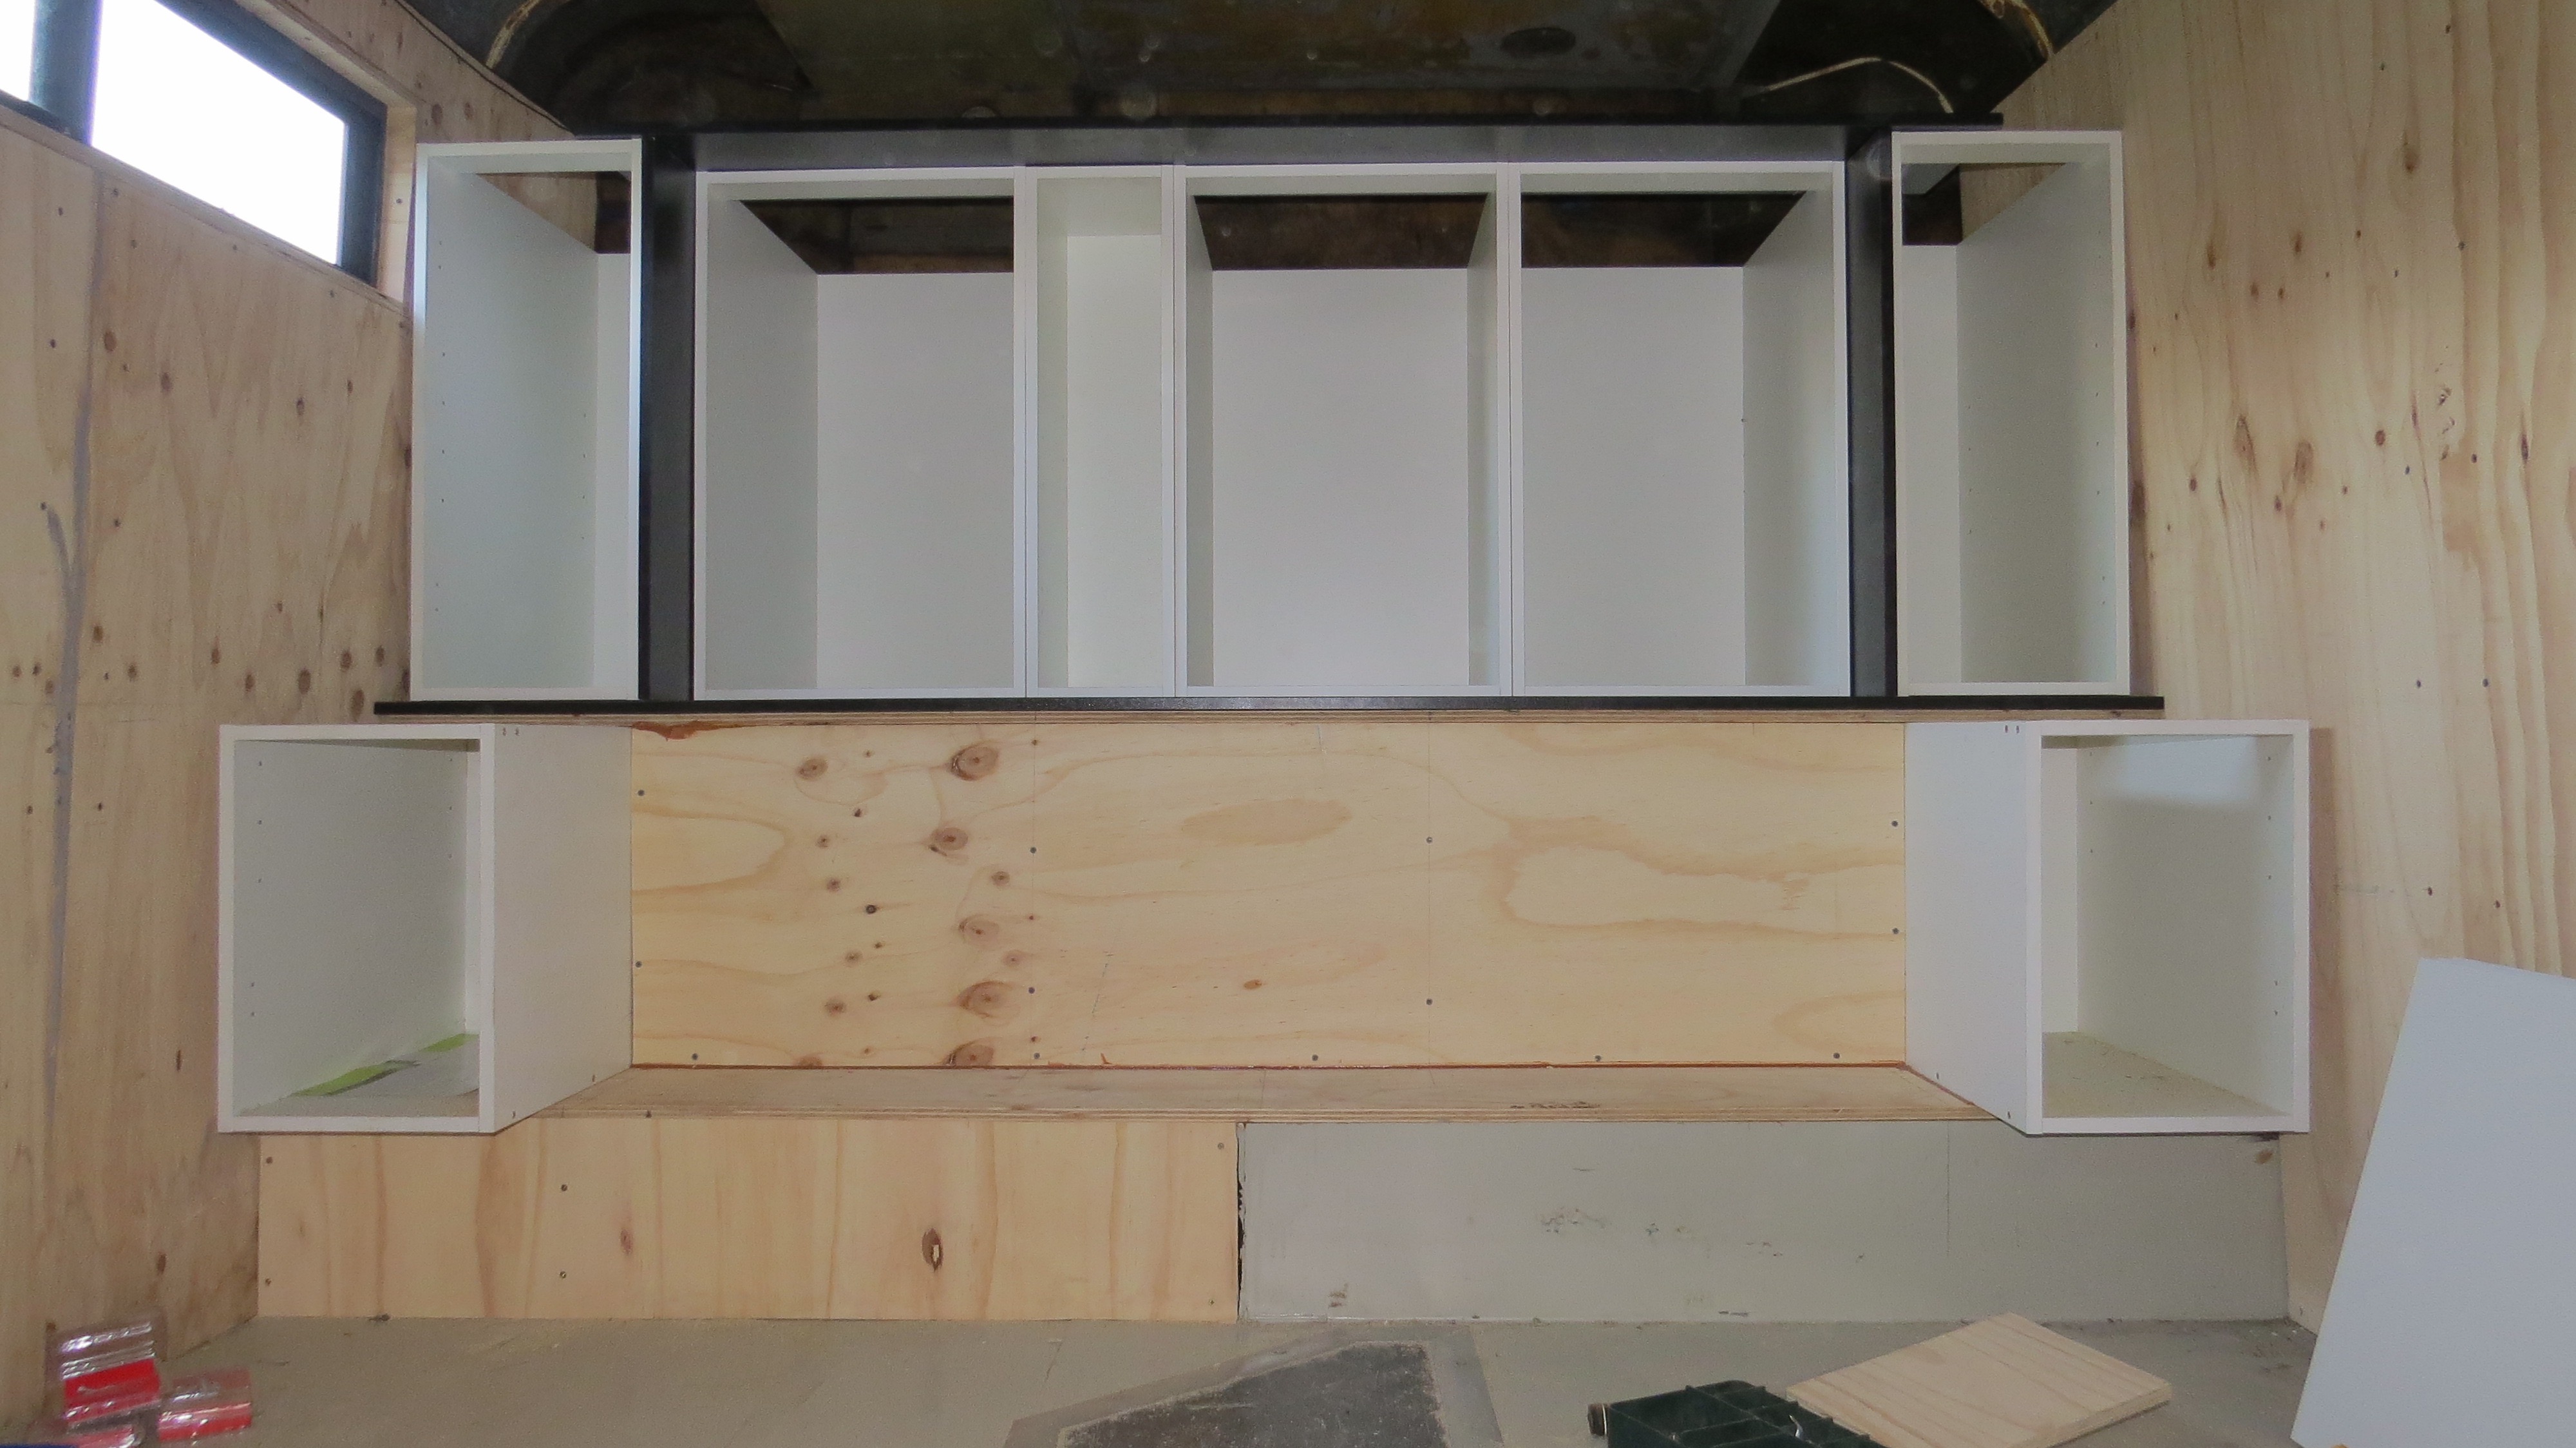
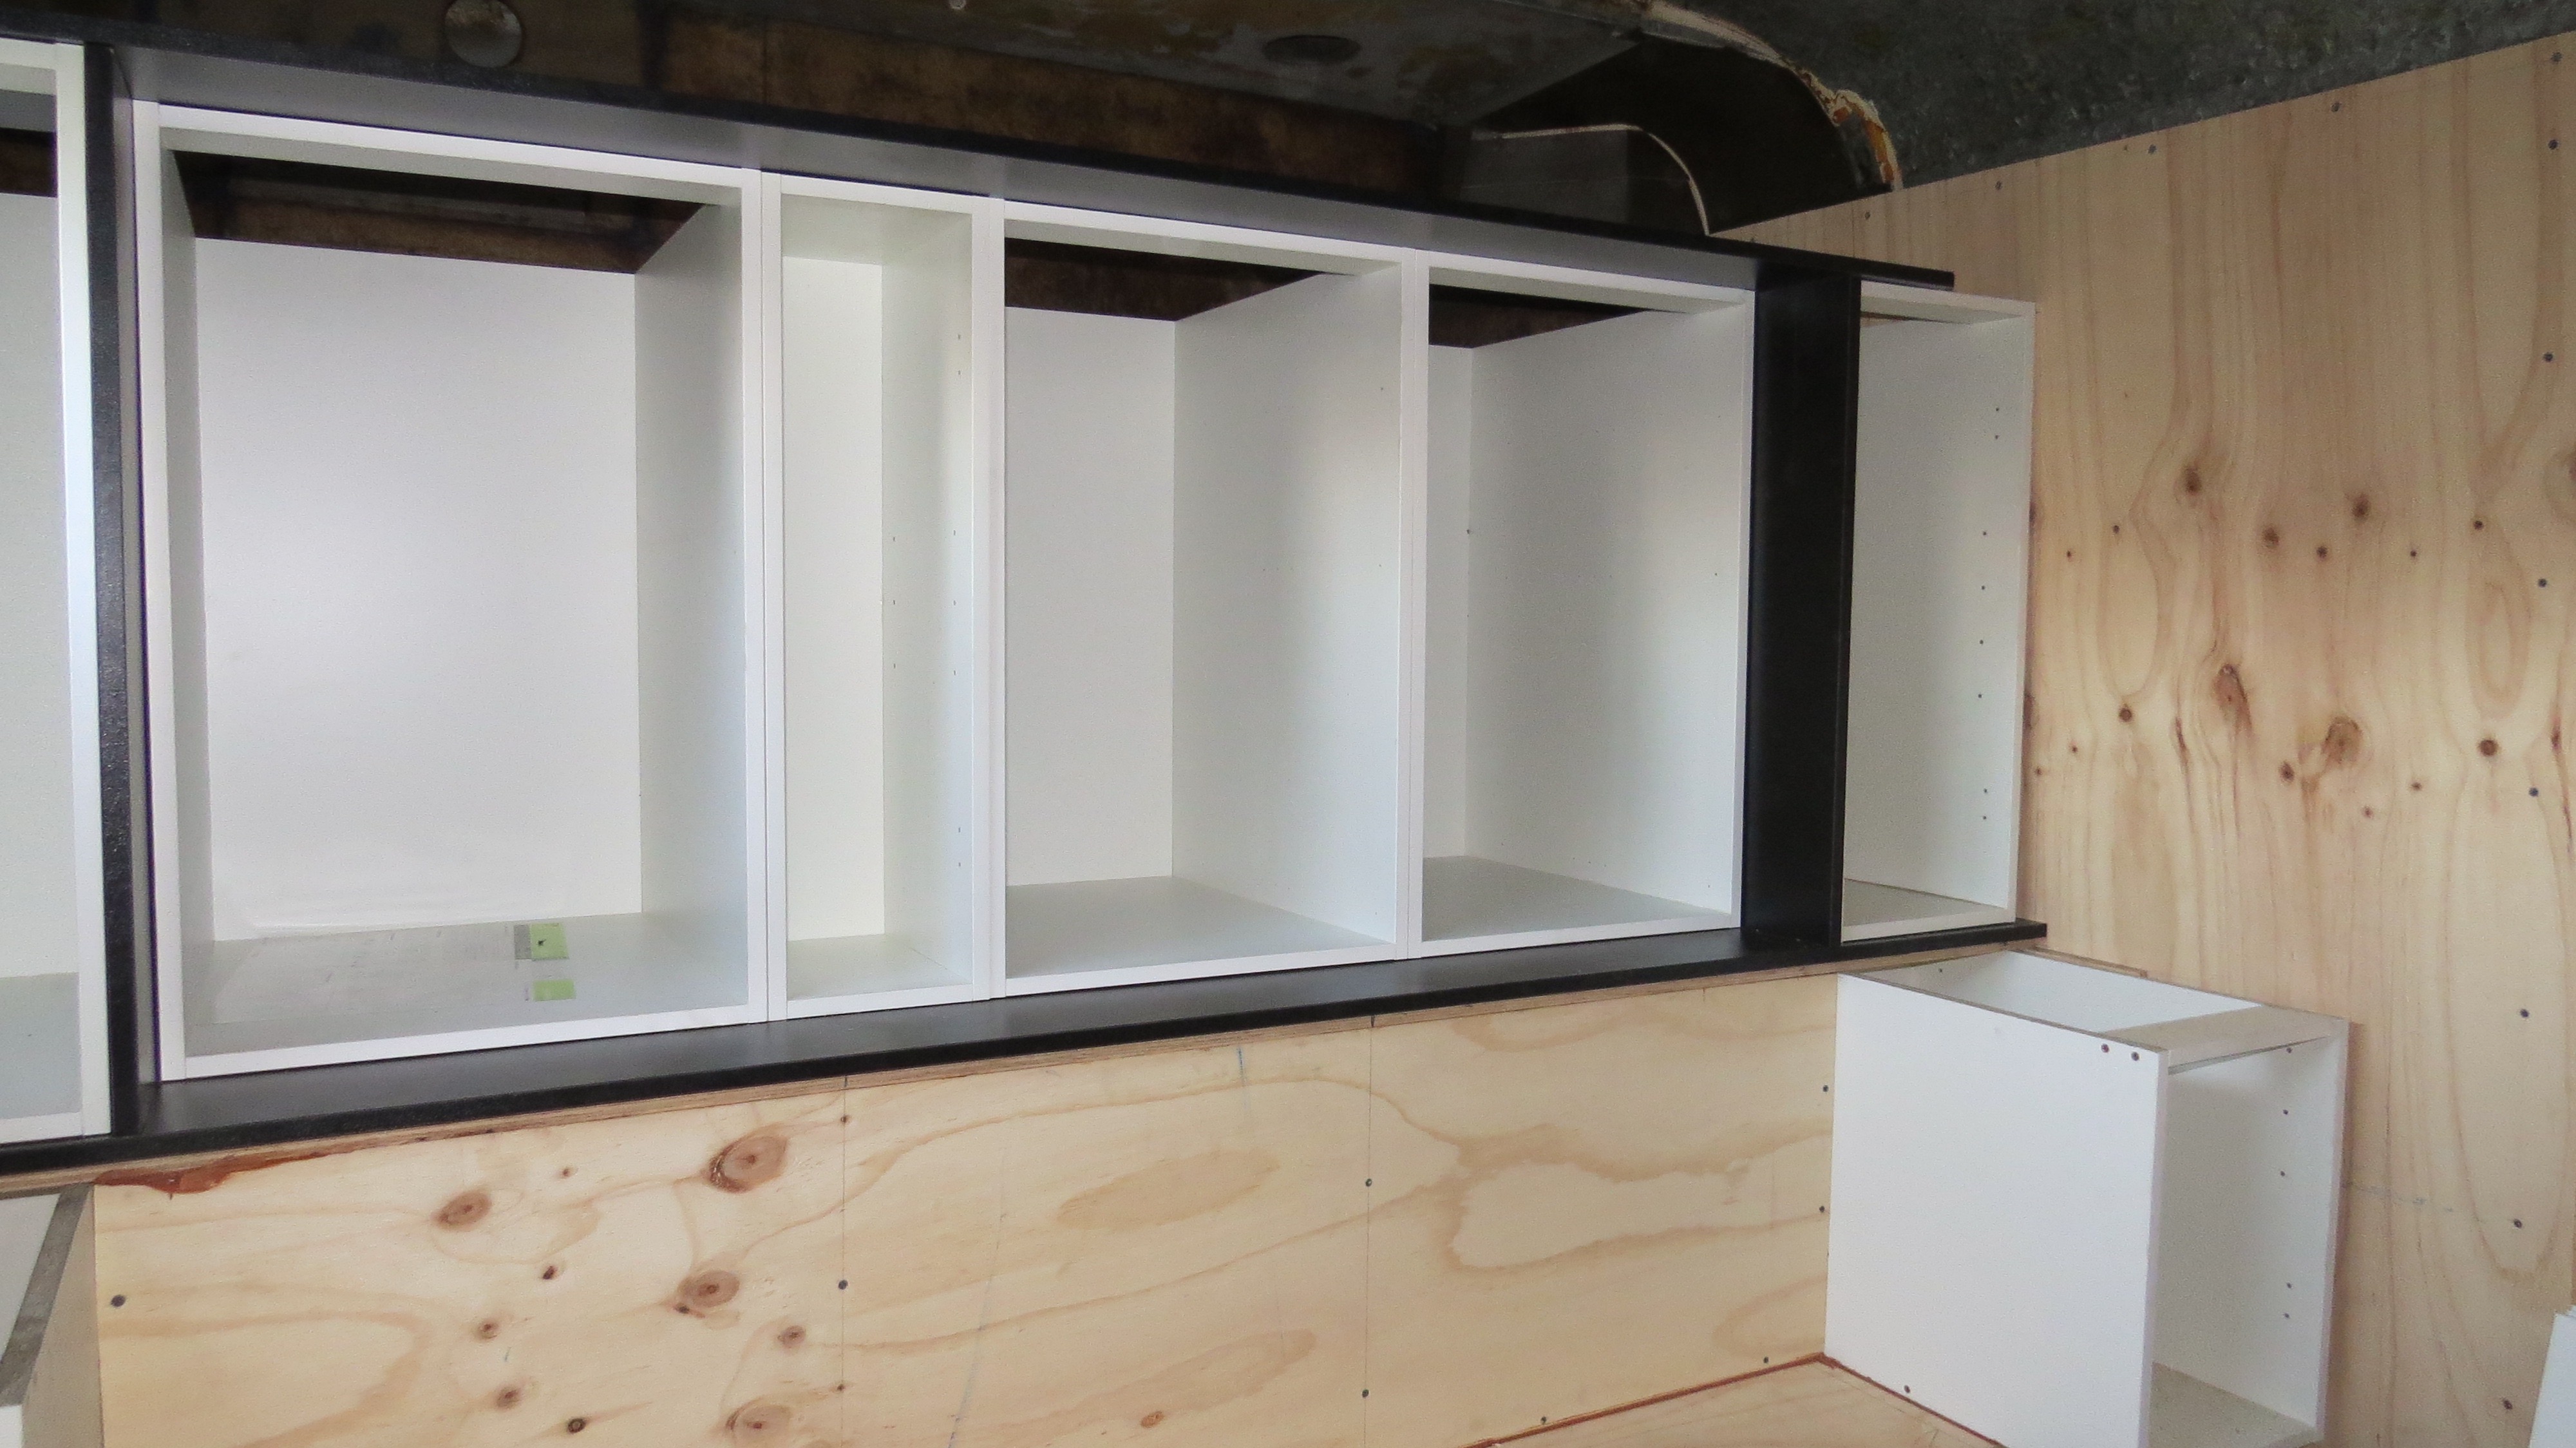
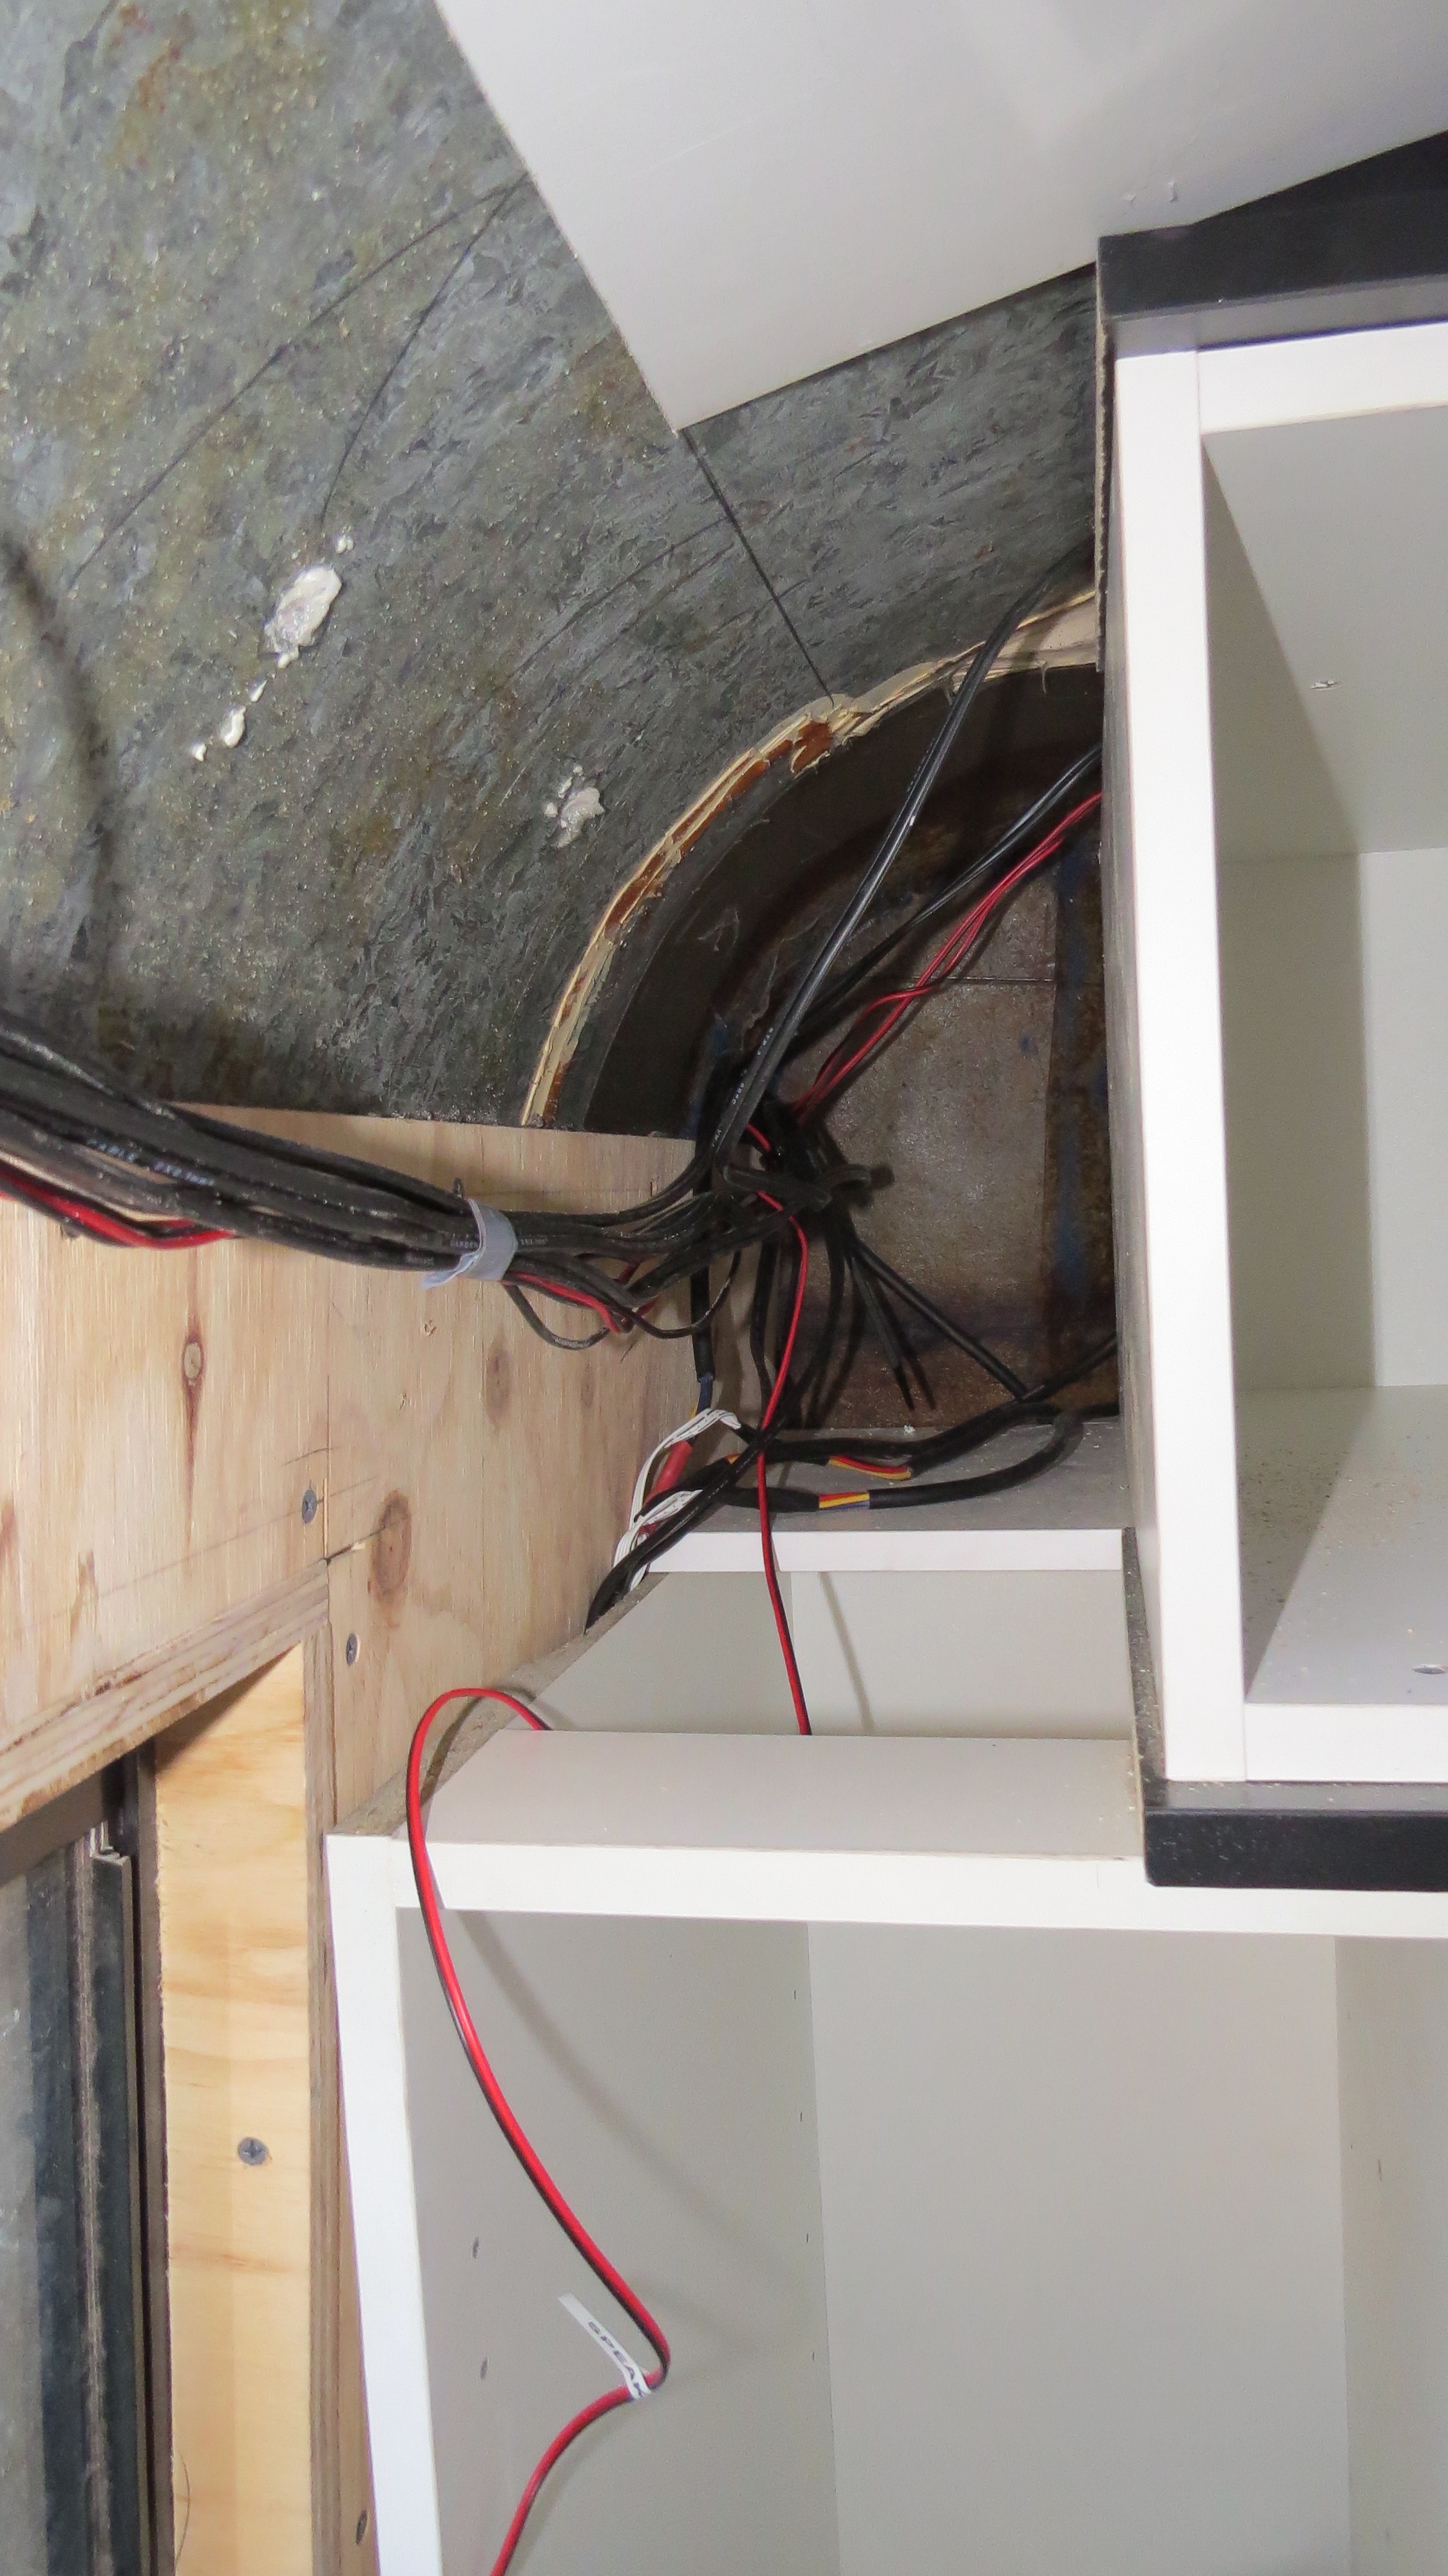
As nothing is square in the bus, there is always going to be gaps somewhere and they can be put to good use. It’s more ass than class but to my surprise things are fitting into place, if only….. just. On either side of the top cabinets we are putting in some speakers for the surround sound.
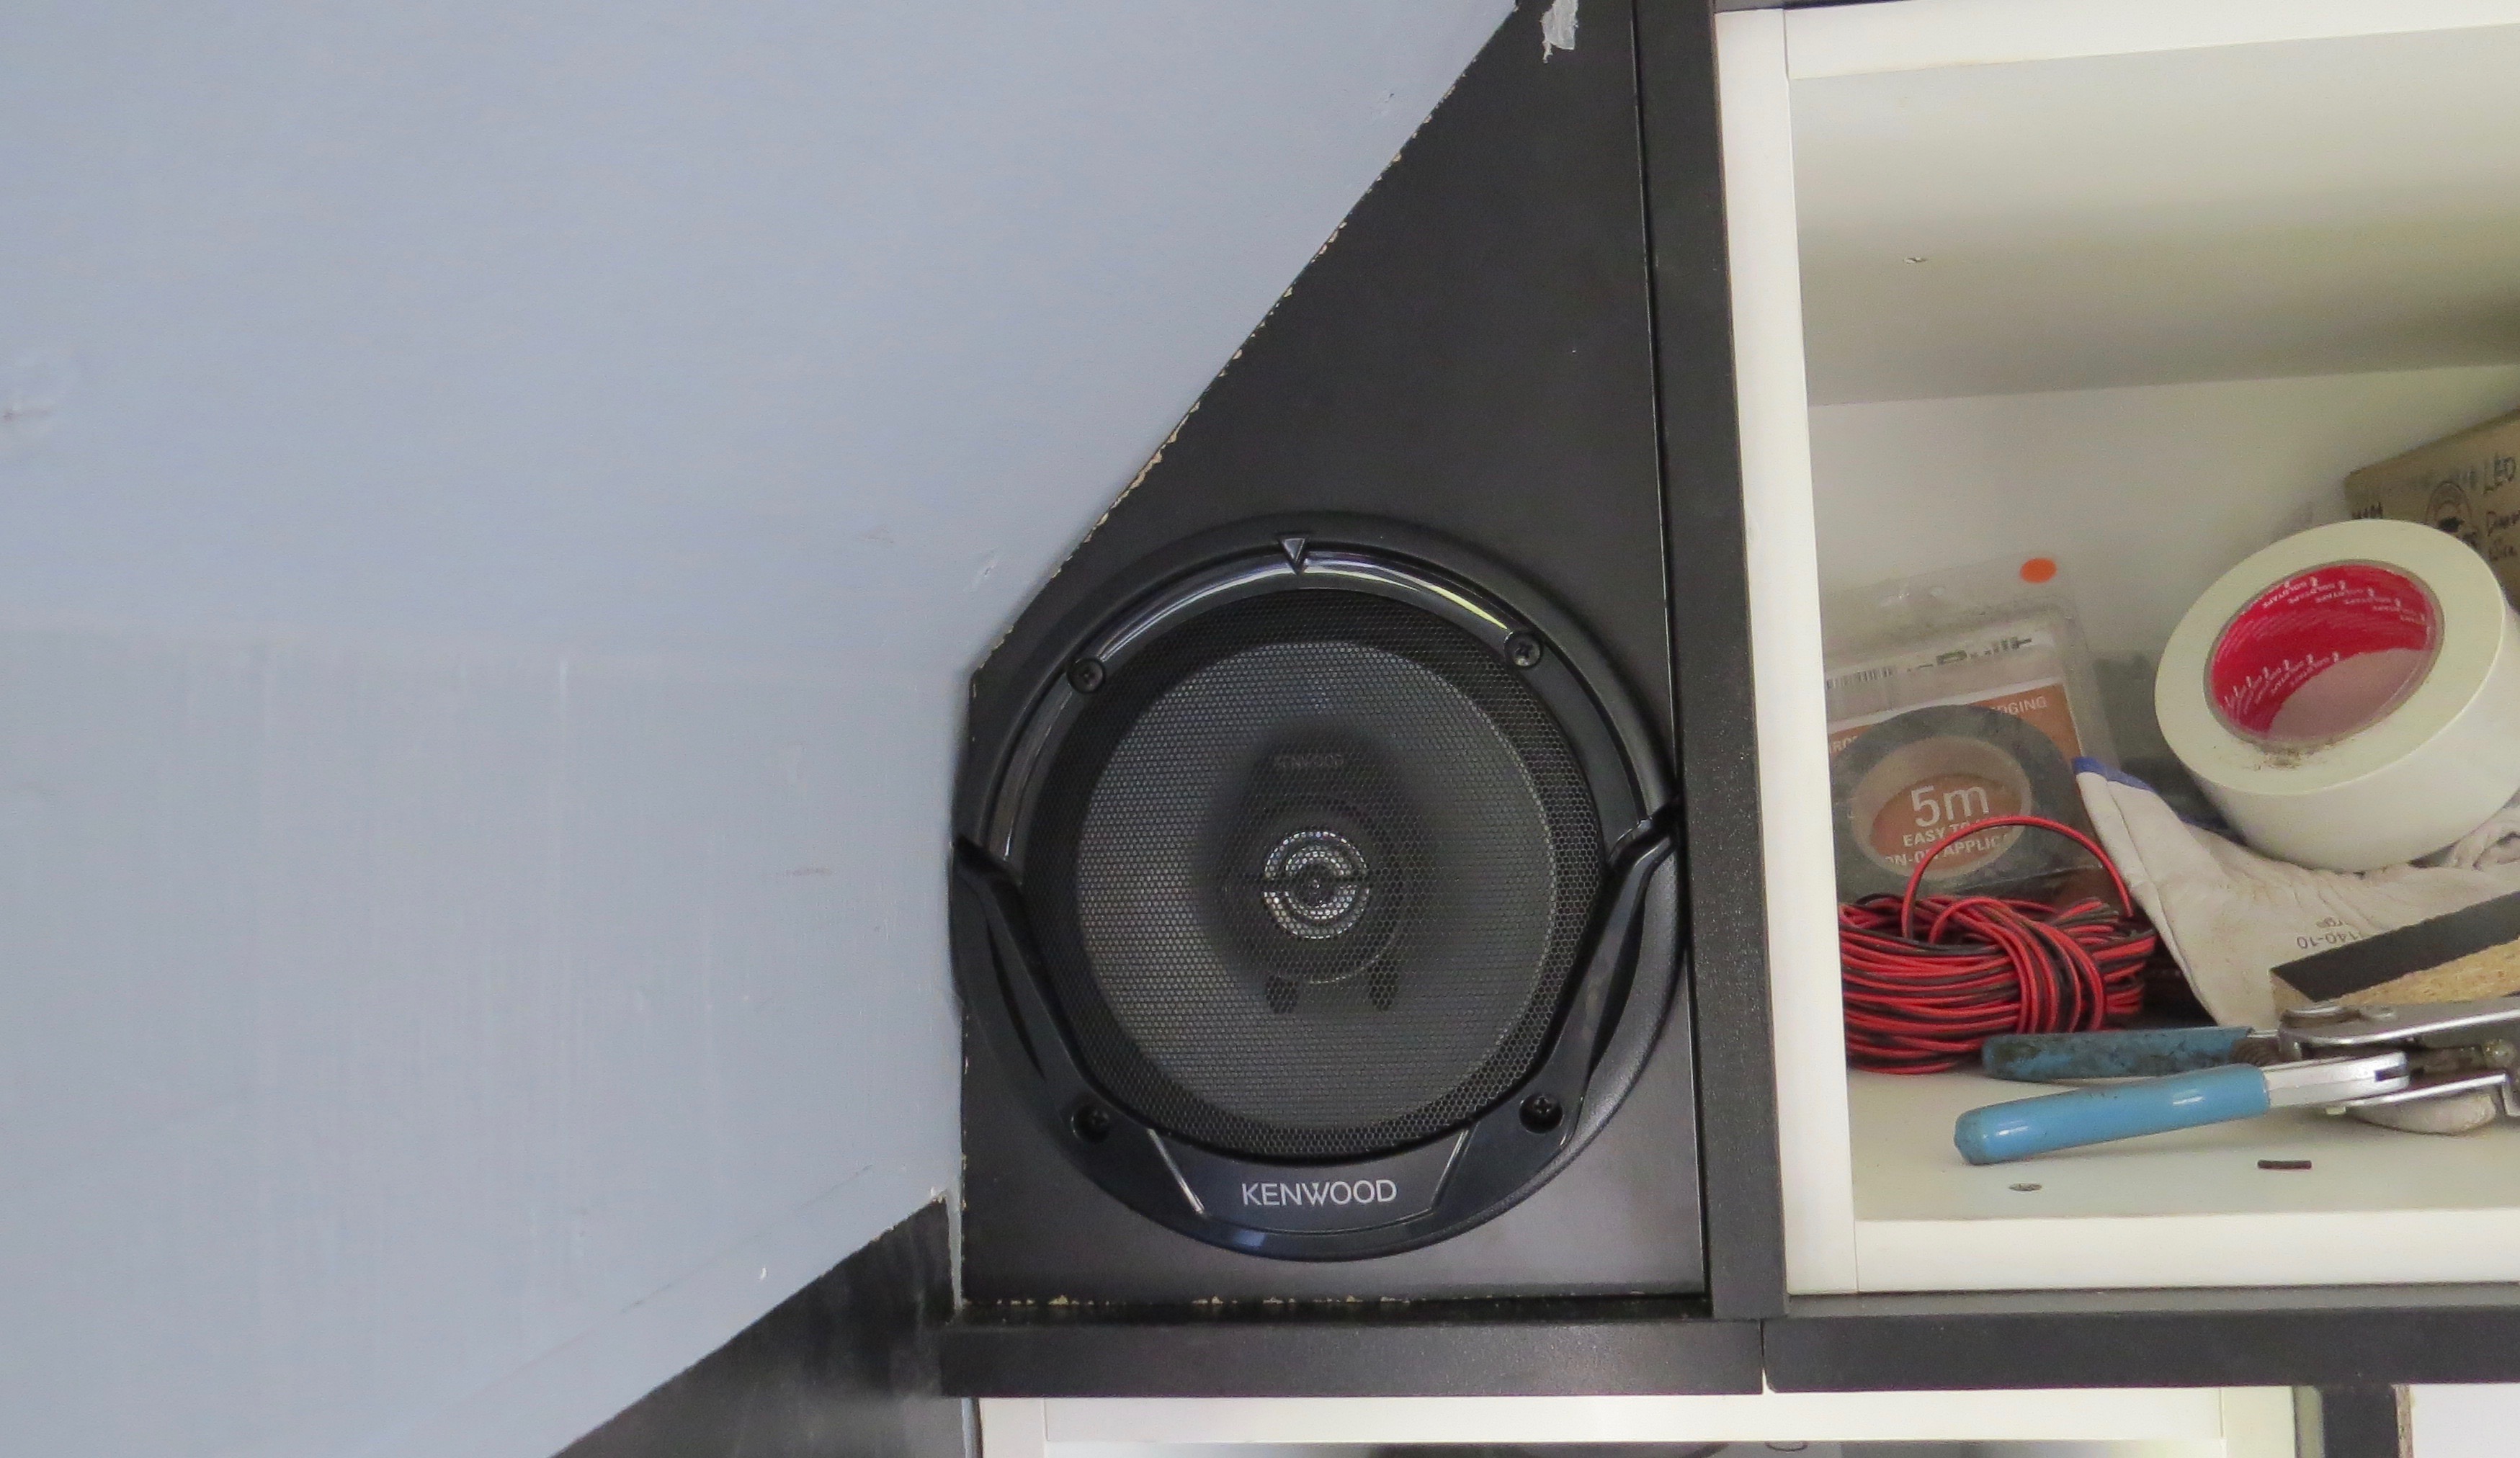
This is the odd shapes you have to work with.Looks like a good place to fit some speakers, don’t you think?Now for the other sideBit by bit it’s going together.Fiddly bitsNow we have somewhere for the back speakers.Sound for the bedroomThat is the top half done.
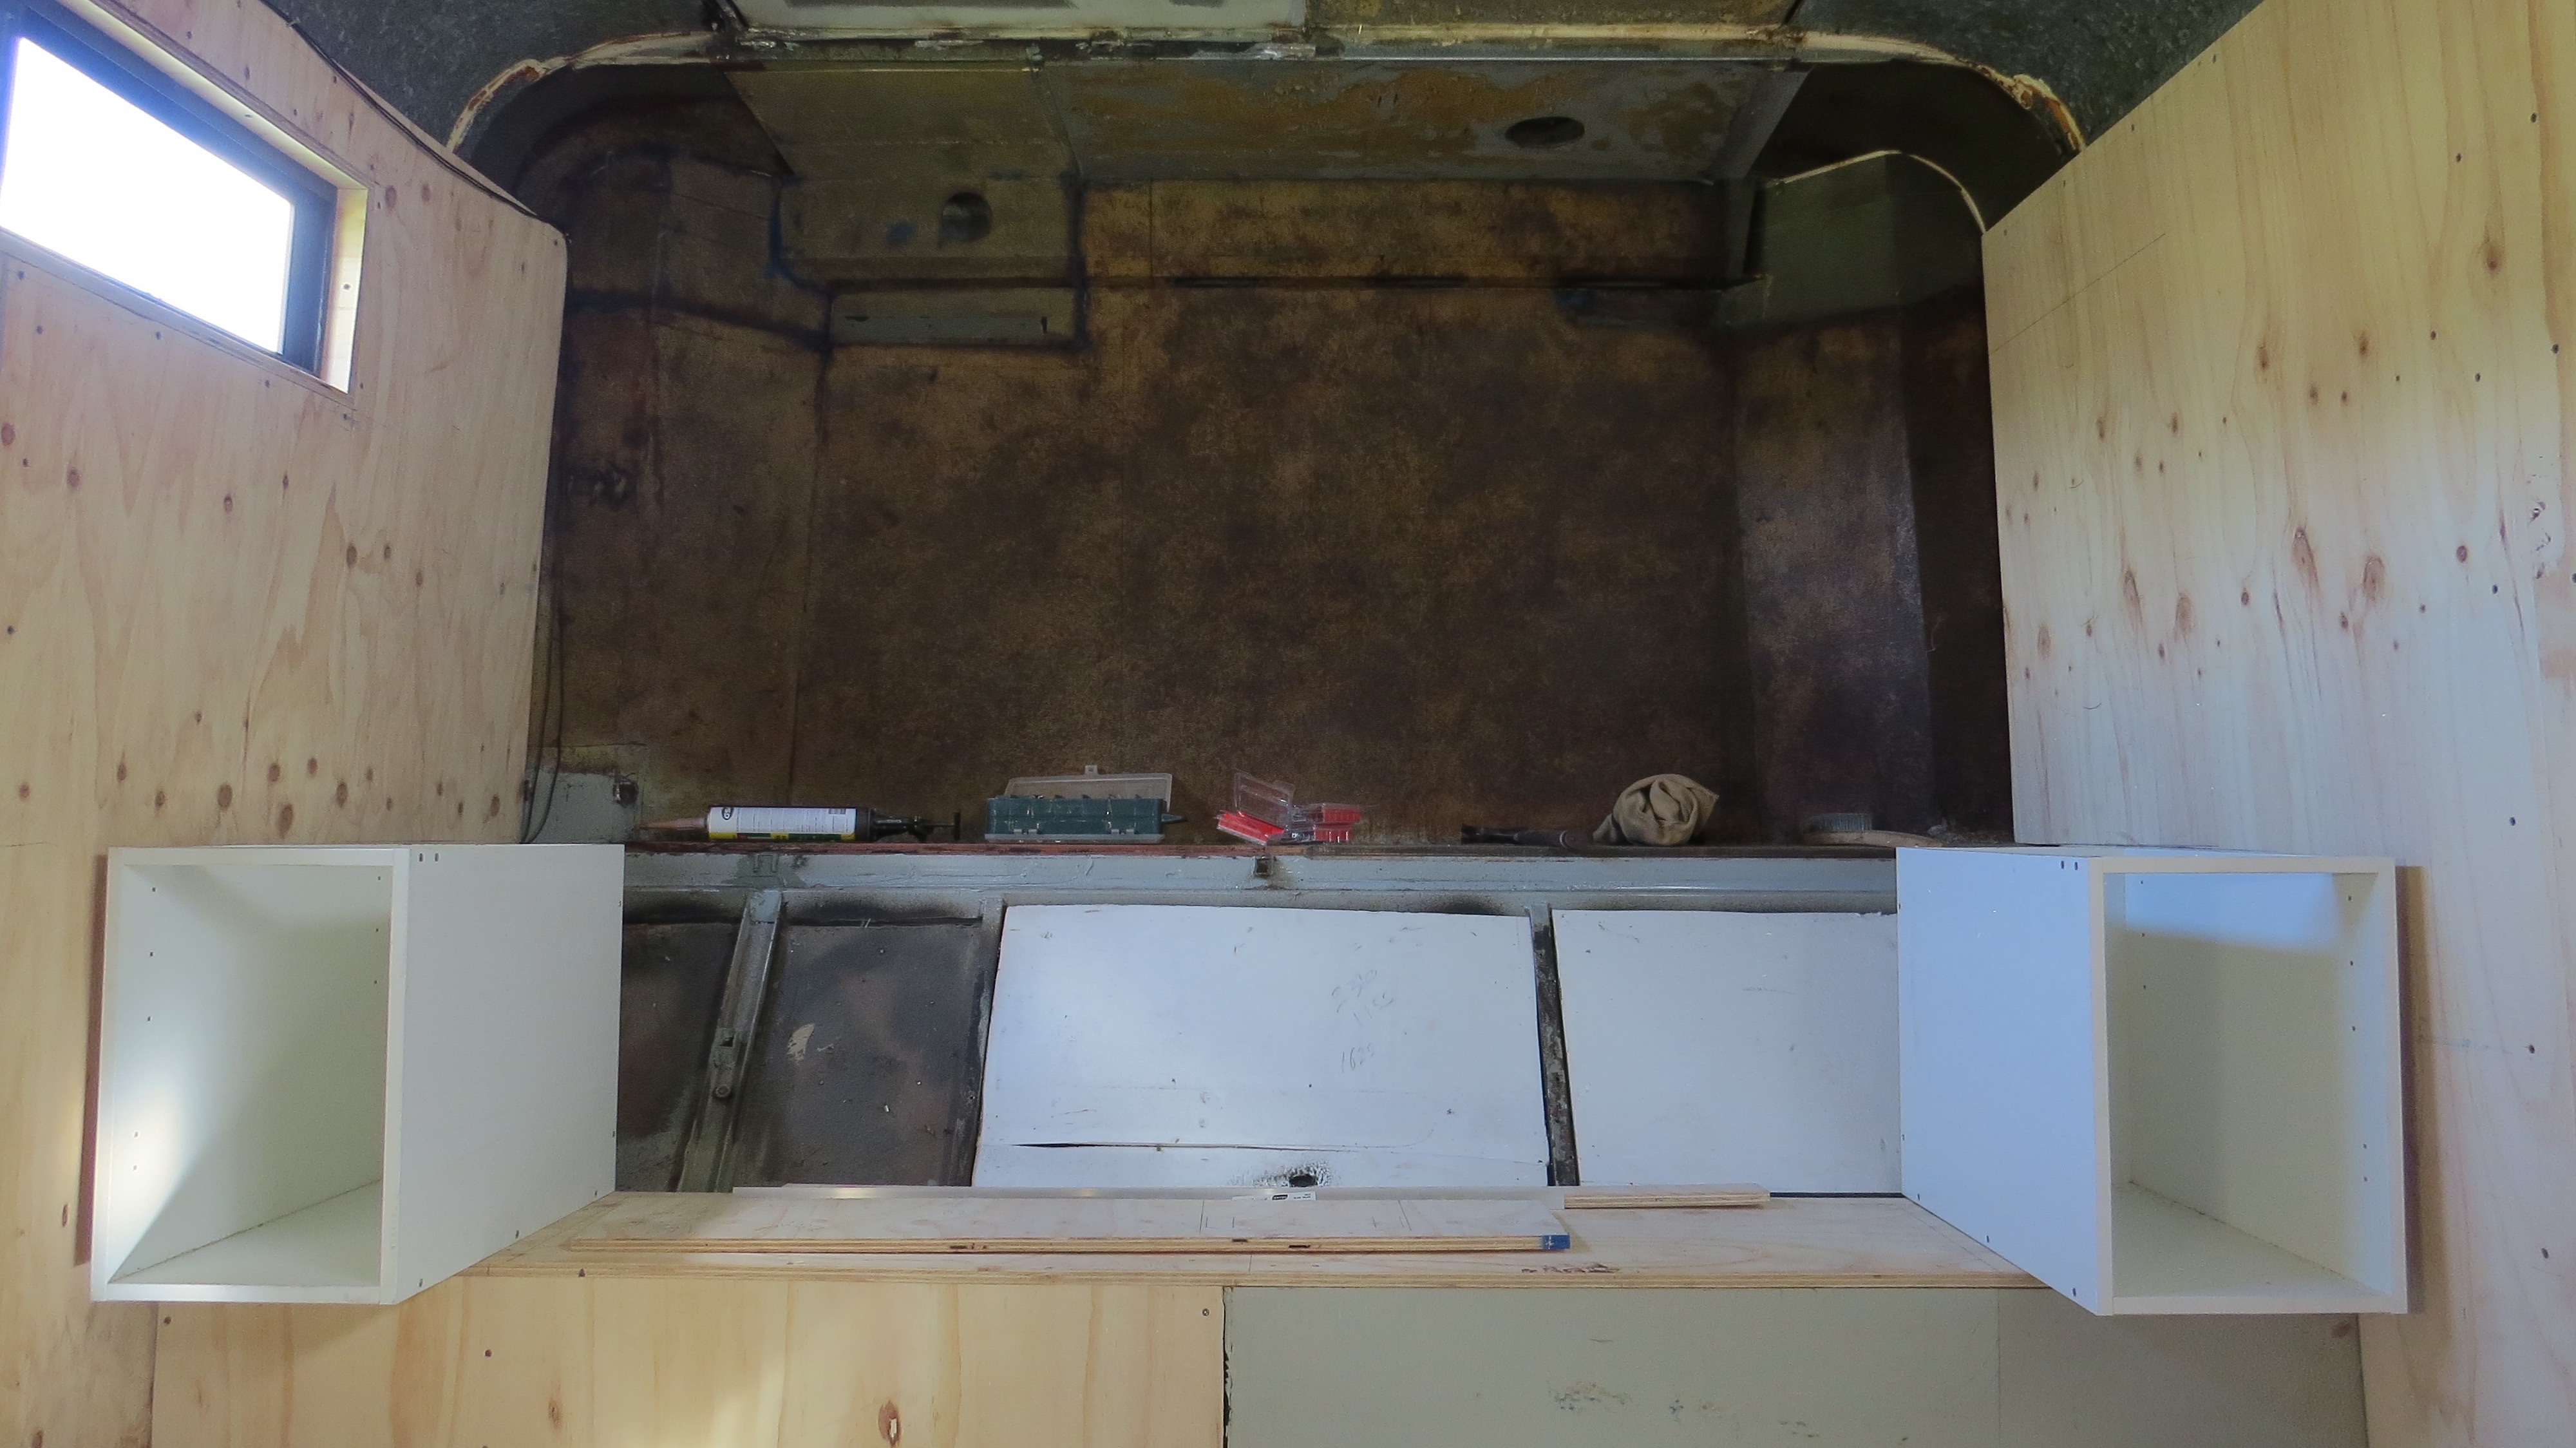
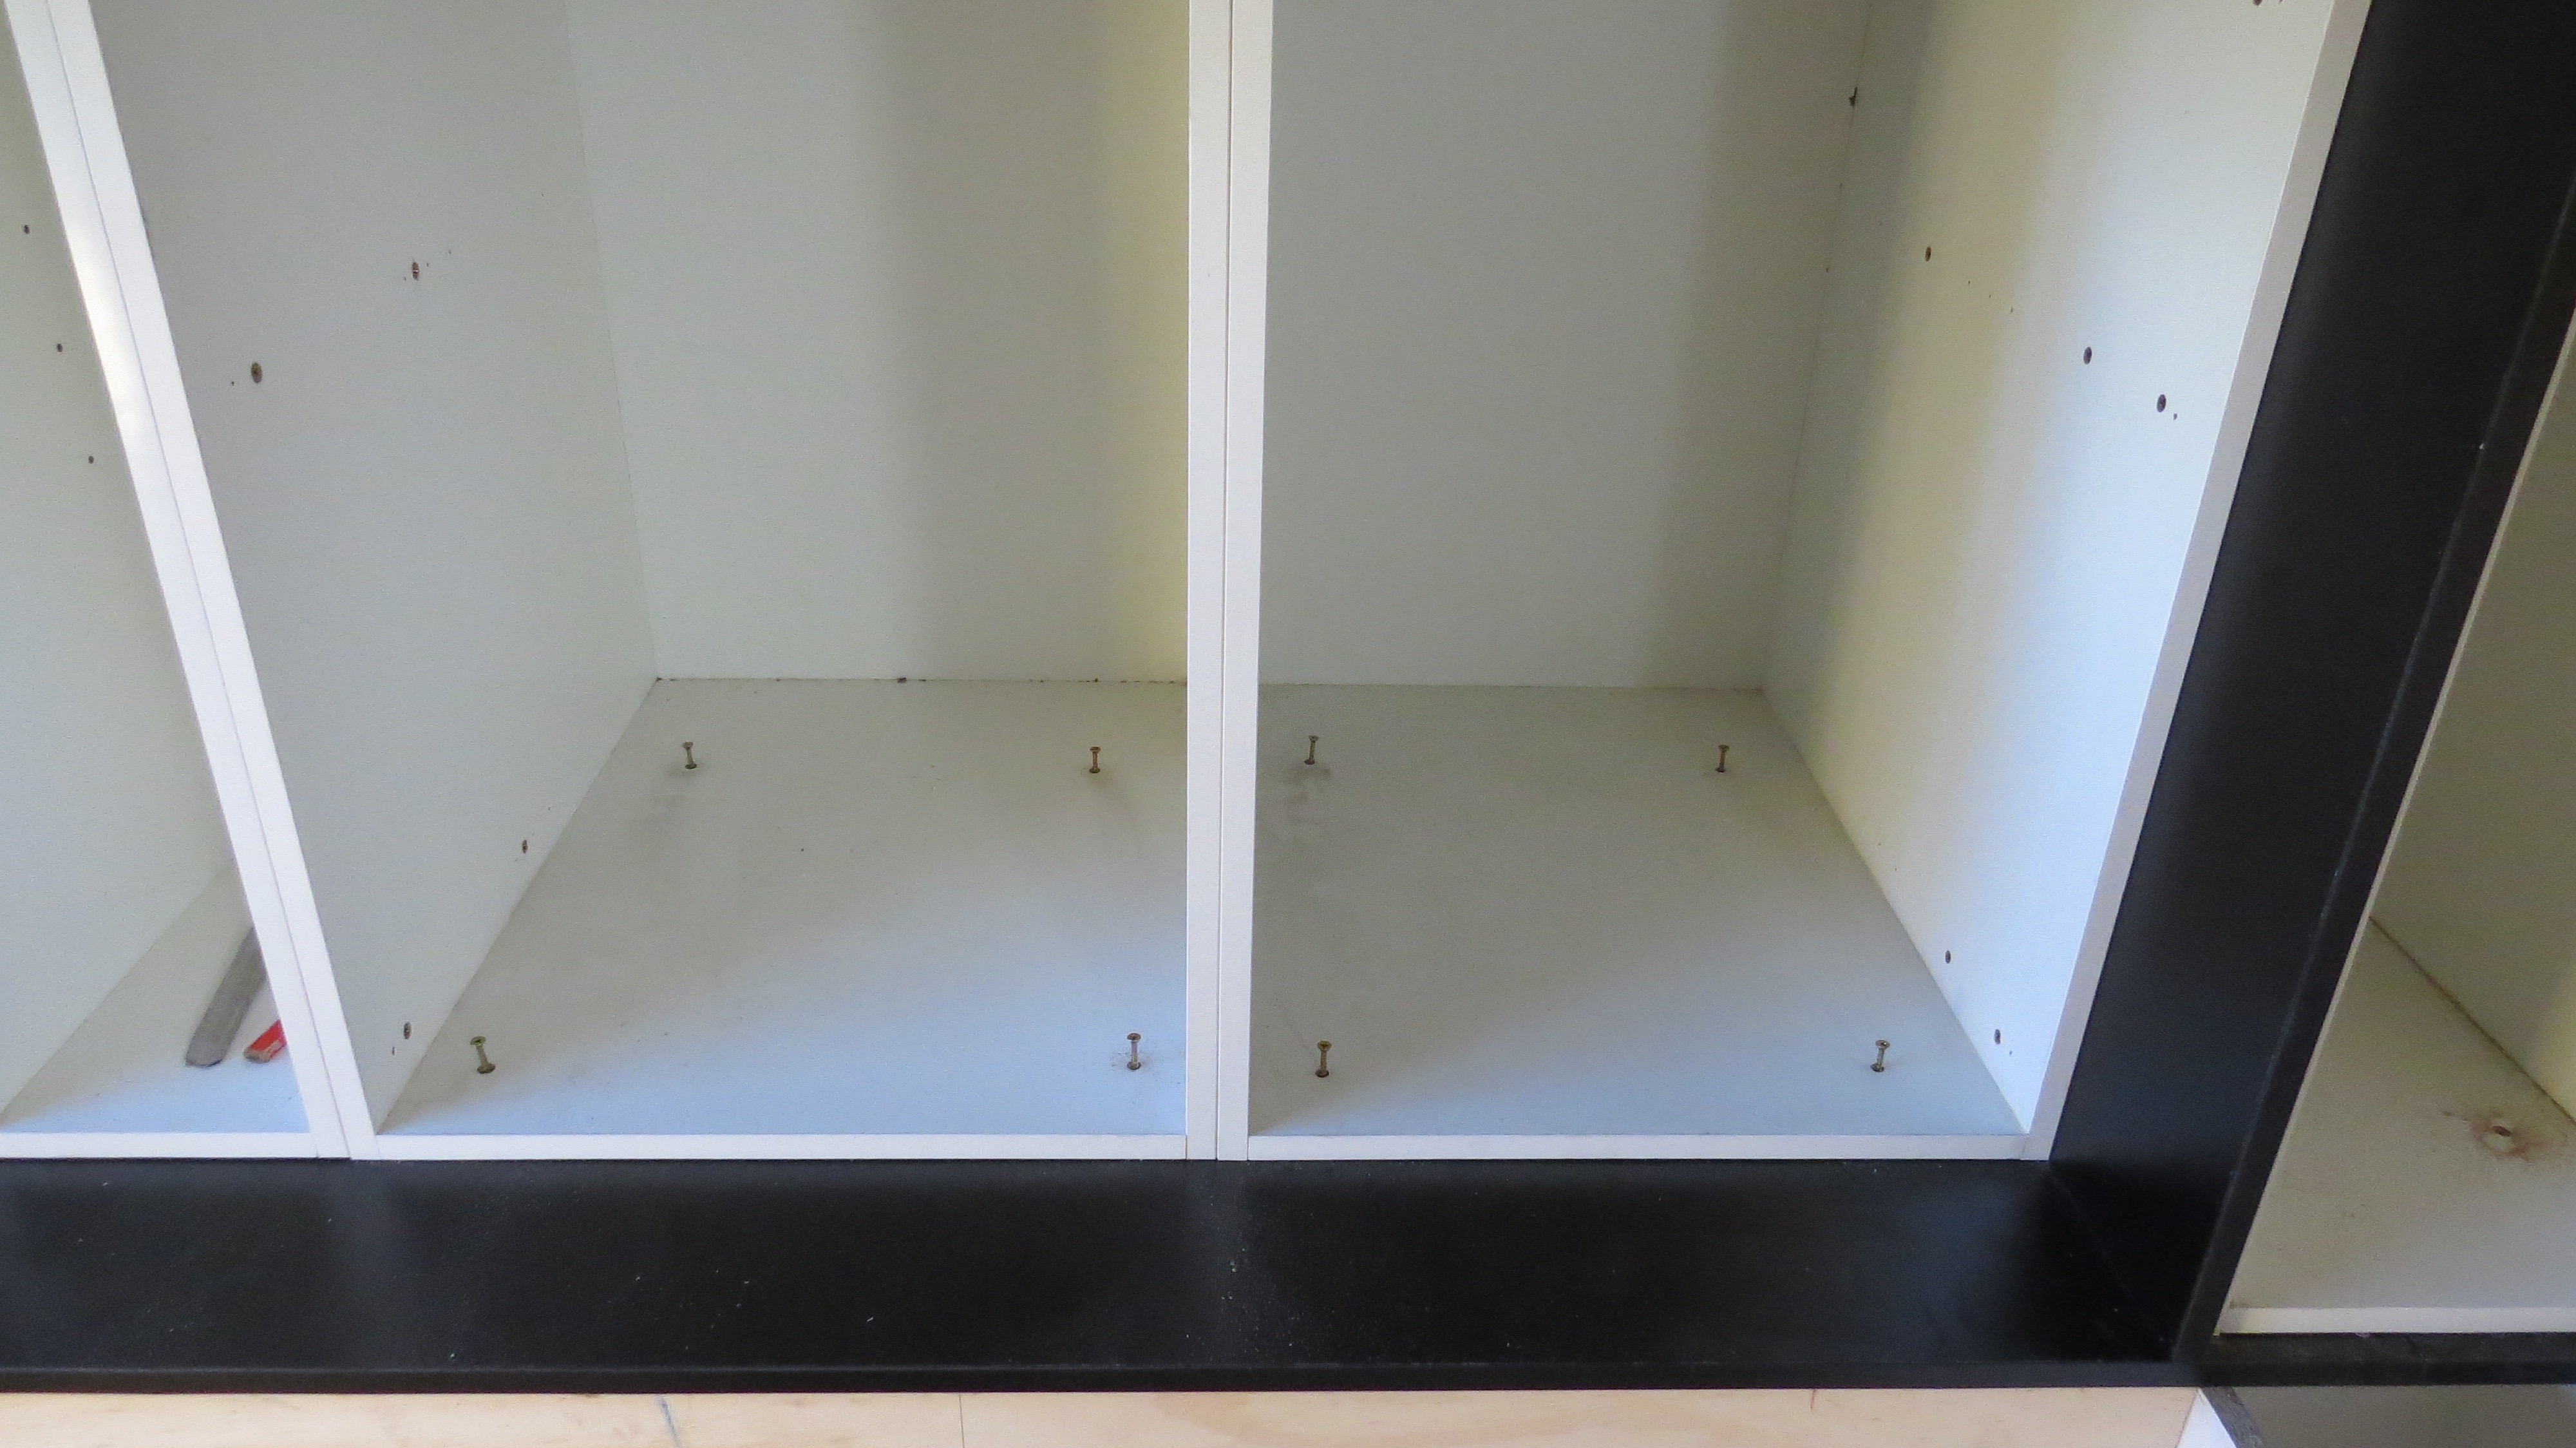
Now for the bottom half
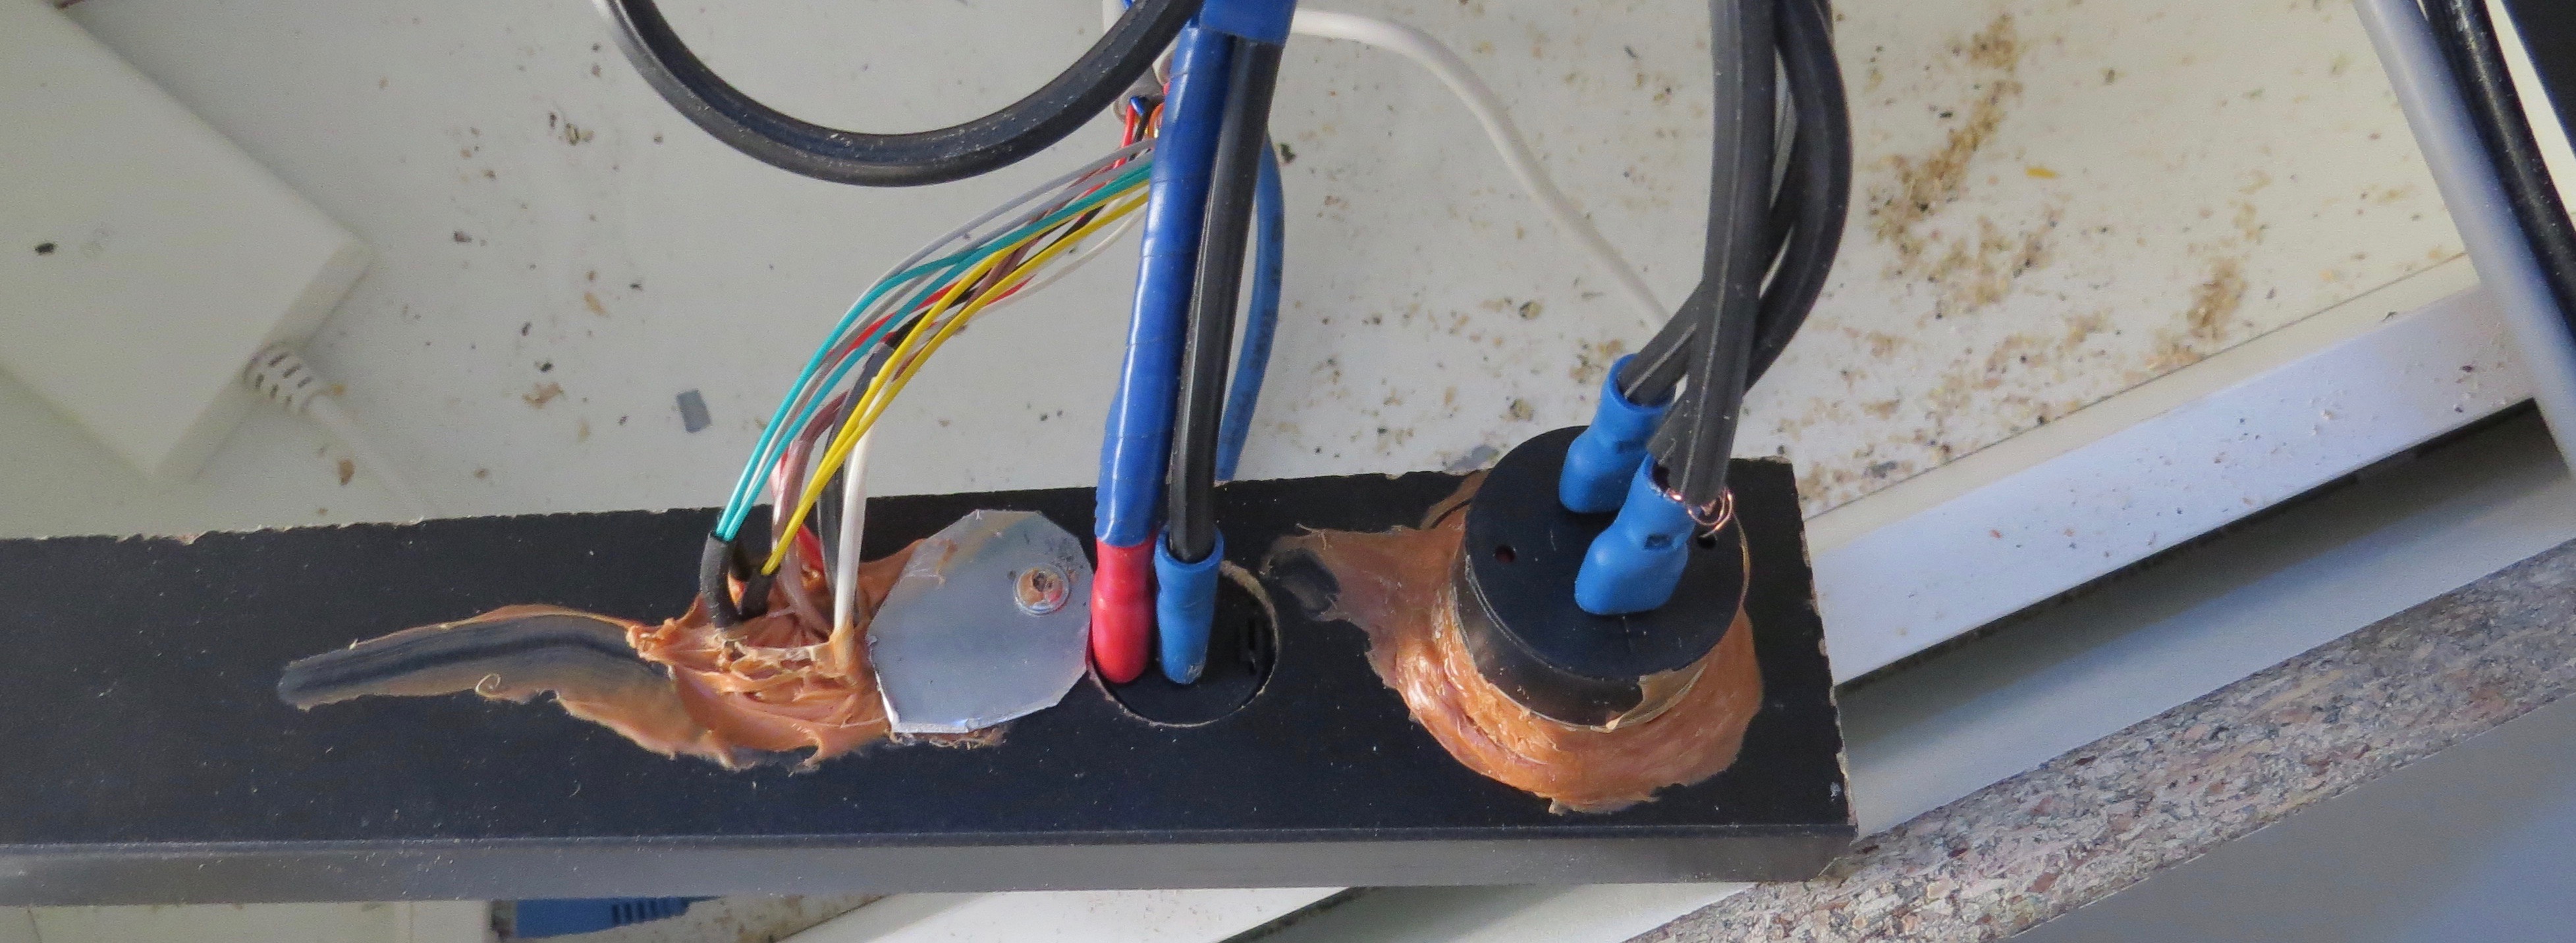
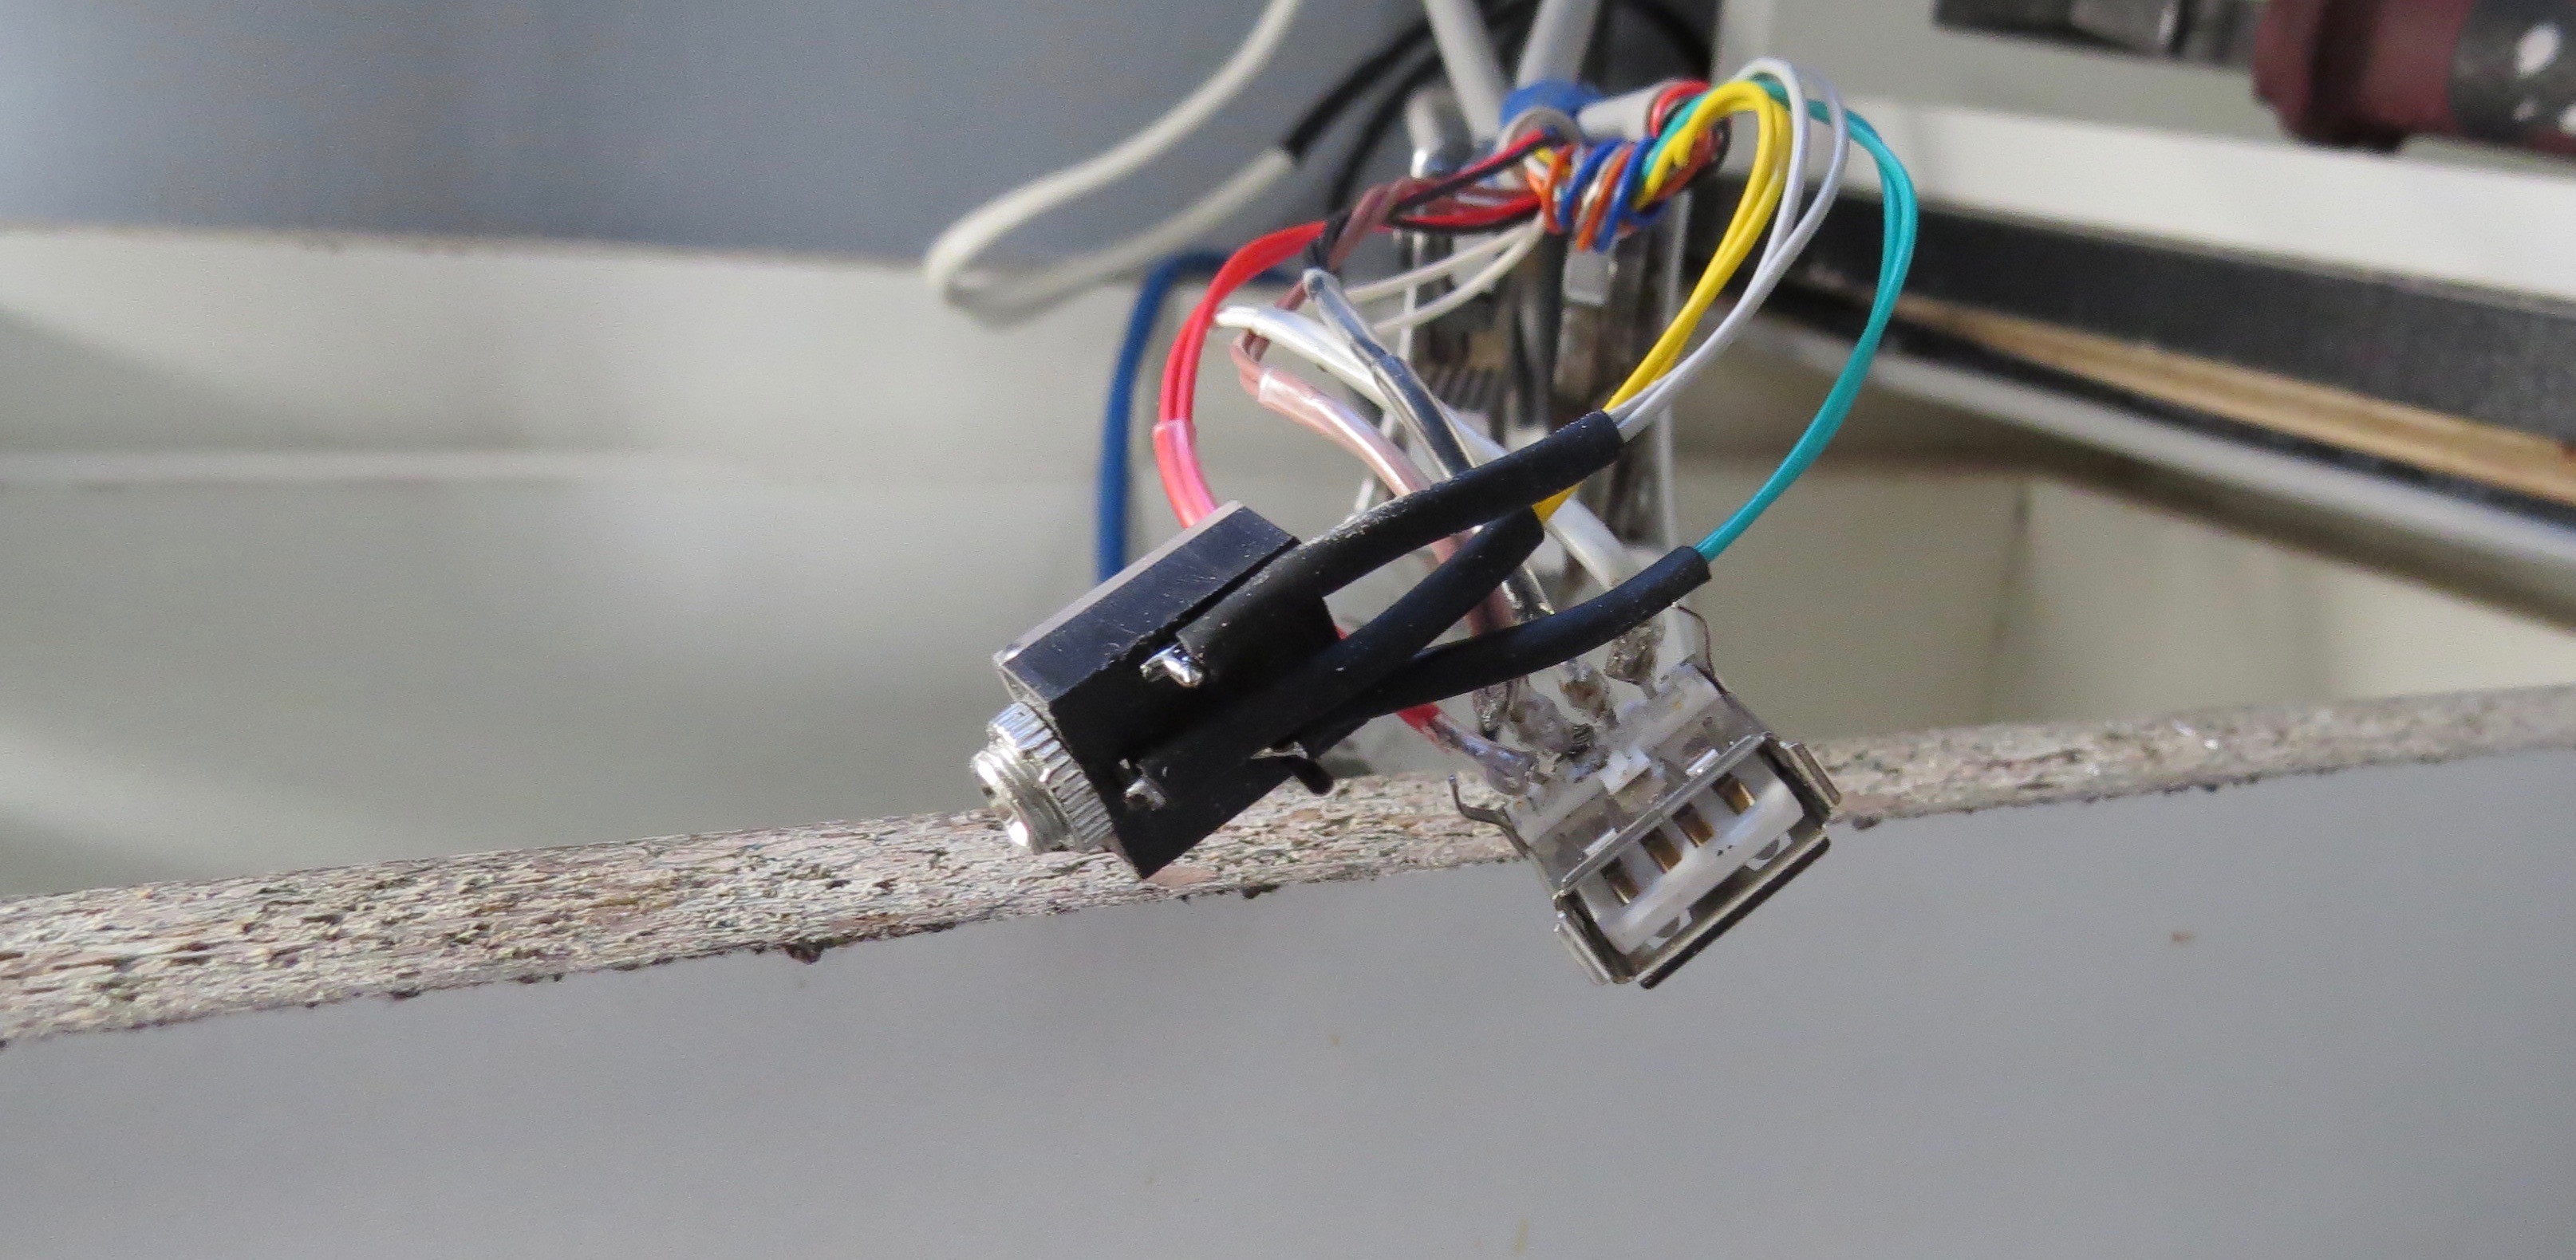
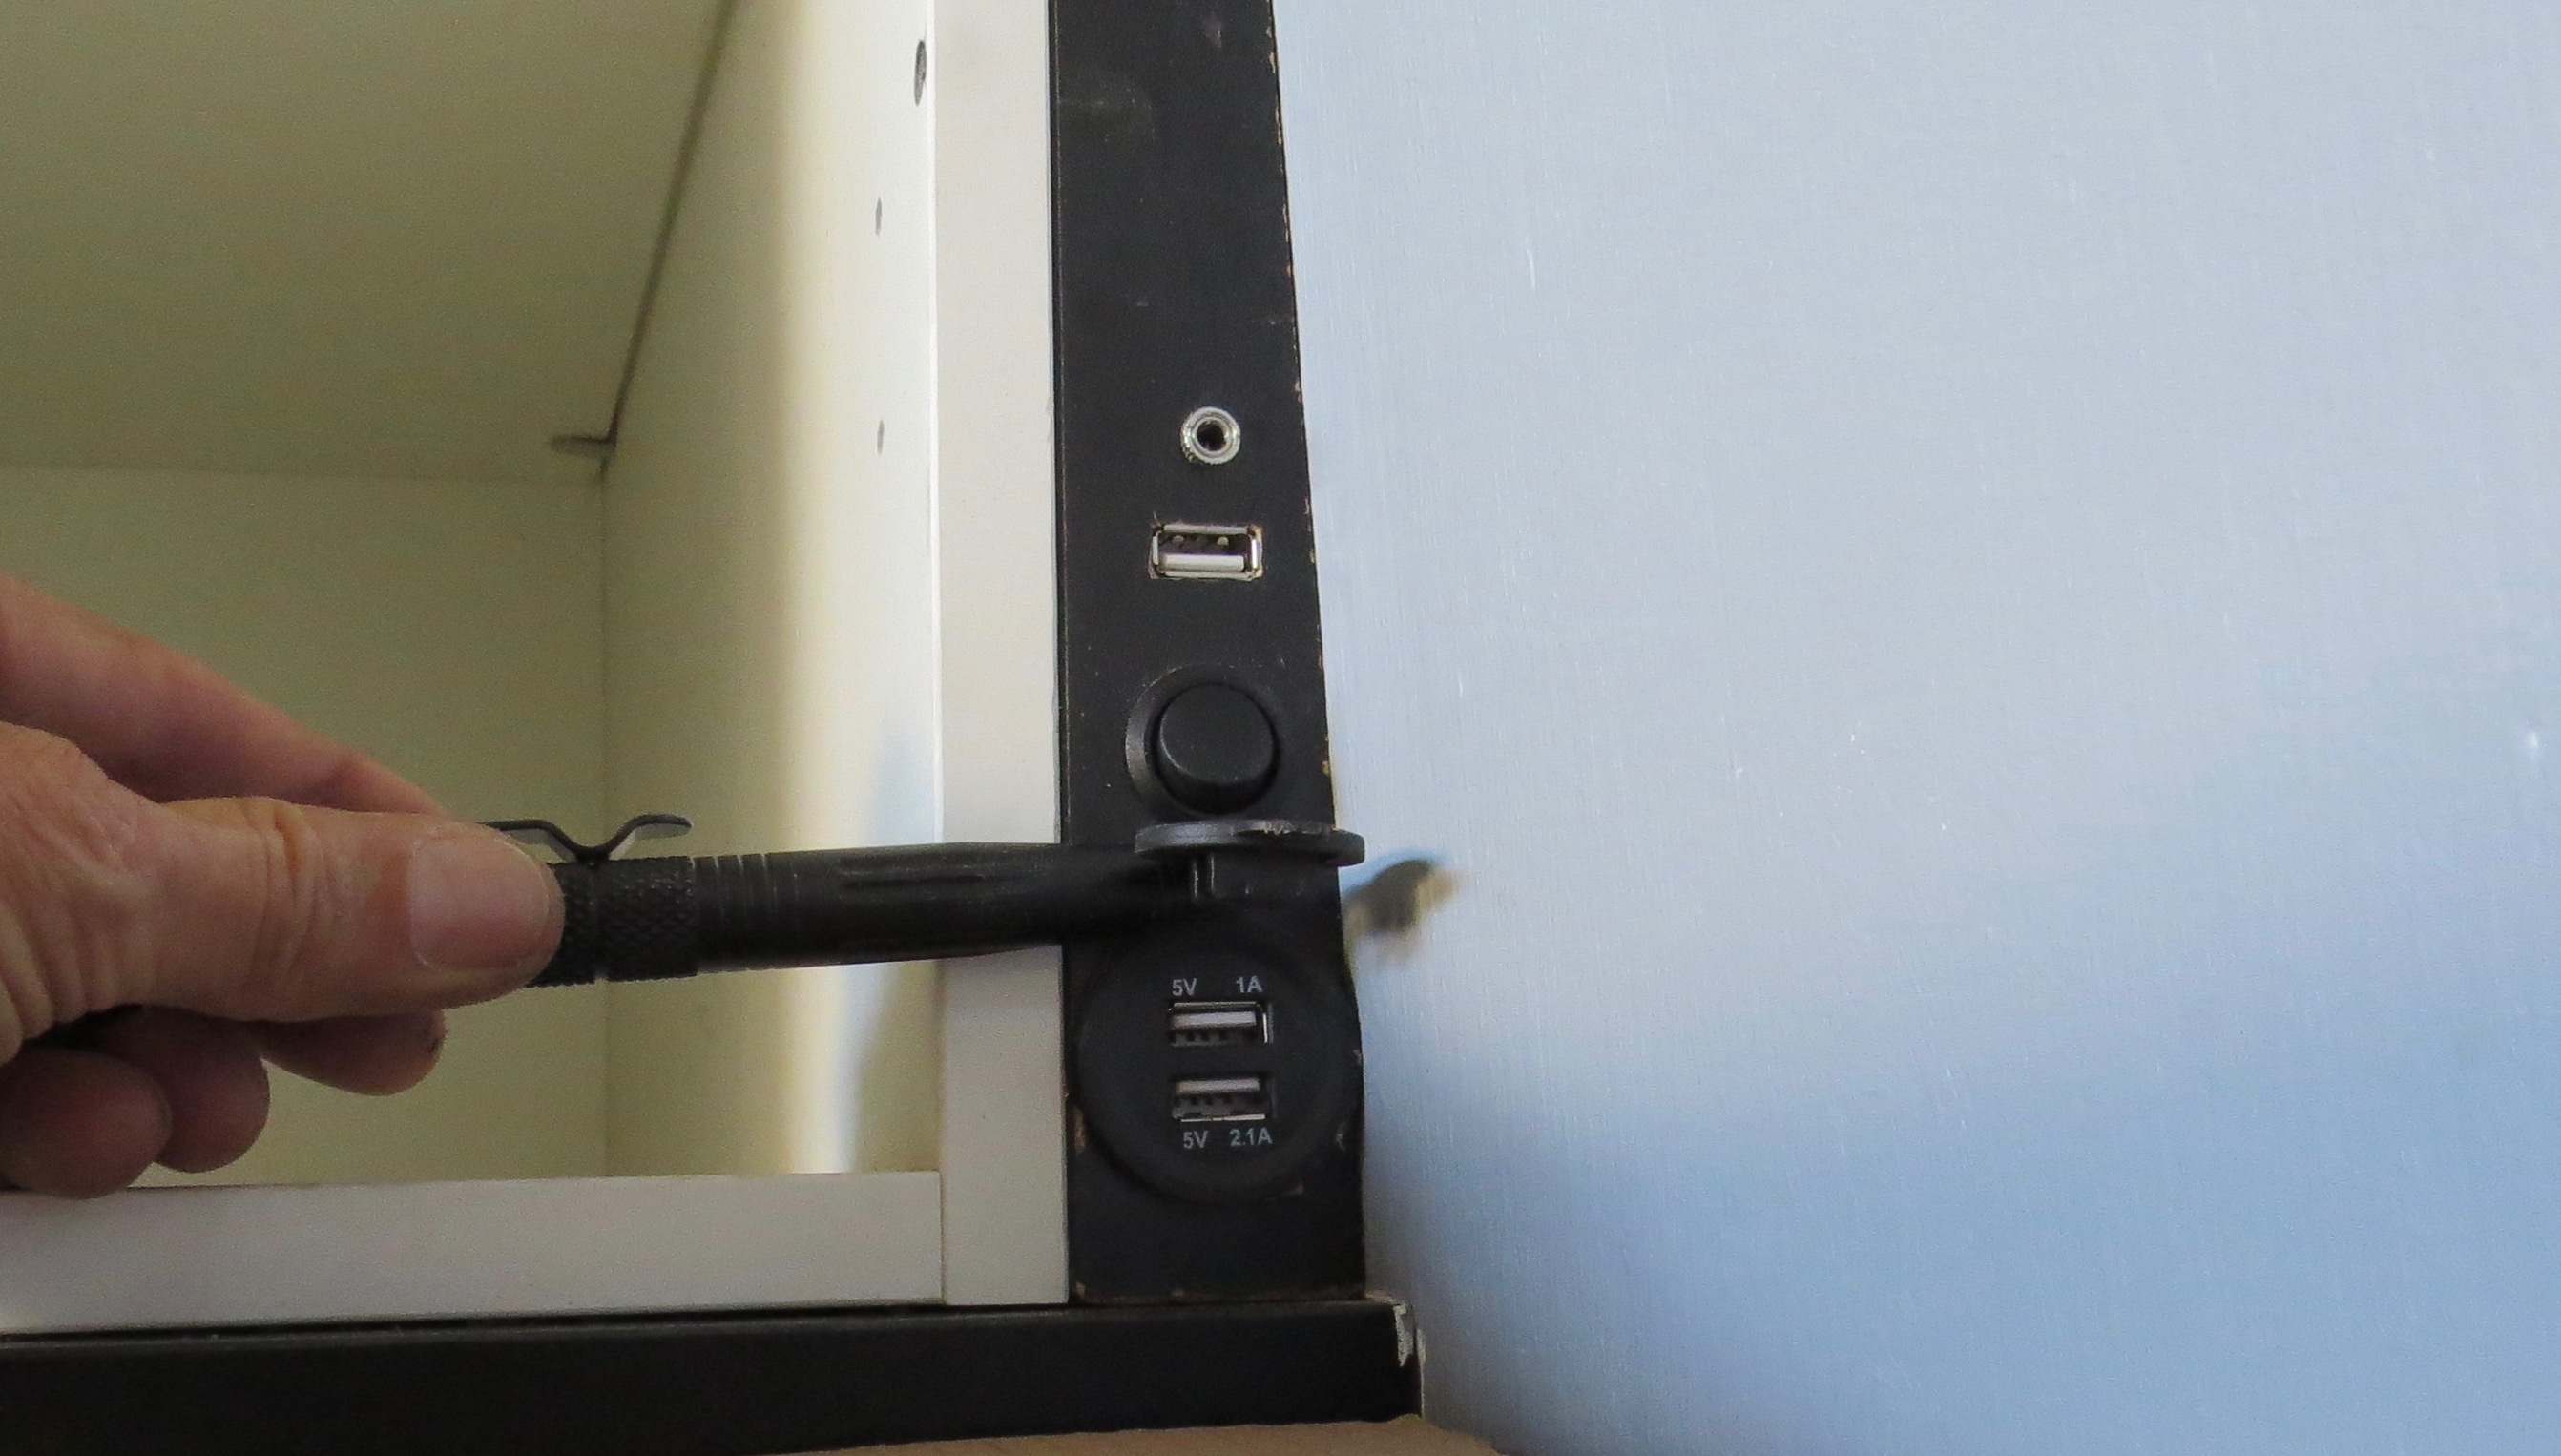
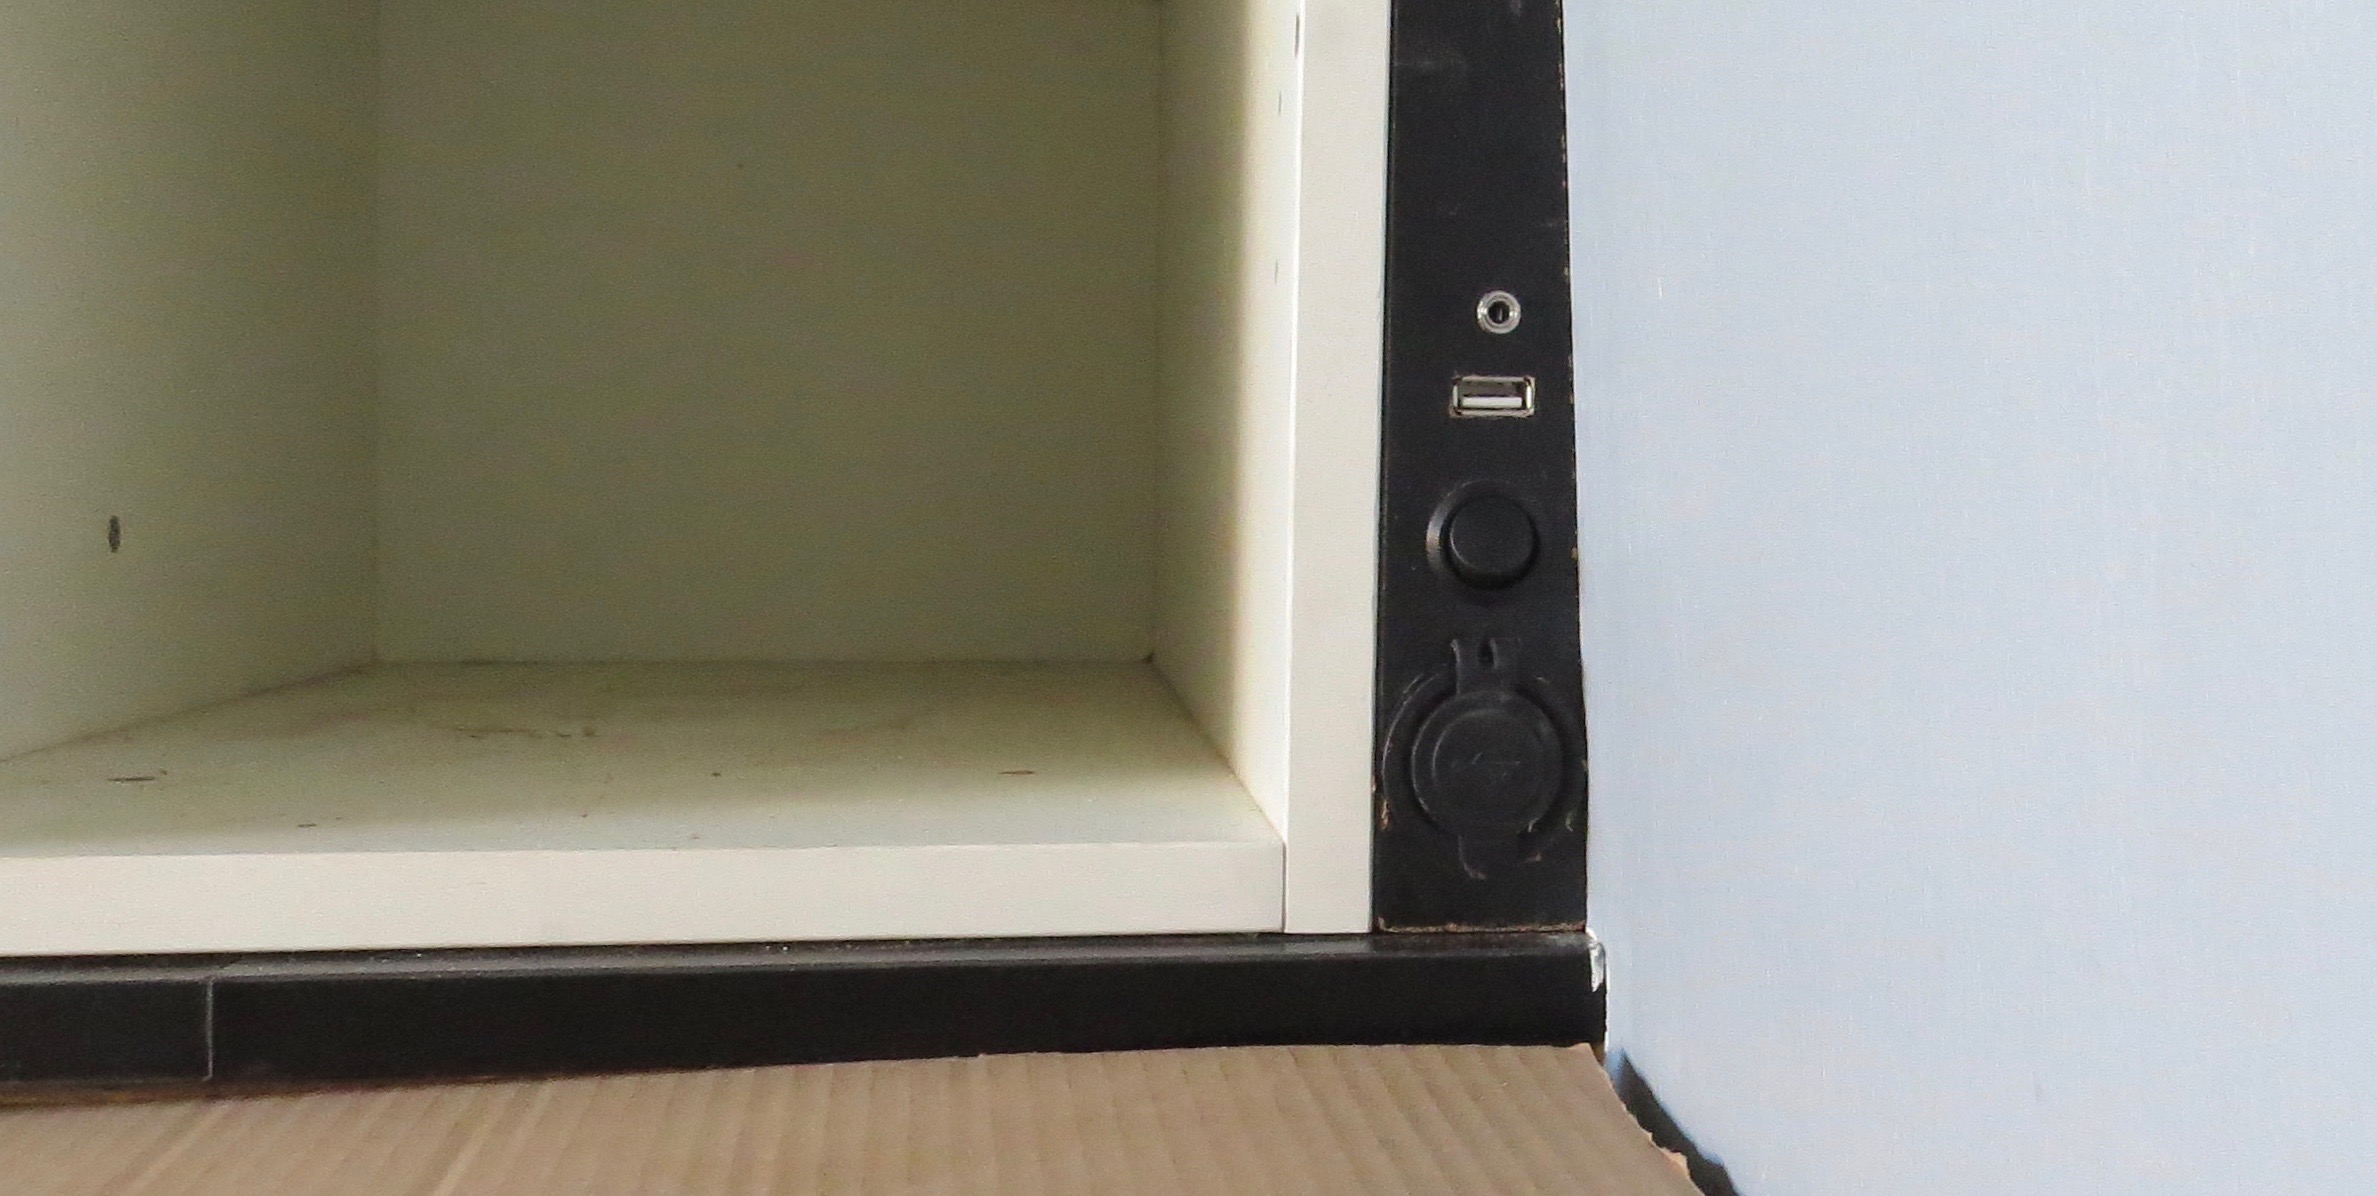
This is a bit more tricky as there is not much room to work with and the shape has to be exact. I will be trying to put a USB charger, AUX and a USB to the stereo on either side of the bed next to the middle cabinets and the wall.
Not much timber to work with here.Where does the time go ???It looks a mess from the back.Lets hope we soldered the wires in the right place.Phone charging points that can be switched off, AUX and USB back to the sound system.Job finished.
There was no room to spare at all, but that was a painful job and one that I’m glad is now over. I sometimes have some great ideas that I end up wishing I hadn’t had, but the job is done now.
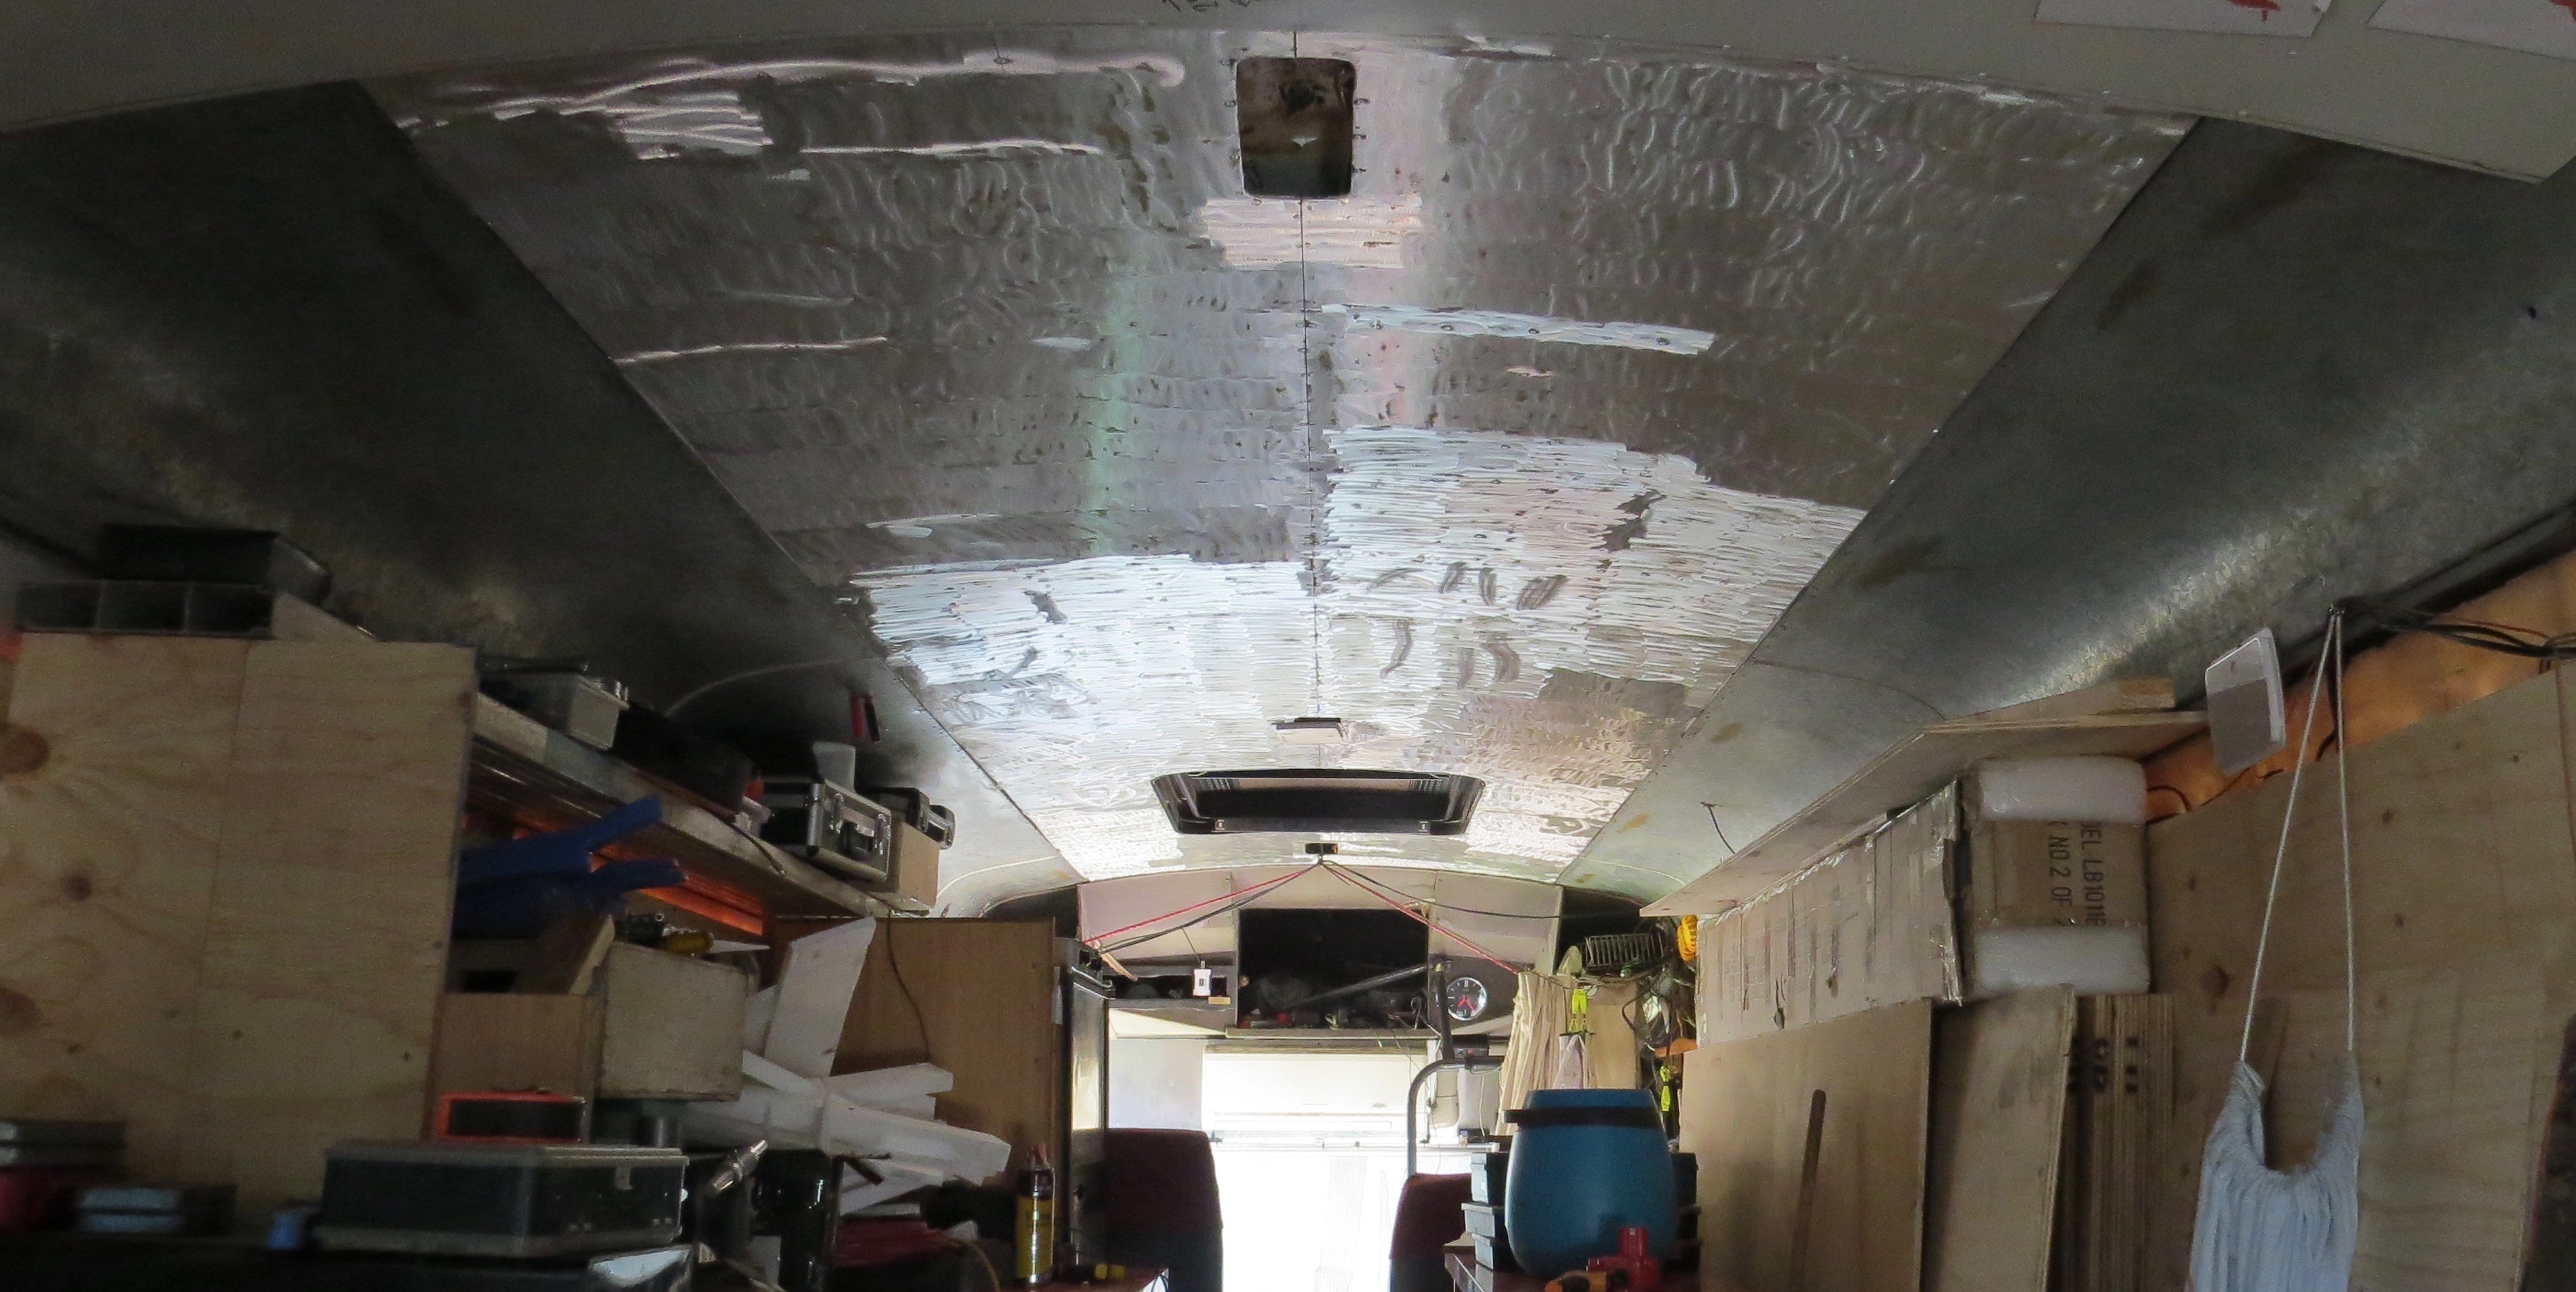
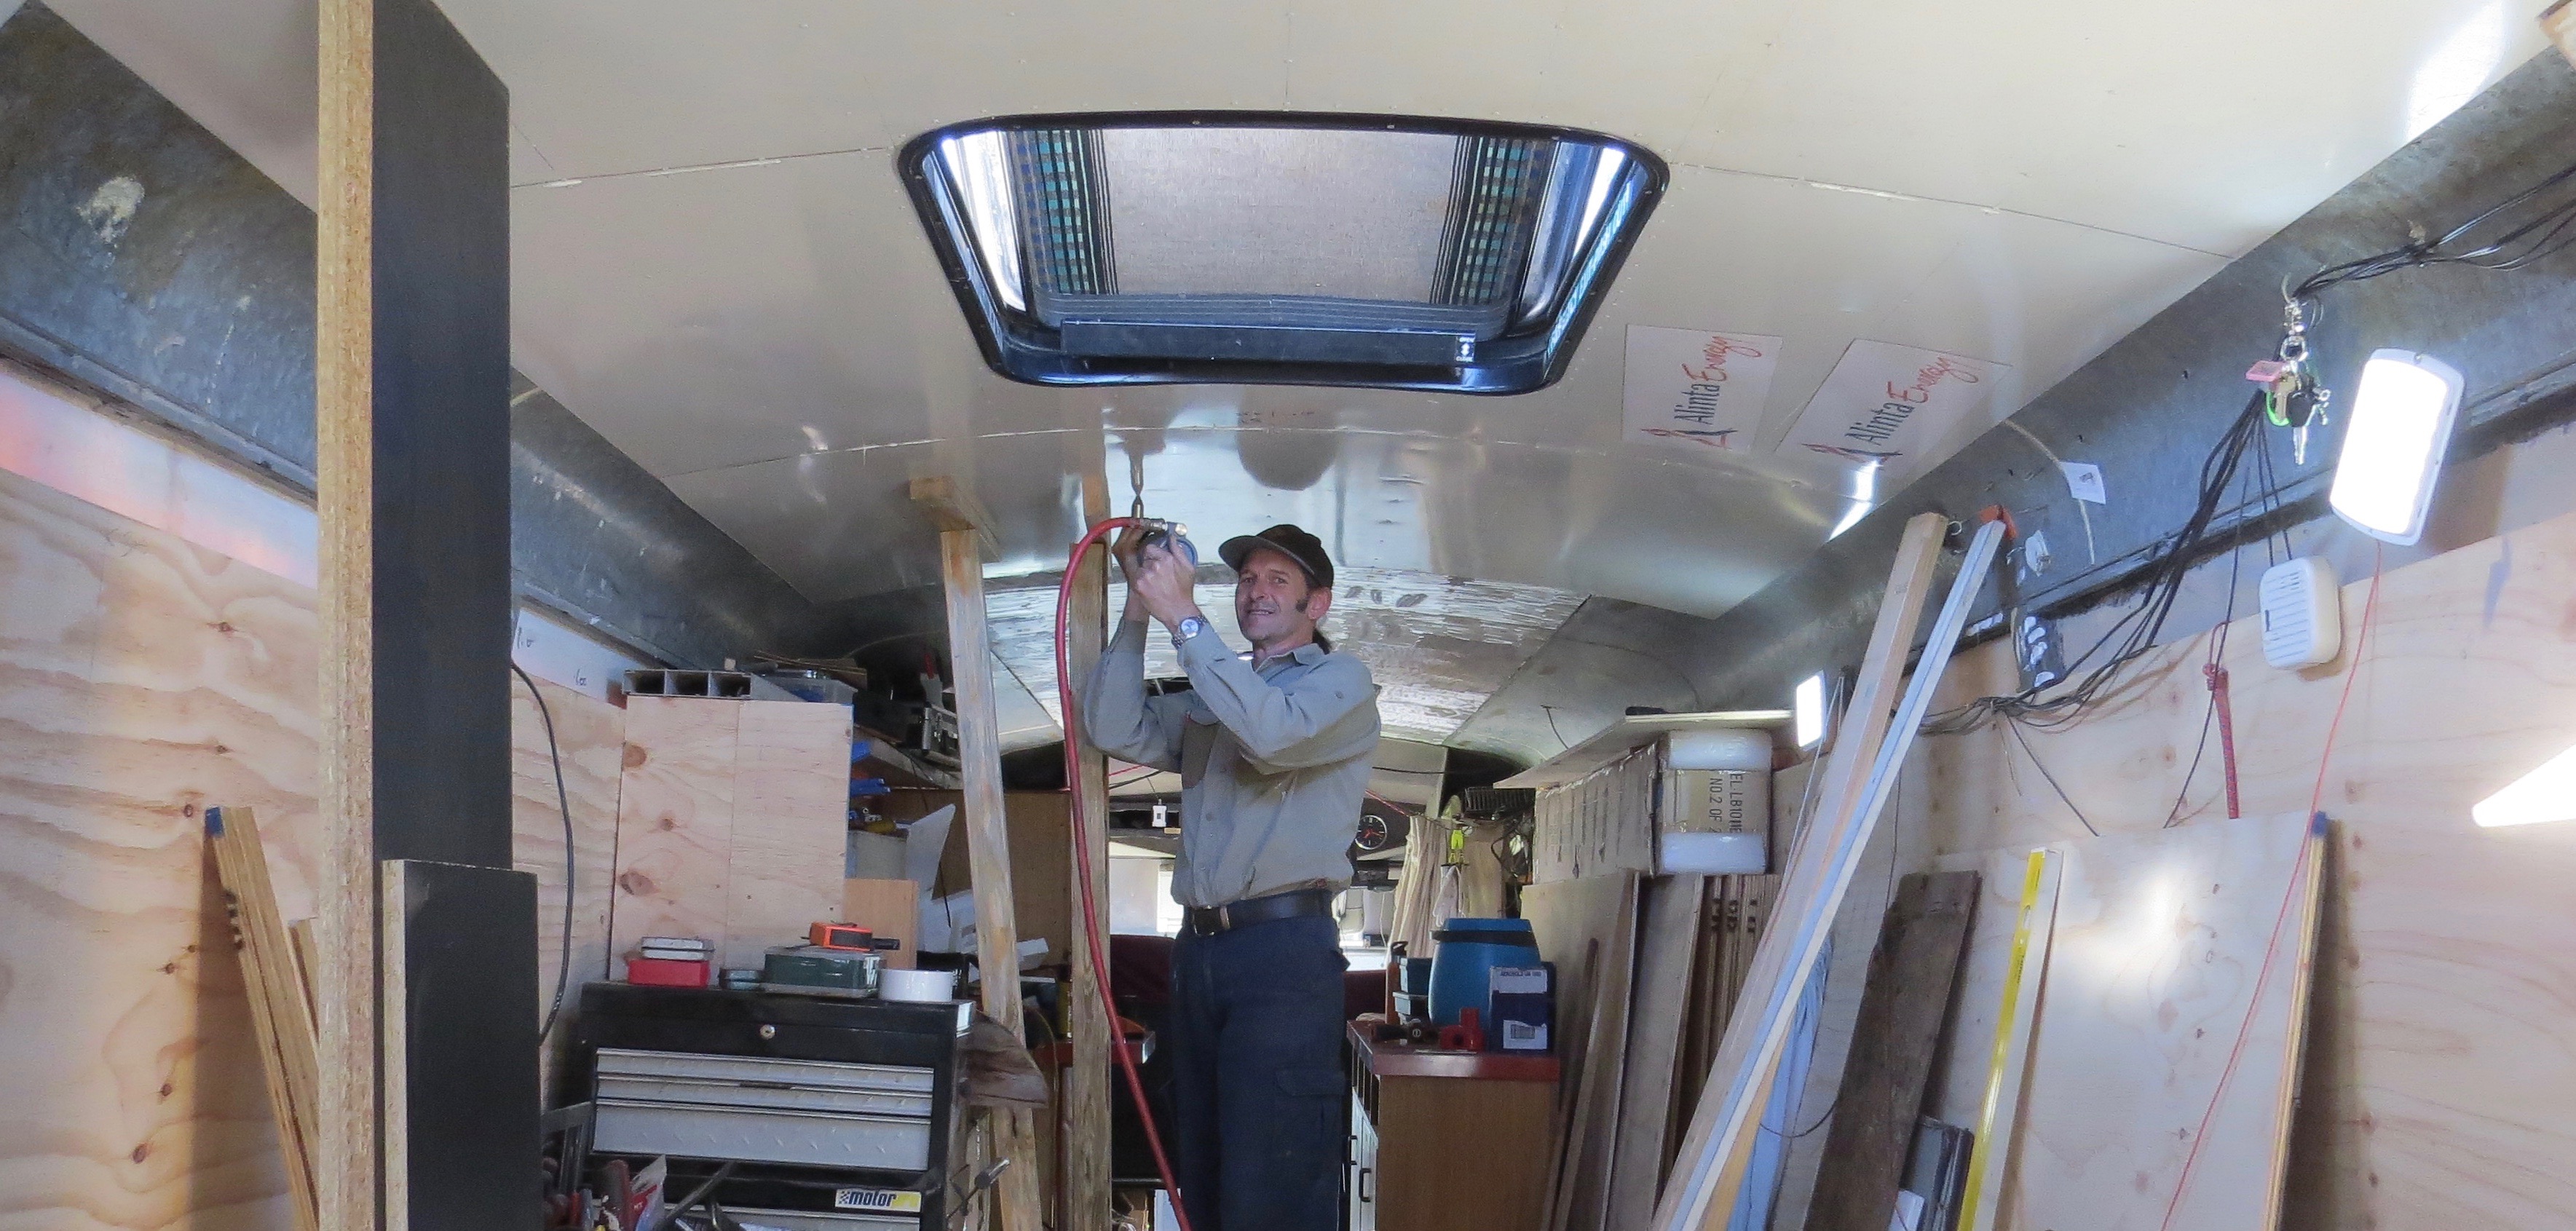
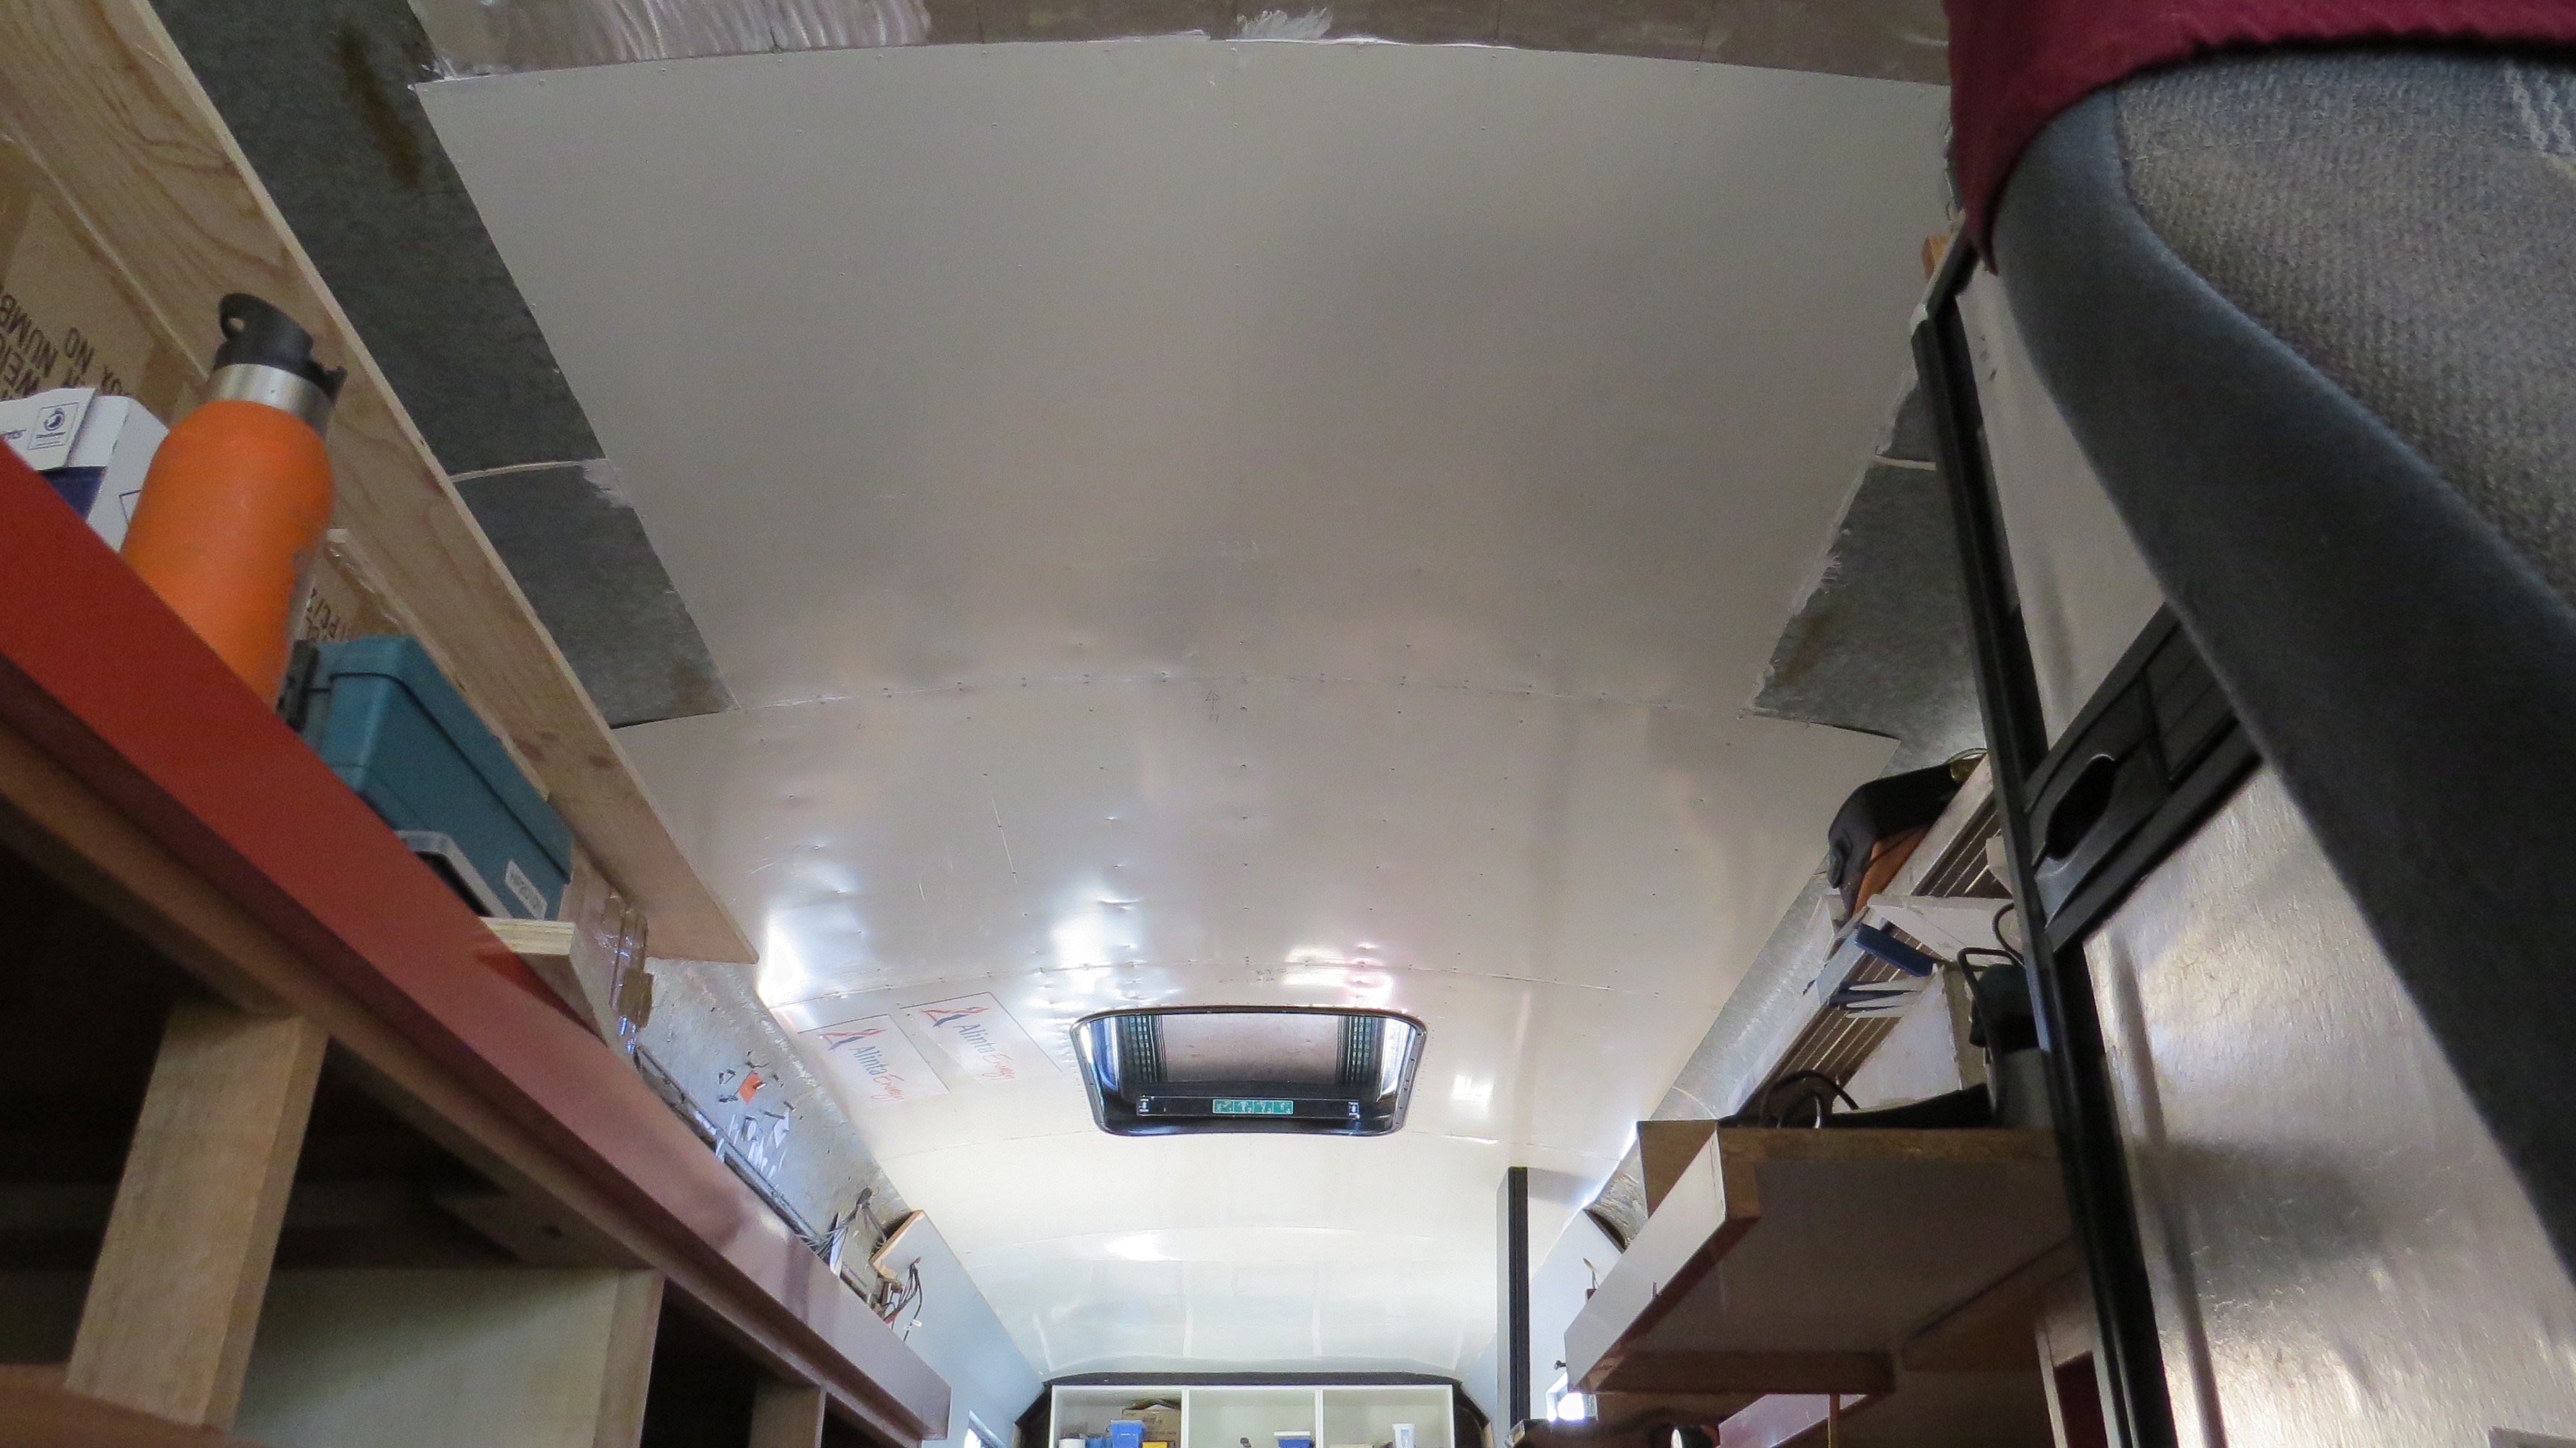
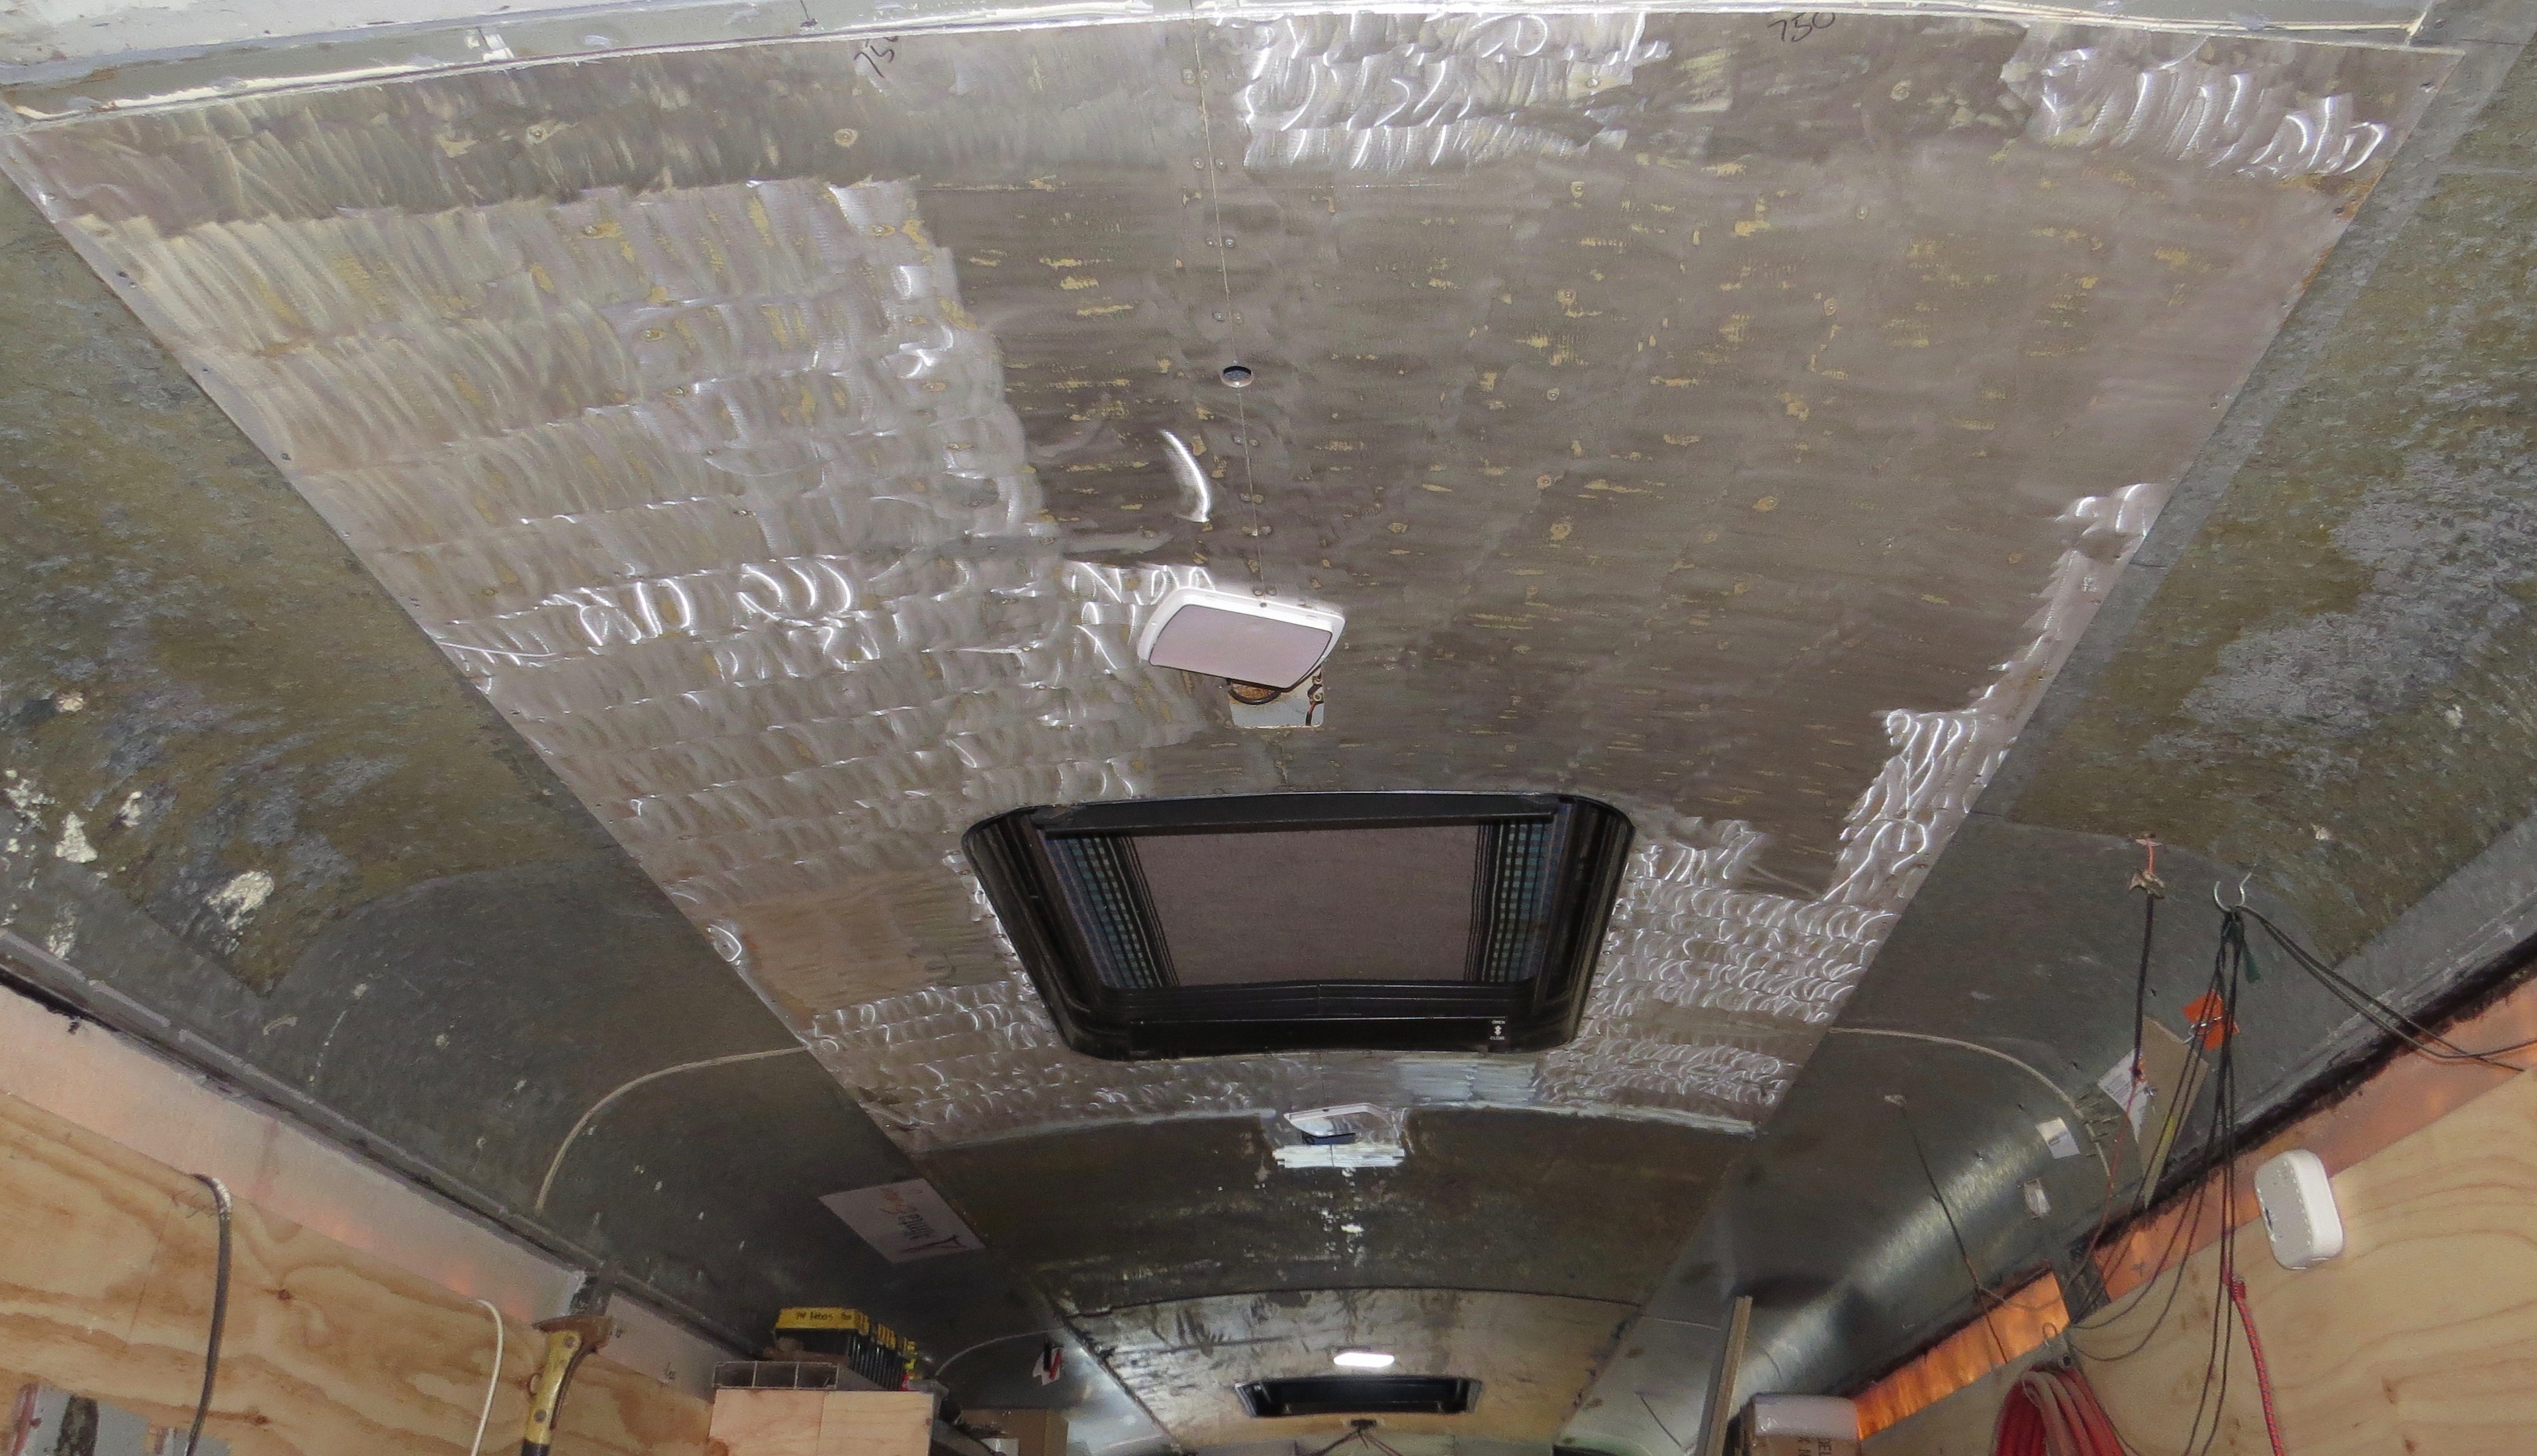
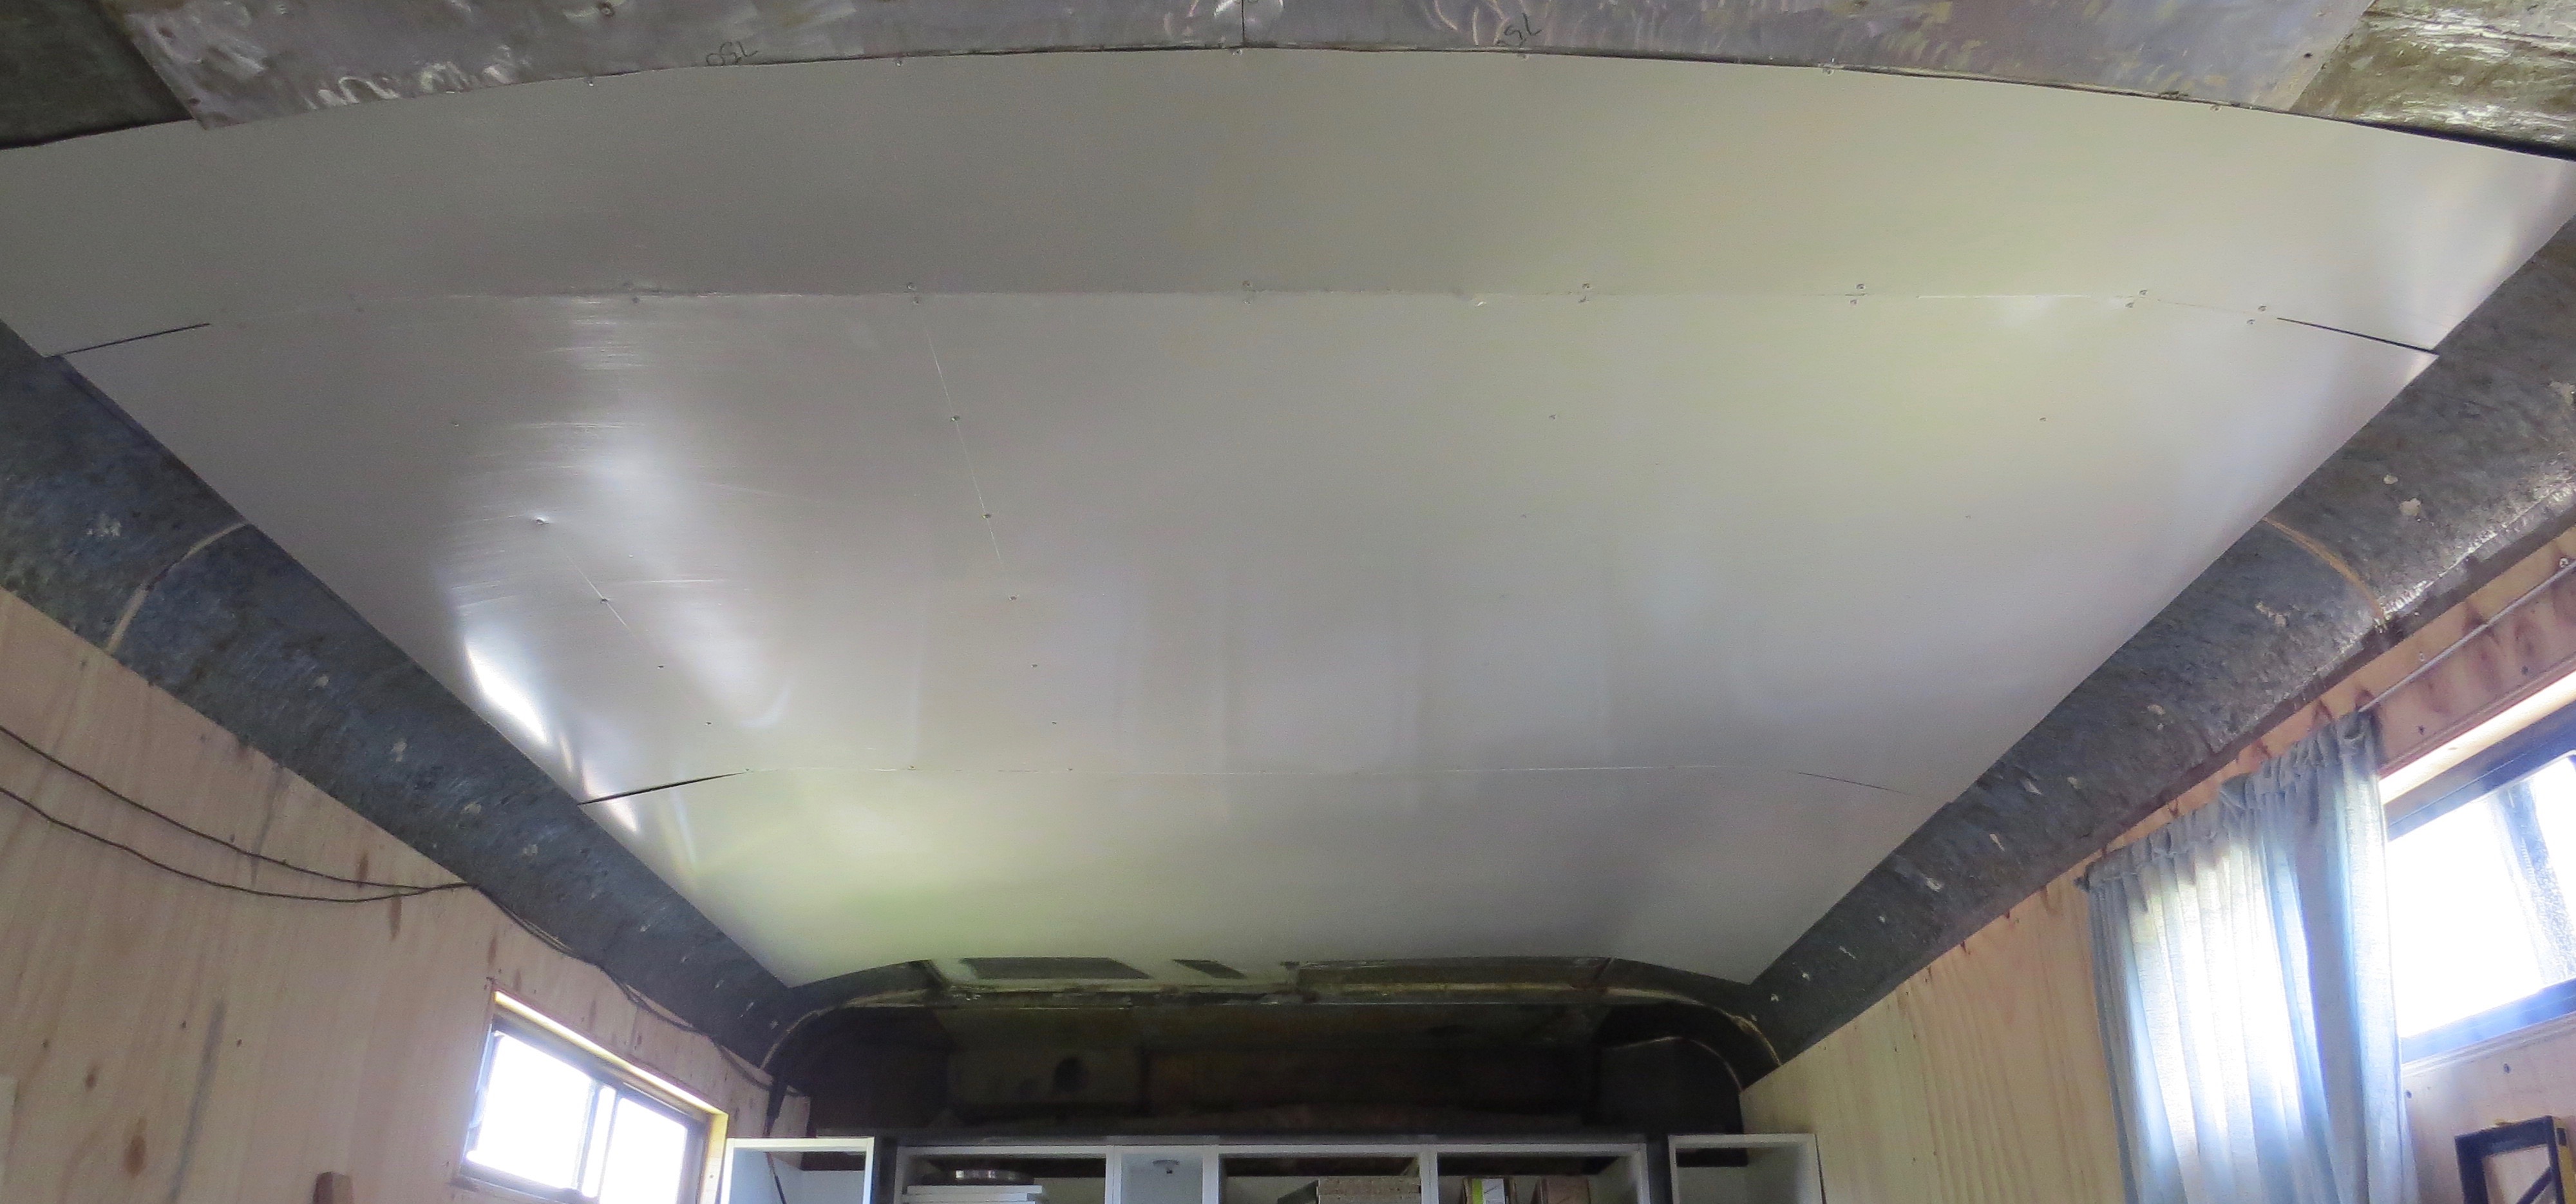
One of the things most people don’t like doing is working over head, but the ceiling has to be done. As we had already cut all the sheets it was just a matter of pop riveting them up in place. This time the ceiling is not flat so it was just a matter of hold it up as best we could and start gluing and riveting as we go.
Lets just get it done.There is so much crap still in the coach to work around.Hard at workStill workingThe pneumatic riveter makes the job so much more enjoyable.
Bathroom all finishedThank goodness for timber propsNow halfway through the kitchen.That will do for now.
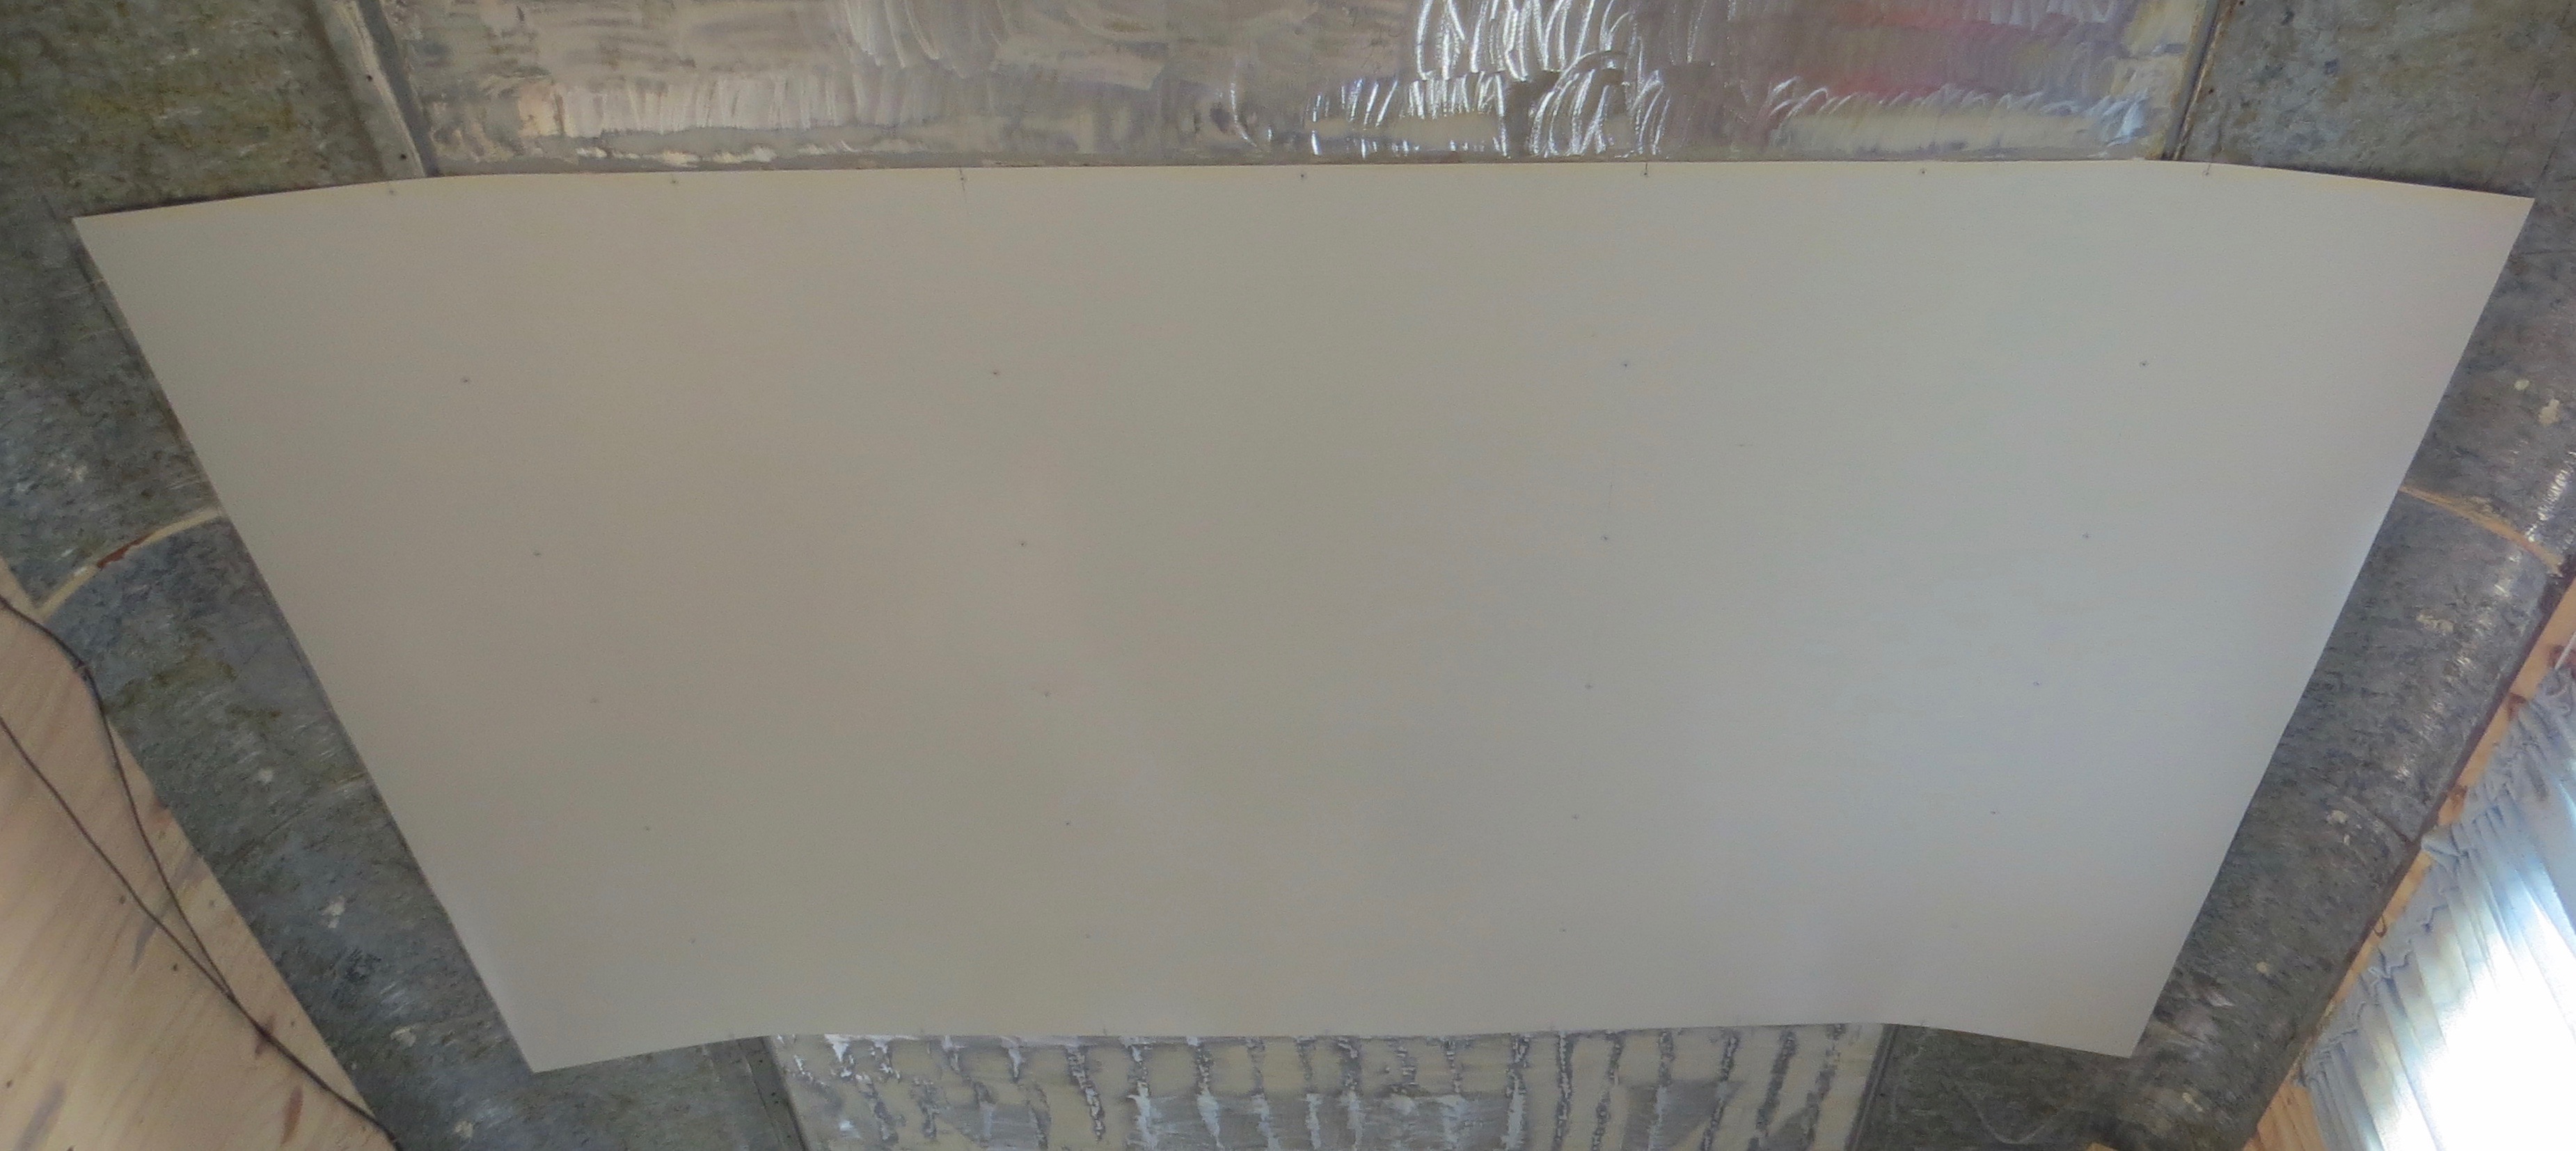
We will be finishing off the ceiling later on as I’ll be covering up the front hatch and don’t have the time right now. It was tricky getting it just right with the sheeting needed little adjustments just before gluing. The main work is now needed down the back of the coach as getting the bedroom finished to a stage that we can move back in after we leave this house sitting job at the end of October is our priority.
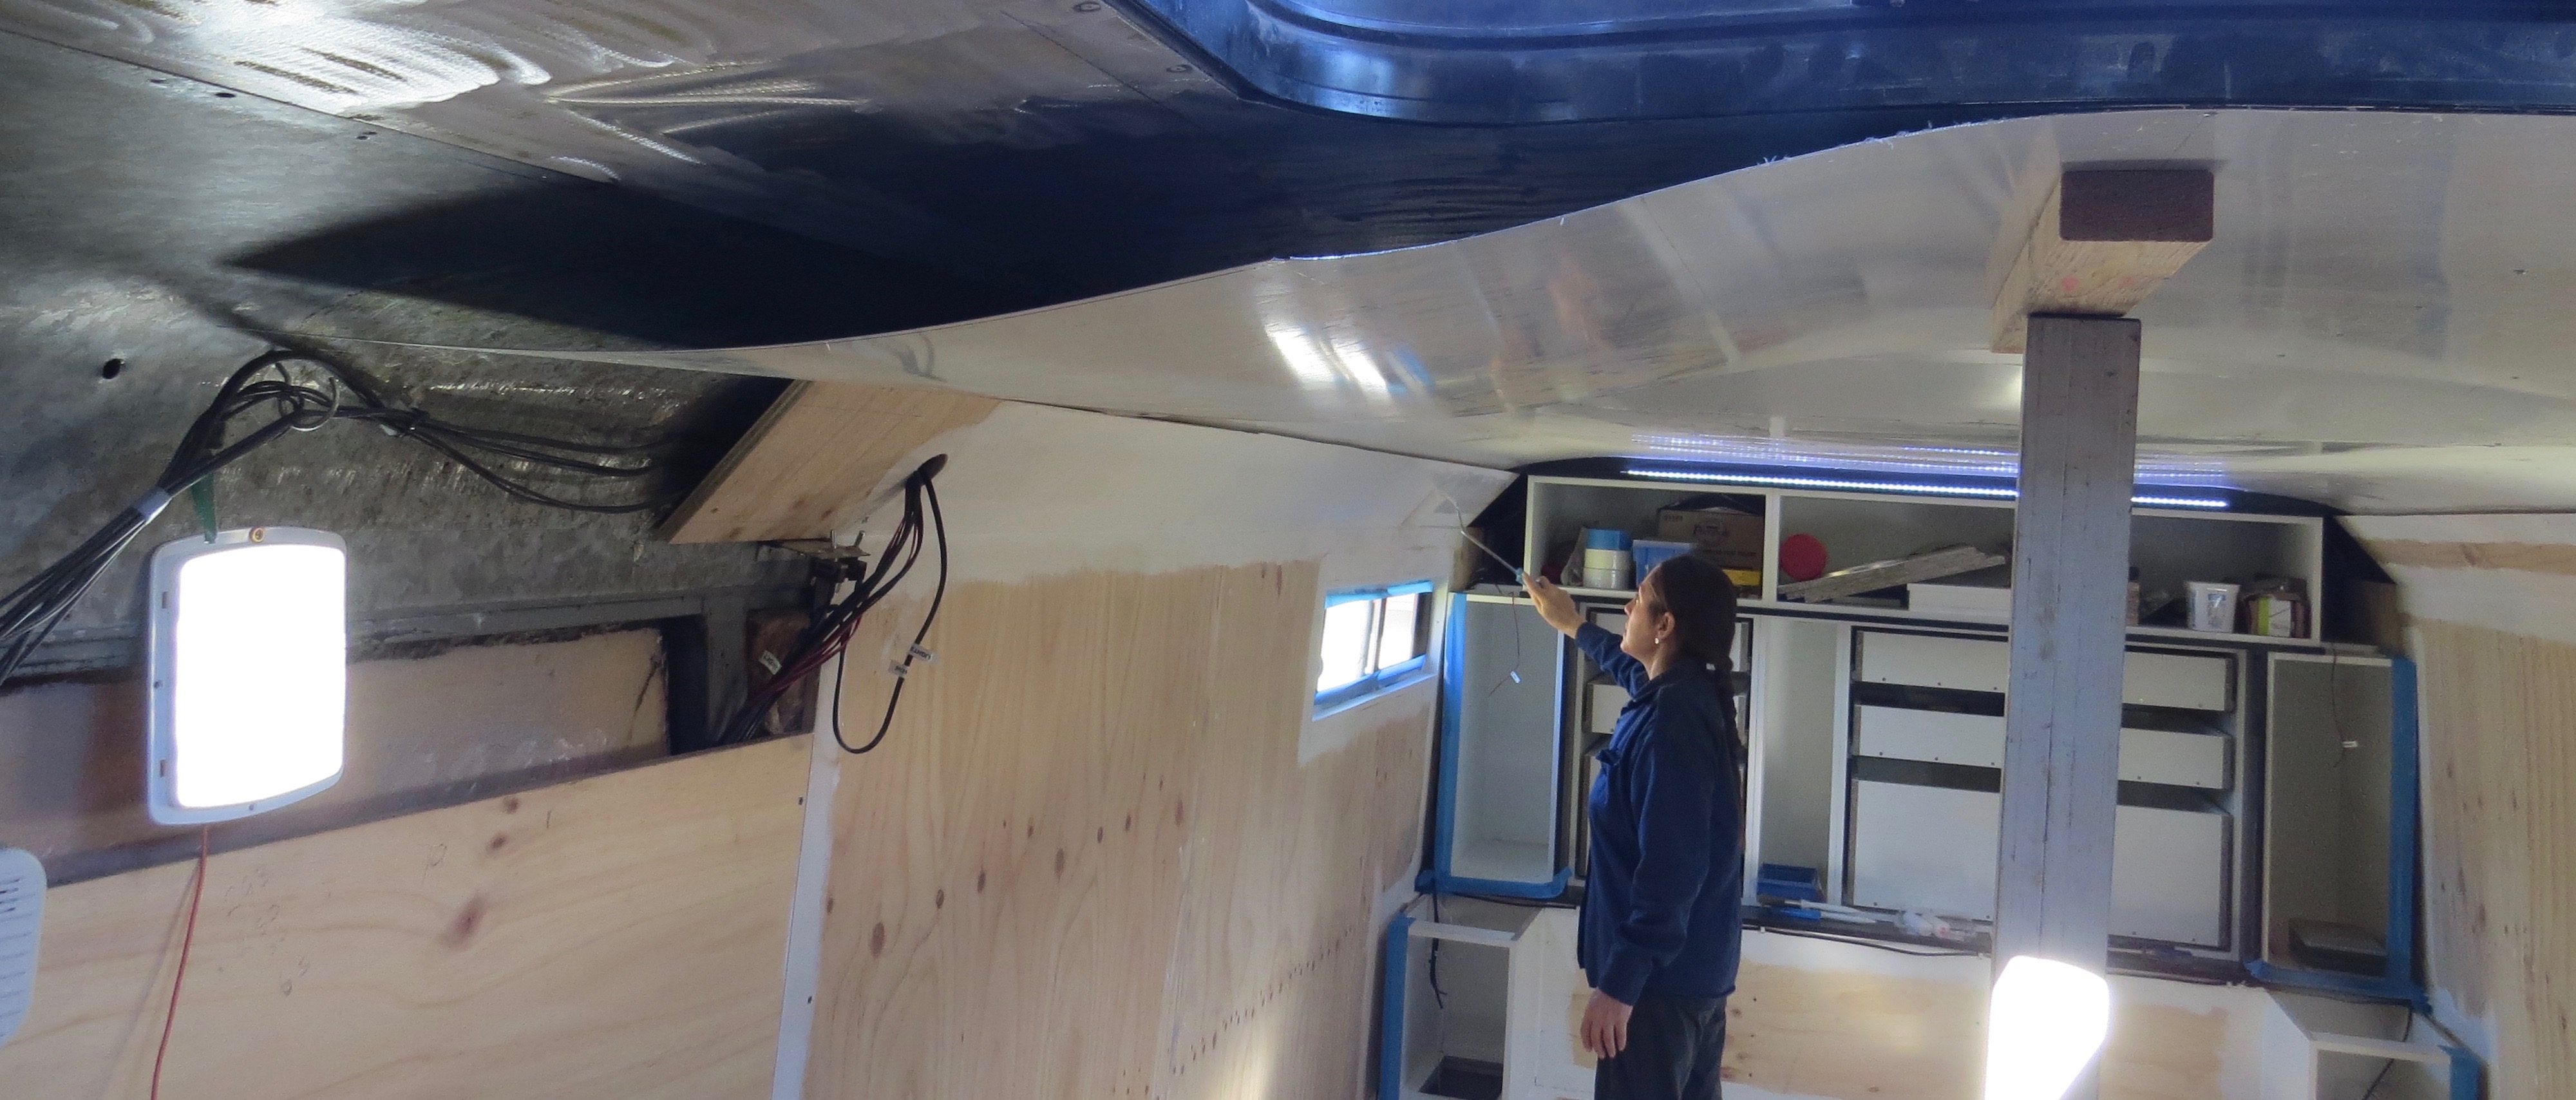
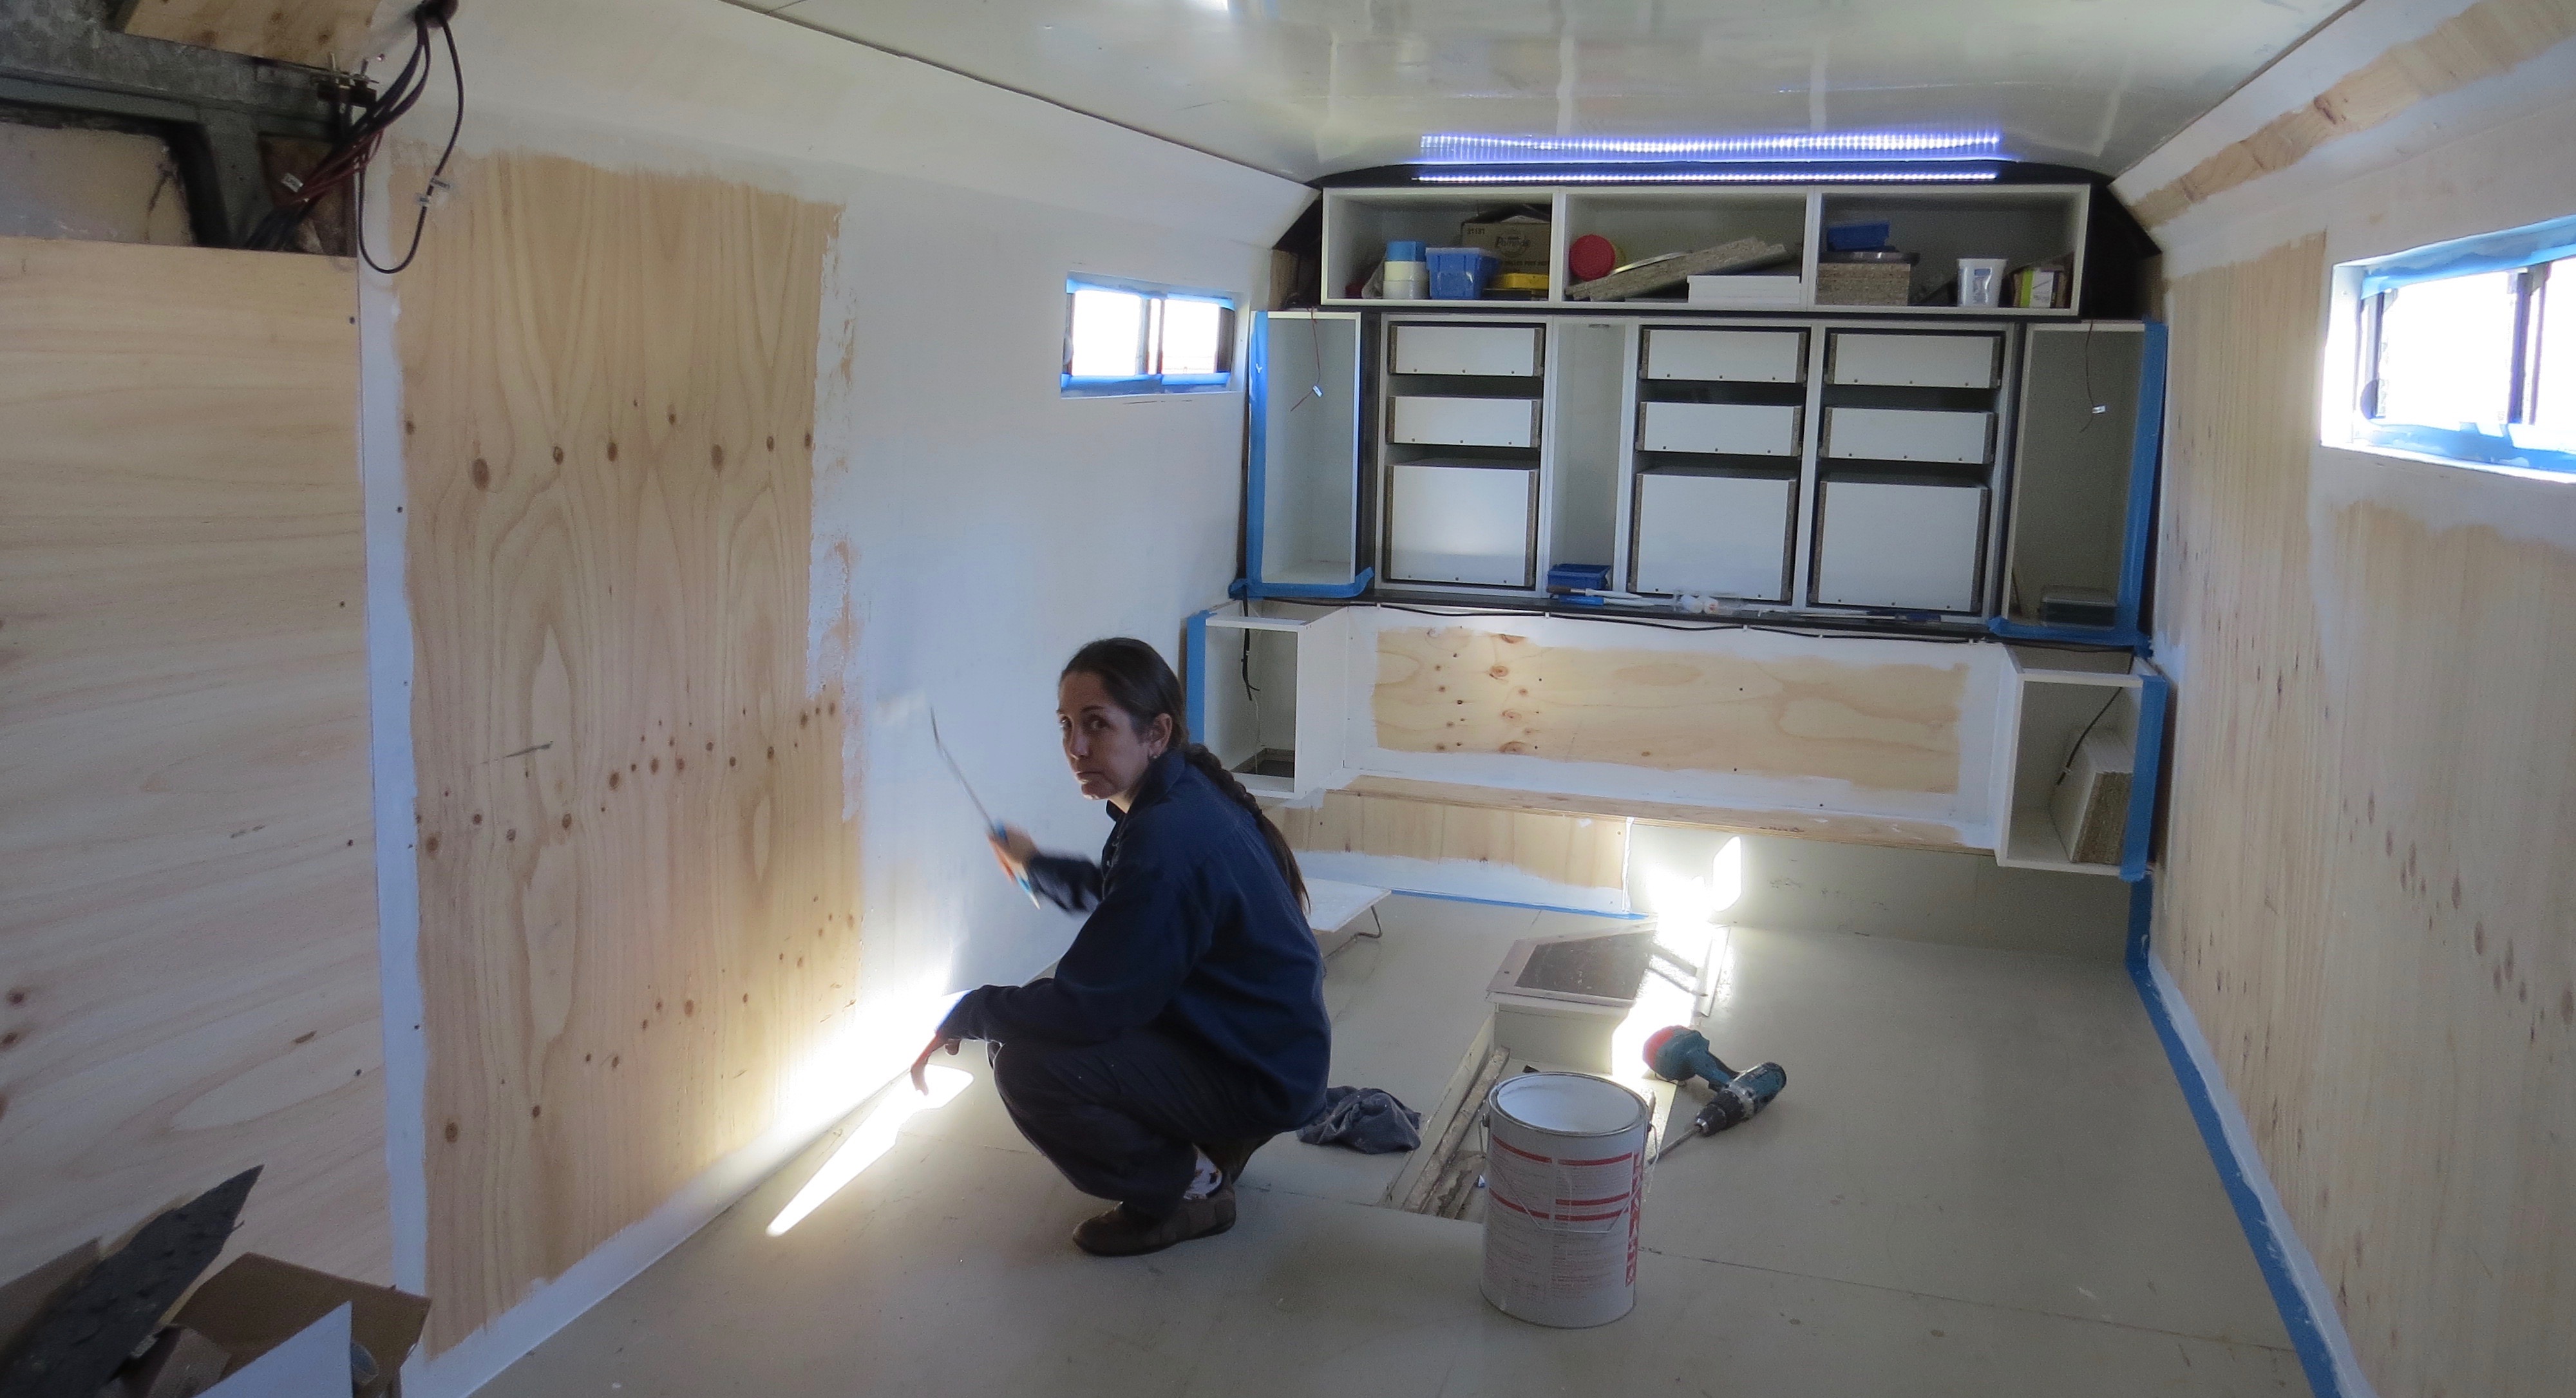
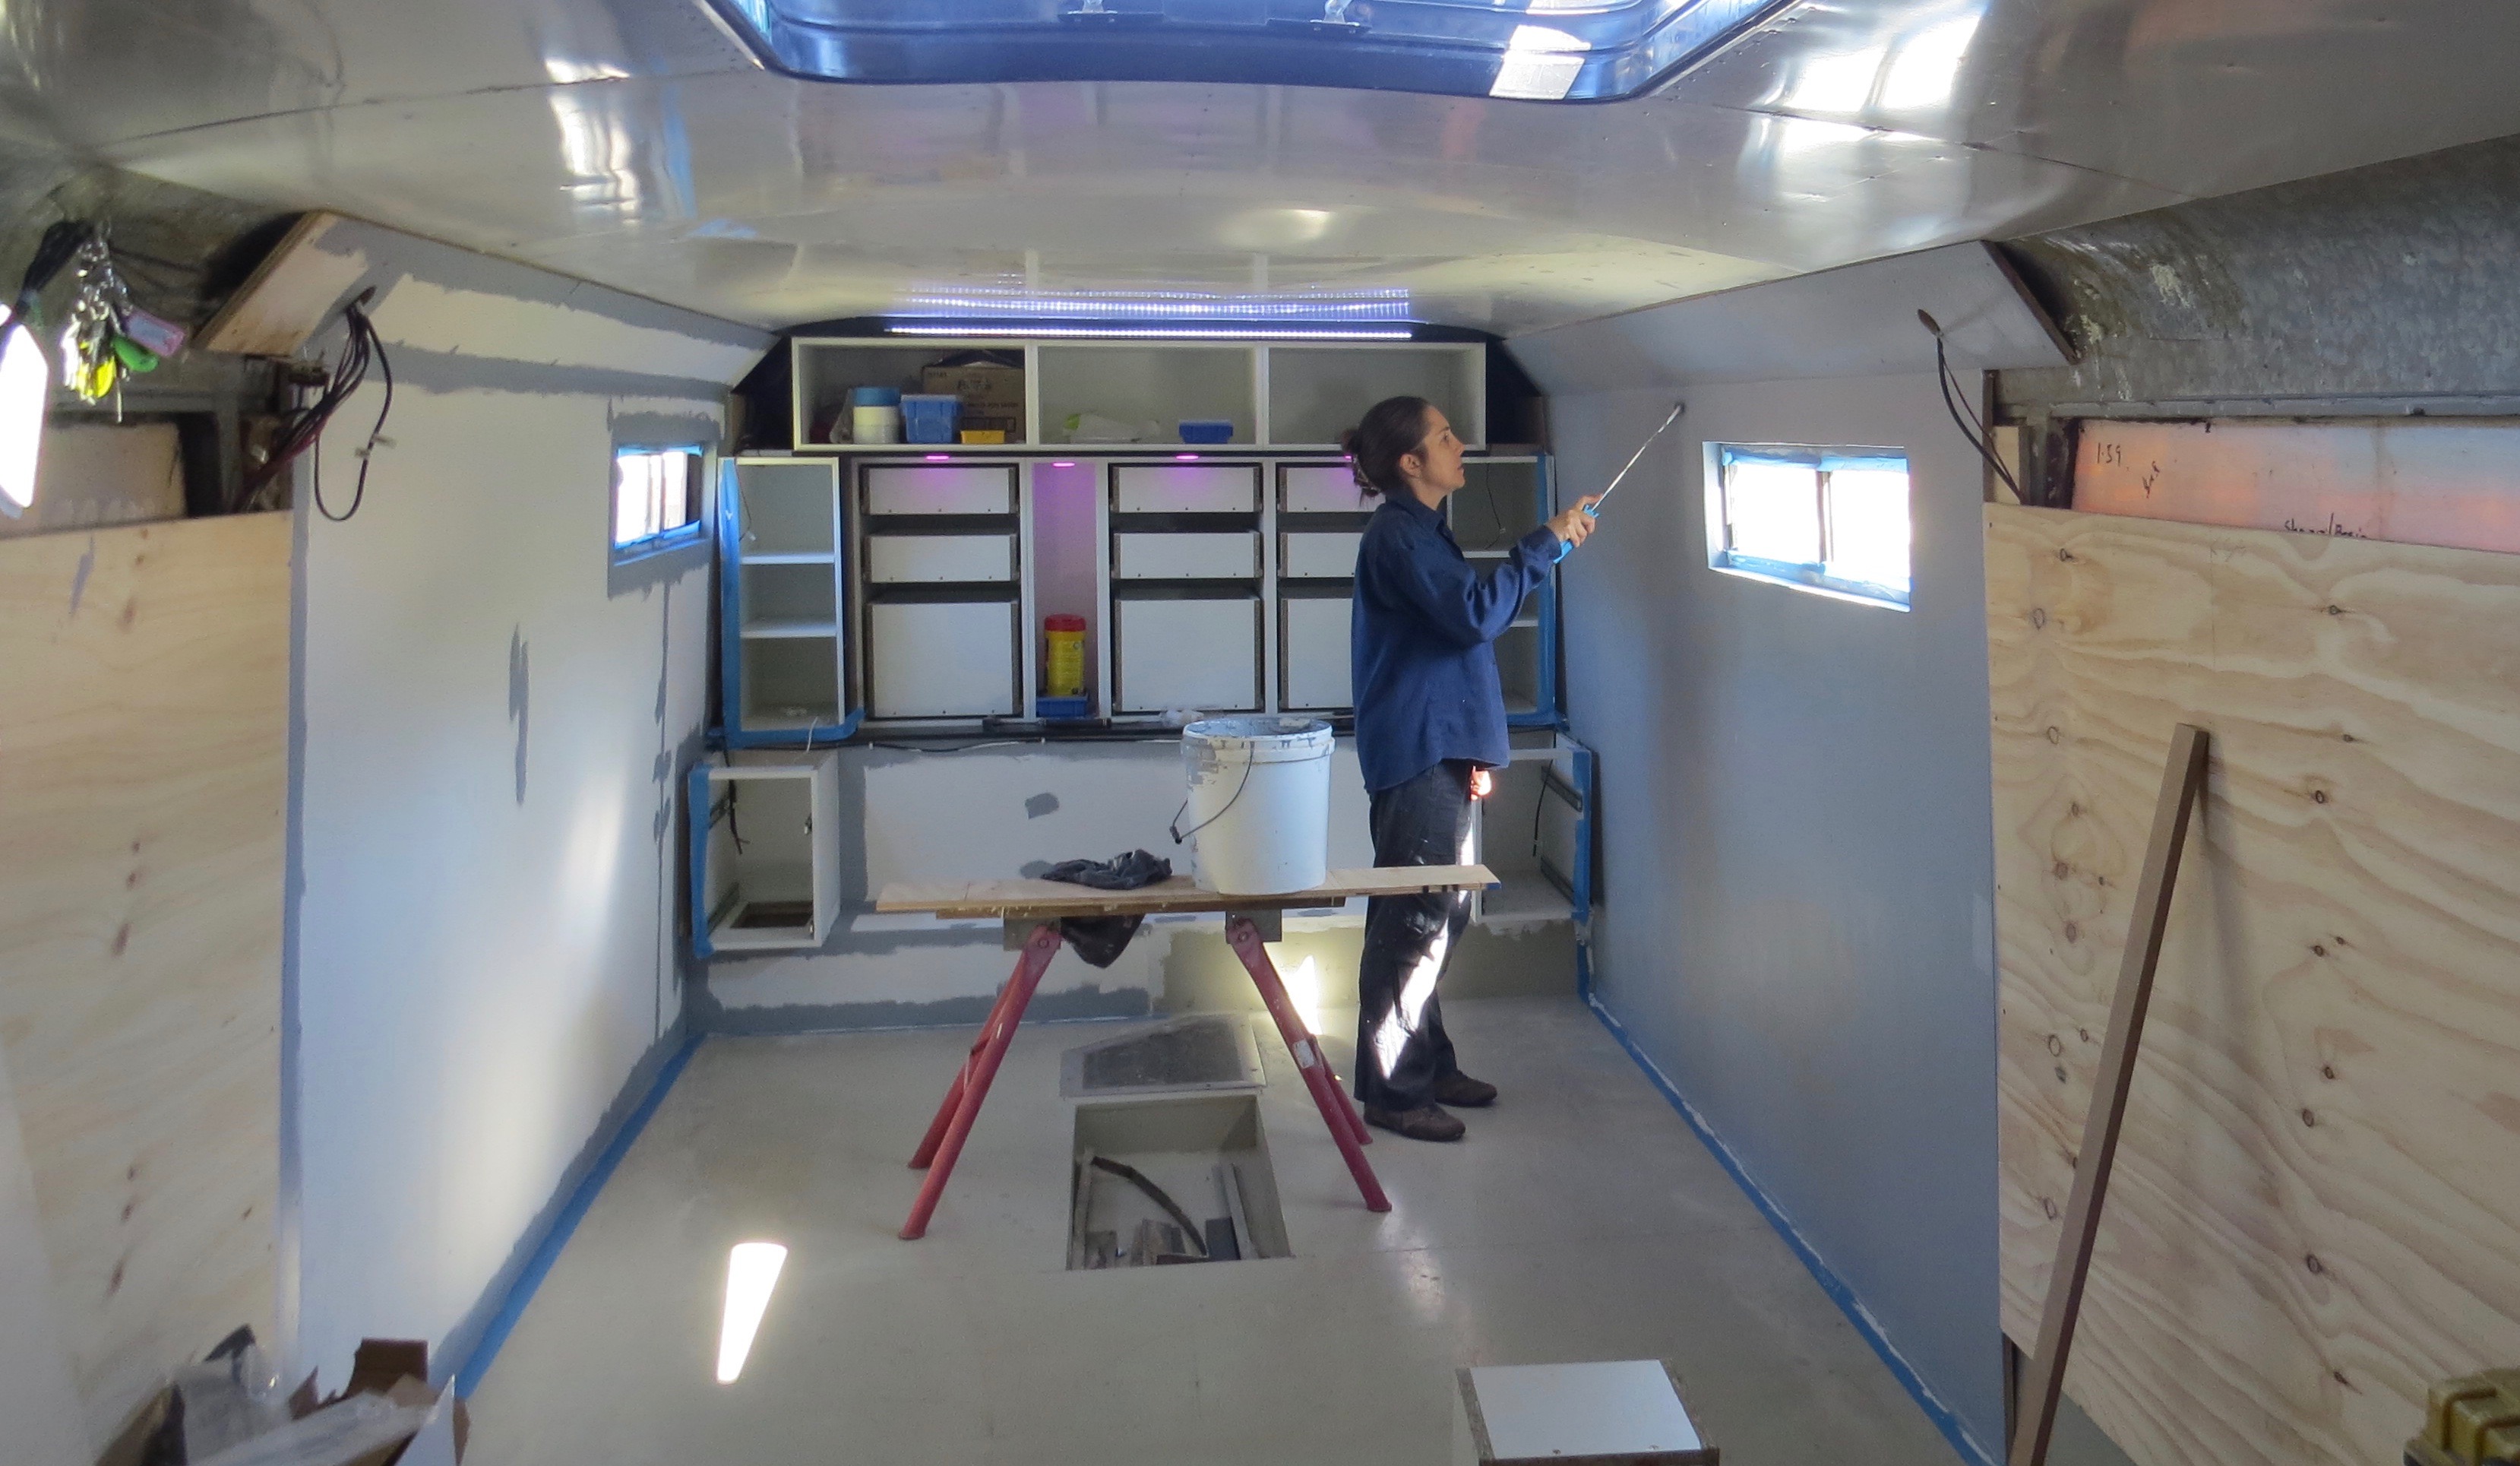
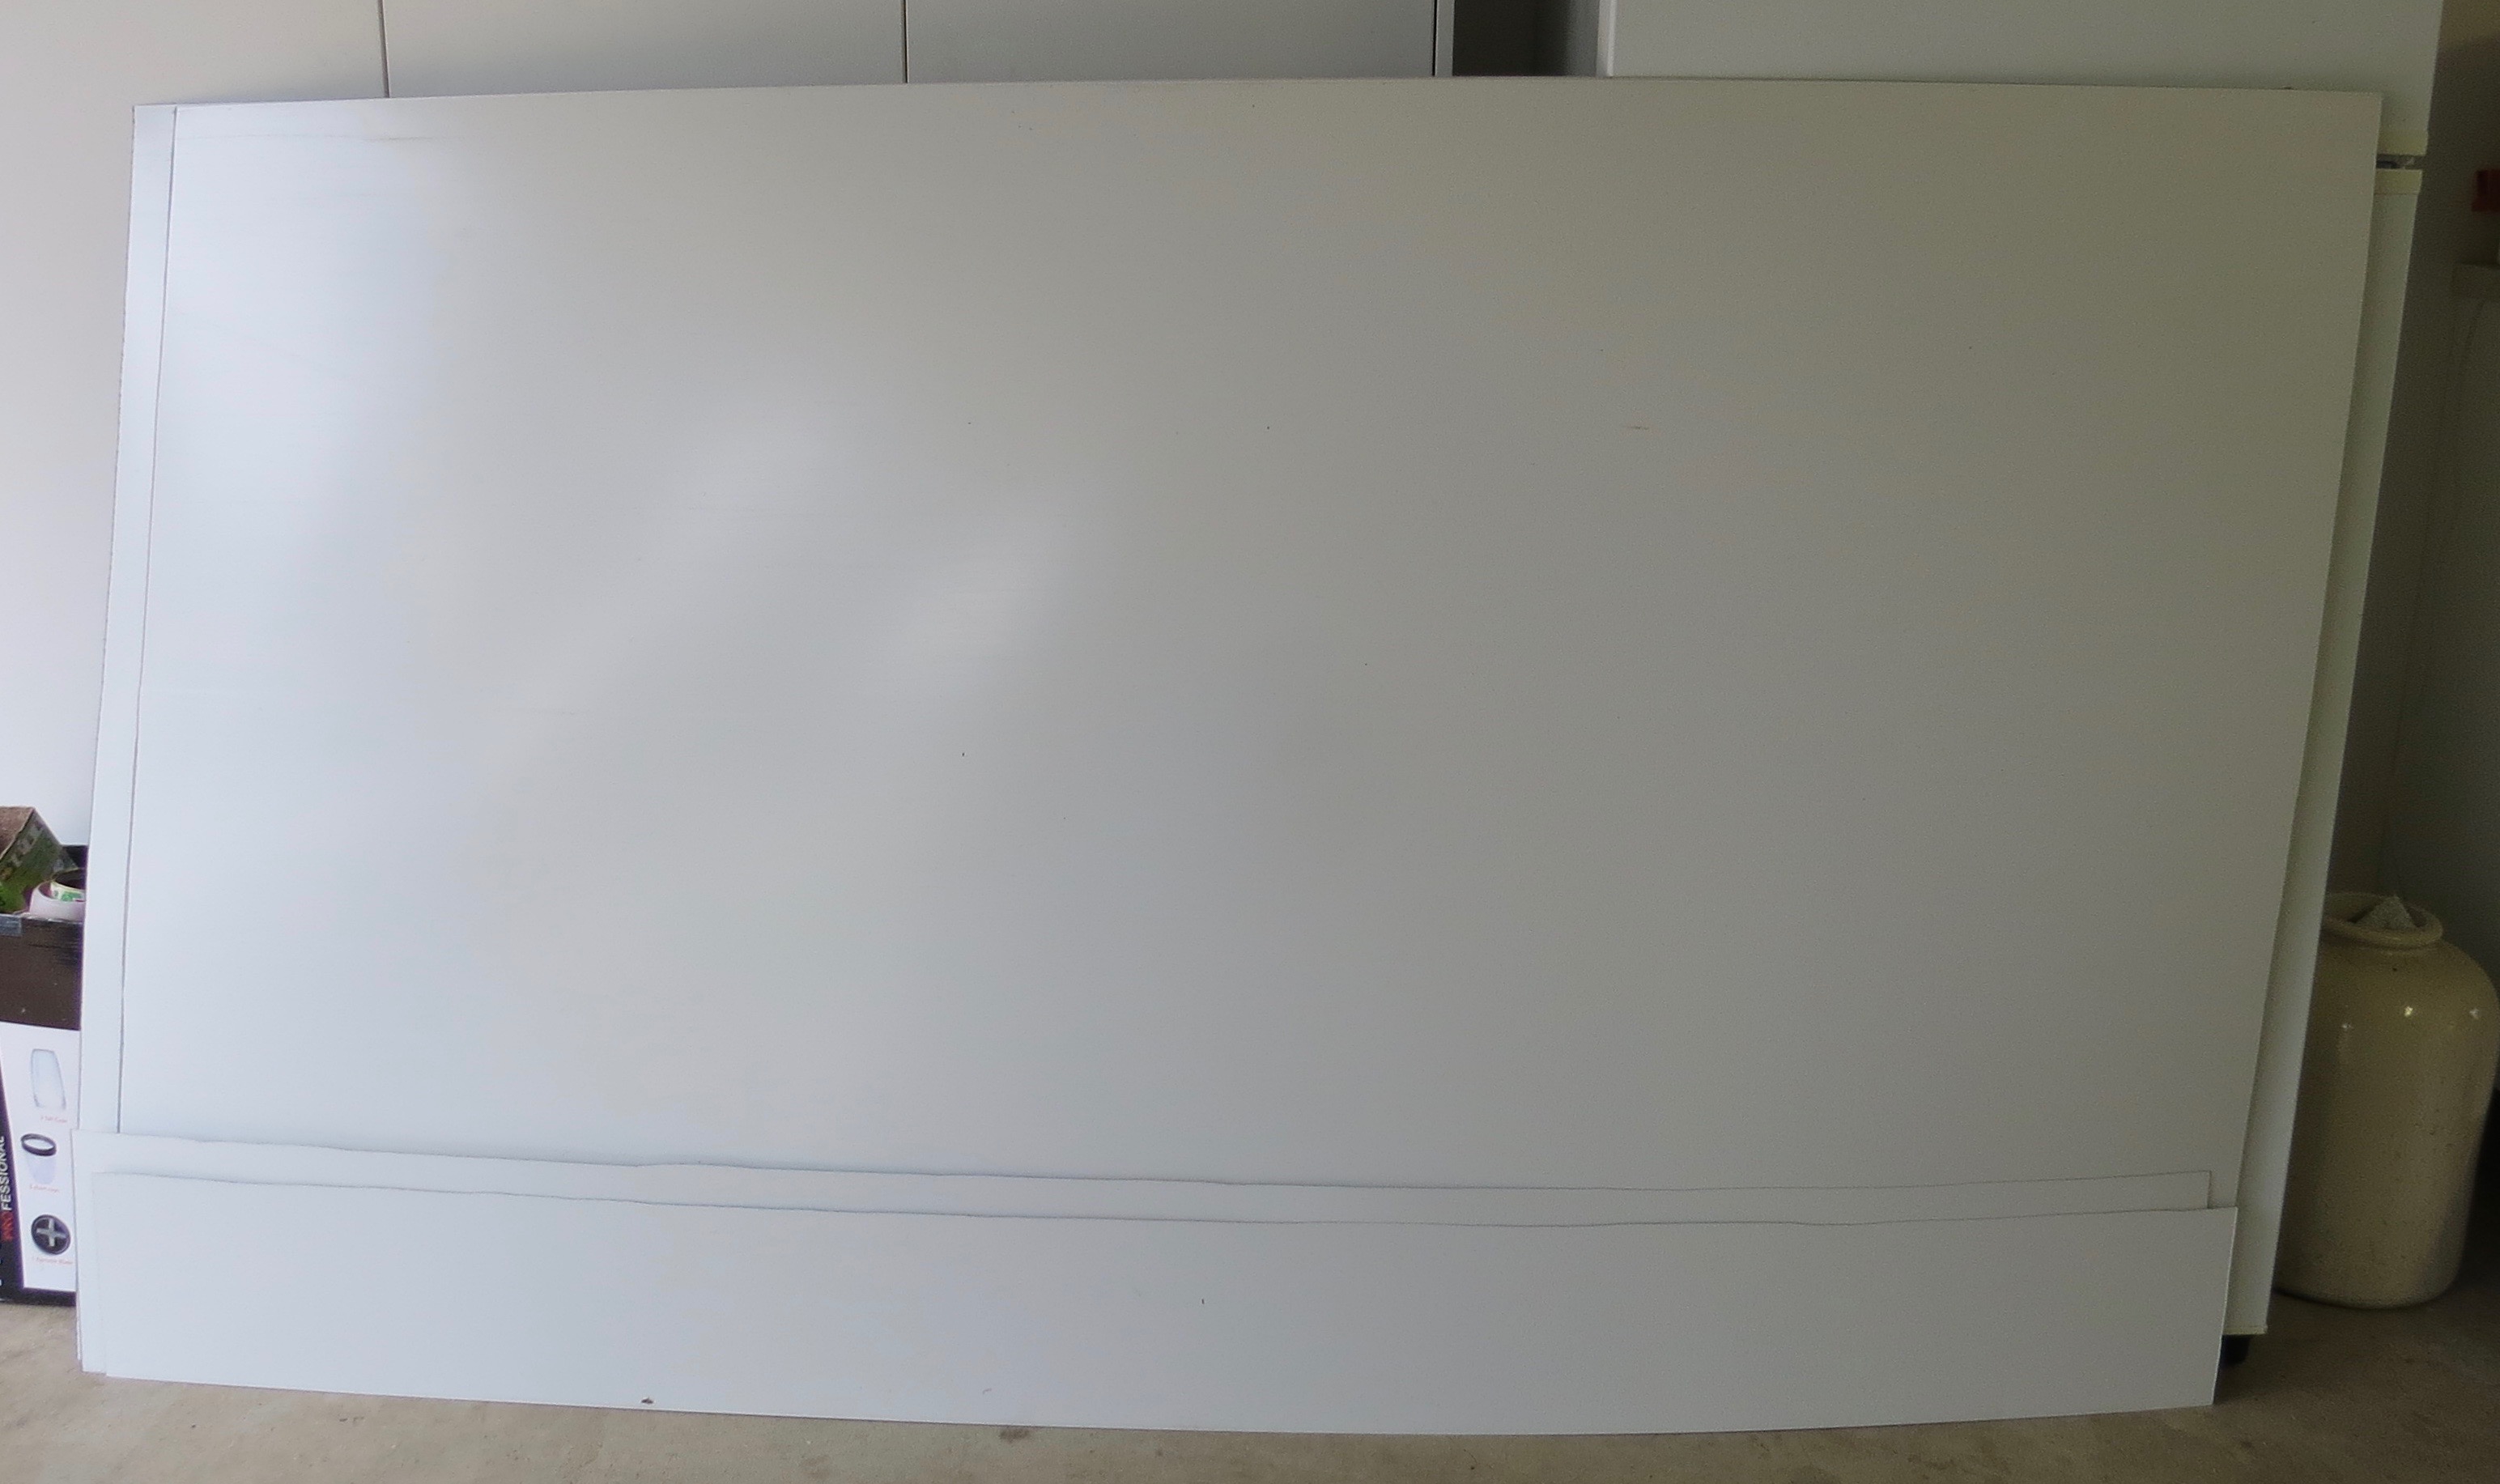
We are in two minds as to what finish we will be putting on the bedroom walls, so for now we will be painting them to hide the ply wood. If nothing else it will make us feel more at home instead of inside a wooden box.
Charmaine putting on the first undercoat of two.
Charmaine was happy to get stuck into the painting as she has been out working making the money to keep the project going. Now she can help out working on the motorhome on some of her days off.
She is having fun 🙂
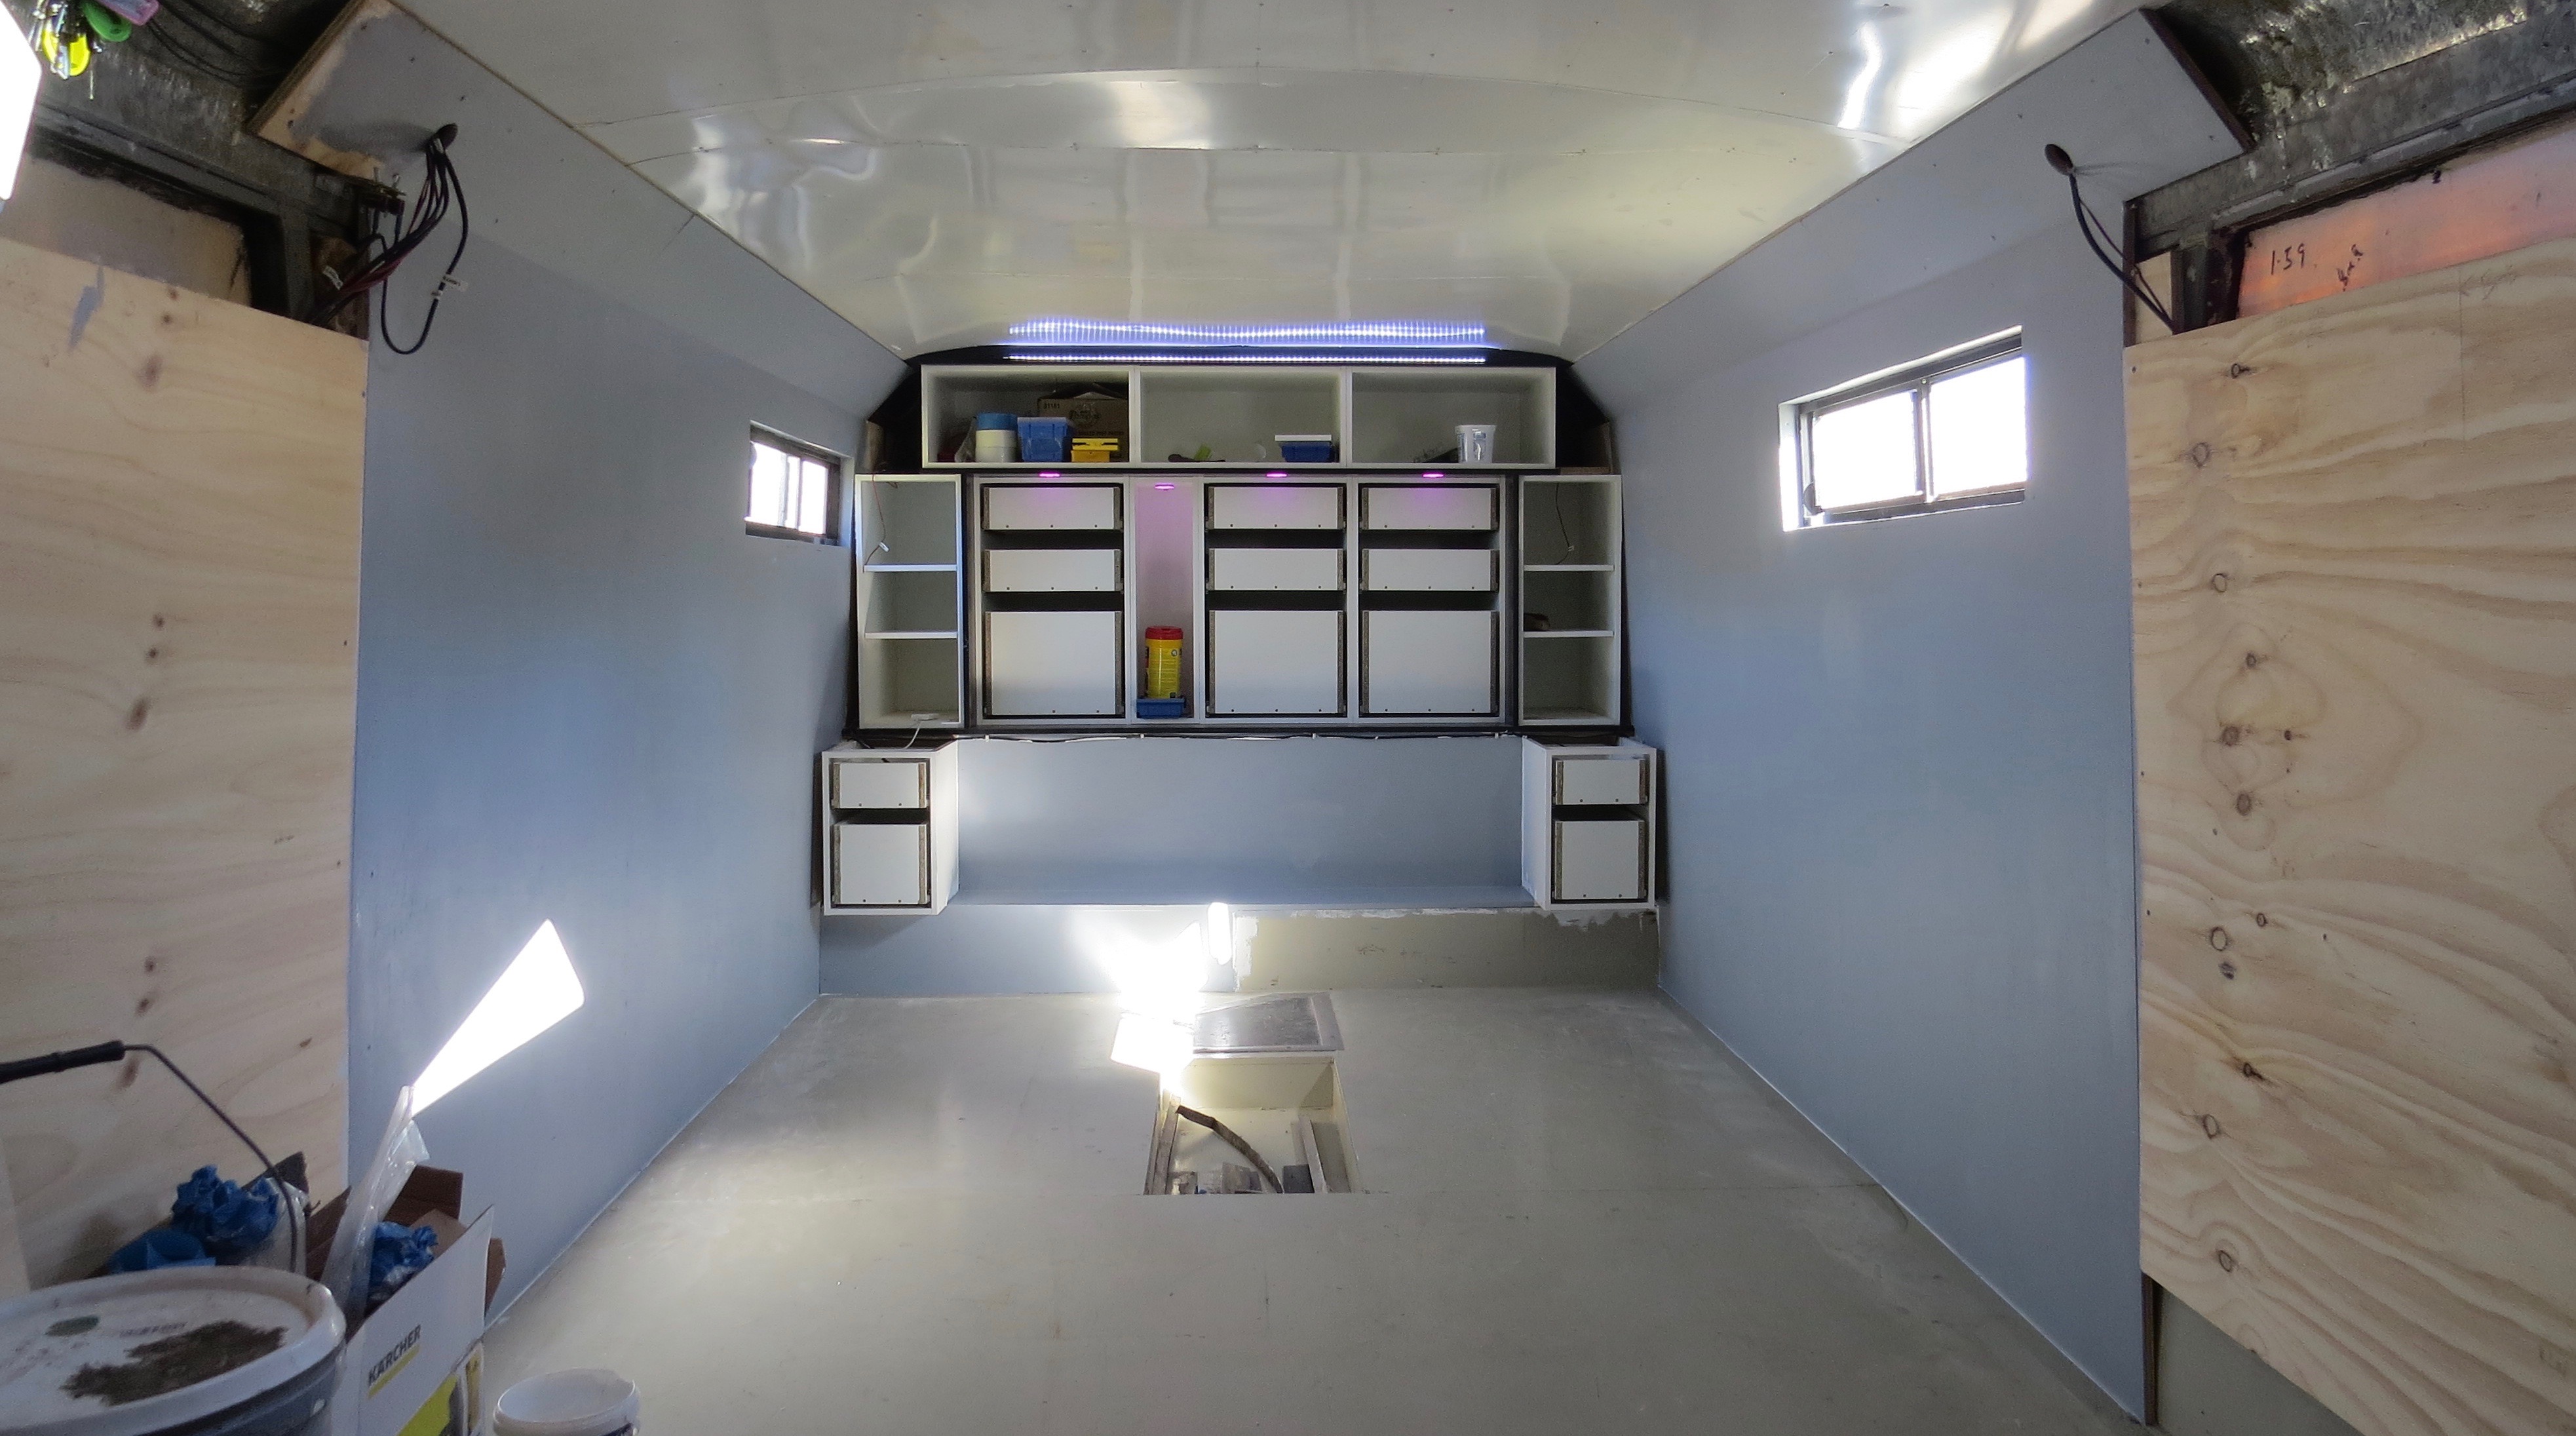
We are putting on two coats of undercoat and sanding between them to smooth it off then another two topcoats should see the job done. It already made the bedroom look a lot brighter just with the first base coat on.
First coat on need to give it a light sand down then for the second coat.Topcoat cut in.One more coat of paint after this one.Well that makes a difference.
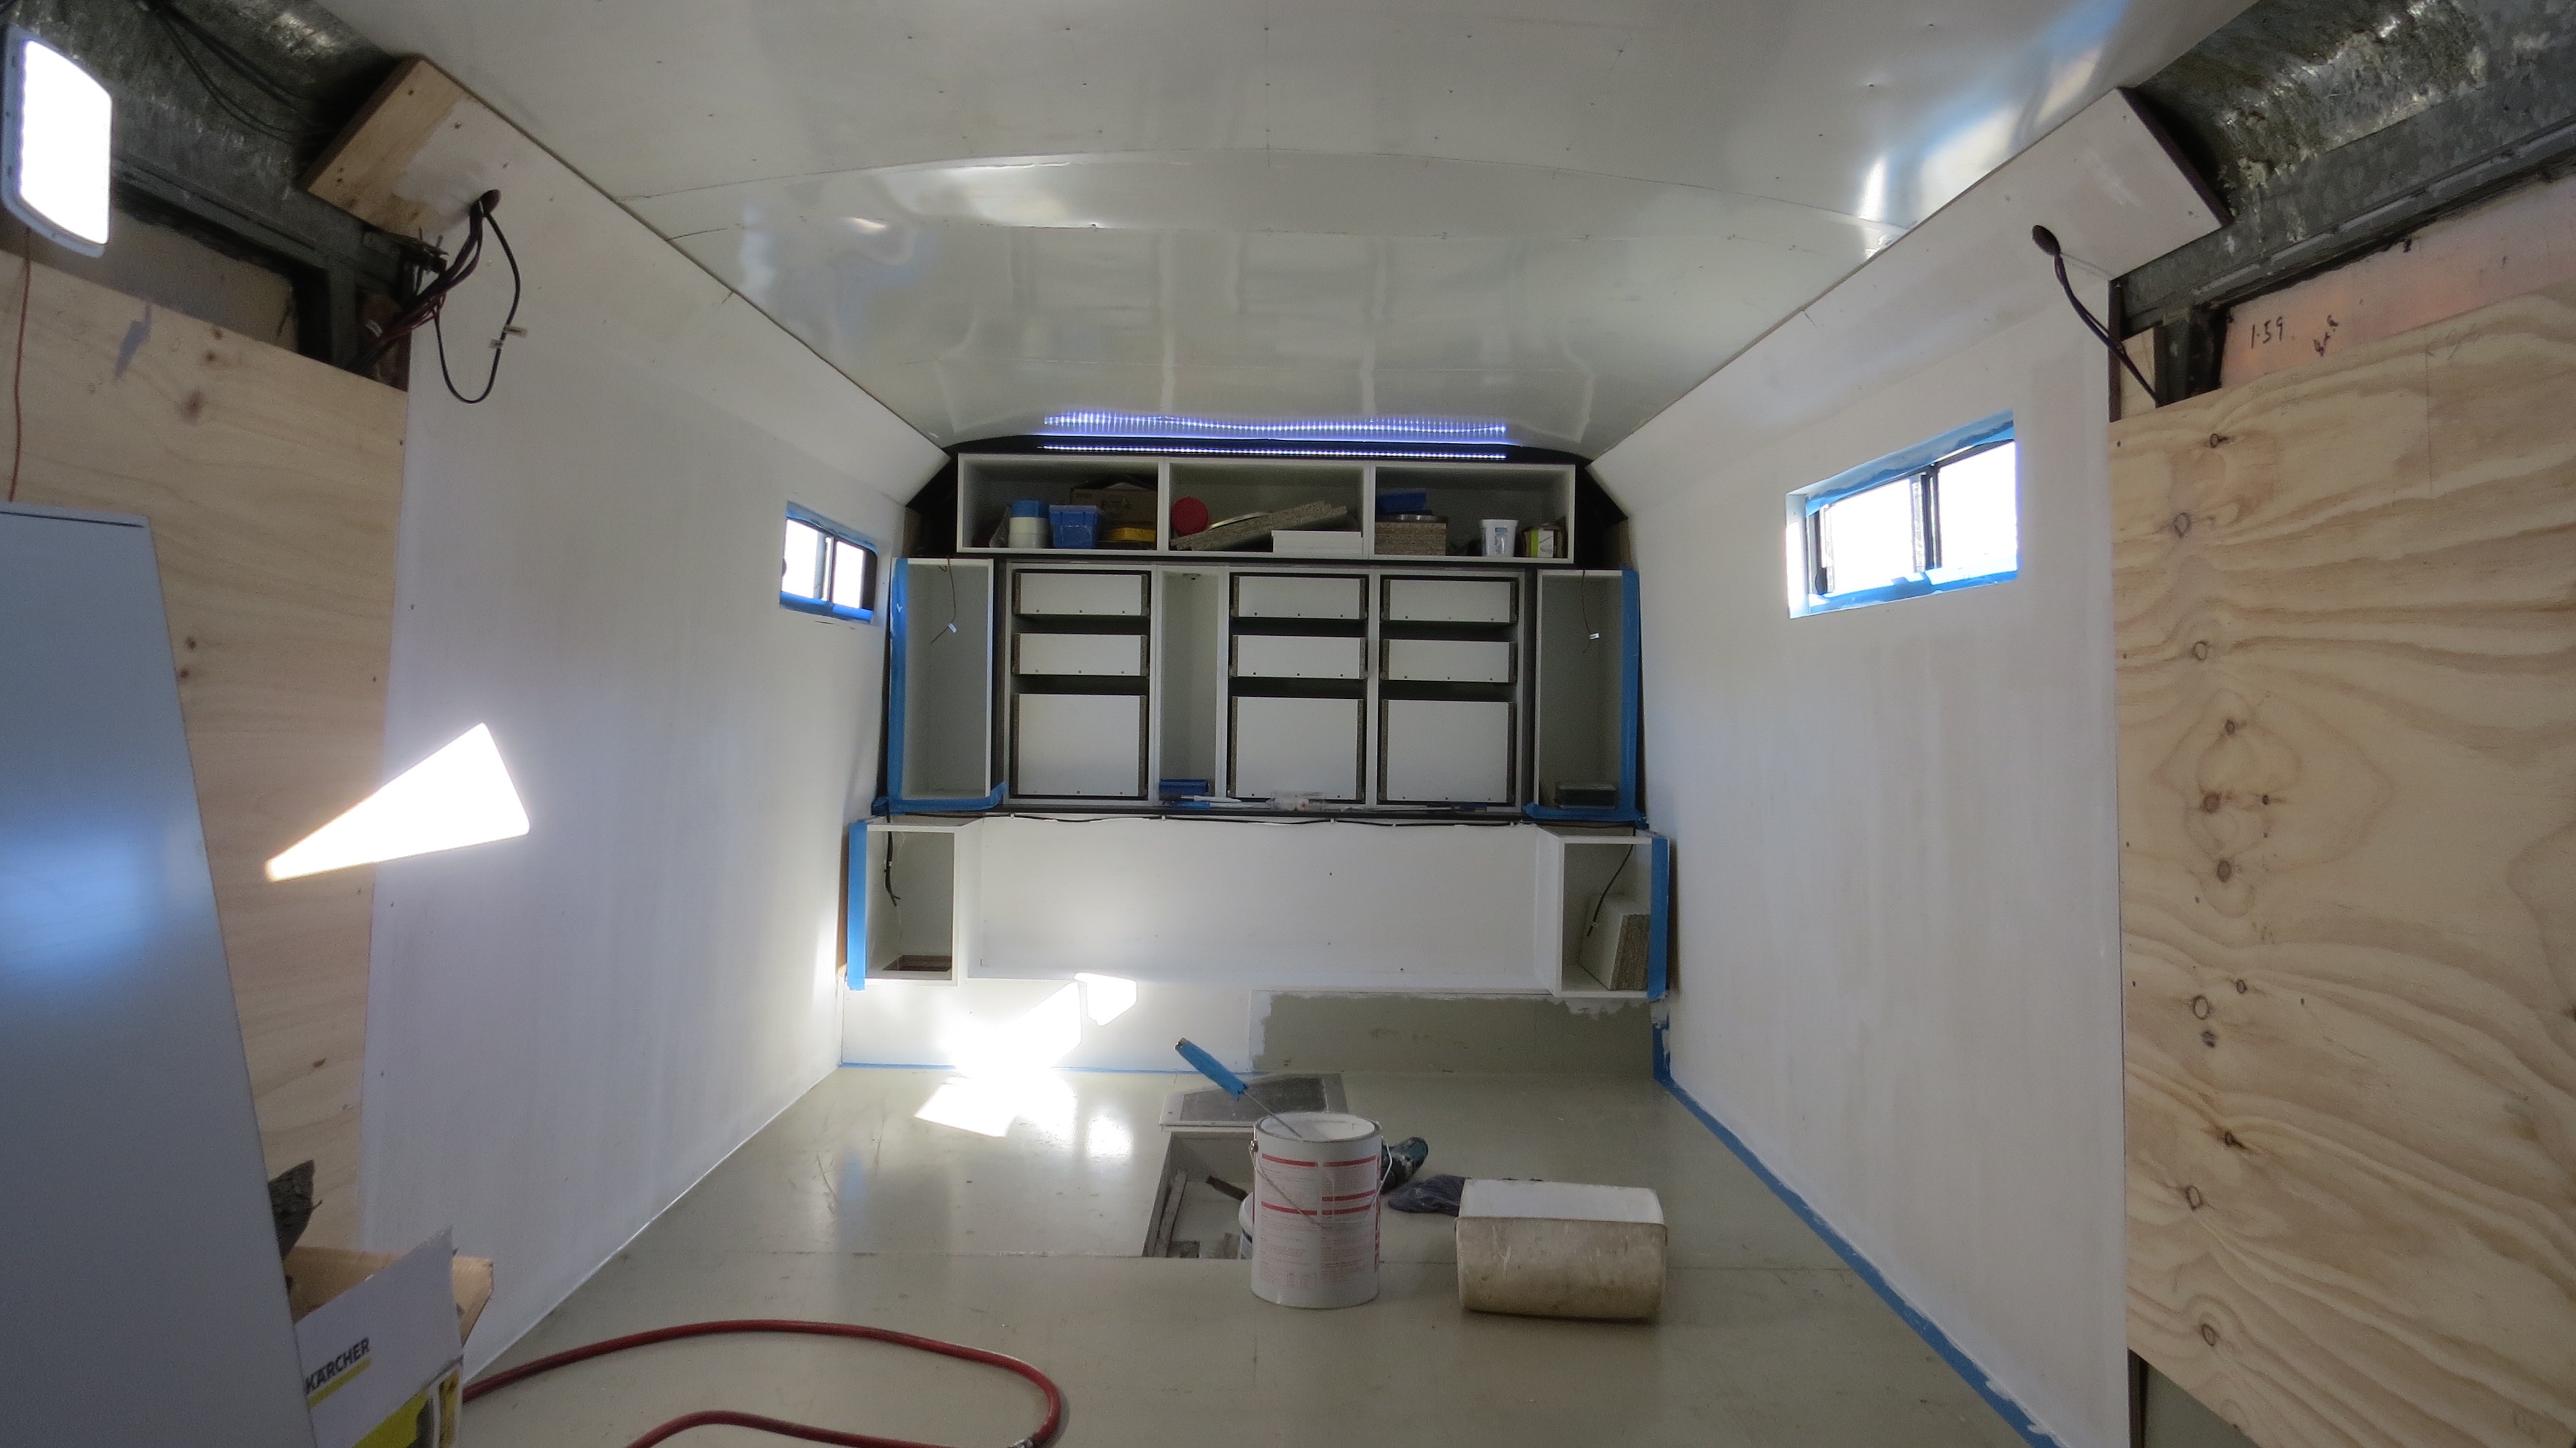
Well that makes a difference to the bedroom, it may only be temporary but that will do till we know what we will be finishing off the walls with. The next job will be finishing off around the cabinets and some sparky stuff.
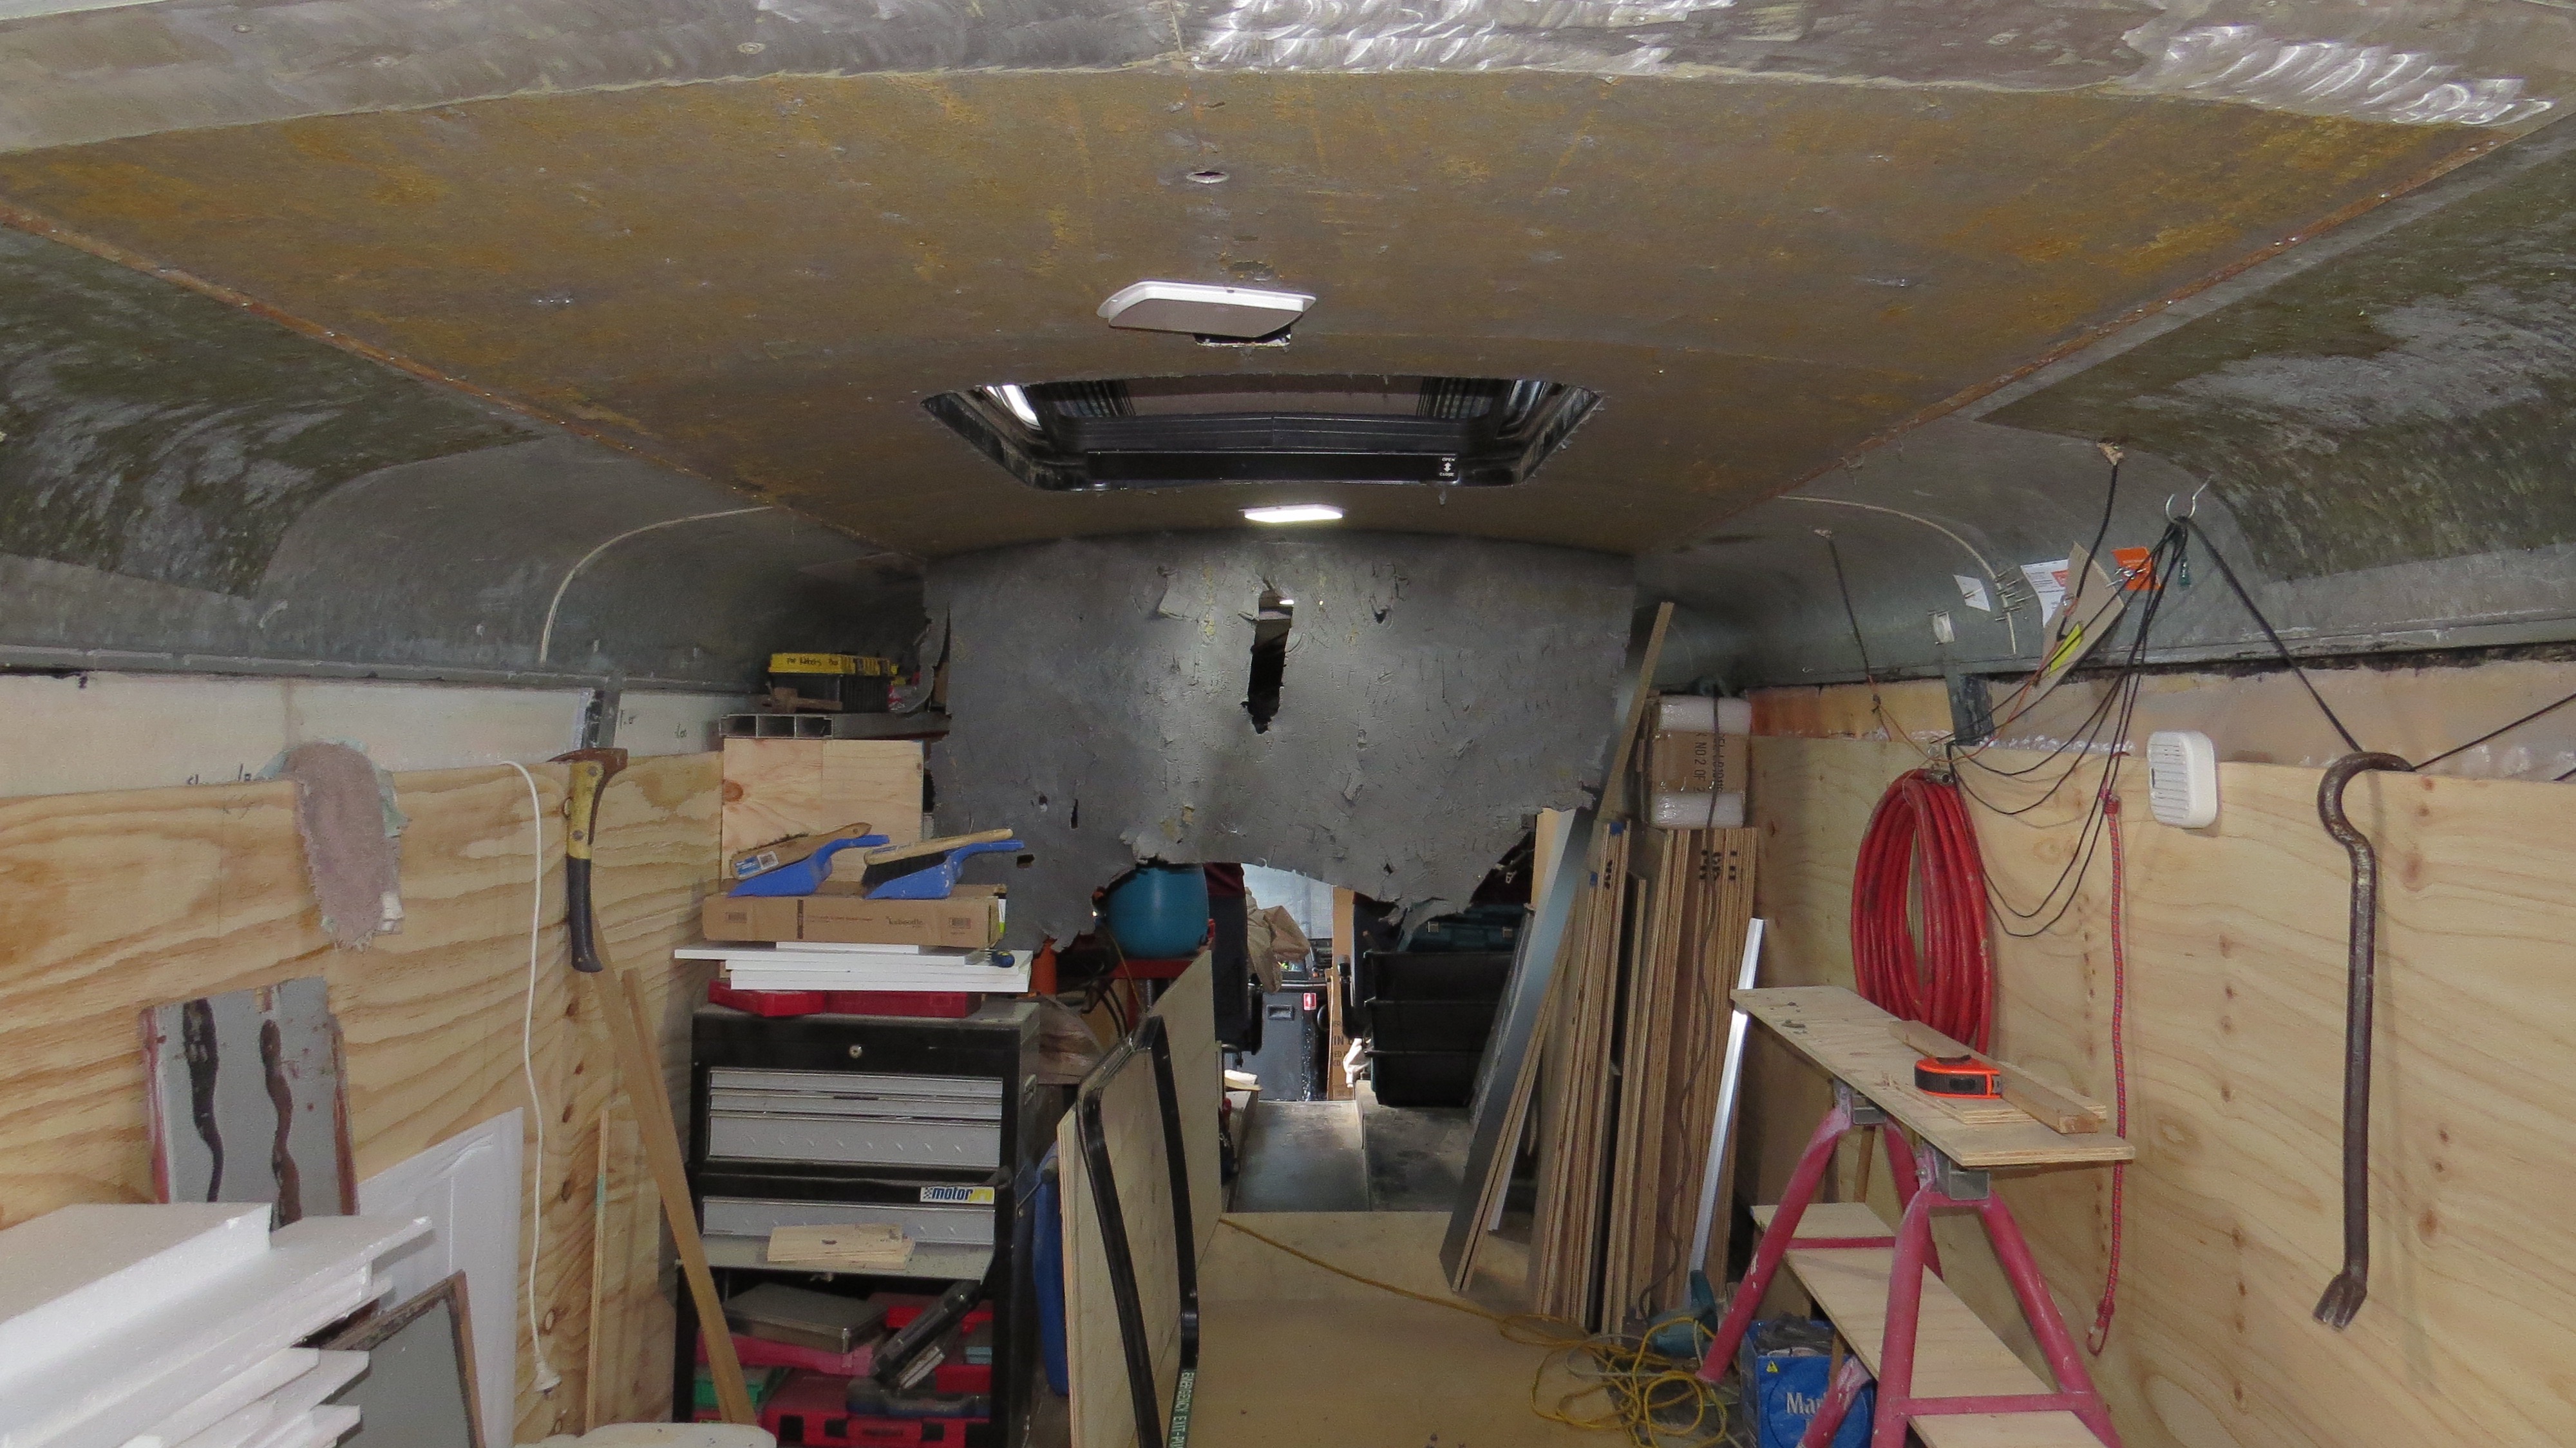
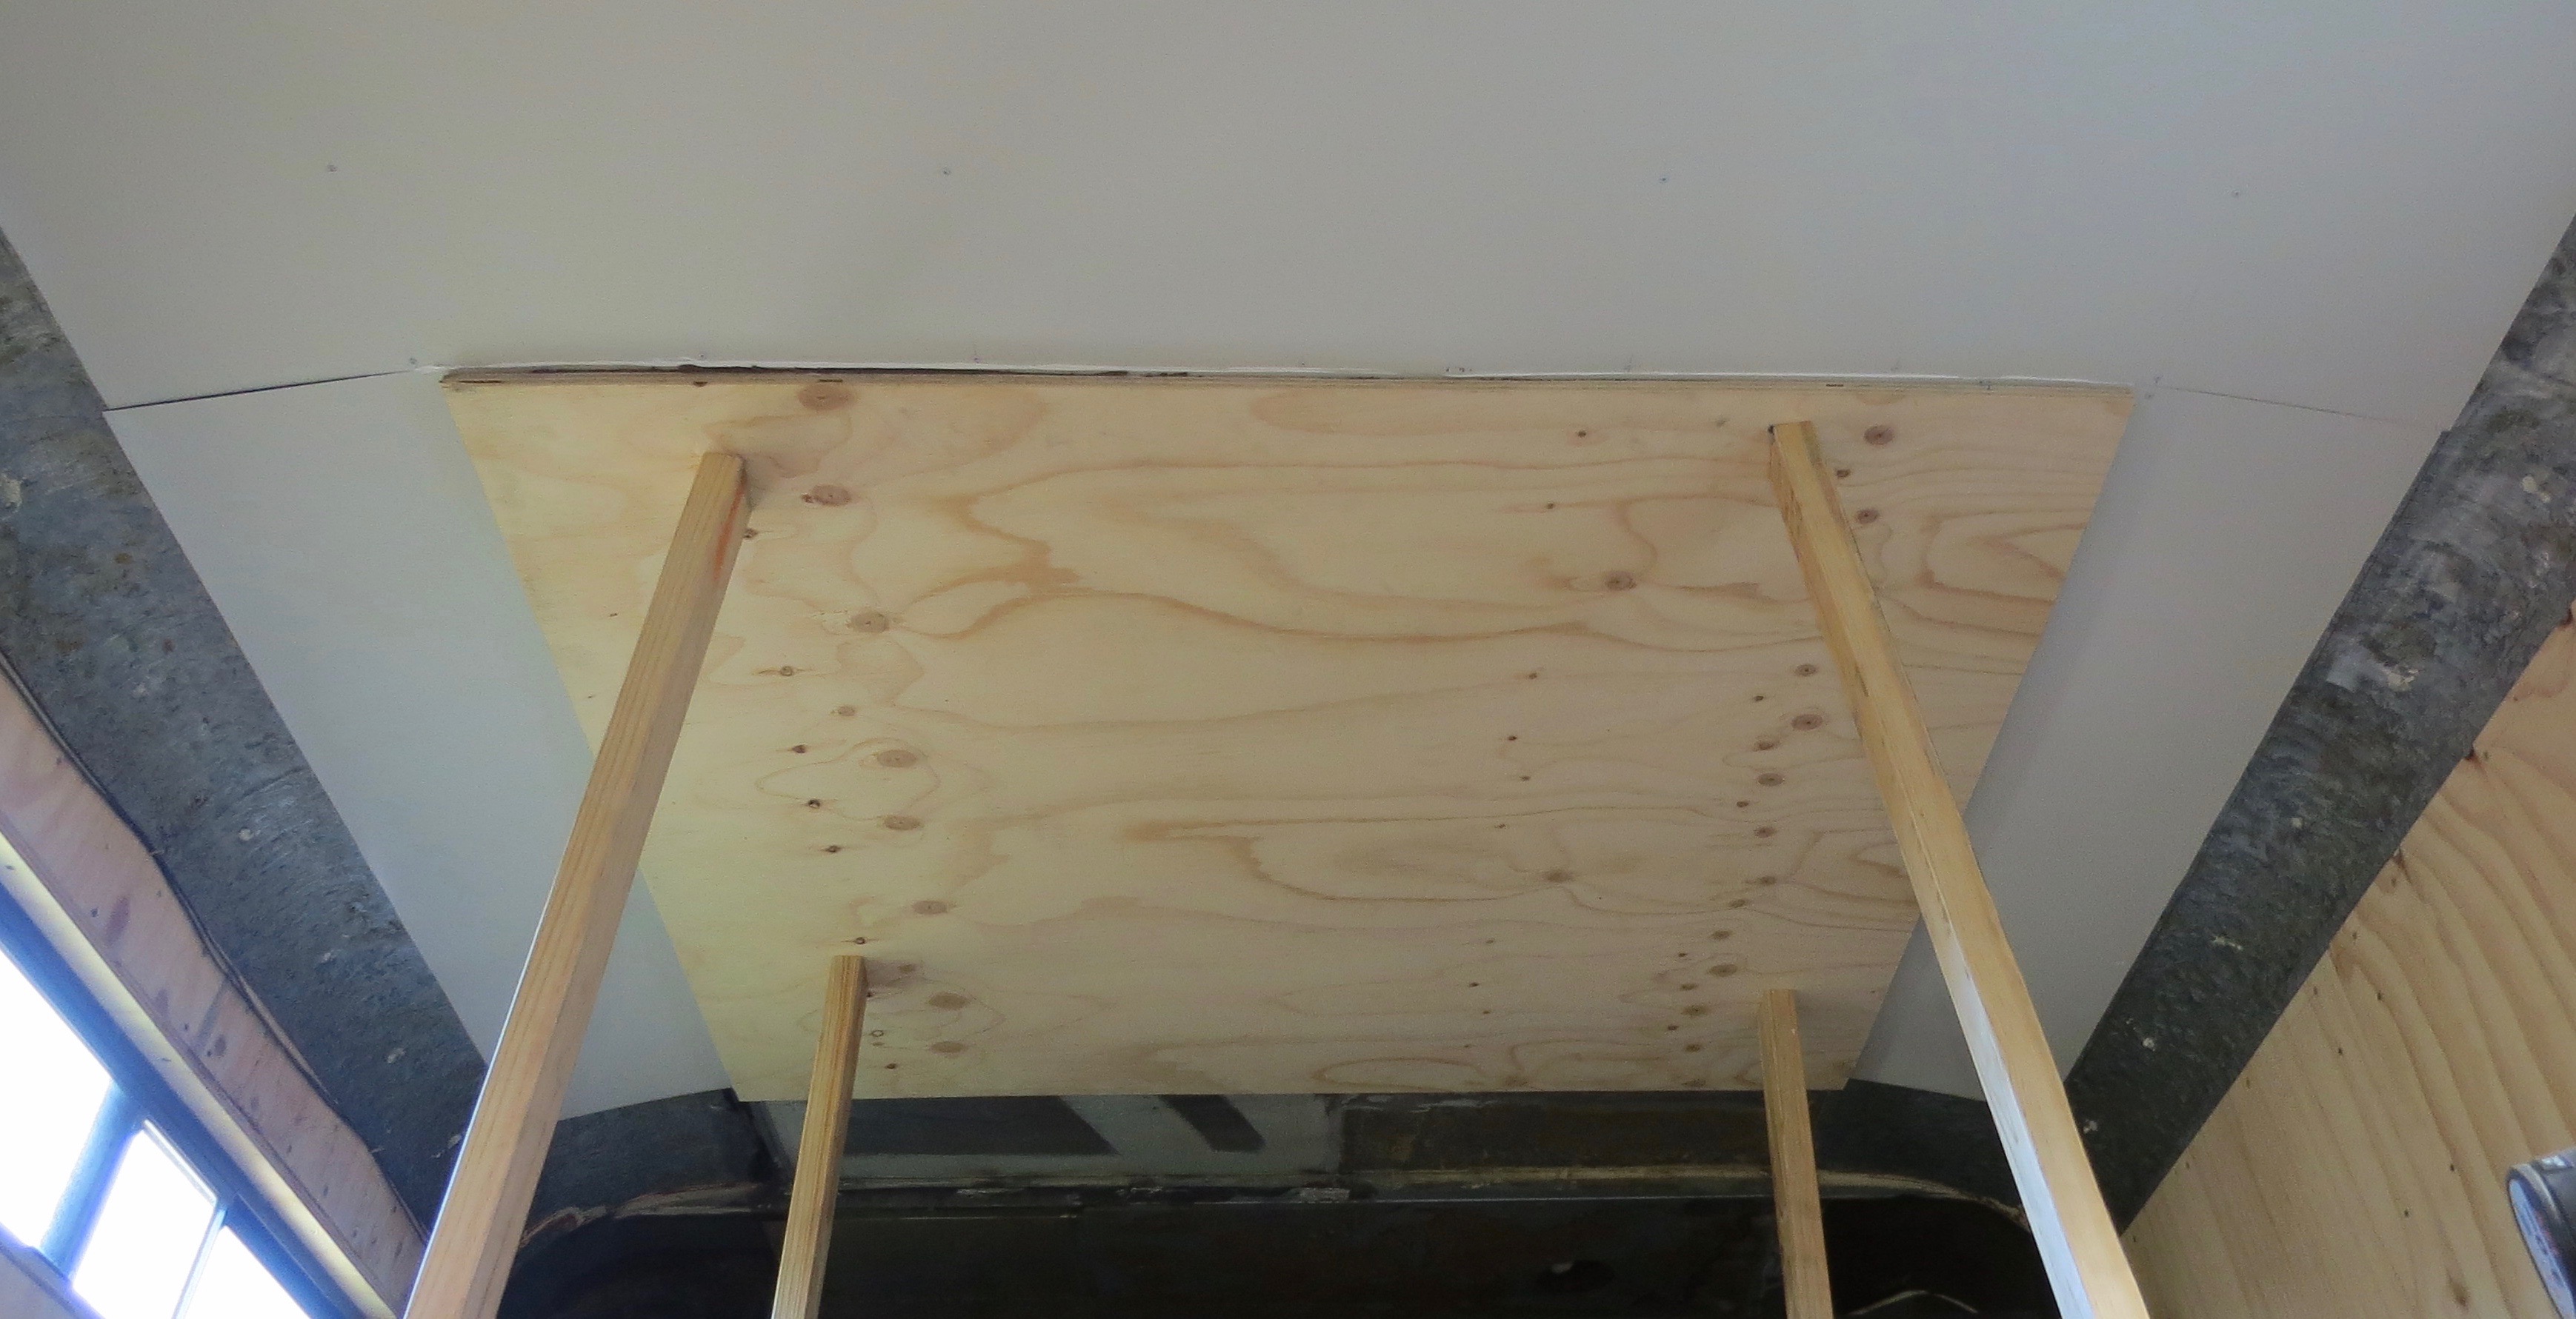
We started in the bedroom and that’s all we were going to do, but why stop there as it was a dirty job. So it was out with the scrapers again to remove the form underlay, only another 8 meters to go. I so much love working over my head.
So much fun I love my job.This is after sanding all the contact glue off the ceilingHalfway there.
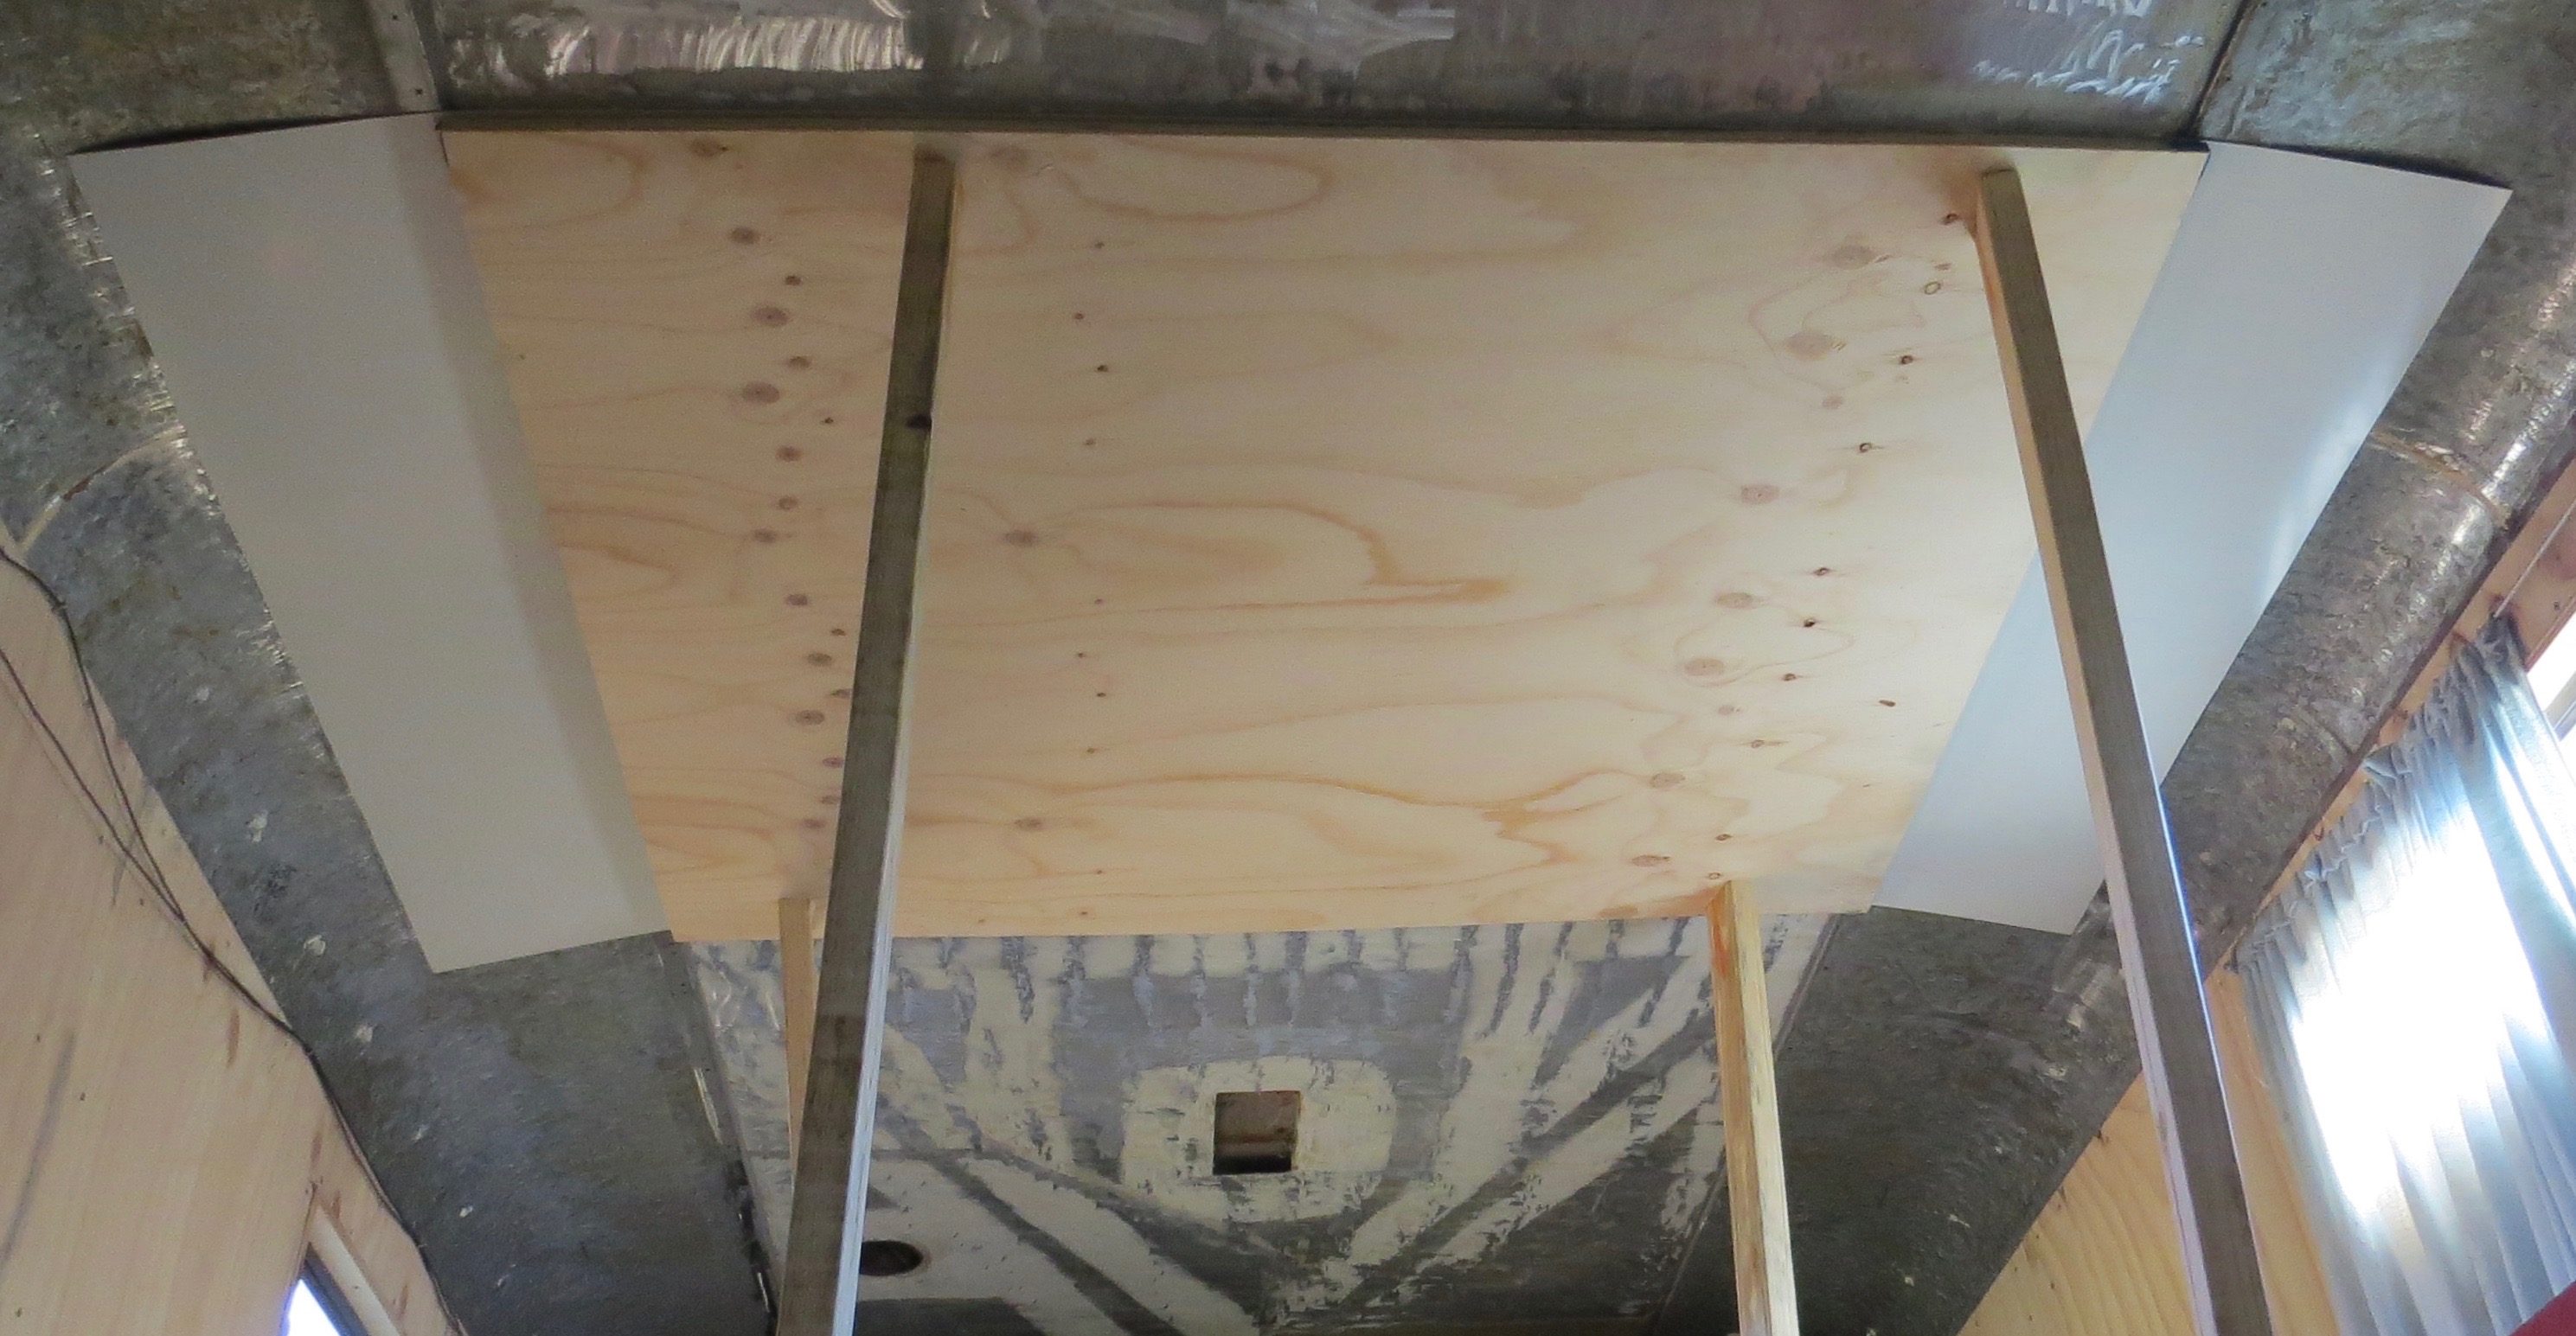
Now to start on the new ceiling.
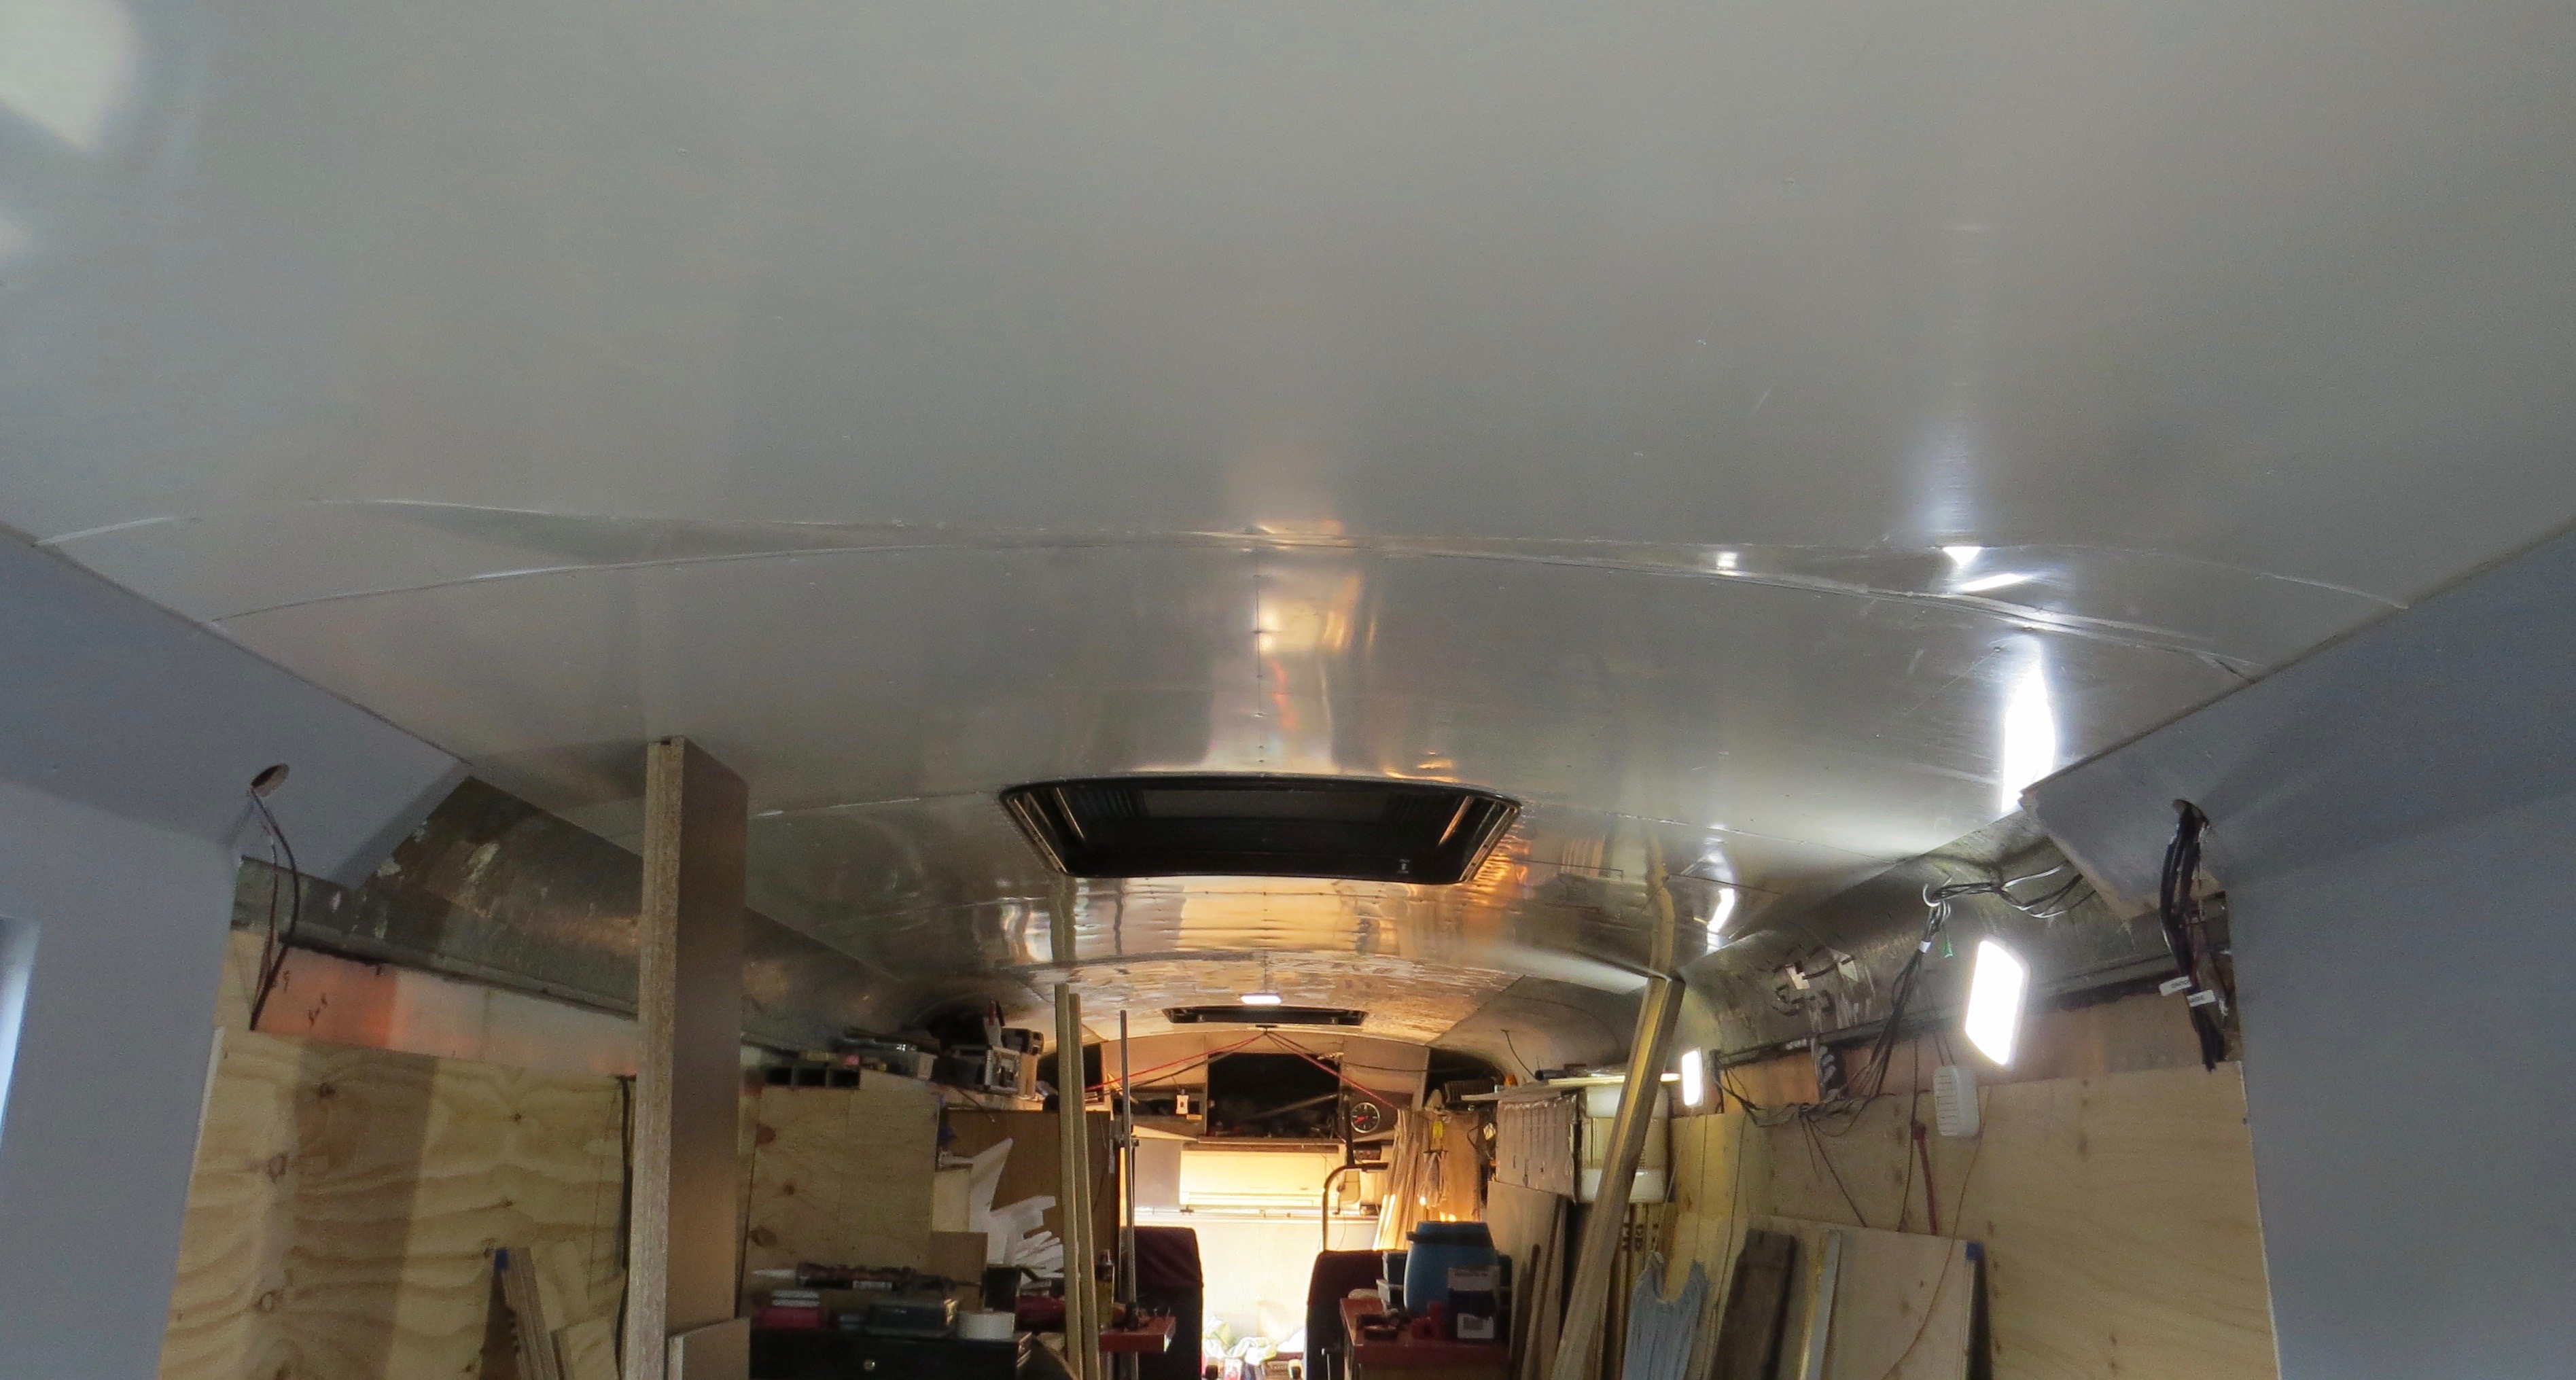
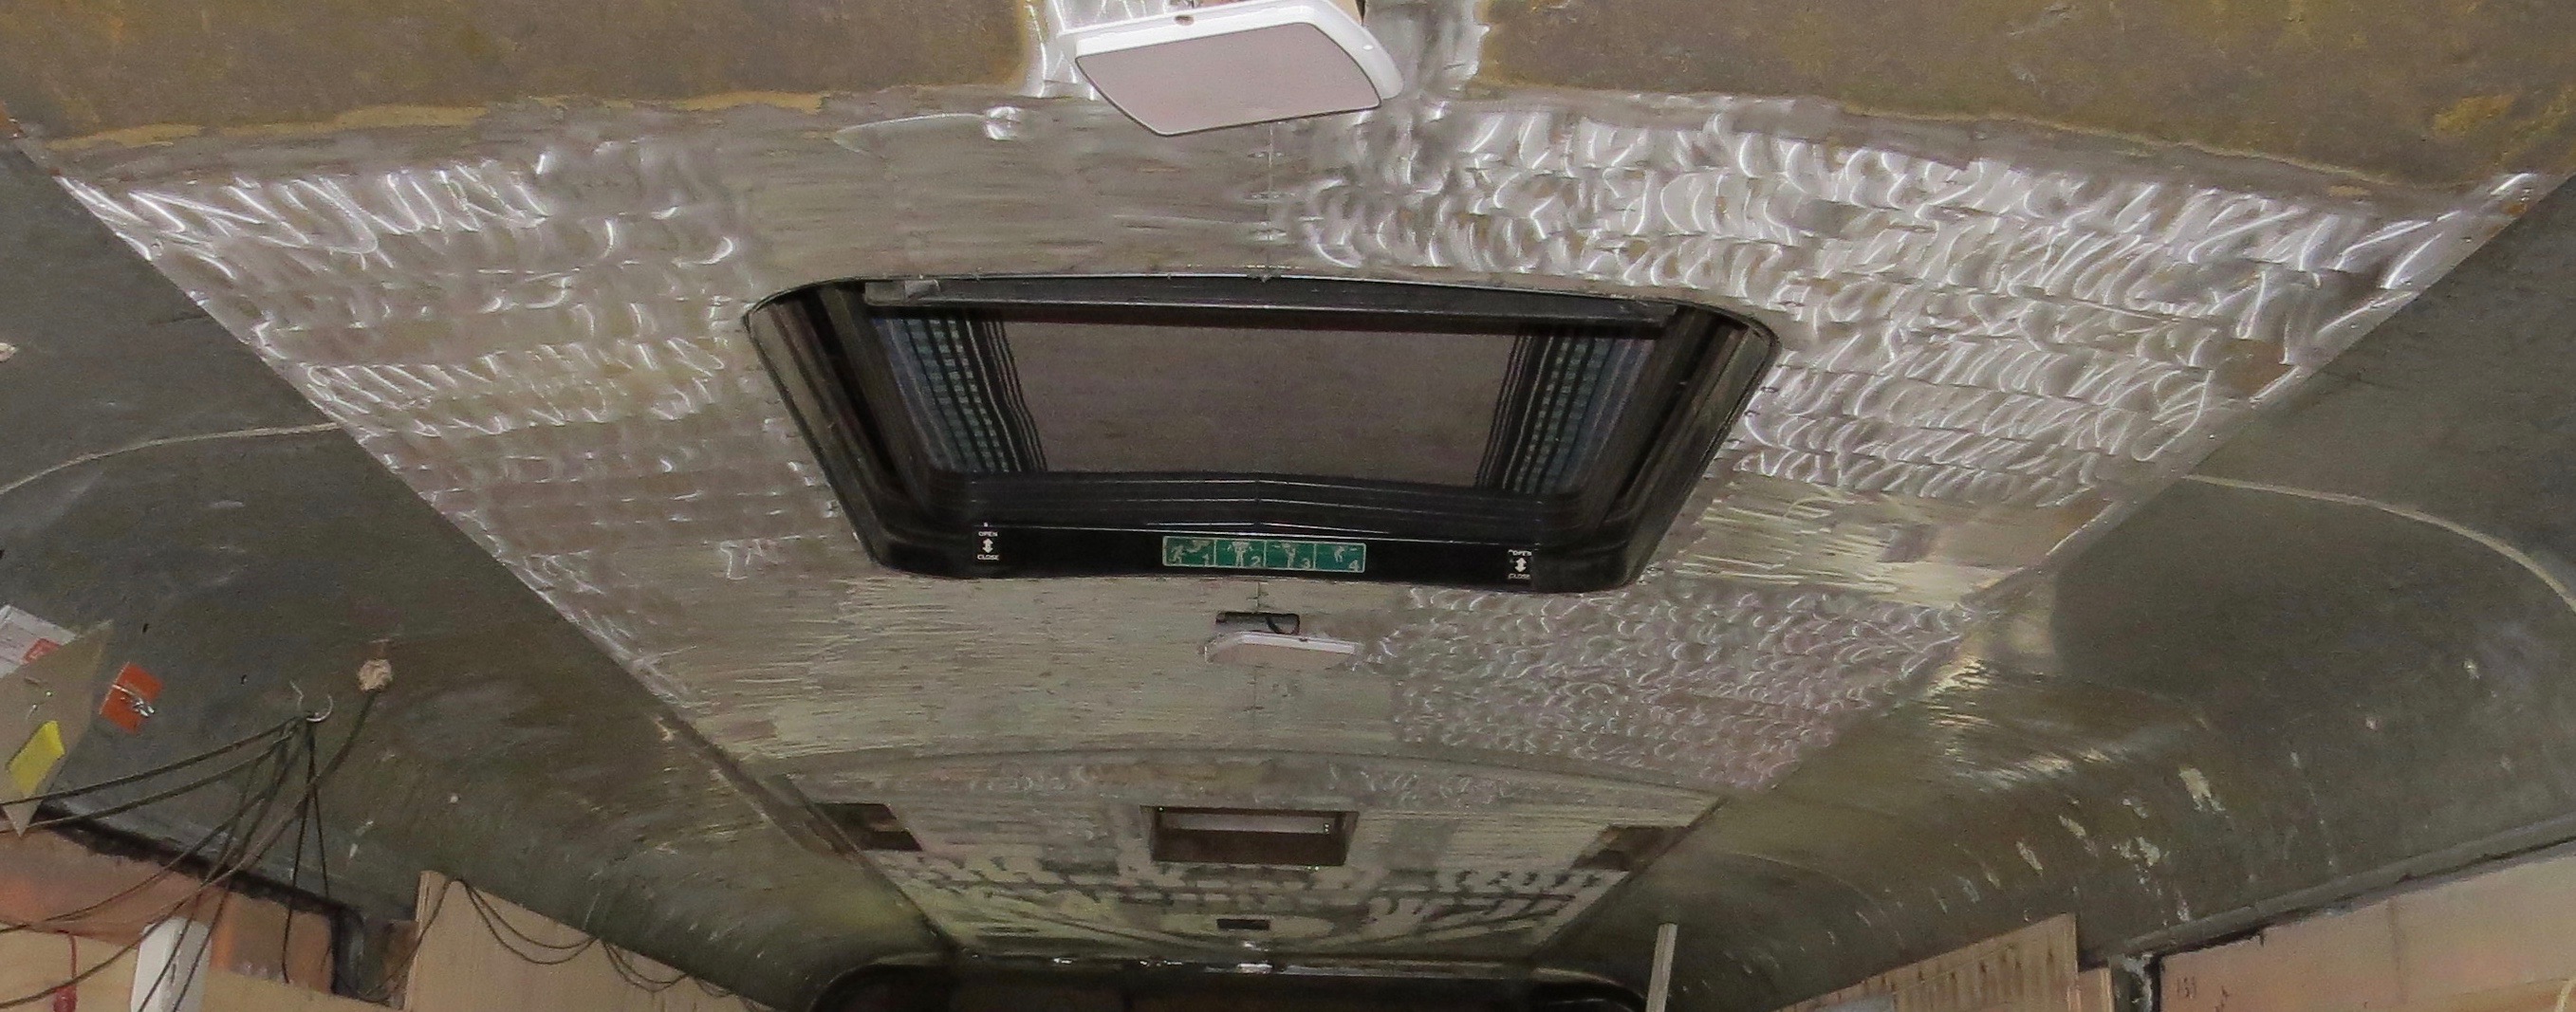
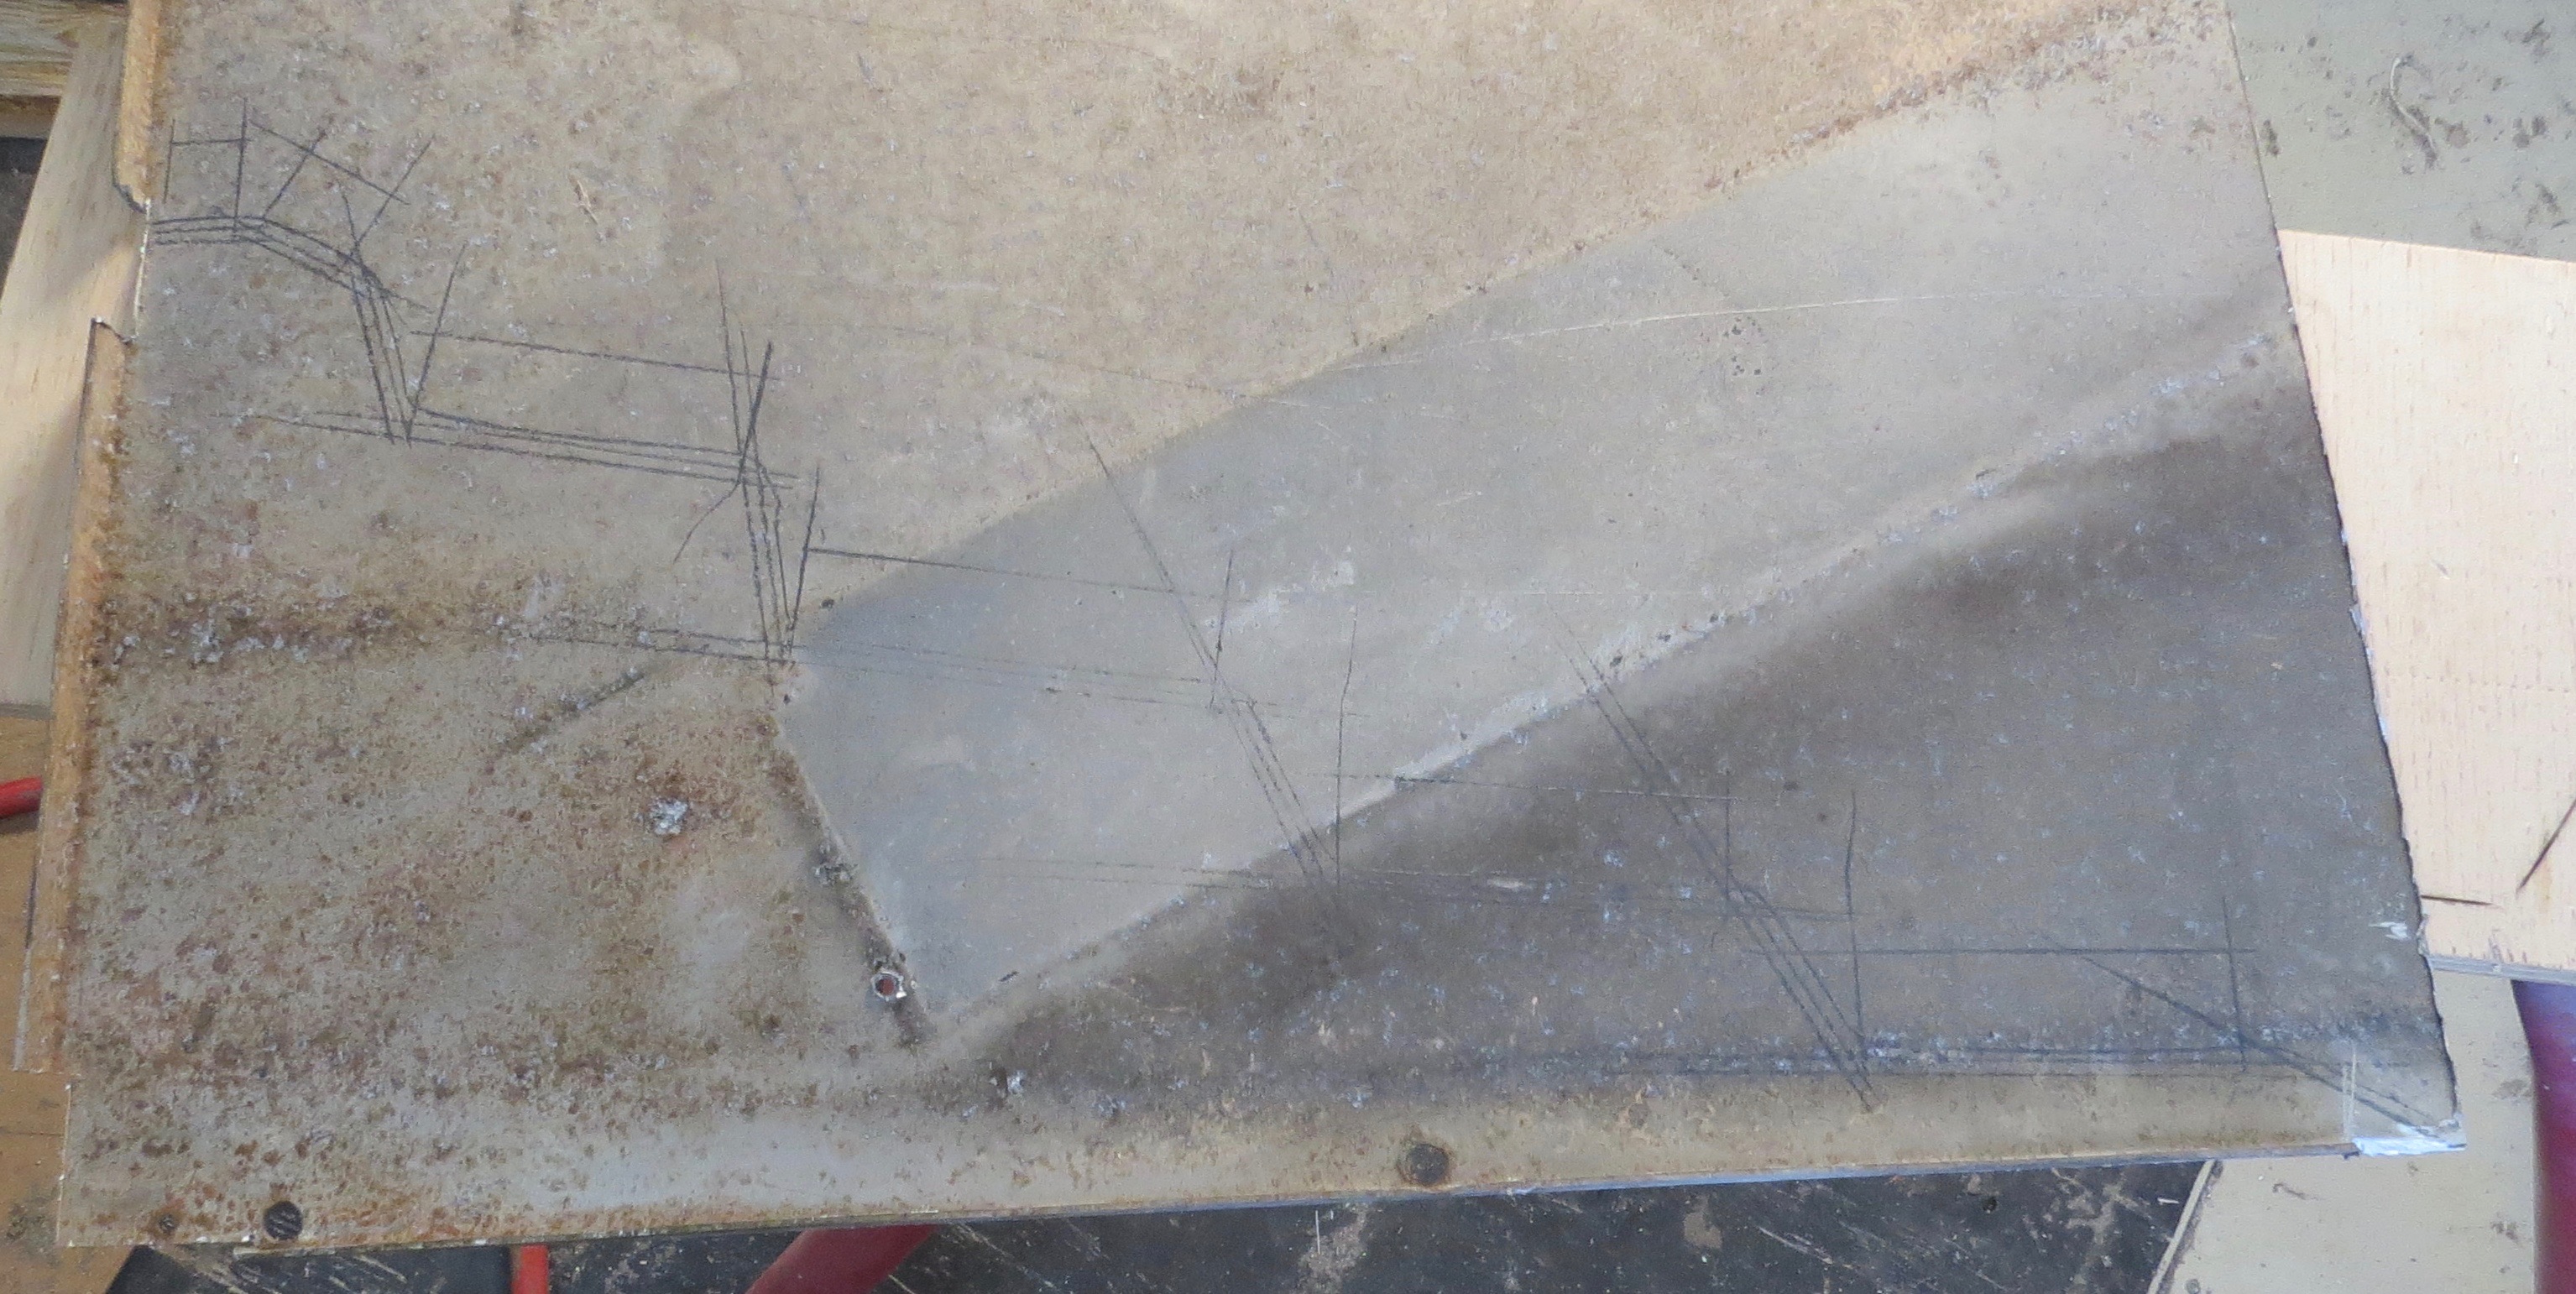
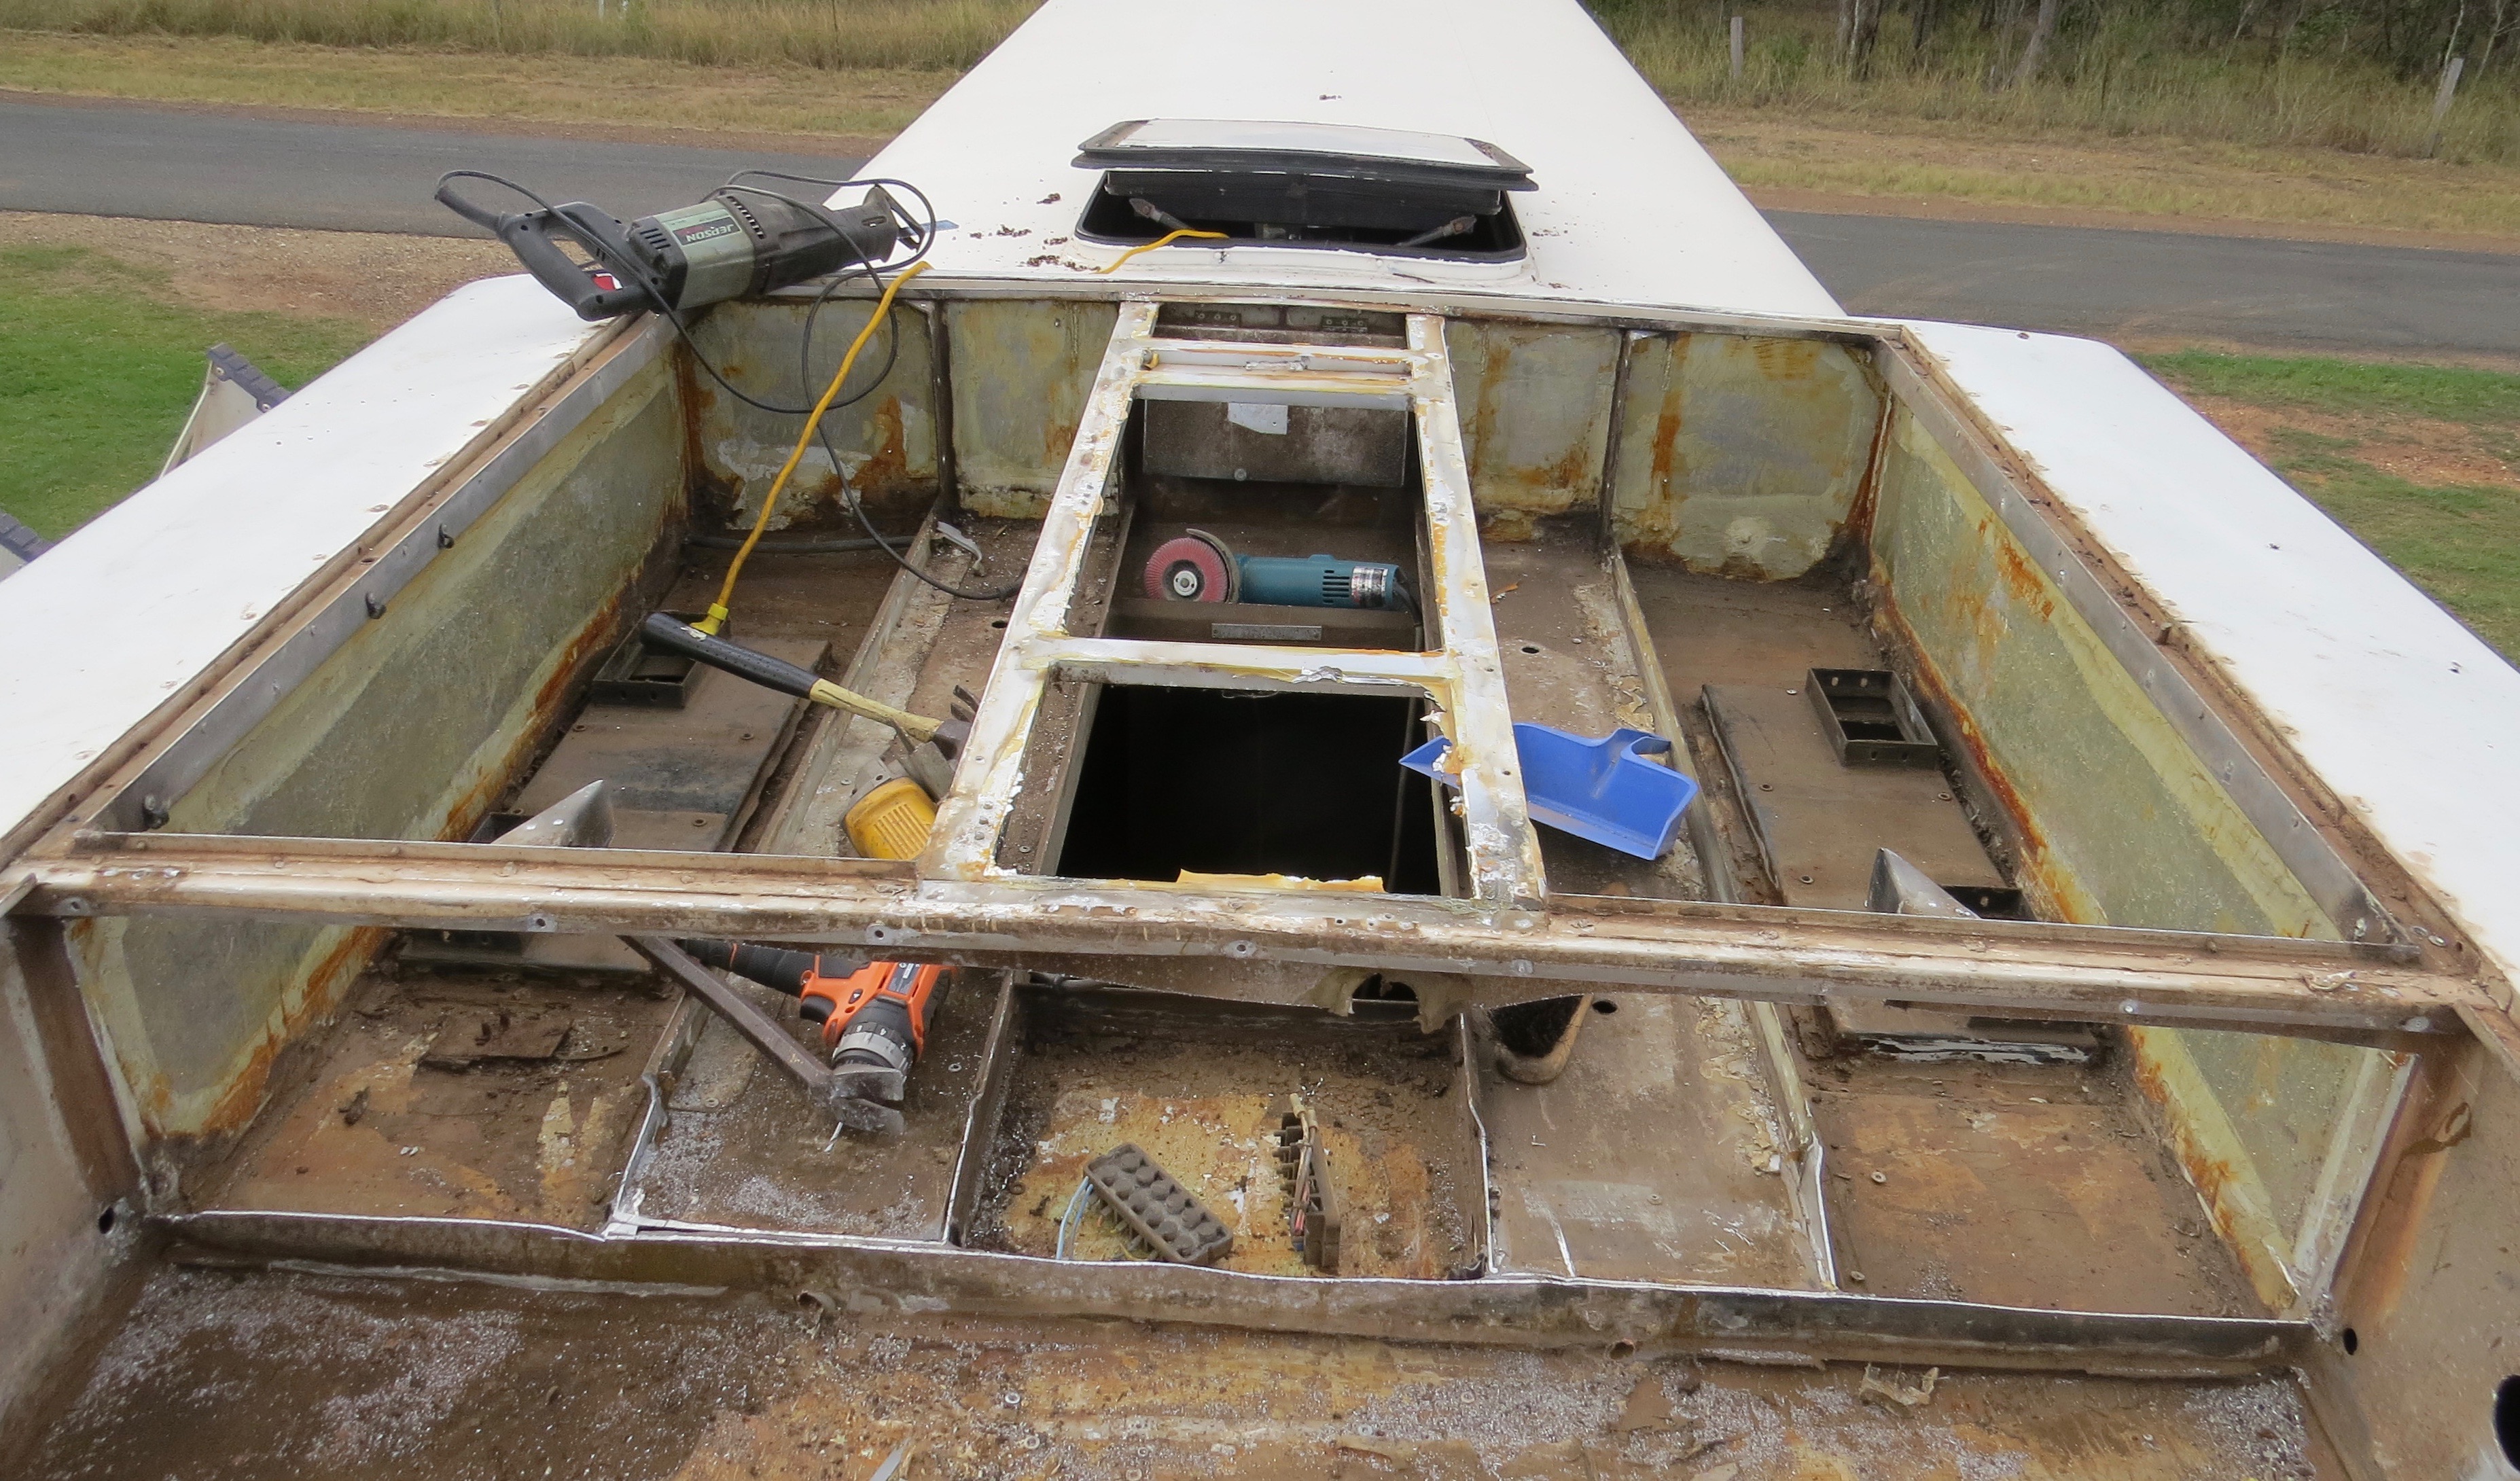
Well it’s now time to start on the new bedroom ceiling as It had to be finished so I could fix the roof above. Des had the sheetmetal already, so it was time to cut it up and start fitting it up in place.
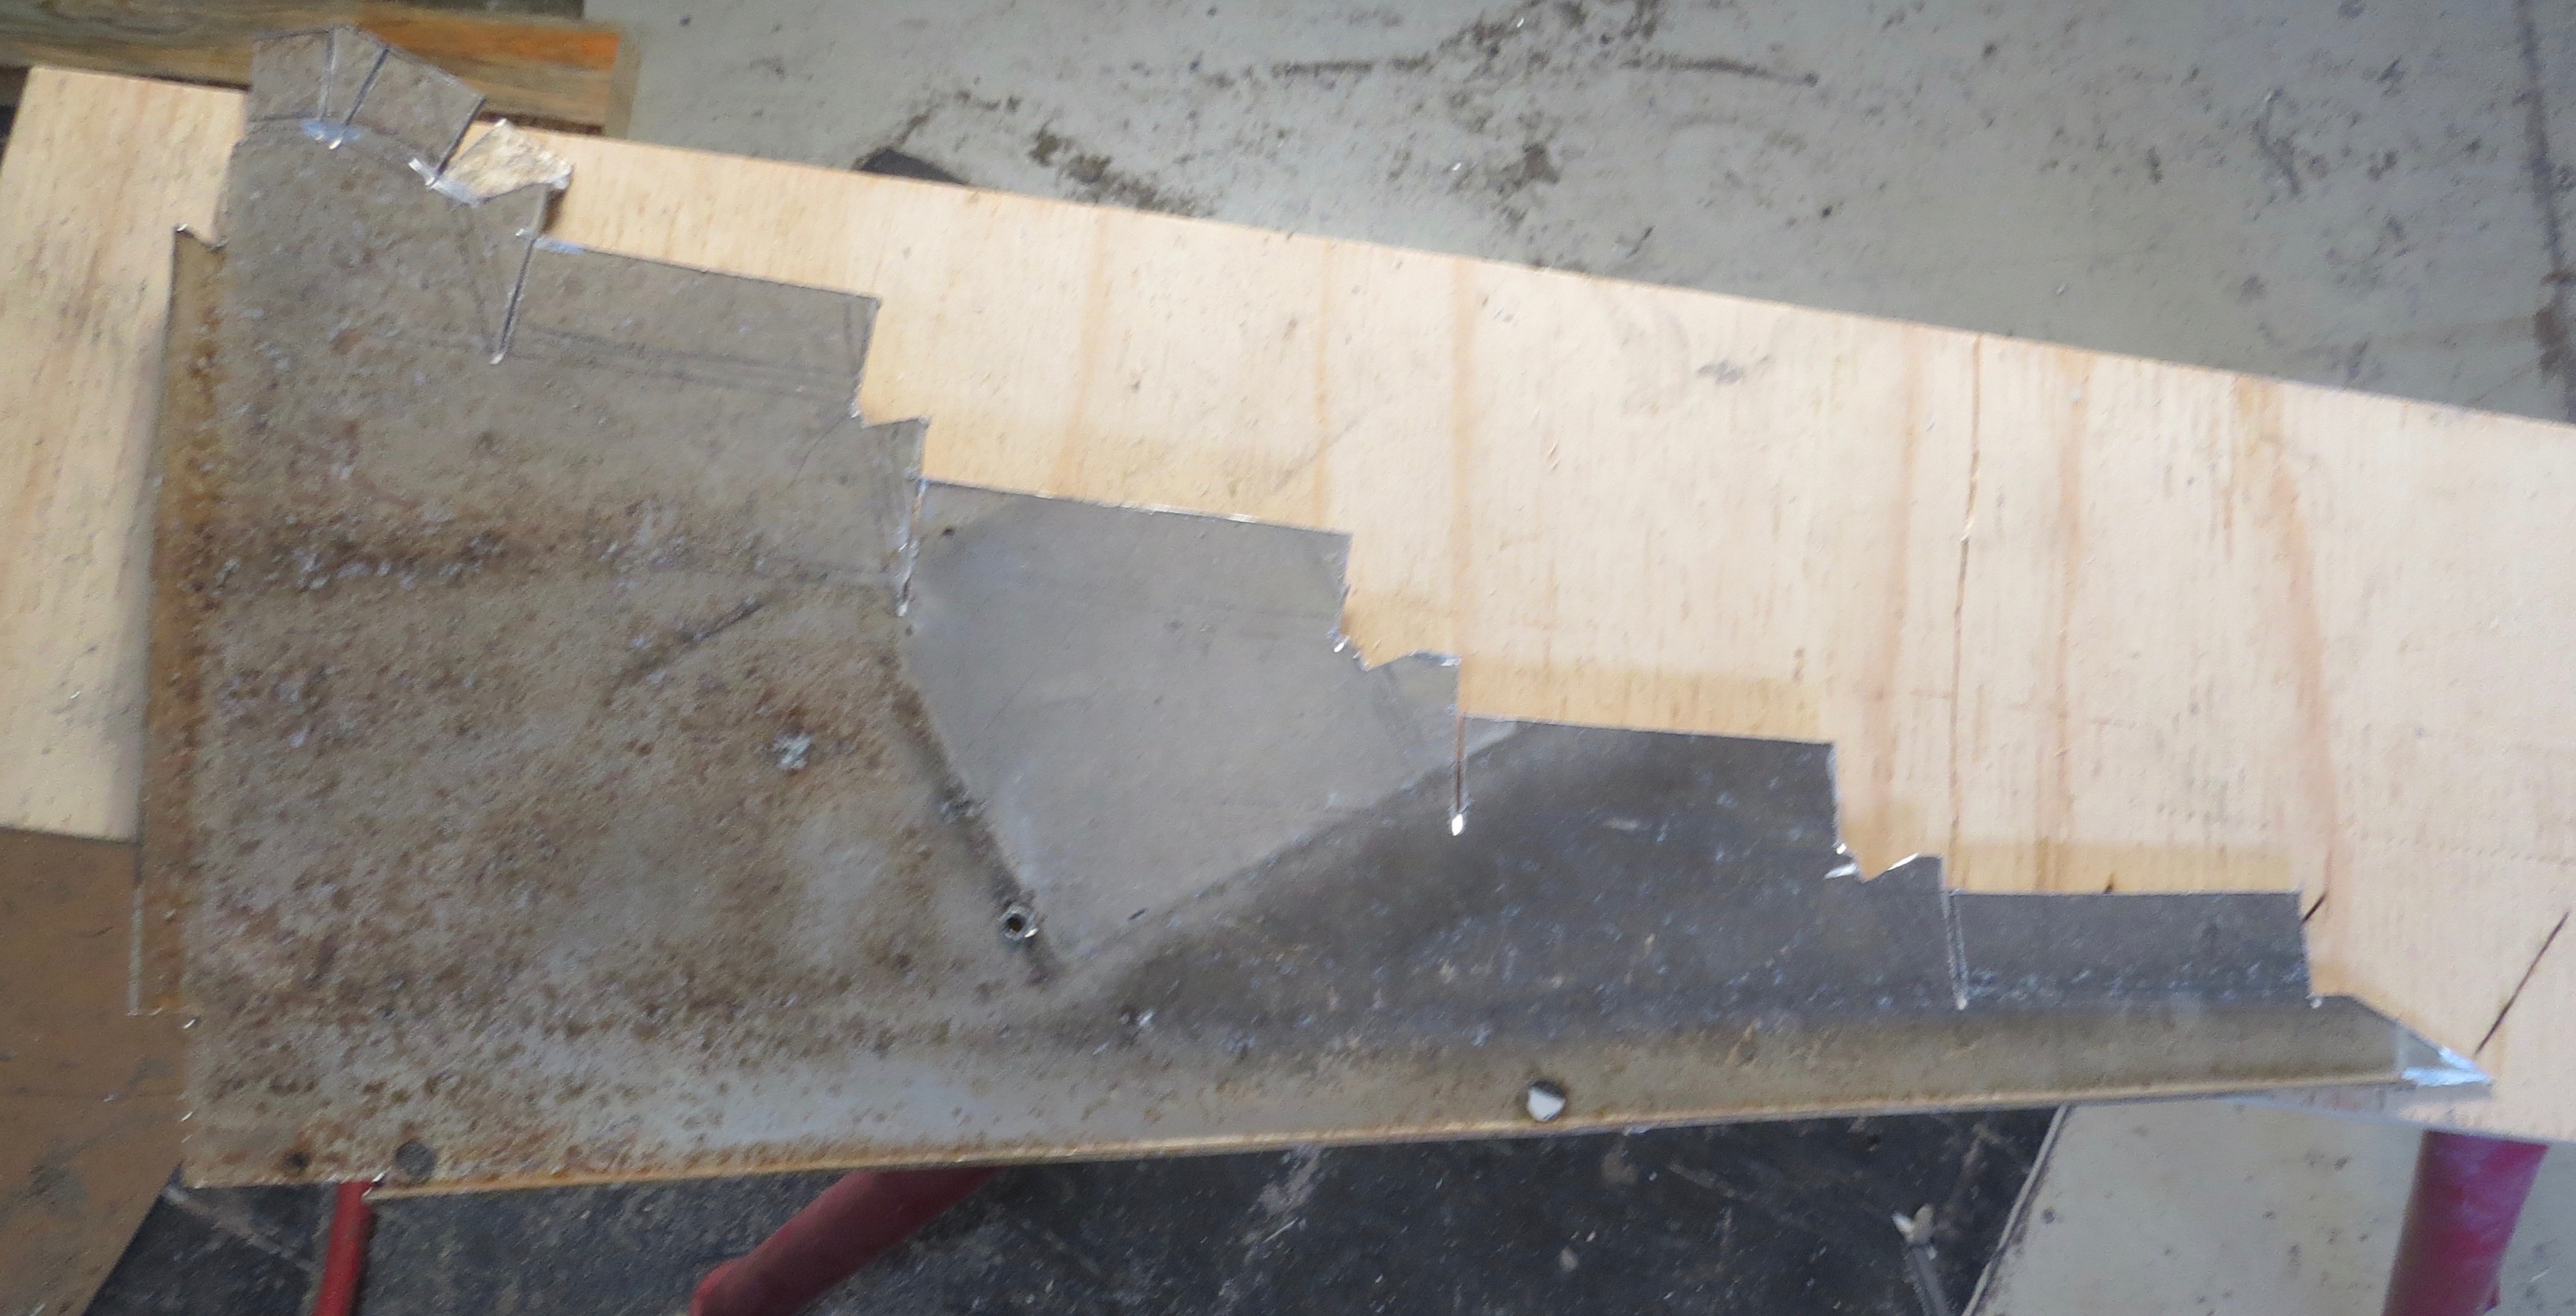
The sheet metal that will be going up for the ceiling.Time to cut it all to length.This lot should do the bedroom through to the bathroom.
Now the fun beginnings of positioning them in place with Charmaine’s help and some timber I think we can do it. This will be done one sheet at a time as gluing them in place takes 24hrs, then the pop riveting and then we do it all over again with the next one.
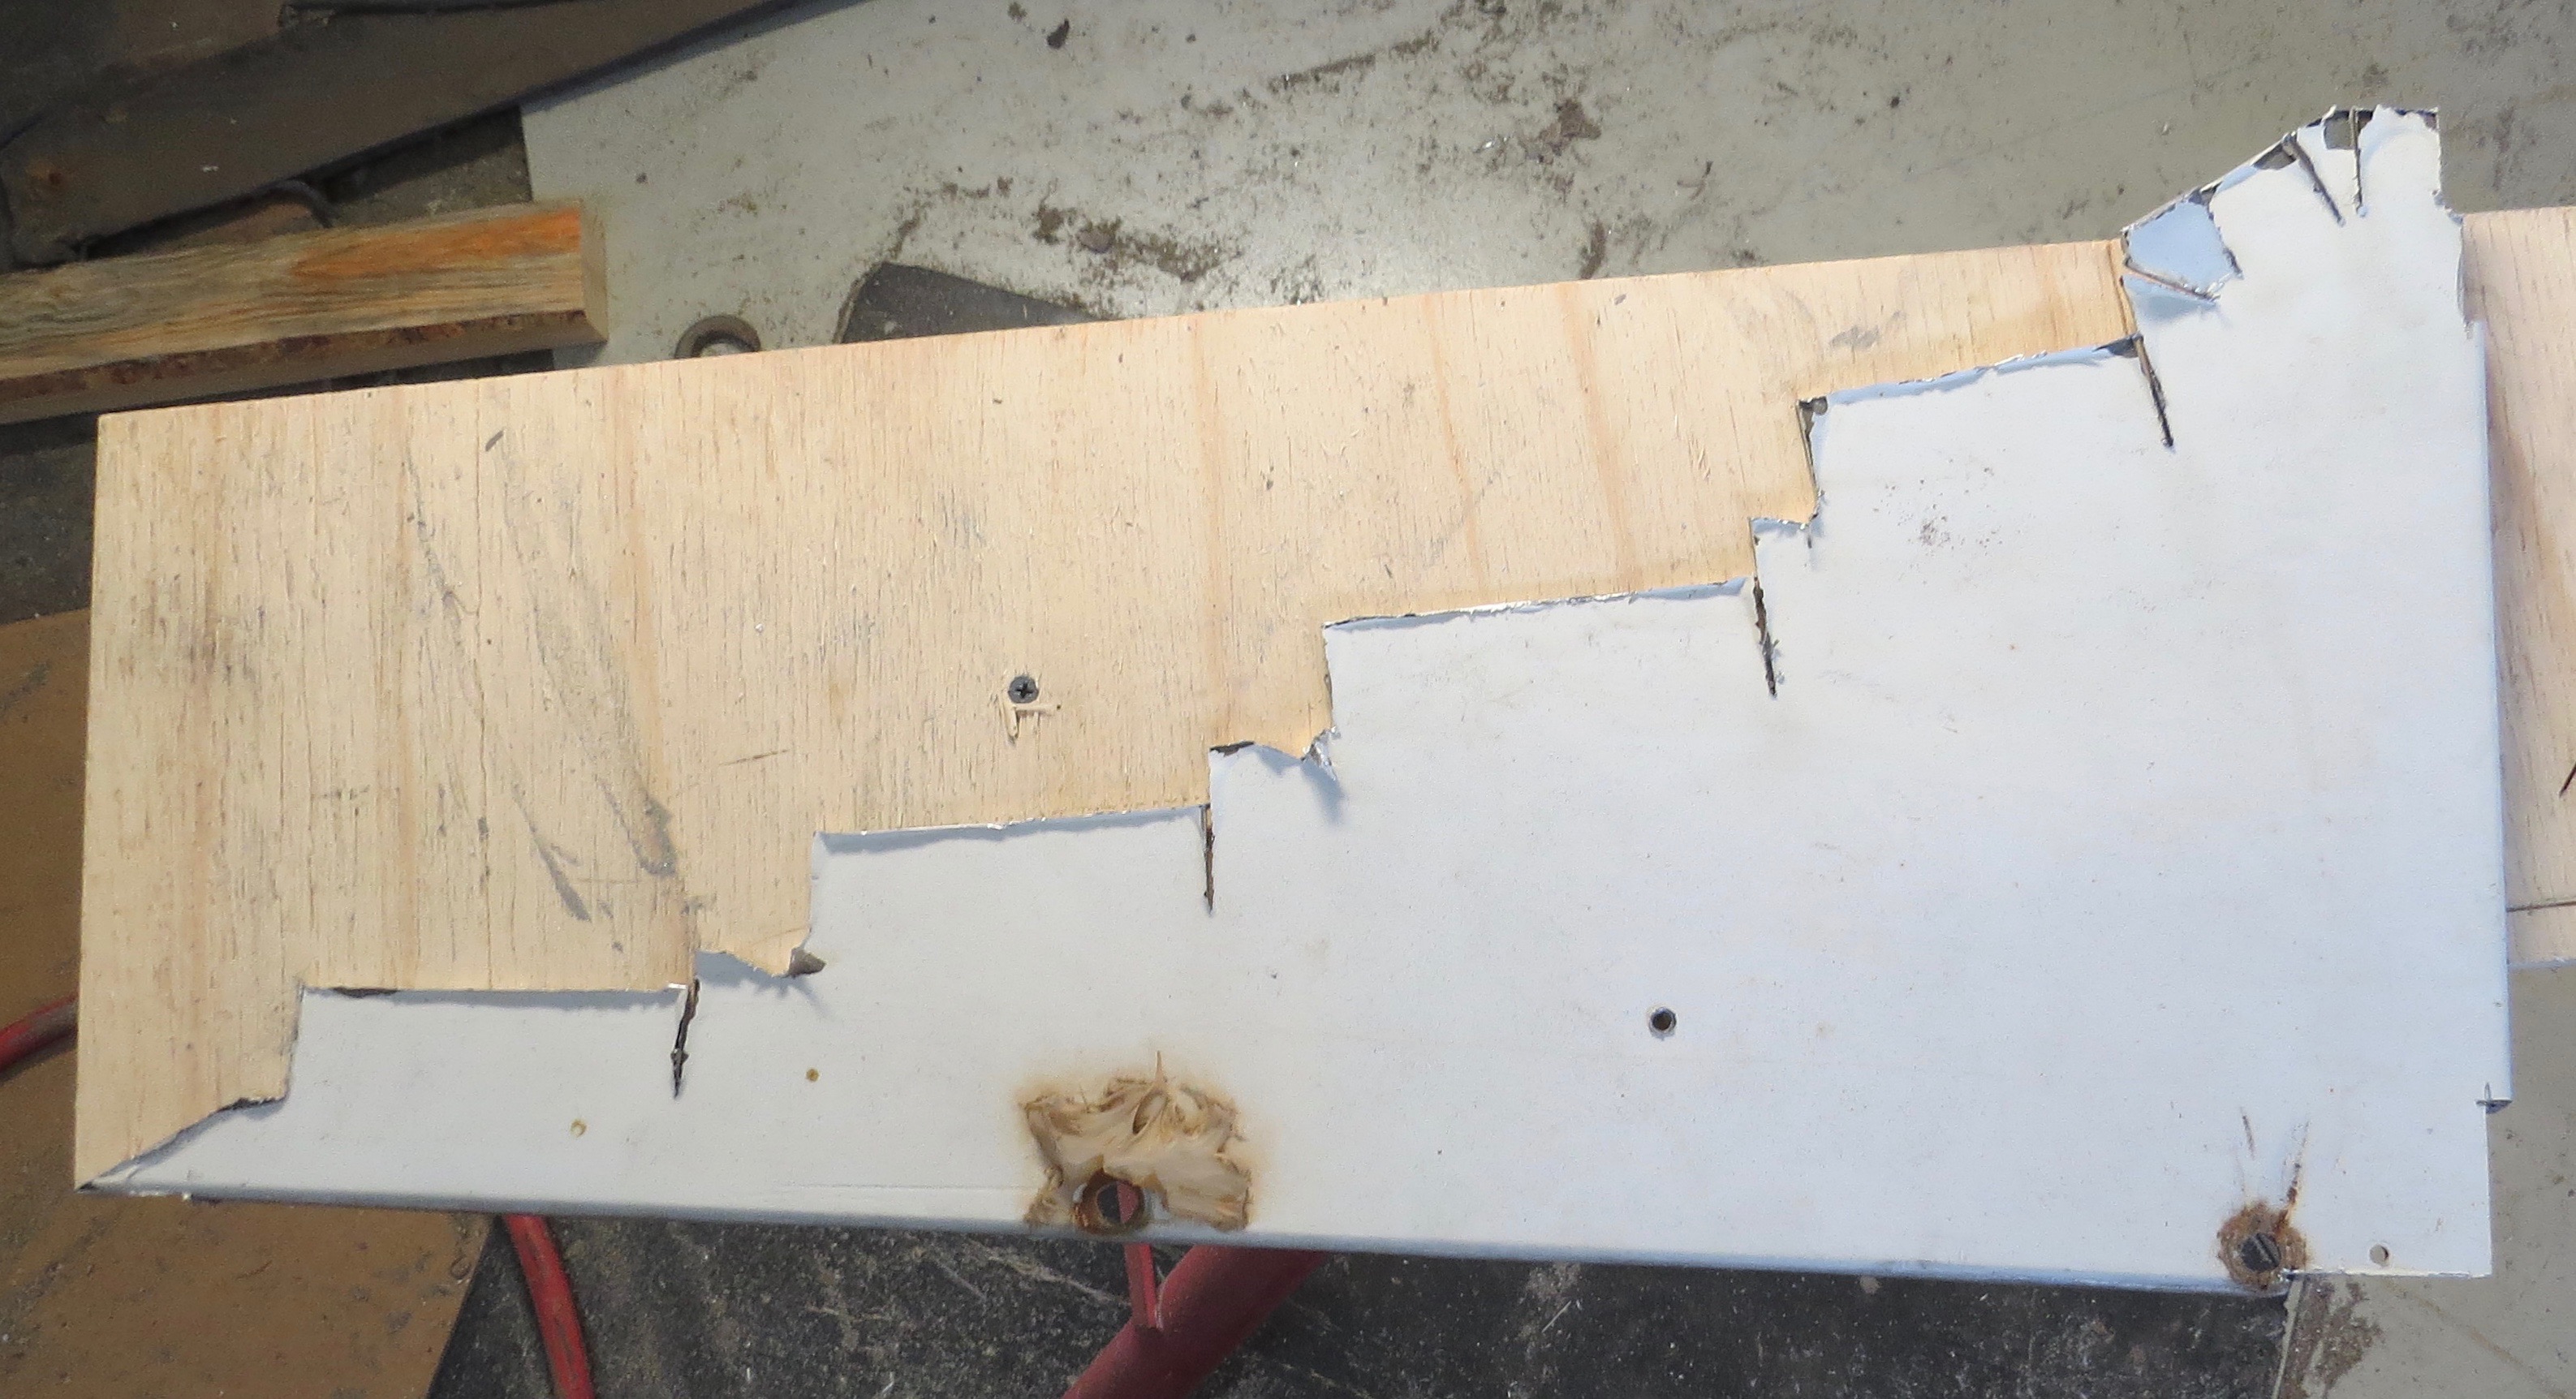
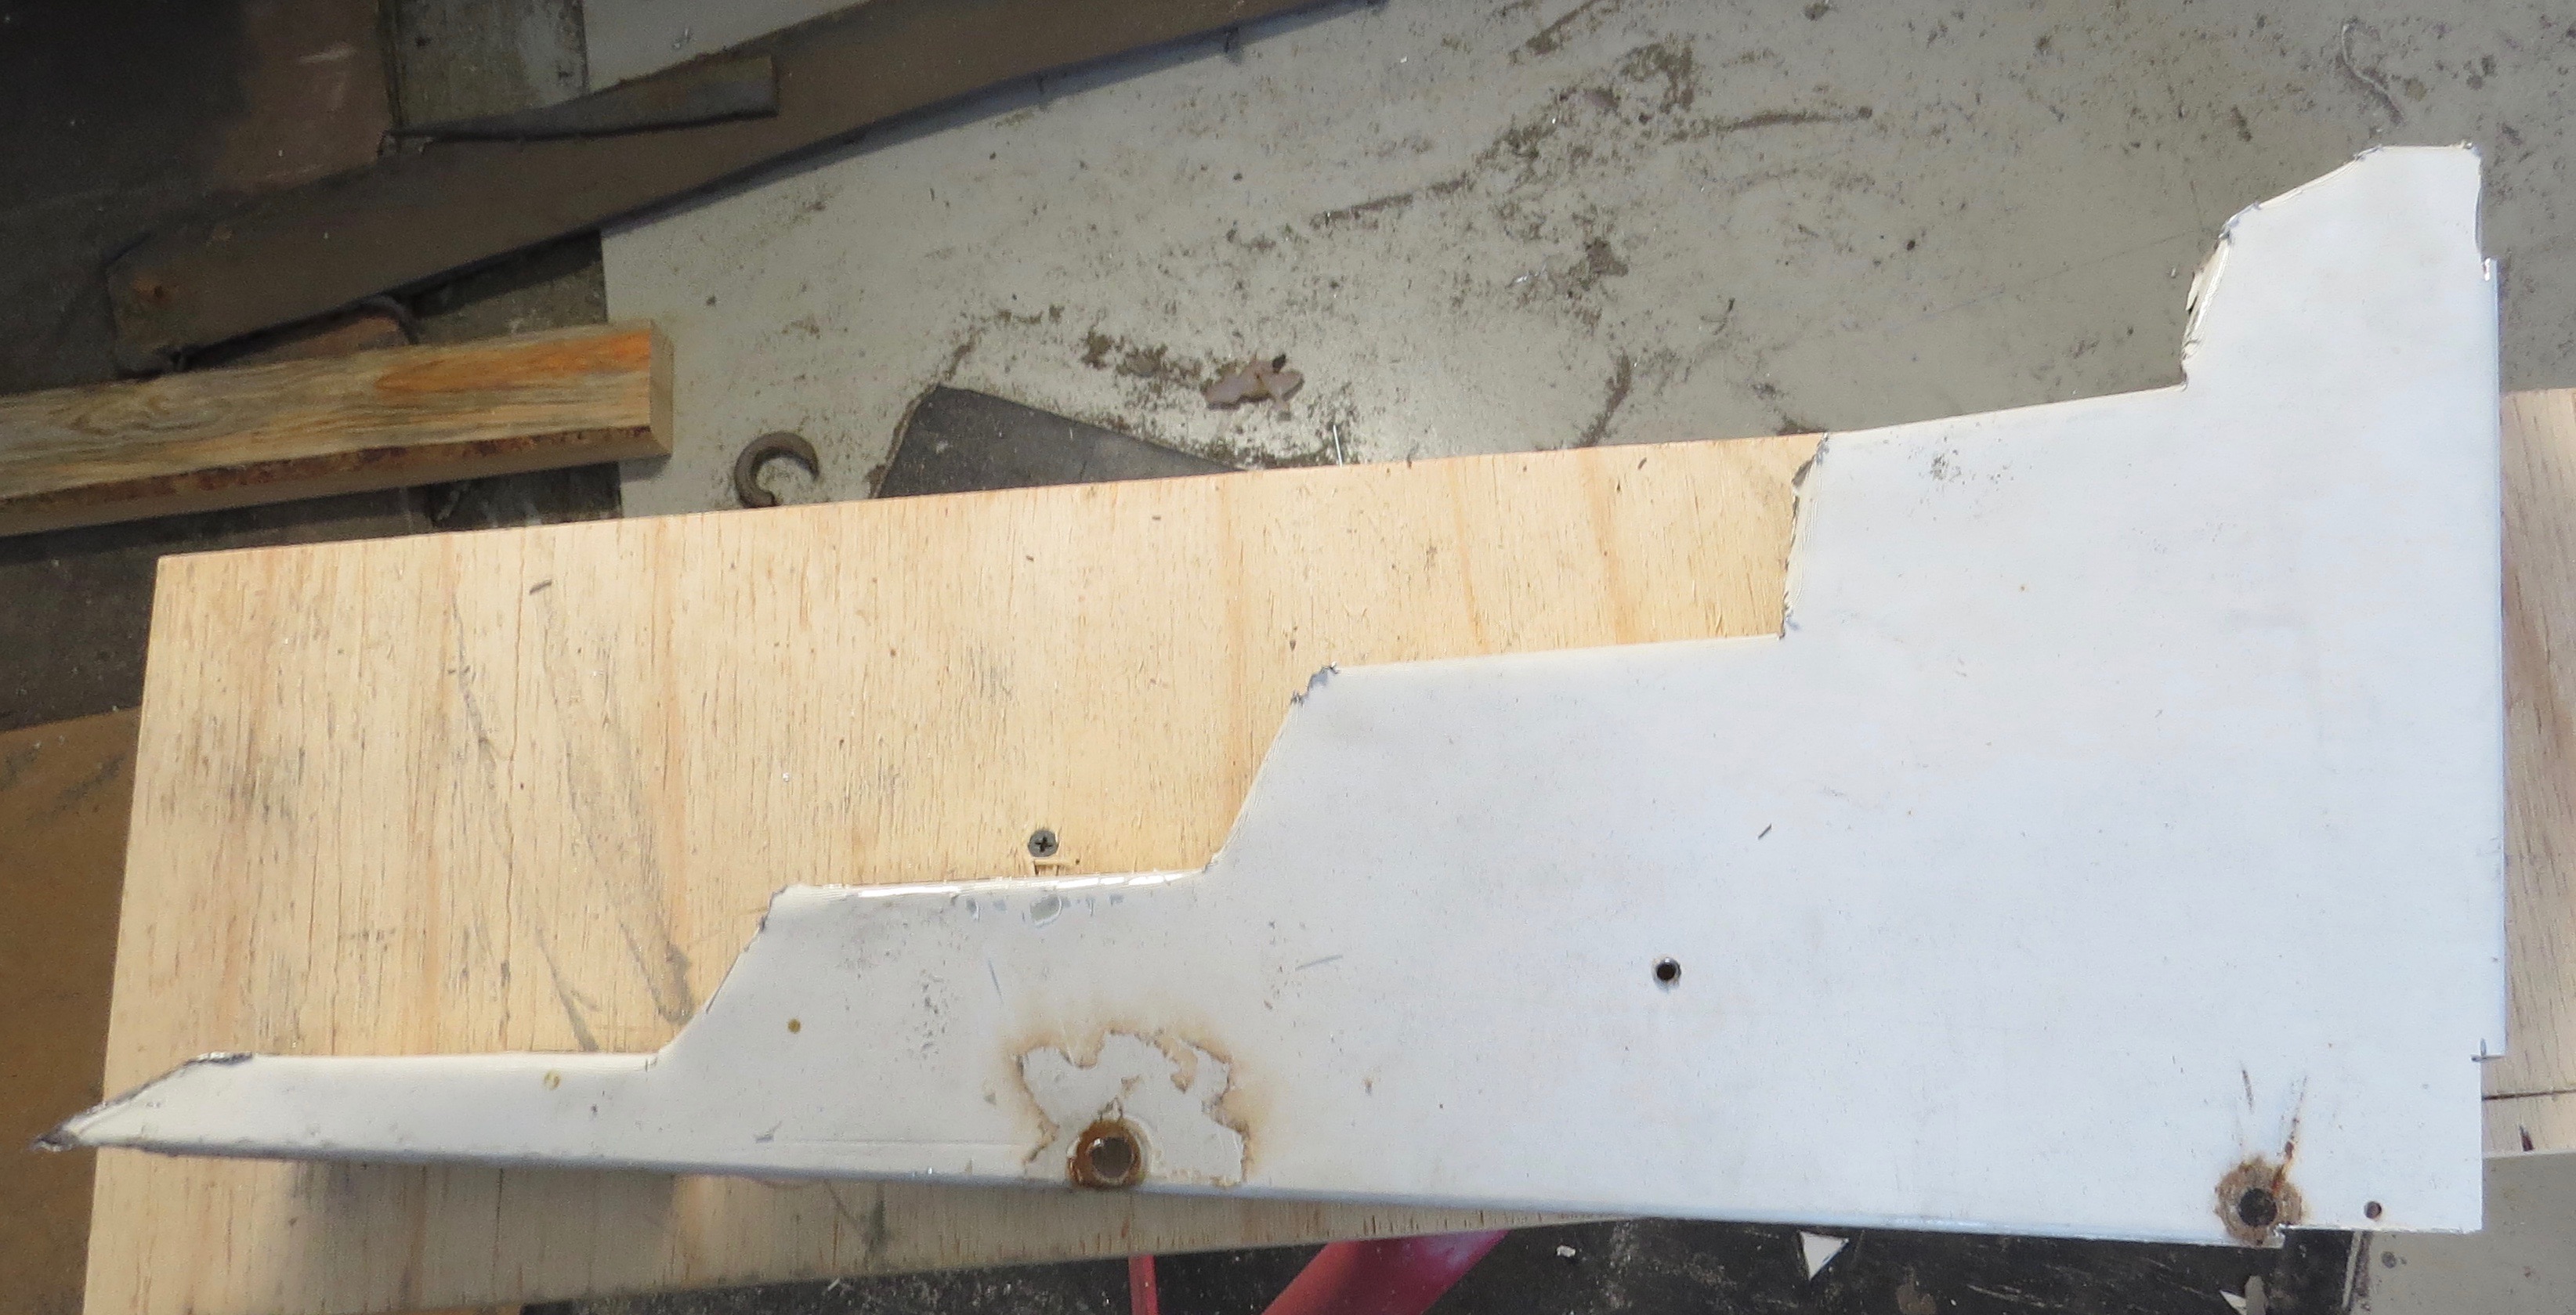
The 1st sheet in place.pop riveting done on the first sheet.Onto the 2nd sheet.Most of the bedroom ceiling done as well as the bit from the flat to the curve ceiling.
Now that we have done the ceiling in the bedroom, the rest will have to wait for another day and another blog.
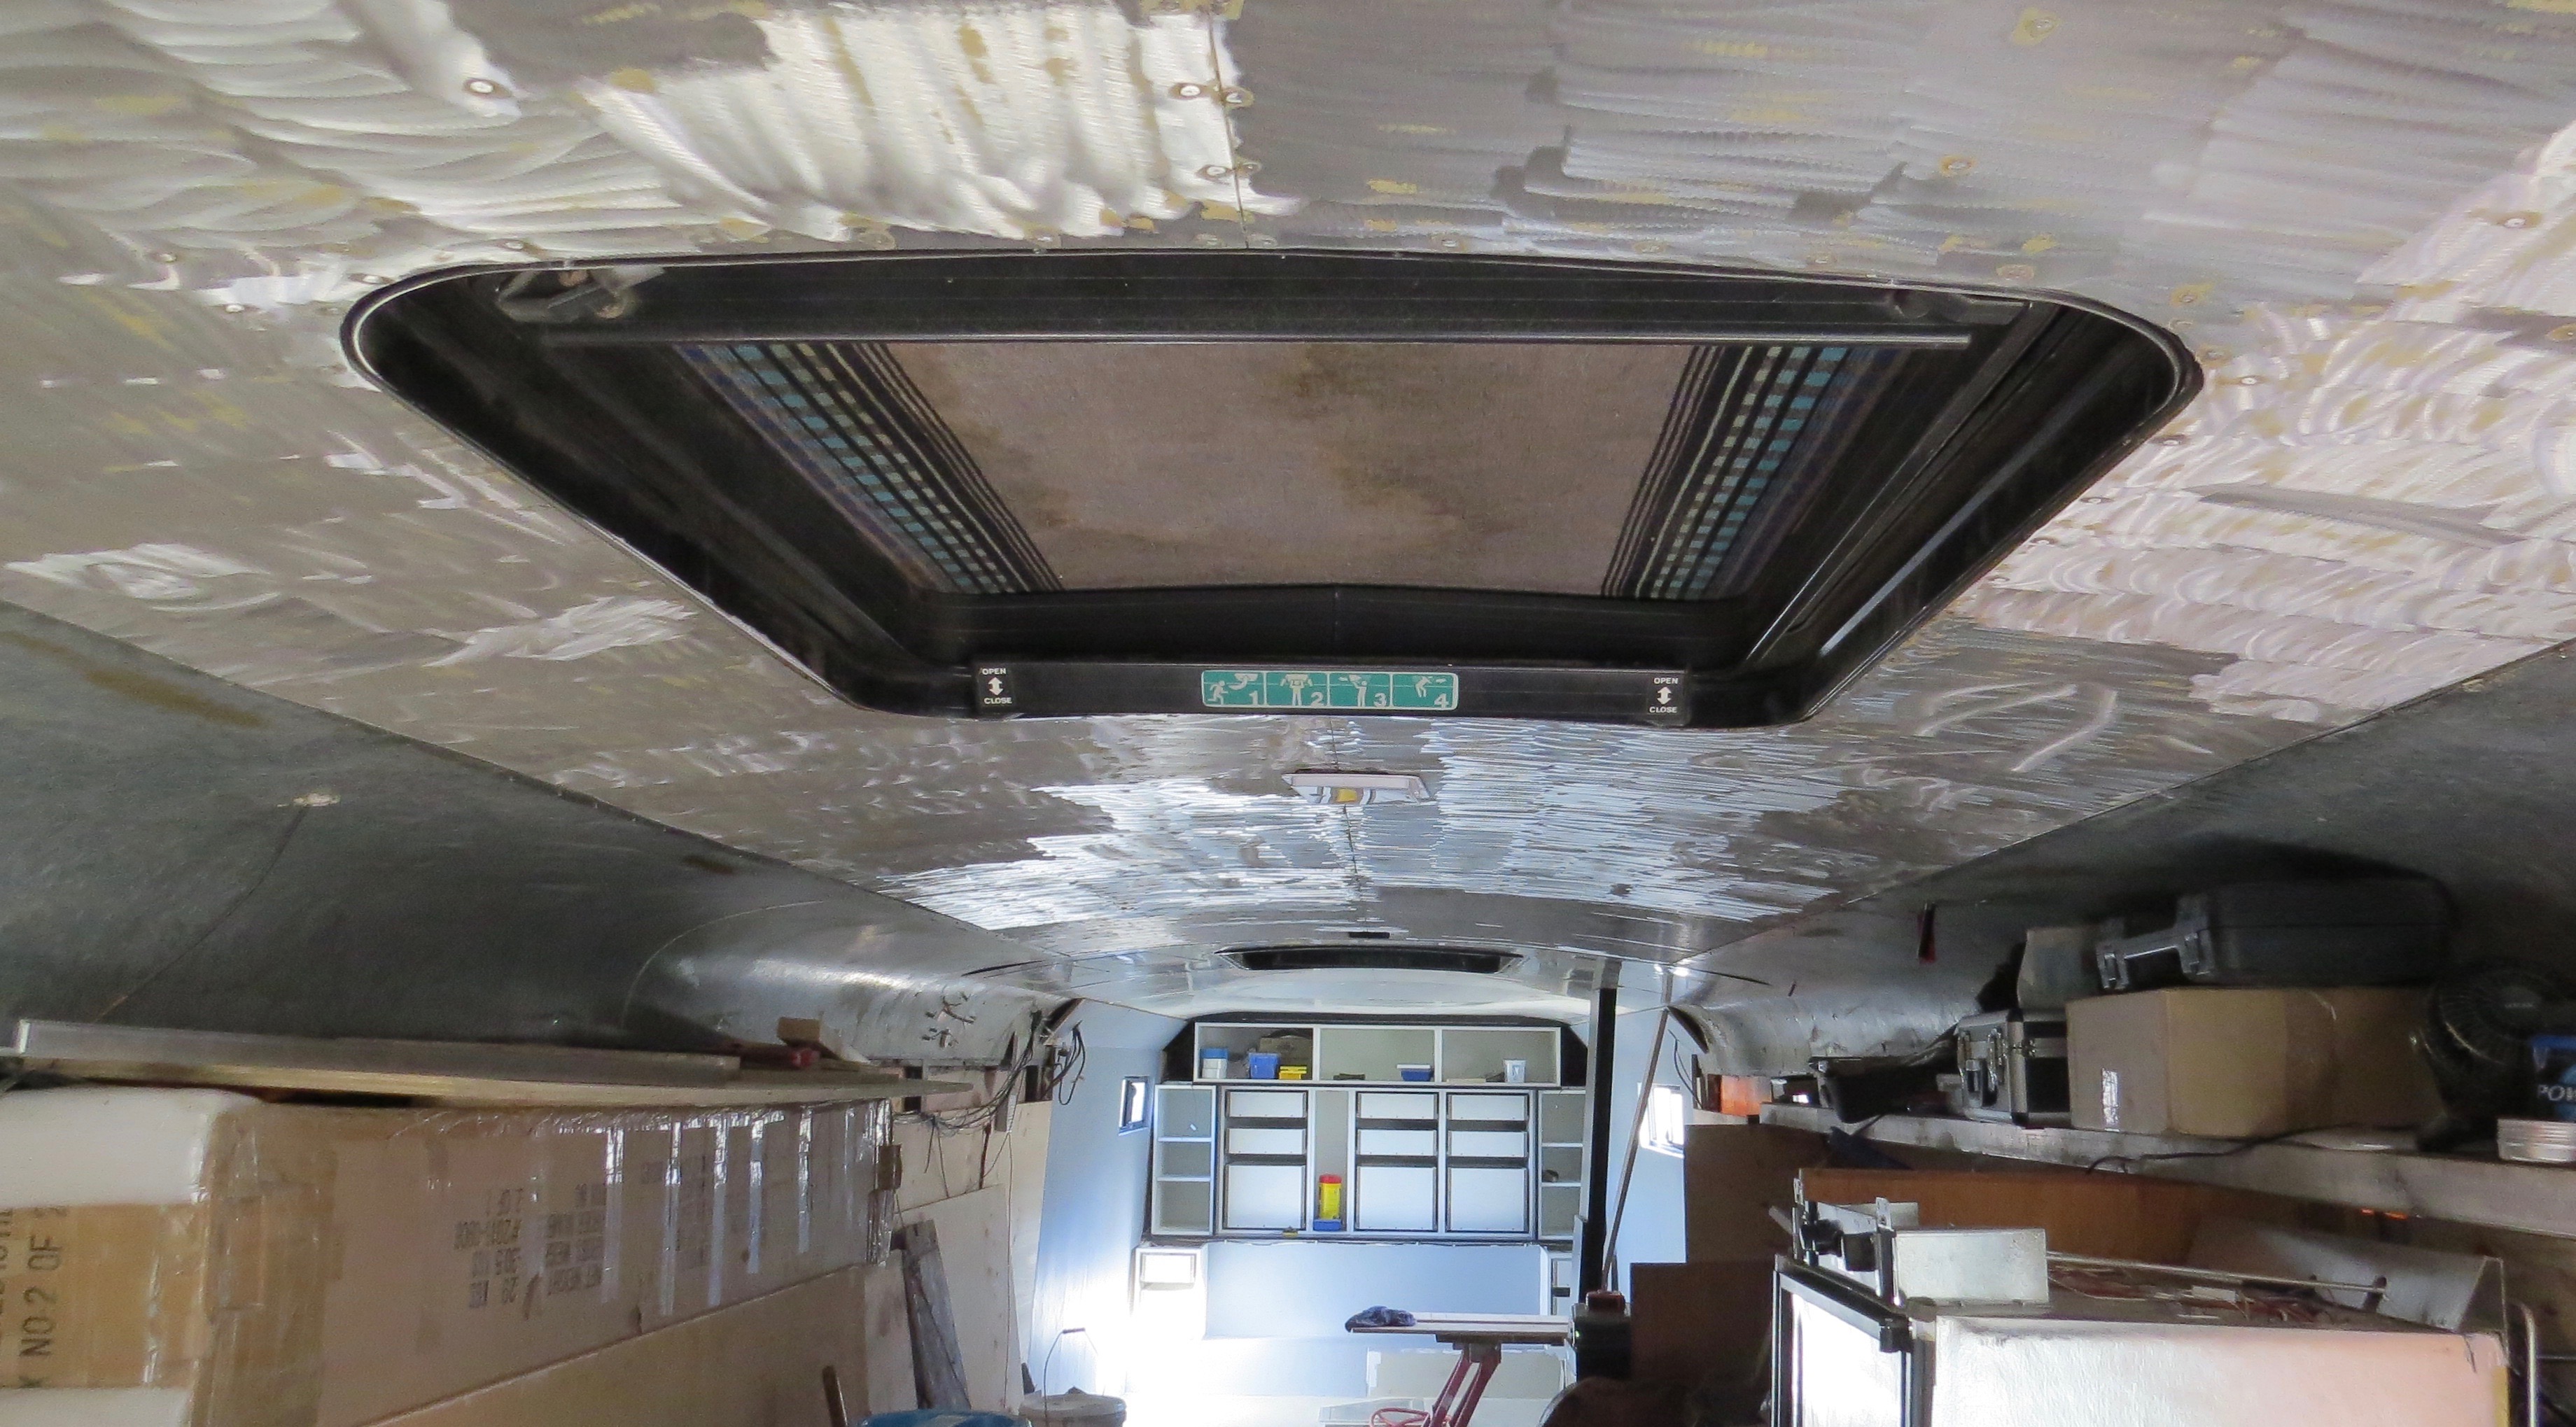
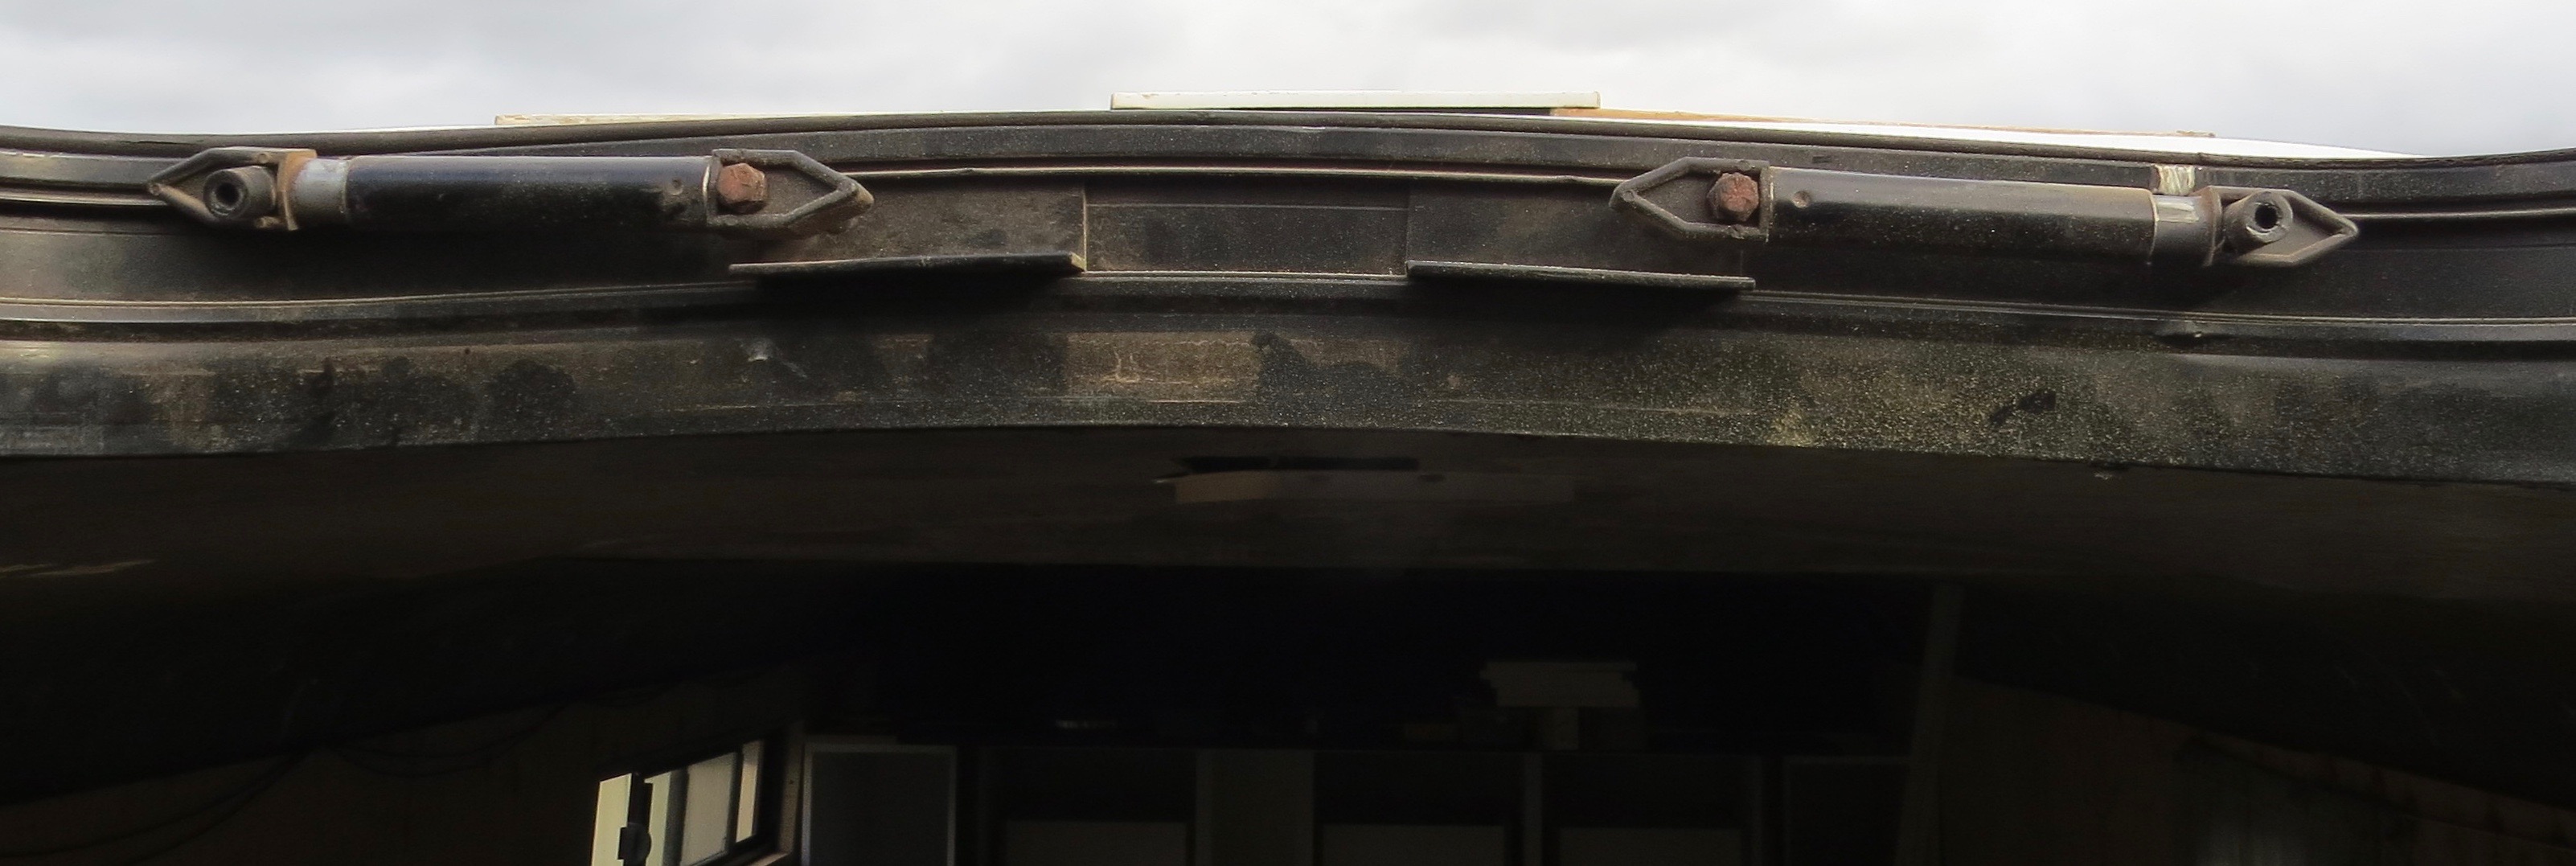
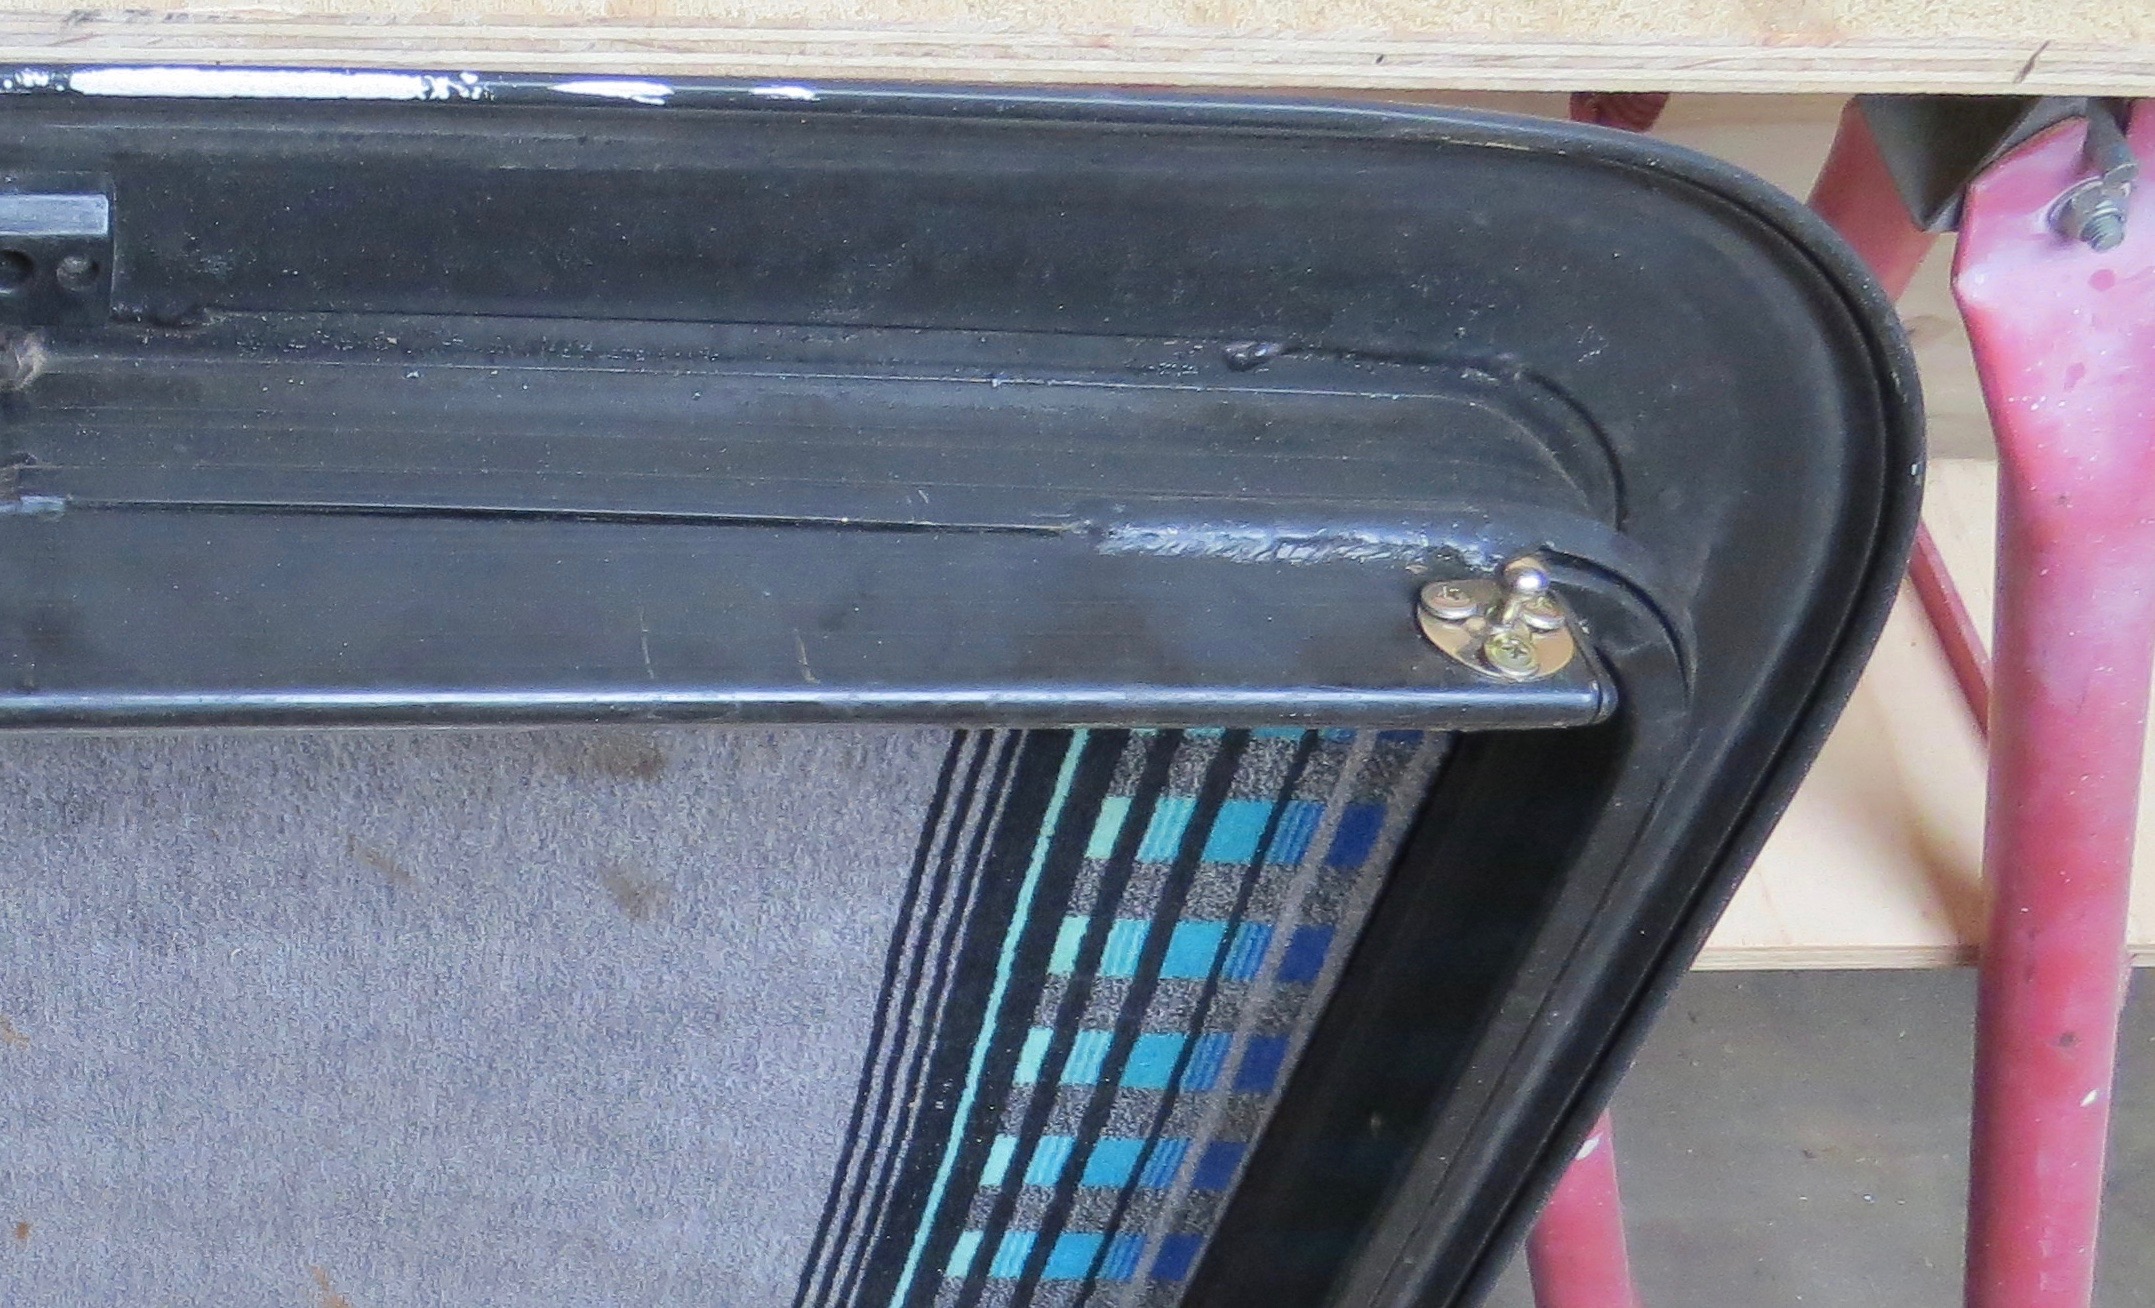
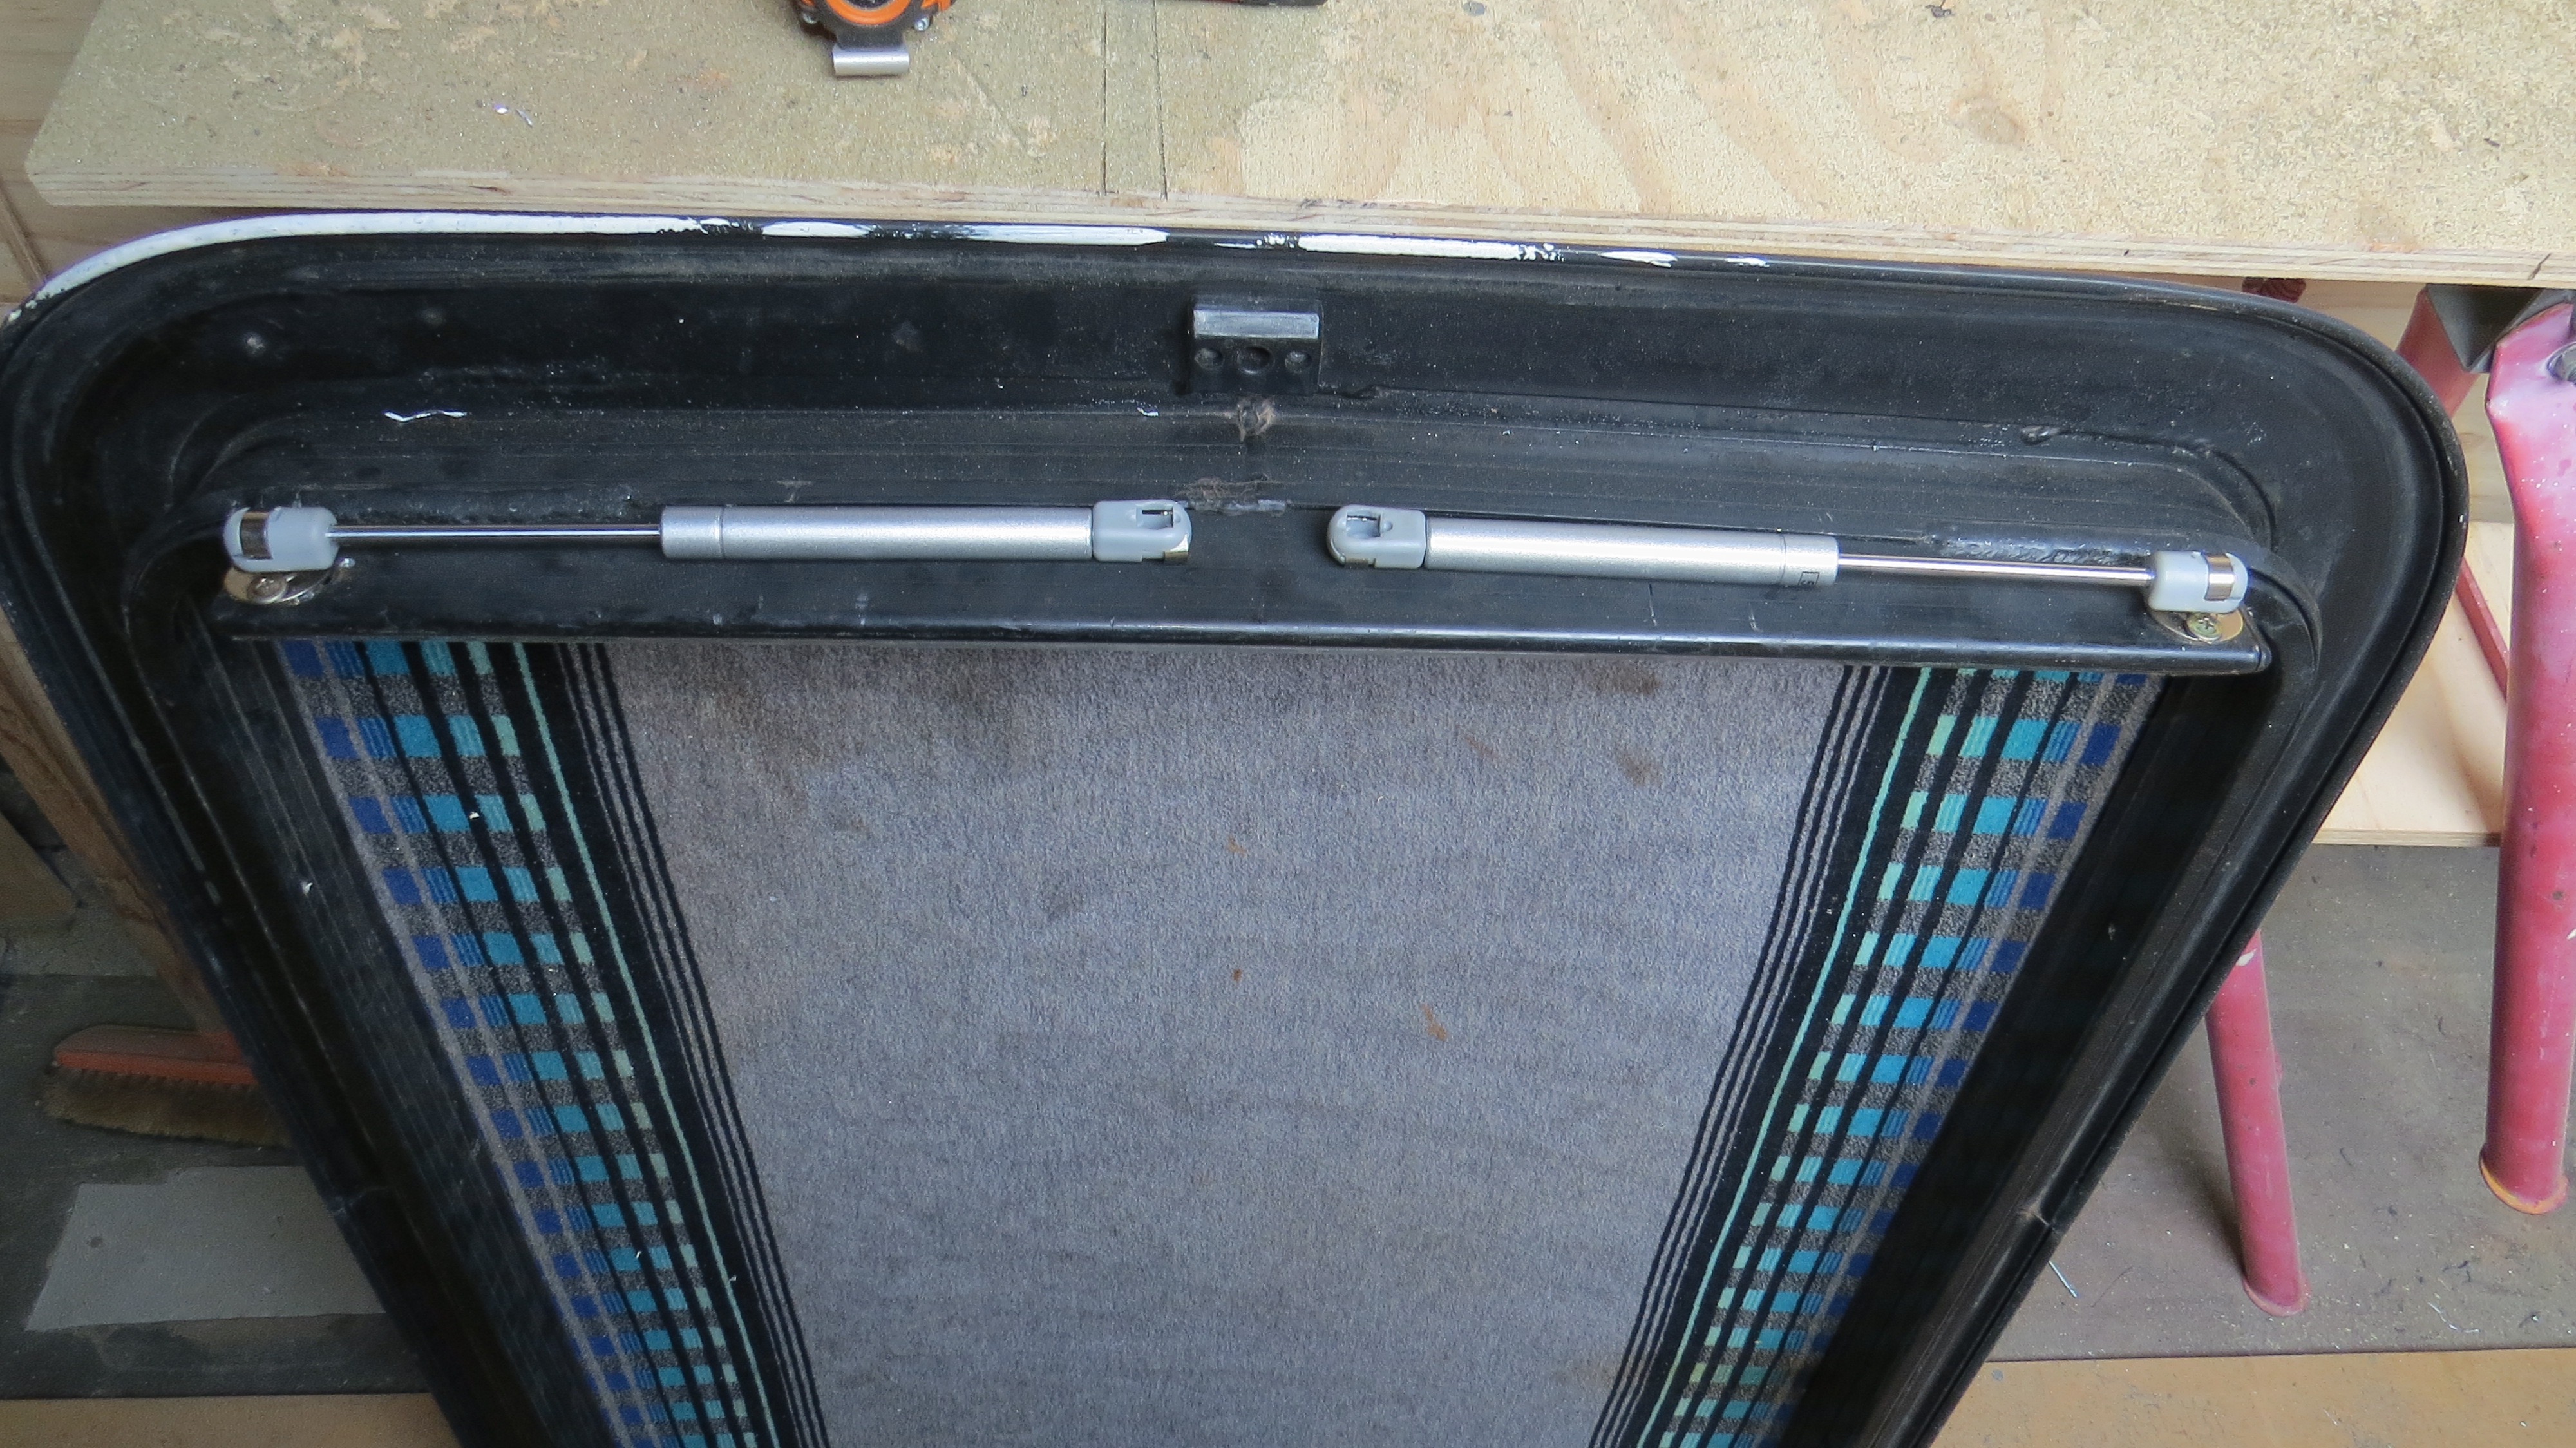
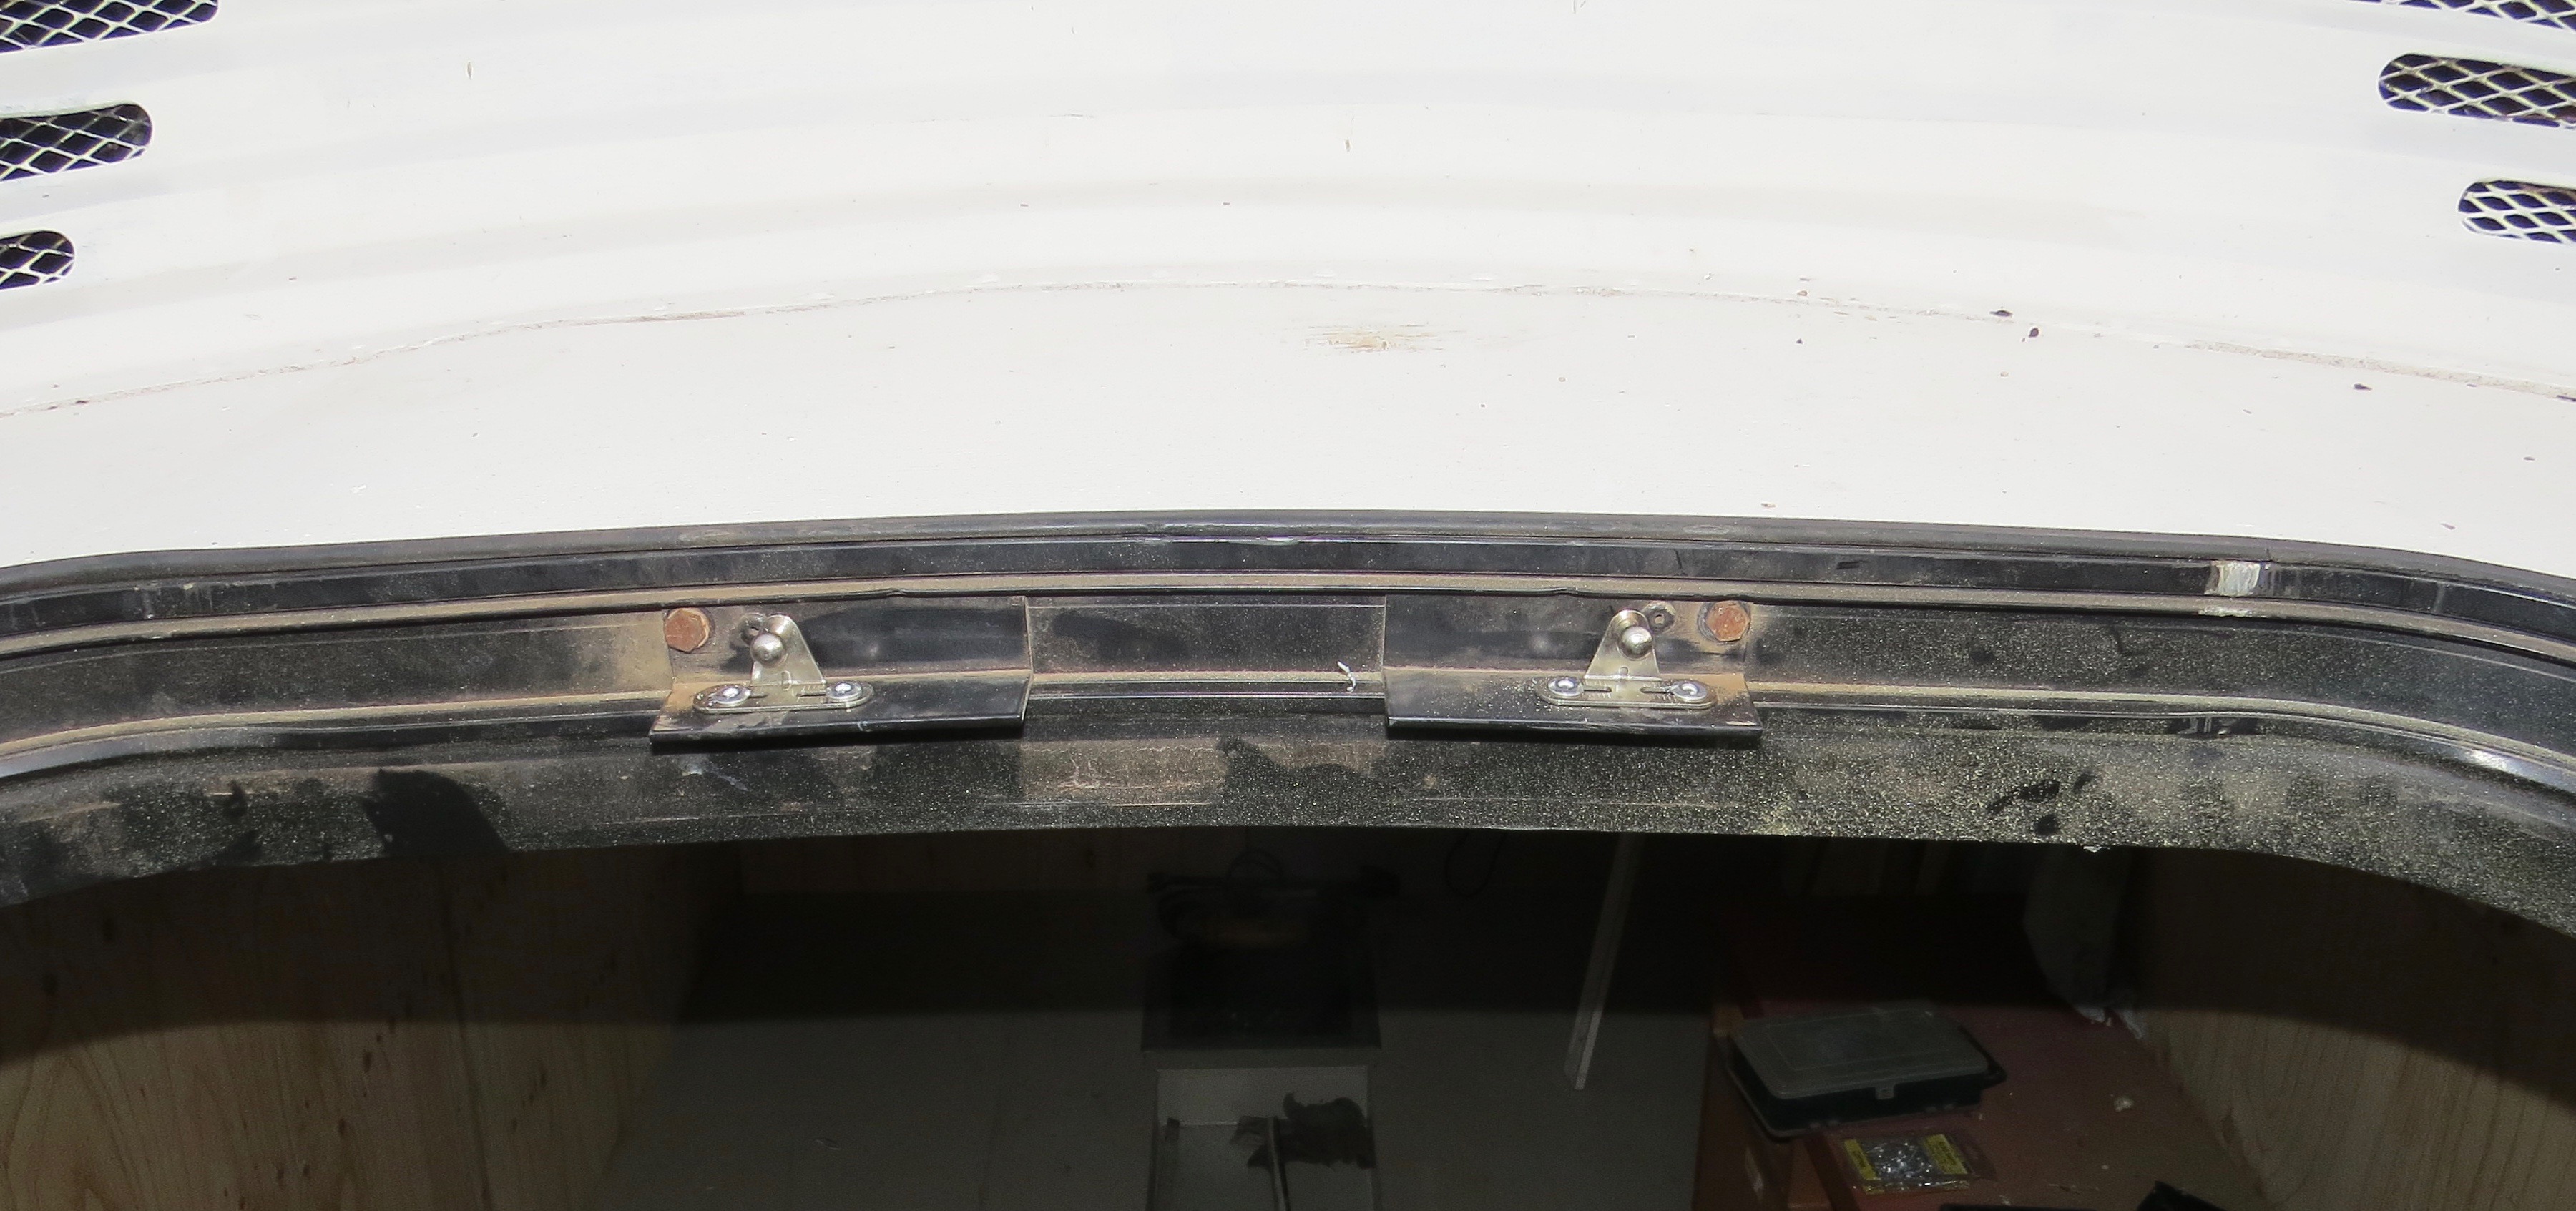
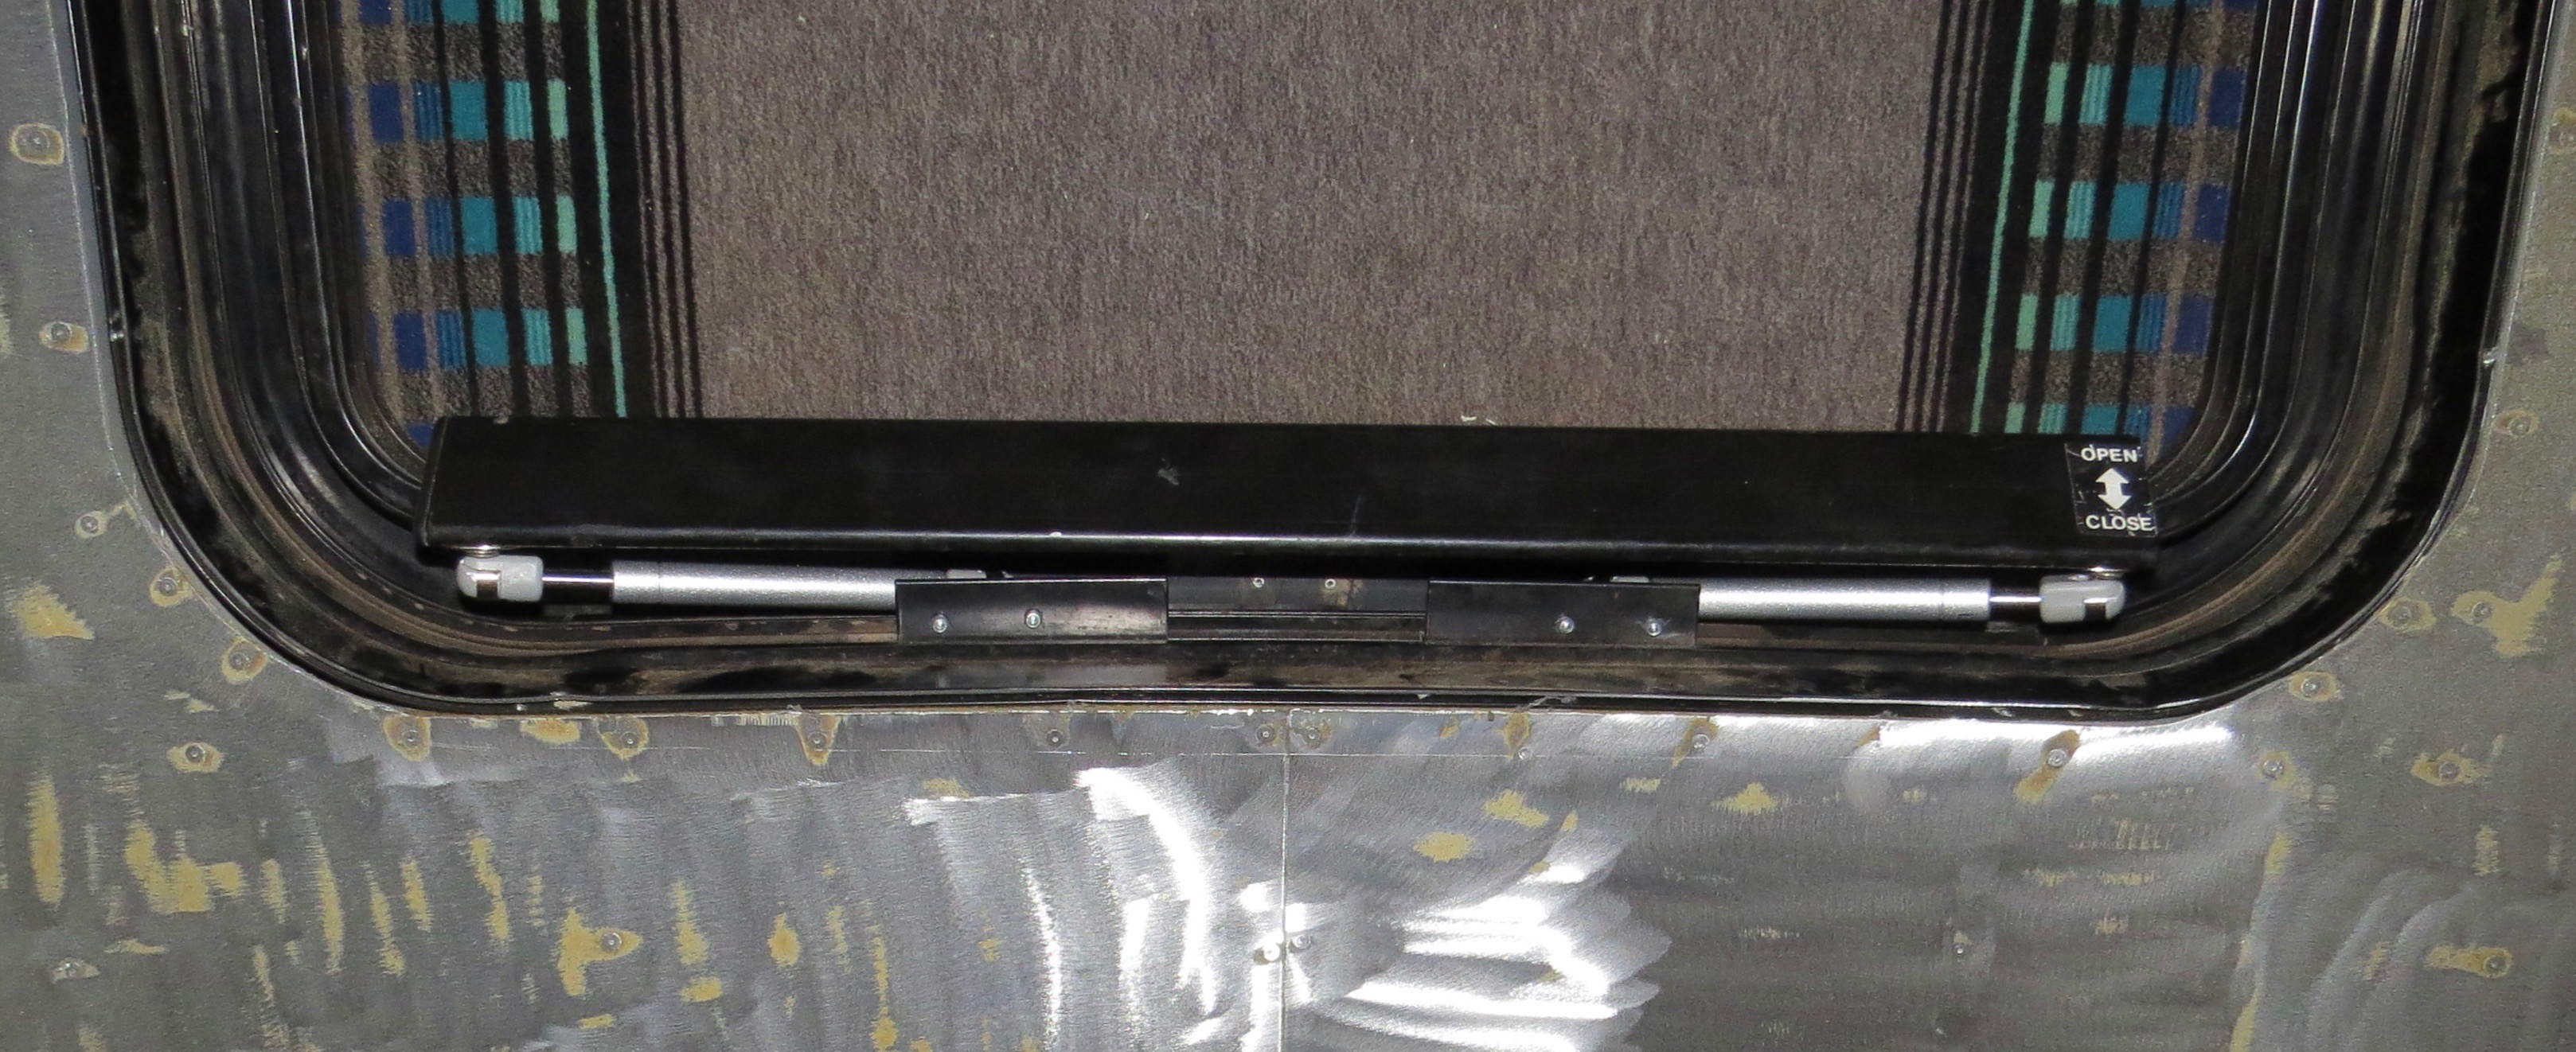
This hatch will be used to get up on to the roof top deck later on, but till then I’ve had to fix the struts as the old ones were falling apart. We have been using the hatch for fresh air and light and the plastic struts just were not meant to be used on a daily basis. I have had some gas struts for another job, so time for some modifications.
One stuffed hatchBathroom hatch has buggered strutsNew fittings to the hatch for the gas struts.Some new gas ones go on.Fittings for the roof.That will do me till this hatch turns into the way up to the roof top deck.
How to get up there
We will be looking at setting up a ladder later on after the bathroom is finish. There has to be some more work on the hatch as it will have to open up, so I’ll have to make some hinges to fit the roof profile as well as a latch system to keep it closed, fit some bigger gas struts to hold it up in place when it’s open.
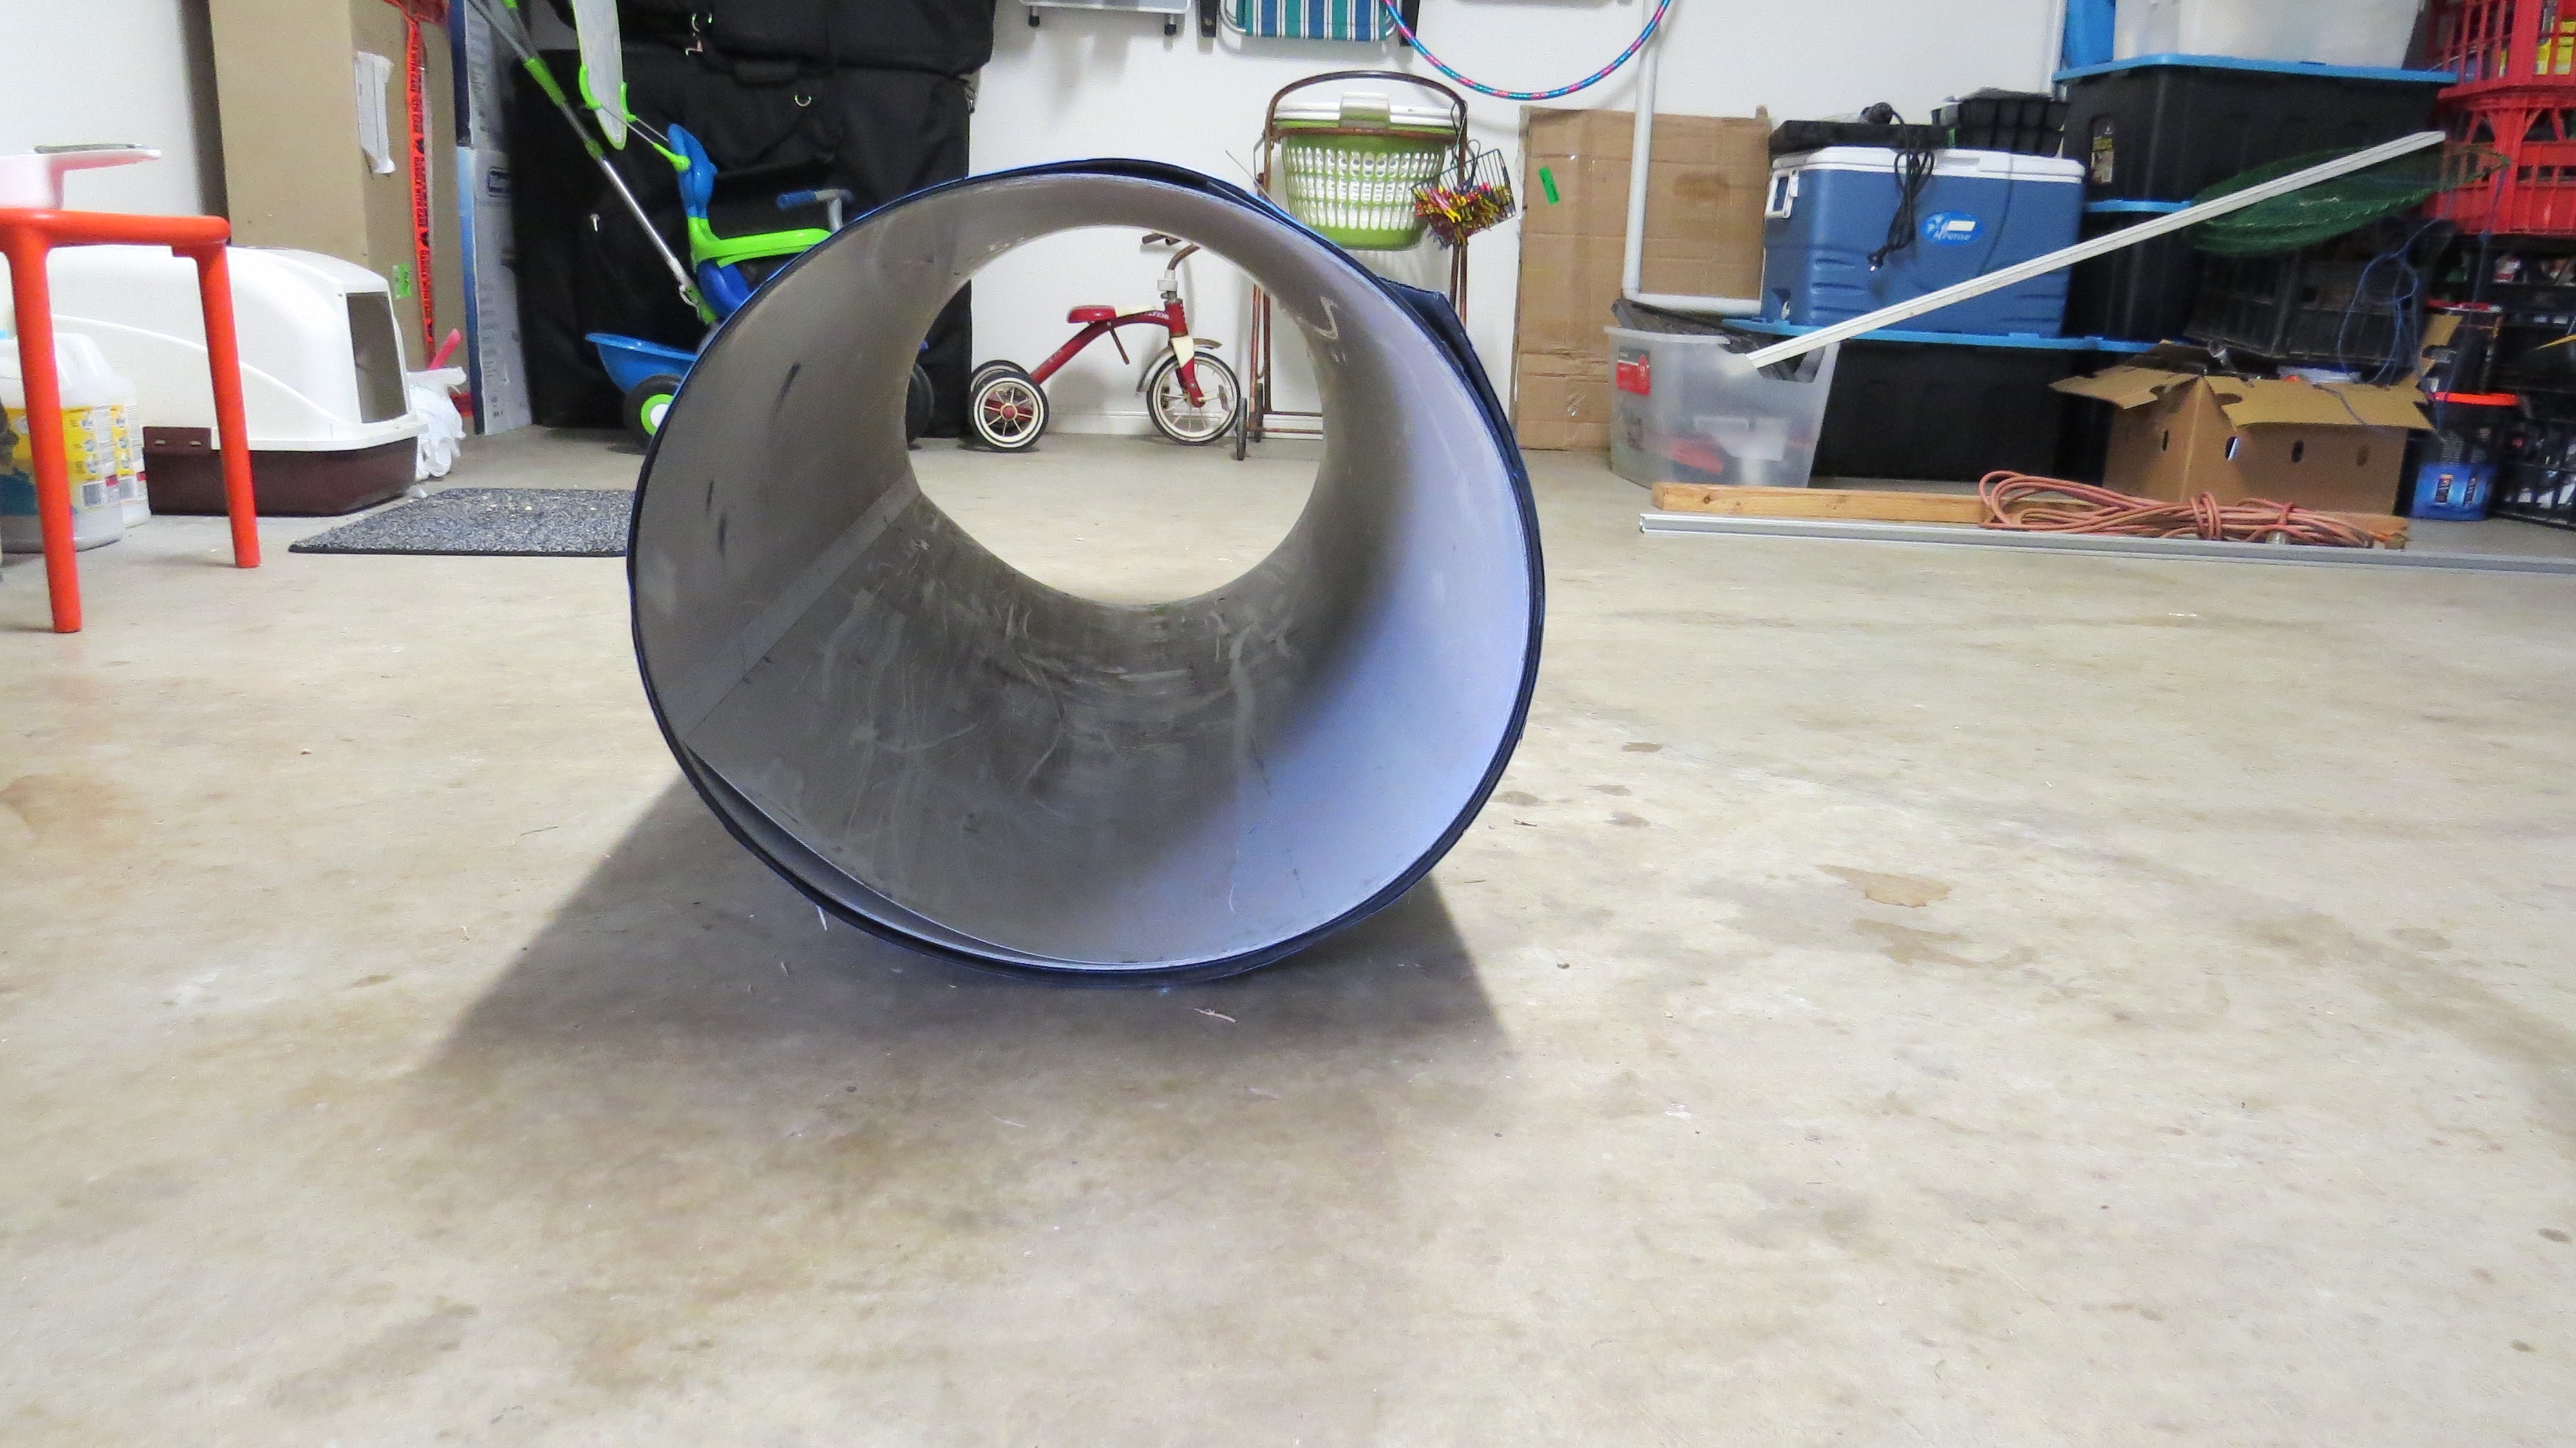
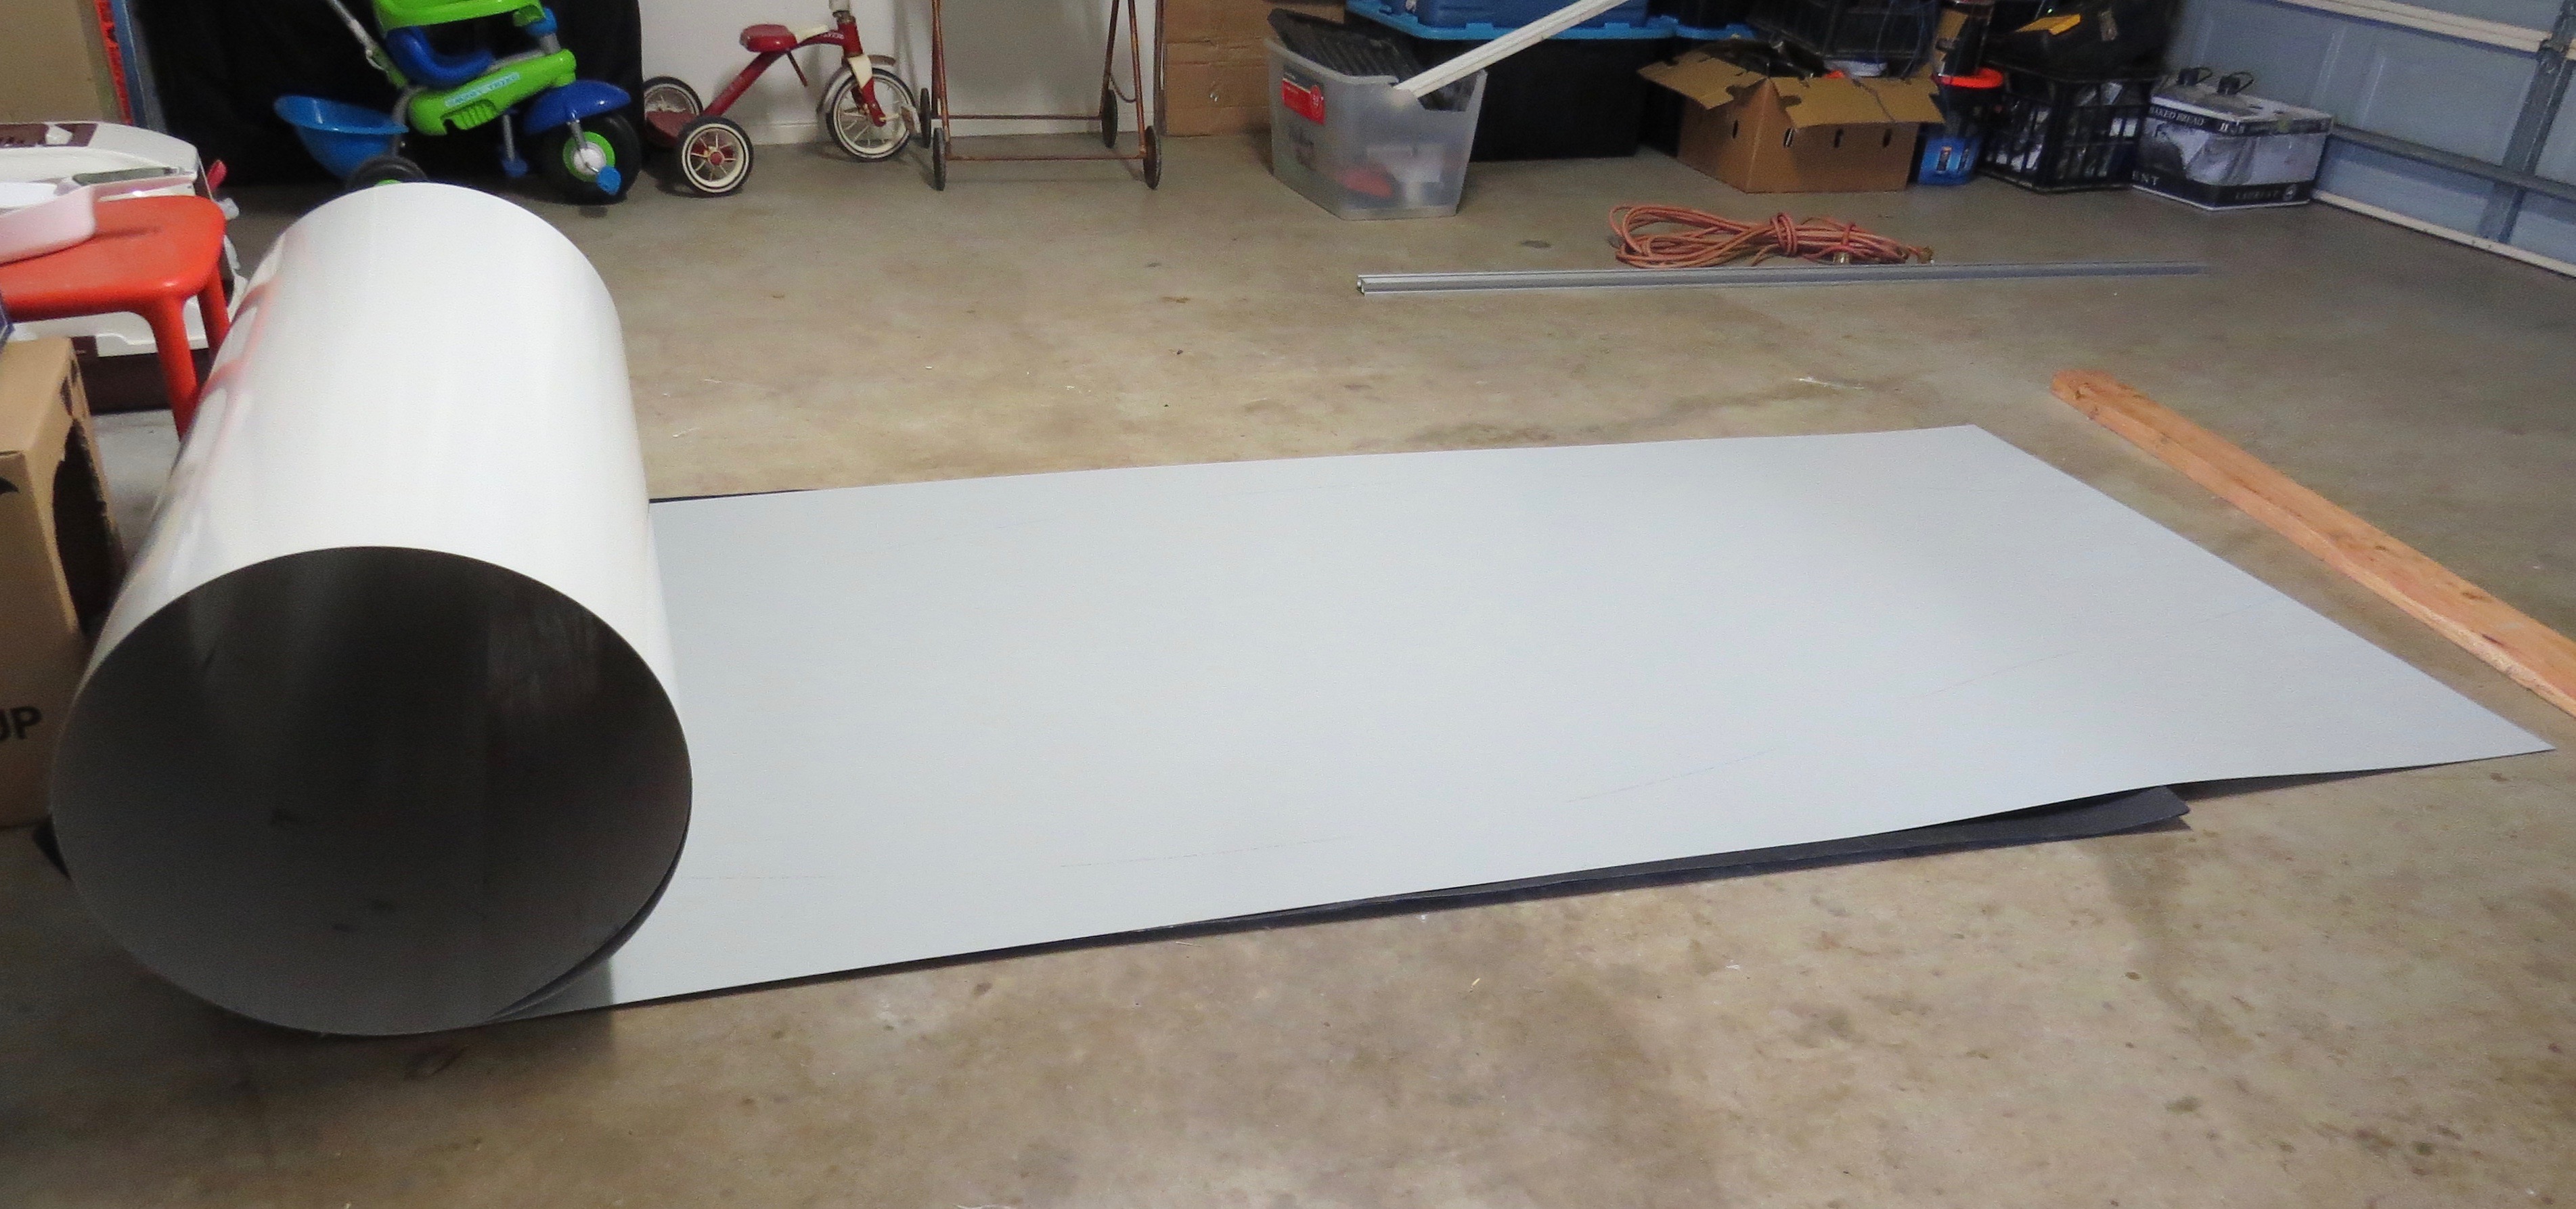
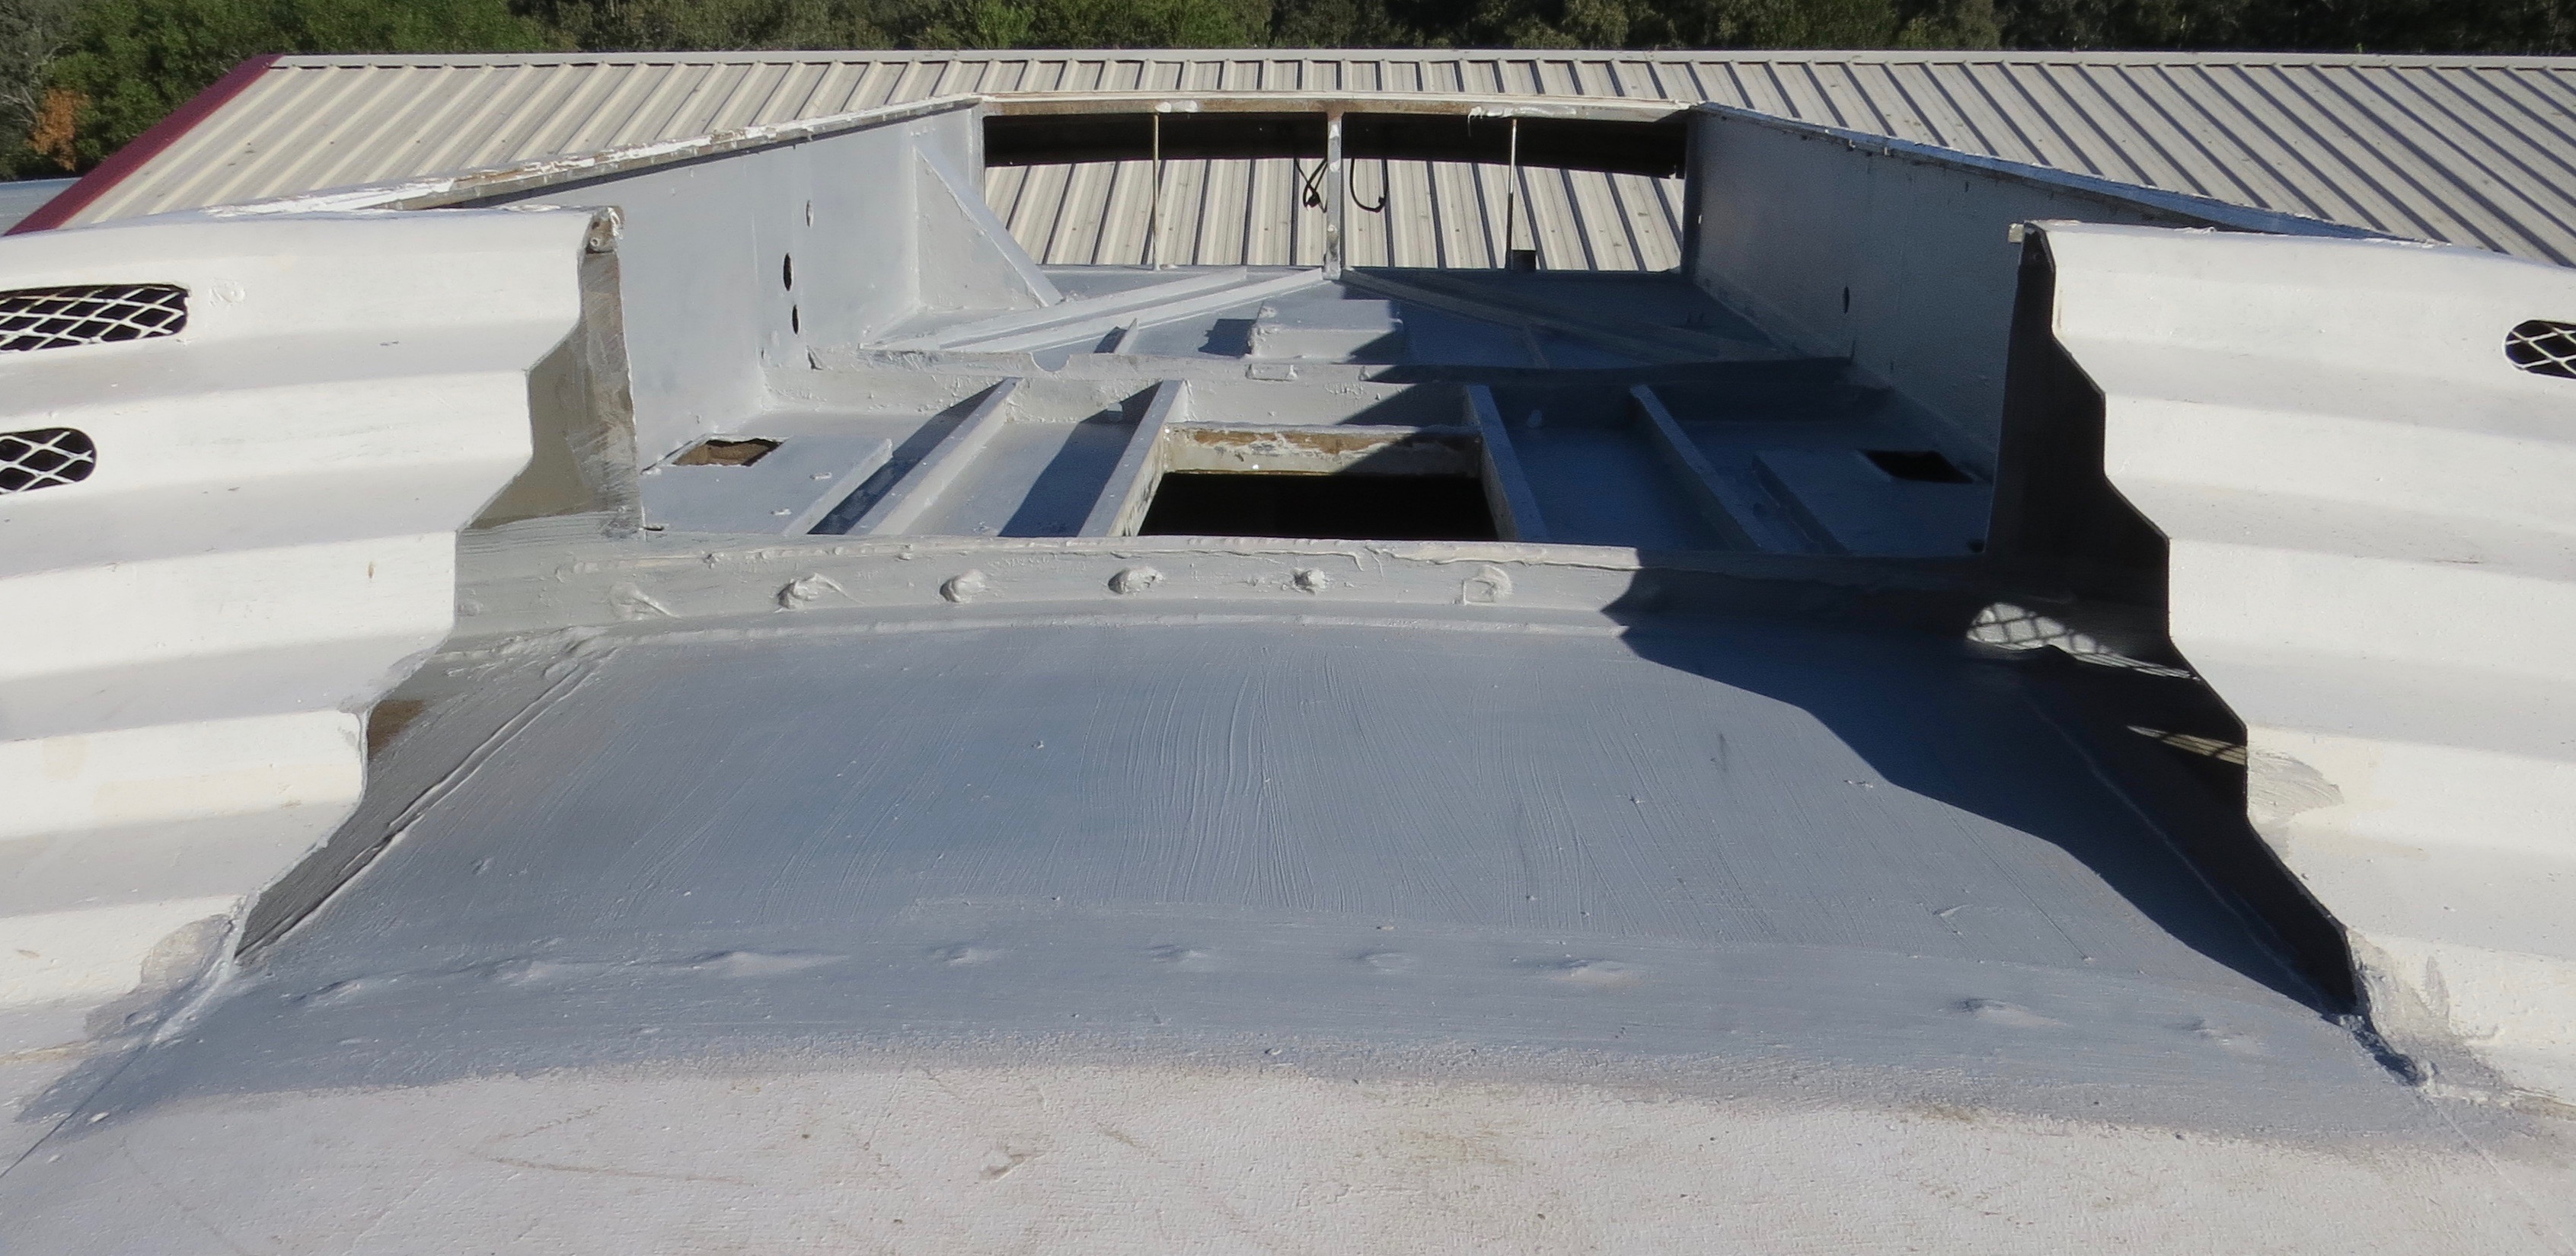
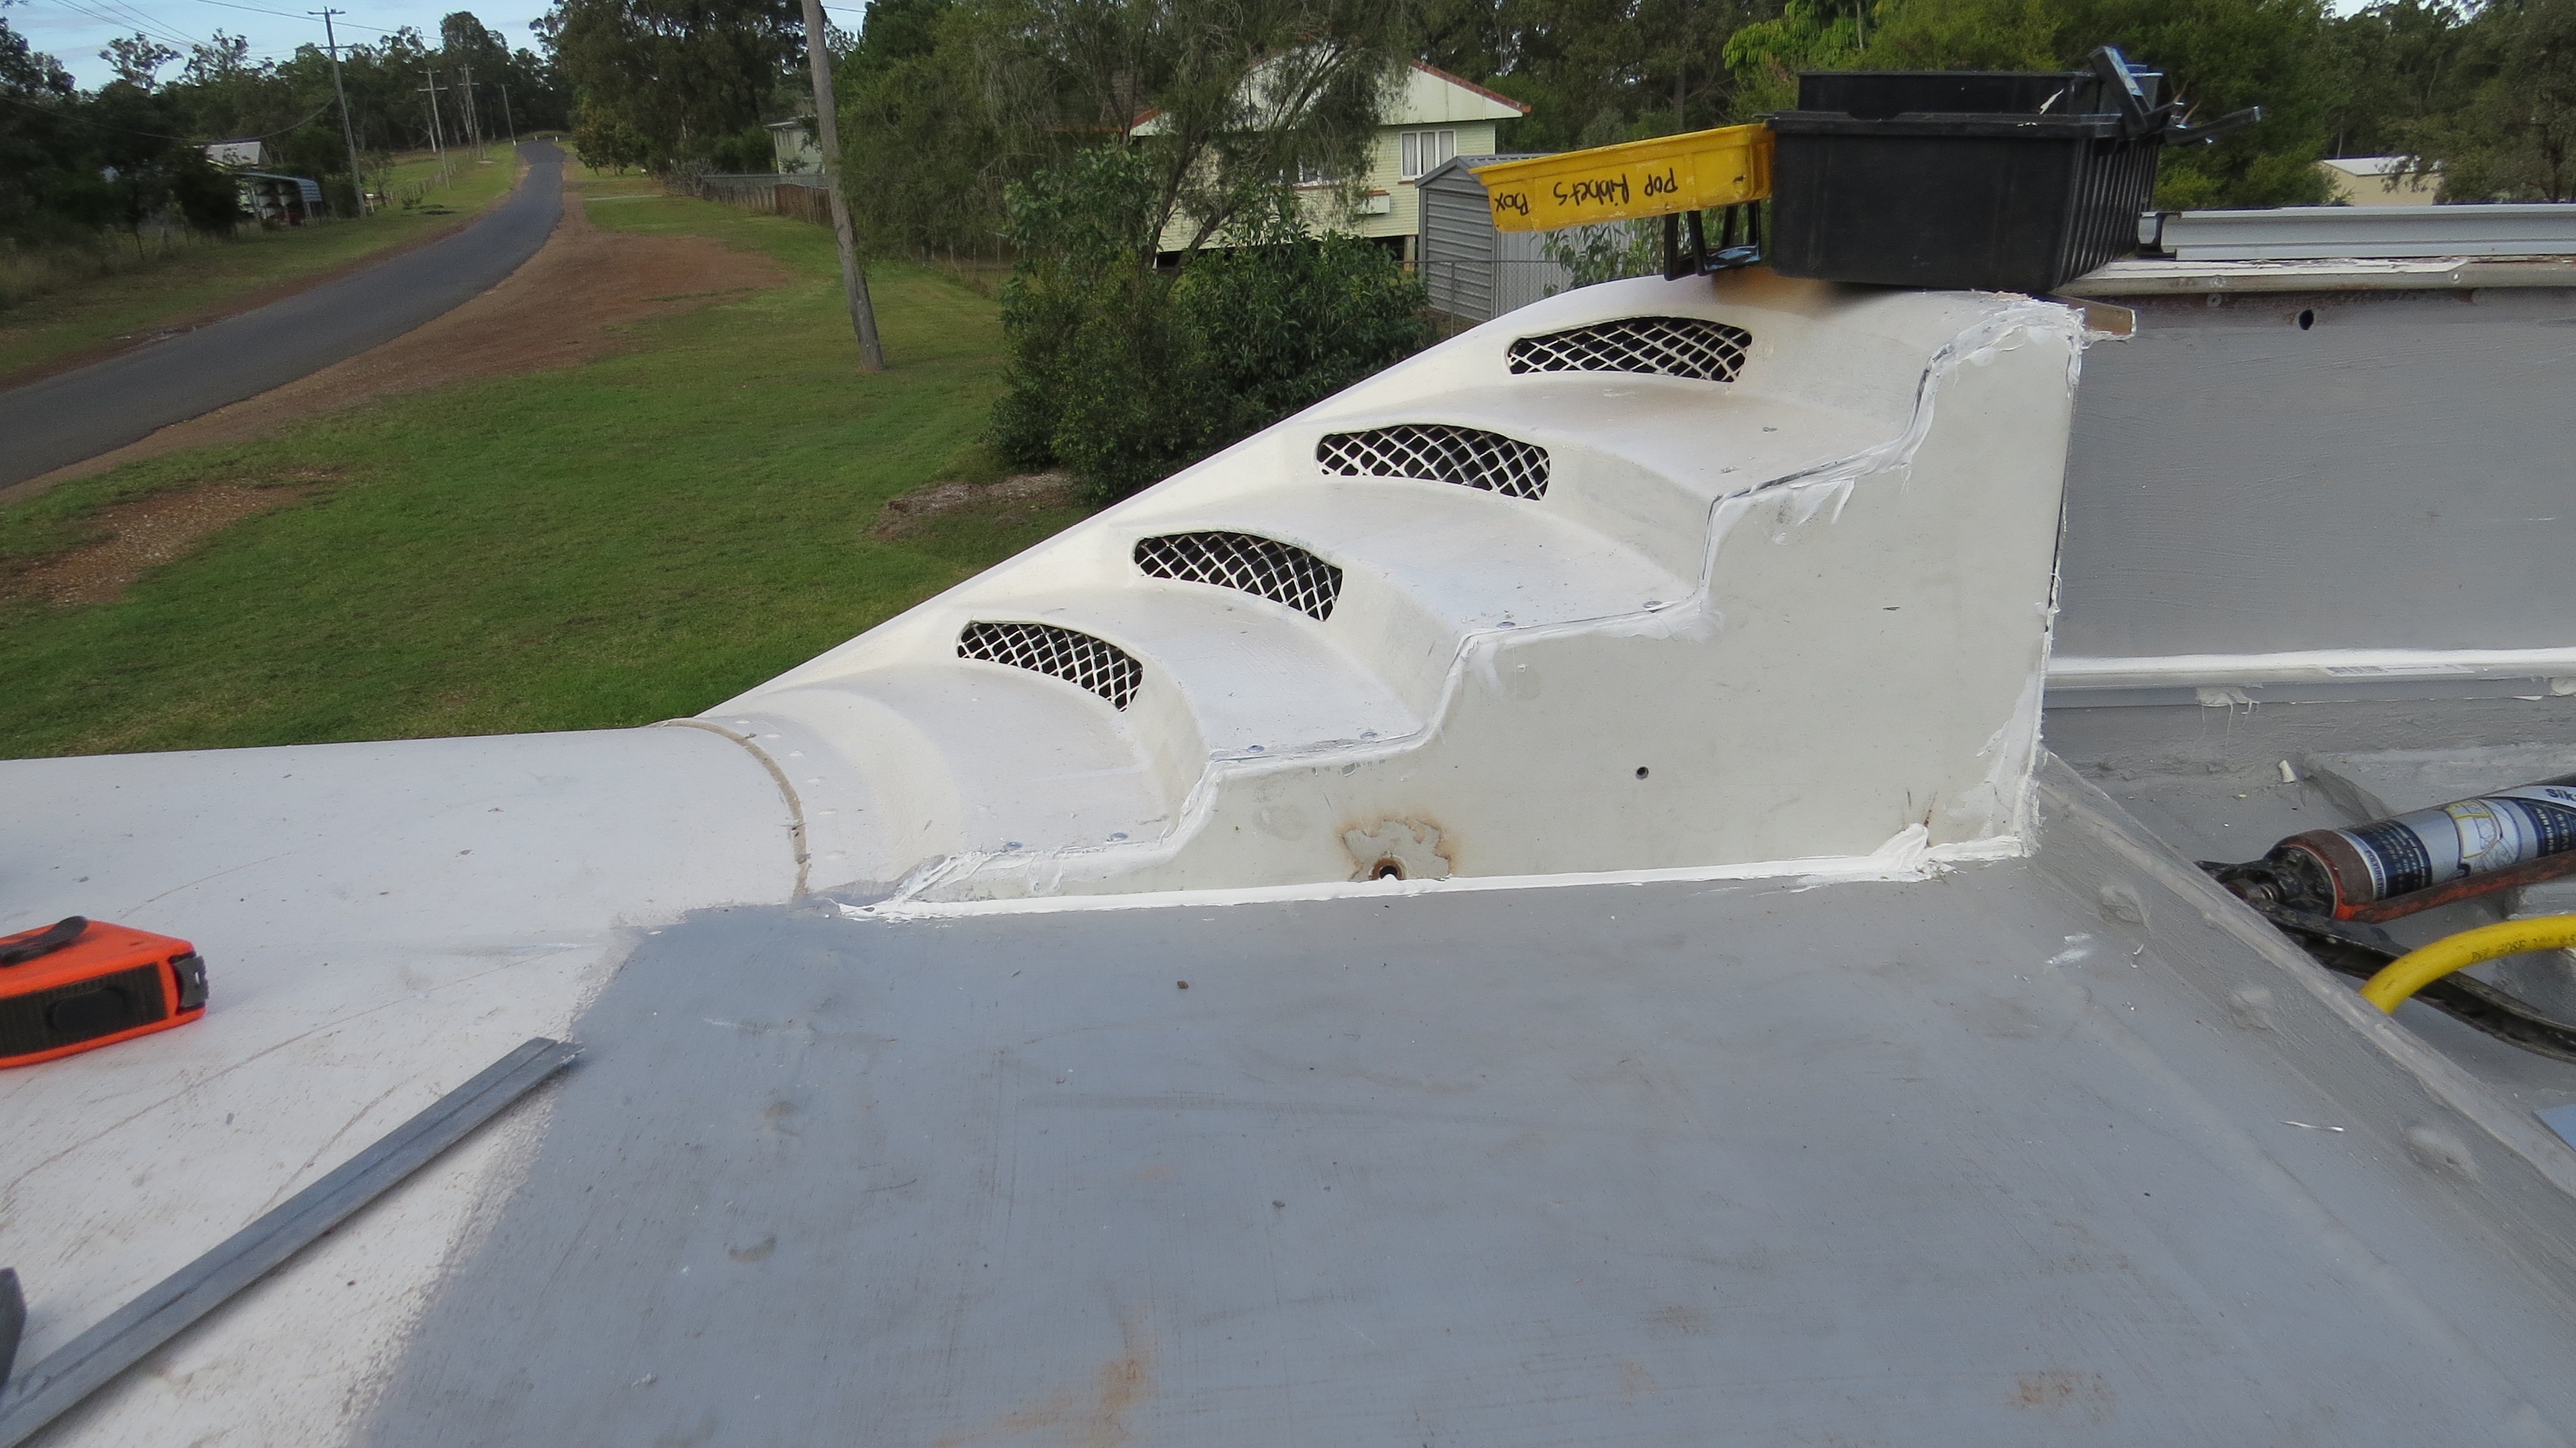
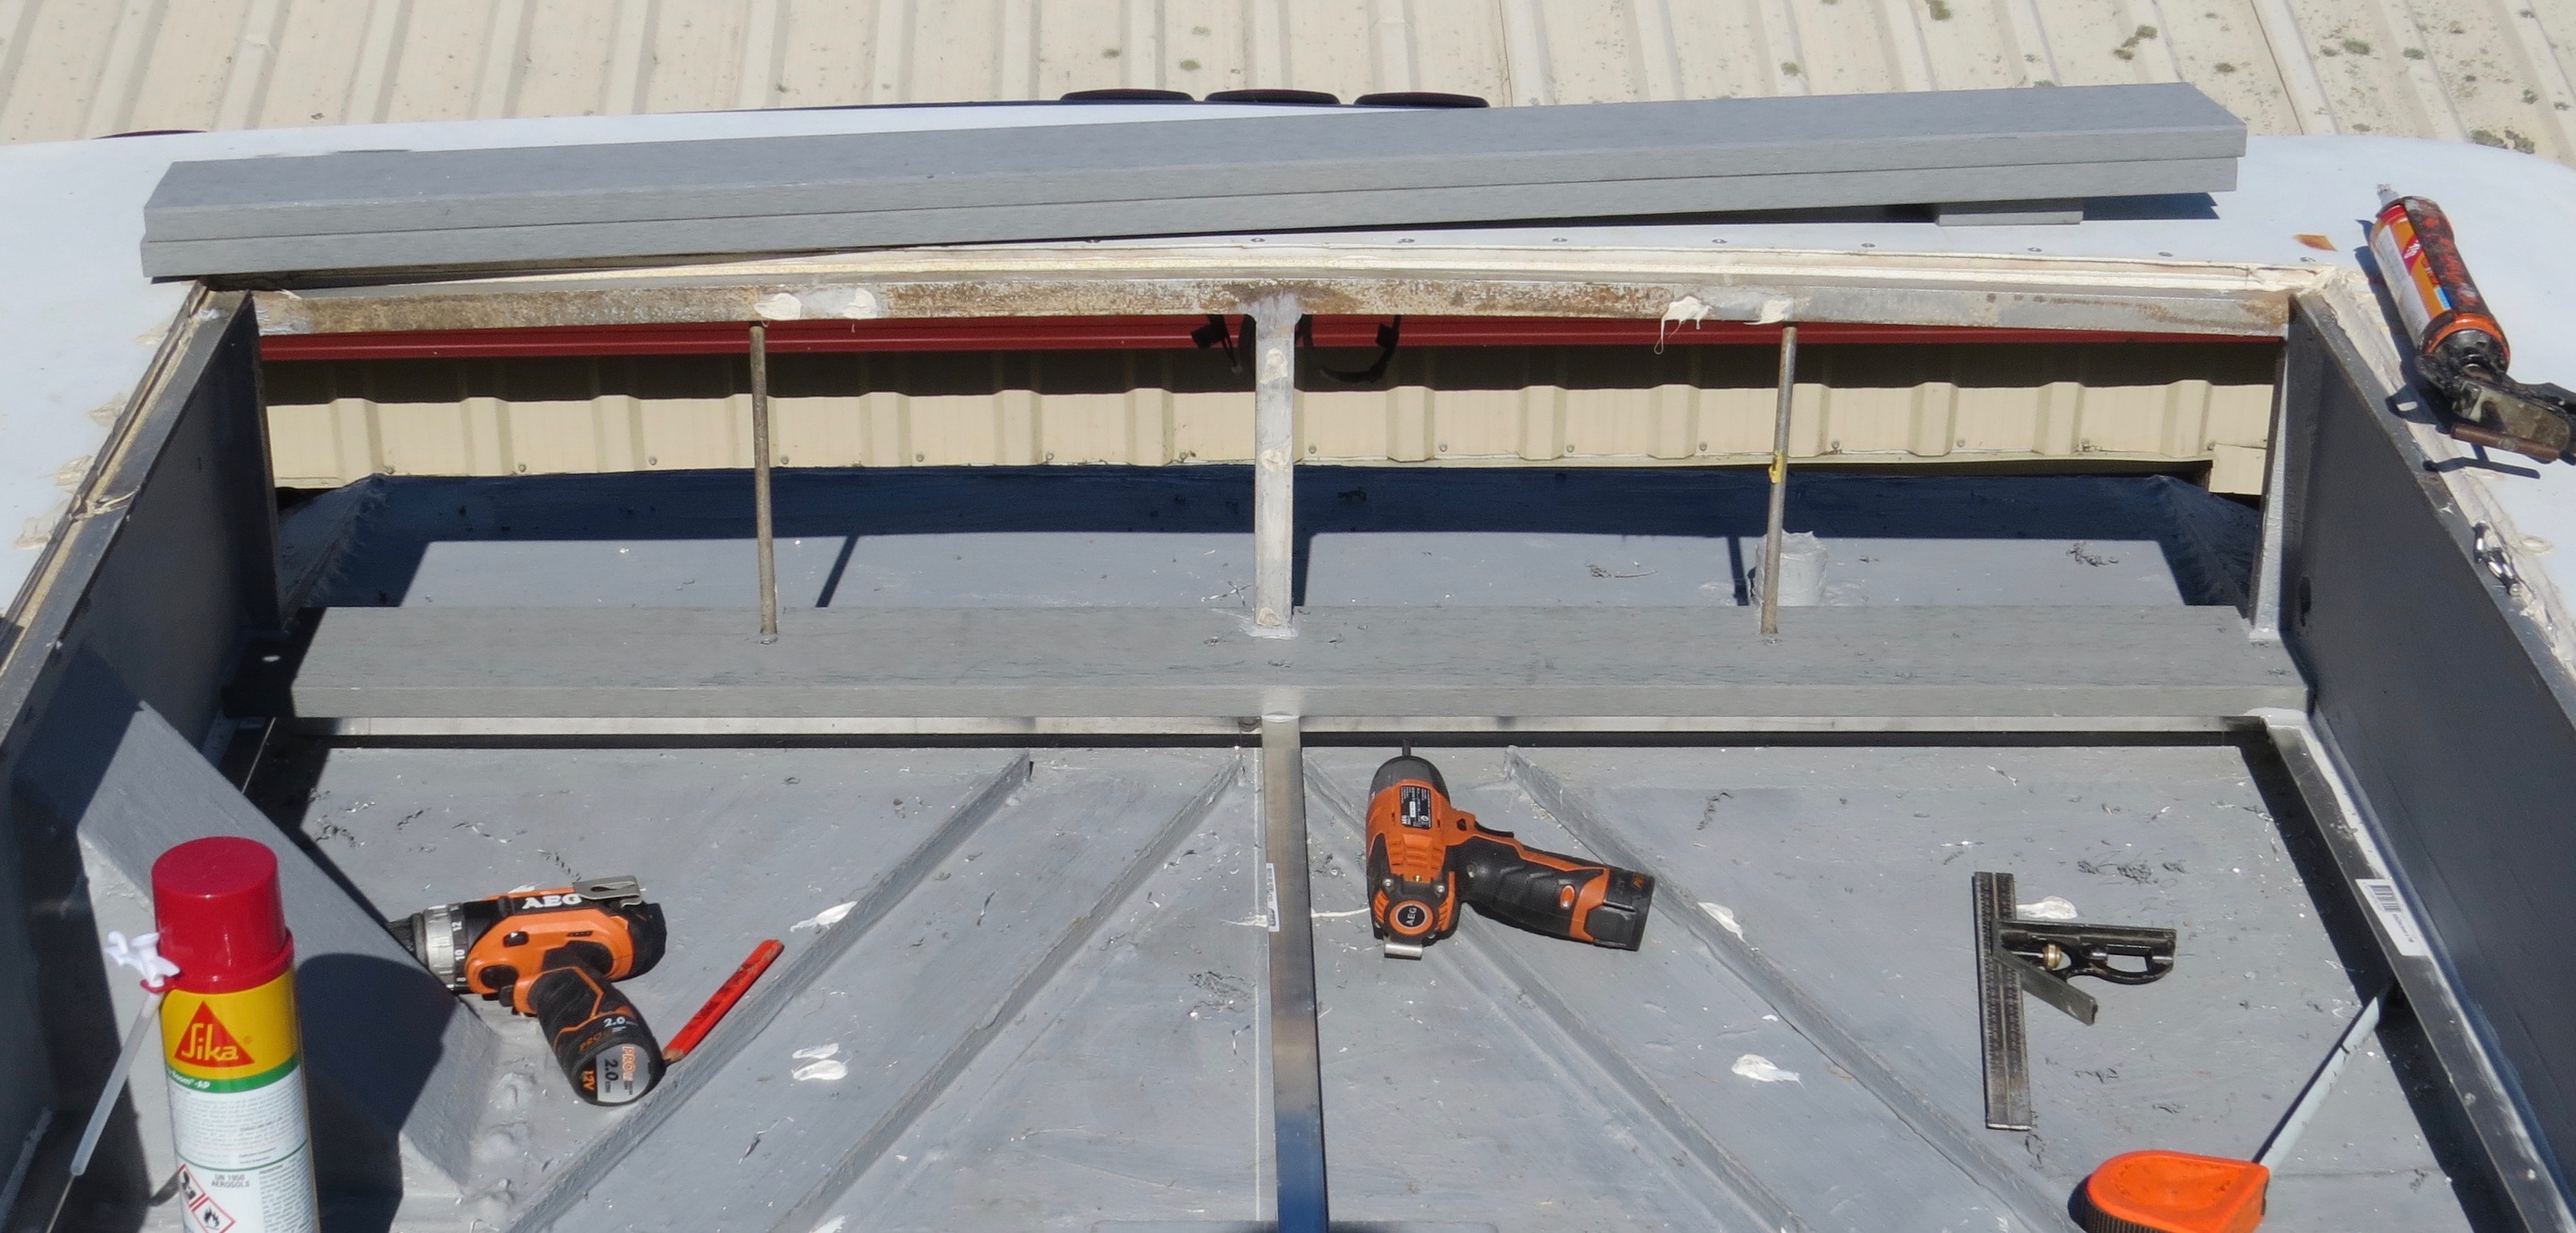
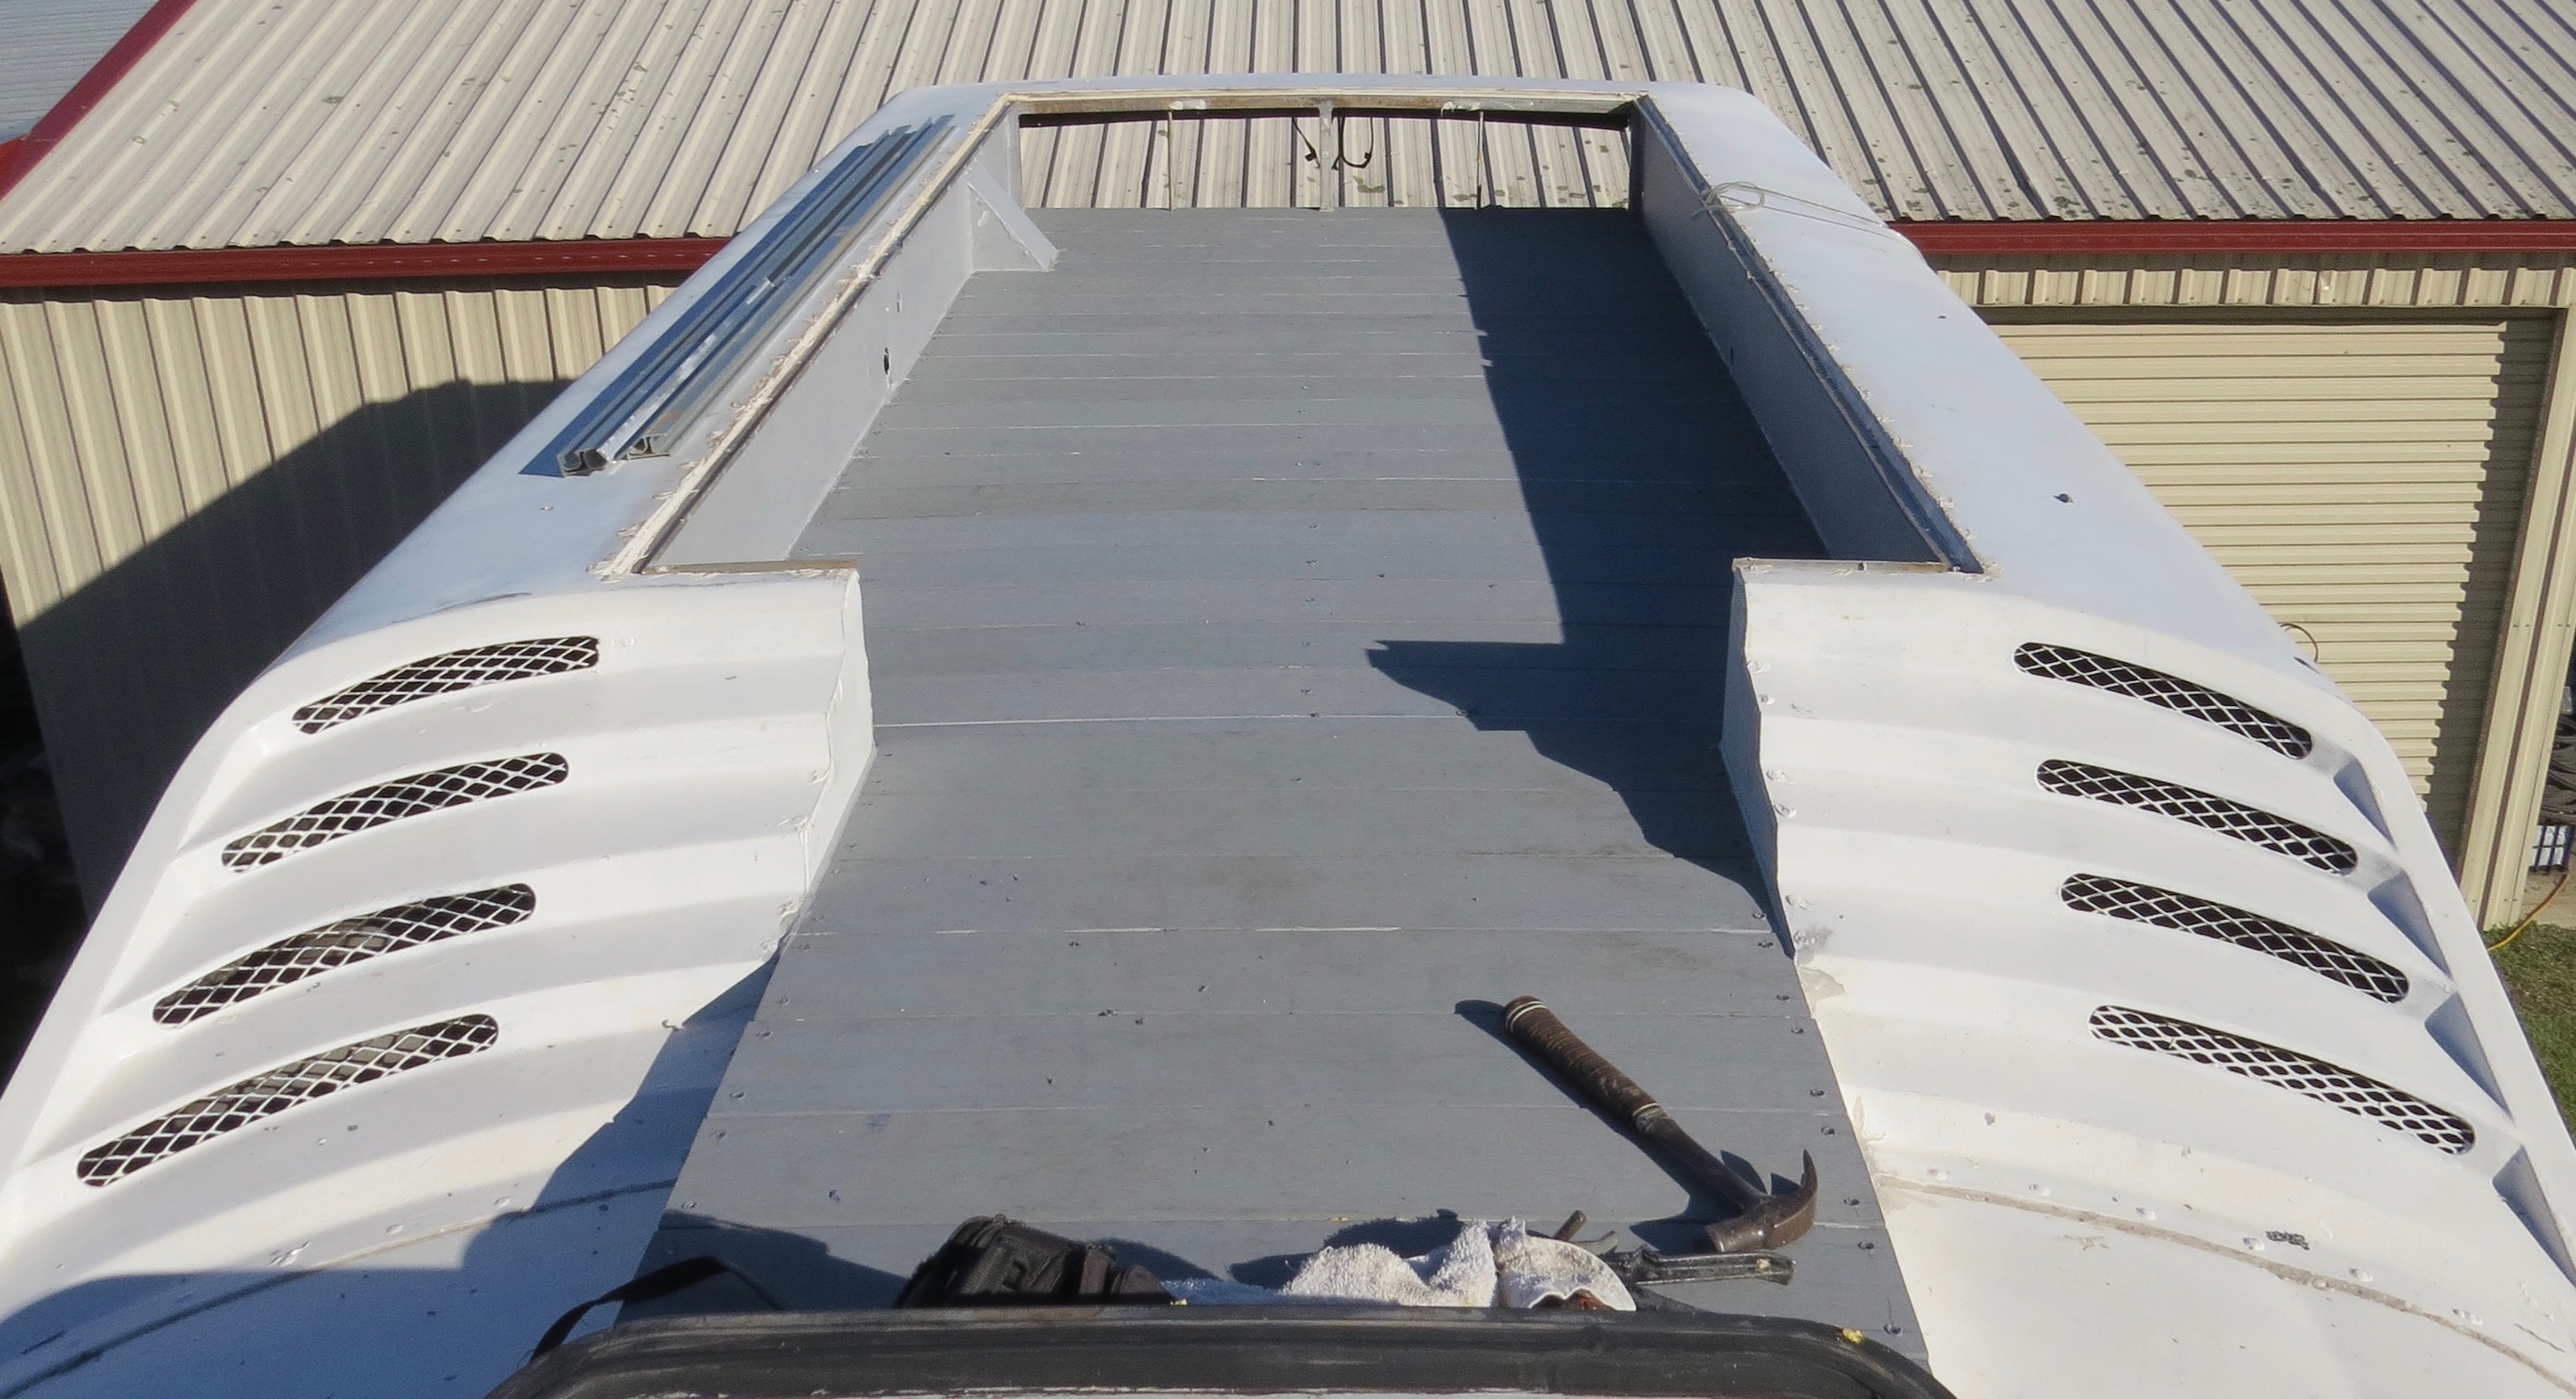
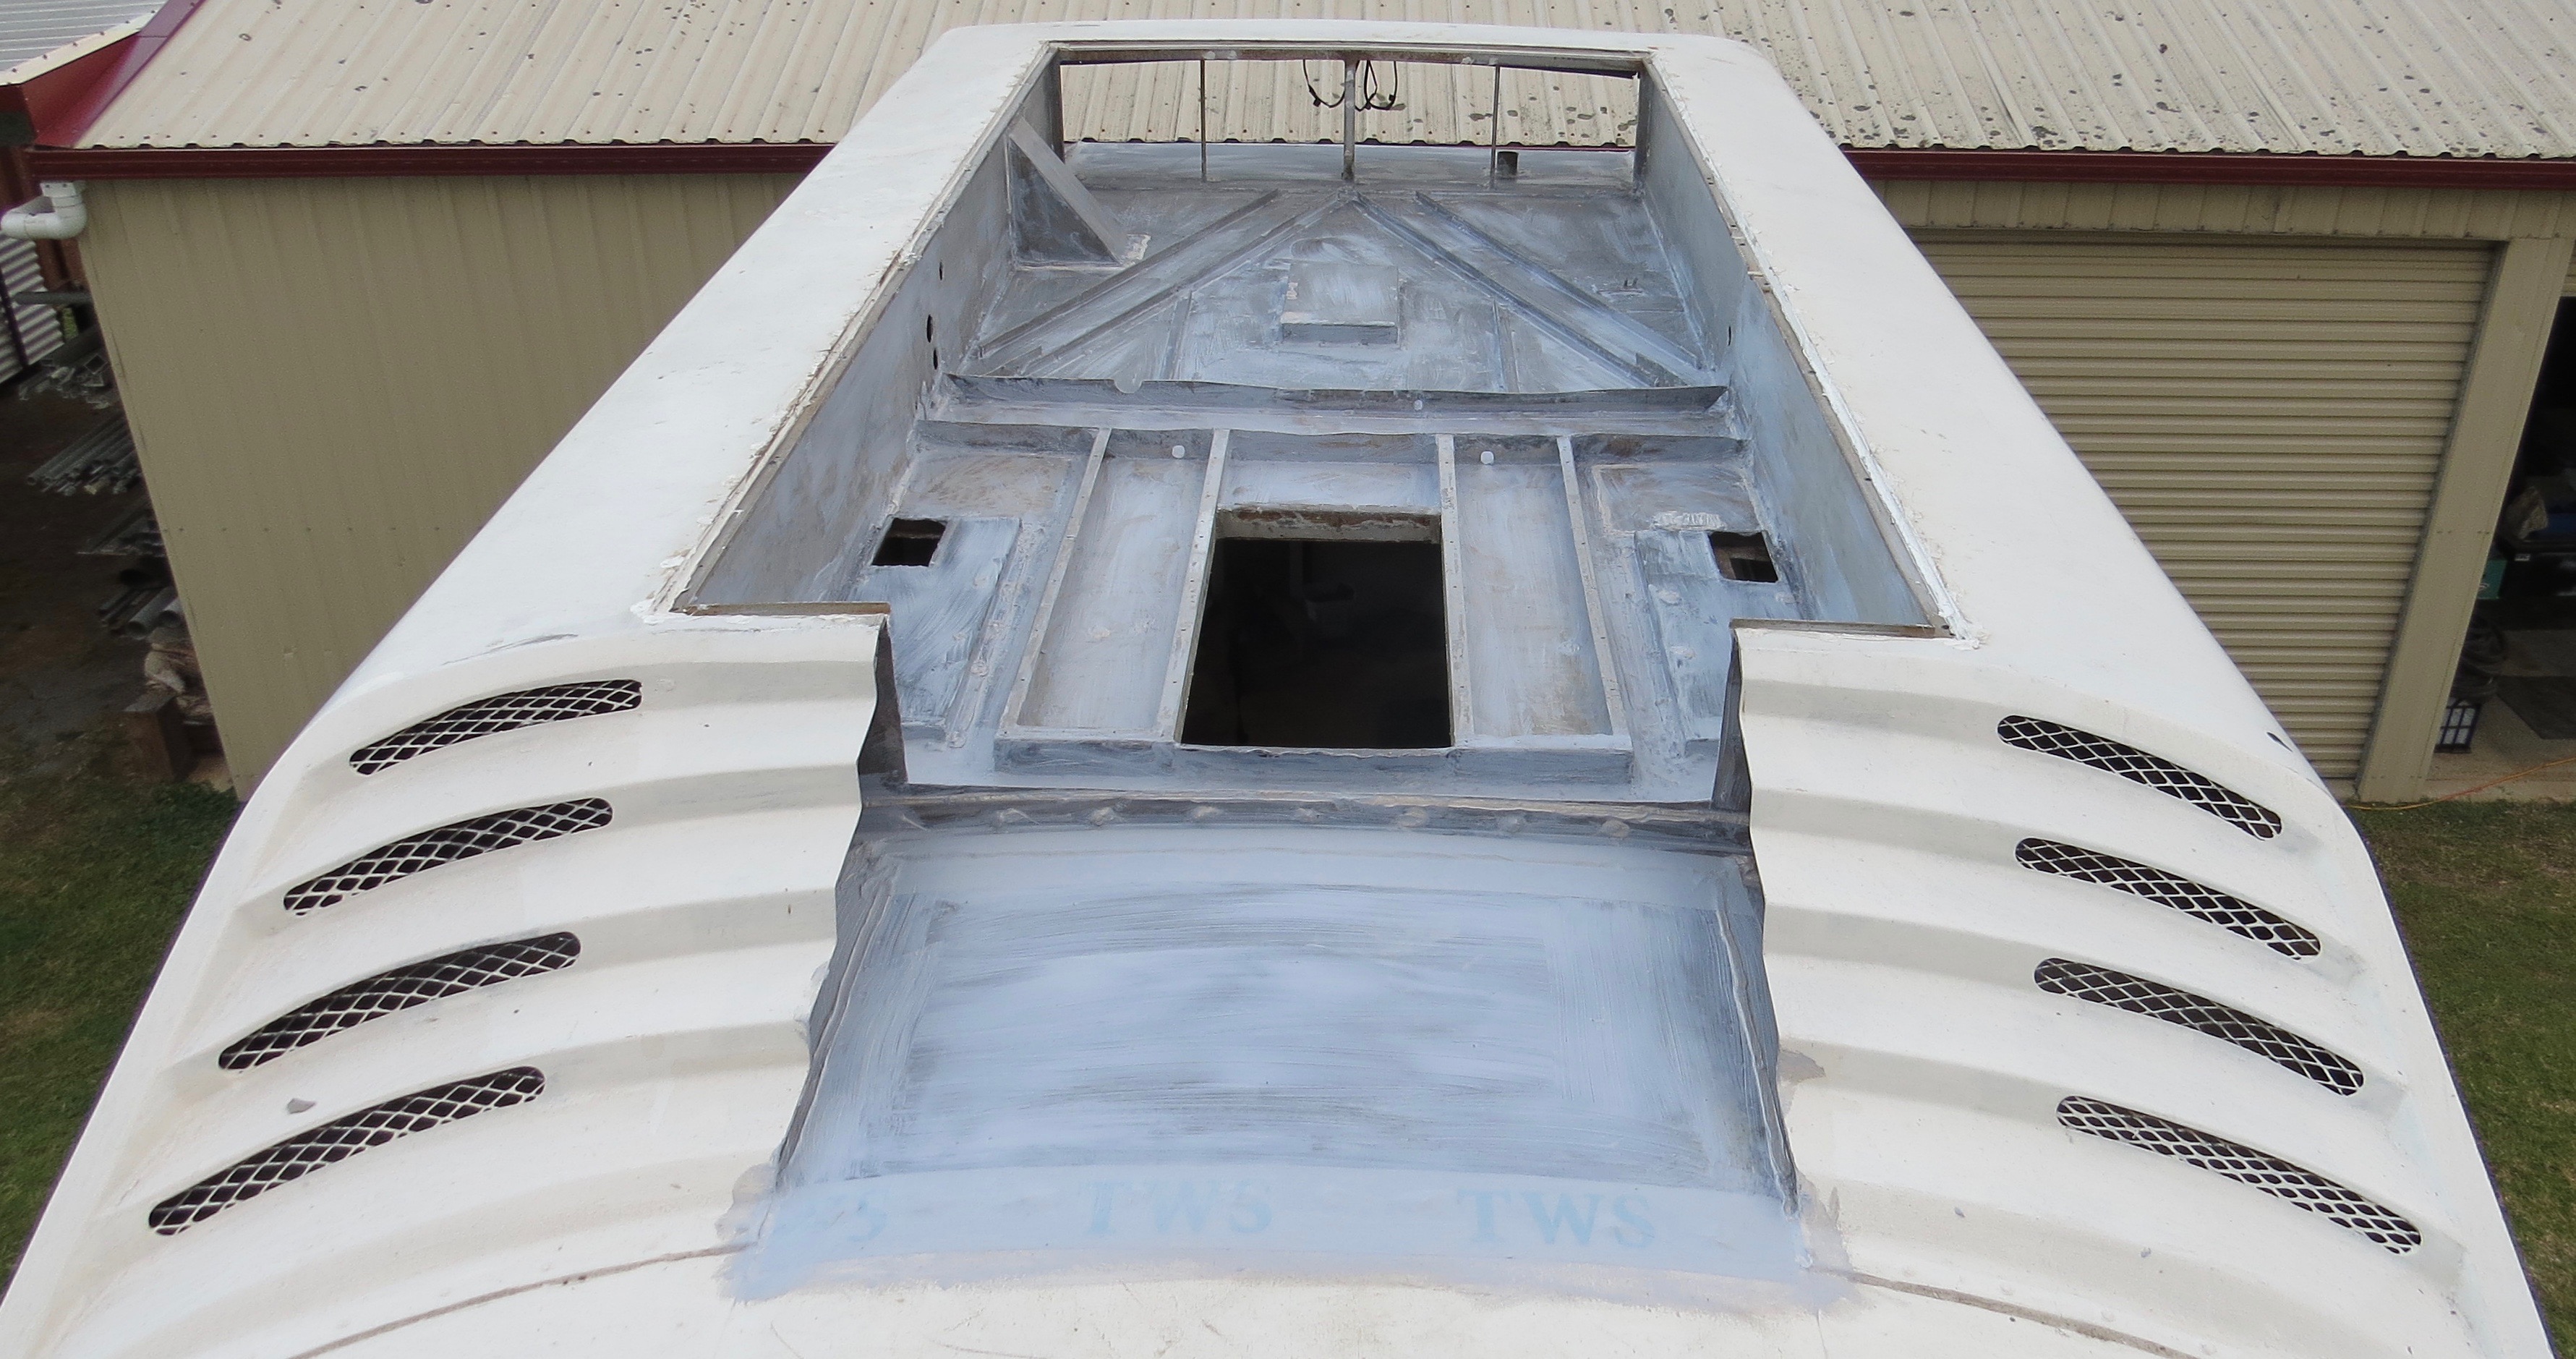
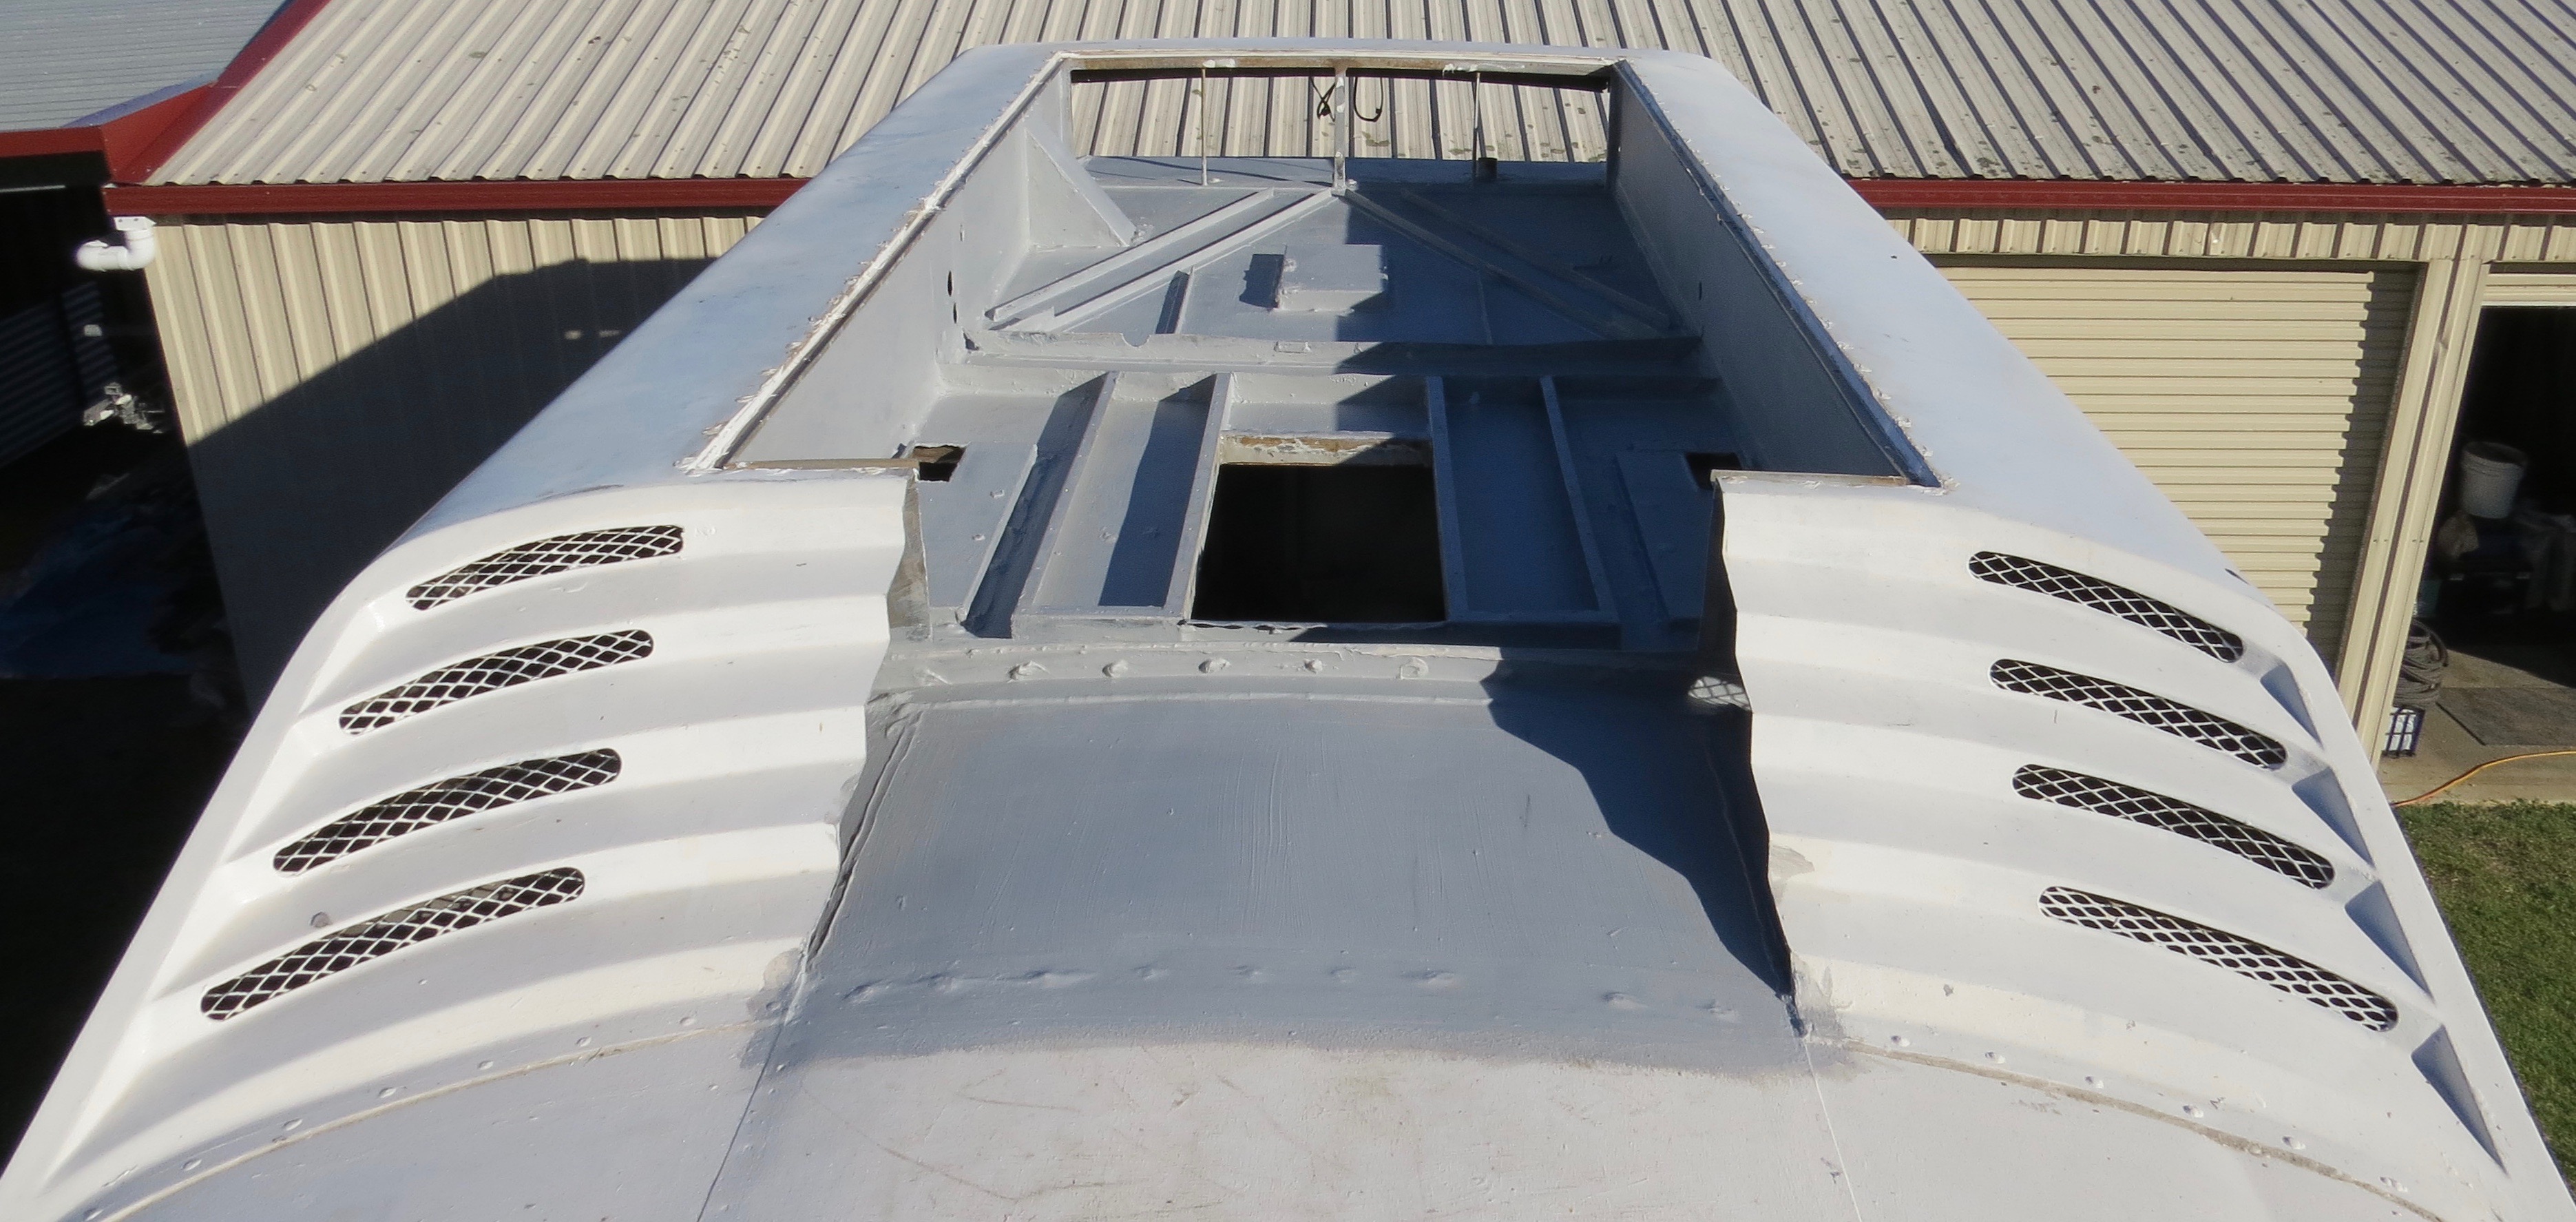
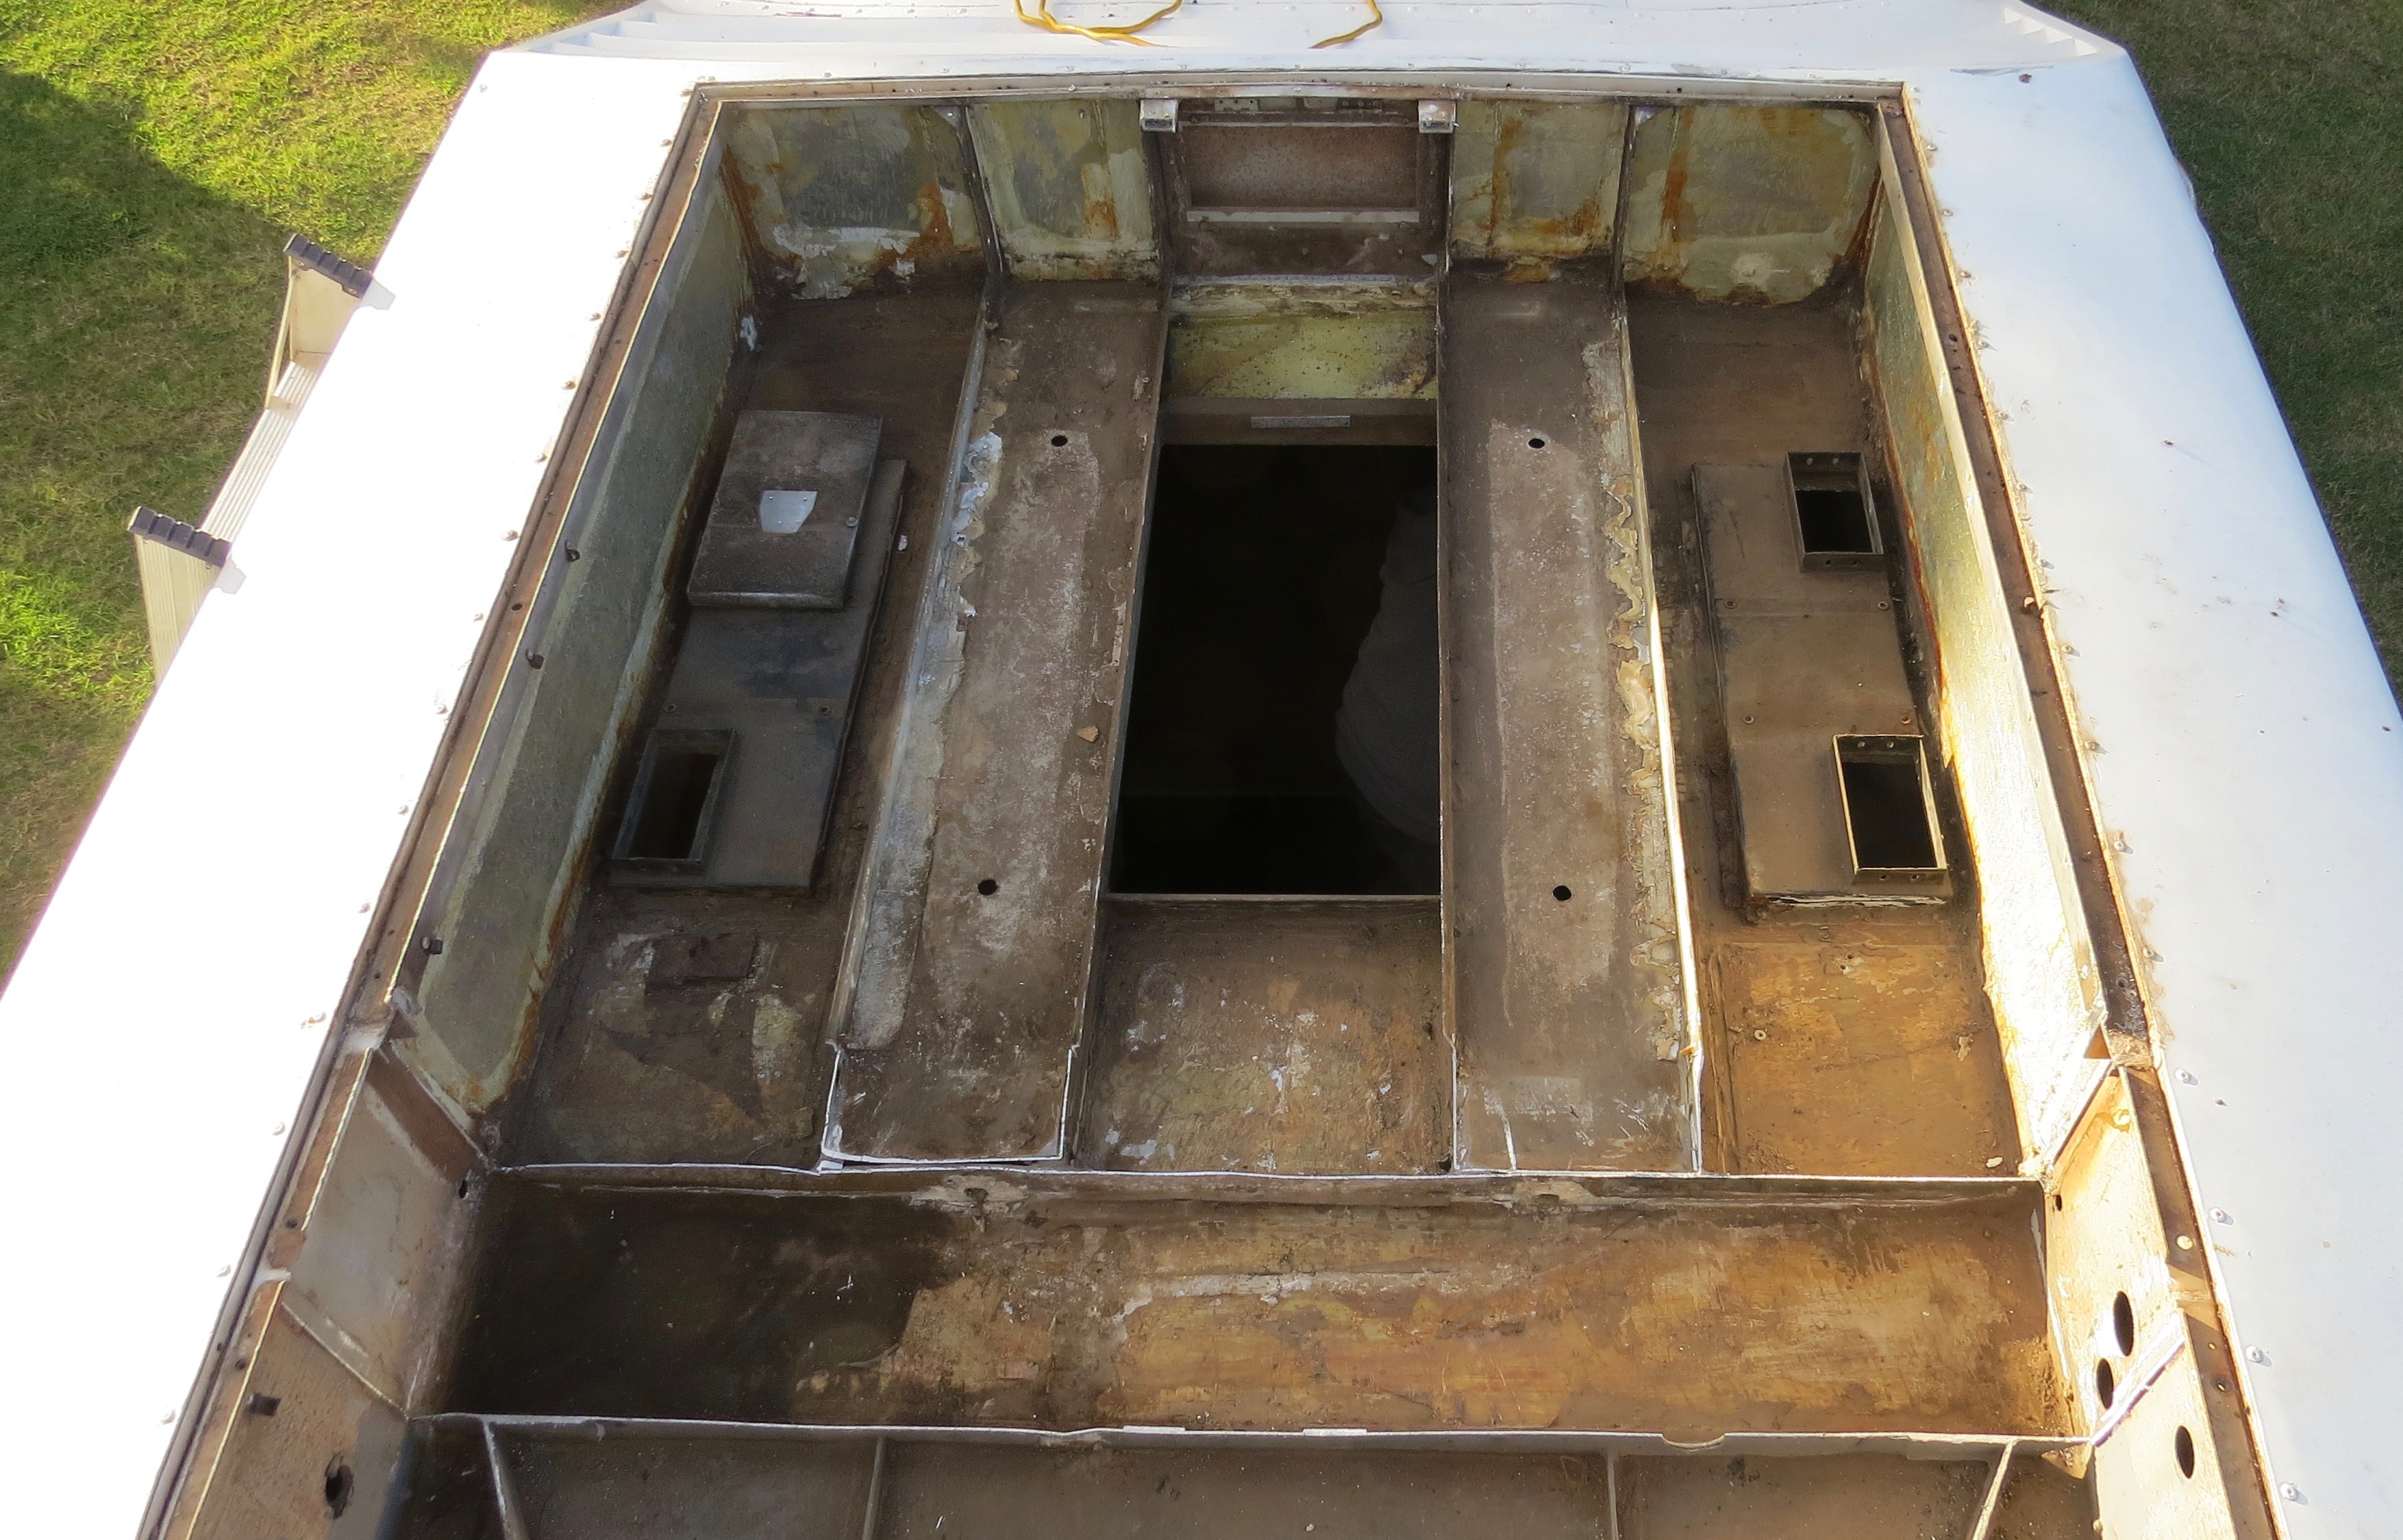
Why waste the space from the old air conditioning? We have decided to turn it into our roof top deck. There was some eco decking on special at Bunnings so we couldn’t pass it up. We had to come up with some idea because when it rains it was filling up with water, not that it was leaking but the sound of it dripping when in bed made it sound like it was, so you would keep waking up looking for leaks. We only found this out when we were camping on the floor of the bus on our trip down the East coast to Brisbane.
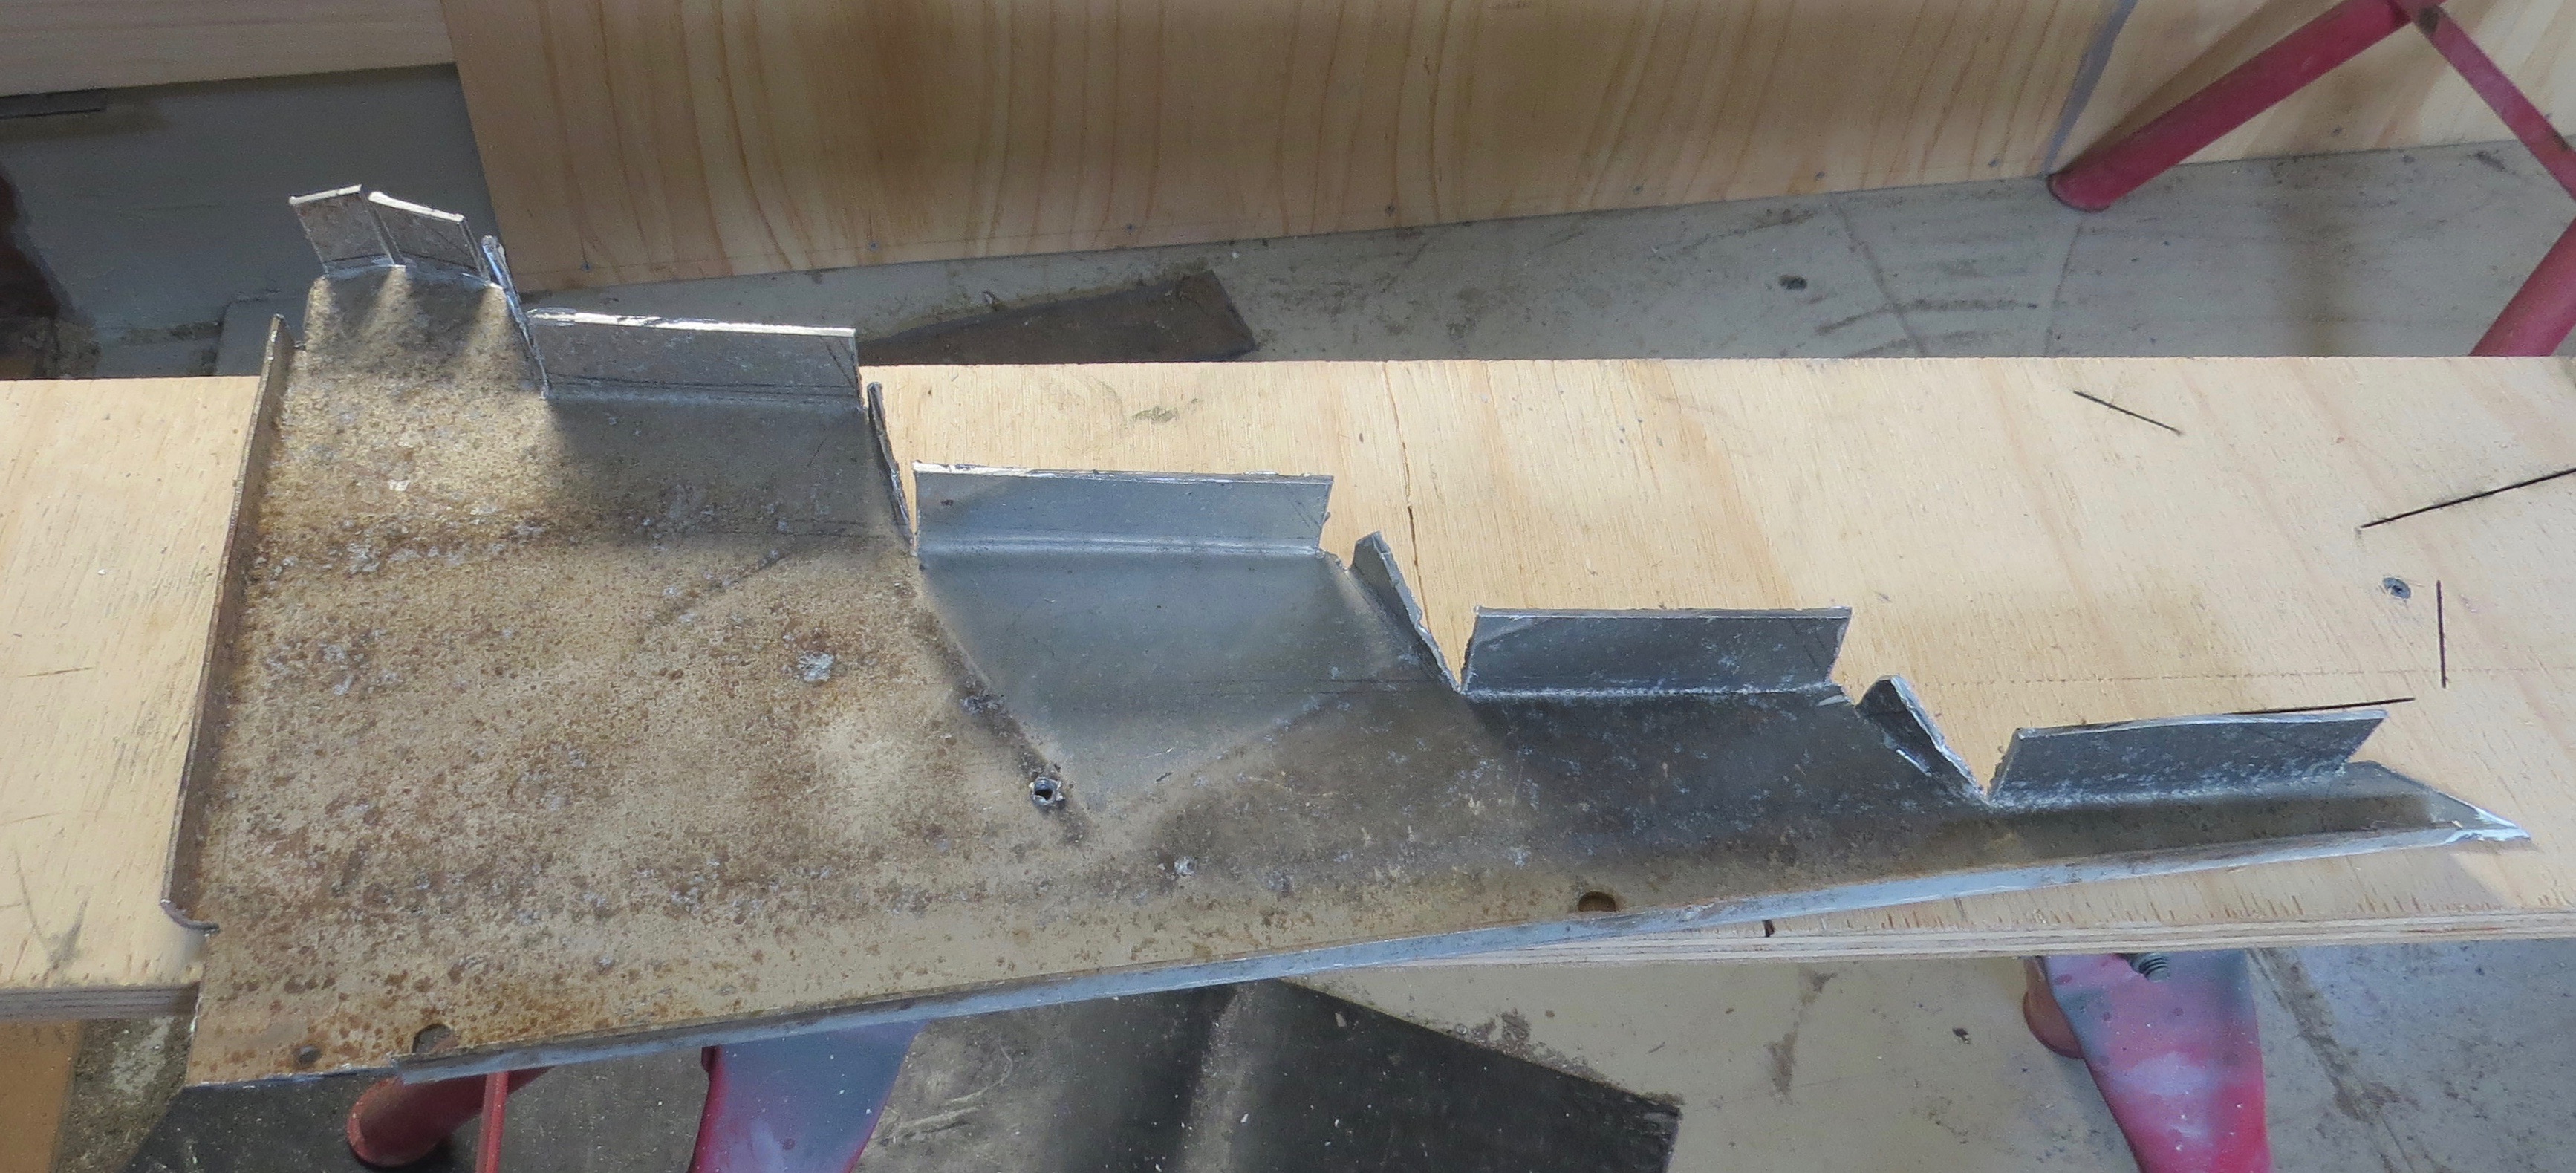
The first job was to fill in under the fiberglass area where we cut out for the walk way and then seal it up.
Time for some sheetmetal work to start with.The areas I have to fill in on either side of the walkway.Marking it all out.The cut.Cut to size just need to bend it to shape.Now let’s hope it fits in the hole.The back side.Well it fitting in nicely….. just.
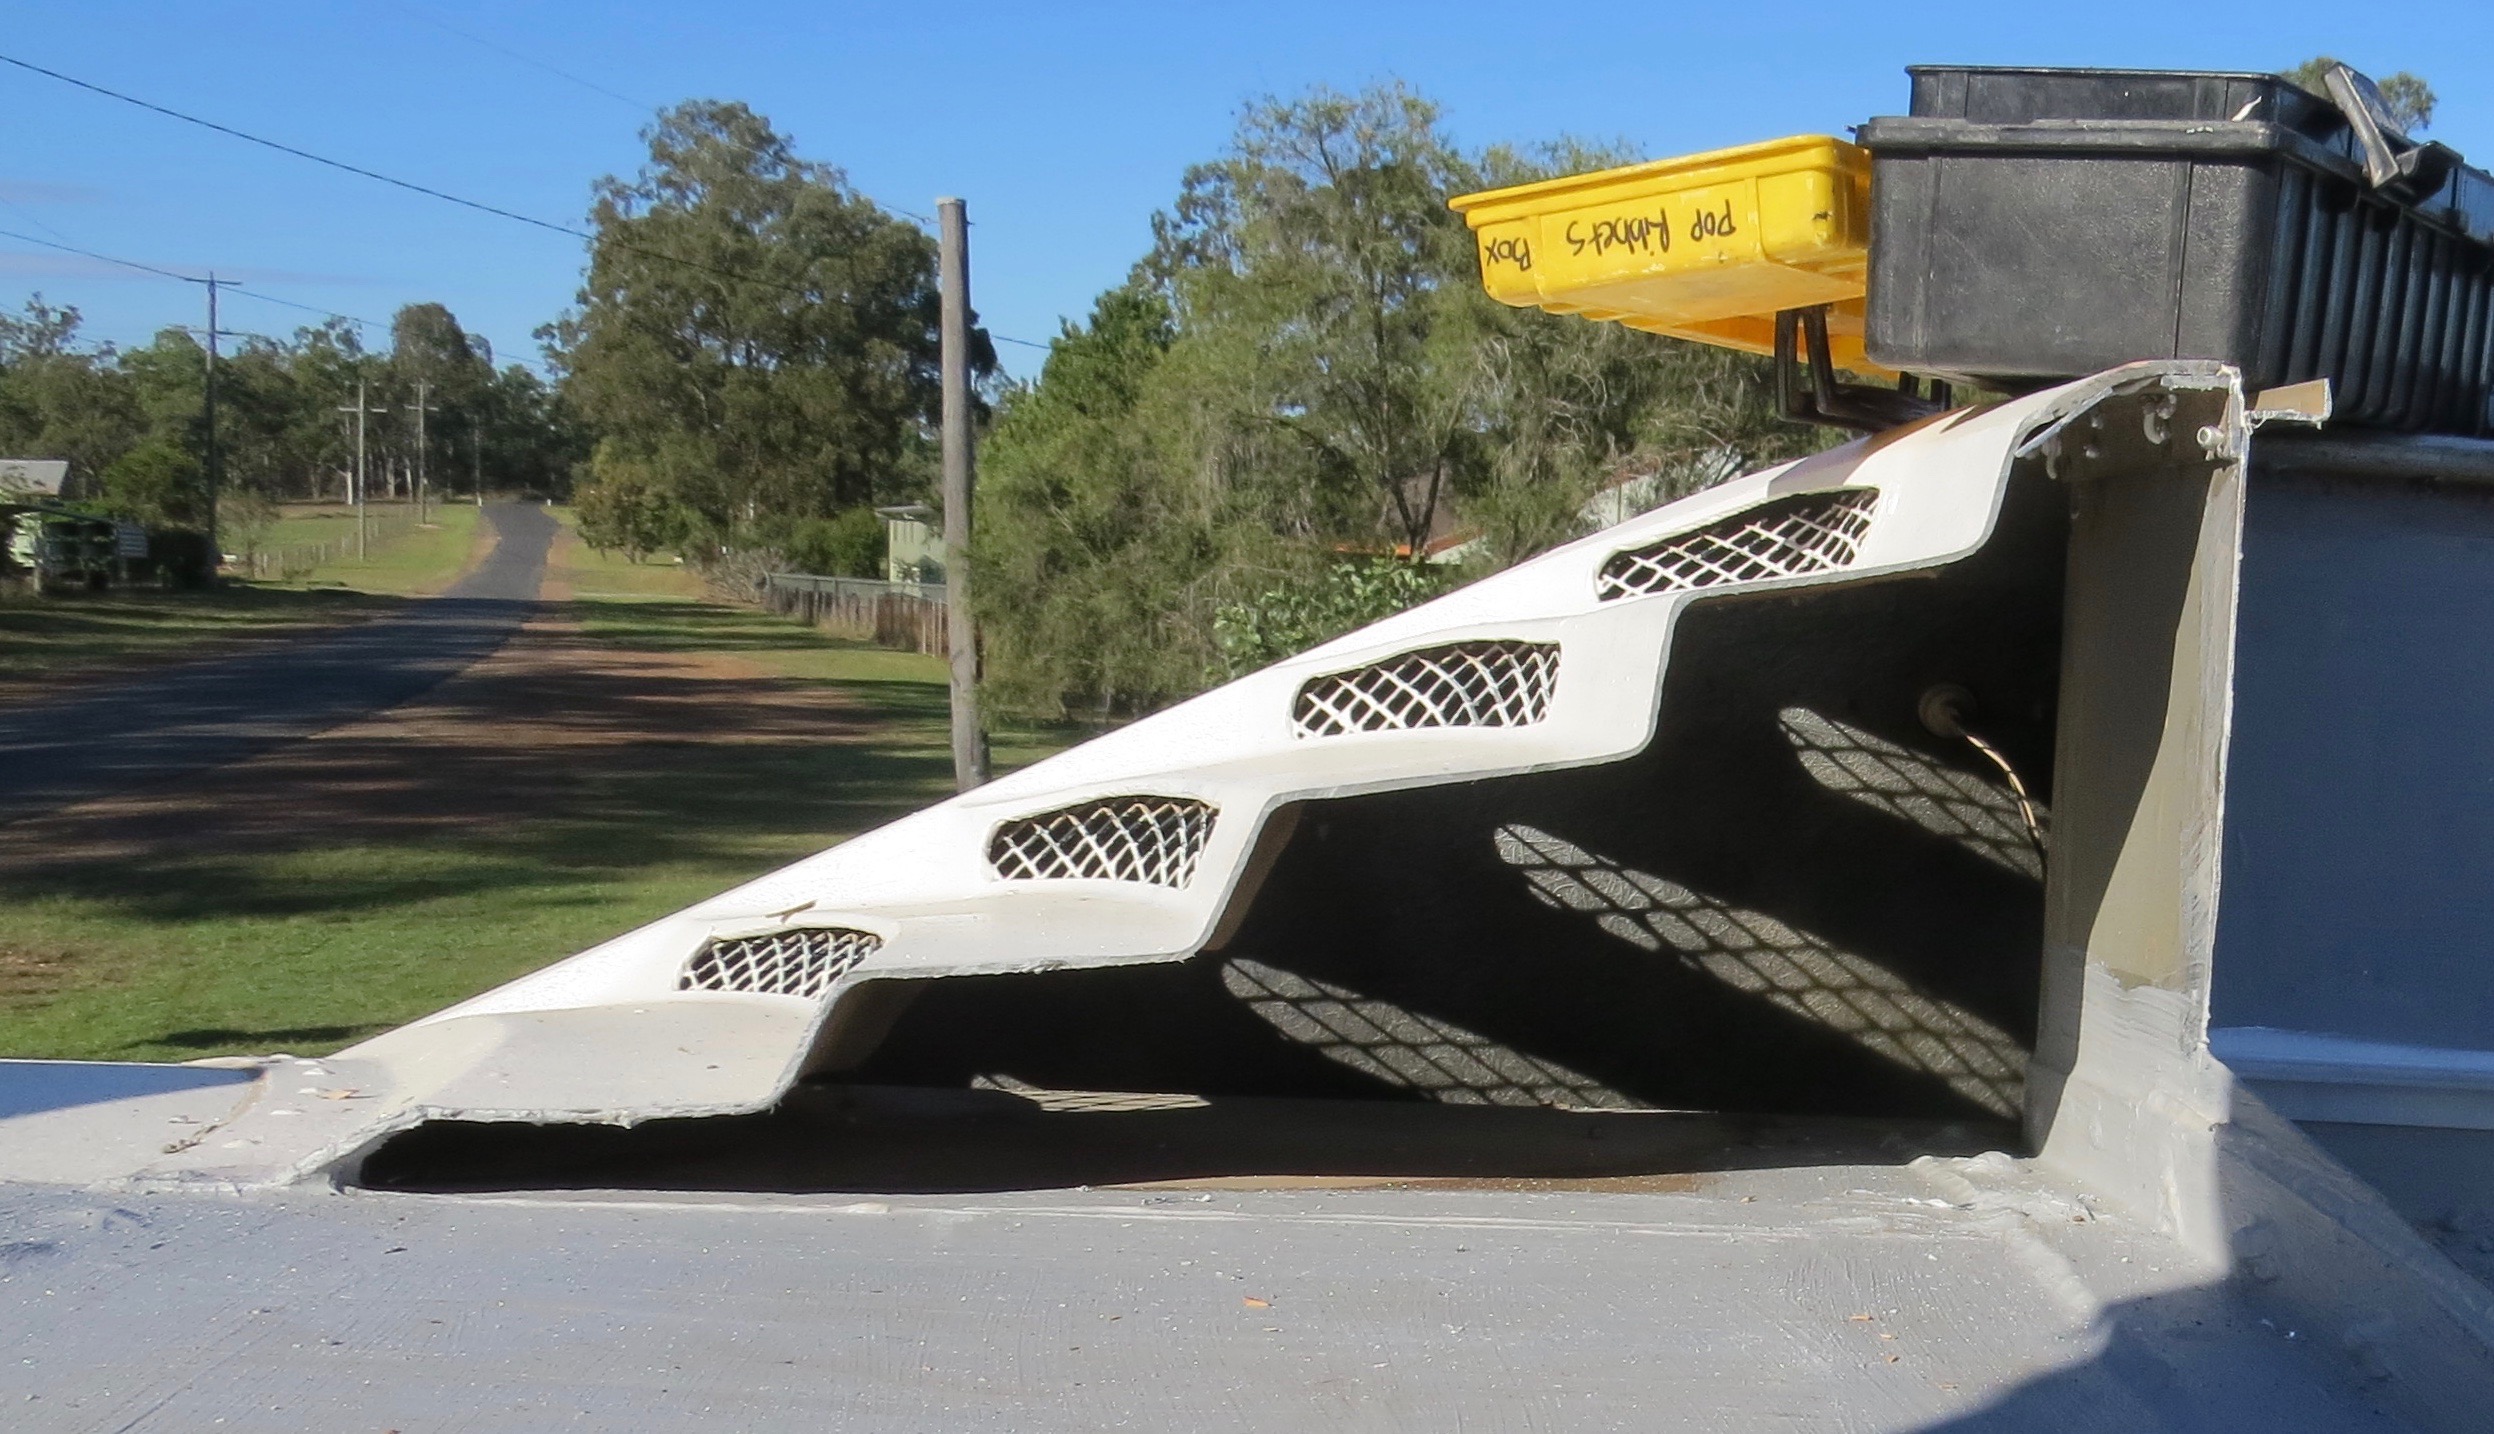
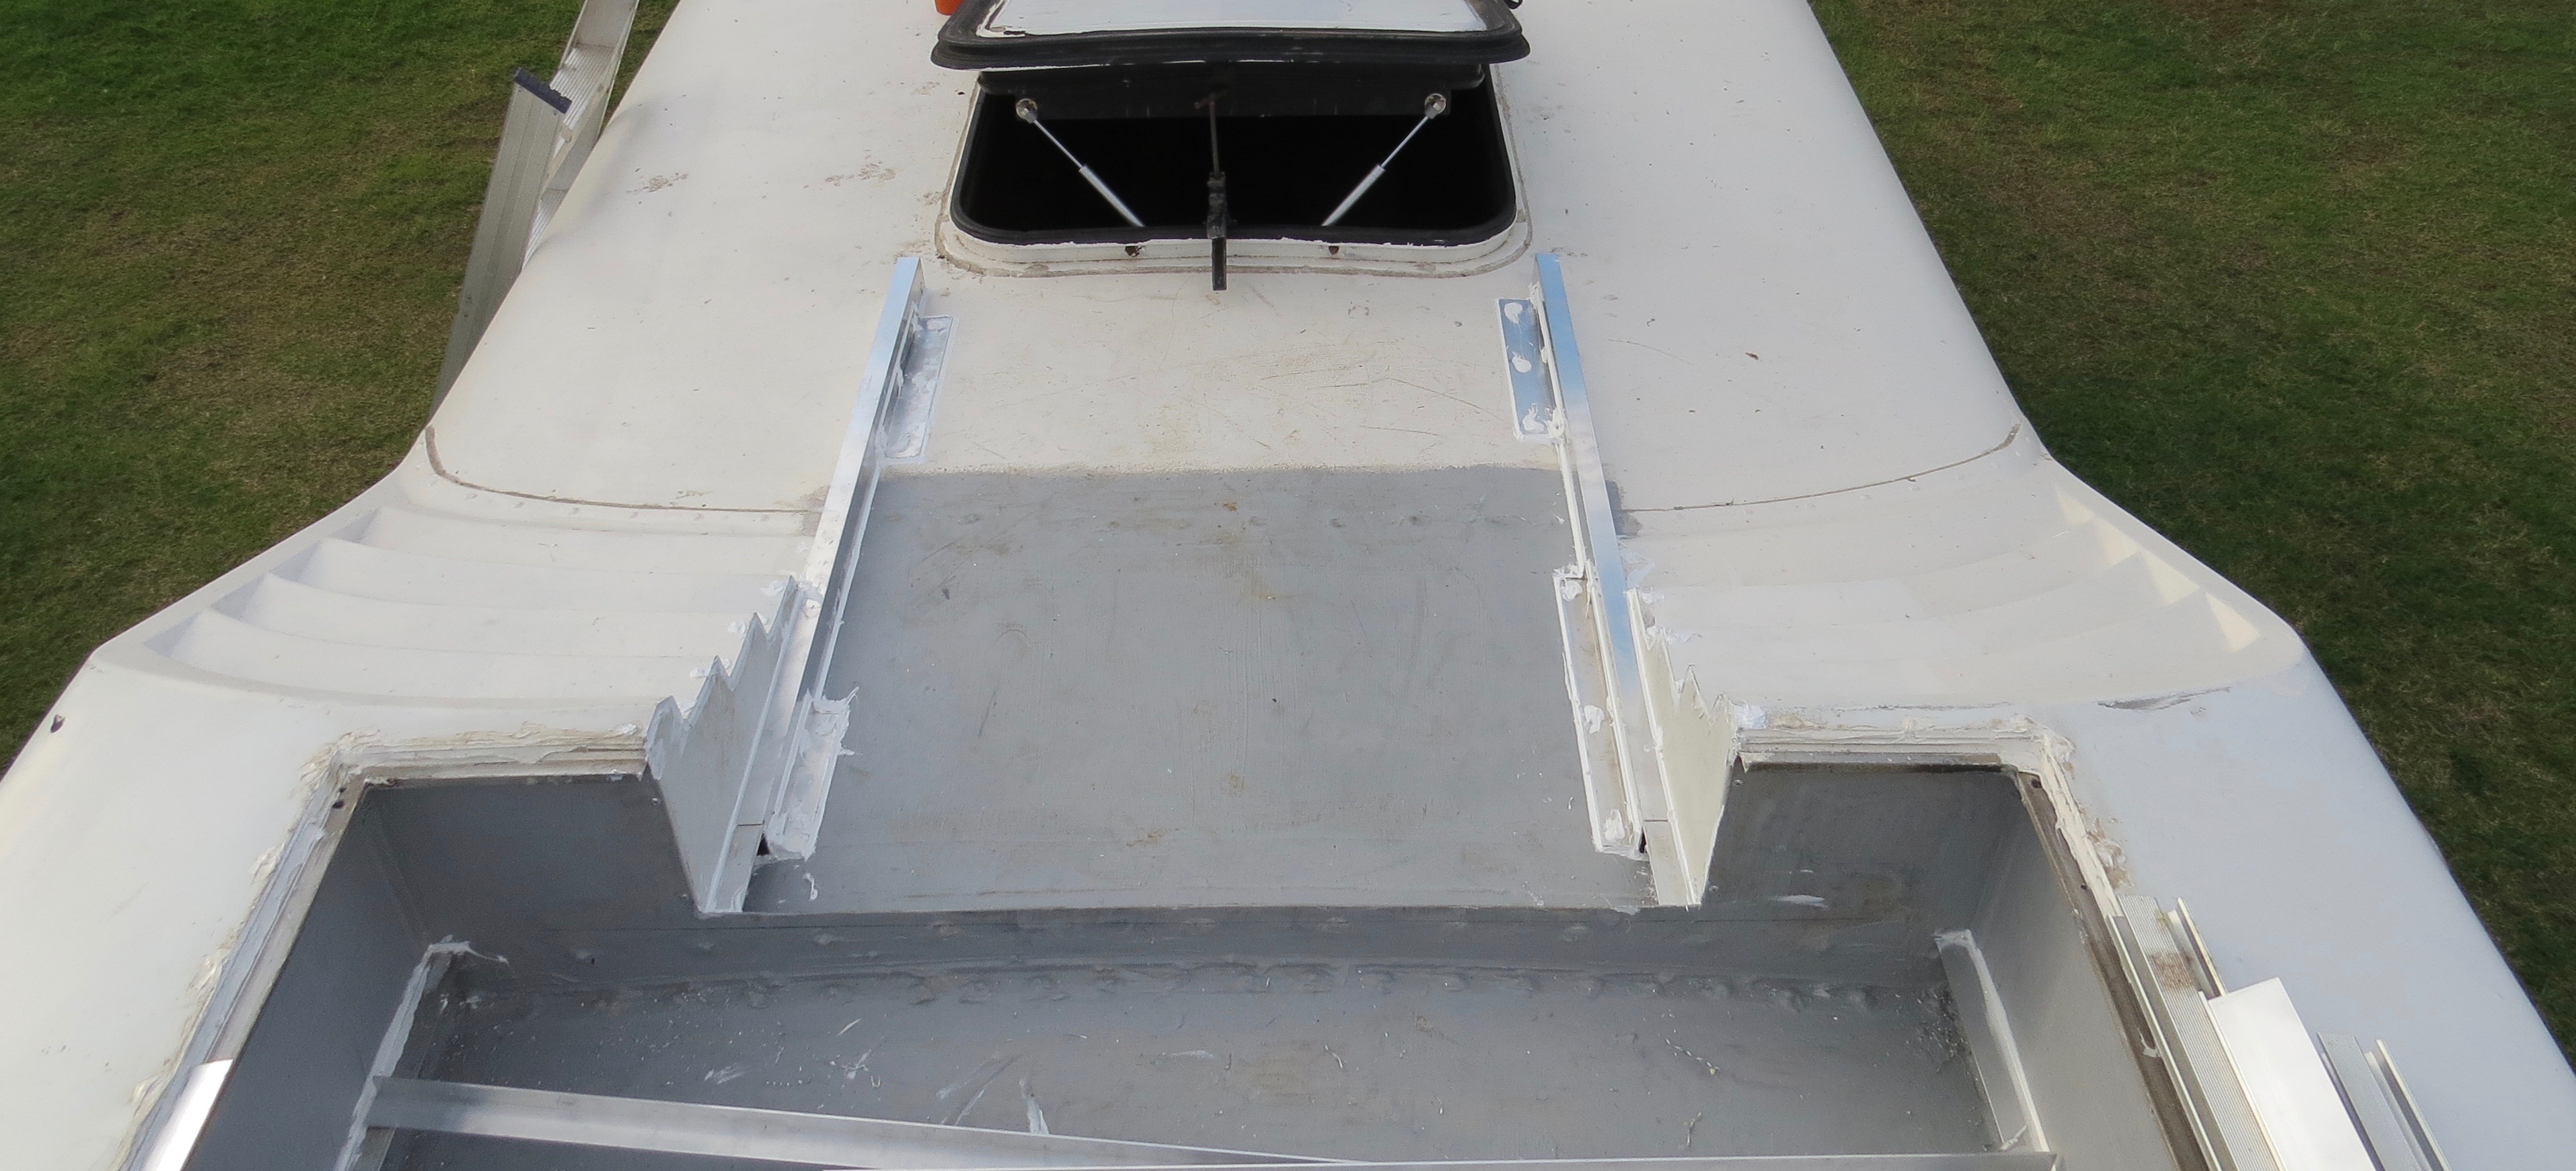
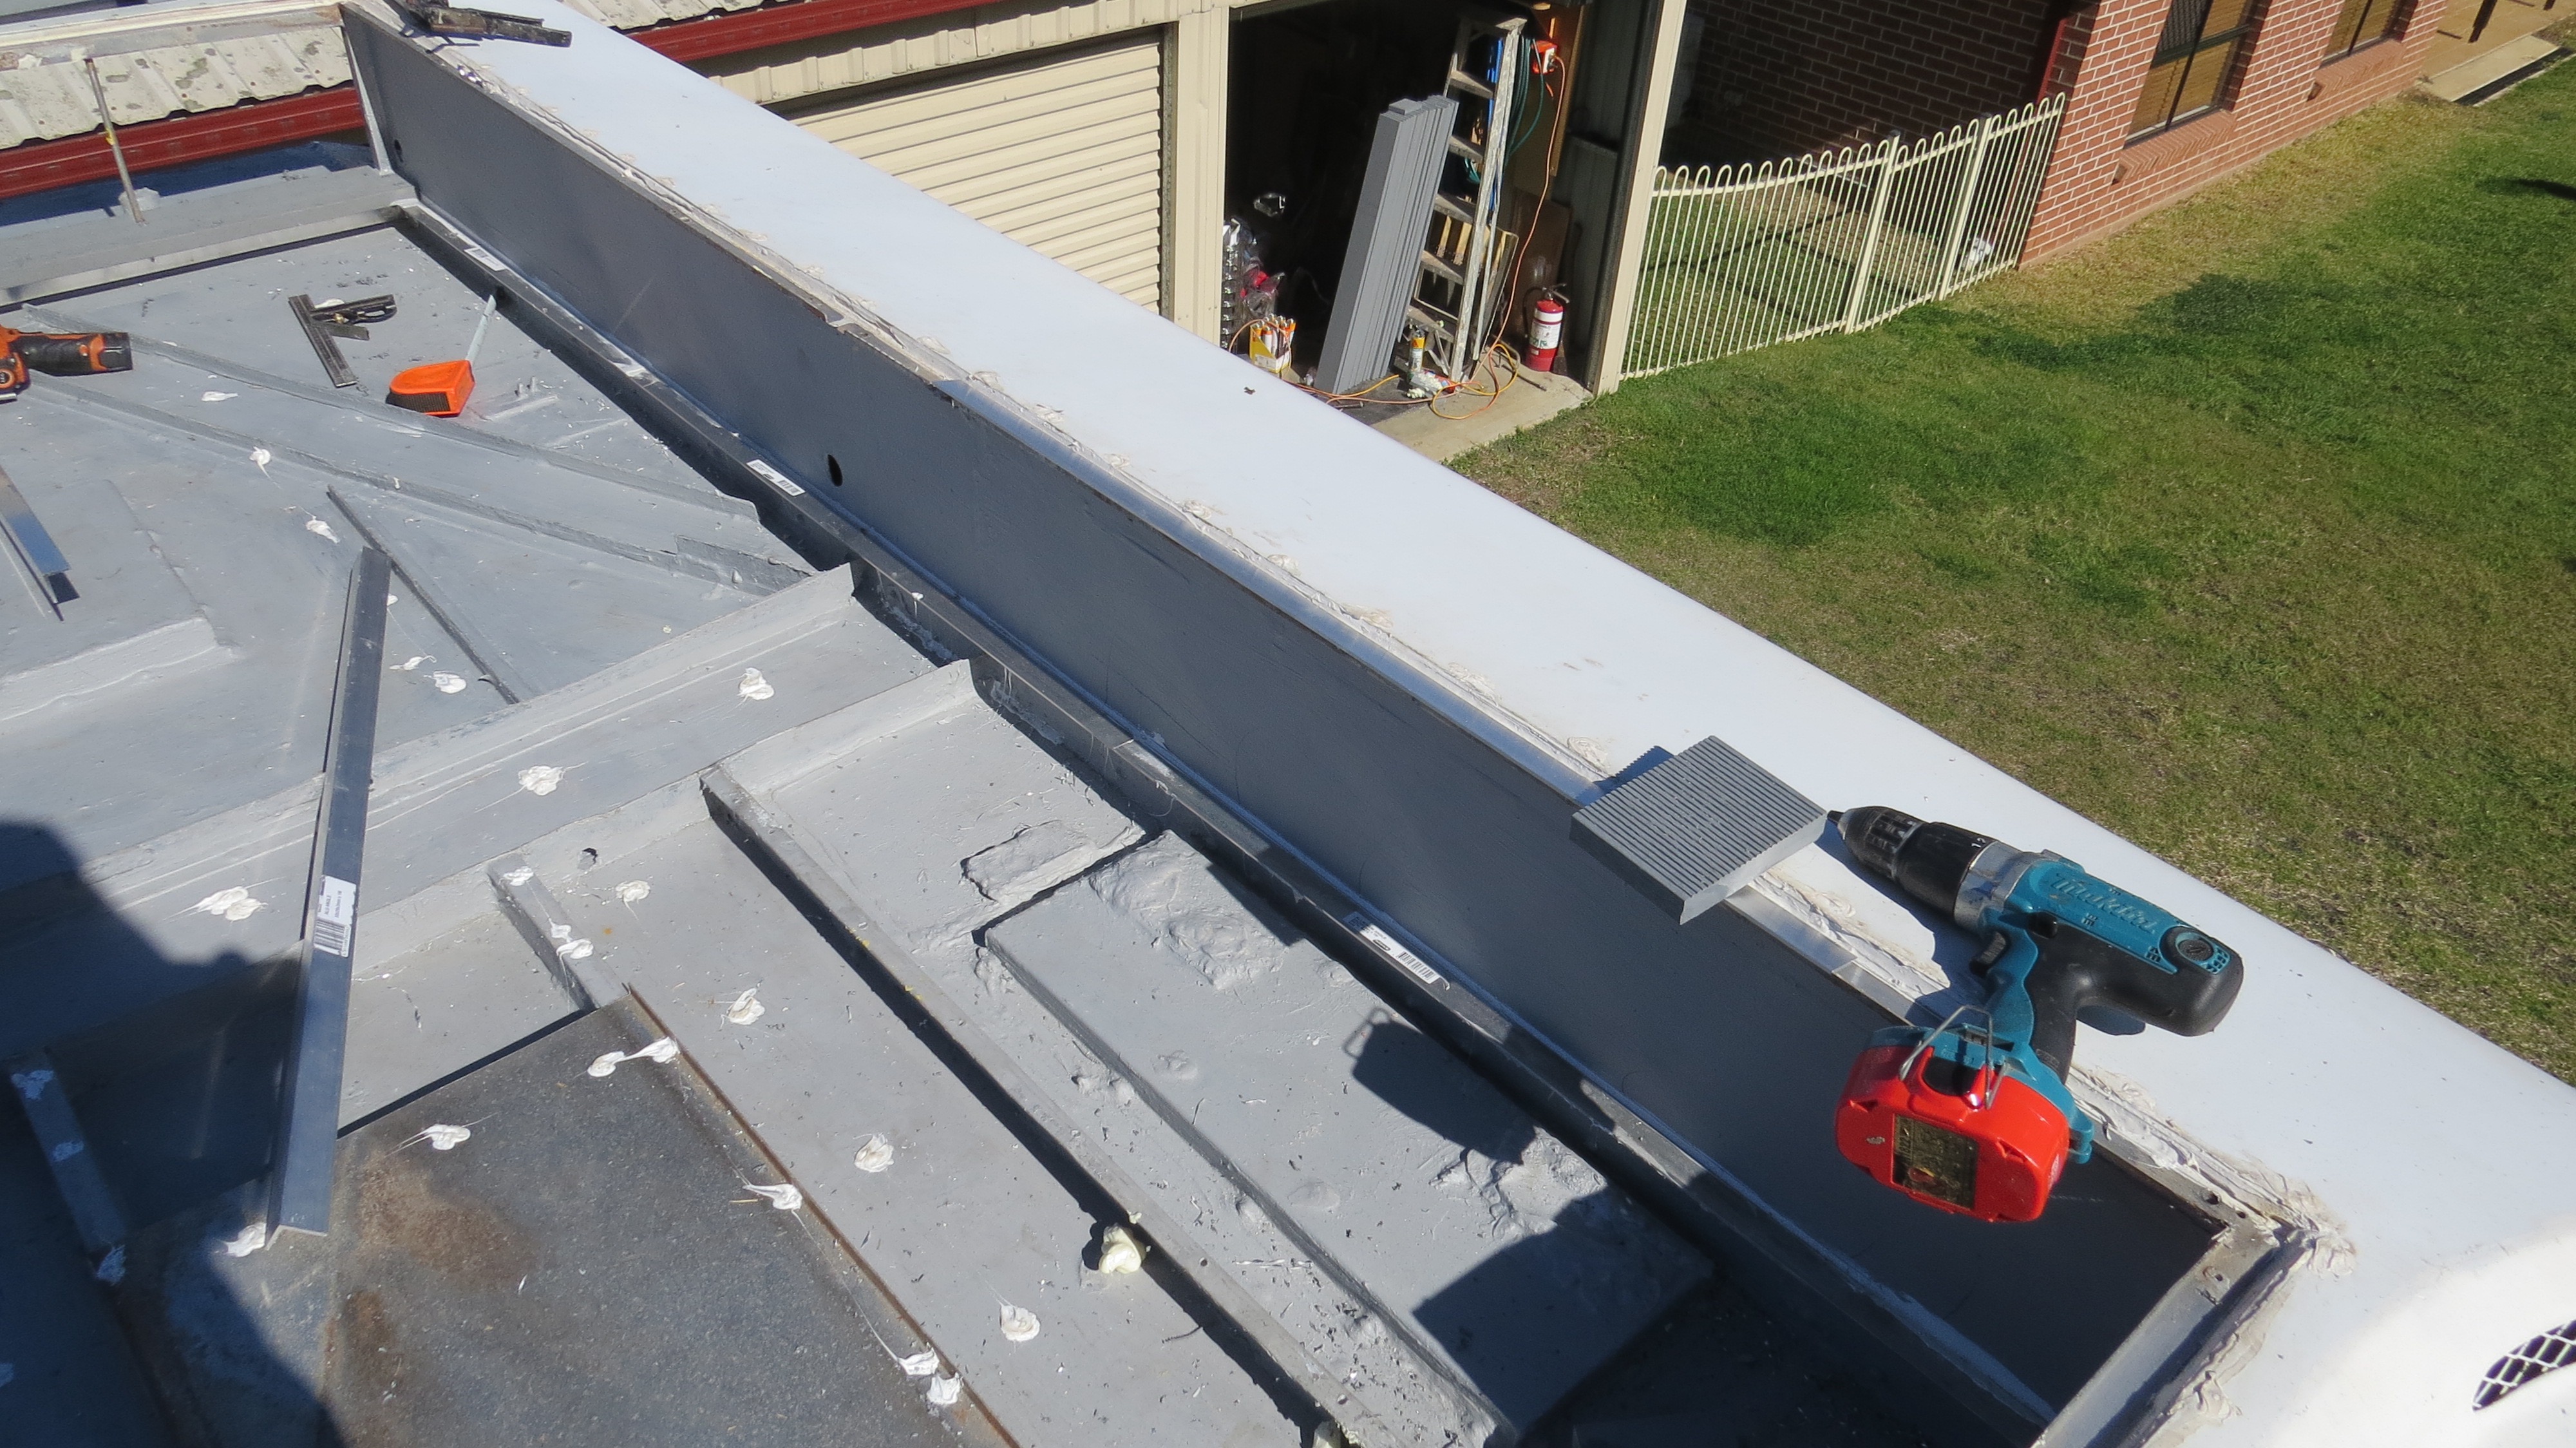
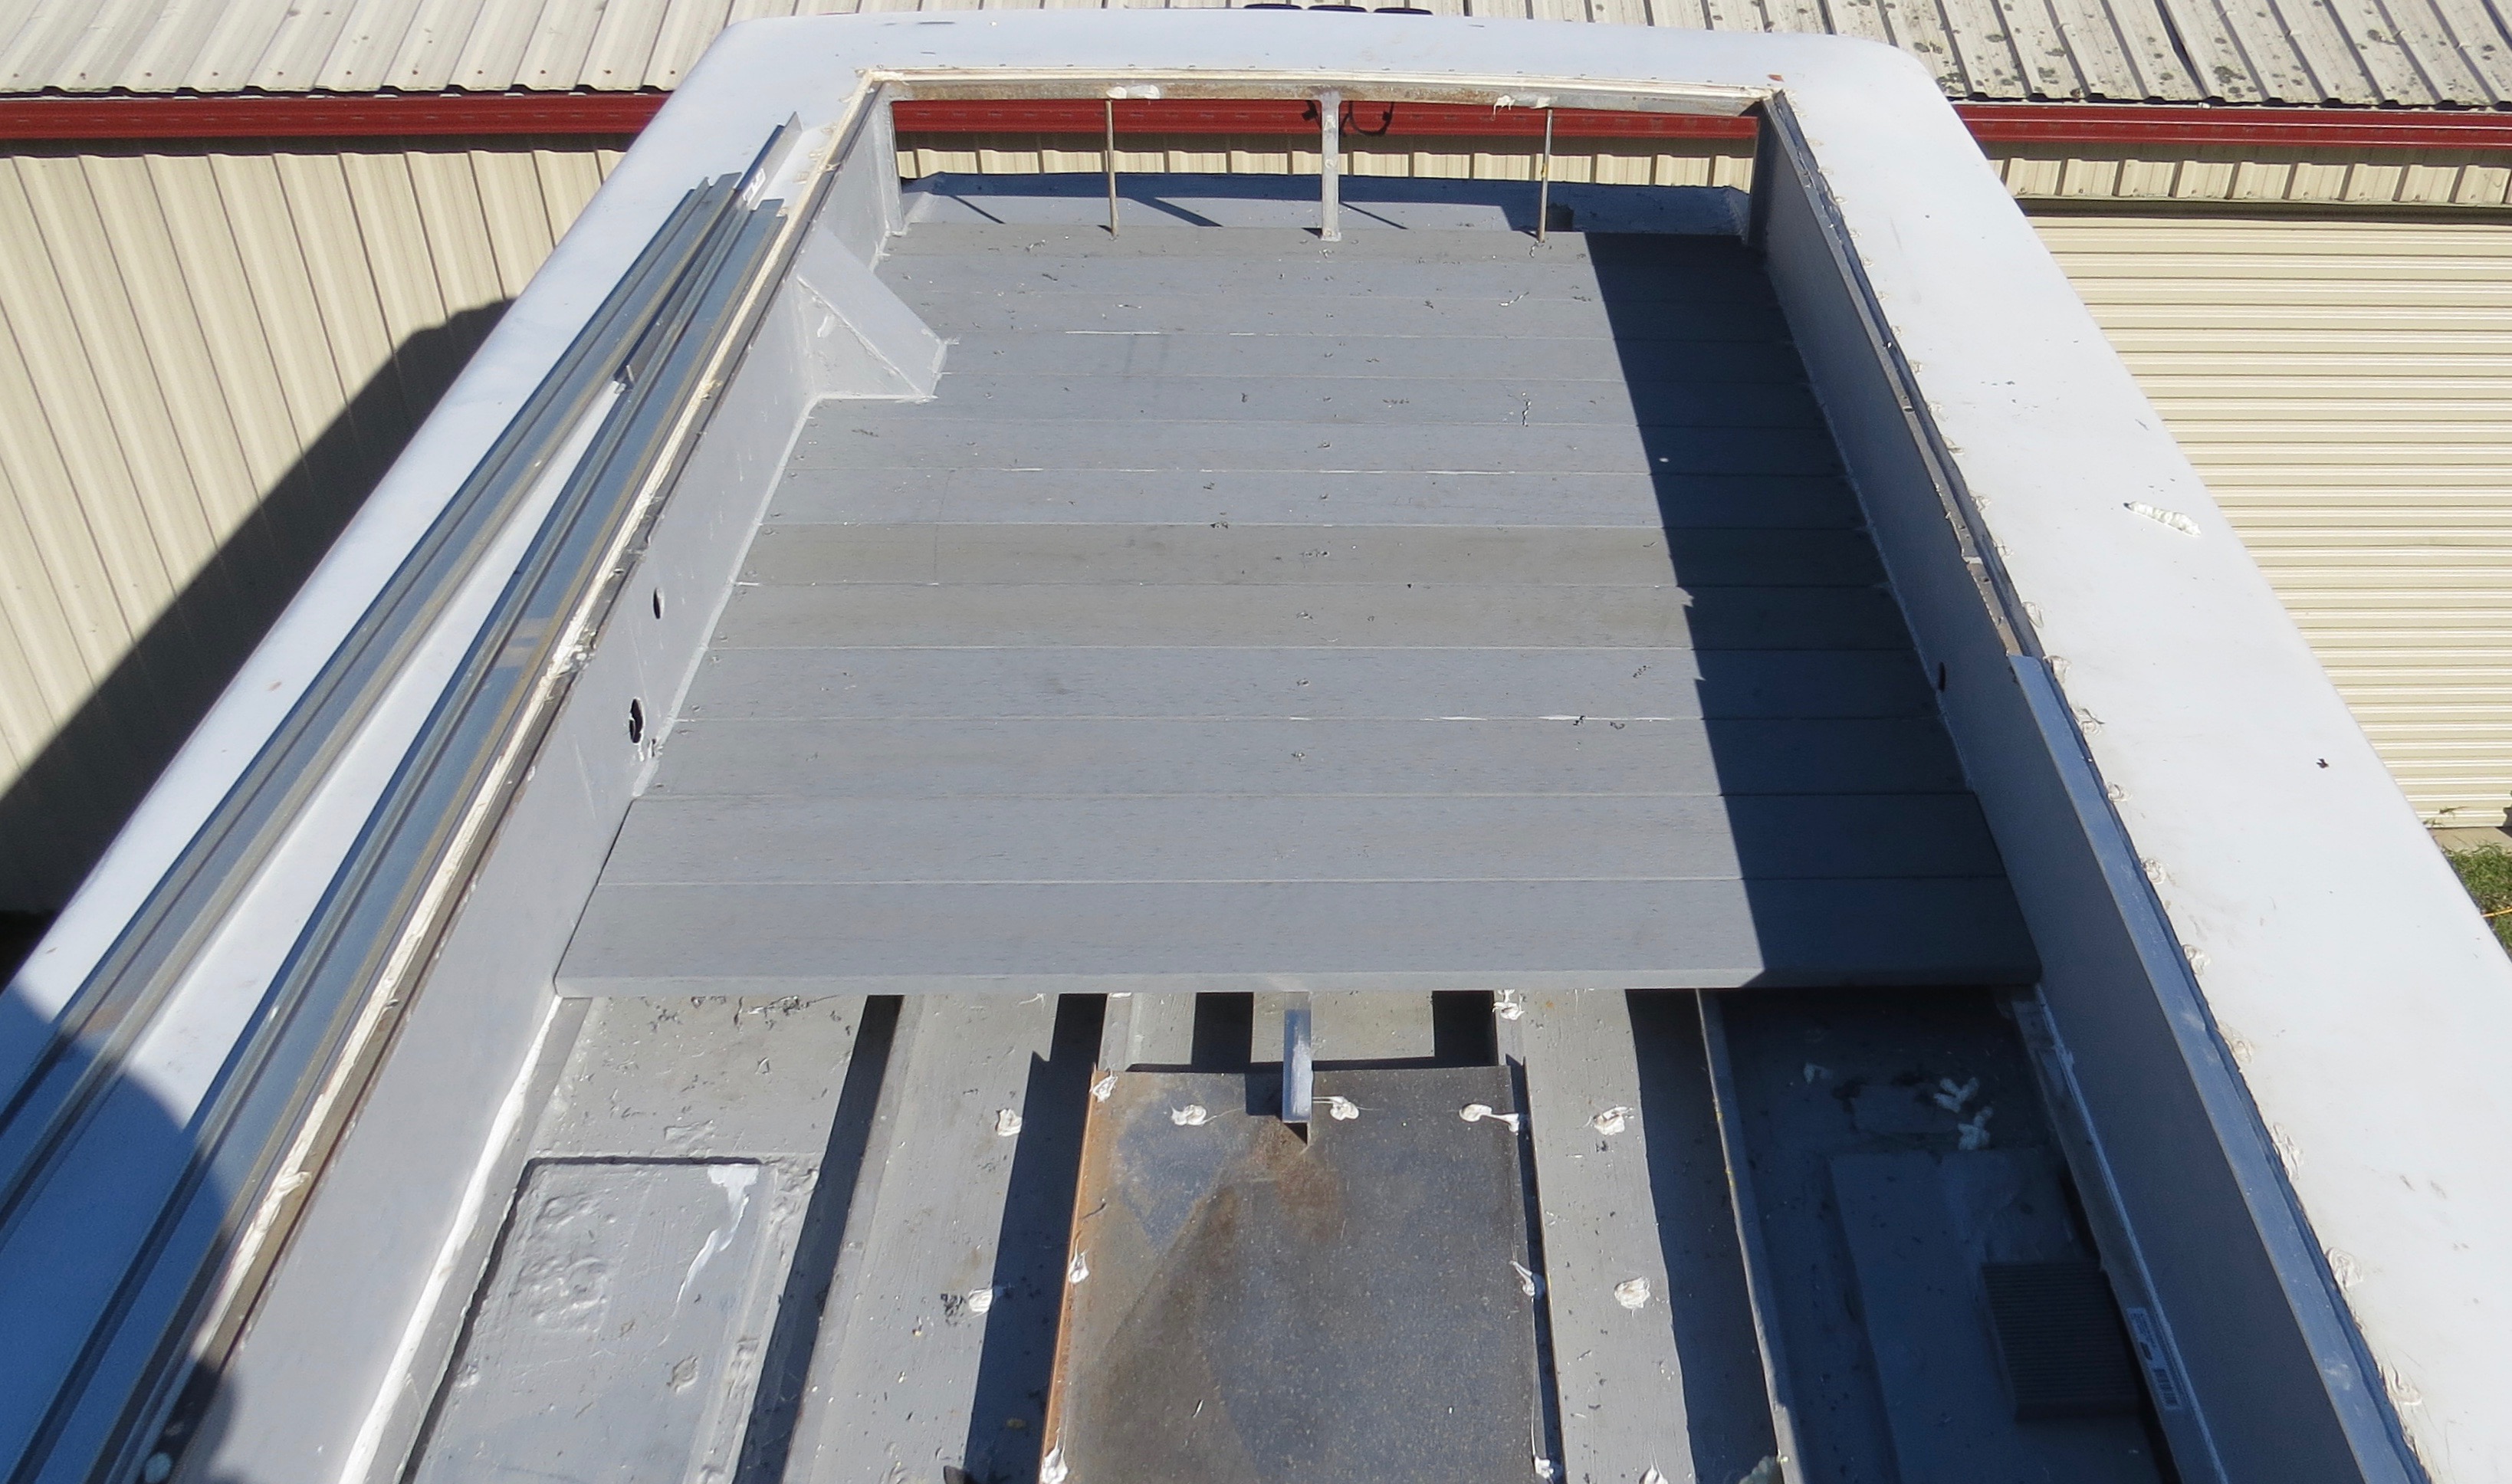
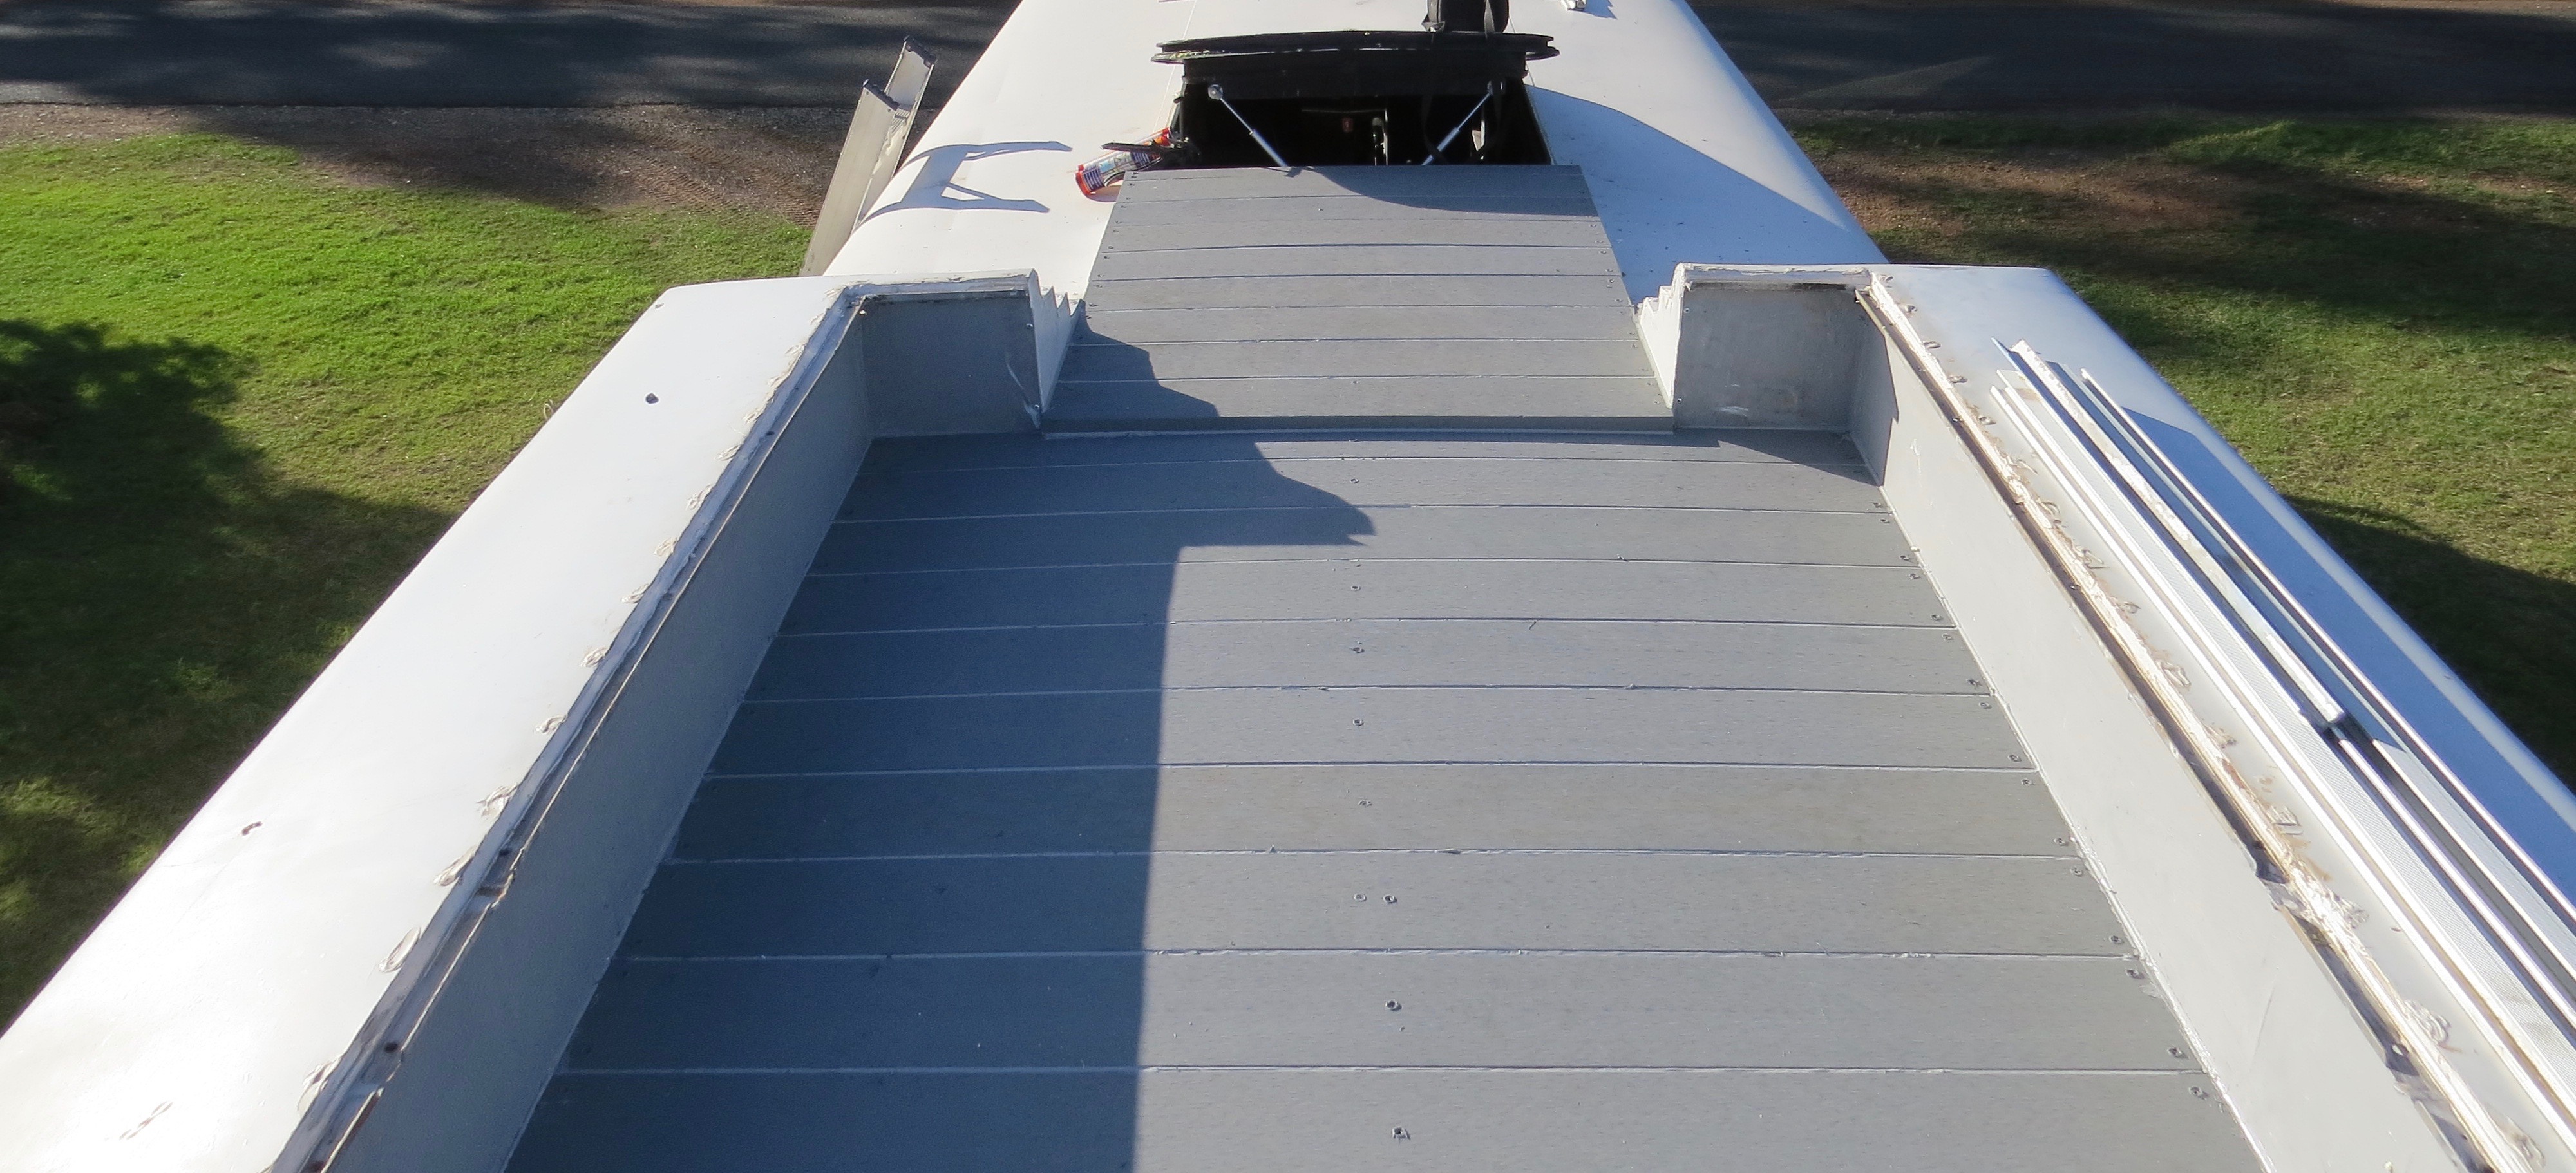
Now for the decking
Apart from climbing up and down the ladder what felt like hundreds of times, this job was pretty straight forward. My legs and lower back are feeling it now. I had to first set out for the deck supports then pop revetting them in place, it was just a matter of cutting the decking to size, screwing and lastly gluing them into place. It was important to prevent any water getting under the decking so I sealed every joint with sikaflex. I also decided to use expanding foam under the deck for insulation.
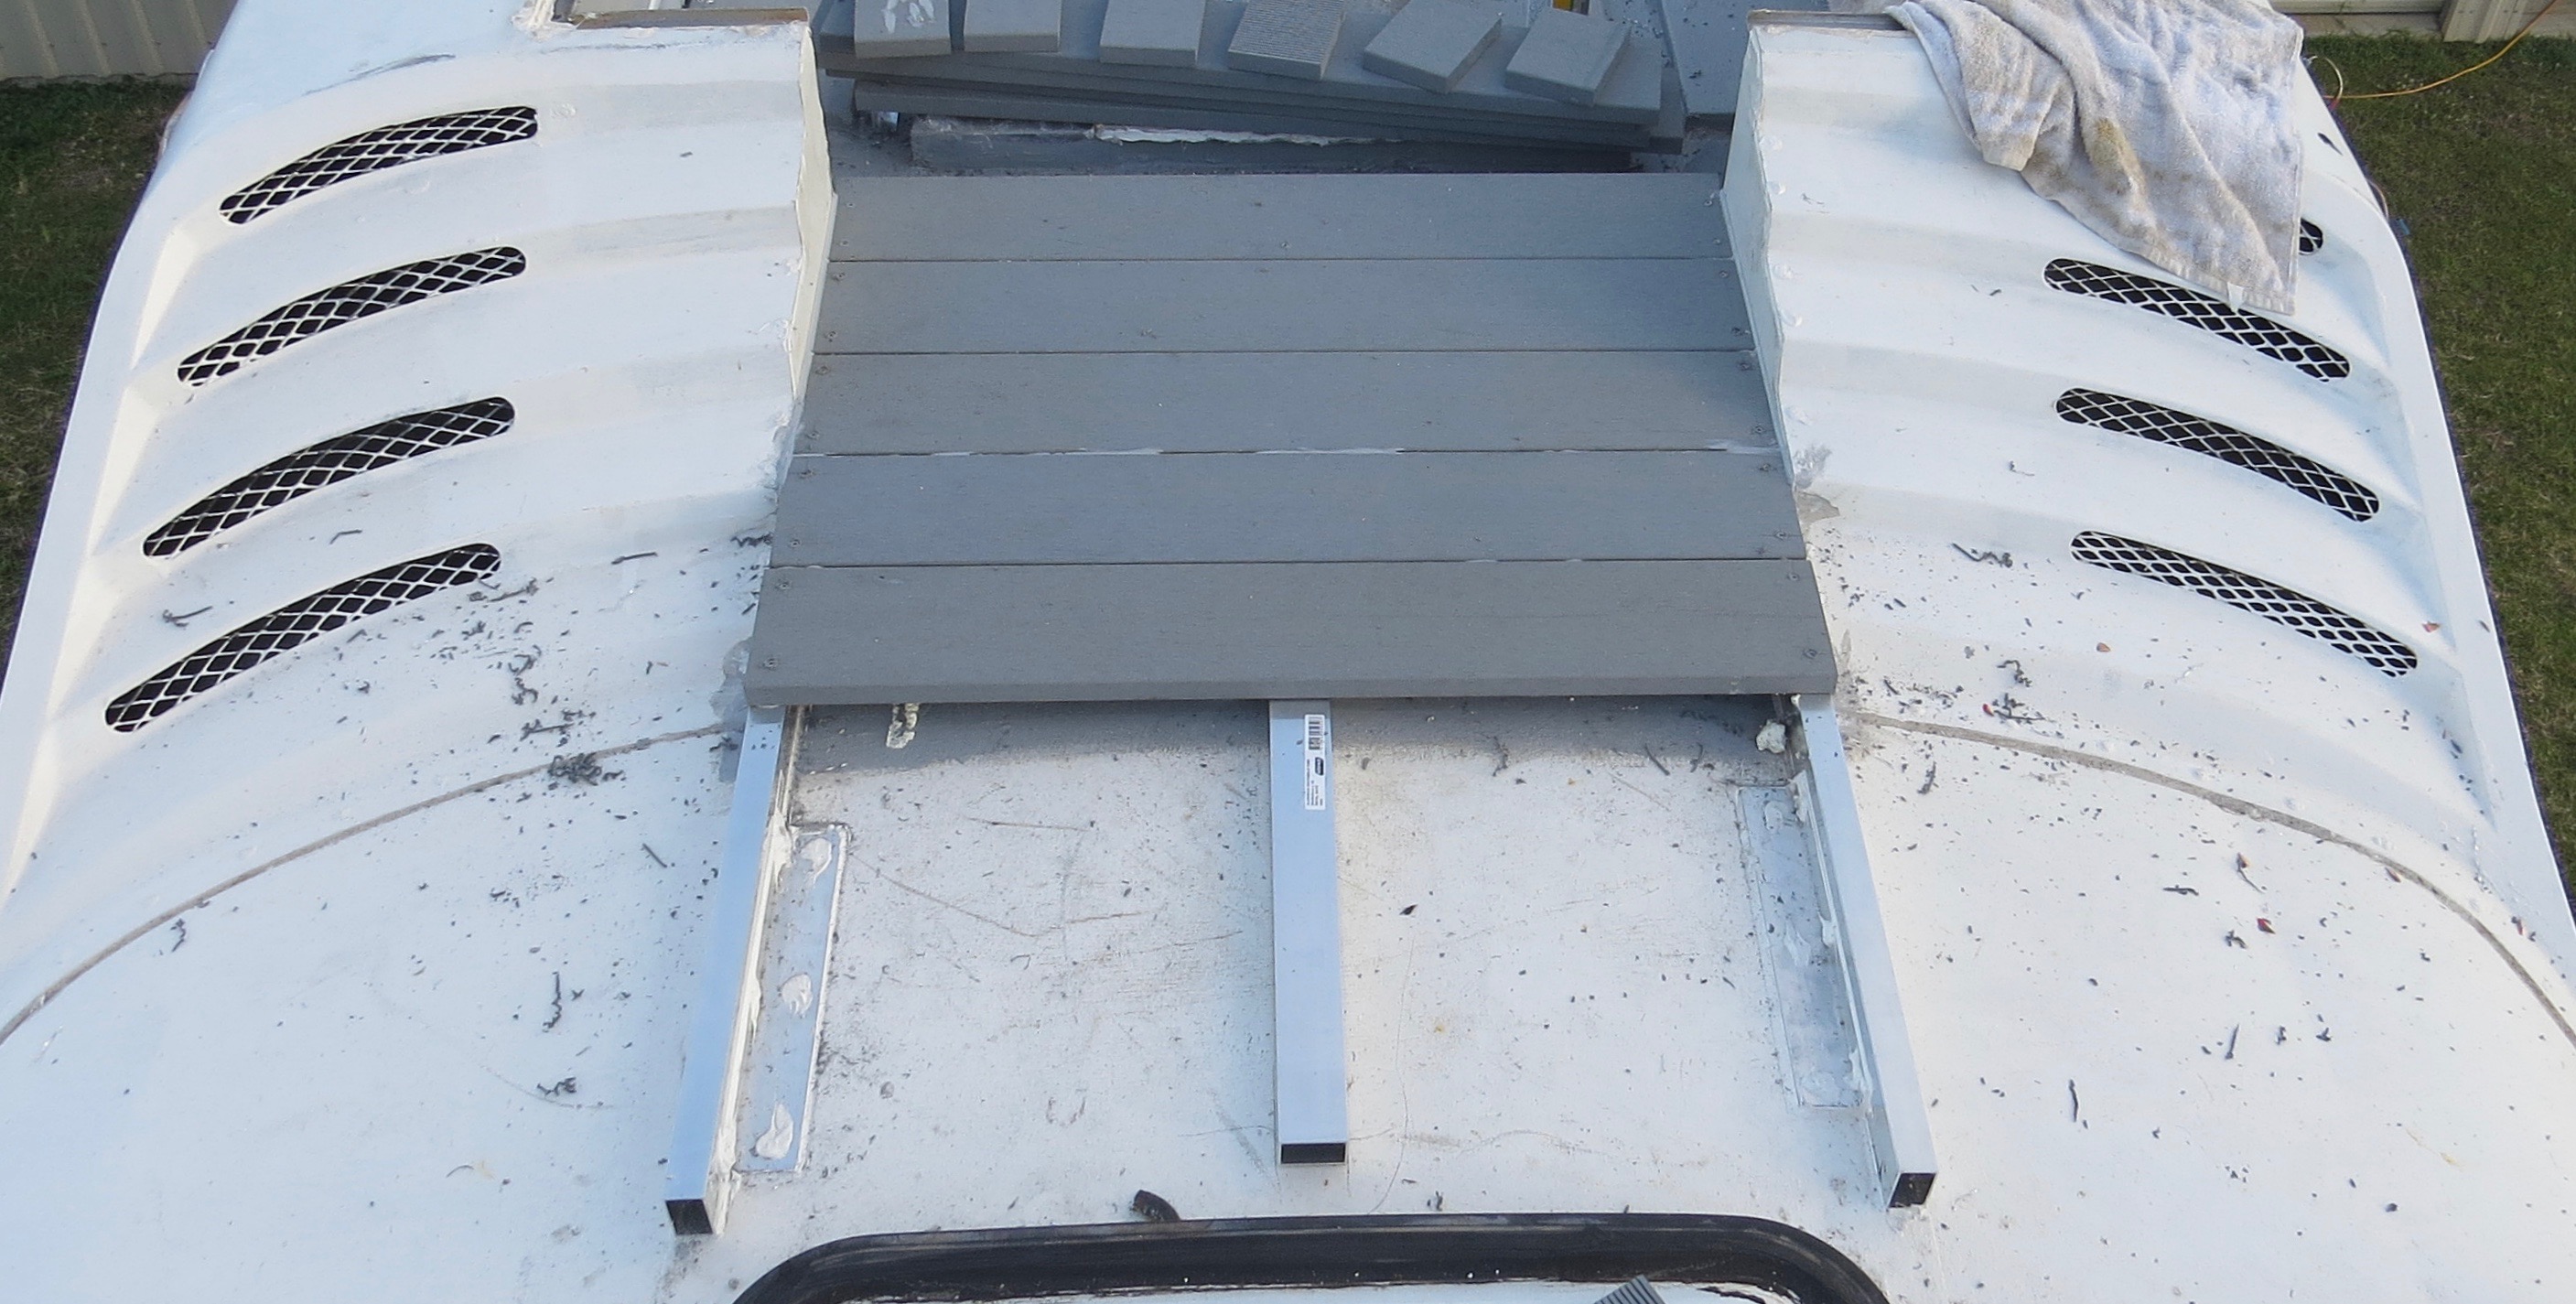
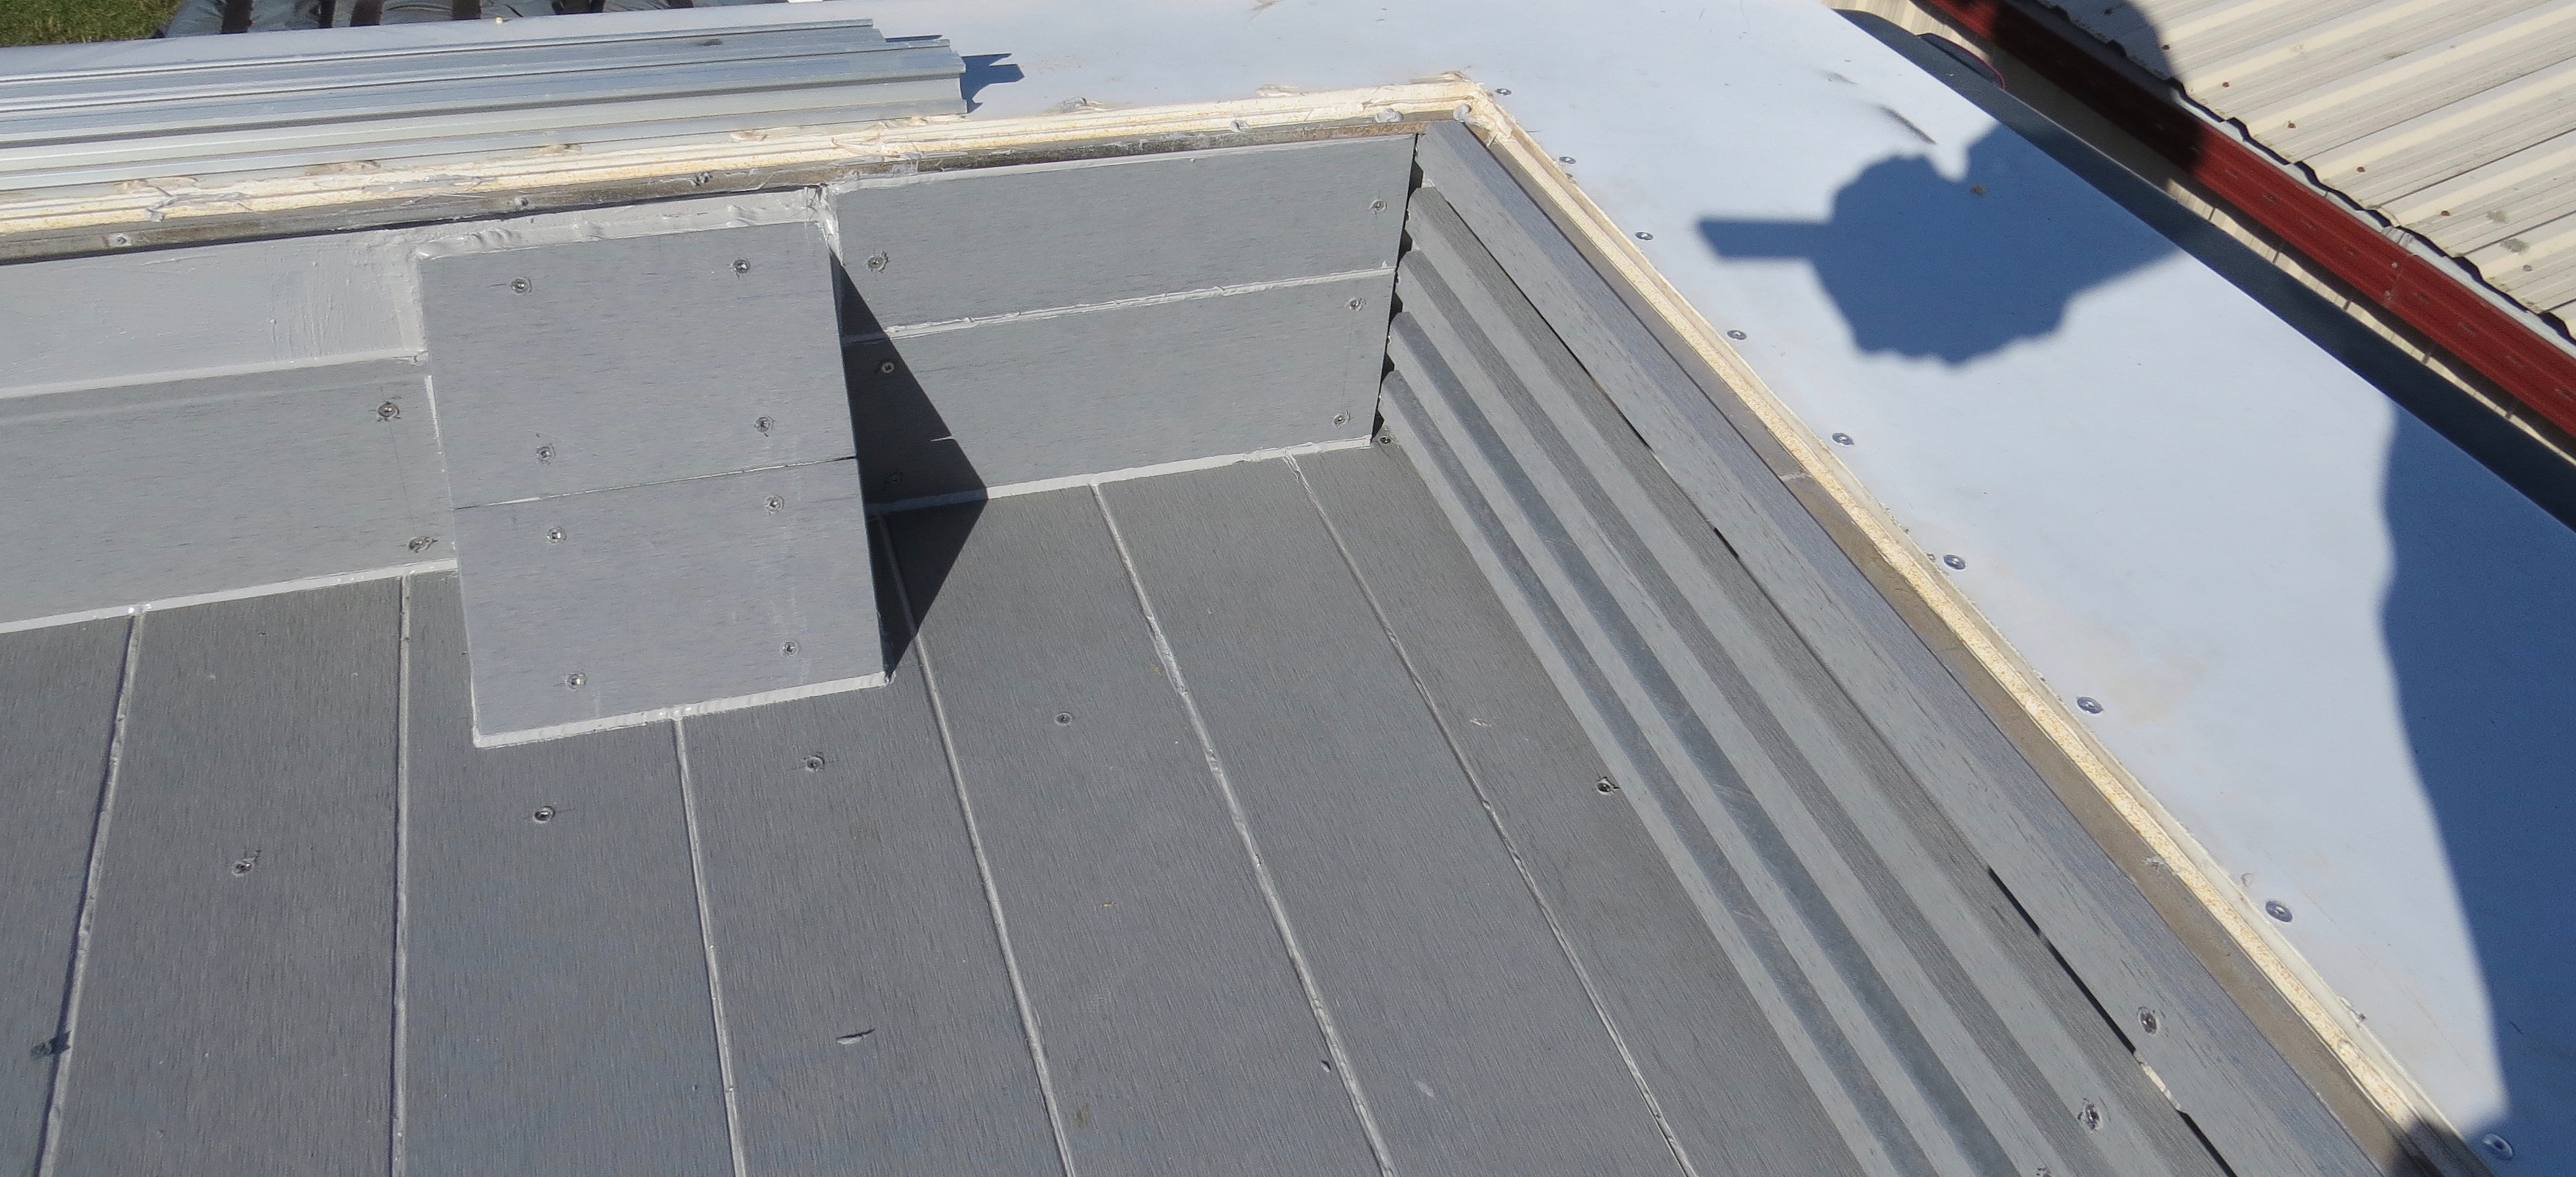
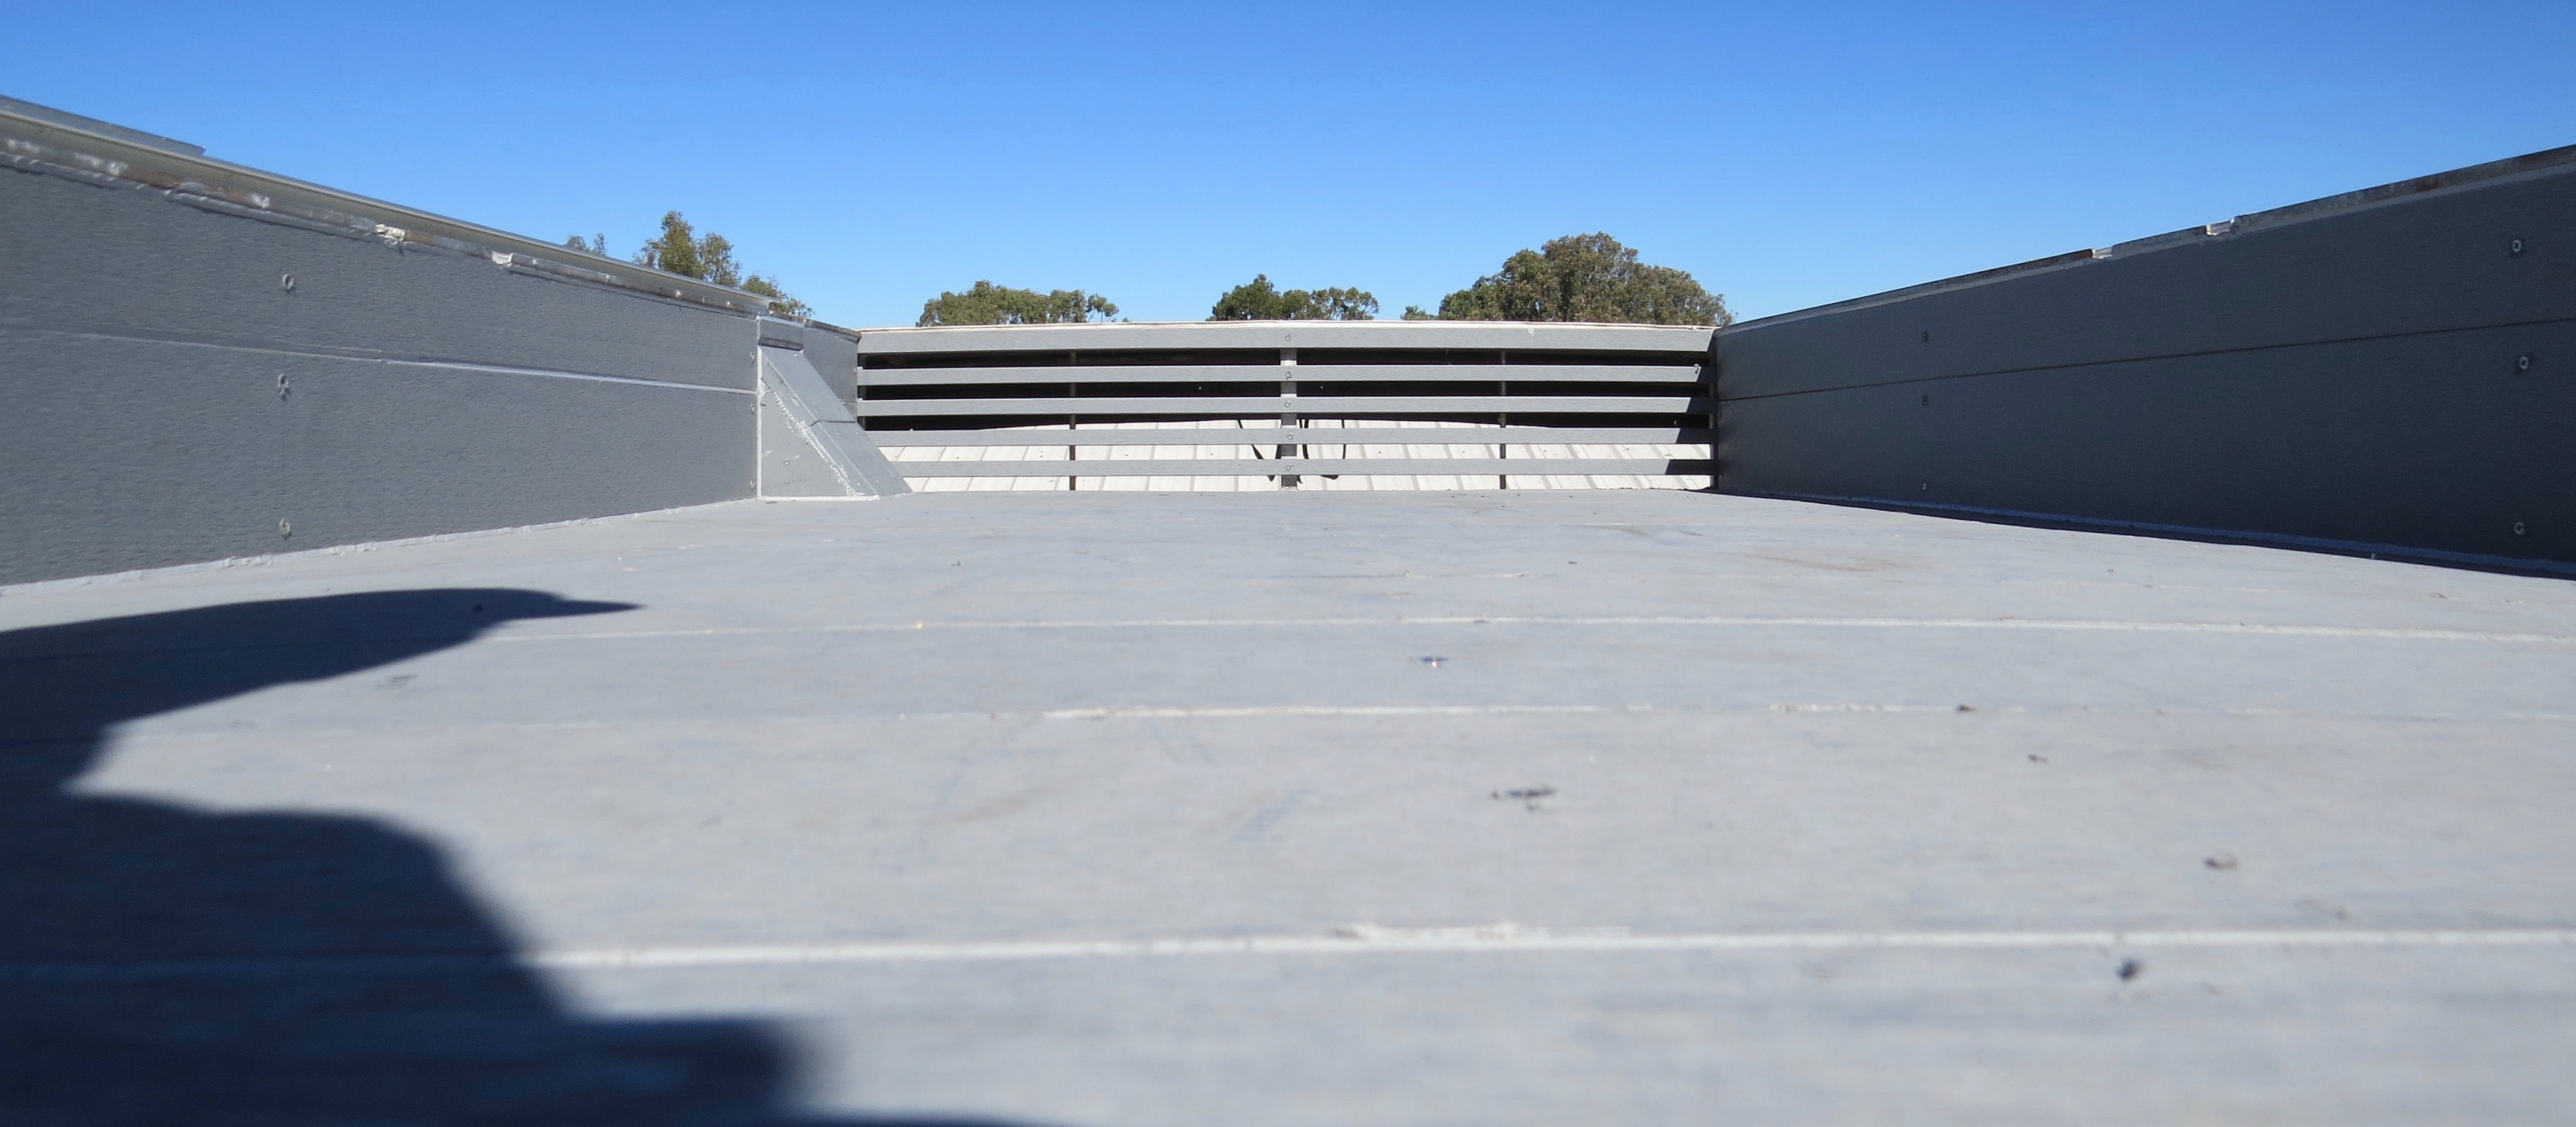
Aluminium glue and pop riveted into place for the walk way to the deck.The walkway from the hatch to the decking almost there.Starting from the back screwing and gluing as we go.The white silicon is where the pop rivets from the ceiling come through.Halfway there.Got to love the expanding foam, great insulation.Well the decks down,Looking from the back.The back strips are in place.Now the fiddly bits….. the air is sucked out from inside through this boxed off area.Another job finished.
Job Done
The slates down the back are for the air flow and to let the water out when it rains. We will be putting the sola panels back up over the deck temporarily till the budget allows us to cover from the front of the coach to the back hatch. Now it’s time to get back inside and do some more work on the bedroom.
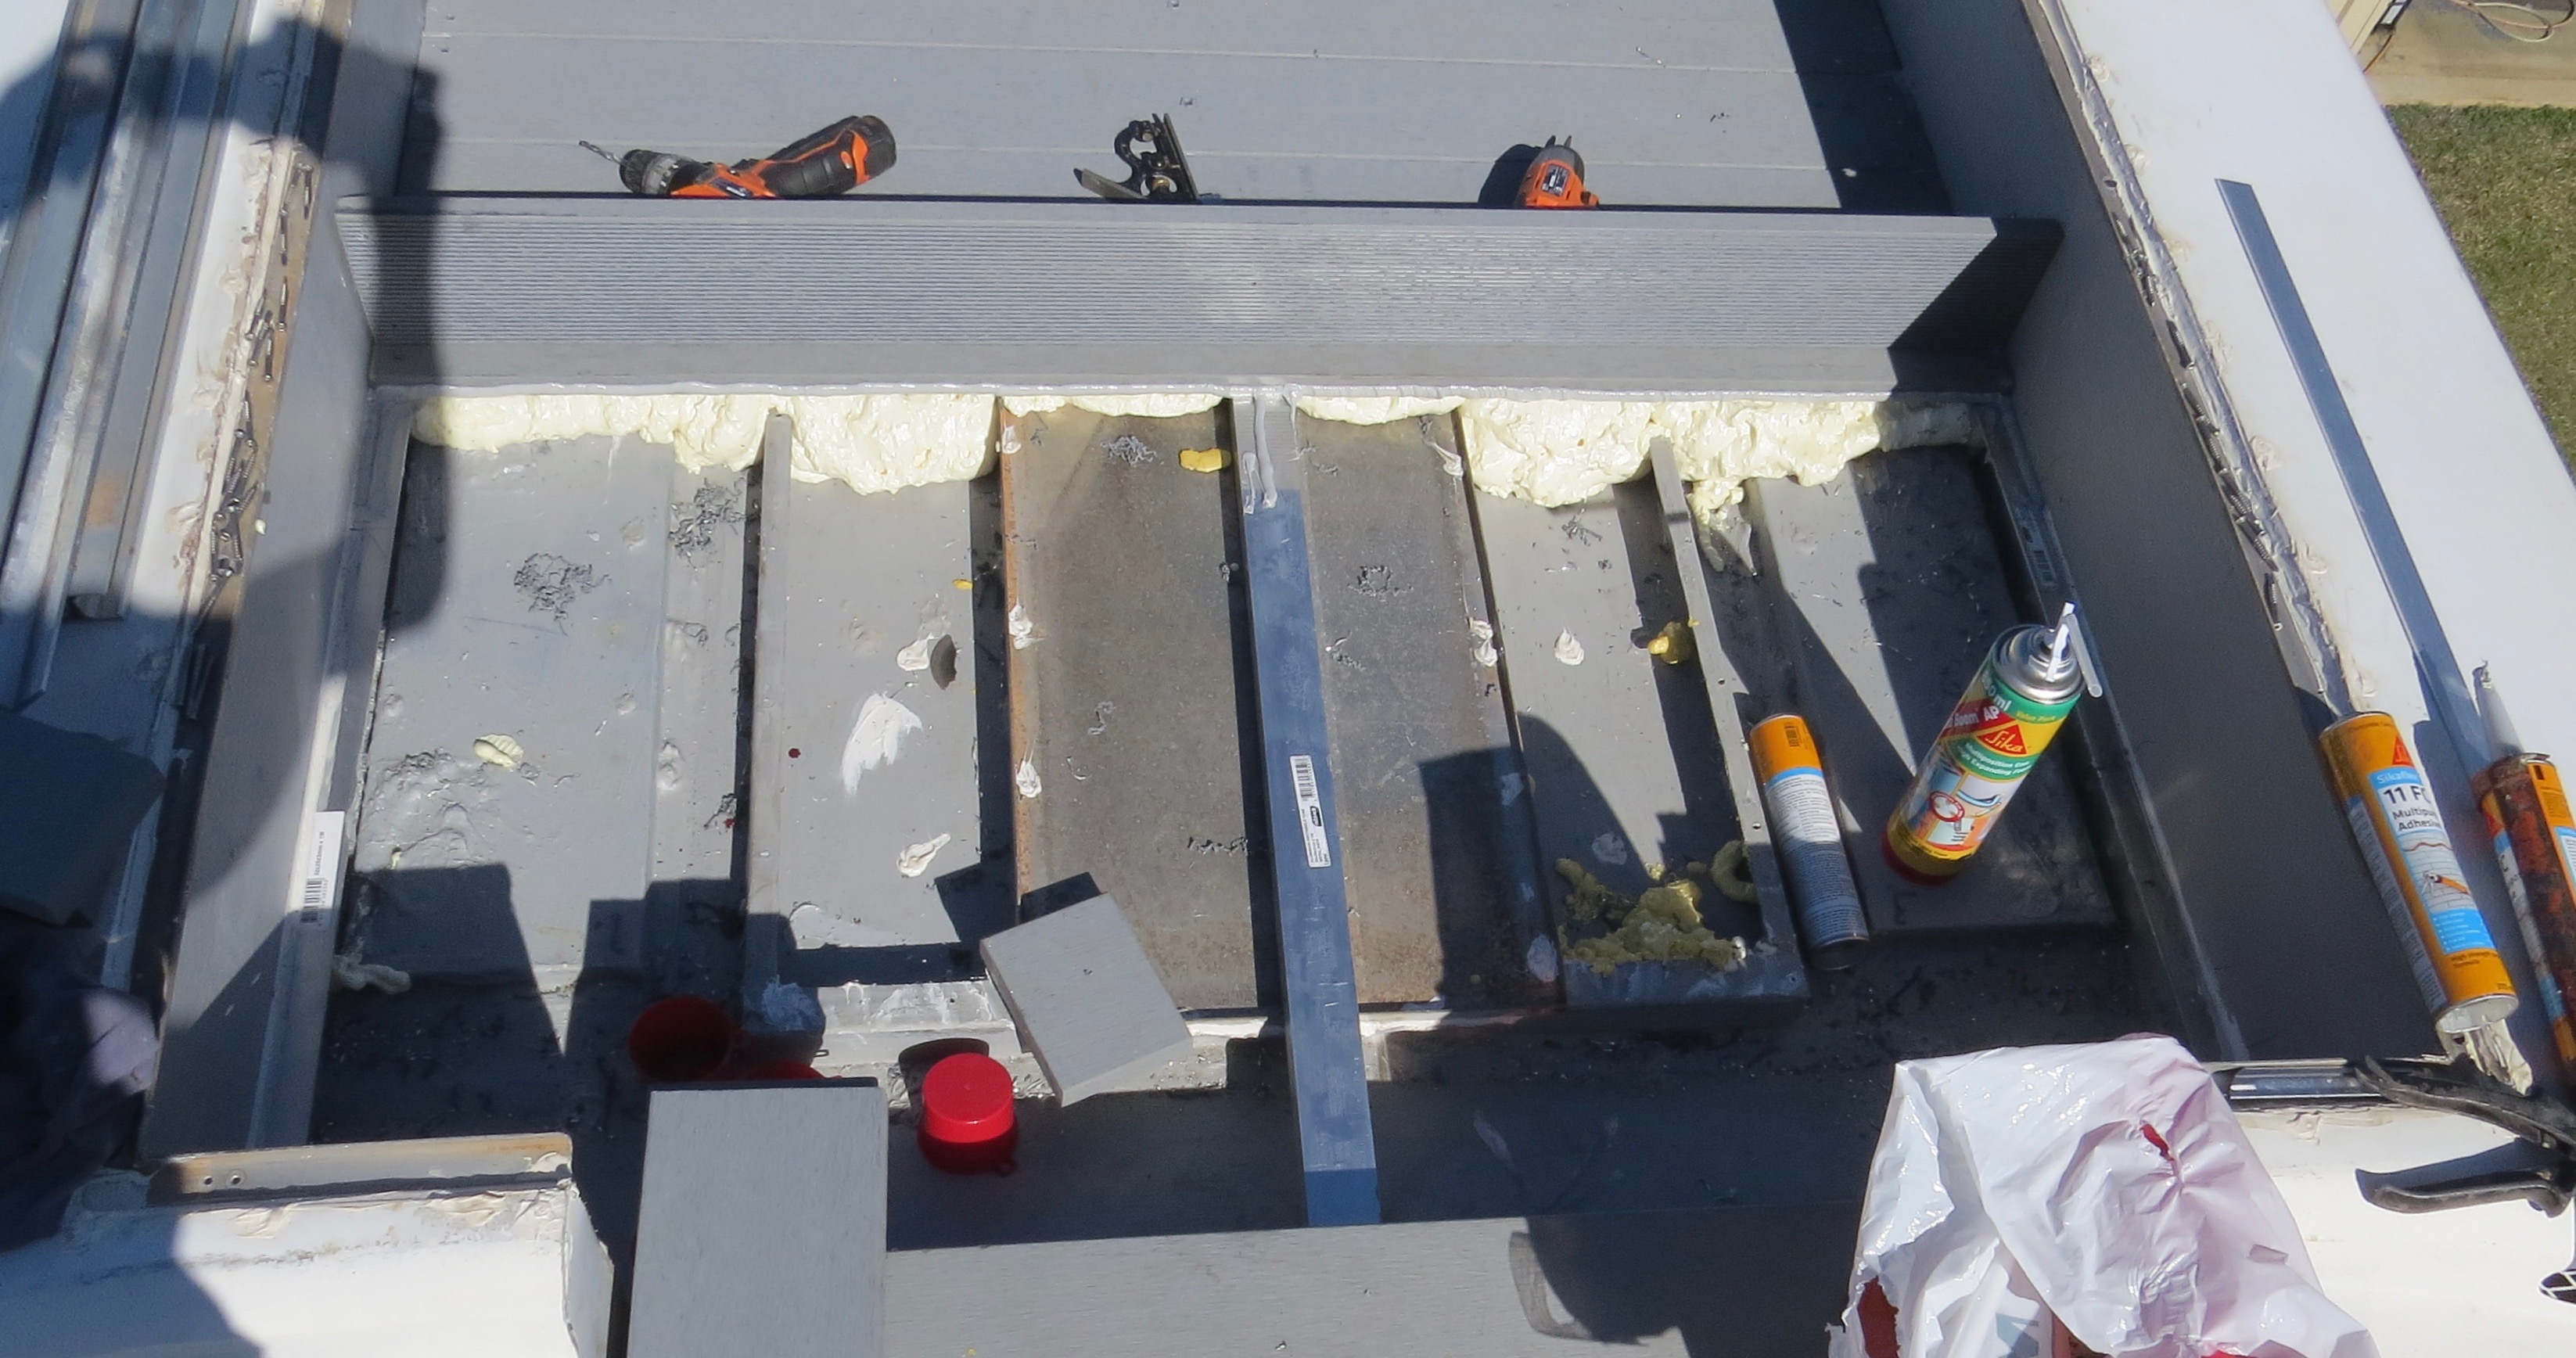
Well, it will I guess as we are almost there, it wont be long. All that is left is to clean up before water proofing the roof. I must say it has taken longer than I thought, but that seems to be what happens fitting out a coach into a motorhome. We had intermitted rain for some of this part of the water proofing section. Not only did I have to pump the excess water out of the roof area every time it rained, but then had to wait till it was fully dry before starting on it again.
I had run out of supplies a few times this week so it was handy that the hardware is nice a close. If we were still at Leigh Creek it would have been a 5 hour round trip to go pick up more things.
These are the only times I like being in the city.
Just the last bits of cutting things away before we finish doing the water proofing.Now ready for water proofing.Undercoating done.1st coat of water proofing.This is after the 3rd coat and I think this will be all.
Now that the water proofing has been done, we have decided a roof top deck would be a nice touch to the roof finish off. This will give us some more room, this one with a great views. We are not sure what type of chairs or table we want up on the deck. It will have to be fixed to the side some how, so we are leaving that for later on to do. I also am going to fix a wind turbine onto this area as well but again not sure how just yet. I guess all this will come to us over time. So this thankfully will the last blog on the old air-conitioning.
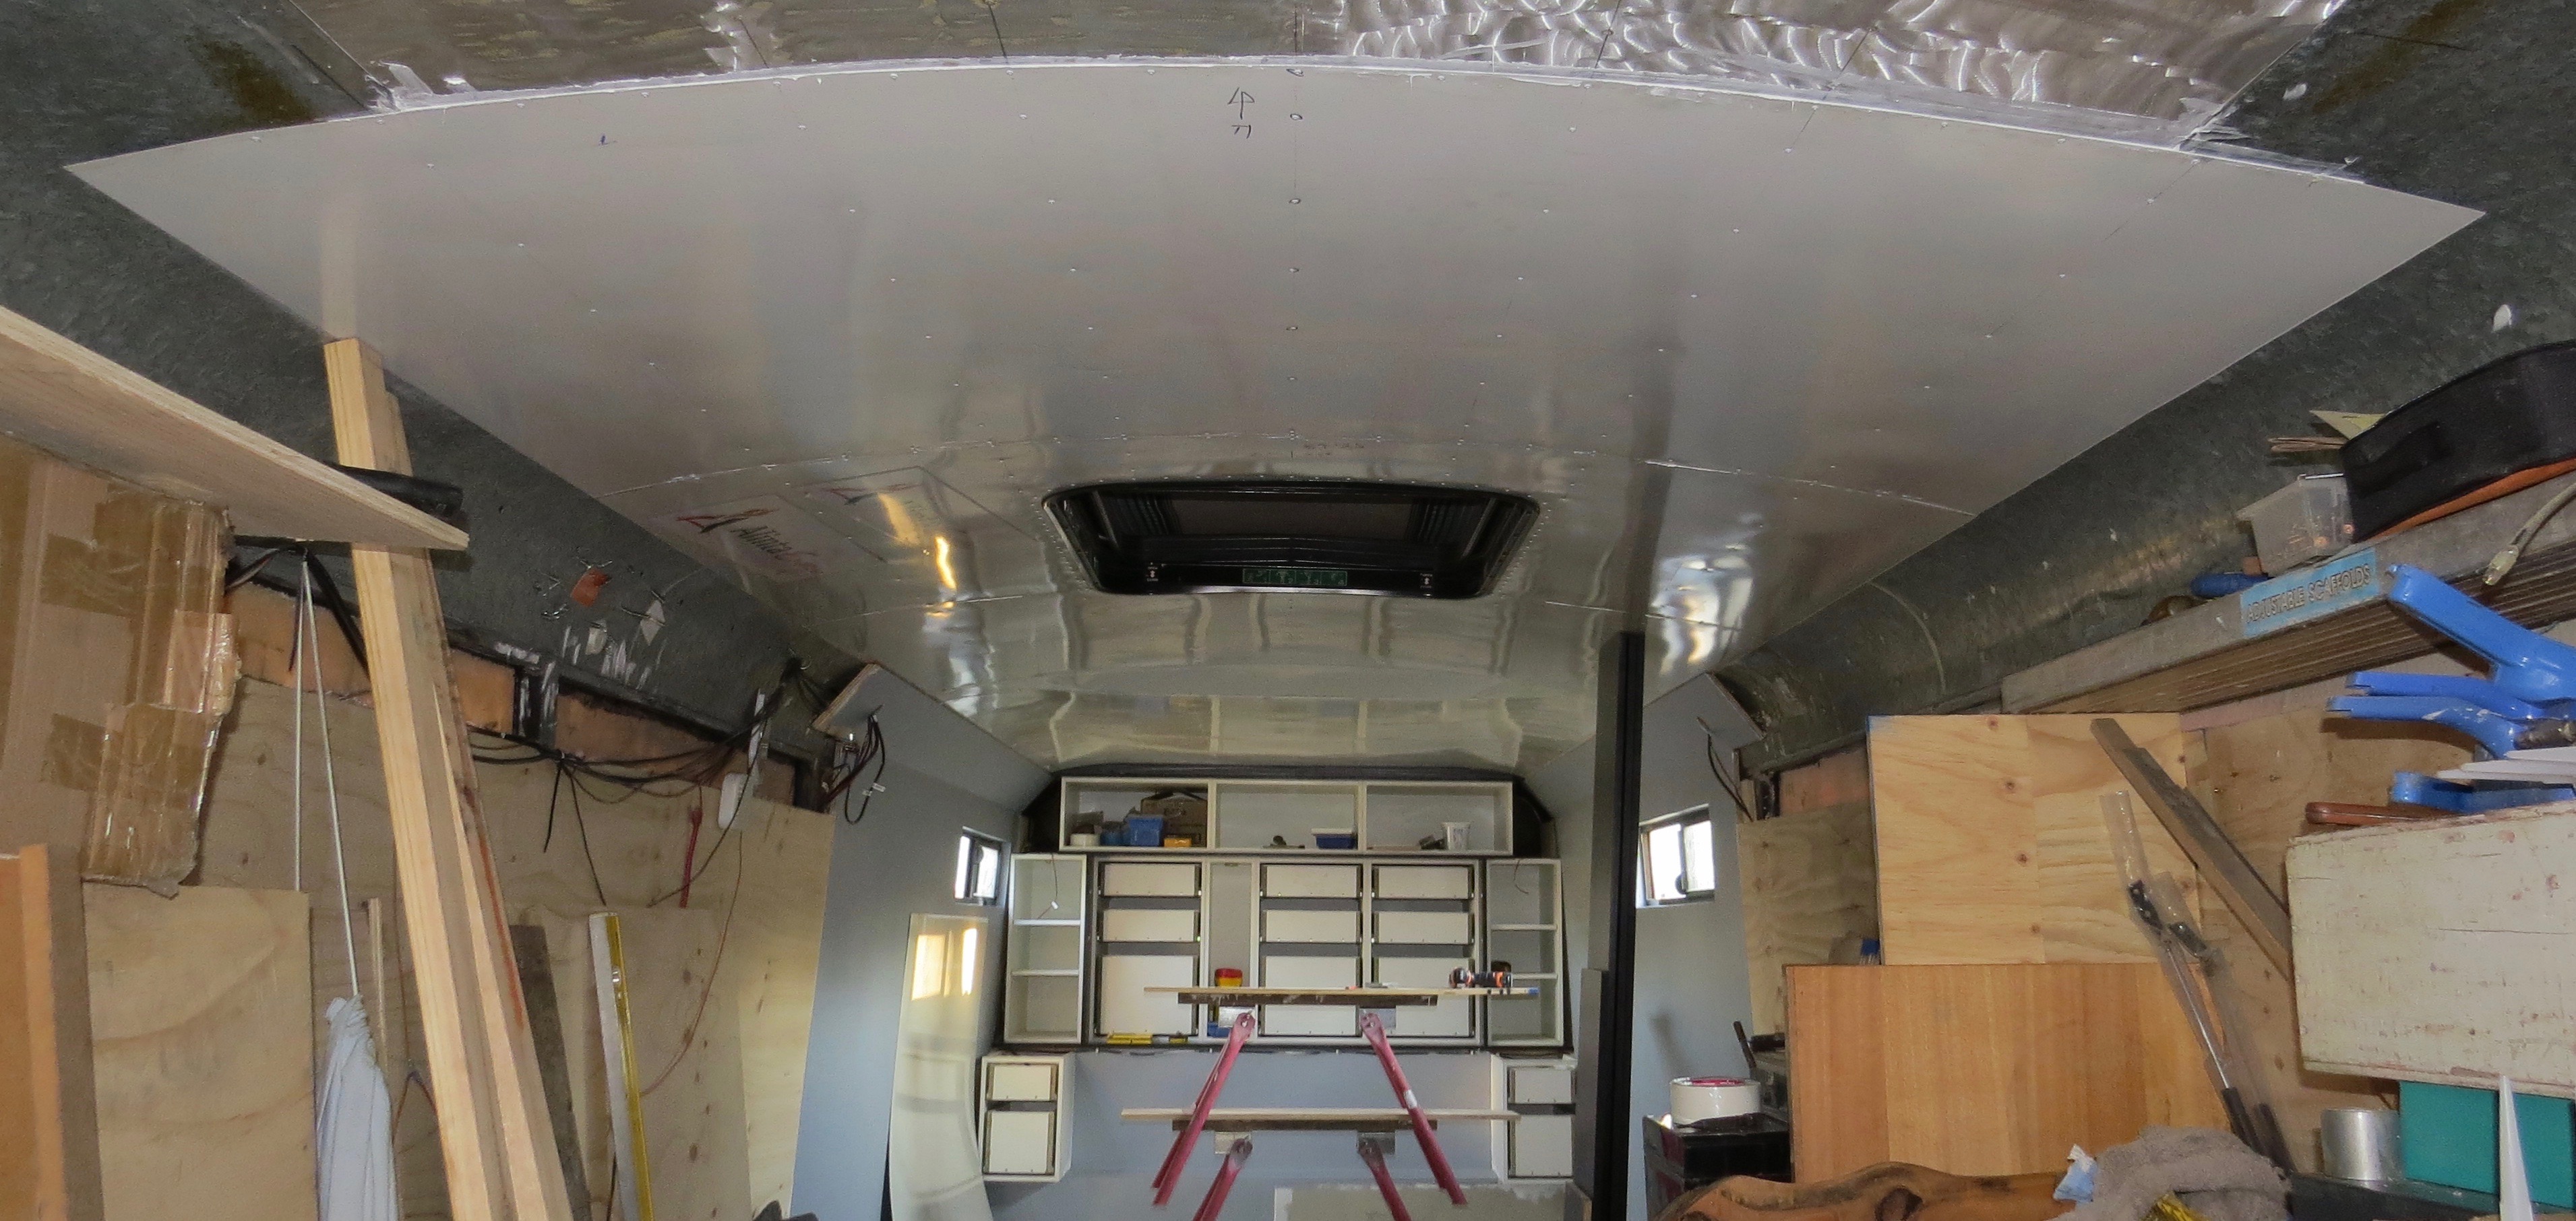
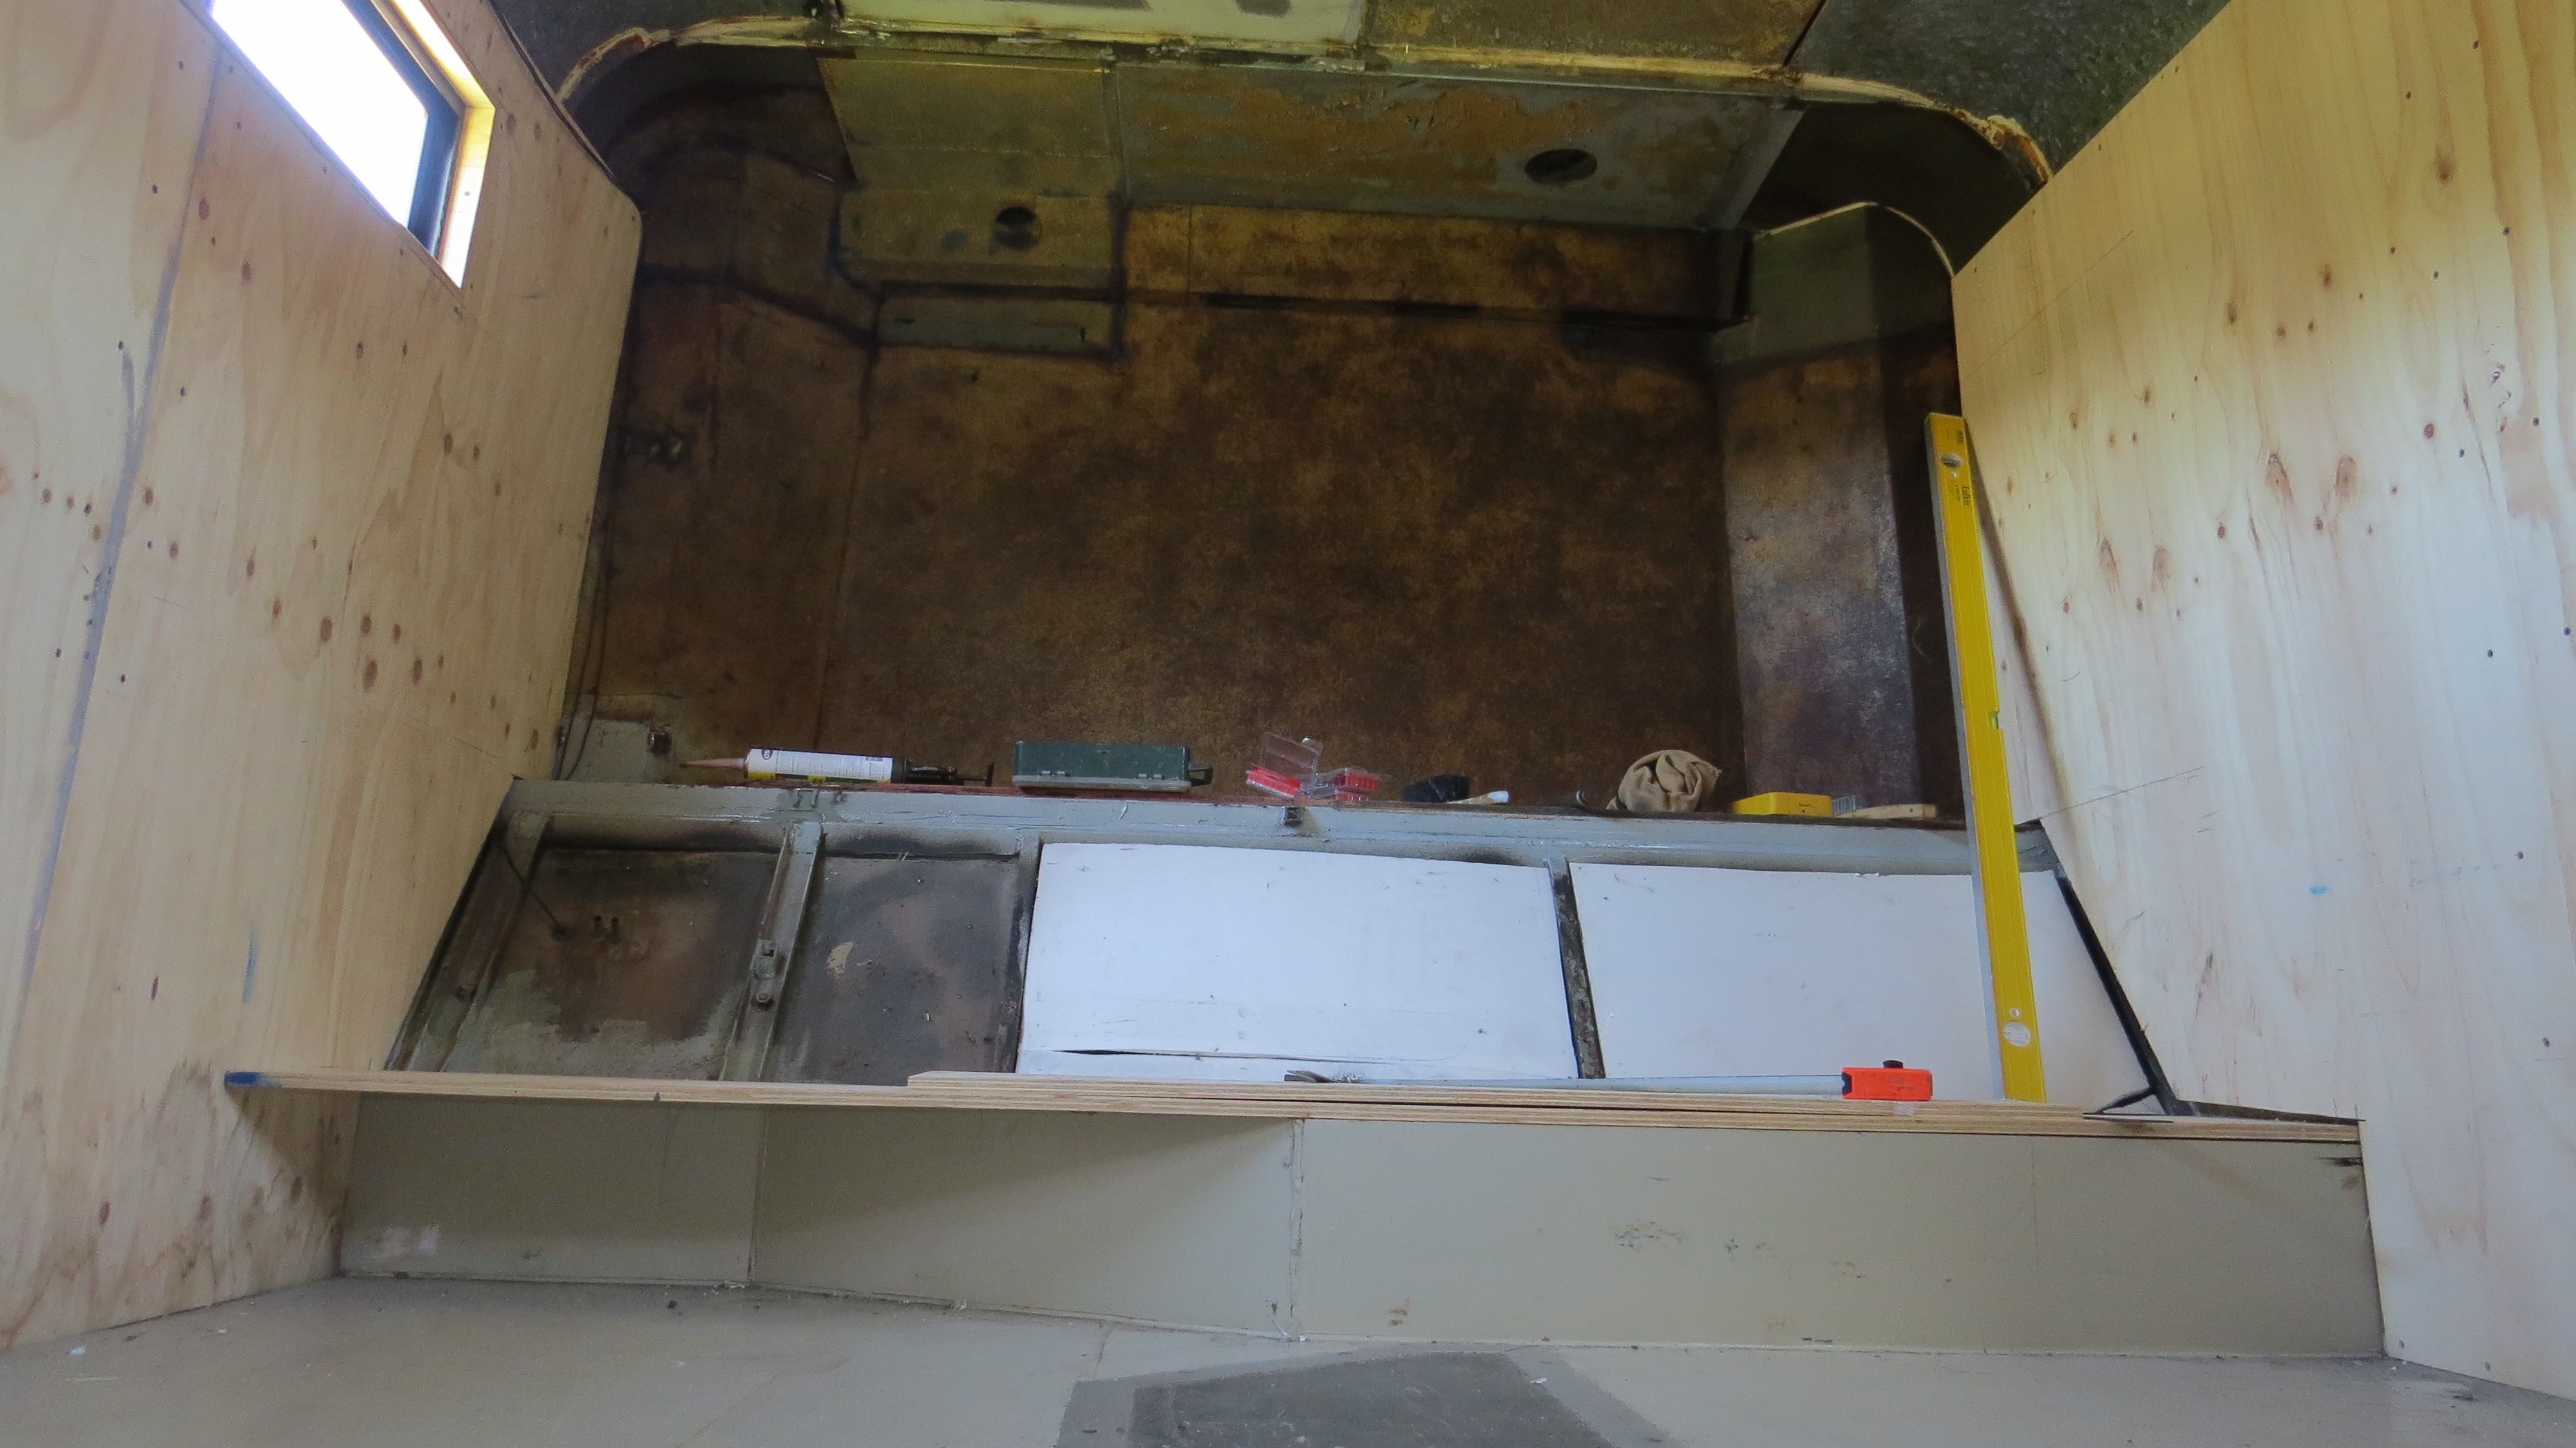
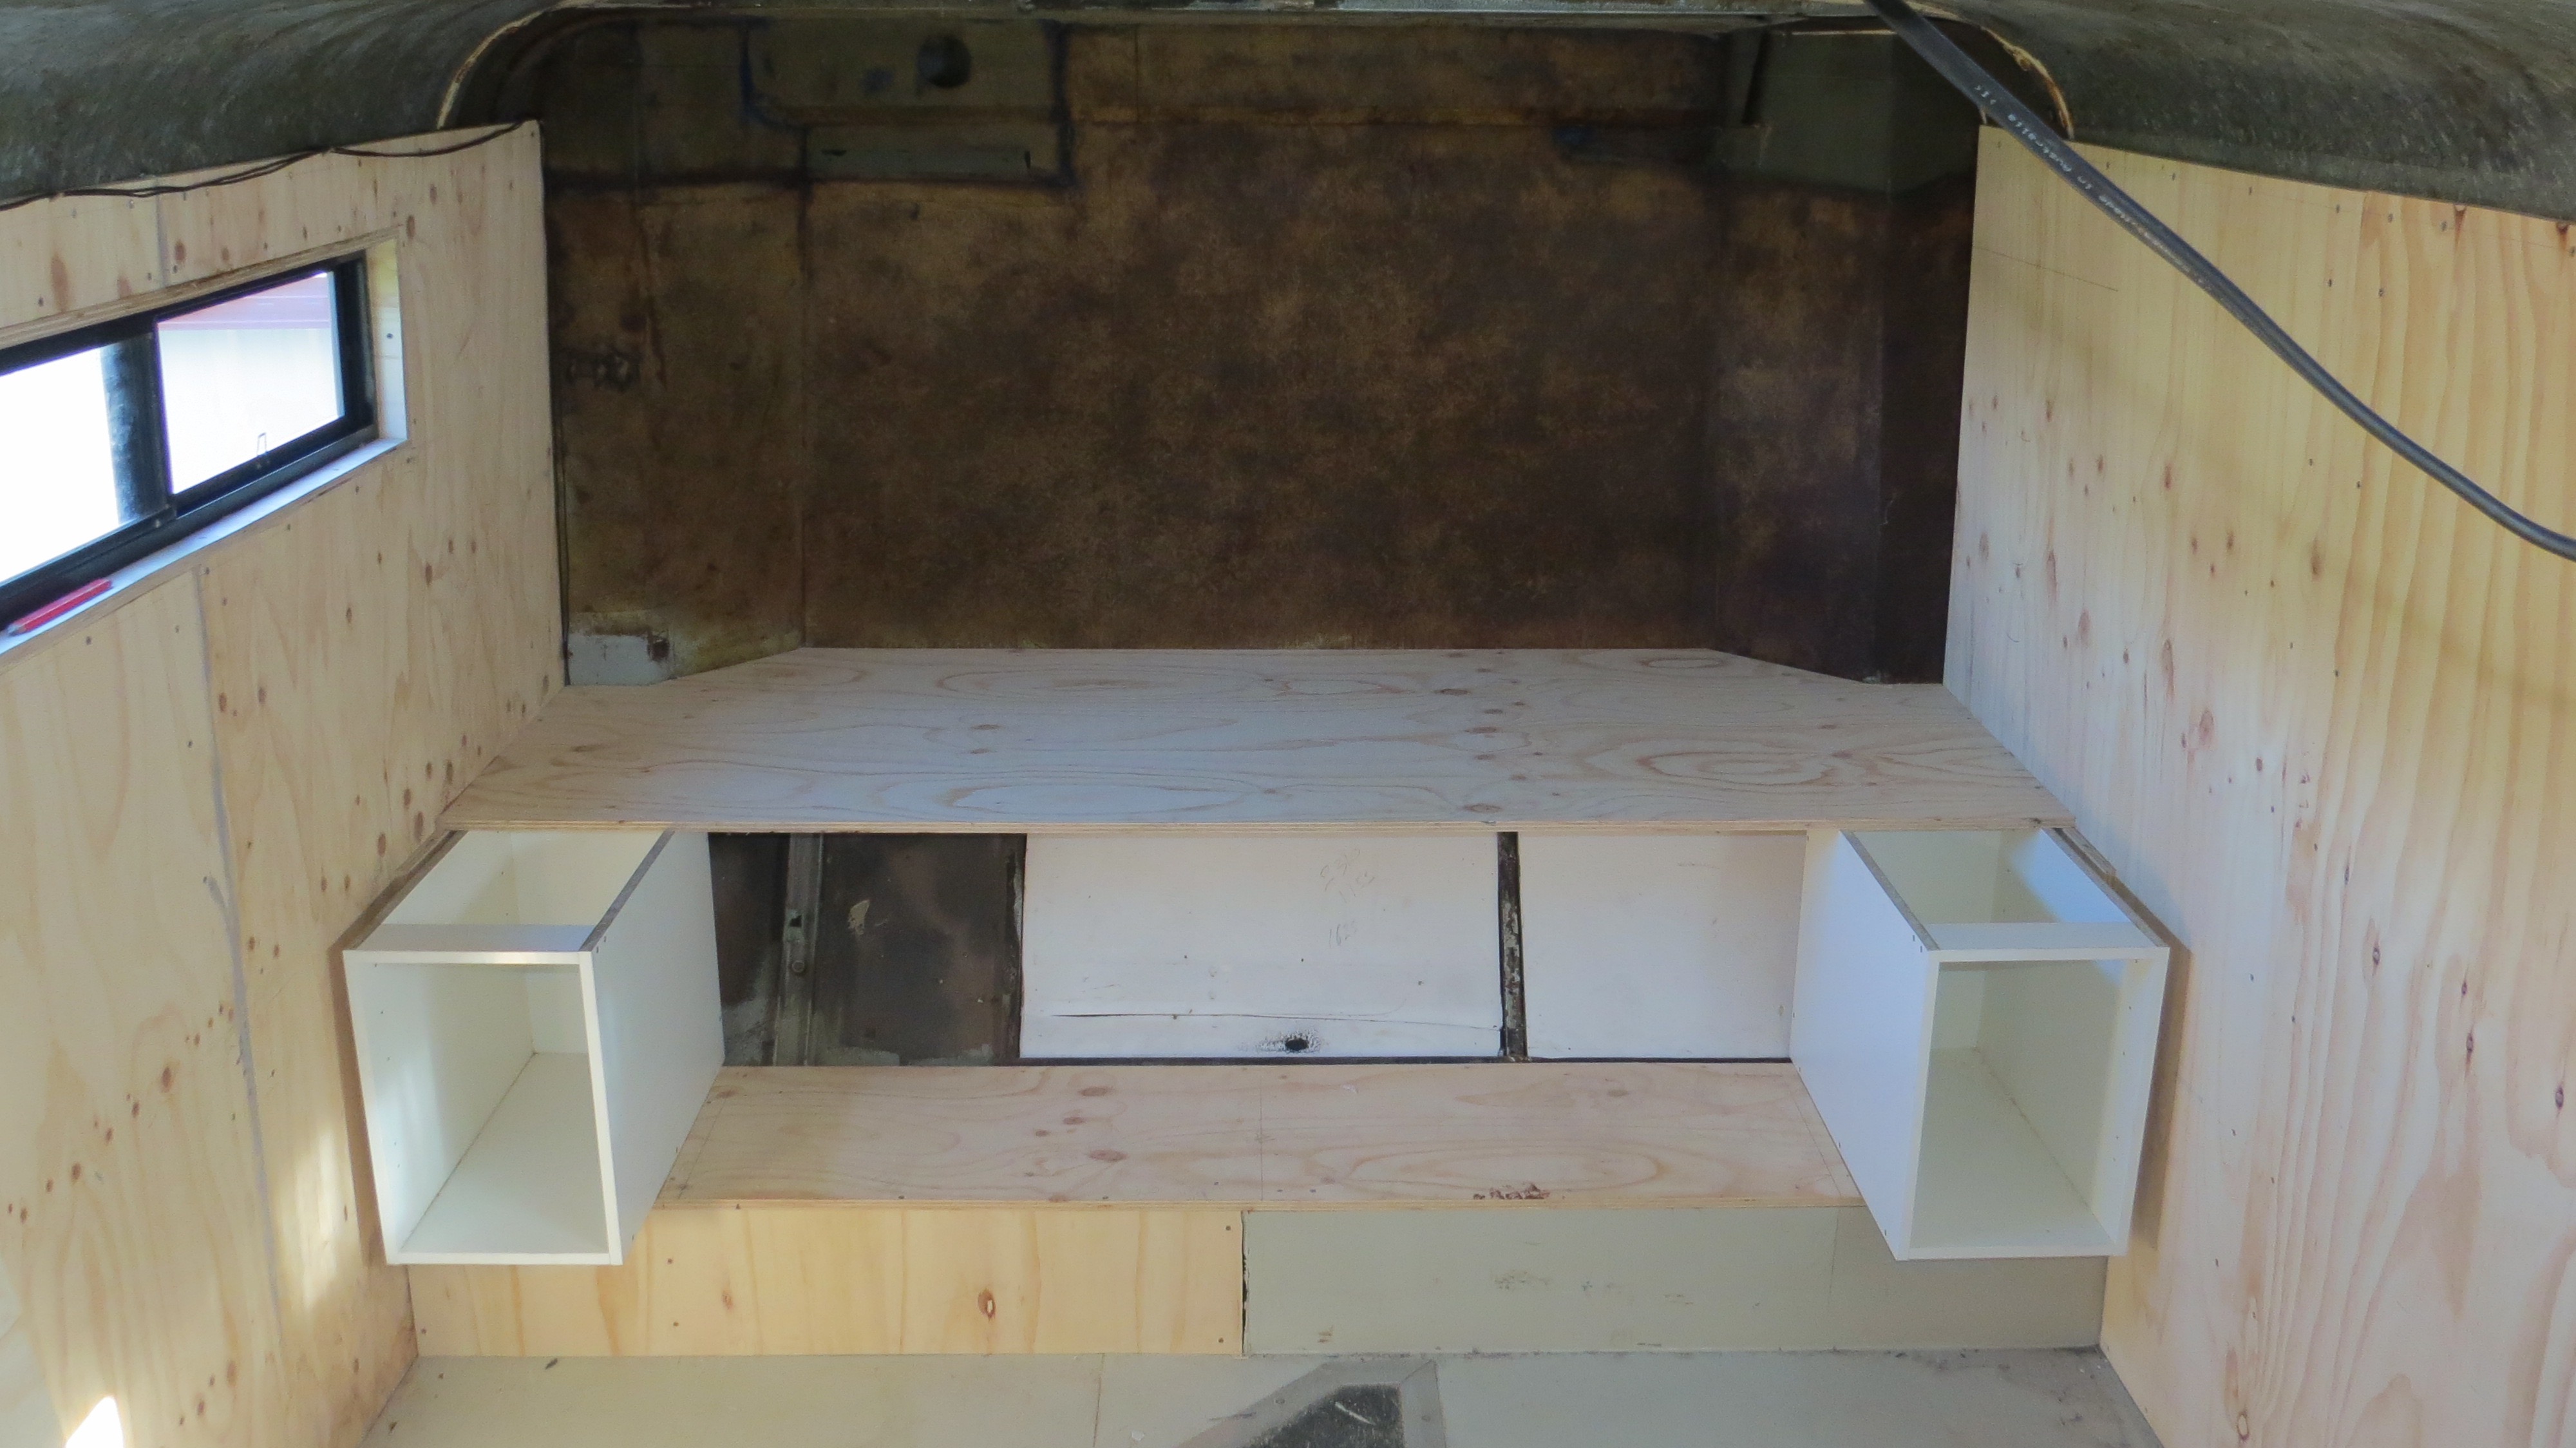
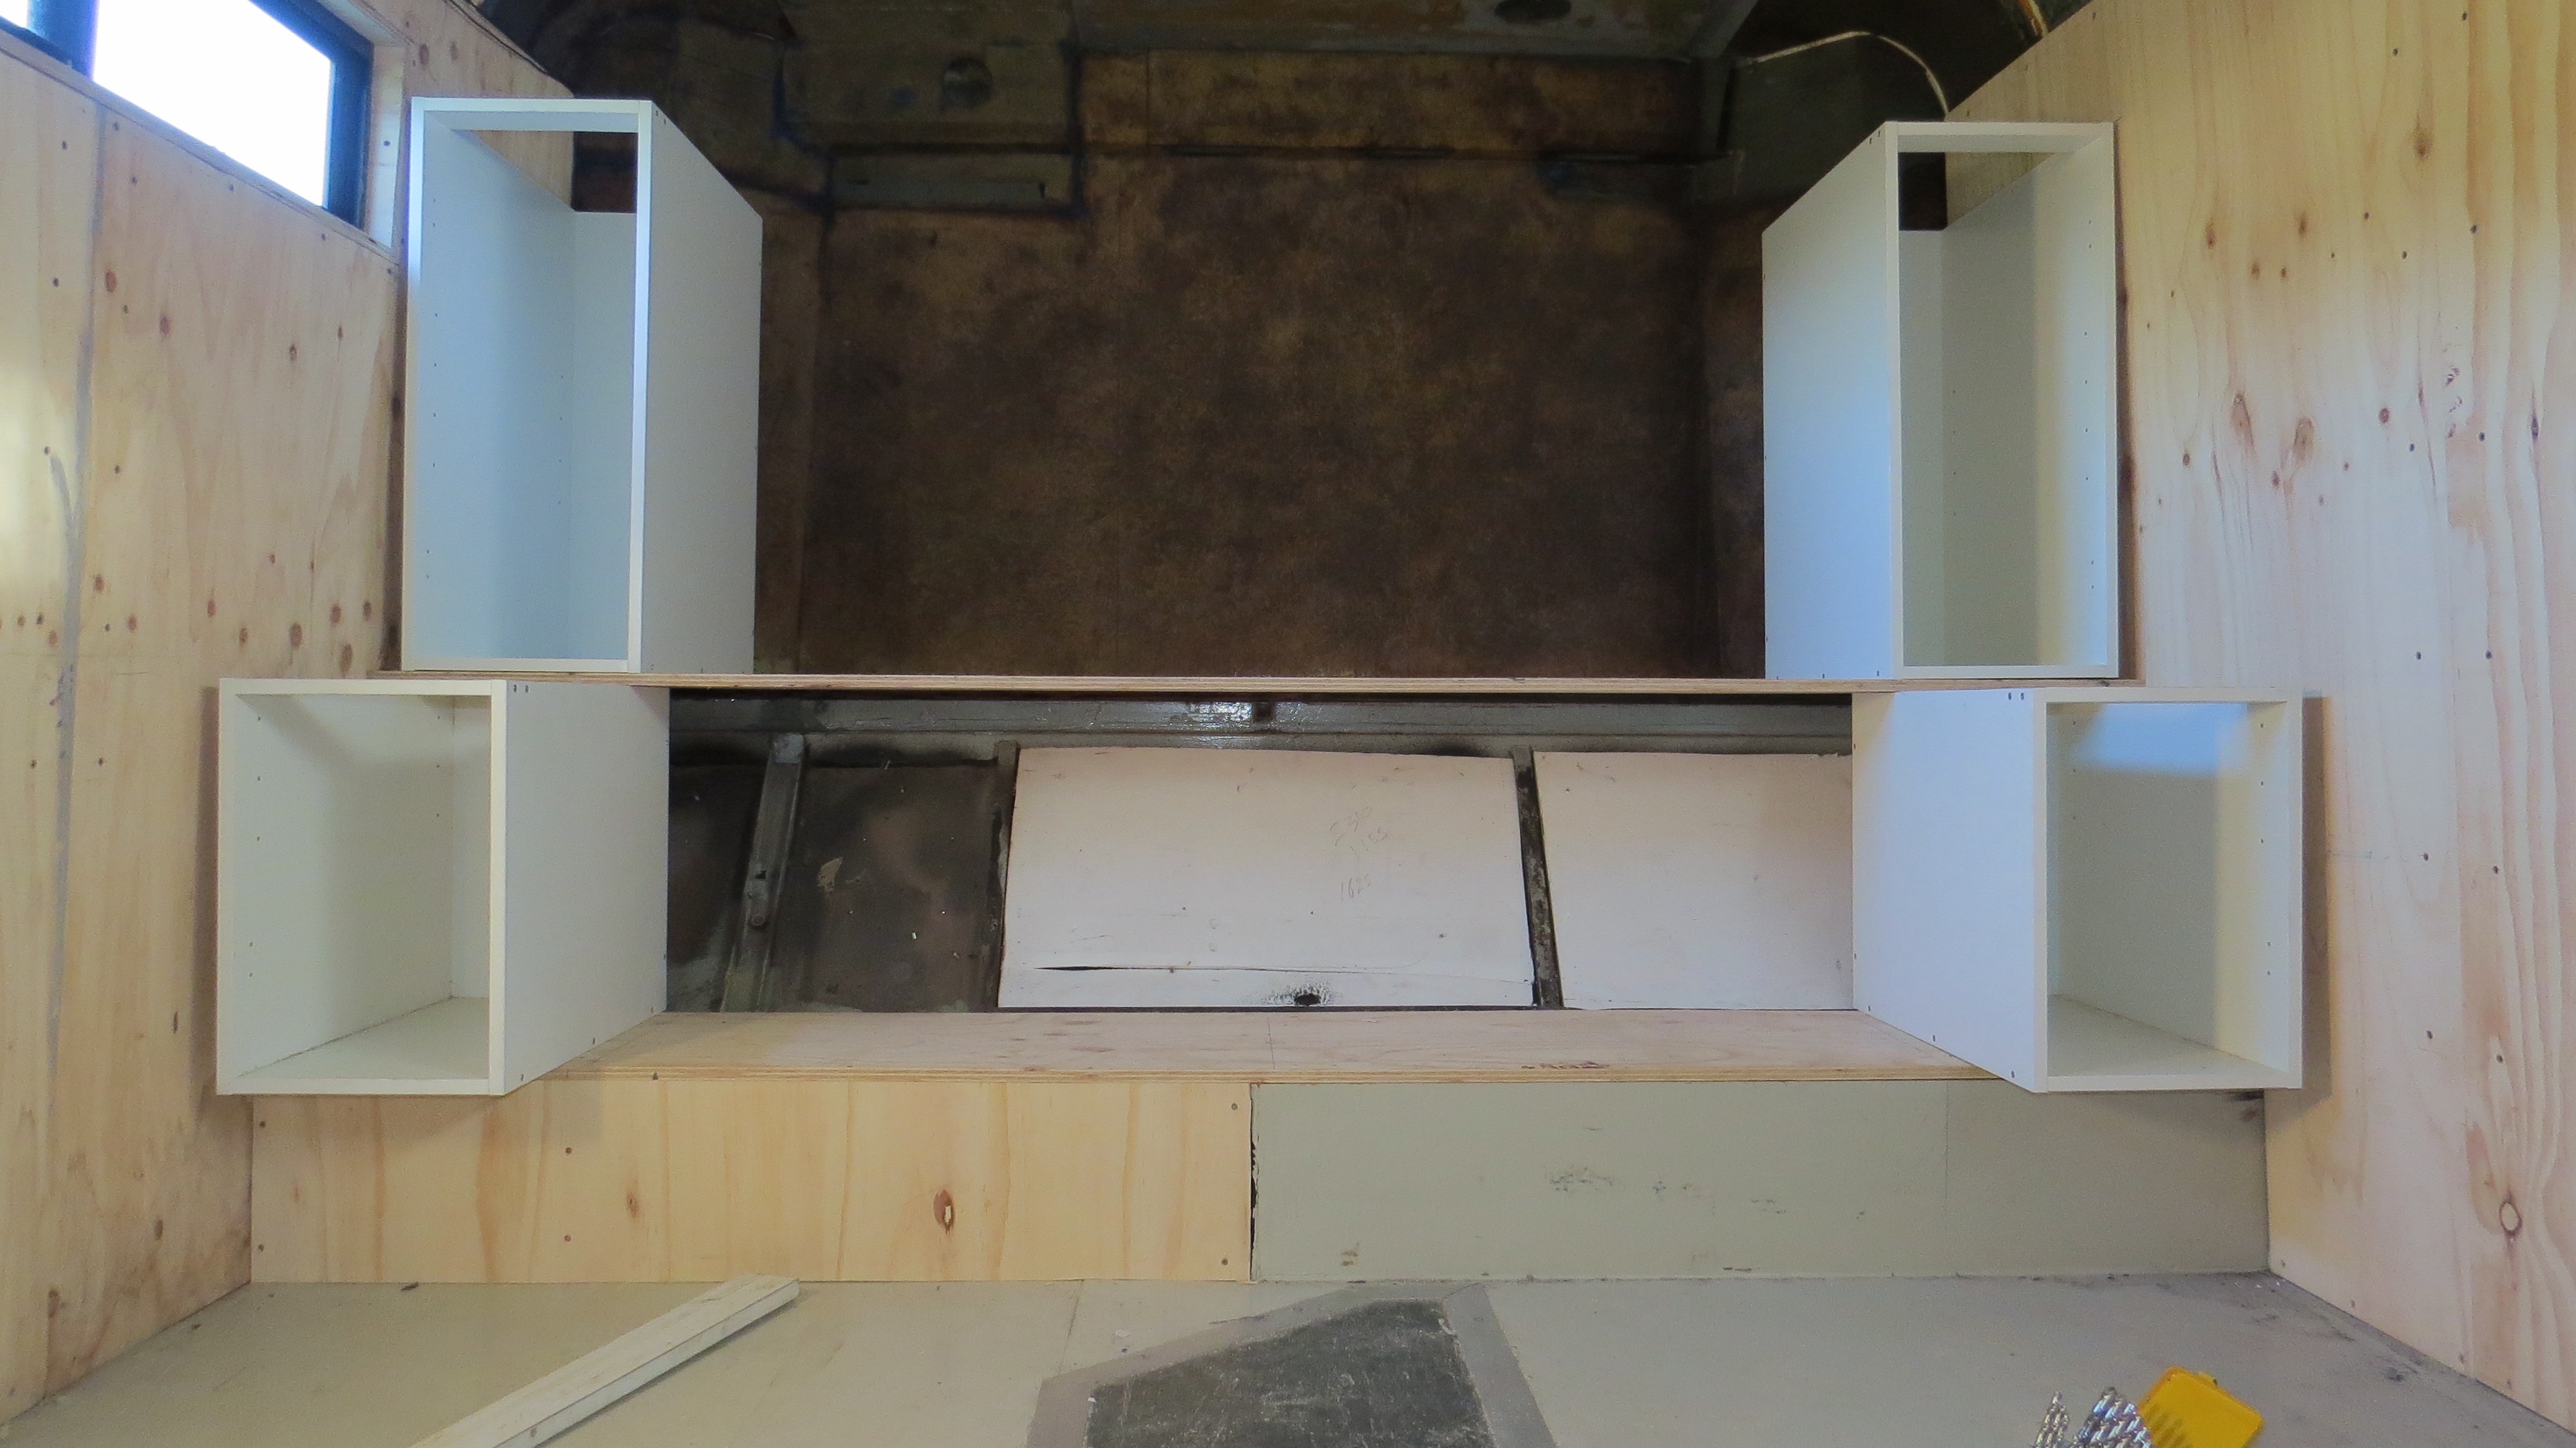
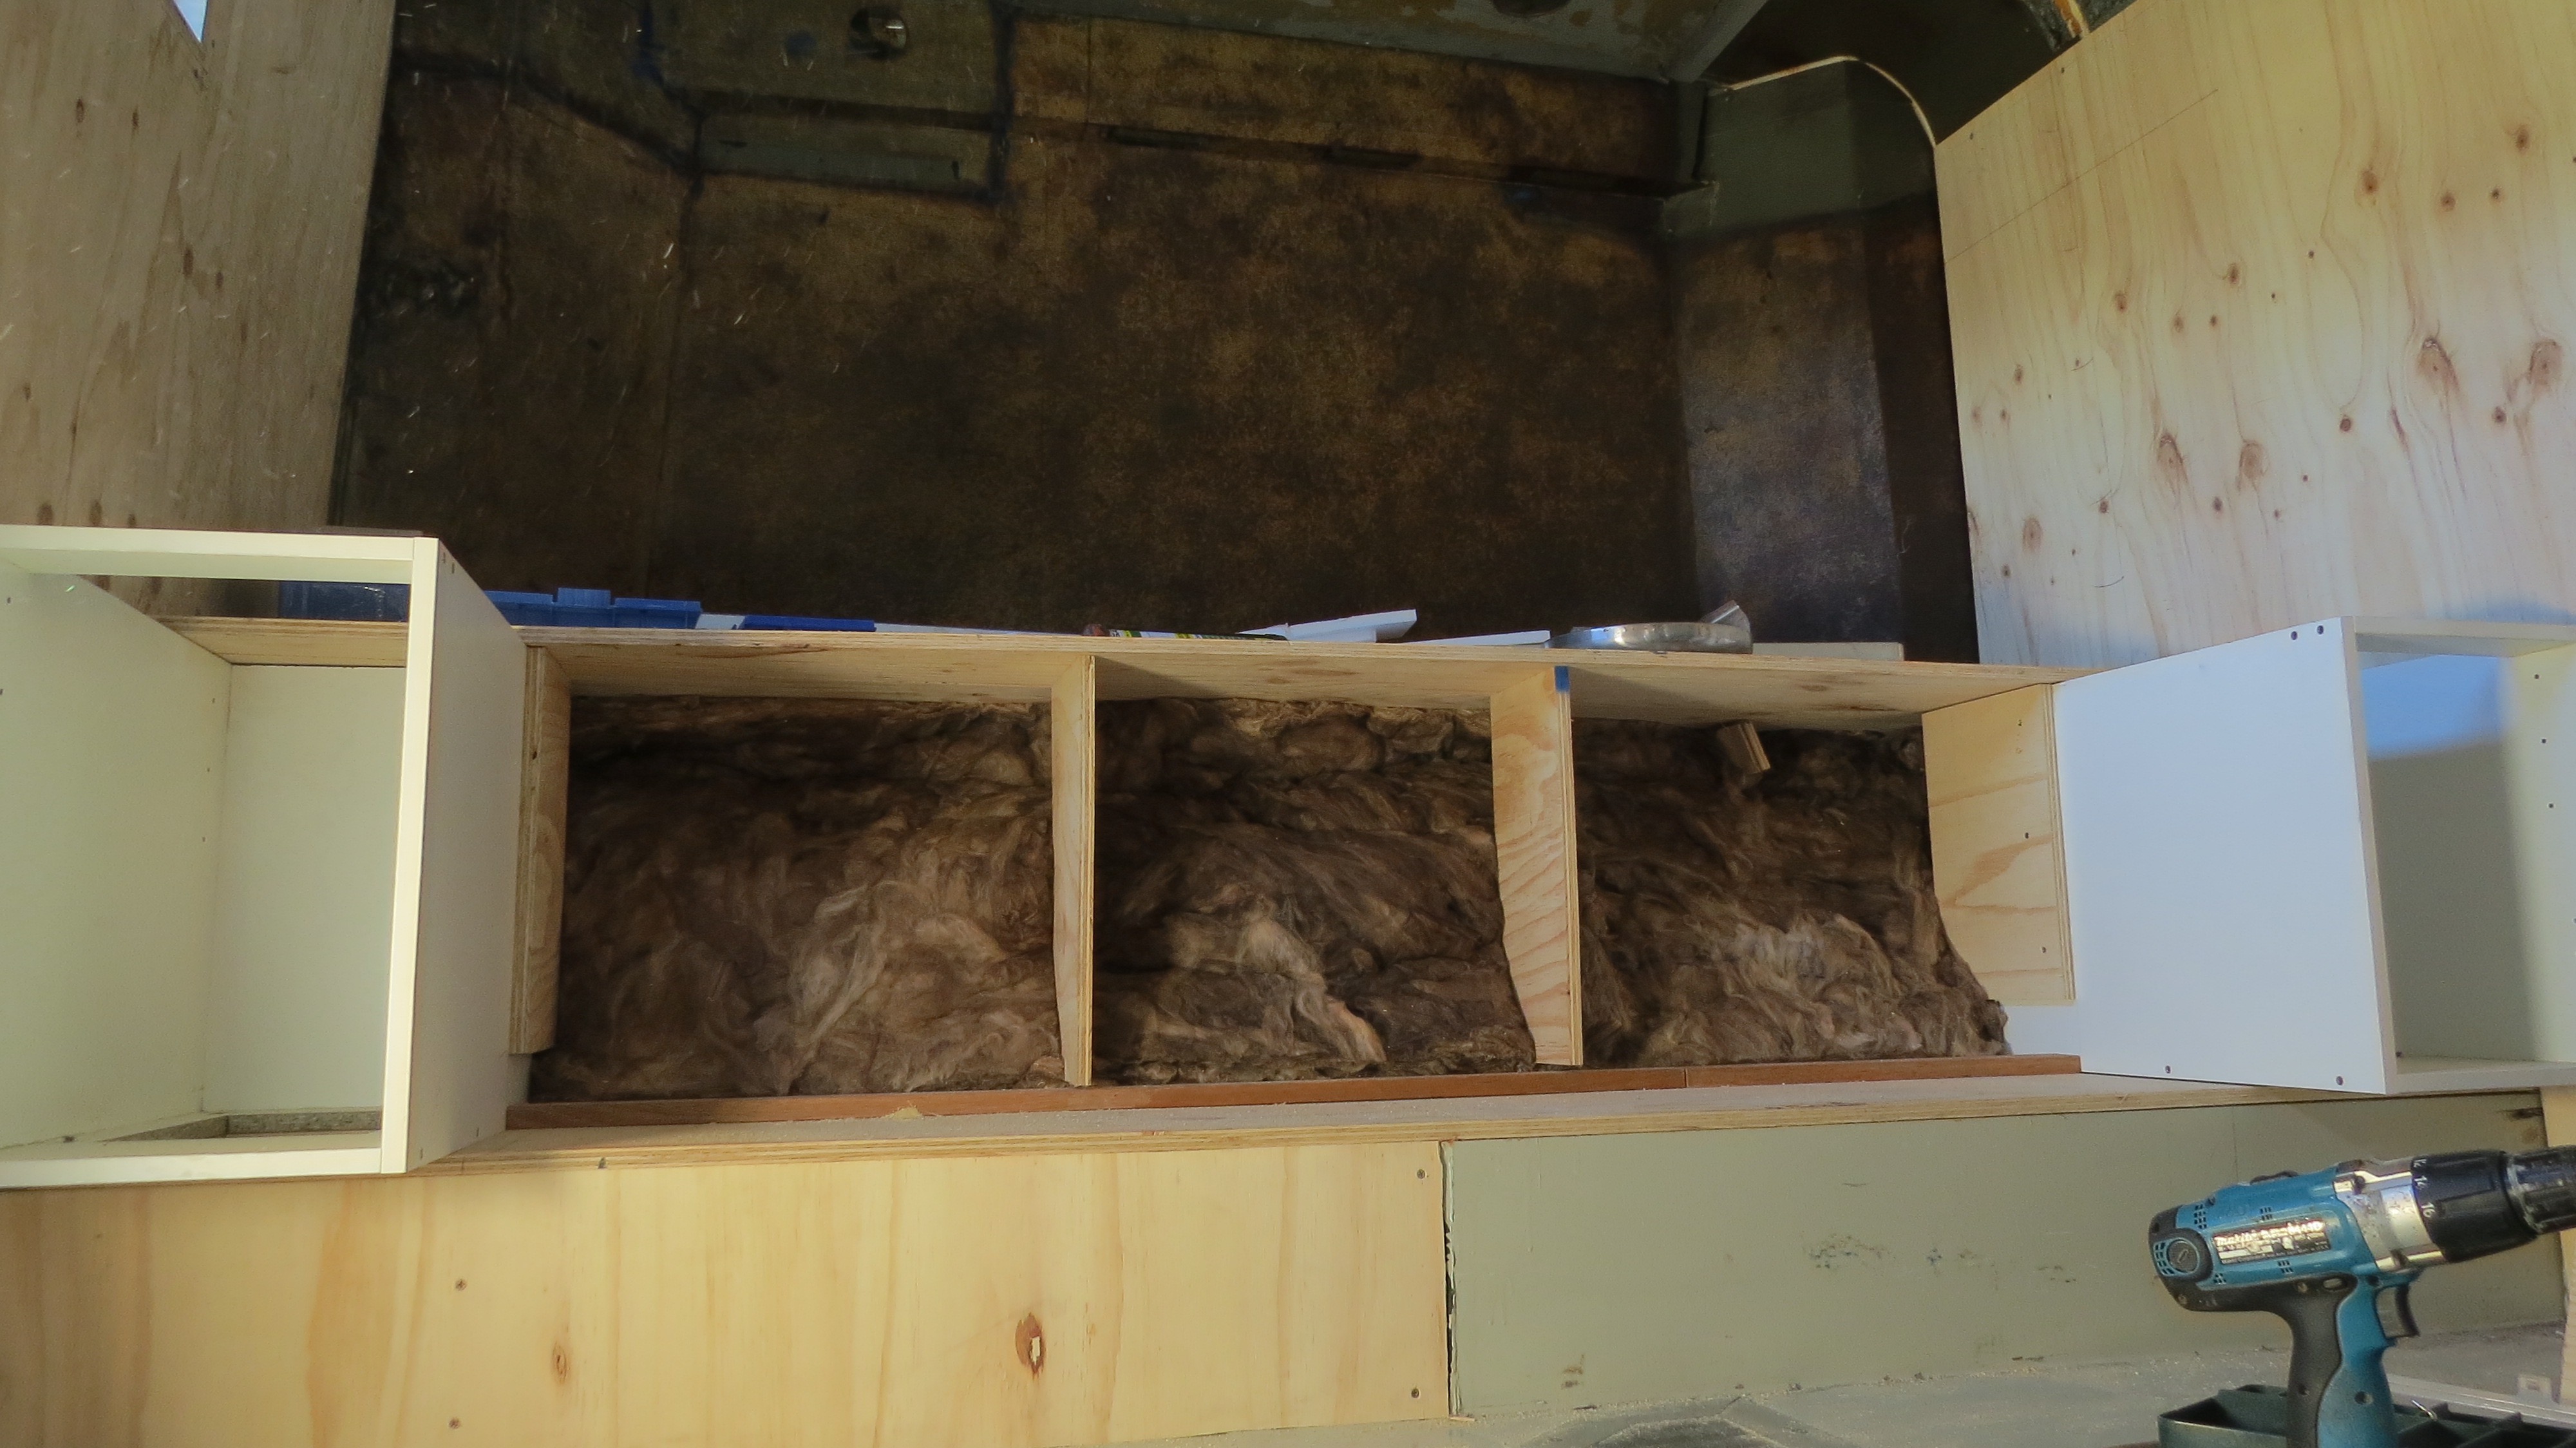
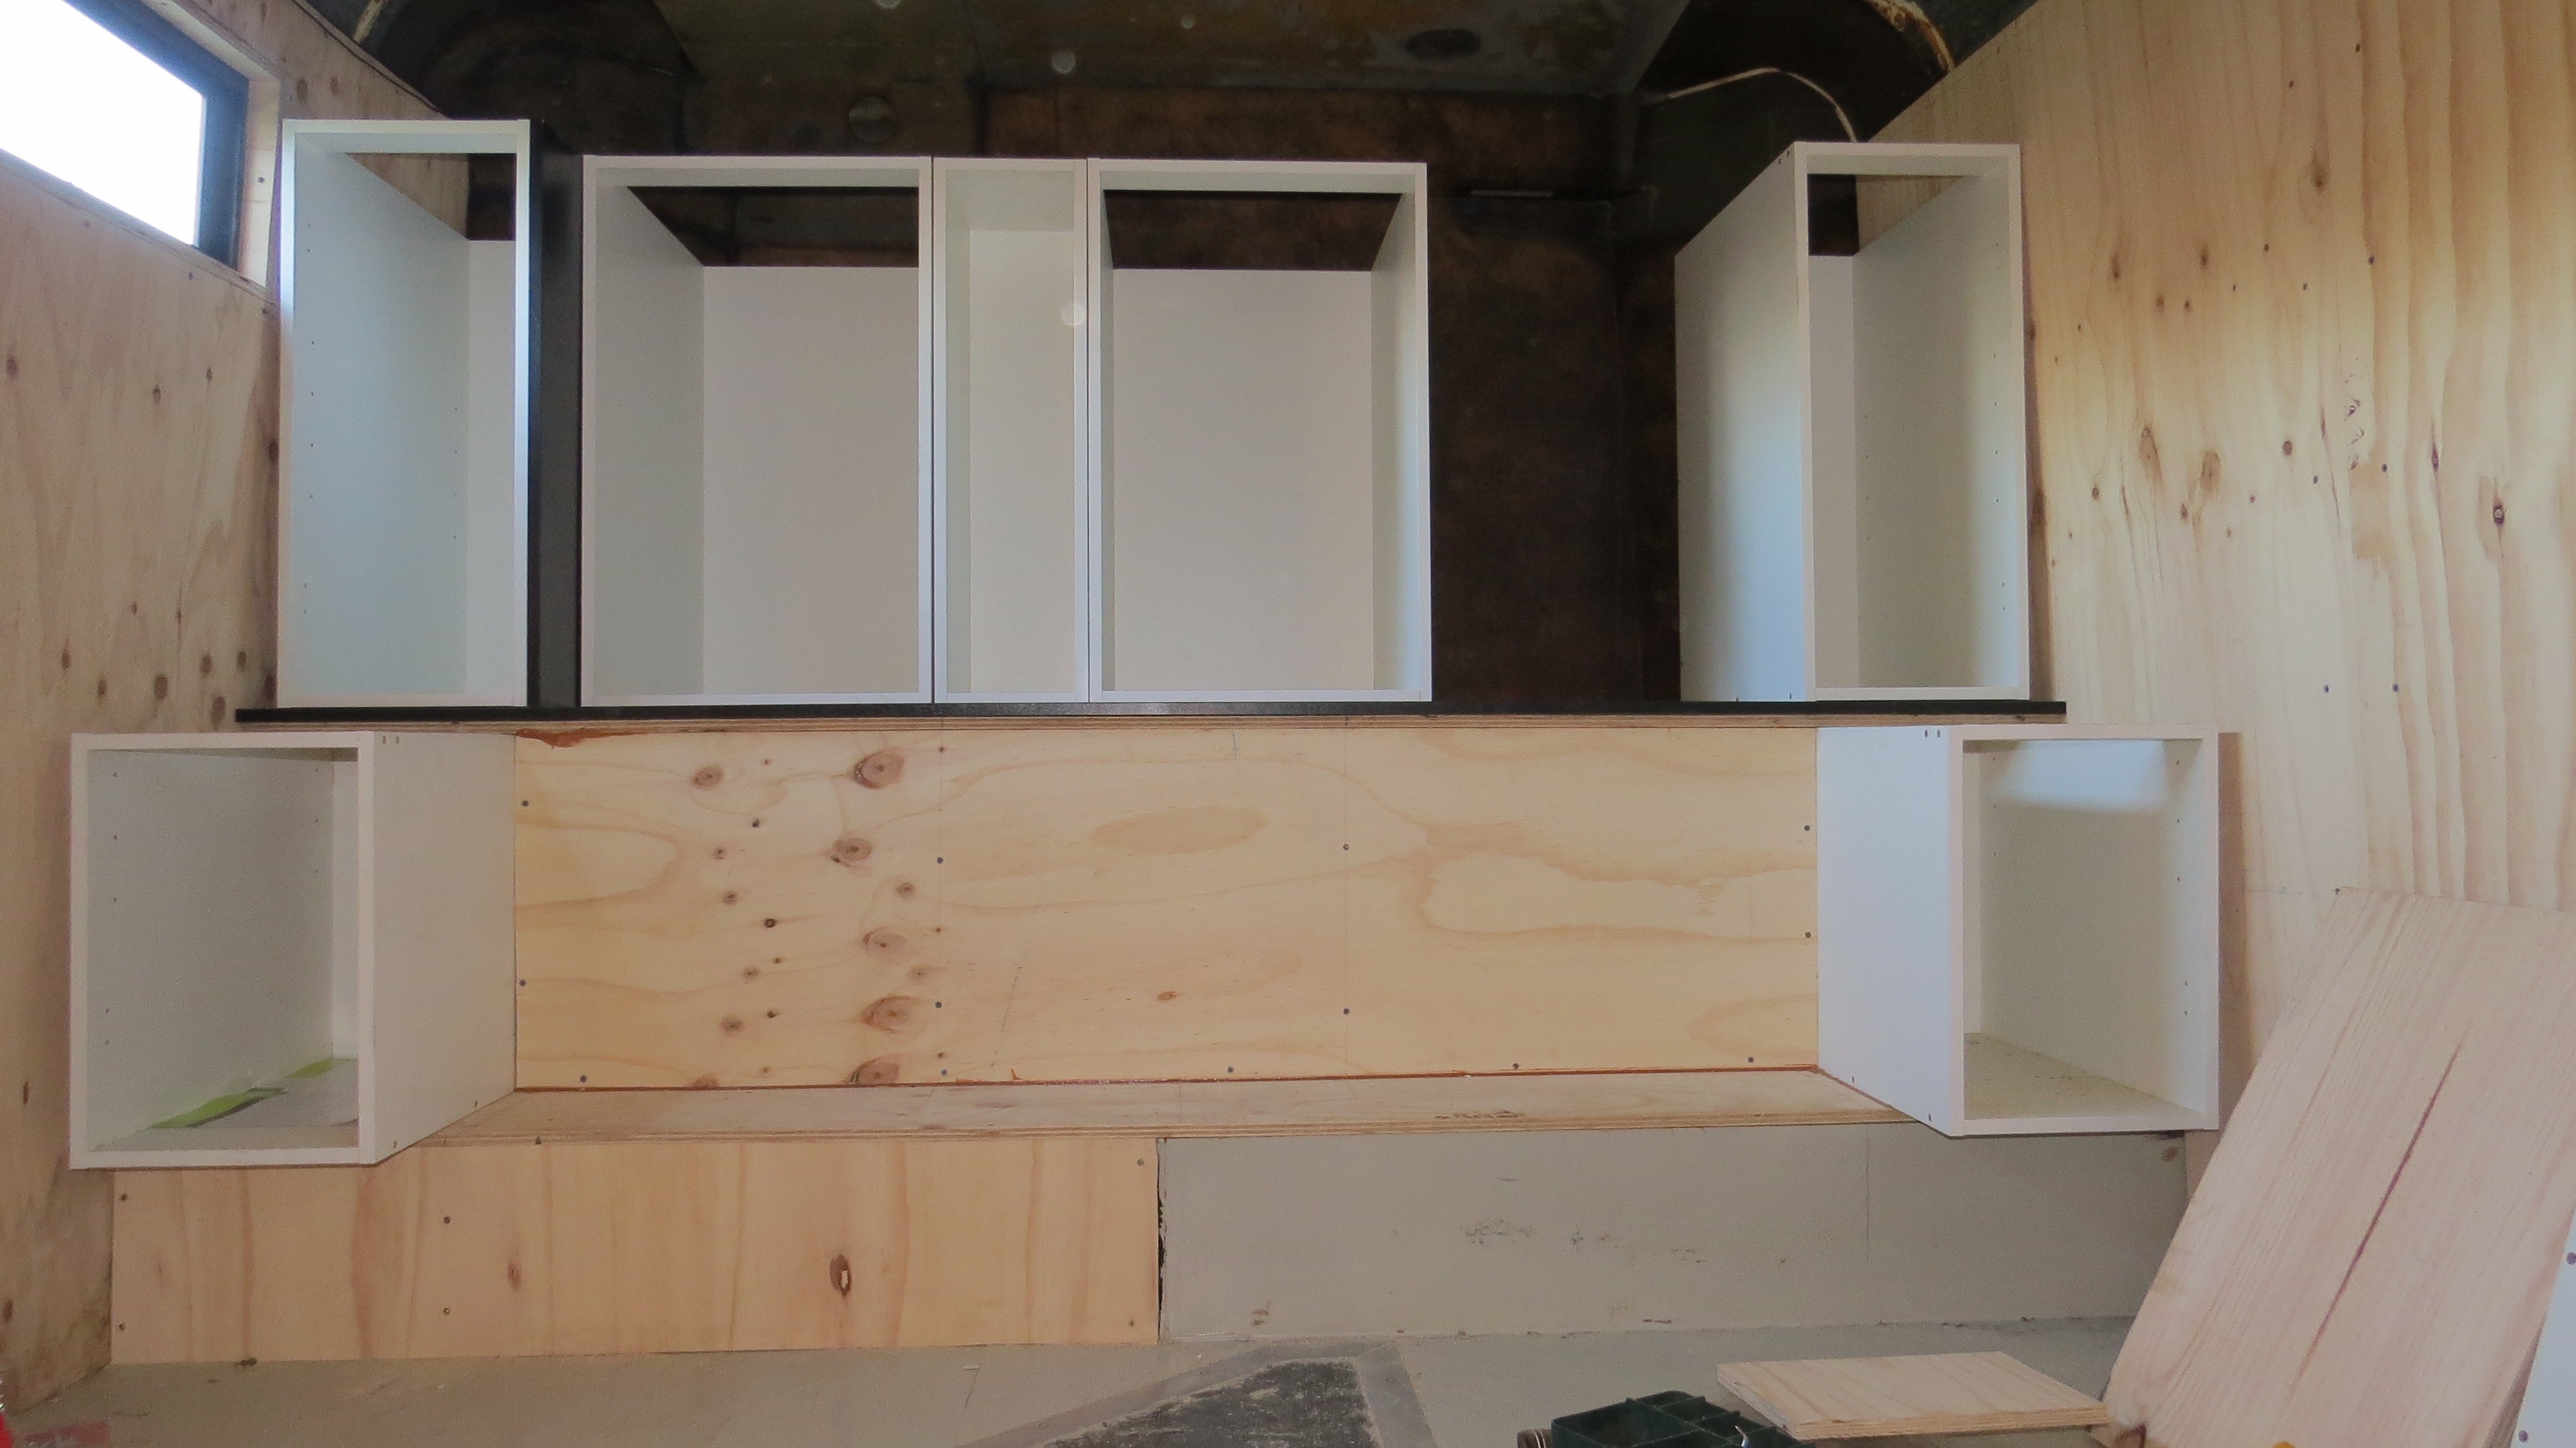
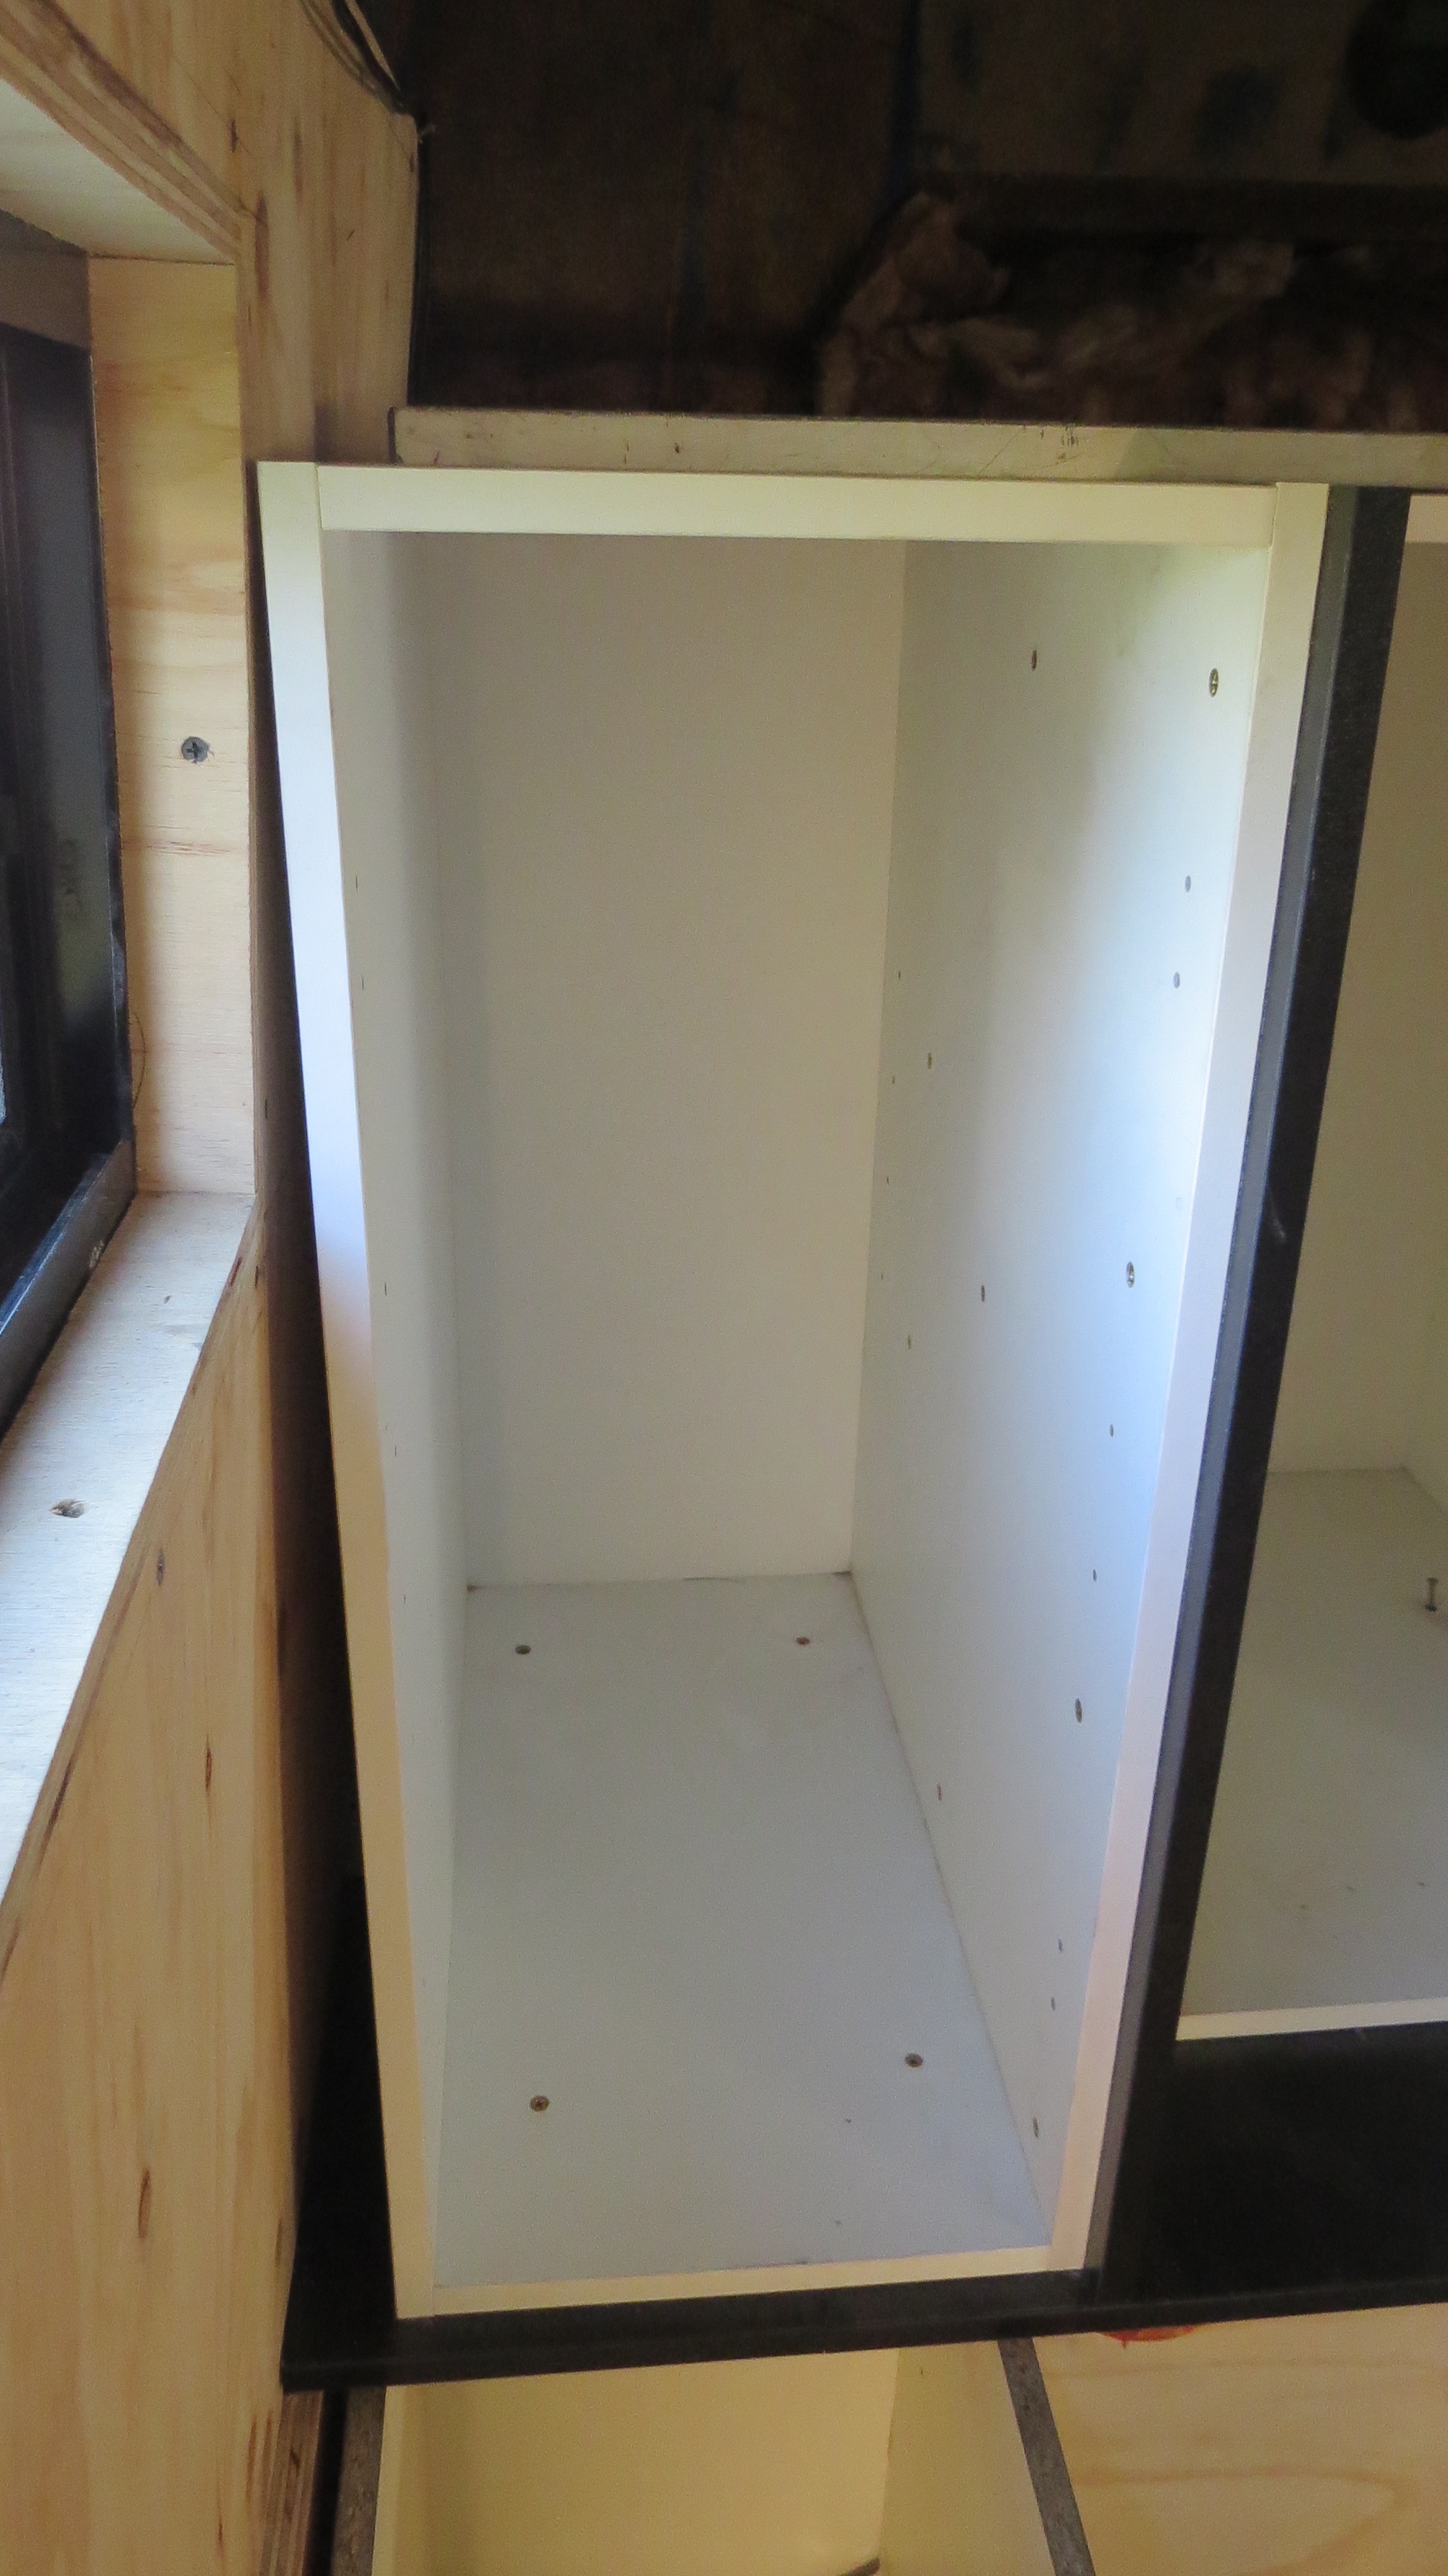
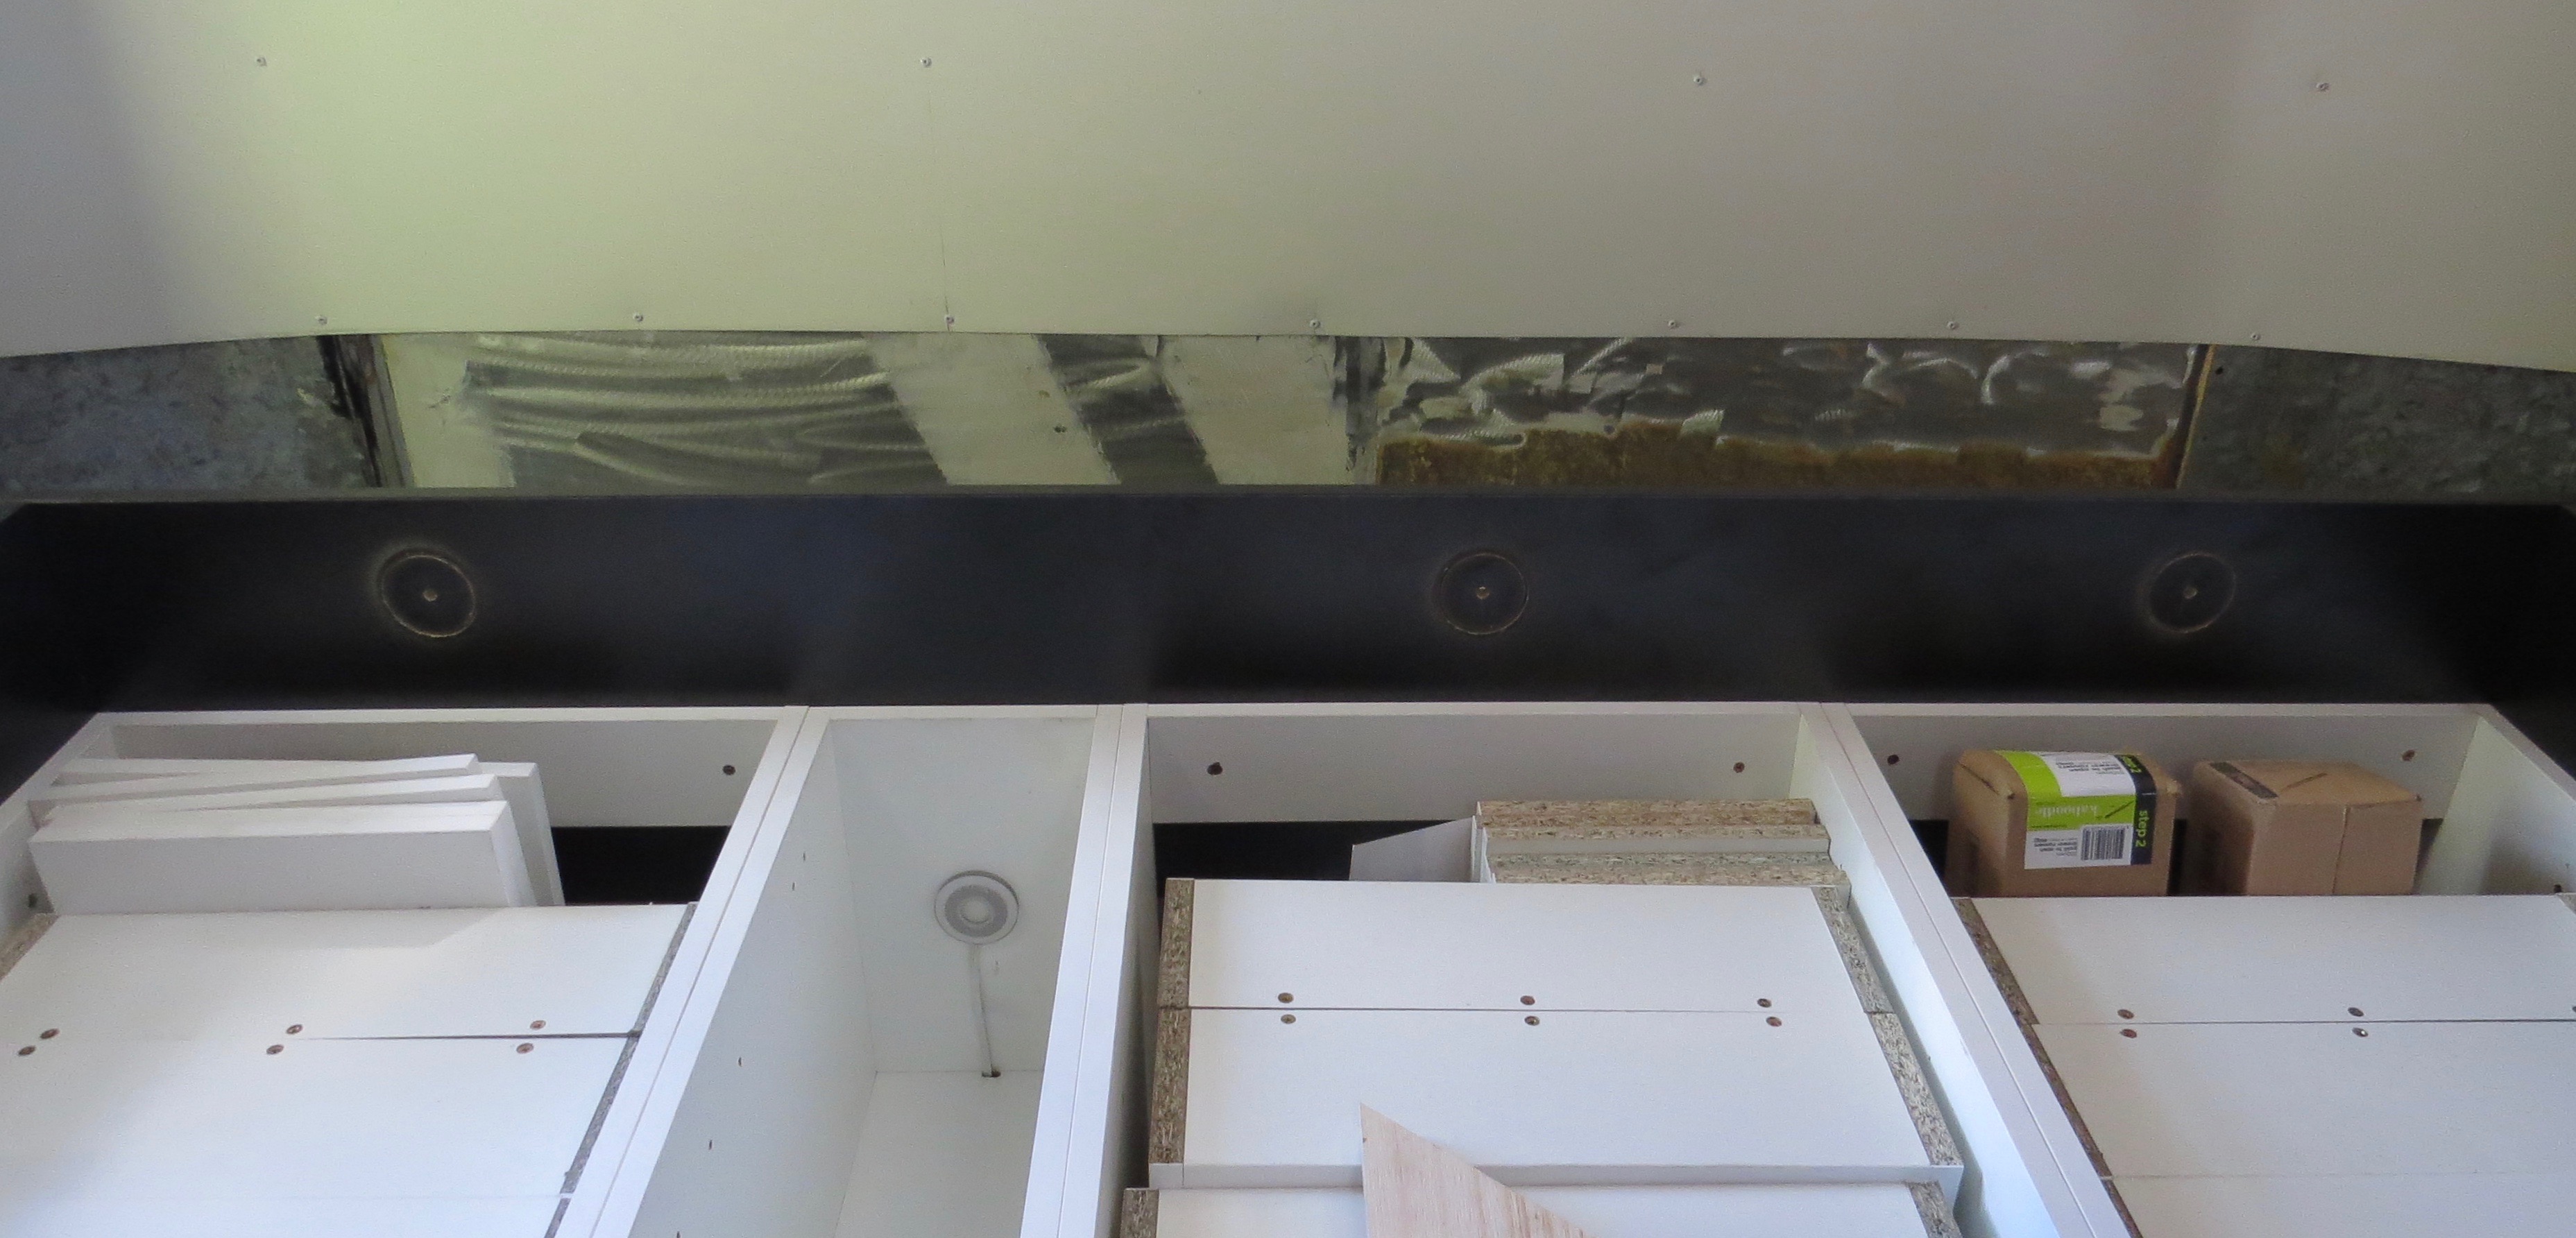
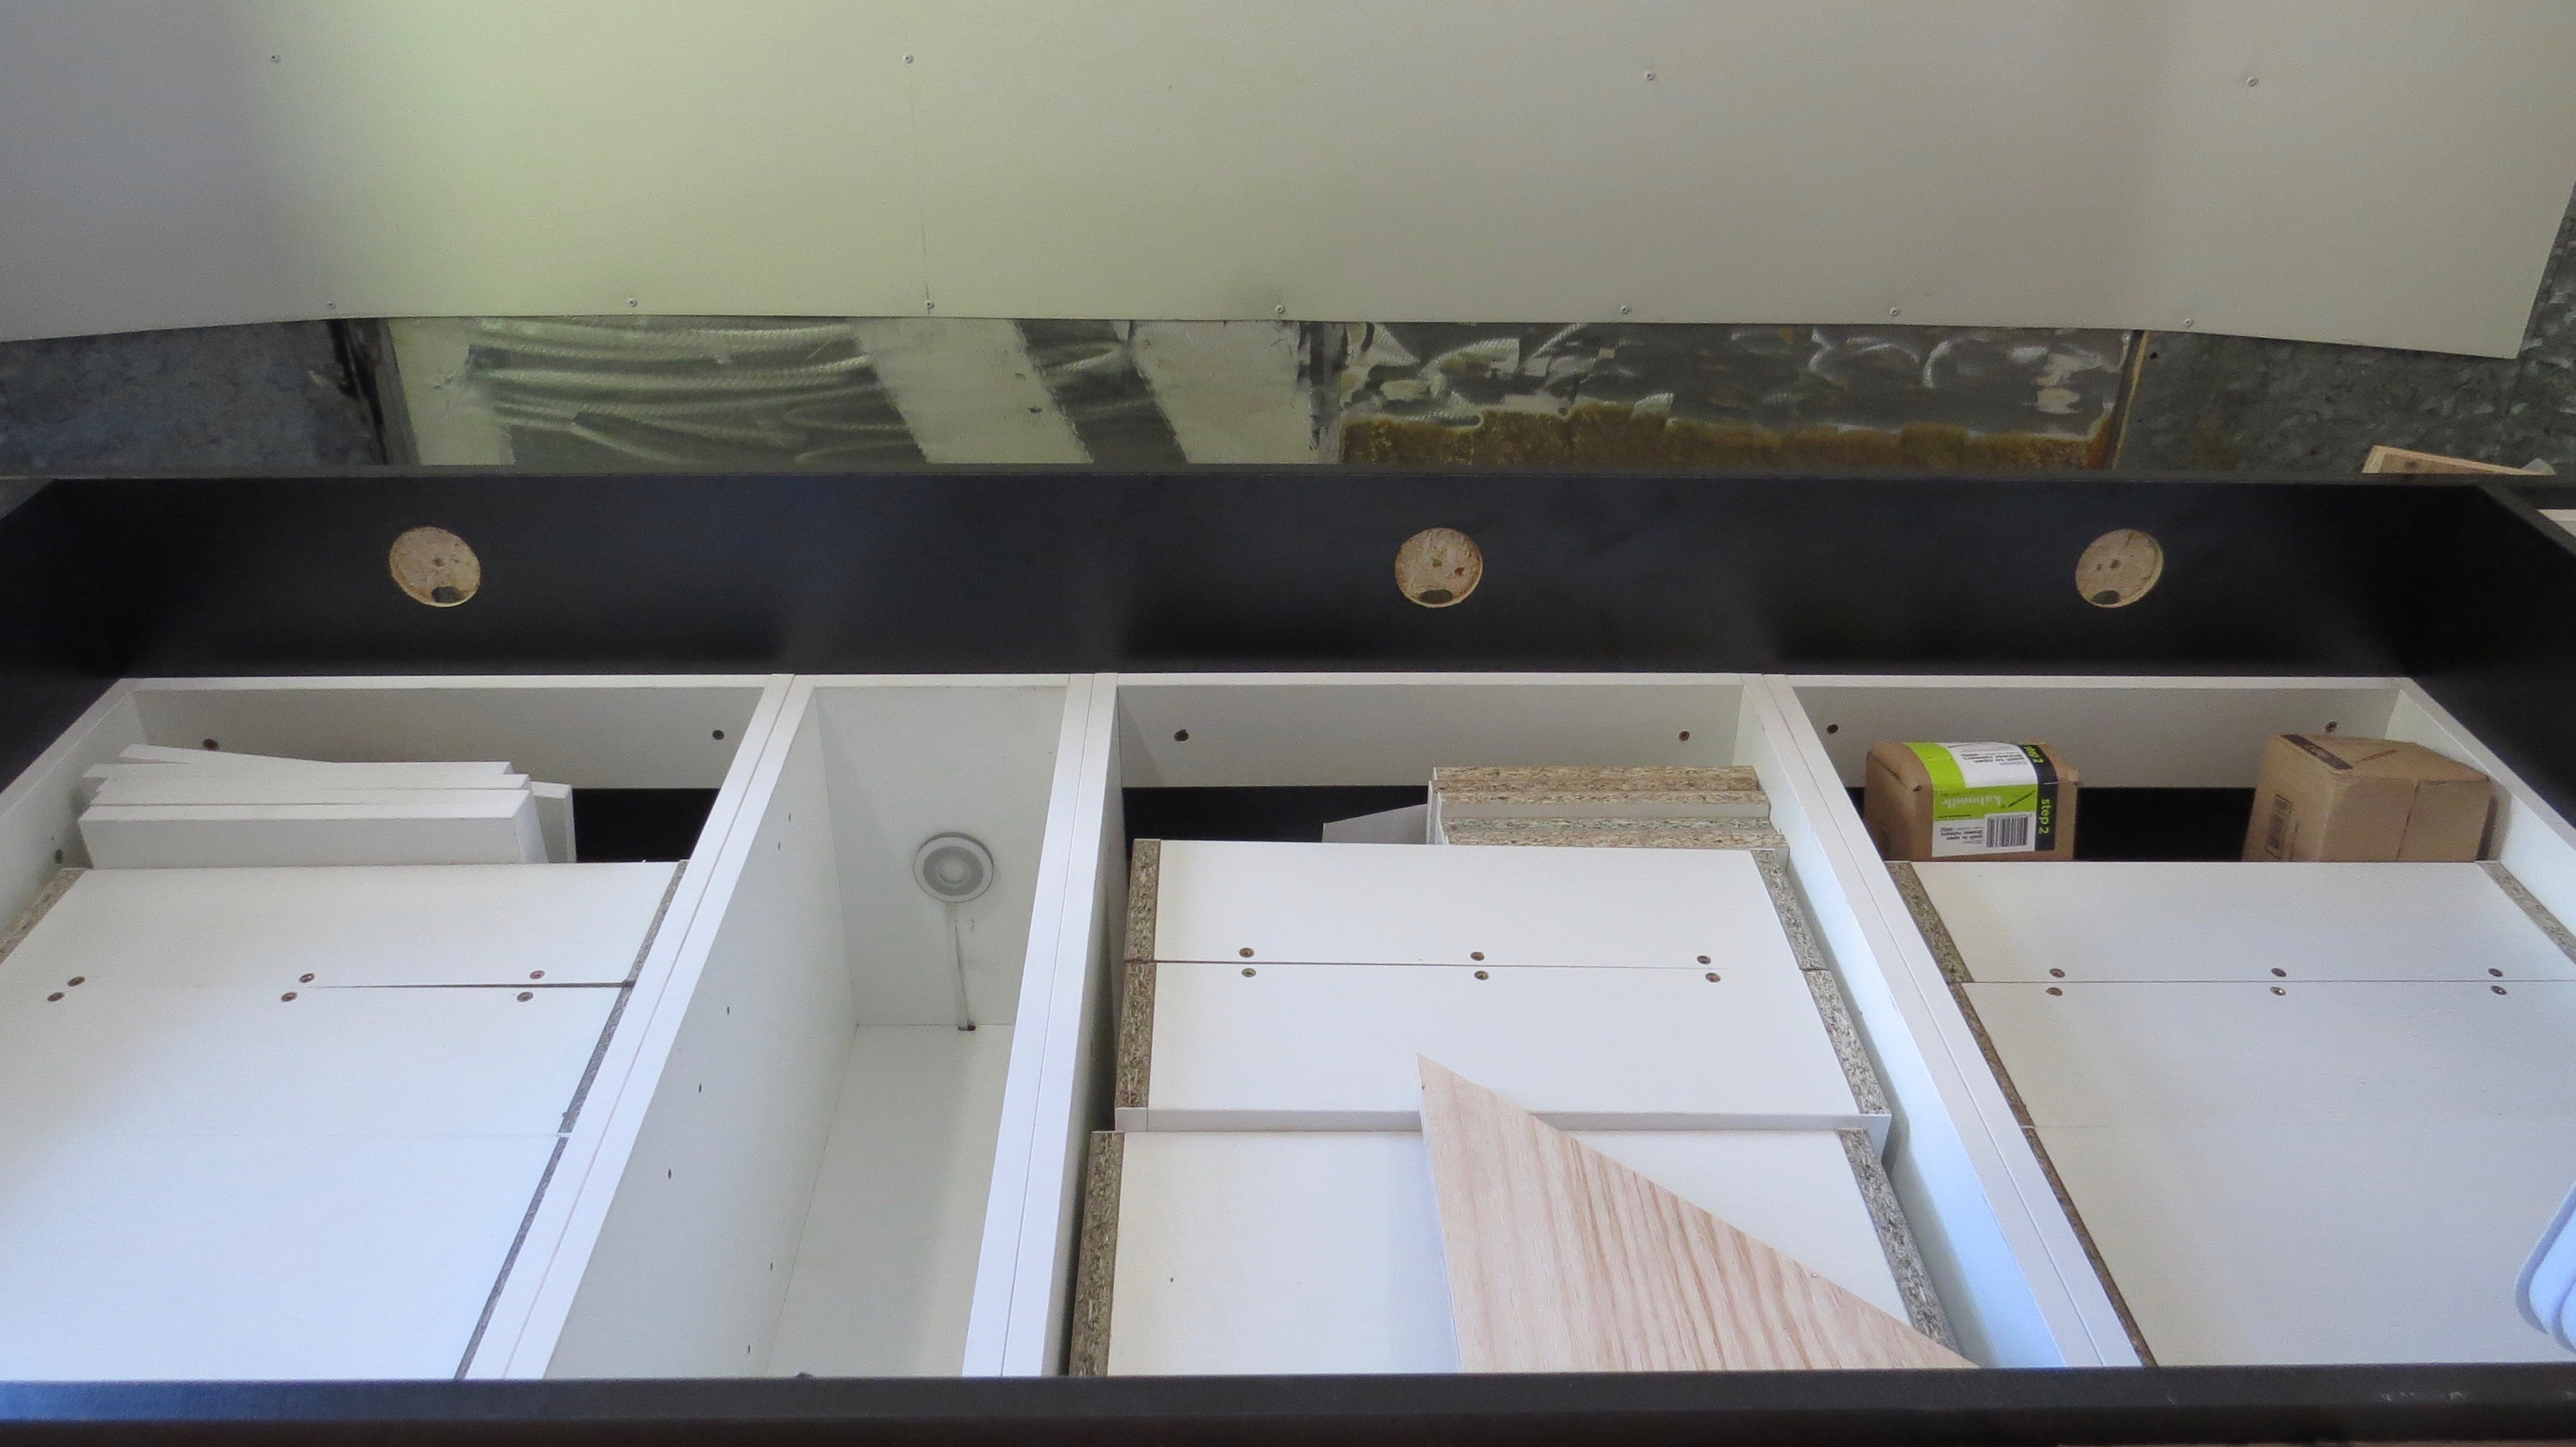
Starting from the back of the coach to the front is the only way to go. Under the bed area is where the motor is, so the floor has a raised part, this is a great place to put in bedroom cupboards. With nothing being square or plum apart from the floor I was making it up as I went along. It’s nothing like building a house!
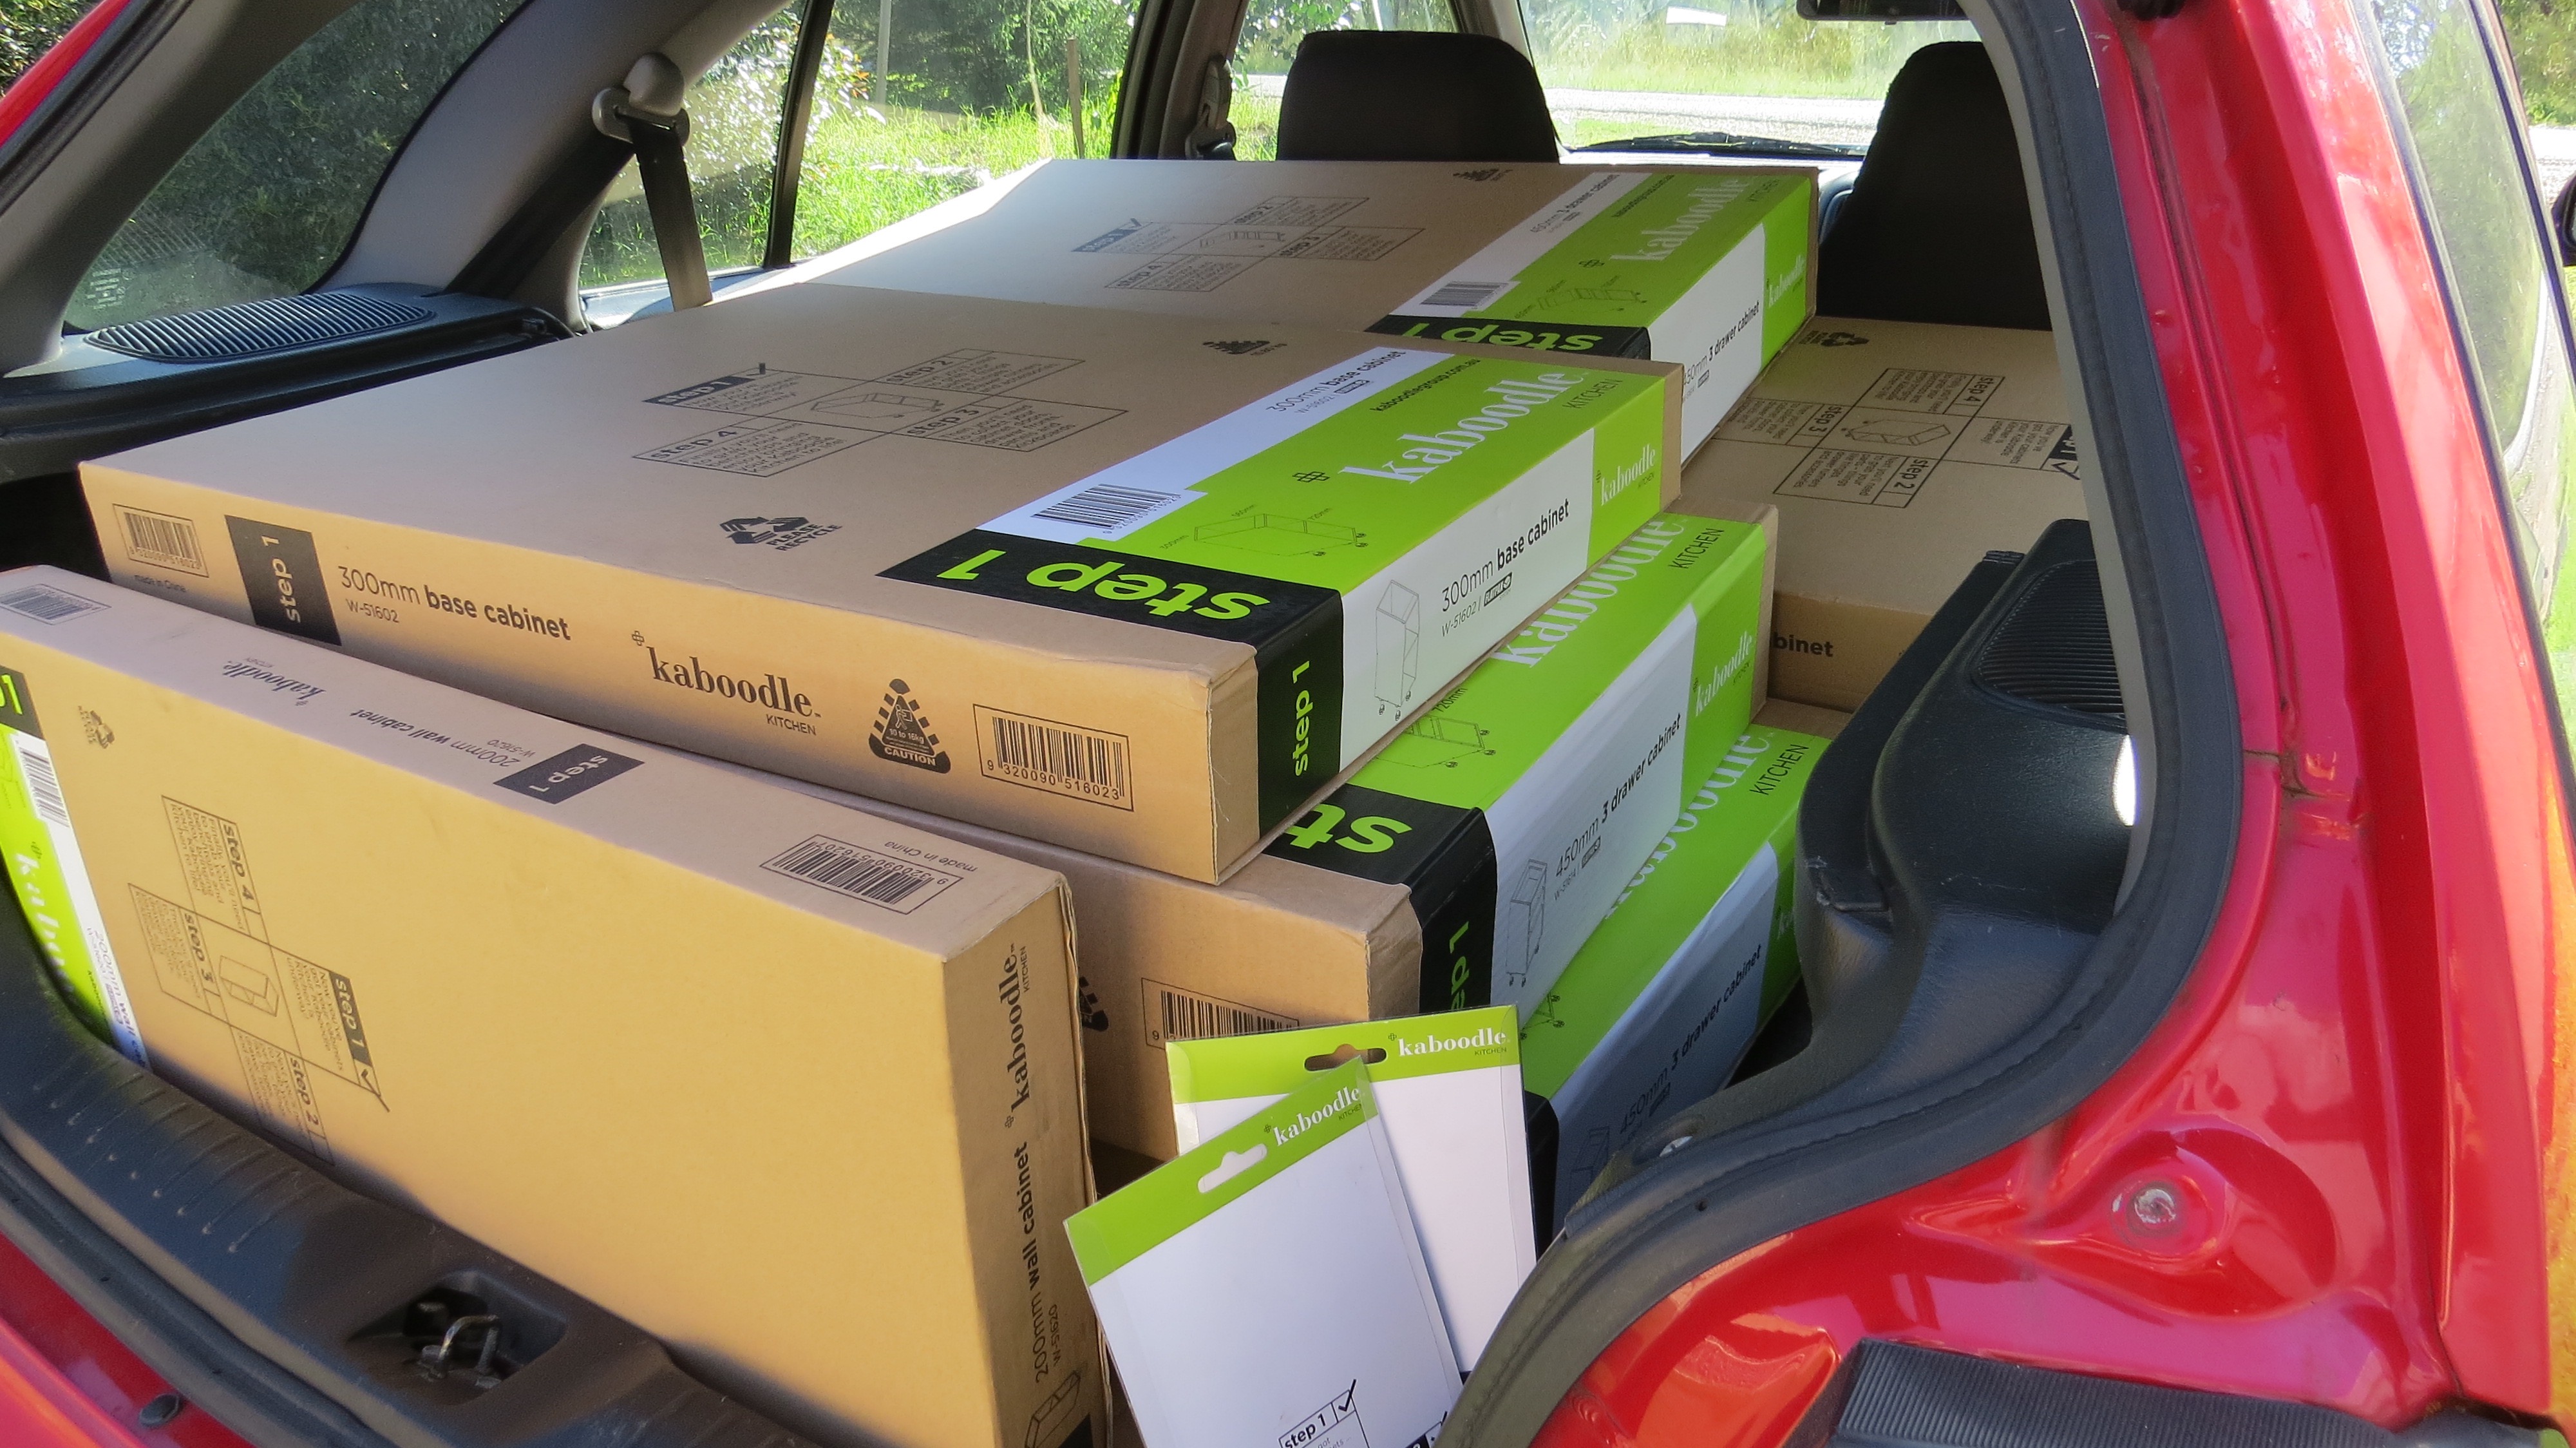
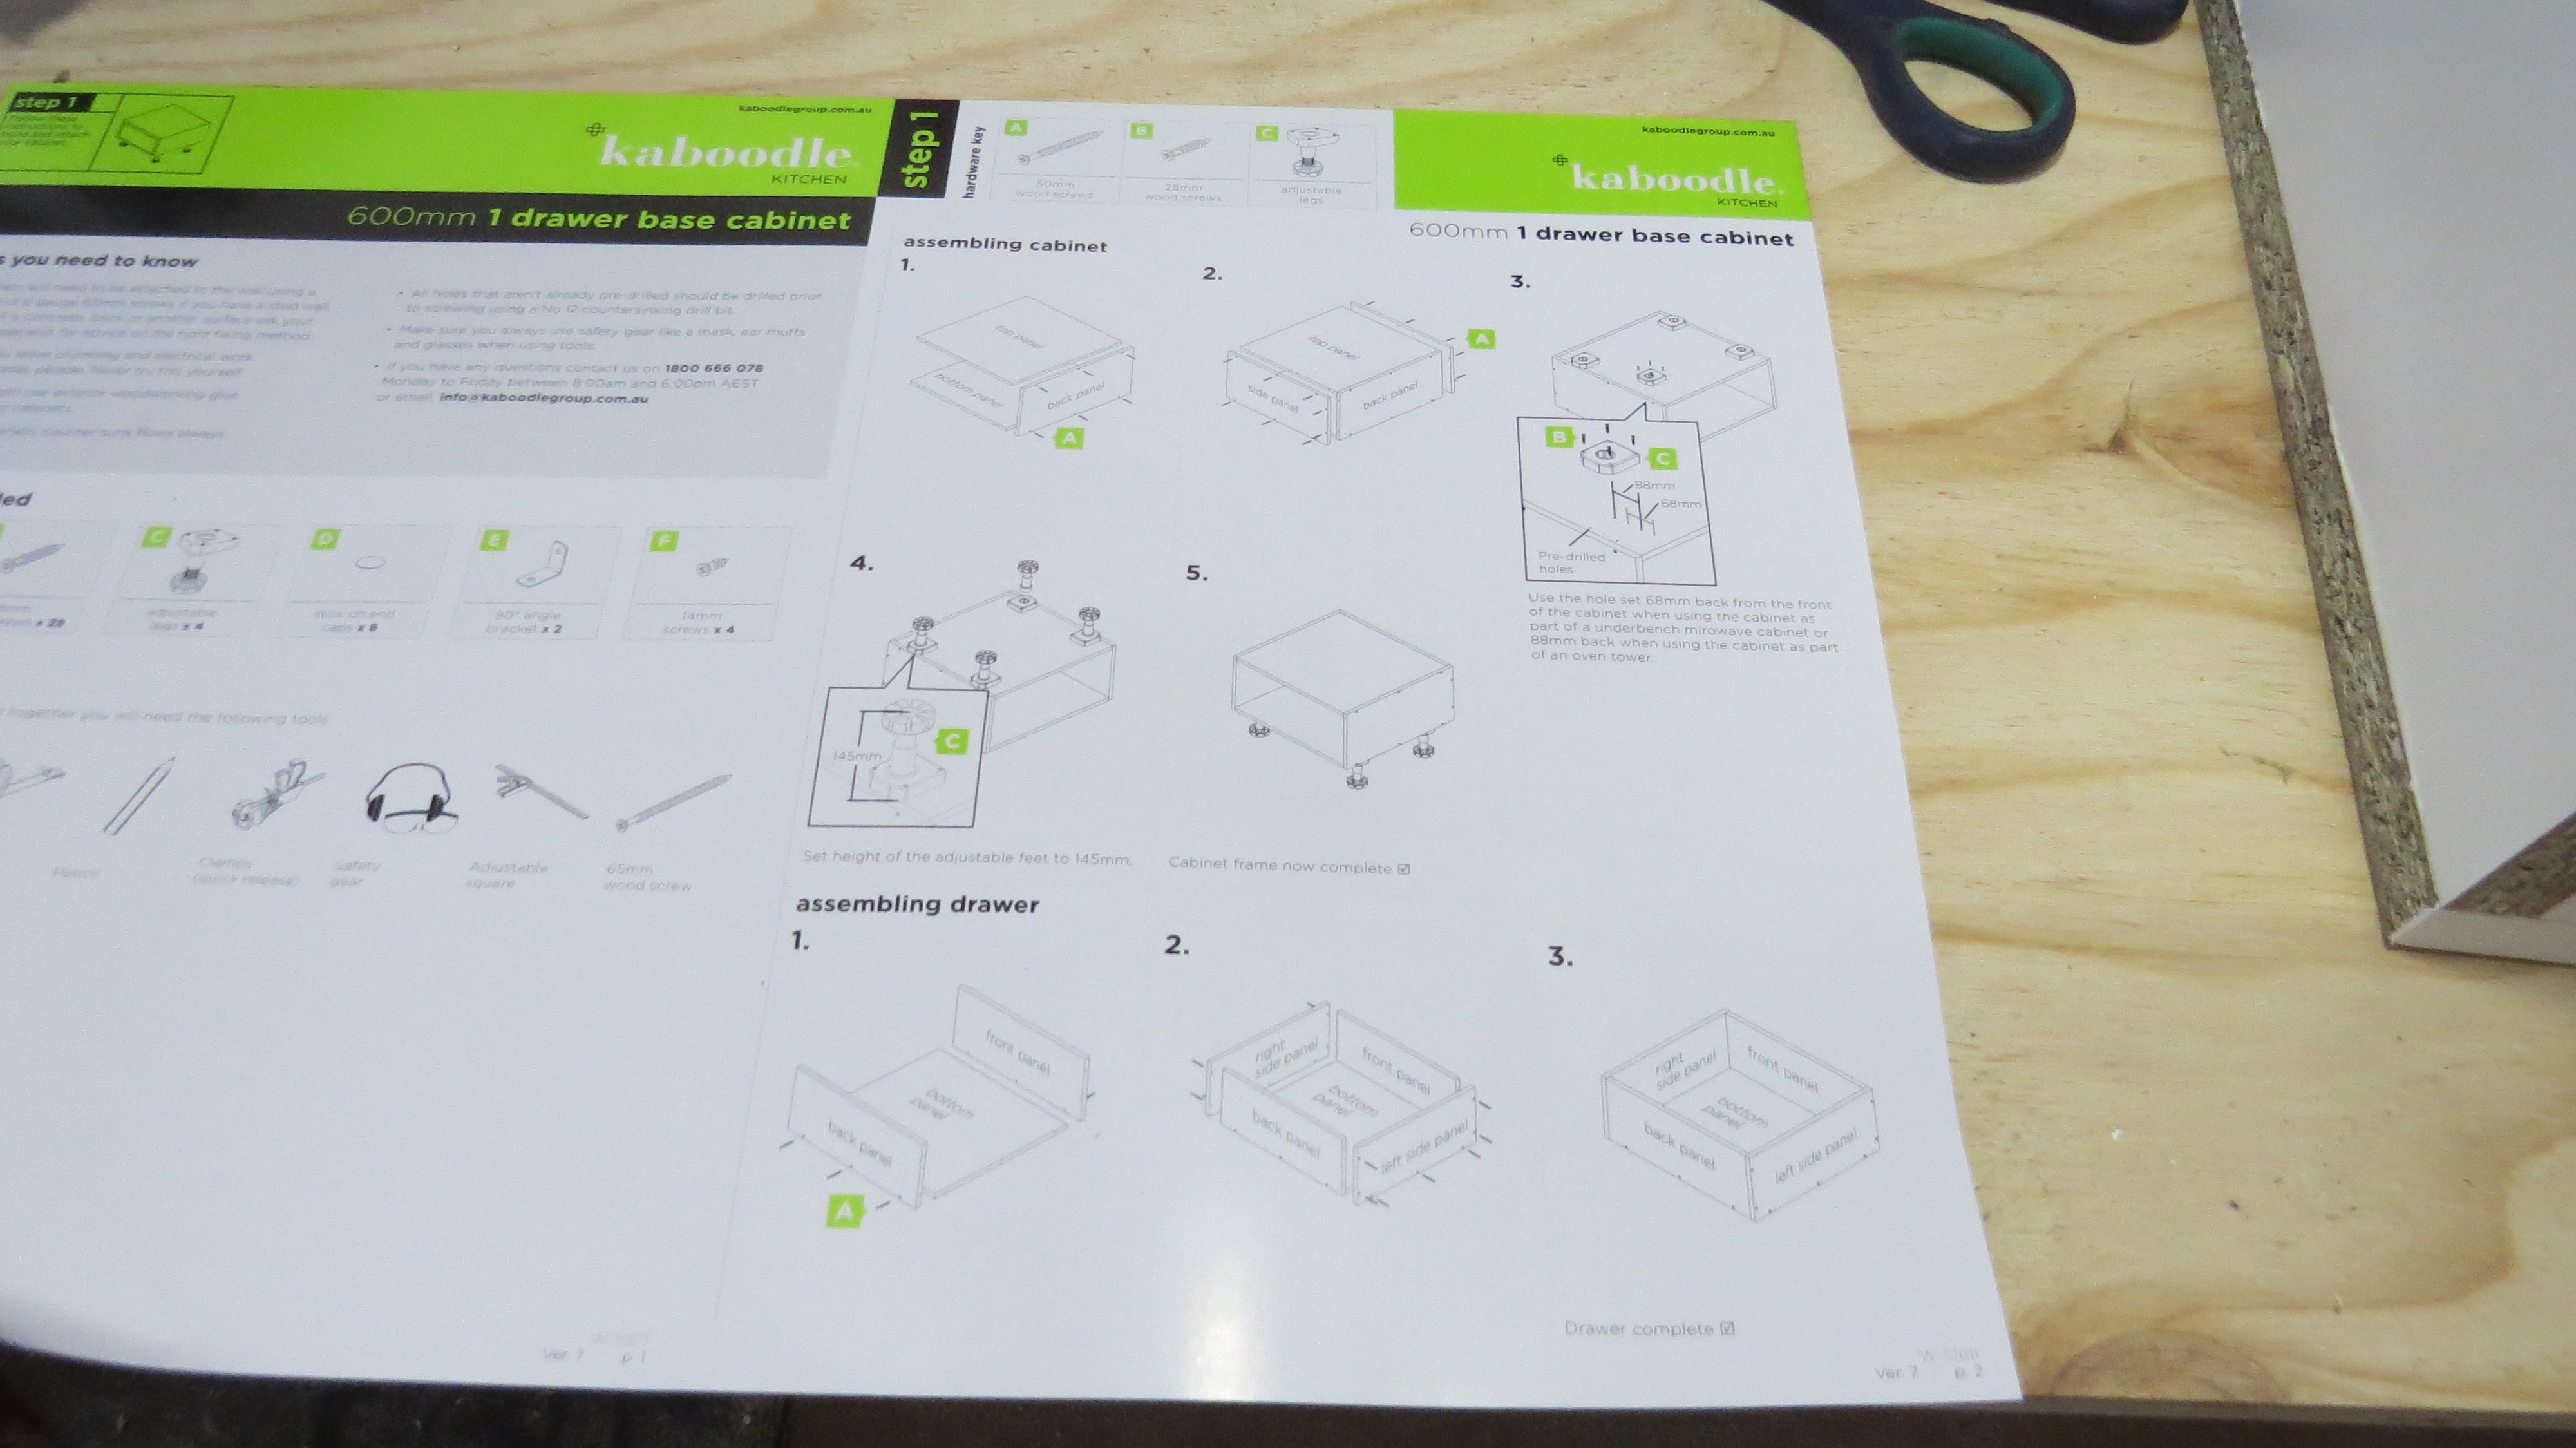
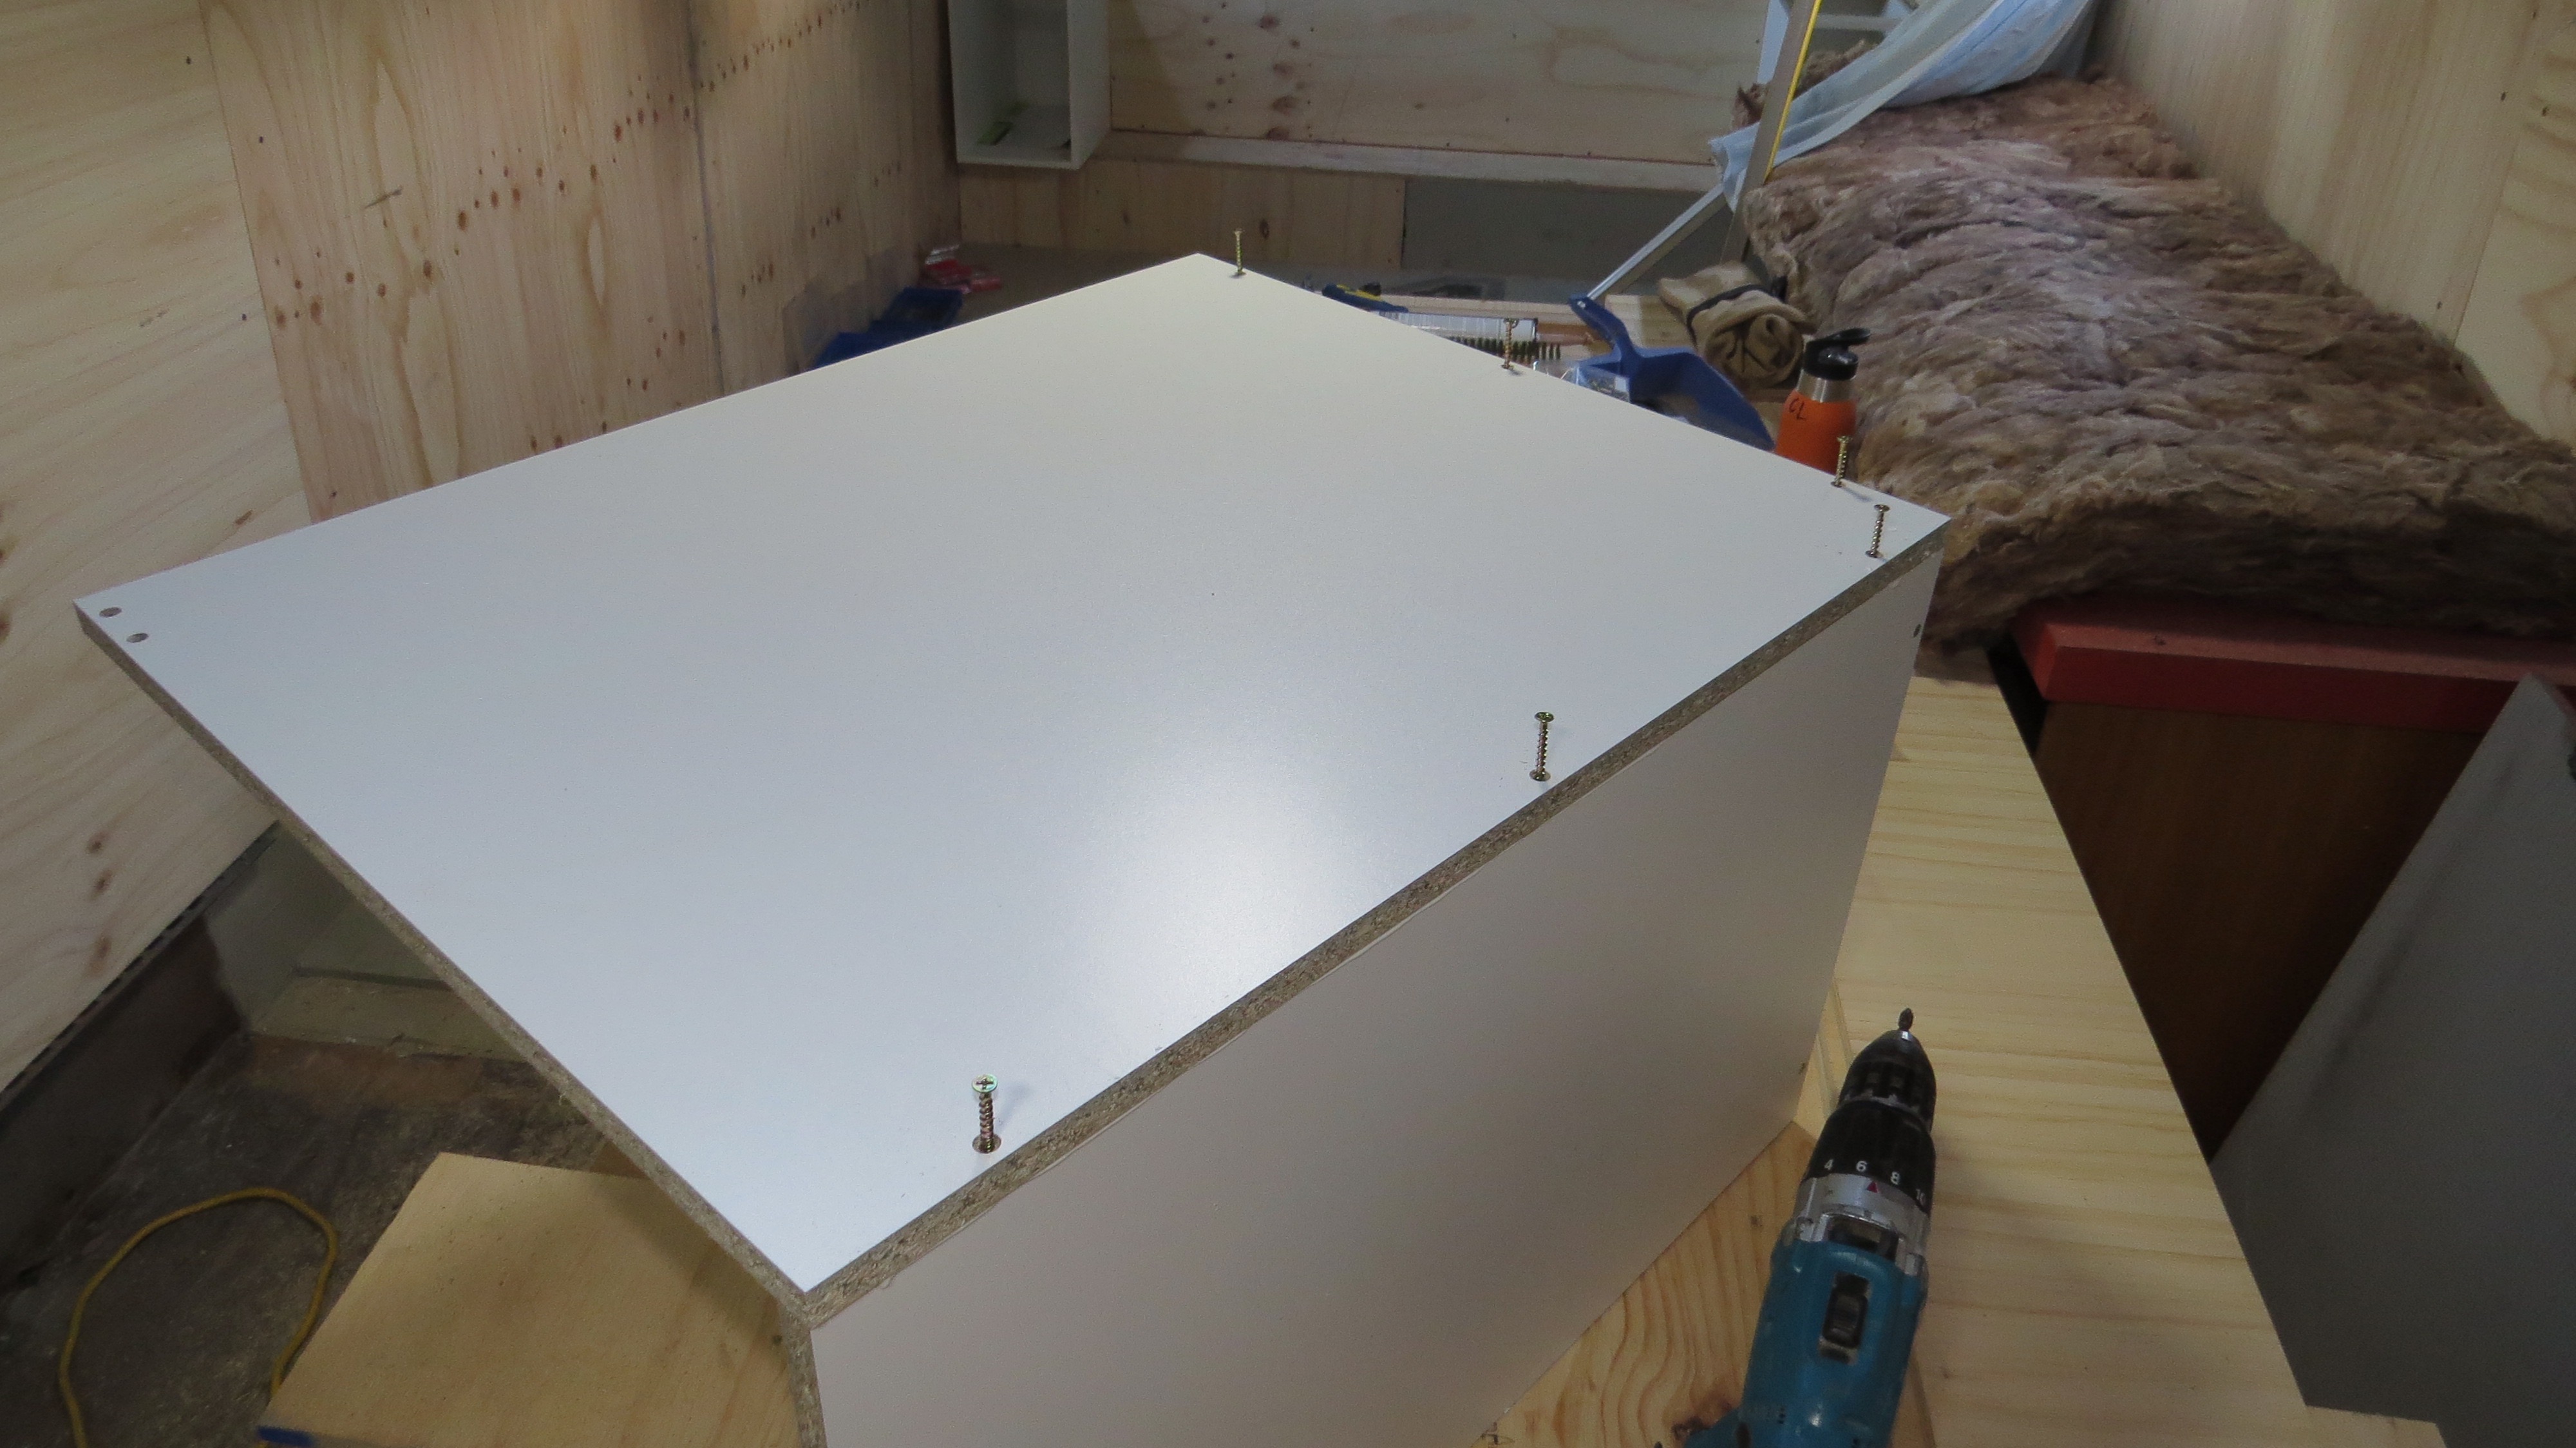
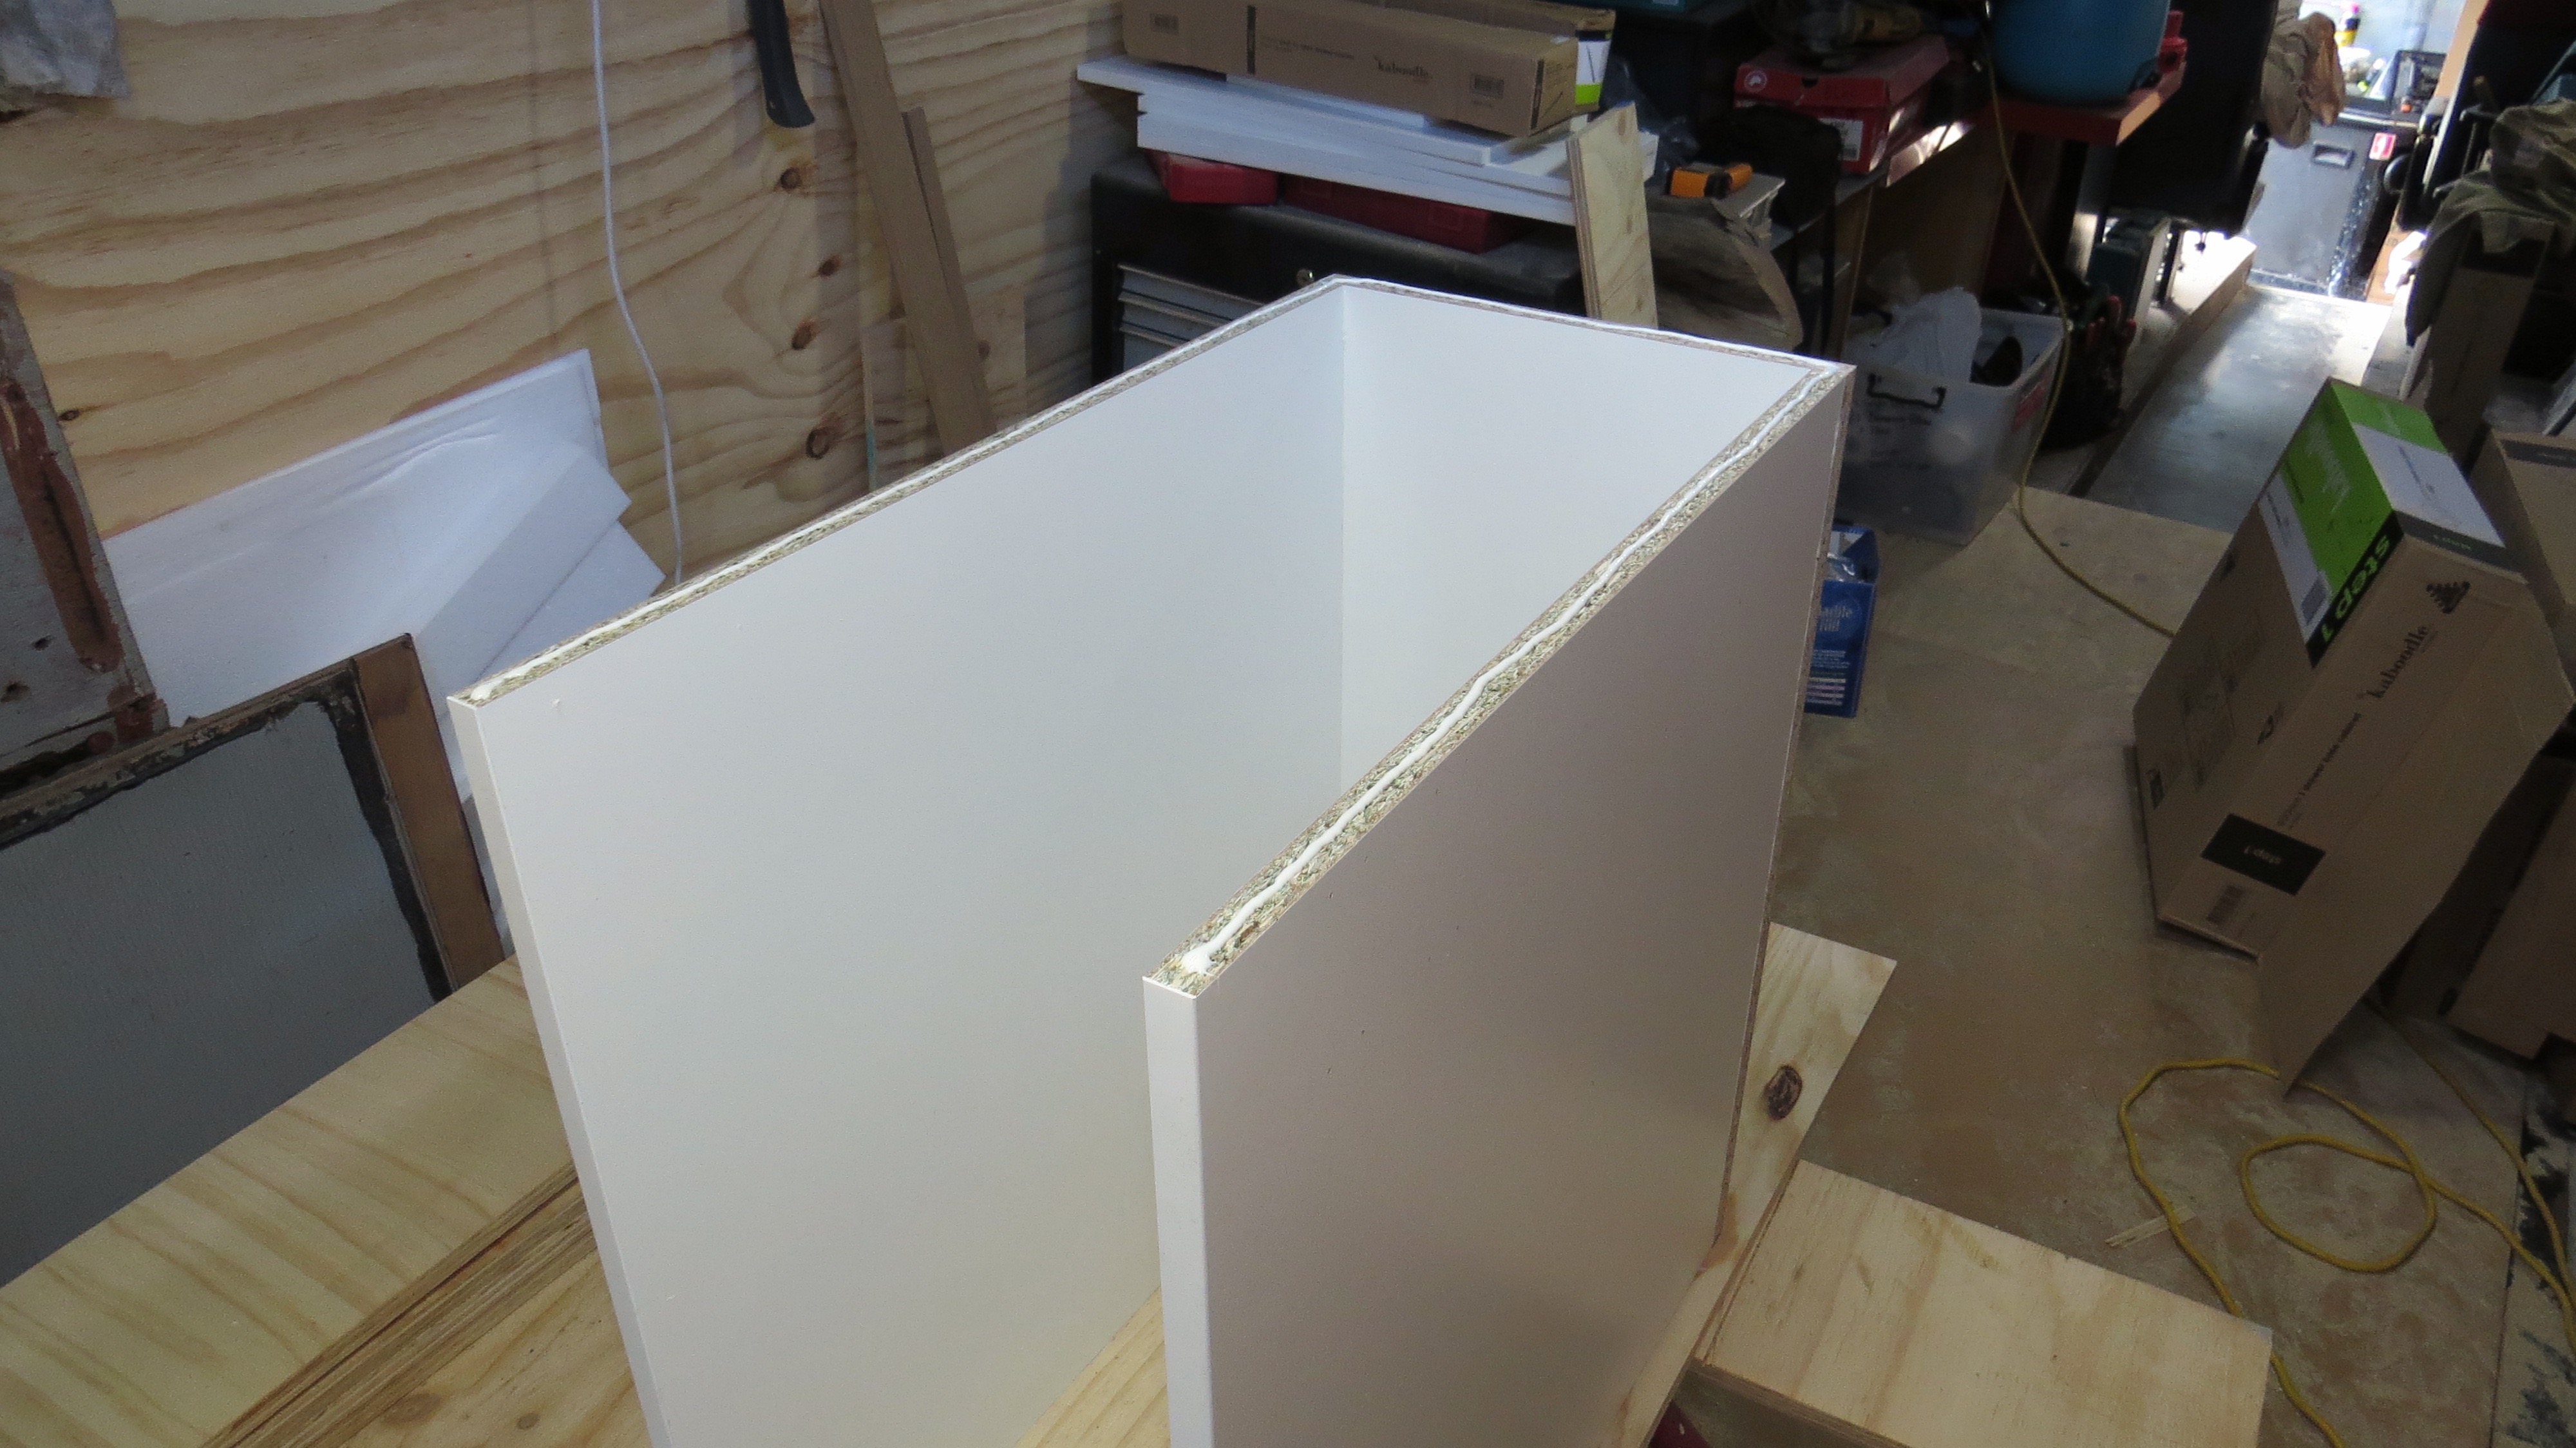
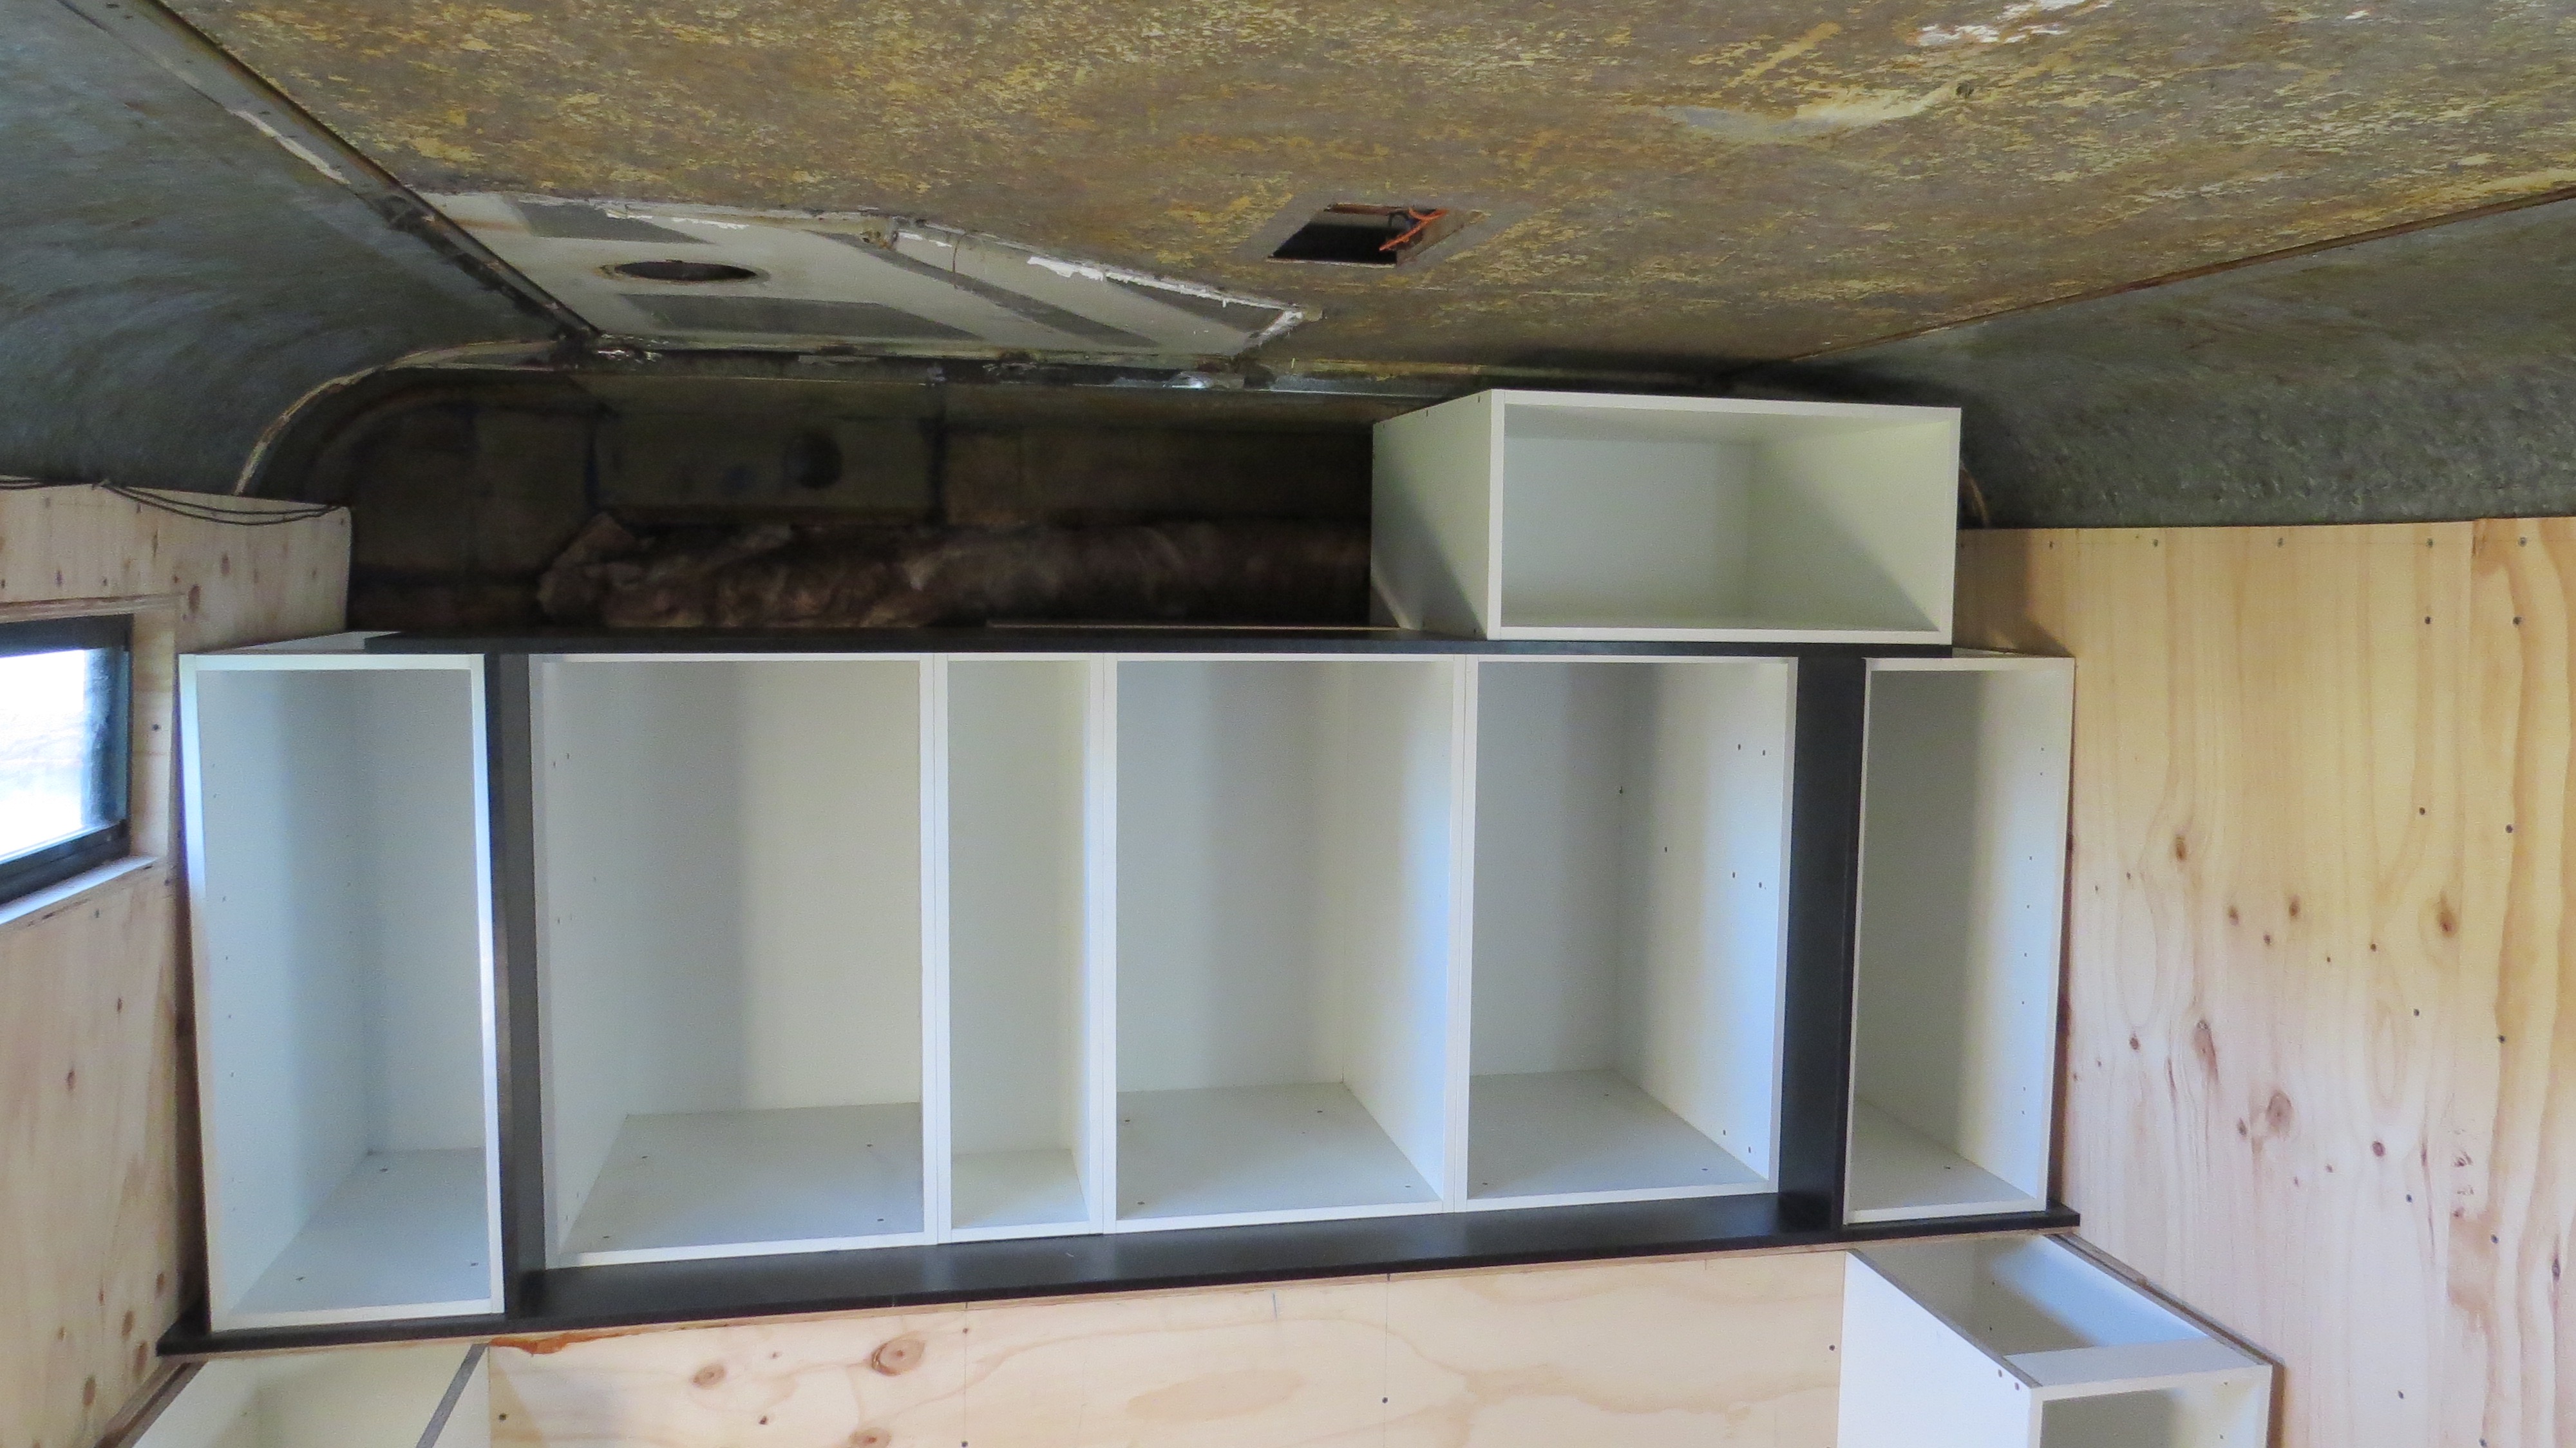
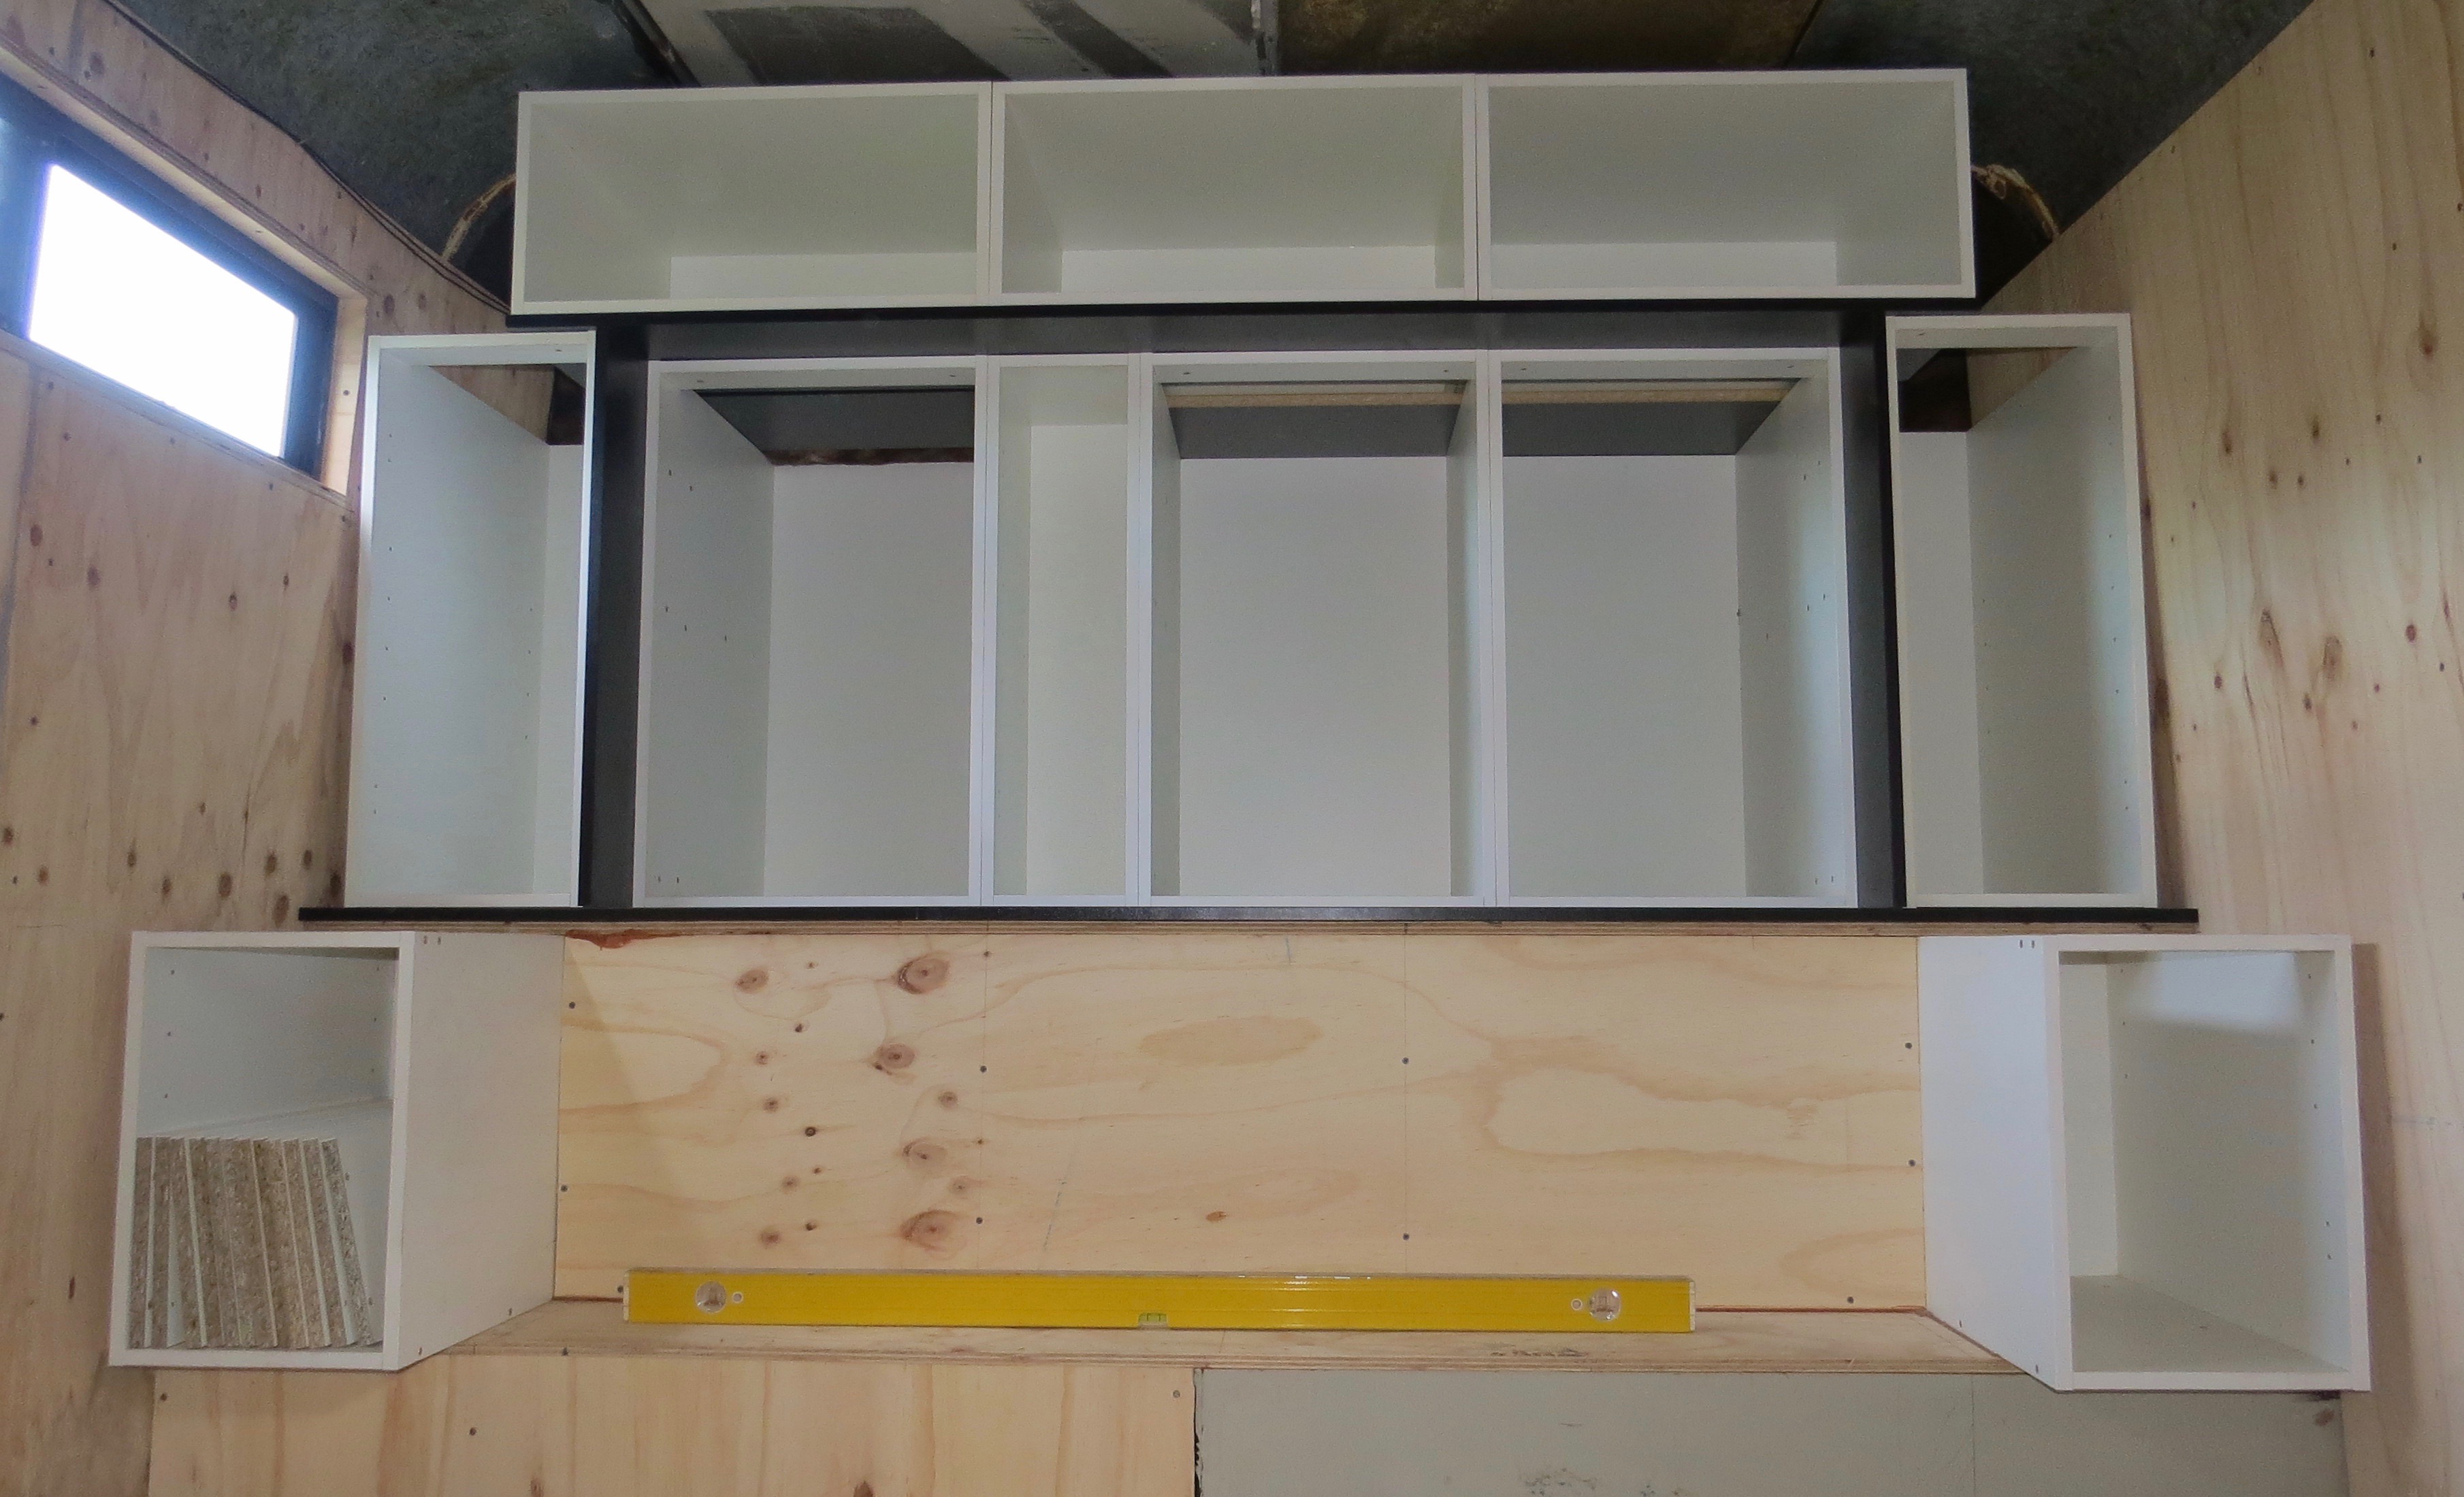
The back bedroom wall before we startedLots of flat pack cupboard boxes to make up from Bunnings.Plains? Who needs plains….First one done and lots more to go.The bed should fit between the two bedside draws.One bit at a time, this cover goes on so more draws can go on top.These two tall ones will have shelves.Back to Bunnings for more stuff.Time to put some support in place and insulation before I go too far.One more box and this level will be done.The fun of making boxes up.With the black timber in place it only just fitted after shaving the back edges off the side boxes.One more level after this one.They only just made it in after Shaving off some timber.No turning back now time to screw it in place.A very tight fit.More boxes to make up for the top levelAlmost there.We are getting closer.
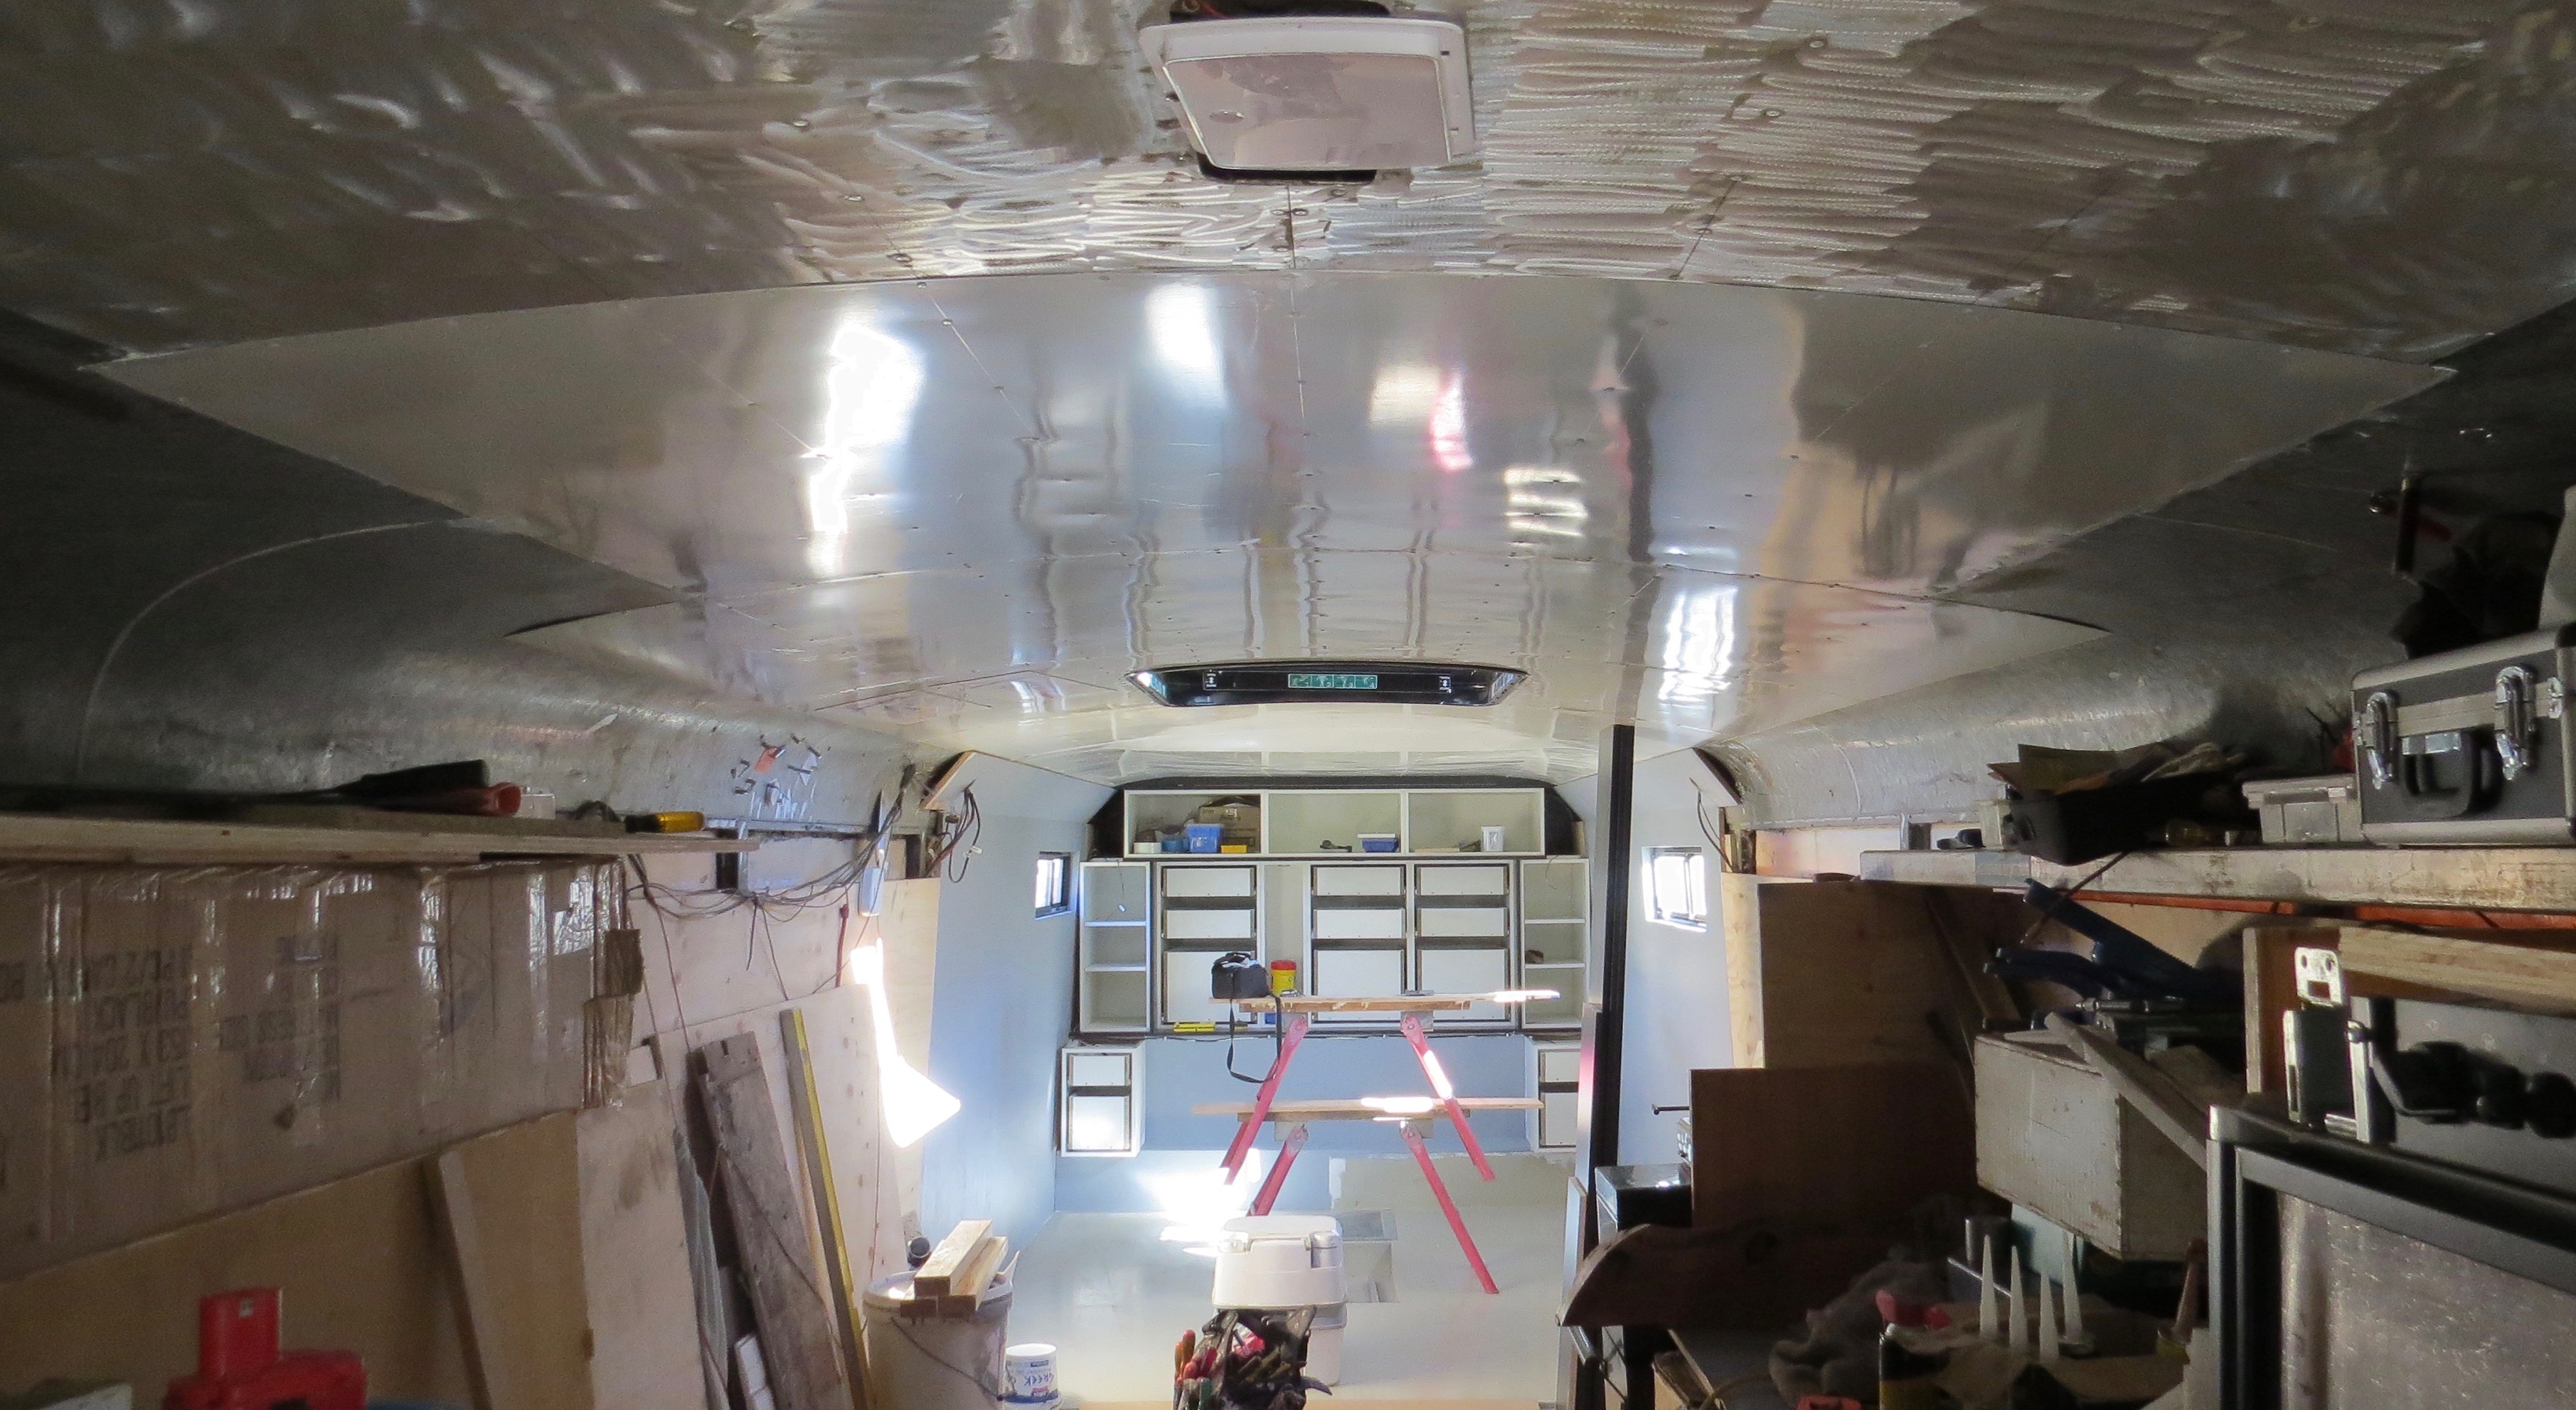
Time for some sparky stuff
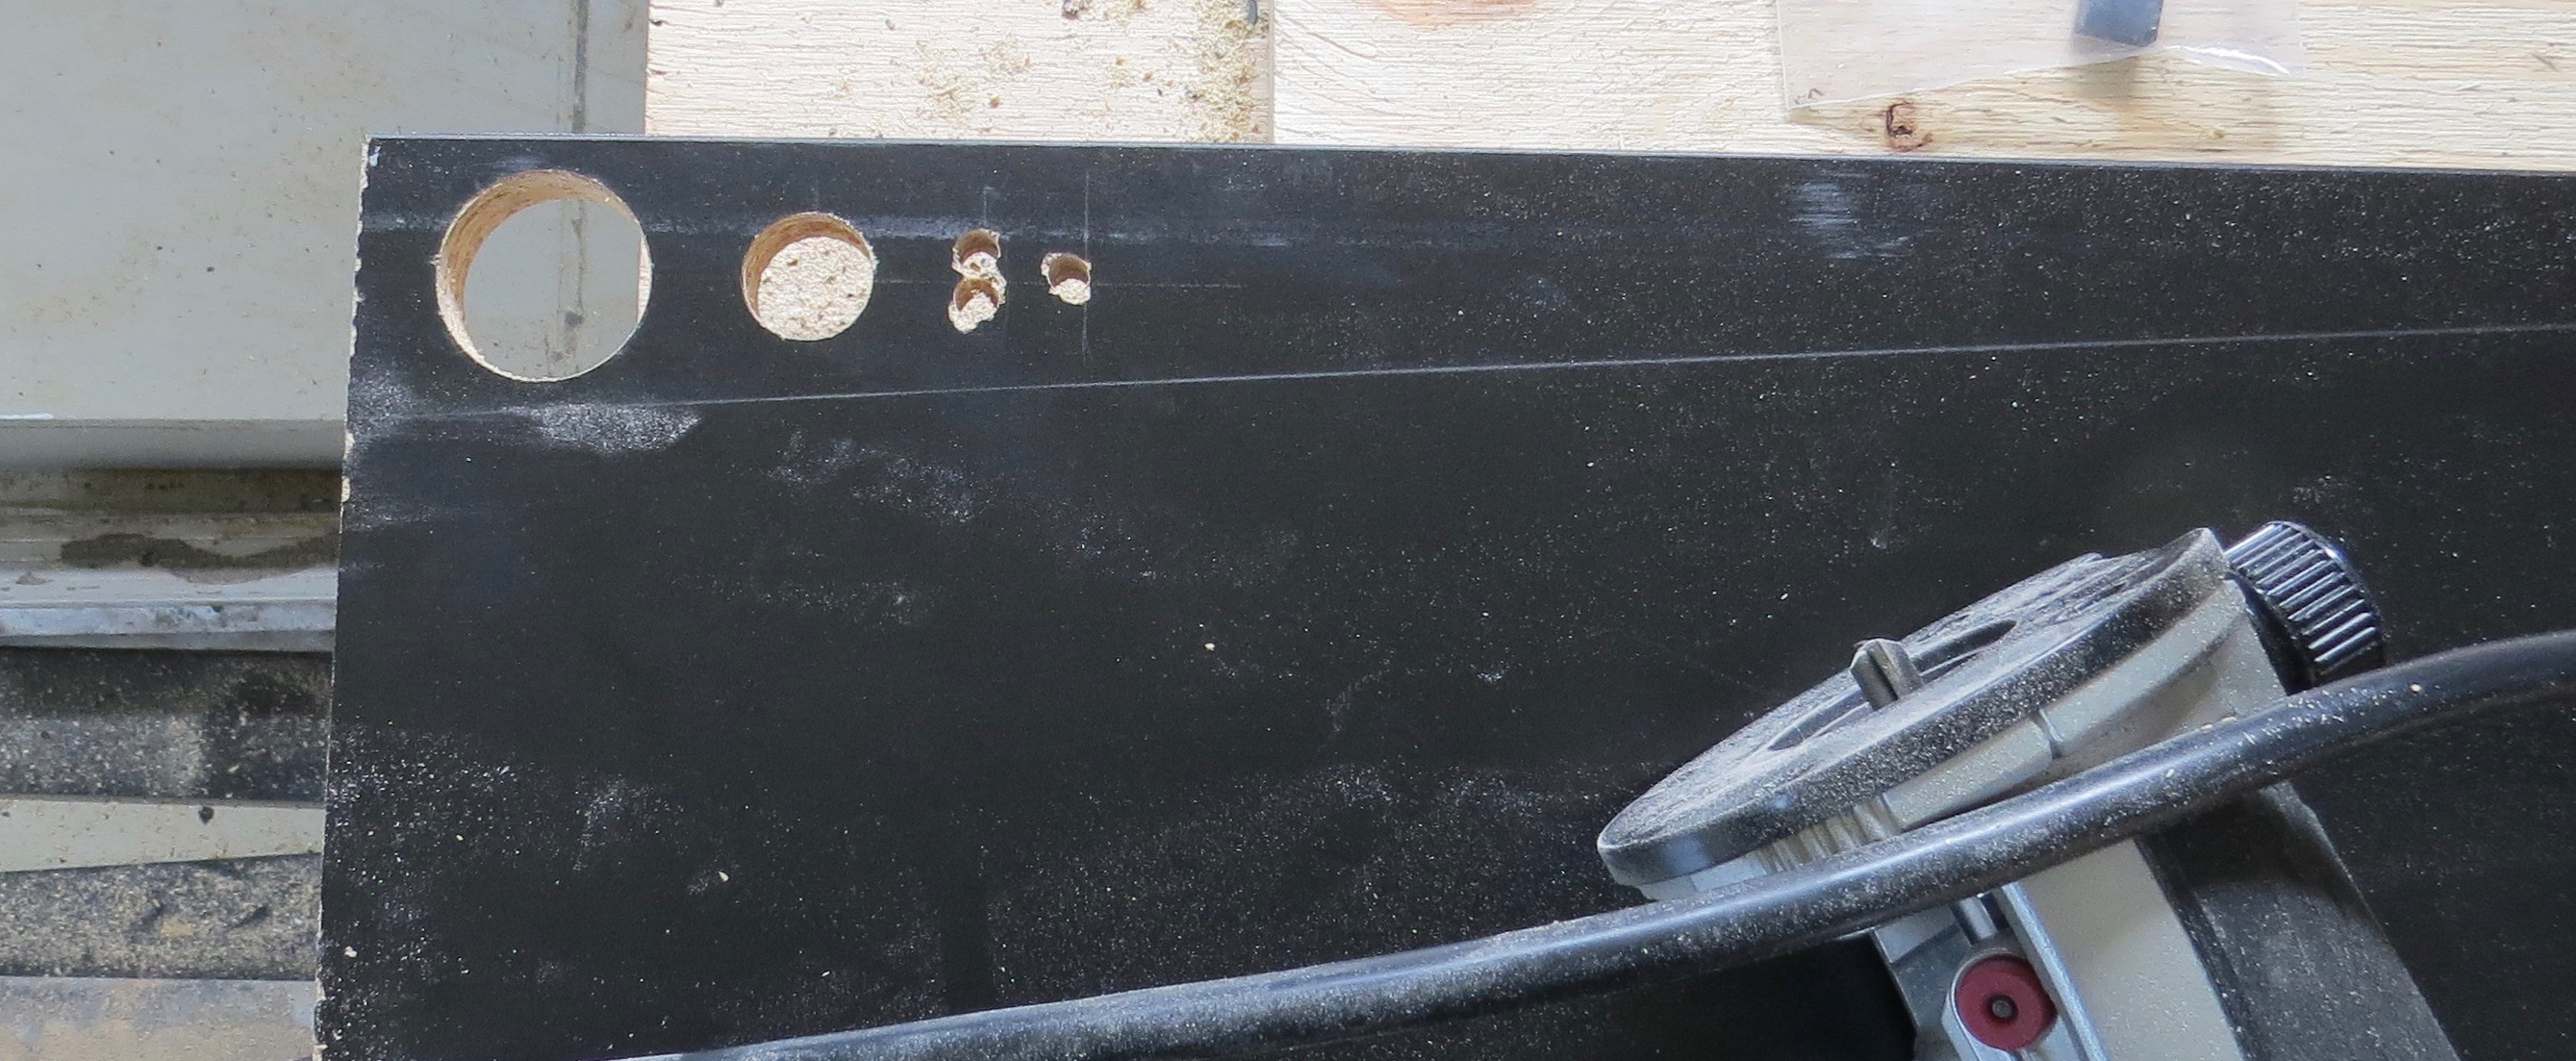
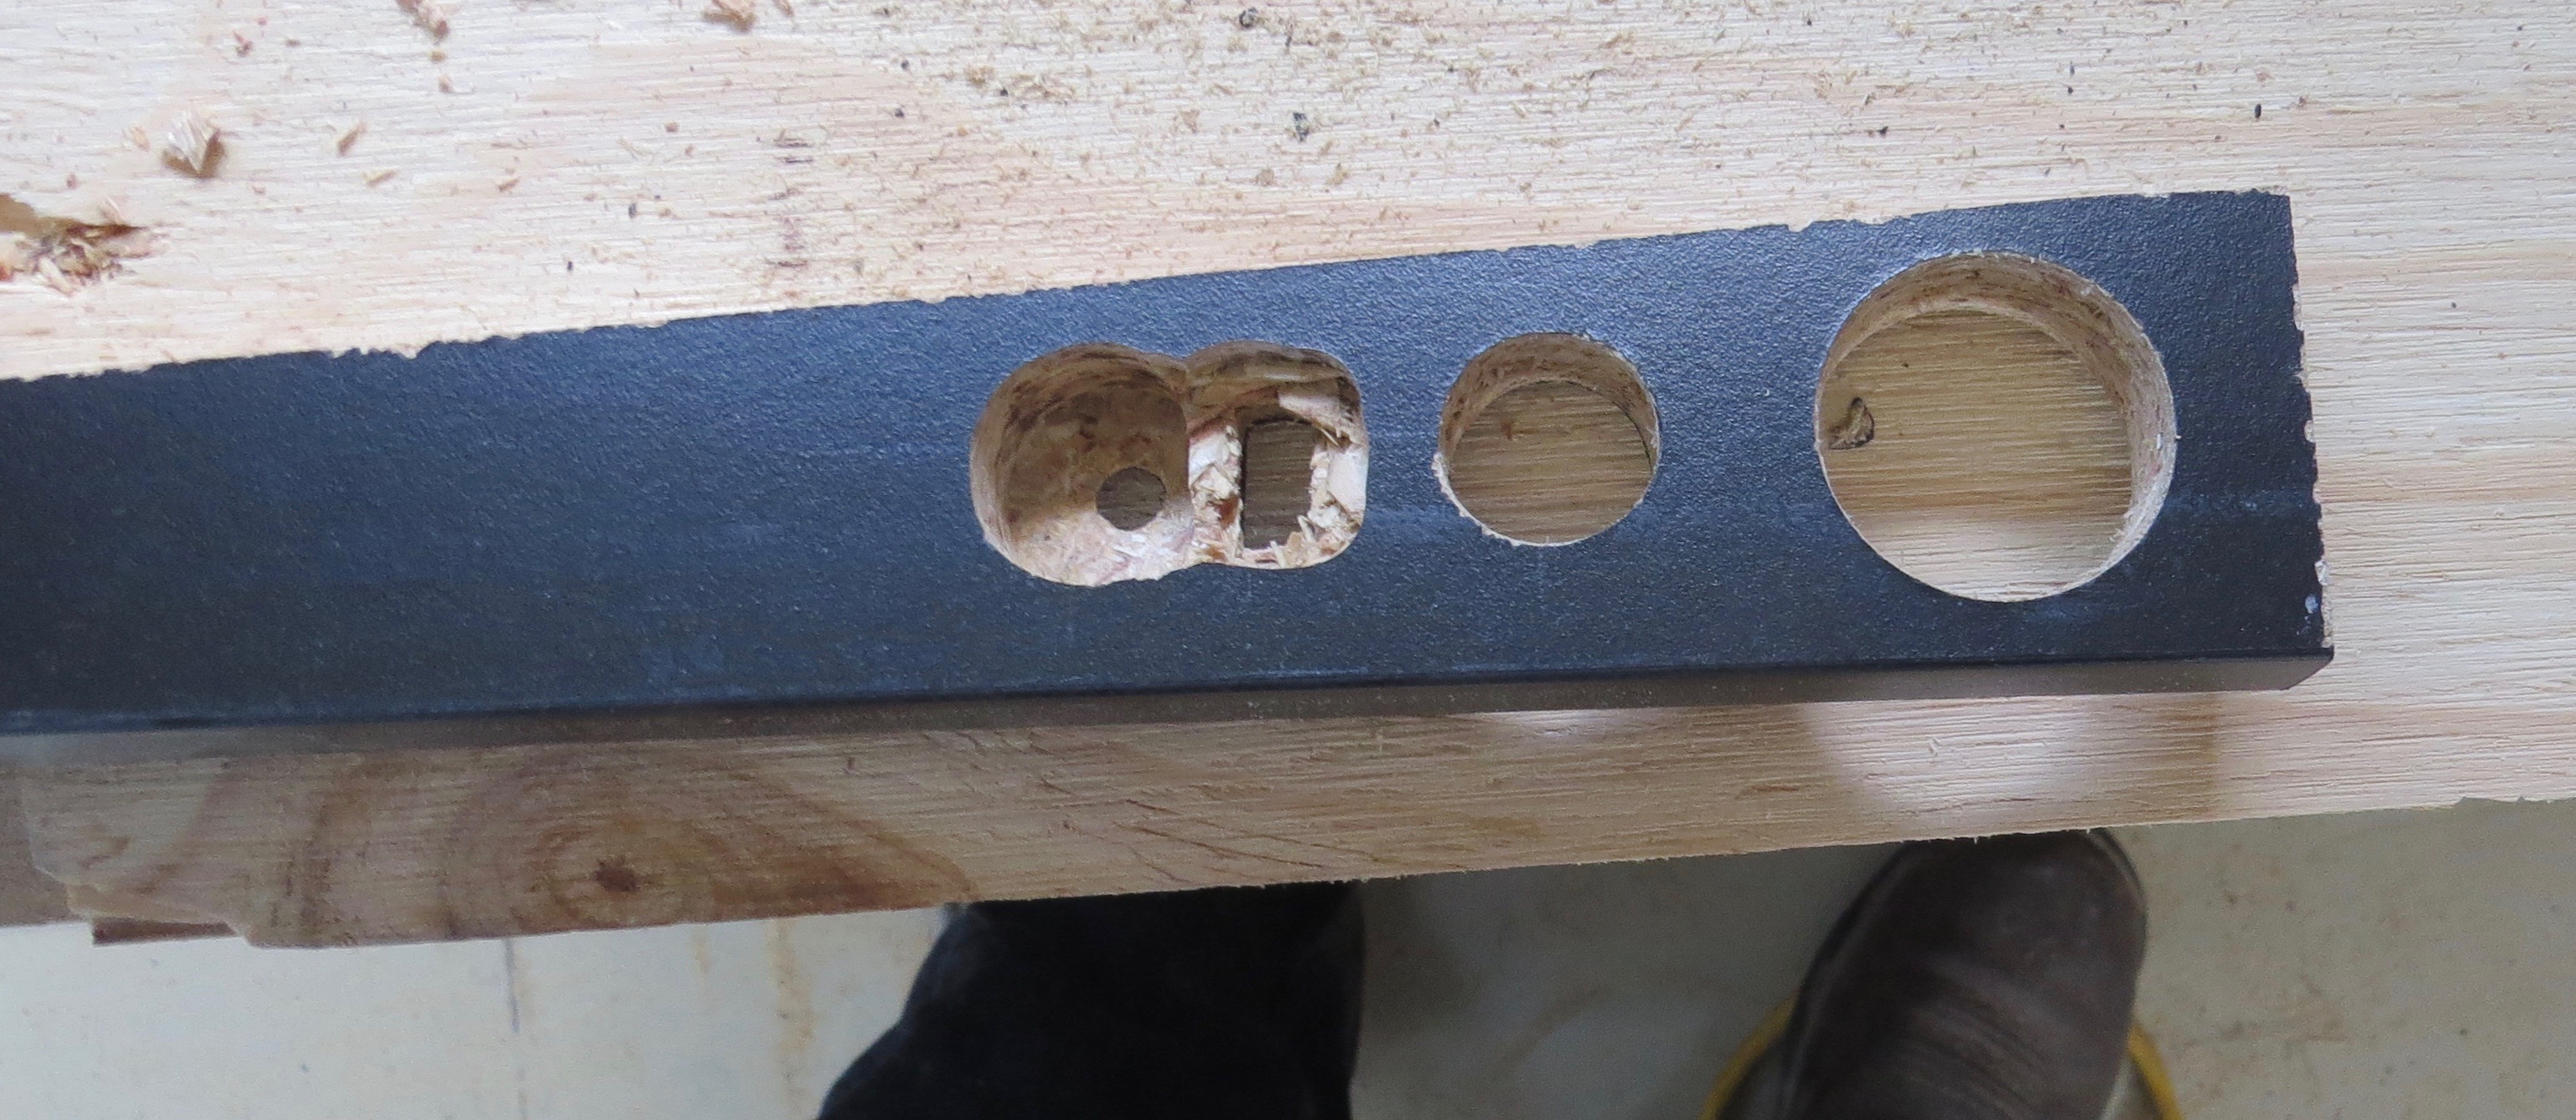
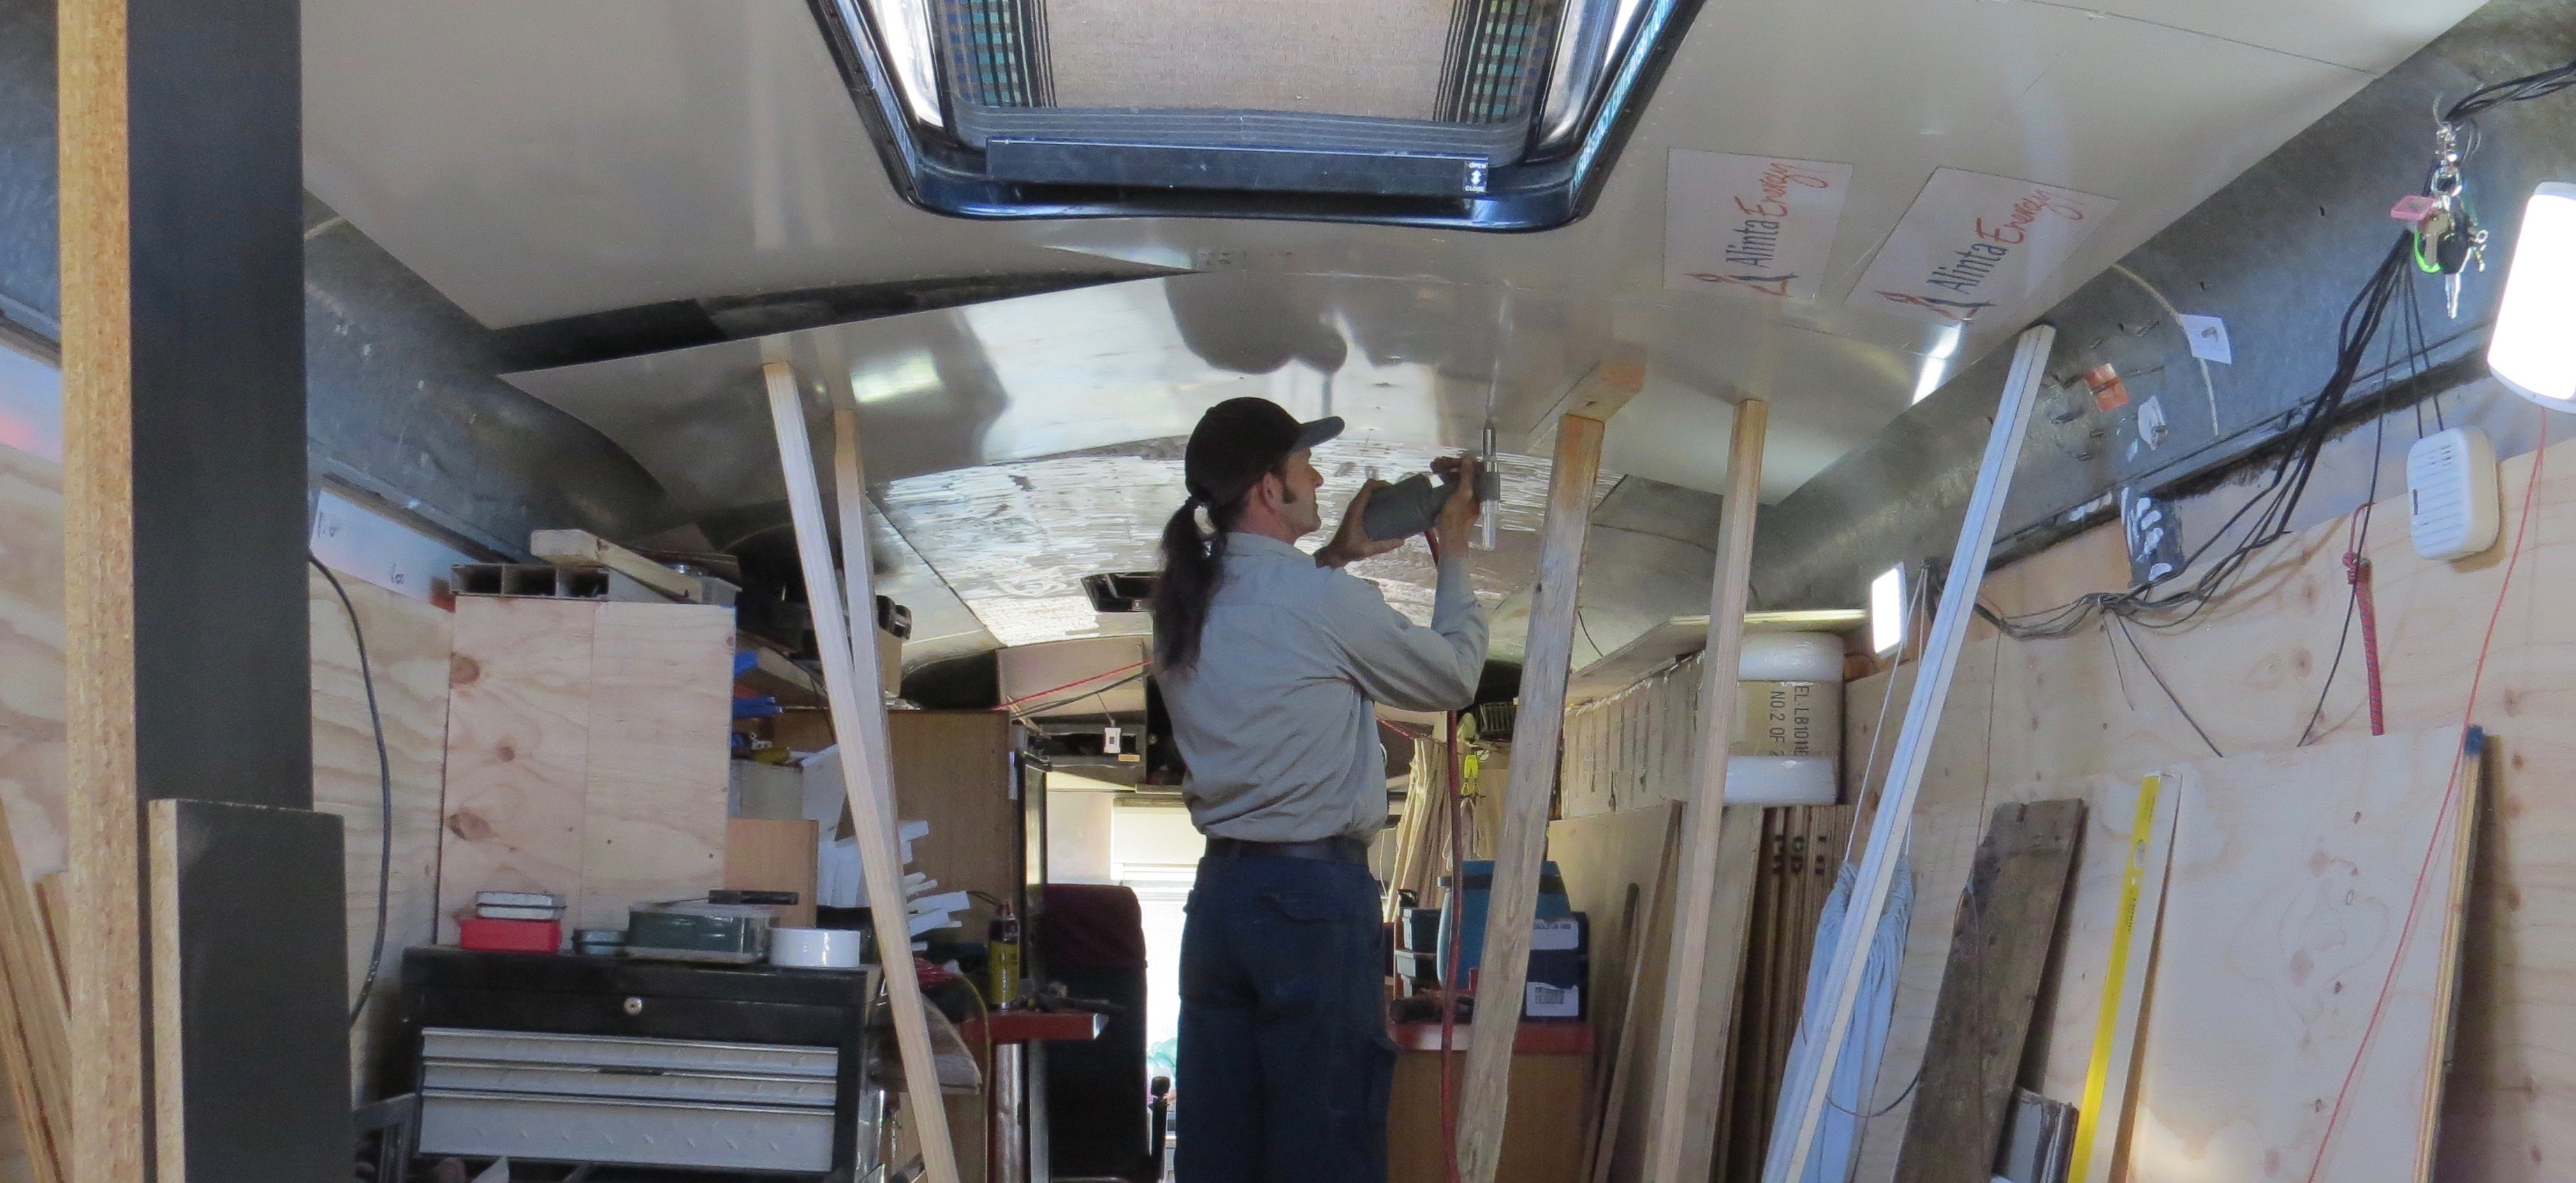
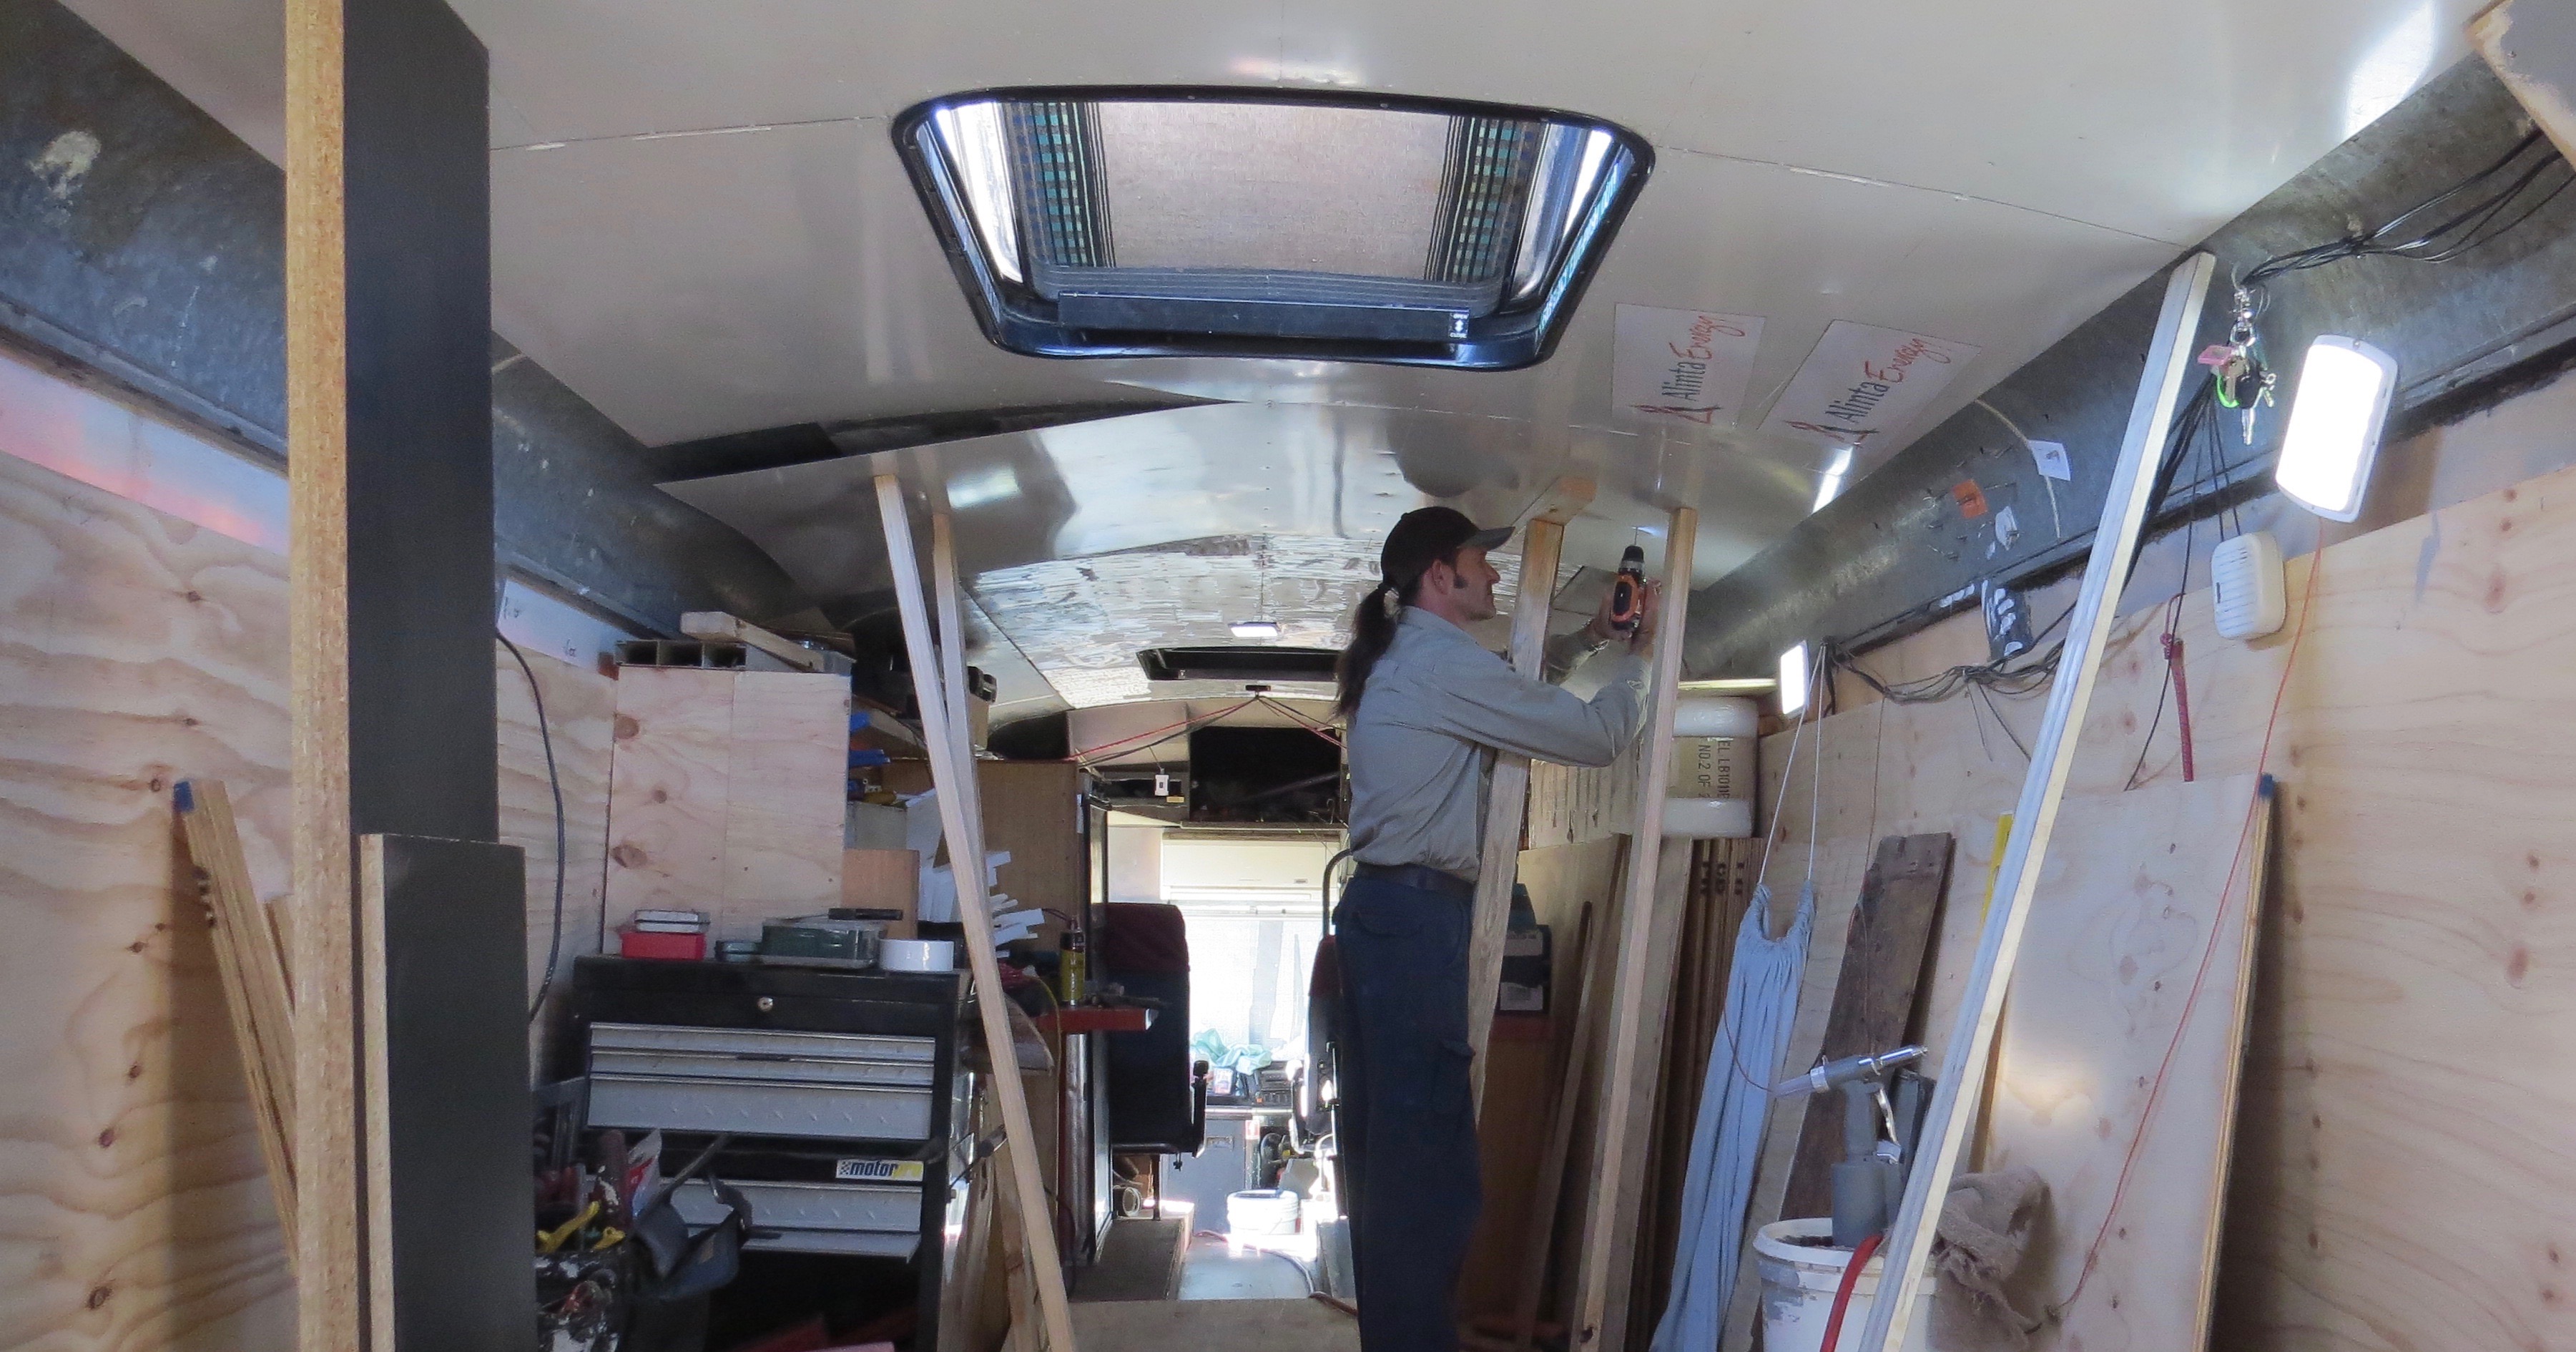
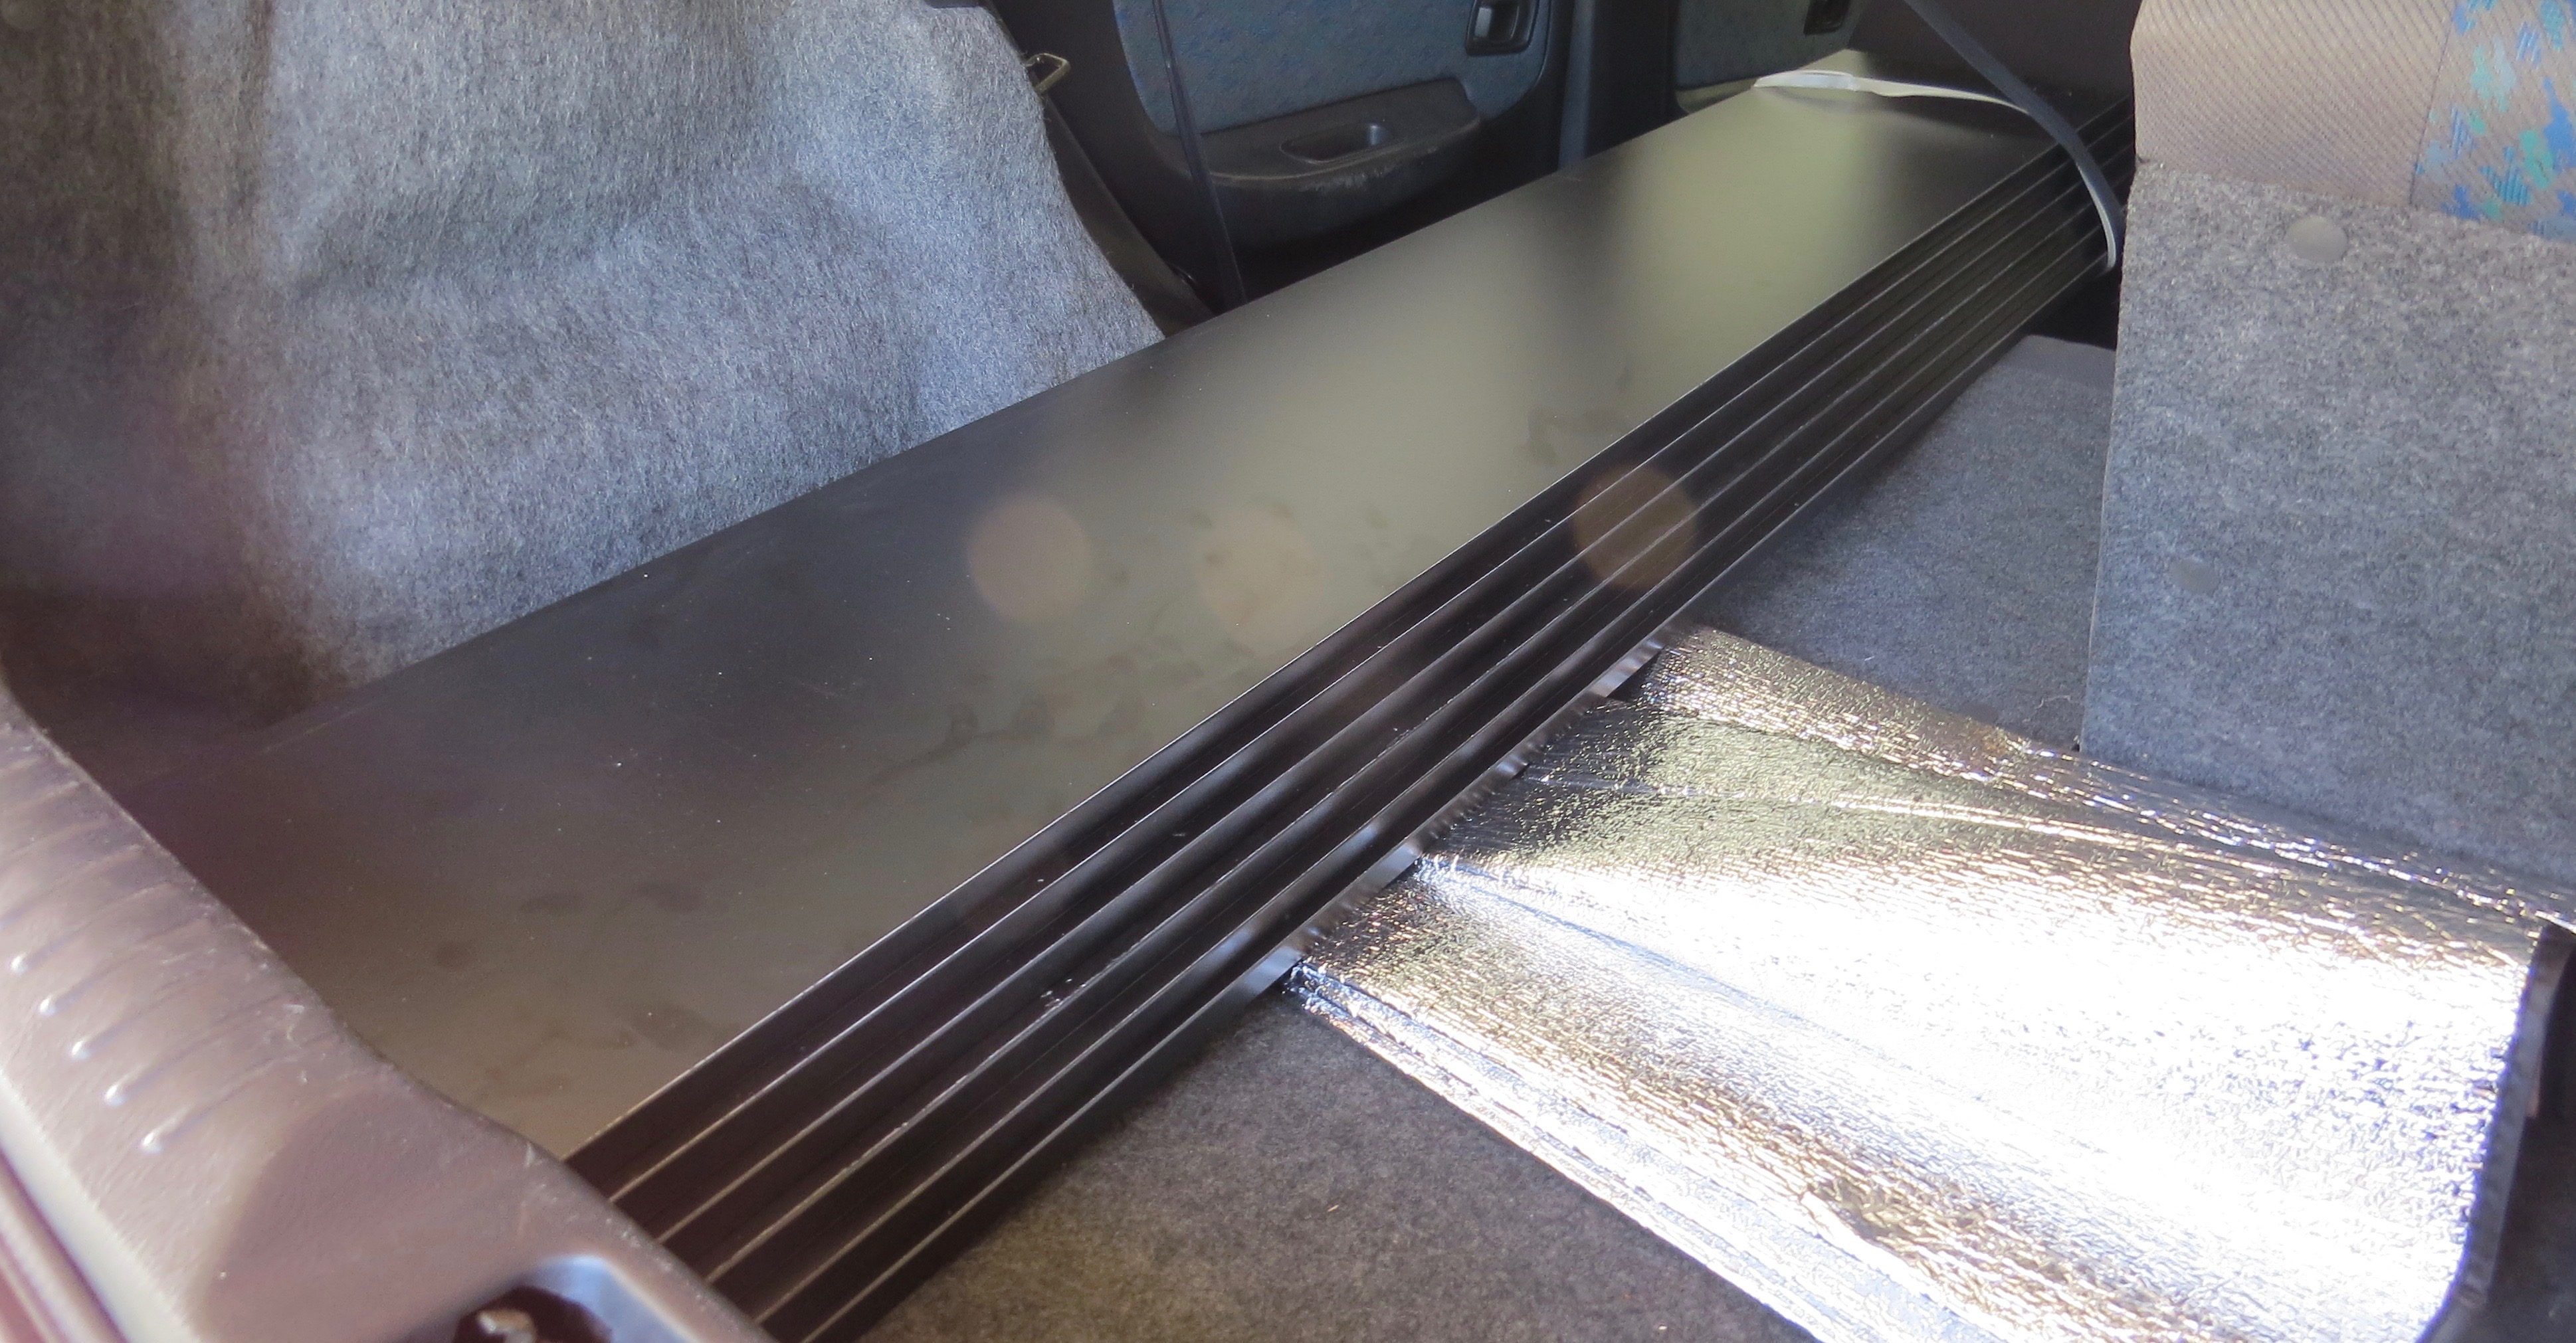
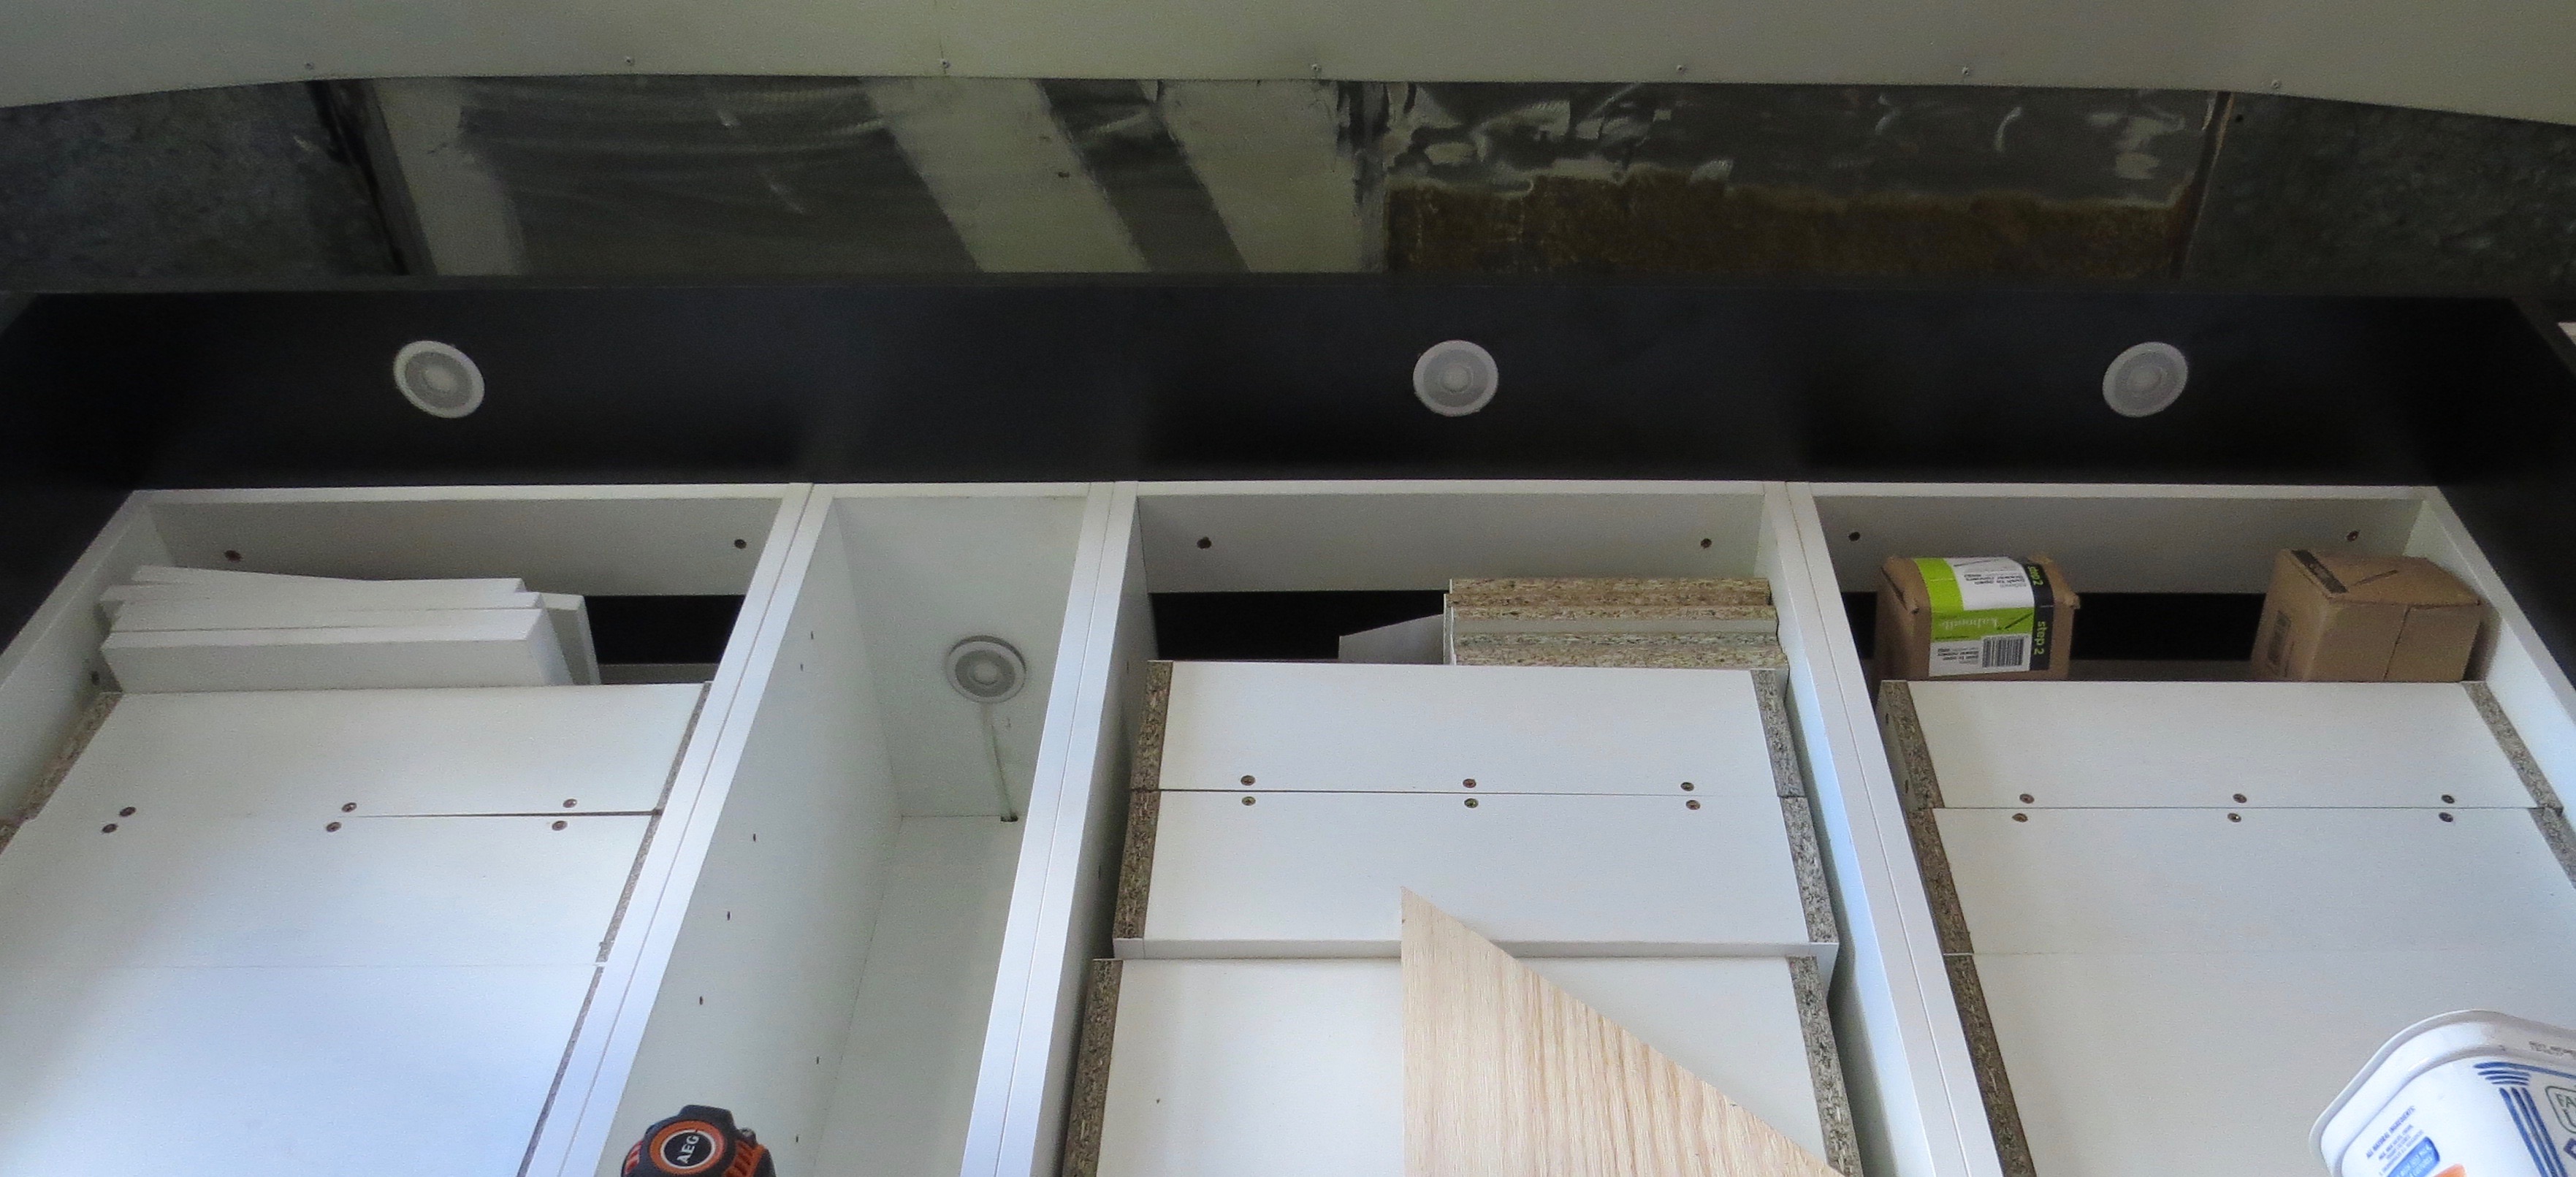
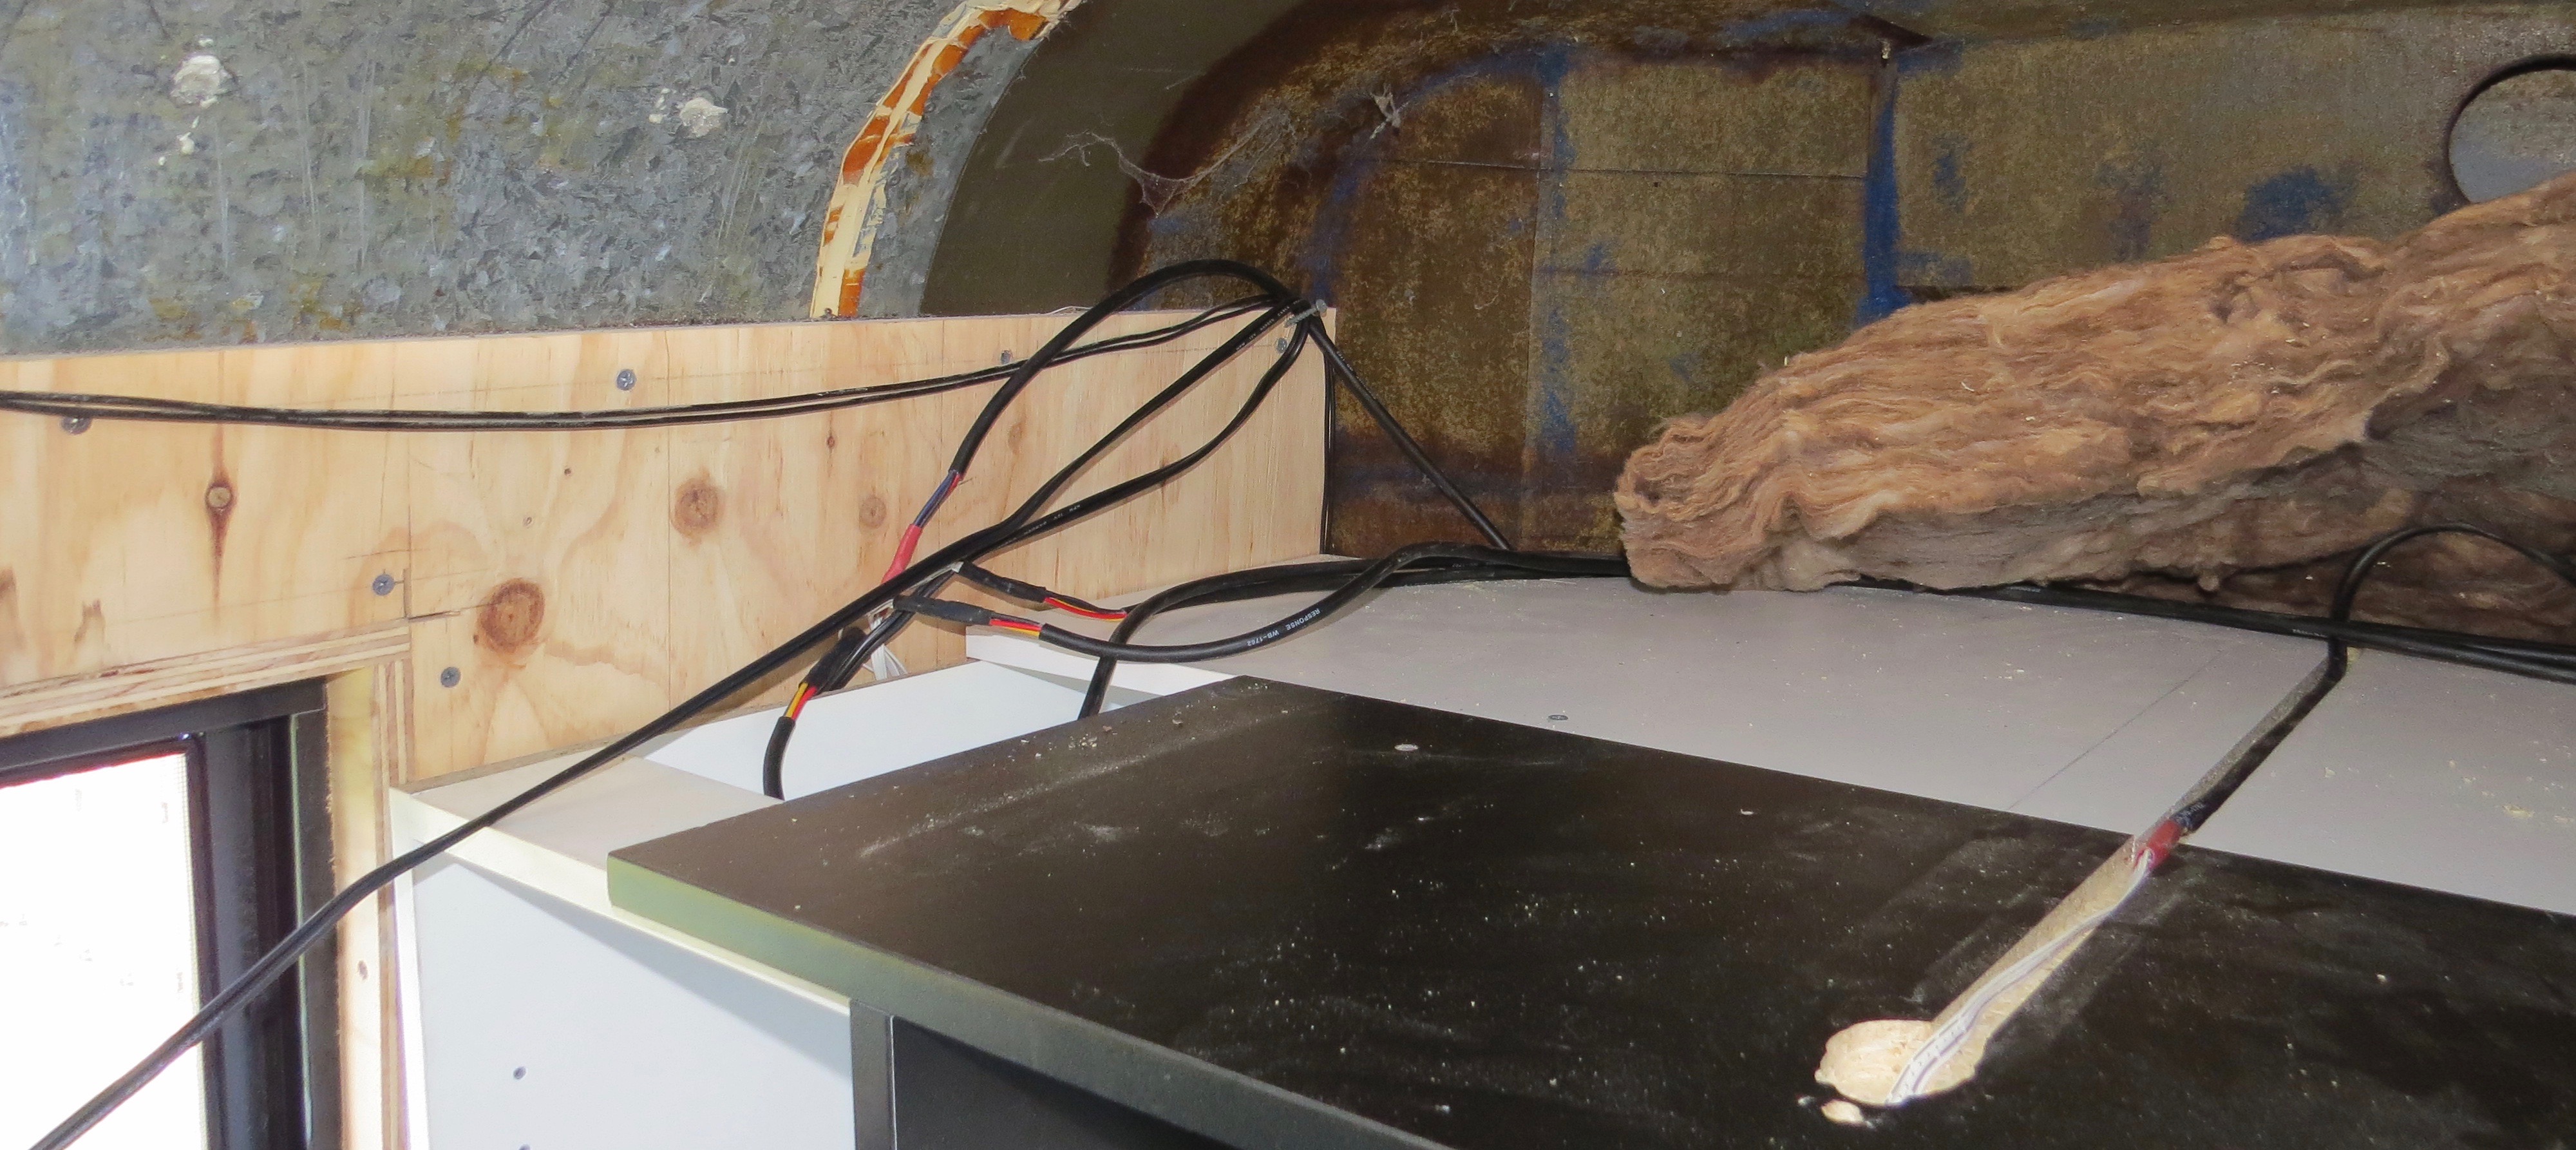
At this stage it was time to run some 12 volt cables for the LED lights as well as some USB chargers on either side of the bed. We need some speaker cables put in as well for the stereo that was going to go in later on. We are not running 240 volt in the bedroom as there is nothing we can think of that we need it for down this section of the bus so 240 volt is it .
All the power cables for the lights, USB charges and the stereo speakers are in. Lets hope that is all of it.
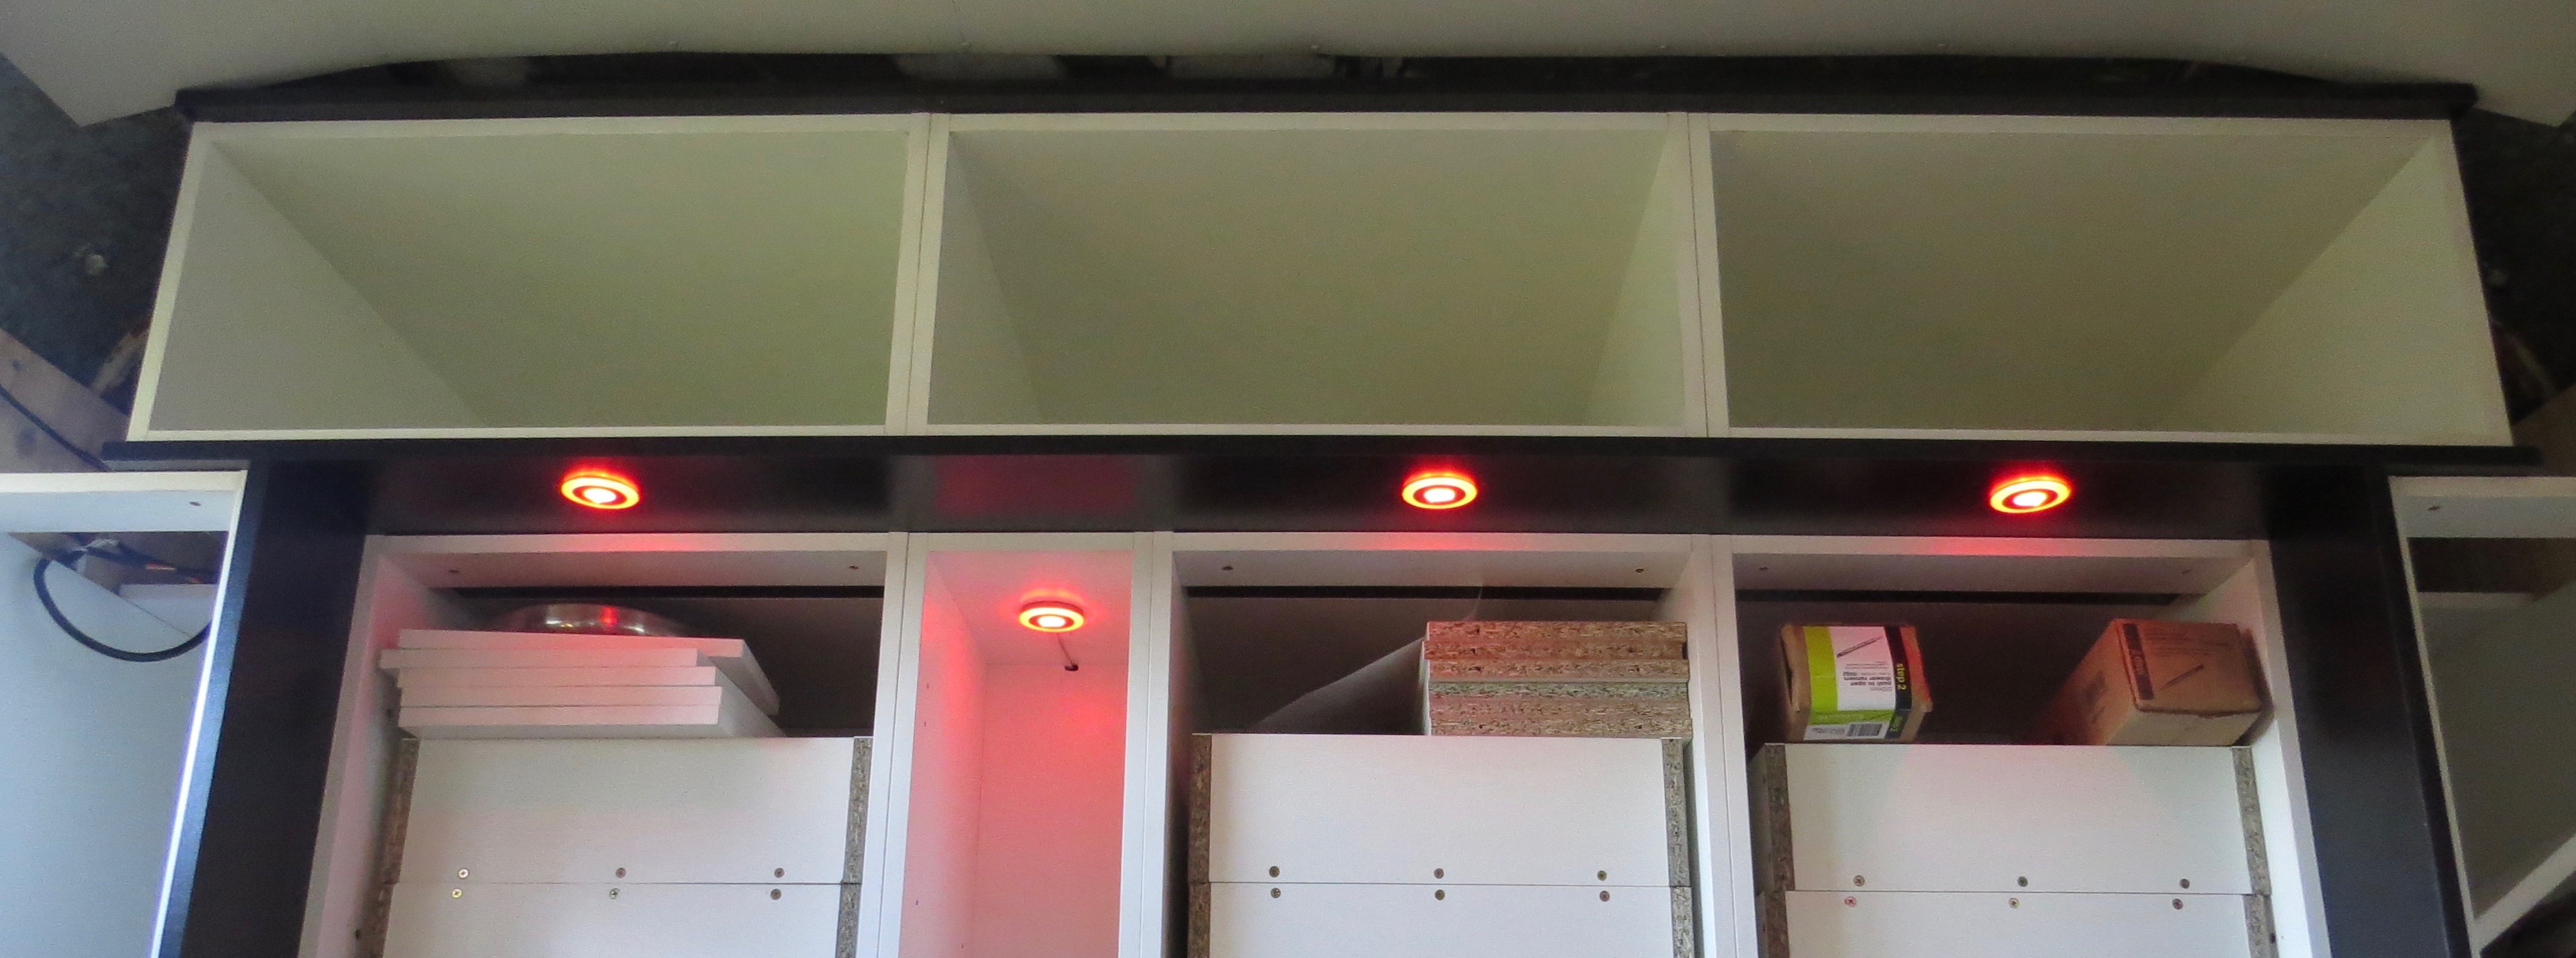
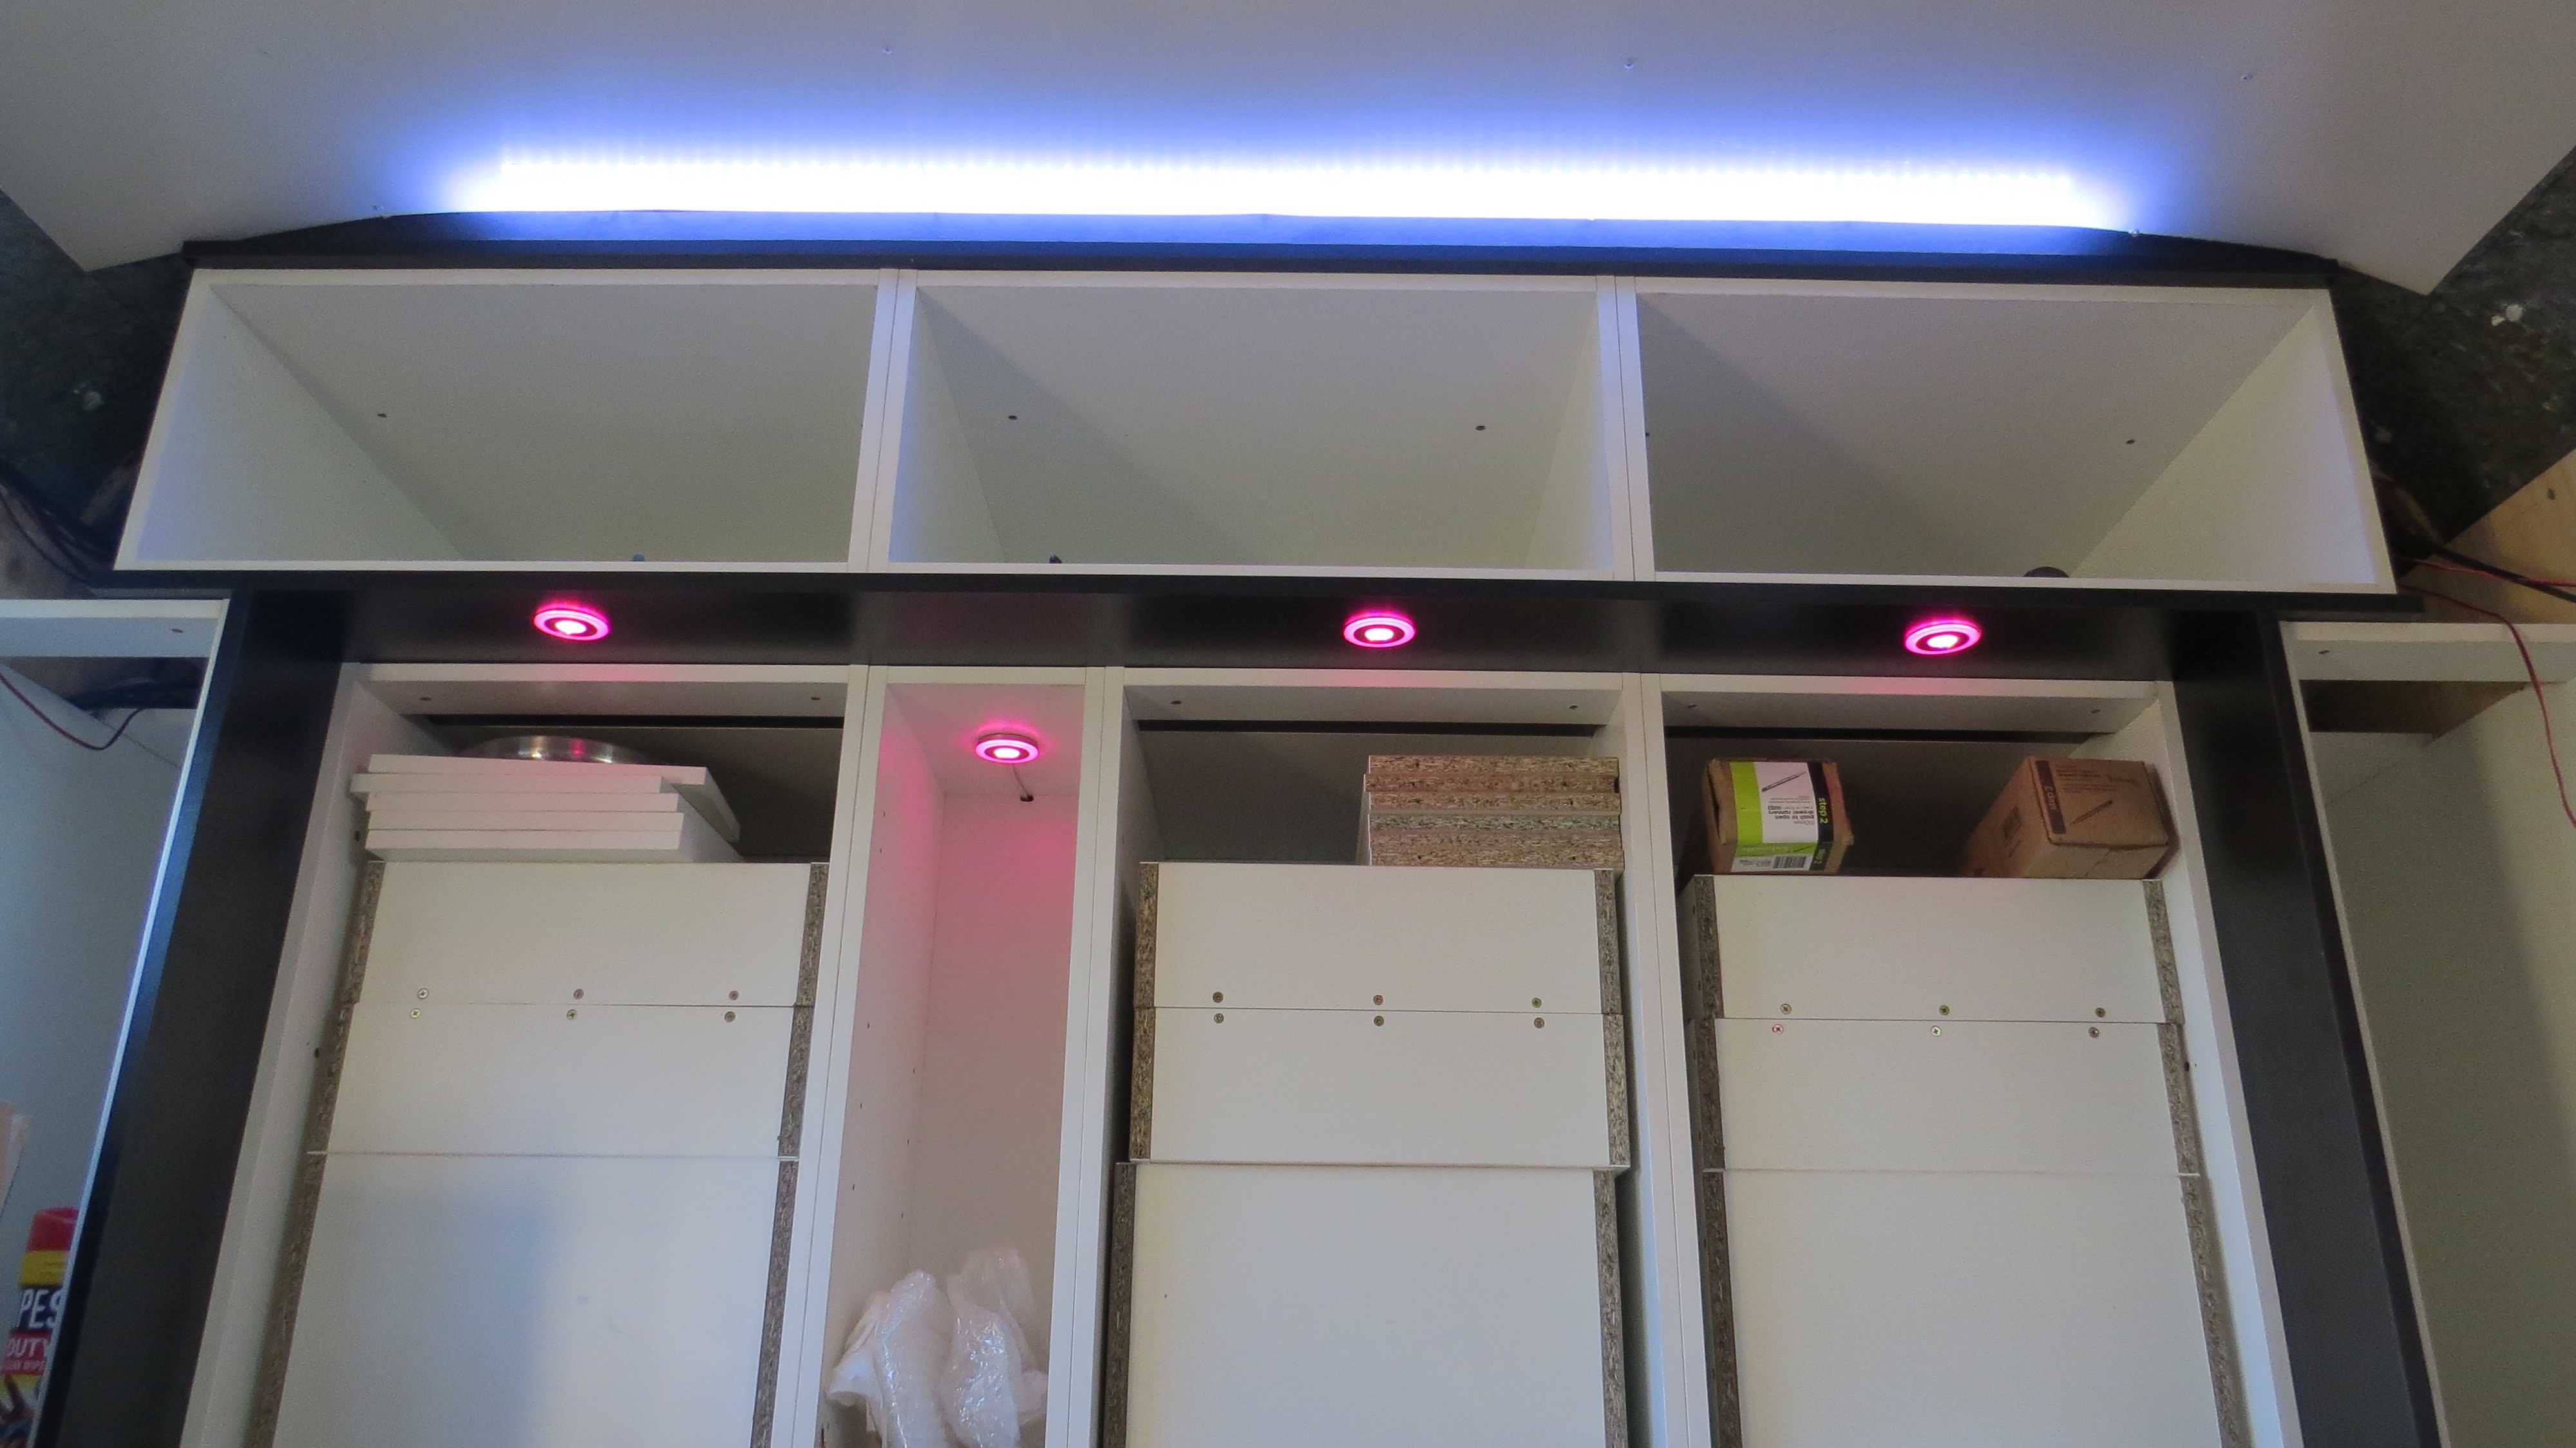
Time to fit in the down light before I go to far.Holes are in place.LED Lights are in place.12v cables are in place as well as the insulation.You can turn the LED lights any colour you like.Now the led light strip in place and all powered up.
I have some fiddle bits of trim around the cupboards, which will be done later on when we get some other work out of the way first. All we have to do now is fit the draw runners on before putting the draws.
We have not decided what we actually want the walls to look like, there has been some ideas floating around but nothing that really makes us confident to want to finish them now. So I will be tidying up the bedroom walls with more ply where all the power cables run and then painting them till we find what kind for finish we are looking for.
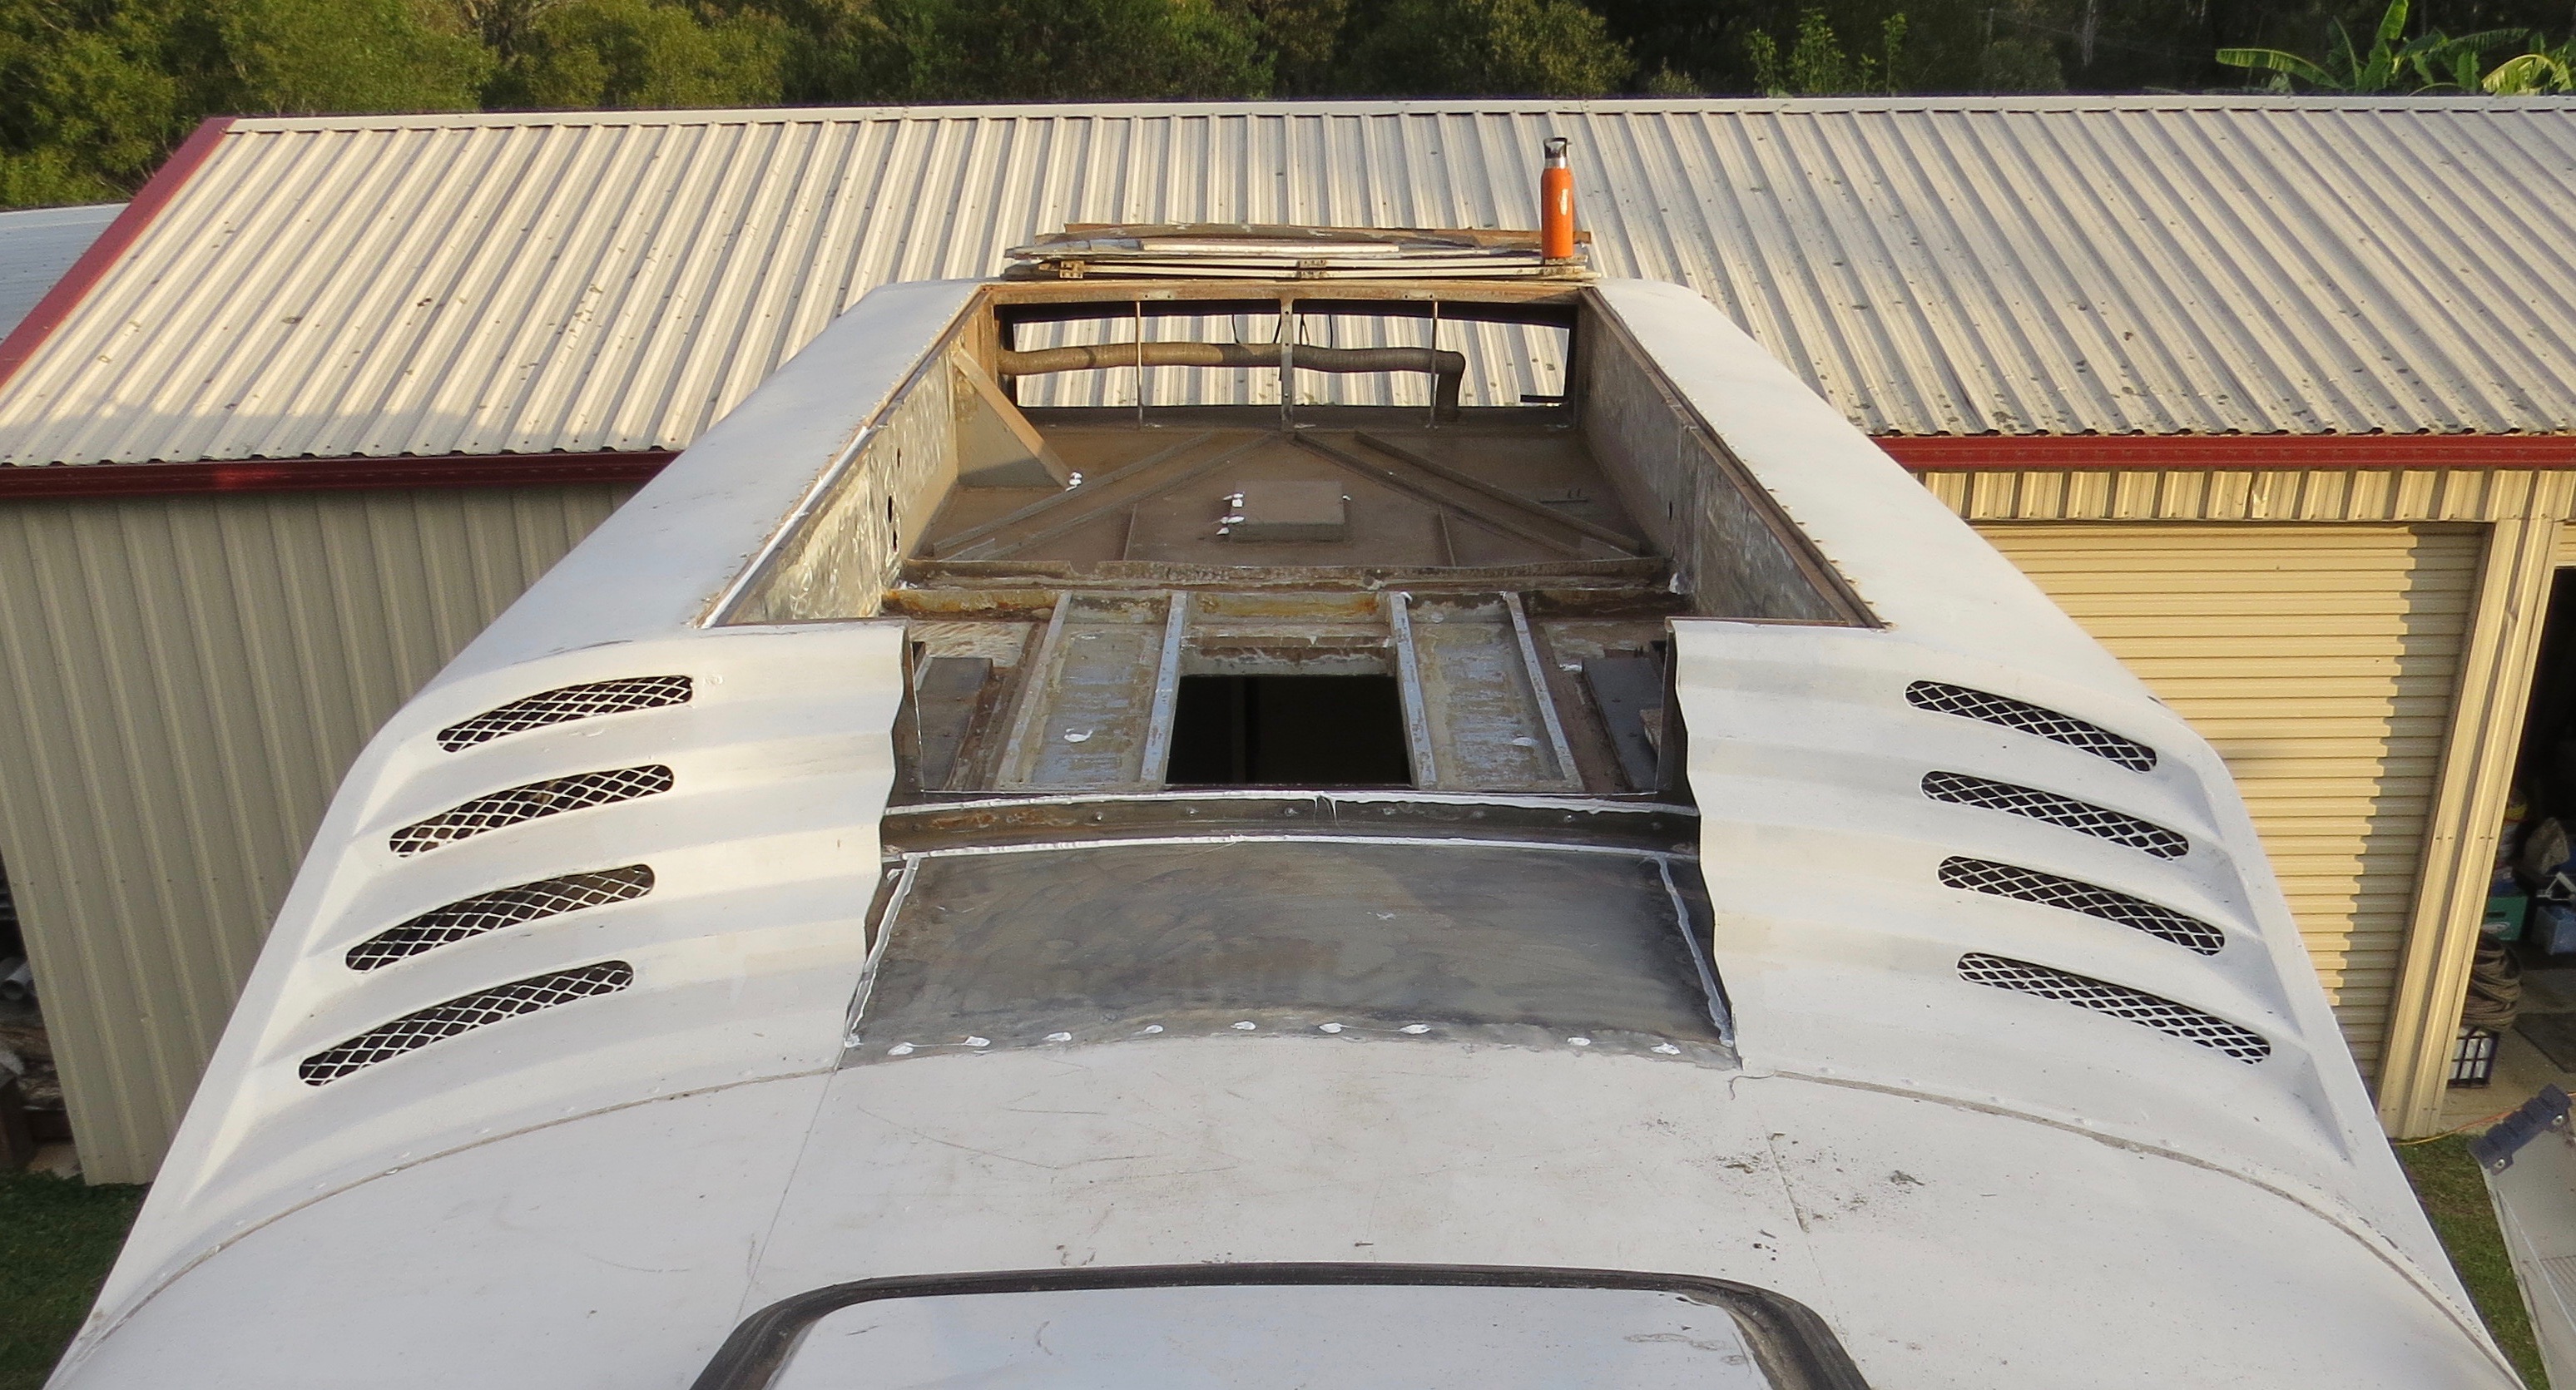
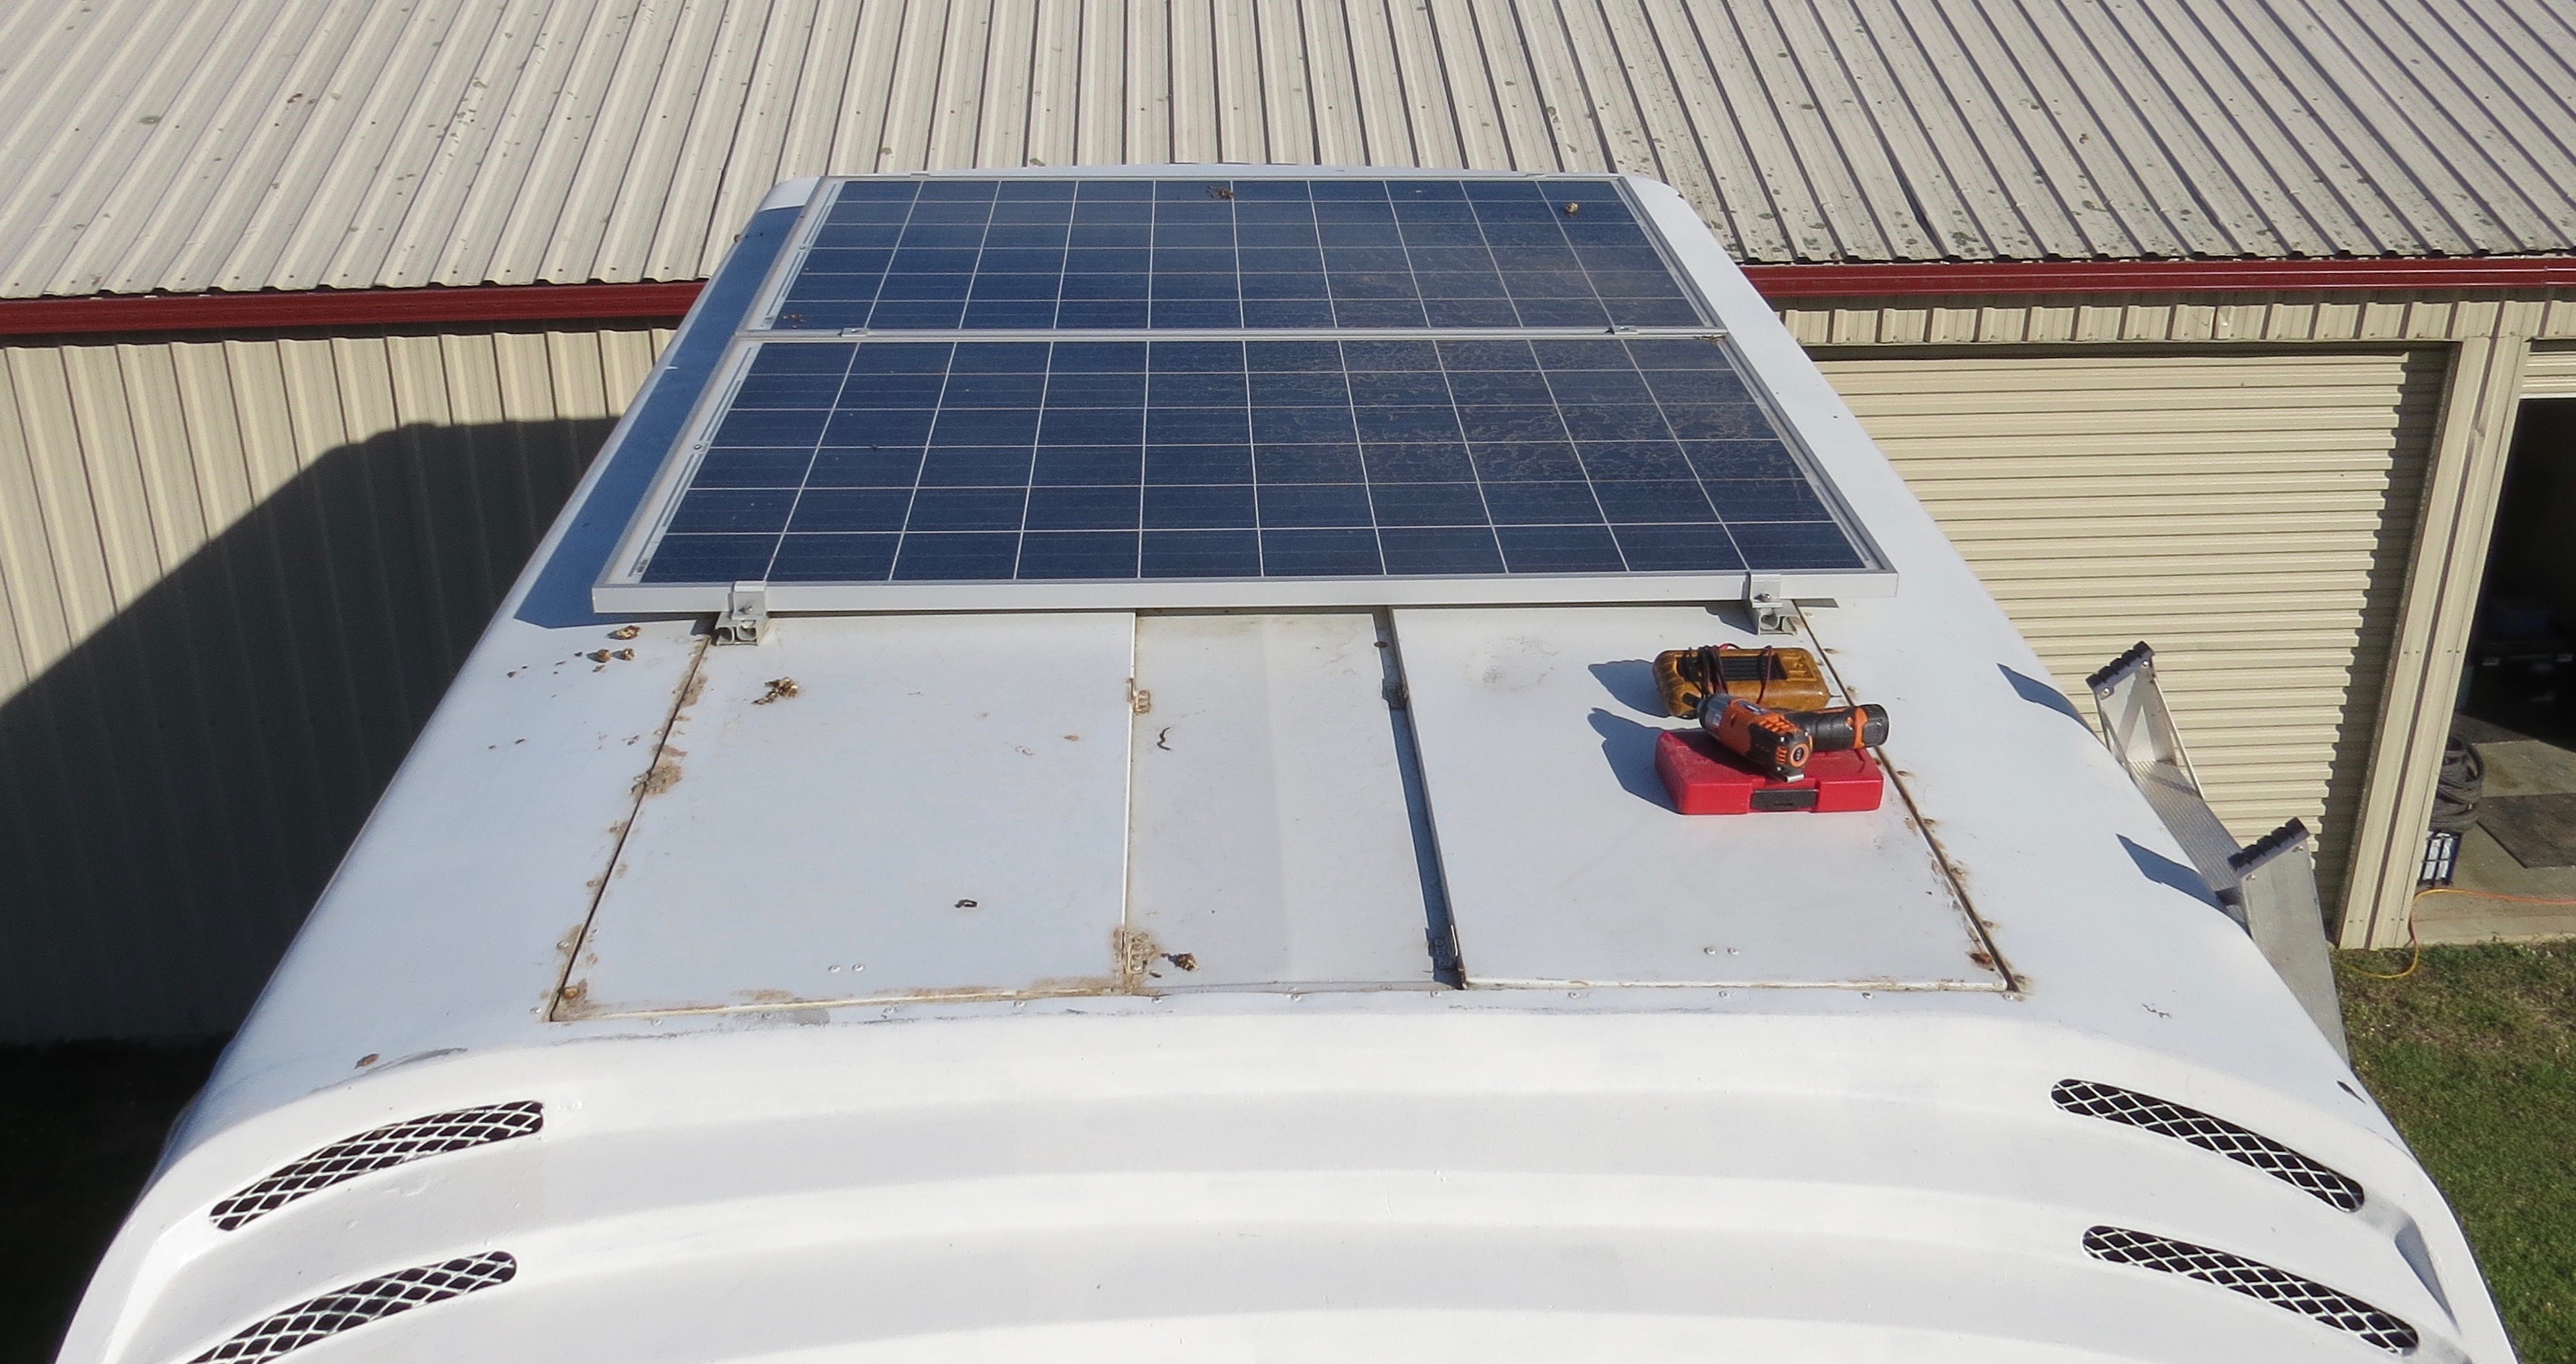
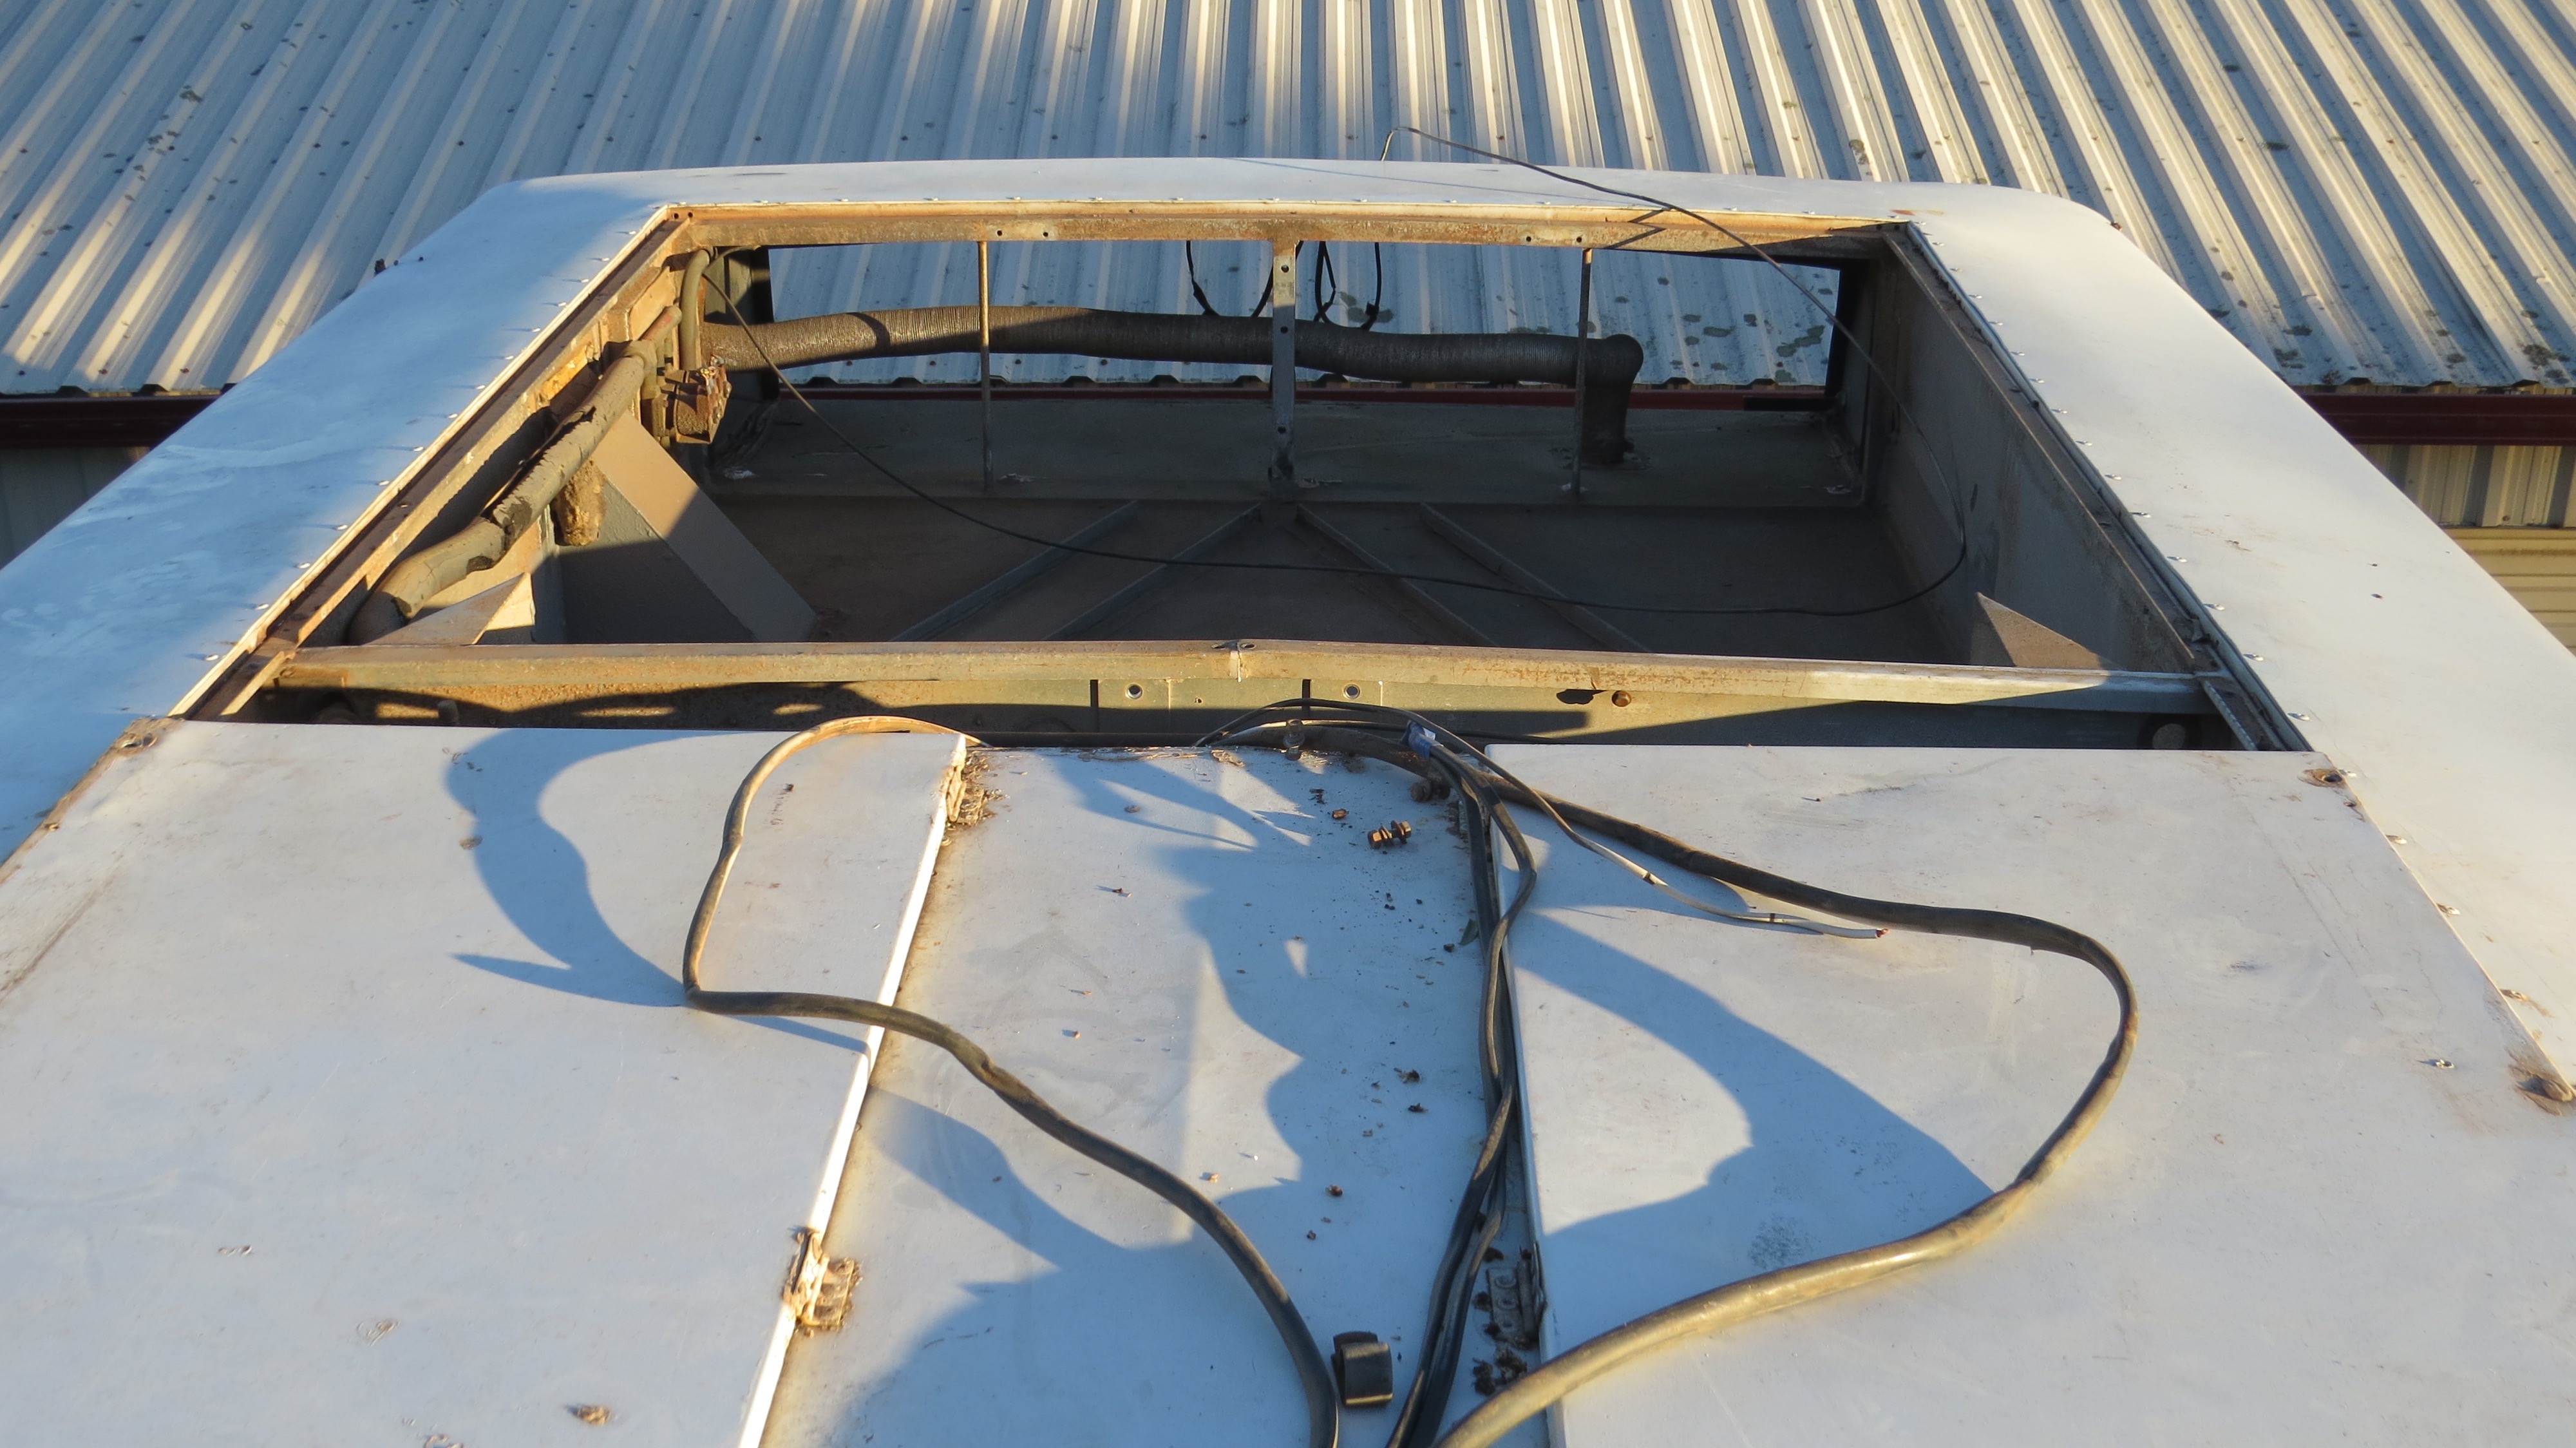
We had already done the first part of the work on the bedroom ceiling, but to finish that job. We had to rip the rest of the old air-con off the roof. I started with getting the sola panels off first, then remove the cover plates.
Now time to remove the solar panels again.This will be the last time the roof looks like a coach roof
This will be the last time it will look like this.
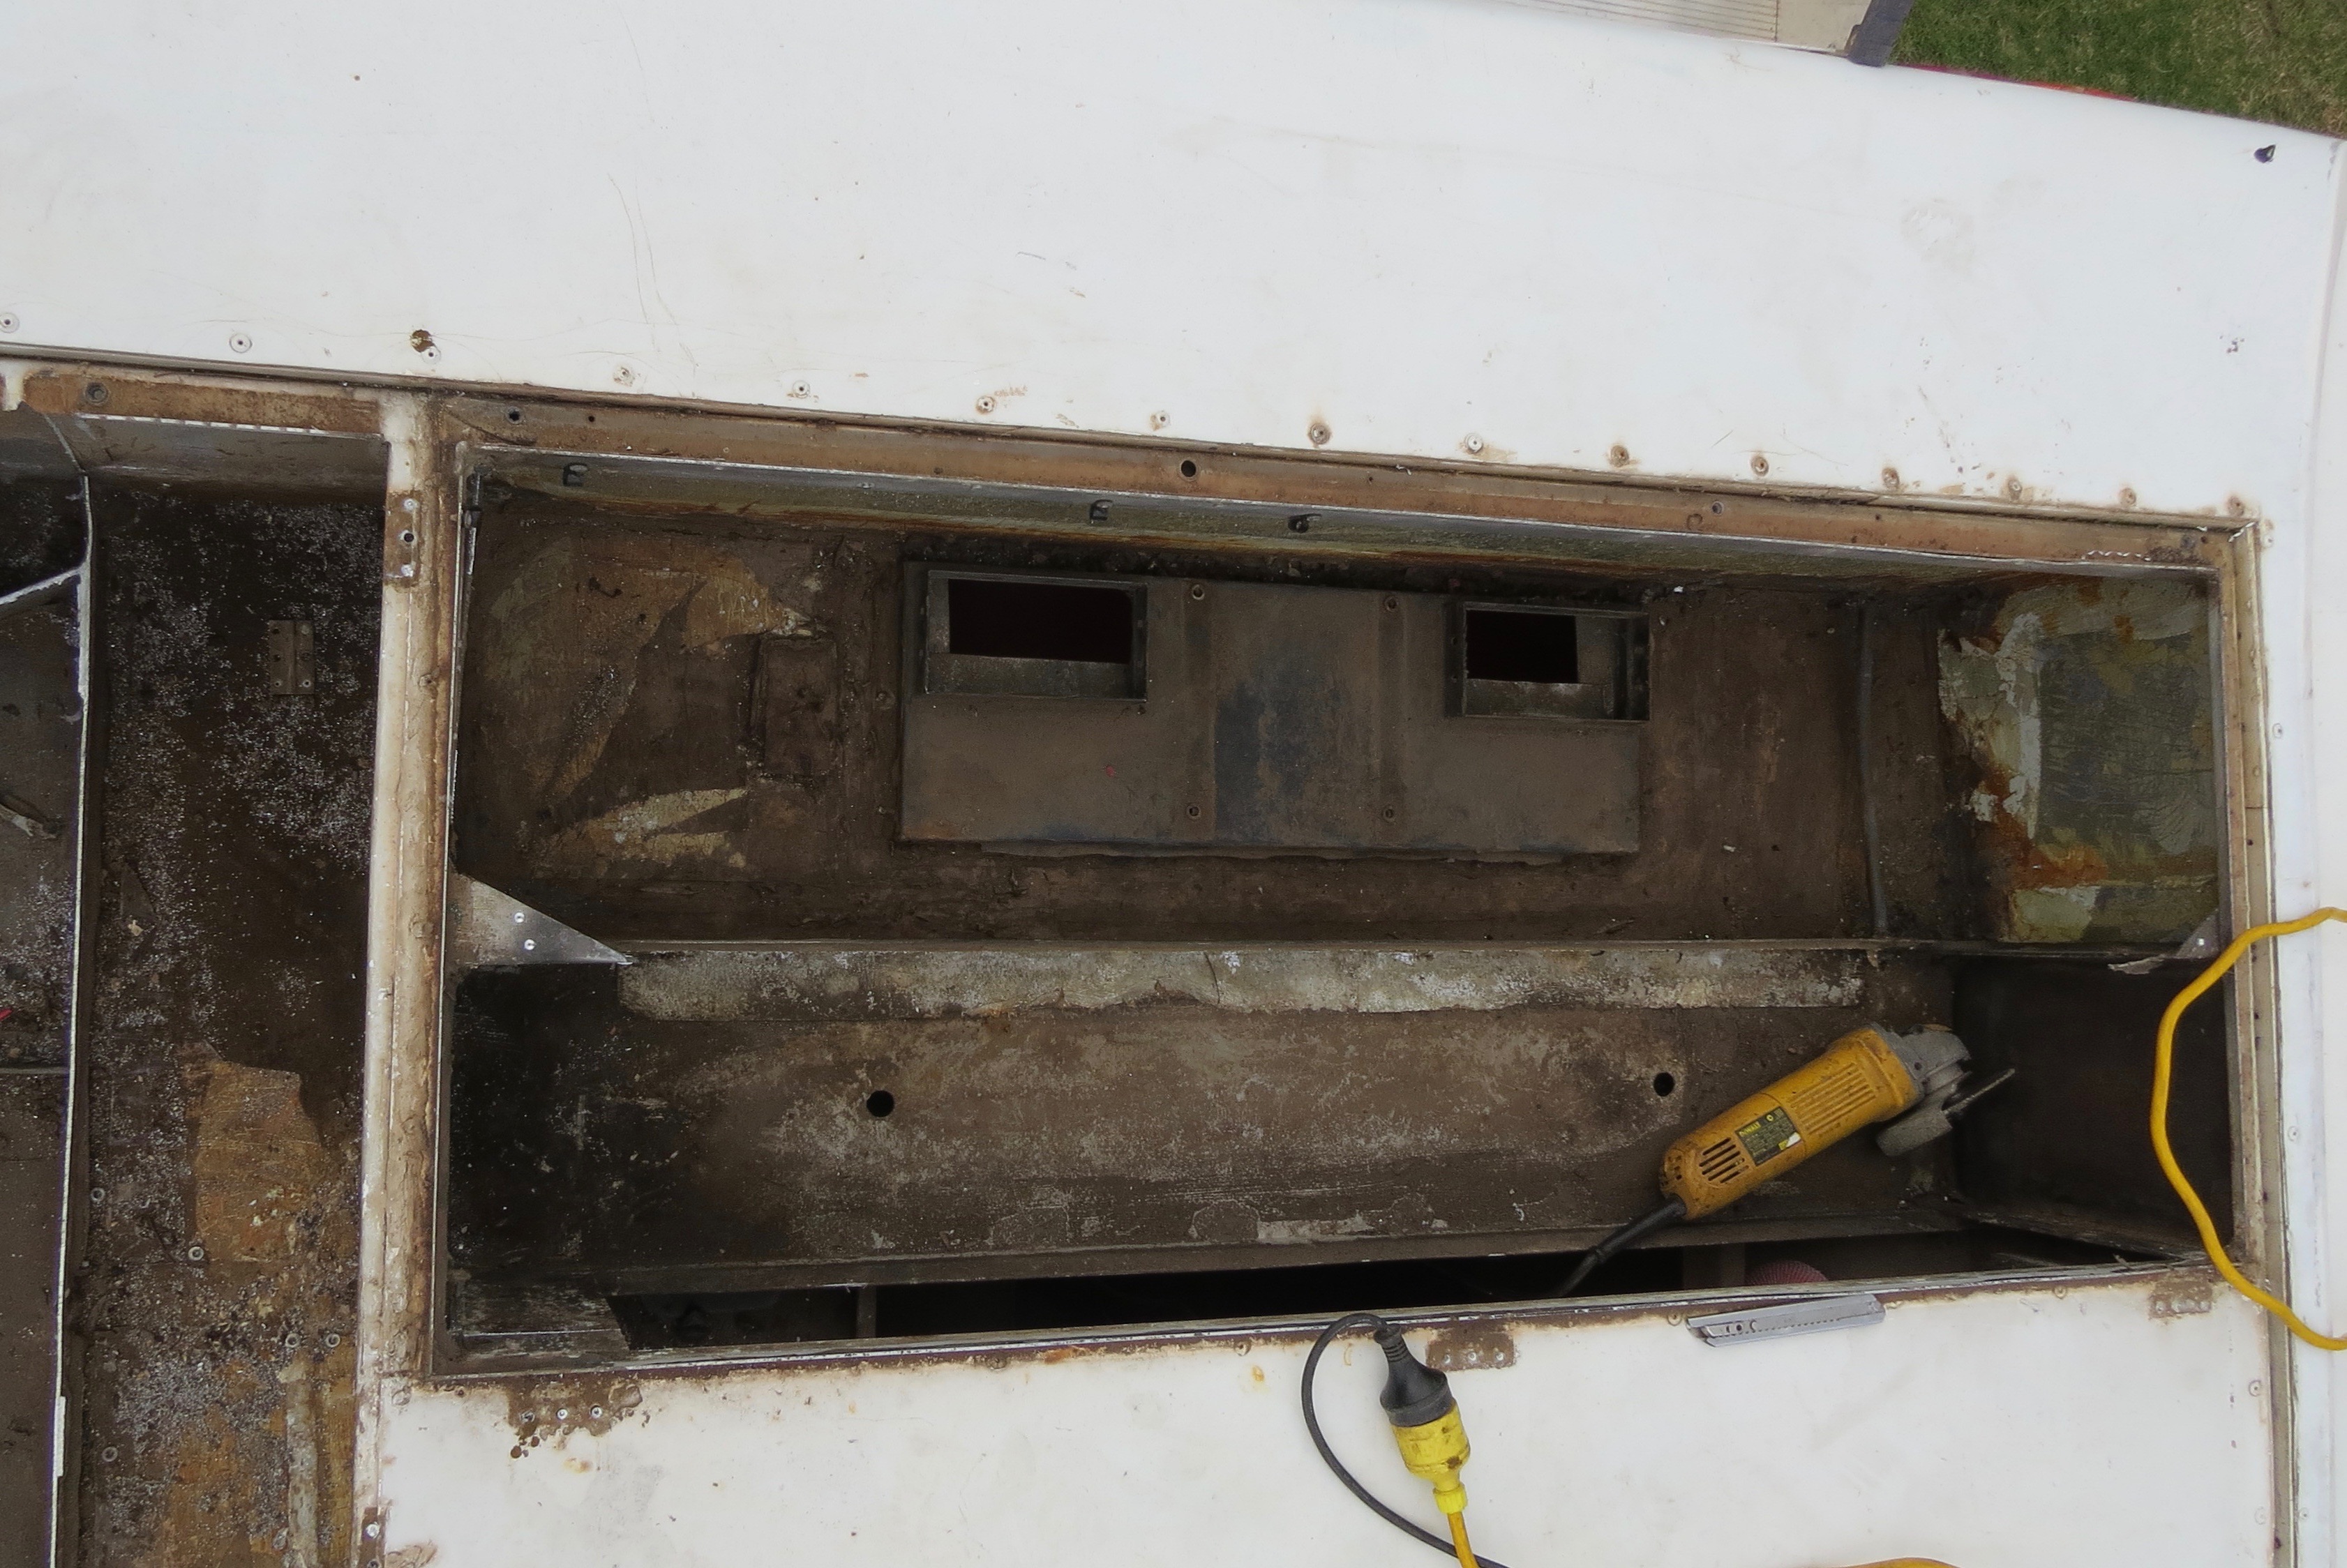
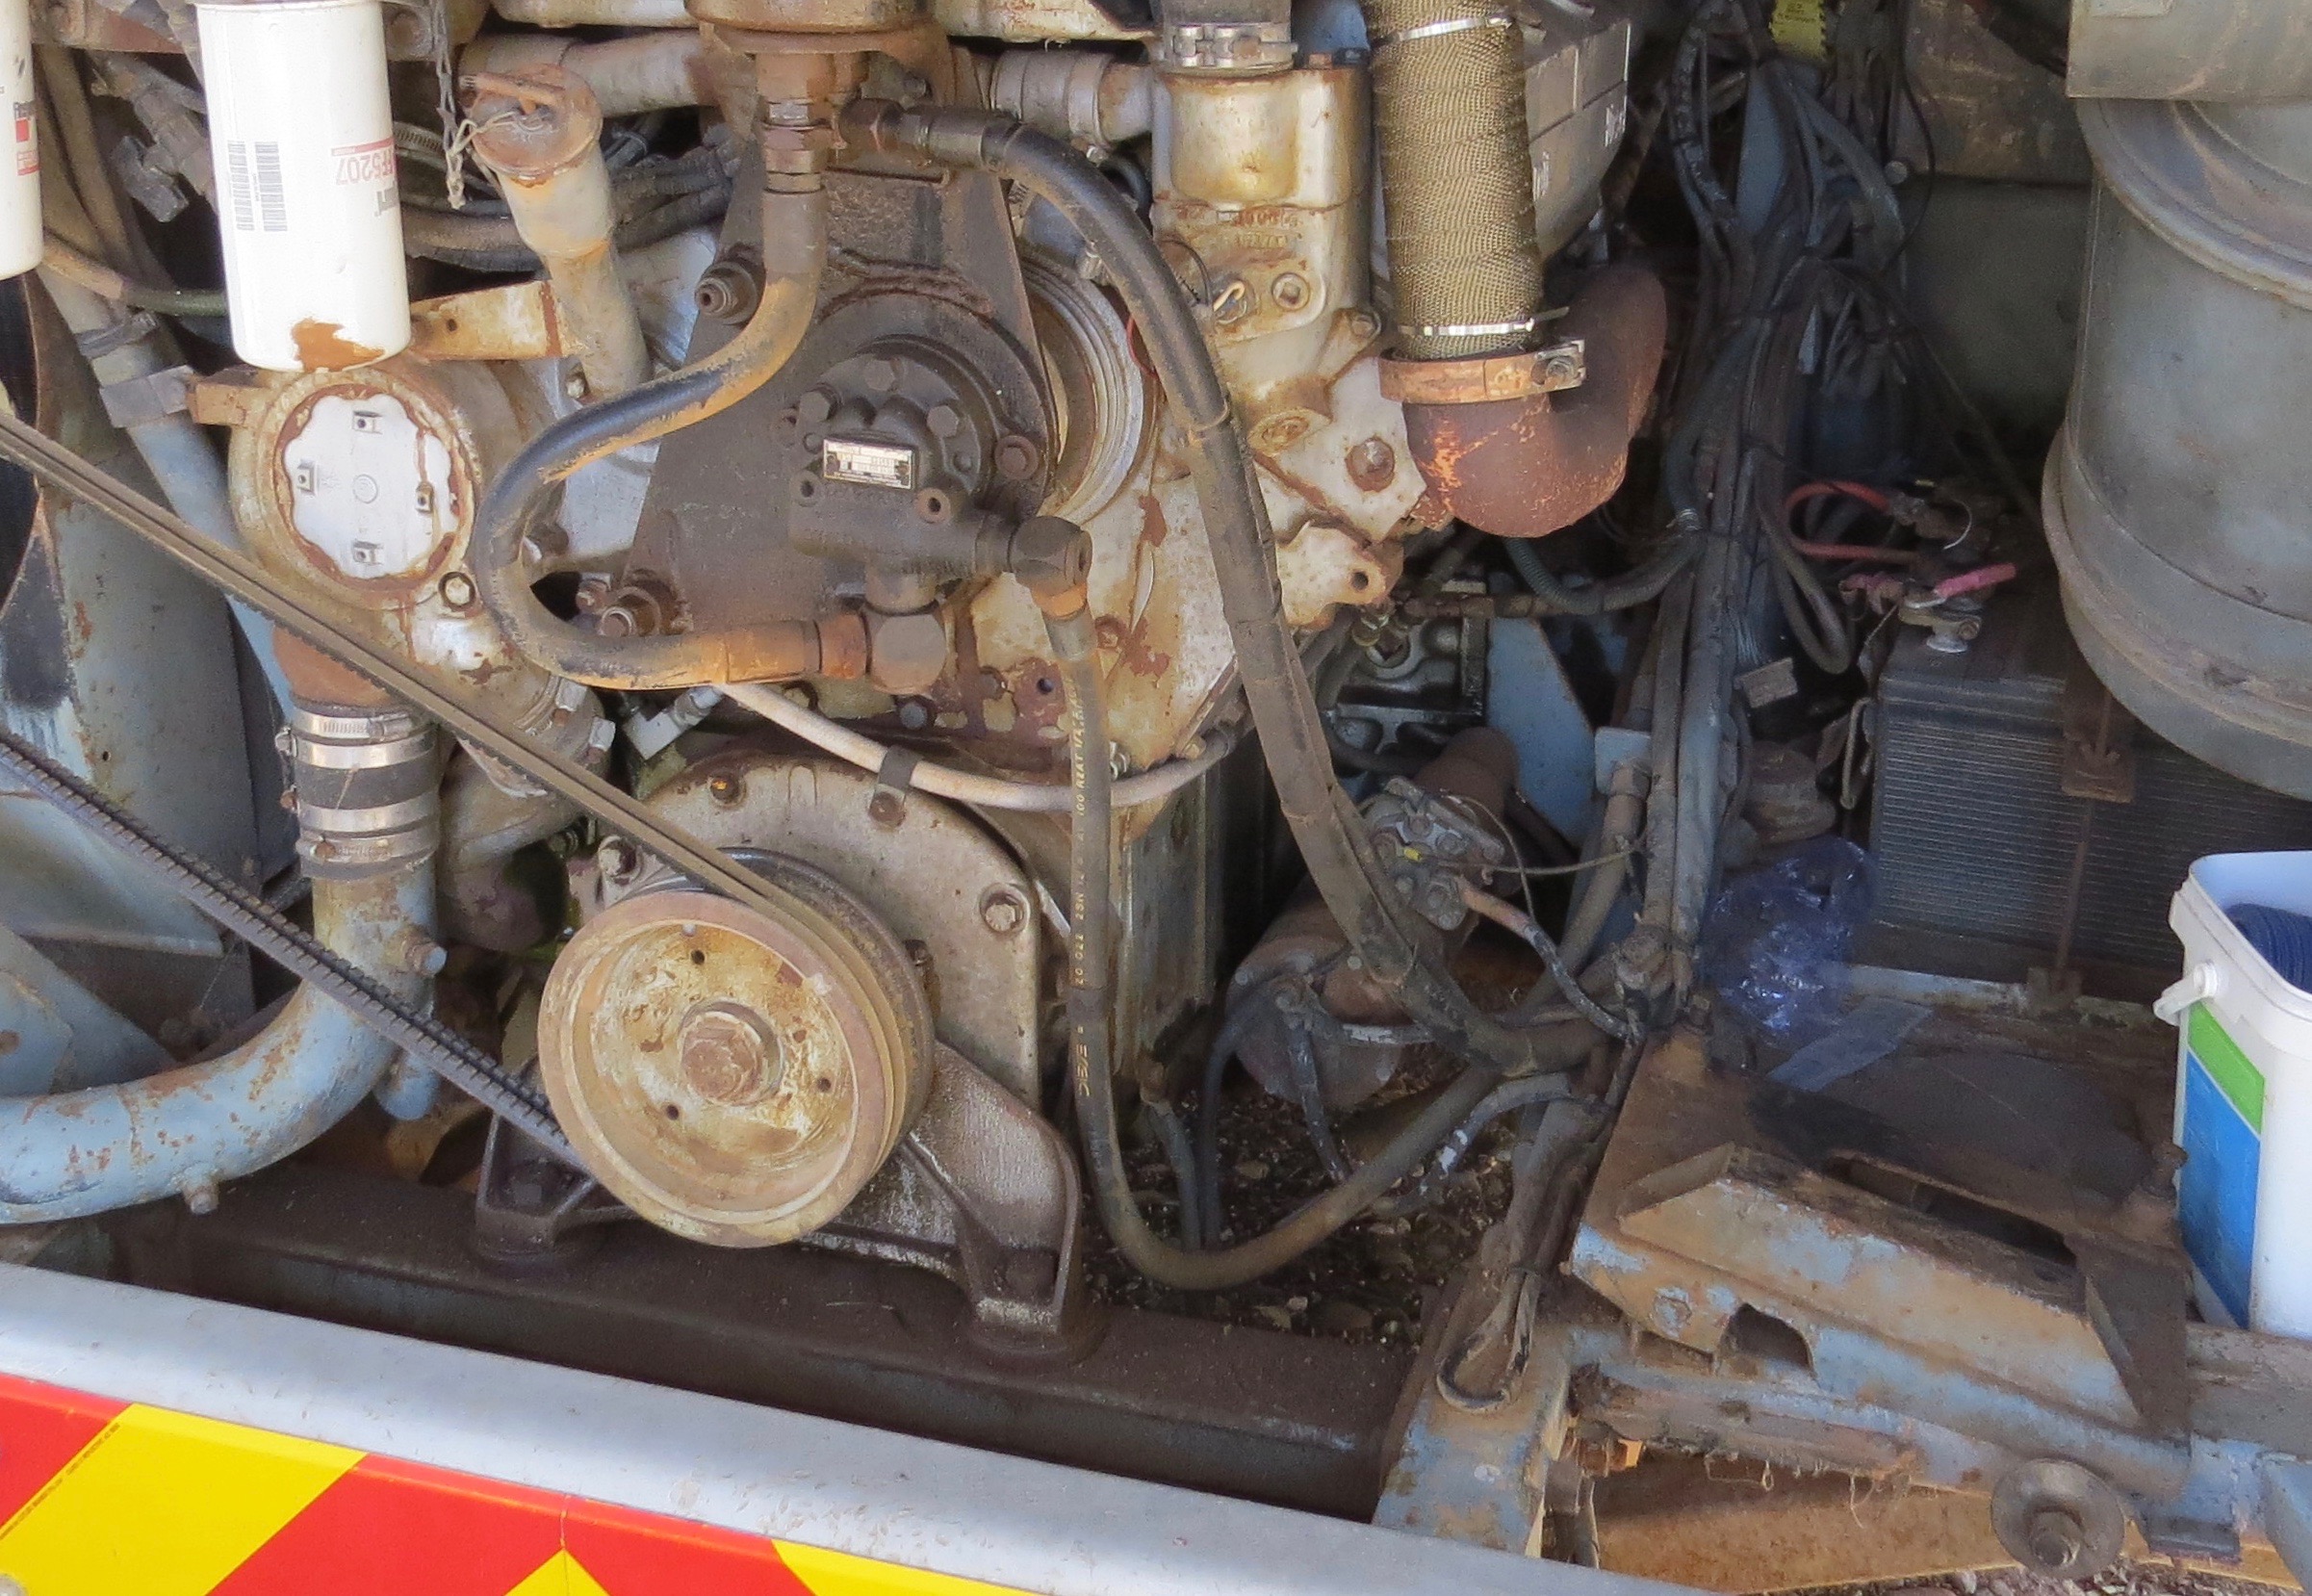
The finished look of this project we will have a roof top deck up here, but not now that is a job for an other day. Now it’s time to remove the evaporator, heat exchange radiators and blowers. Stripping out the copper pipe, heat exchange radiator pipes as well all the electrical pits.
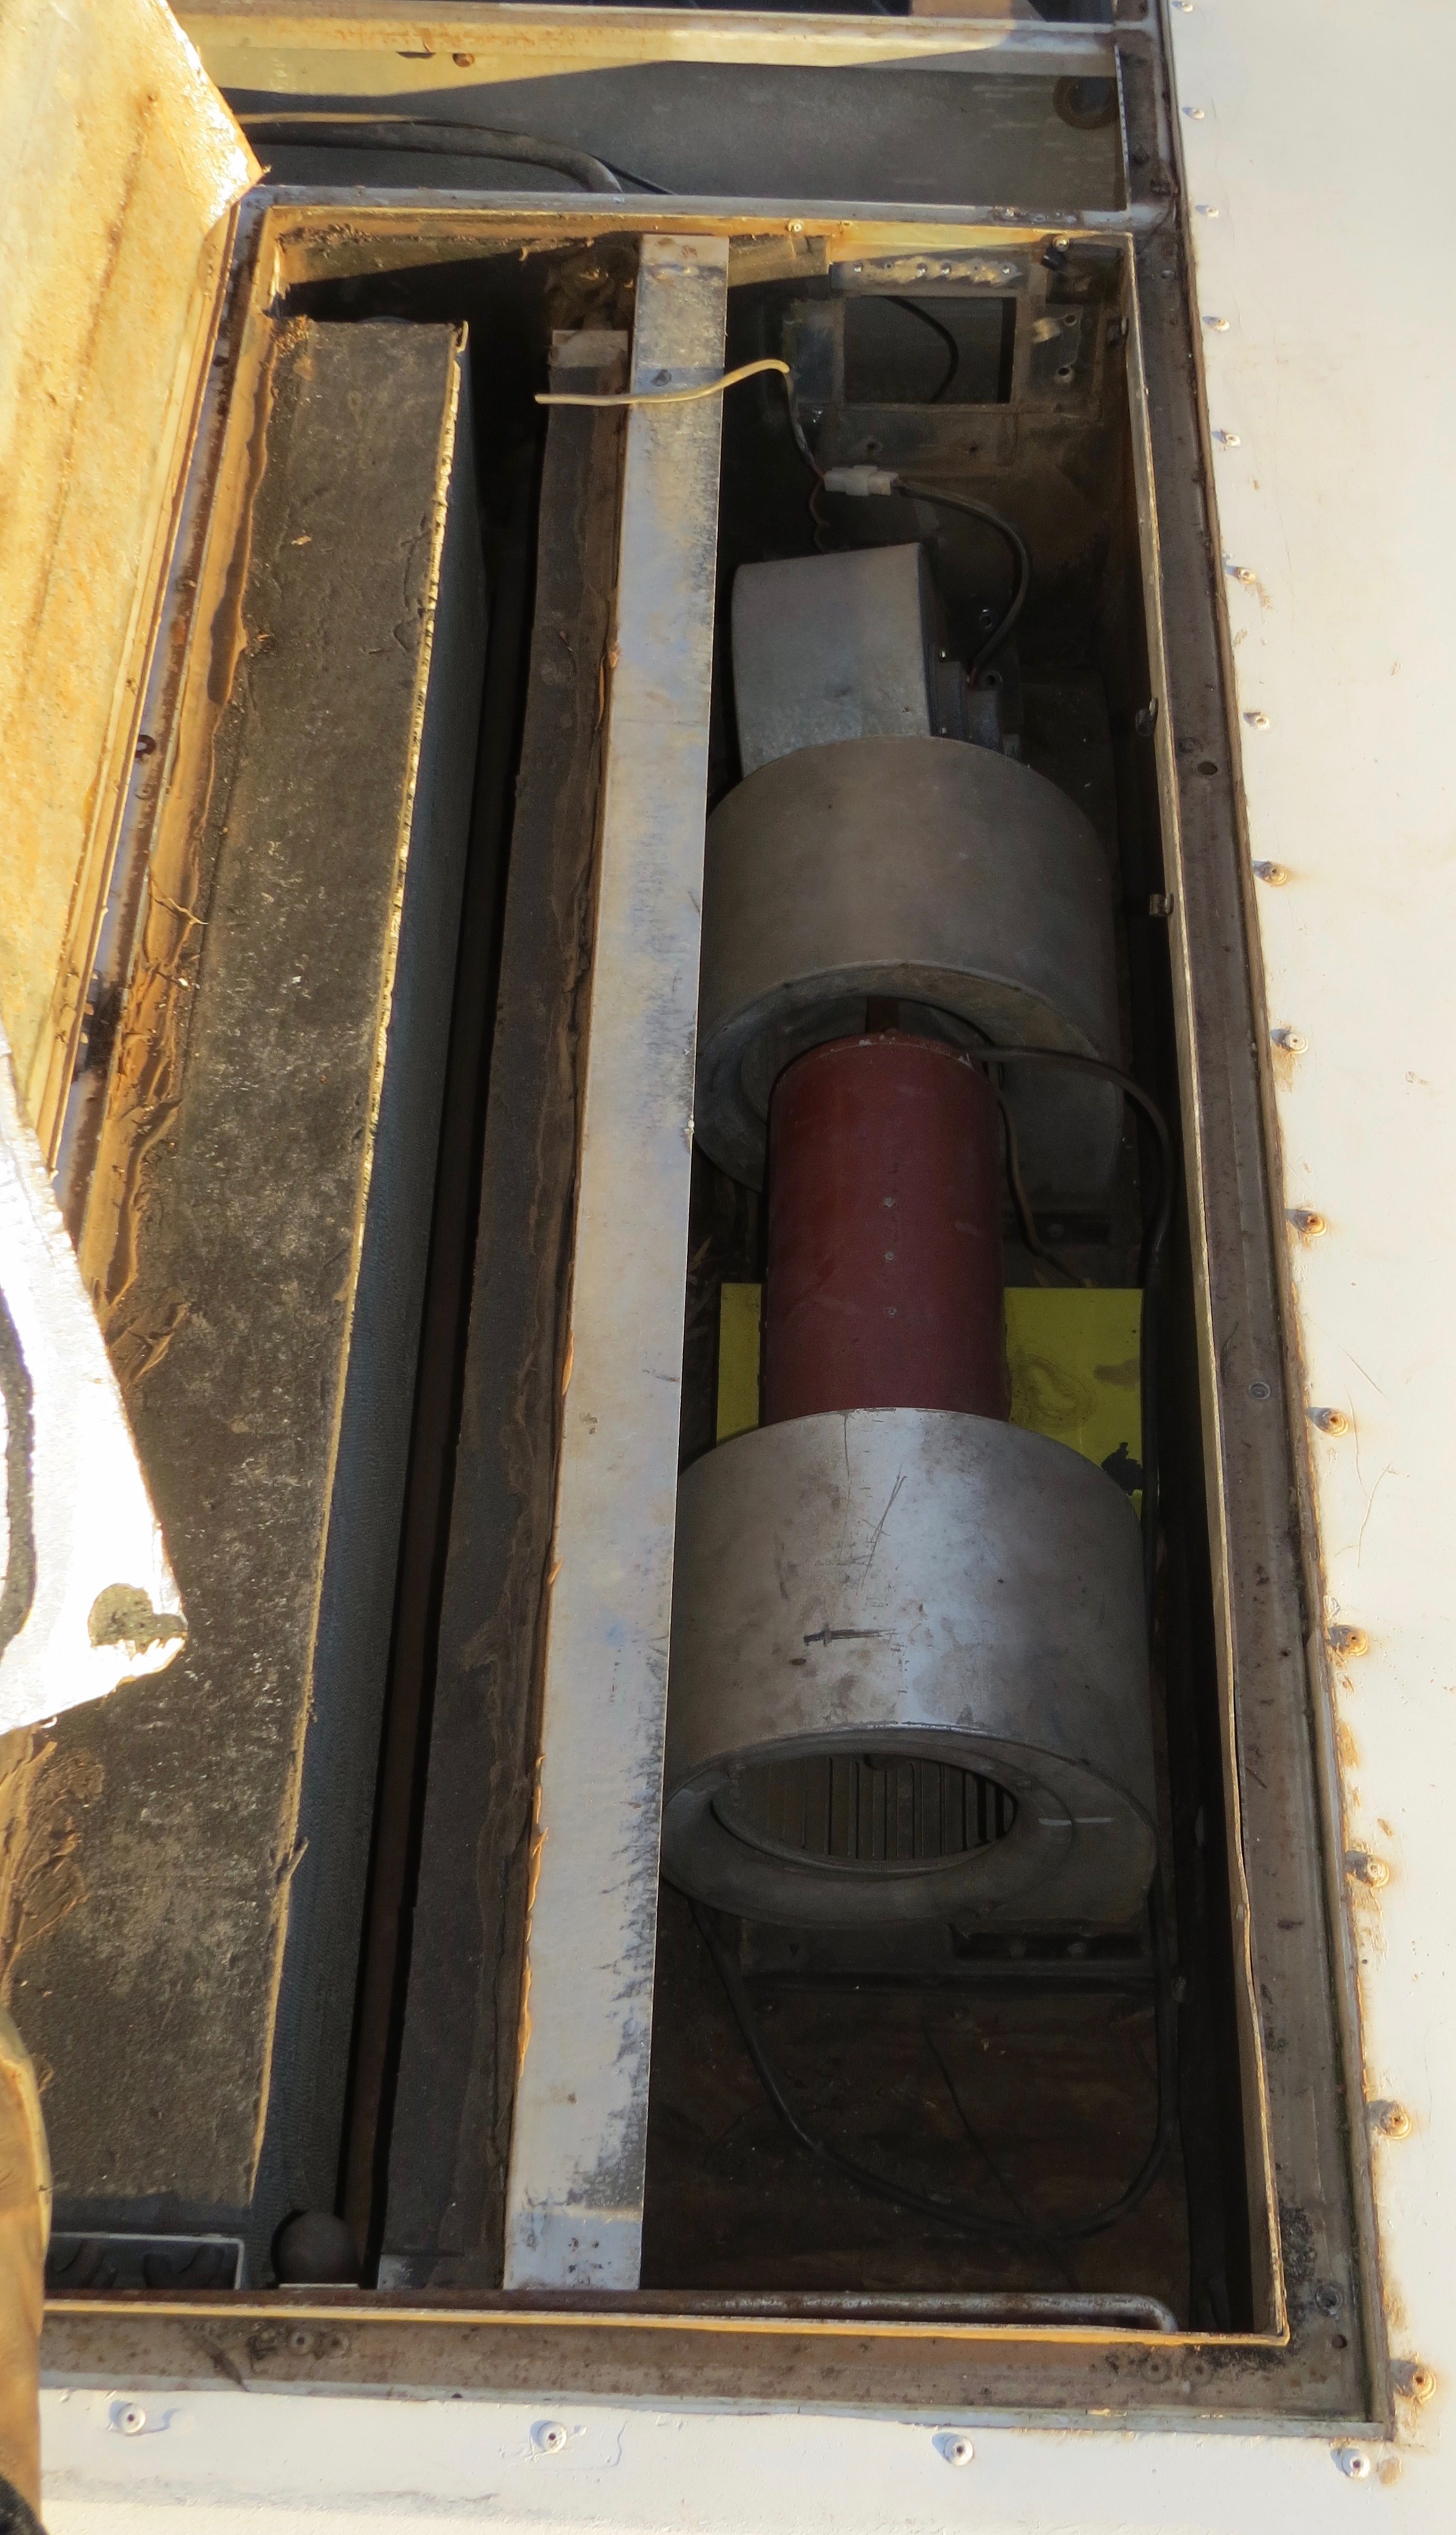
Stripping all the sparky stuff and back grill to accessing the pipe work.Old air condition control unit in the ceiling.One side of the evaporator, heat radiators and blowers to be removed.Heater units and evaporator removed.
More Stuff For The Scrap Yard
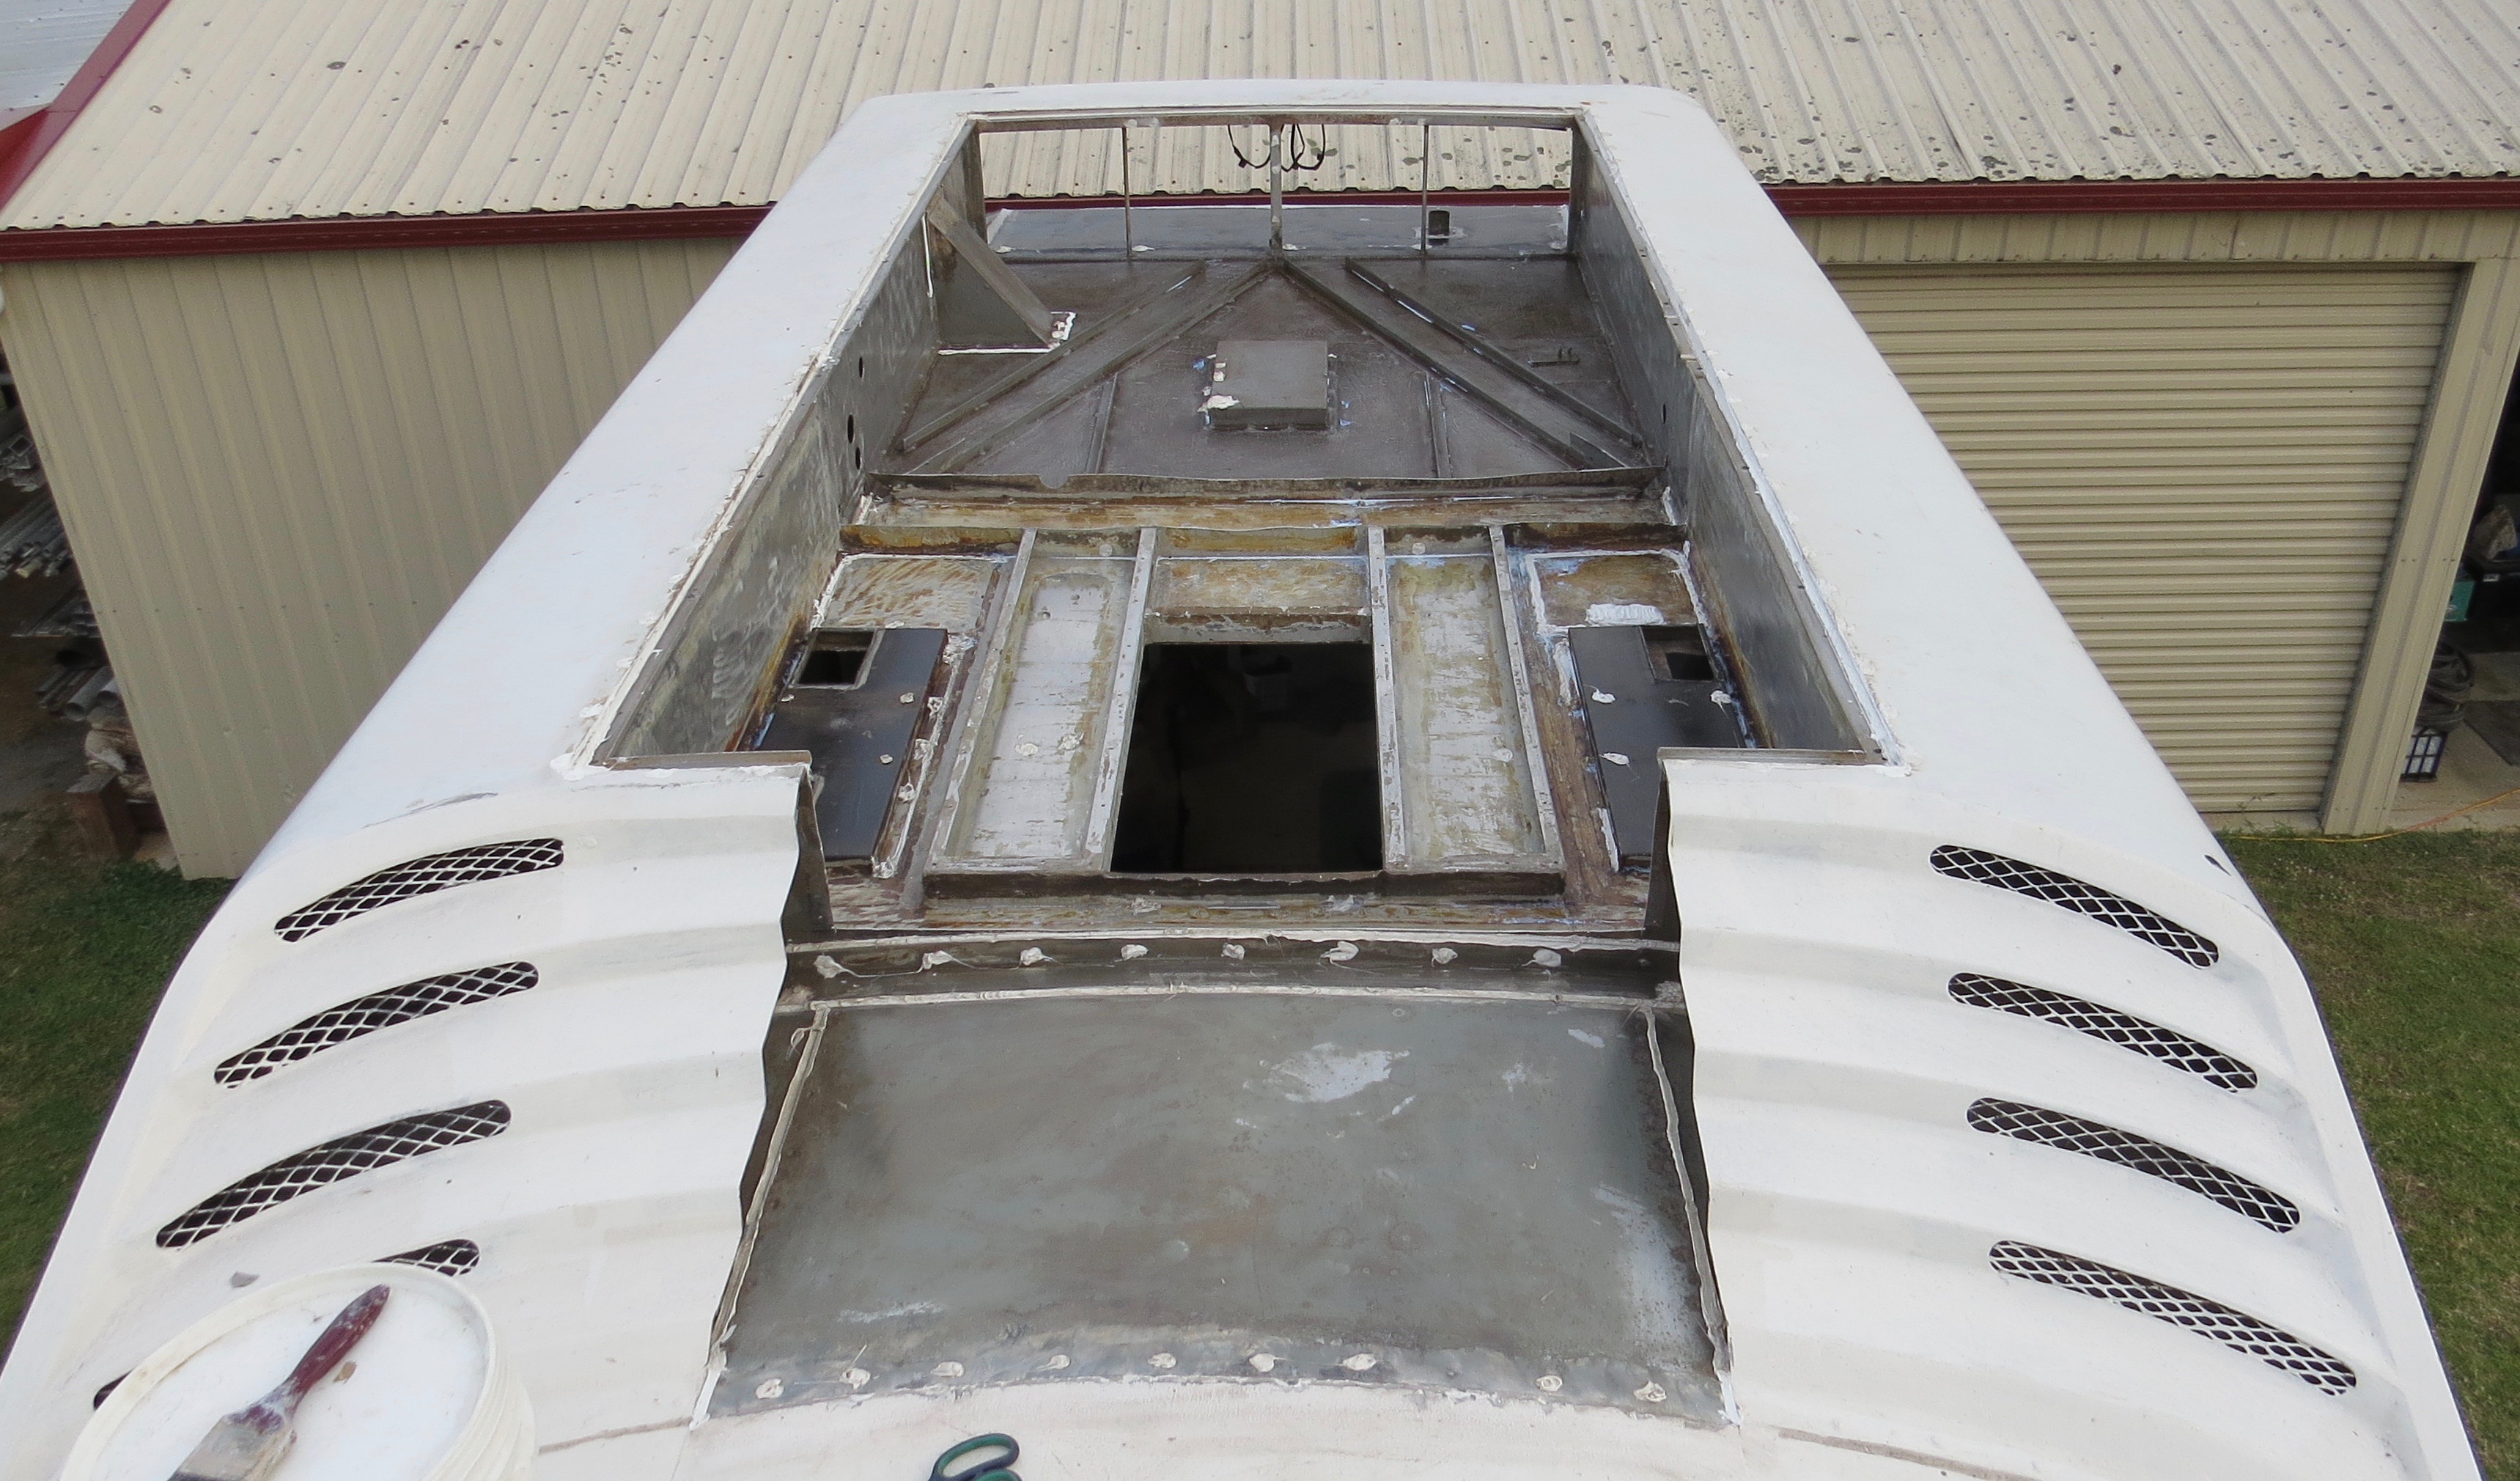
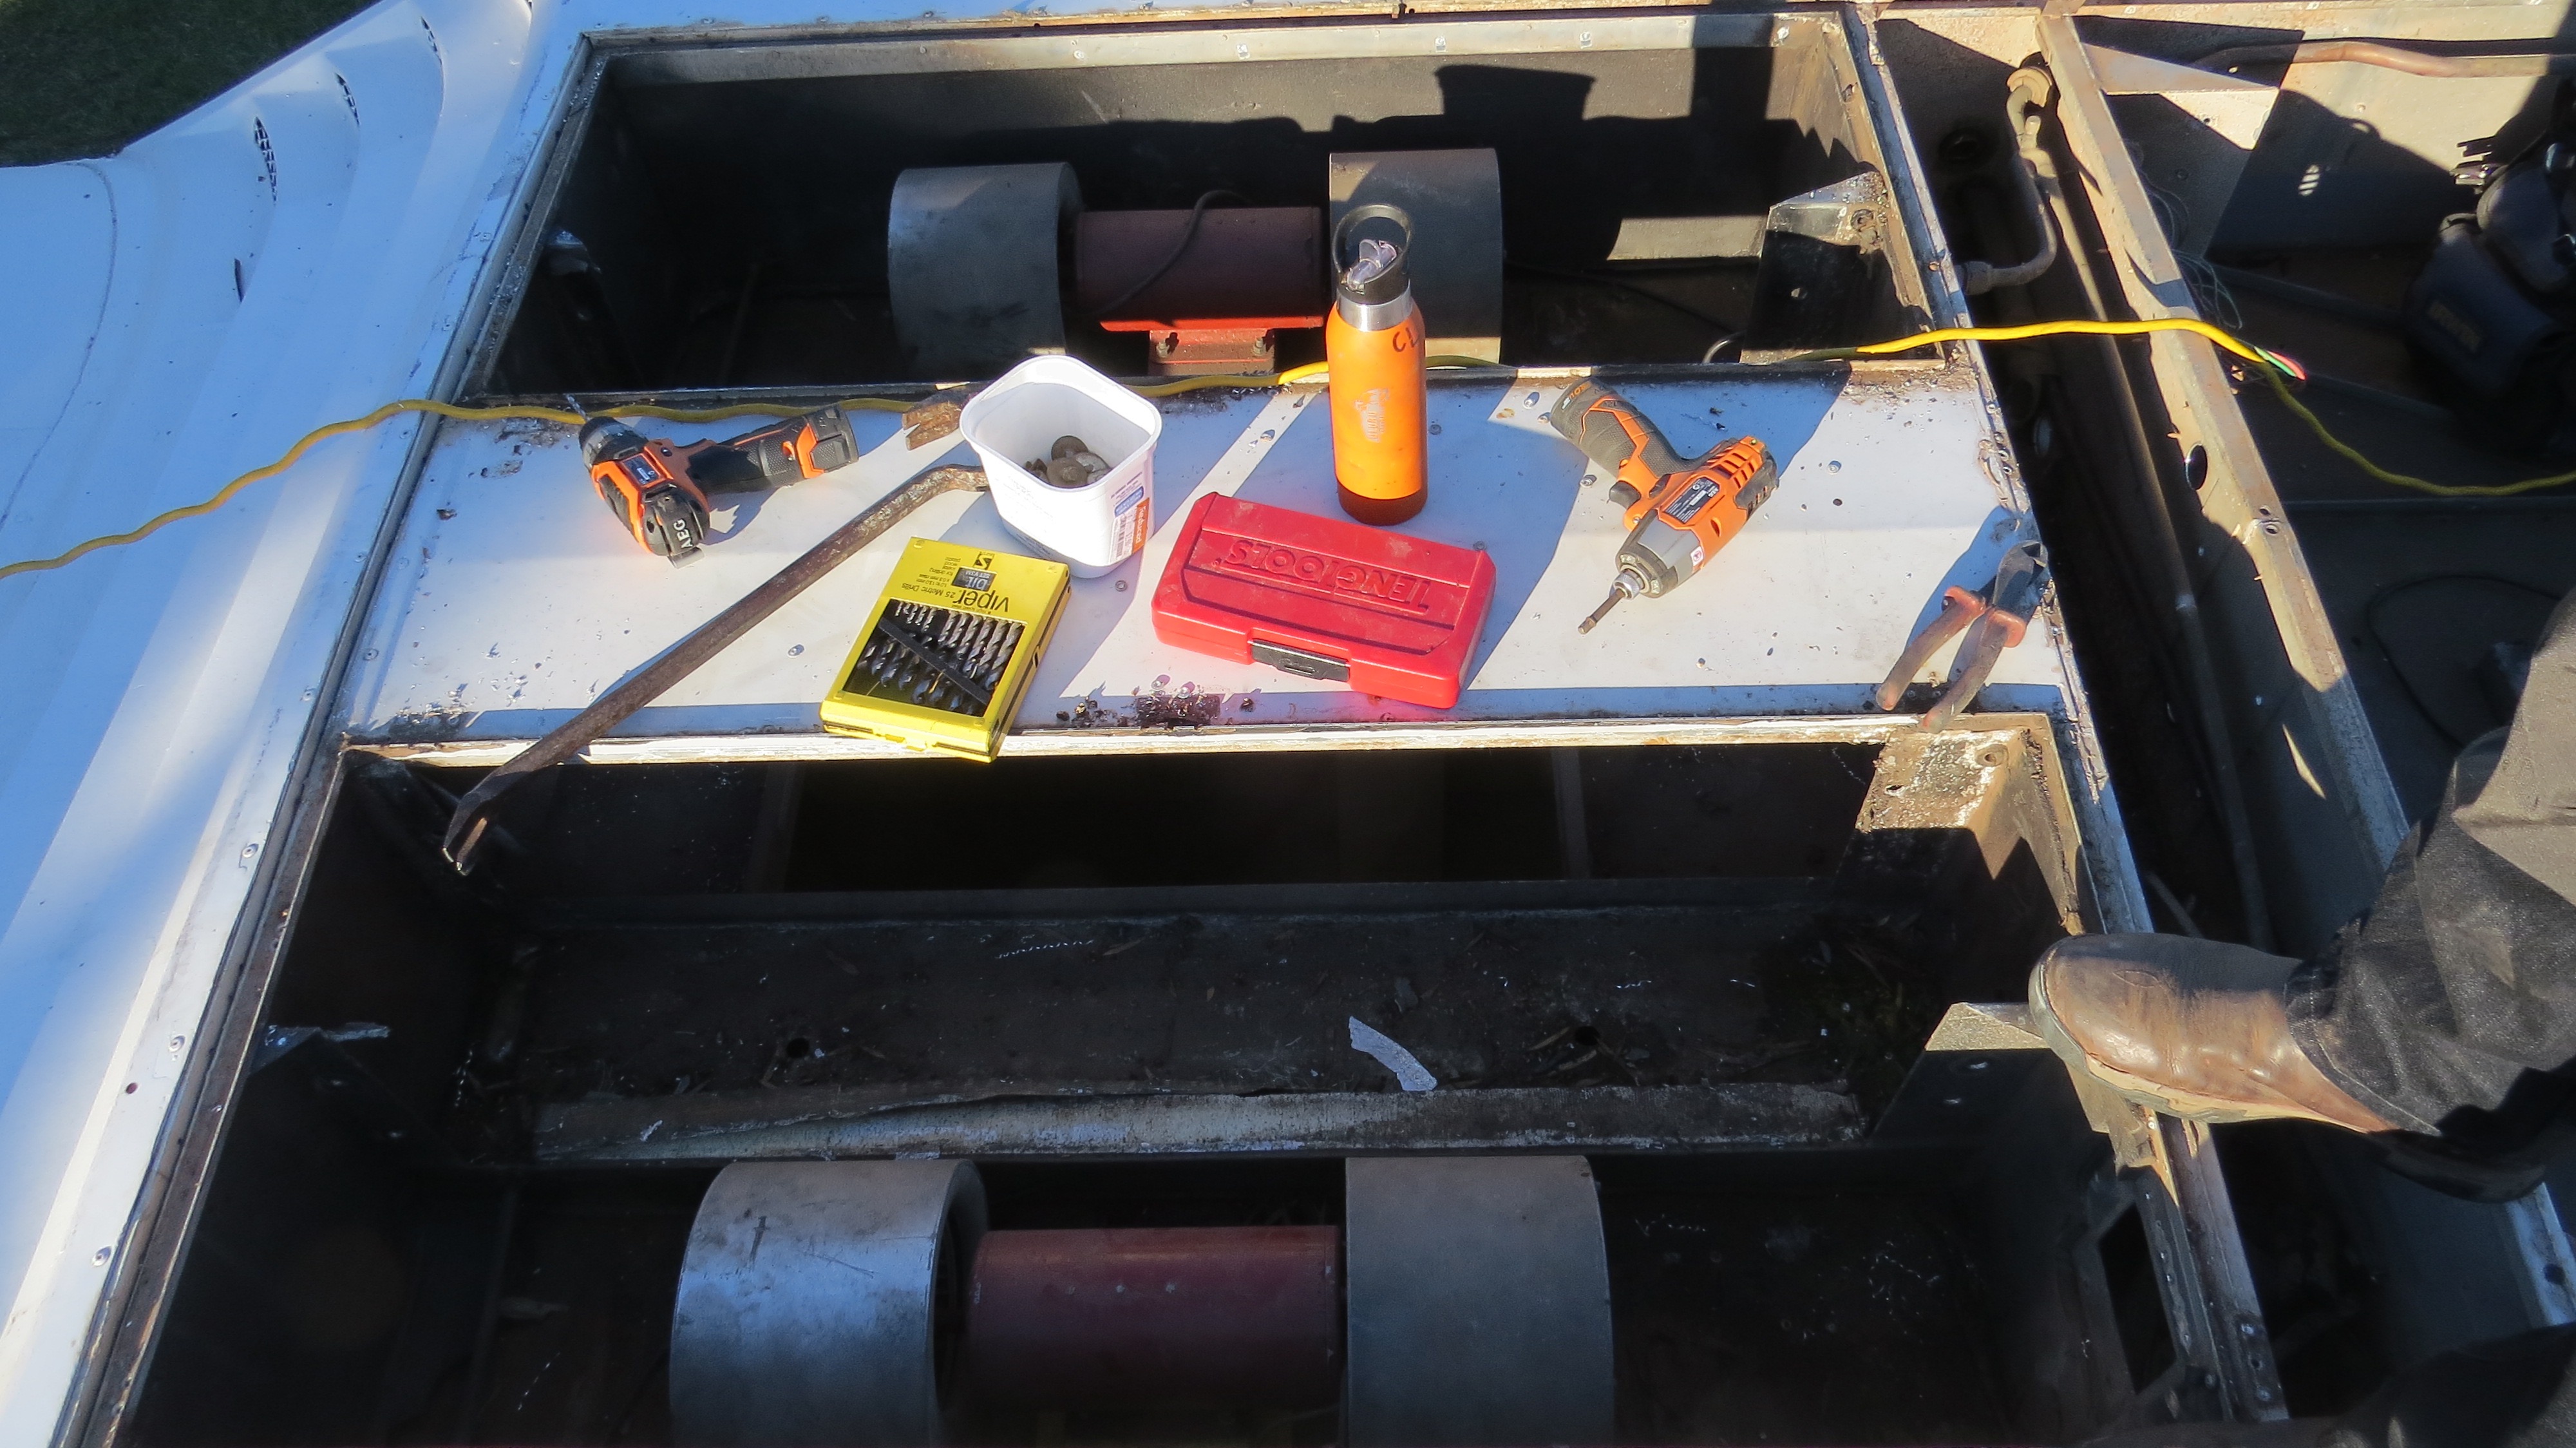
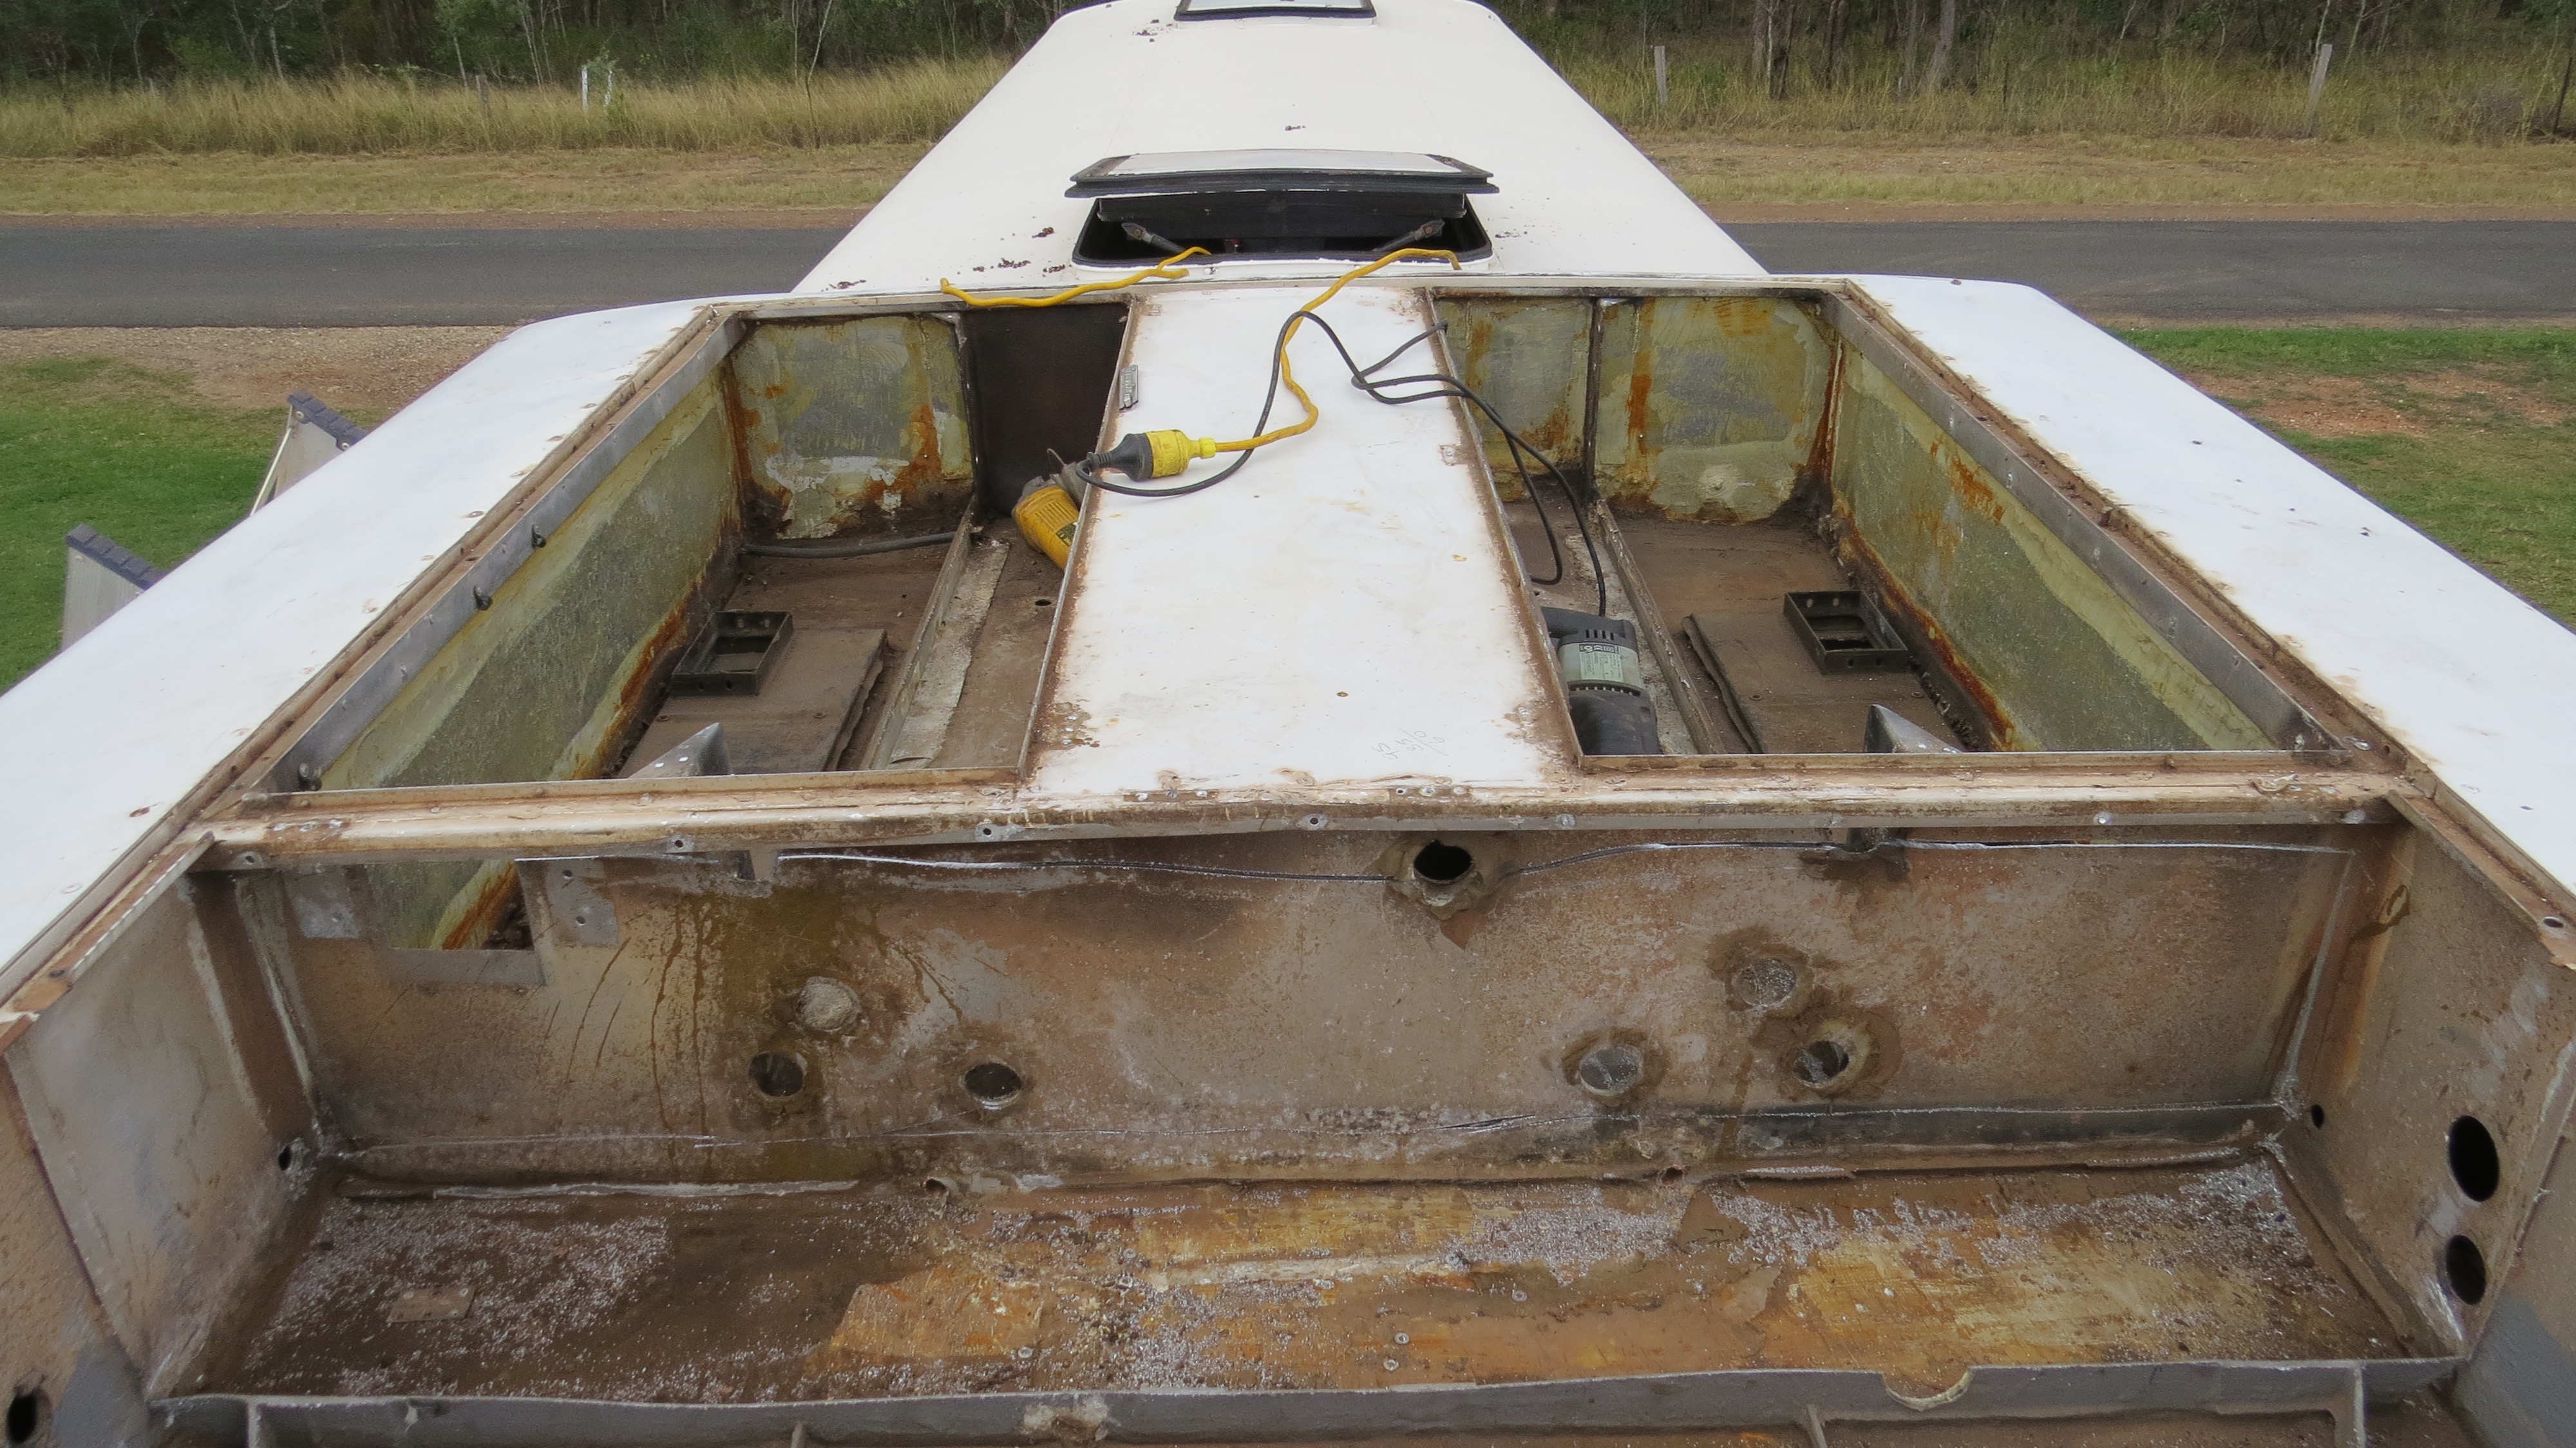
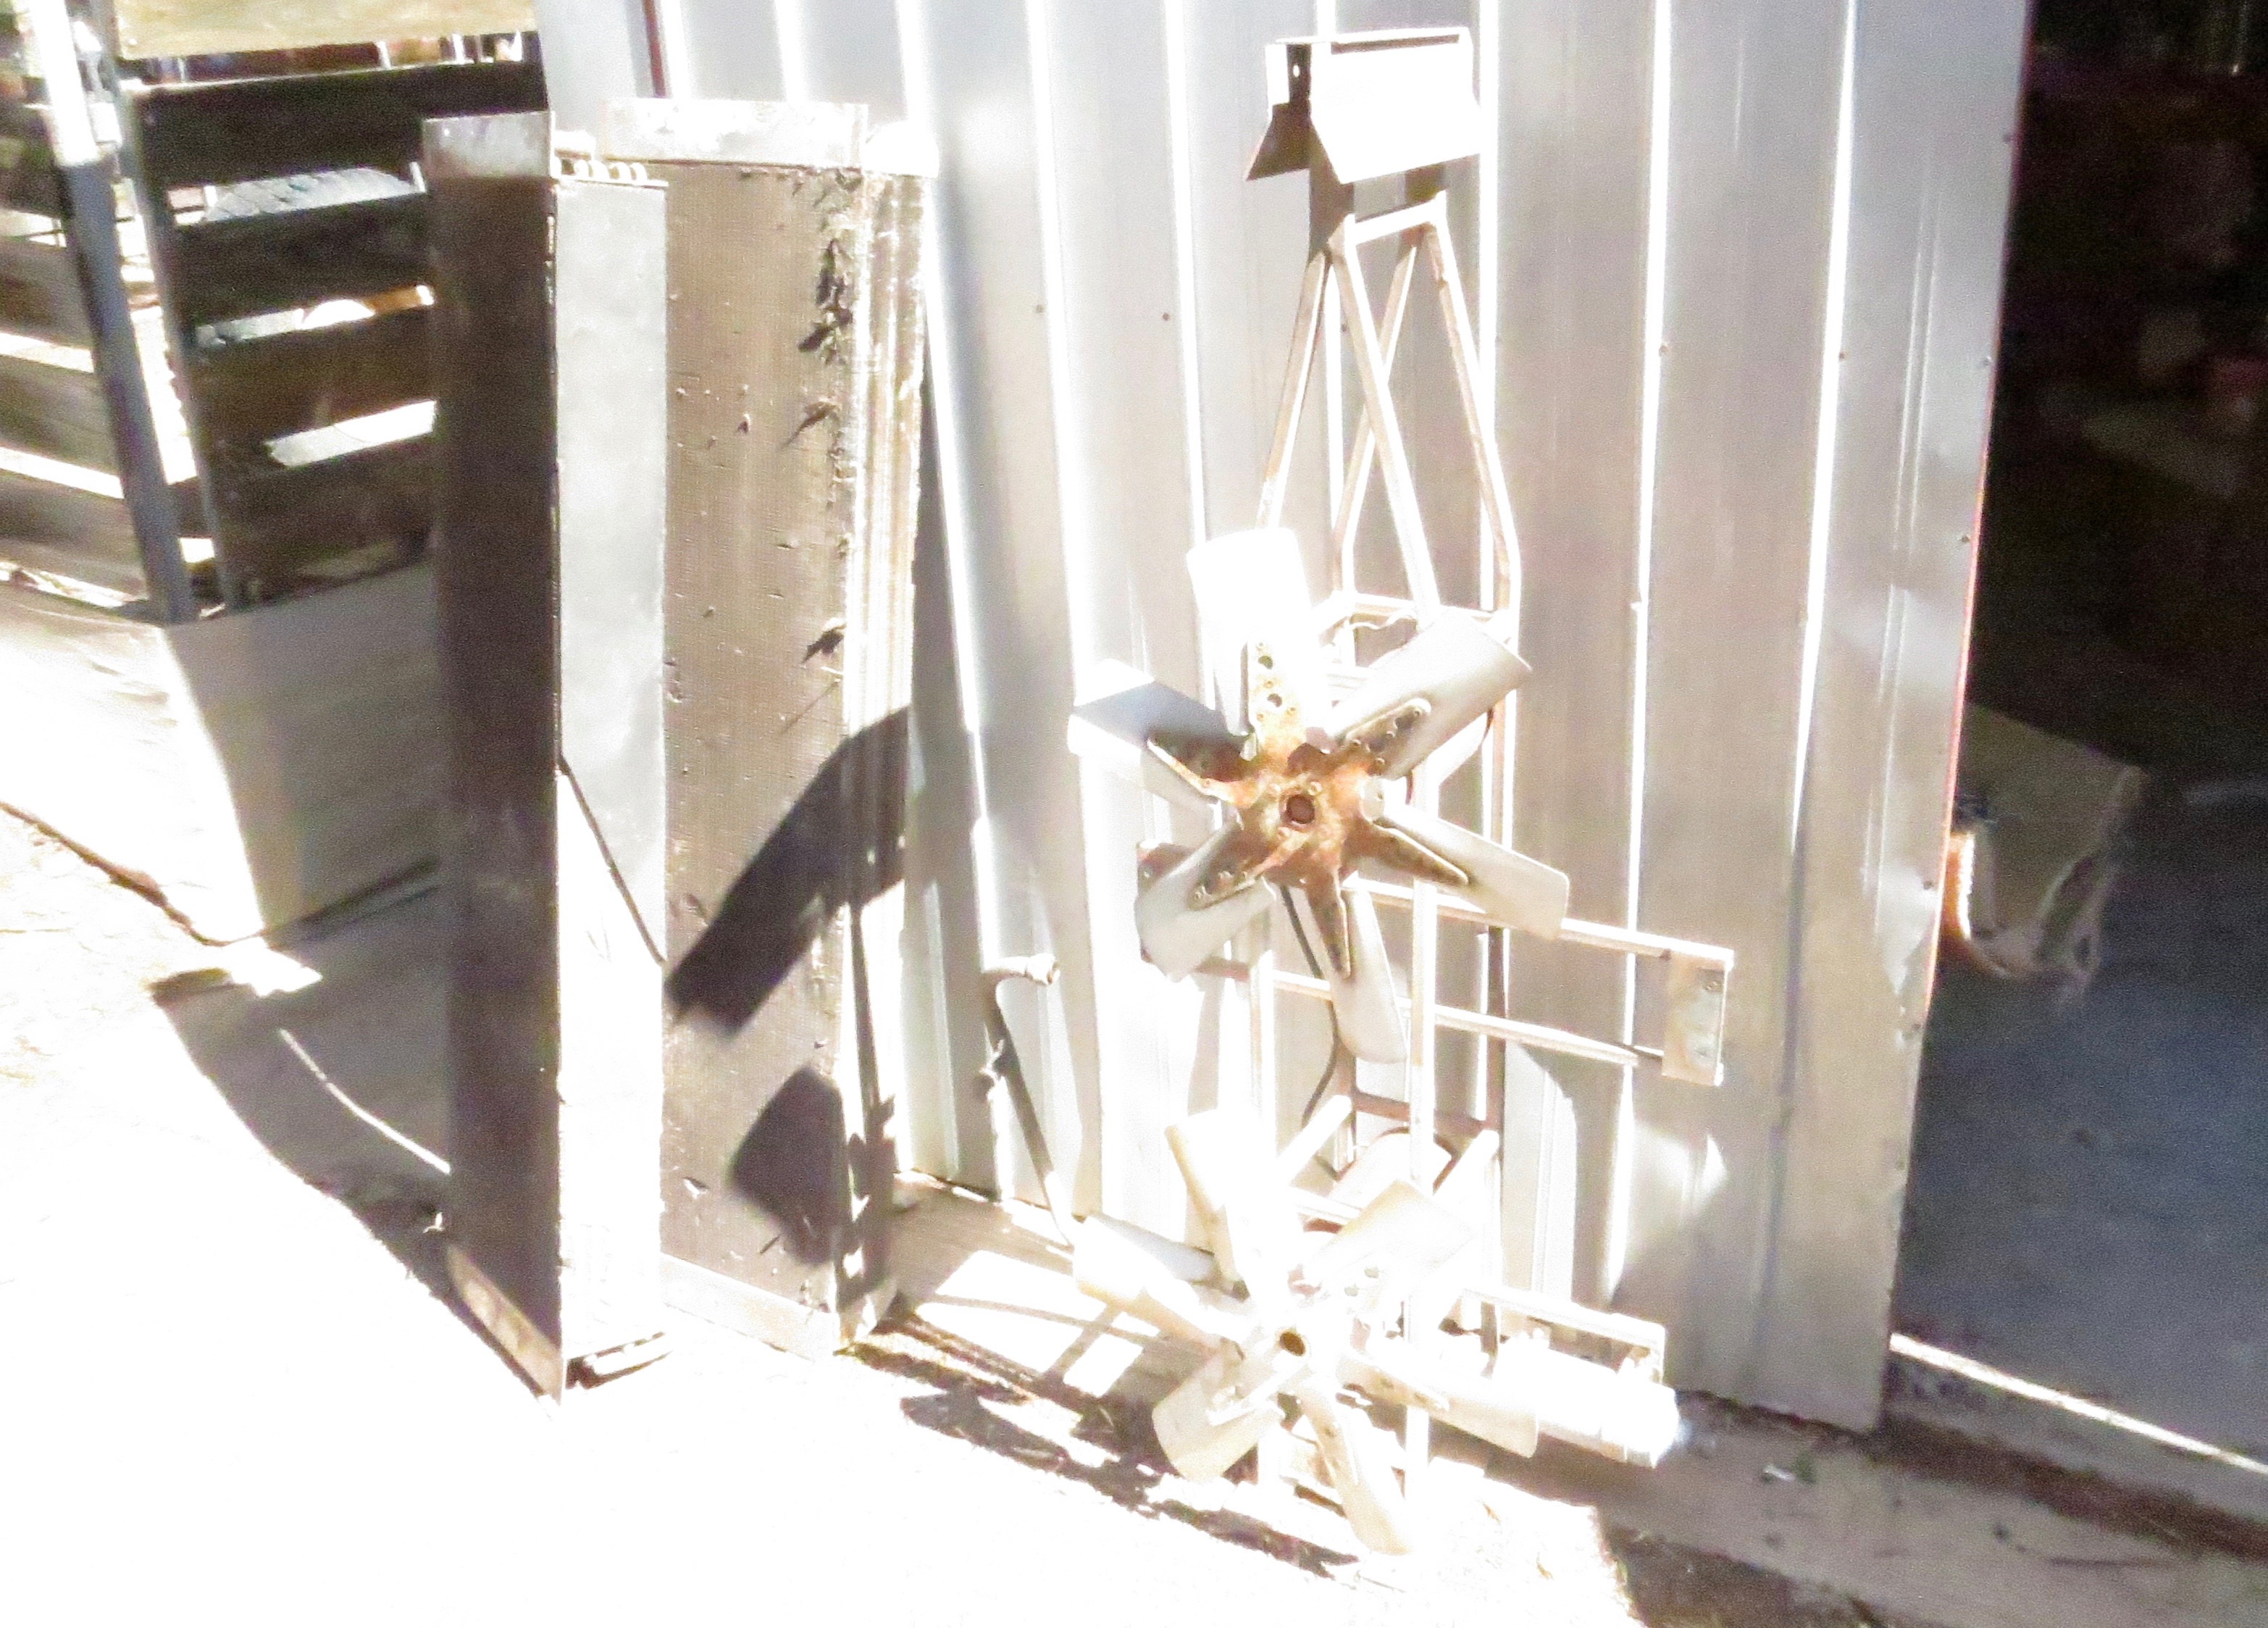
I did a trip to the scrap metal yard with all the copper, brass, evaporator and the heat exchange radiators. It’s always good to get some money back, that lot gave me $145 to put back into the project. Next will be cutting out all the aluminium that we don’t need off the roof air-condition area. I all ready have some that we have removed so that we will have an other trip to the scrap yard soon.
All the fans are out now,Time to start cutting out all panels.Almost there.Let’s hope it doesn’t start raining.
Did I see rain?
Well it did start raining on and off for a week, lucky we could put the covers over the holes and with some buckets inside it didn’t get too wet inside. This means I went back inside to do some more work on the bedroom/bathroom ceiling, while it rained but thats an other blog.
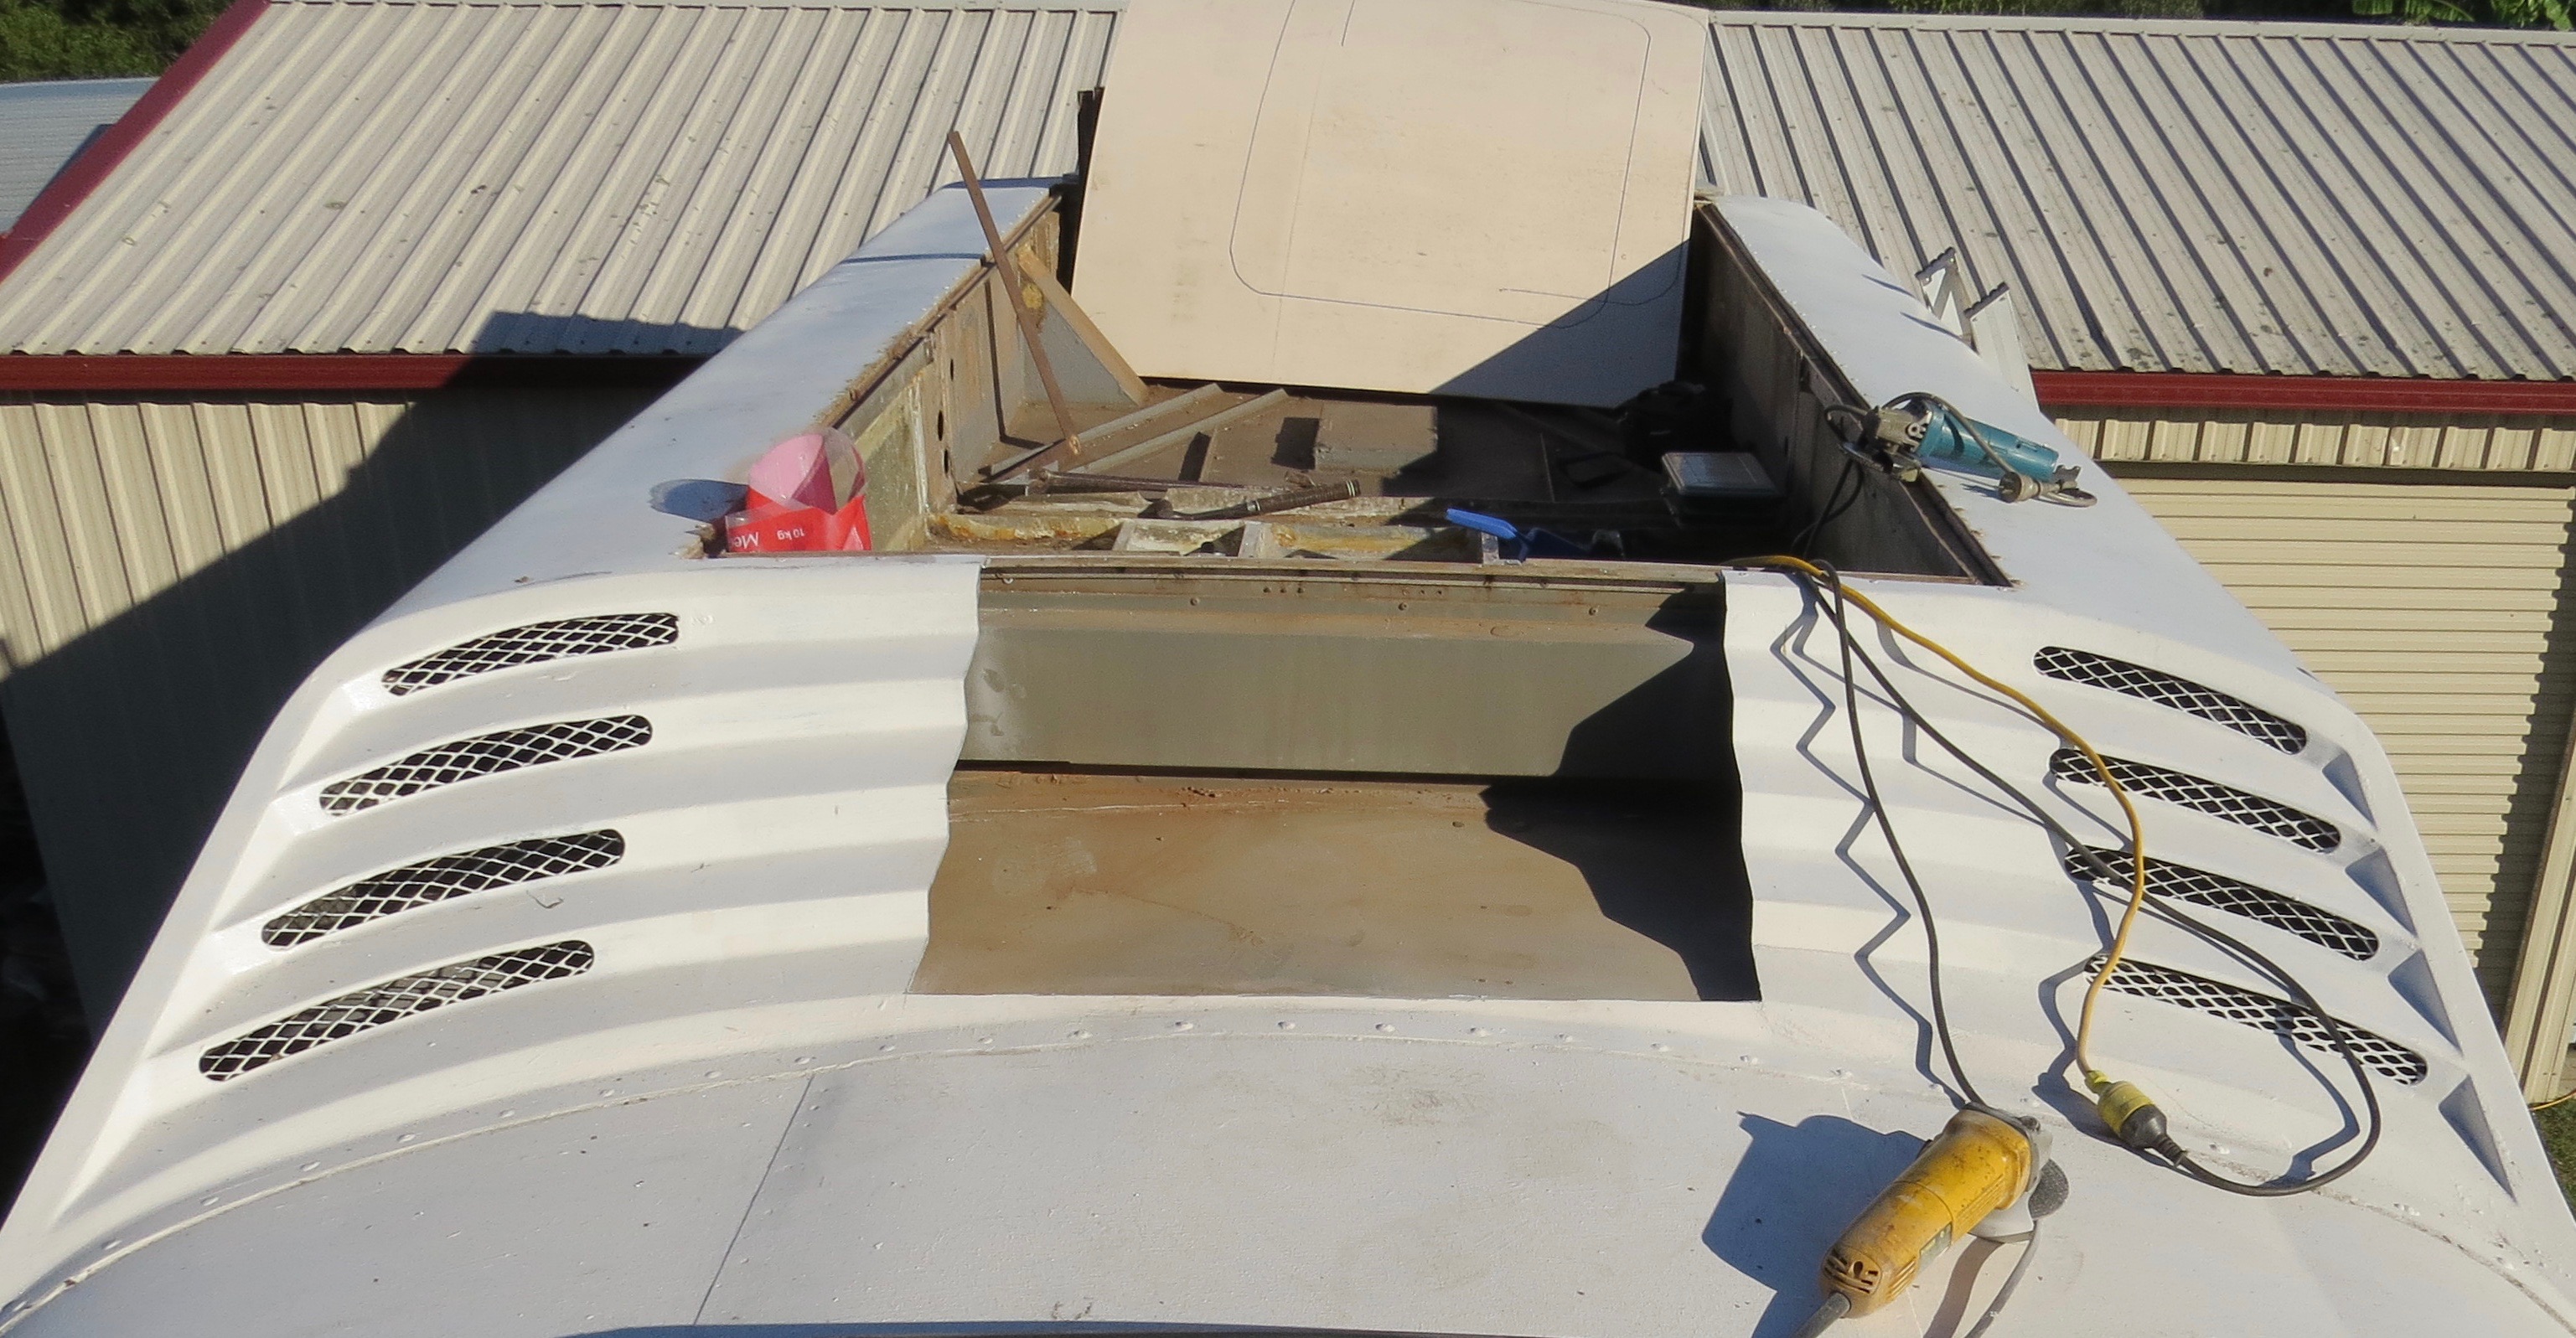
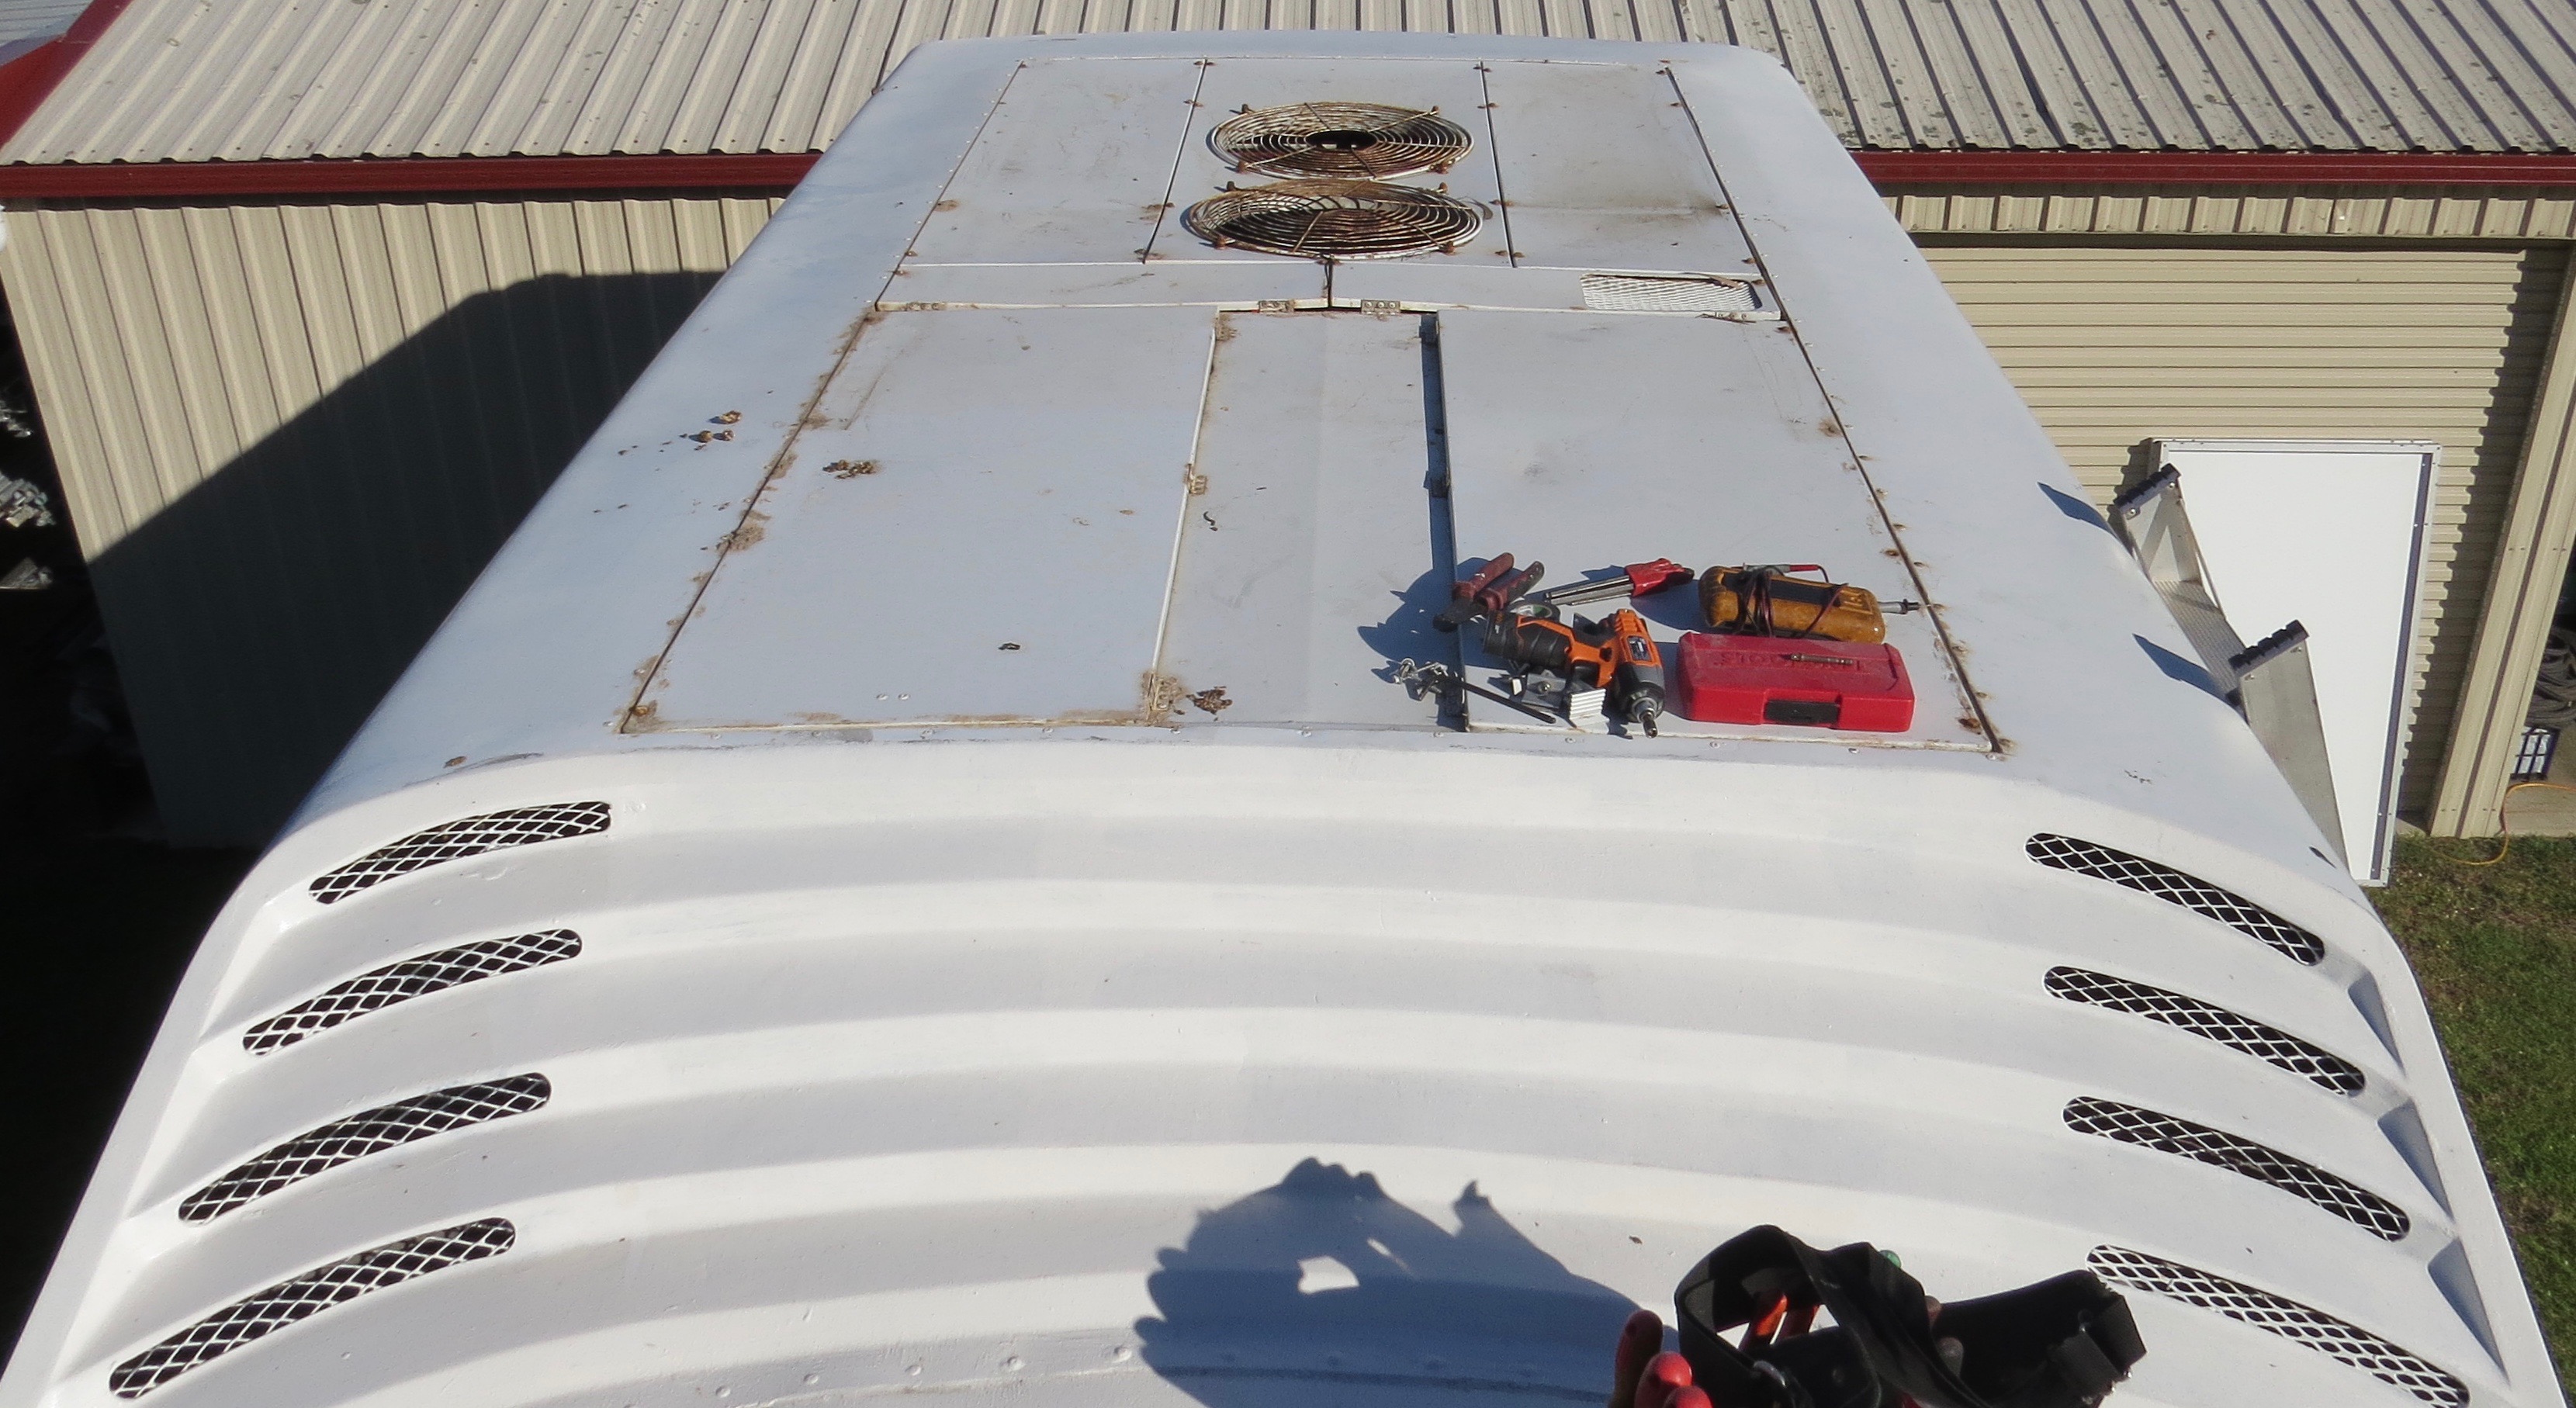
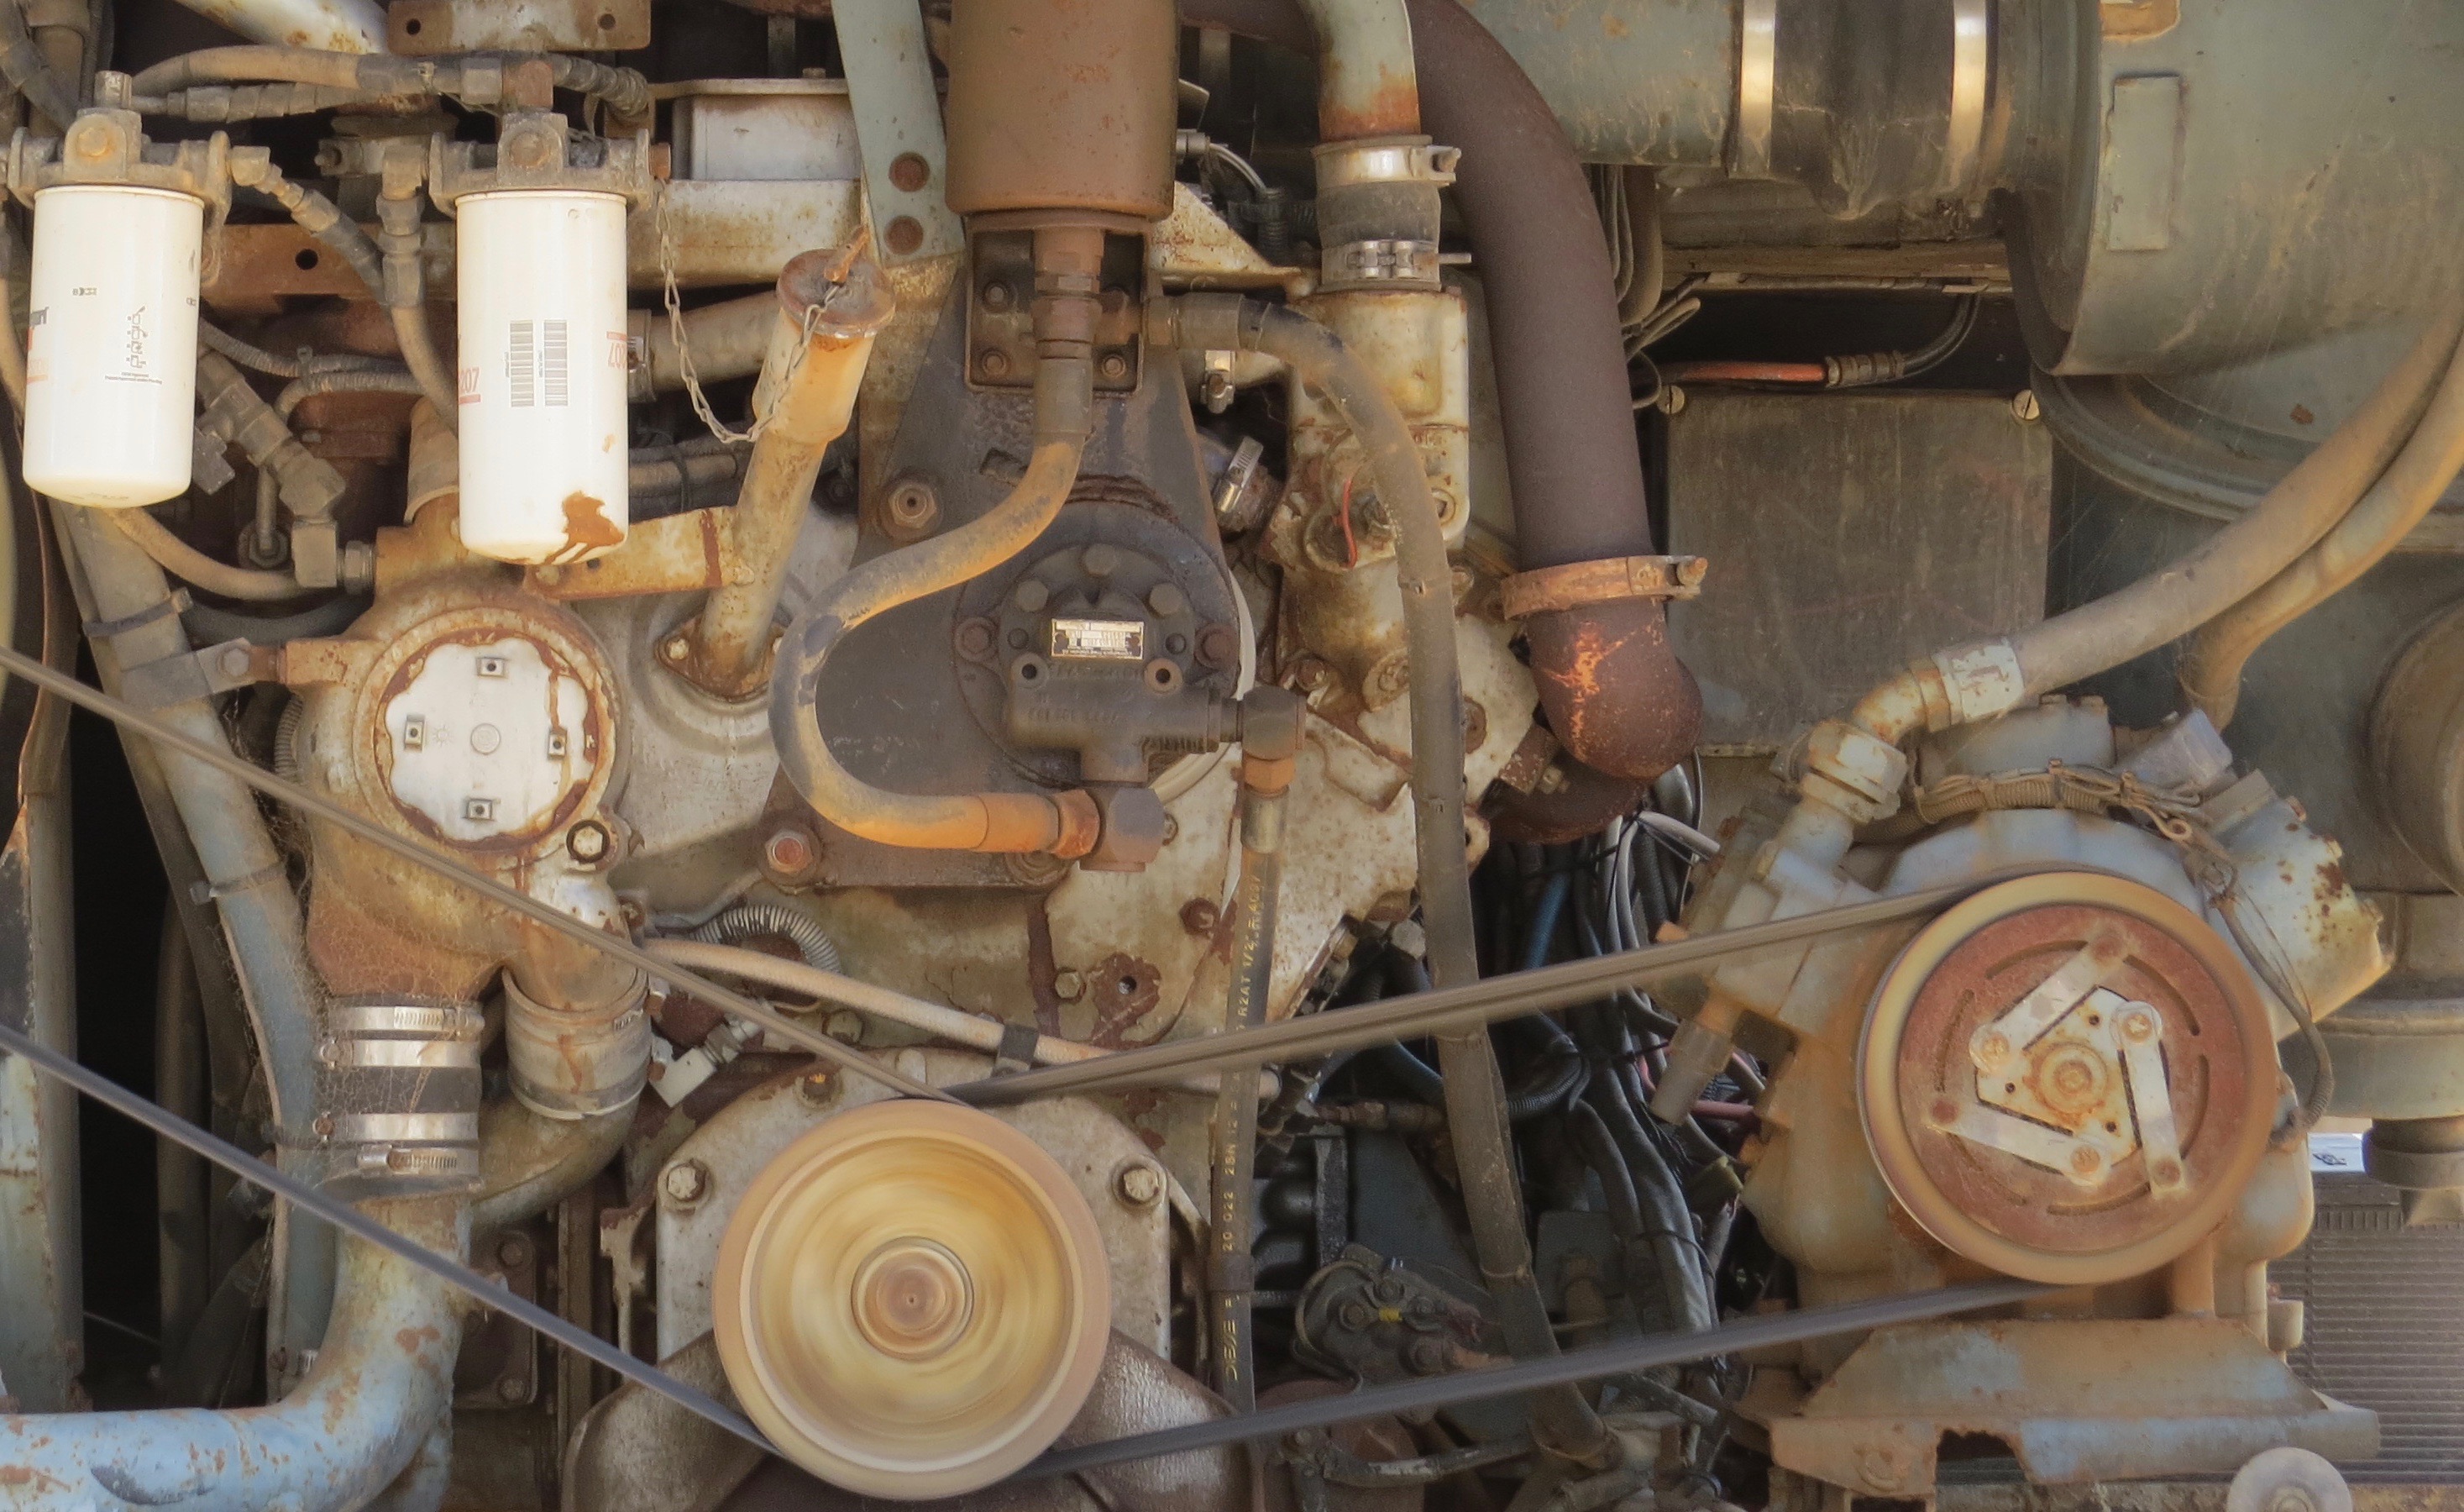
From the start the old coach air conditioning never worked at all, the gas was gone and Des had already fitted a reverse cycle air conditioner into the coach before it ever became our project. I started to remove the old air-con in Leigh Creek S.A. in my free time.
The old compressor pump was the first thing to go.One less thing we have to drag around. No more compressor pump.
The coach is getting lighter.
After taking out the compressor pump, which almost made me blow a pooper valve. After the compressor out it was onto the roof to remove the condensers and fan system. Now the coach is about 120kg lighter, every bit counts the lighter the better.
Condensers and the fan unit are no more.This is where the condensers and fan came from.
Now Time To Pack Up.
It was starting to get to hot to be working on the roof at that time of the year in Leigh Creek S.A. So before I put the panels back on we used this area store the spare set of wheel for the Toyota land cruiser. The next stop was to Yulara N.T. to do some camel farm work which was great fun especially getting to race at the end of May in the camel races. Curtin Springs Cattle Station was a six day a week job so not much could be done on the bus when we were there, until Zac came up for a trip to do the outside just before we left there in November 2016.
One of the main reasons we decided to head back to Brisbane was that we realised we could not both work and get the bus built properly. The other reason was that while in Yulara we bought a gas strut storage bed that costed us $500 and by the time we got it out to us at the farm it costed another $480. This was way too expensive, so on to Brisbane it was as we found out it was the cheapest way to get the parts we would need for the fit out on the bus.
From a coach to our motorhome and the bits between