Tag Archives: House on wheels

Time to get my draws on

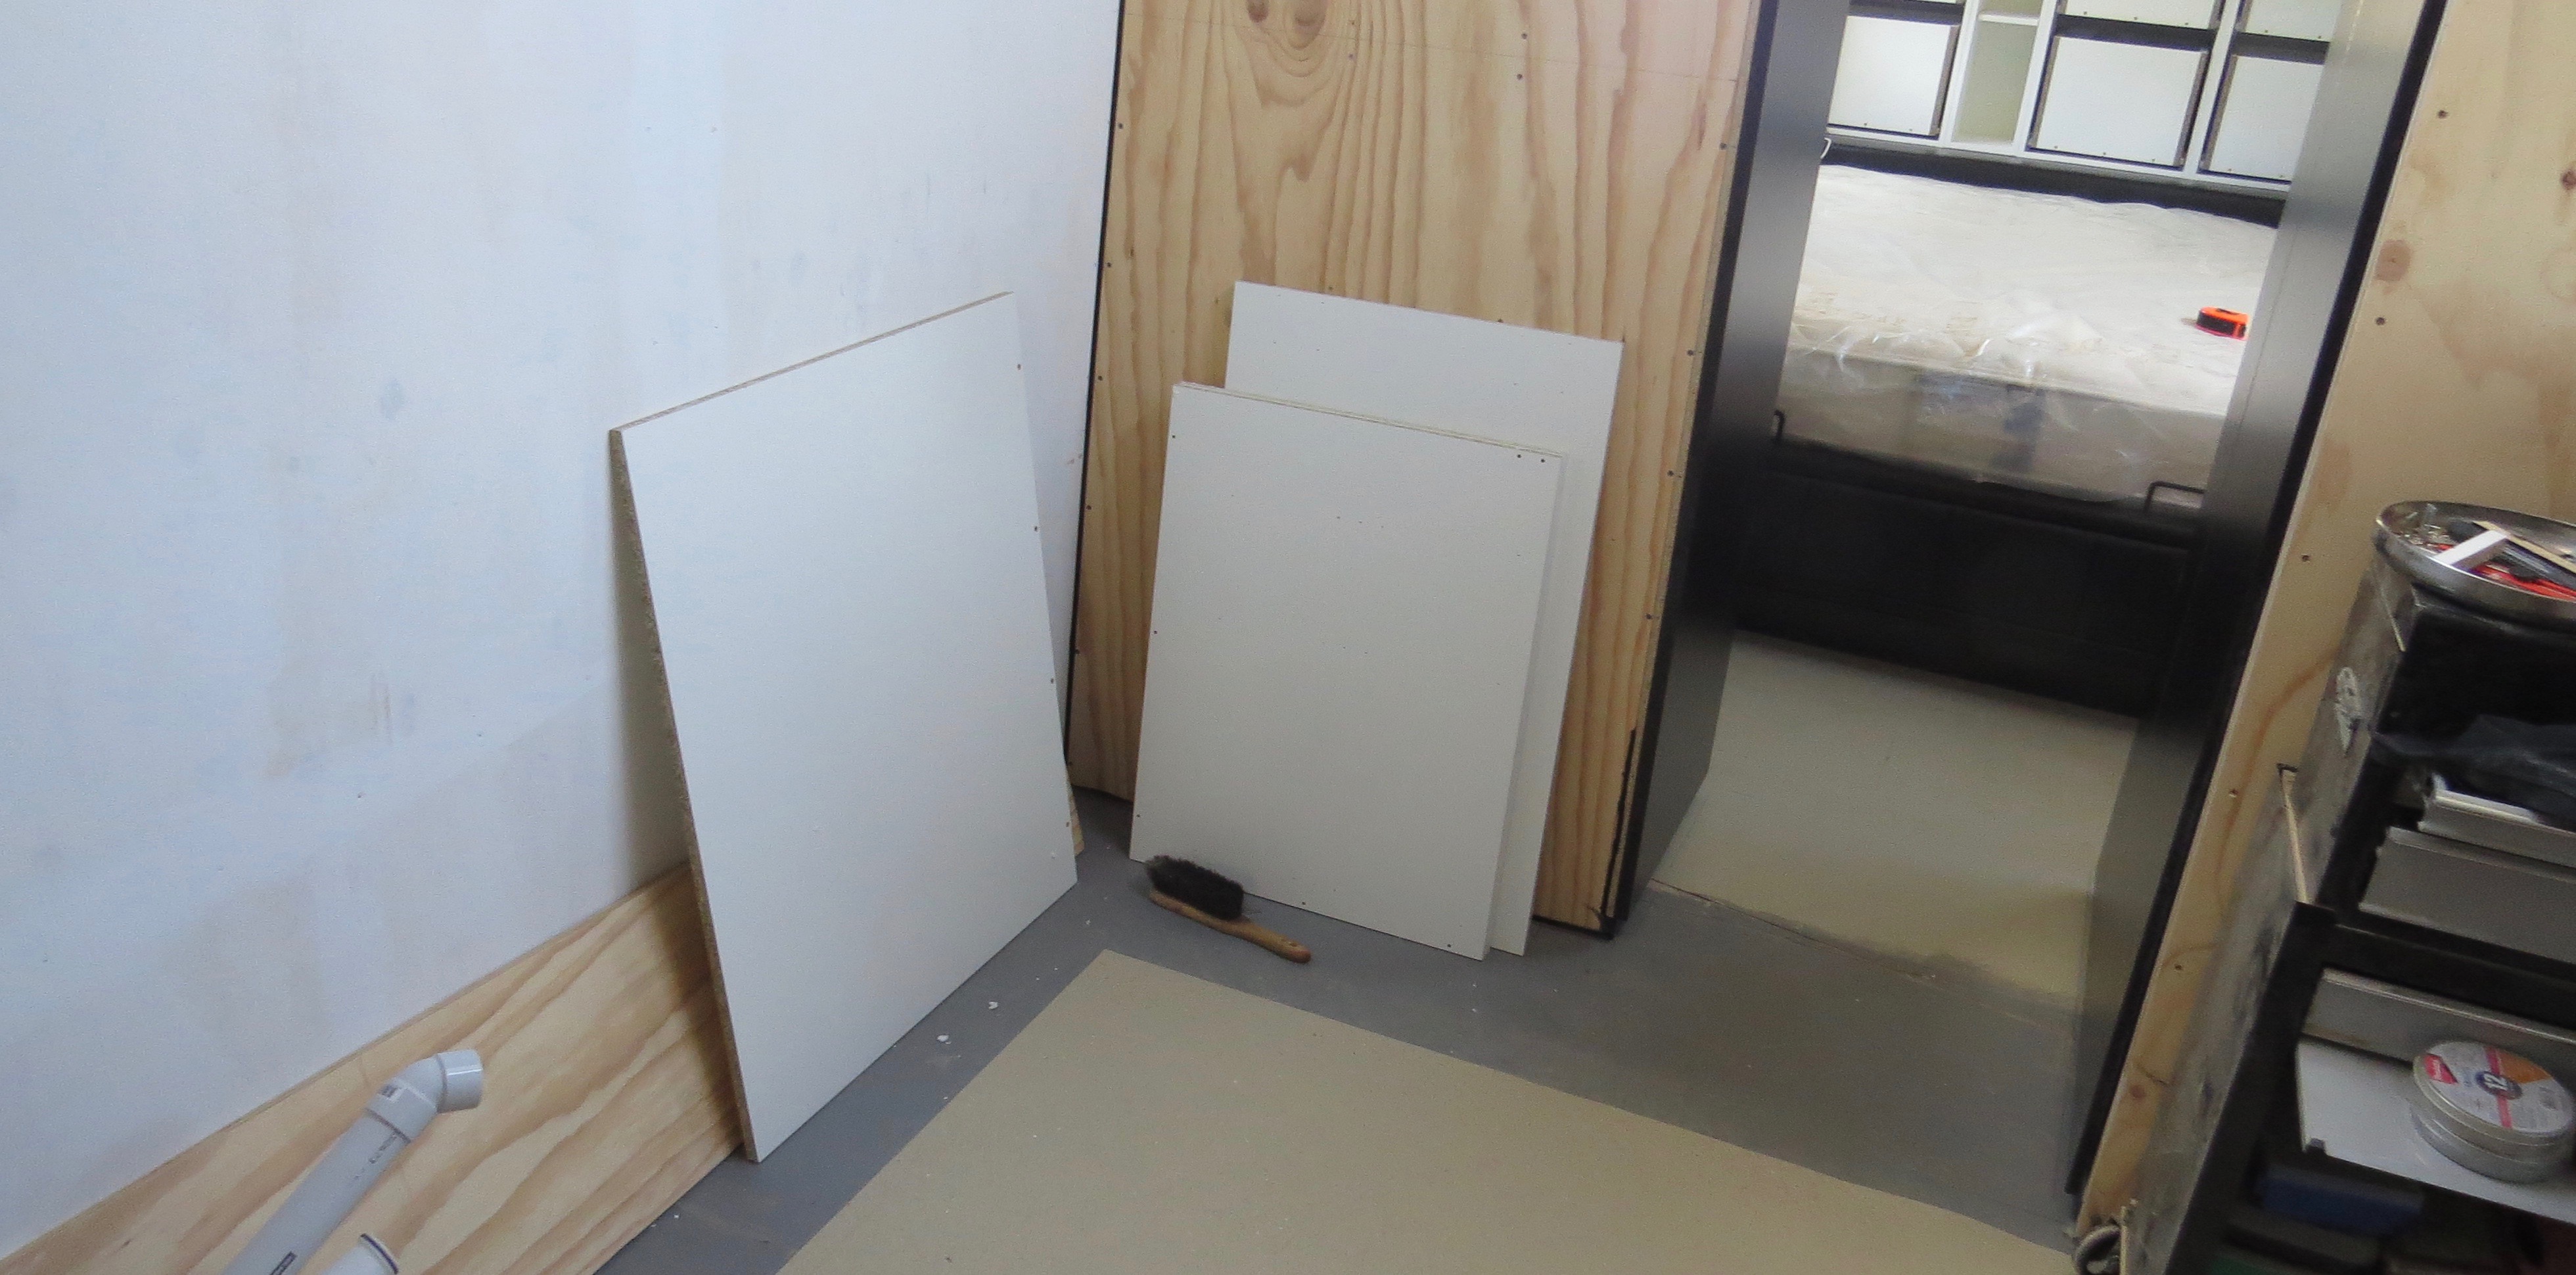
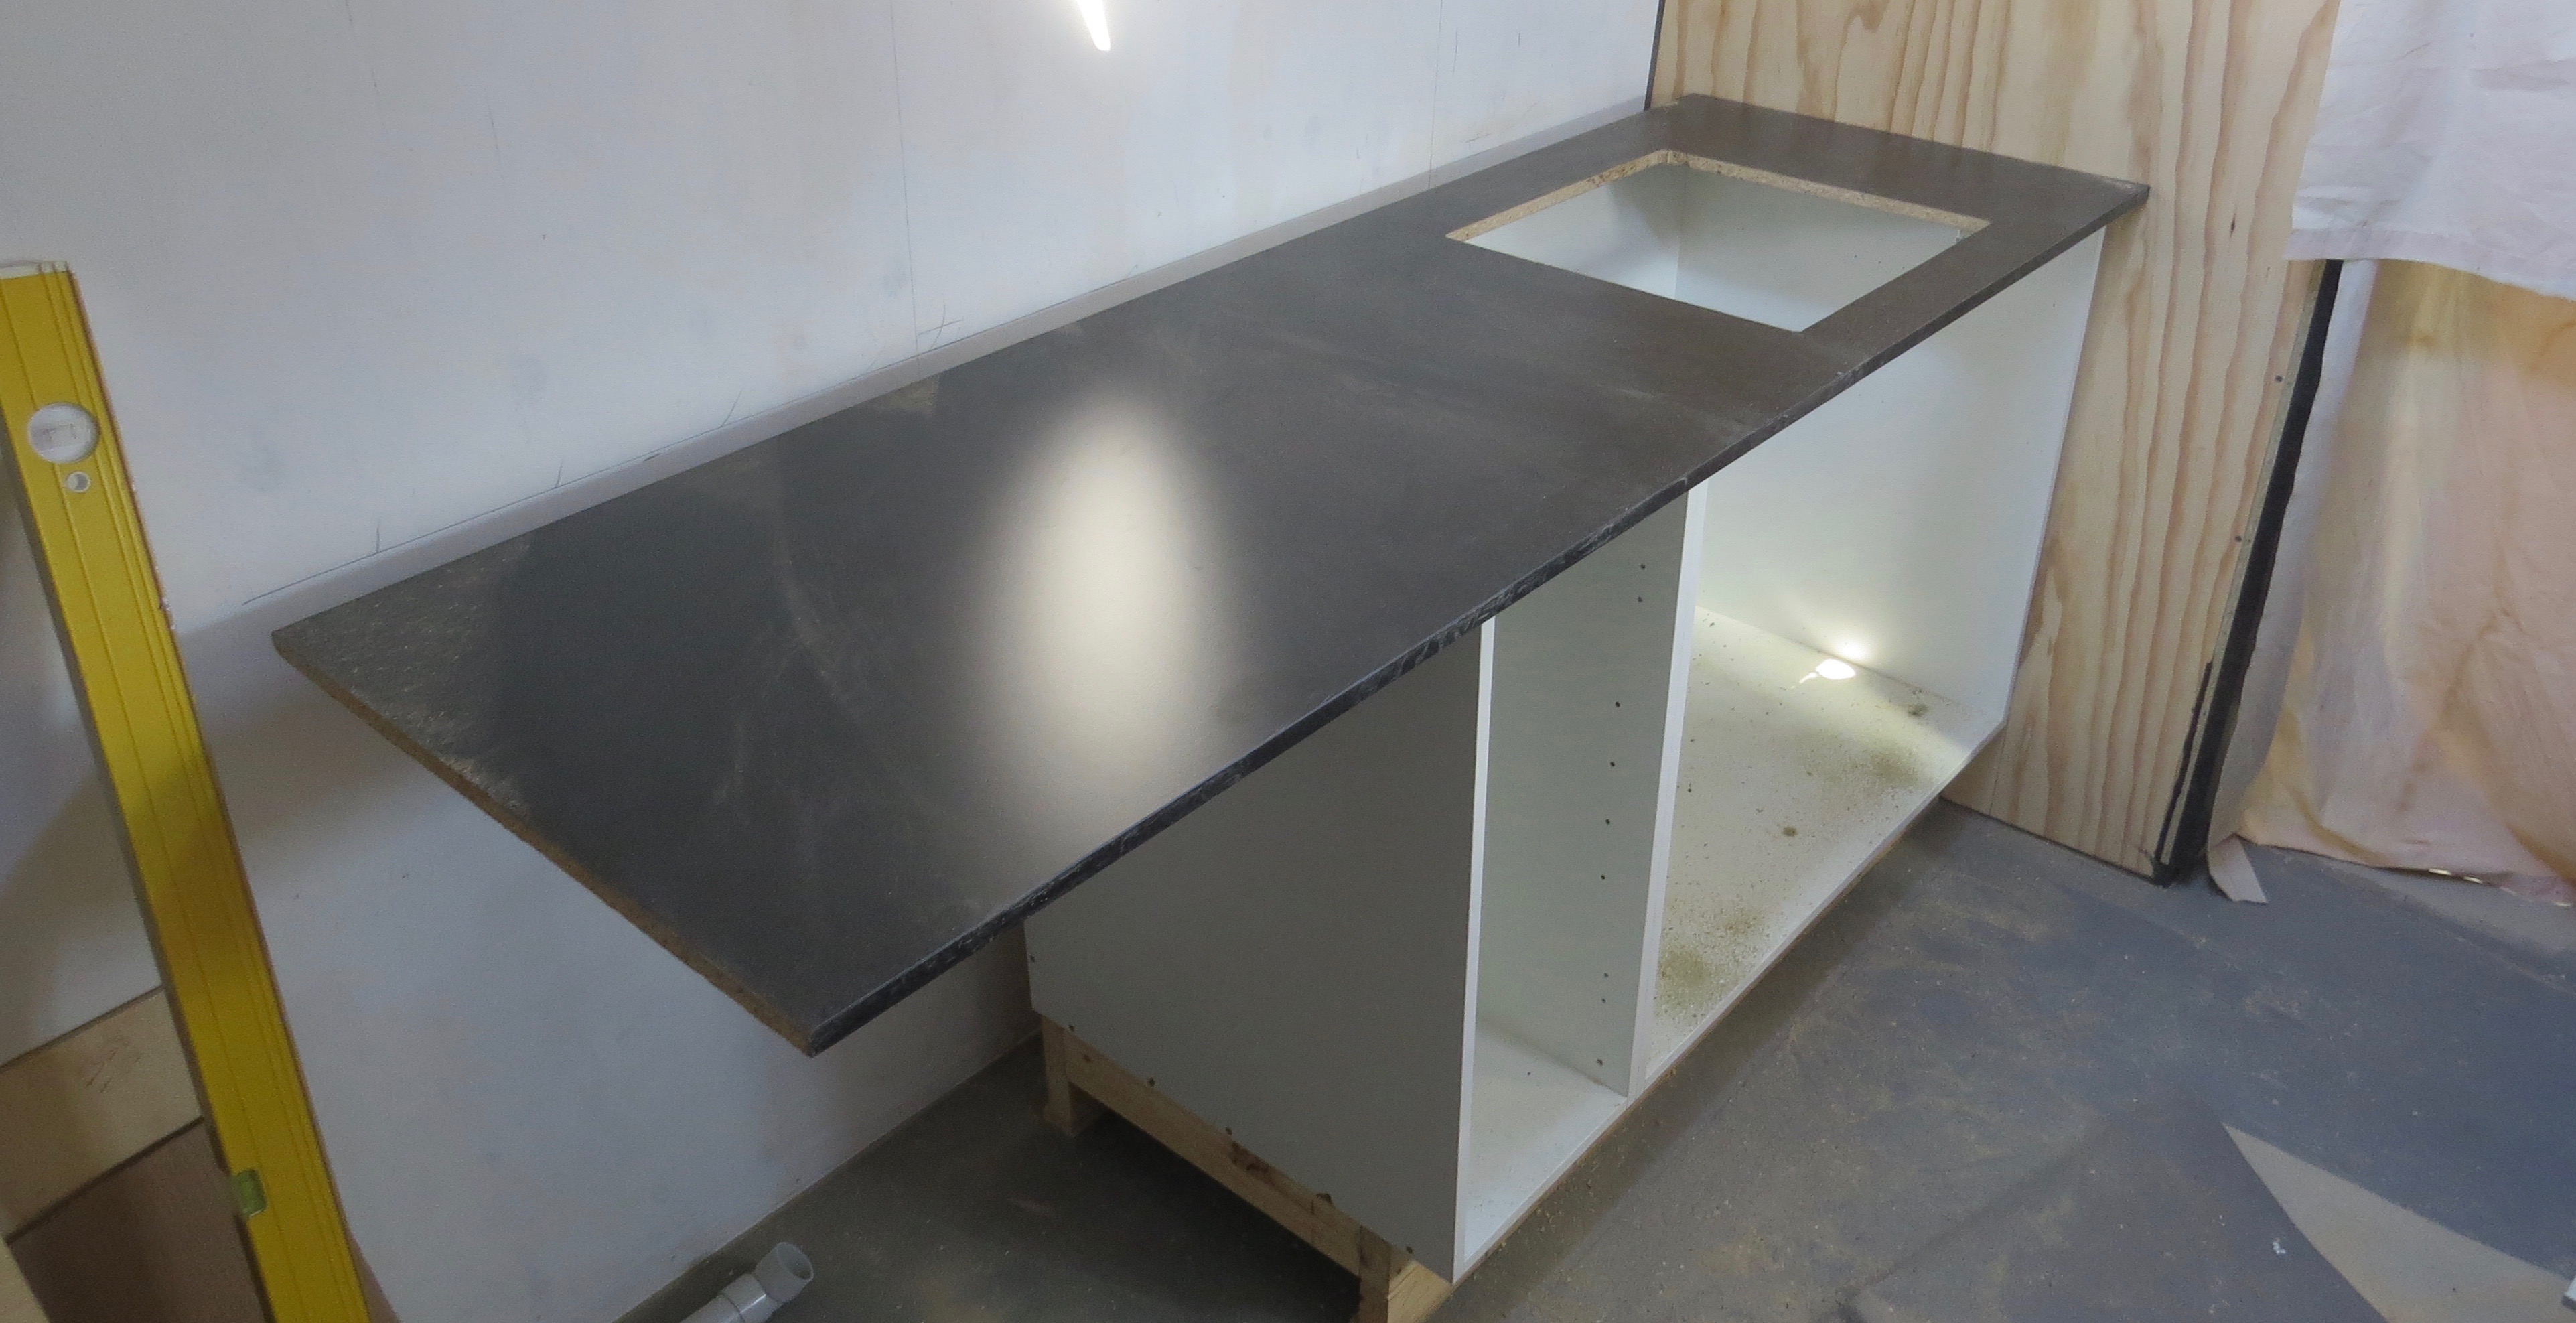
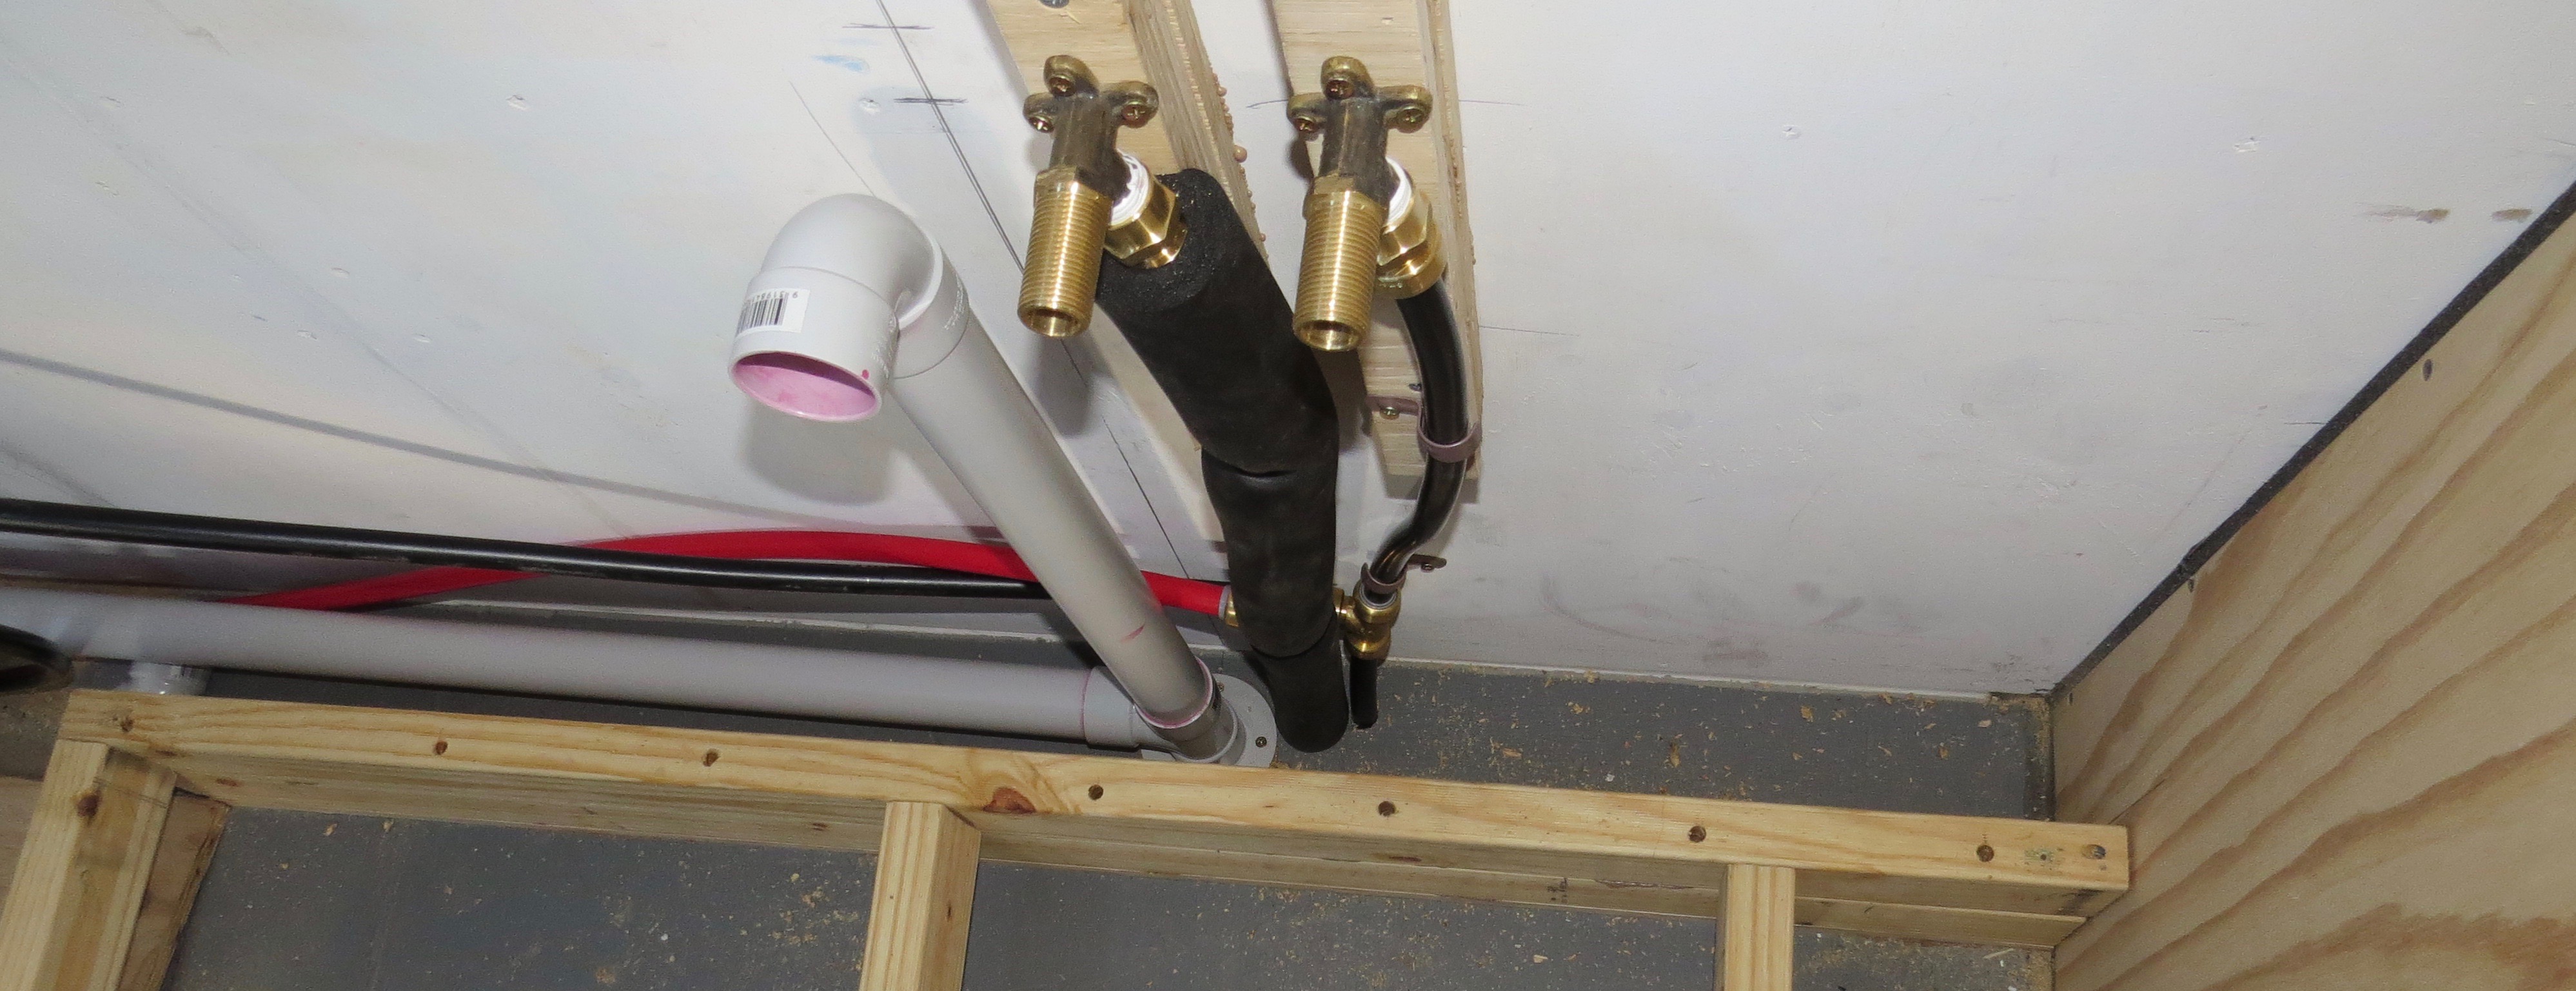
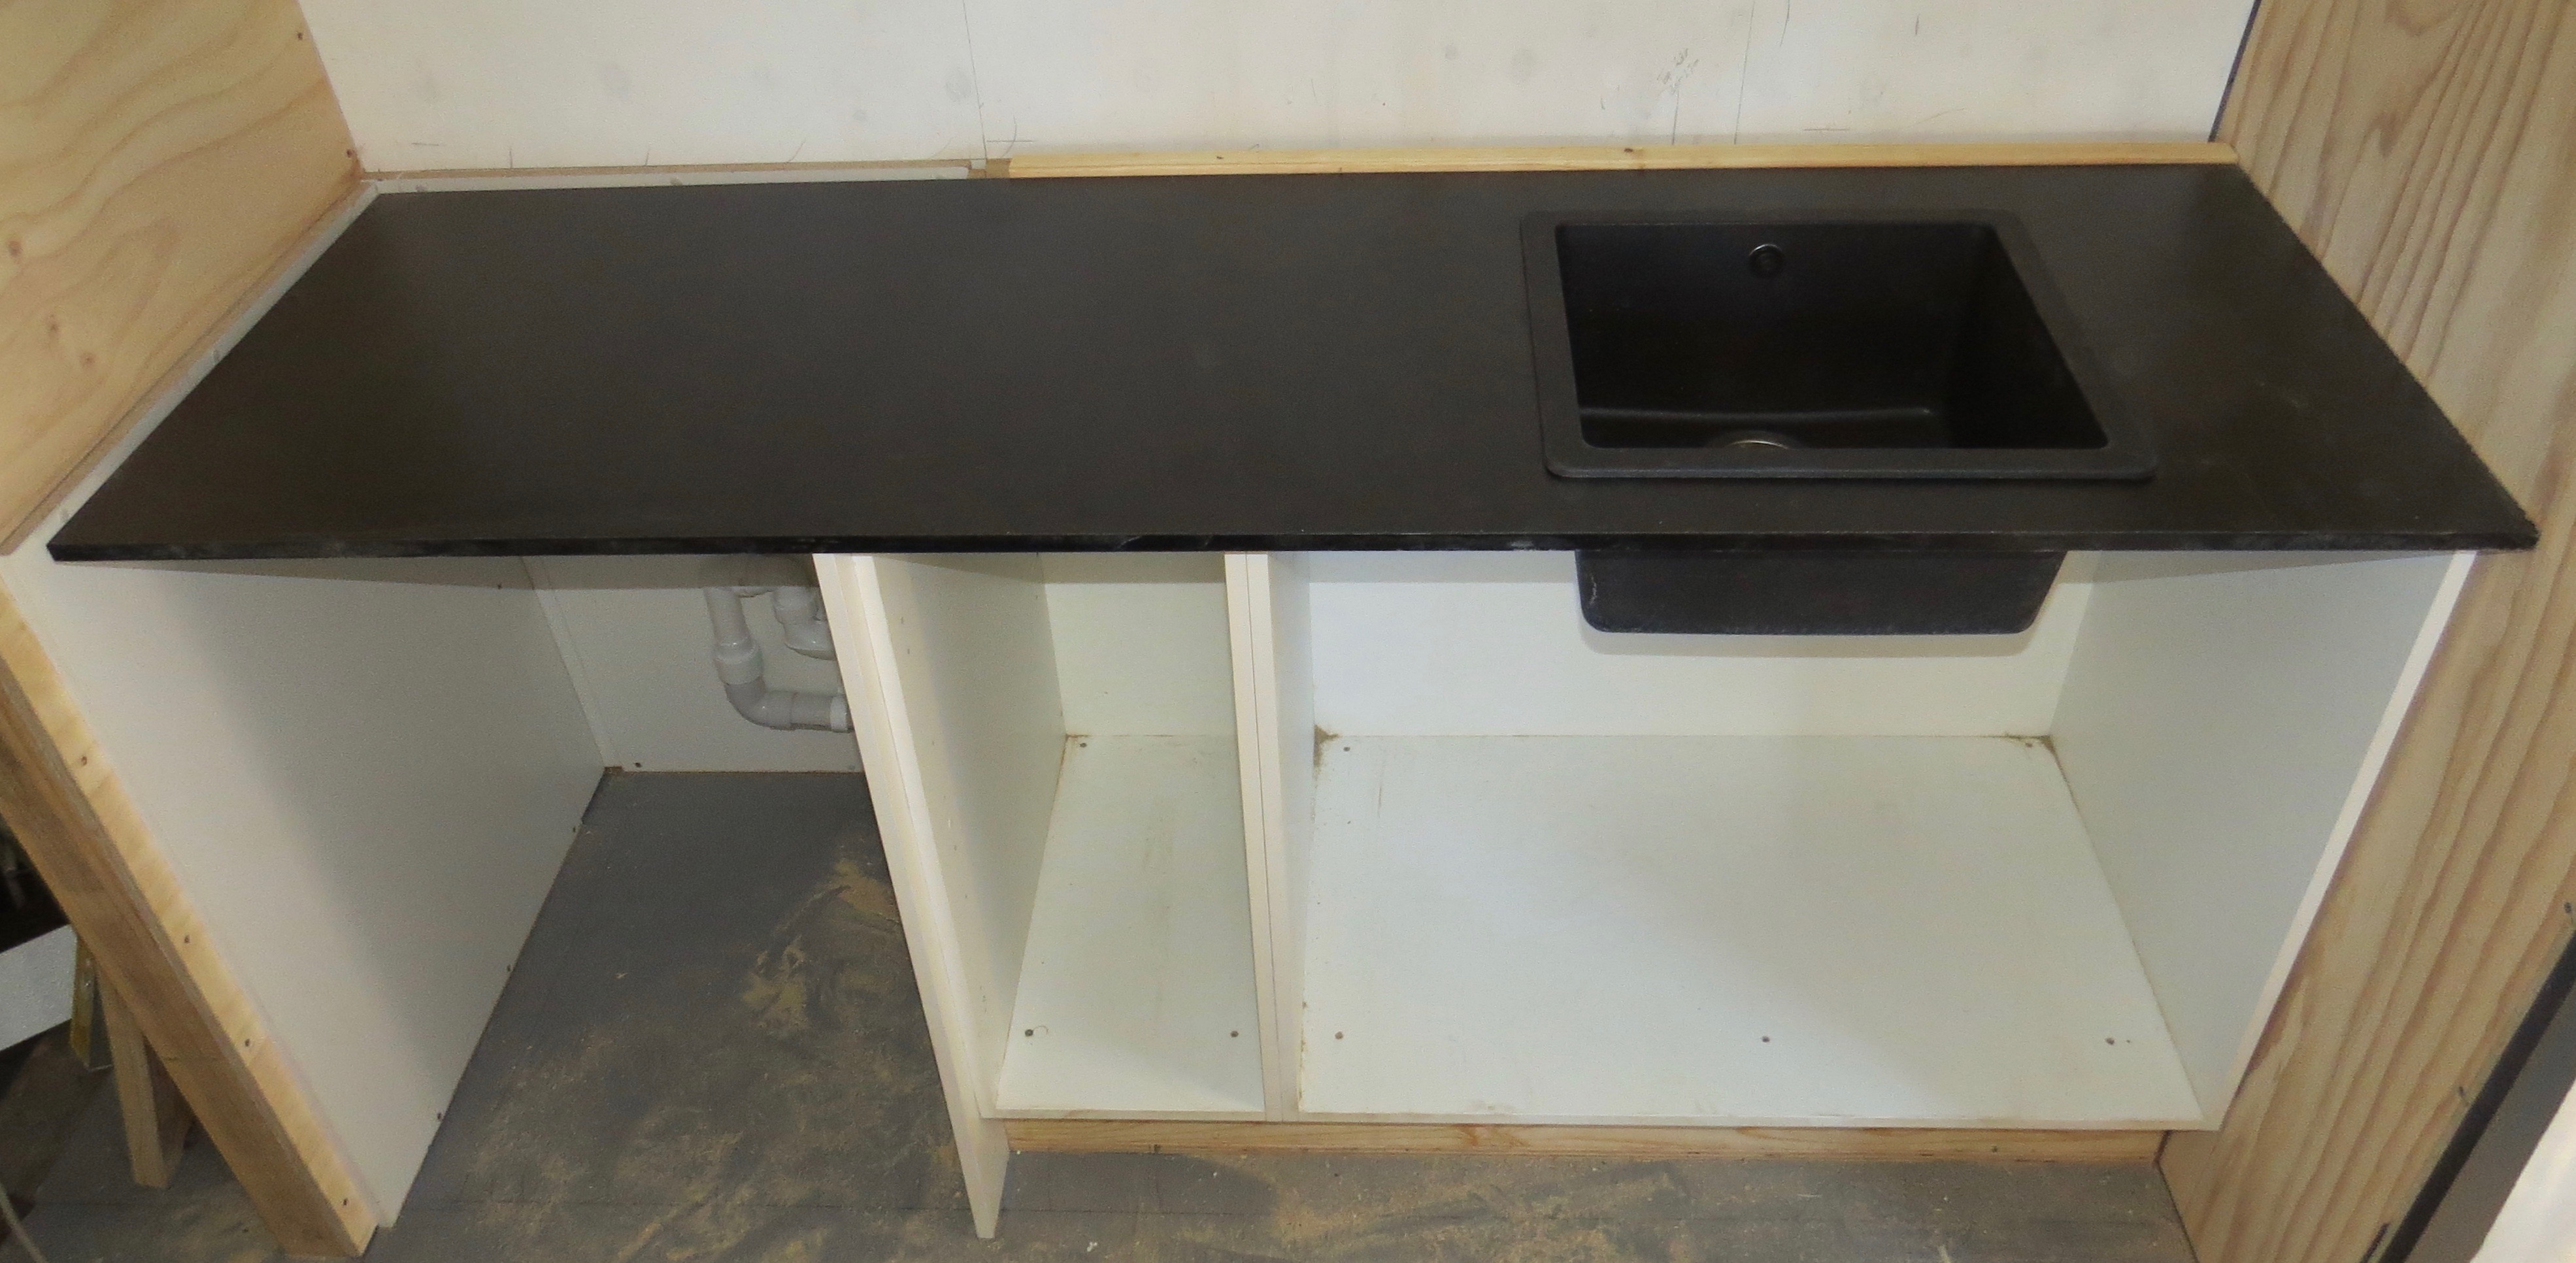
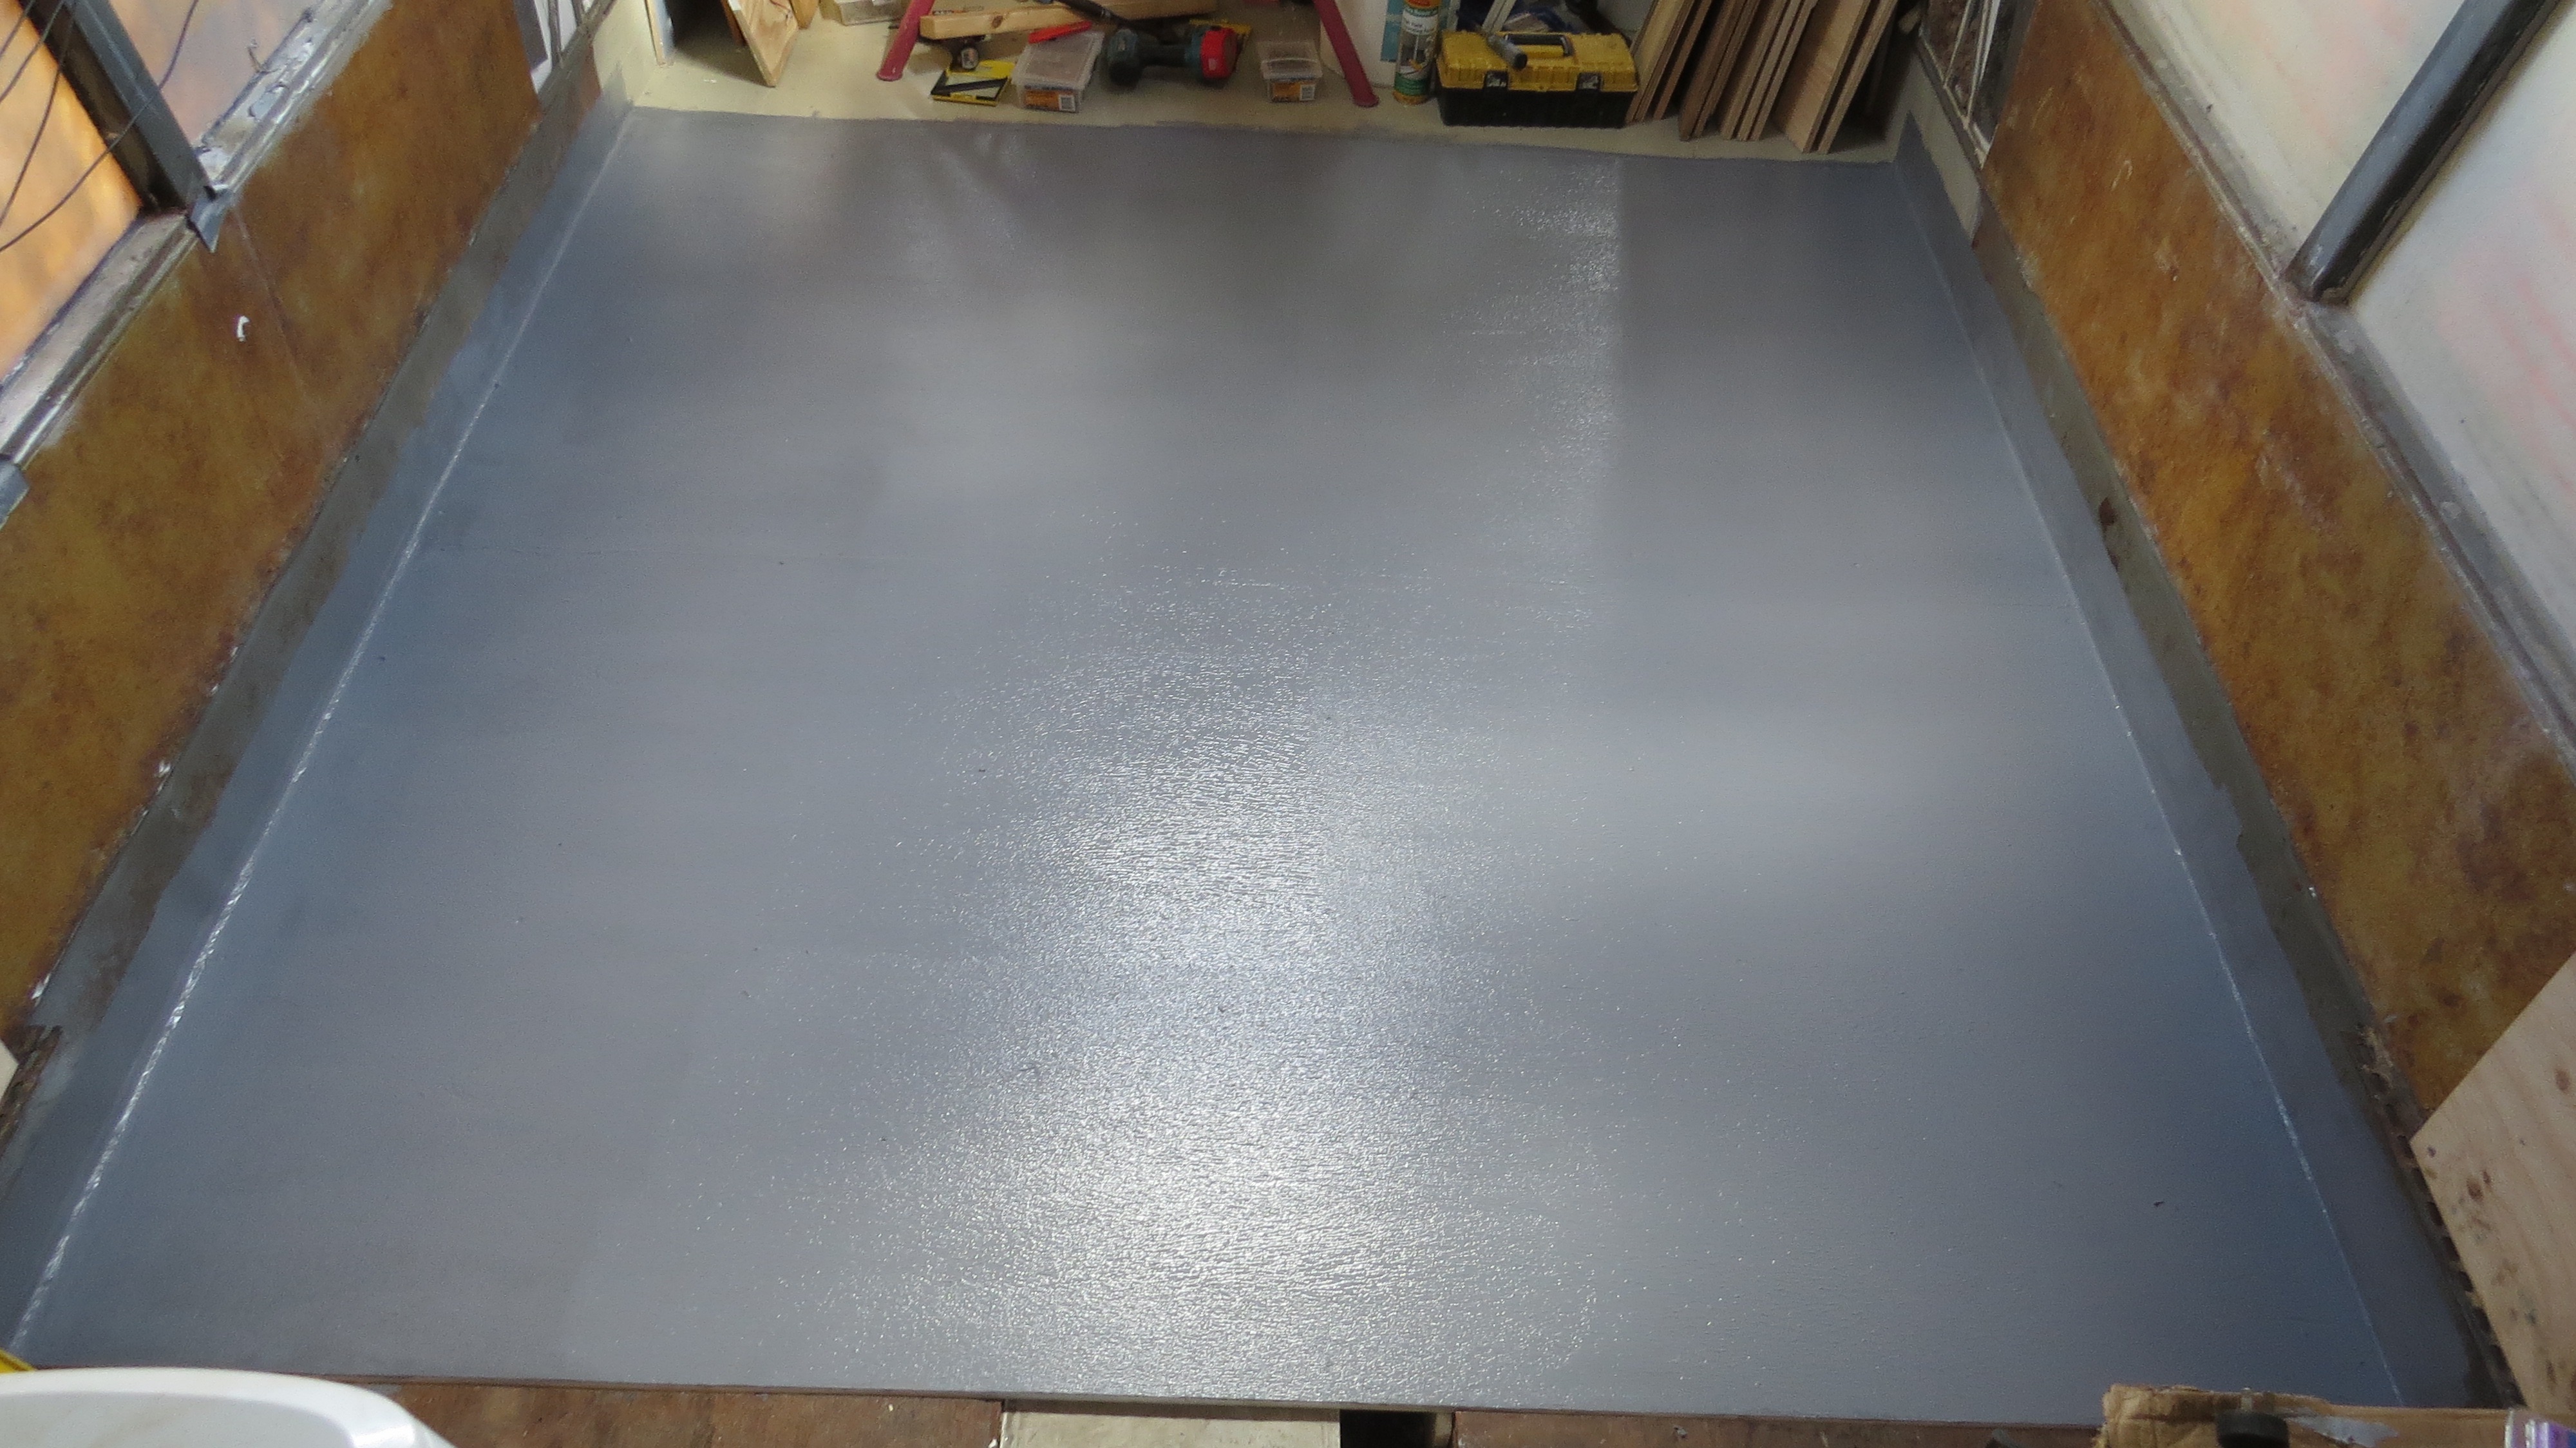
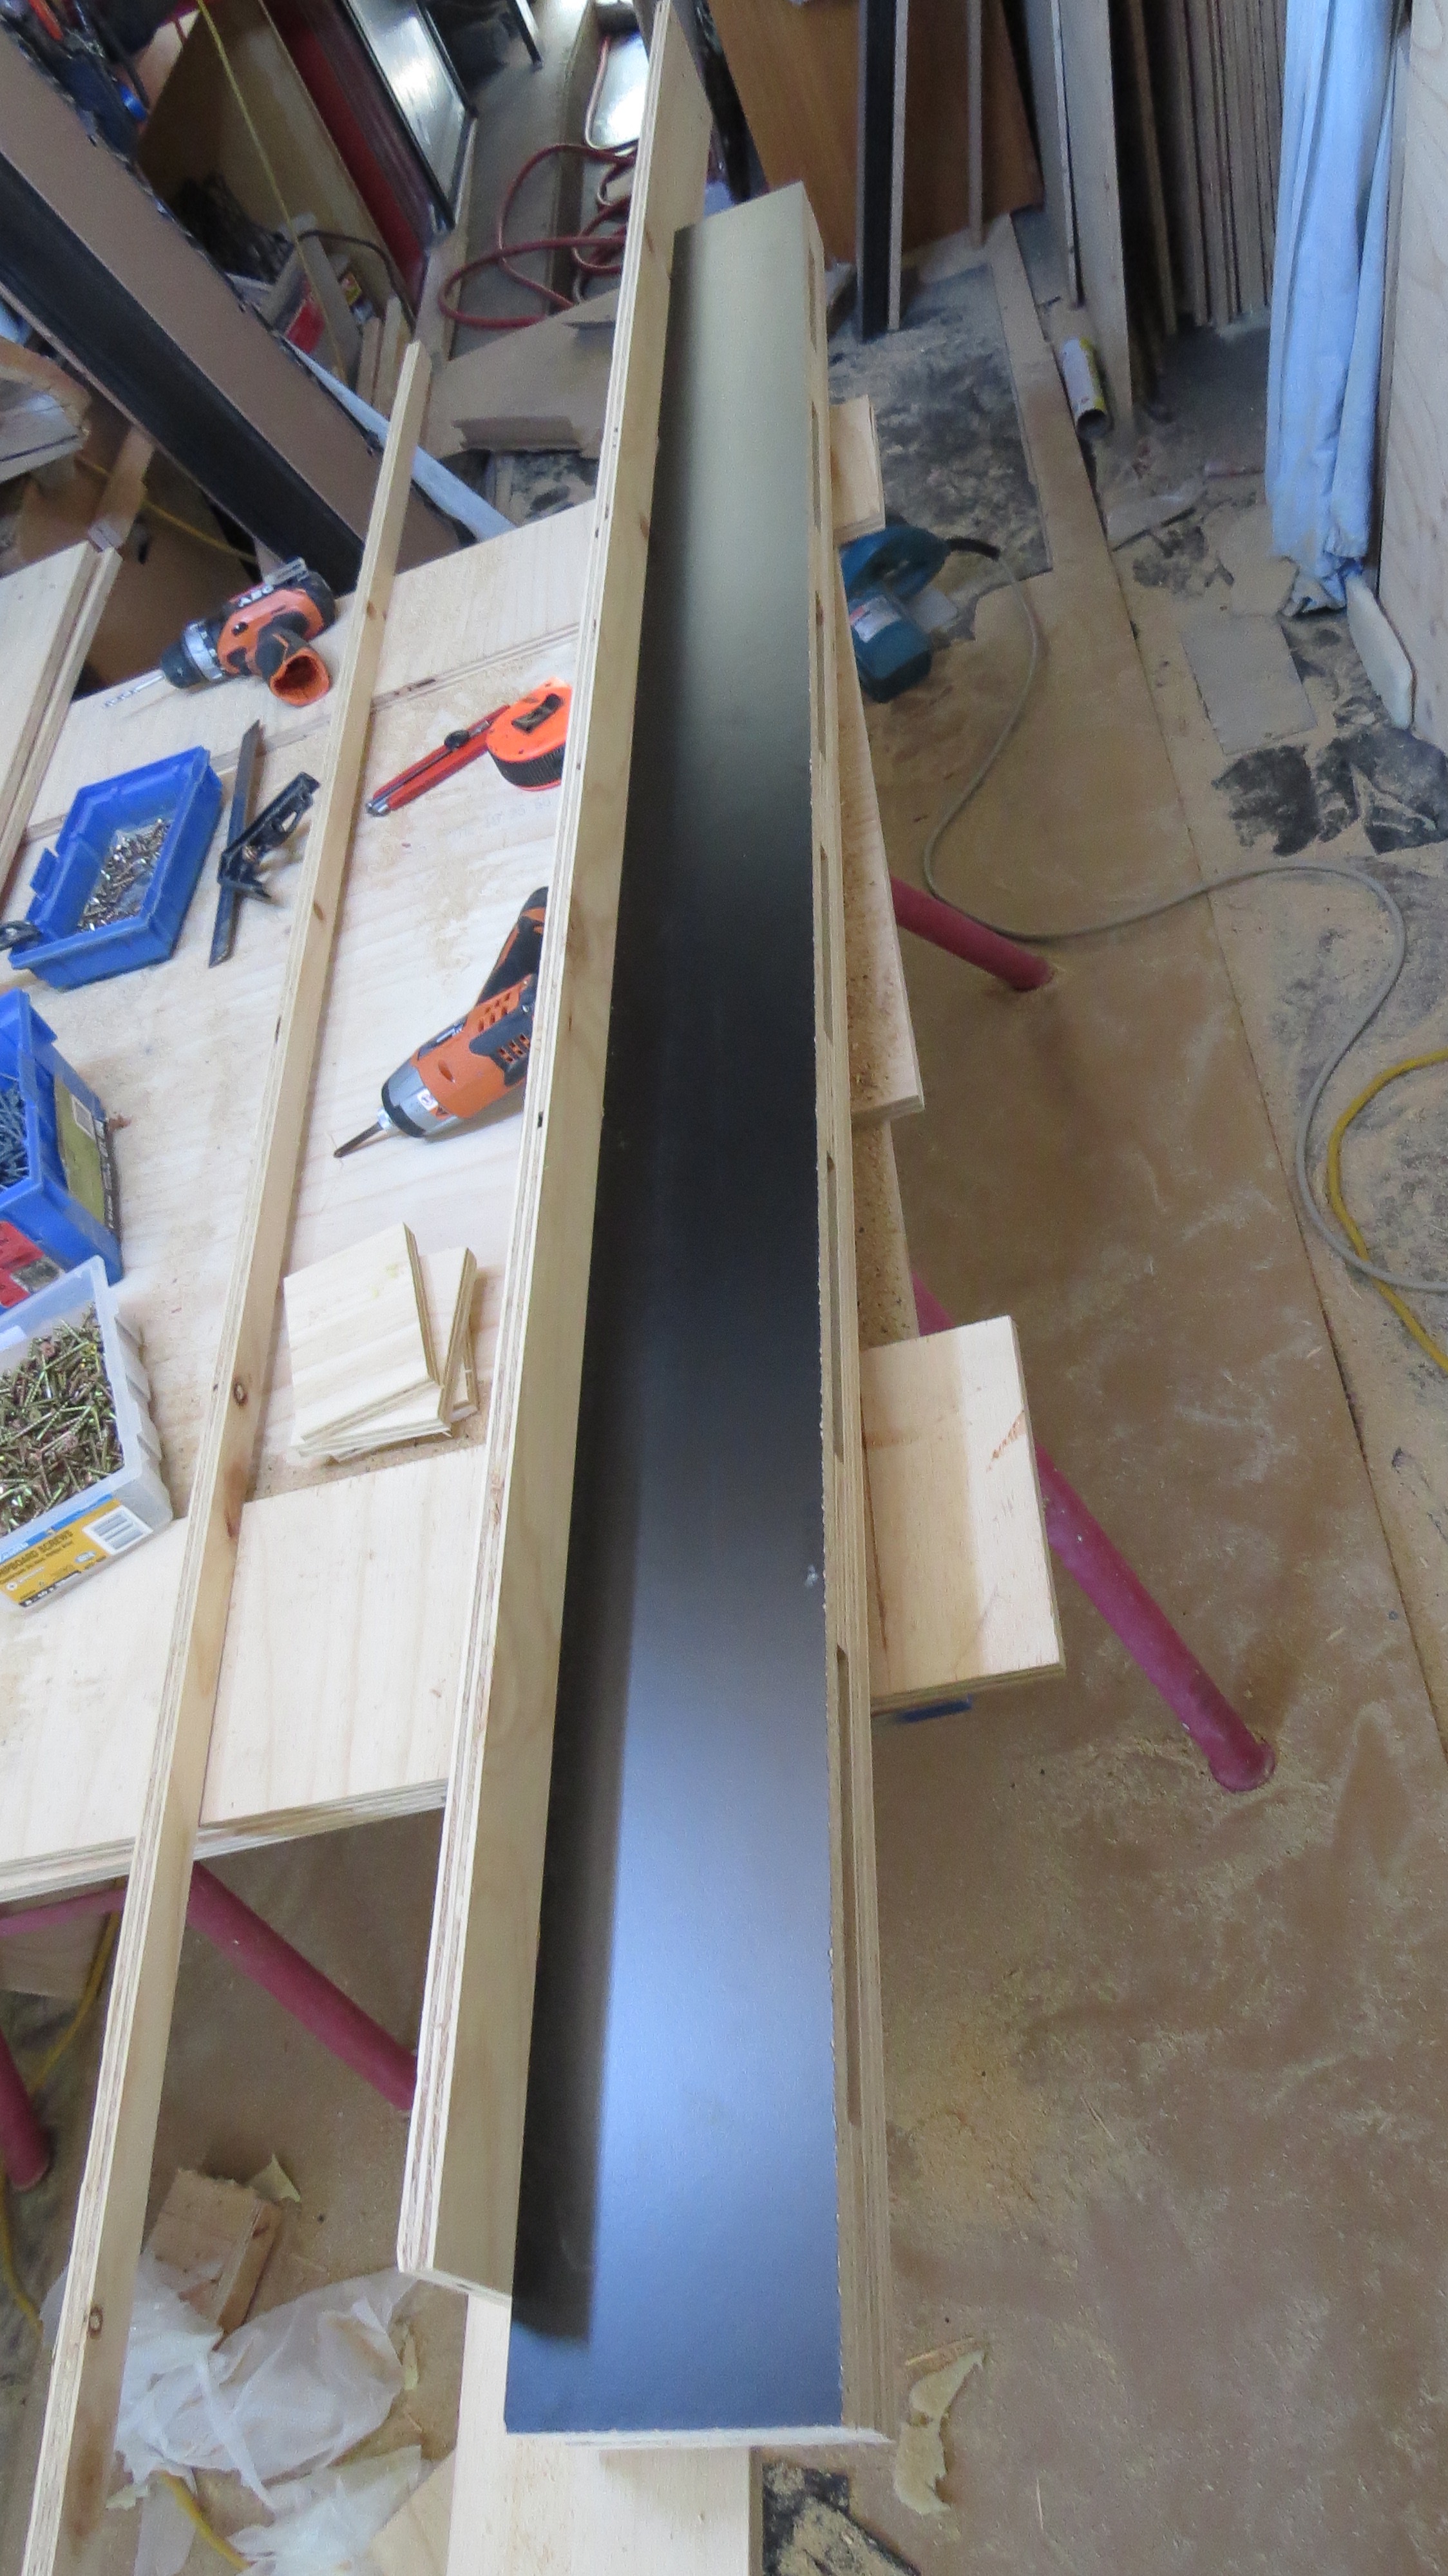
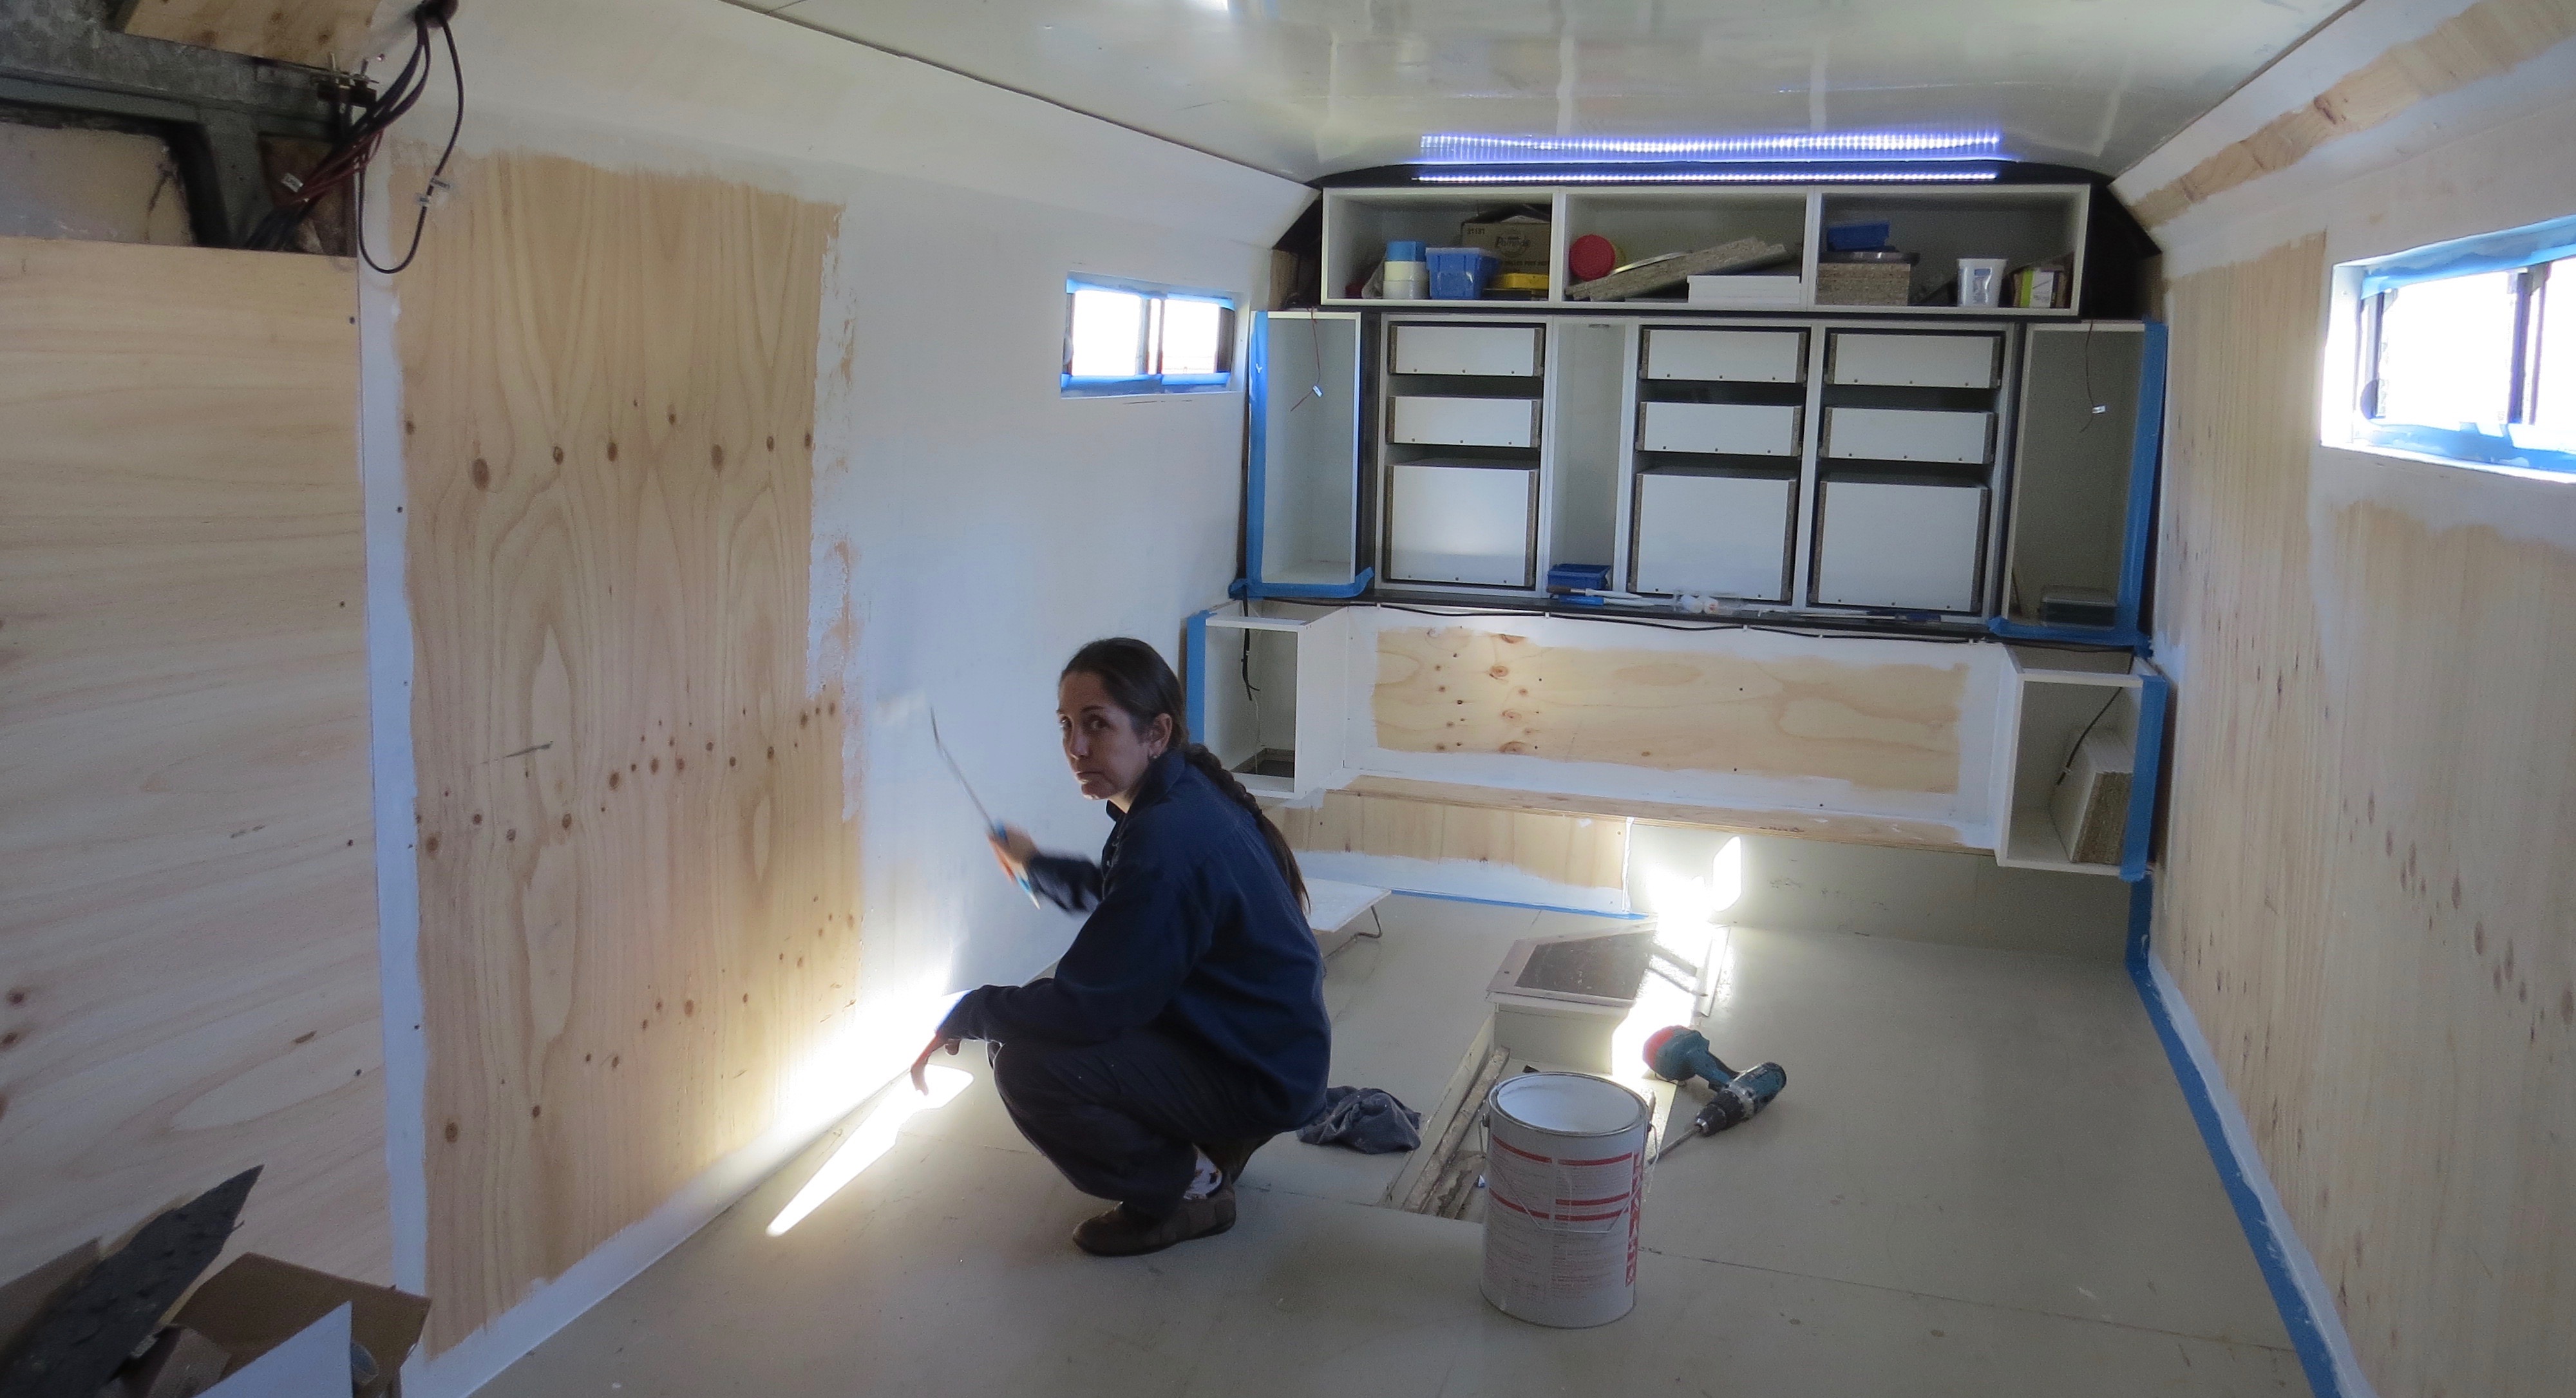
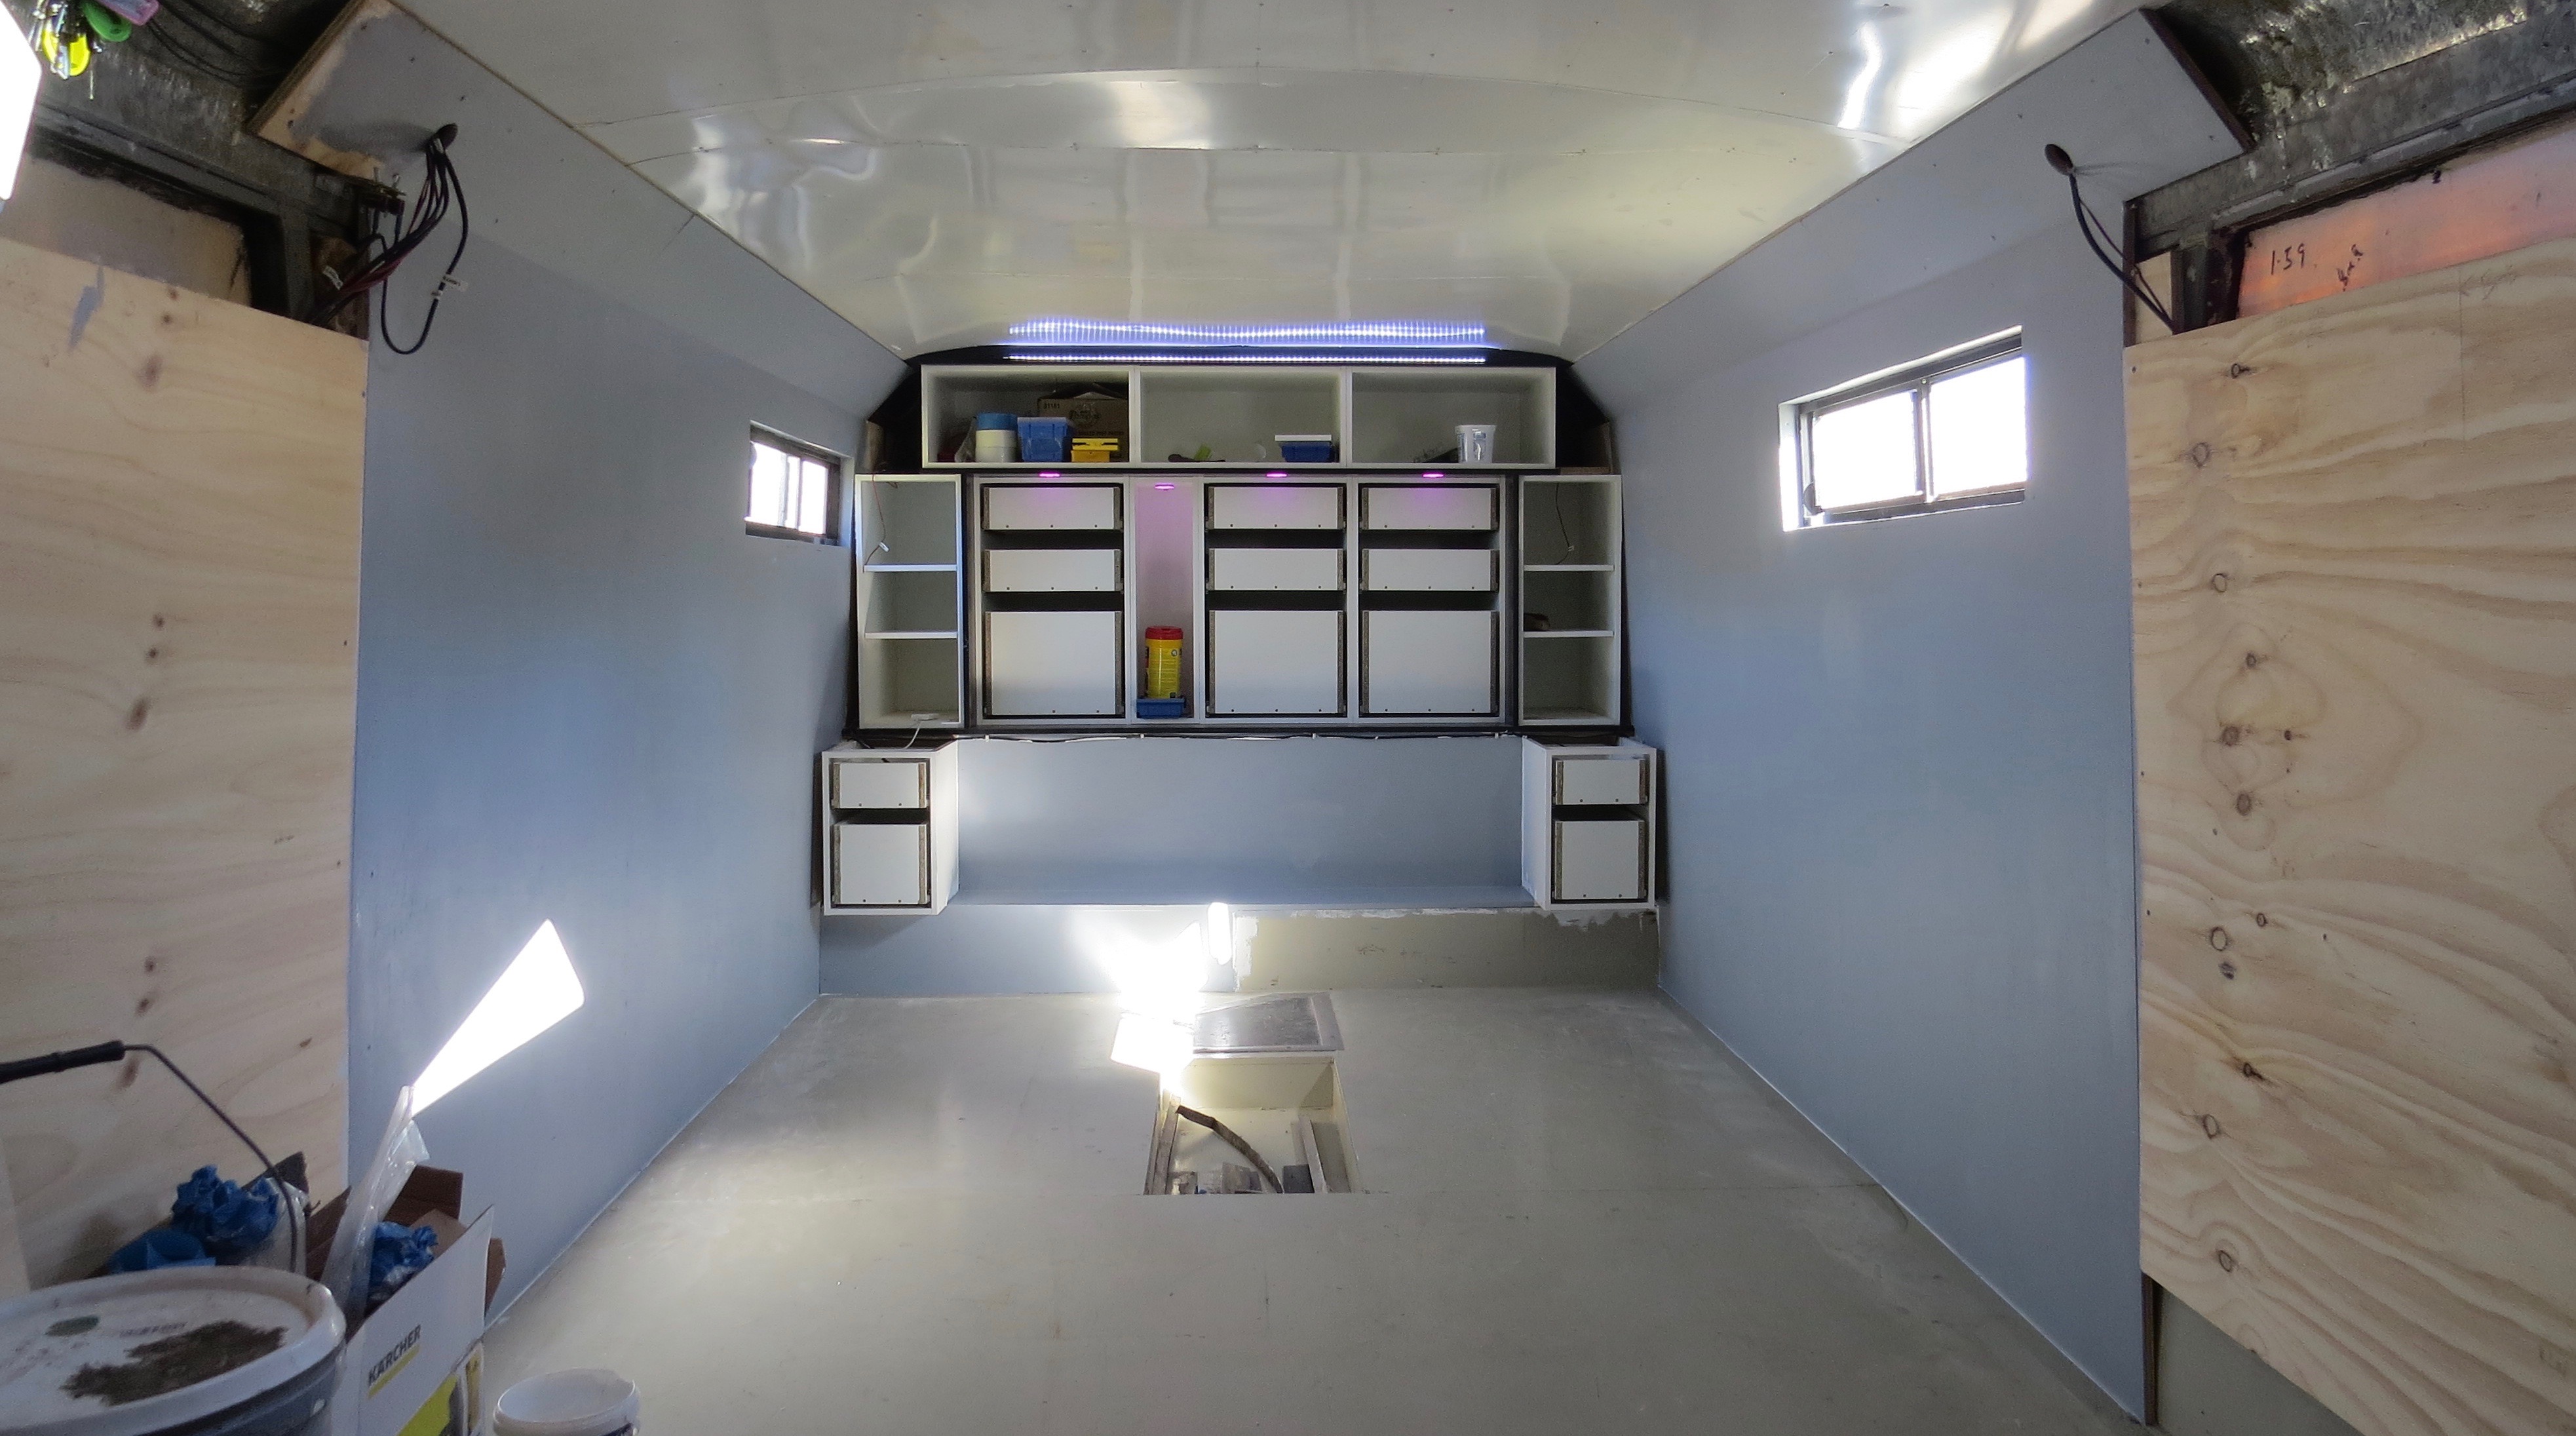
Draws for the vanity

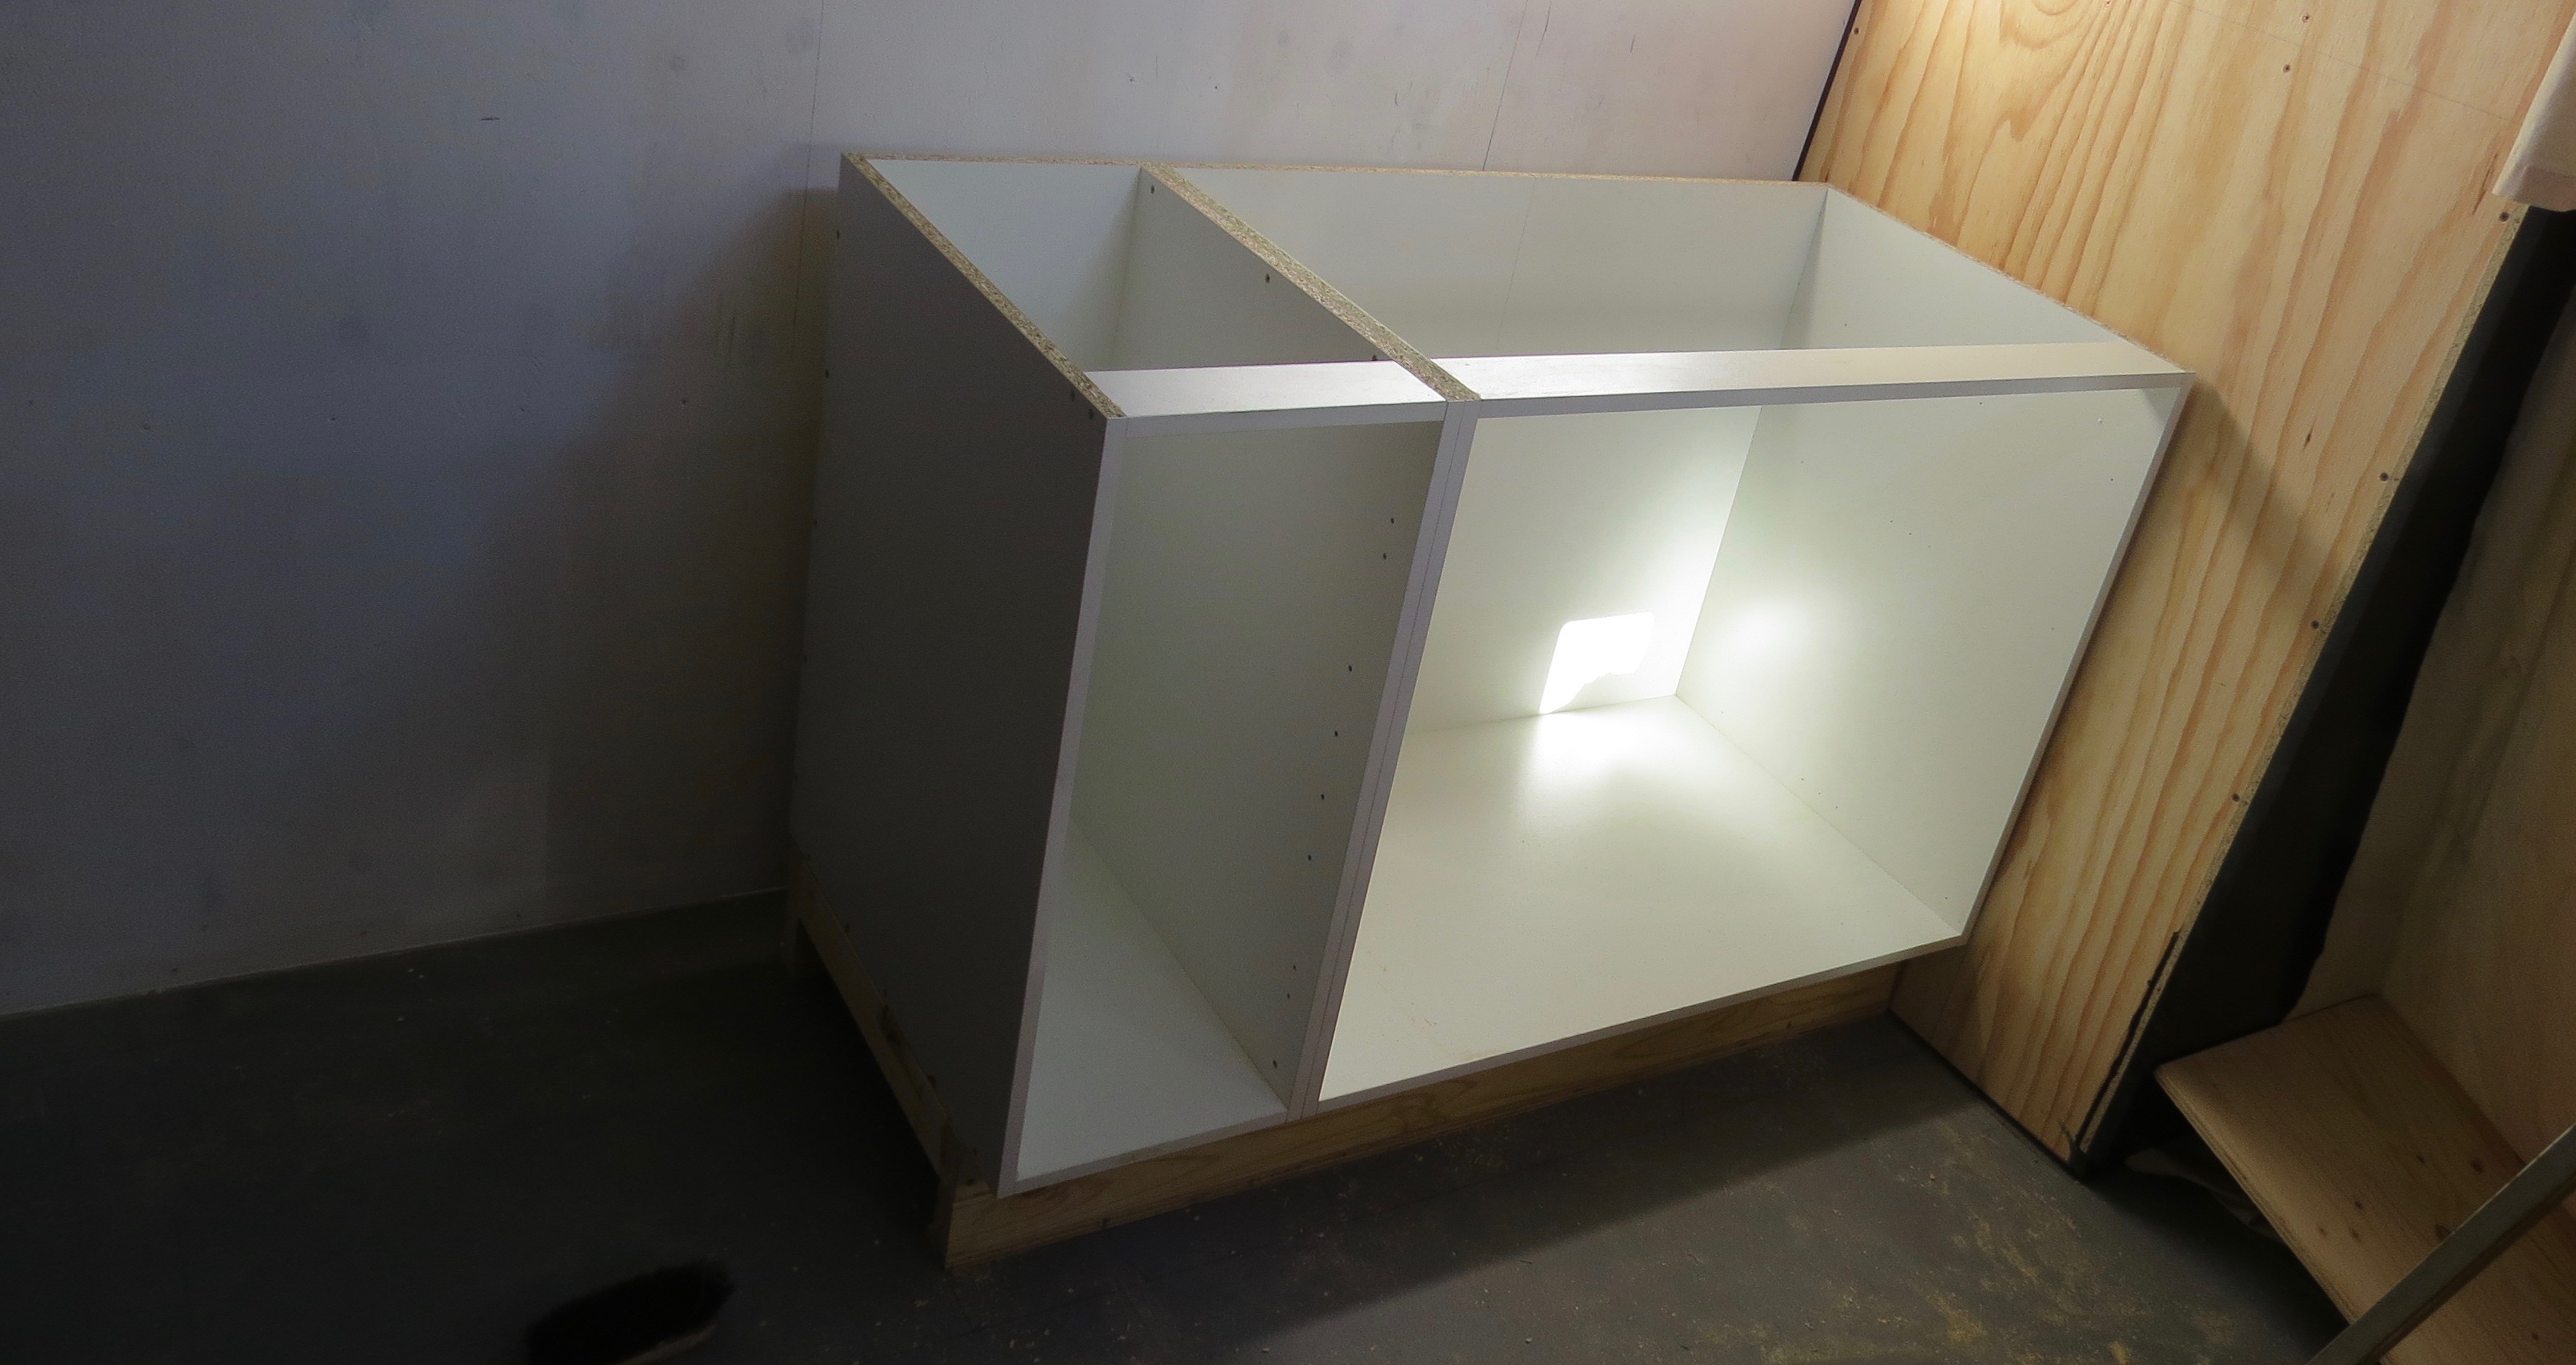
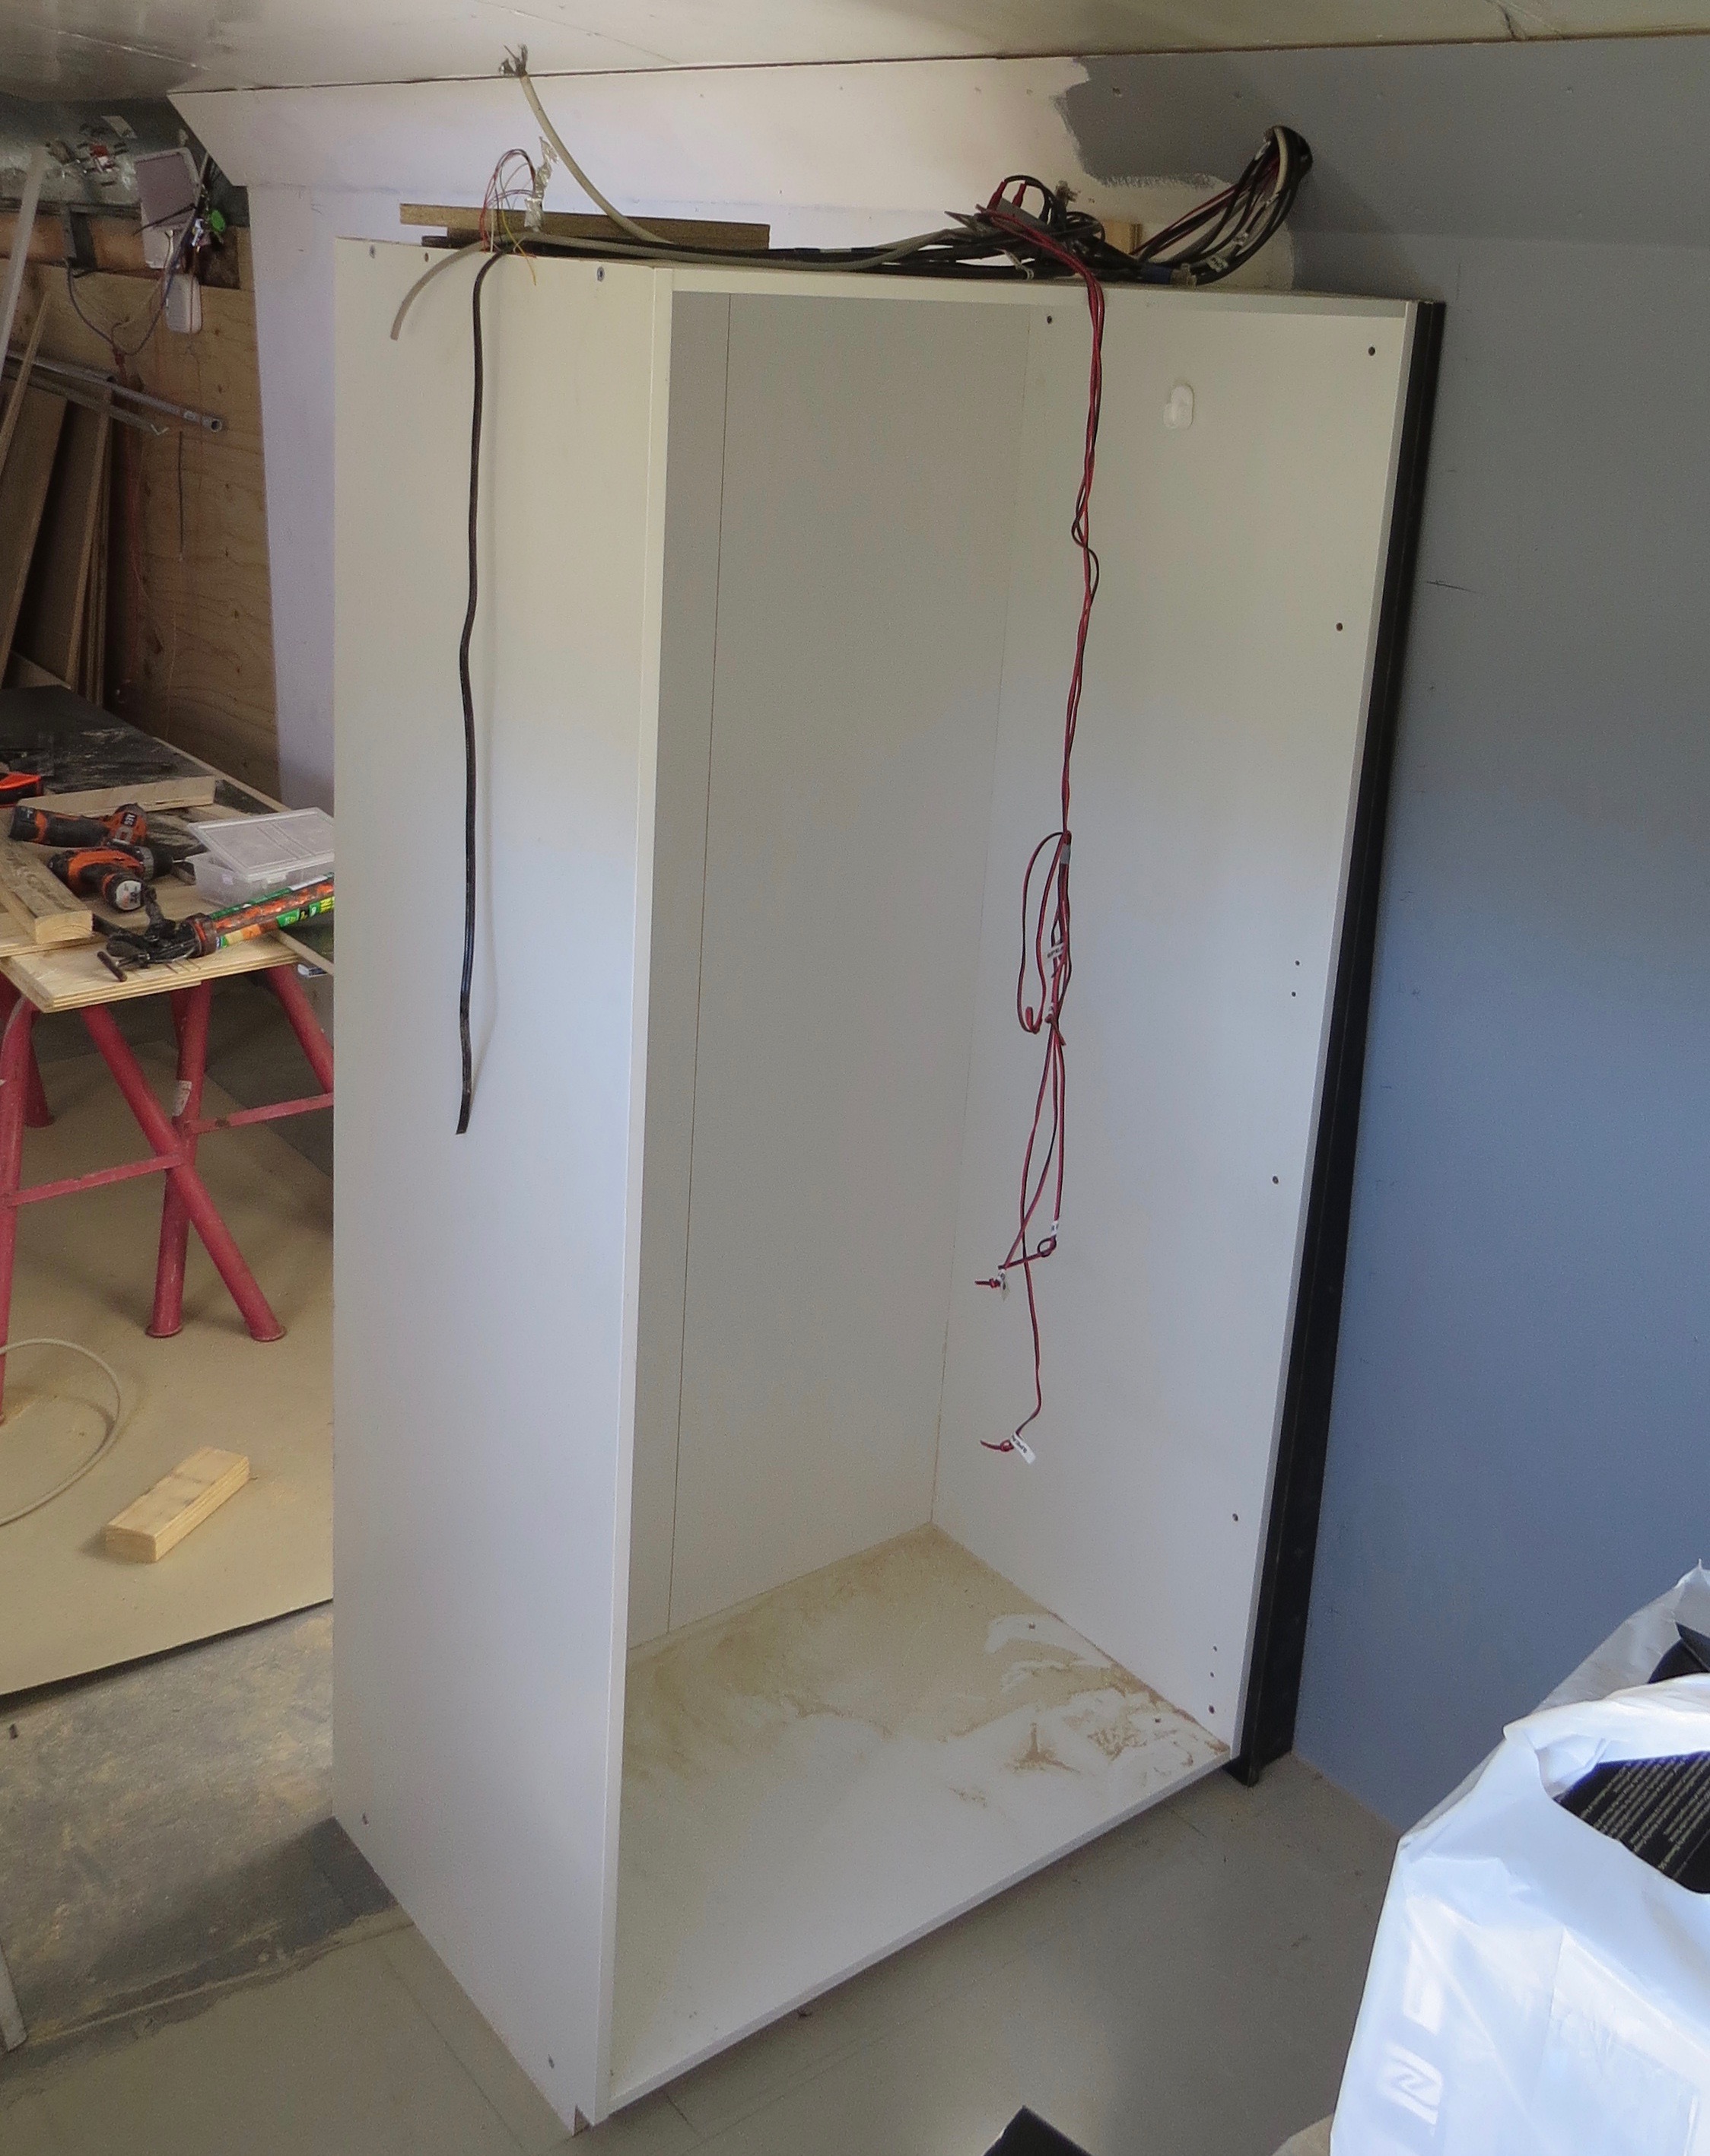
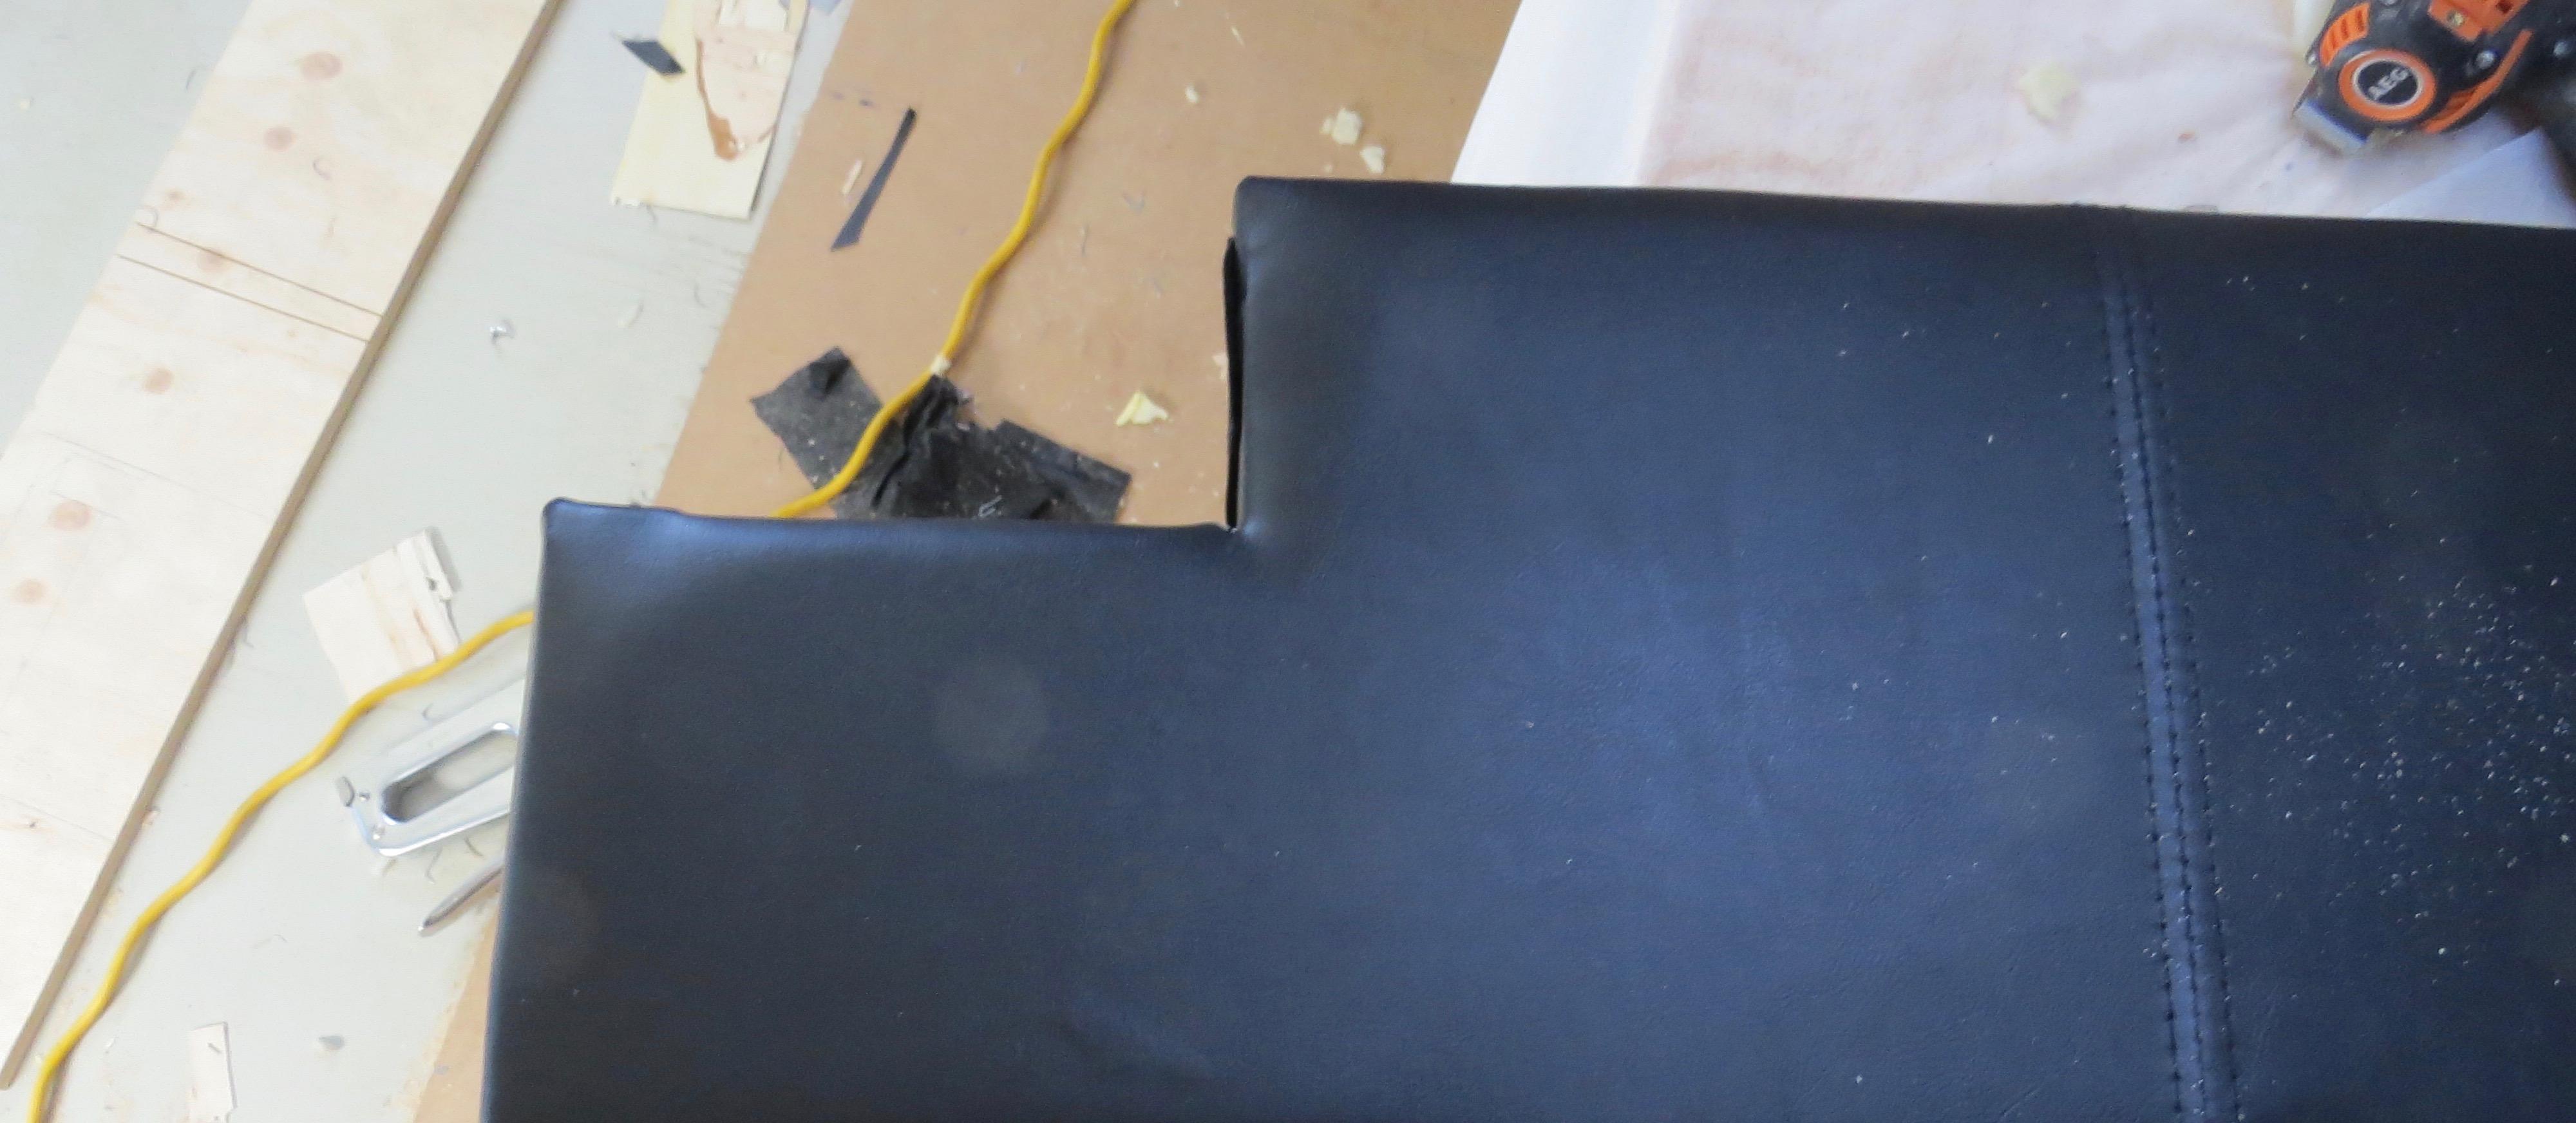
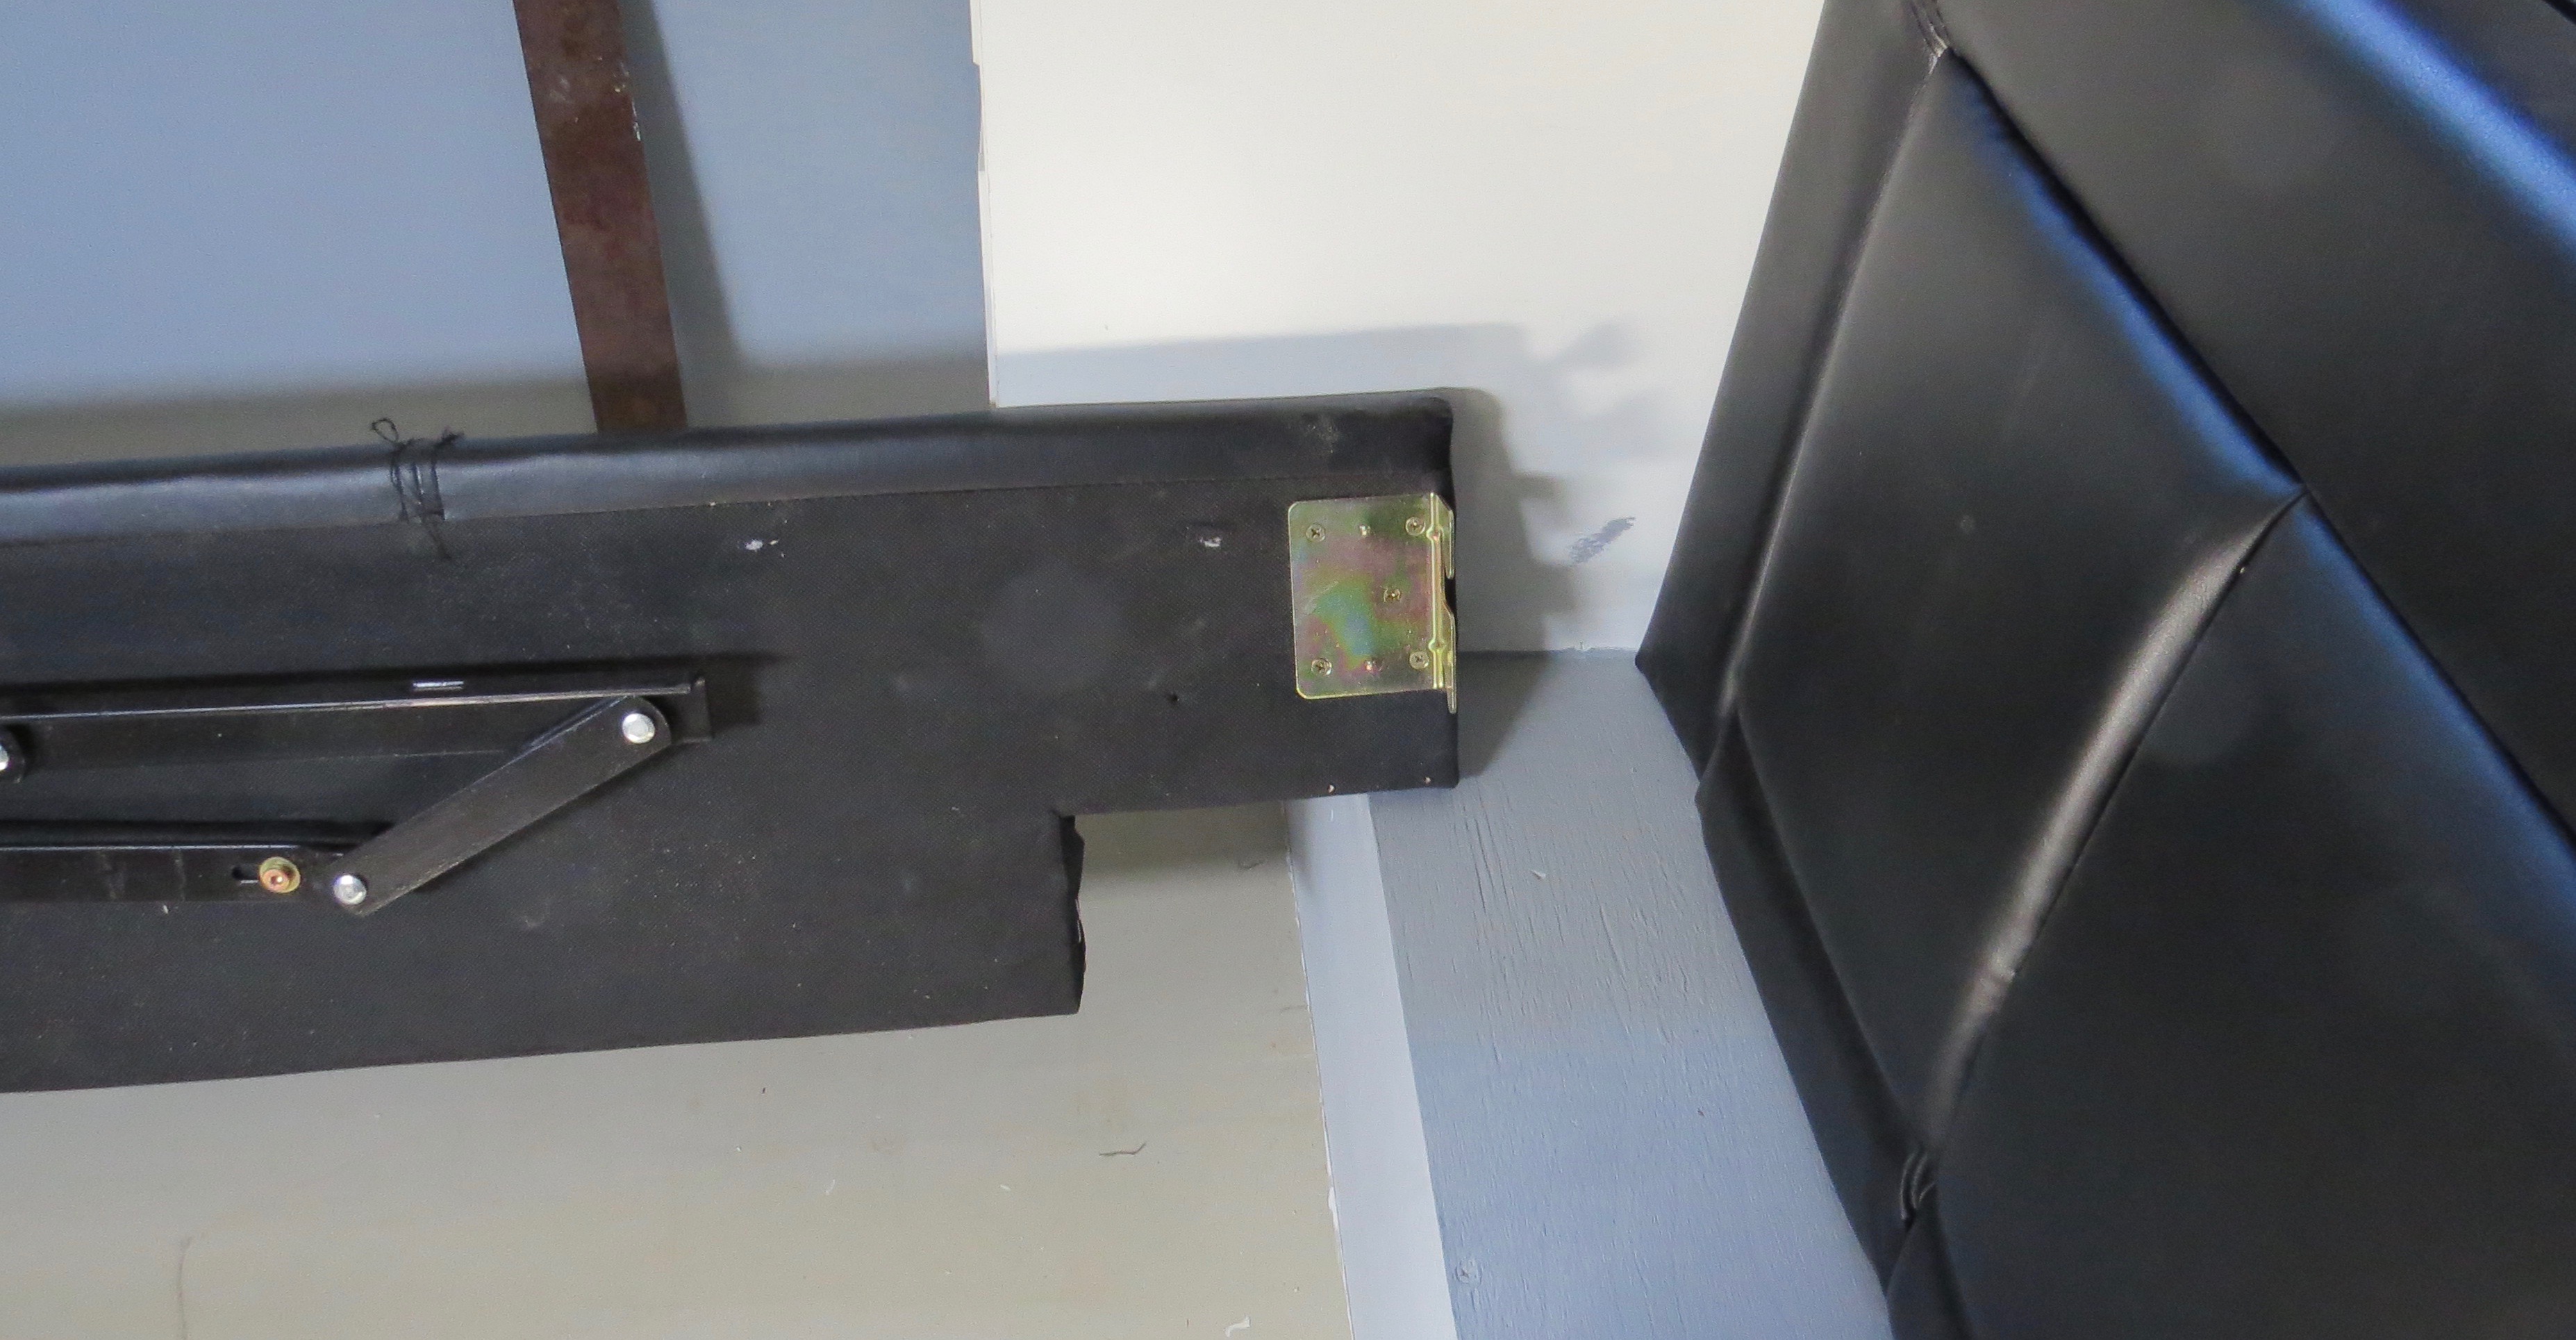
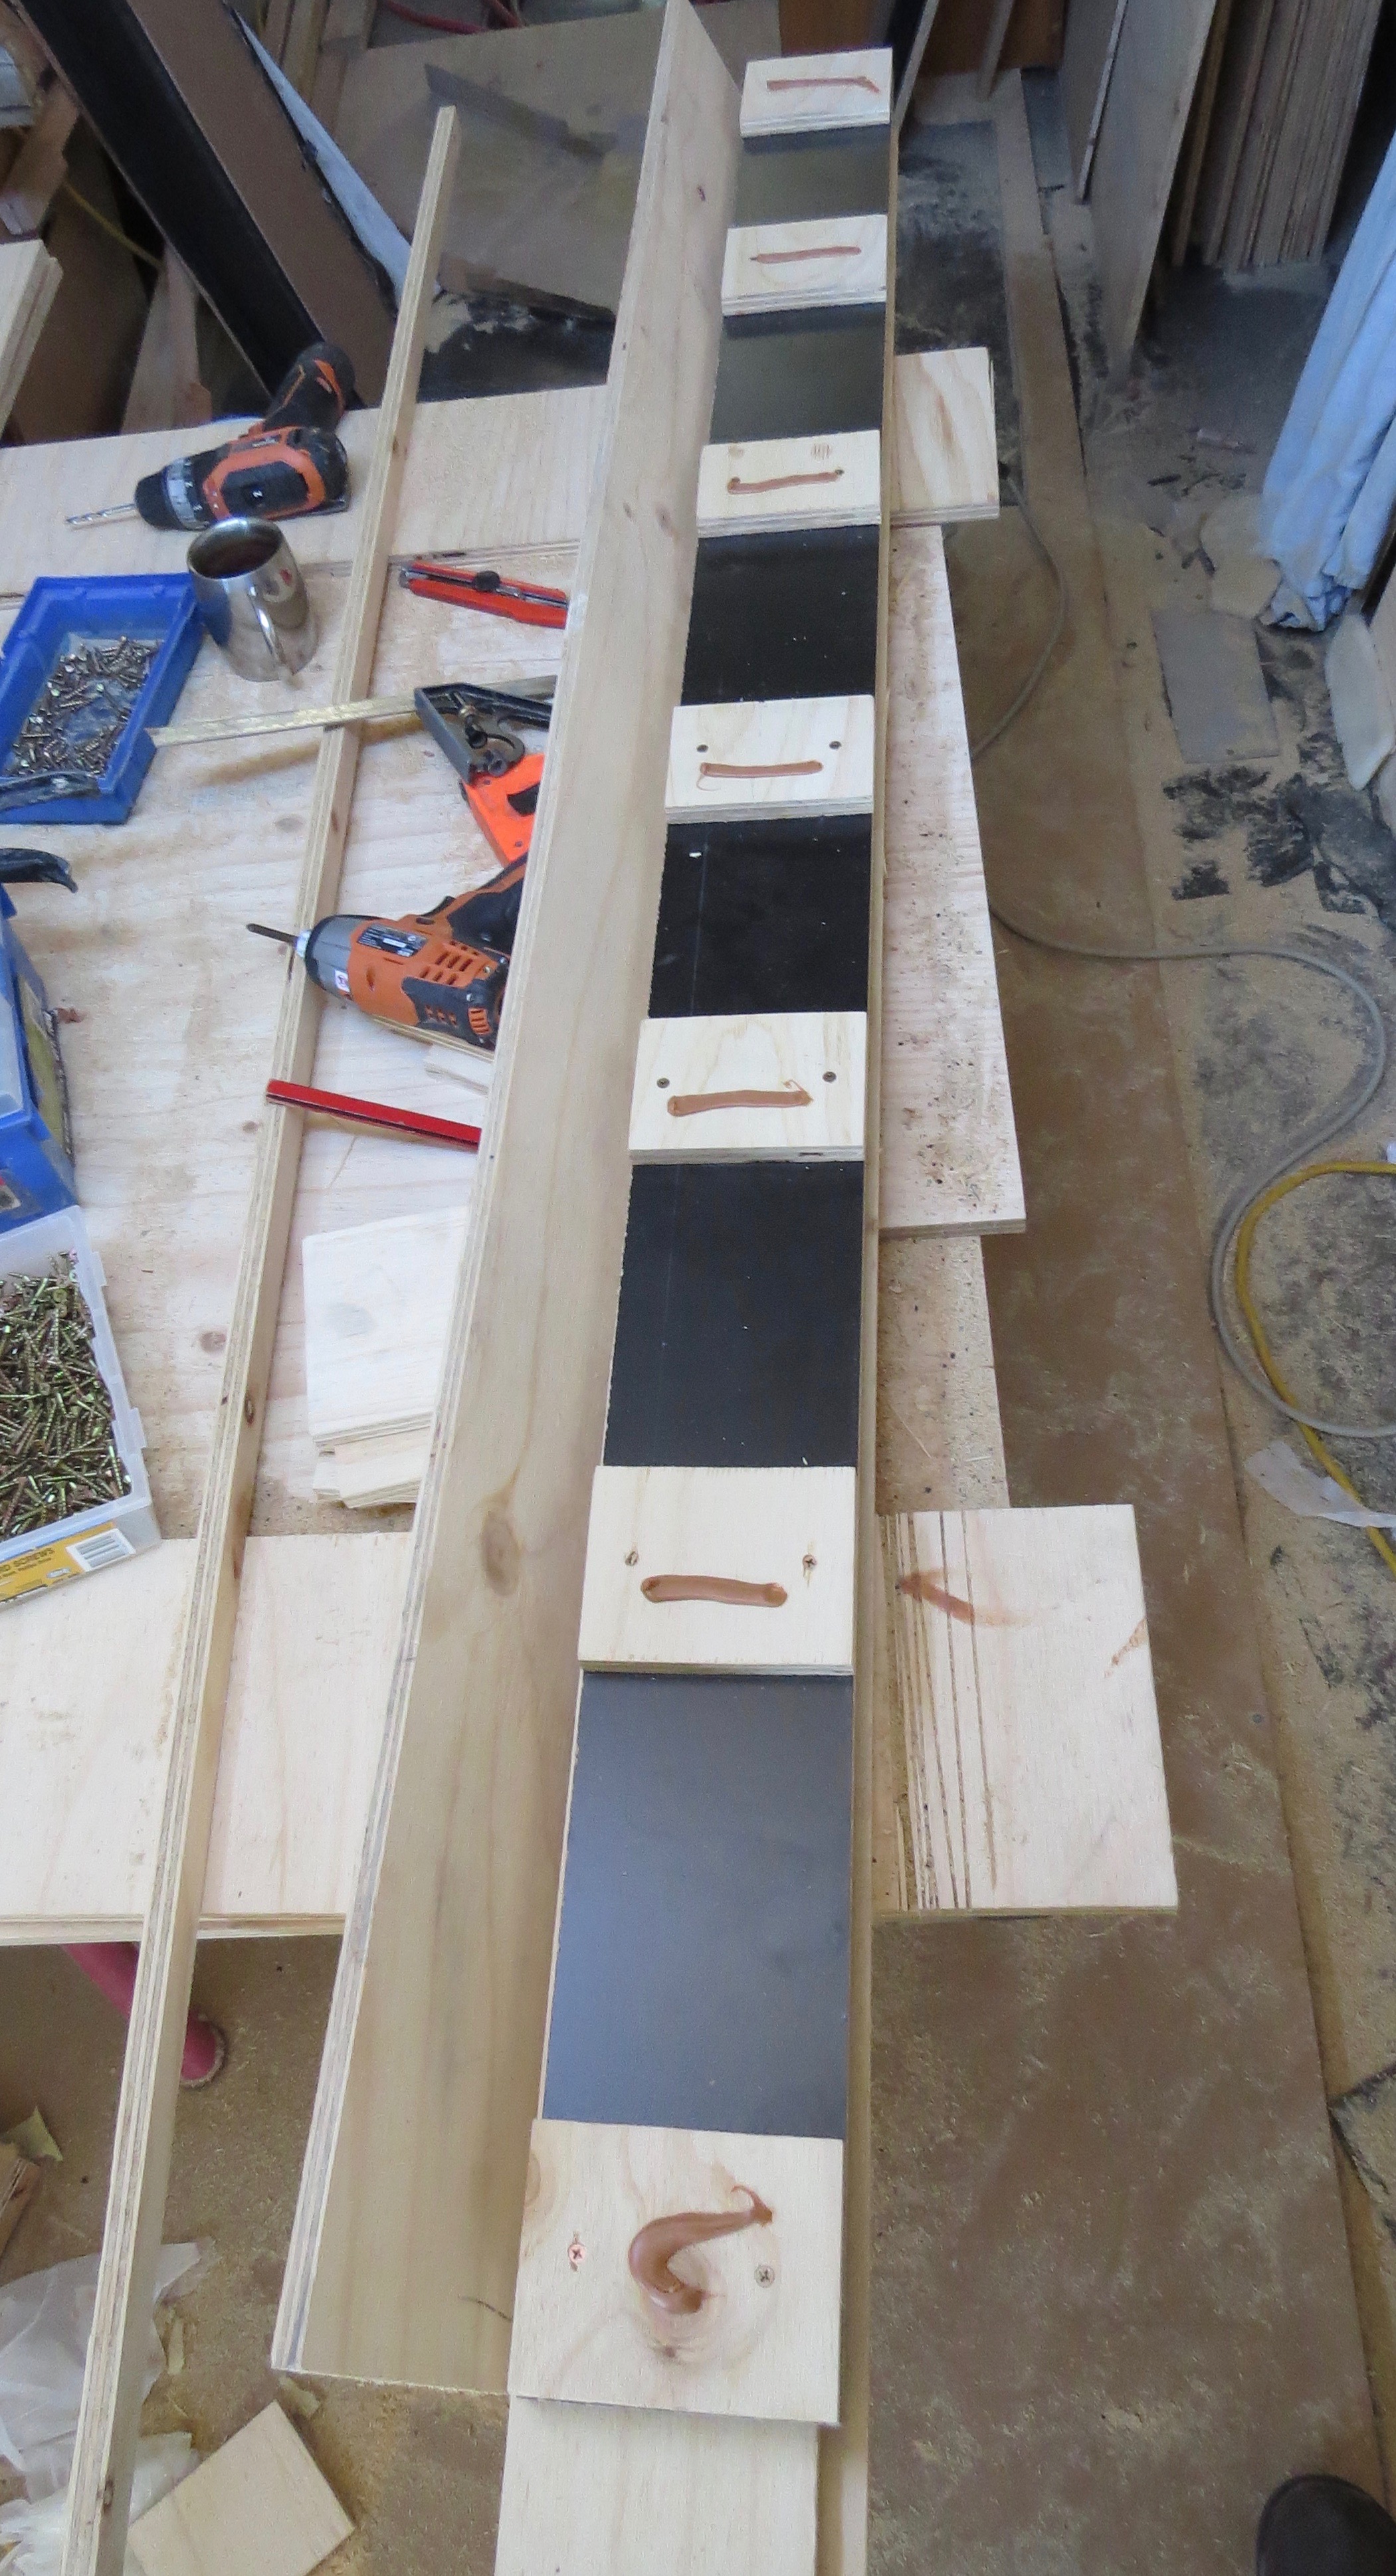
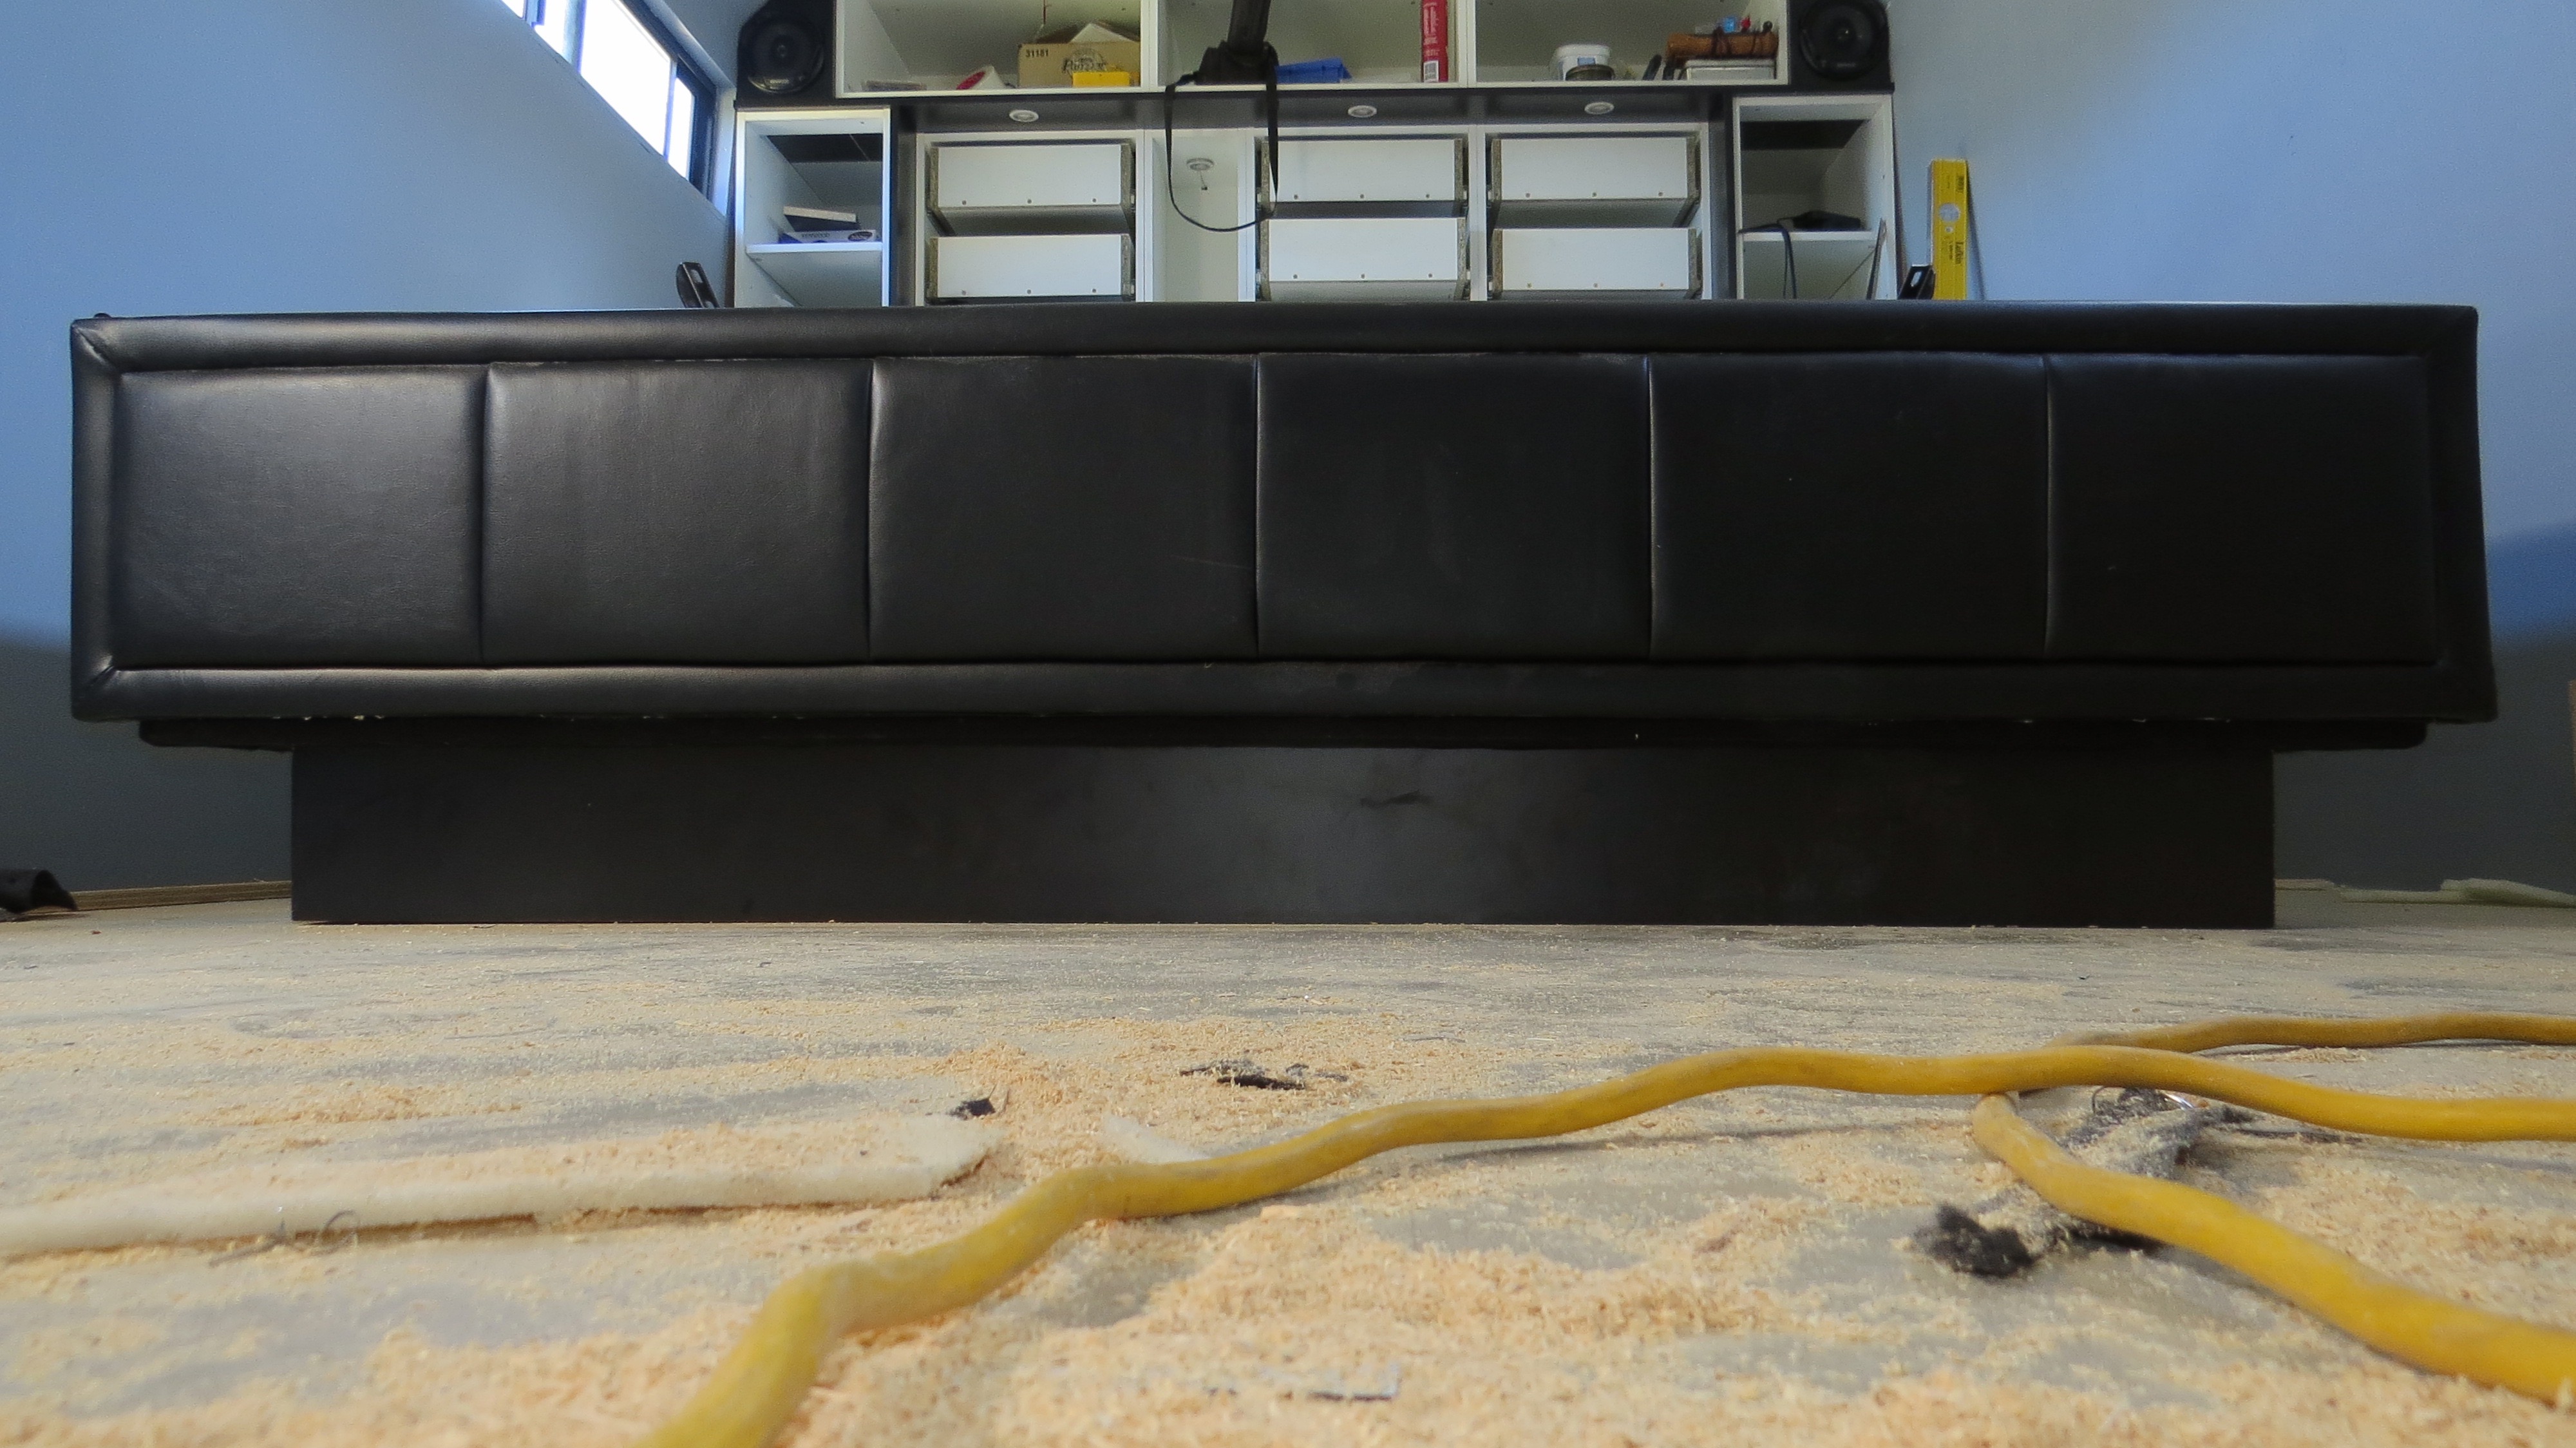
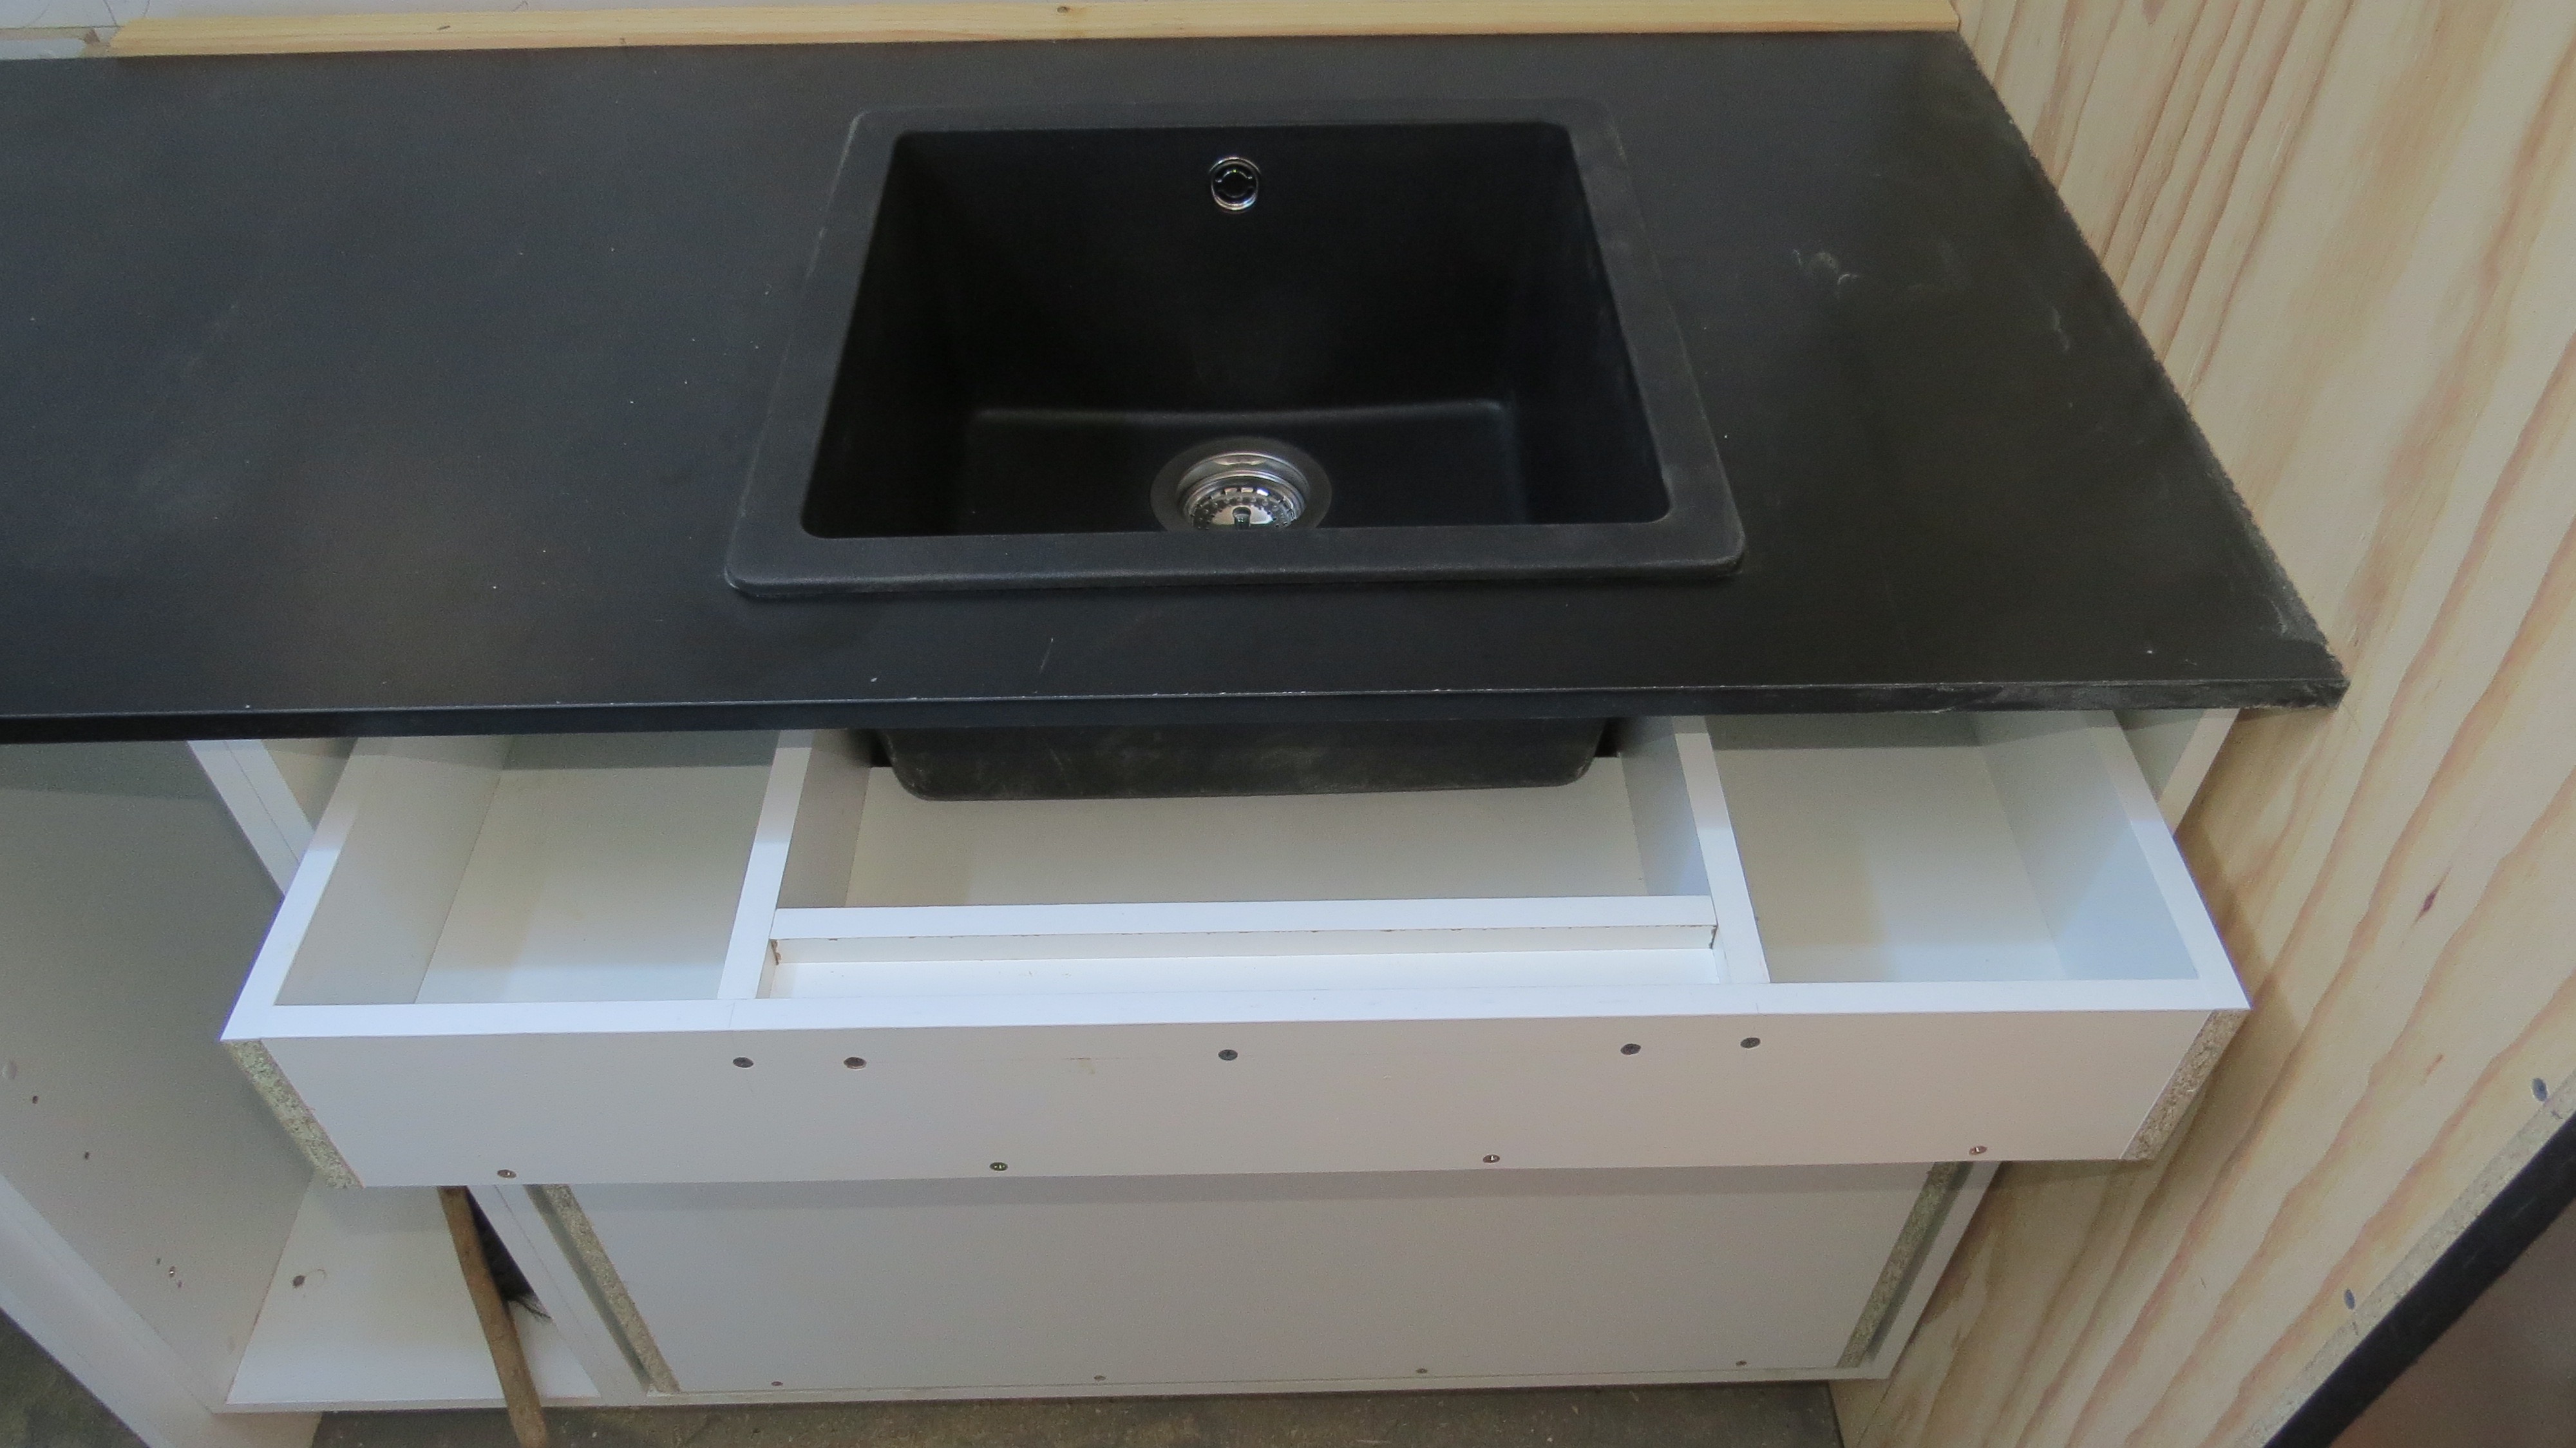
After finishing the vanity and fitting the sink in place with all the plumbing, now was the time for the draws. There will be three a deep draw down the bottom and two smaller draws above that, which will have to be modified to fit around the plumbing.
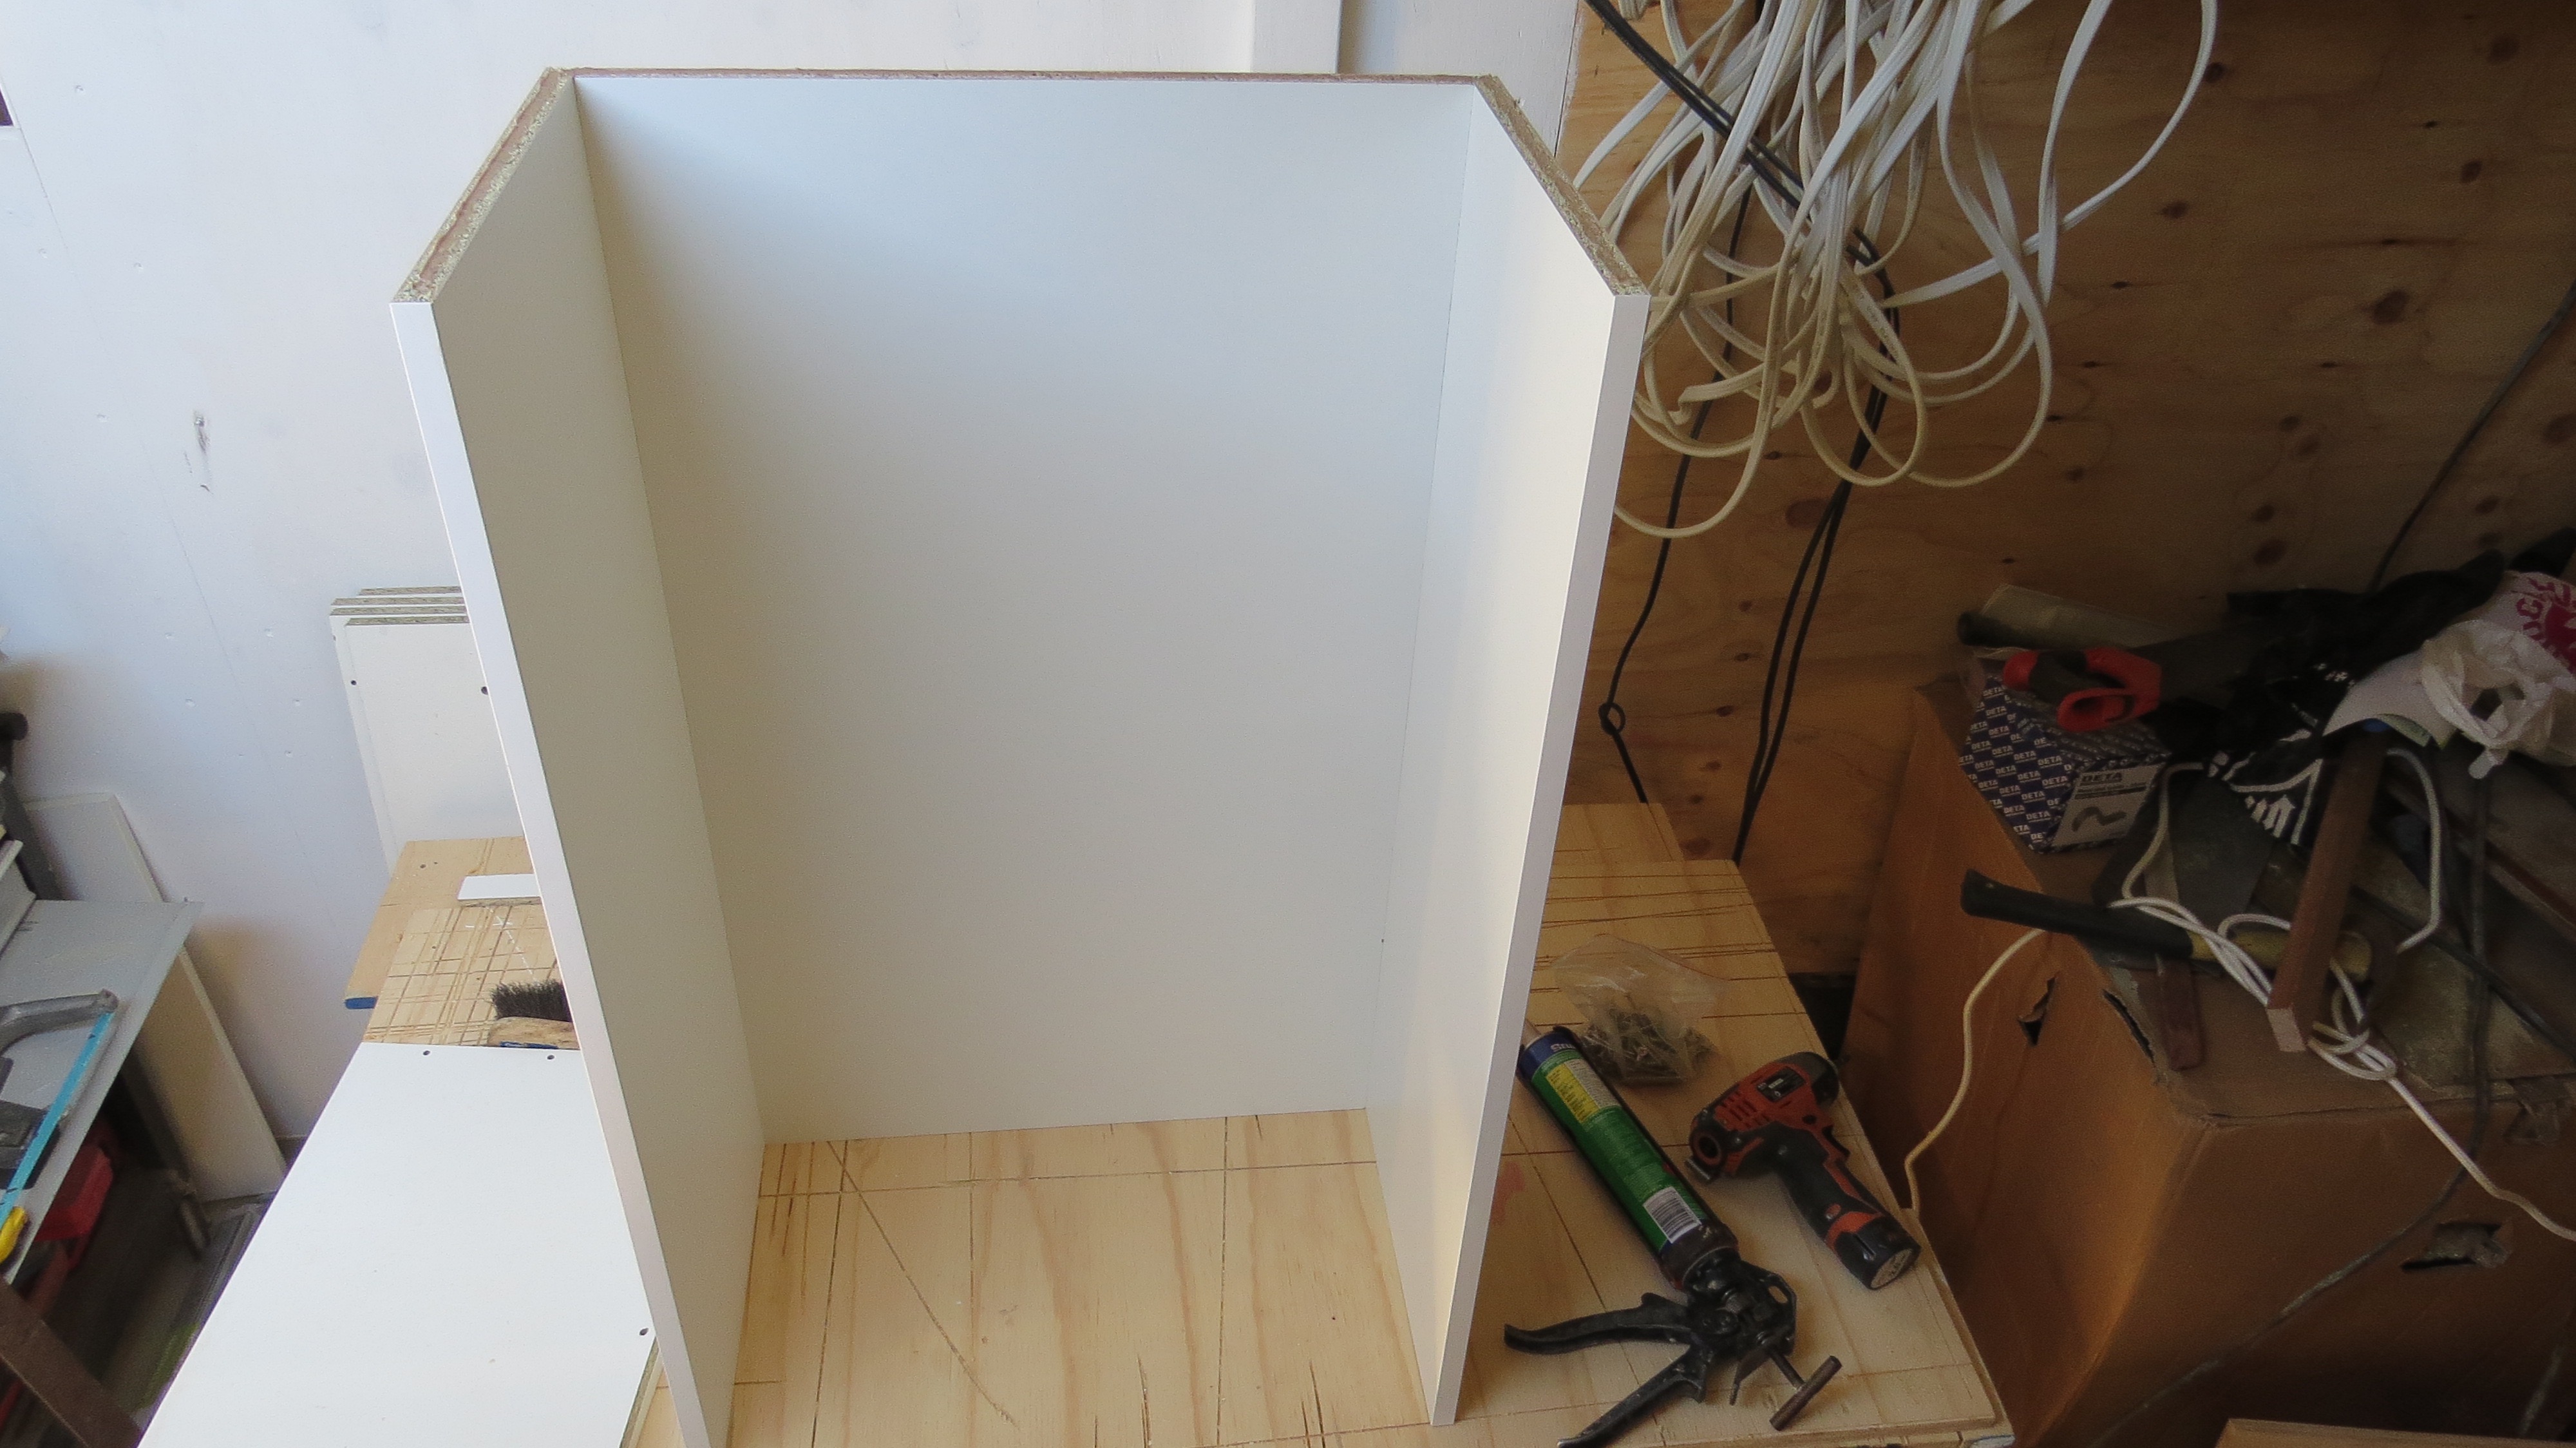
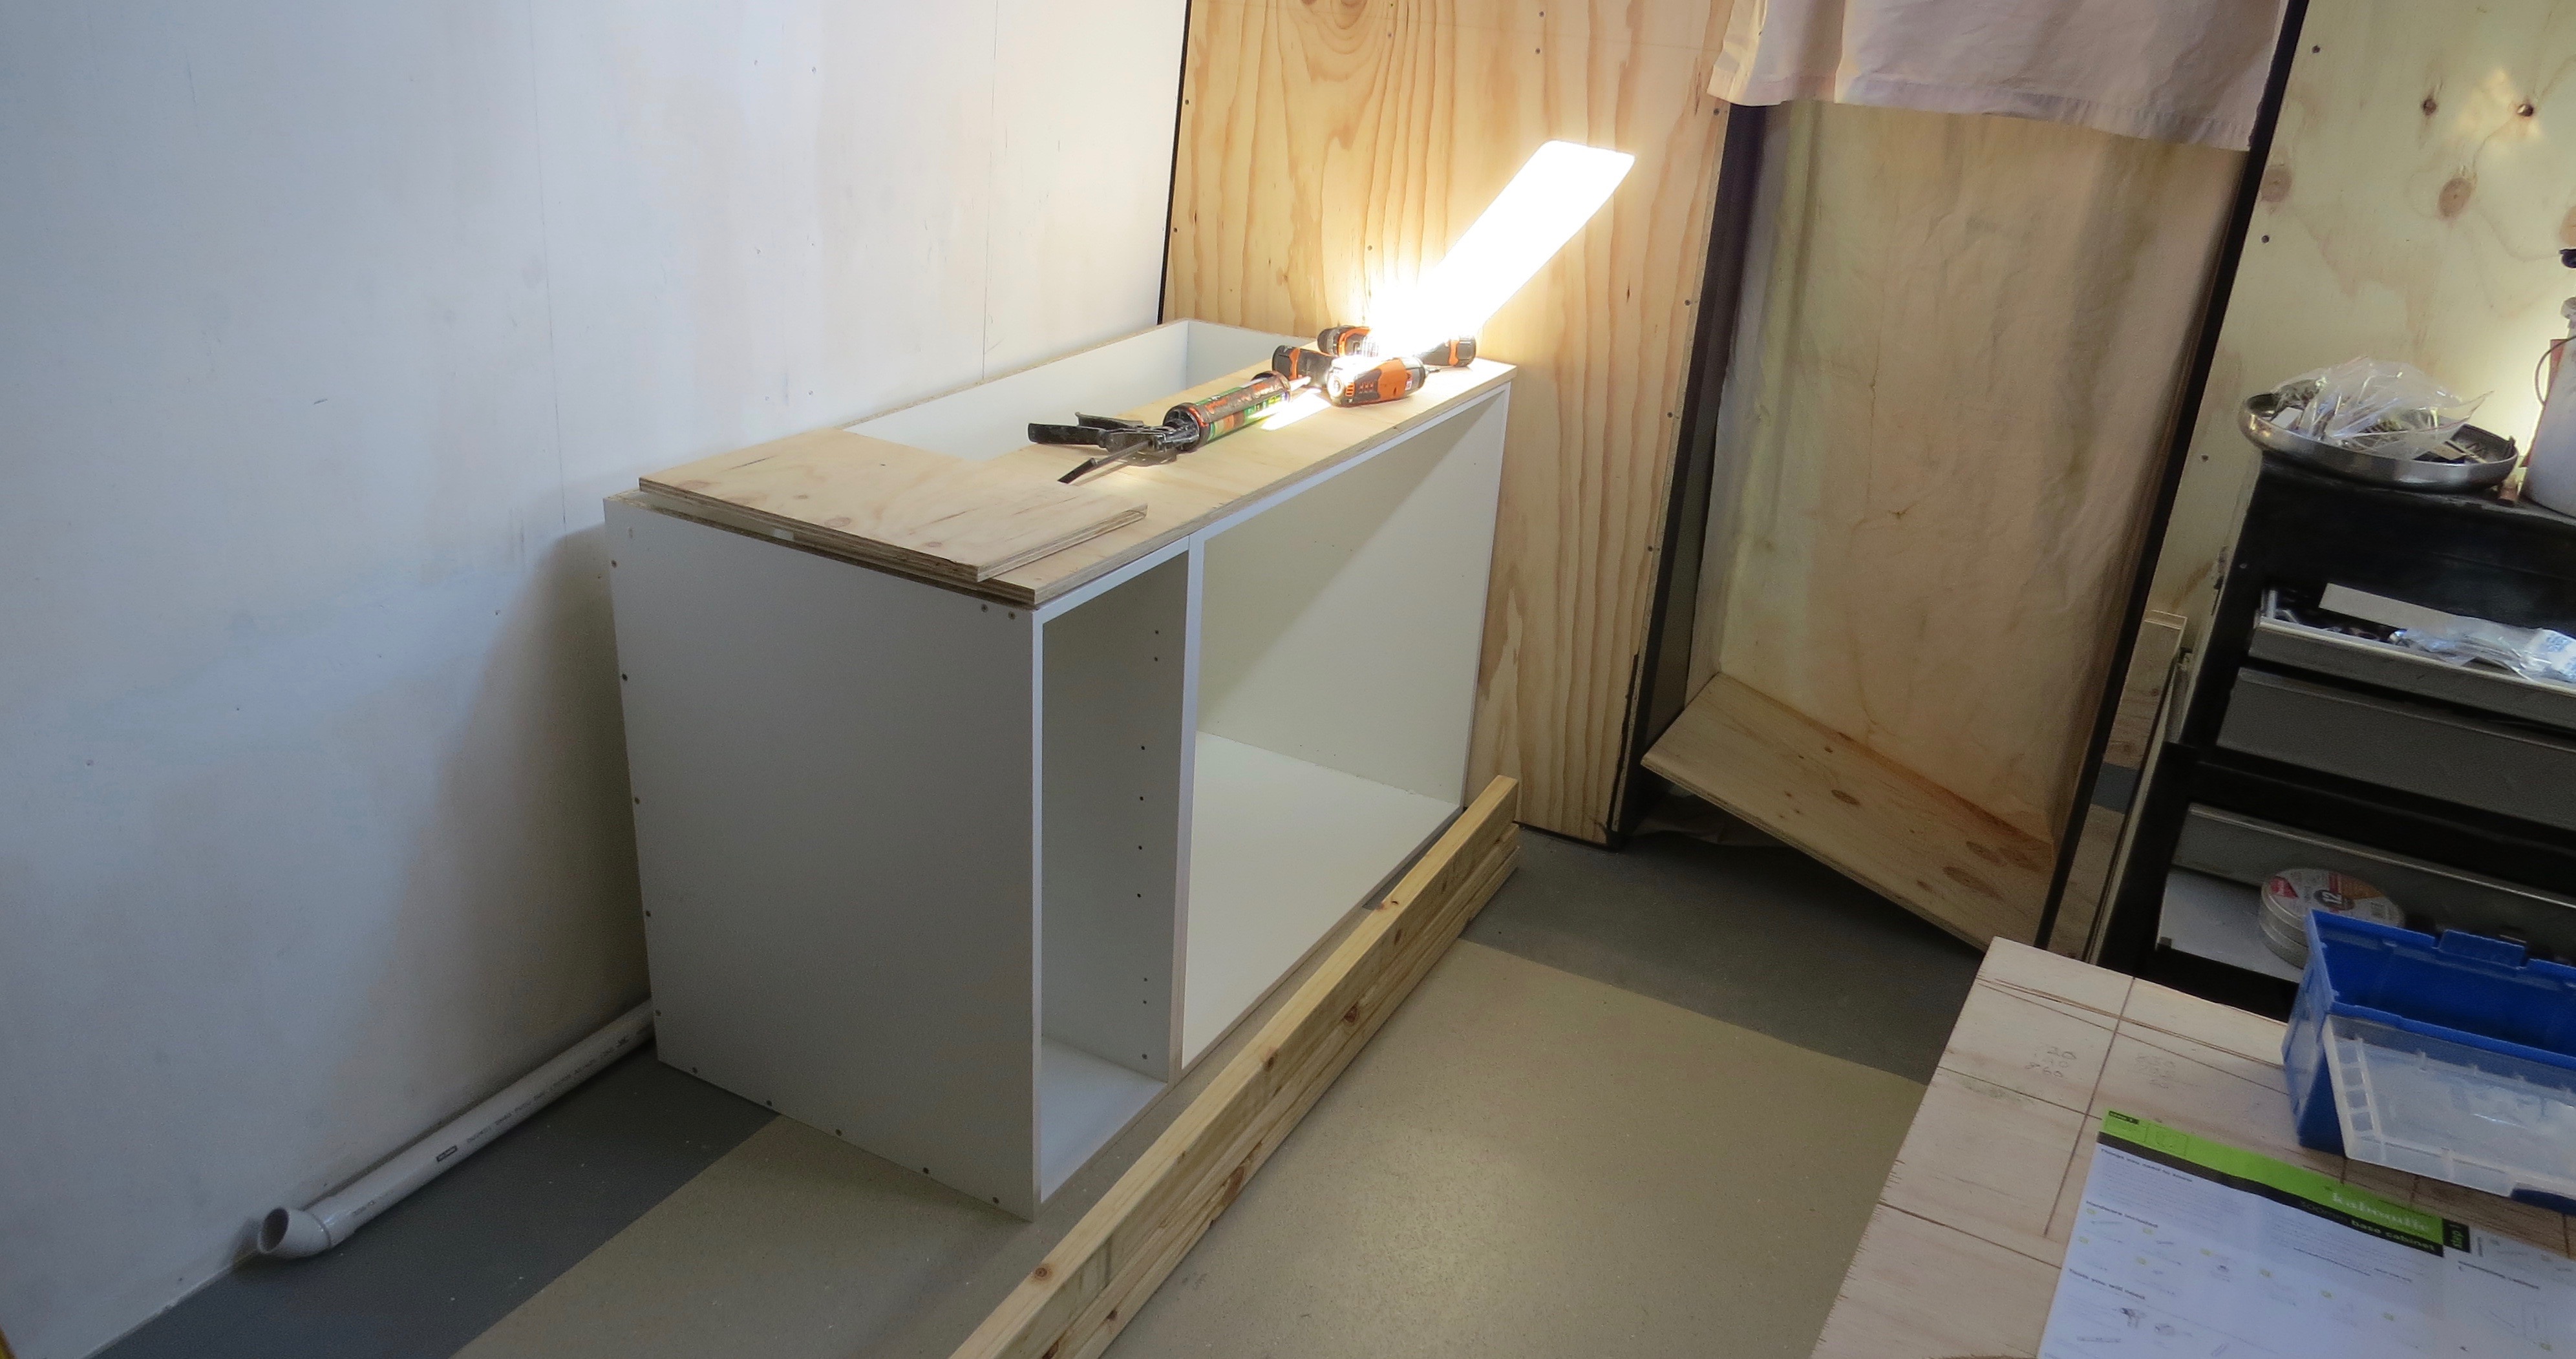
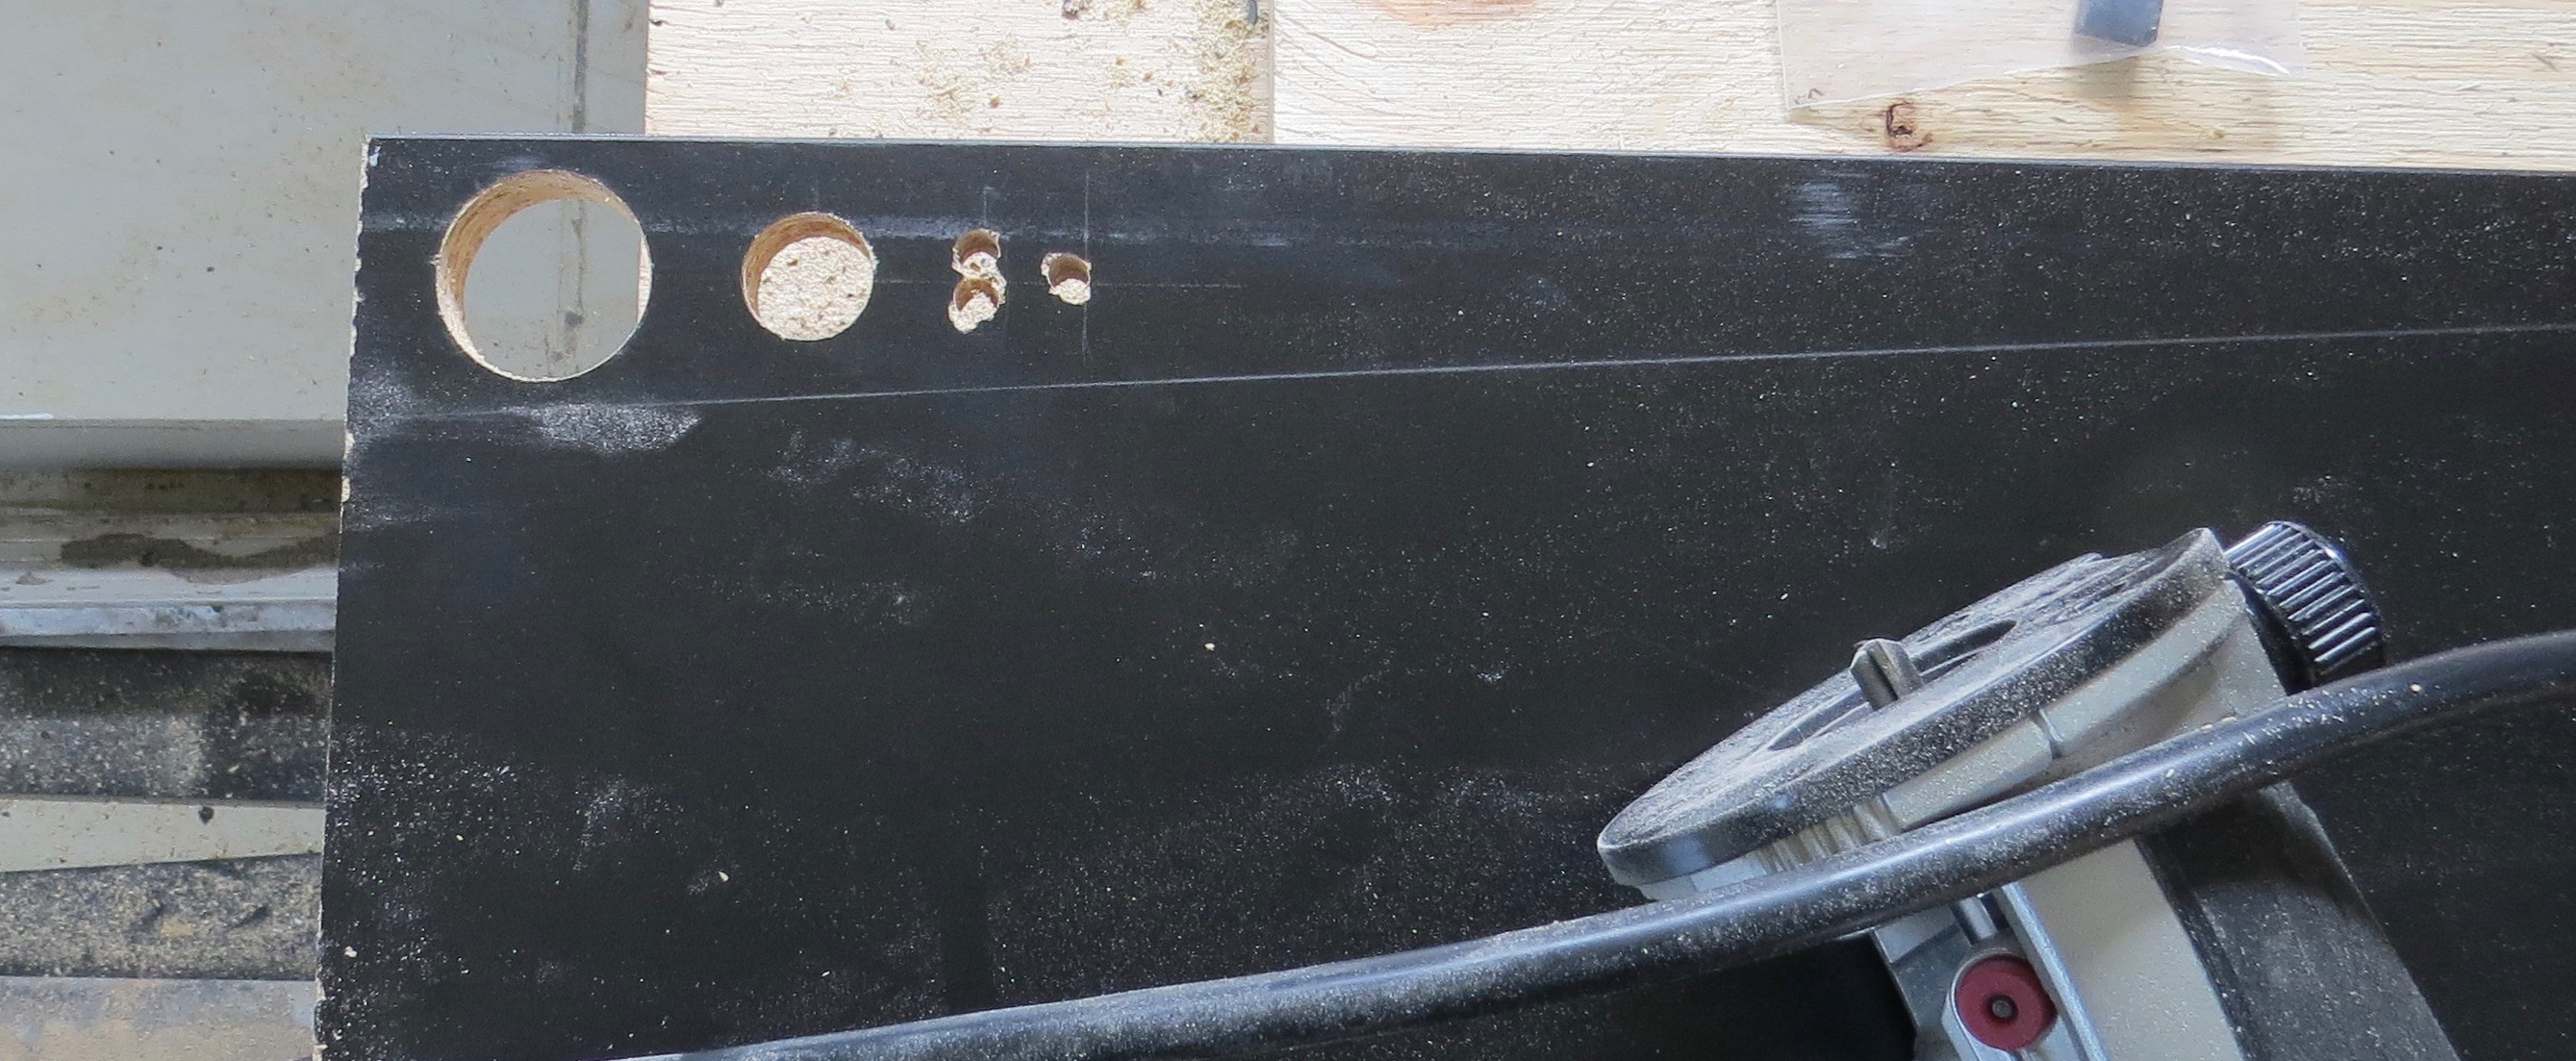
More draws to make.
One down two more to go.

Now the fun begins

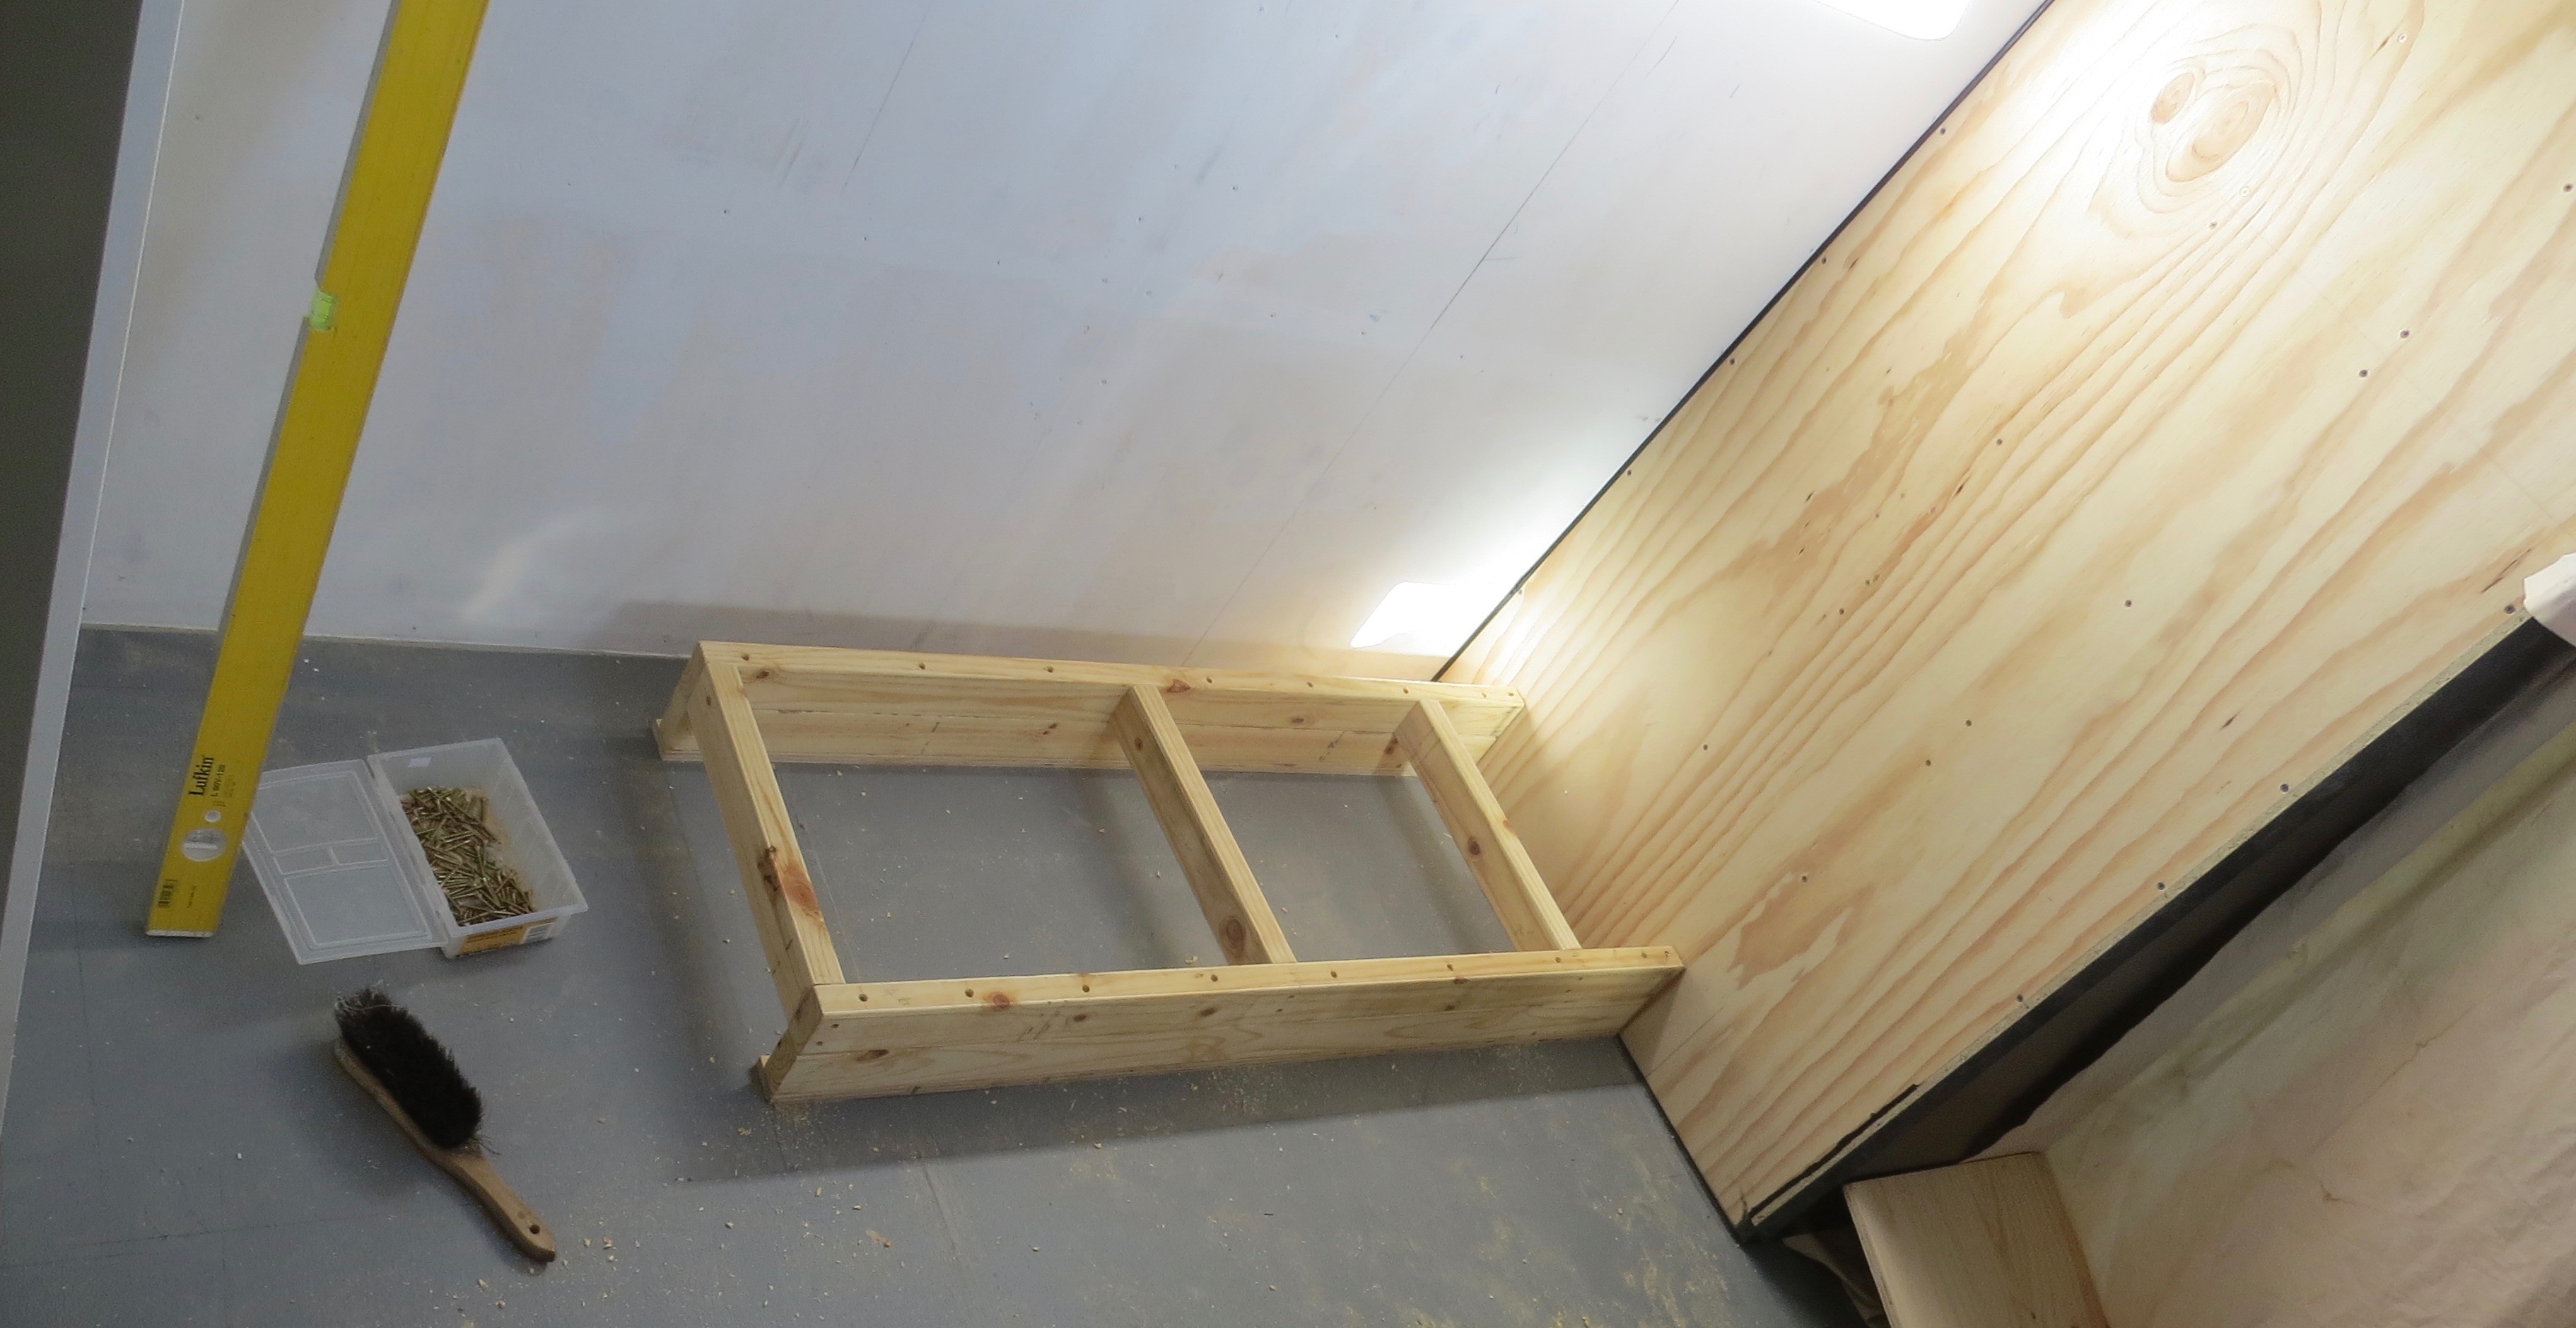
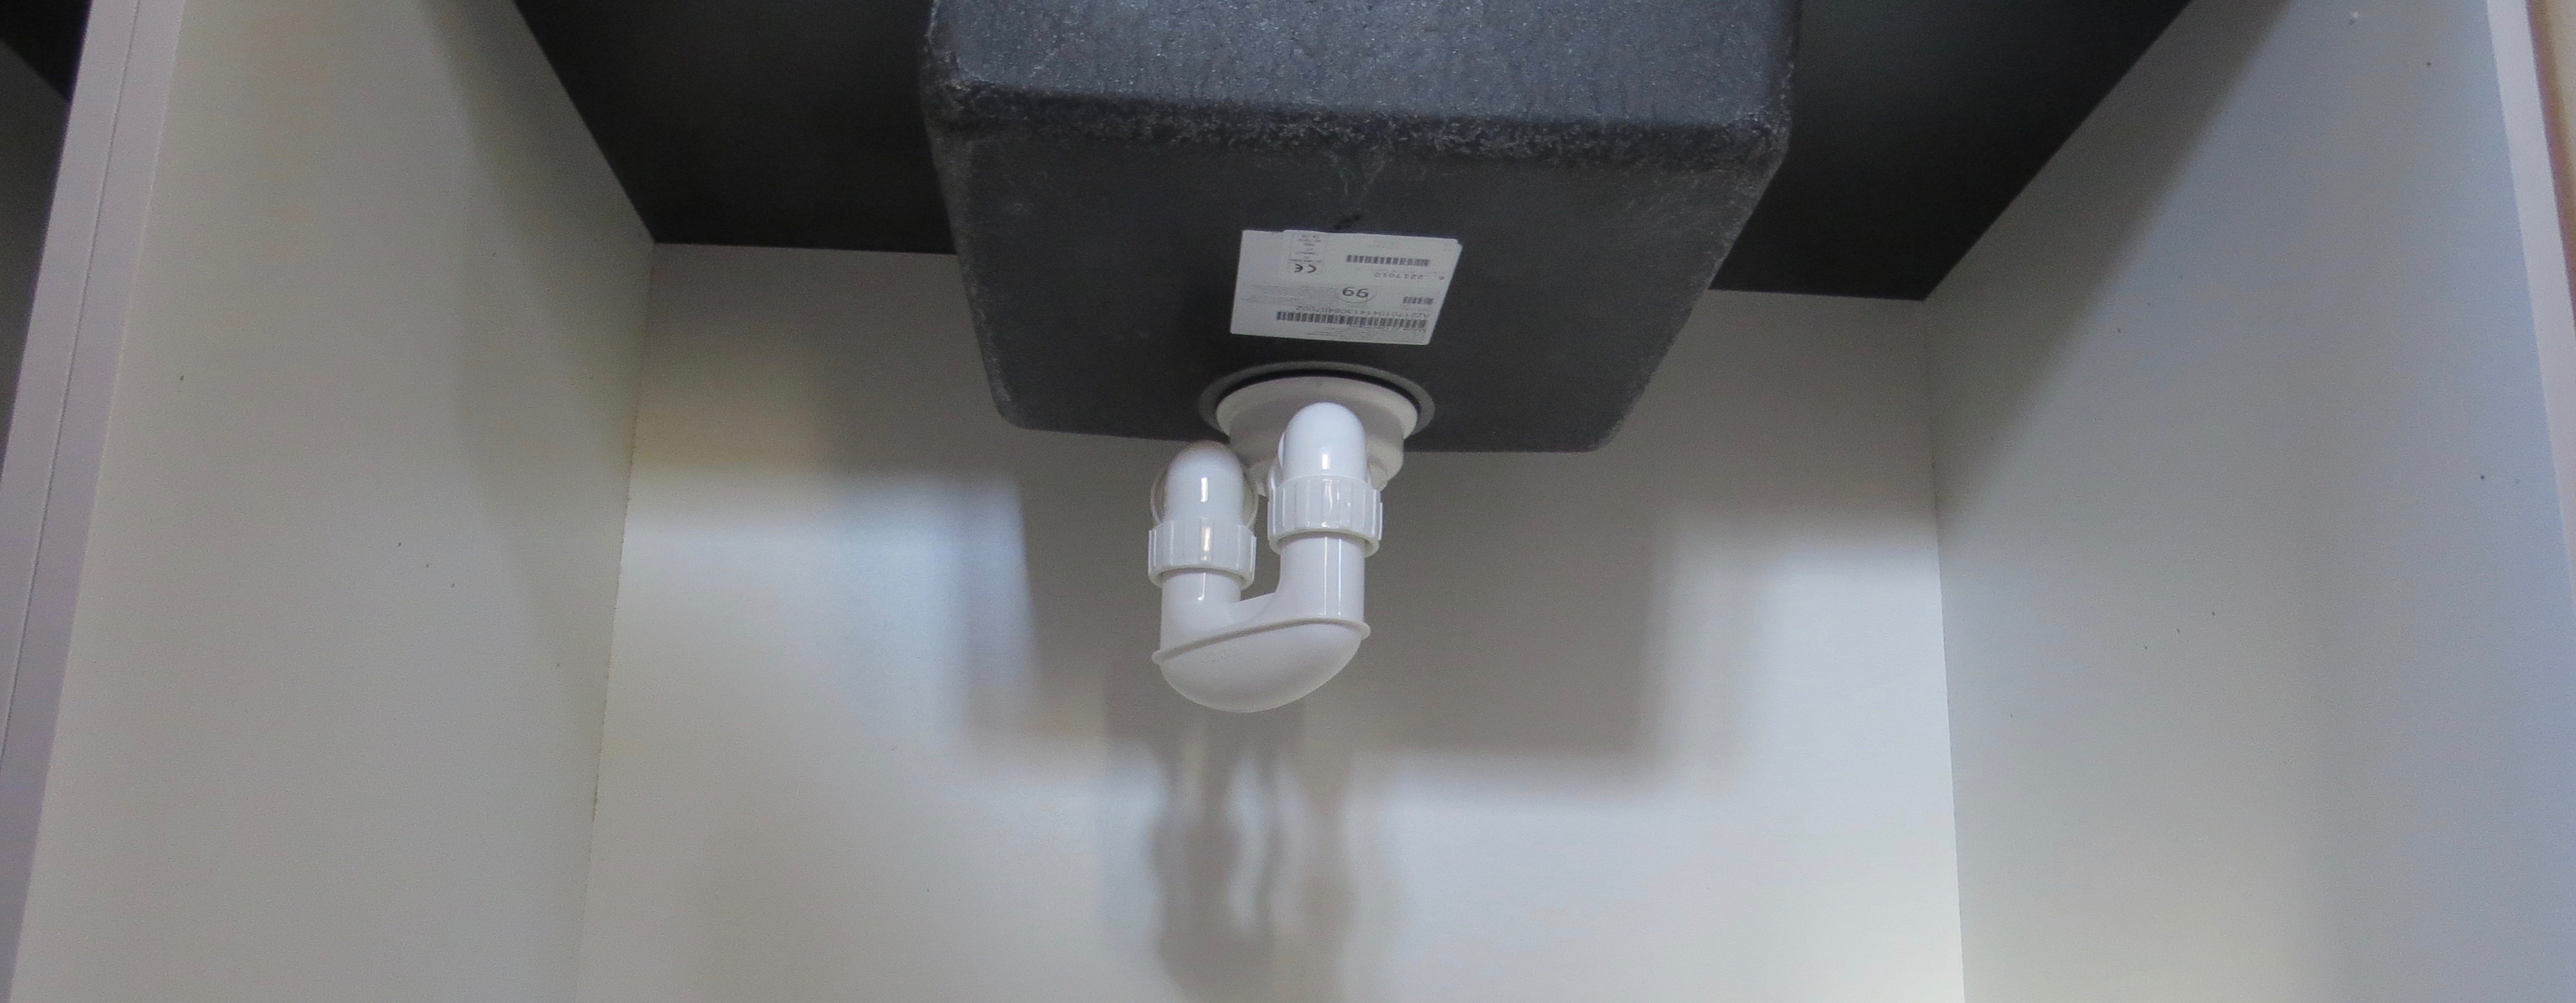
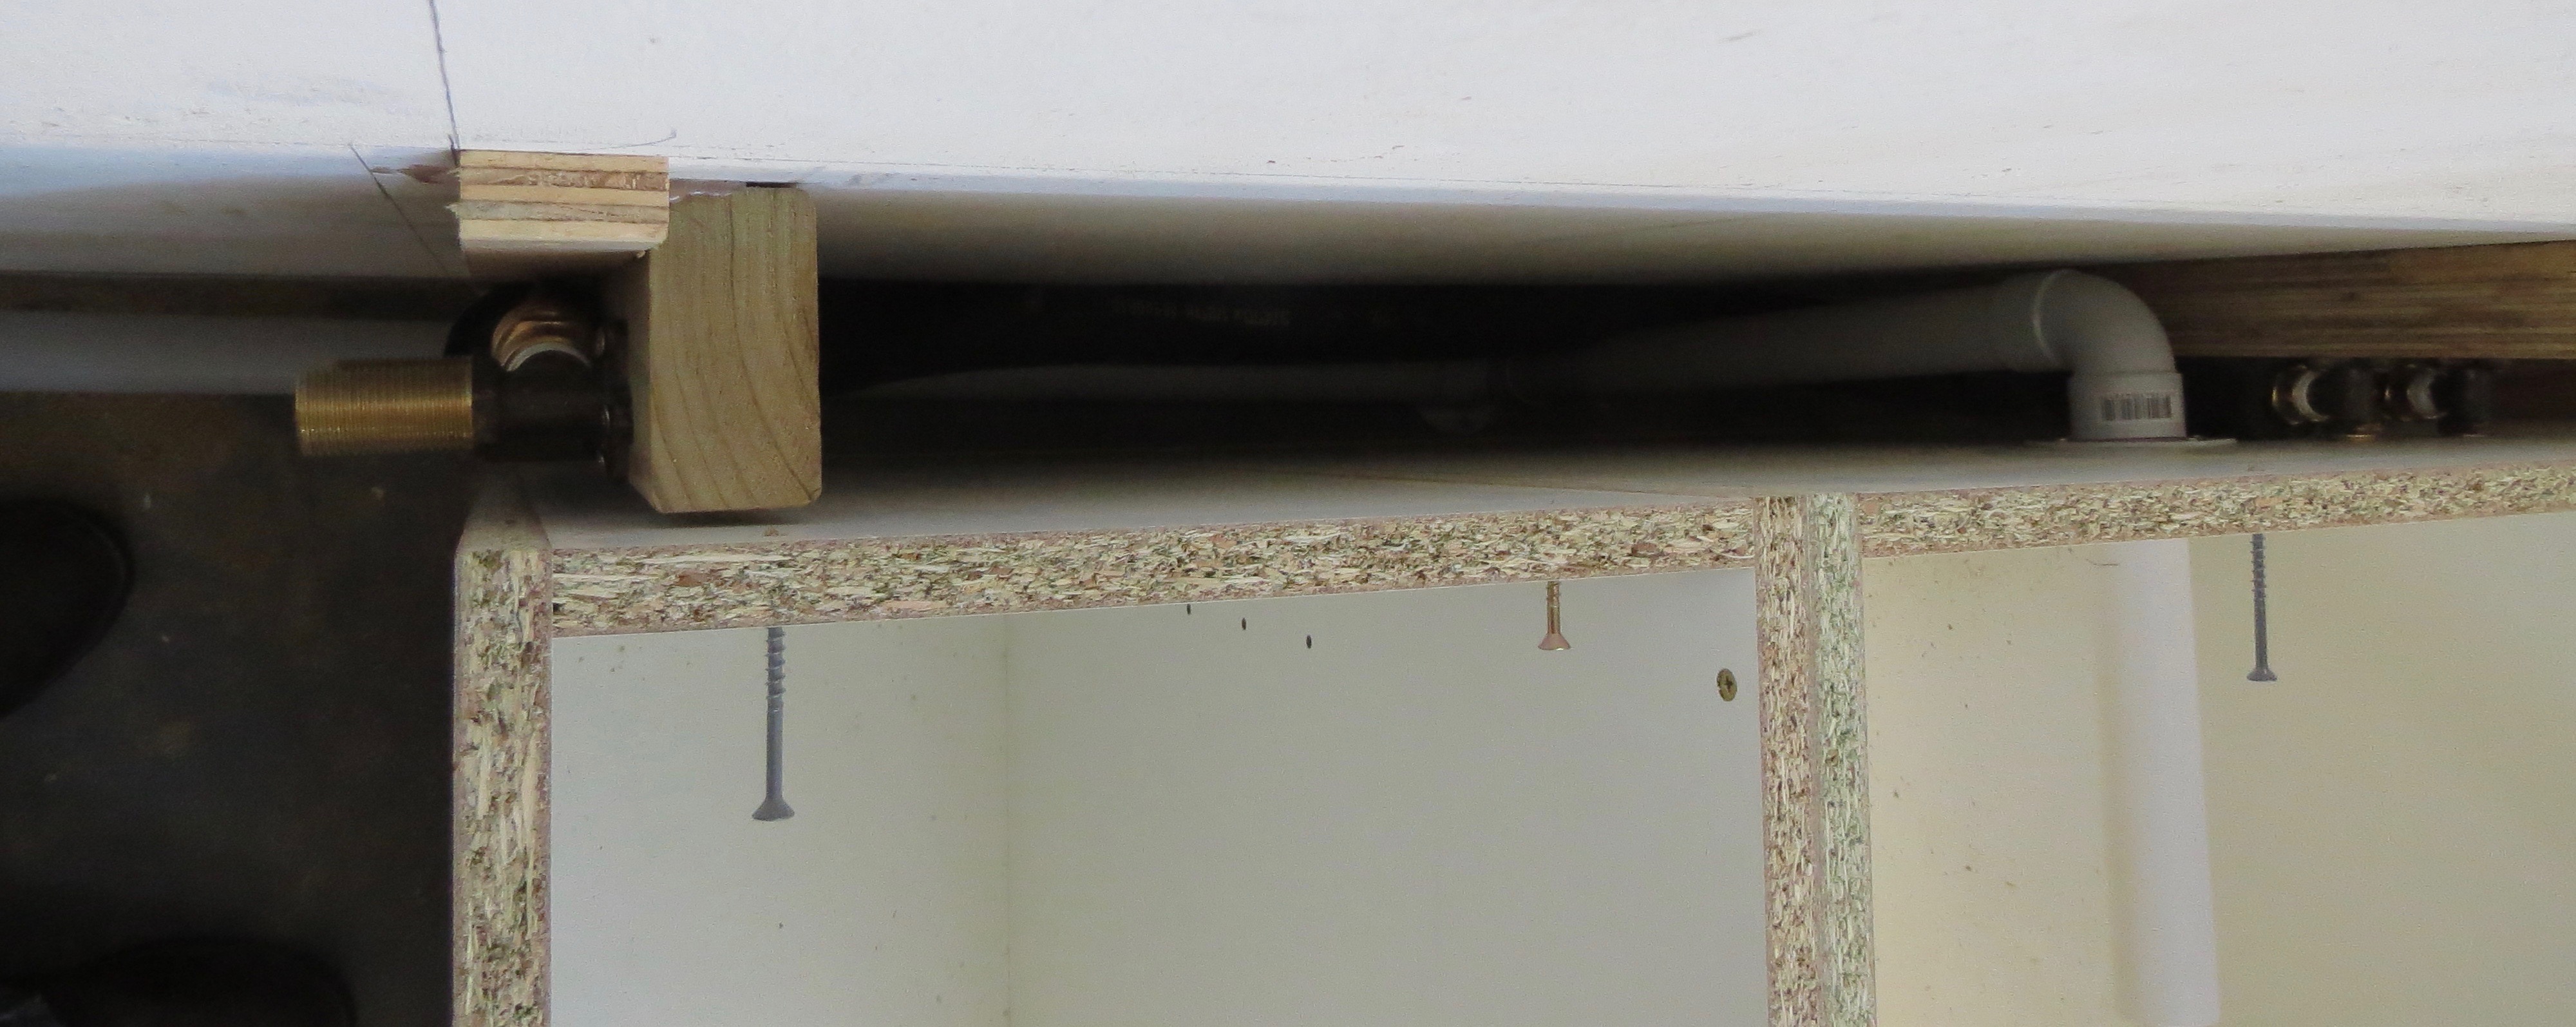
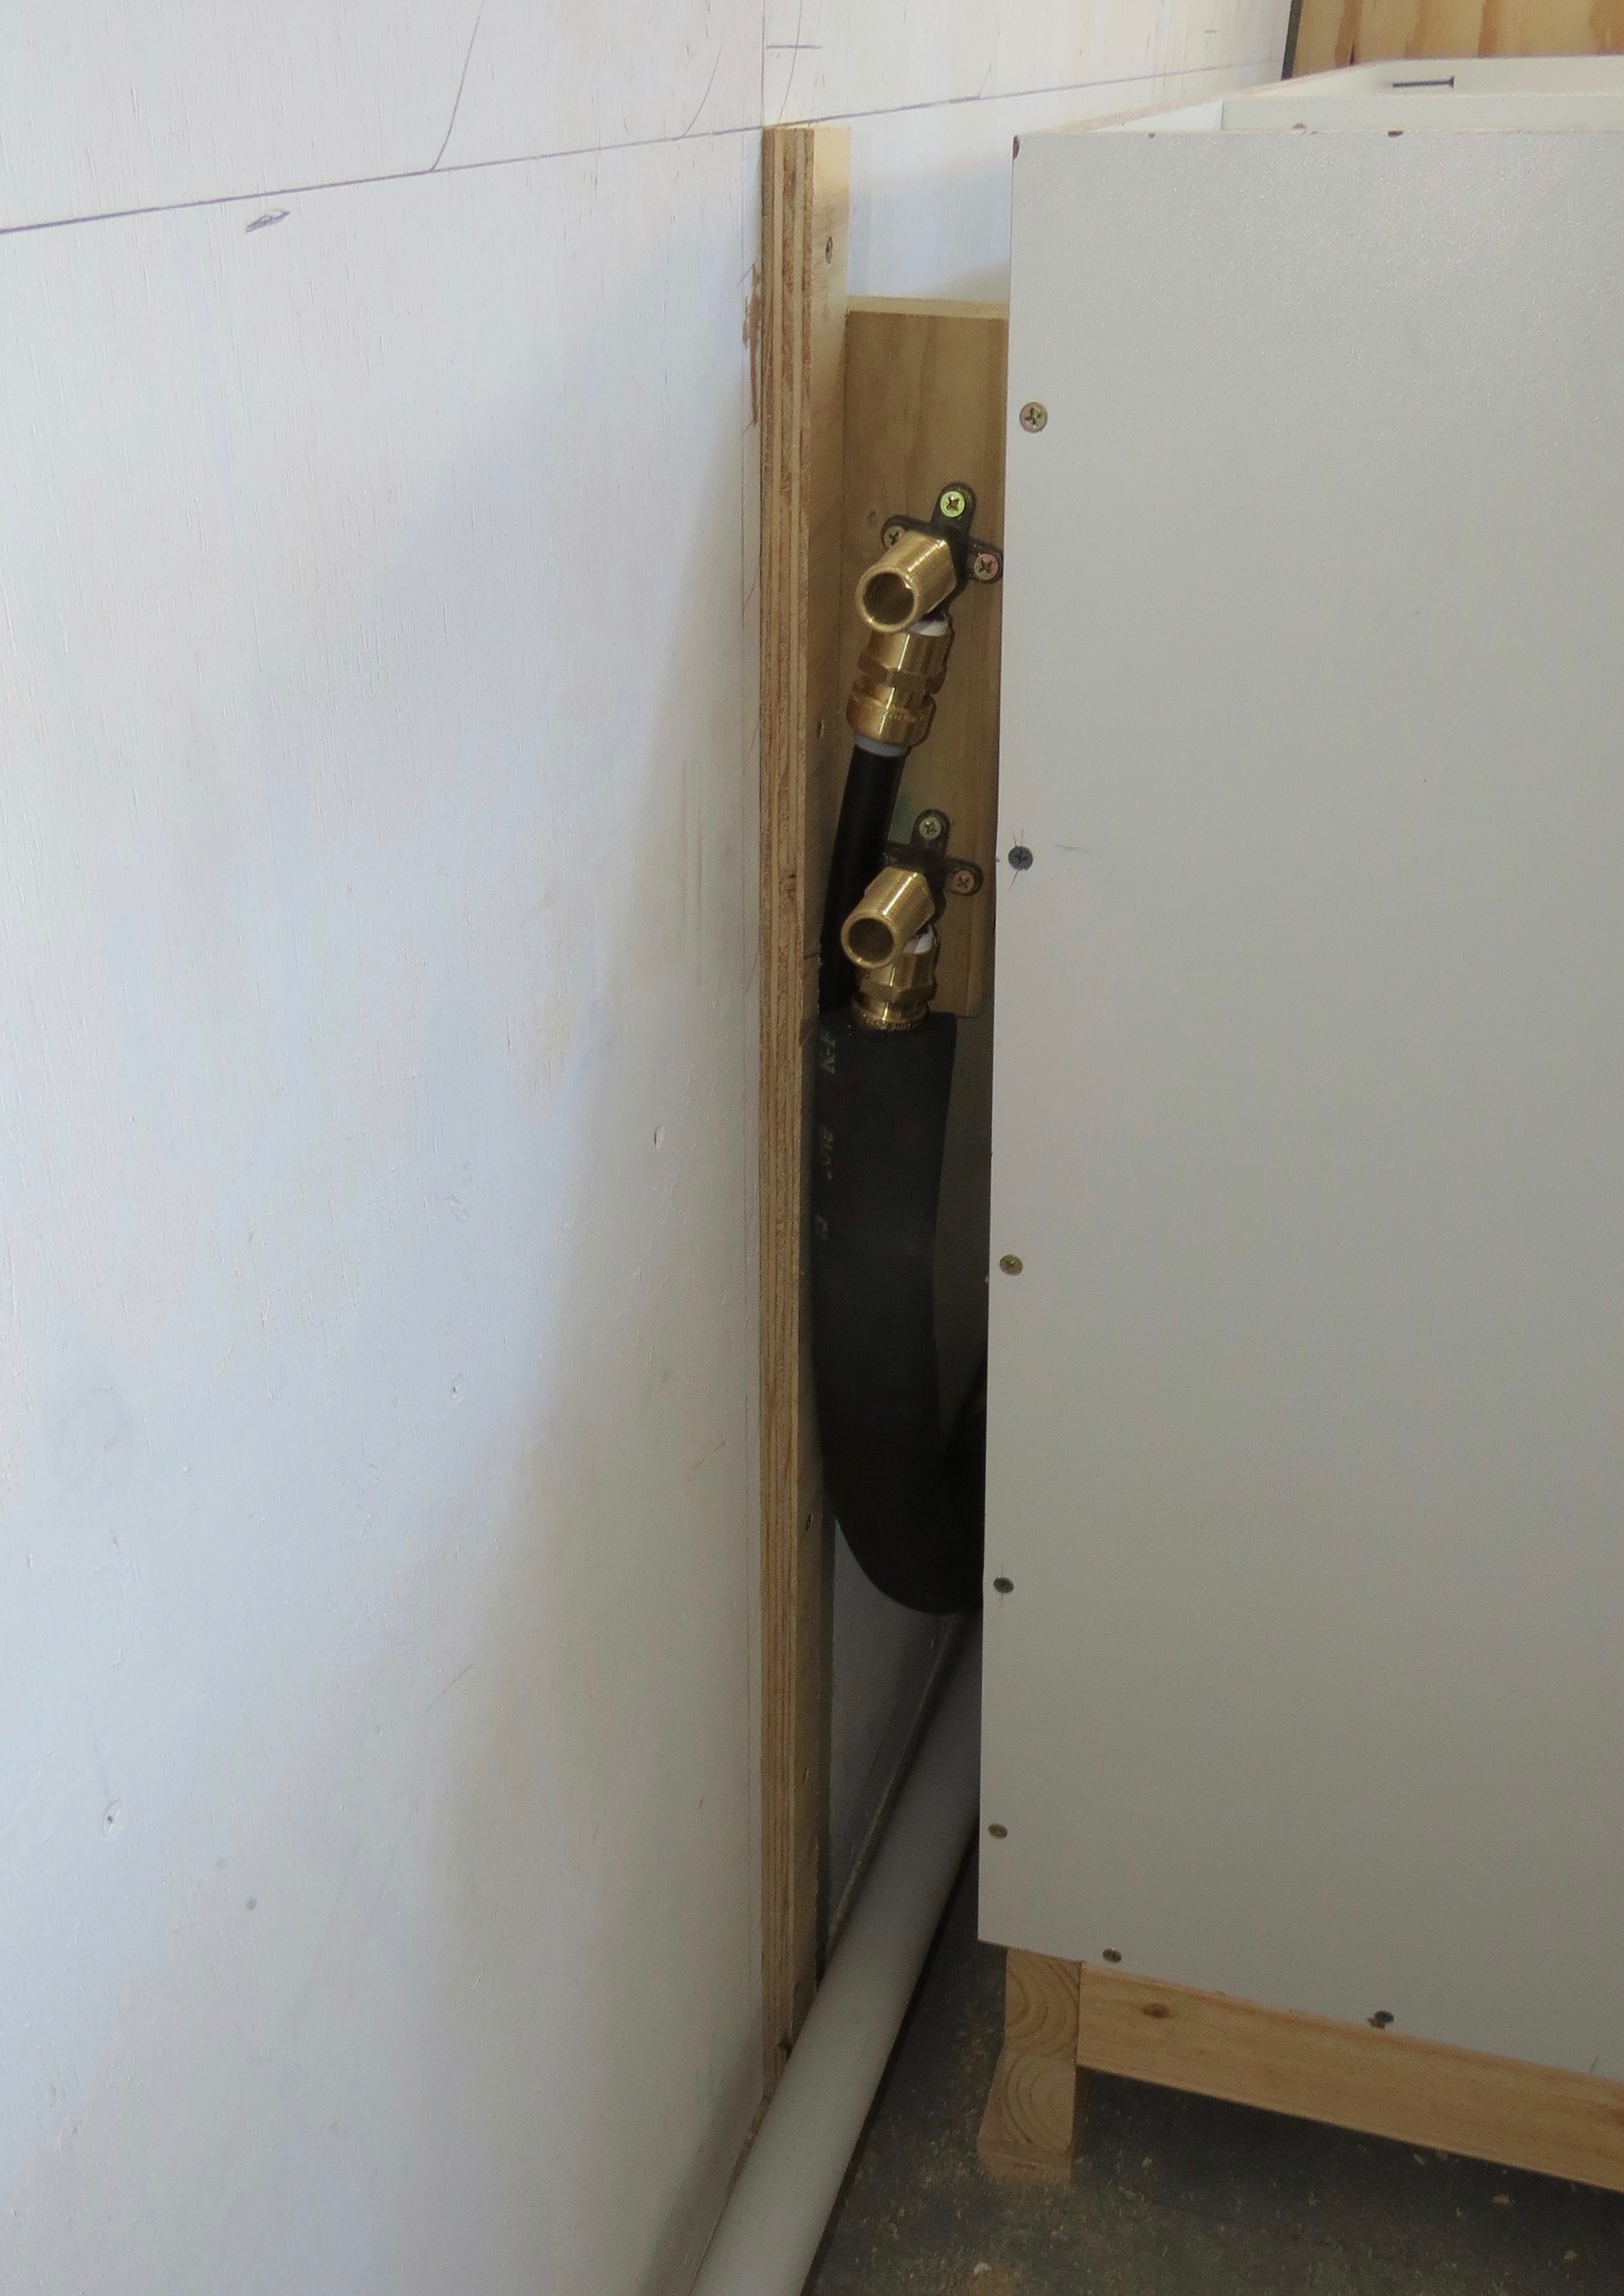
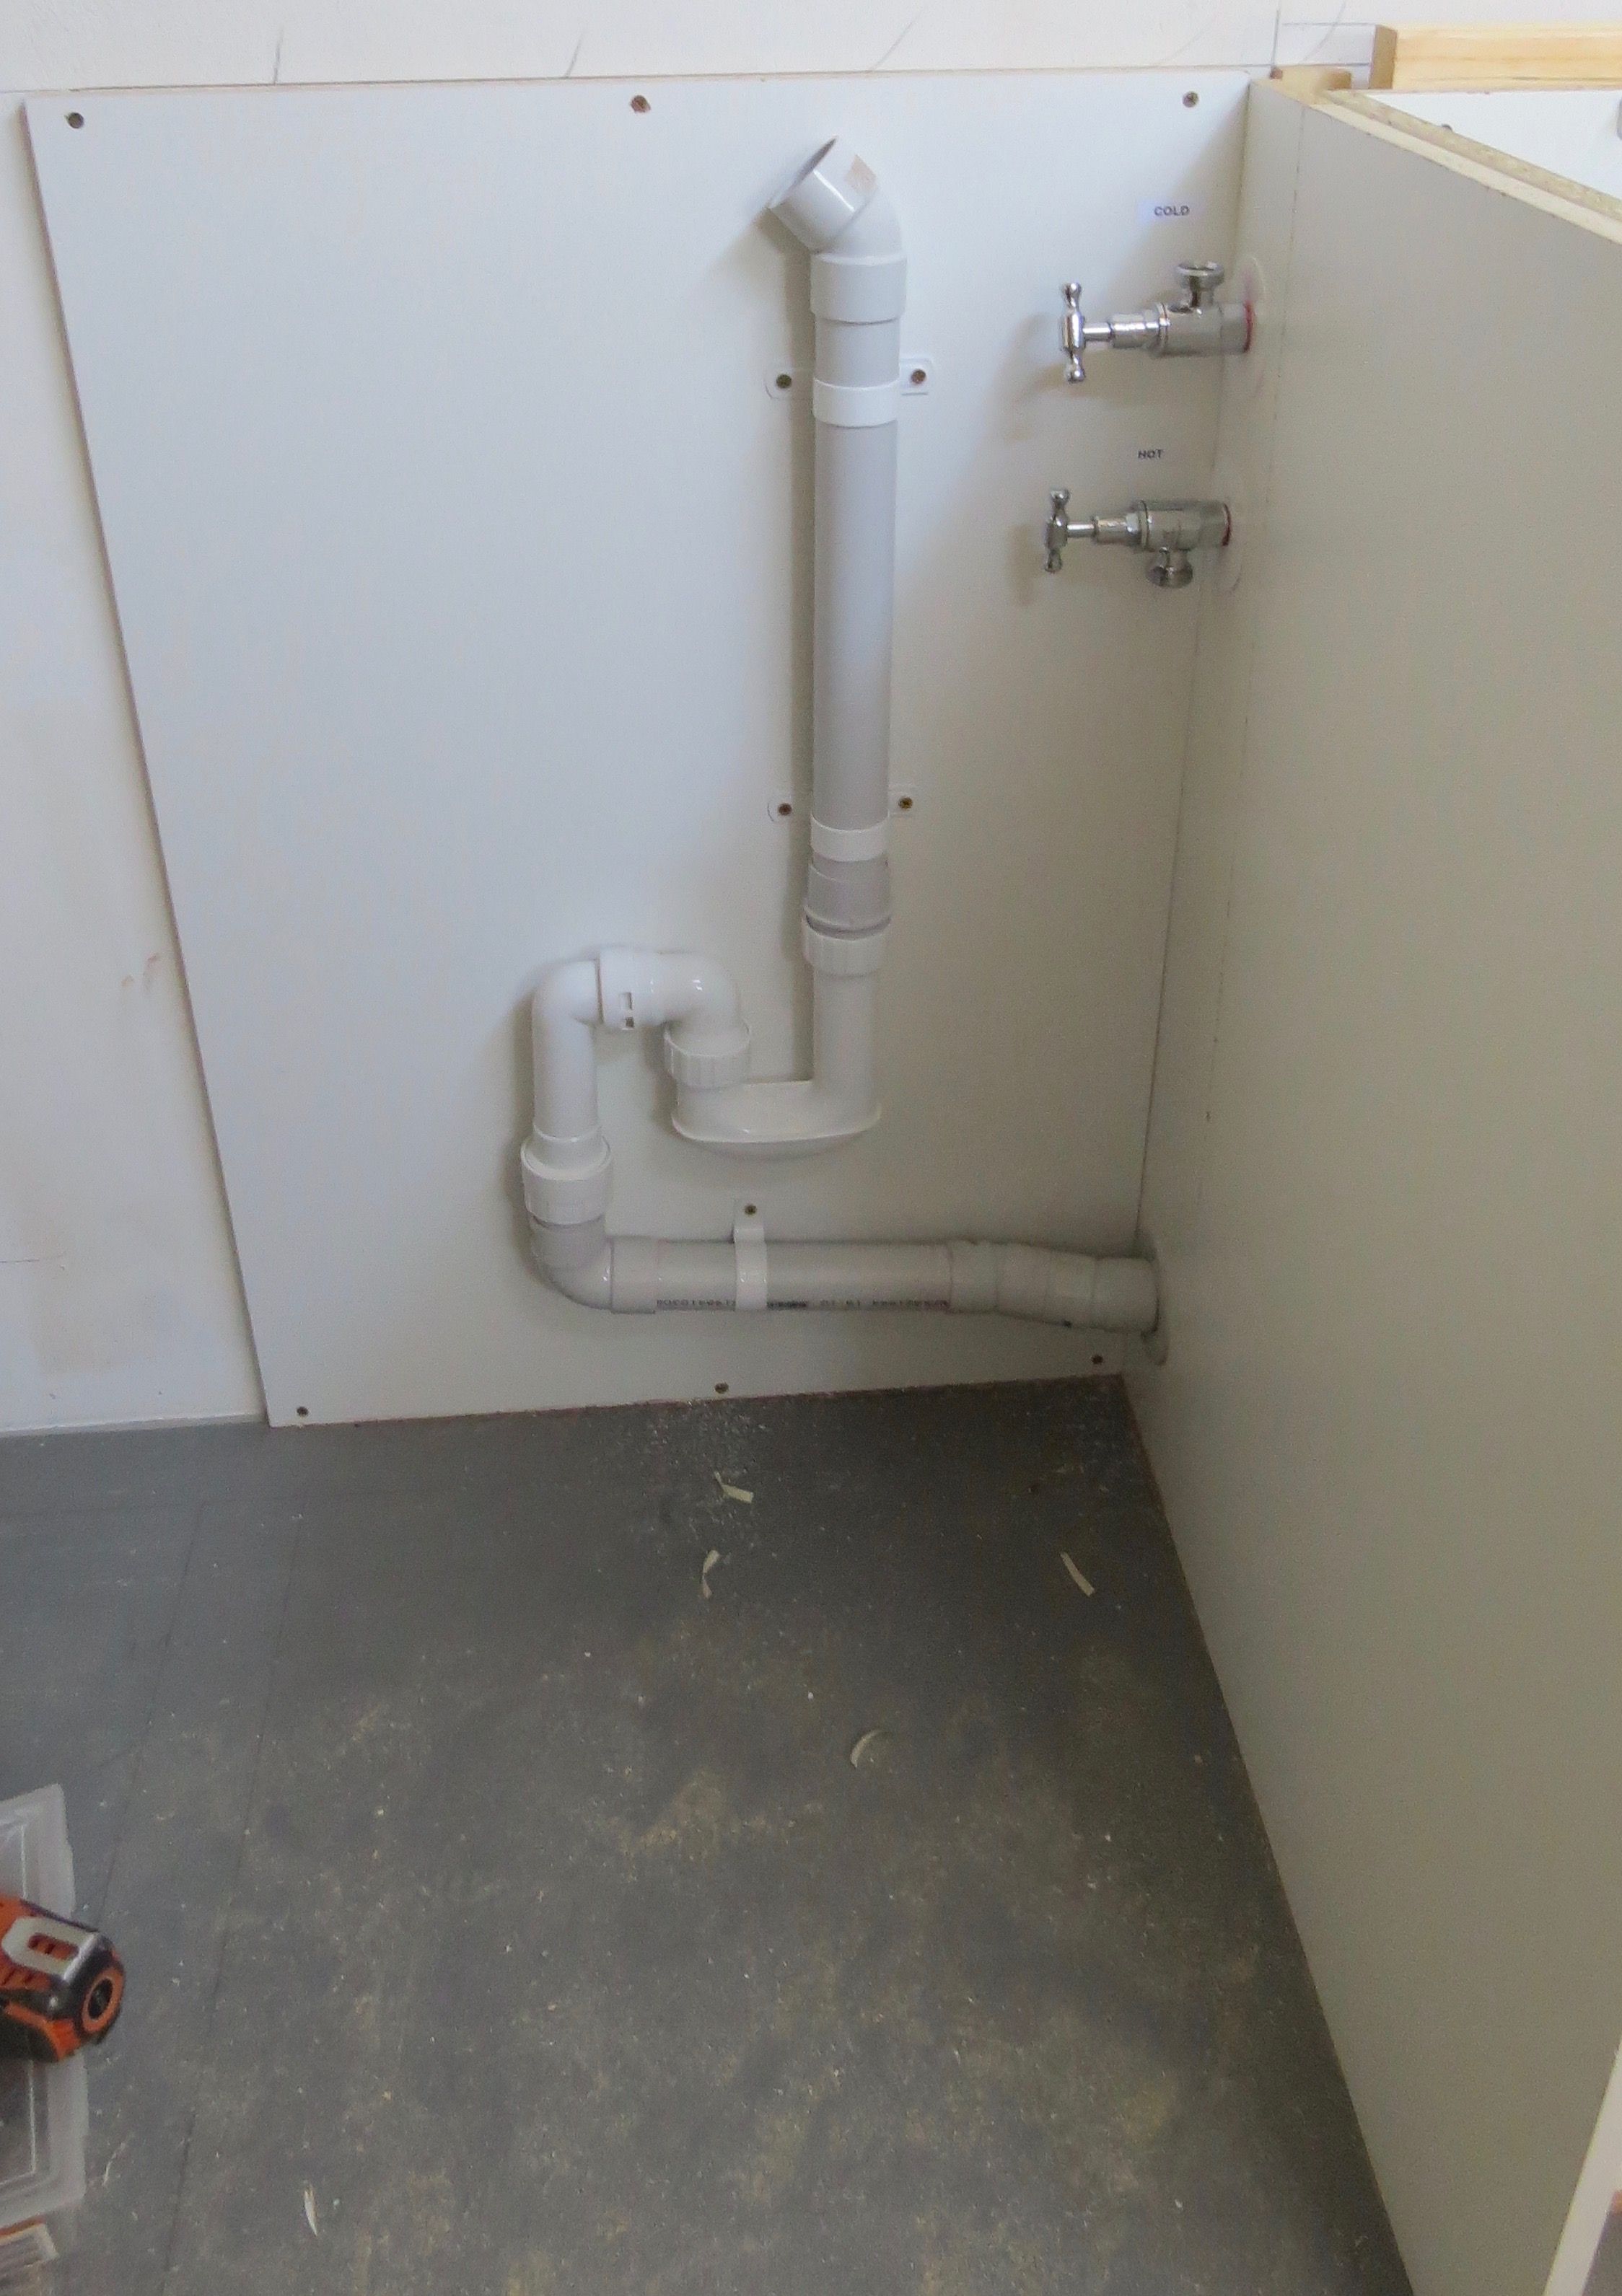
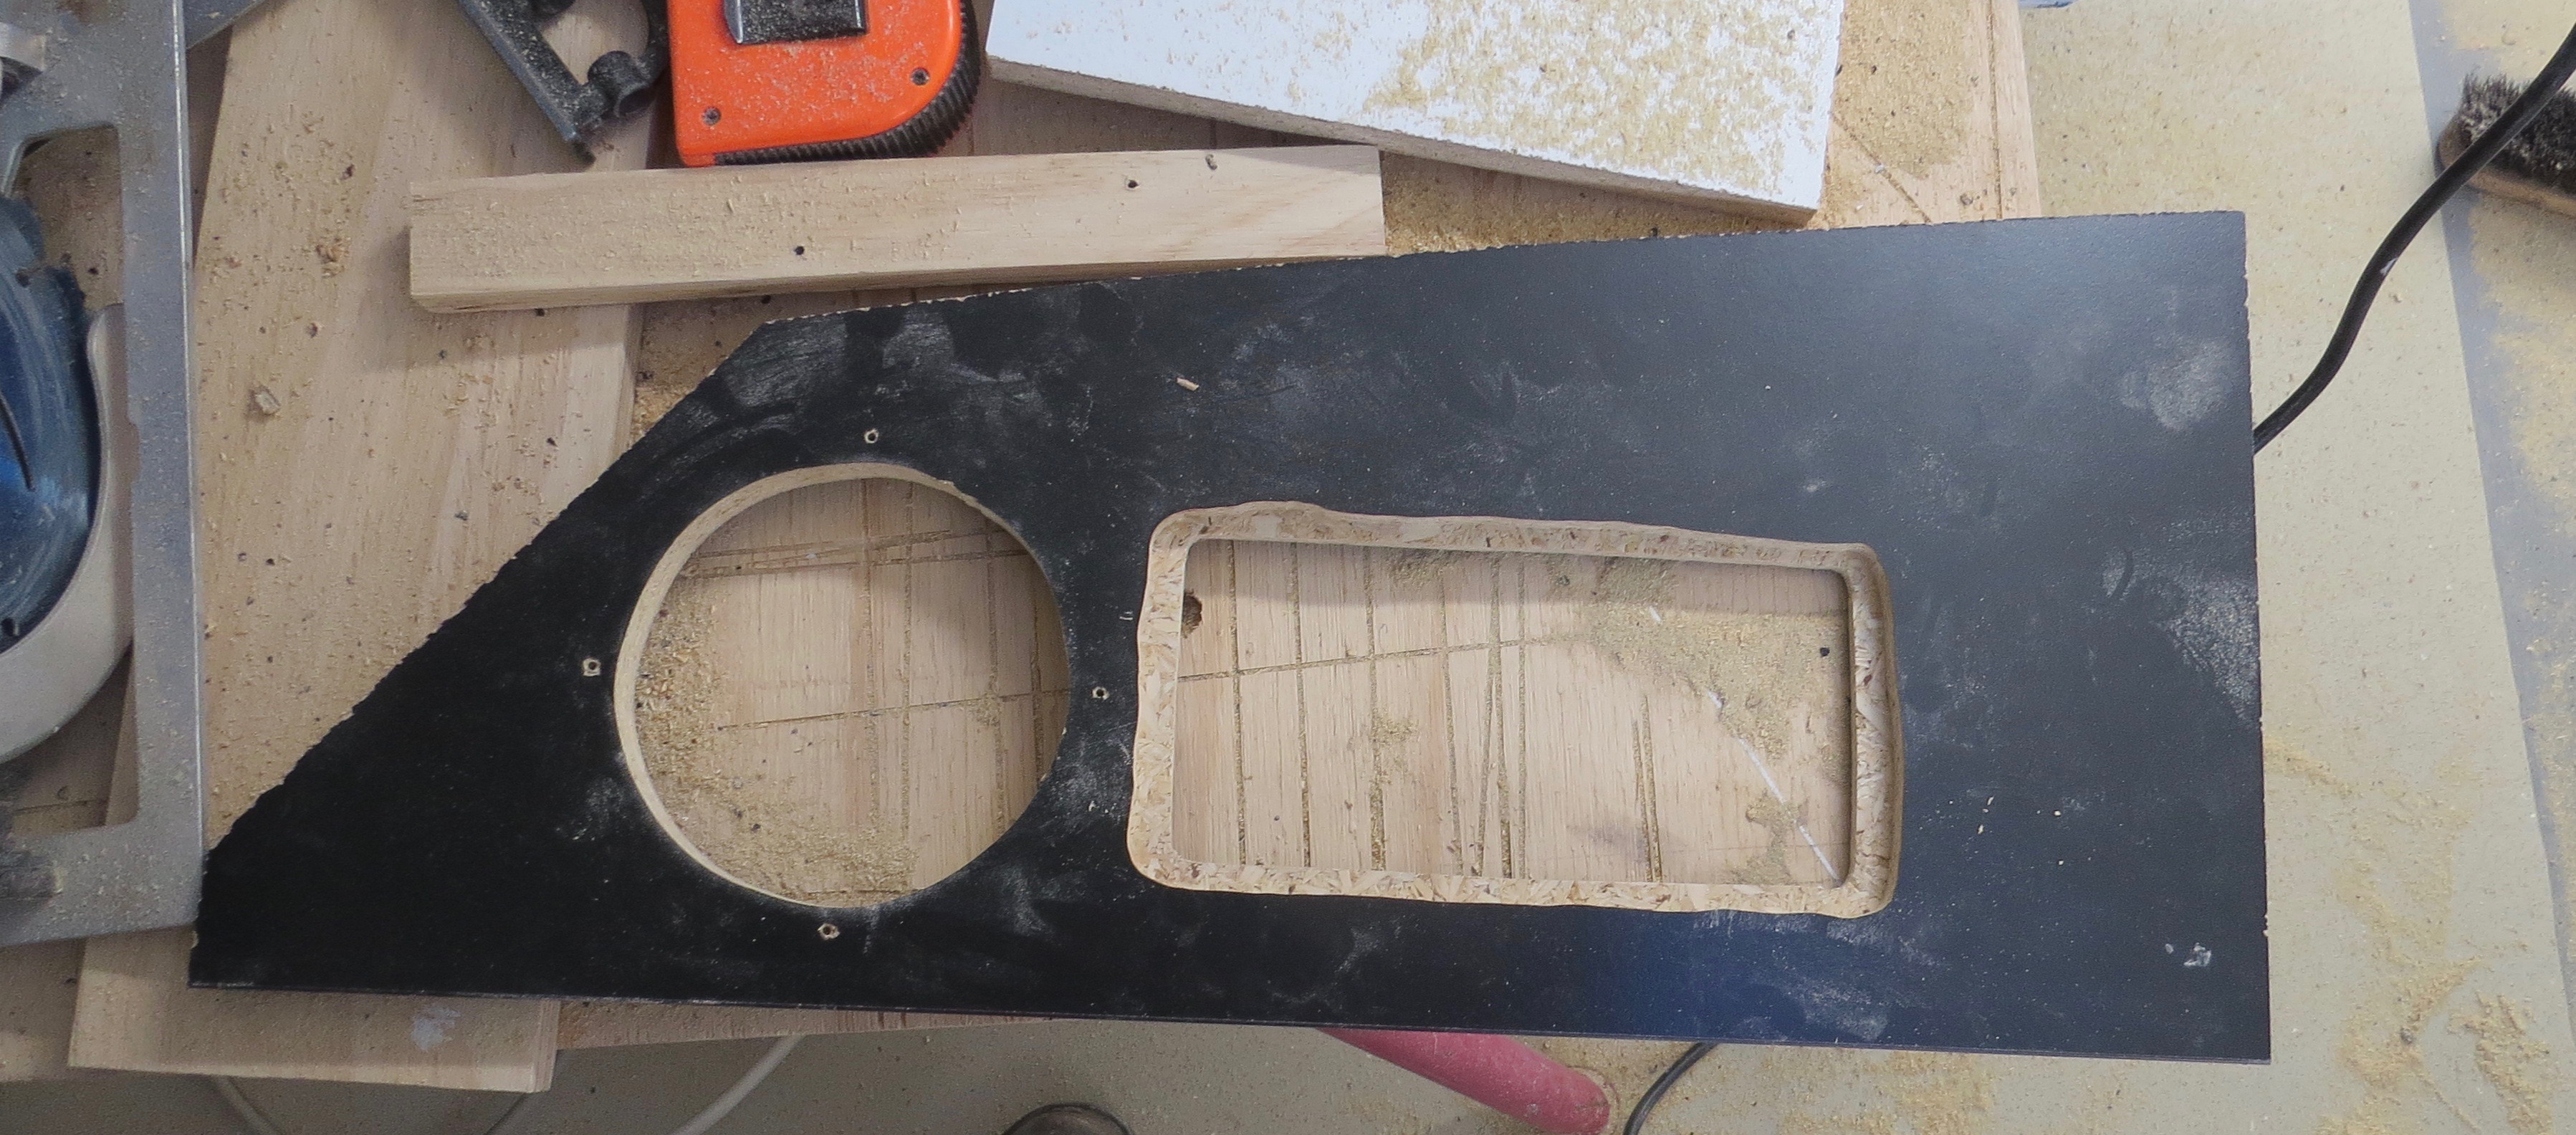
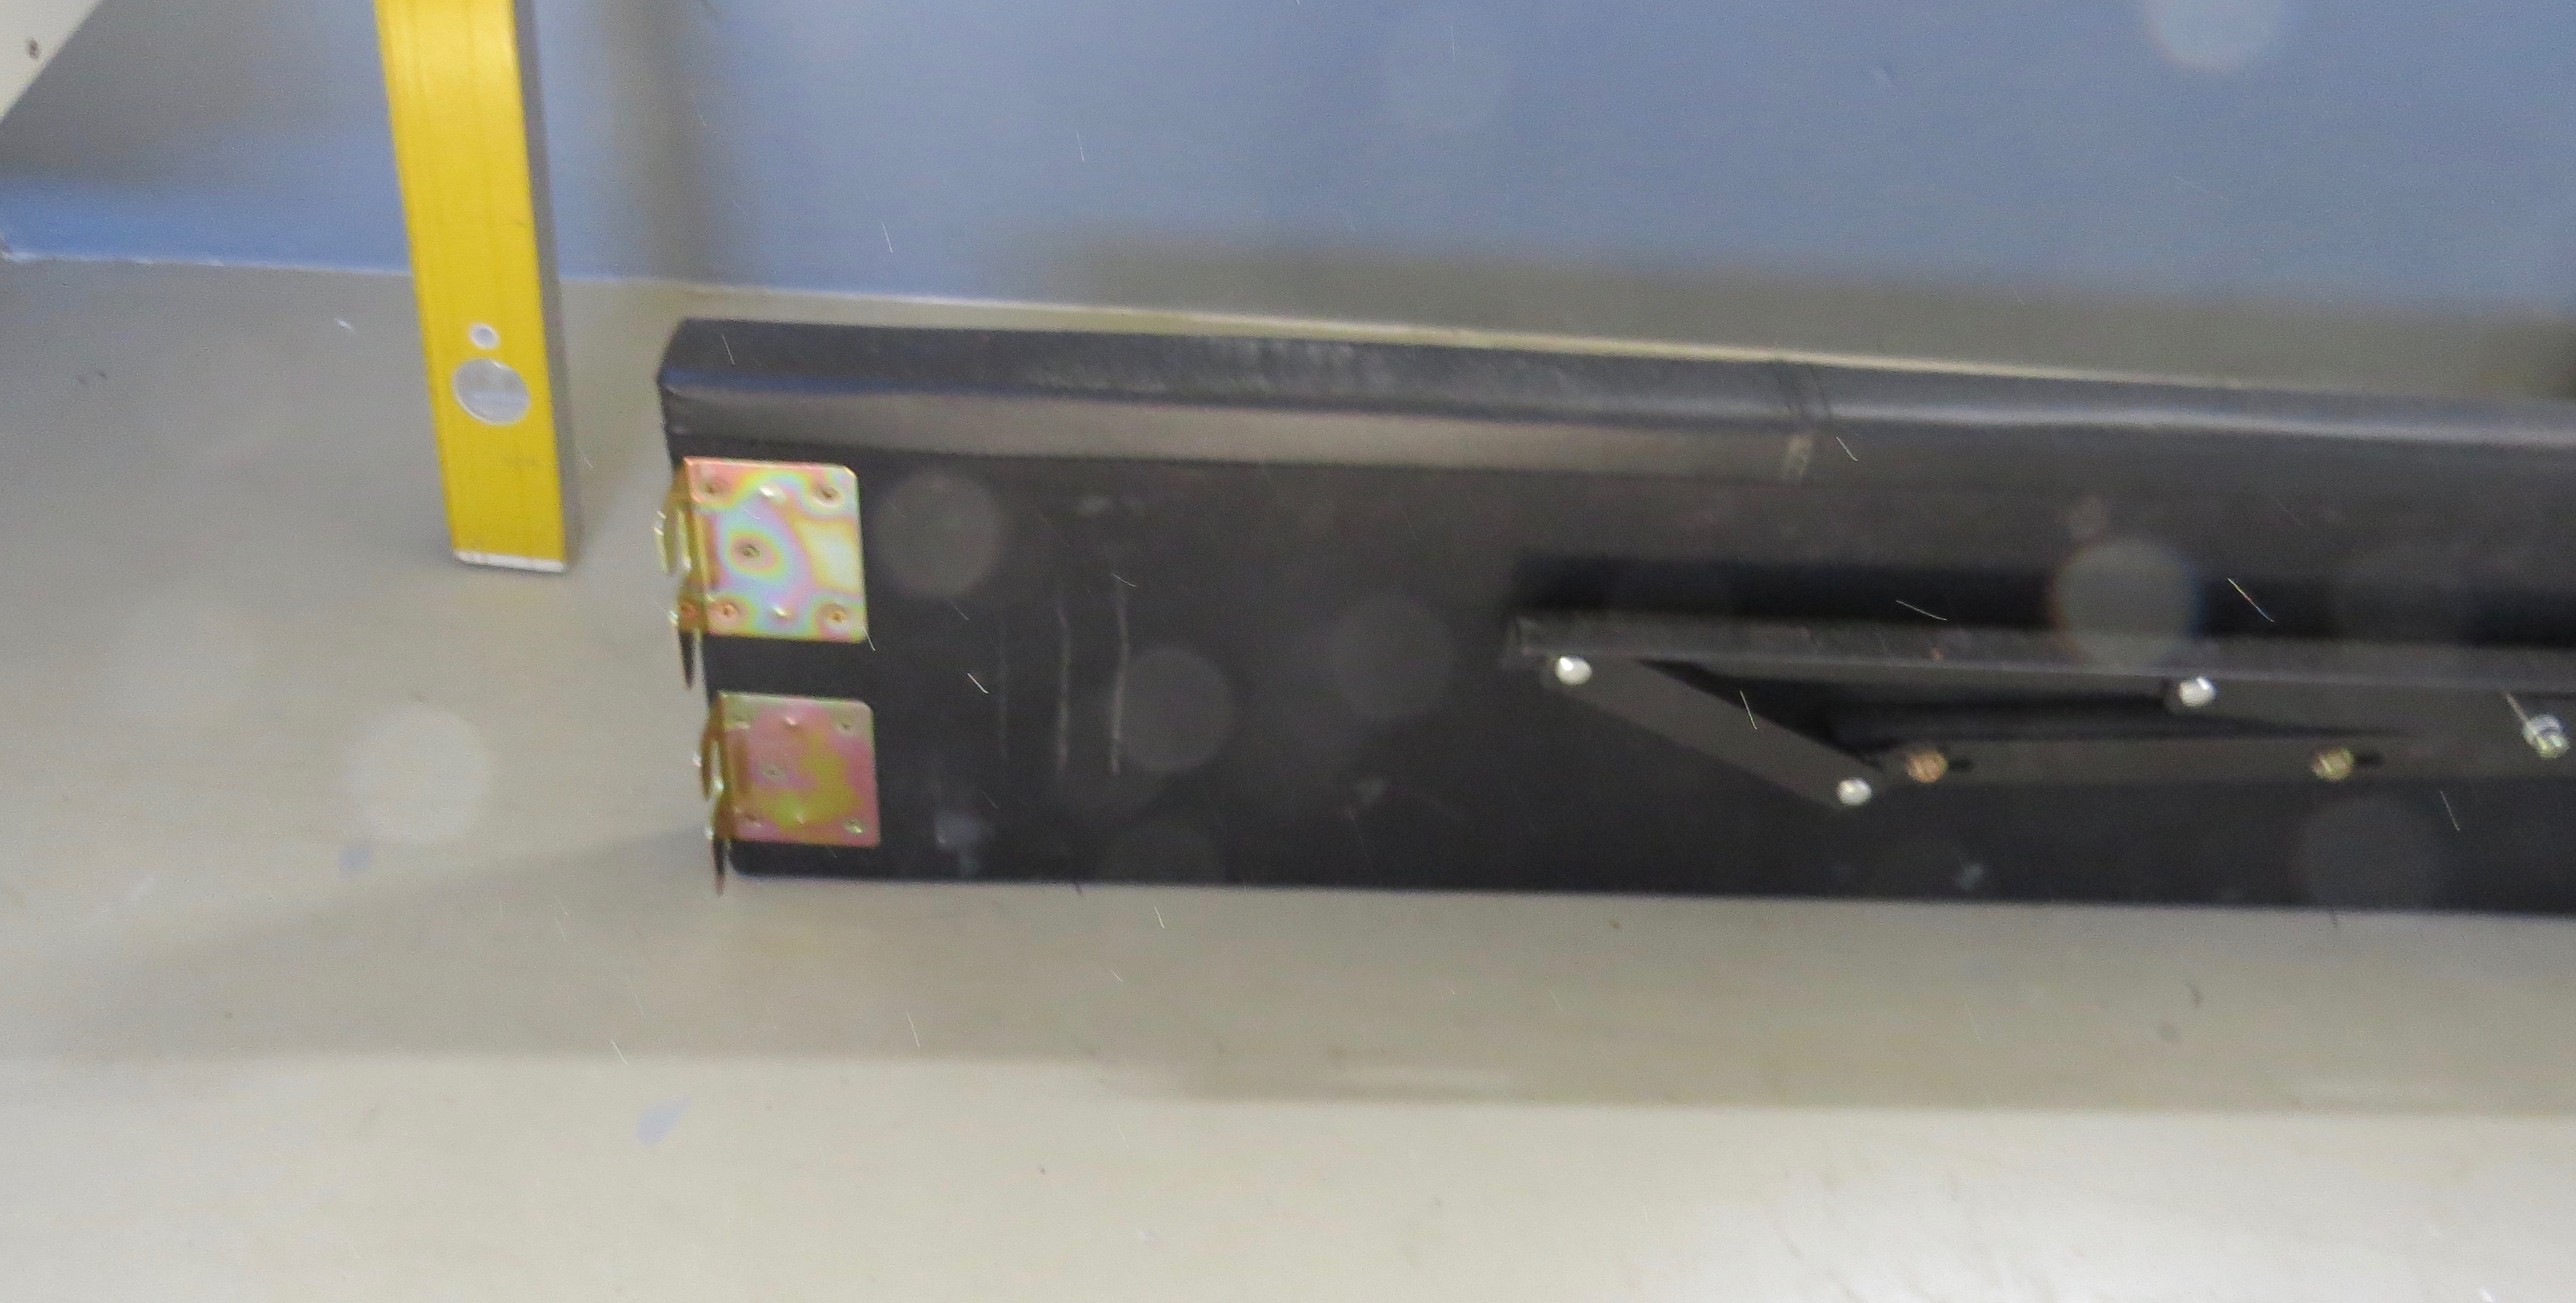
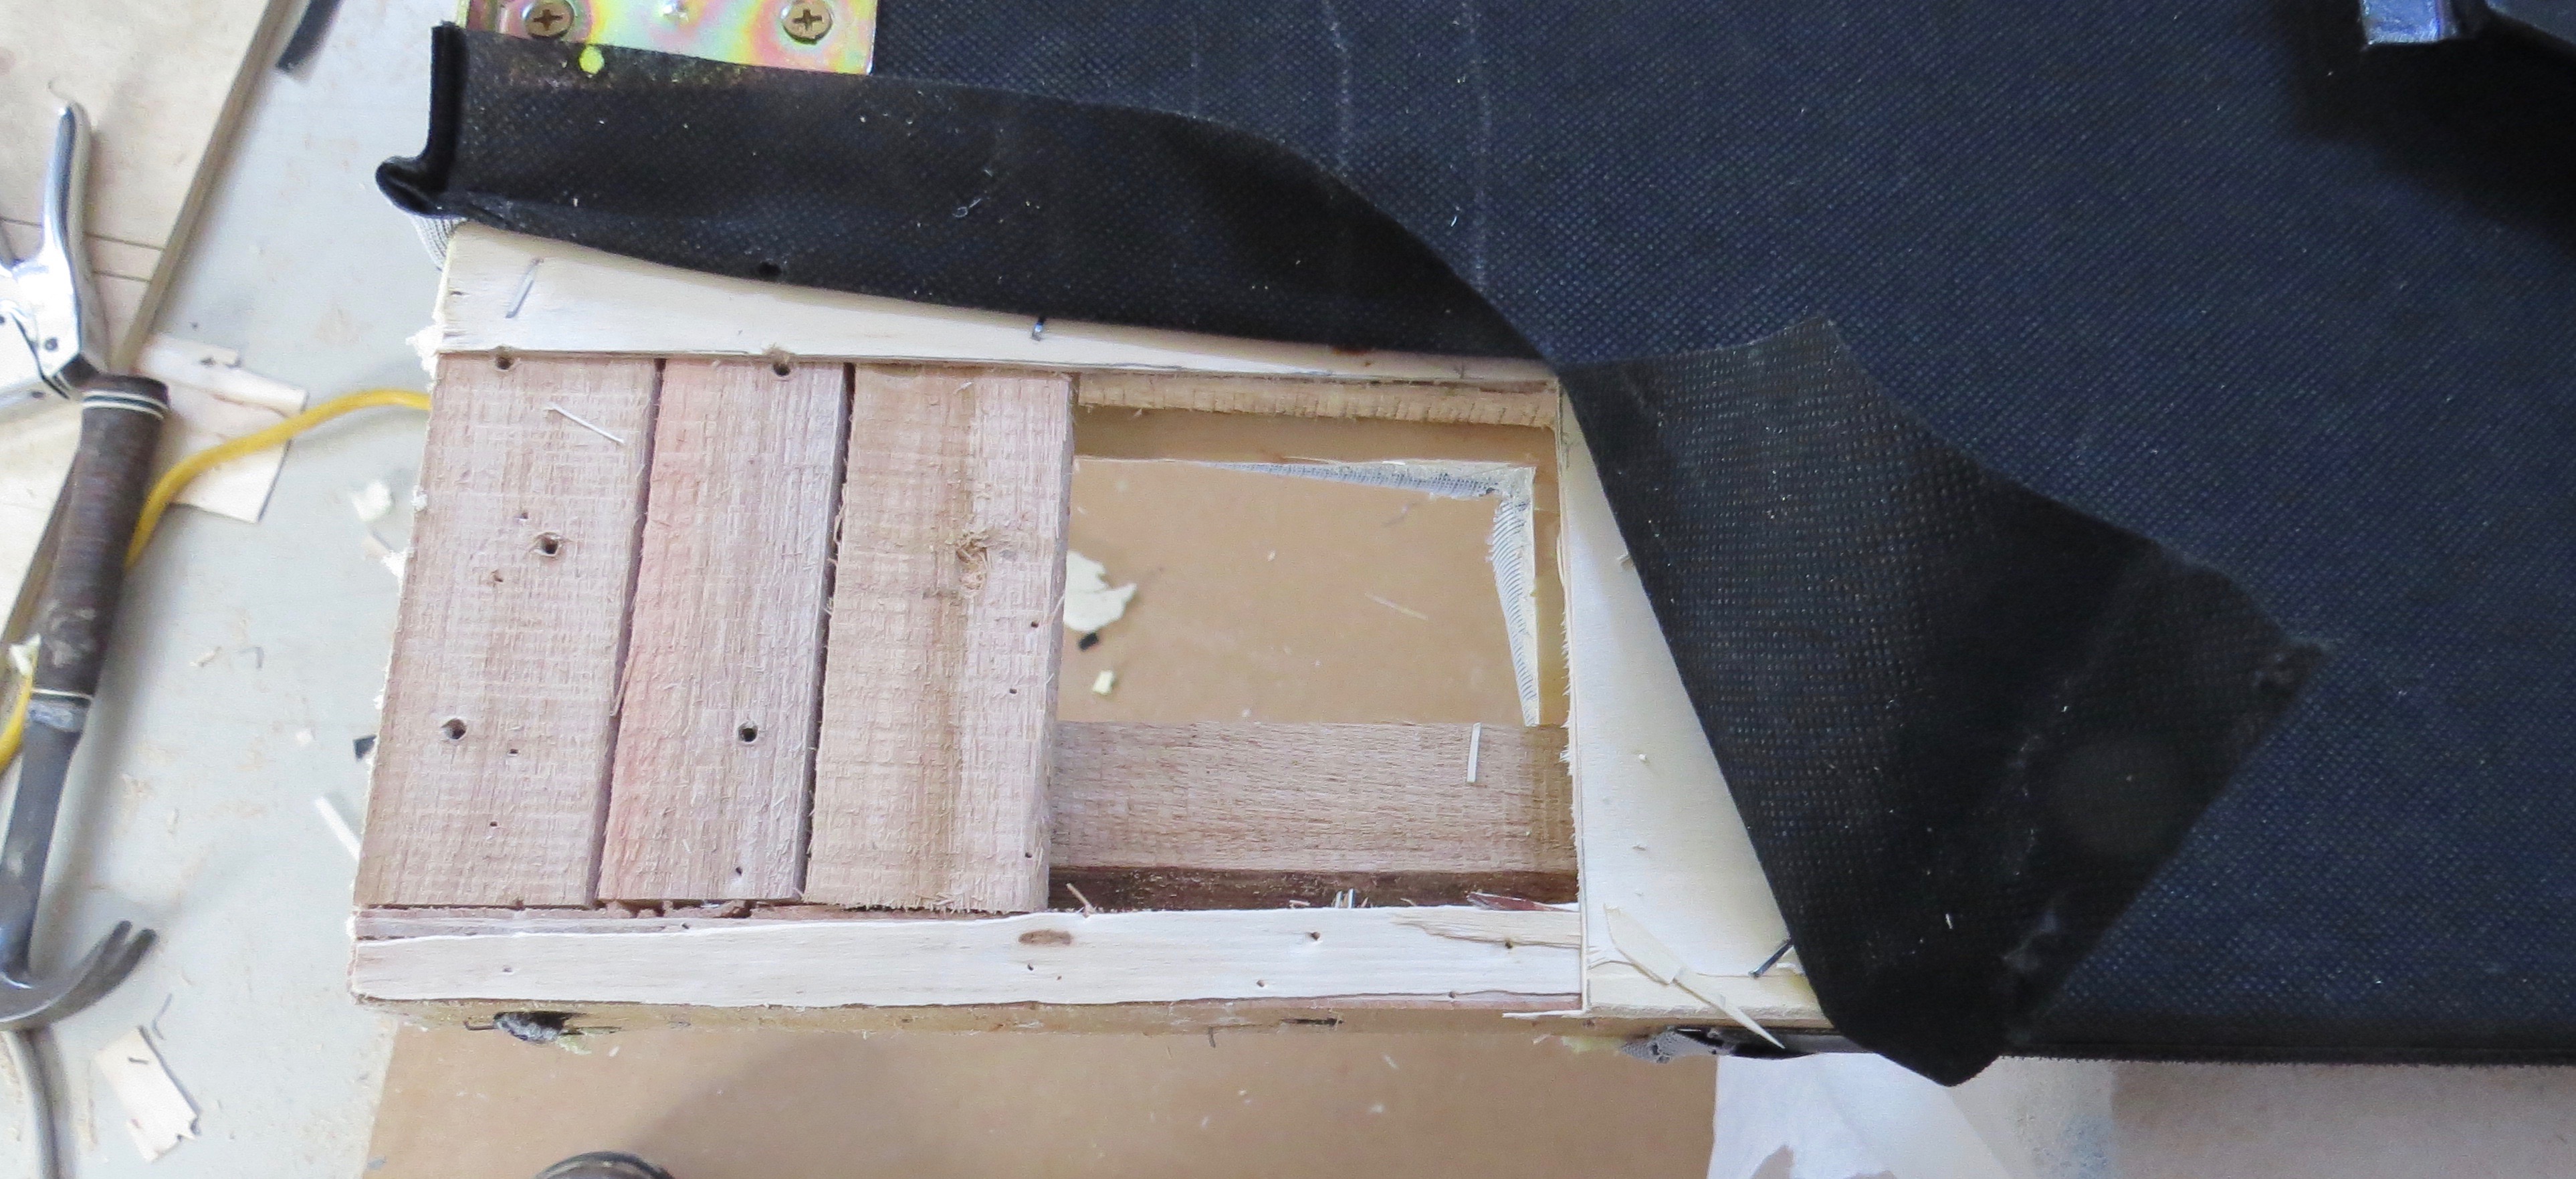
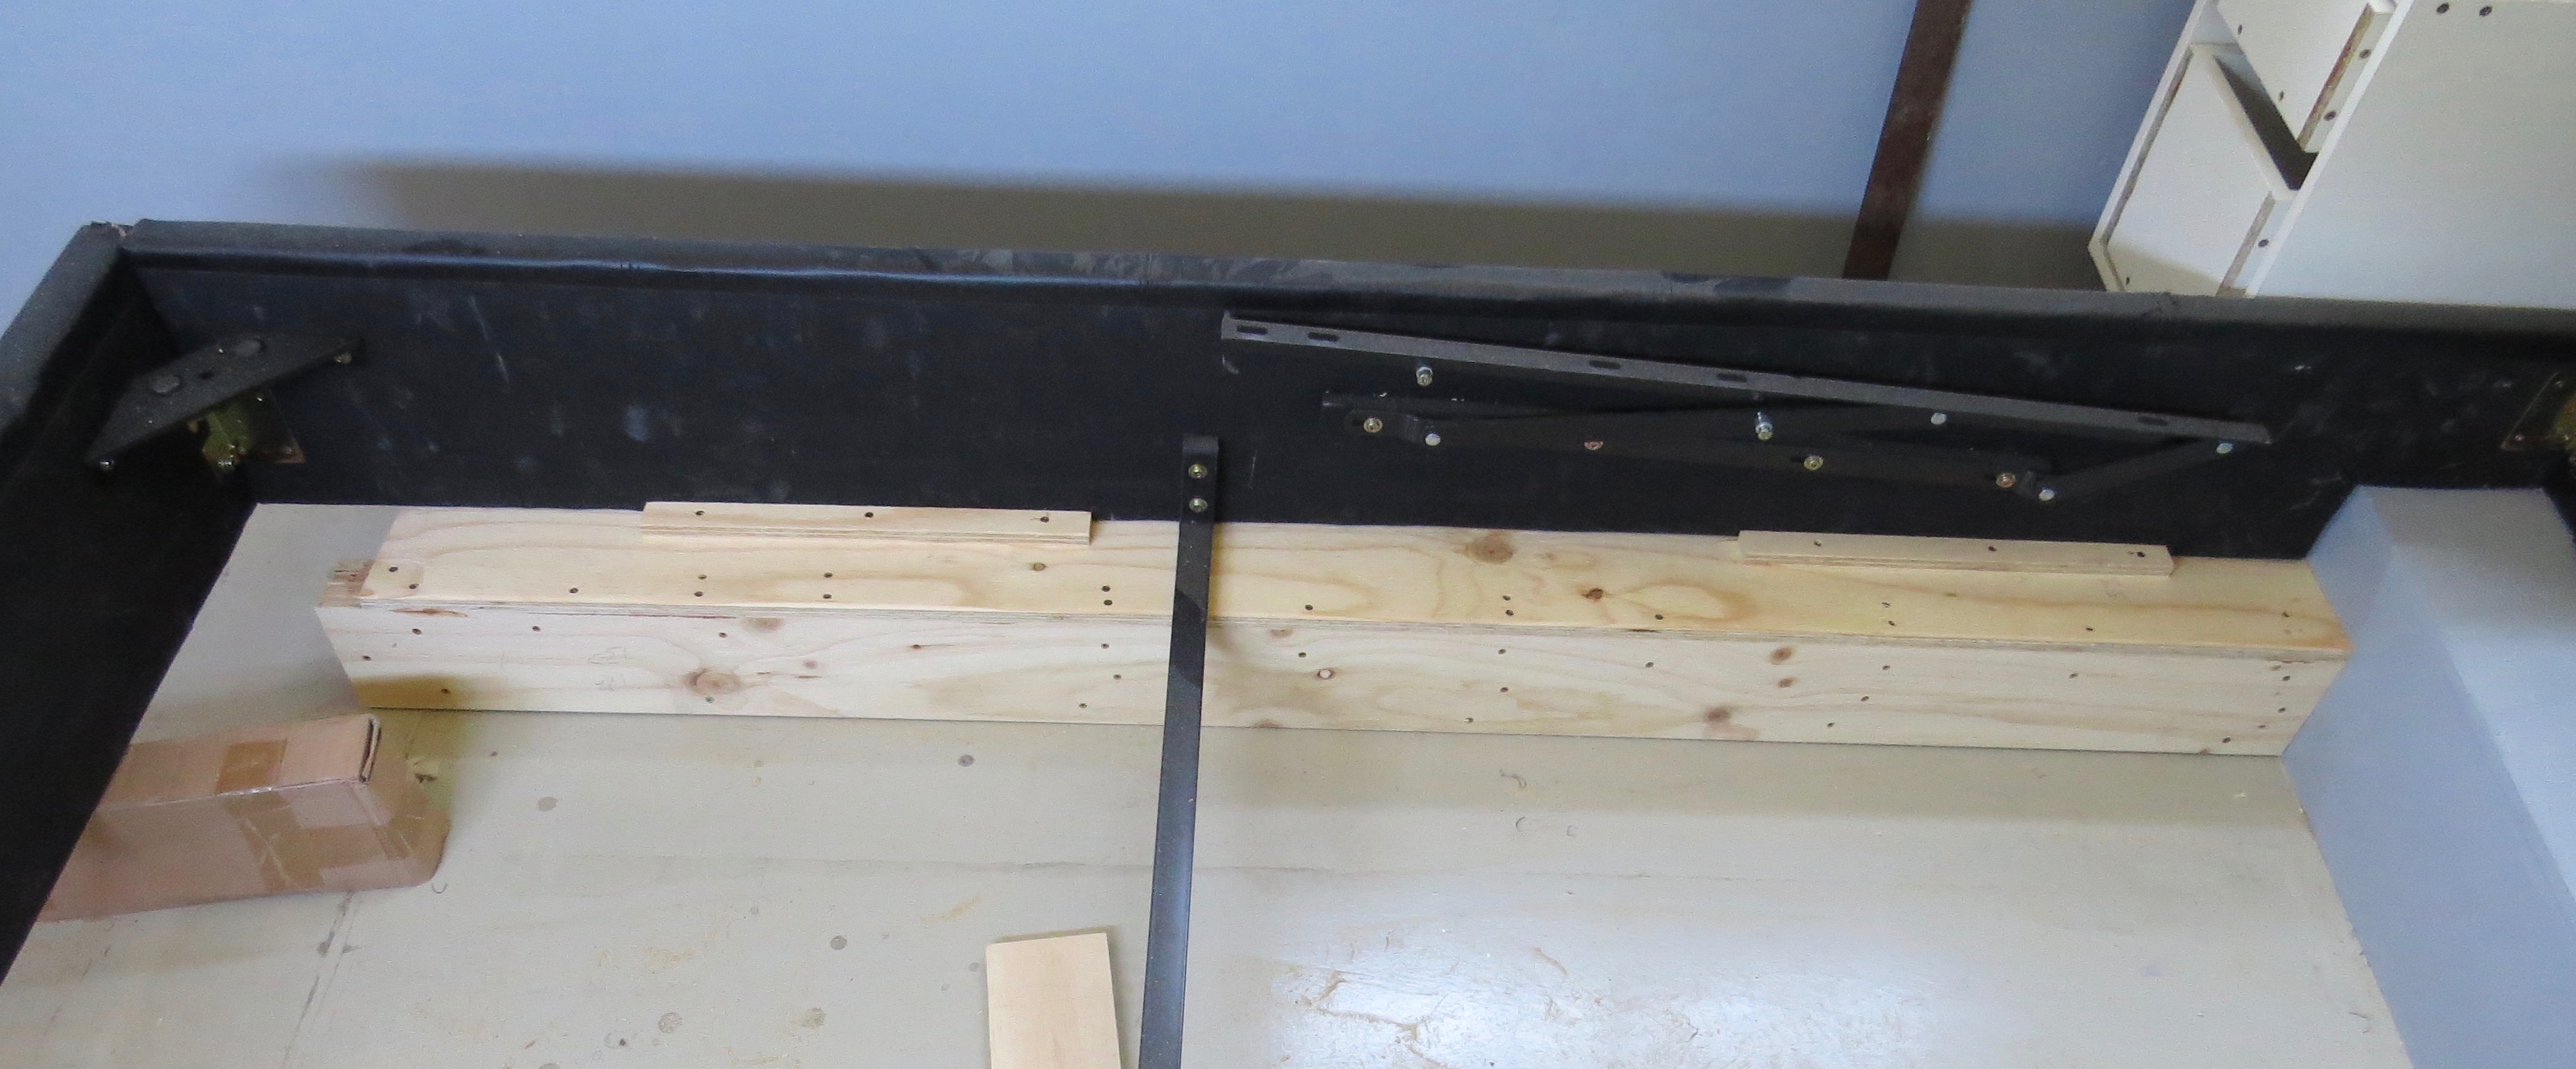
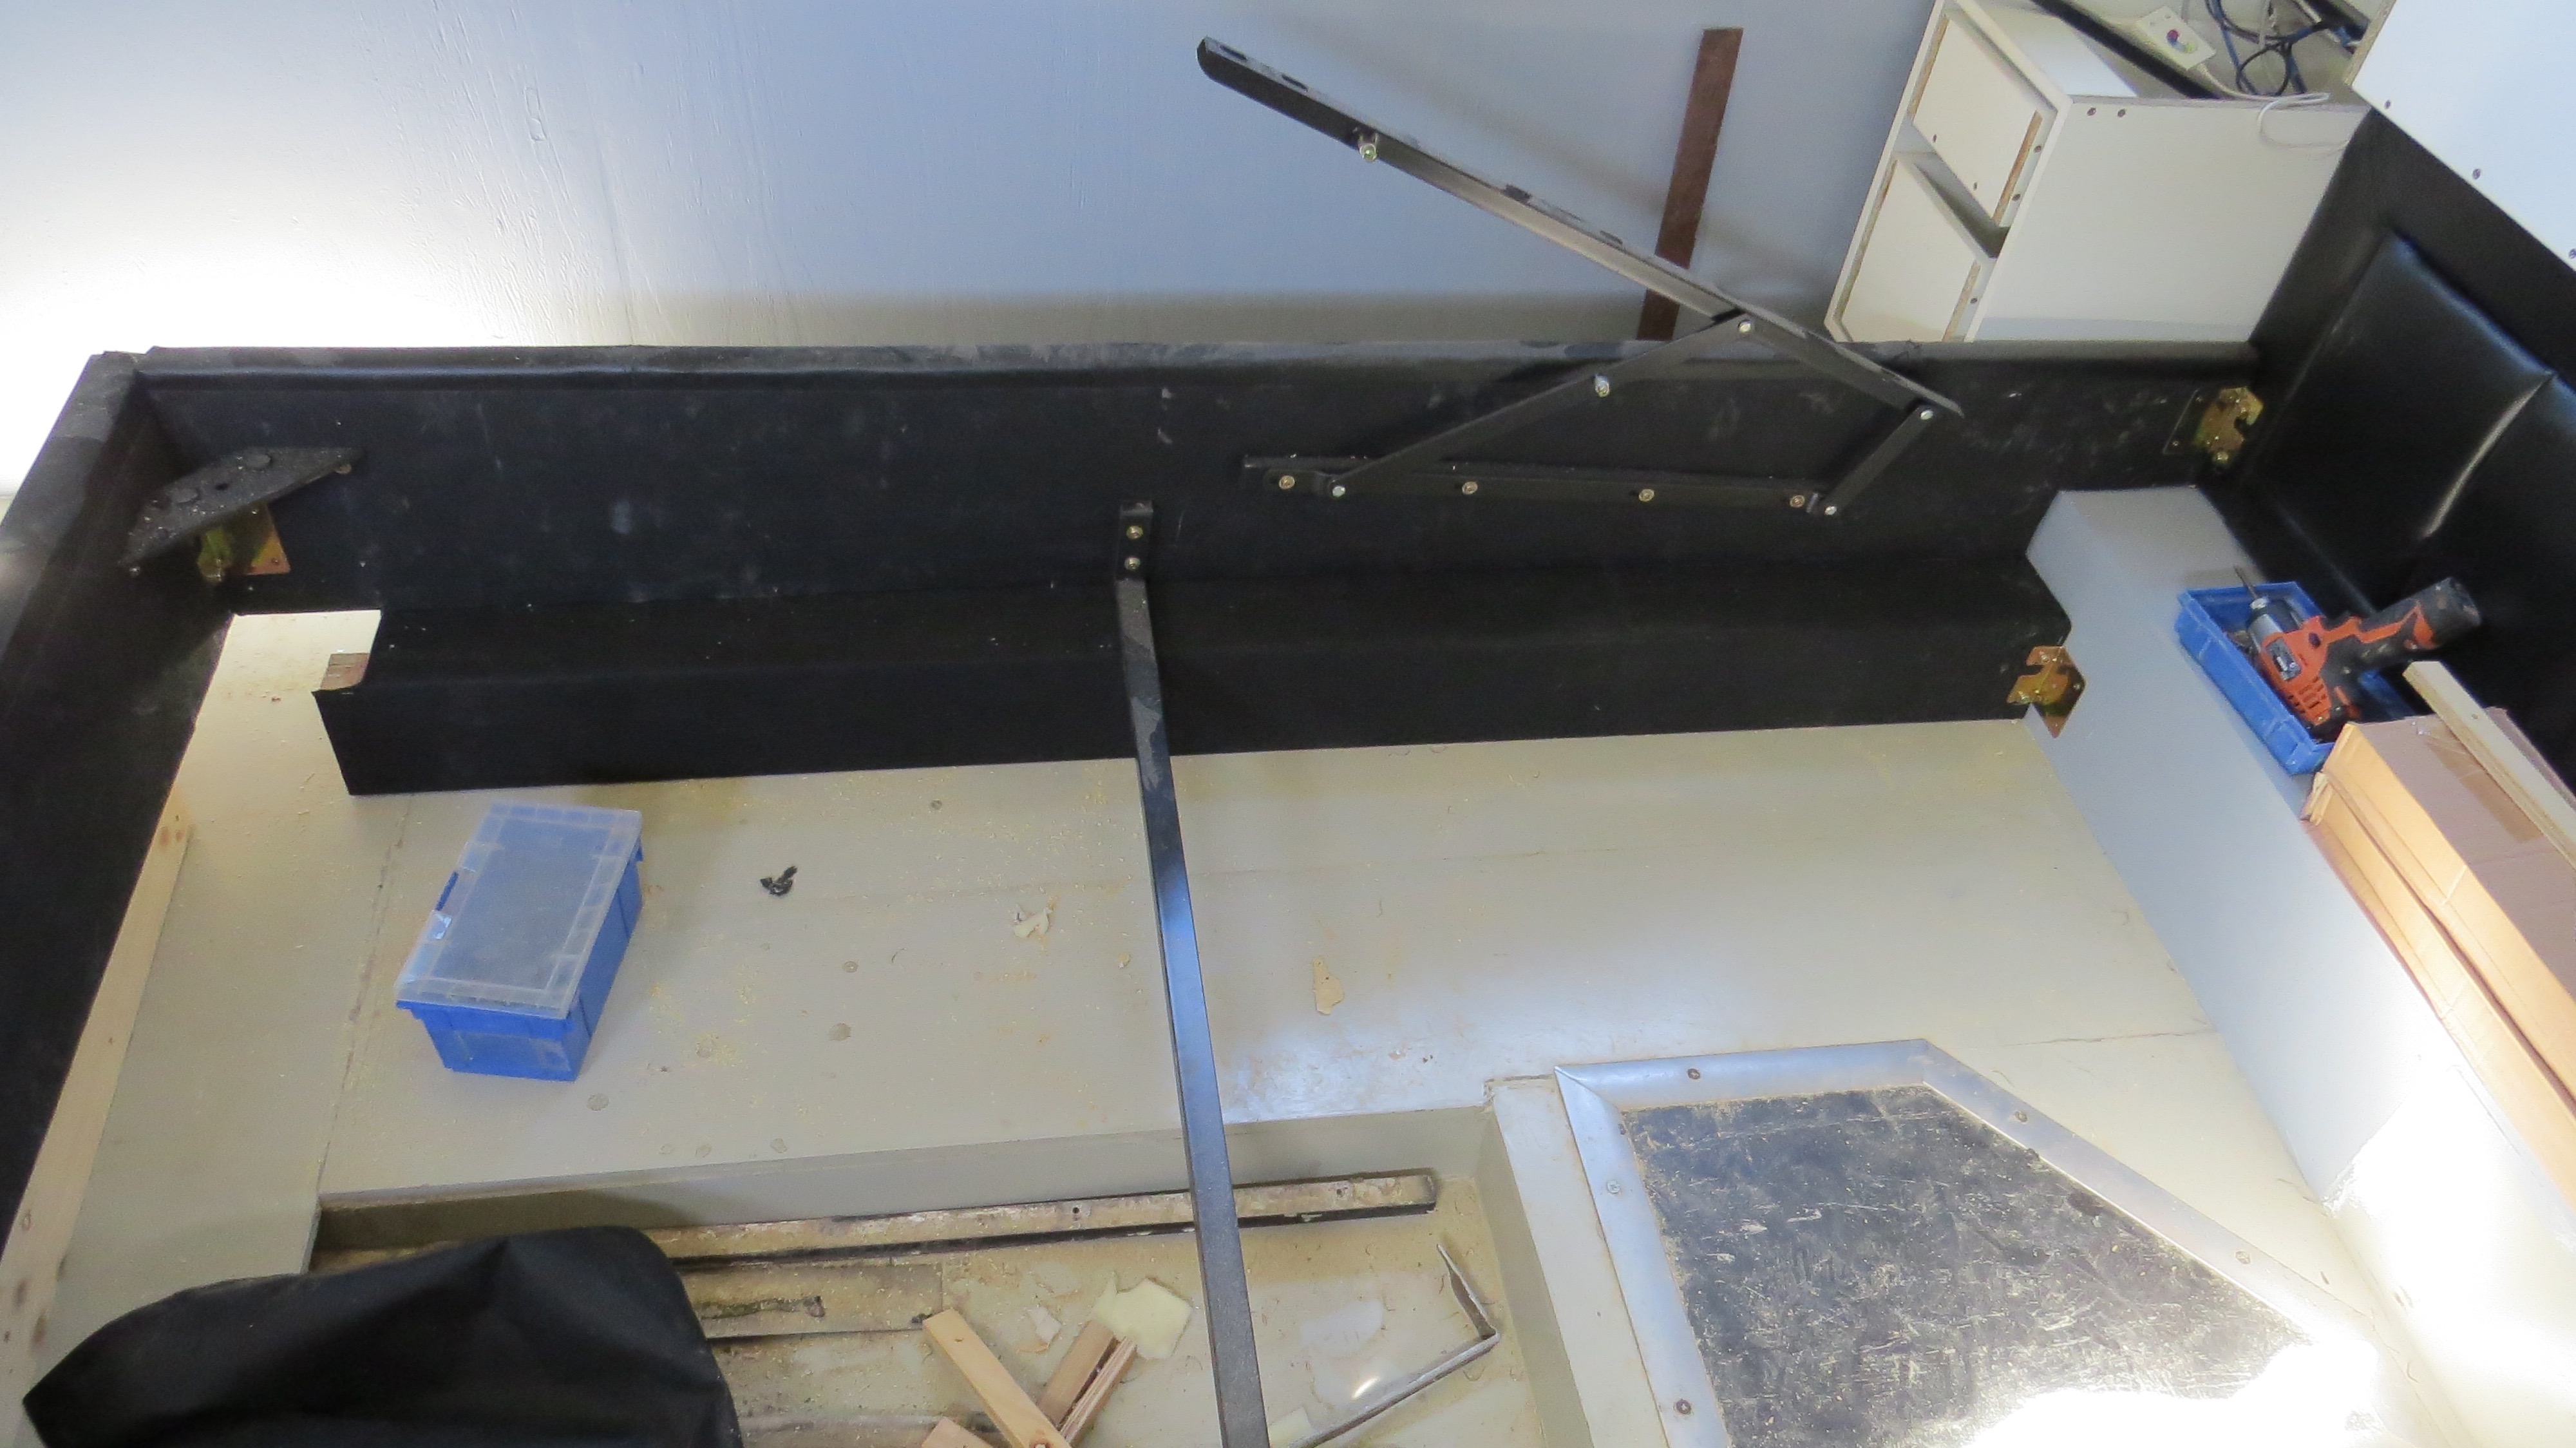
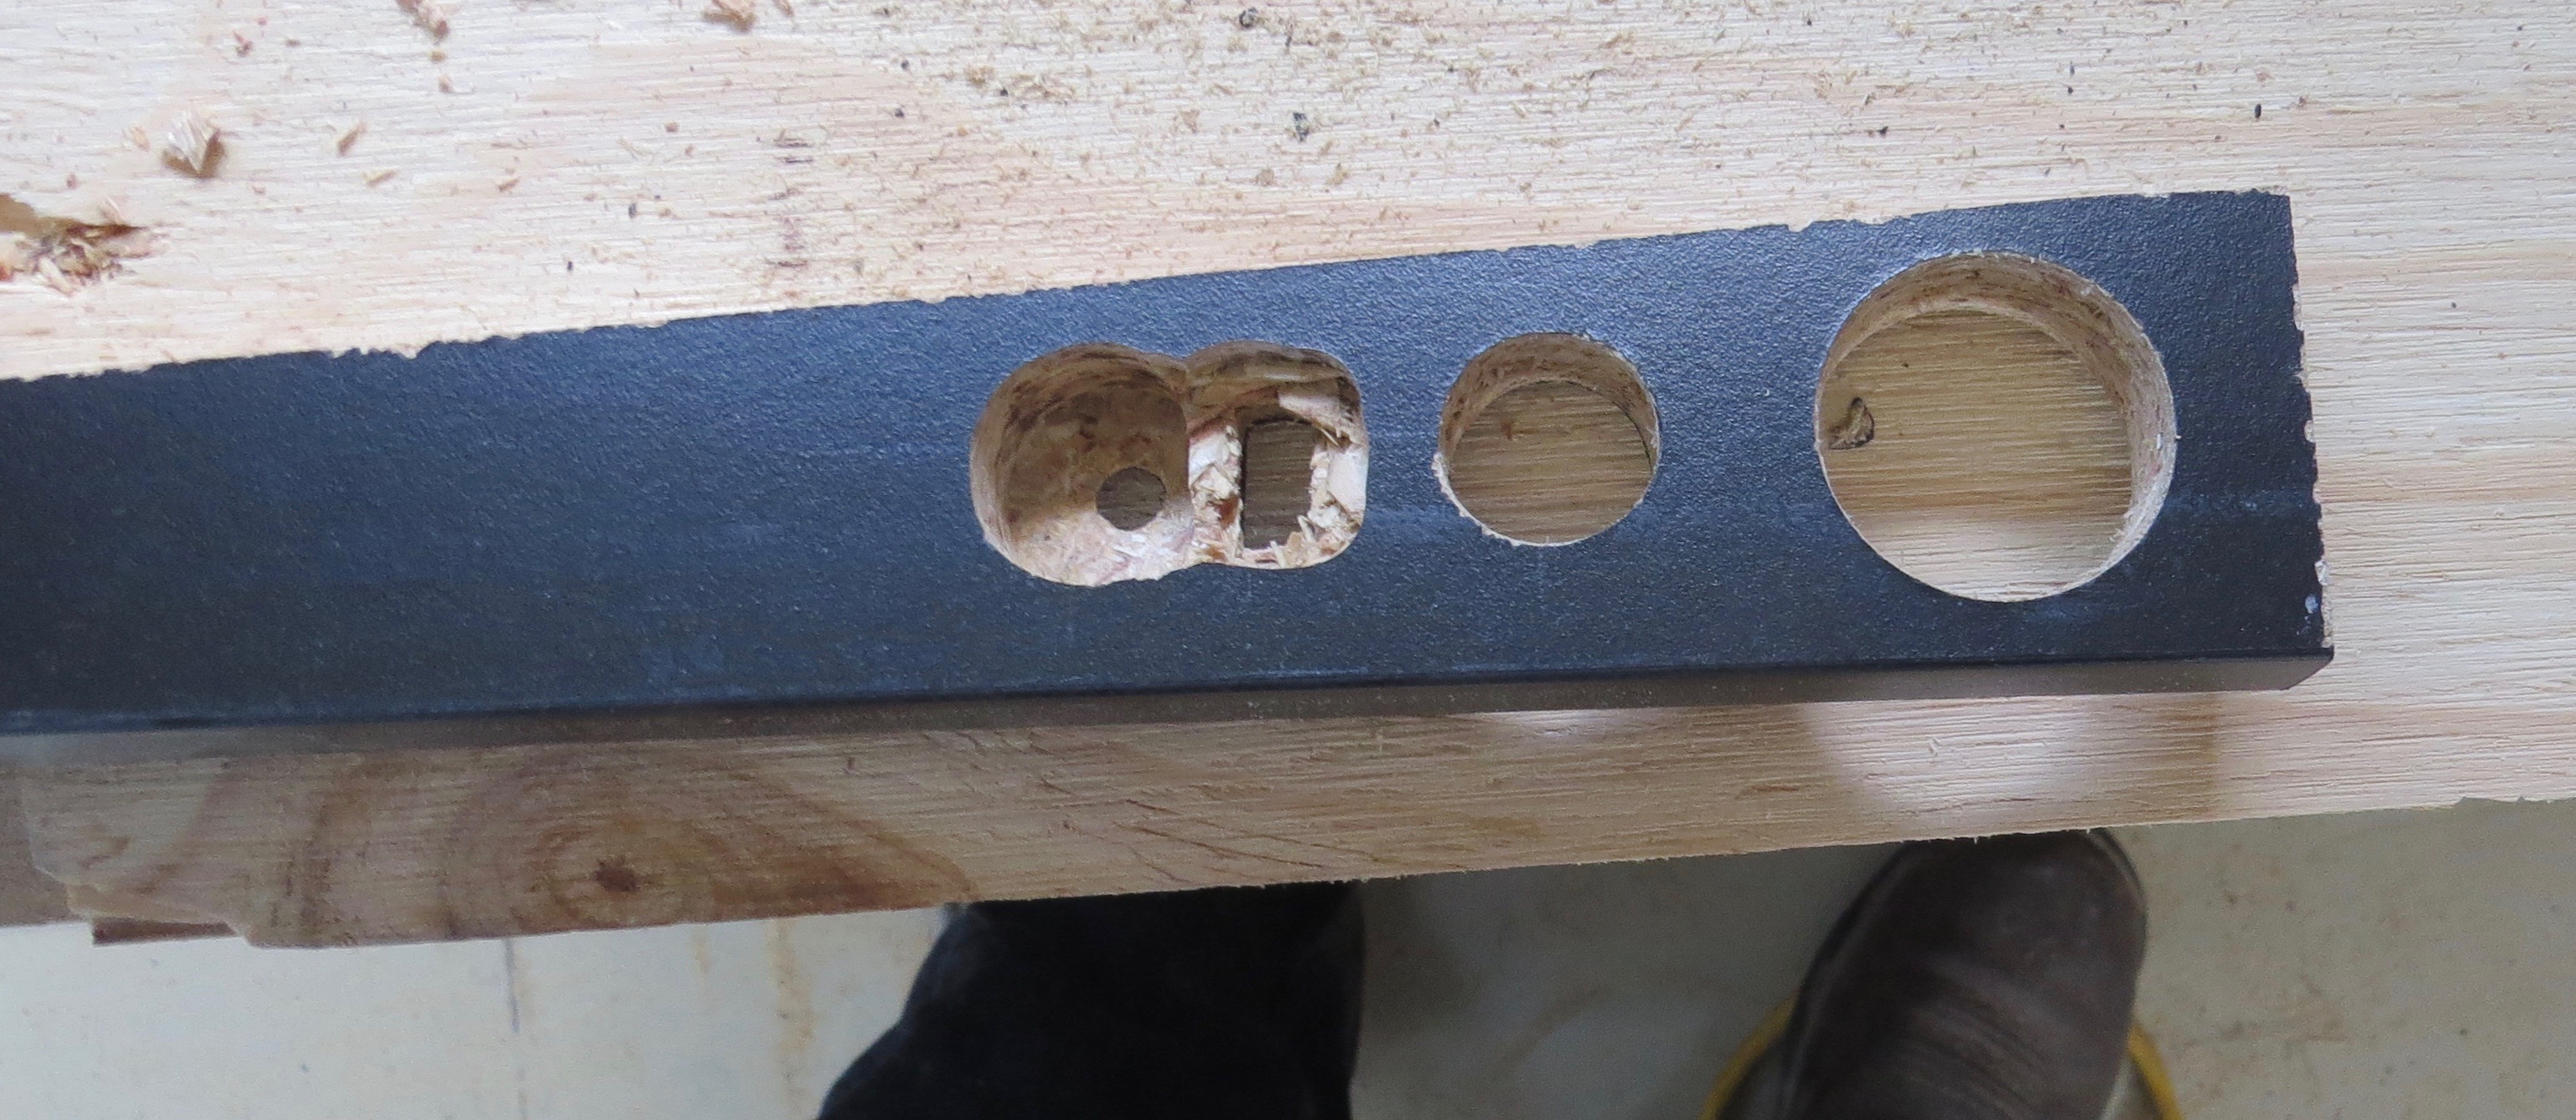
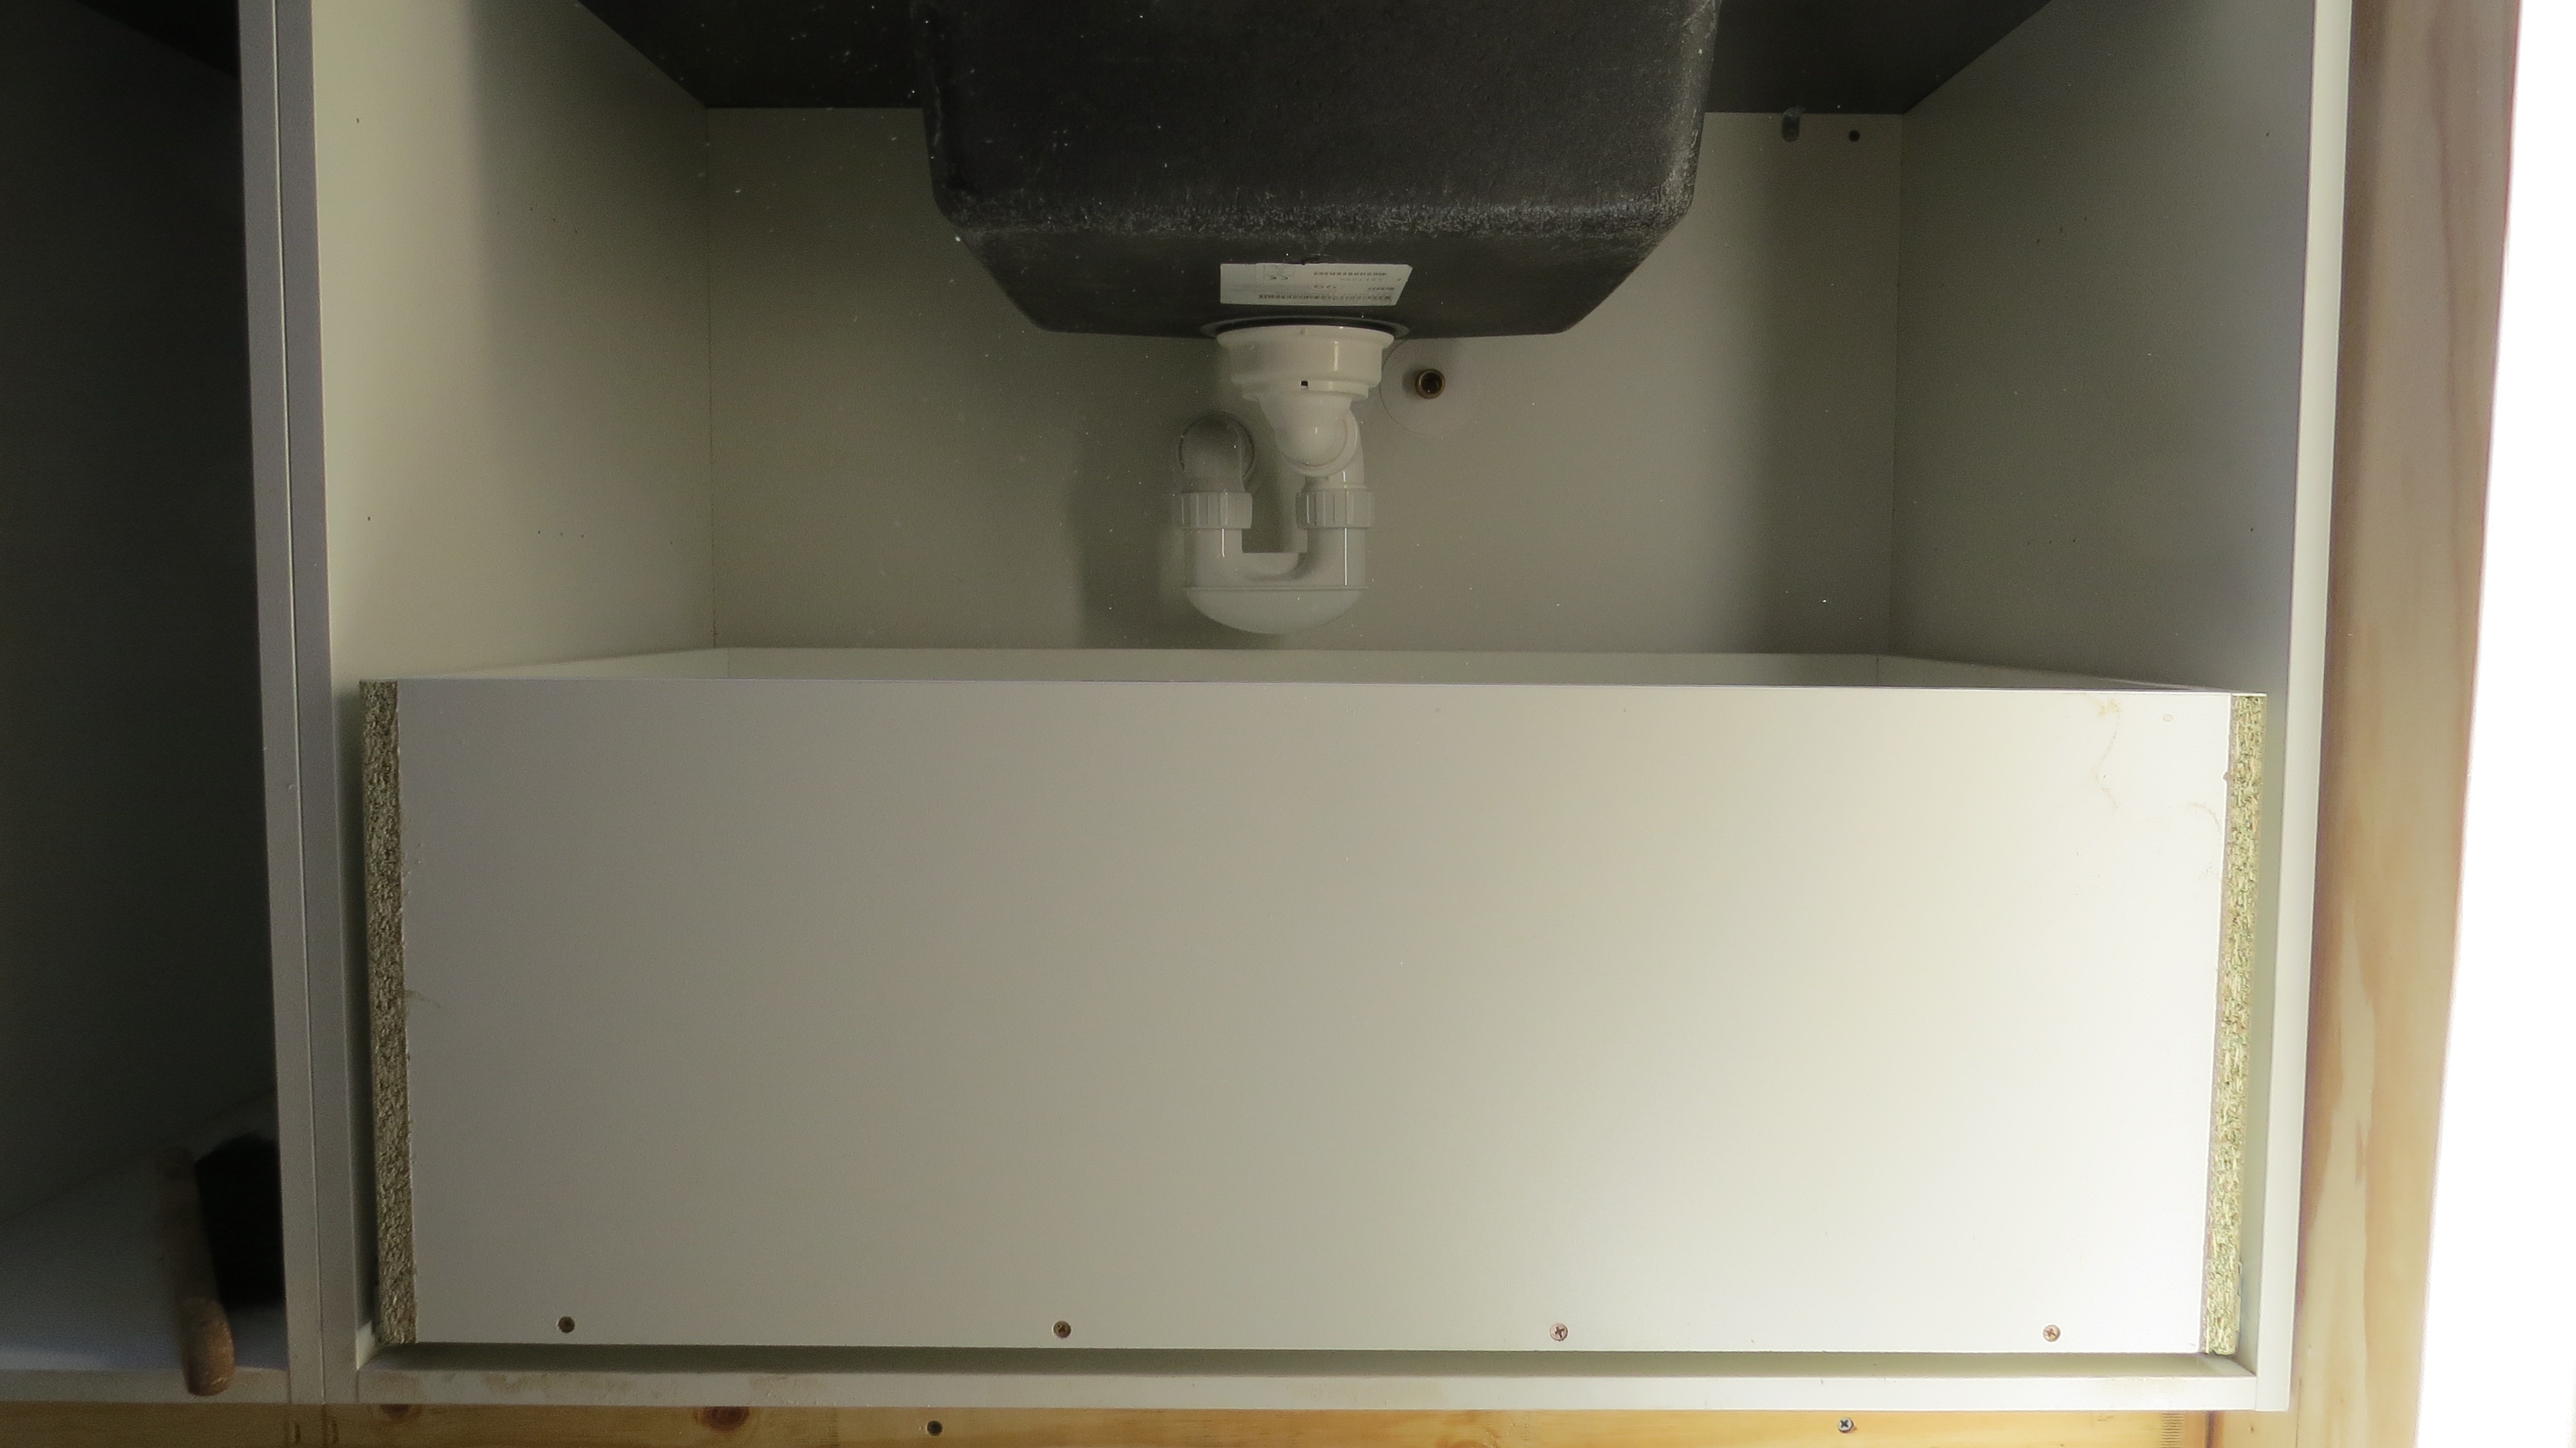
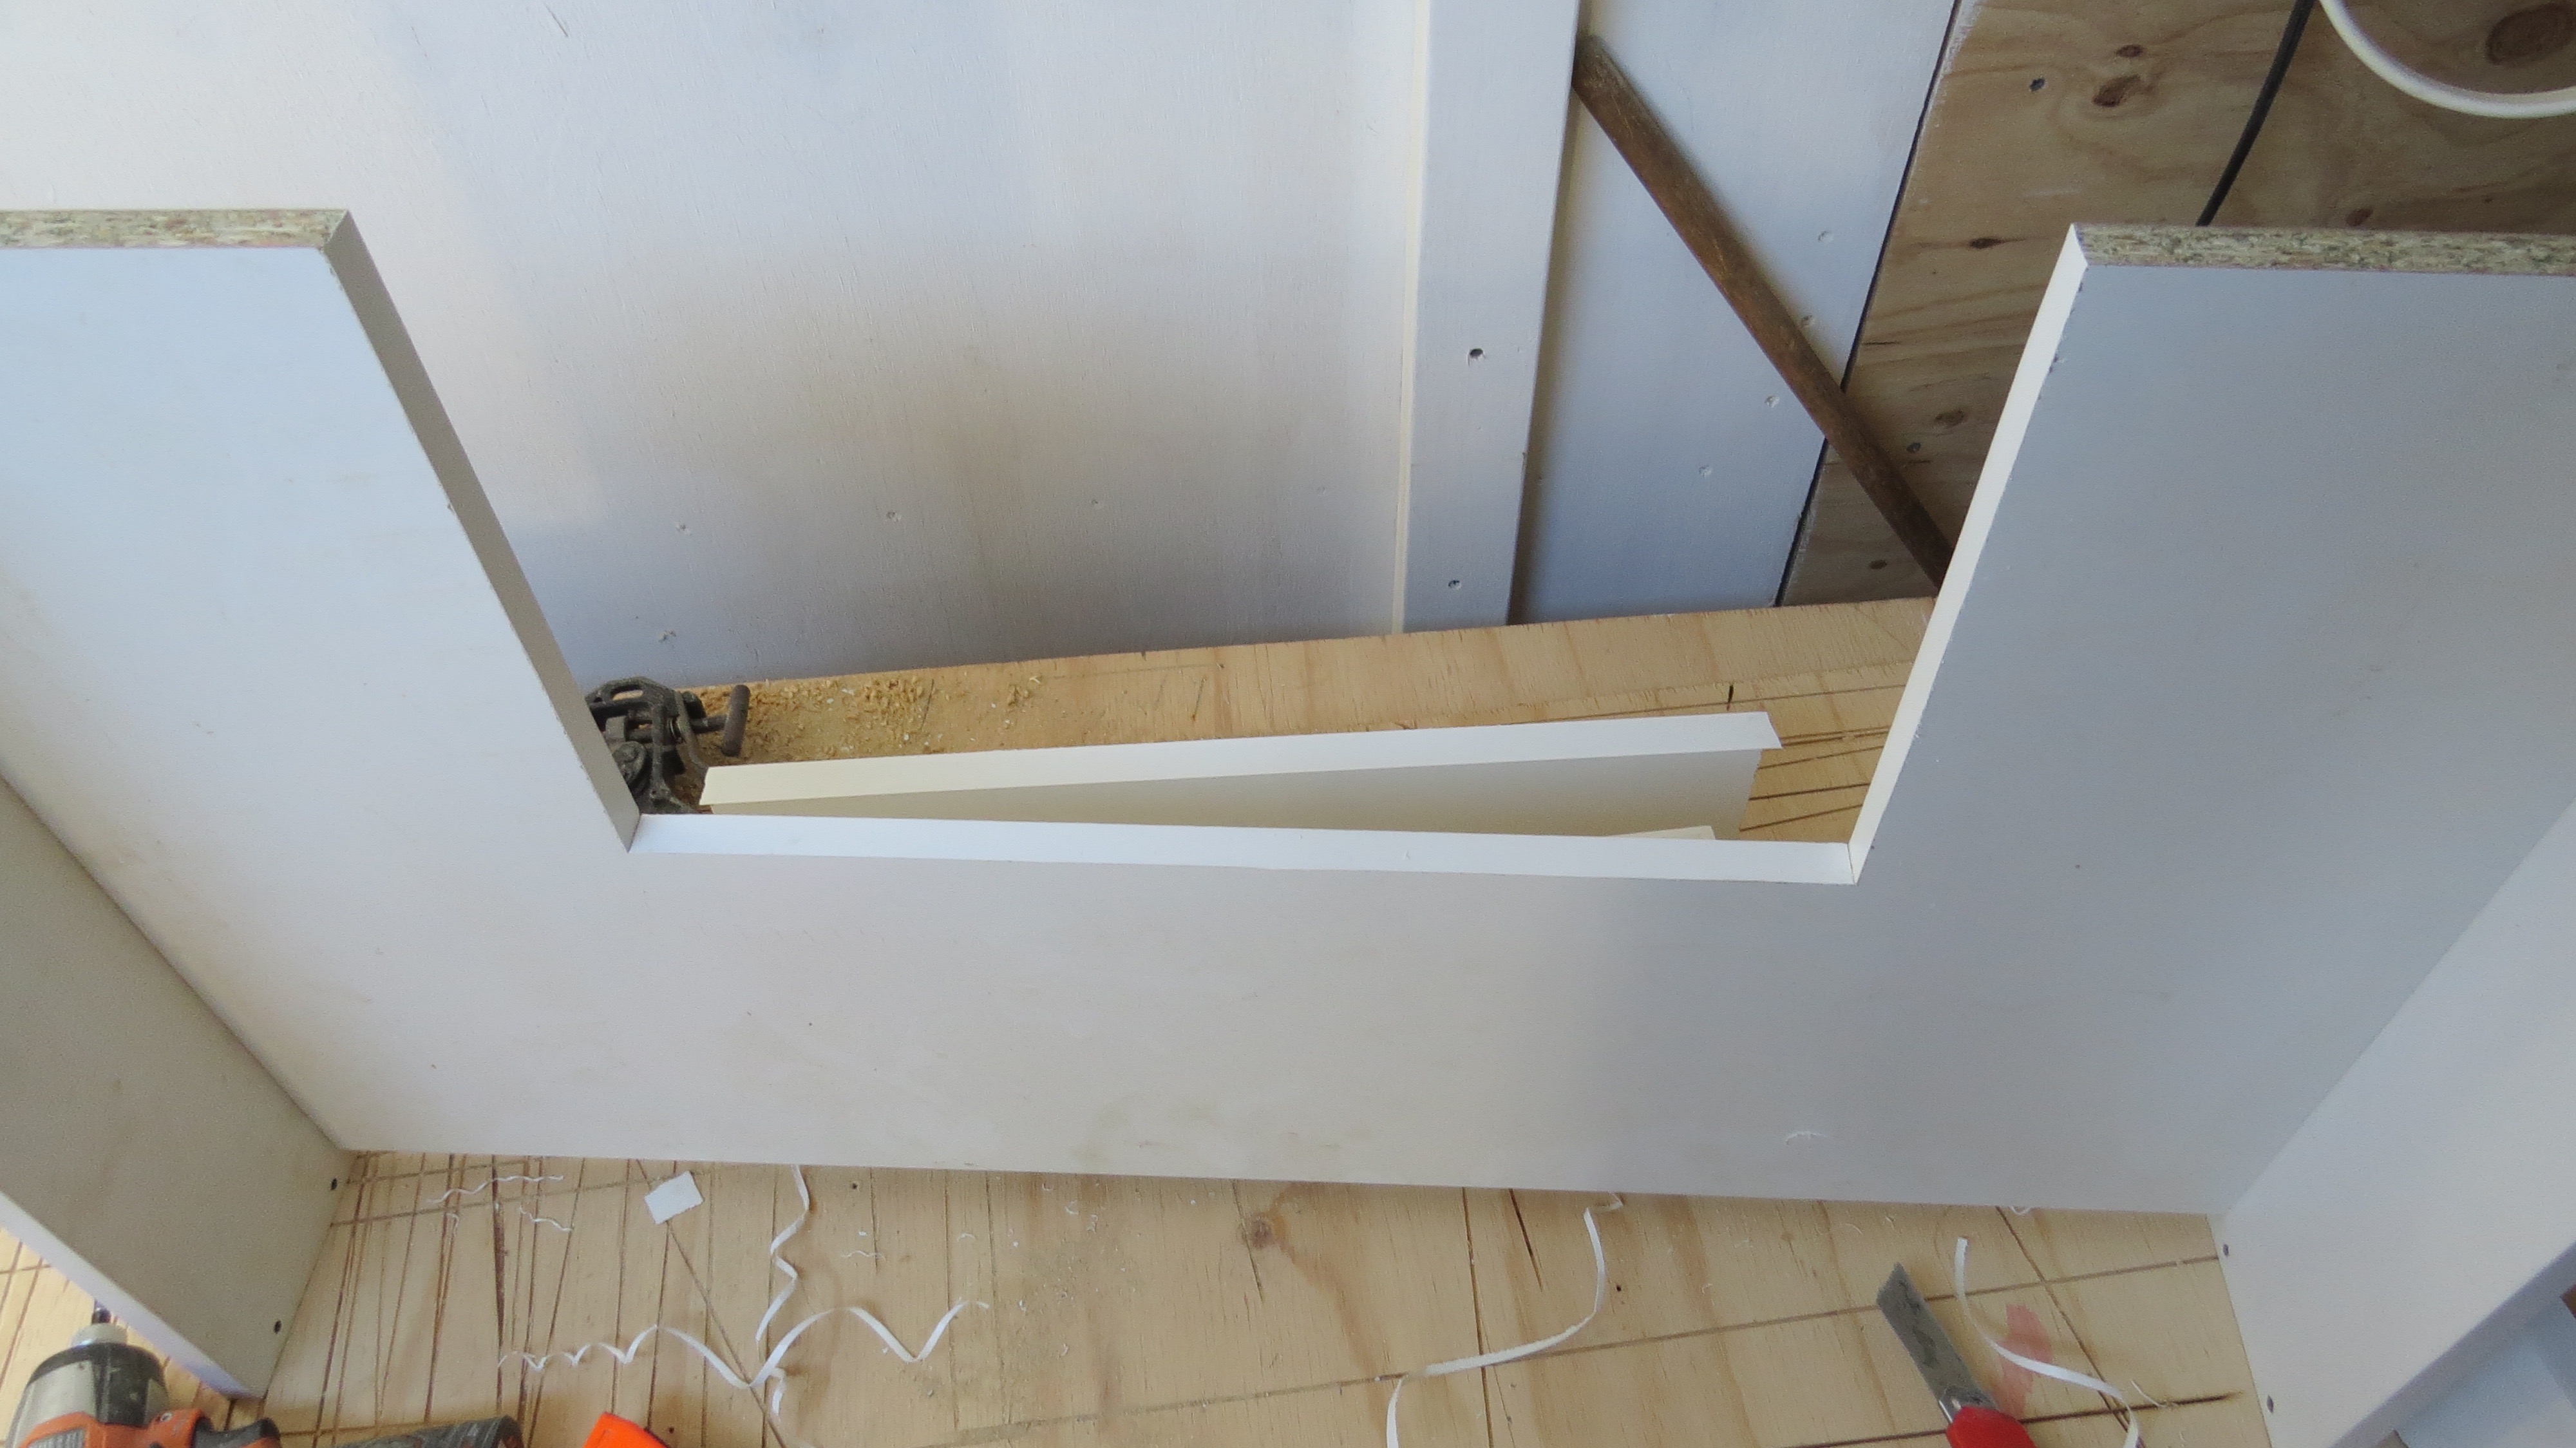
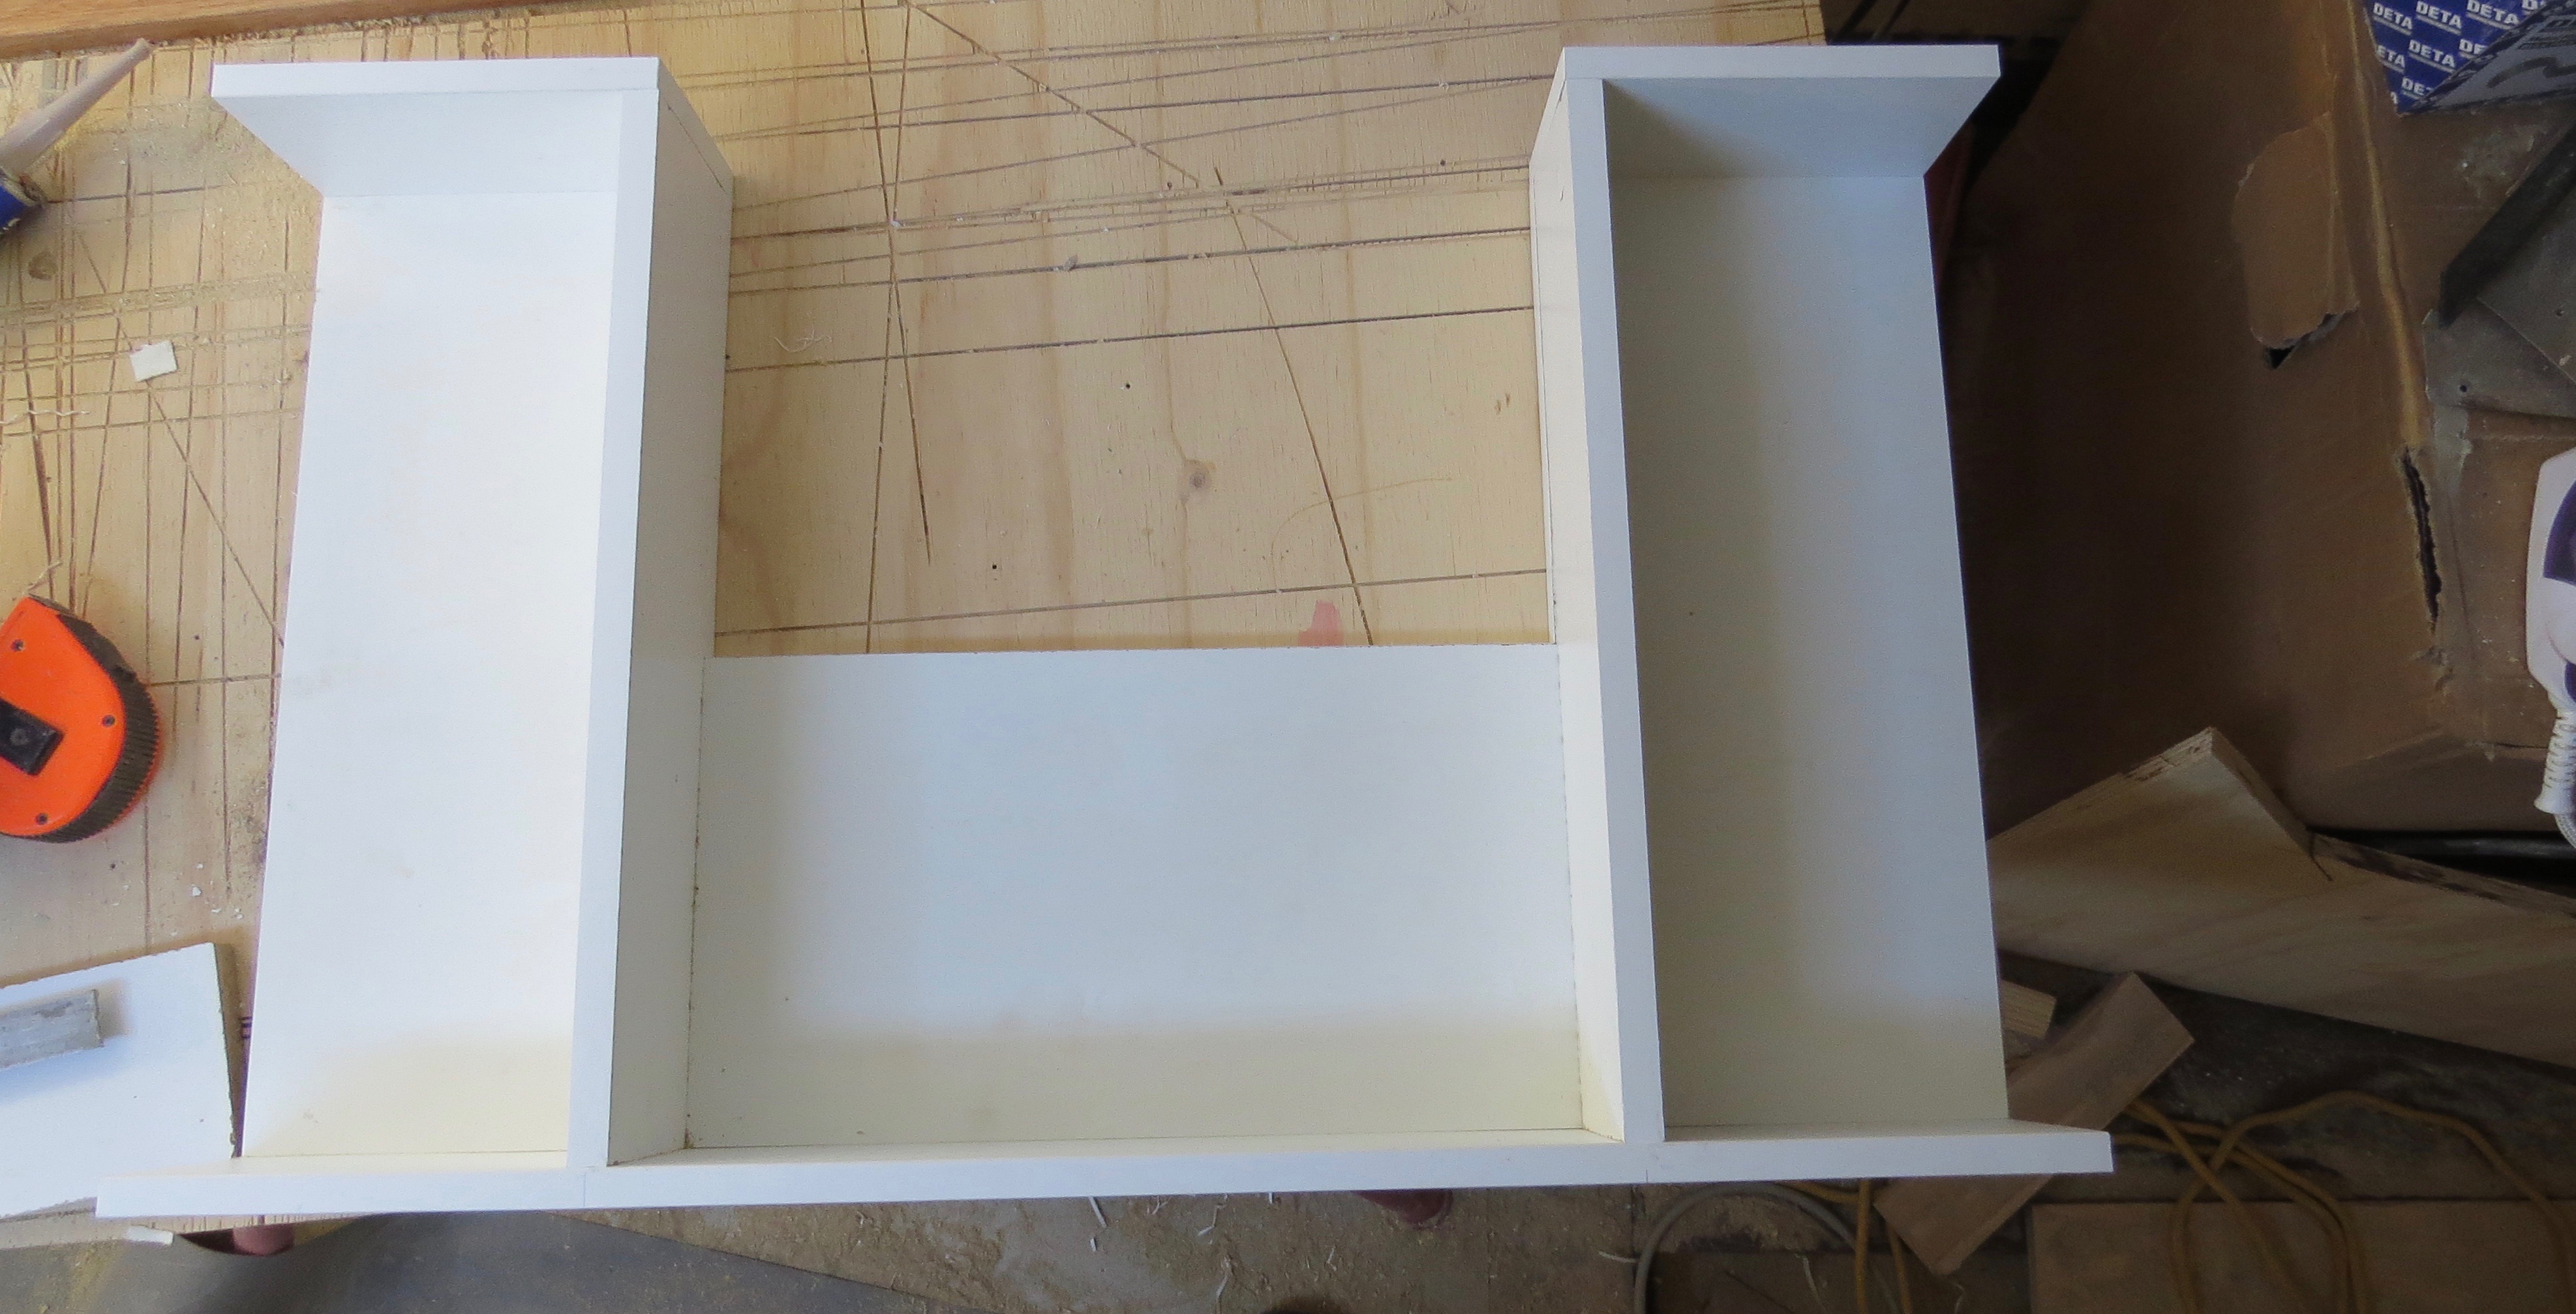
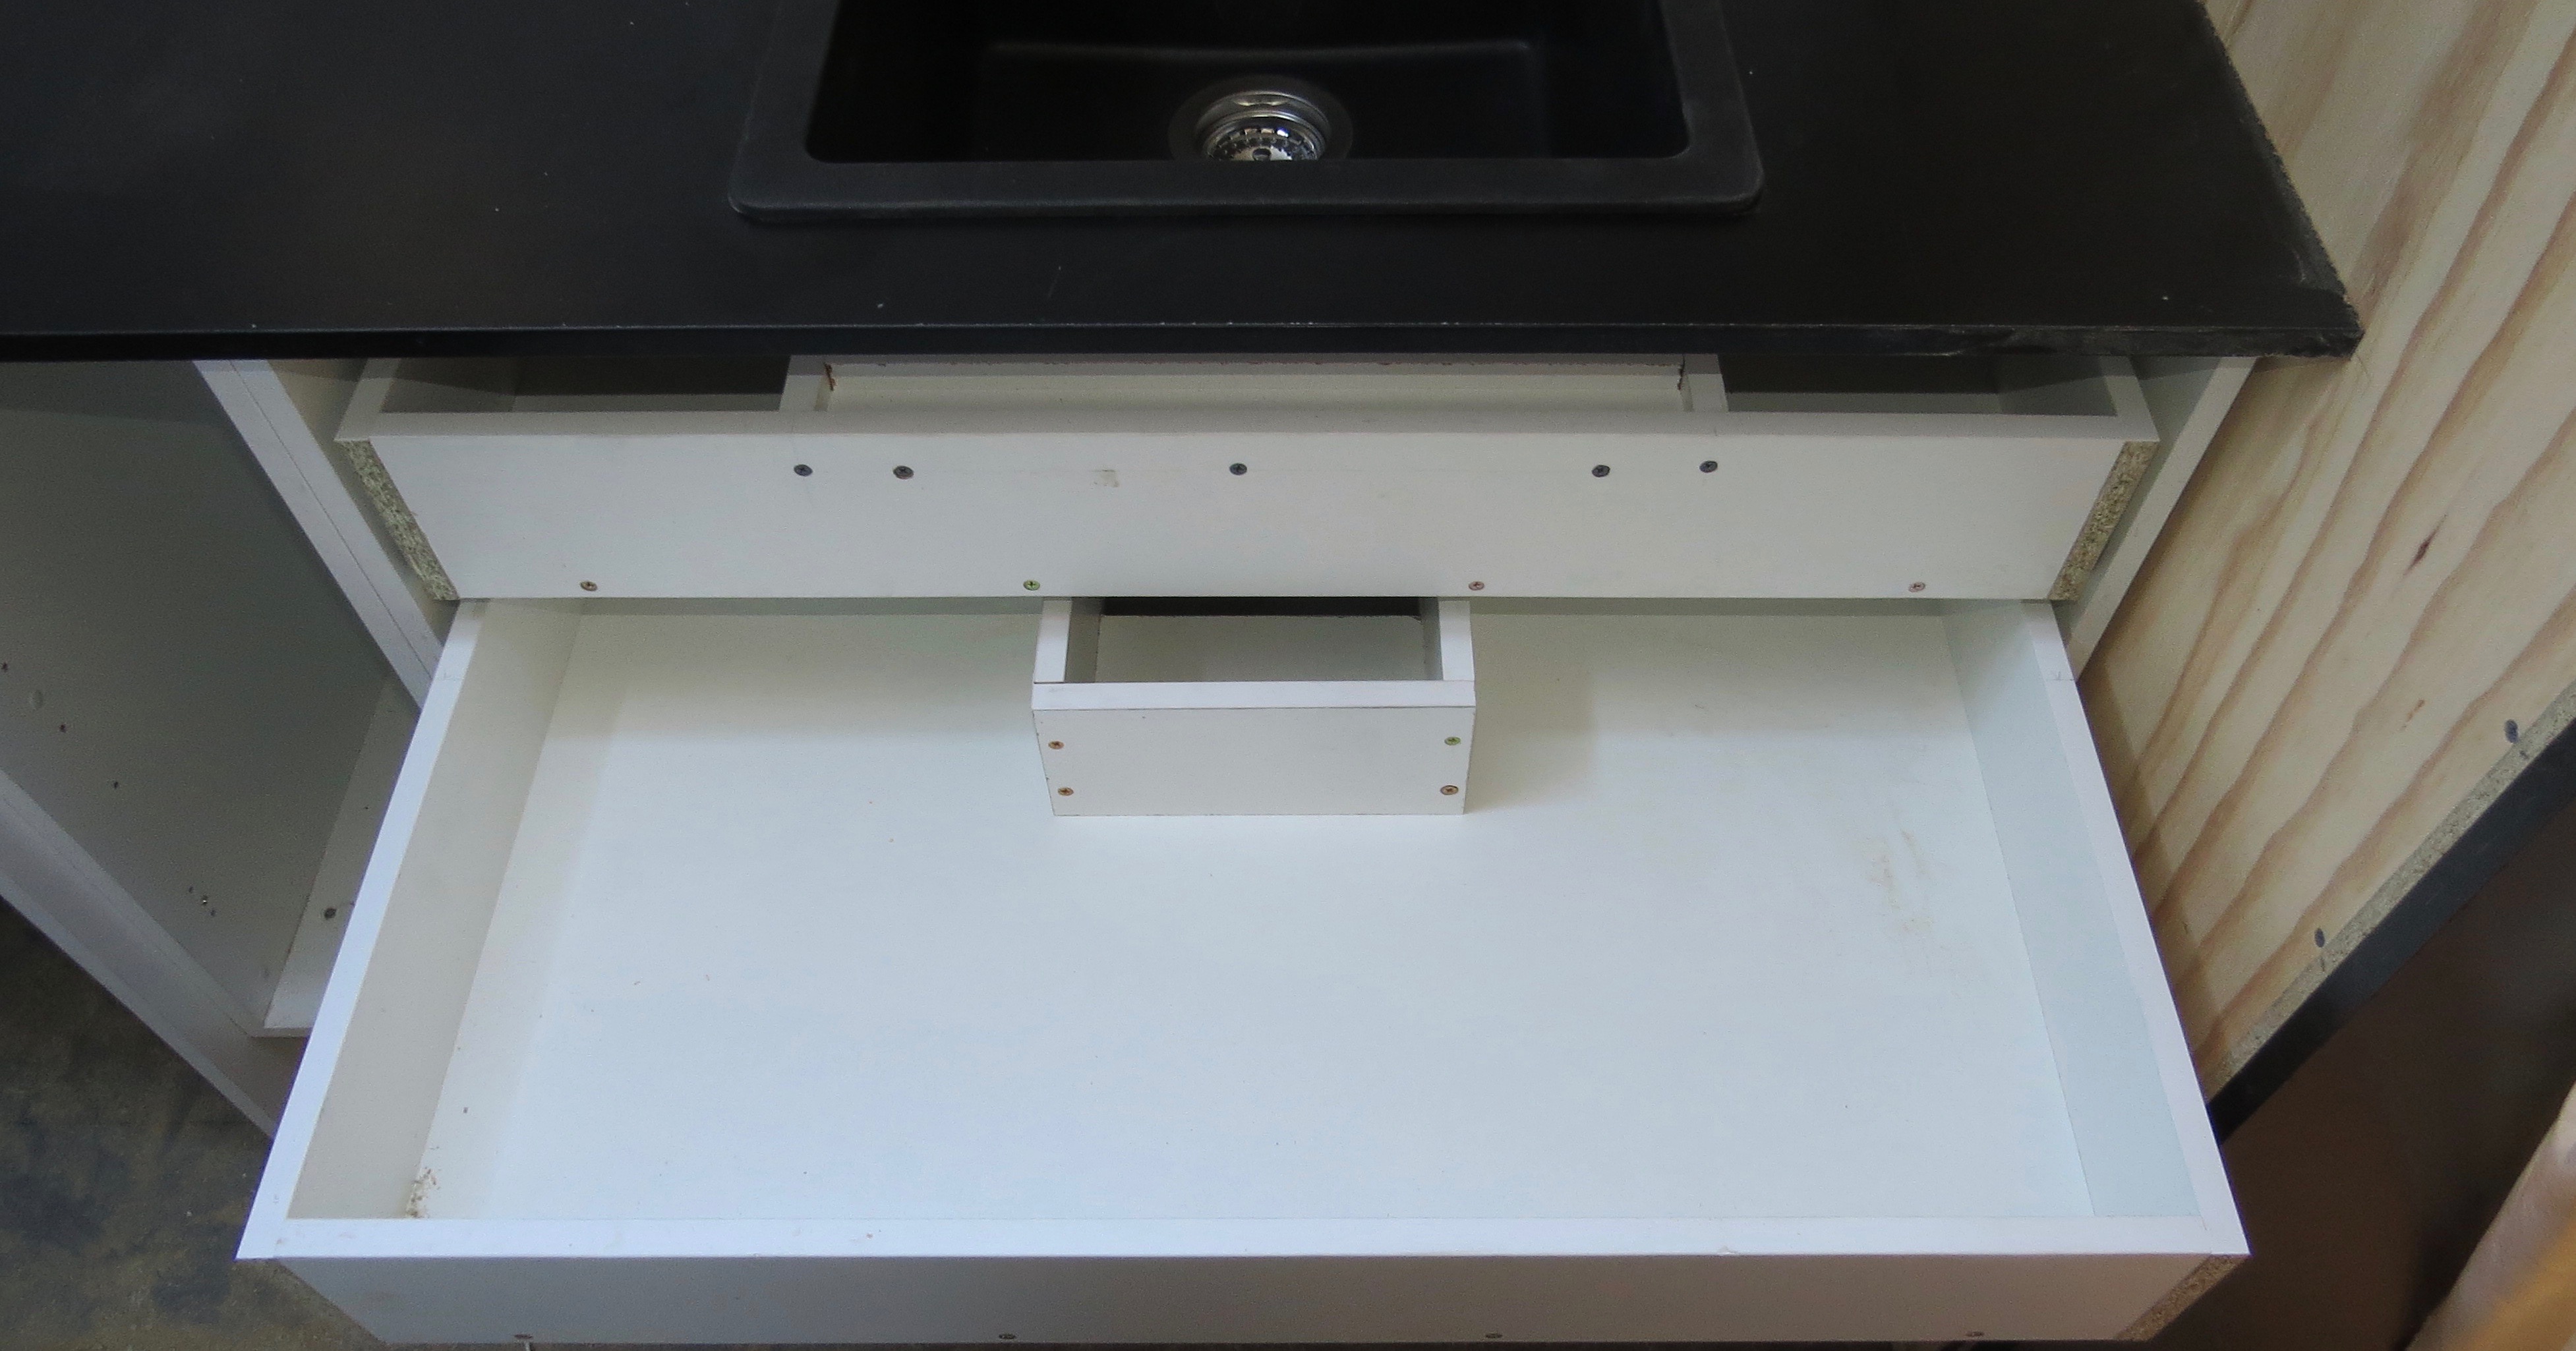
The bottom draw just missed the s/trap which was good, but the next two won’t be so lucky. I’ve even dropped the draw runners down  as fare as I can go so we have more room for the top draw.

Cut out for middle draw for the P/trap.
Look it fit’s.

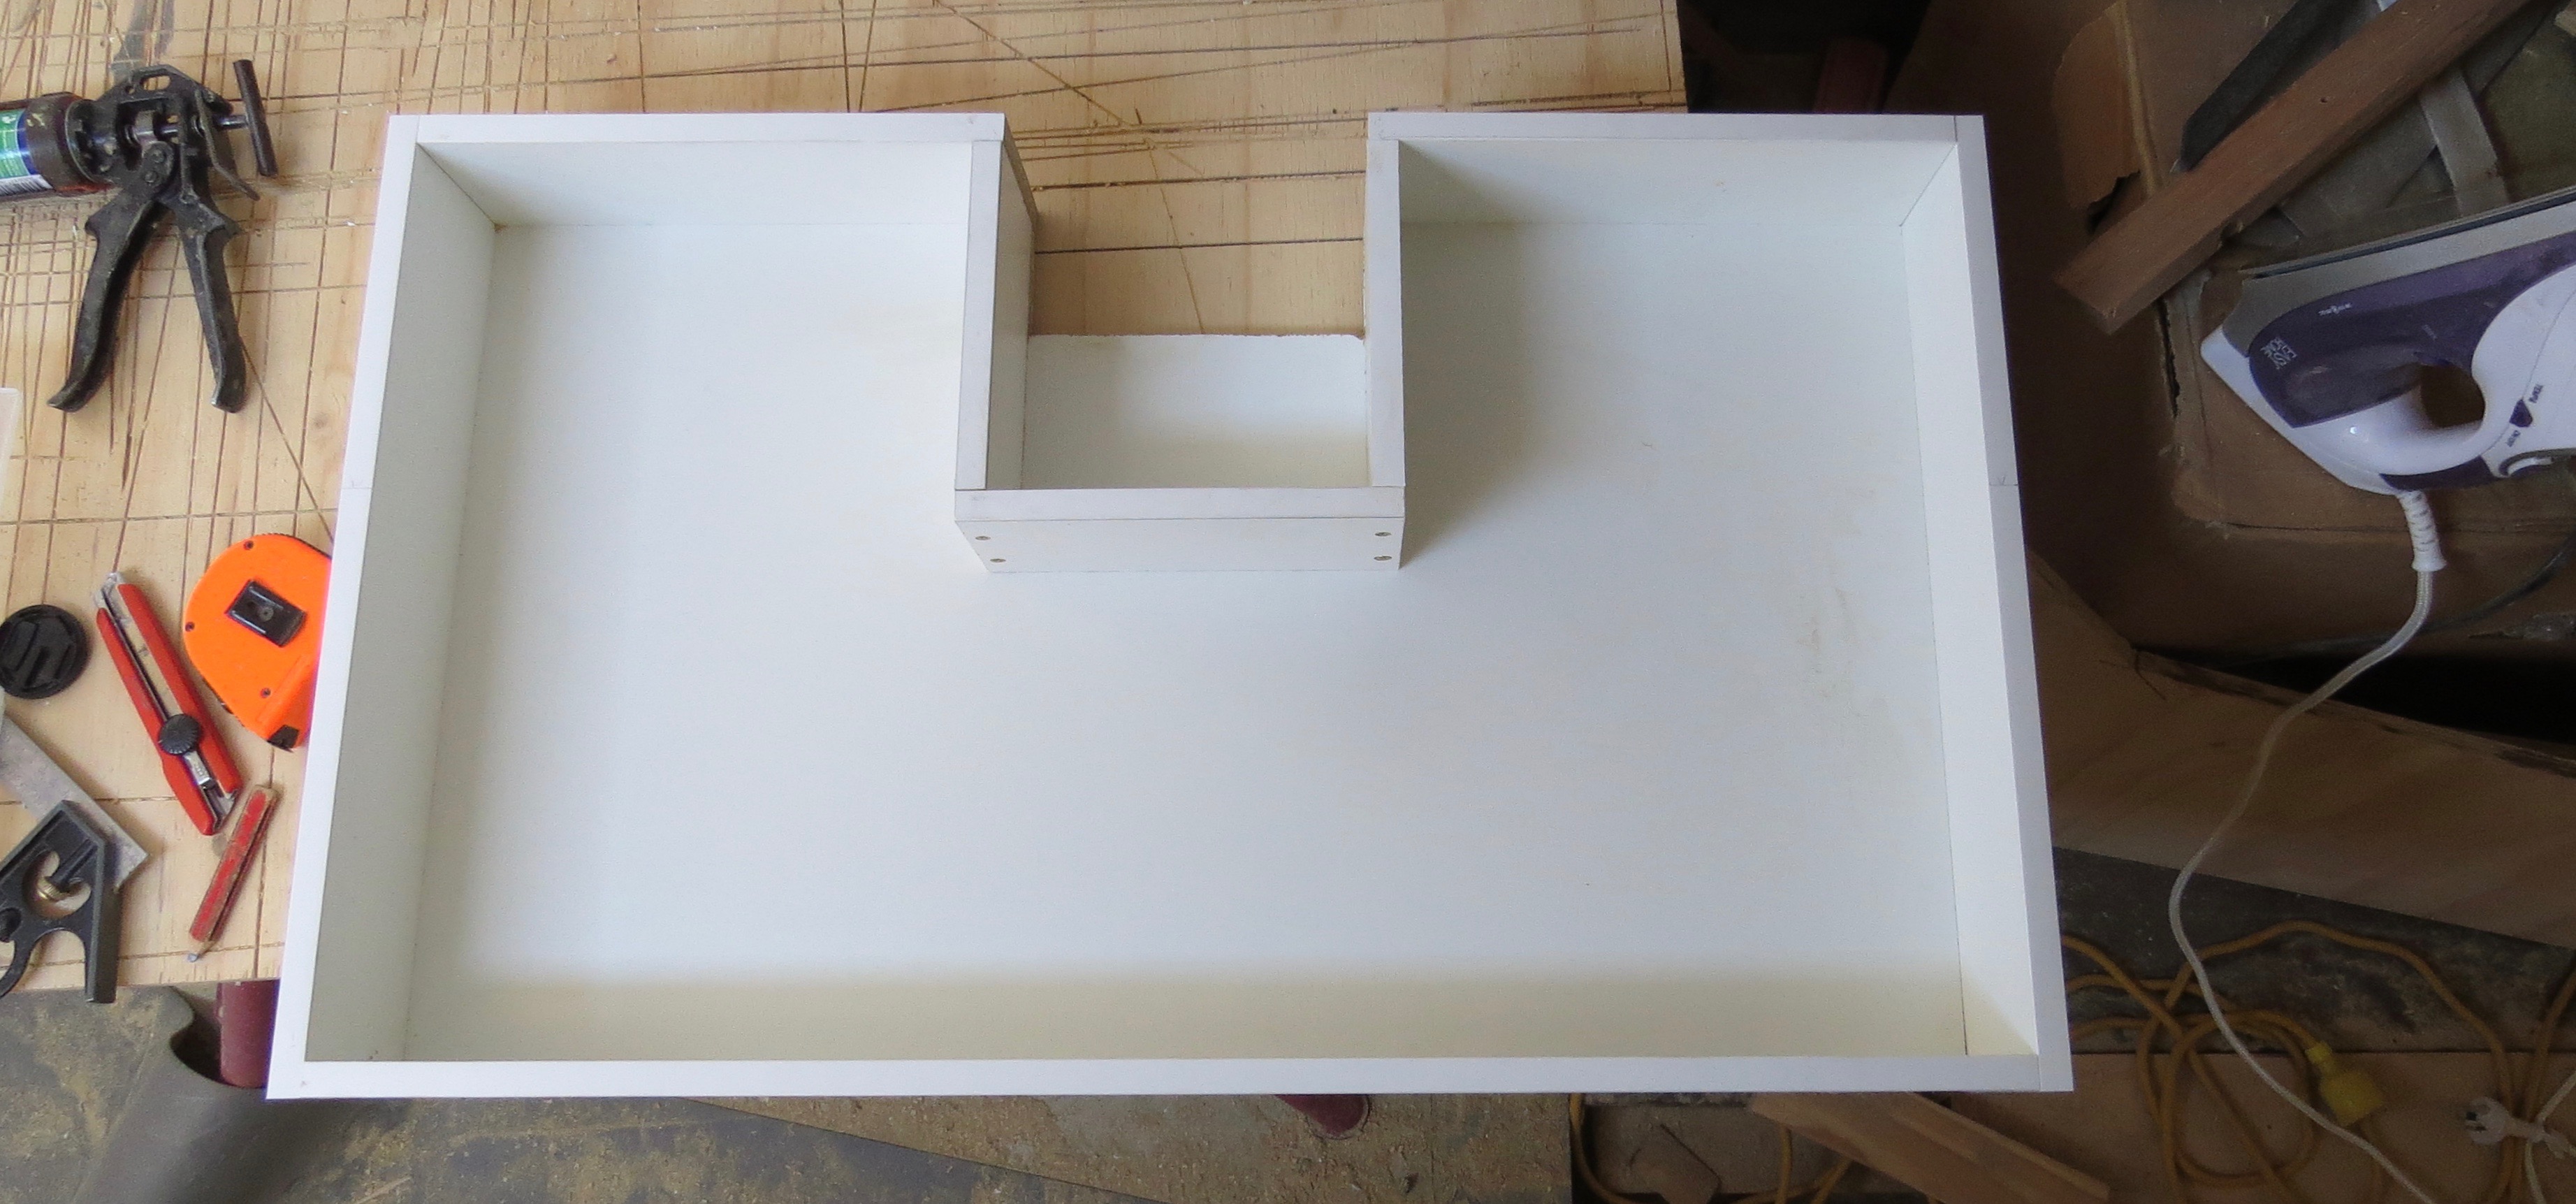
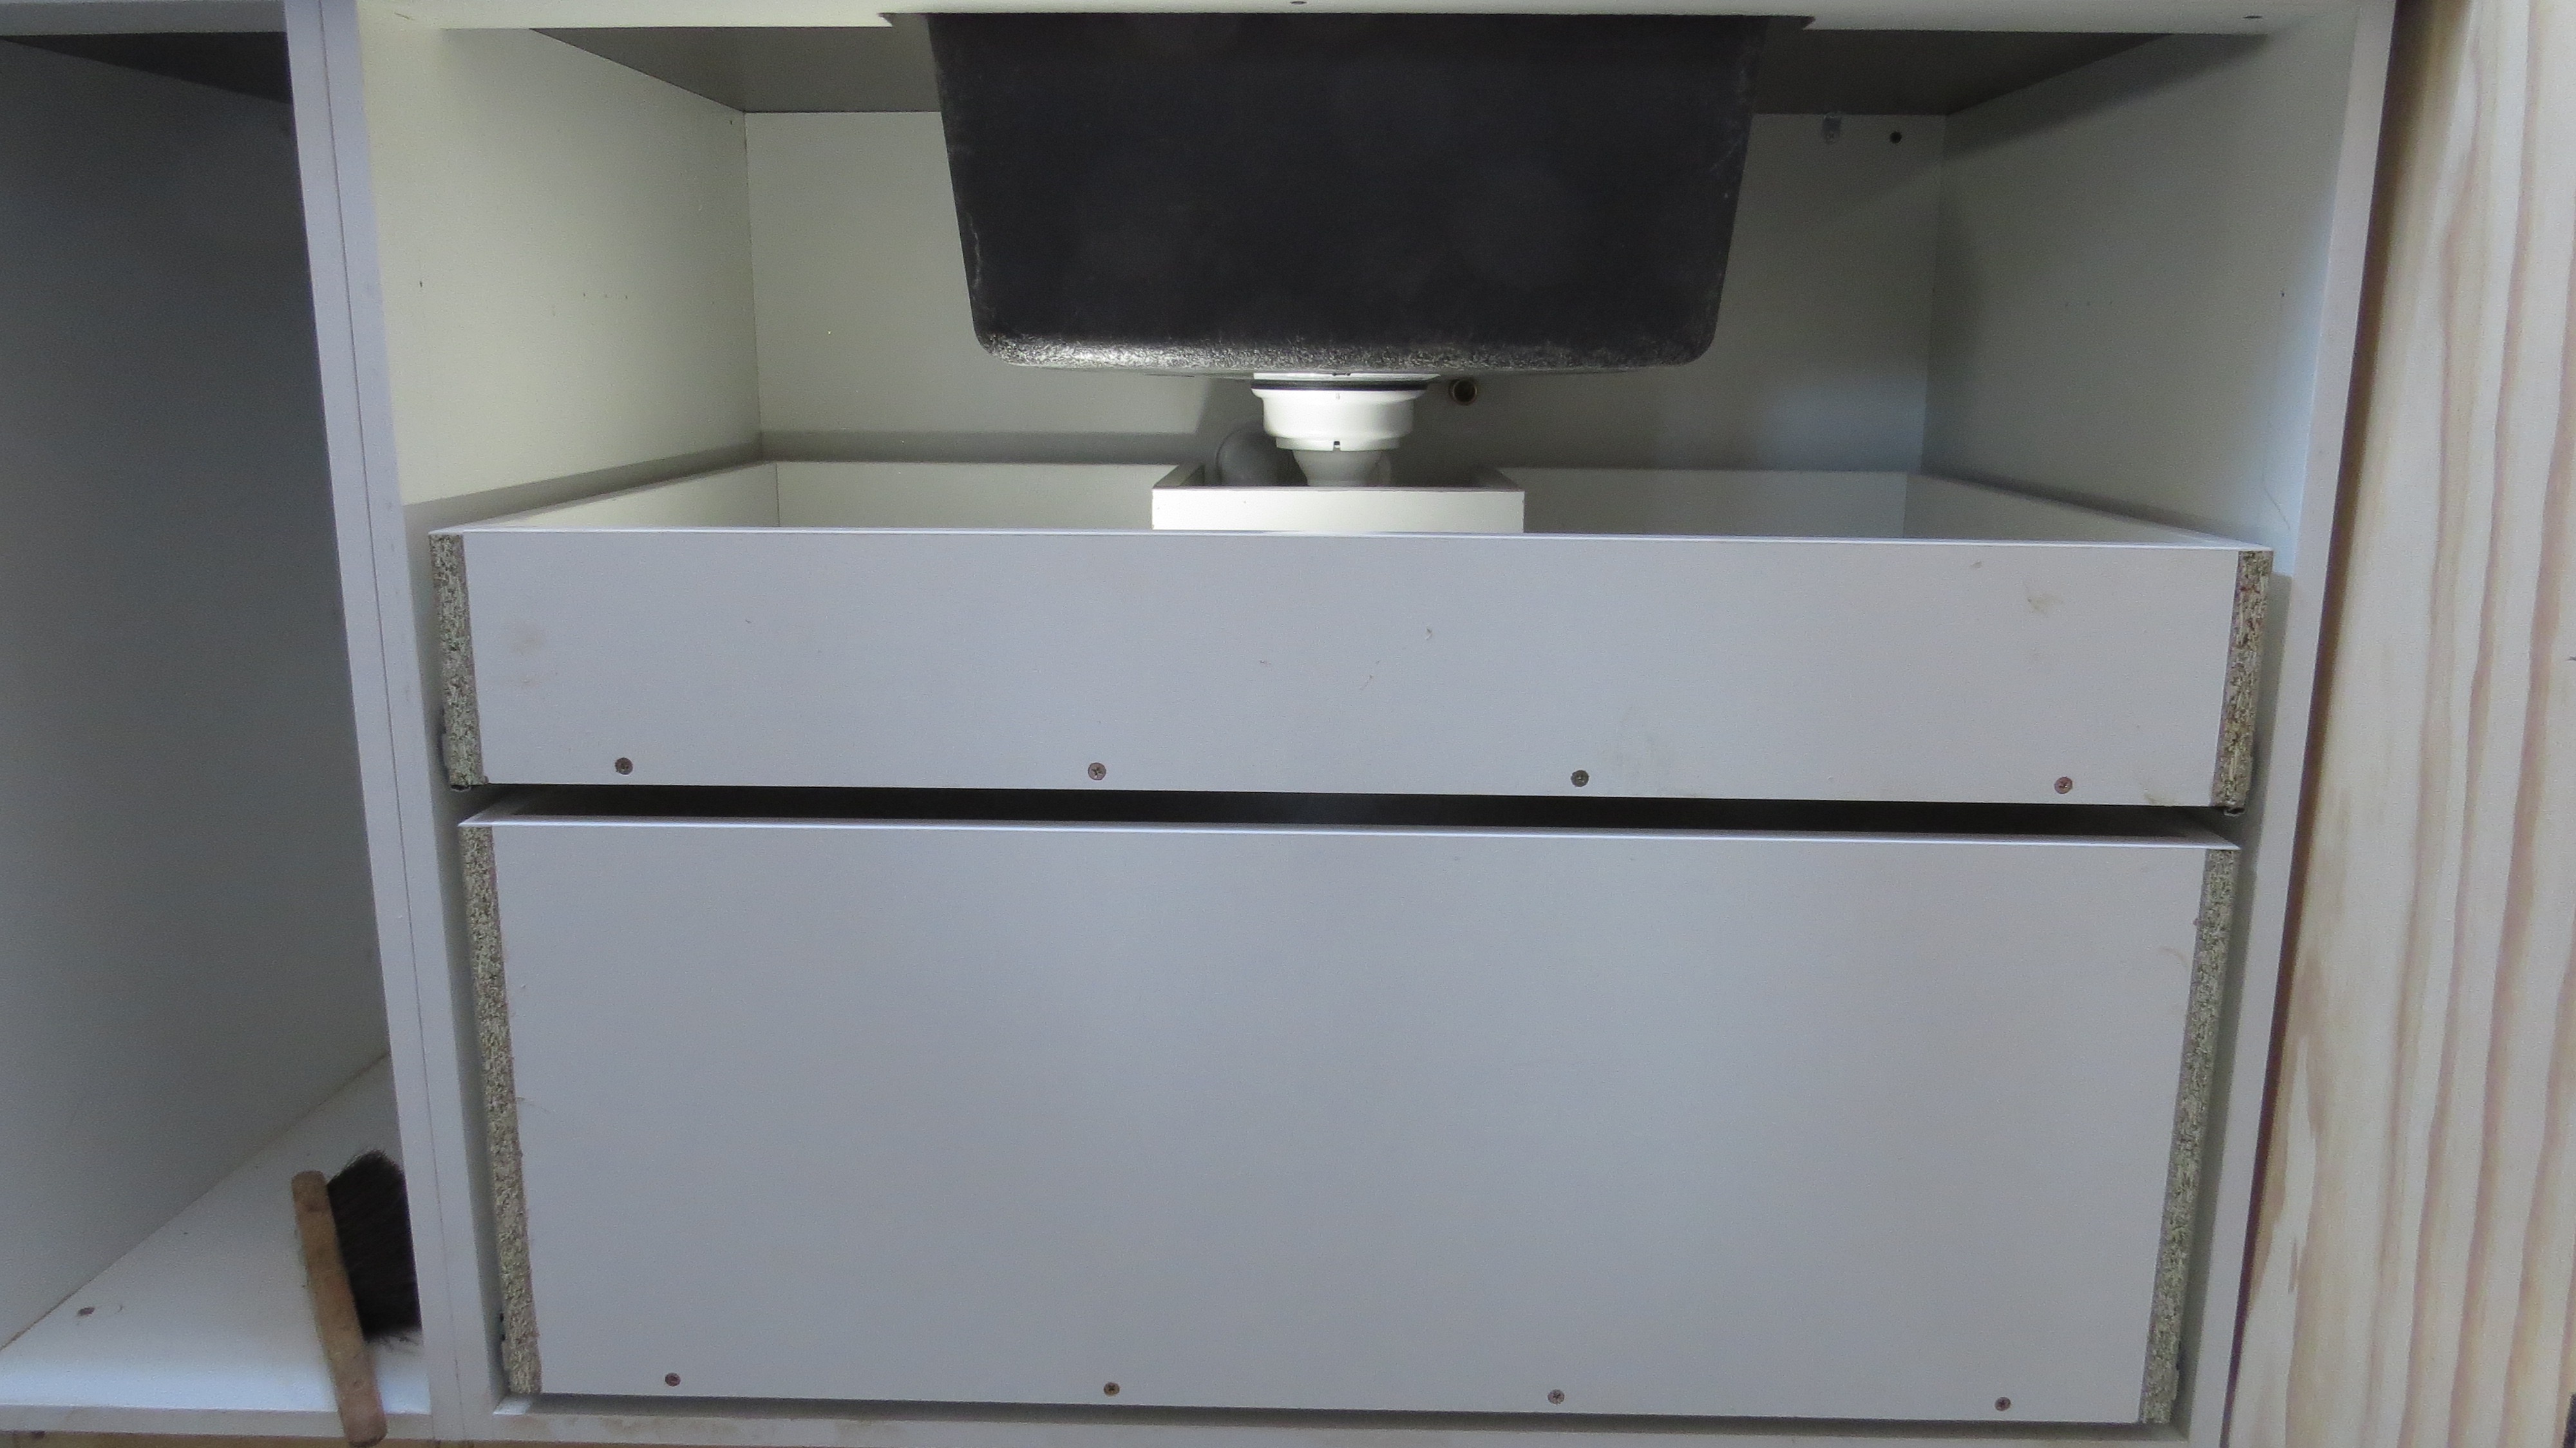
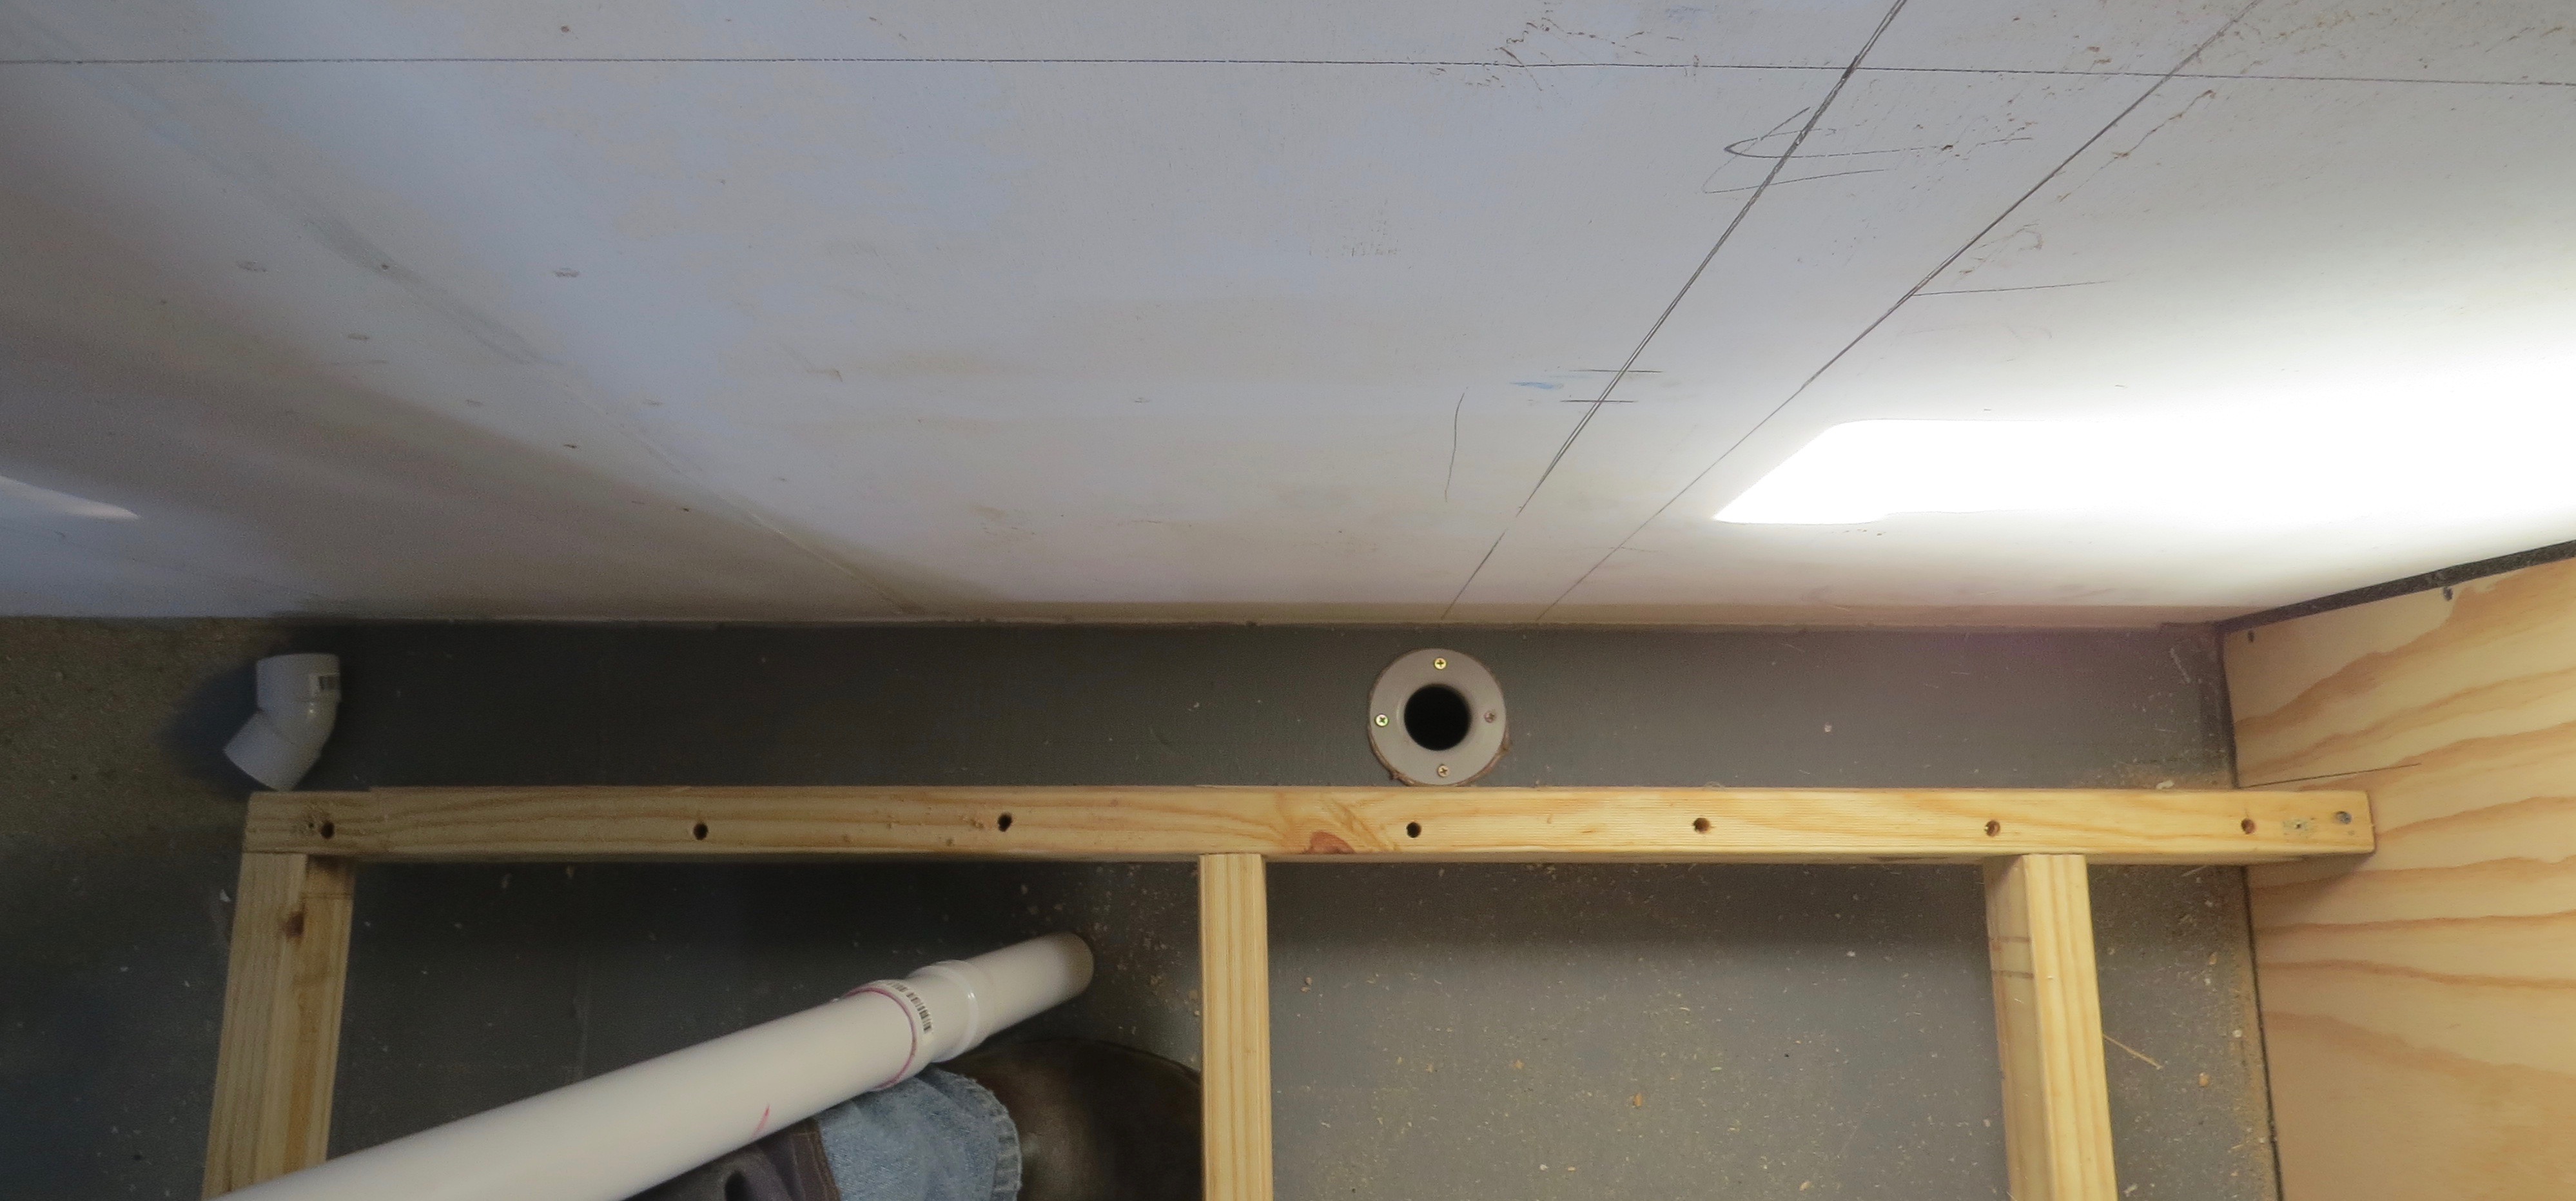
Now that was not to bad, but the top draw is going to be another thing. I’ll be left with only around 220mm of draw space on either side of the sink and 60mm at the front of the draw, but that should be heaps of space for Charmaine.

Top draw not as much fun.
Covering up the timber bit’s.
How to make one draw into two.
Even have somewhere for the toothbrushes.
Didn’t lose to much space in the second draw.

Well I’m glad that’s over, but I will properly going to have the same thing in the kitchen though.


Bathroom vanity and laundry time.

Let’s make more box’s

Out of the bedroom and now into the bathroom. Starting on the vanity and laundry side, it was time to make some more cupboards up. There will be a 900mm three draw as well as a 300mm cupboard and beside that we will be putting in a front load washing machine under the bench top.

More box’s to make up
Vanity in place just needs something to sit on.
Now that will do.
Sitting in place.
Temp bench top.

Time for the plumber’s hat

Now I can fit the sink to set up for the drain pipe as well we need to put in the hot and cold water pipe’s, as the wall lean in at the top I’ve offset the cupboards off the wall. This will give me some space to run the pip work and drop it through the floor.

Now for the plumbing.
Drain  hole for the sink and washing machine.
40mm drain pipe.
Hot and cold water set up for sink.
Not much room behind there.
Water all plumed up for washing machine.

Most for the plumbing has been done, but now I’ve got to put in the back wall behind the washing machine area before I can run the drain pipe all the way.

Something to hide the pipe work.
Drain and tapes finished for the washing machine.

I’ve built a wall so I can finish off the washing machine area and on the other side will be the start of the kitchen, but thats an other day.

Lot’s of beach space for a motorhome.

 Well that was fun

The next job will be to fit the draws under the sink, and as you can see the sink will be in the way for some of them. Looks like it will be modification time again.


Going over to the other side, of the wardrobe that is!!!

One down one more wardrobe to go

I must say it does get better on the second one as you know not what to do already. This side will also have the stereo fitted above the wardrobe as well as a speaker, so I’ll have lots of wires to play with here. The switch  for the bedroom lights will be on this side that will only be 12v for the LED light strip’s.

Setting up to screws to put the wardrobe in place and the power for the other wardrobe light running under the floor.
Screwed and glued into place.

Stereo time

Got to have some tunes in the bedroom, so with a bluetooth stereo we can have sound for our phones or the laptops when watching a movie in bed. So it’s time to put the wardrobe on this side as well as fit the stereo so I can totally finish off the wardrobe.

Cut out for the stereo.
Well that fit’s.
Now to cut the face board to size, not much room to play with.
Test to see if it all fit’s.
Screwing it all together.
All in place, now I’ve got tunes when working.

Finishing it off now

Now the stereo’s in place Charmaine spotted a space behind the stereo that she said would be good for more storage. Looks like I’ve got to make an other cabinet as well, it will all so give us access to the stereo if we need to….hopefully not though.

Here’s the whole she saw.
An other odd shape box I had to make.
No more whole and access to the stereo if I need it.
Cabinet door fitted, this will be covered the same as the wall later.
Still have to finish the walk way and utility door.
This side done of now.
Utility / Bedroom door in place.
Light fitted into the utility cupboard, comes on when you open the door.
Bedroom door closed or utility door open depending where you are standing.
Job done for now.

Apart from the cabinet, draw fronts and wall cladding the bedroom is finish. We still thinking of ideas for the walls, and will get all the draw / cupboard fronts when the kitchen and bathroom are finish. This way we can get them made up all at once, so that will be in the future some time off, for now.


The bedroom need some wardrobes

New bedroom wardrobes

We bought new wardrobes just to cut them up just because nothing ever fits when your making a motorhome. This will definitely be a custom motorhome with lot’s of storage space, Charmaine’s very happy.

First off we had to make some room to build them as most of the supplies are in the coach as well as being a work place.

There’s a bed behind there some where.

Wardrobe time

Making up more boxes again, screwing and gluing them together after cutting them down to size. We had to cut 35mm off the bottom and around 250mm off the top to make them fit the place as well as some where to put the speakers. The off cuts will be used to make up some more cupboards that will sit on top of the wardrobes, the more storage space the better.

One down one to go.
Both made now sitting in place.
One more box on top made up of off cut’s.
The trim around the wardrobe take’s time.
Speaker time.
A test fit.

Utility cupboard

Behind the passenger side wardrobe there will be a narrow utility cupboard wide enough to fit the cordless vacuum, the deck ladder for the back hatch roof top deck access and other cleaning things. This one has to be made from scratch as it’s such an odd shape, it will have three to four deep shelves, for laundry washing bottles ect .

More ply to give some more support.
The start of the utility cupboard.
Power to charge the cordless vacuum in the utility cupboard.

At this stage I’m just making it up as I go along, but I think its enough for what Charmaine needs for the use of this space.  Now it’s time to cut the rest of the pieces up that I need so to finish screwing and gluing it all together. The top of the walls actually lean in around 85mm and by not going all the way to the ceiling I don’t have to worry about the curve for now.

Screwing the utility cupboard together.
Time for some shelves.
Screwed into place.
Oh no not another angle!!
Packing on the side.
Lot’s of fiddly bit’s.
Toilet wall in place.

Now for the other side wardrobes

I had already built it so, it’s just a matter of starting on the trim to go down the side between the wall the support under the wardrobe. Then build a small cupboard to go on top and somewhere for the other speaker with the stereo. The passenger’s side has all the wires, 12v lighting as well as the speakers on that side.

Bathroom wall’s to go up

Getting closer to having a bathroom

With the bathroom floor in place and water proofed it’s now time to start on the walls. But first we have to work out were the toilet window will go and lets hope it’s in the right place.

Passenger side marking out for toilet window.
Let’s hope it’s in the right place.
We have a hole in the side of the motorhome.
One toilet window in place.
Window from the inside.

Now to start on the wall’s

First off is to cut the insulation followed by gluing it in place, a job I love to hate. Second stage is to cut the first sheet of ply to size and making sure the window is cut out in the place. Now it’s time to start fitting it to the side of the coach.

Gluing the insulation in place.
That will do for now.
1st wall sheet up with window cut out.

There will be one more sheet put up on this side for the moment which will finish off the bathroom wall and part of the kitchen.

The shower and toilet side is done.

The vanity and laundry side

This side will be straight forward as there is no window to go on this wall at all. So it’s just gluing the insulation in place then cutting the ply to size. Screw some packing in place so I can glue and screw the ply to the wall.

Vanity and laundry side, with packing screwed into place.
More insulation in the wall cavity.
Insulation all in.
One more sheet to go.
Drivers side done in the bathroom.
Looking from the front of the coach at the bathroom.
Some more sparky stuff.
Top of the toilet and shower wall finished.
240v for a power point in the vacuum cupboard and 12v for a toilet light.
Start of the wall between the bathroom and kitchen.
Bathroom / laundry side.
Just needs painting now.

After running some more power cables around the top of the walls and finishing off the transition from the walls to the ceiling. Just some more painting for Charmaine to do to finish off the bathroom walls for now. Look’s like the next project will be to build some wardrobes to close off the bedroom from the bathroom.

Bathroom floor needs some work

Moving forward and out of the bedroom

Now into the bathroom we go, after I’d finished the under floor heating it’s time to fix the bathroom floor. The old flooring will have to be pulled up and prepped for the new floor to go down. Until I started I thought it was going to be easy, but I found rusty screws which were holding the floor down as well as it being glued very well in place. This took me a hell of a lot longer than I anticipated, unfortunately. I also had to grind the old seat rail off the wall to get the new flooring into place.

Will have to cut off the old seat rails too.
The old floor has to come up.
Bugger that was a lot harder than I thought.
One bit at a time or bits…. oh and found a washing machine.
Almost gone.
It’s not coming up that easy.
I’m glad that’s finished.

New floor time

I had already cut the flooring to size using 16mm ply, the old stuff was only 12mm thick. We will also be screwing the same 16mm ply between the supports so the floor will end up being 32mm thick in most places. After letting then undercoat dry it was time to start laying the sheets into place, once again screwing and gluing as we go.

New flooring underside painted.
Lets Glue and screw them down.
Bathroom floor down.
Looks good now after two coats of water proofing paint.

After sealing in between the sheet as well as down each side we put down one coat of water proof  undercoat then finished it off with two topcoat’s to seal it off, no water getting through here now.

Bed frame this time

The bedroom needs a bed

We had already got the bed when we were in Yulara N.T. so now it was time to put it all together. Being that nothing is fitting out of the box things will have to be cut to shape to fit in place. The bed head will be to high to start with so that was cut down to size and fitted between the bedside draws.

The bed head cut down to size and only just fitted between the draws.

Because we had to lift the bed up 150mm to fit into place over the motor area, the bed sides will still need around 100mm cut out of them near the bed head.

This will be fitted over the engine bay
Not what I expected on the inside.
Now lets hope it fits.
Now it will fit over the engine bay.
Setting up for the bed sides.
Screw nuts now in place.
Ok that’s the bed frame done.

Something to hold the bed up with

Now that the beds in place we still have to build something to hold the bed off the floor. We will be back setting this so you can put your feet under the bed by around 90mm as we don’t have much room down either side of the bed.

The start of the bed support, screw and glue as we go.
That’s the upright bit done.
From the front side with a kick board look.
A test run.
Finishing off with some left over material.
That looks better.
Bed support in place.
Looks like it was made that way.
I’ll be putting on the slats in later as they will only be in the way now.

Well that turned out better than I thought, now it’s done. The gas struts work well so we have more storage under the bed, you can never have too much storage space in a motorhome so the more the better. There is also a place were you can open up to work on the top of the gearbox under here too, lets hope not. I’ve also made a draw that slides down the old walkway that goes under the floor for more storage, which makes Charmaine very happy, she loves it.

Bedroom back walls and the fiddly bits

The fun of filling in the gaps

As nothing is square in the bus, there is always going to be gaps somewhere and they can be put to good use. It’s more ass than class but to my surprise things are fitting into place, if only….. just. On either side of the top cabinets we are putting in some speakers for the surround sound.

This is the odd shapes you have to work with.
Looks like a good place to fit some speakers, don’t you think?
Now for the other side
Bit by bit it’s going together.
Fiddly bits
Now we have somewhere for the back speakers.
Sound for the bedroom
That is the top half done.

Now for the bottom half

This is a bit more tricky as there is not much room to work with and the shape has to be exact. I will be trying to put a USB charger, AUX and a USB to the stereo on either side of the bed next to the middle cabinets and the wall.

Not much timber to work with here.
Where does the time go ???
It looks a mess from the back.
Lets hope we soldered the wires in the right place.
Phone charging points that can be switched off, AUX and USB back to the sound system.
Job finished.

There was no room to spare at all, but that was a painful job and one that I’m glad is now over. I sometimes have some great ideas that I end up wishing I hadn’t had, but the job is done now.

More ceiling panels to go up

The ceilings almost done

One of the things most people don’t like doing is working over head, but the ceiling has to be done. As we had already cut all the sheets it was just a matter of pop riveting them up in place. This time the ceiling is not flat so it was just a matter of hold it up as best we could and start gluing and riveting as we go.

Lets just get it done.
There is so much crap still in the coach to work around.
Hard at work
Still working
The pneumatic riveter makes the job so much more enjoyable.

Bathroom all finished
Thank goodness for timber props
Now halfway through the kitchen.
That will do for now.

We will be finishing off the ceiling later on as I’ll be covering up the front hatch and don’t have the time right now. It was tricky getting it just right with the sheeting needed little adjustments just before gluing. The main work is now needed down the back of the coach as getting the bedroom finished to a stage that we can move back in after we leave this house sitting job at the end of October is our priority.


Putting some paint on to hide the ply wood

Something to hide the ply with.

We are in two minds as to what finish we will be putting on the bedroom walls, so for now we will be painting them to hide the ply wood. If nothing else it will make us feel more at home instead of inside a wooden box.

Charmaine putting on the first undercoat of two.

Charmaine was happy to get stuck into the painting as she has been out working making the money to keep the project going. Now she can help out working on the motorhome on some of her days off.

She is having fun 🙂

We are putting on two coats of undercoat and sanding between them to smooth it off then another two topcoats should see the job done. It already made the bedroom look a lot brighter just with the first base coat on.

First coat on need to give it a light sand down then for the second coat.
Topcoat cut in.
One more coat of paint after this one.
Well that makes a difference.

Well that makes a difference to the bedroom, it may only be temporary but that will do till we know what we will be finishing off the walls with. The next job will be finishing off around the cabinets and some sparky stuff.