
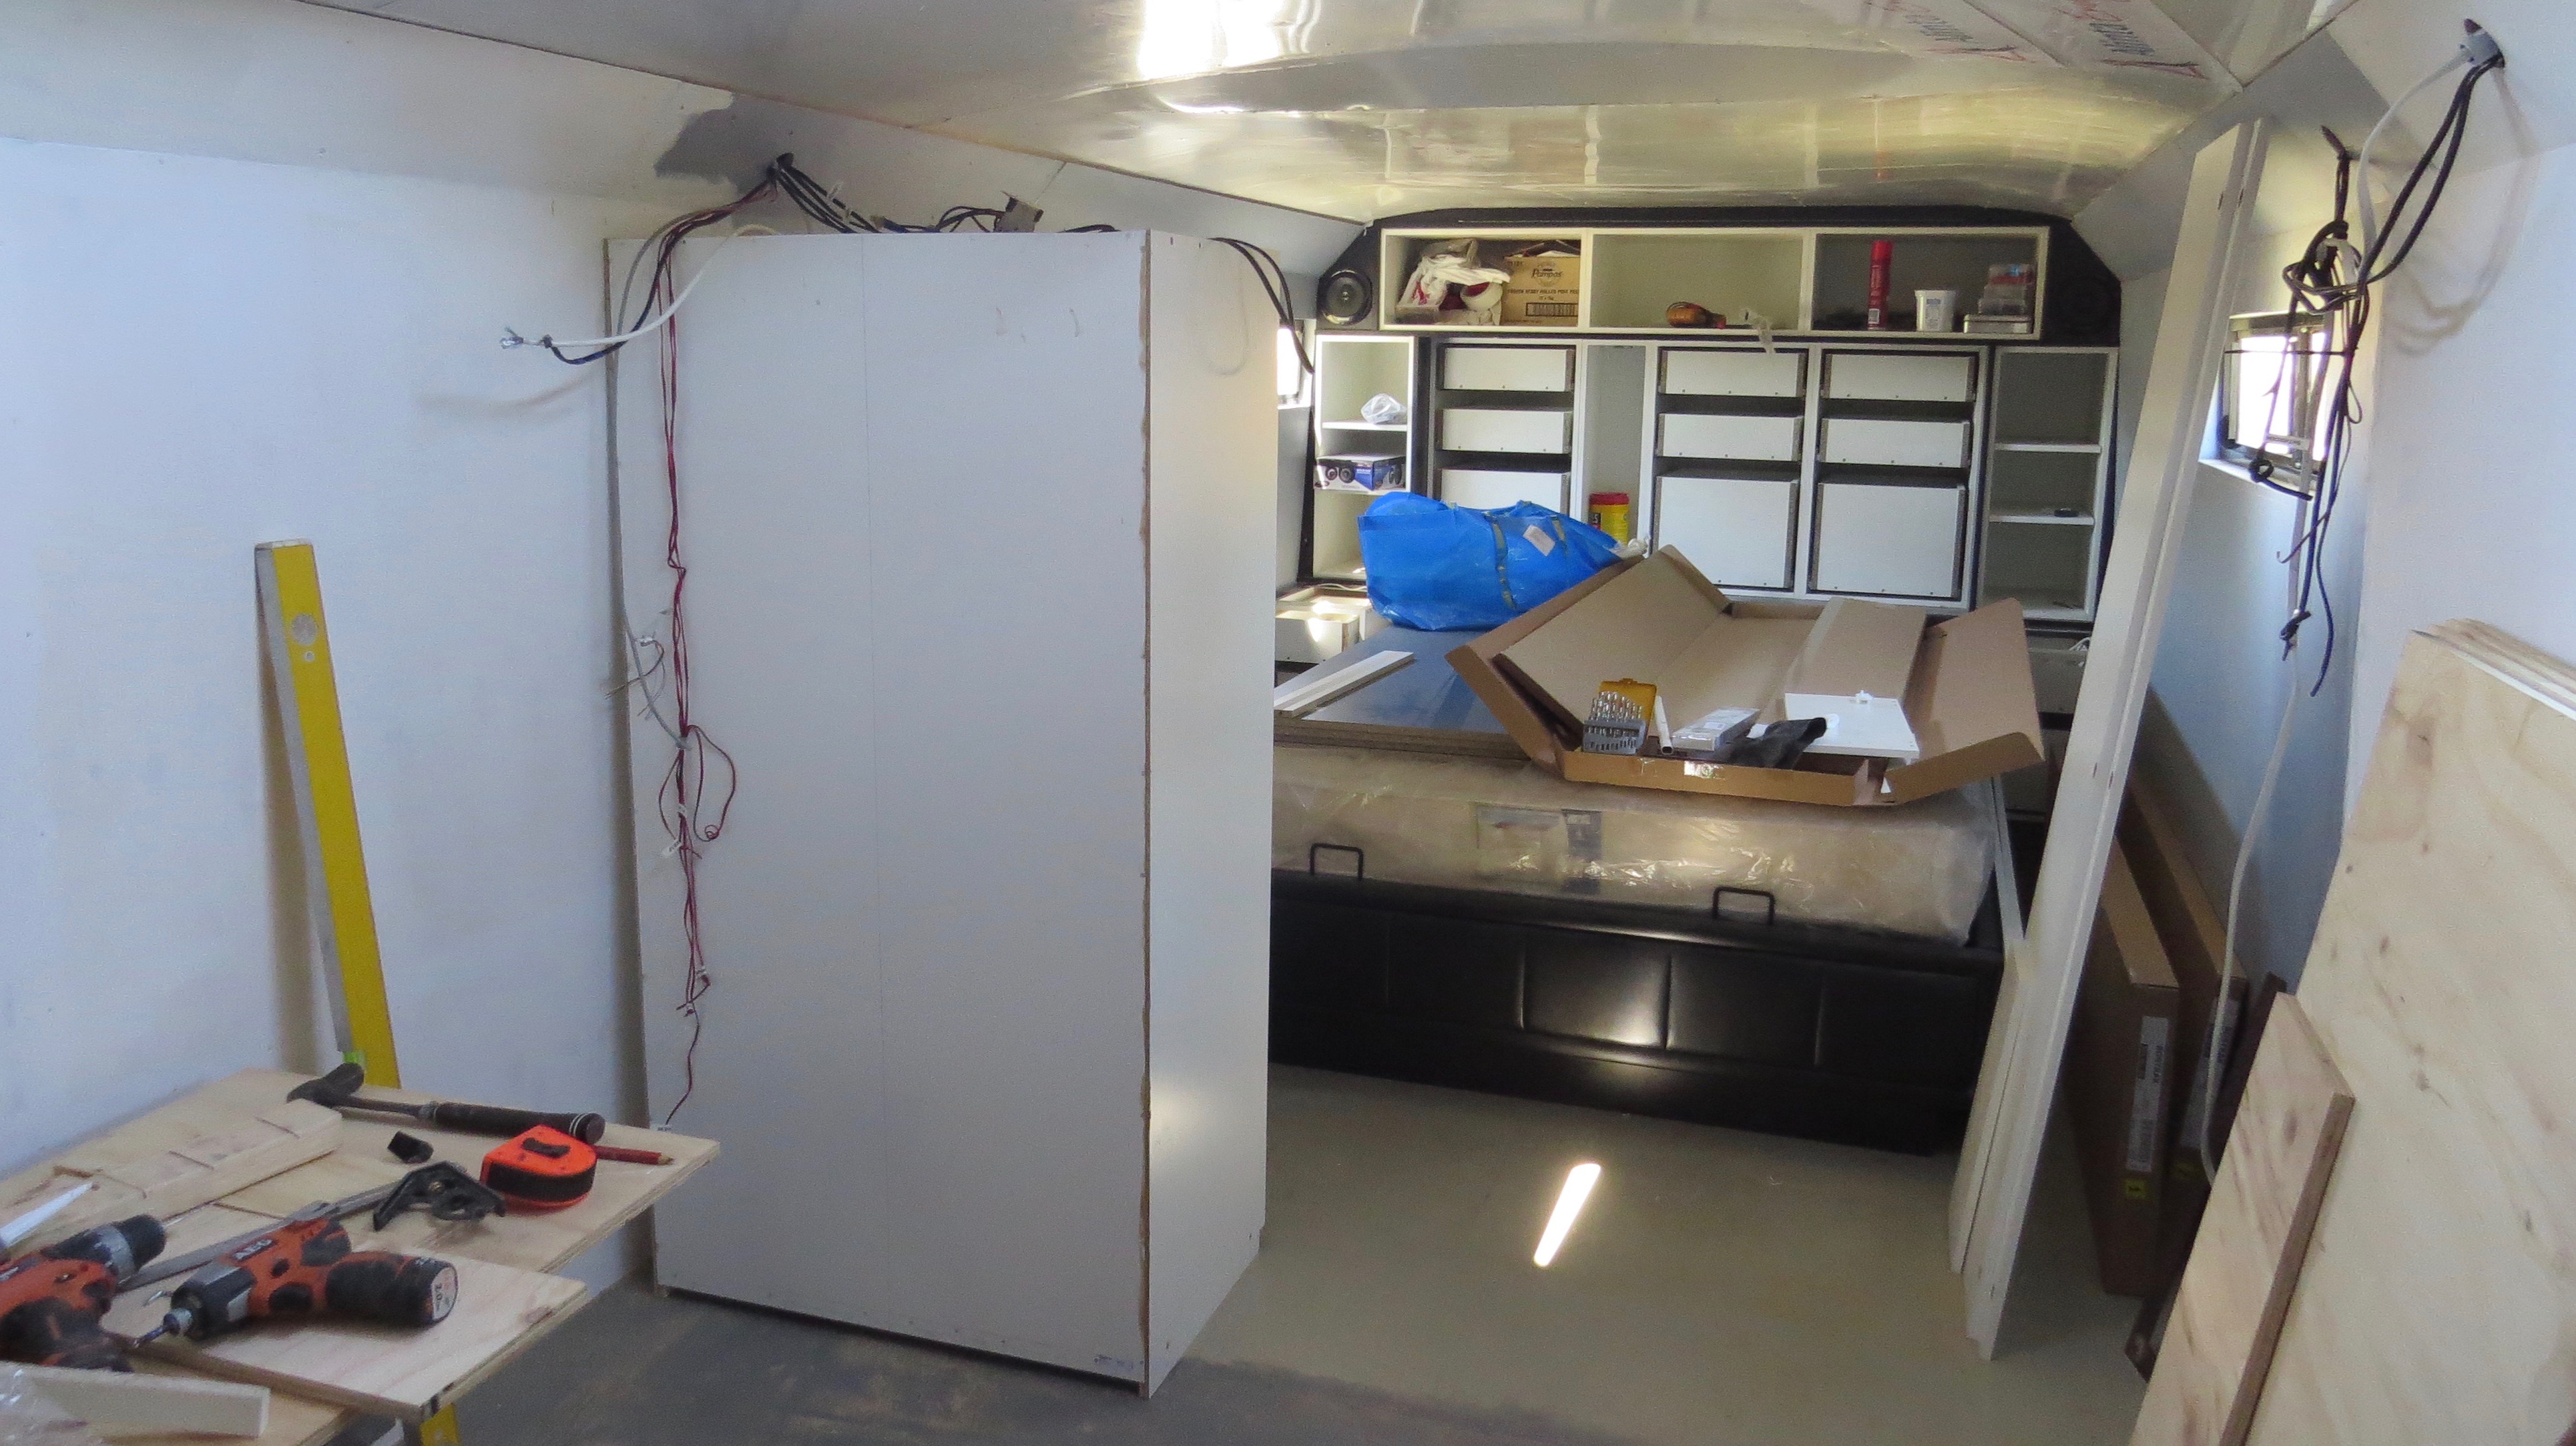
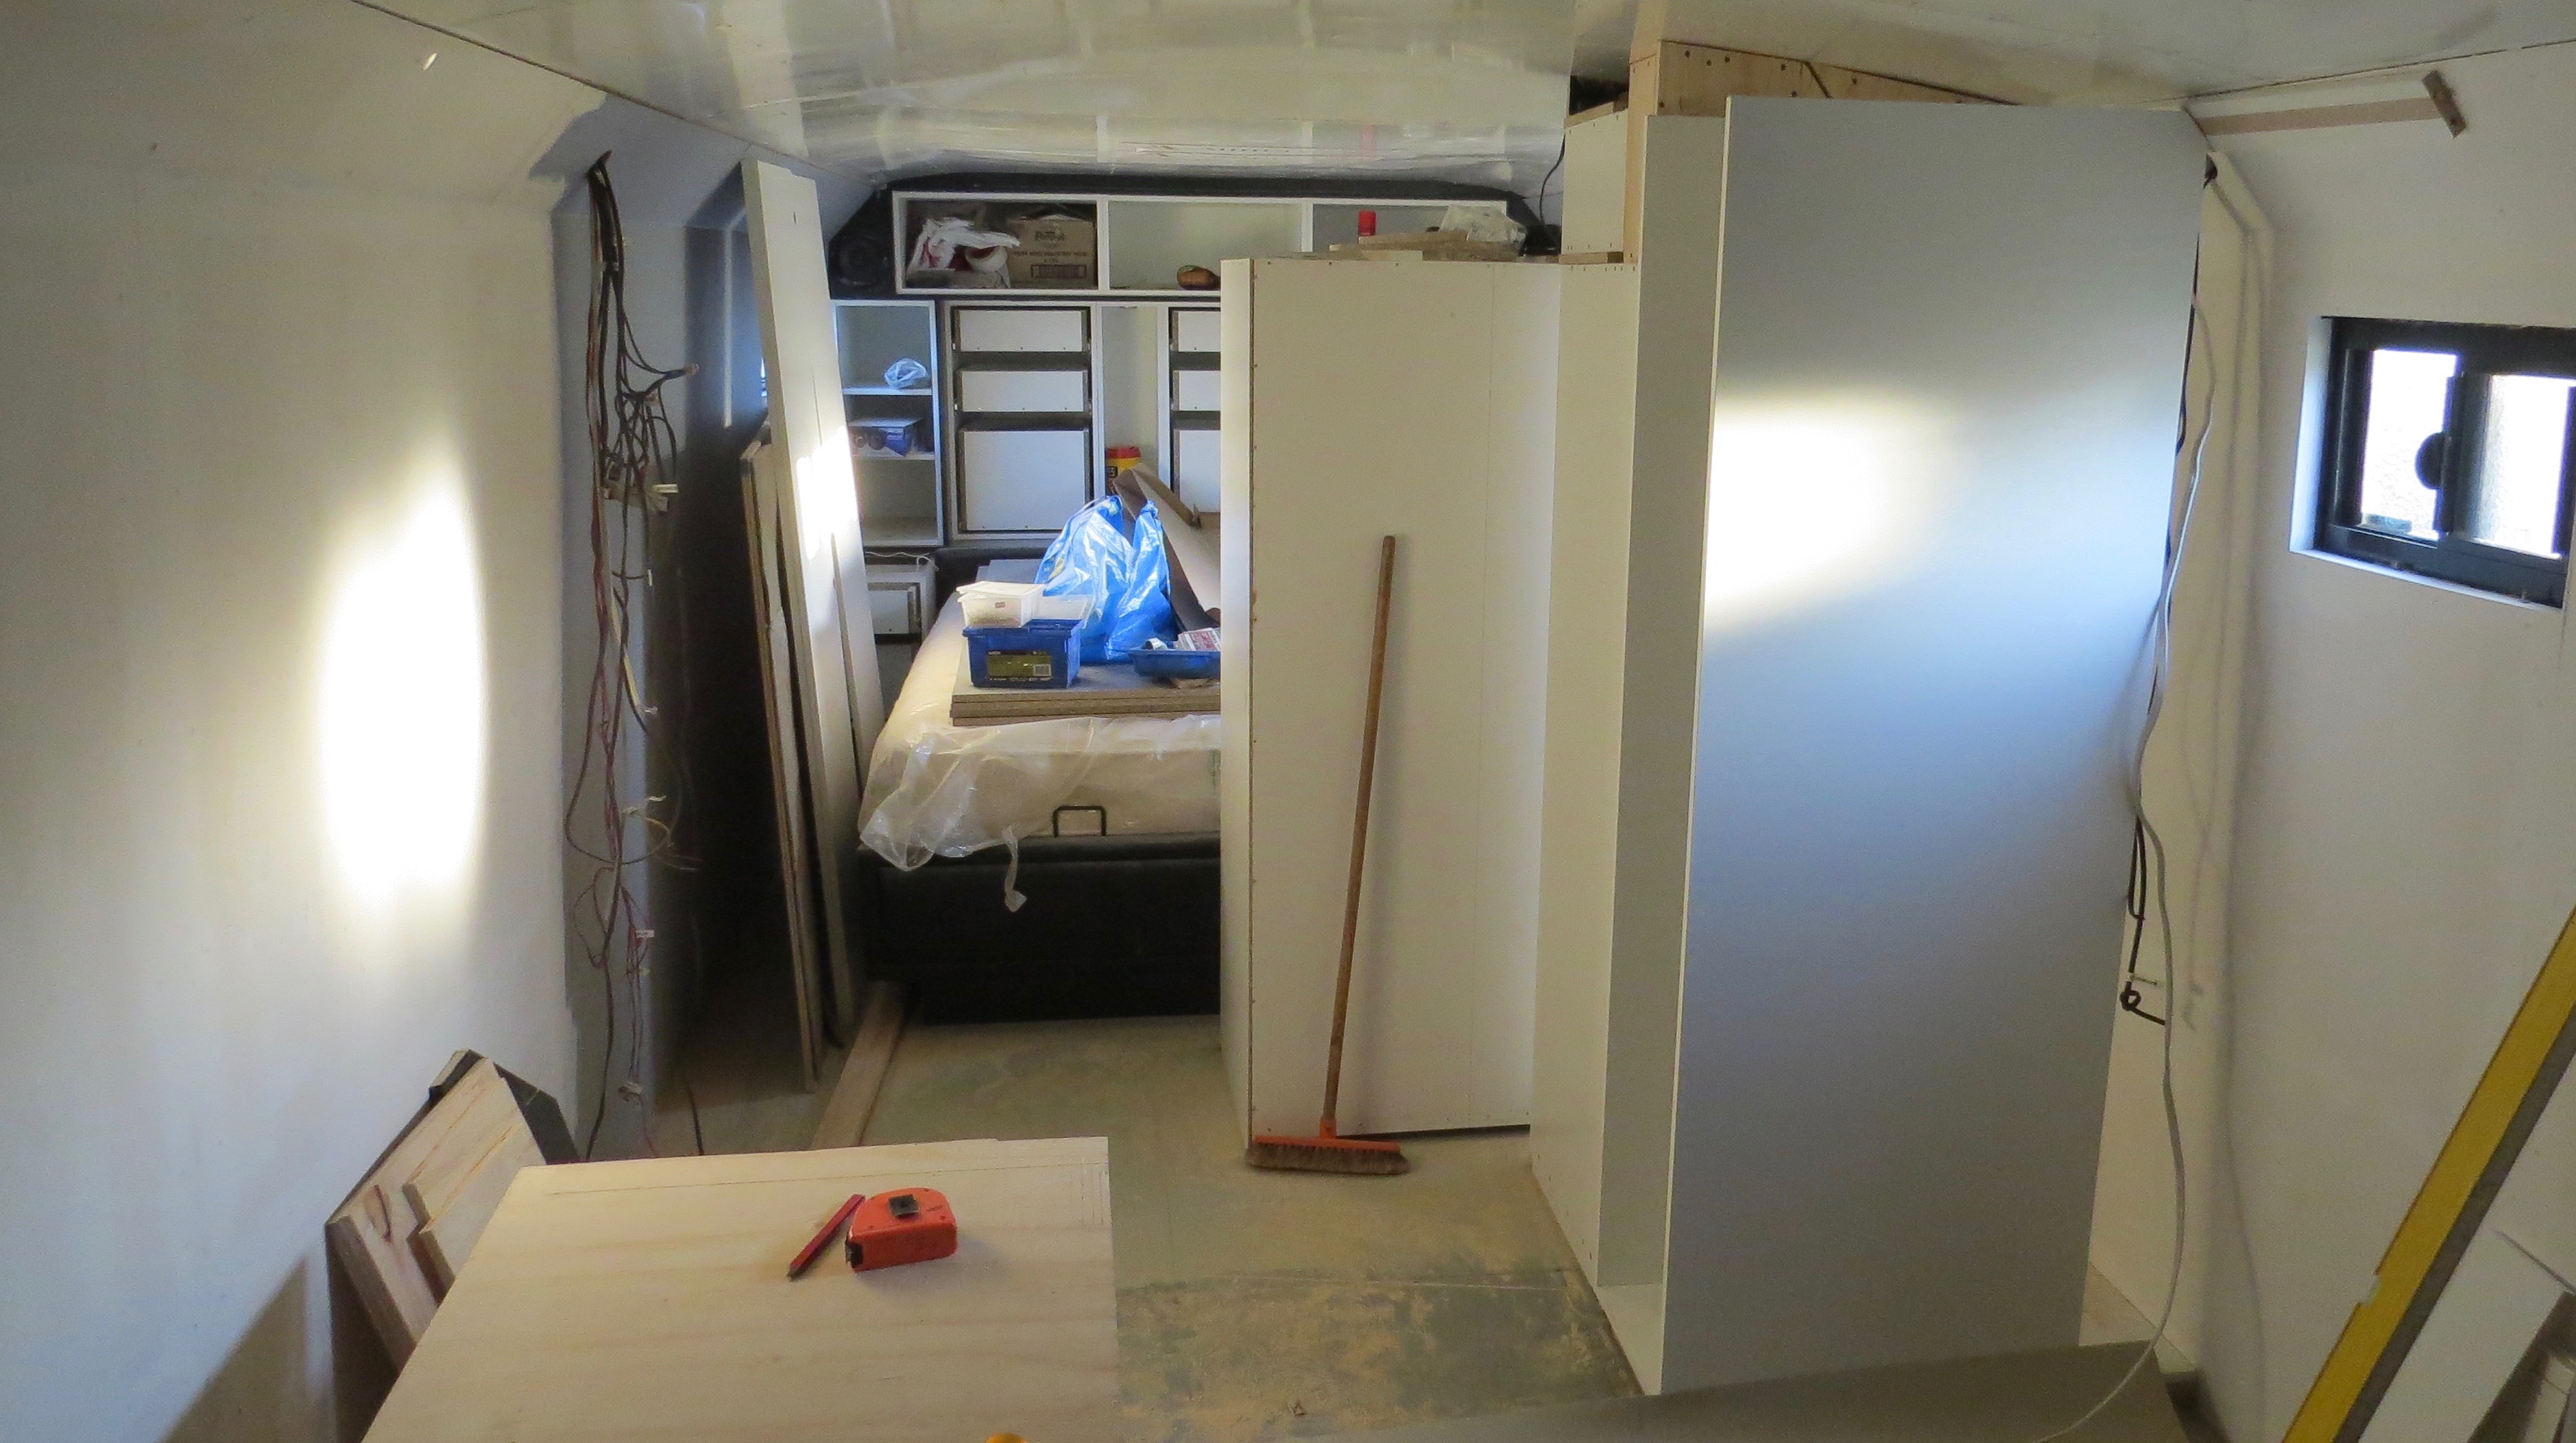
New bedroom wardrobes
We bought new wardrobes just to cut them up just because nothing ever fits when your making a motorhome. This will definitely be a custom motorhome with lot’s of storage space, Charmaine’s very happy.
First off we had to make some room to build them as most of the supplies are in the coach as well as being a work place.
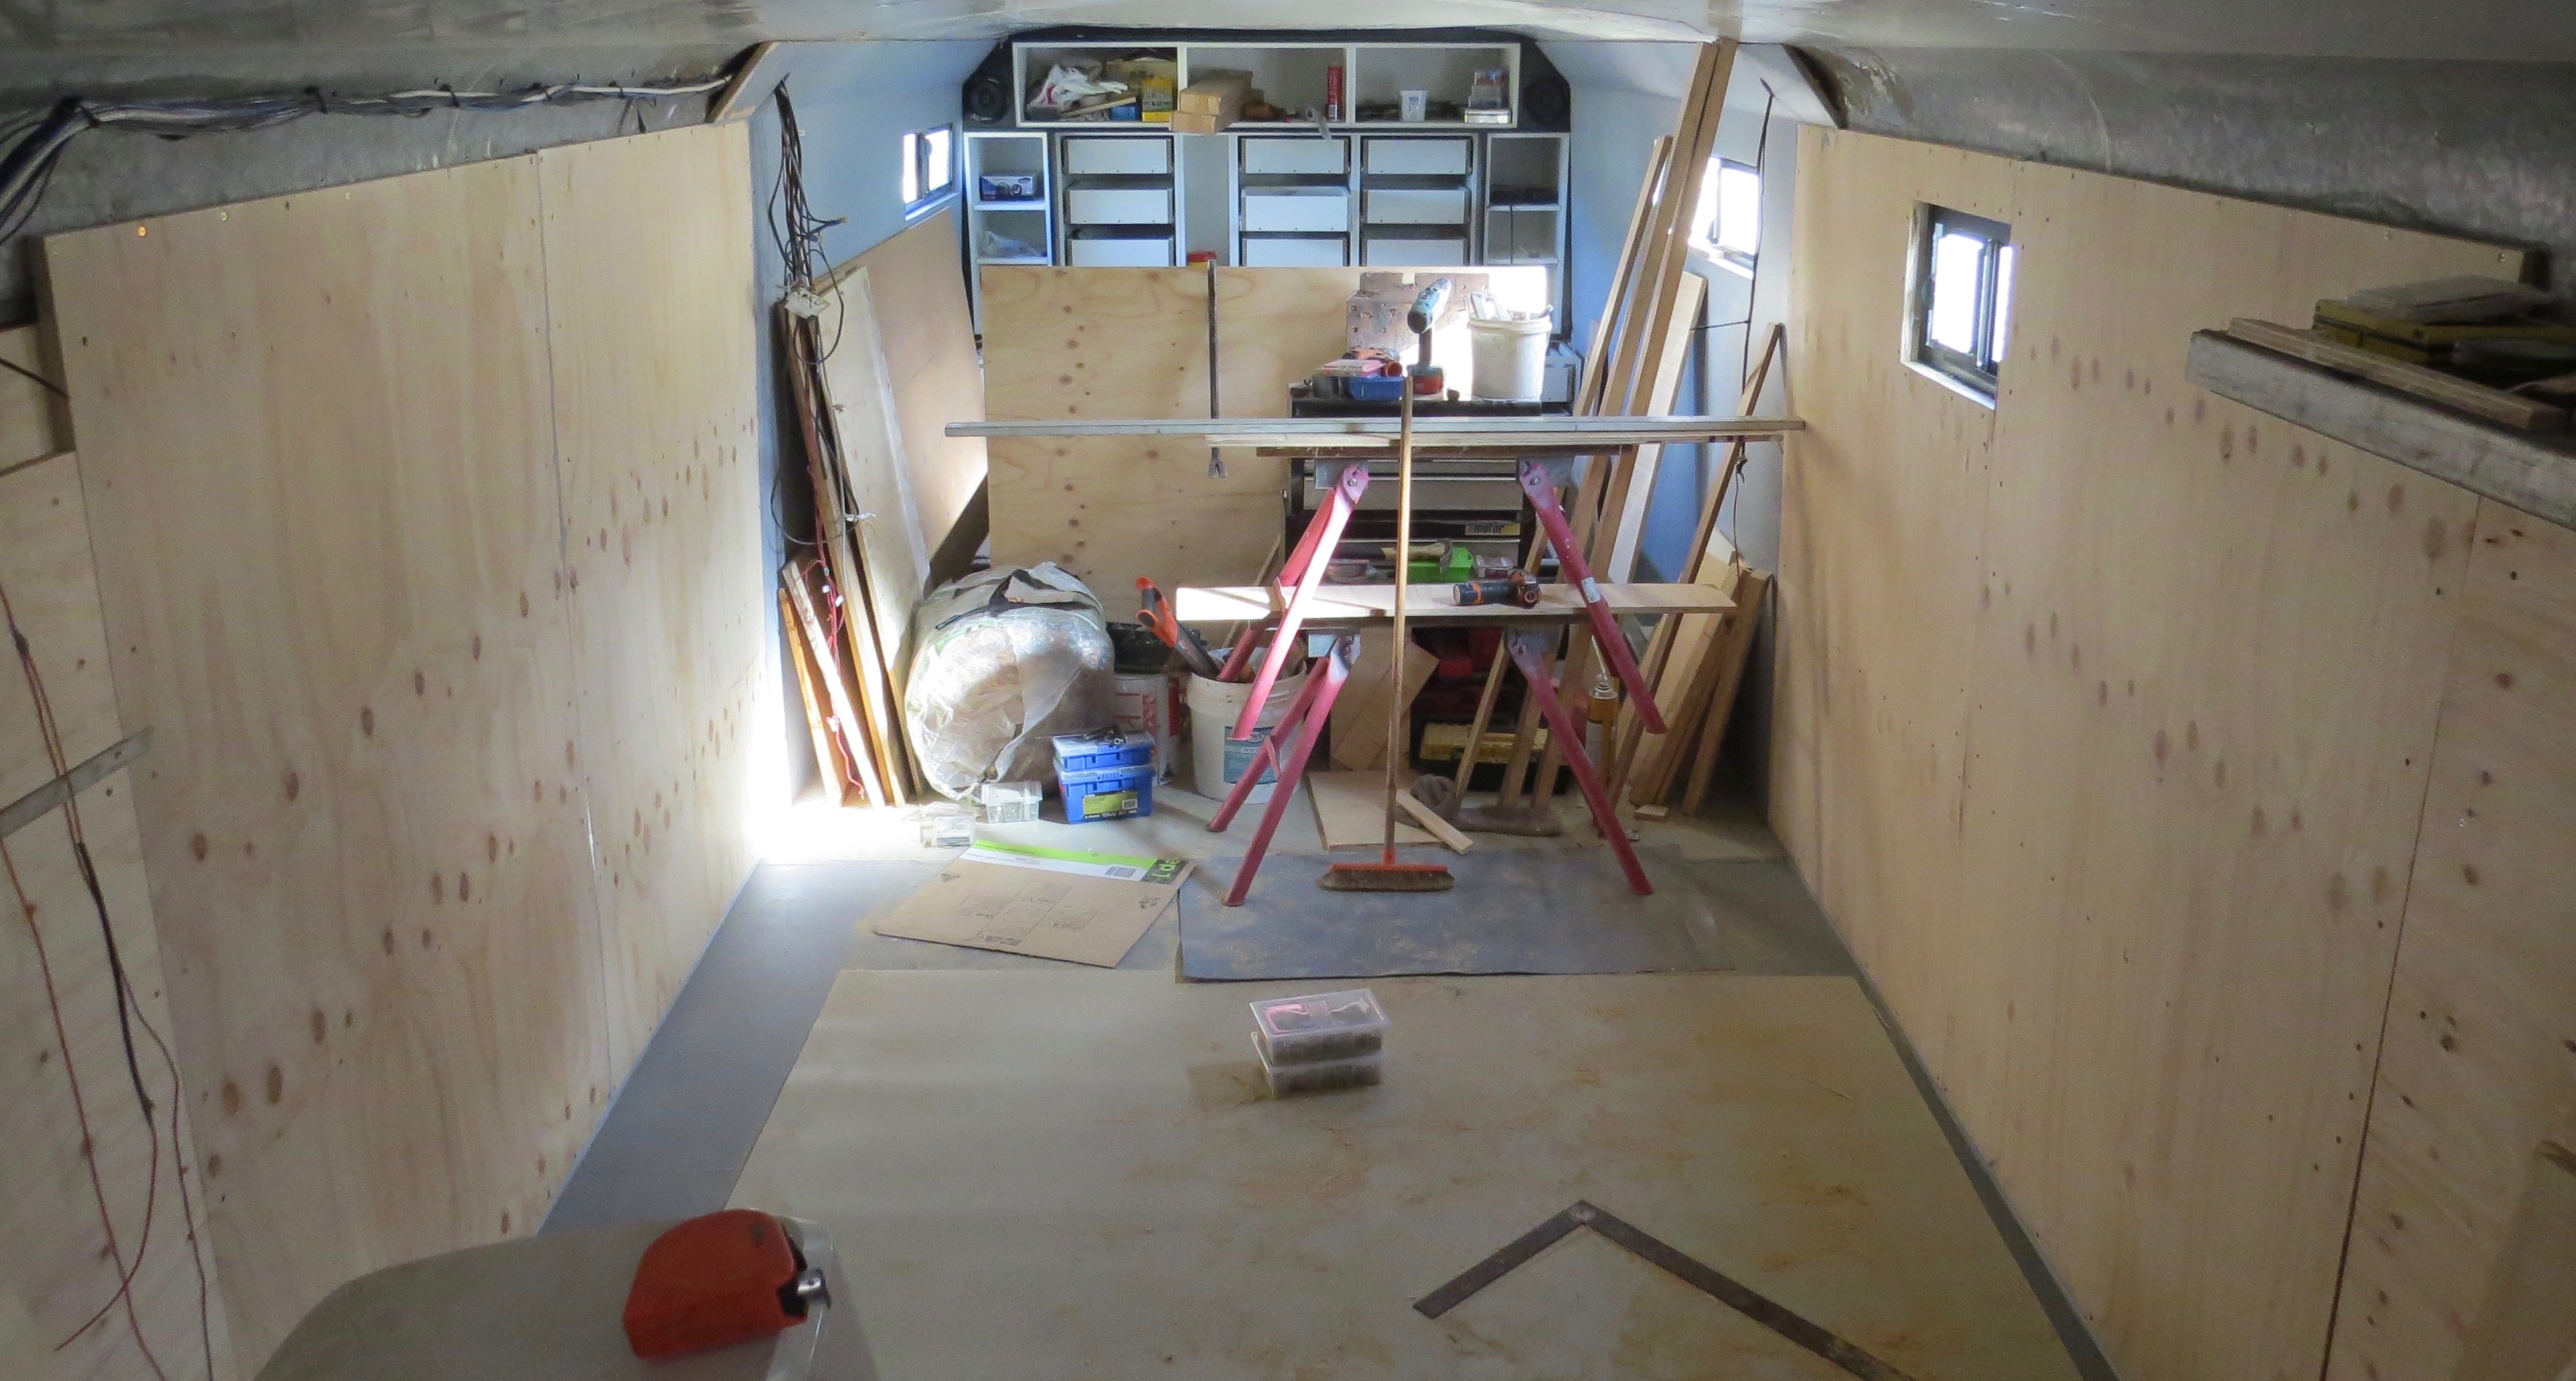
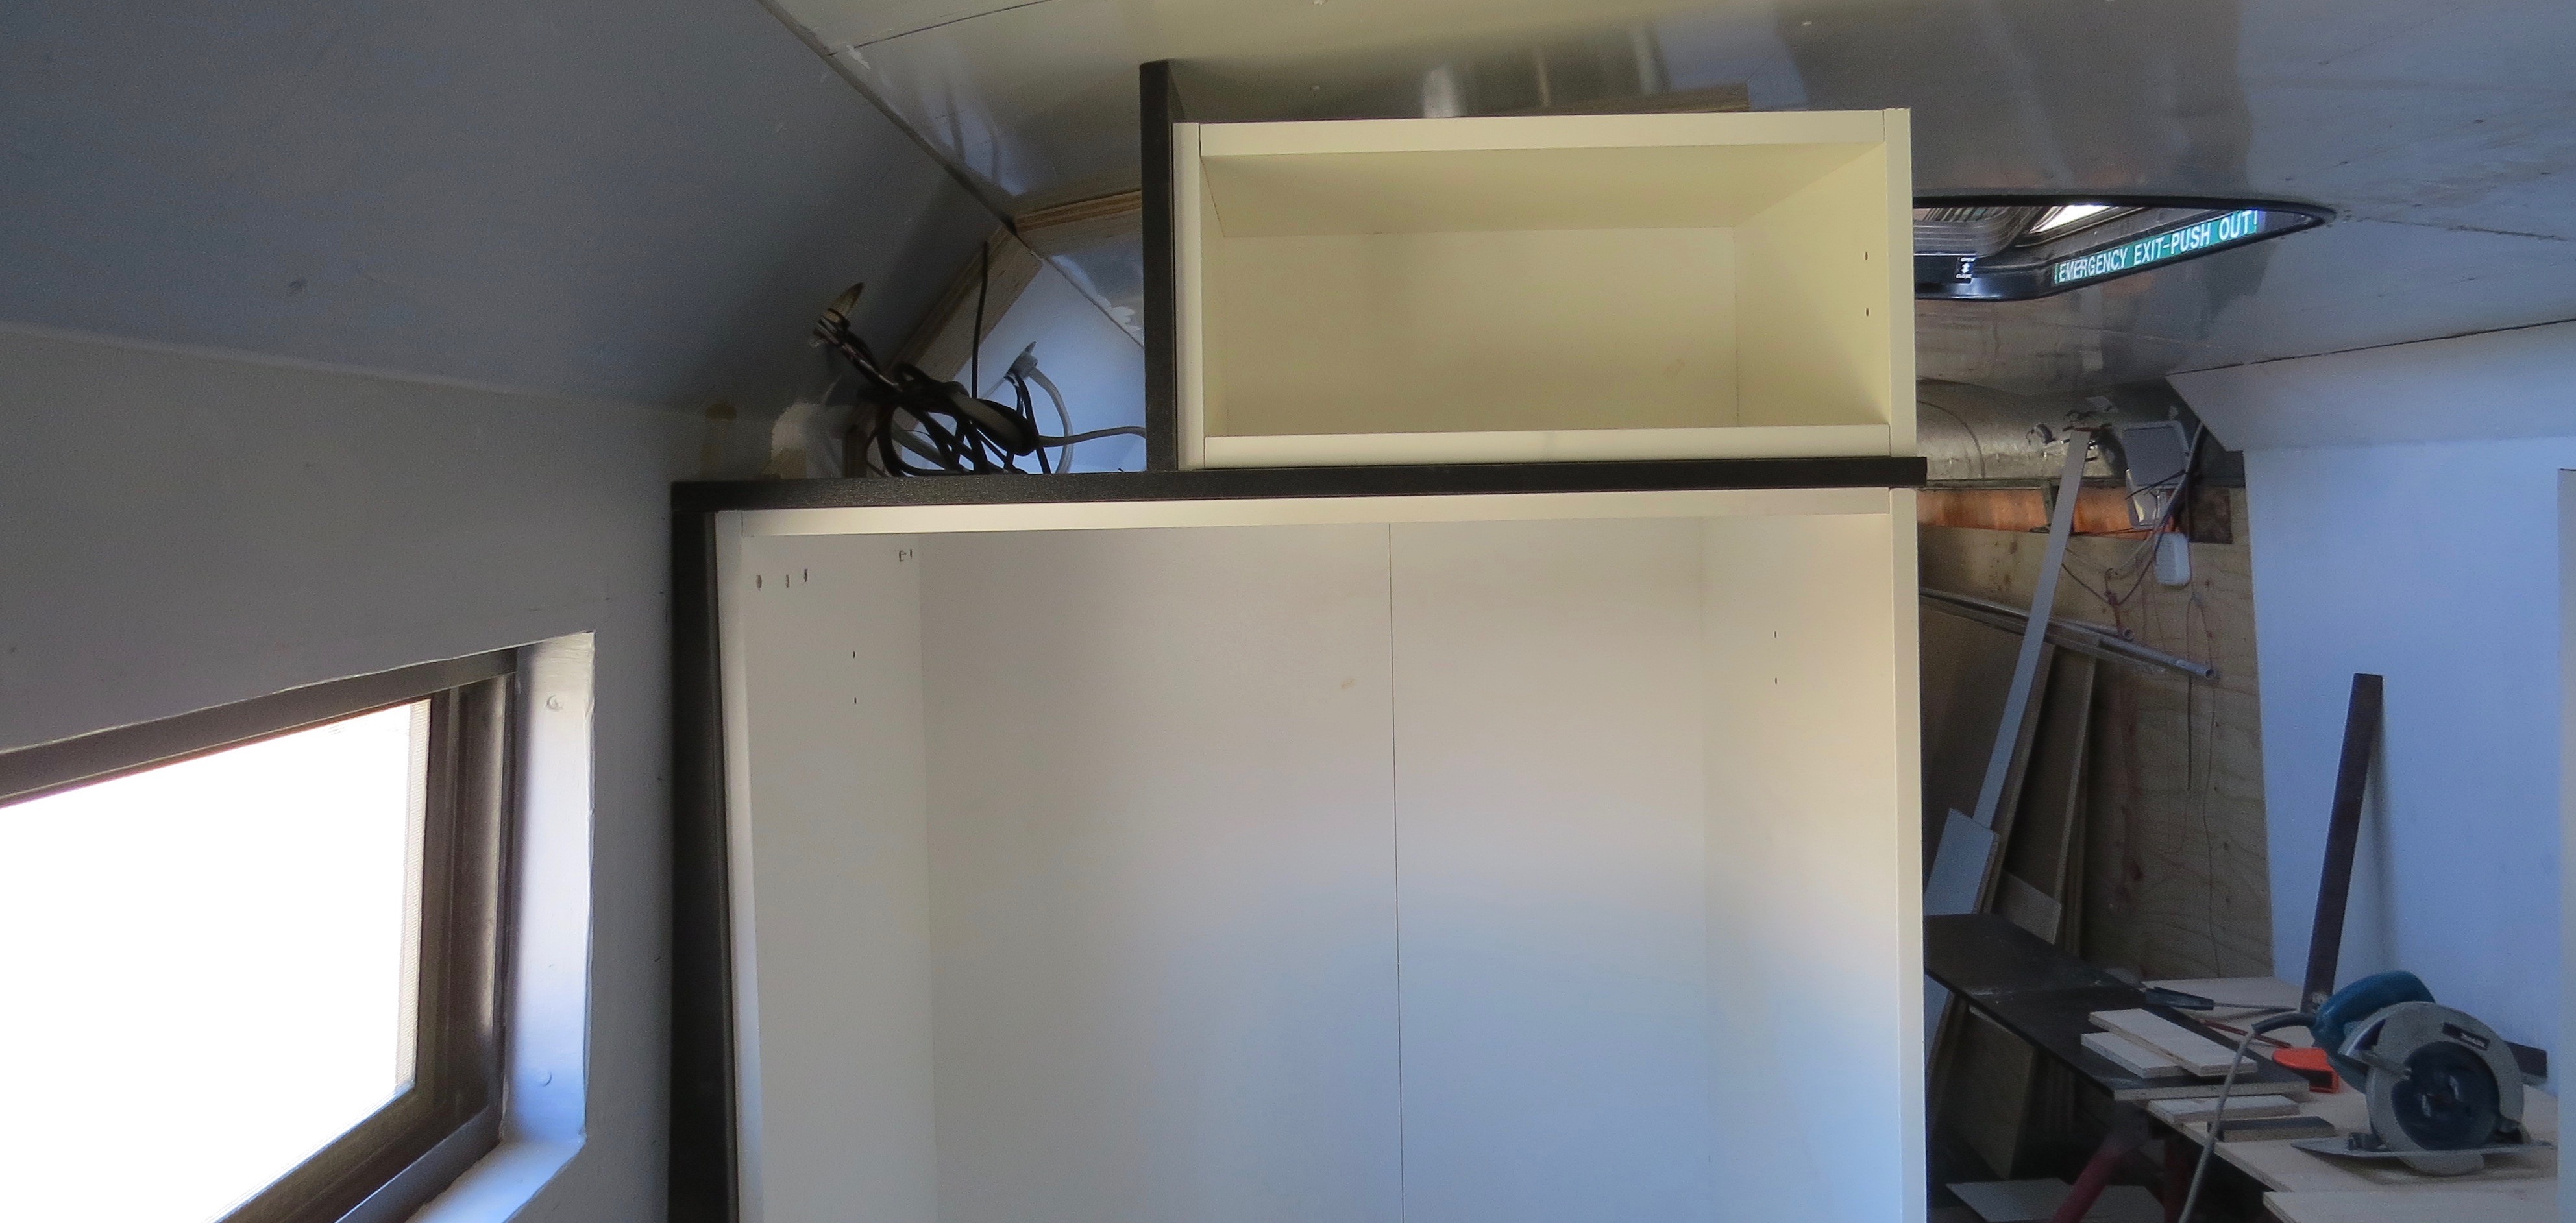
Wardrobe time
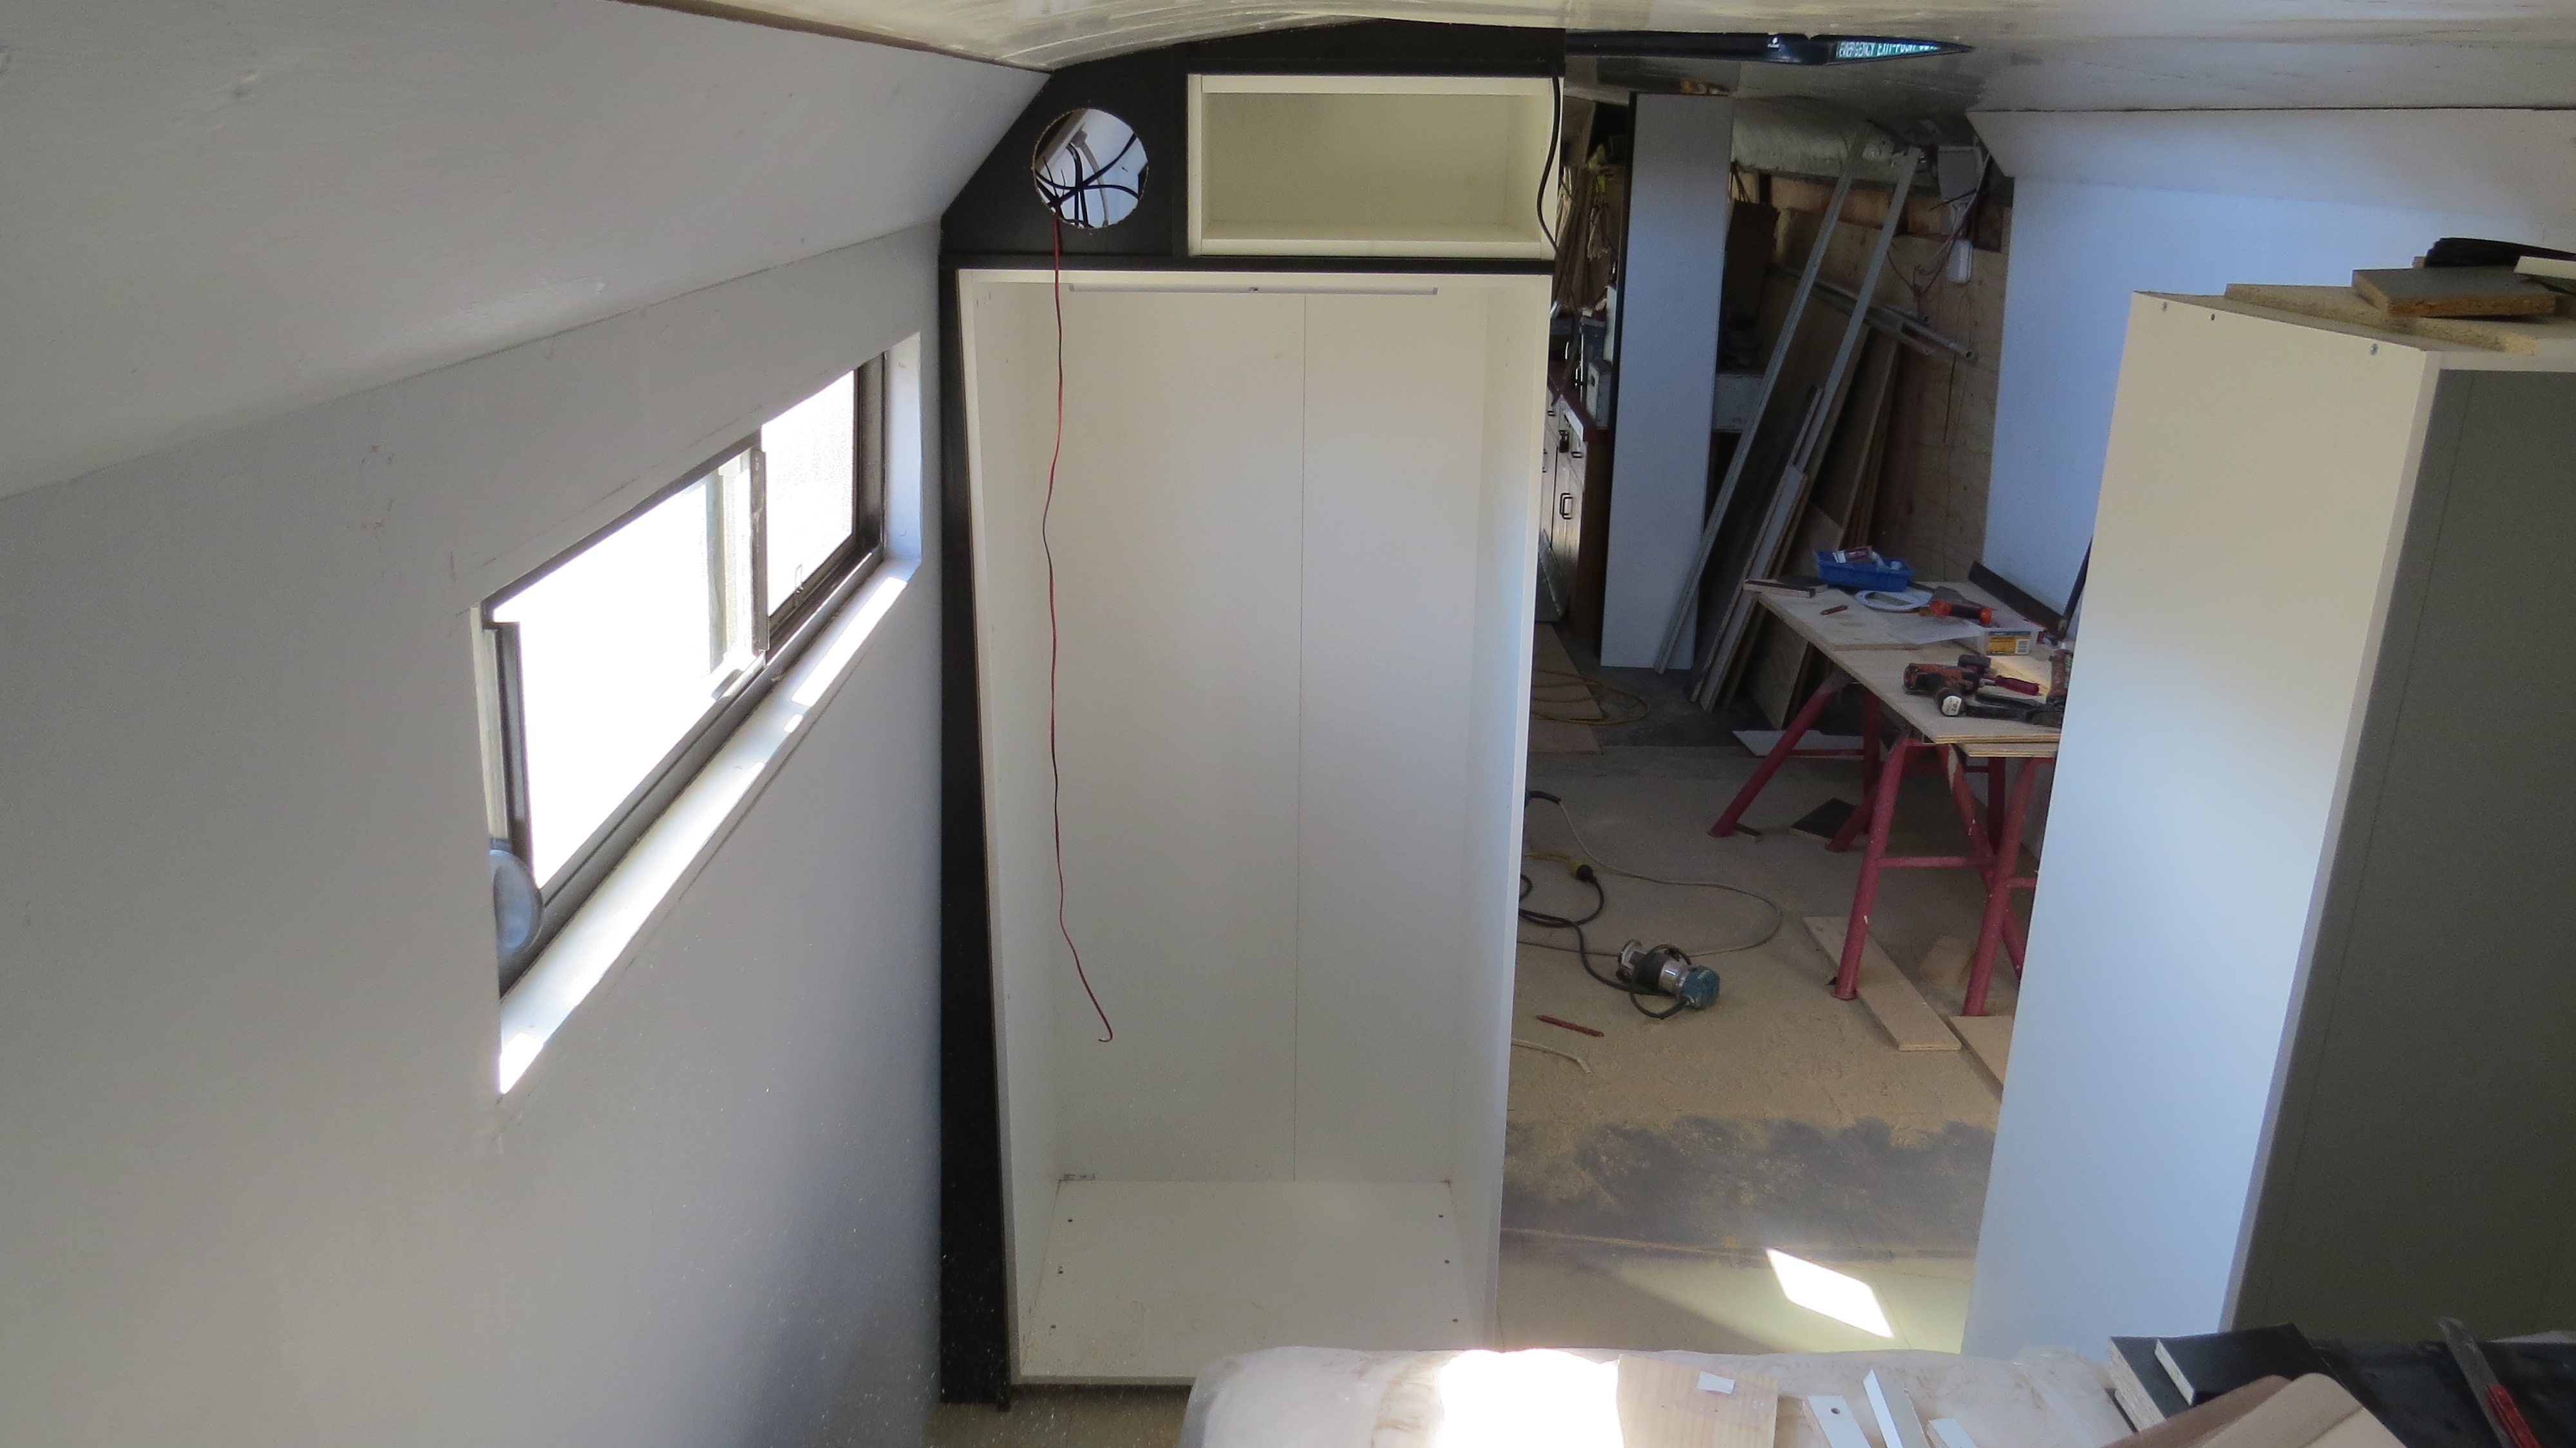
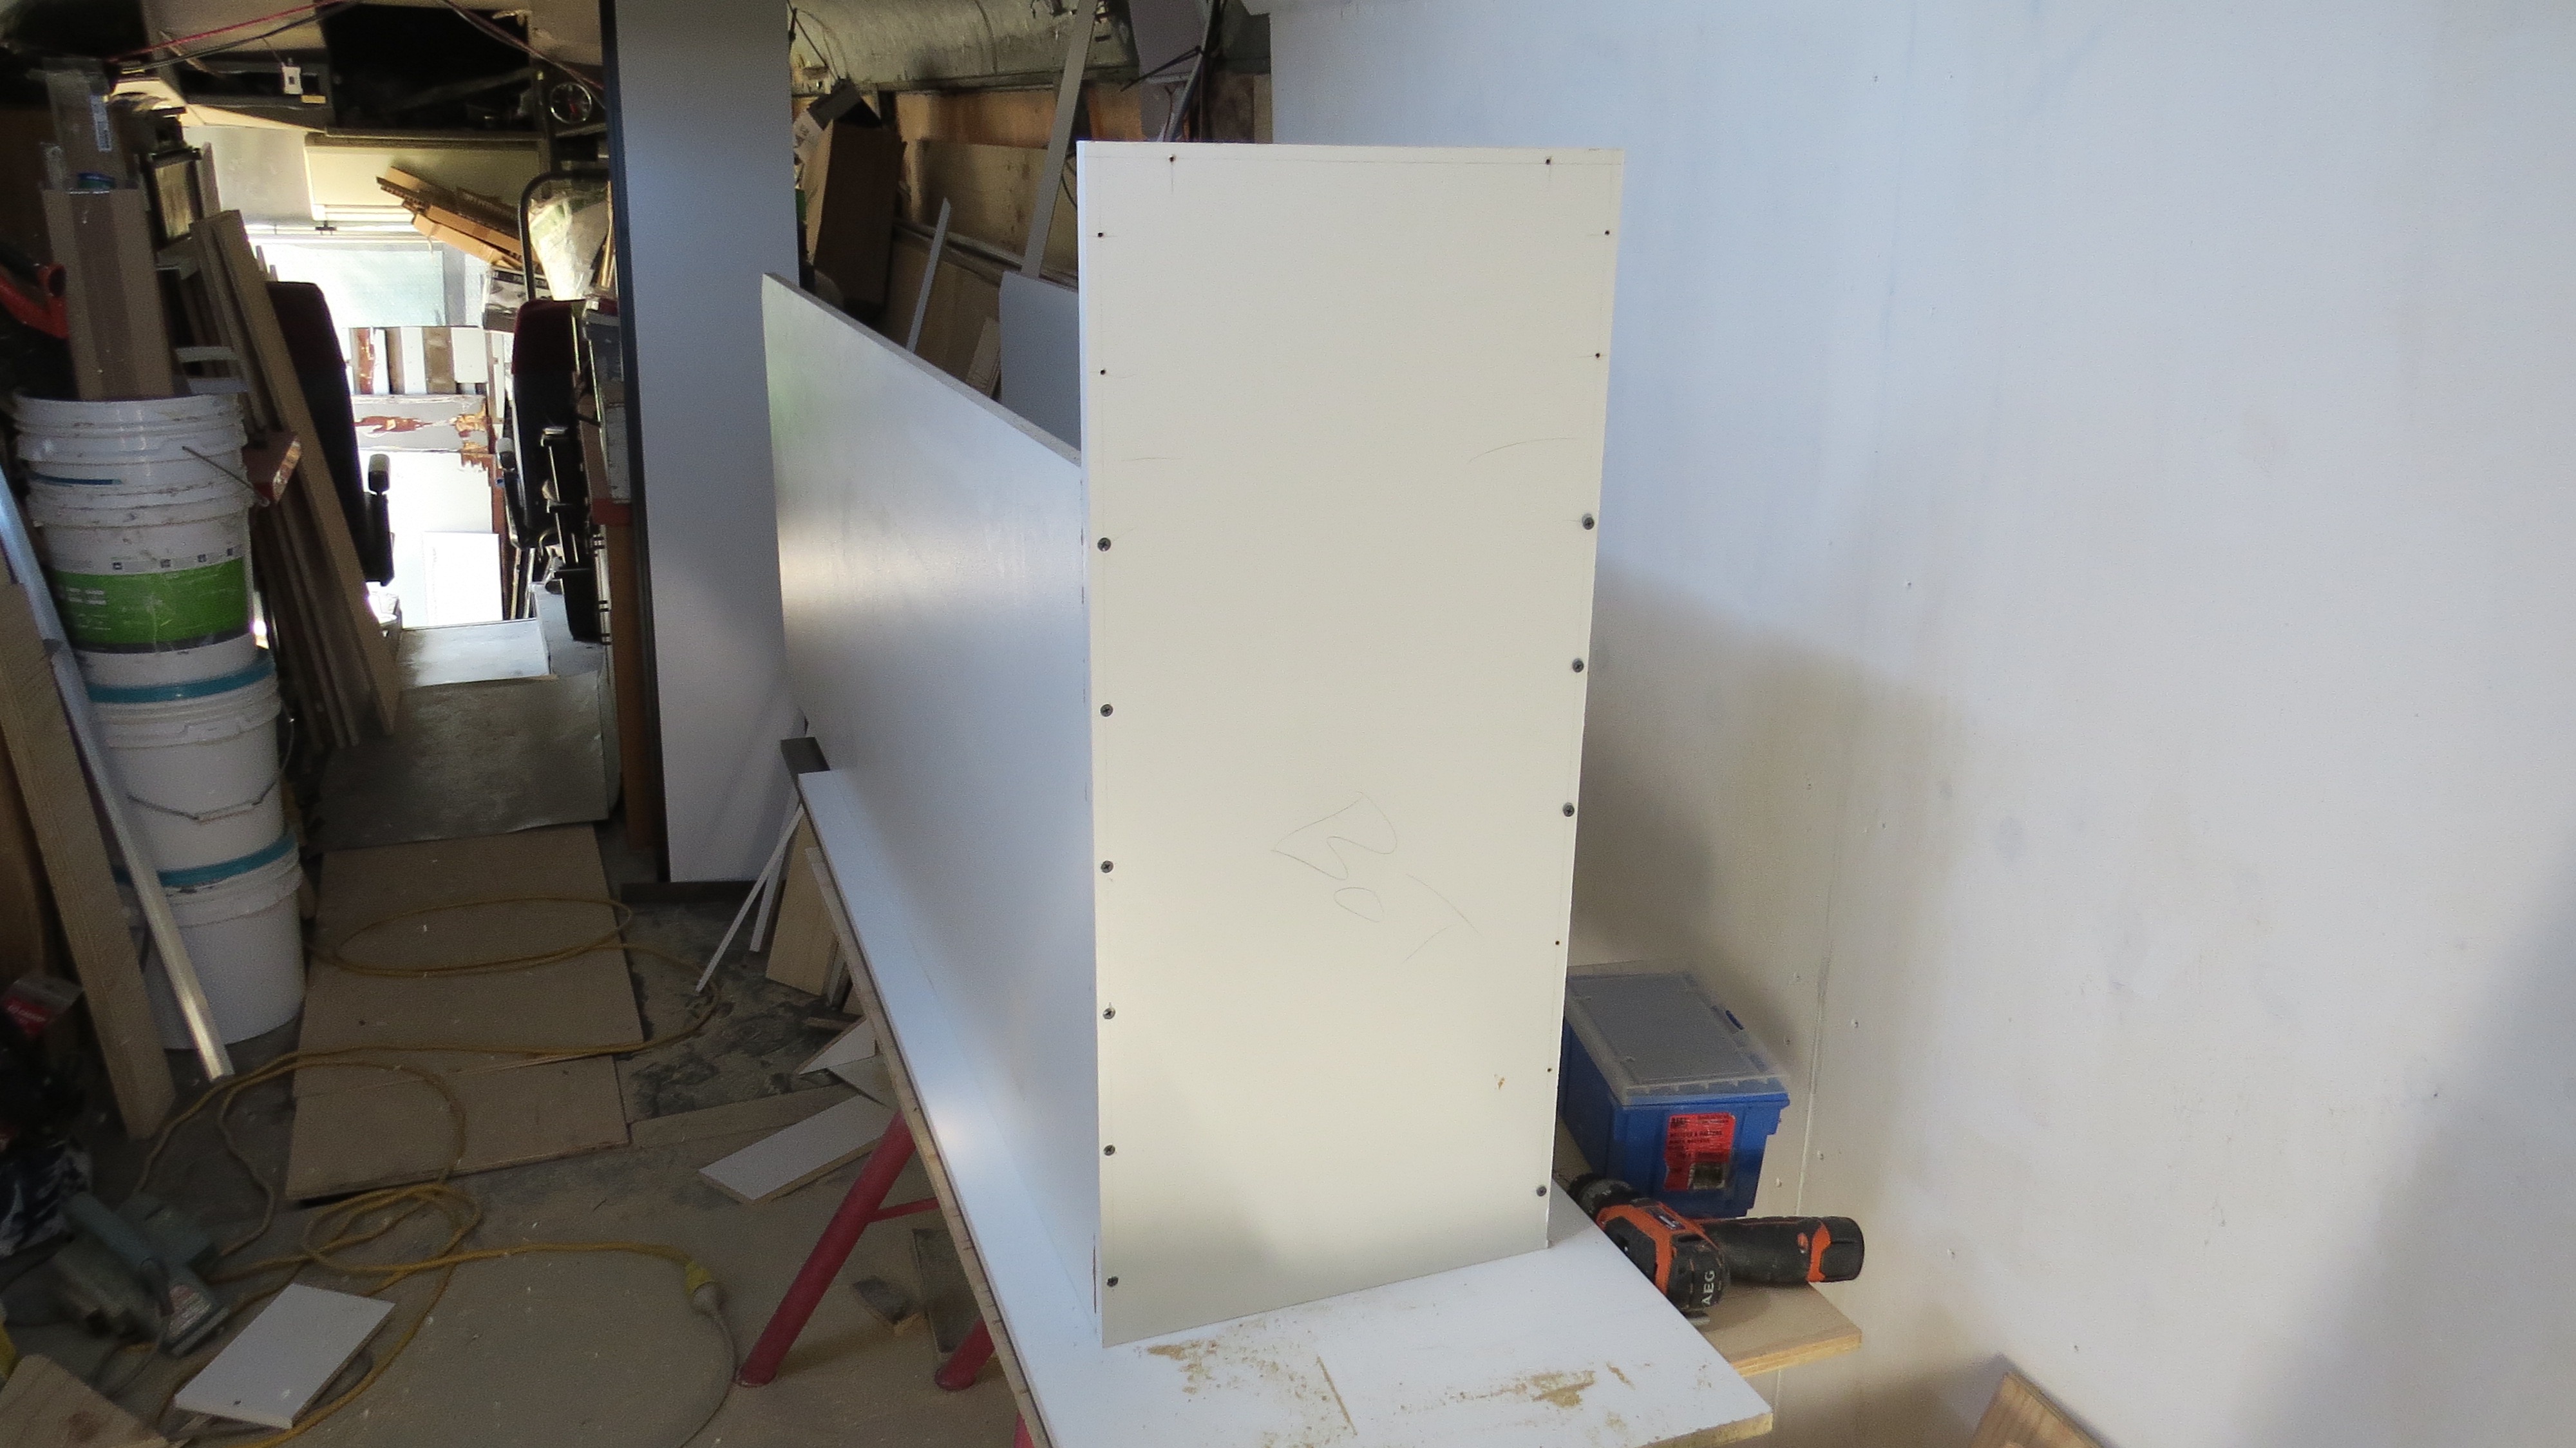
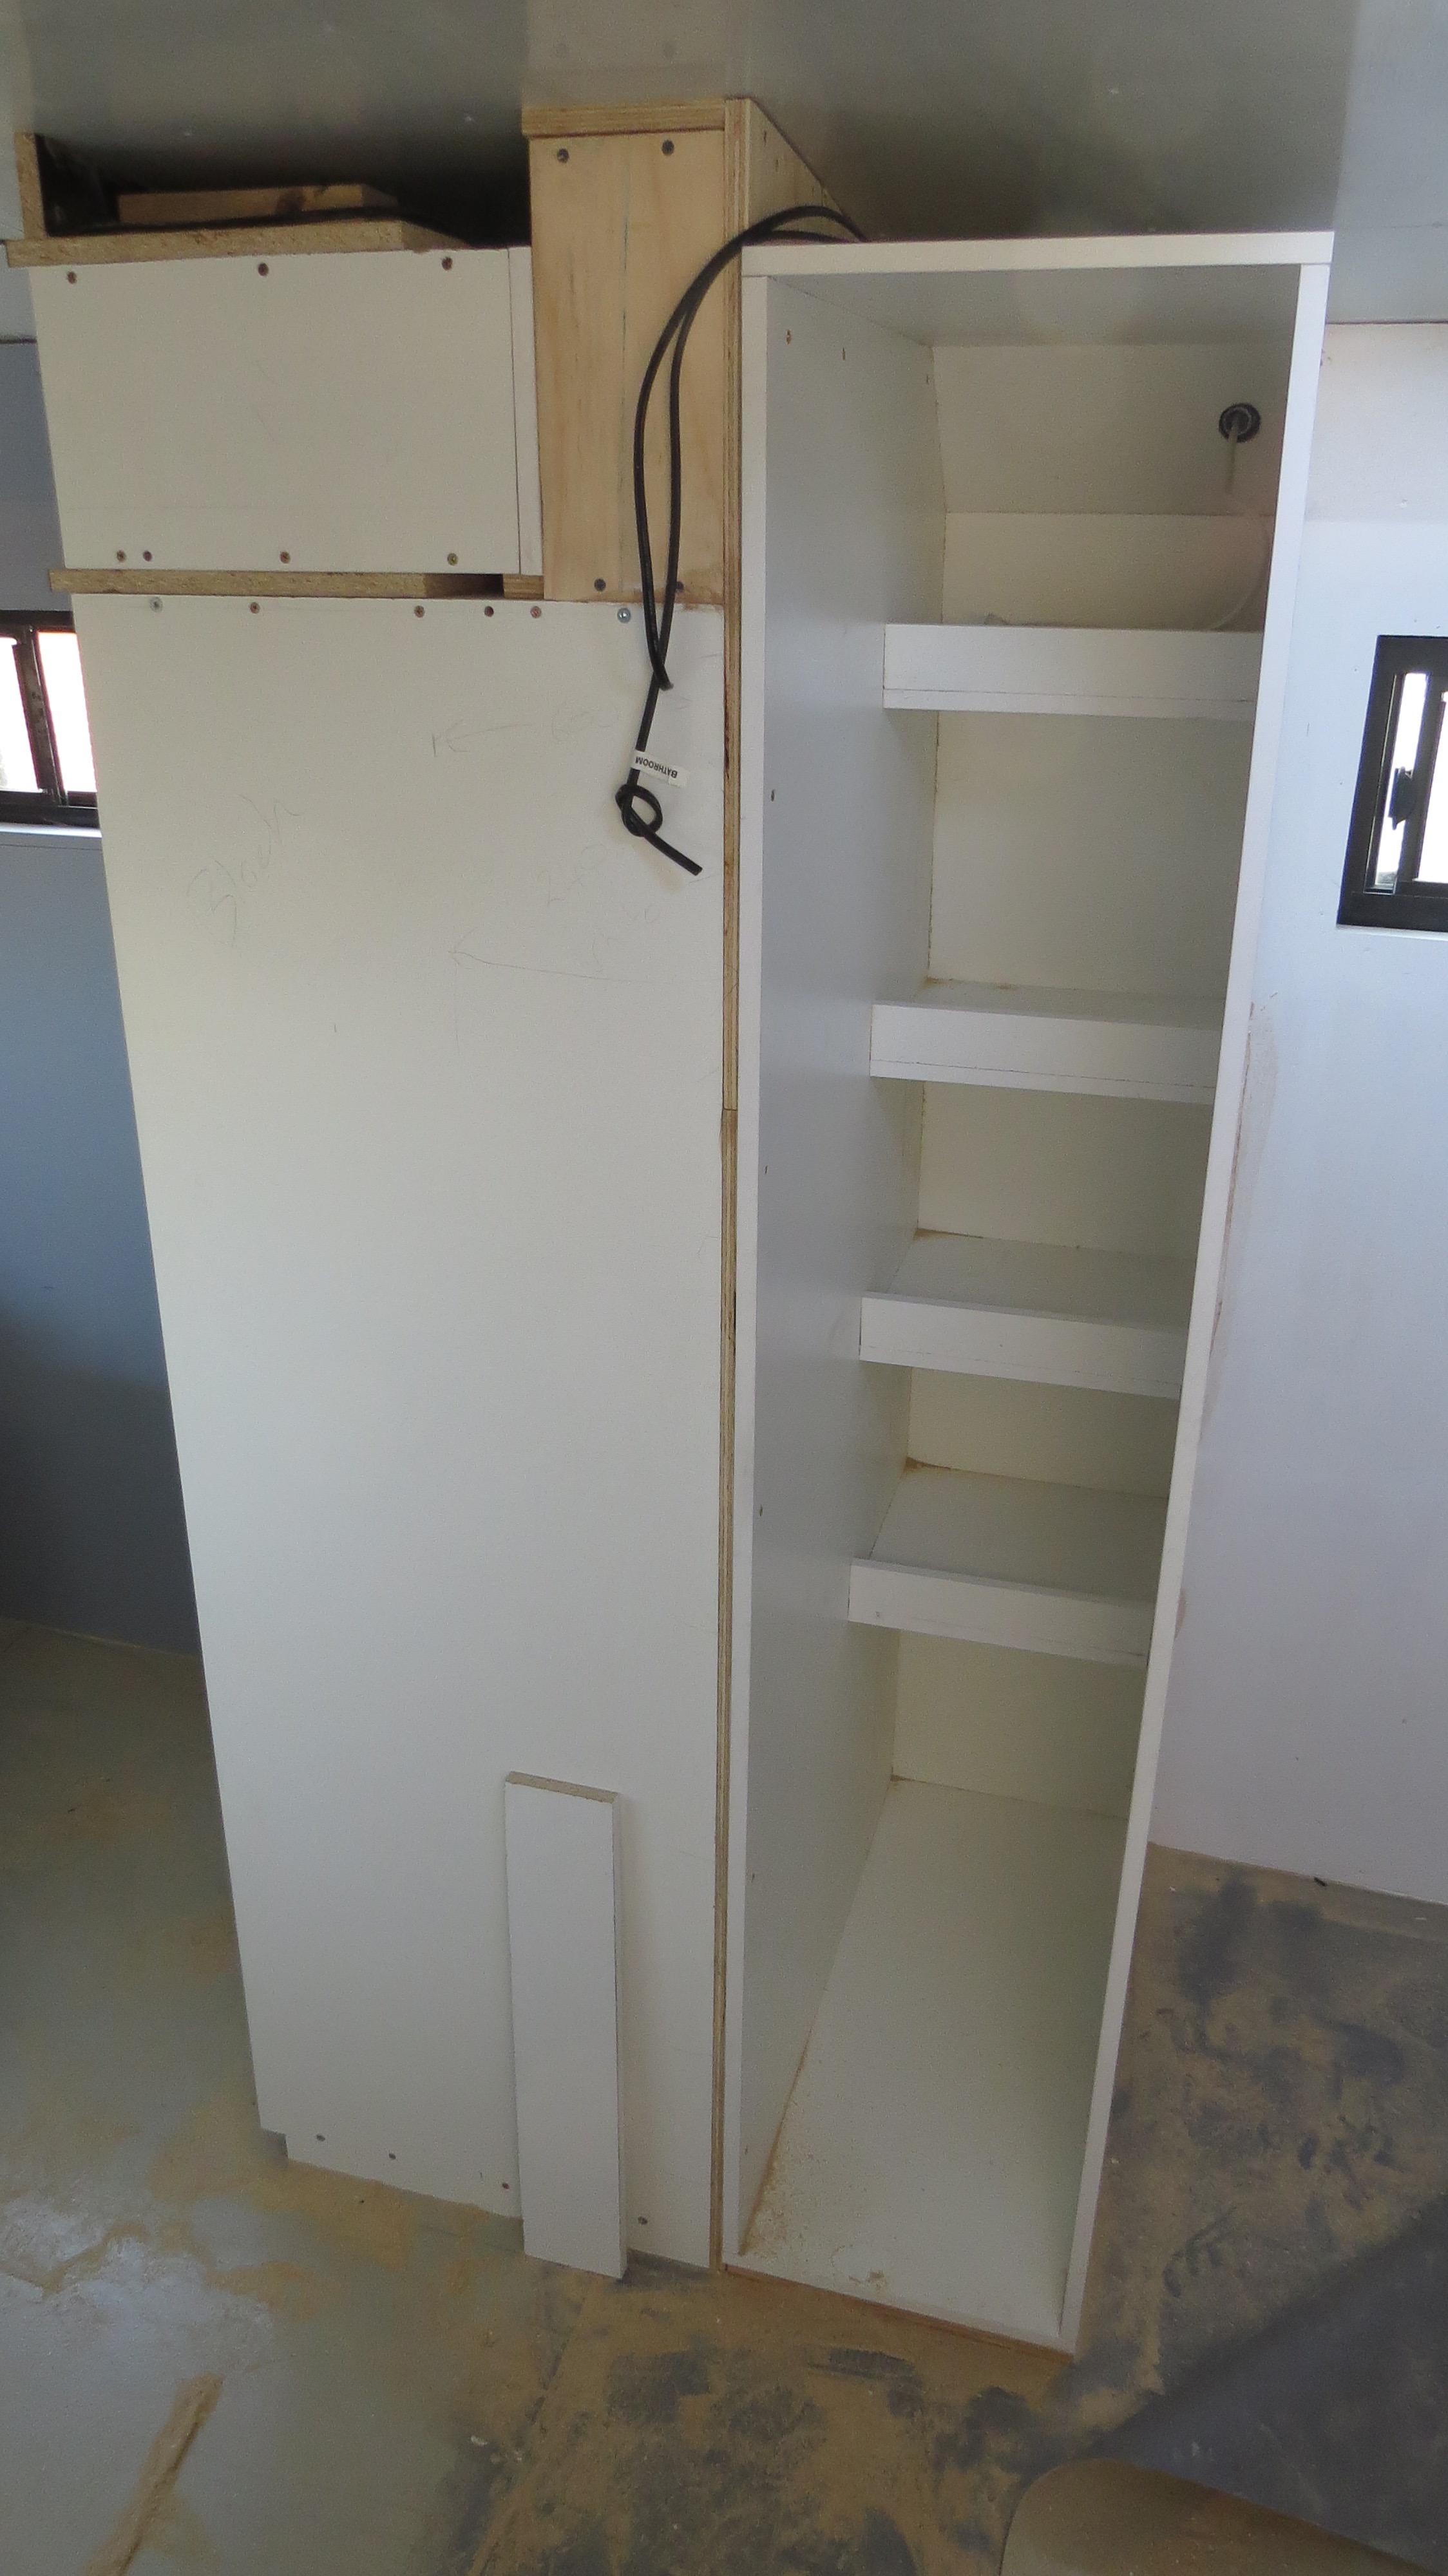
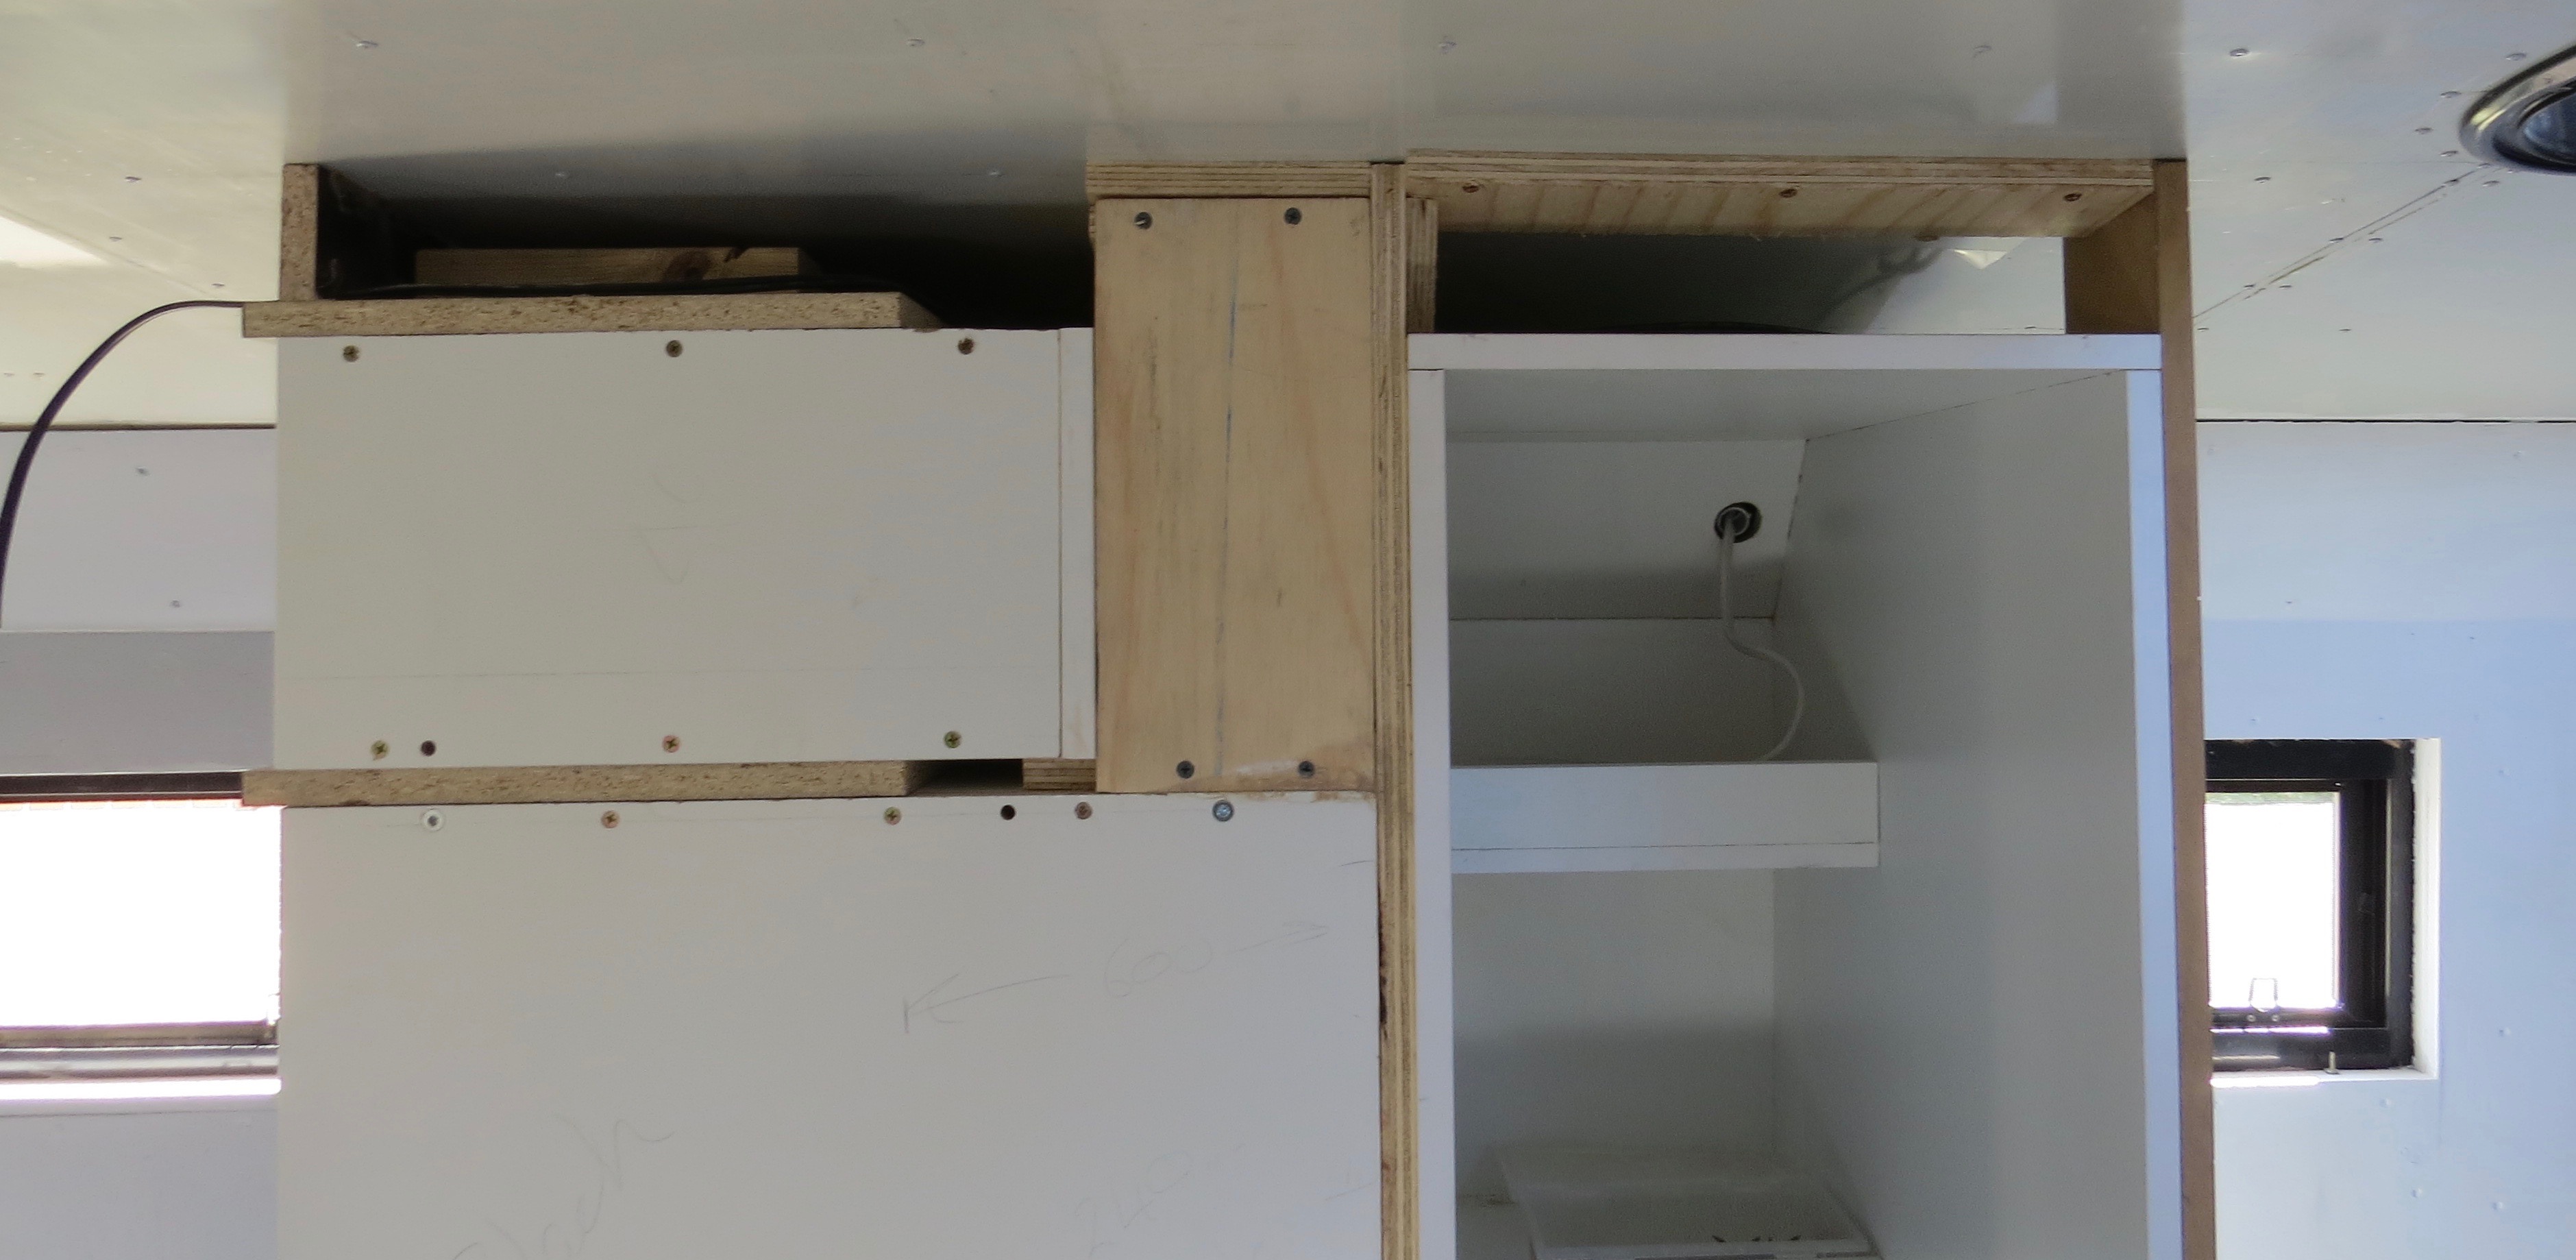
Making up more boxes again, screwing and gluing them together after cutting them down to size. We had to cut 35mm off the bottom and around 250mm off the top to make them fit the place as well as some where to put the speakers. The off cuts will be used to make up some more cupboards that will sit on top of the wardrobes, the more storage space the better.
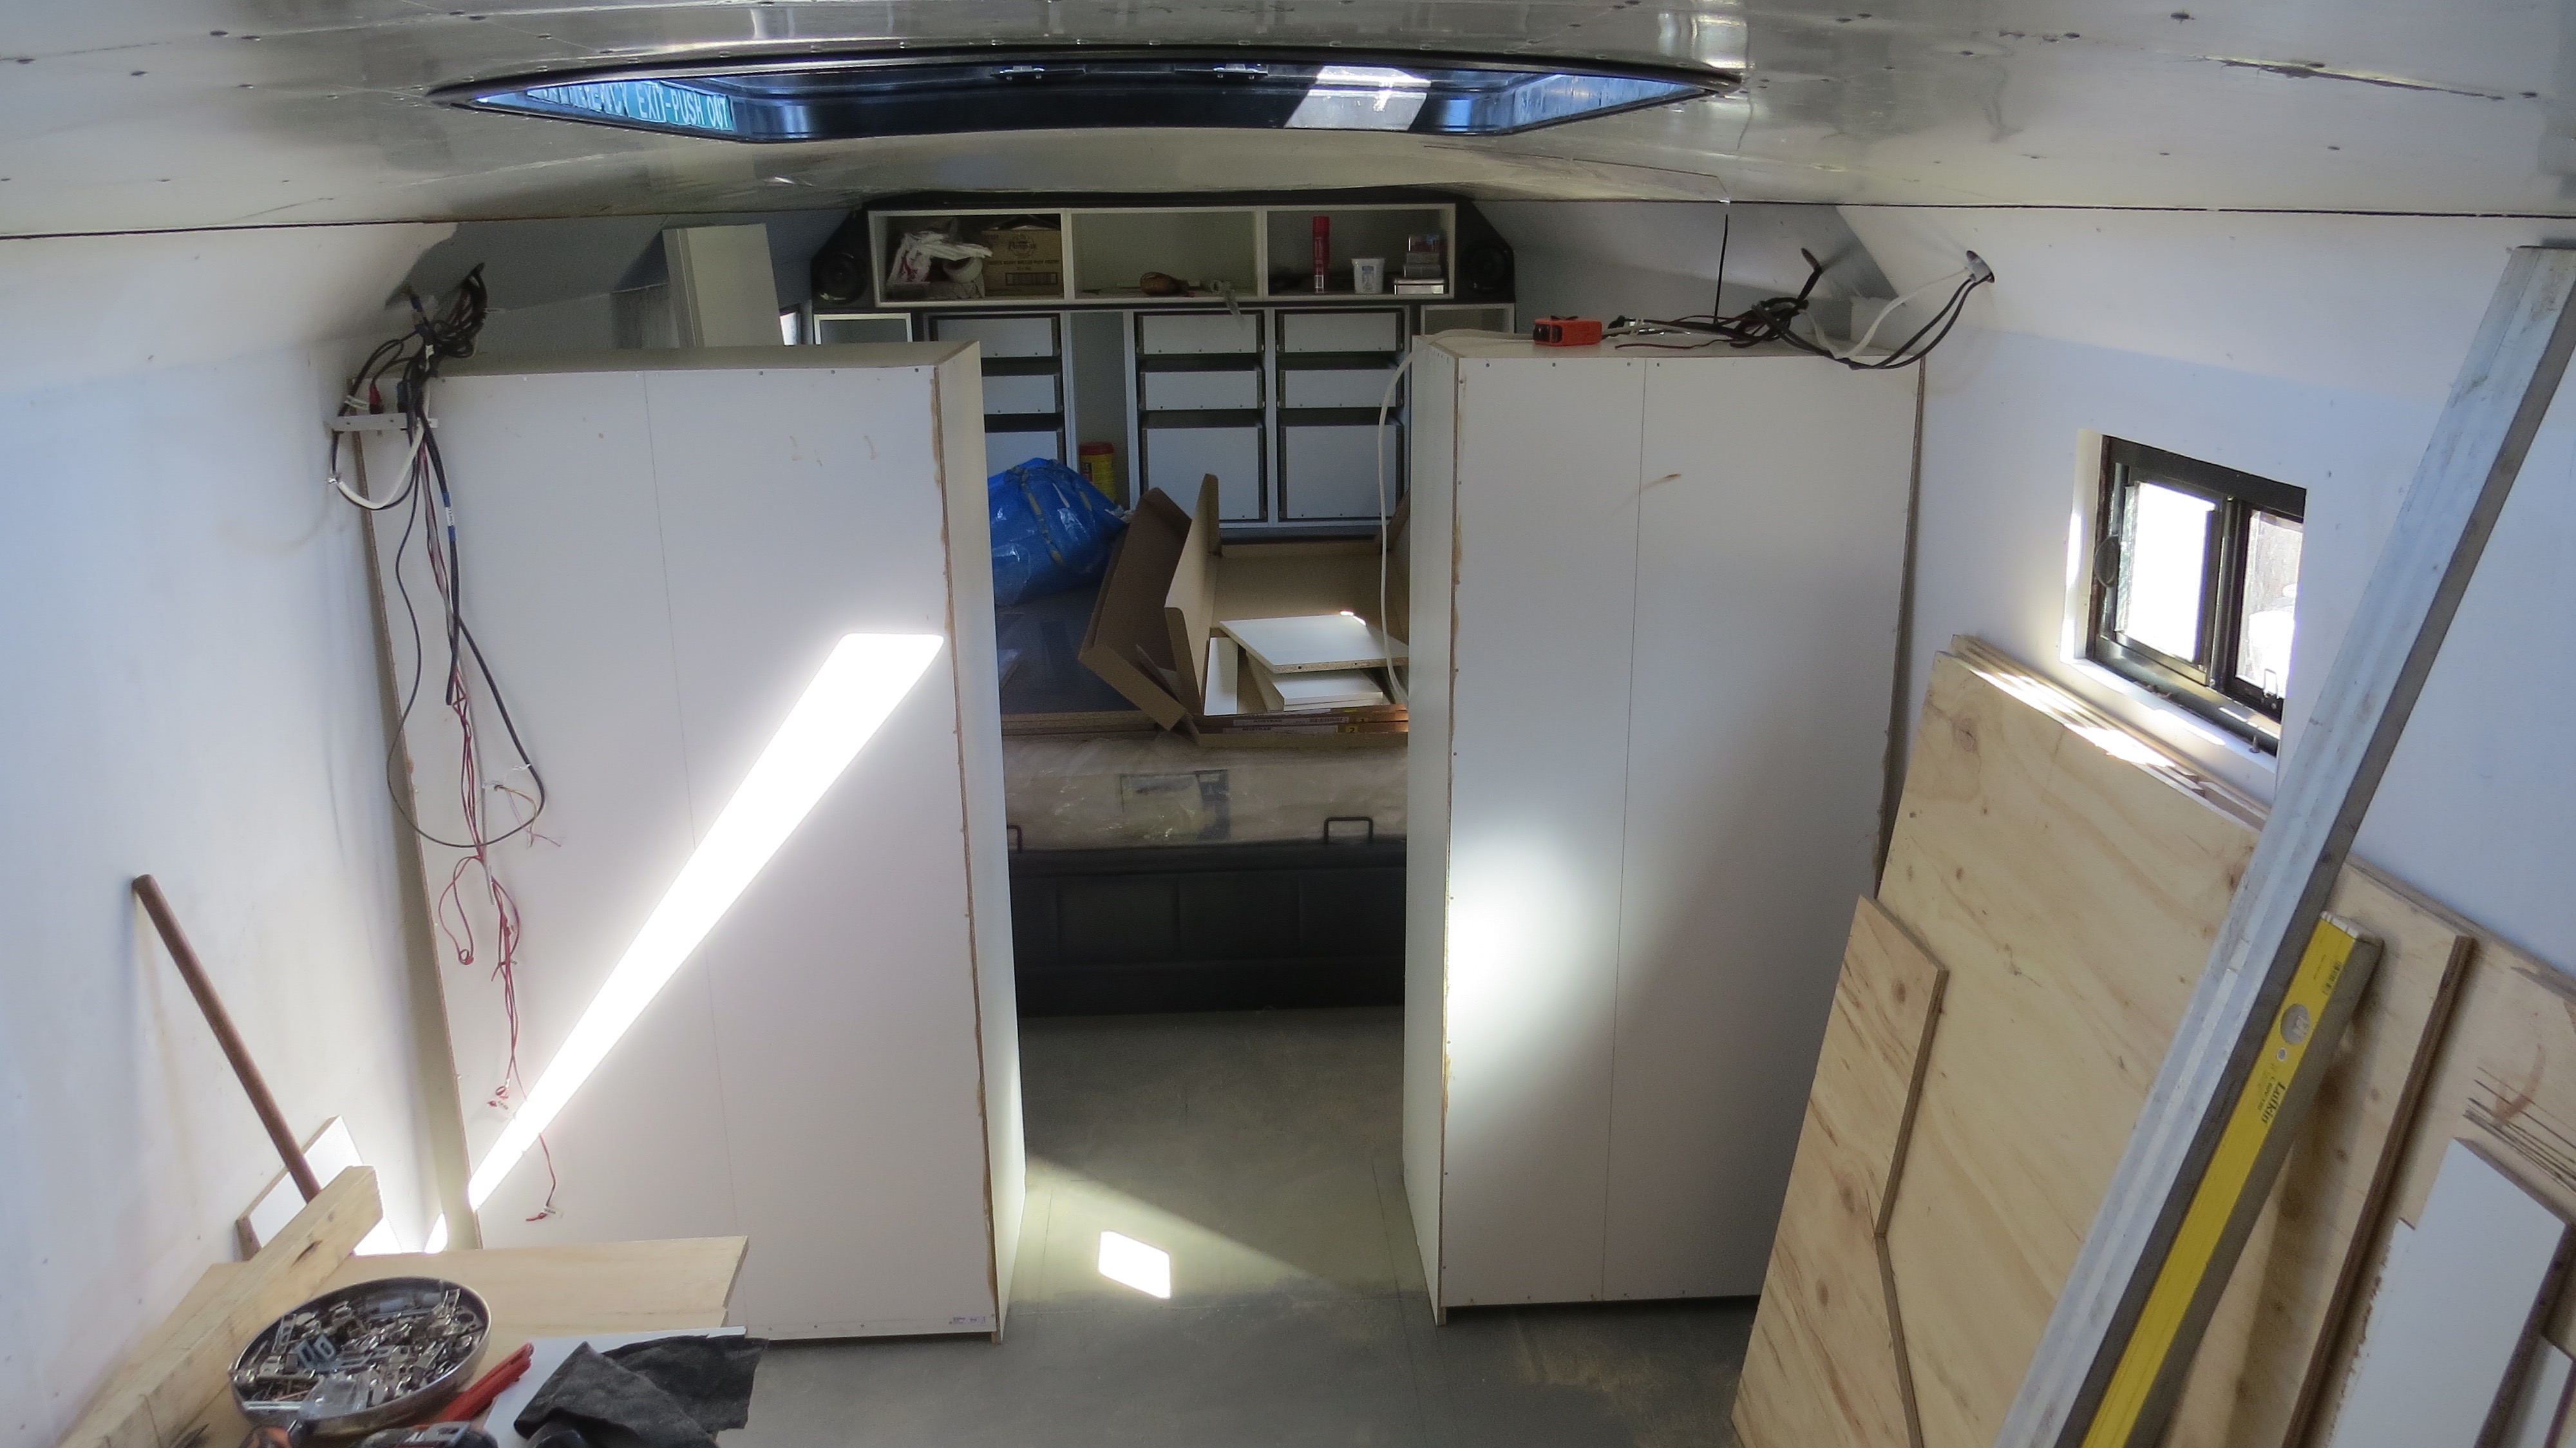
Utility cupboard
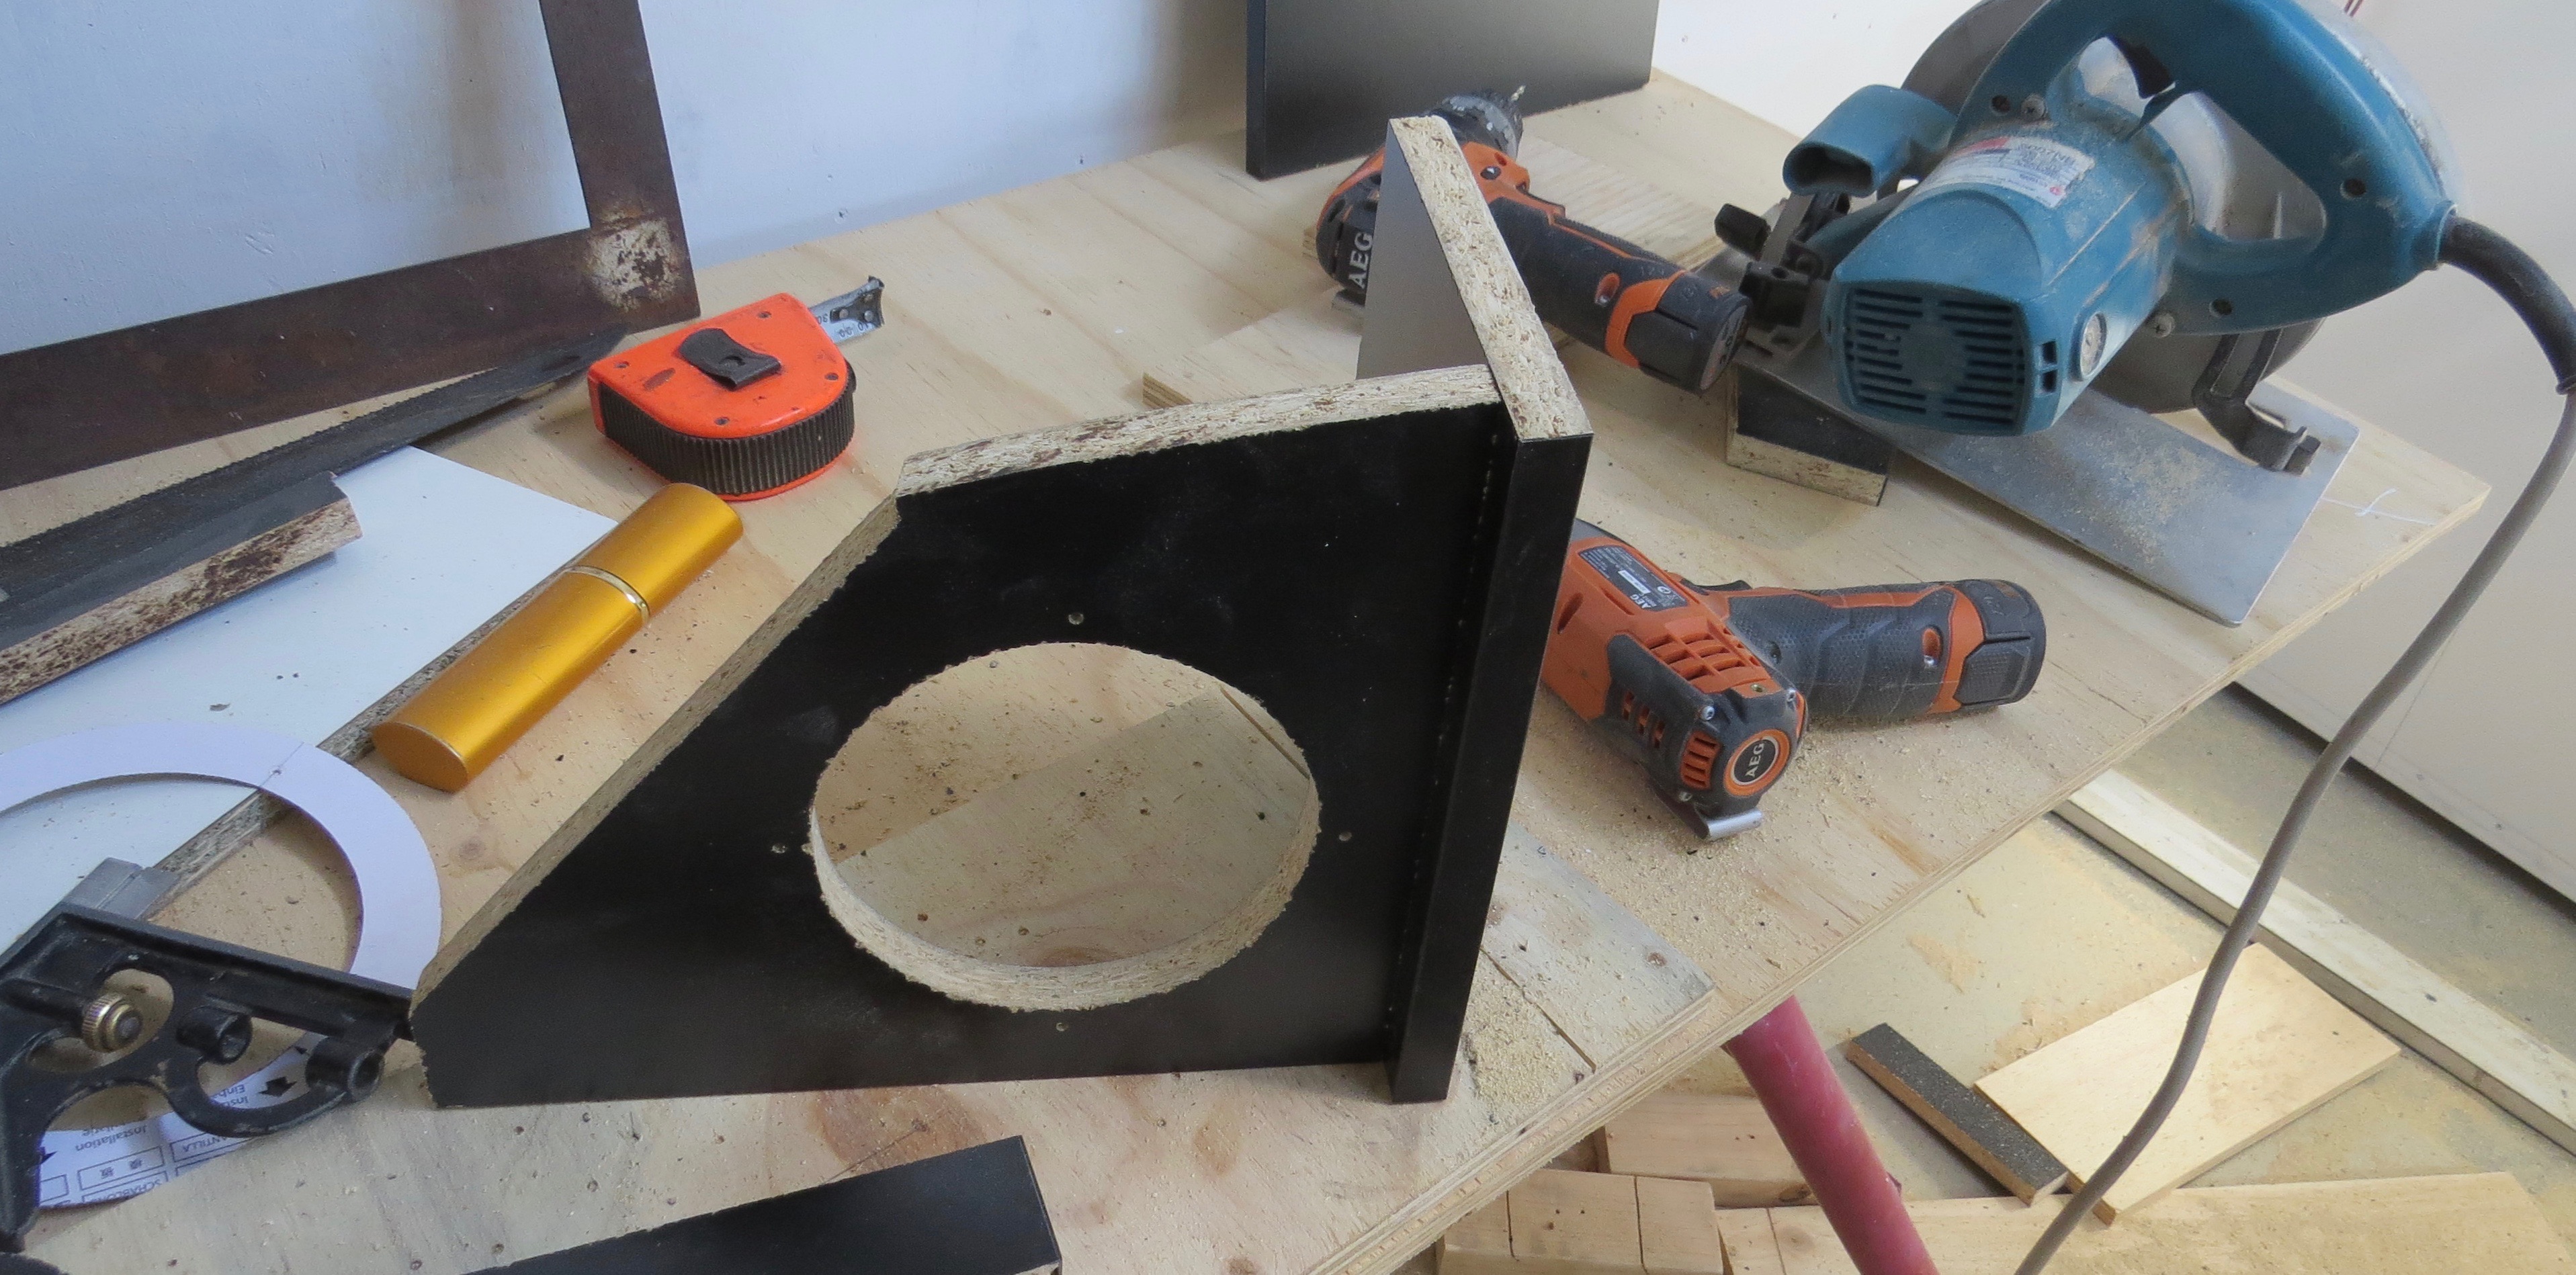
Behind the passenger side wardrobe there will be a narrow utility cupboard wide enough to fit the cordless vacuum, the deck ladder for the back hatch roof top deck access and other cleaning things. This one has to be made from scratch as it’s such an odd shape, it will have three to four deep shelves, for laundry washing bottles ect .
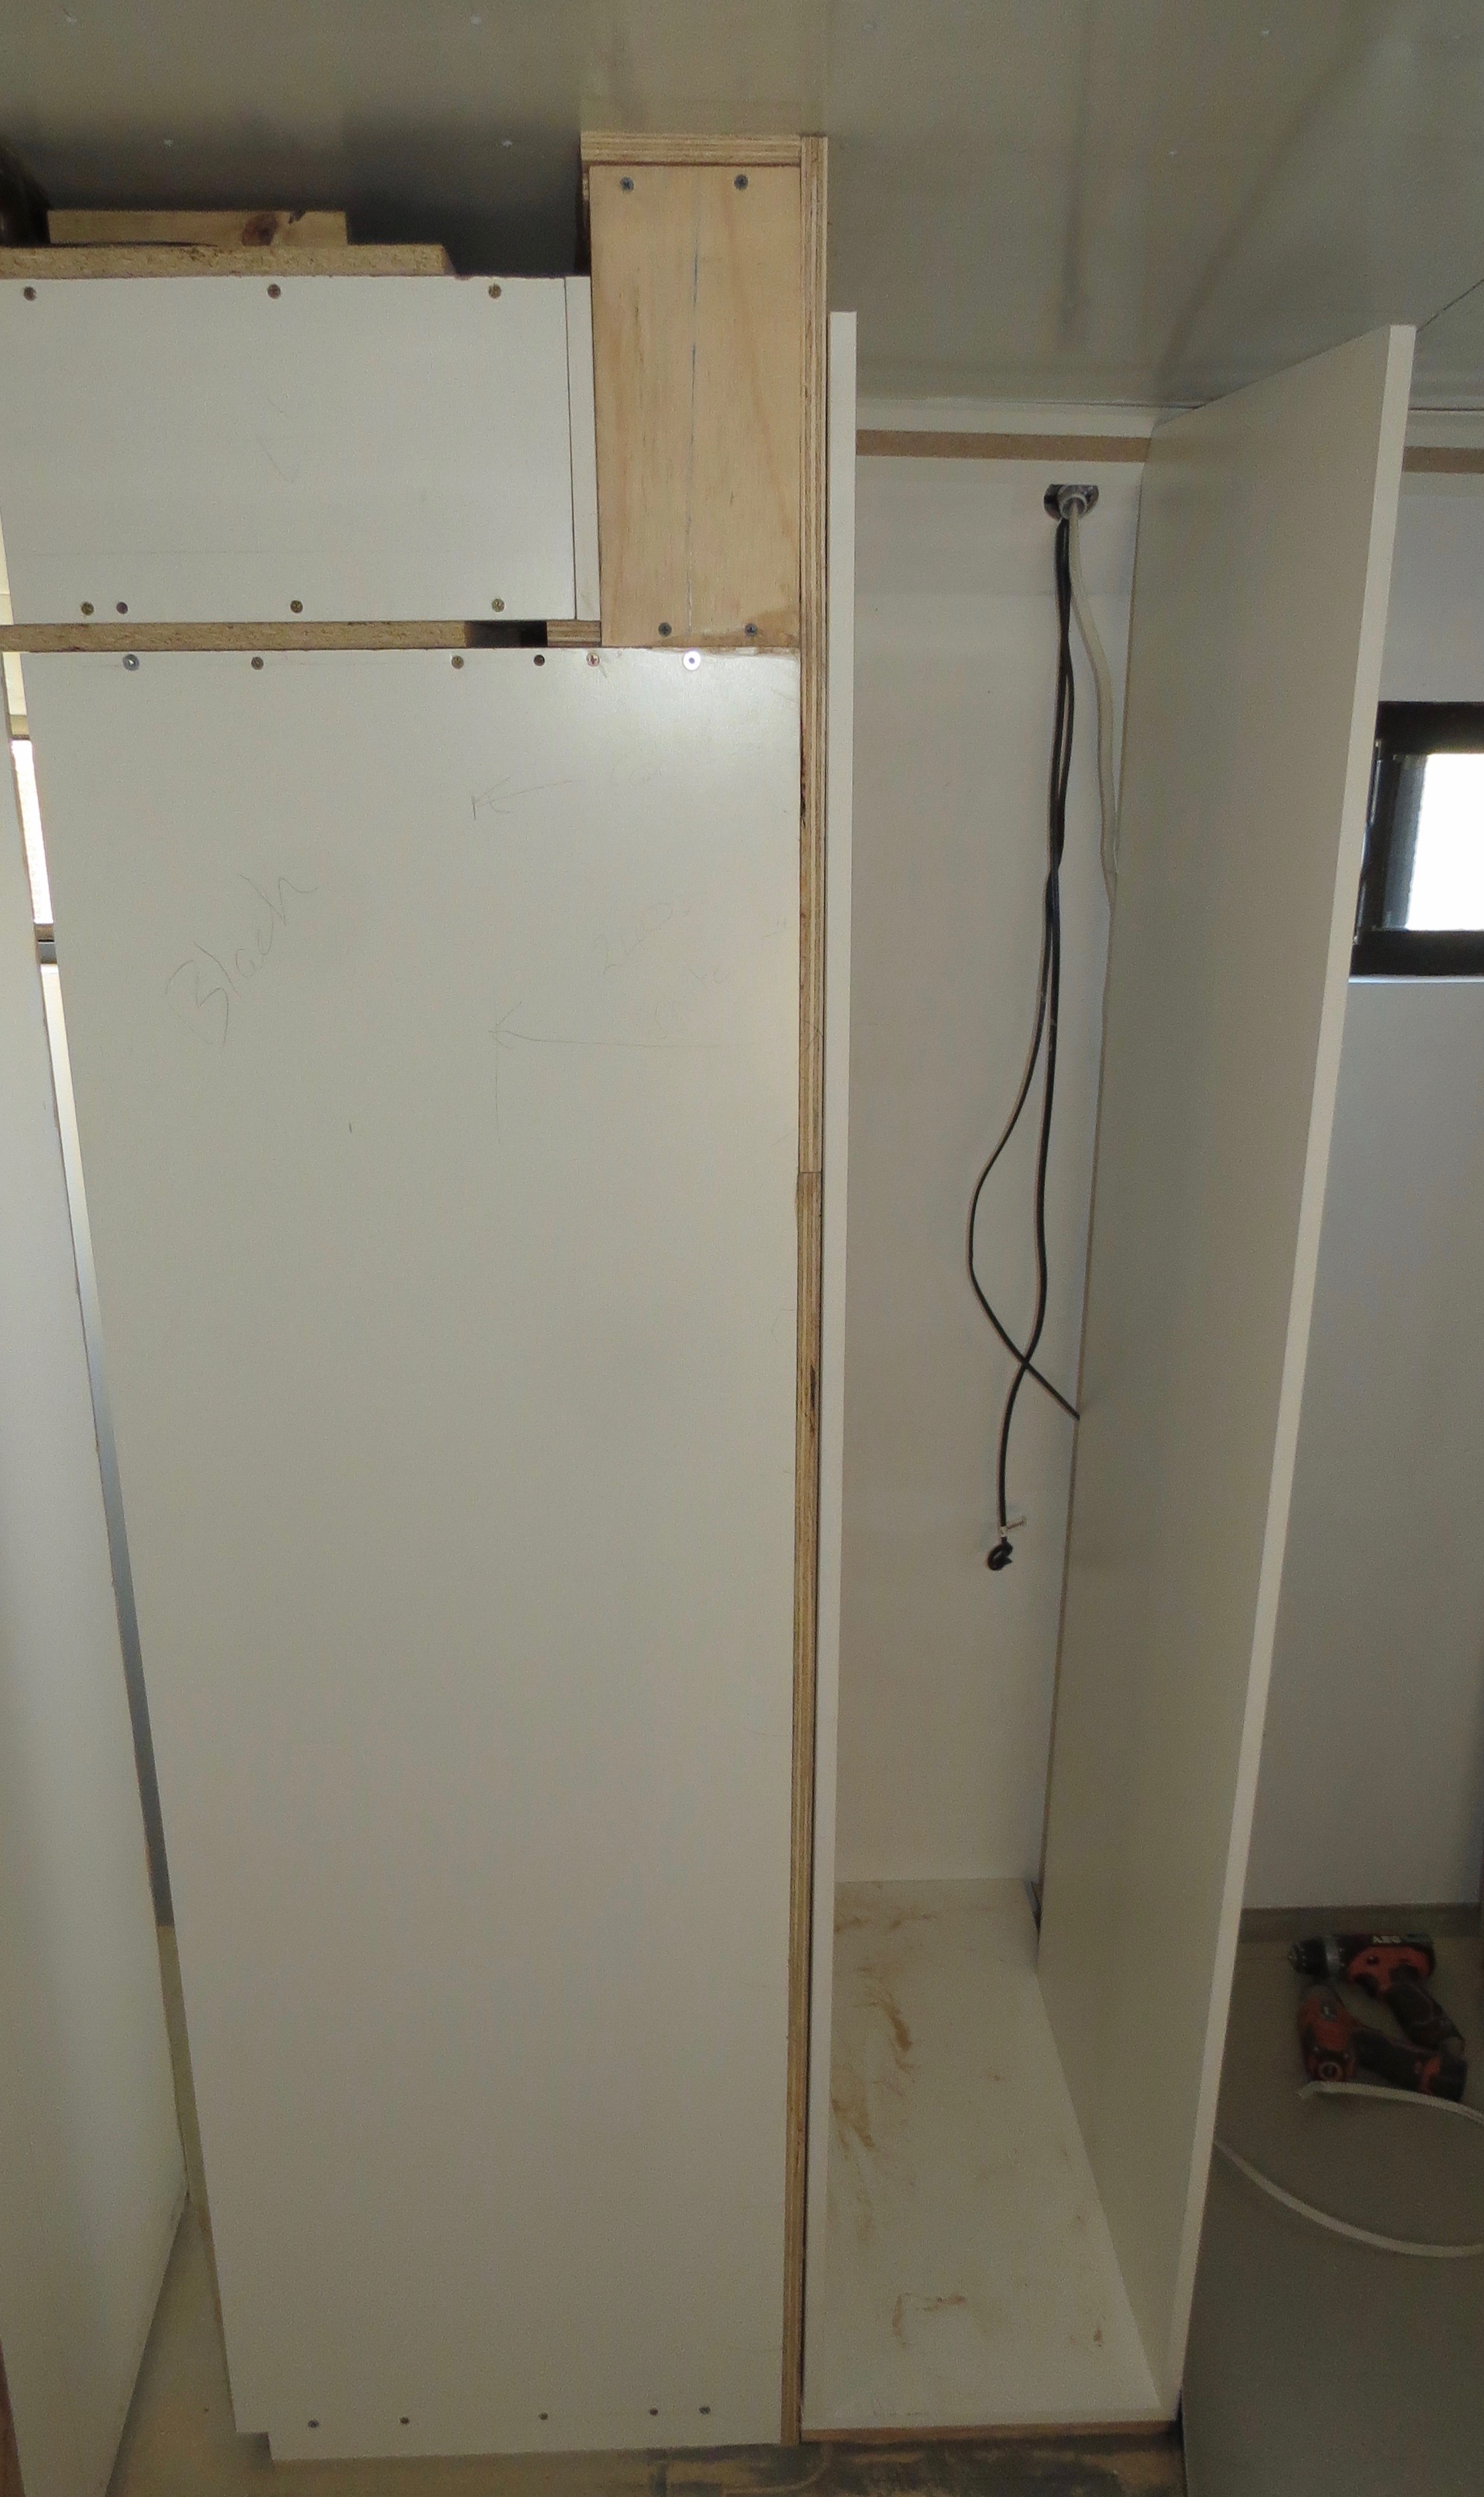
At this stage I’m just making it up as I go along, but I think its enough for what Charmaine needs for the use of this space. Now it’s time to cut the rest of the pieces up that I need so to finish screwing and gluing it all together. The top of the walls actually lean in around 85mm and by not going all the way to the ceiling I don’t have to worry about the curve for now.
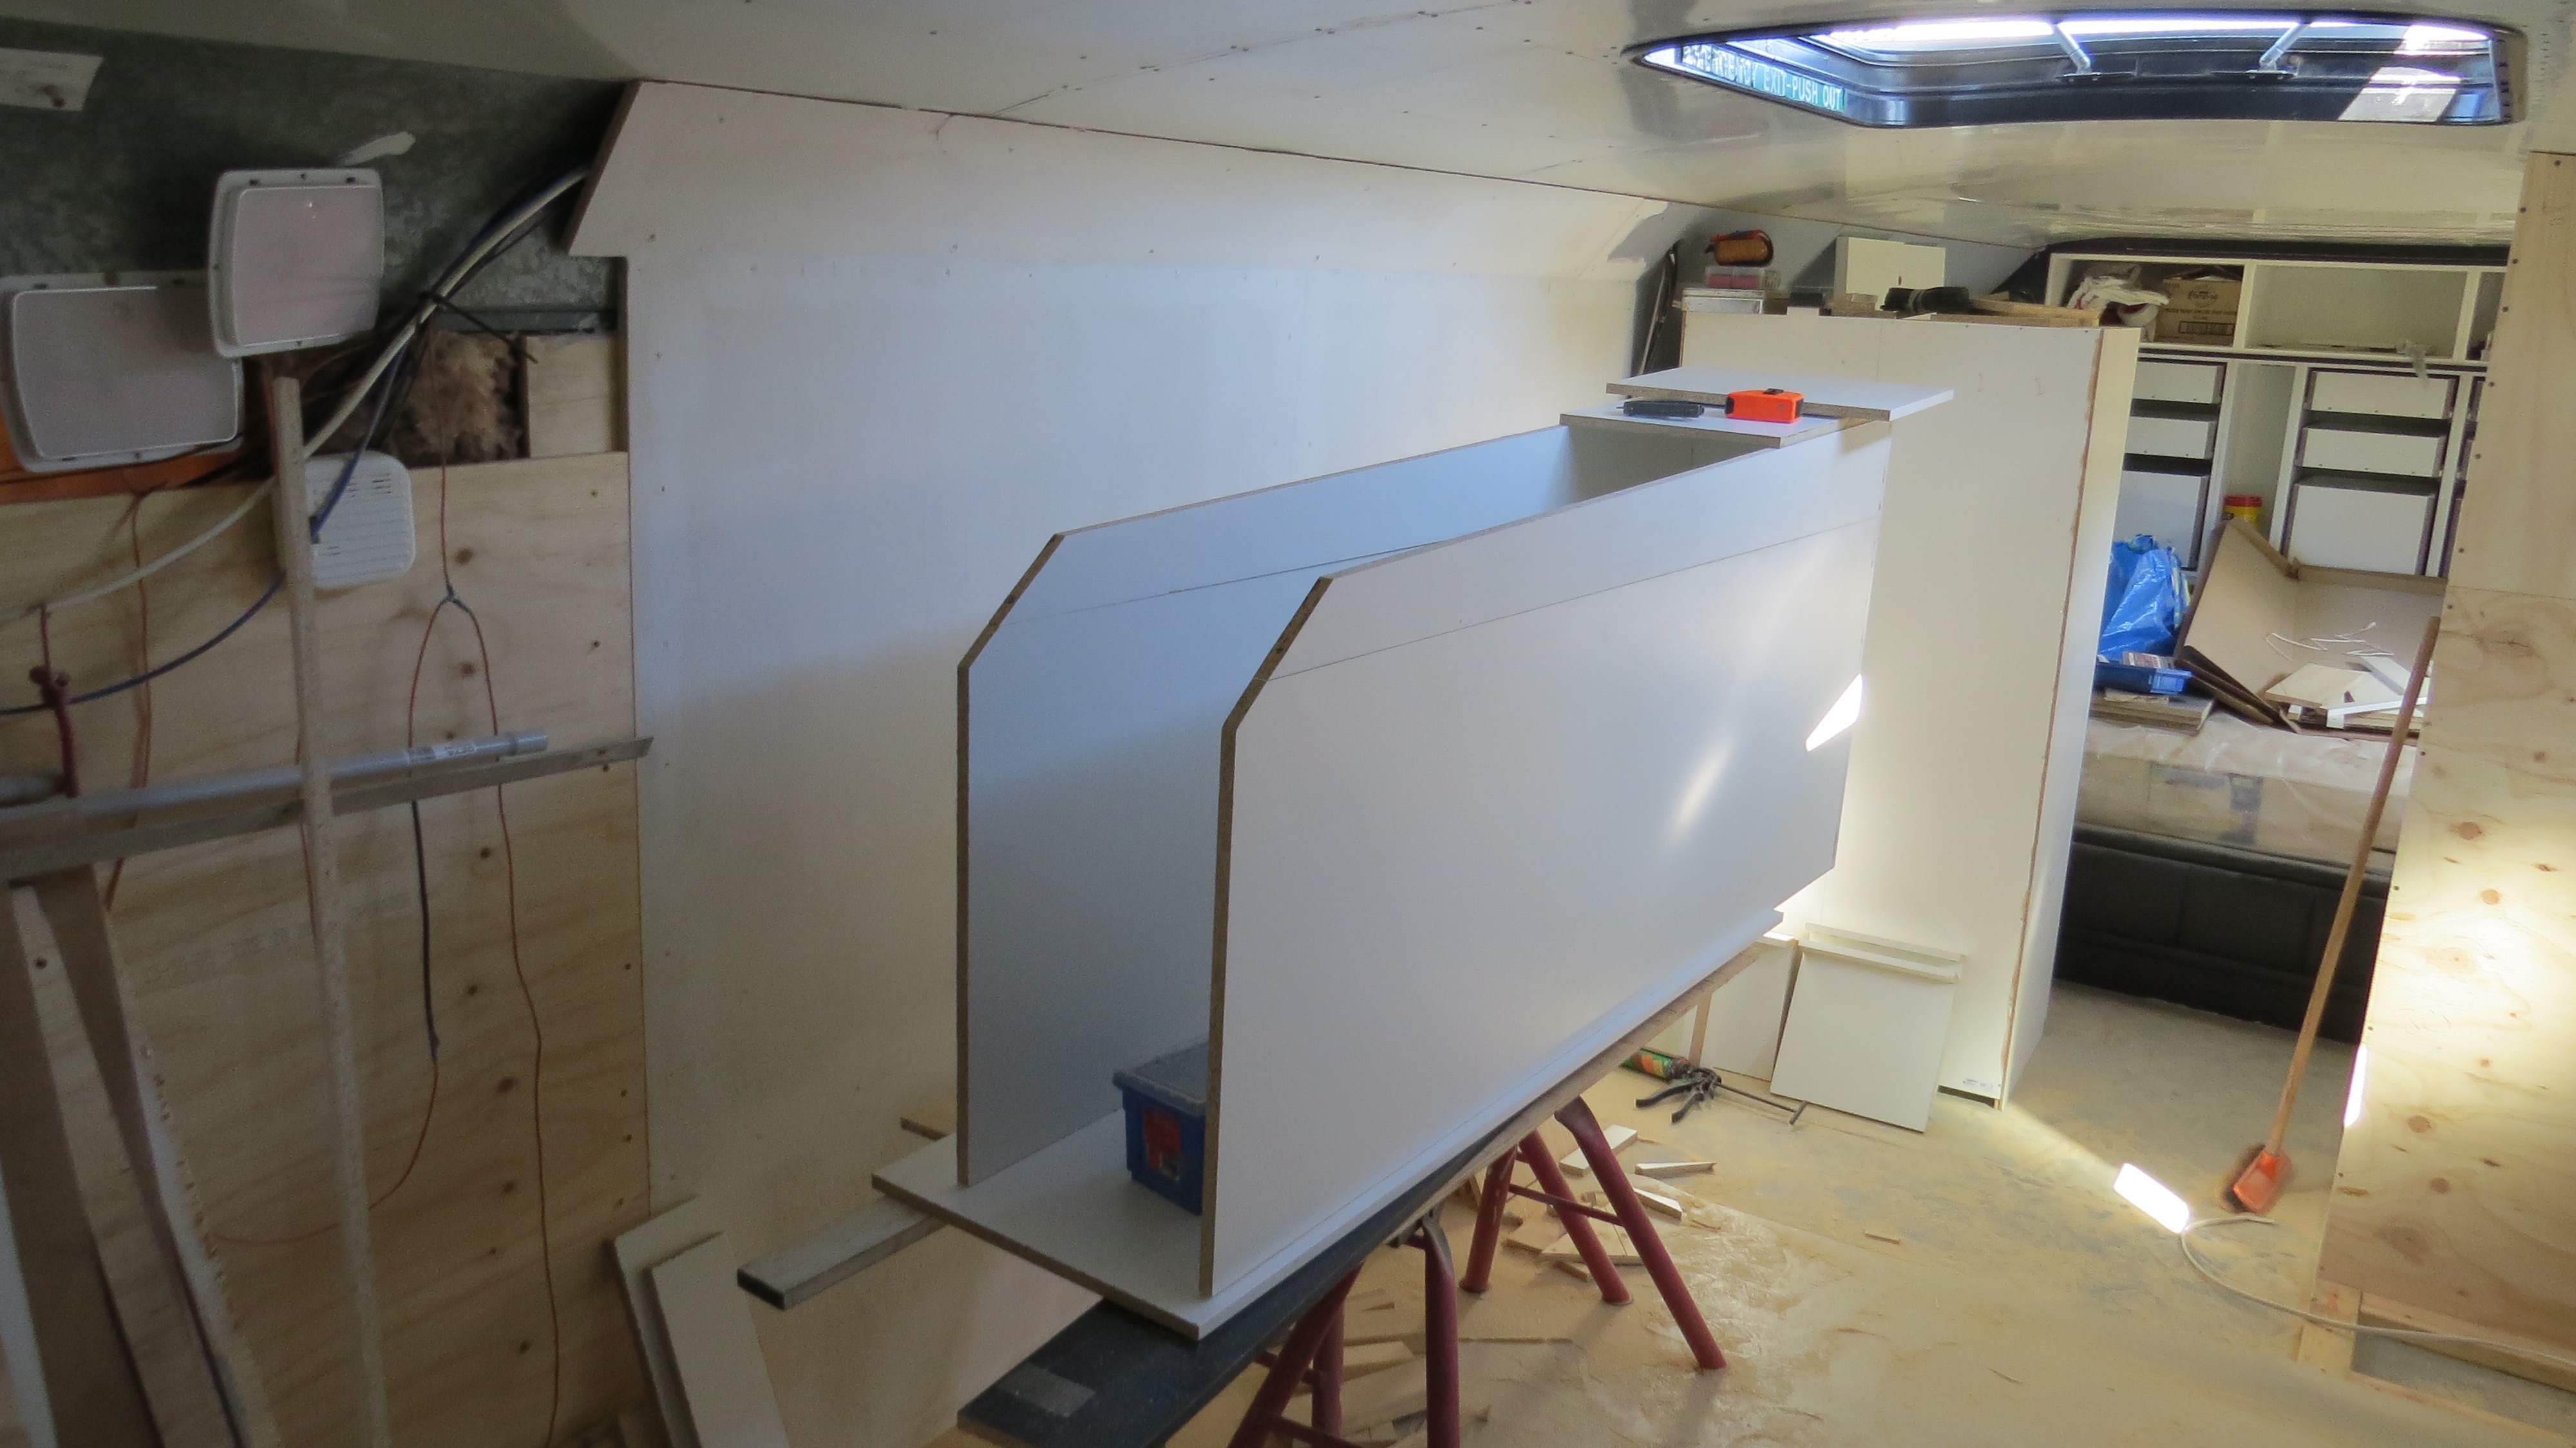
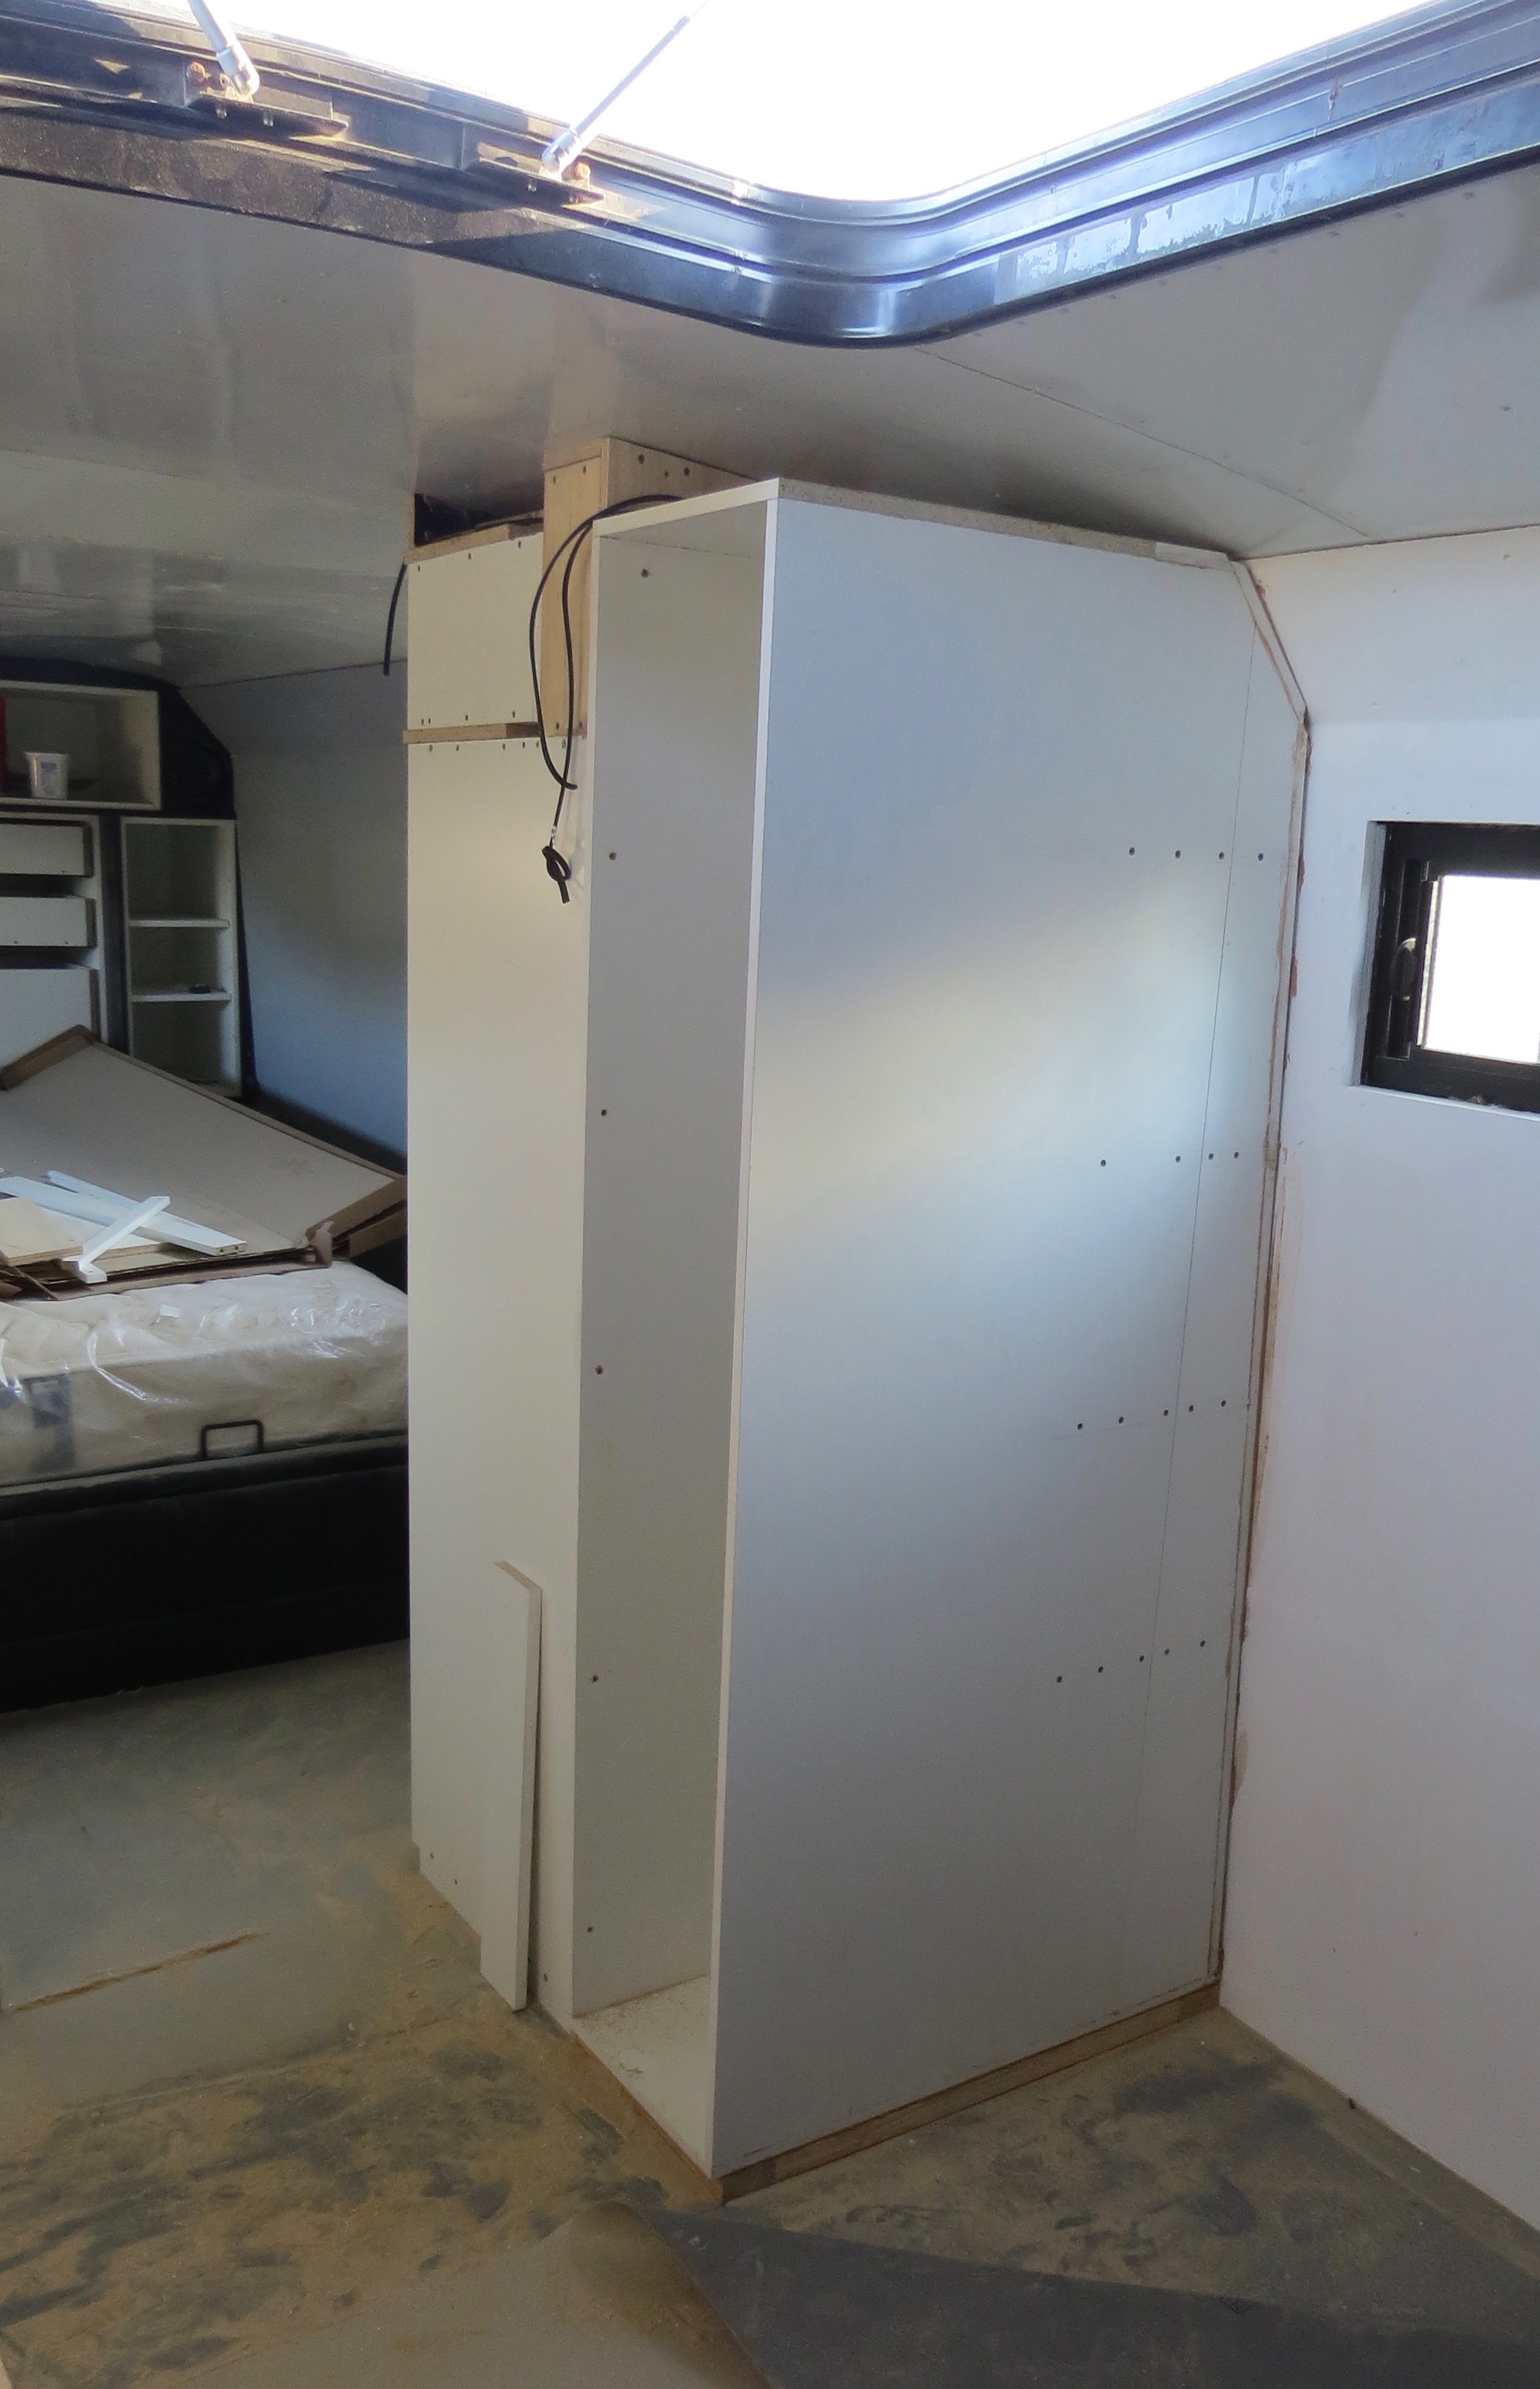
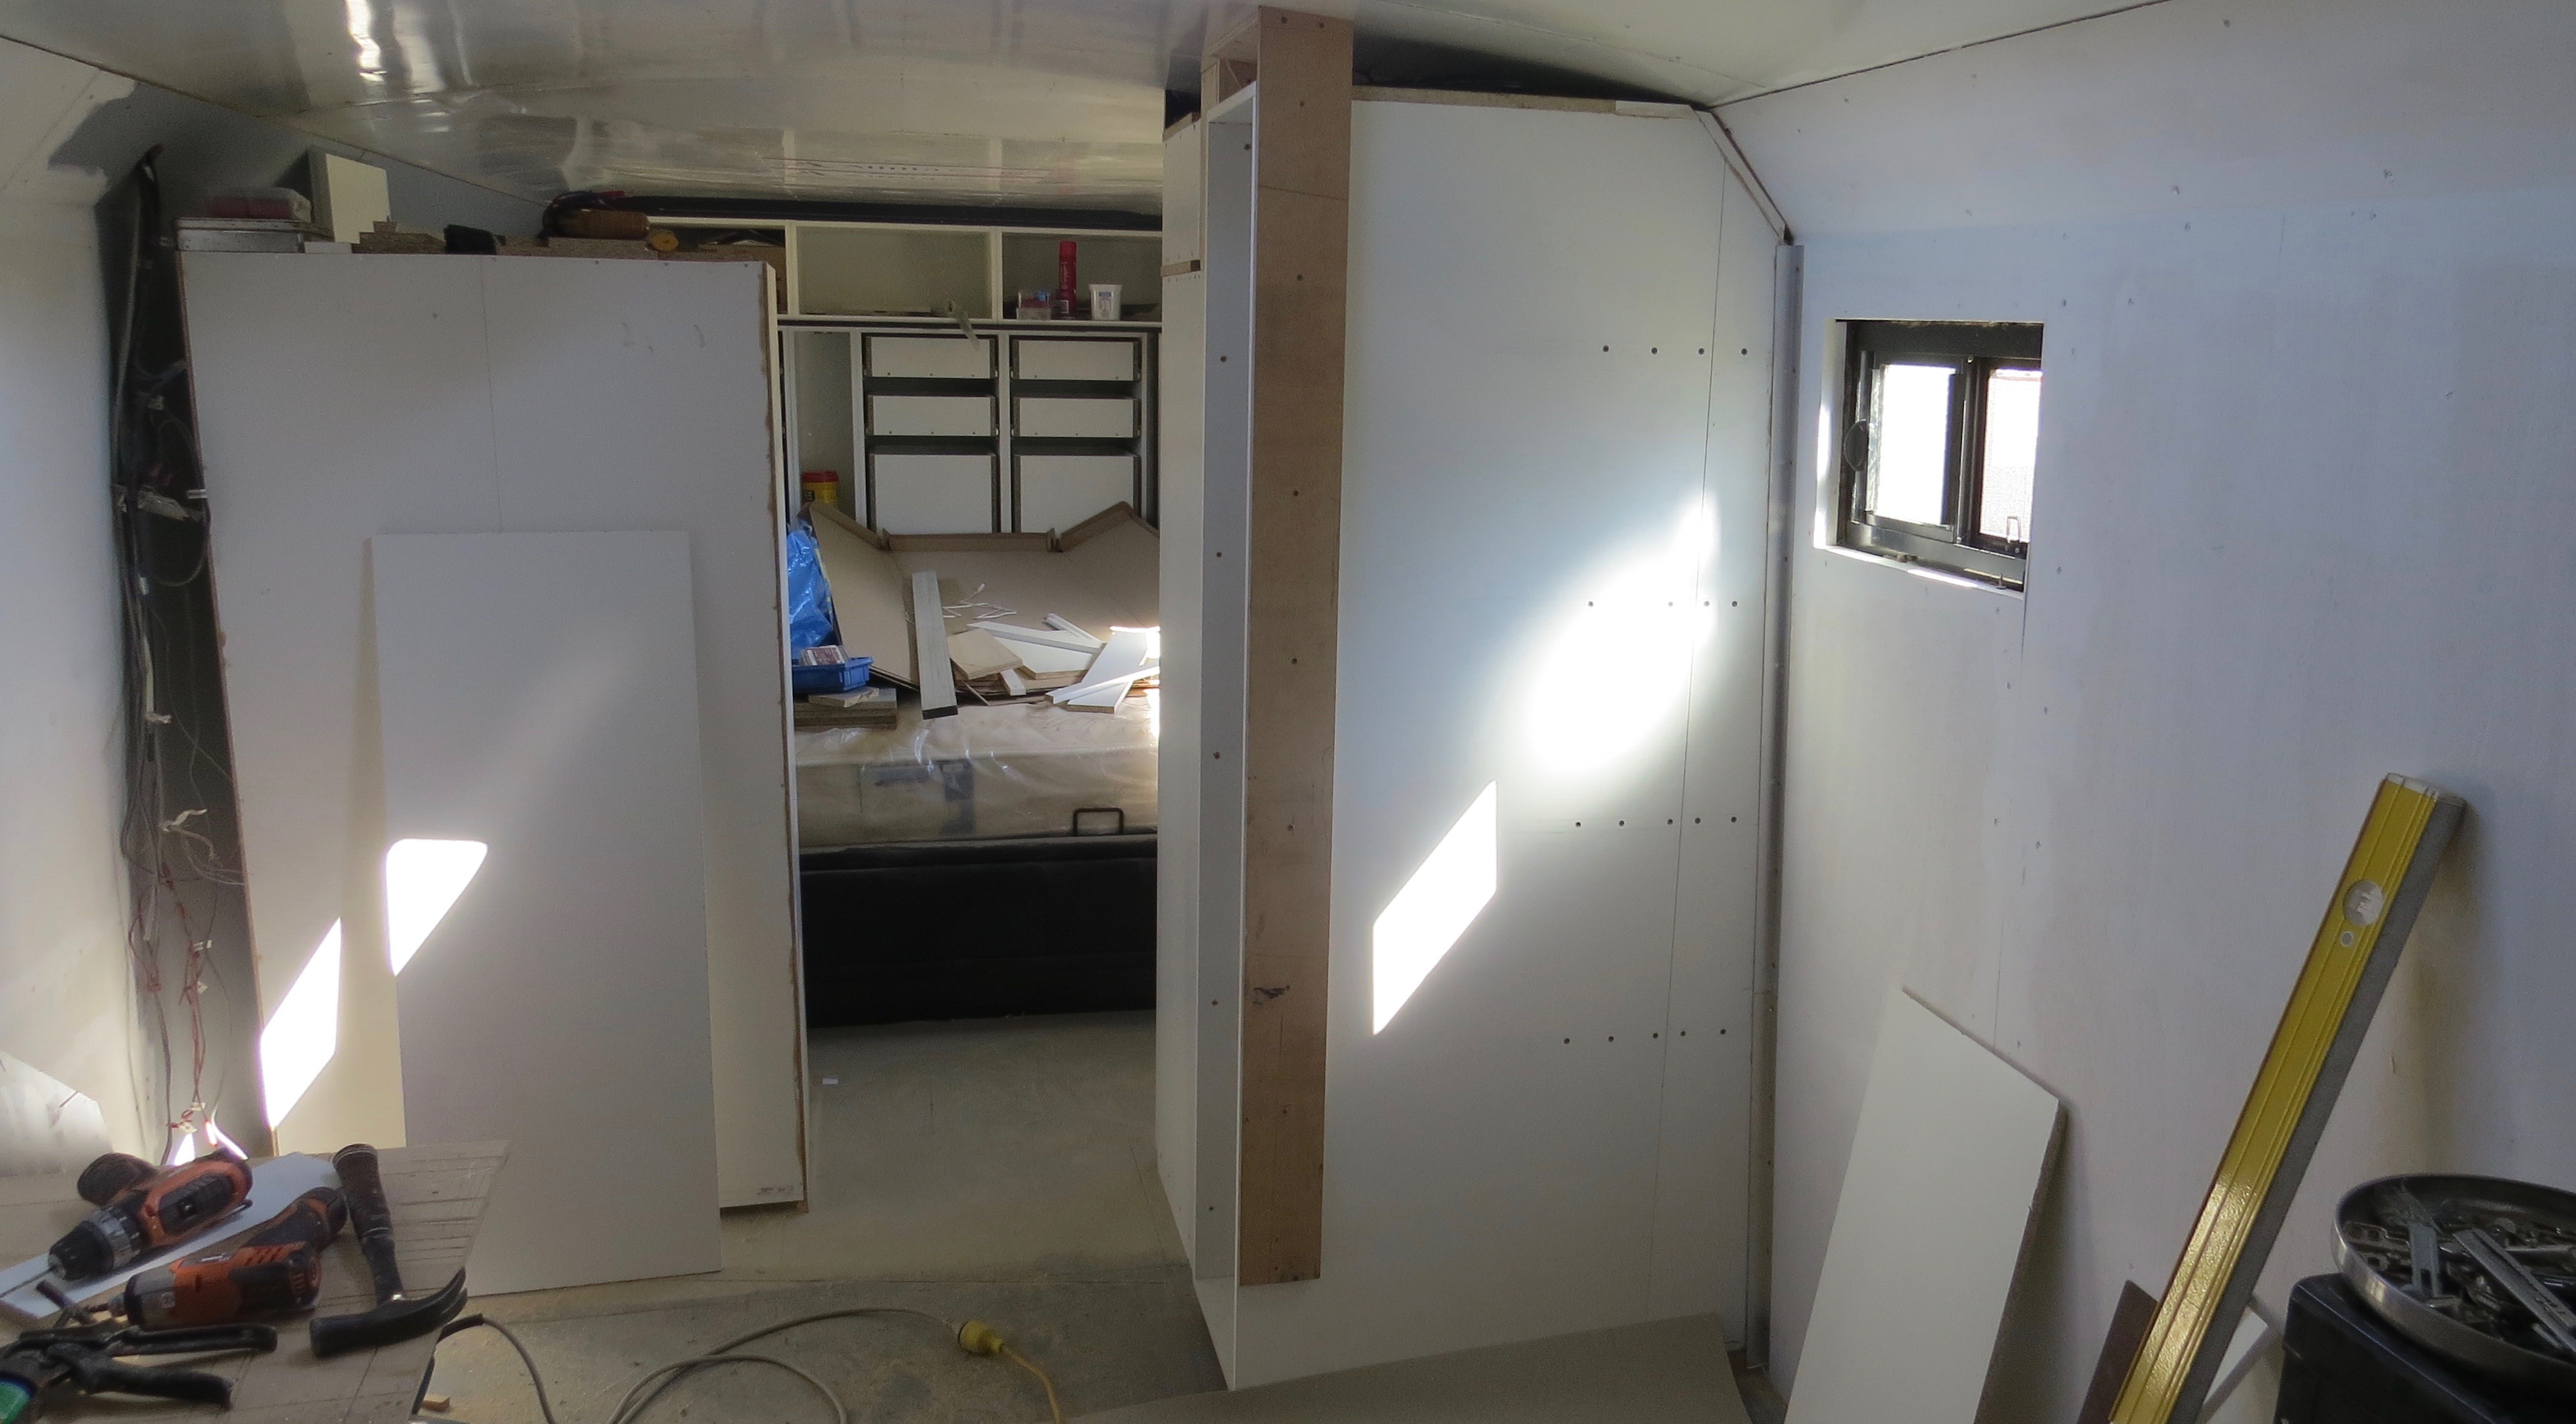

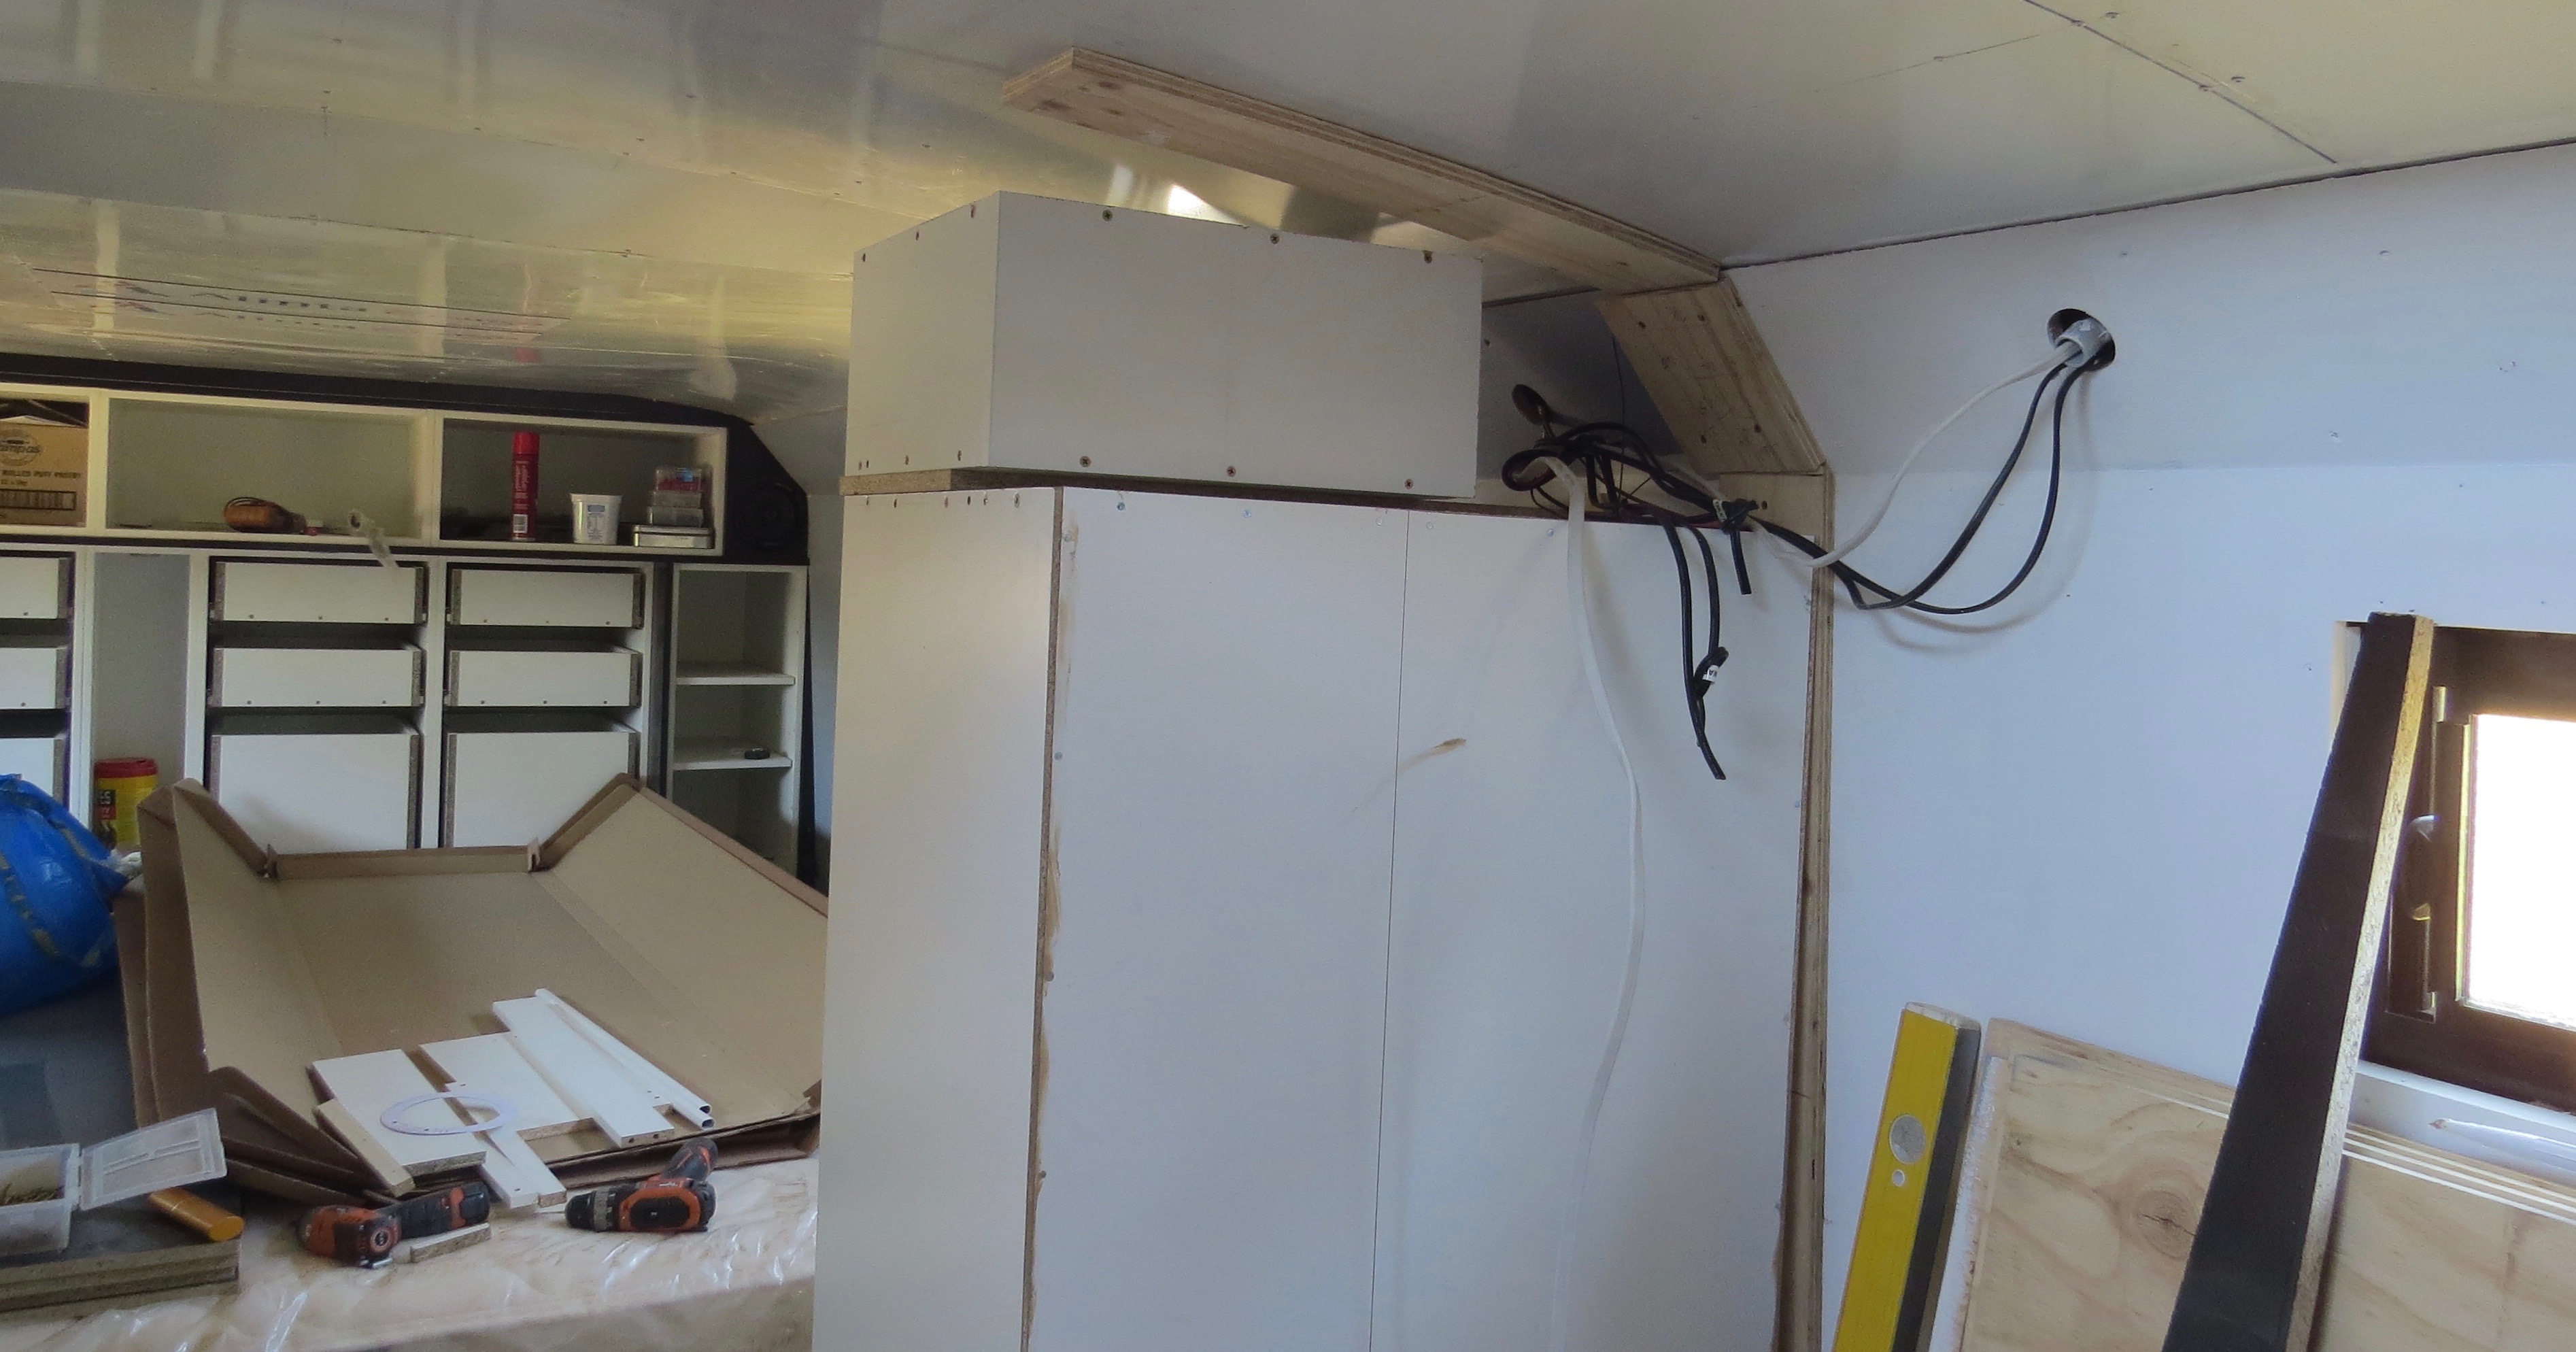
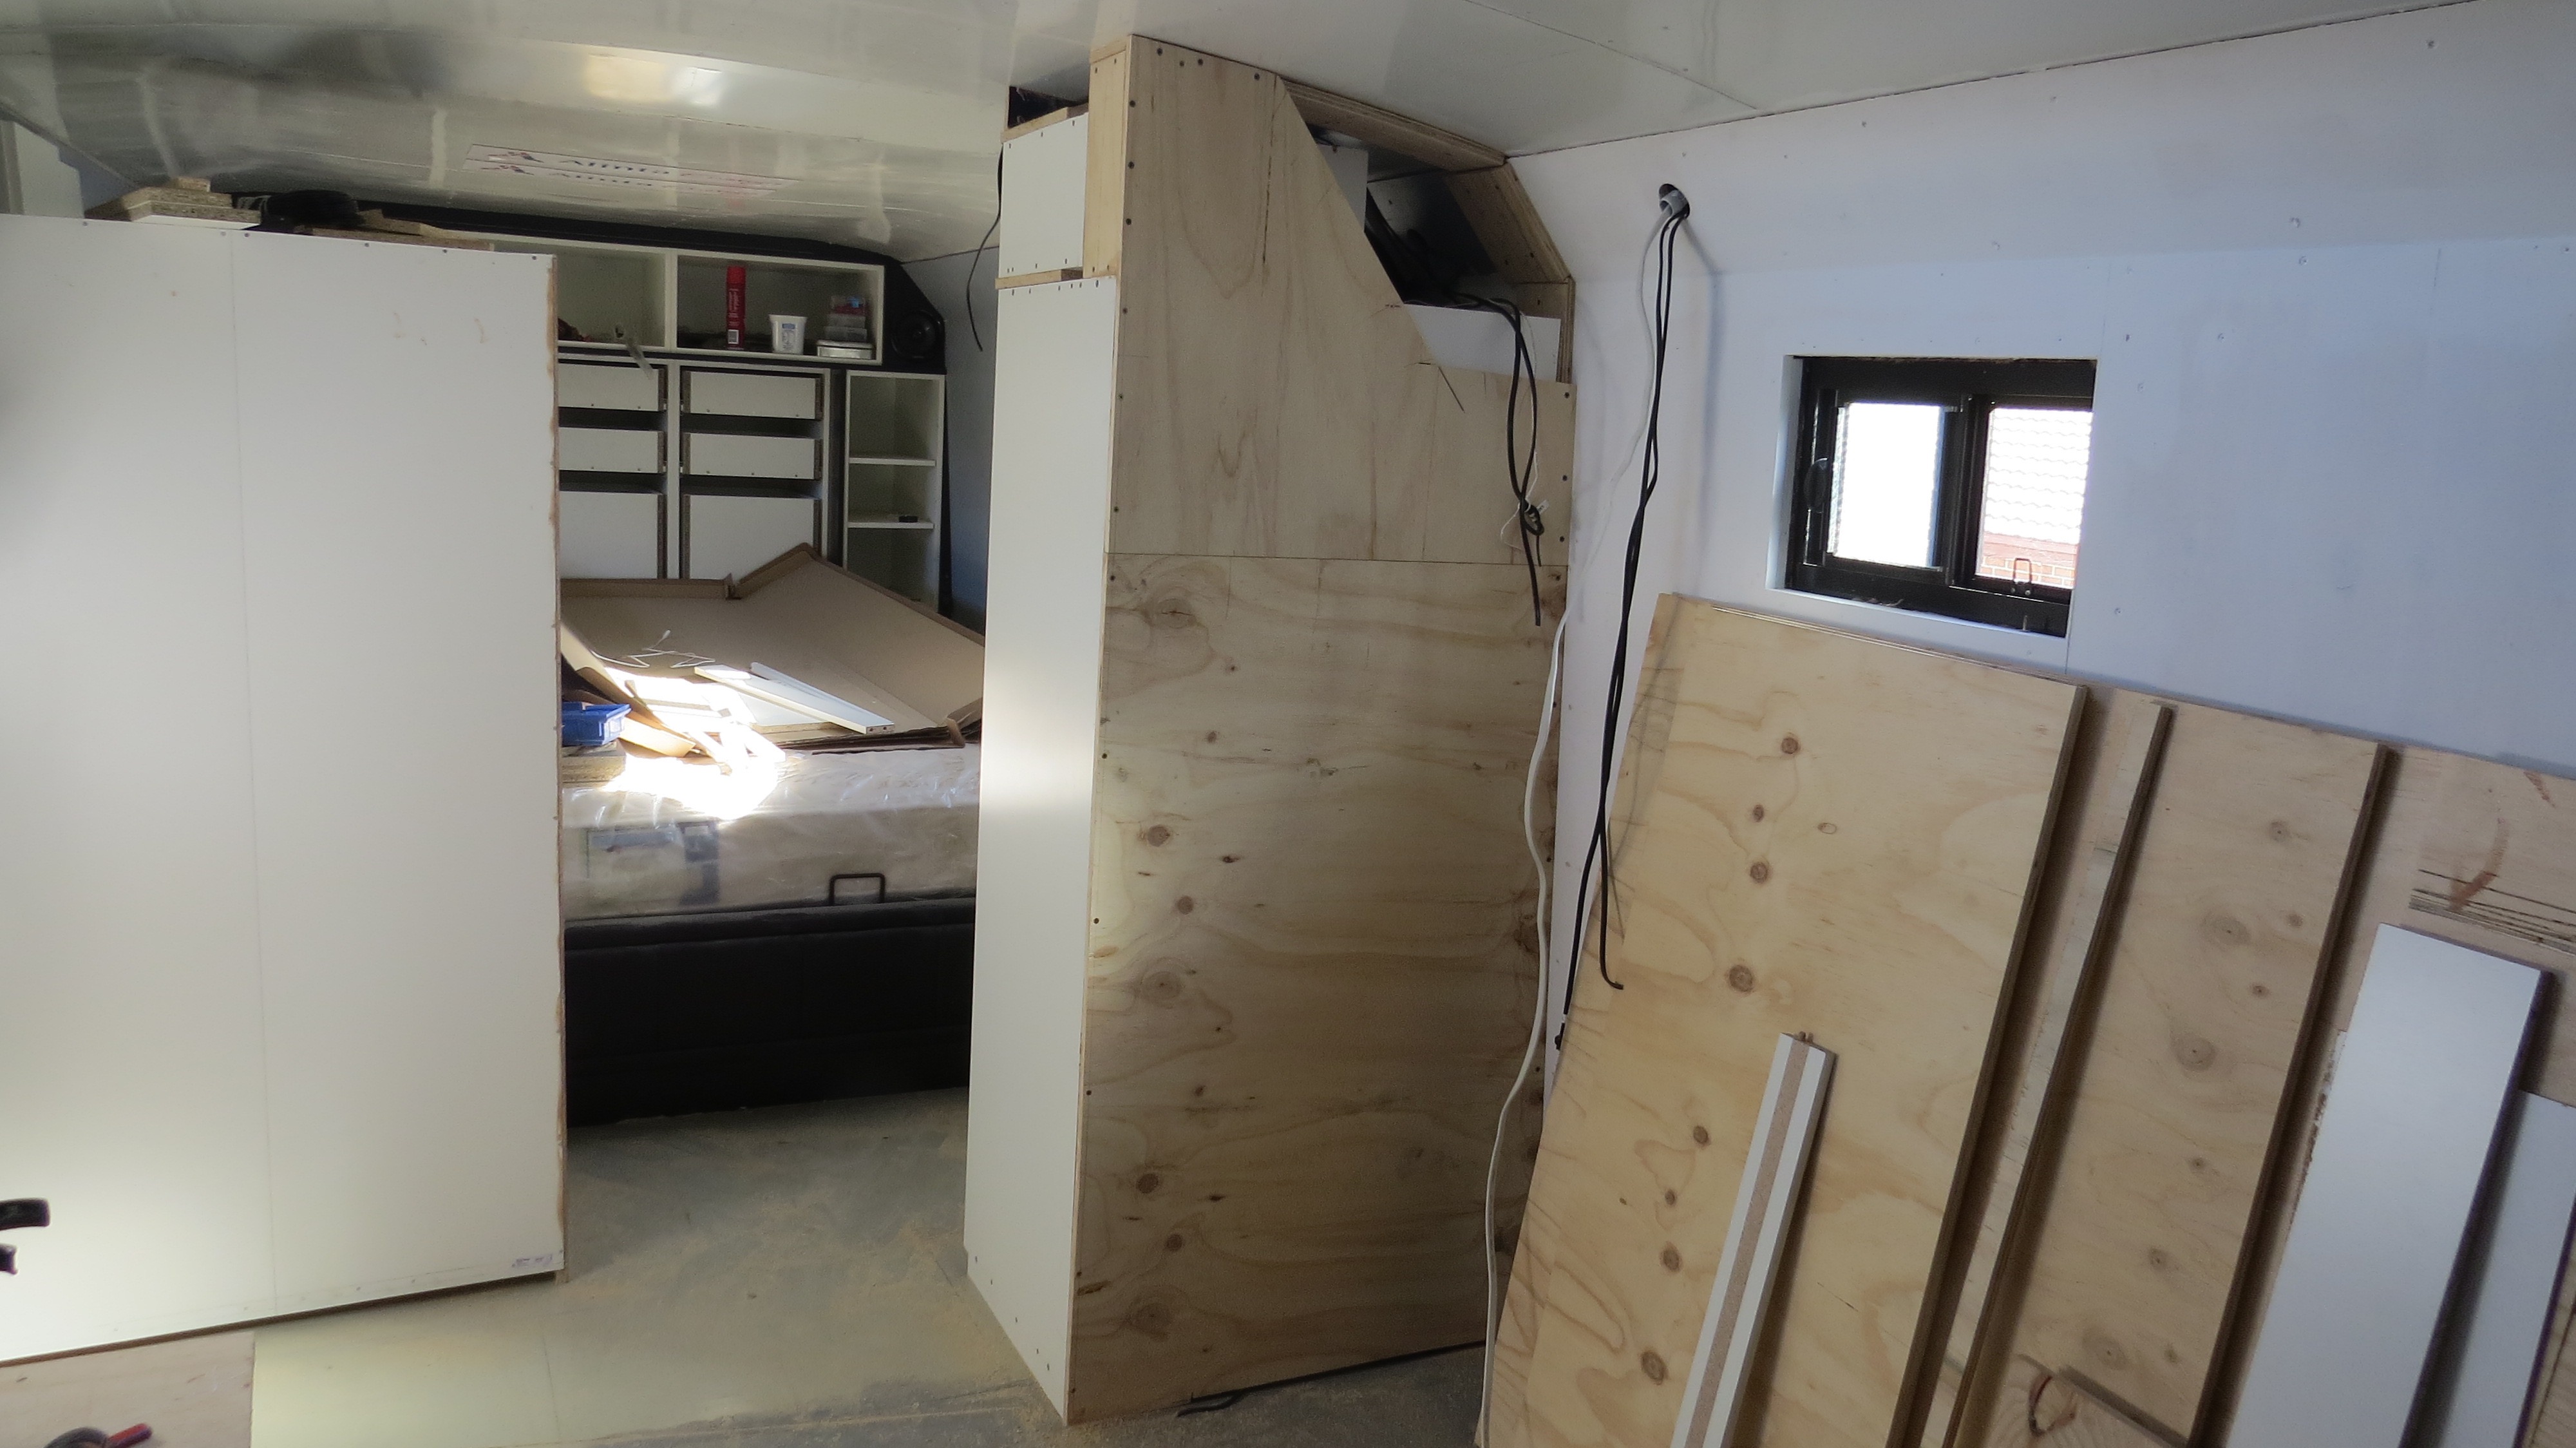
Now for the other side wardrobes
I had already built it so, it’s just a matter of starting on the trim to go down the side between the wall the support under the wardrobe. Then build a small cupboard to go on top and somewhere for the other speaker with the stereo. The passenger’s side has all the wires, 12v lighting as well as the speakers on that side.