Tag Archives: Wardrobes

Going over to the other side, of the wardrobe that is!!!

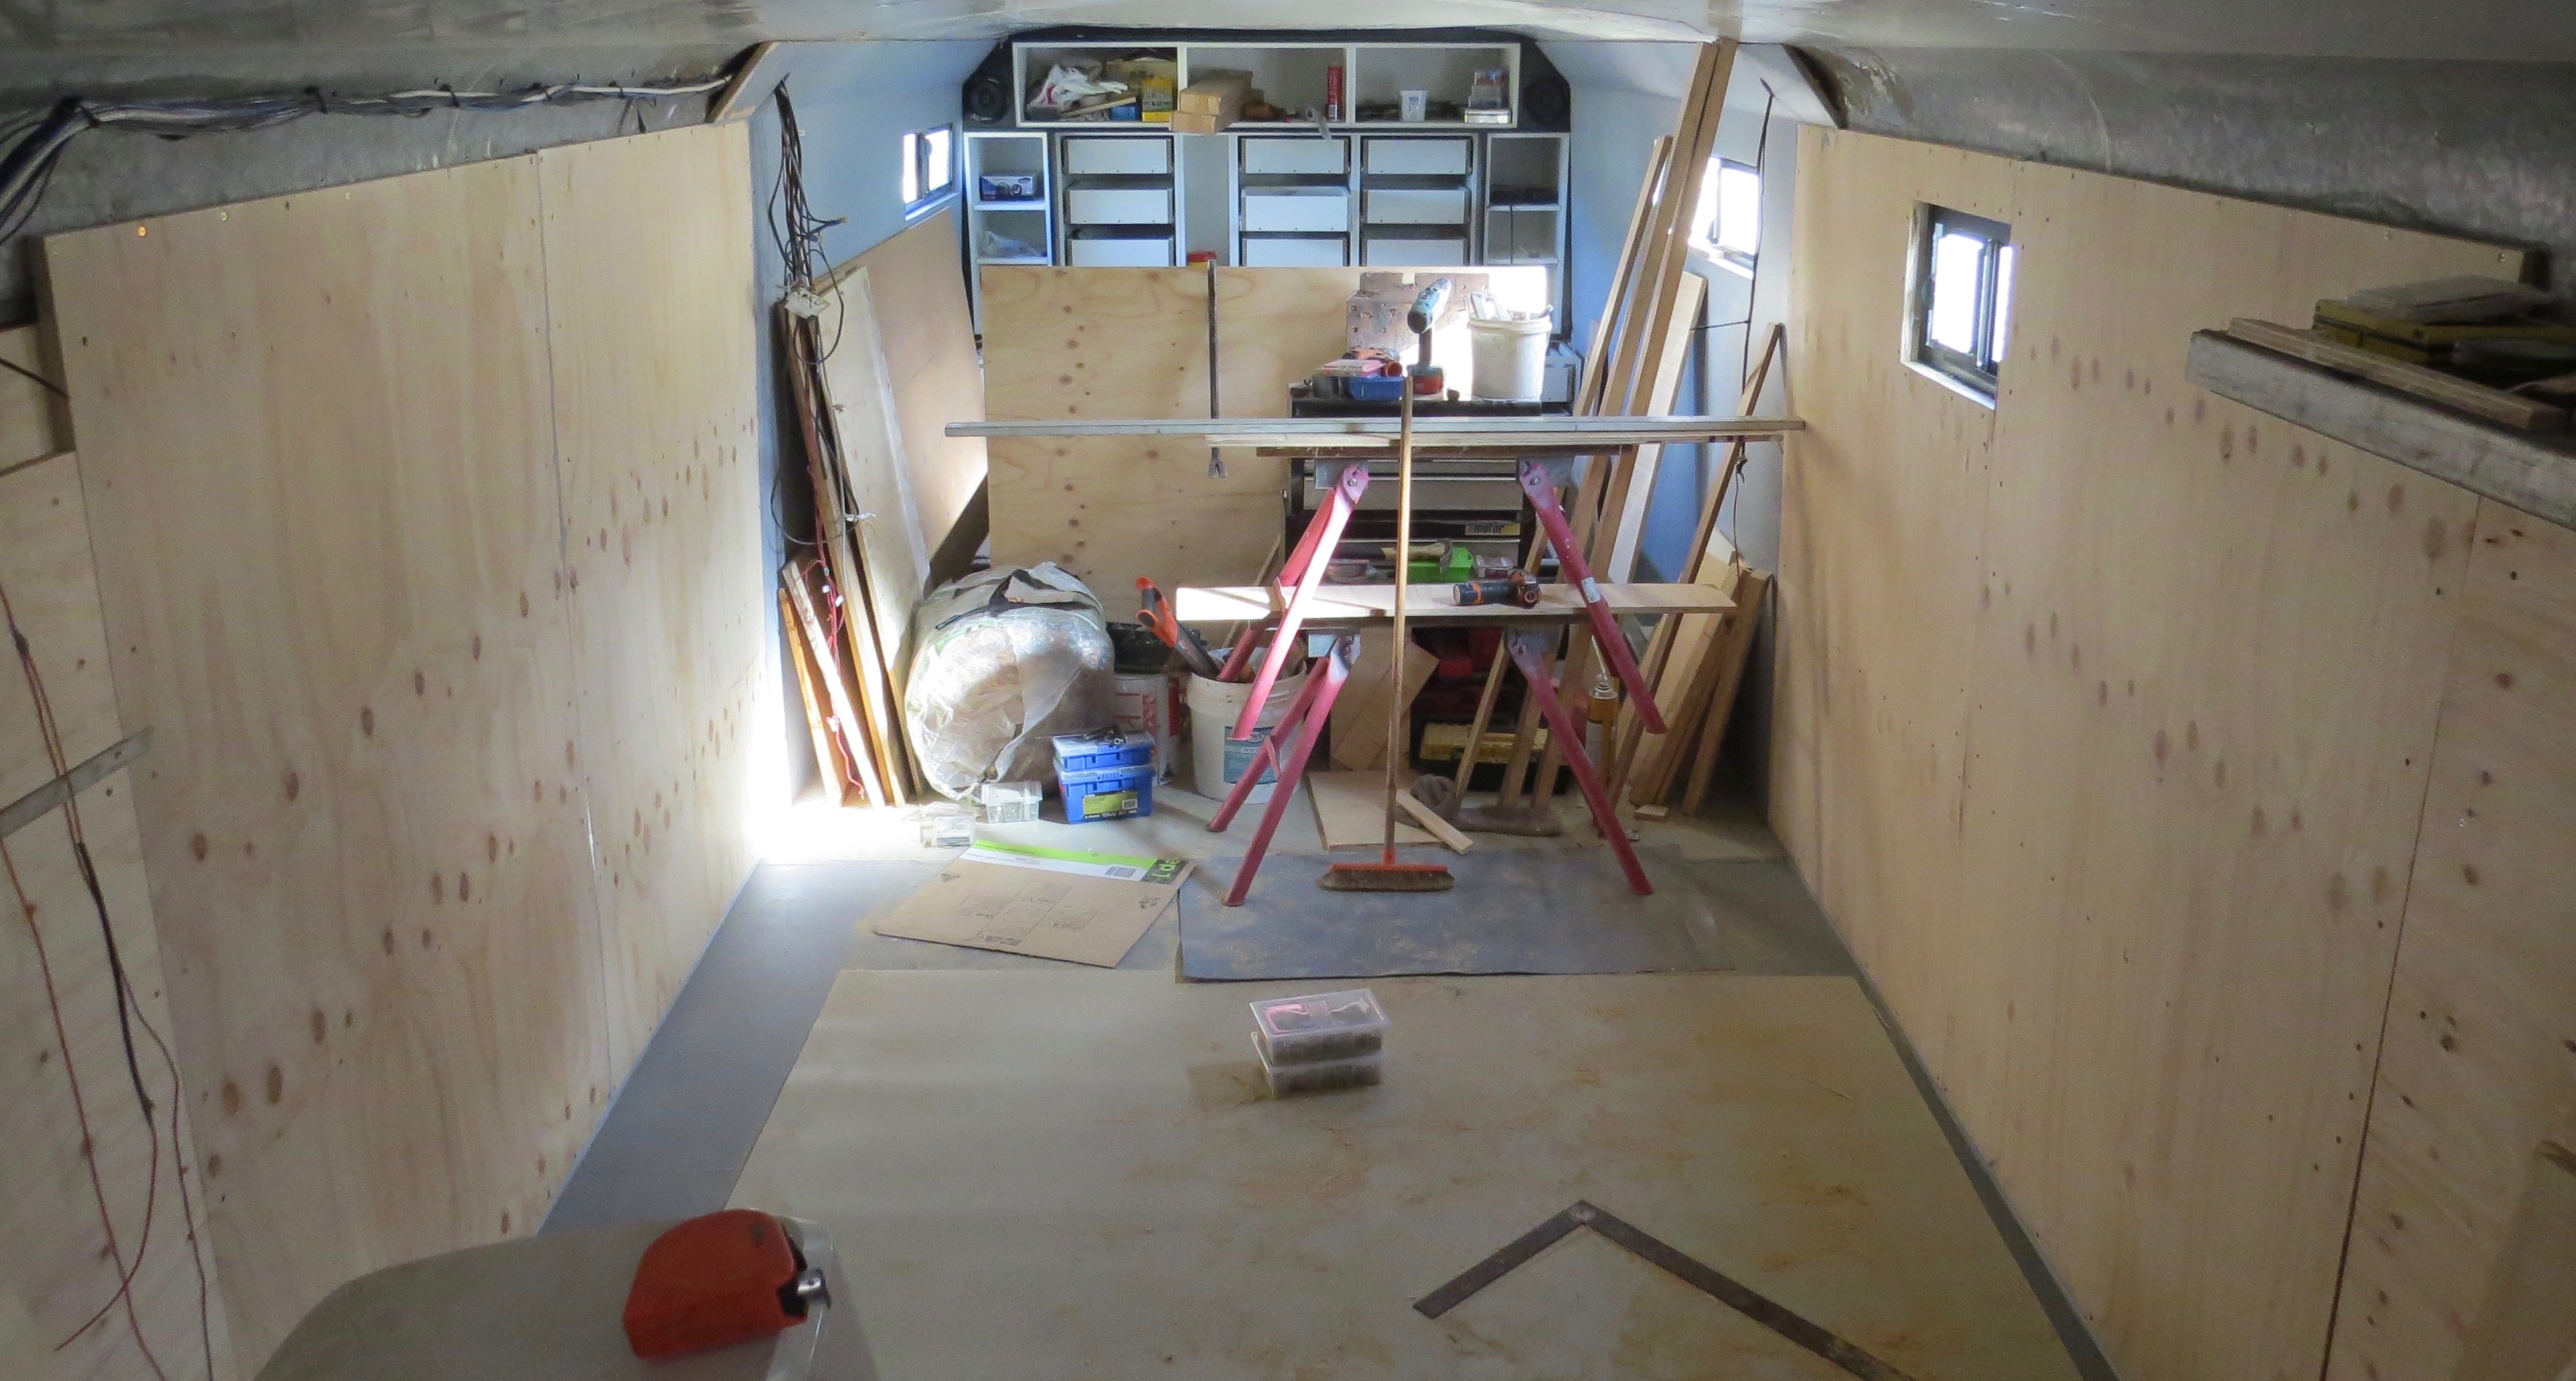
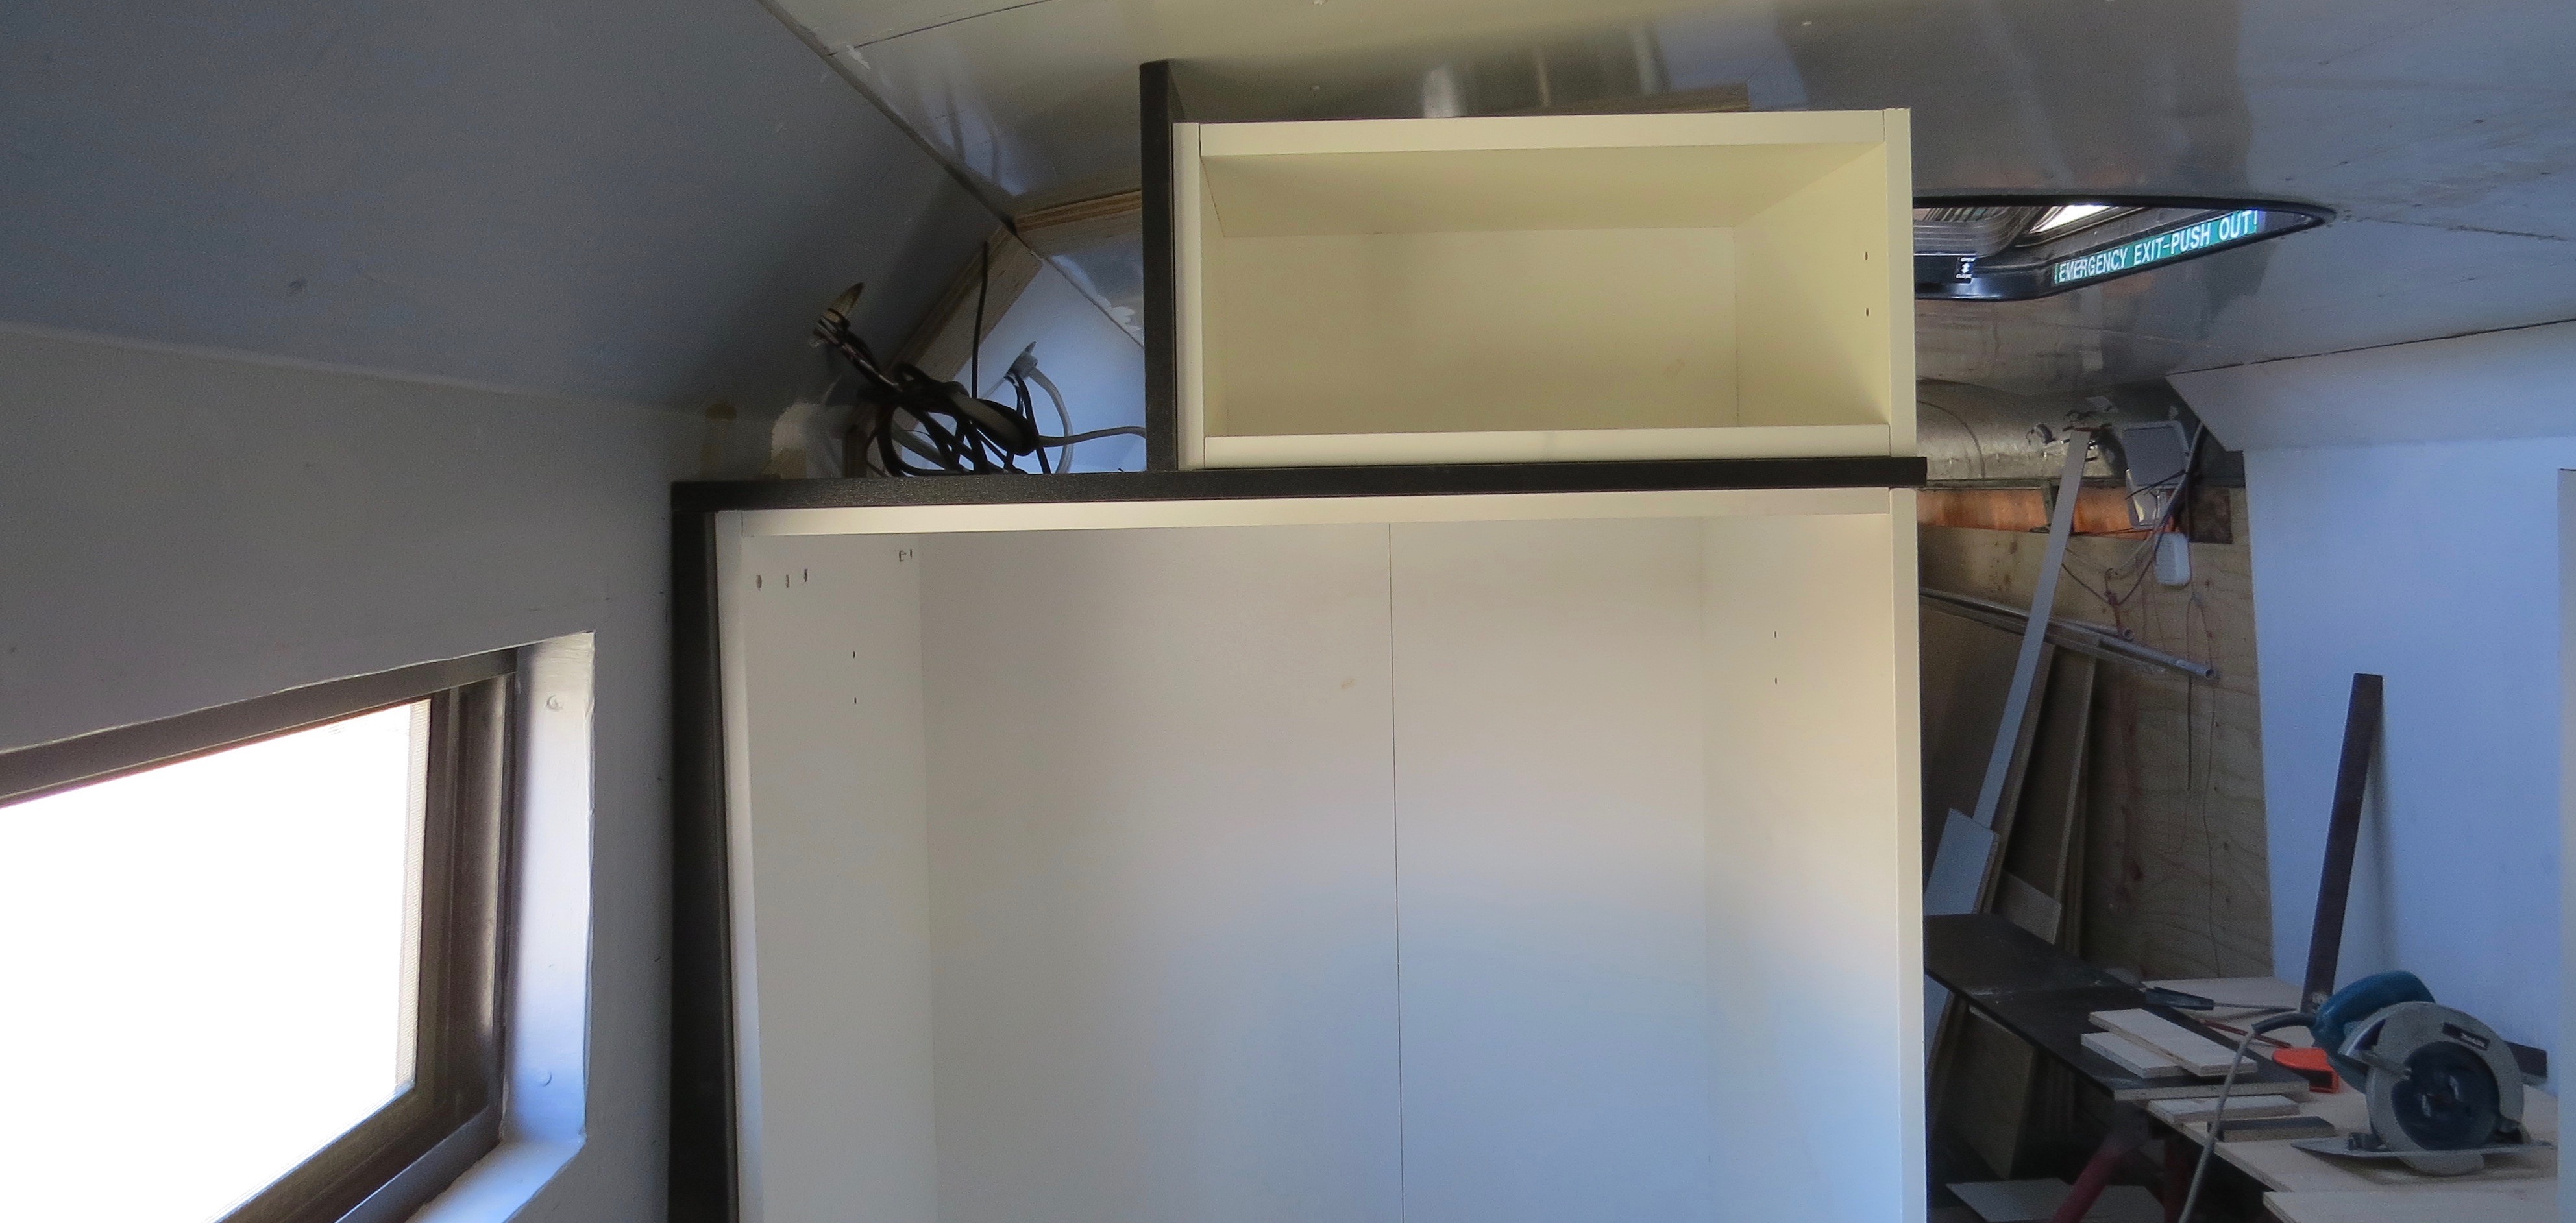
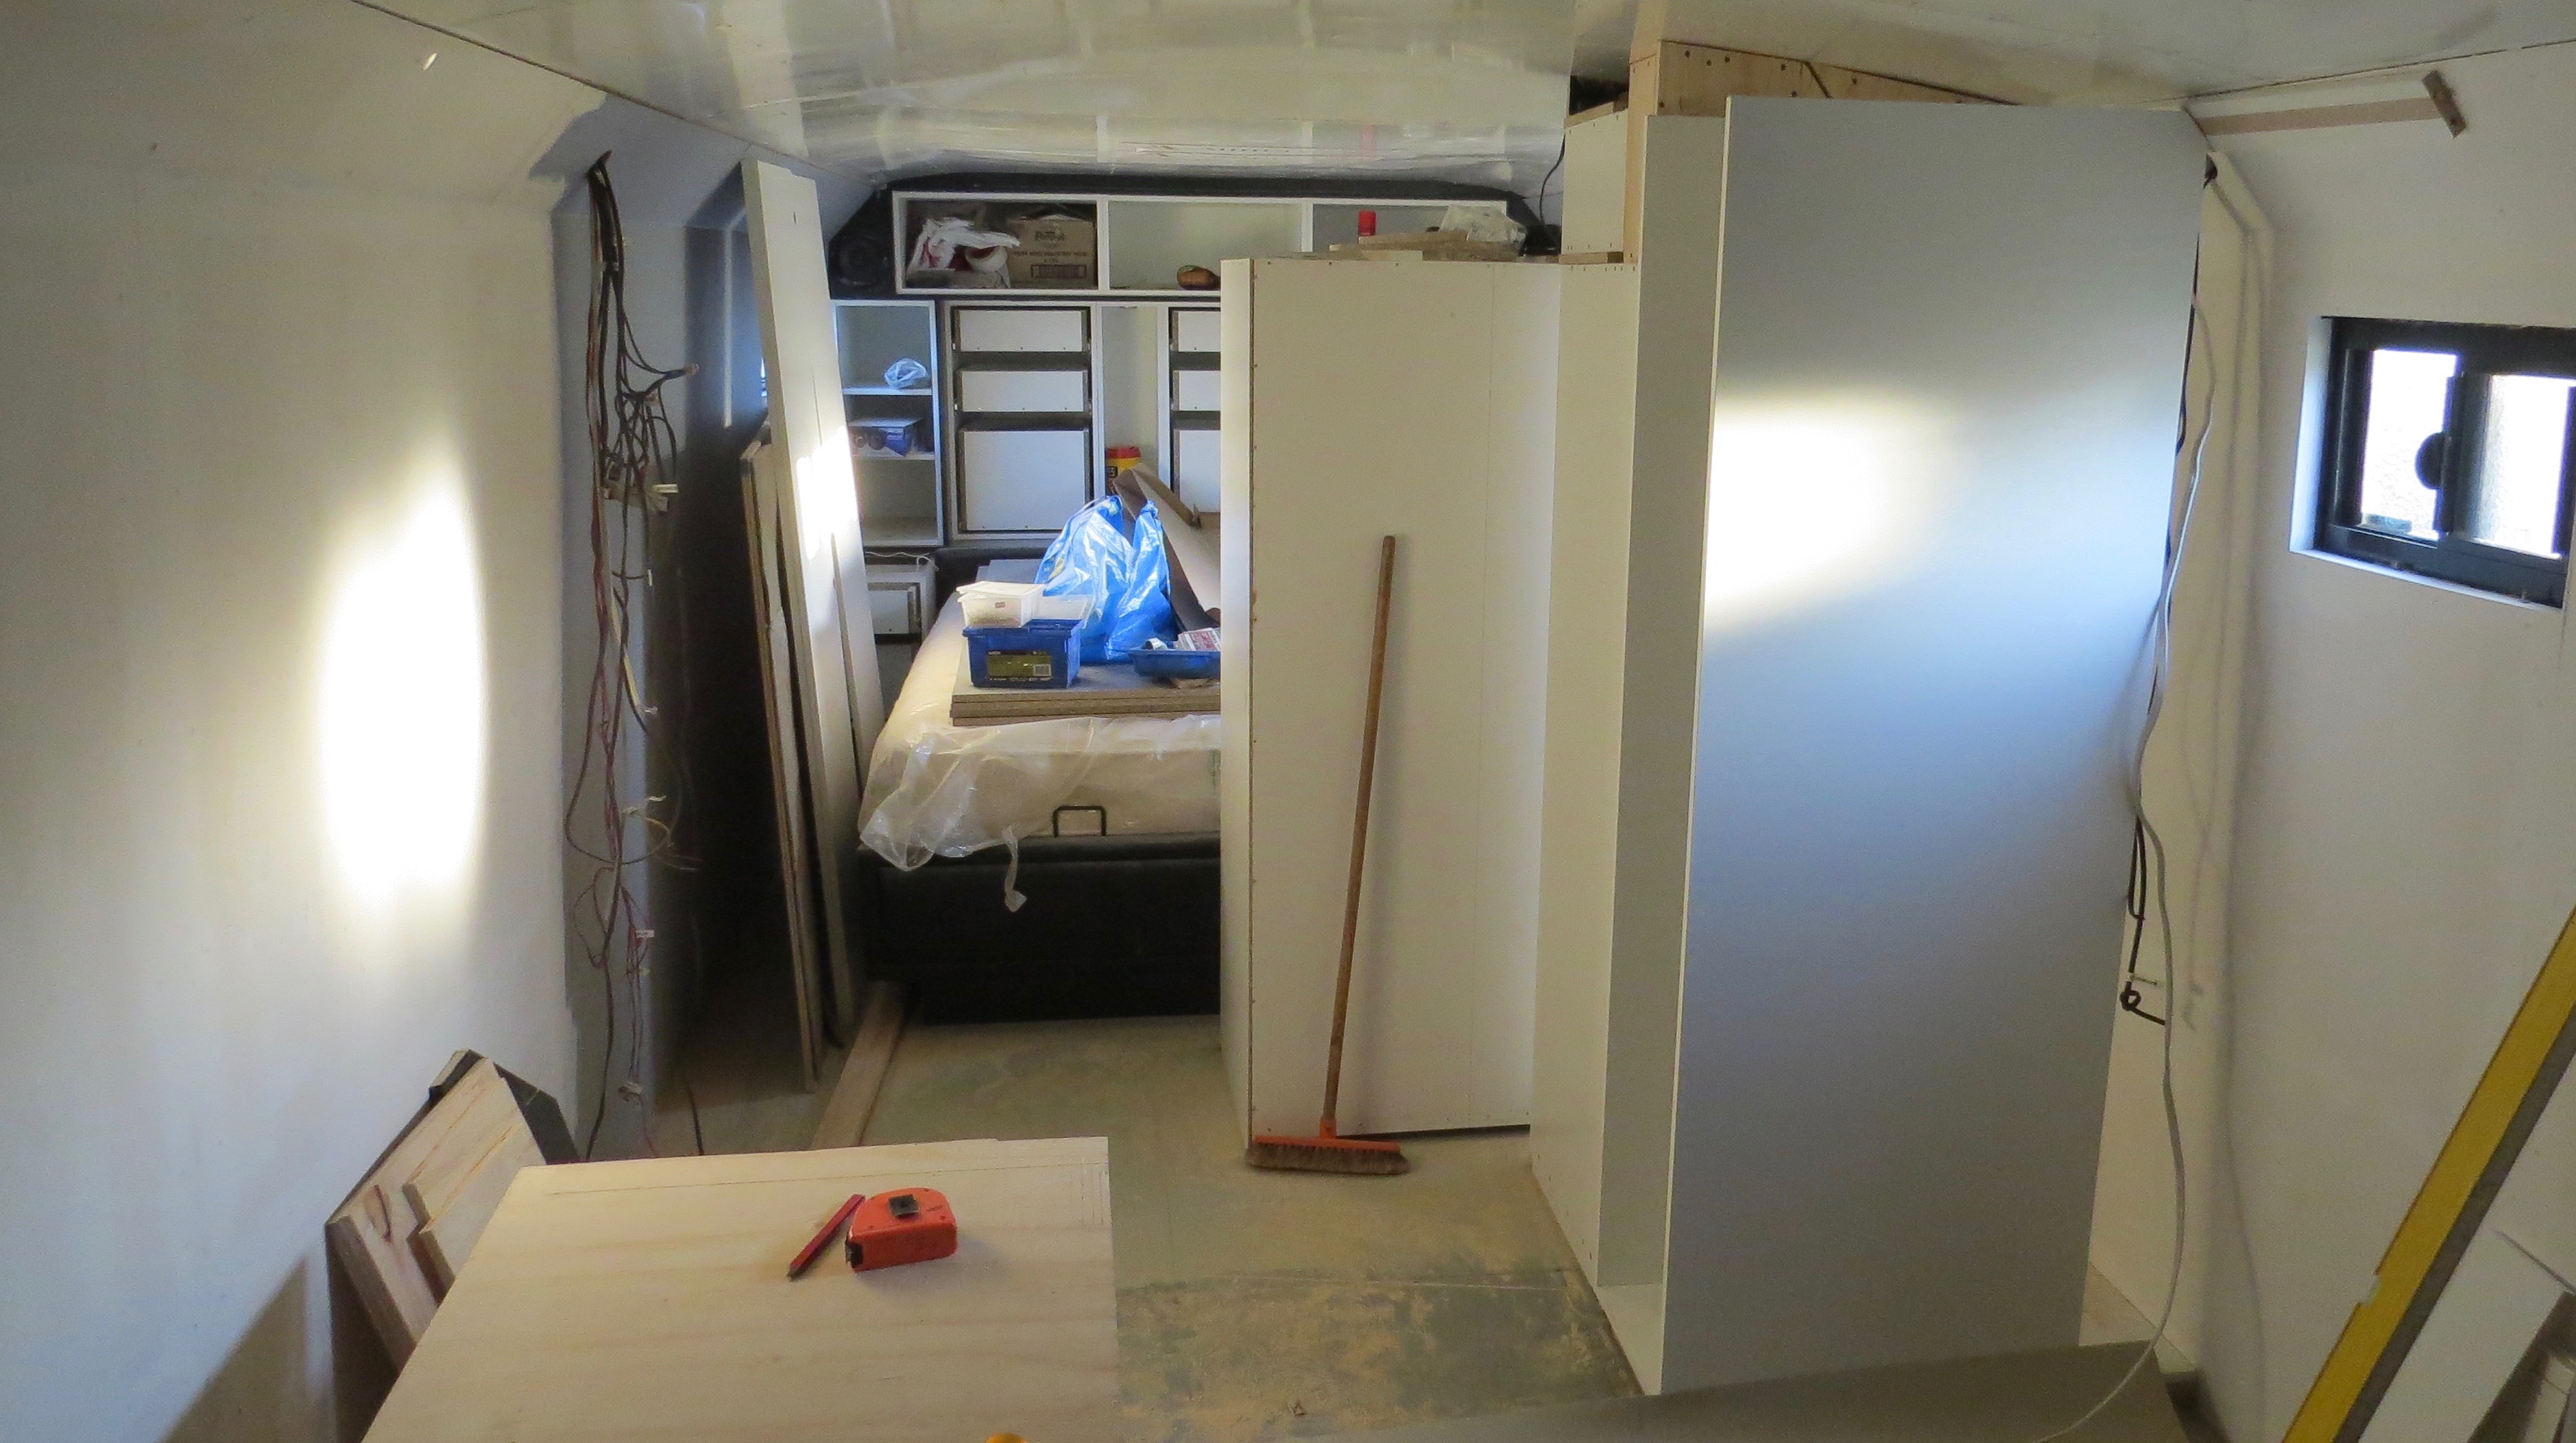
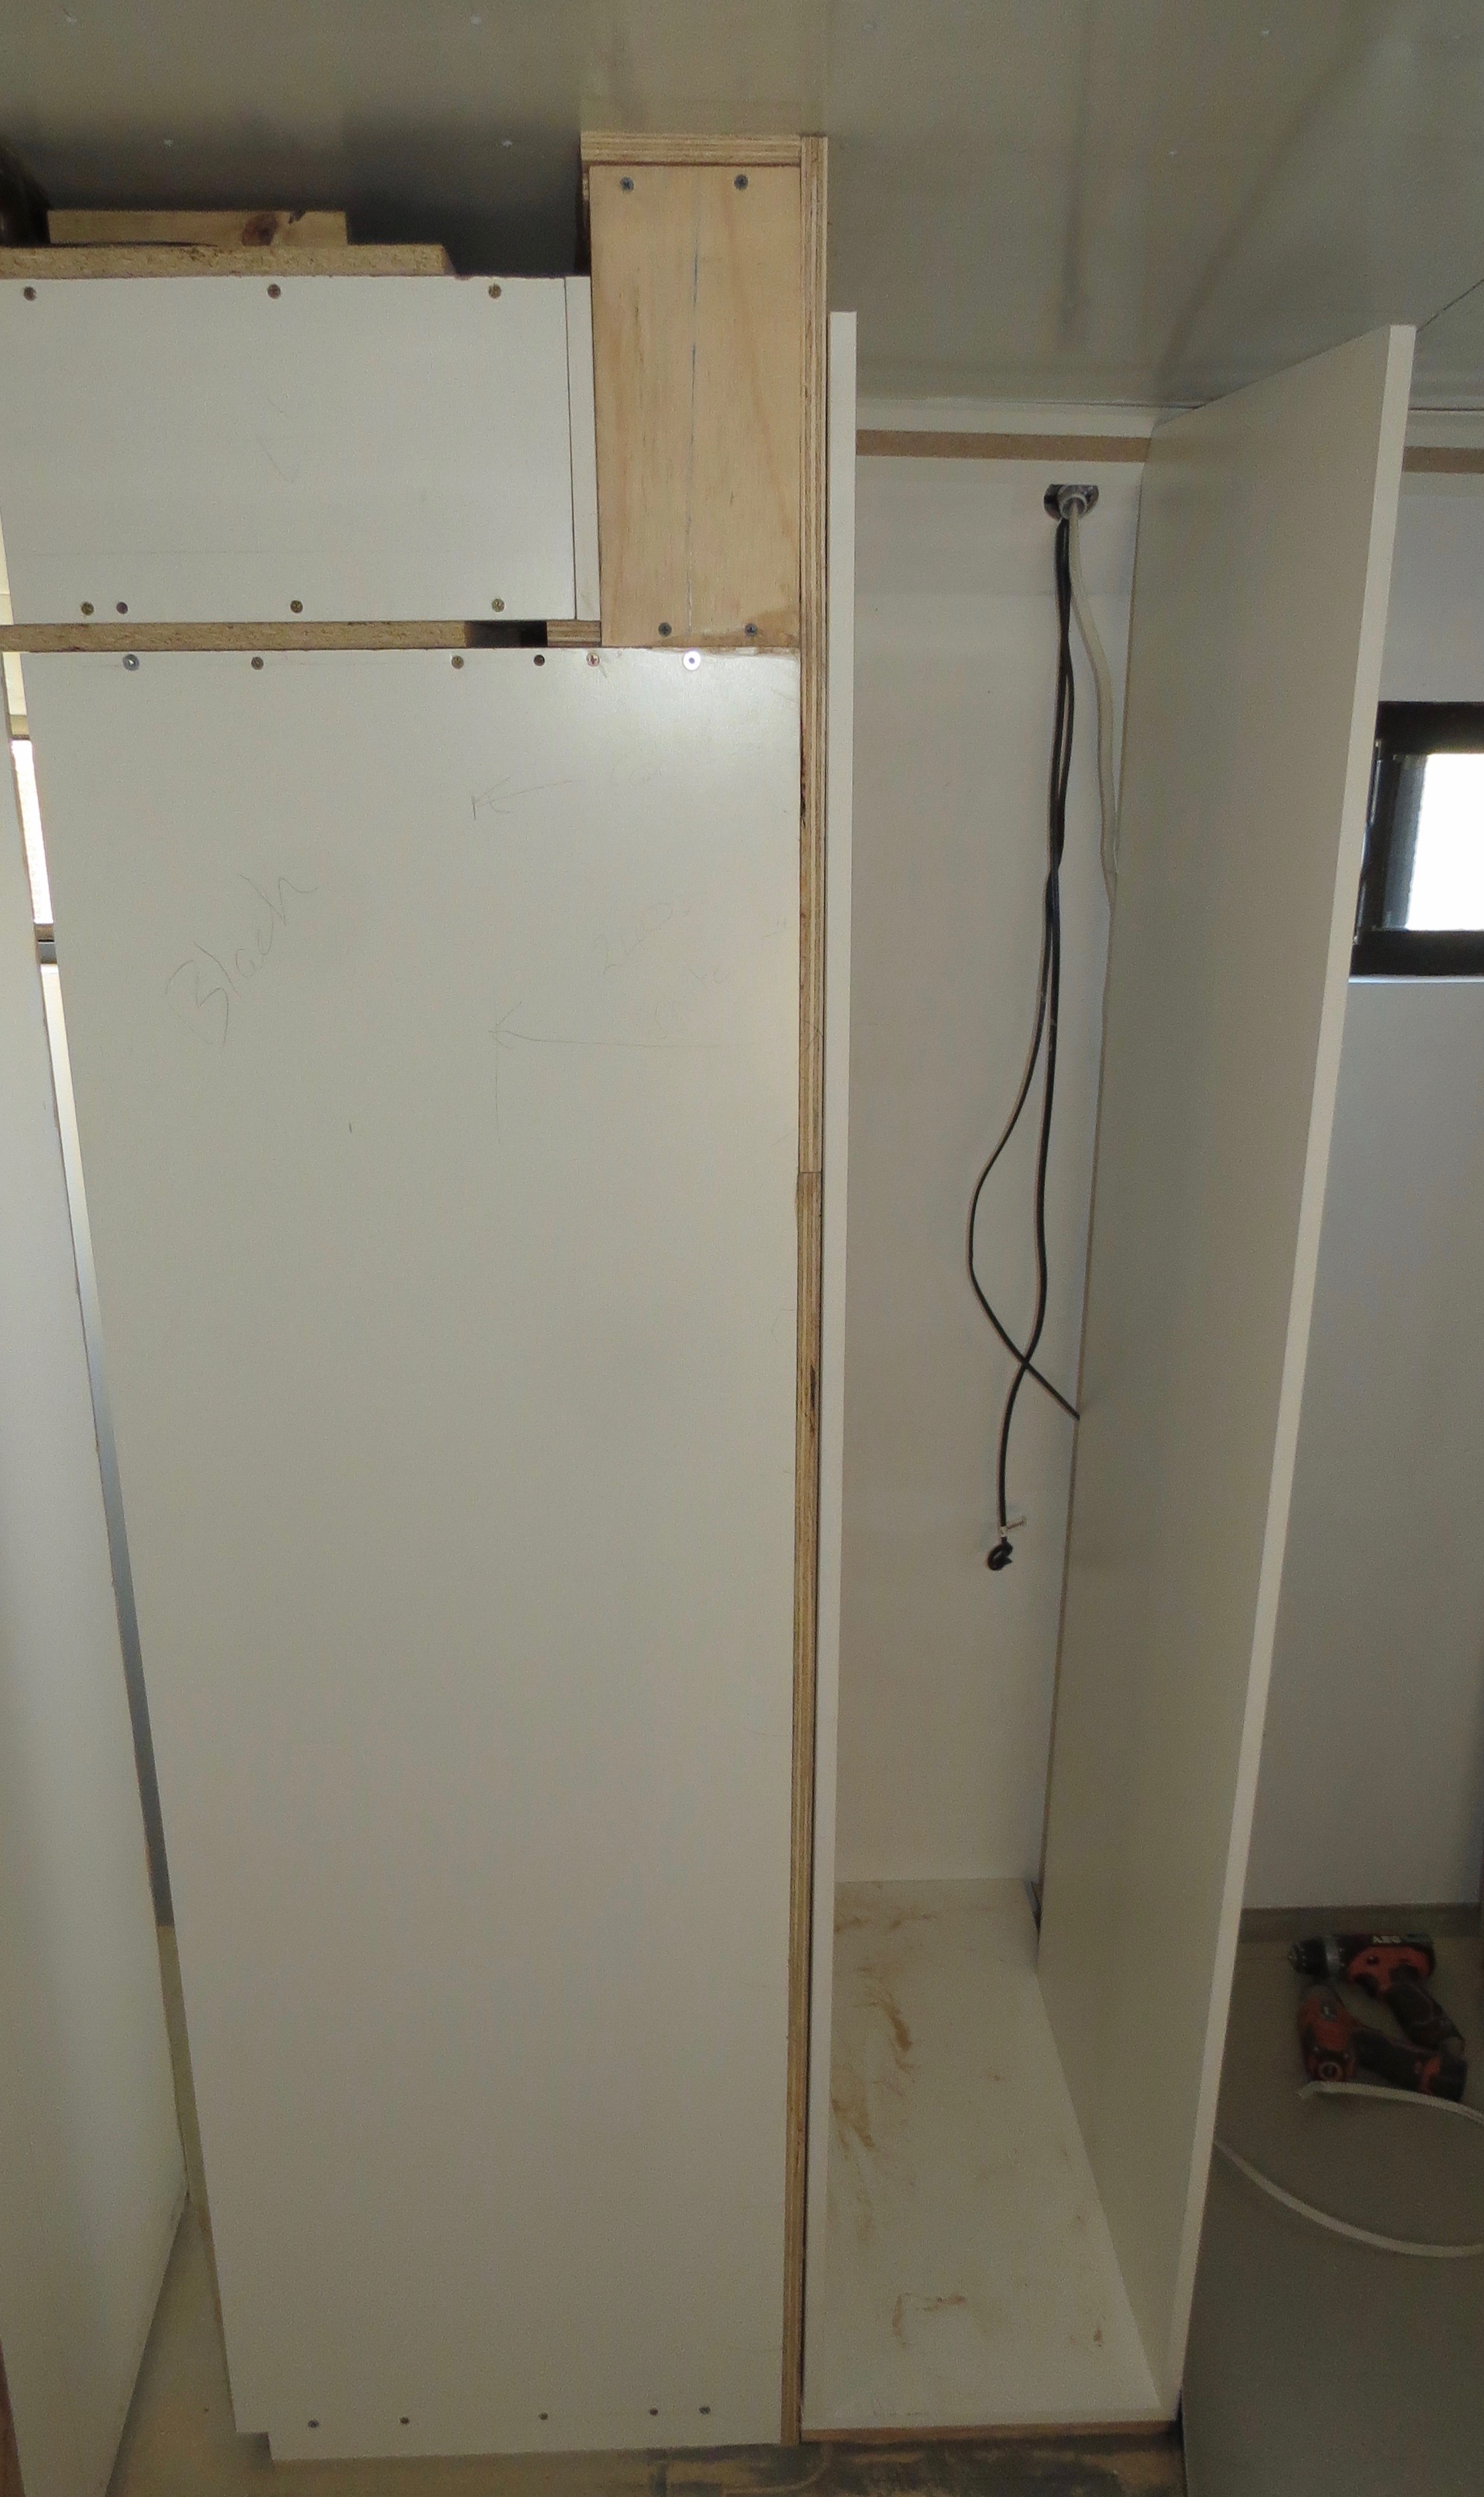
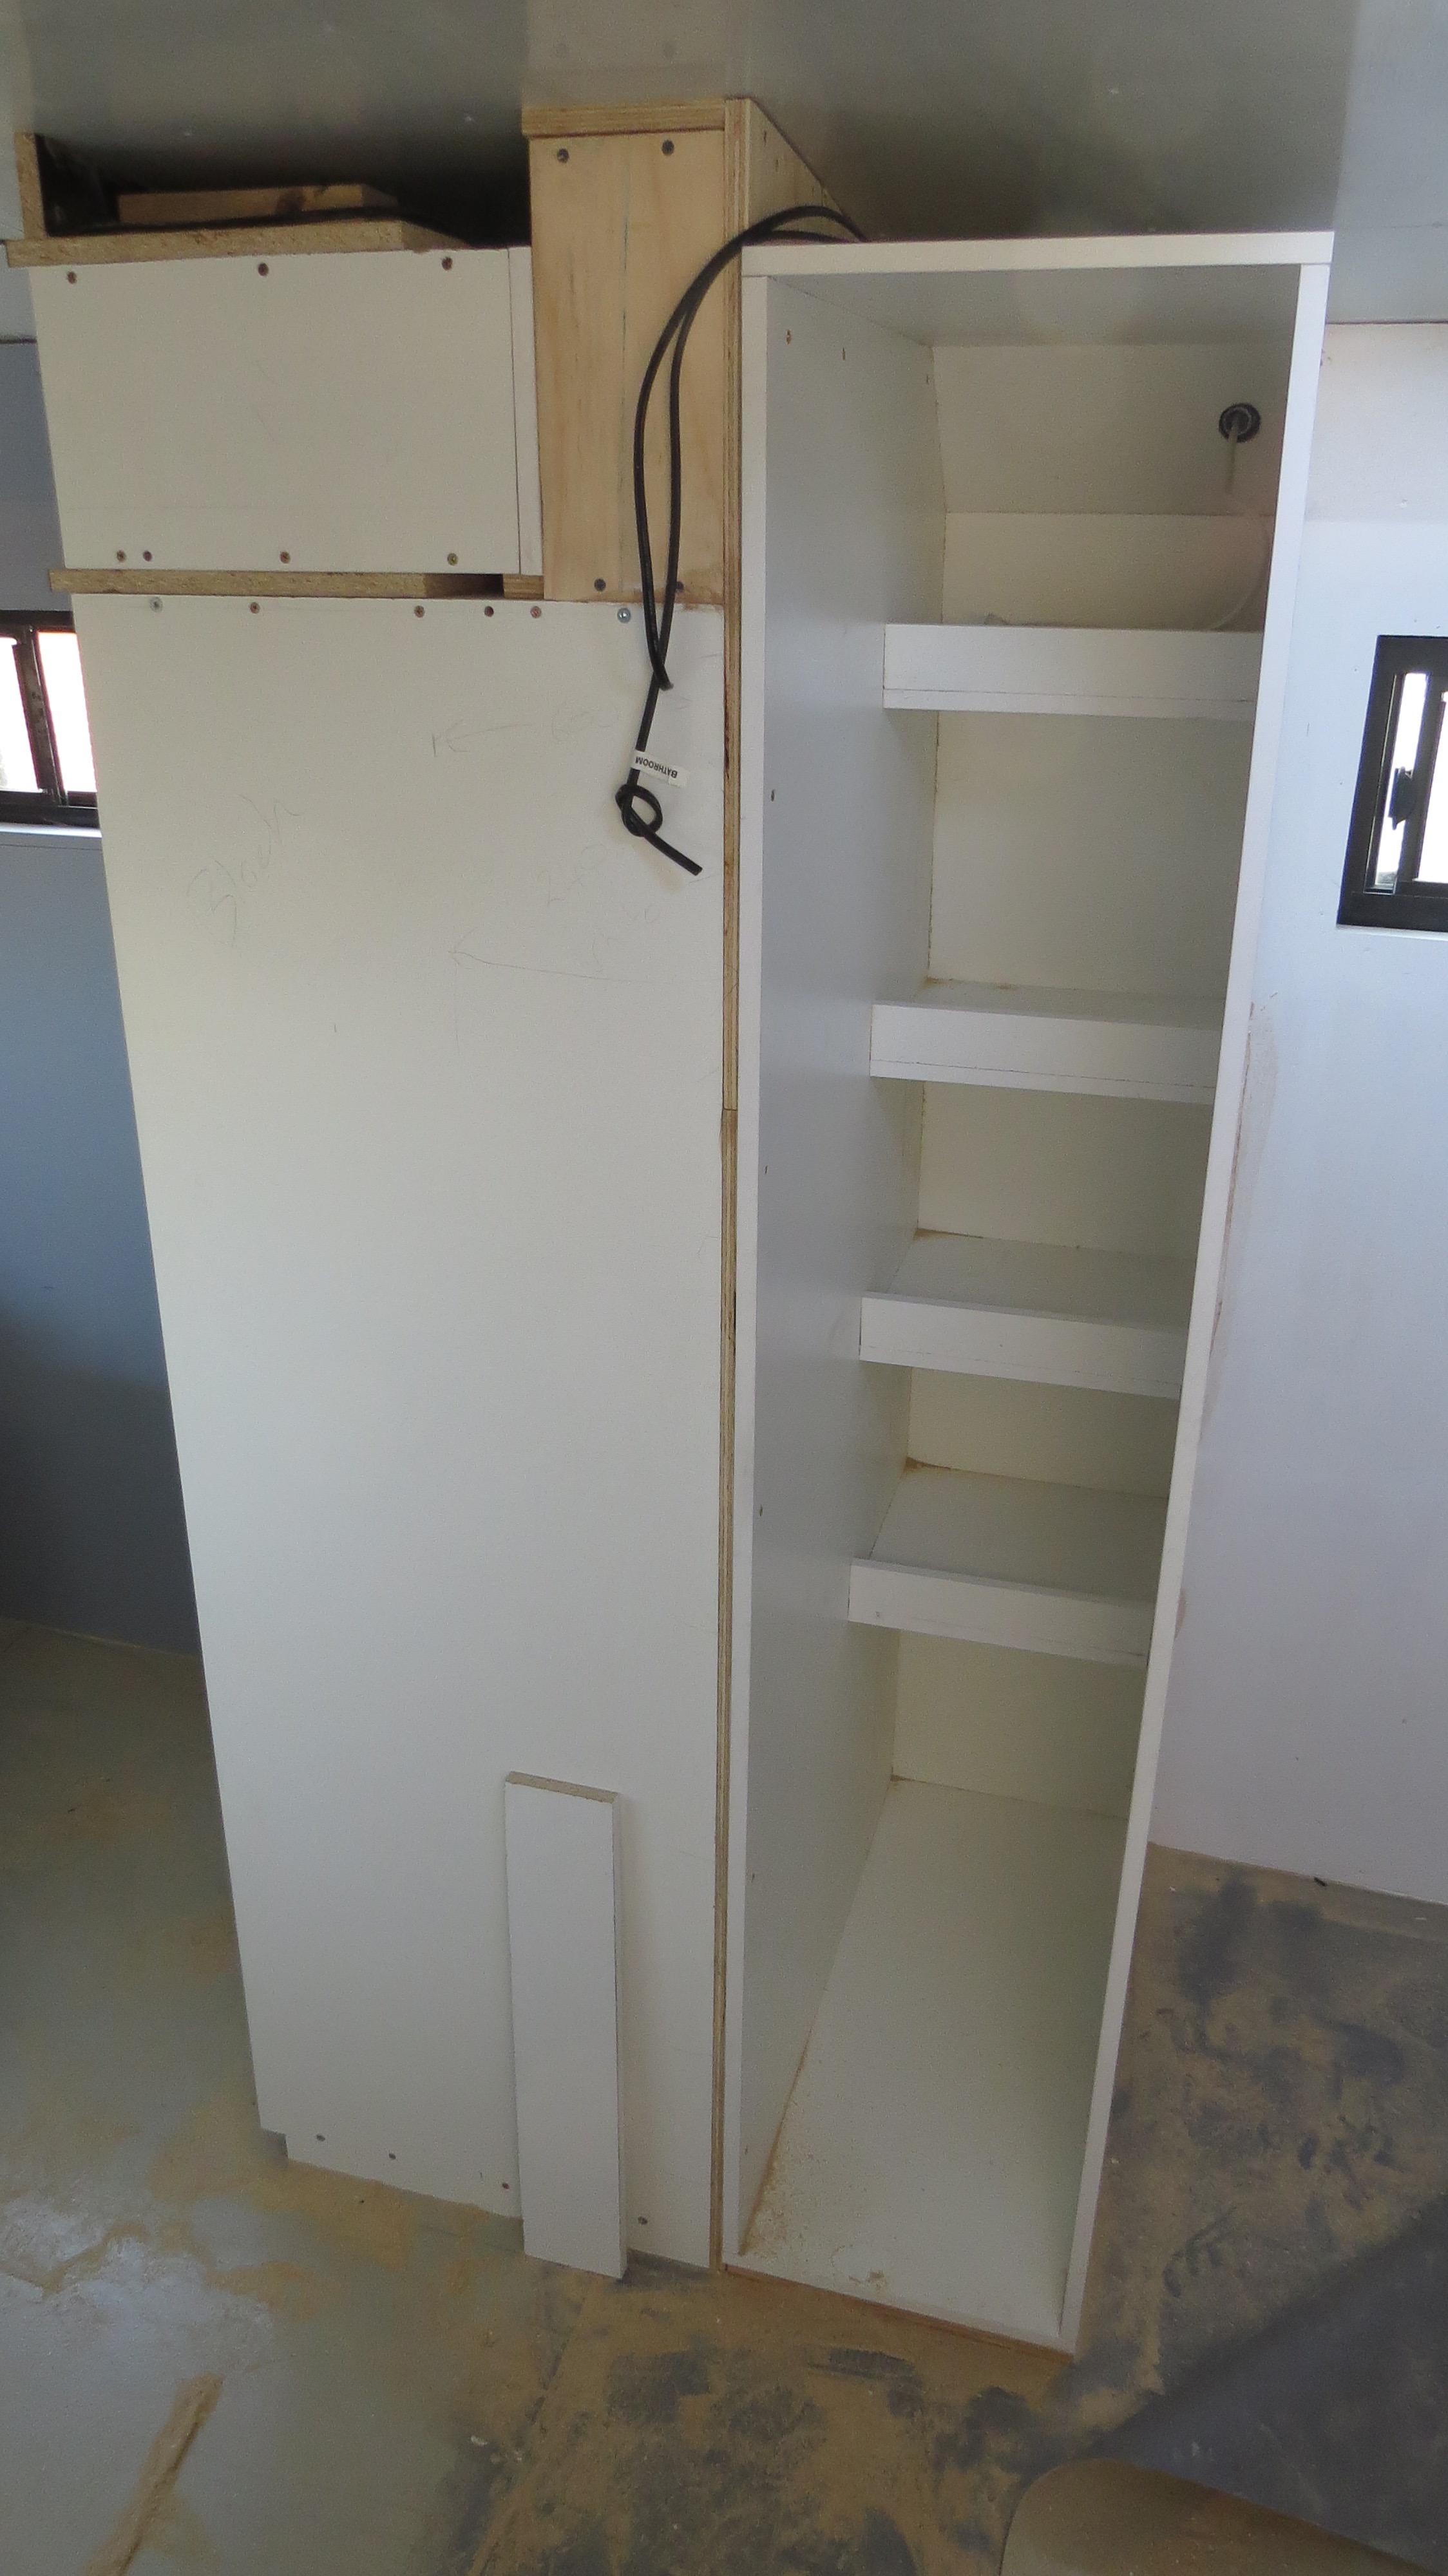
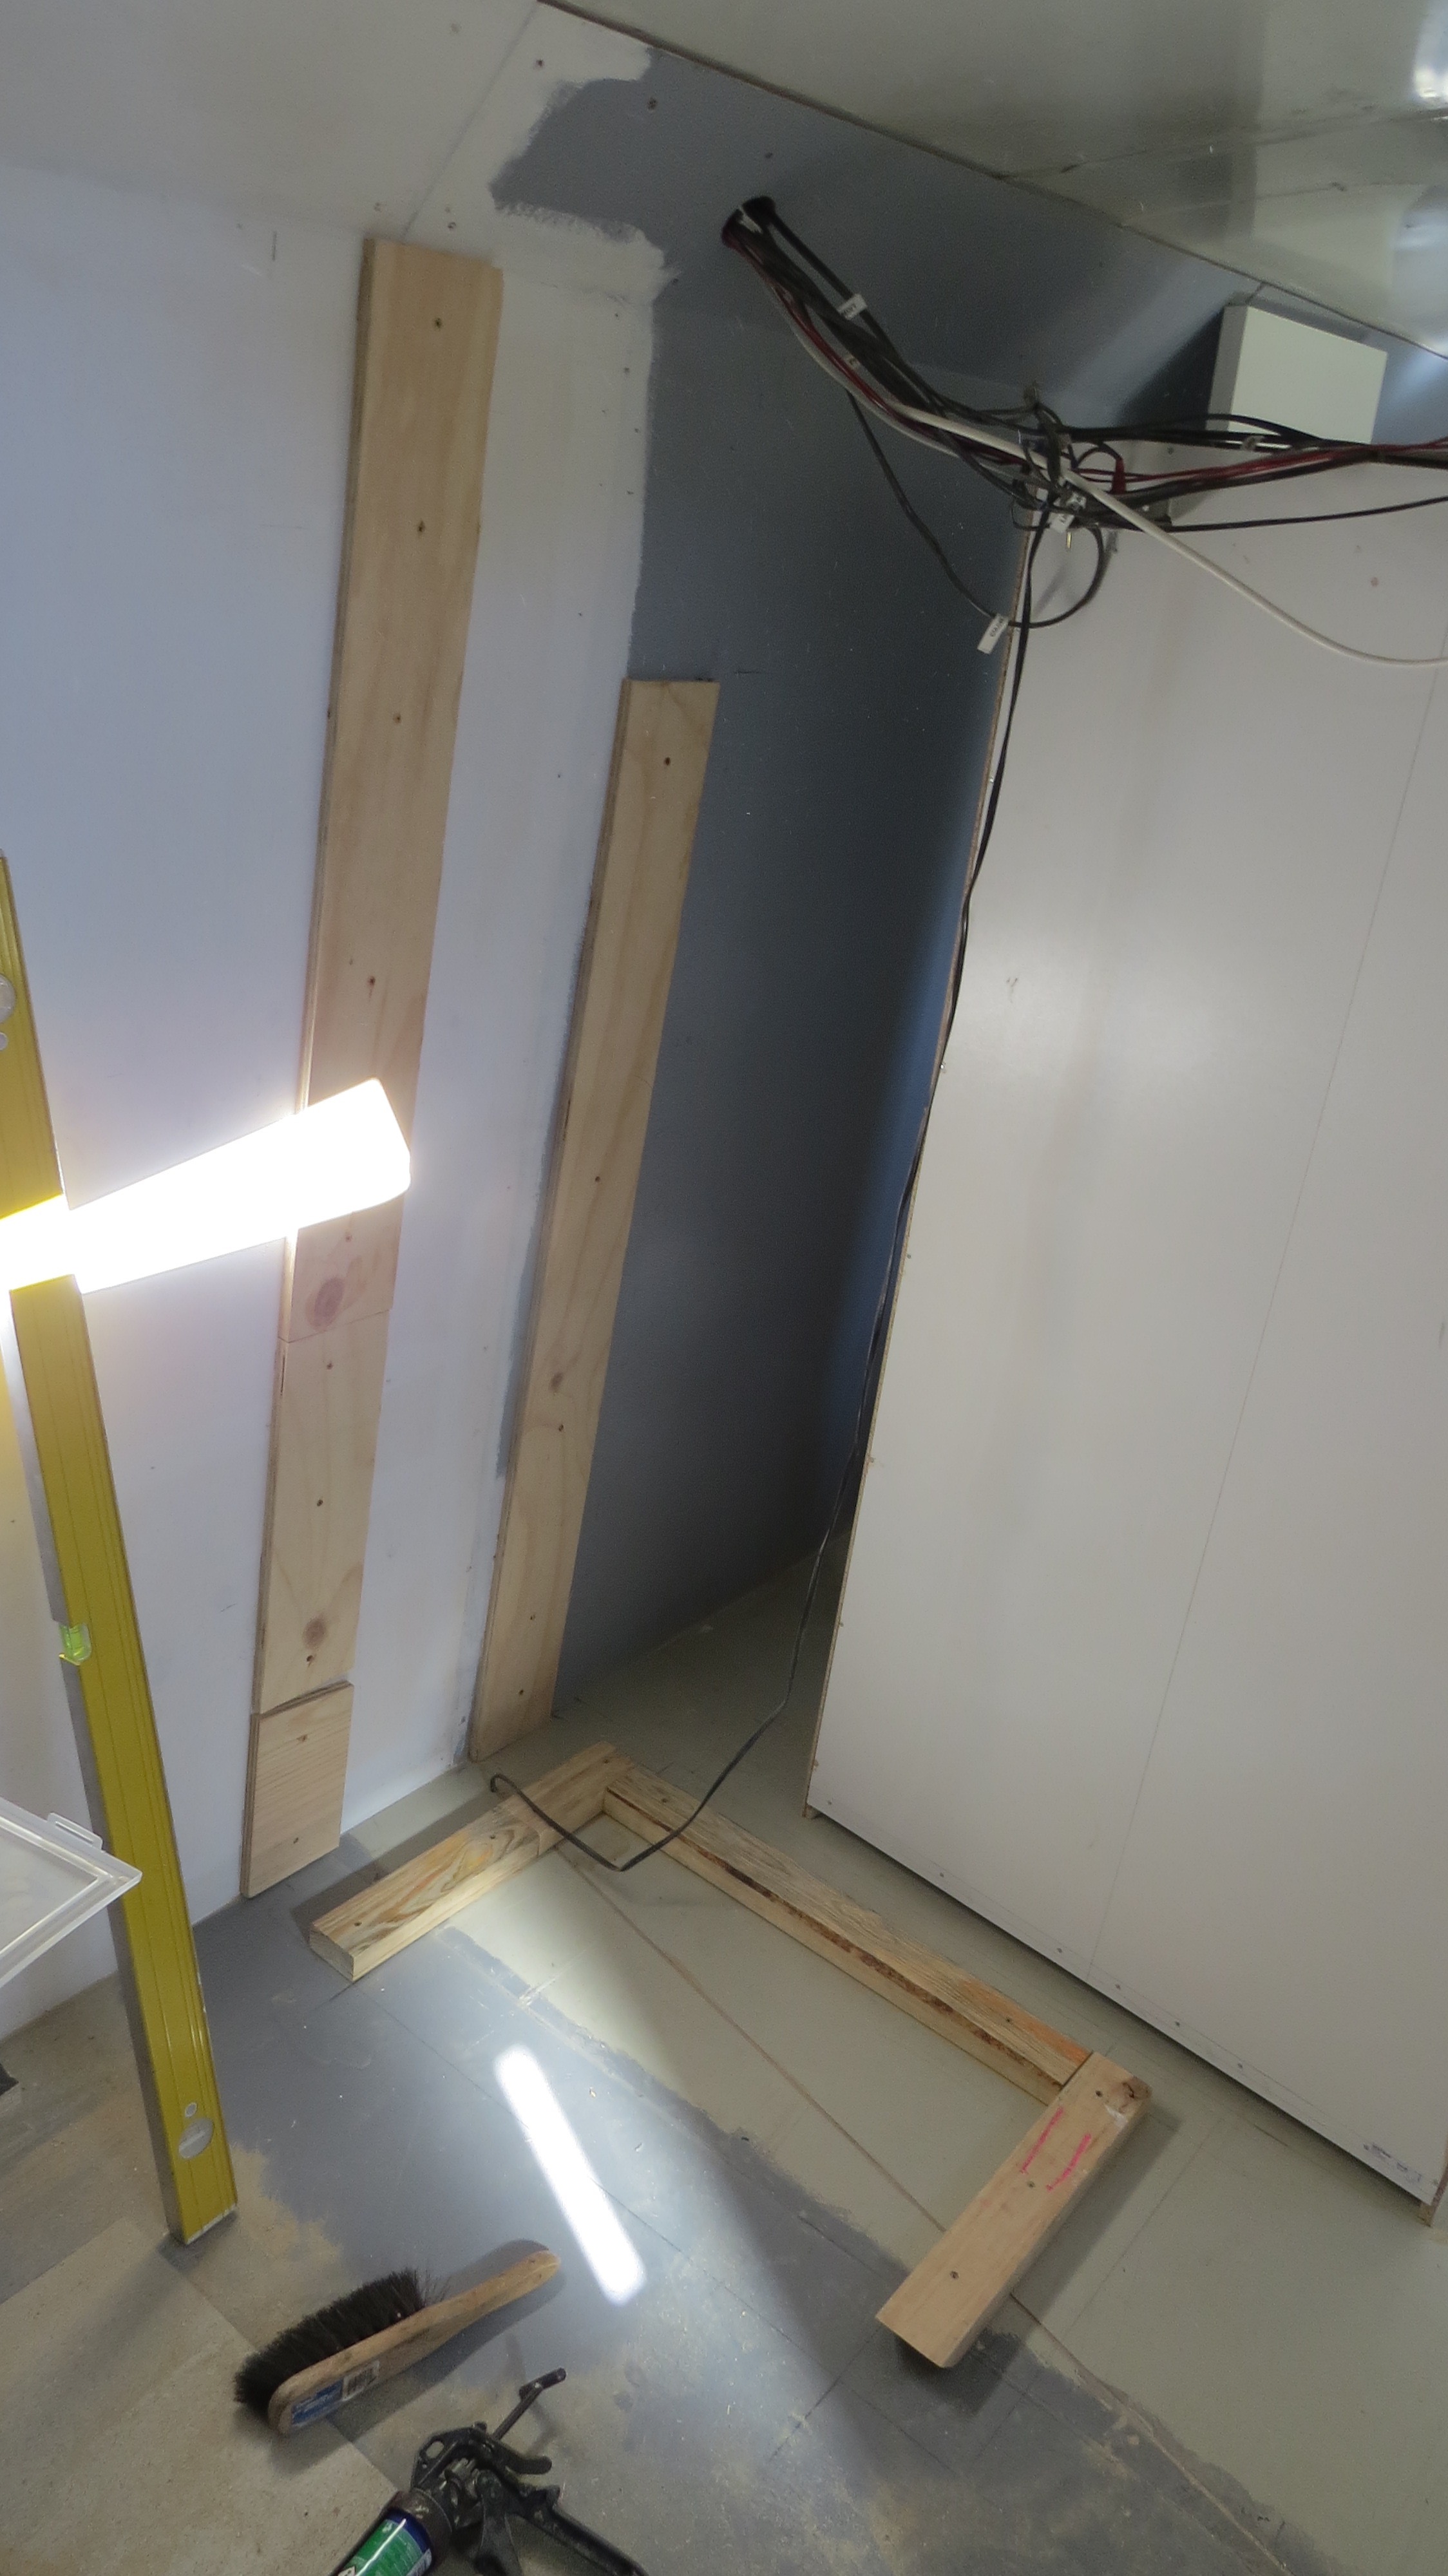
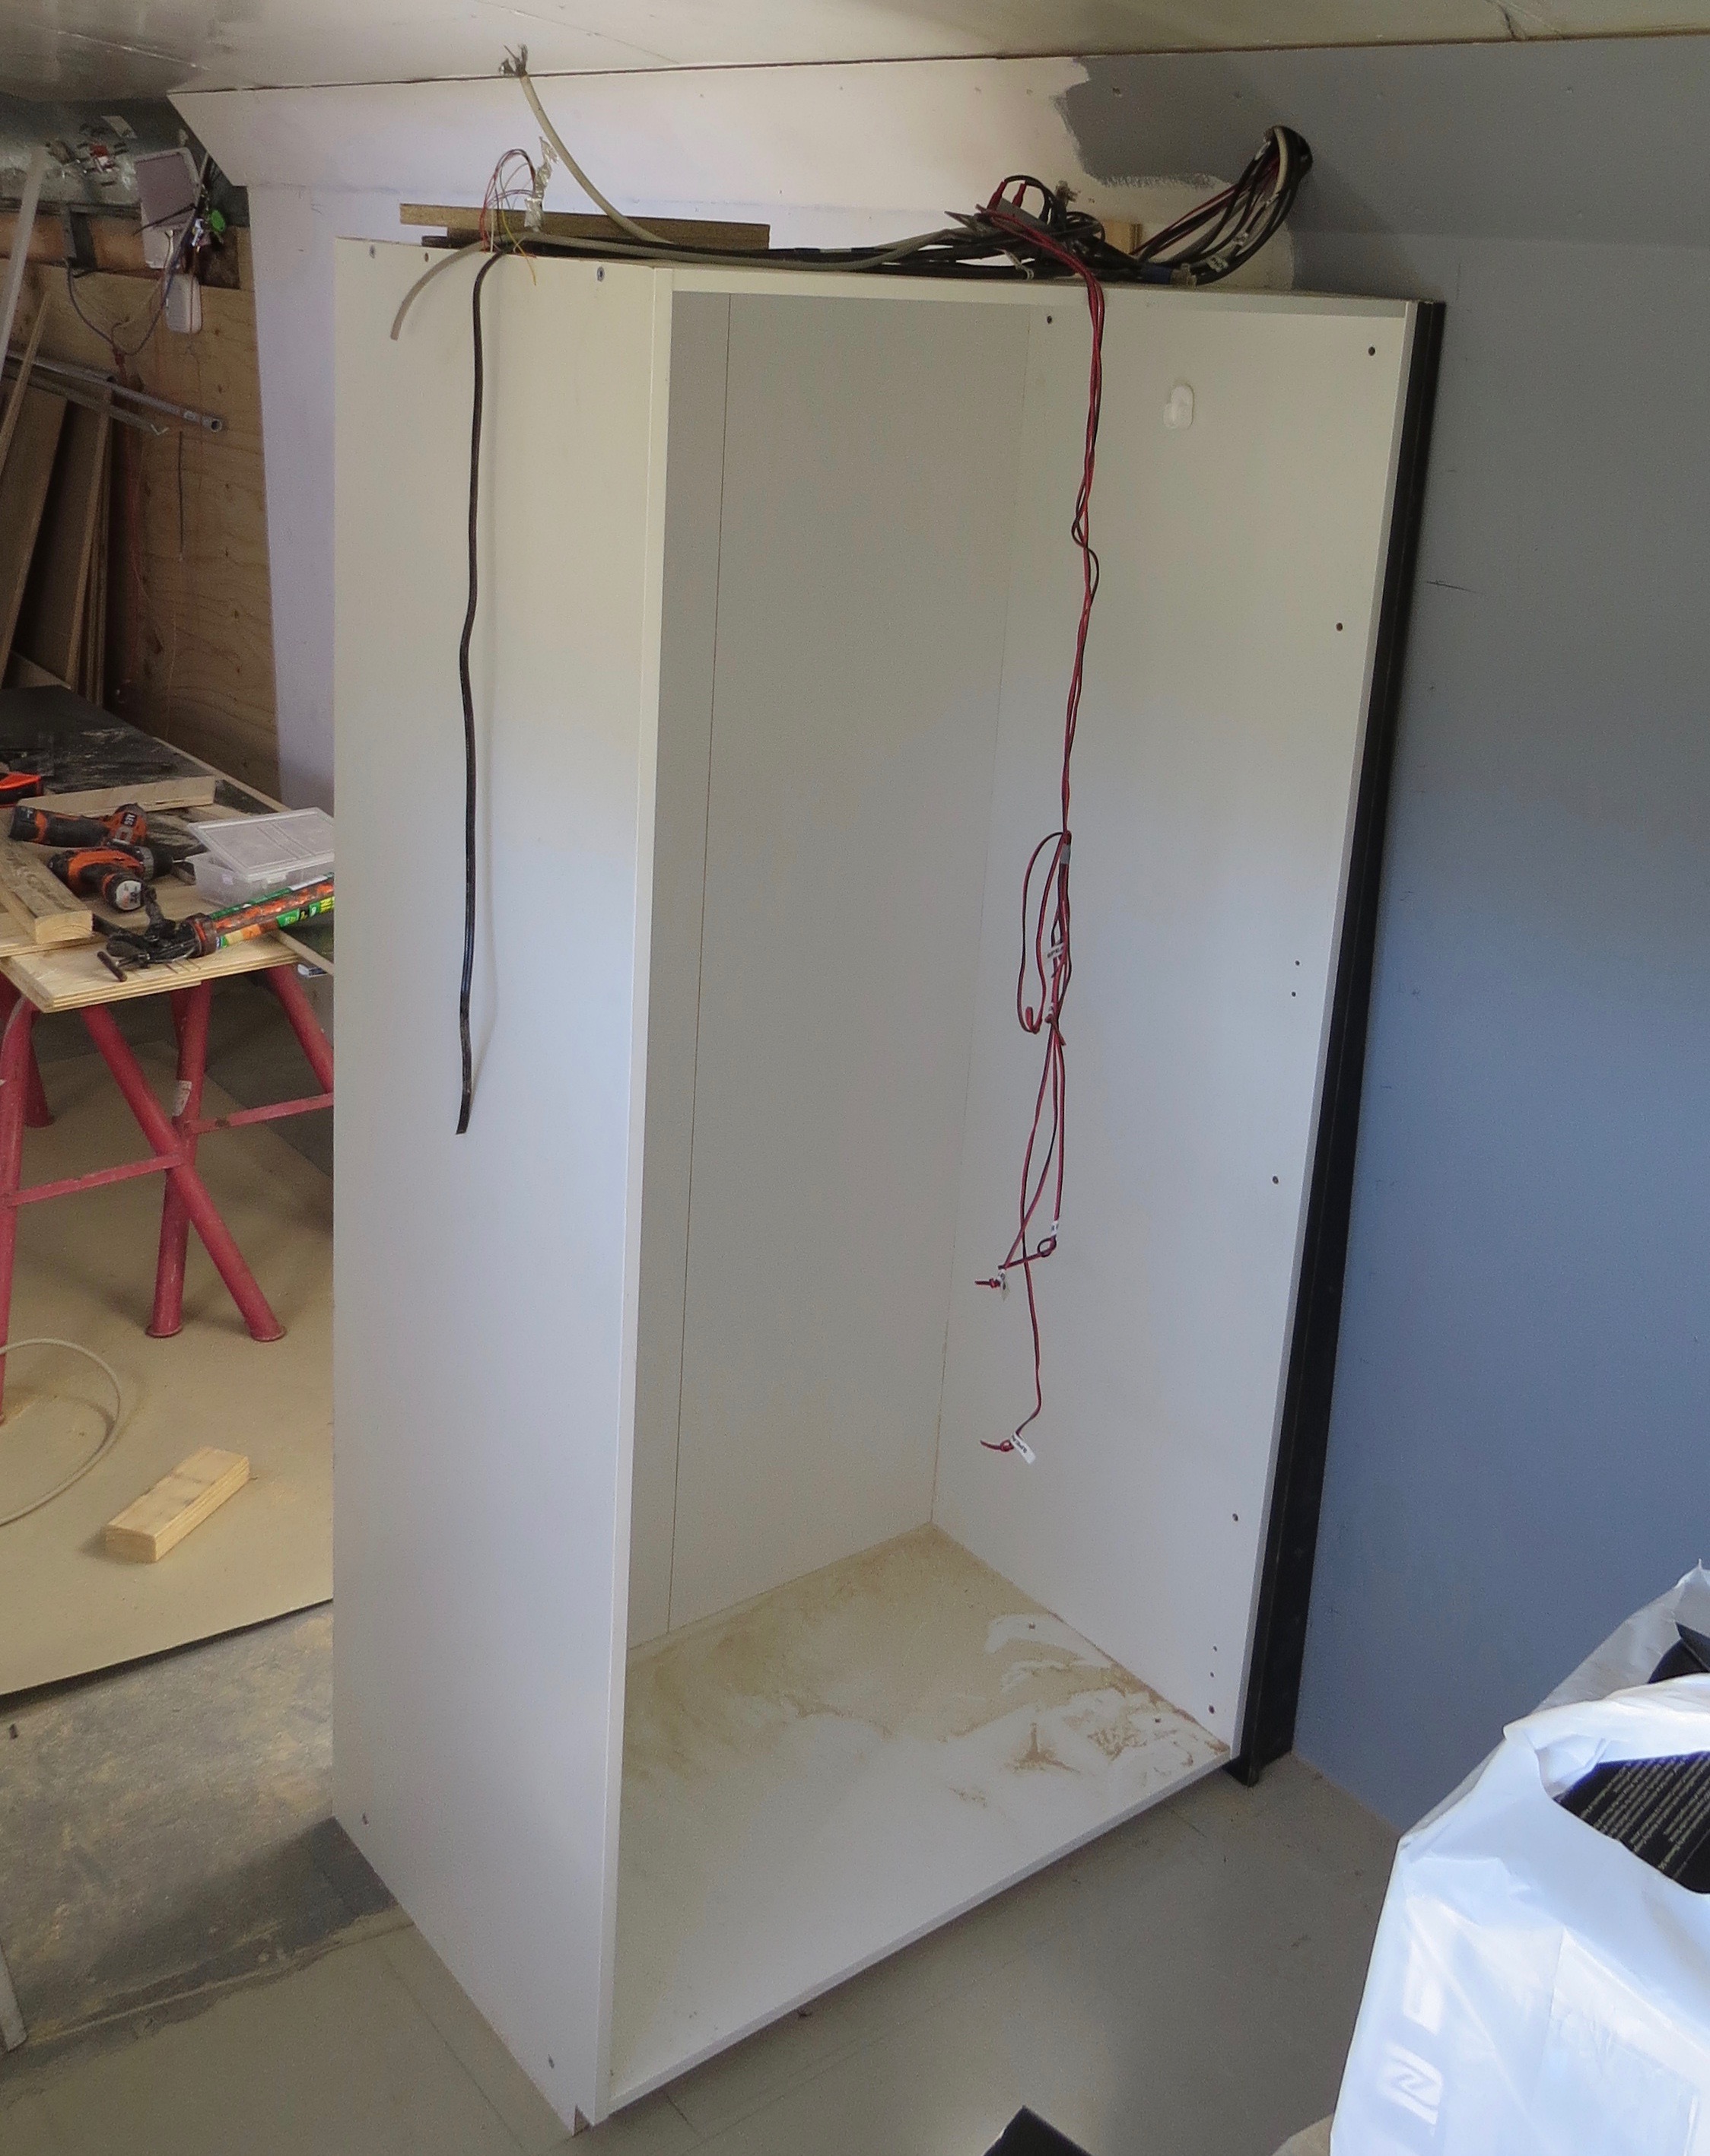
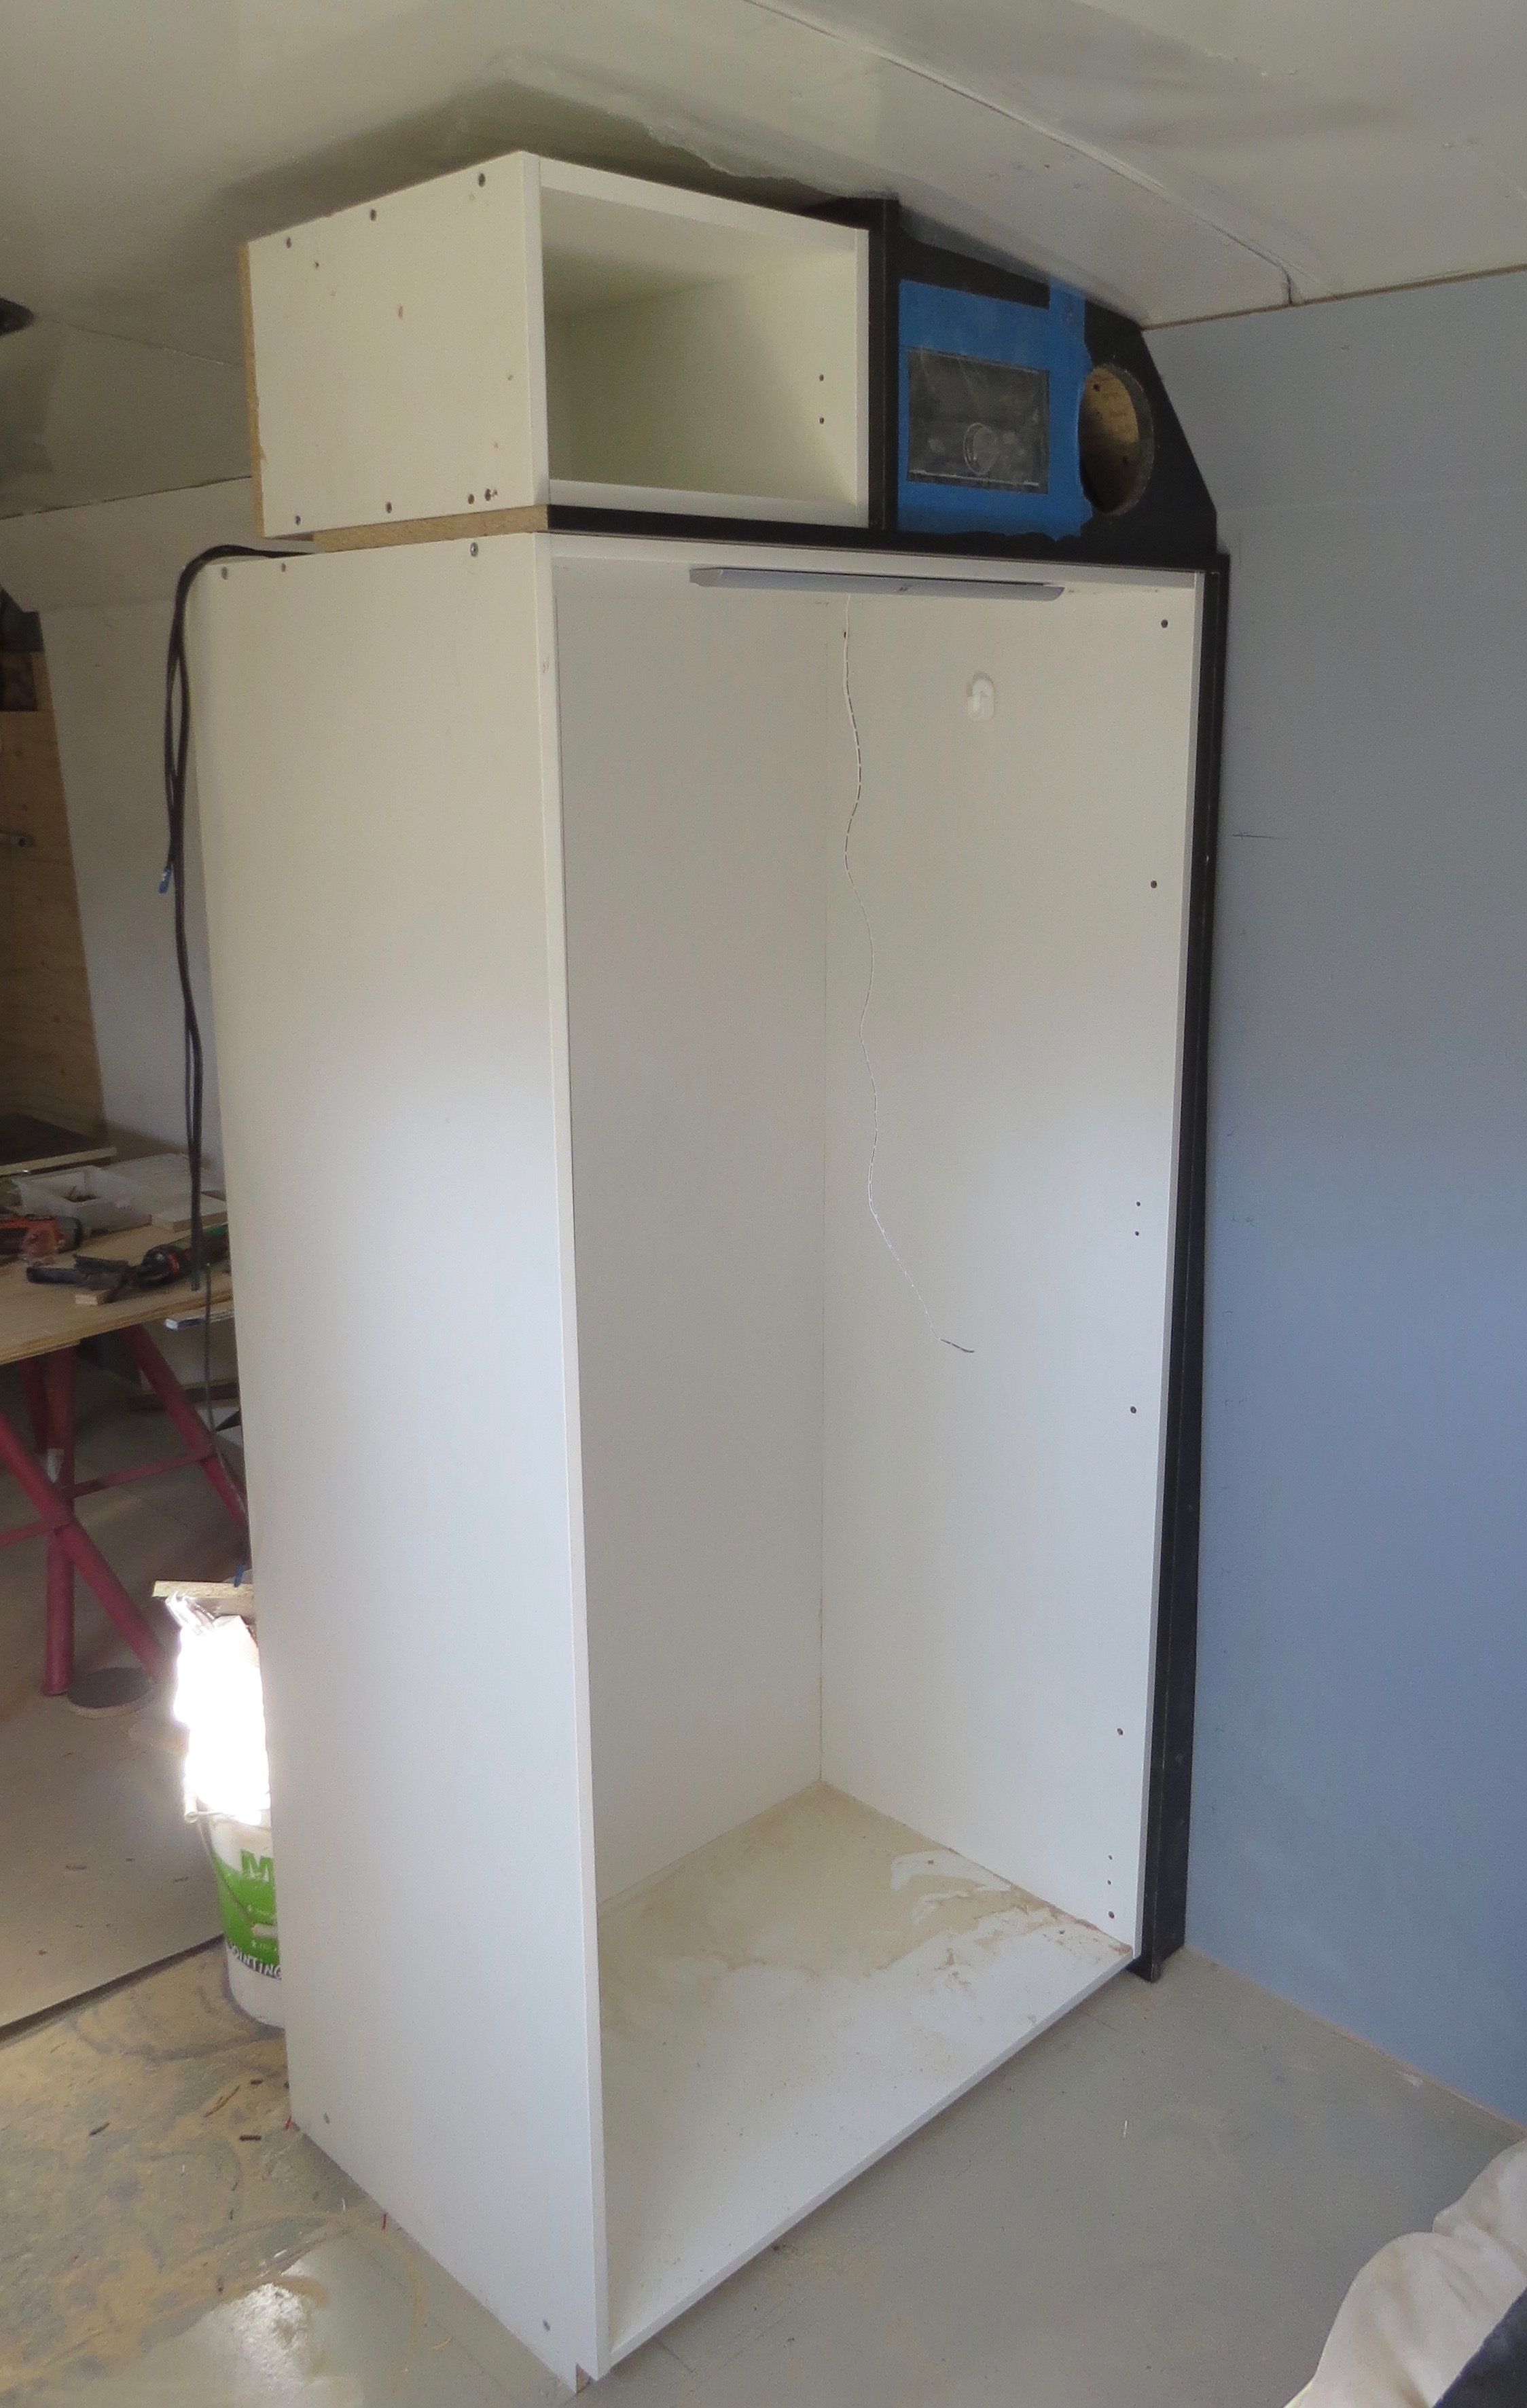
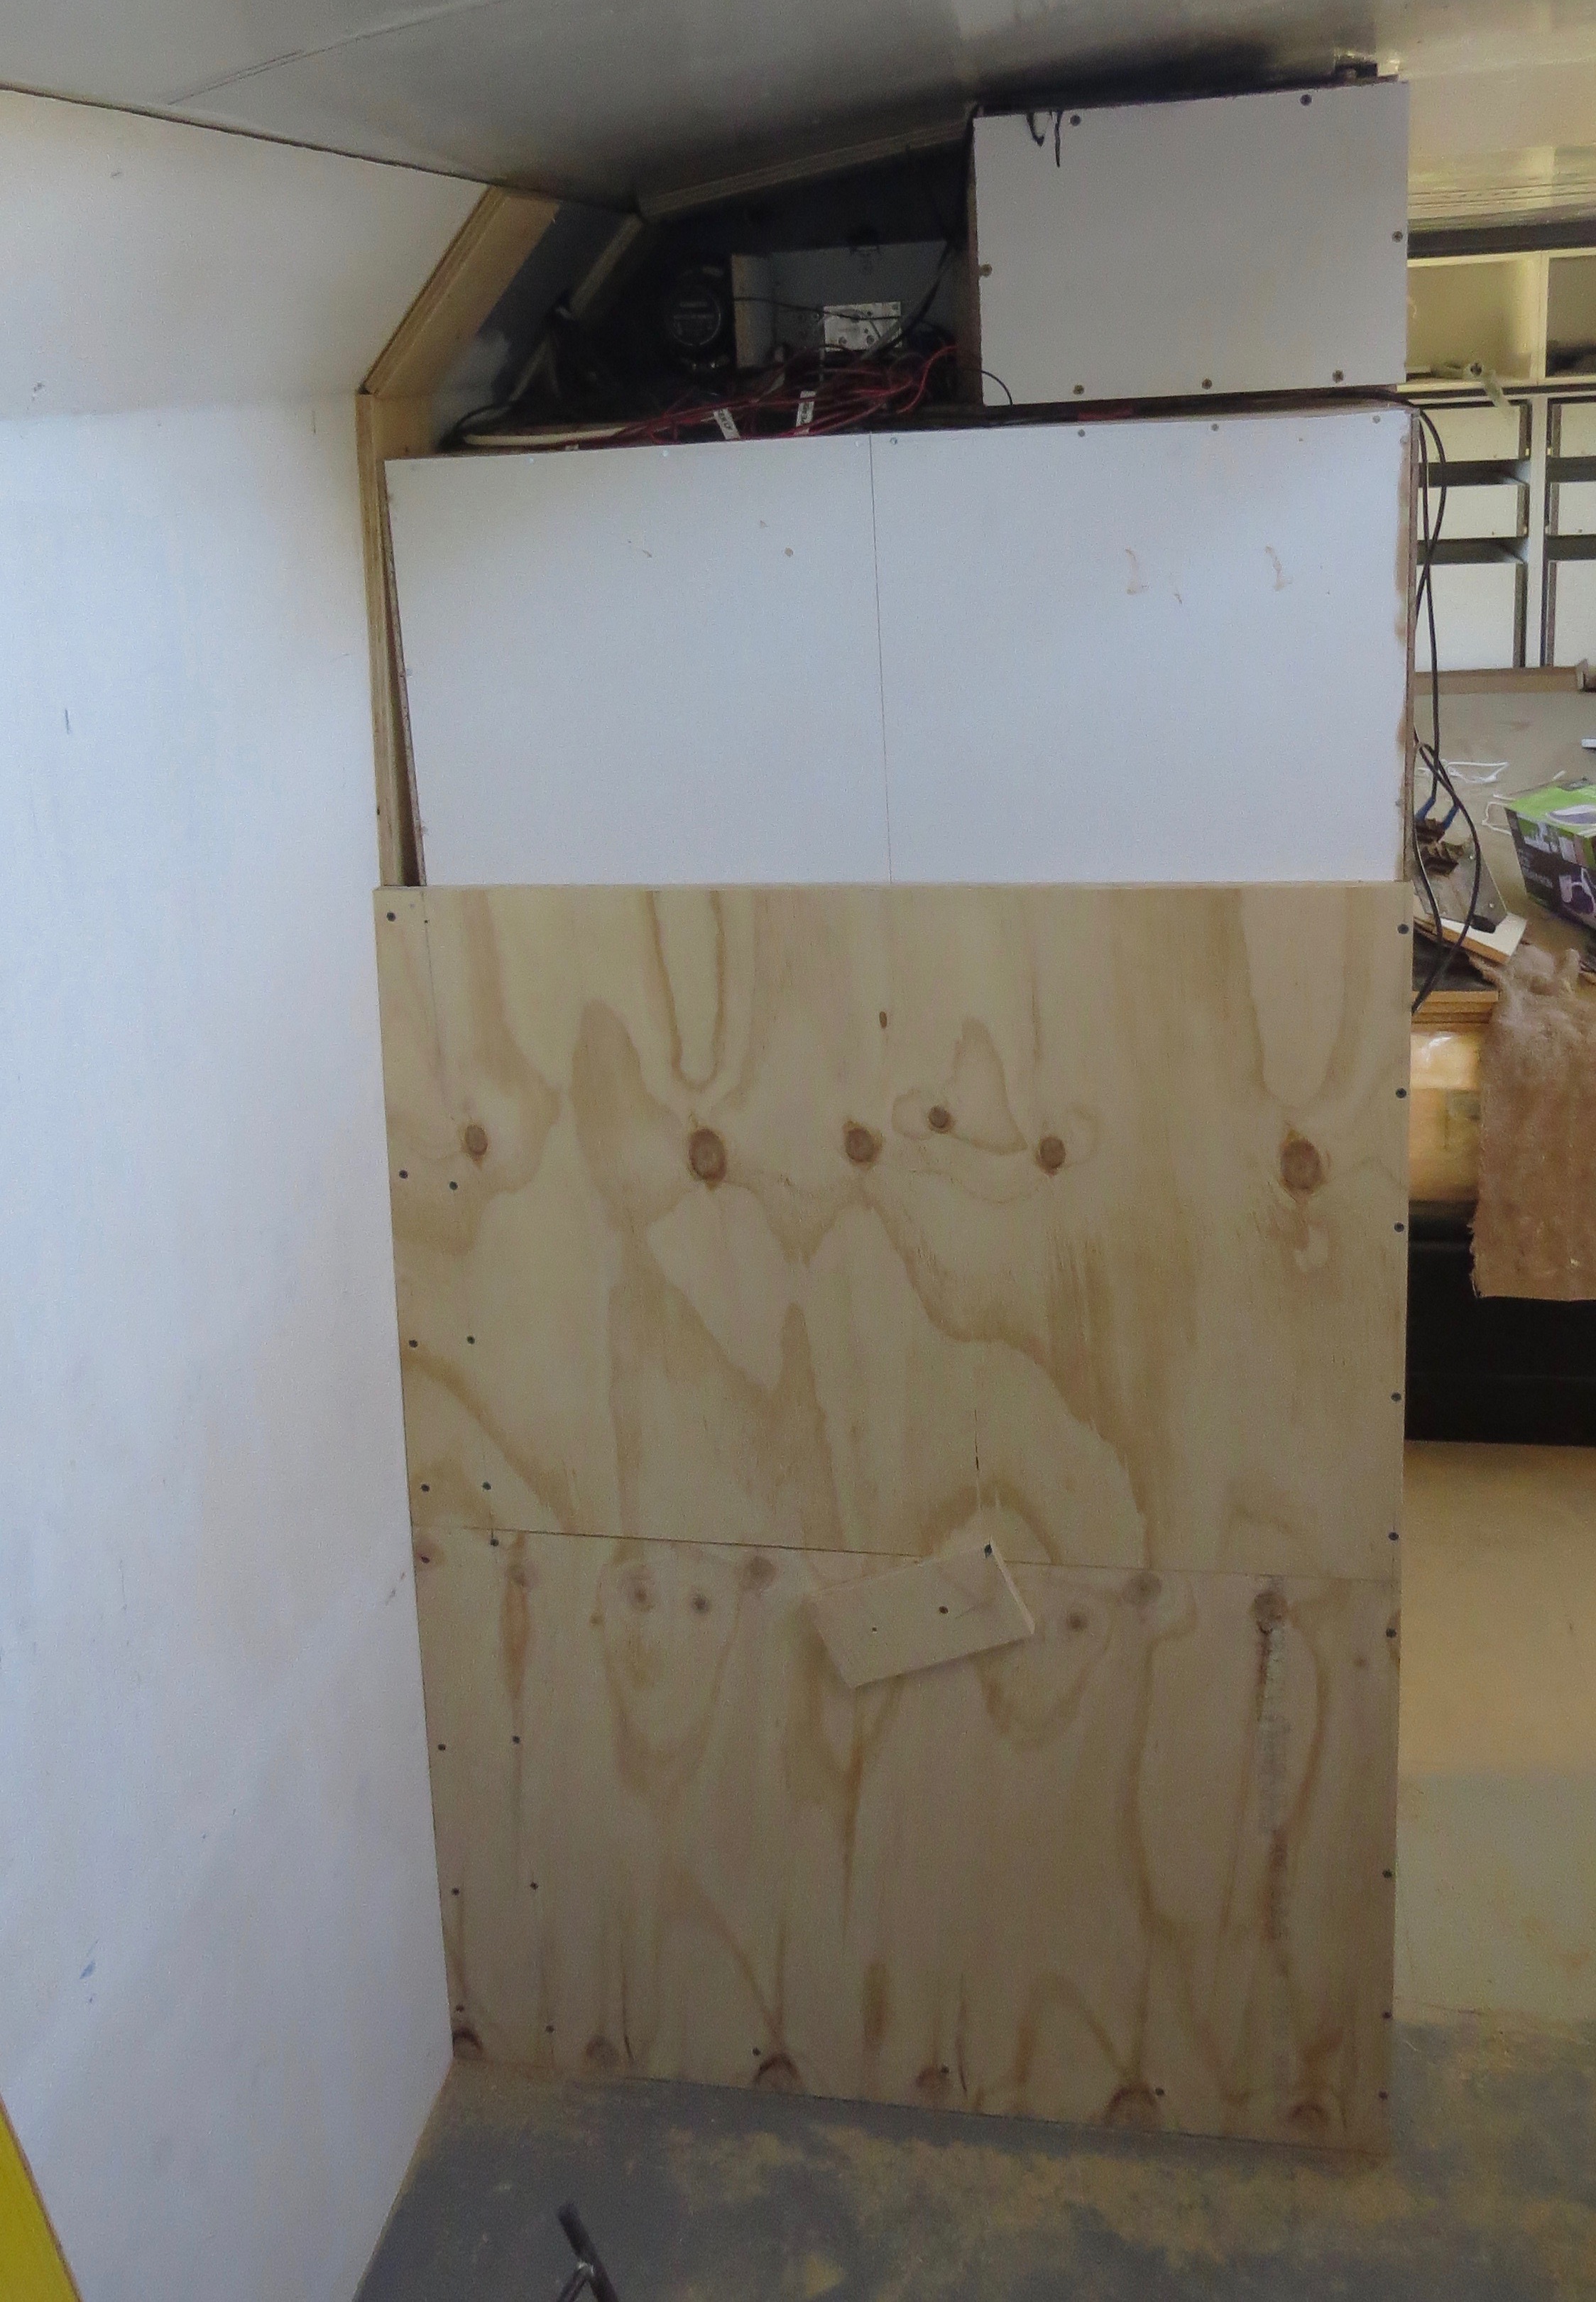
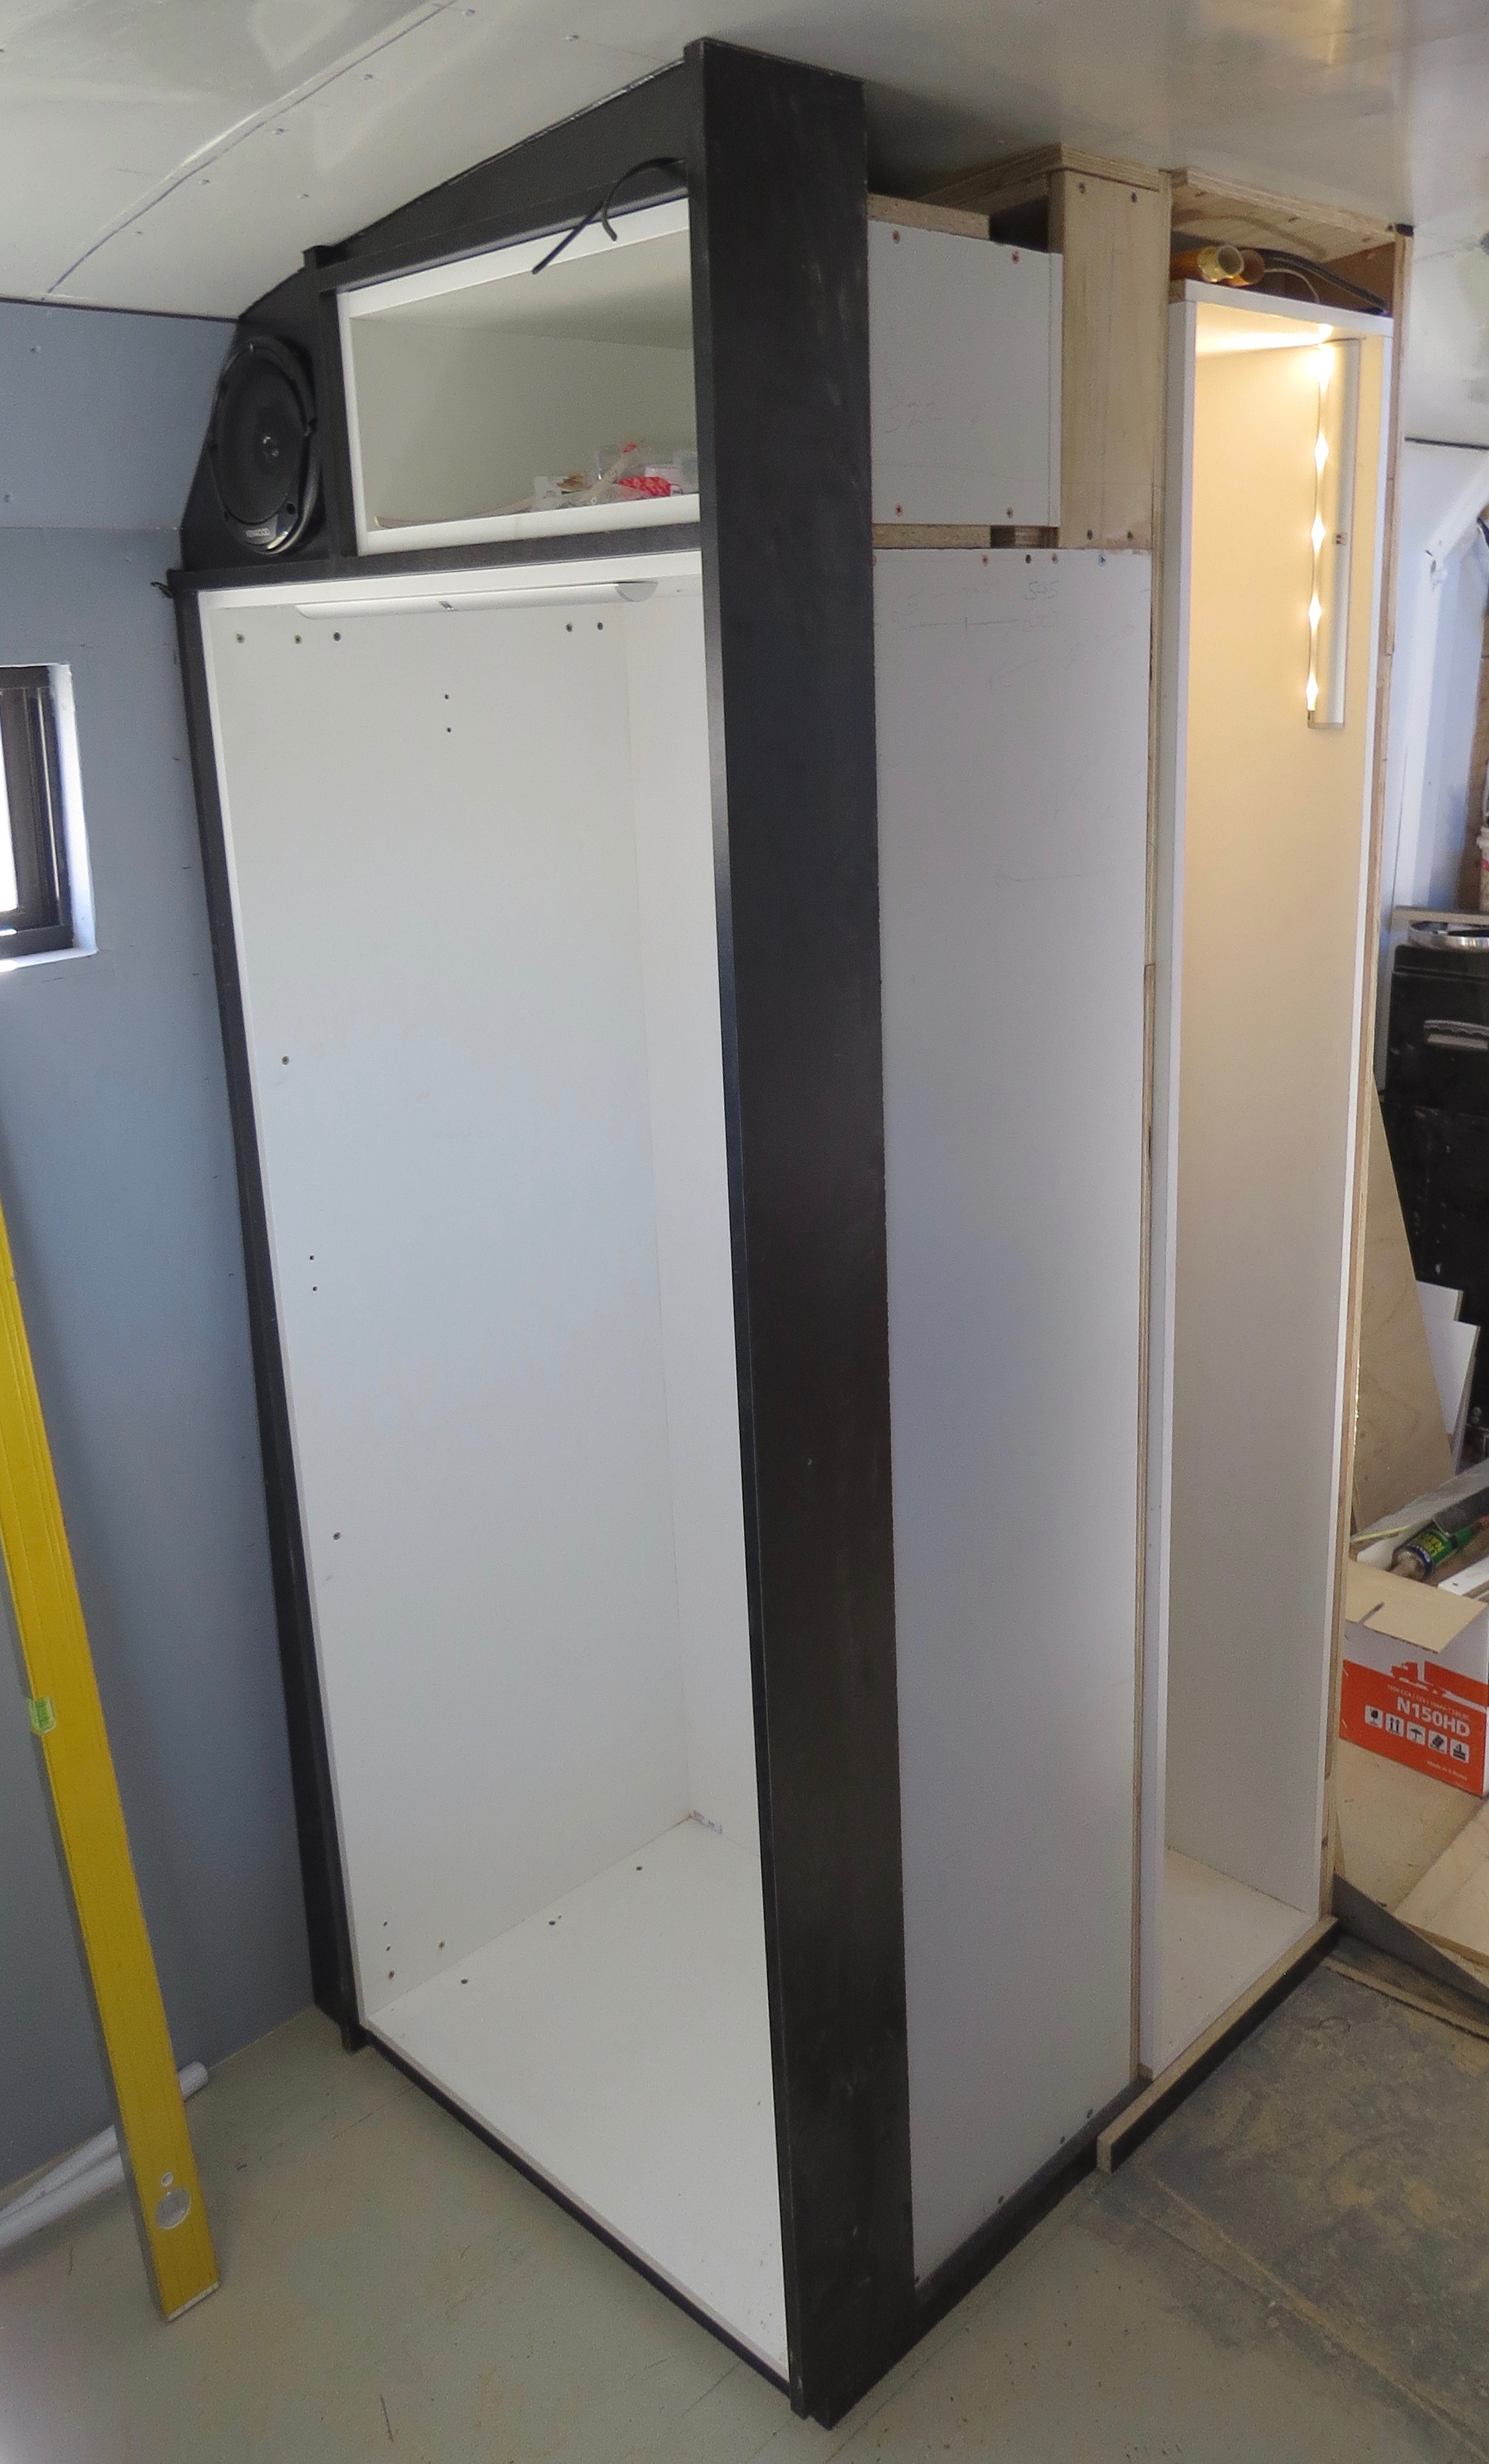
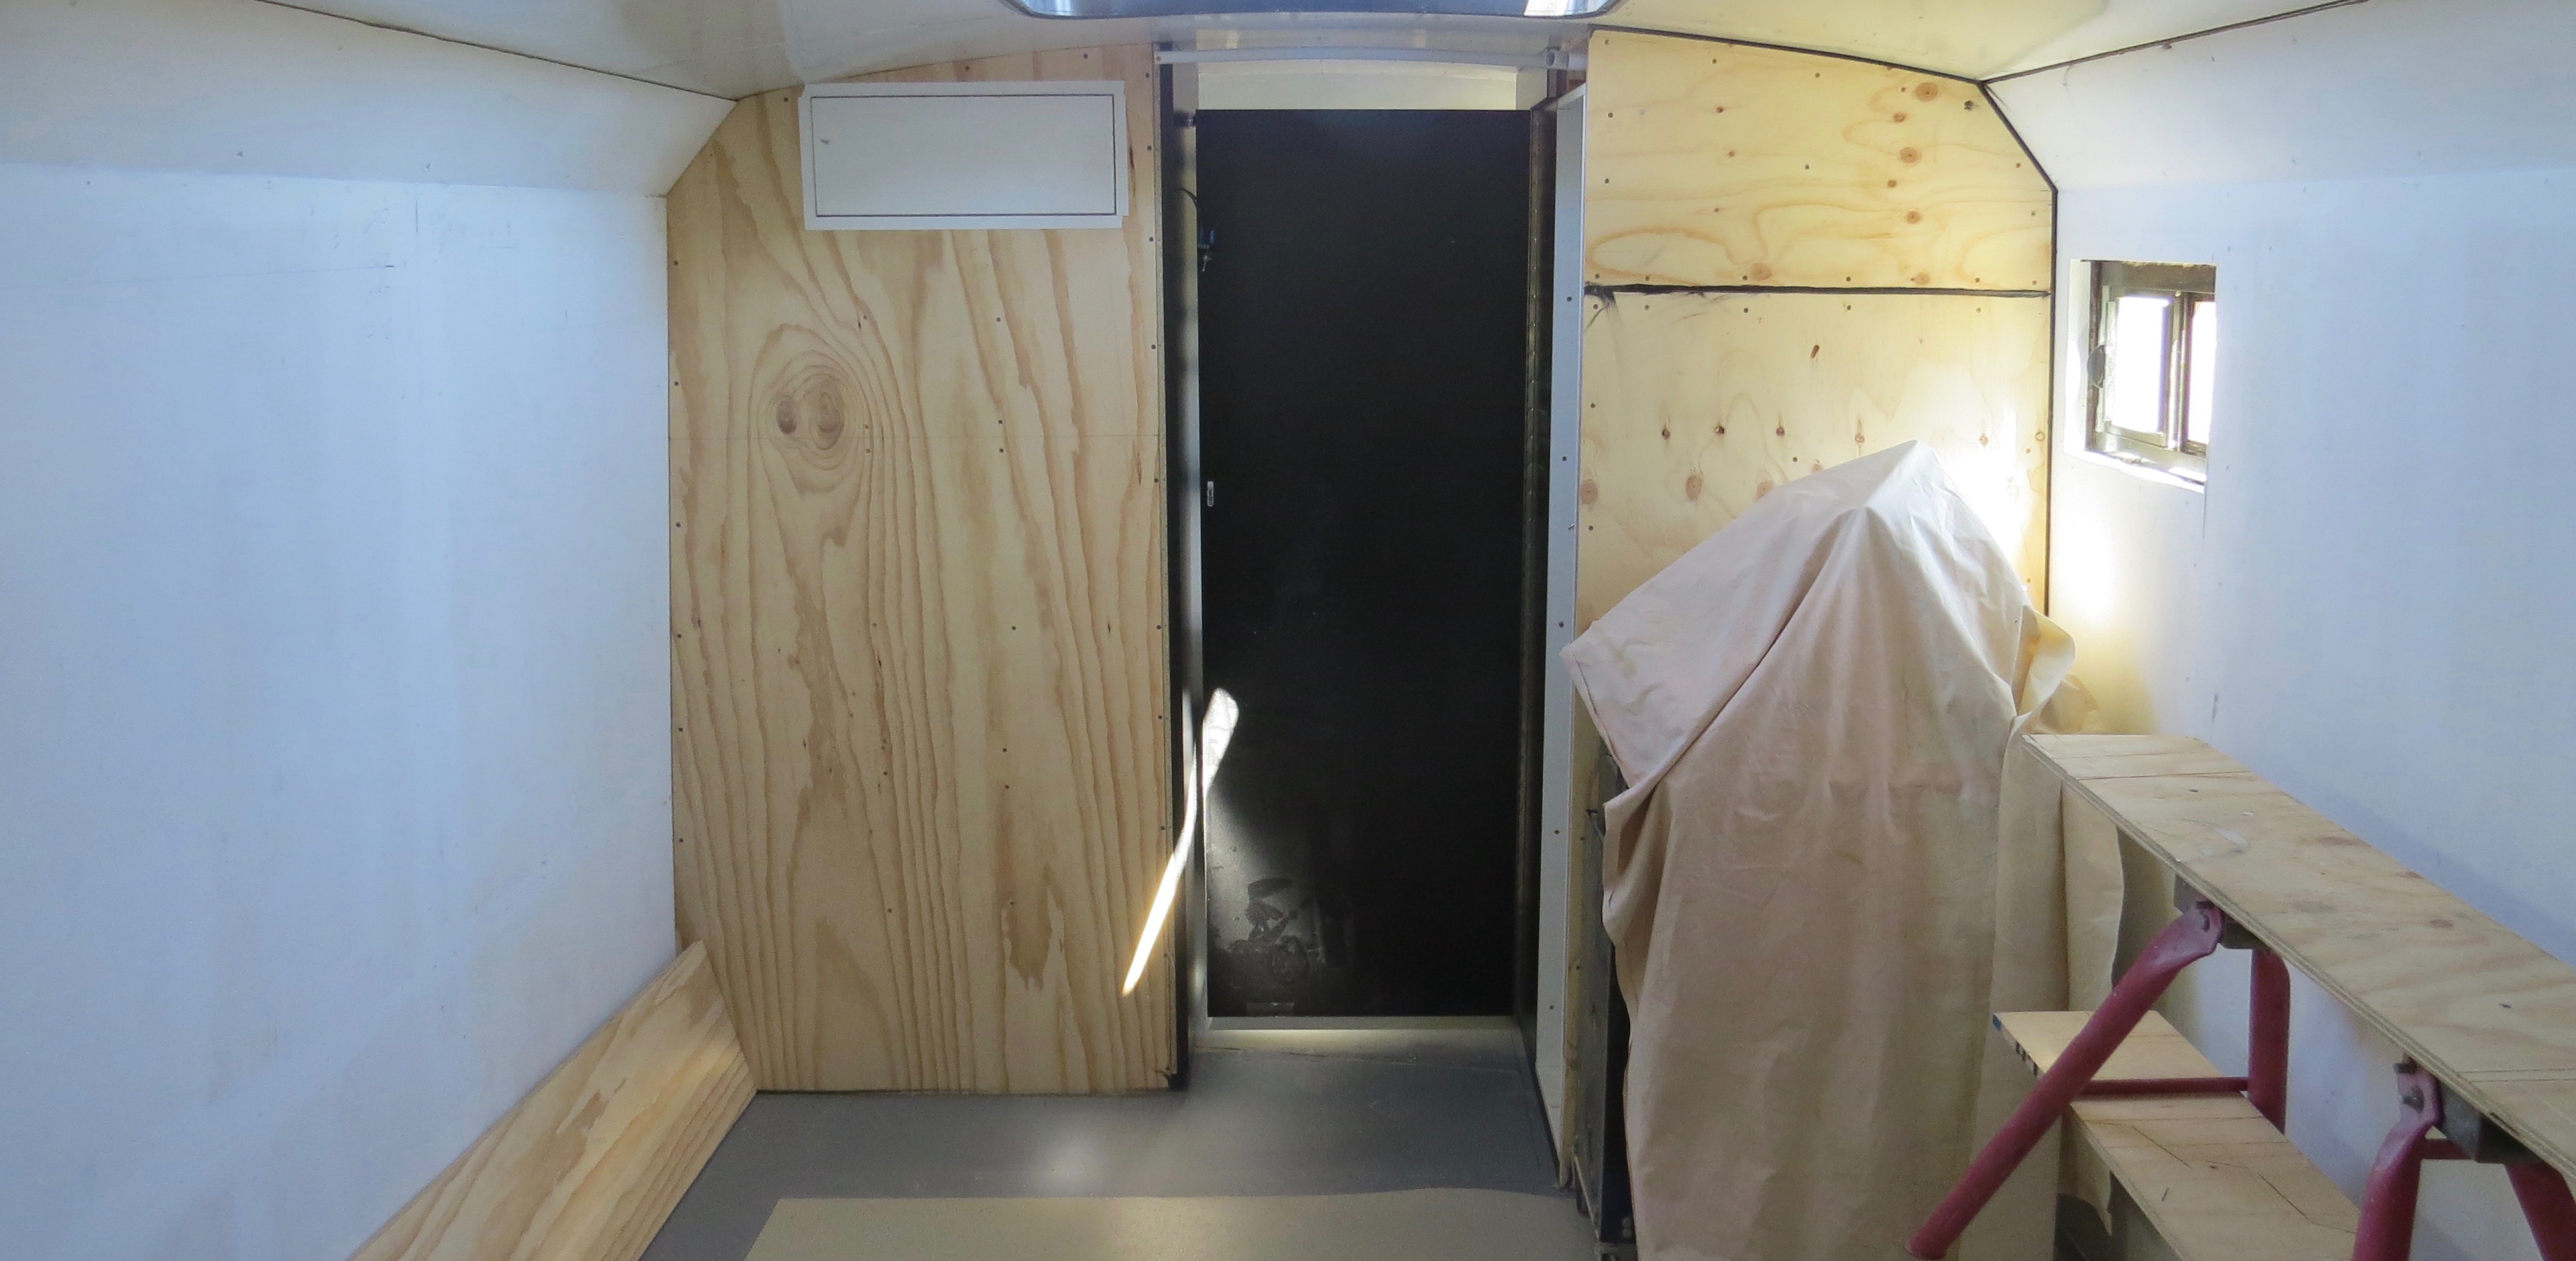
One down one more wardrobe to go

I must say it does get better on the second one as you know not what to do already. This side will also have the stereo fitted above the wardrobe as well as a speaker, so I’ll have lots of wires to play with here. The switch  for the bedroom lights will be on this side that will only be 12v for the LED light strip’s.
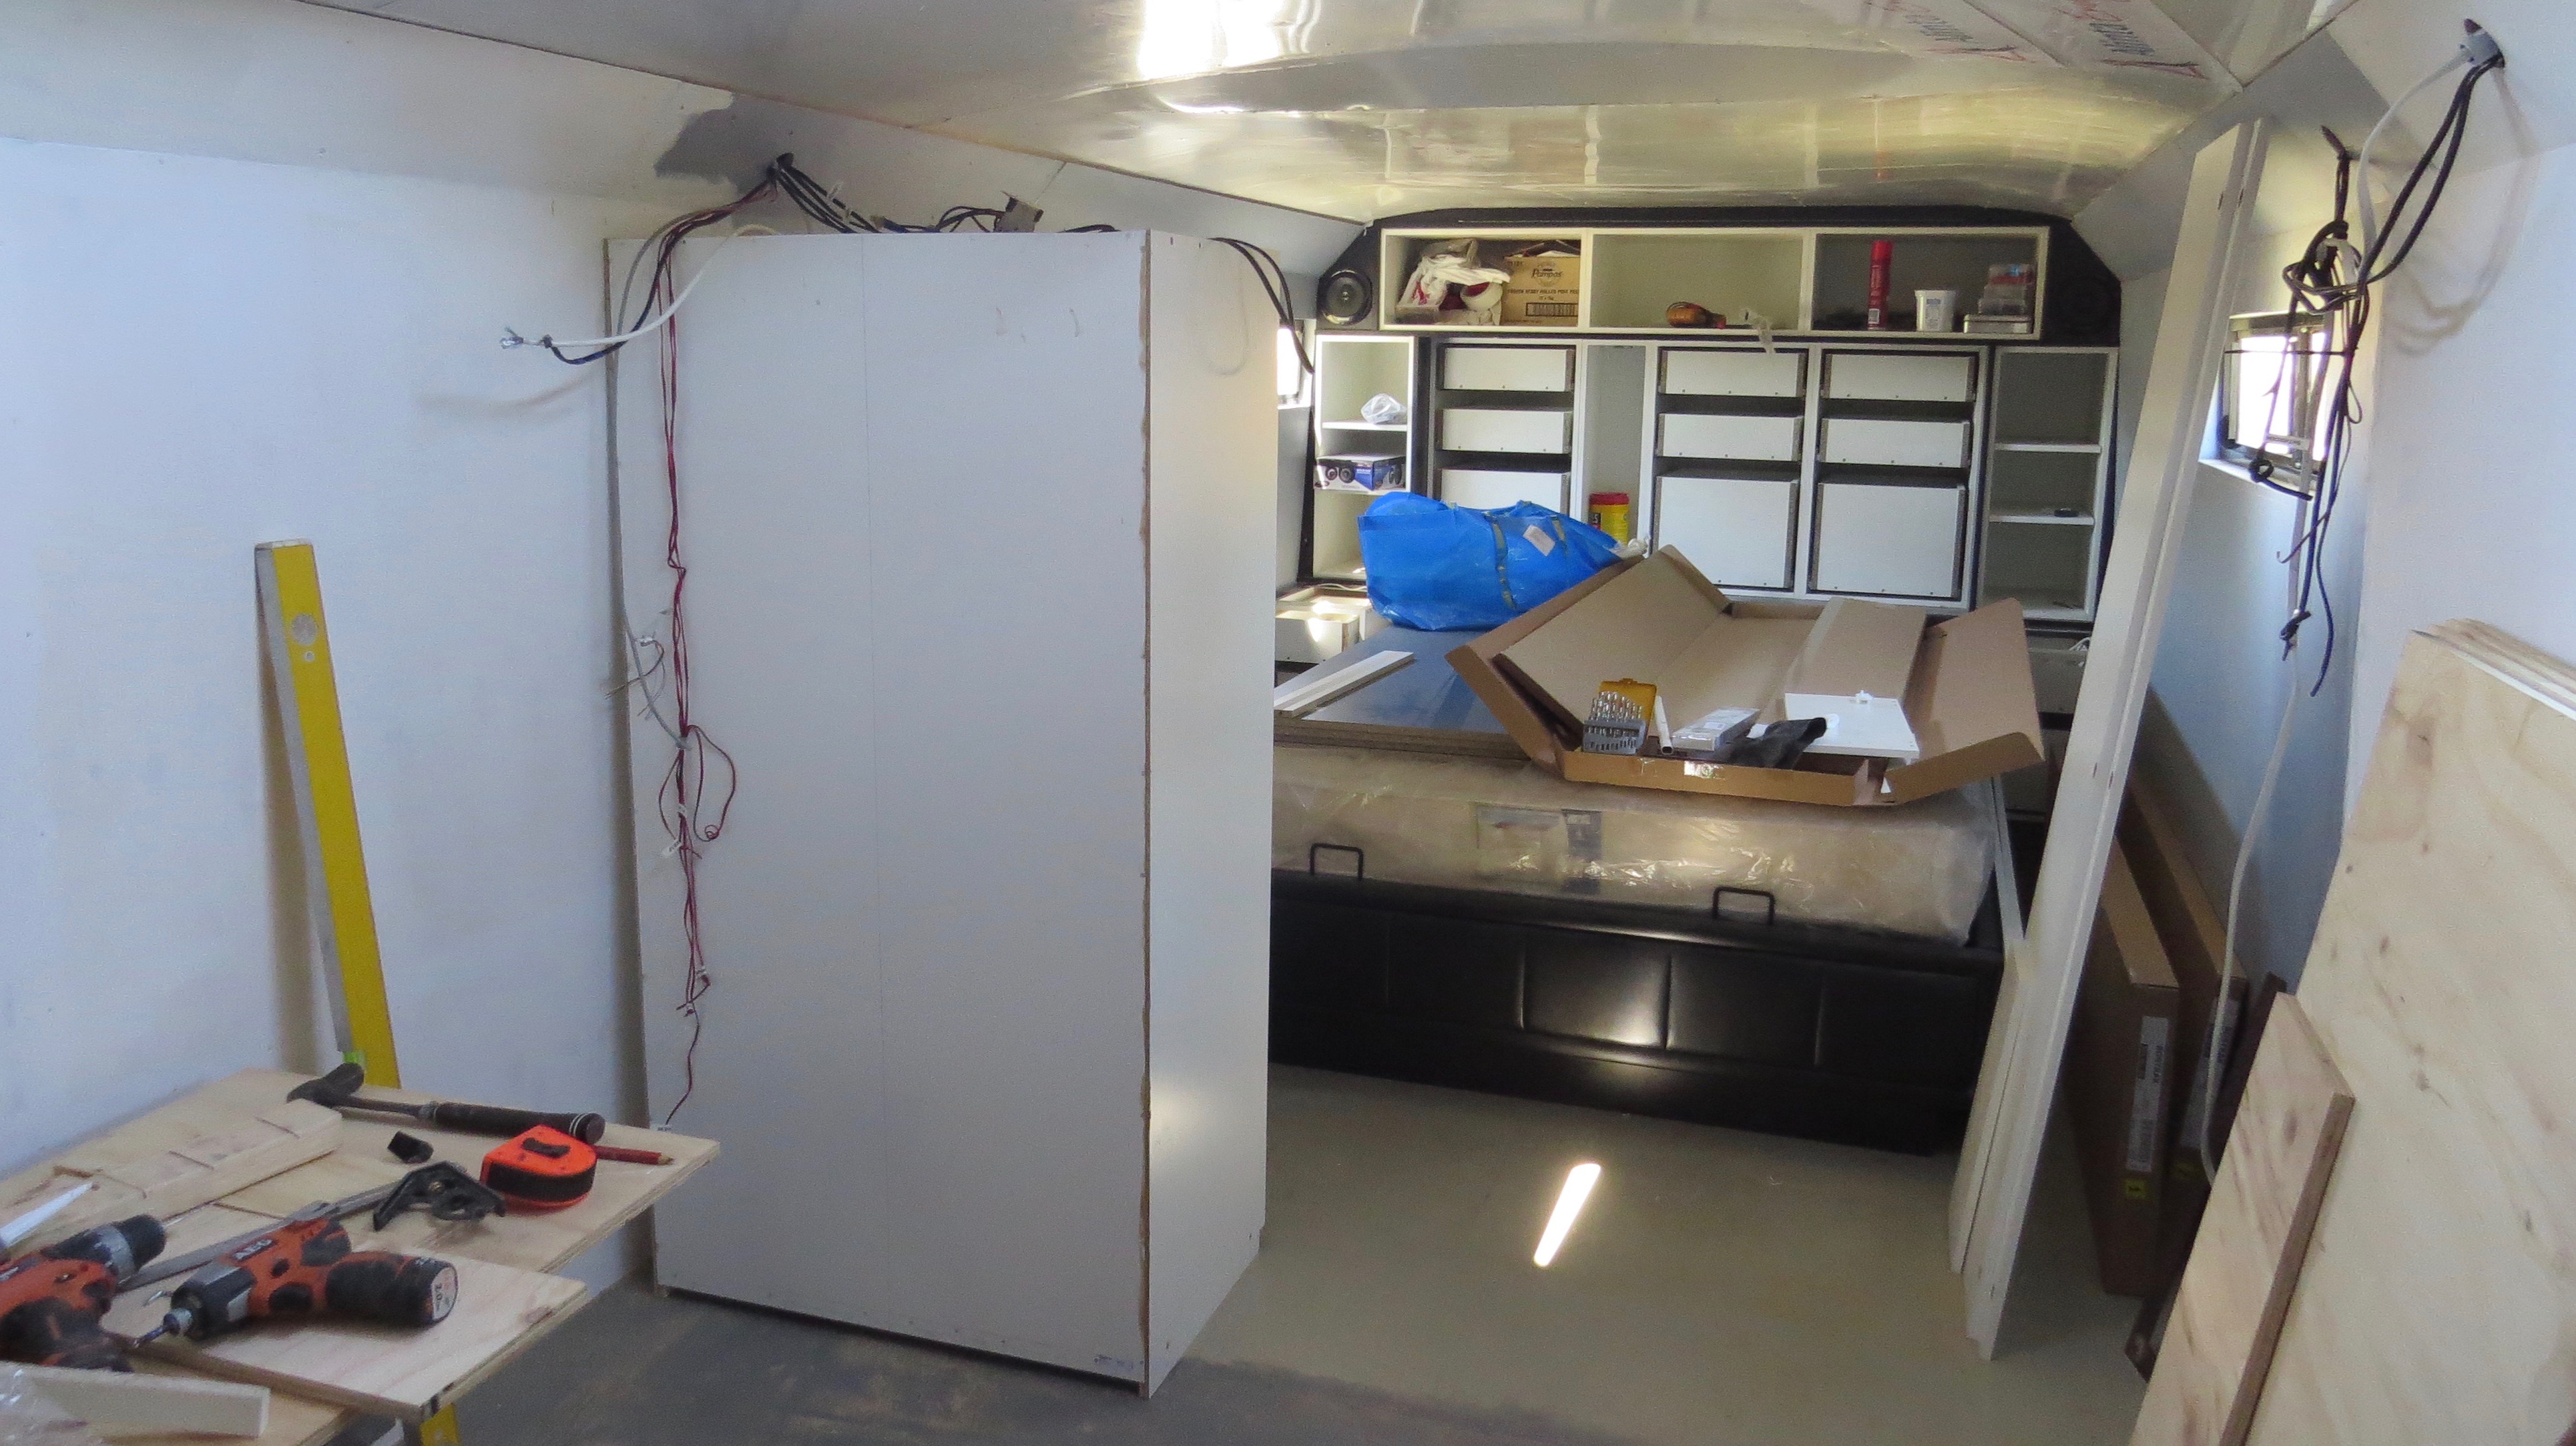
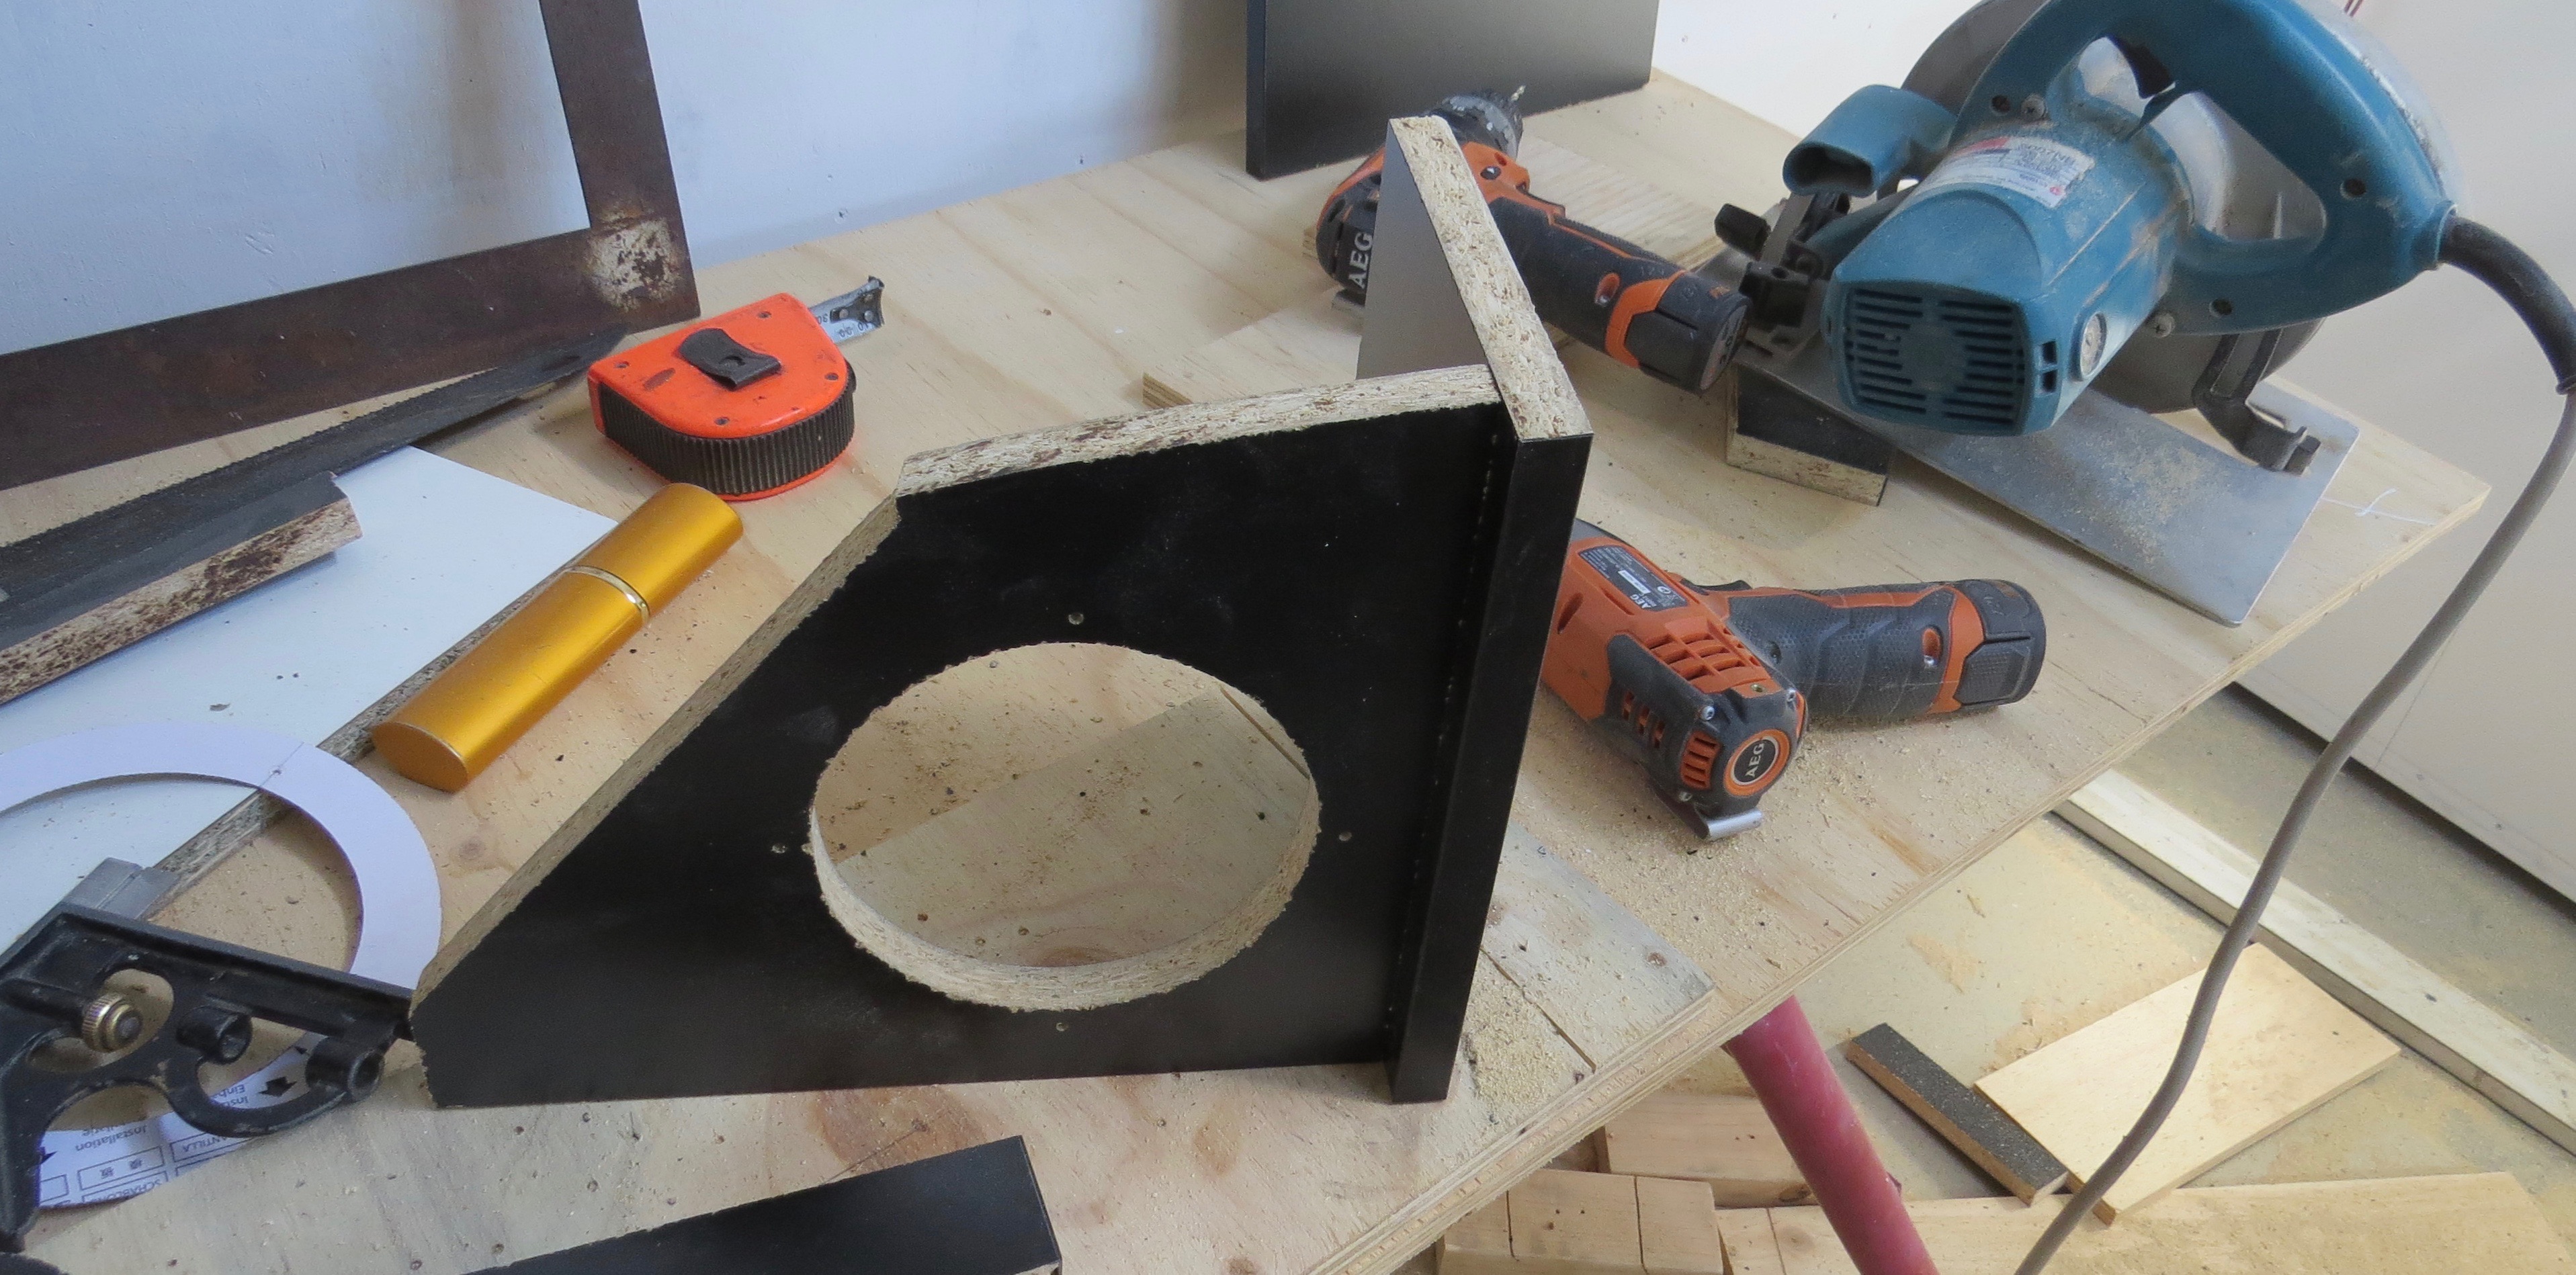
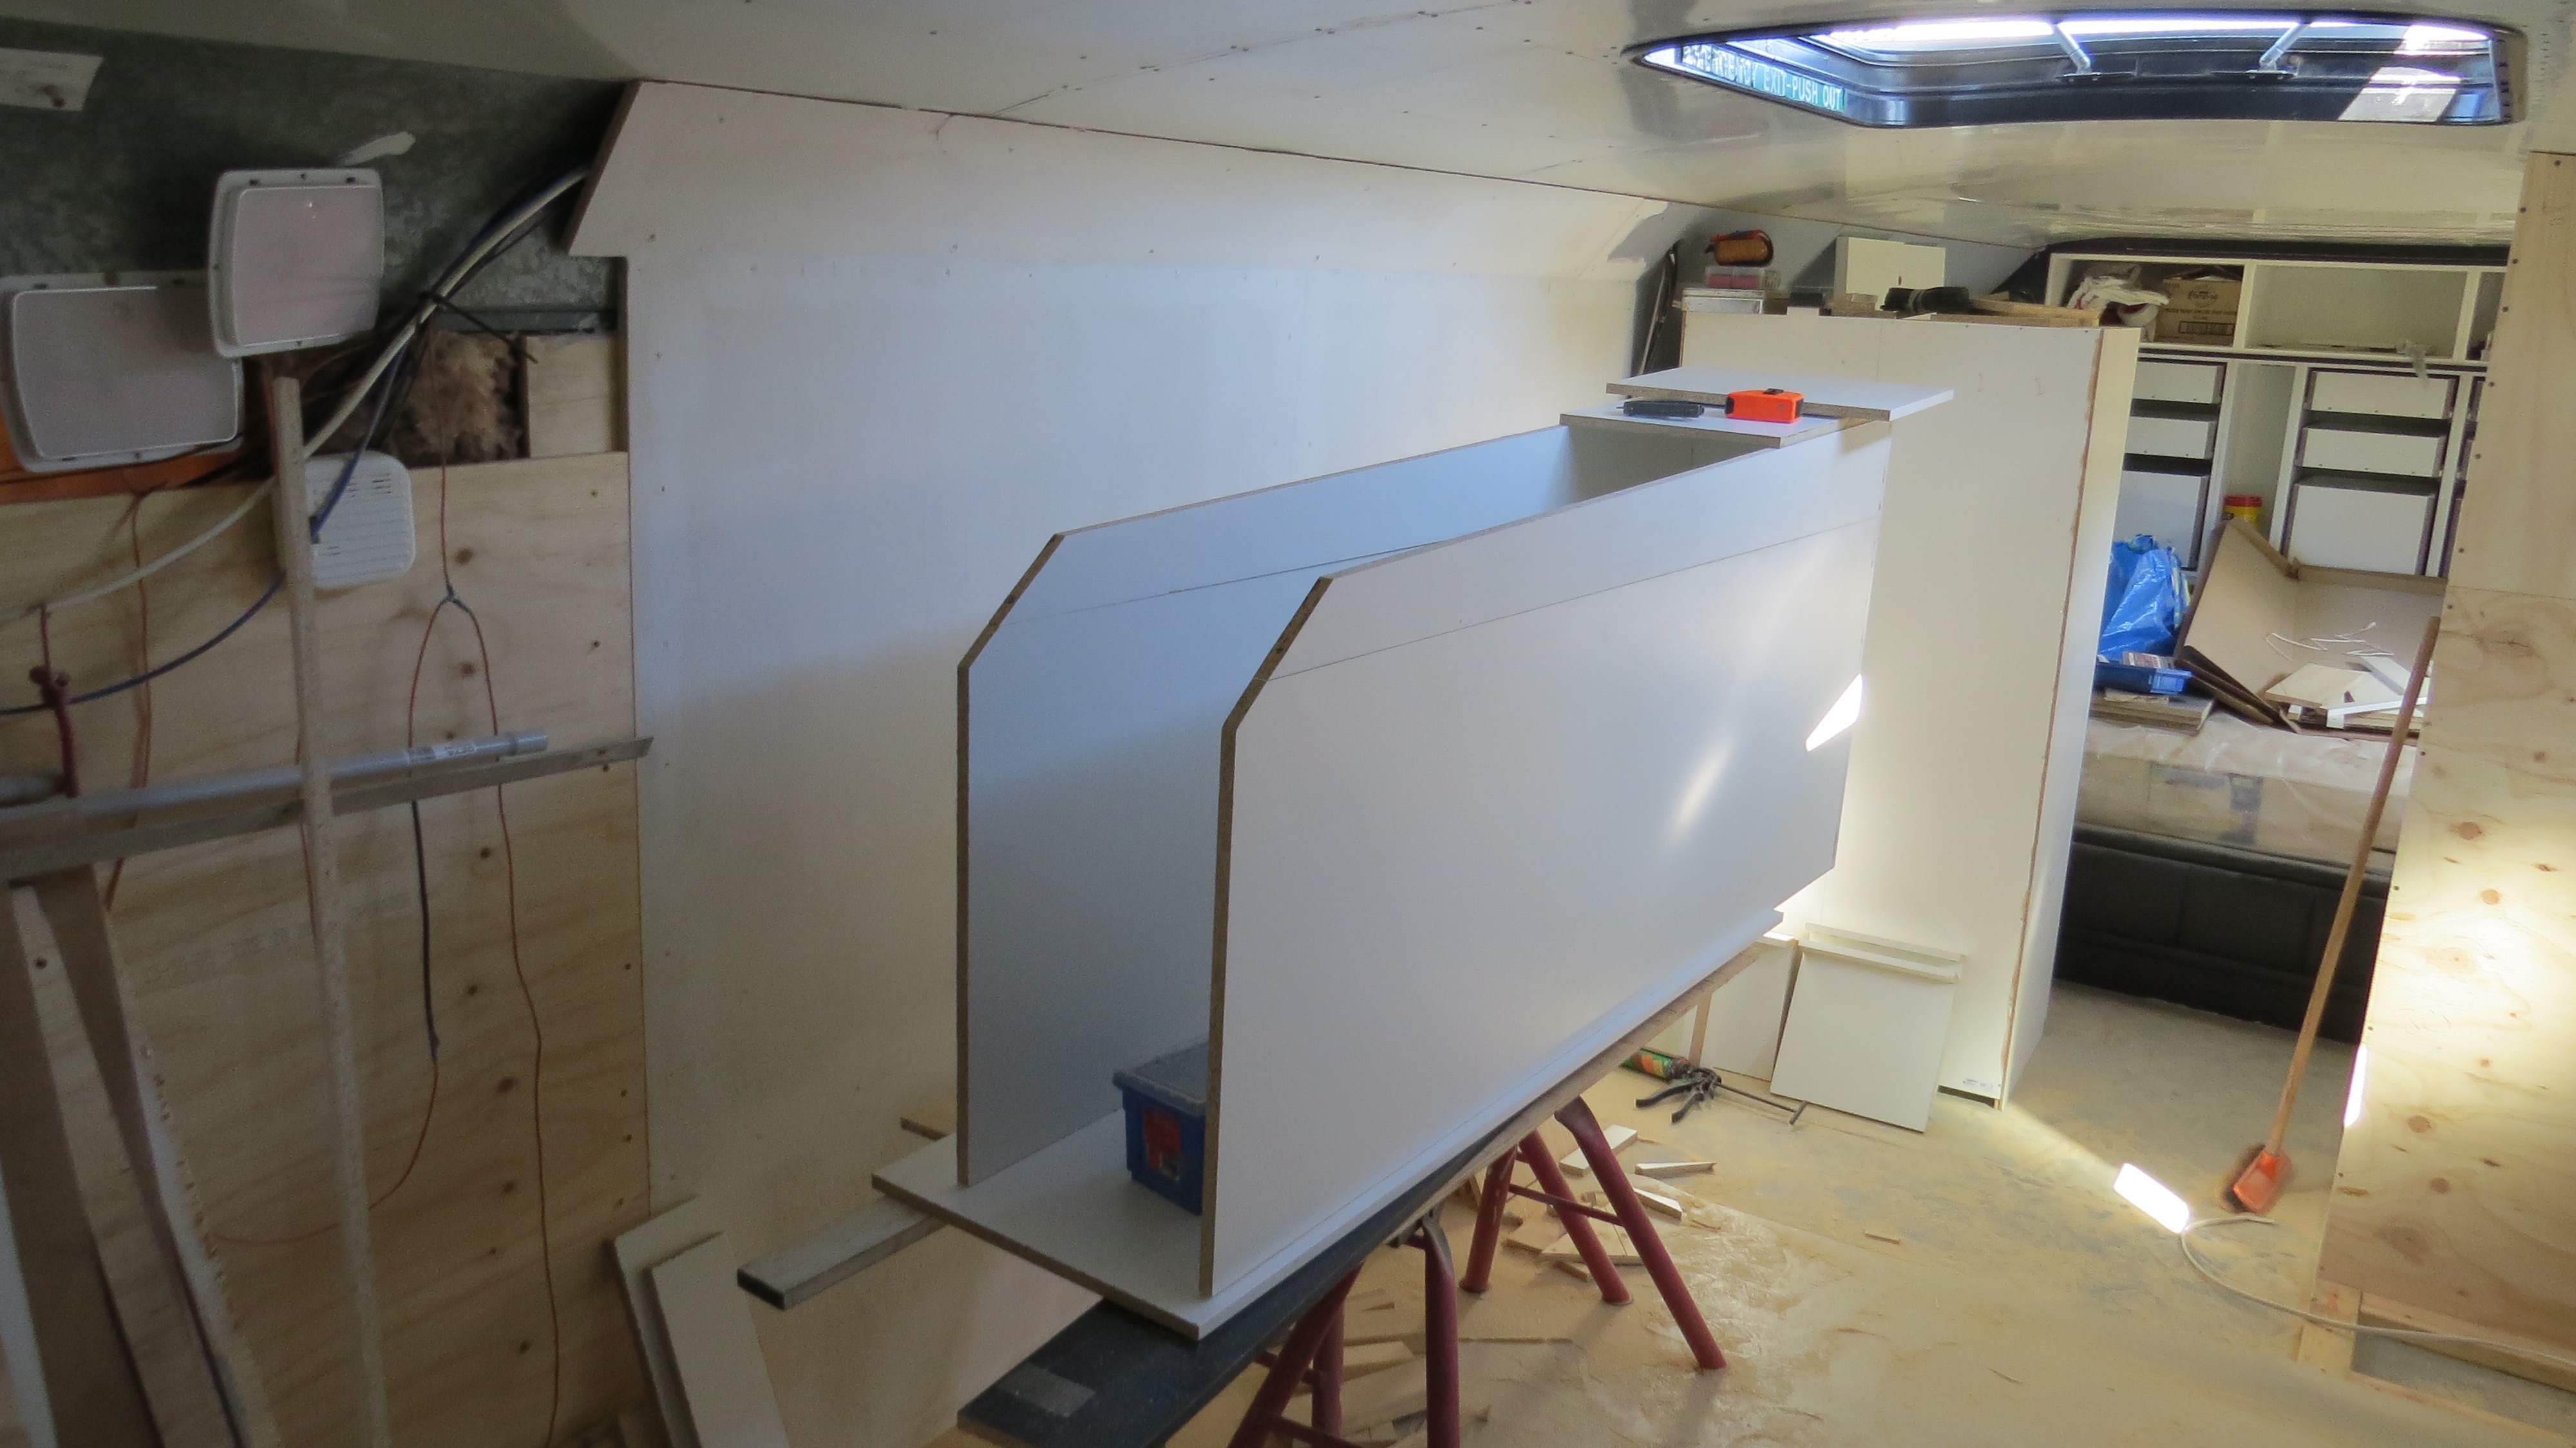
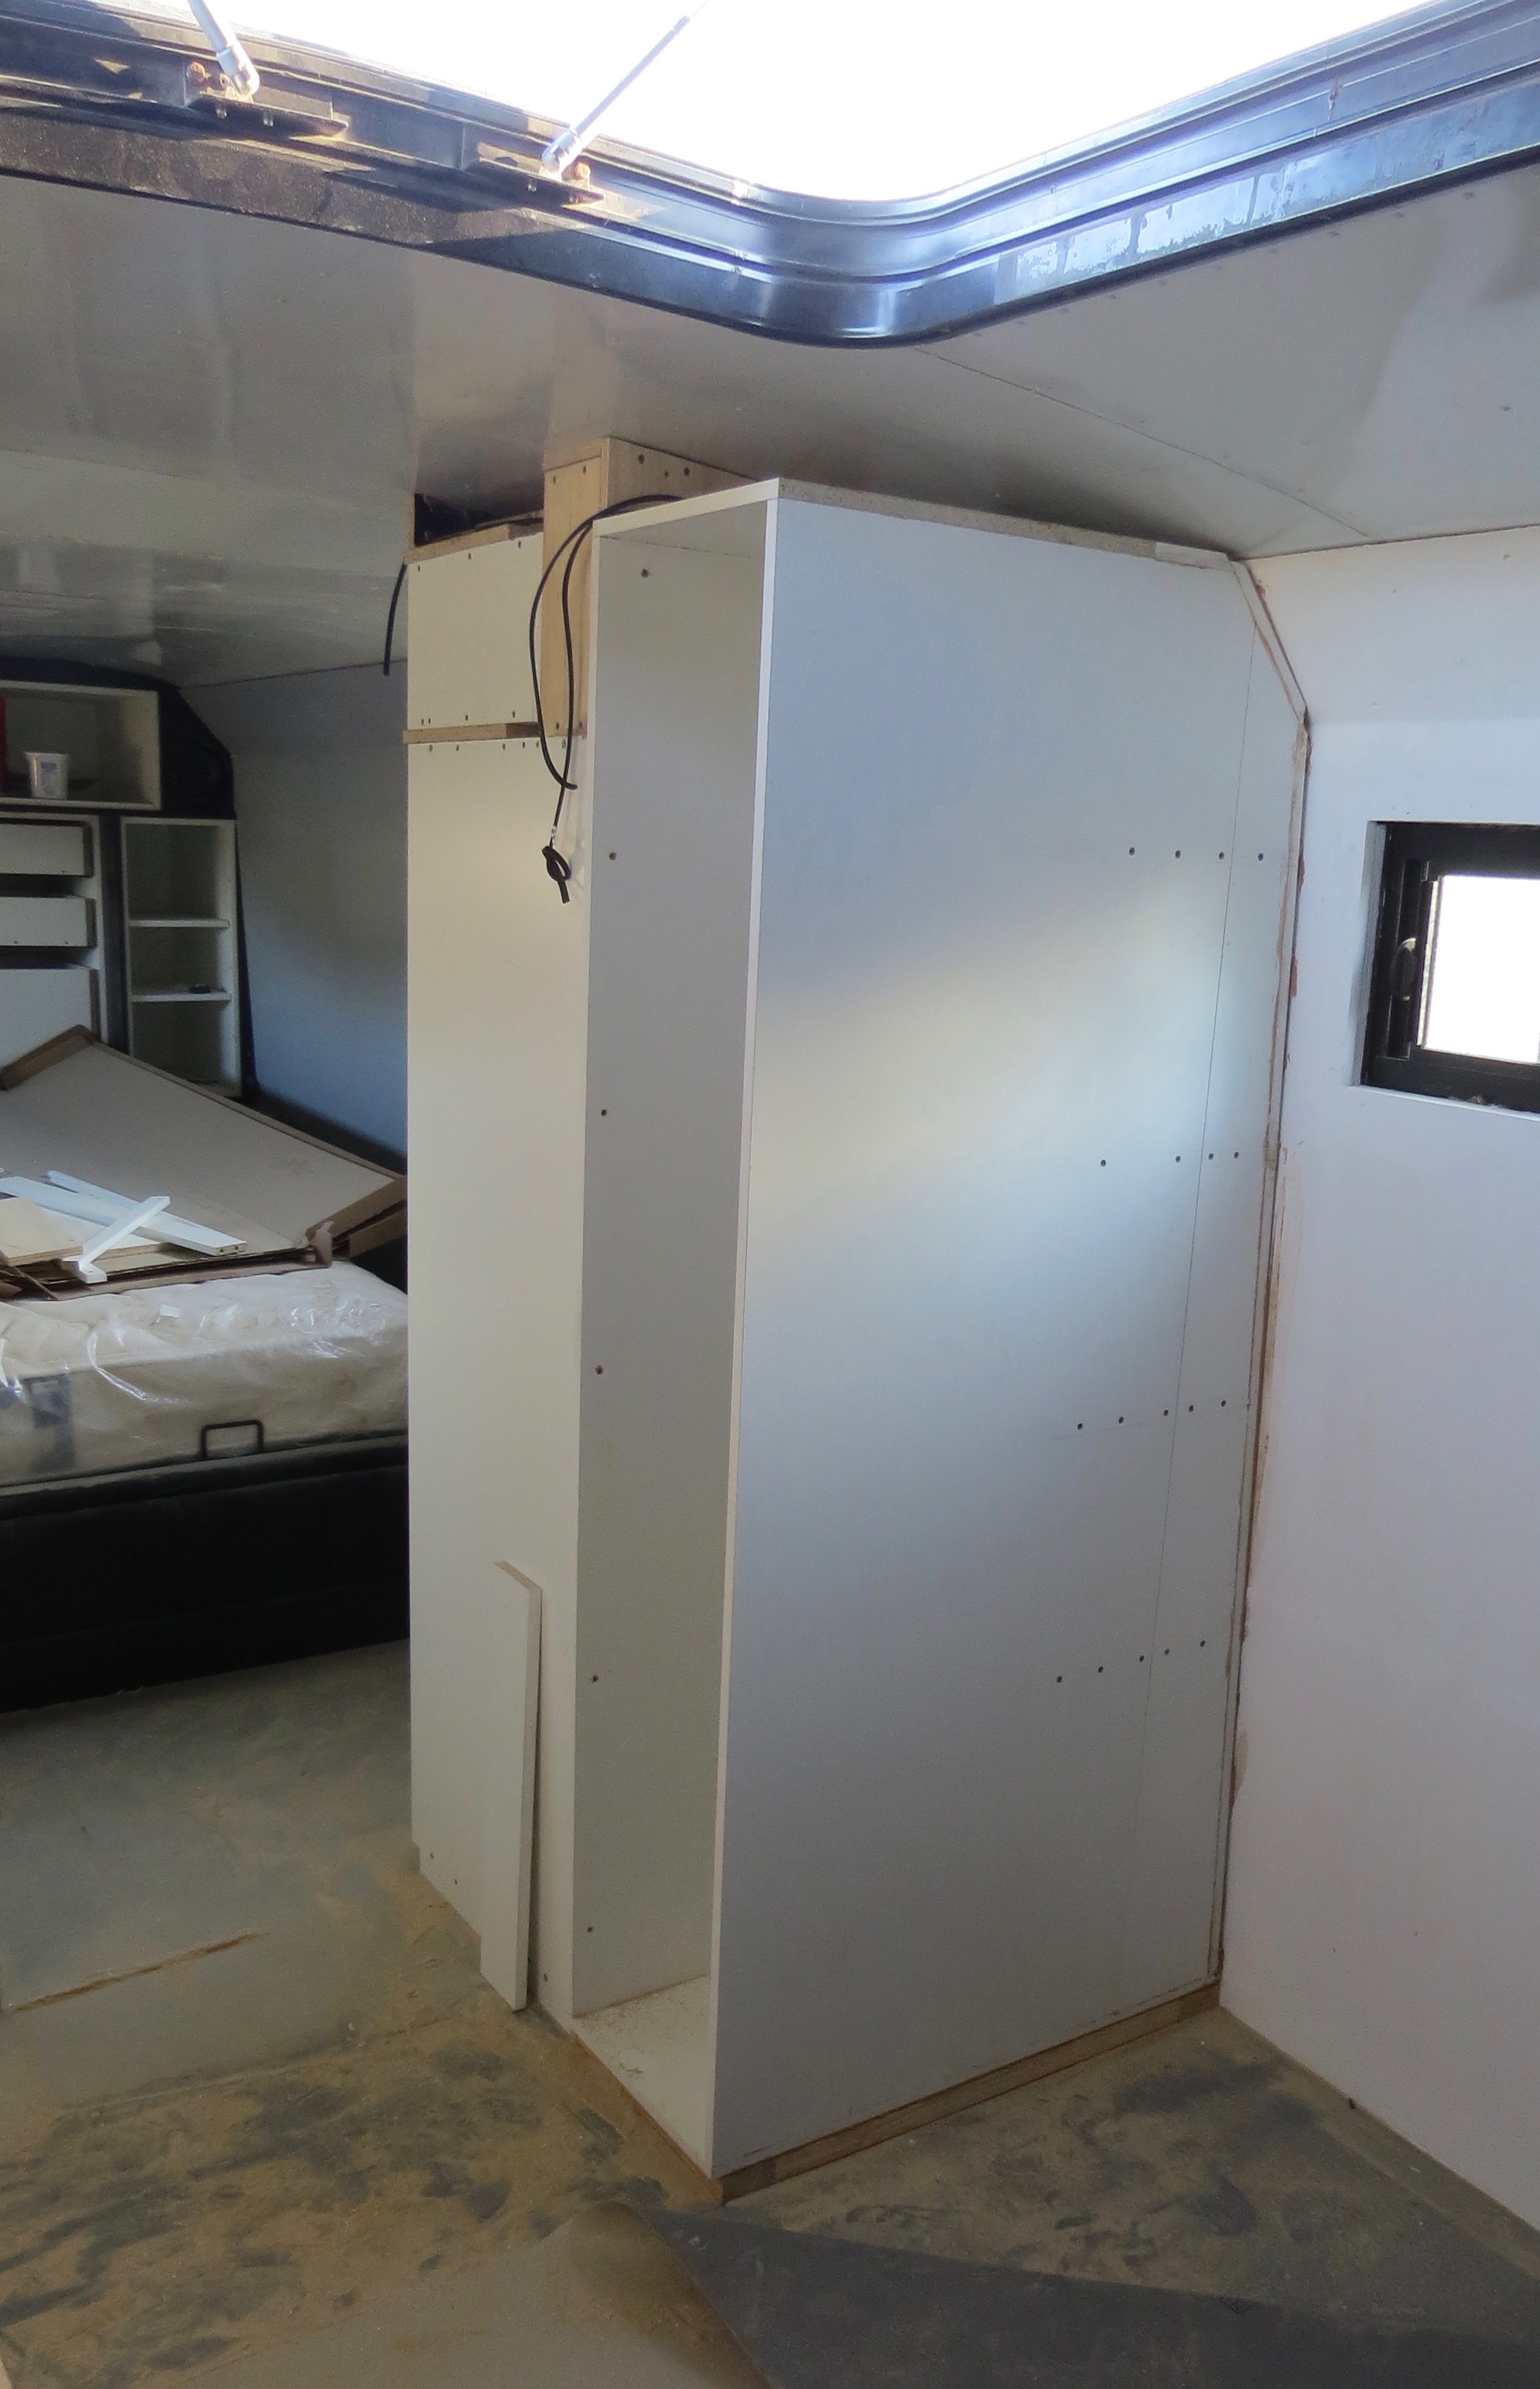
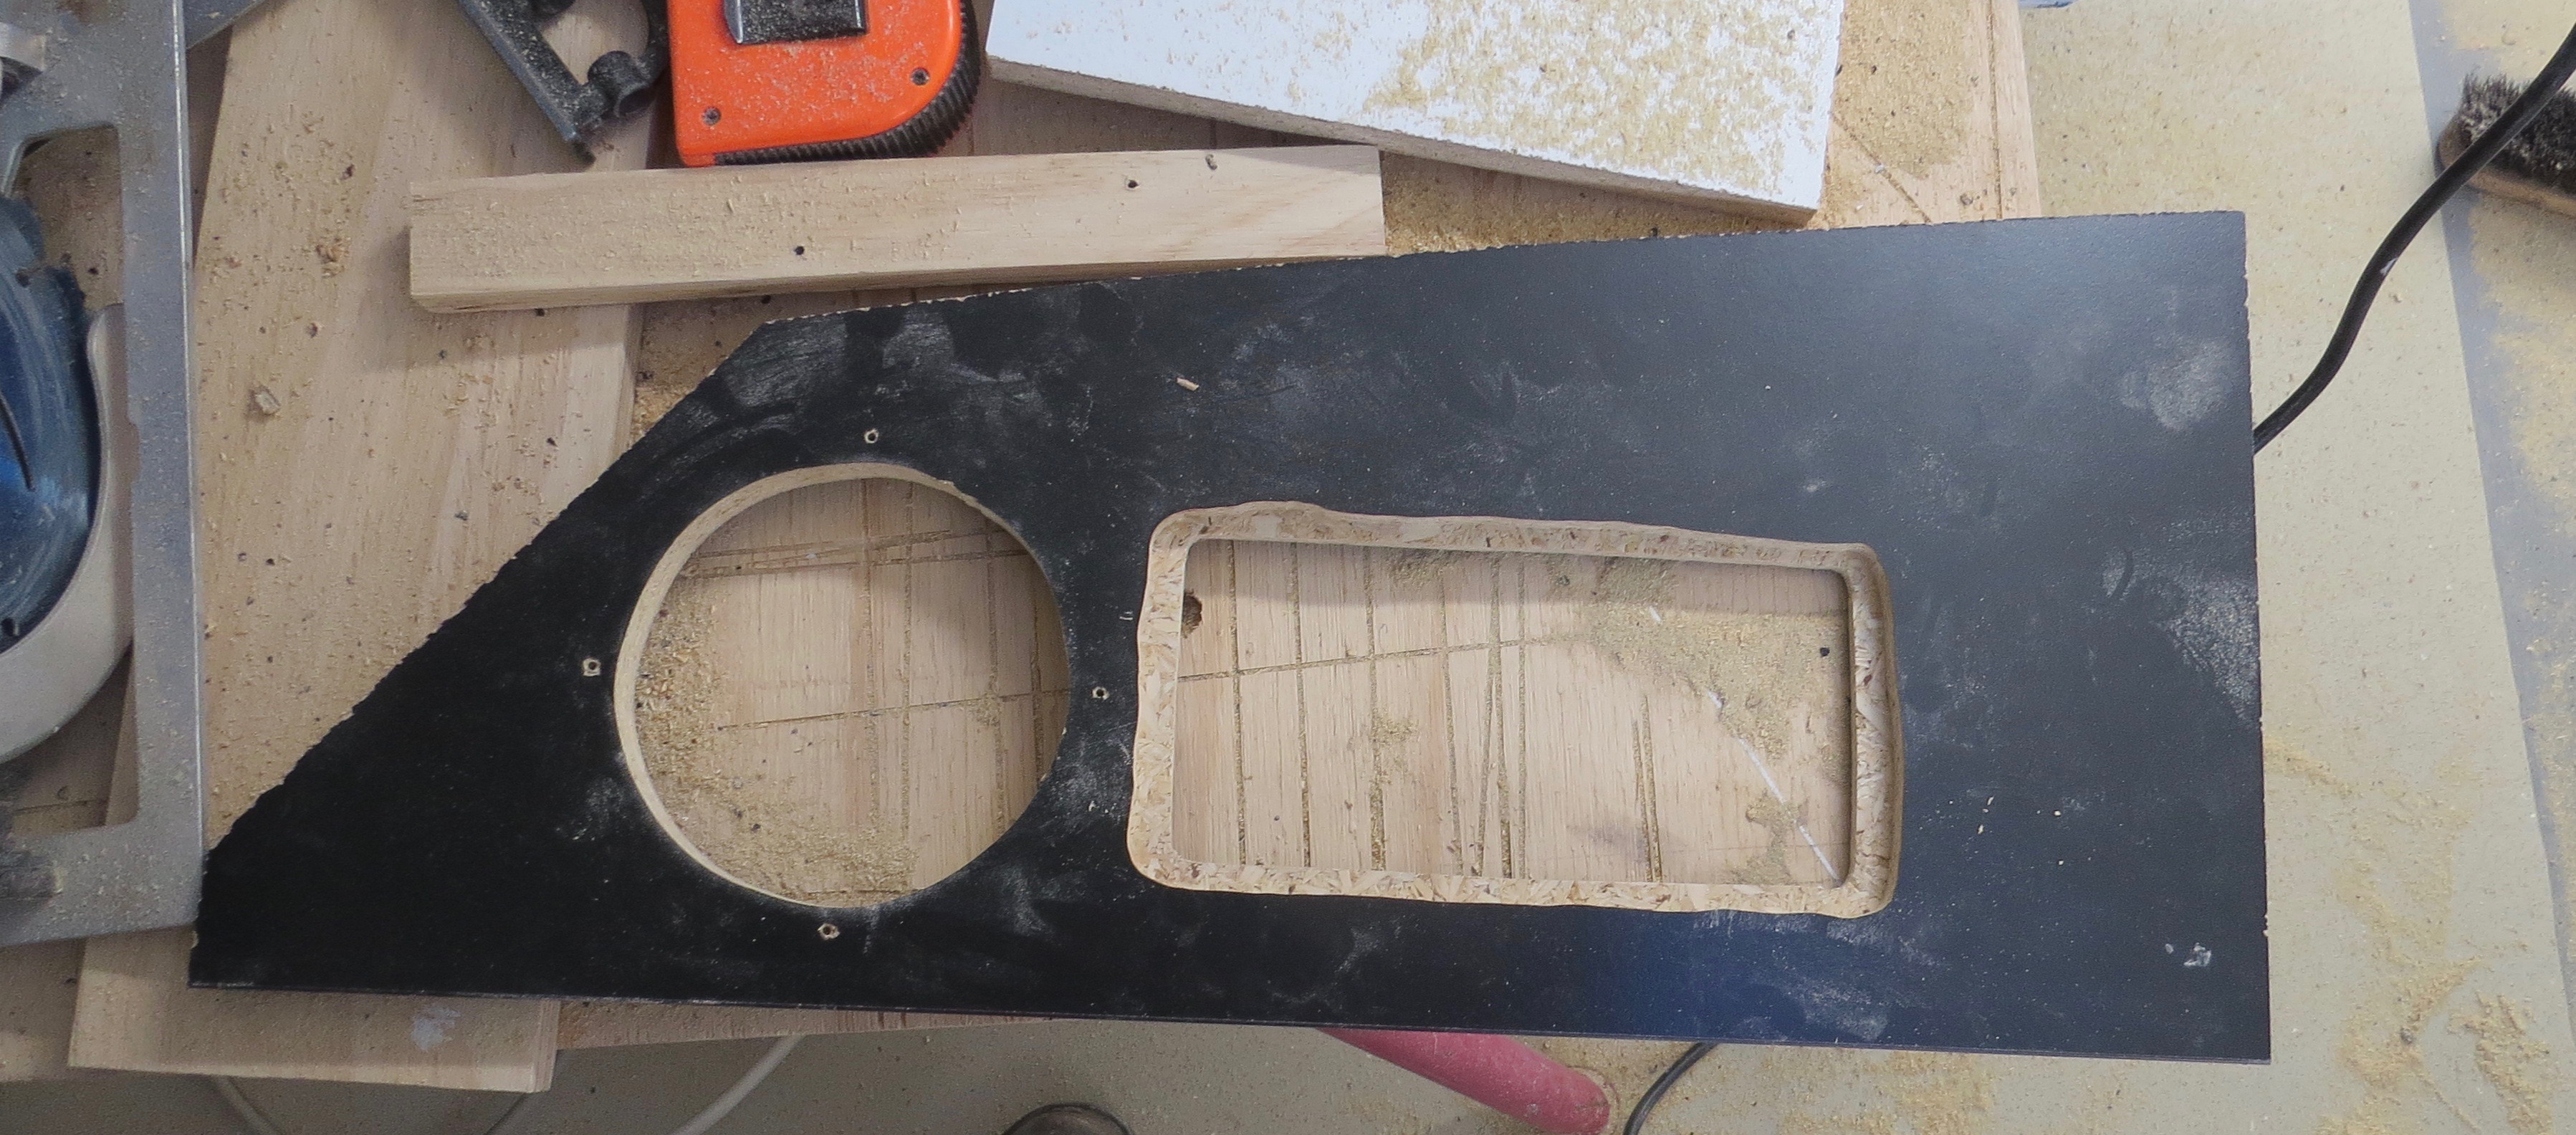
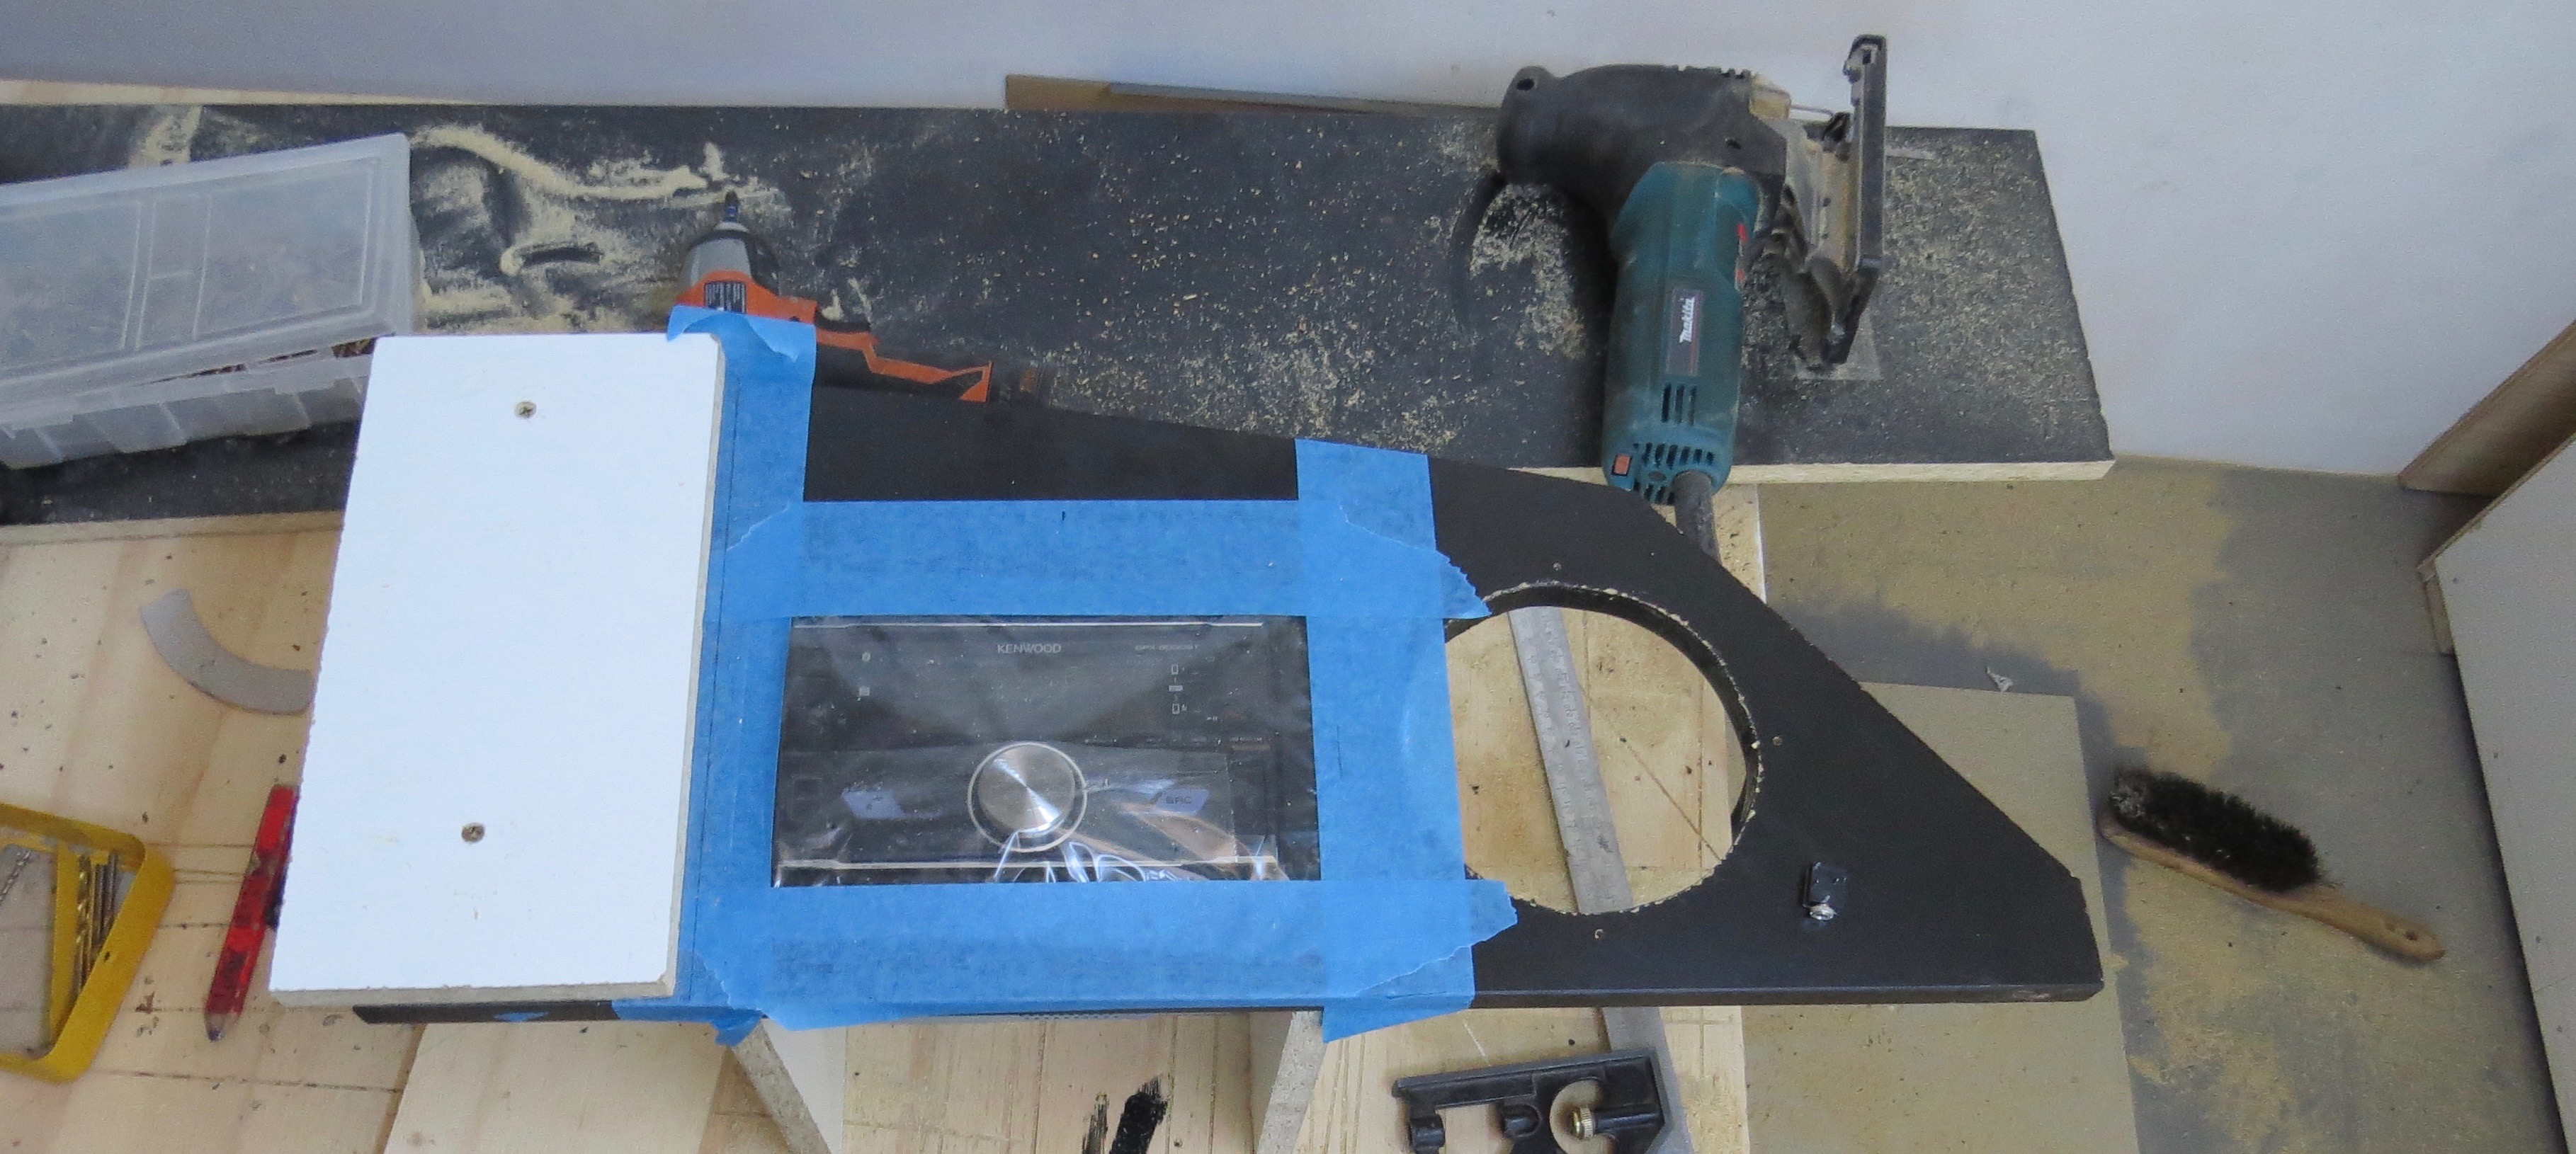
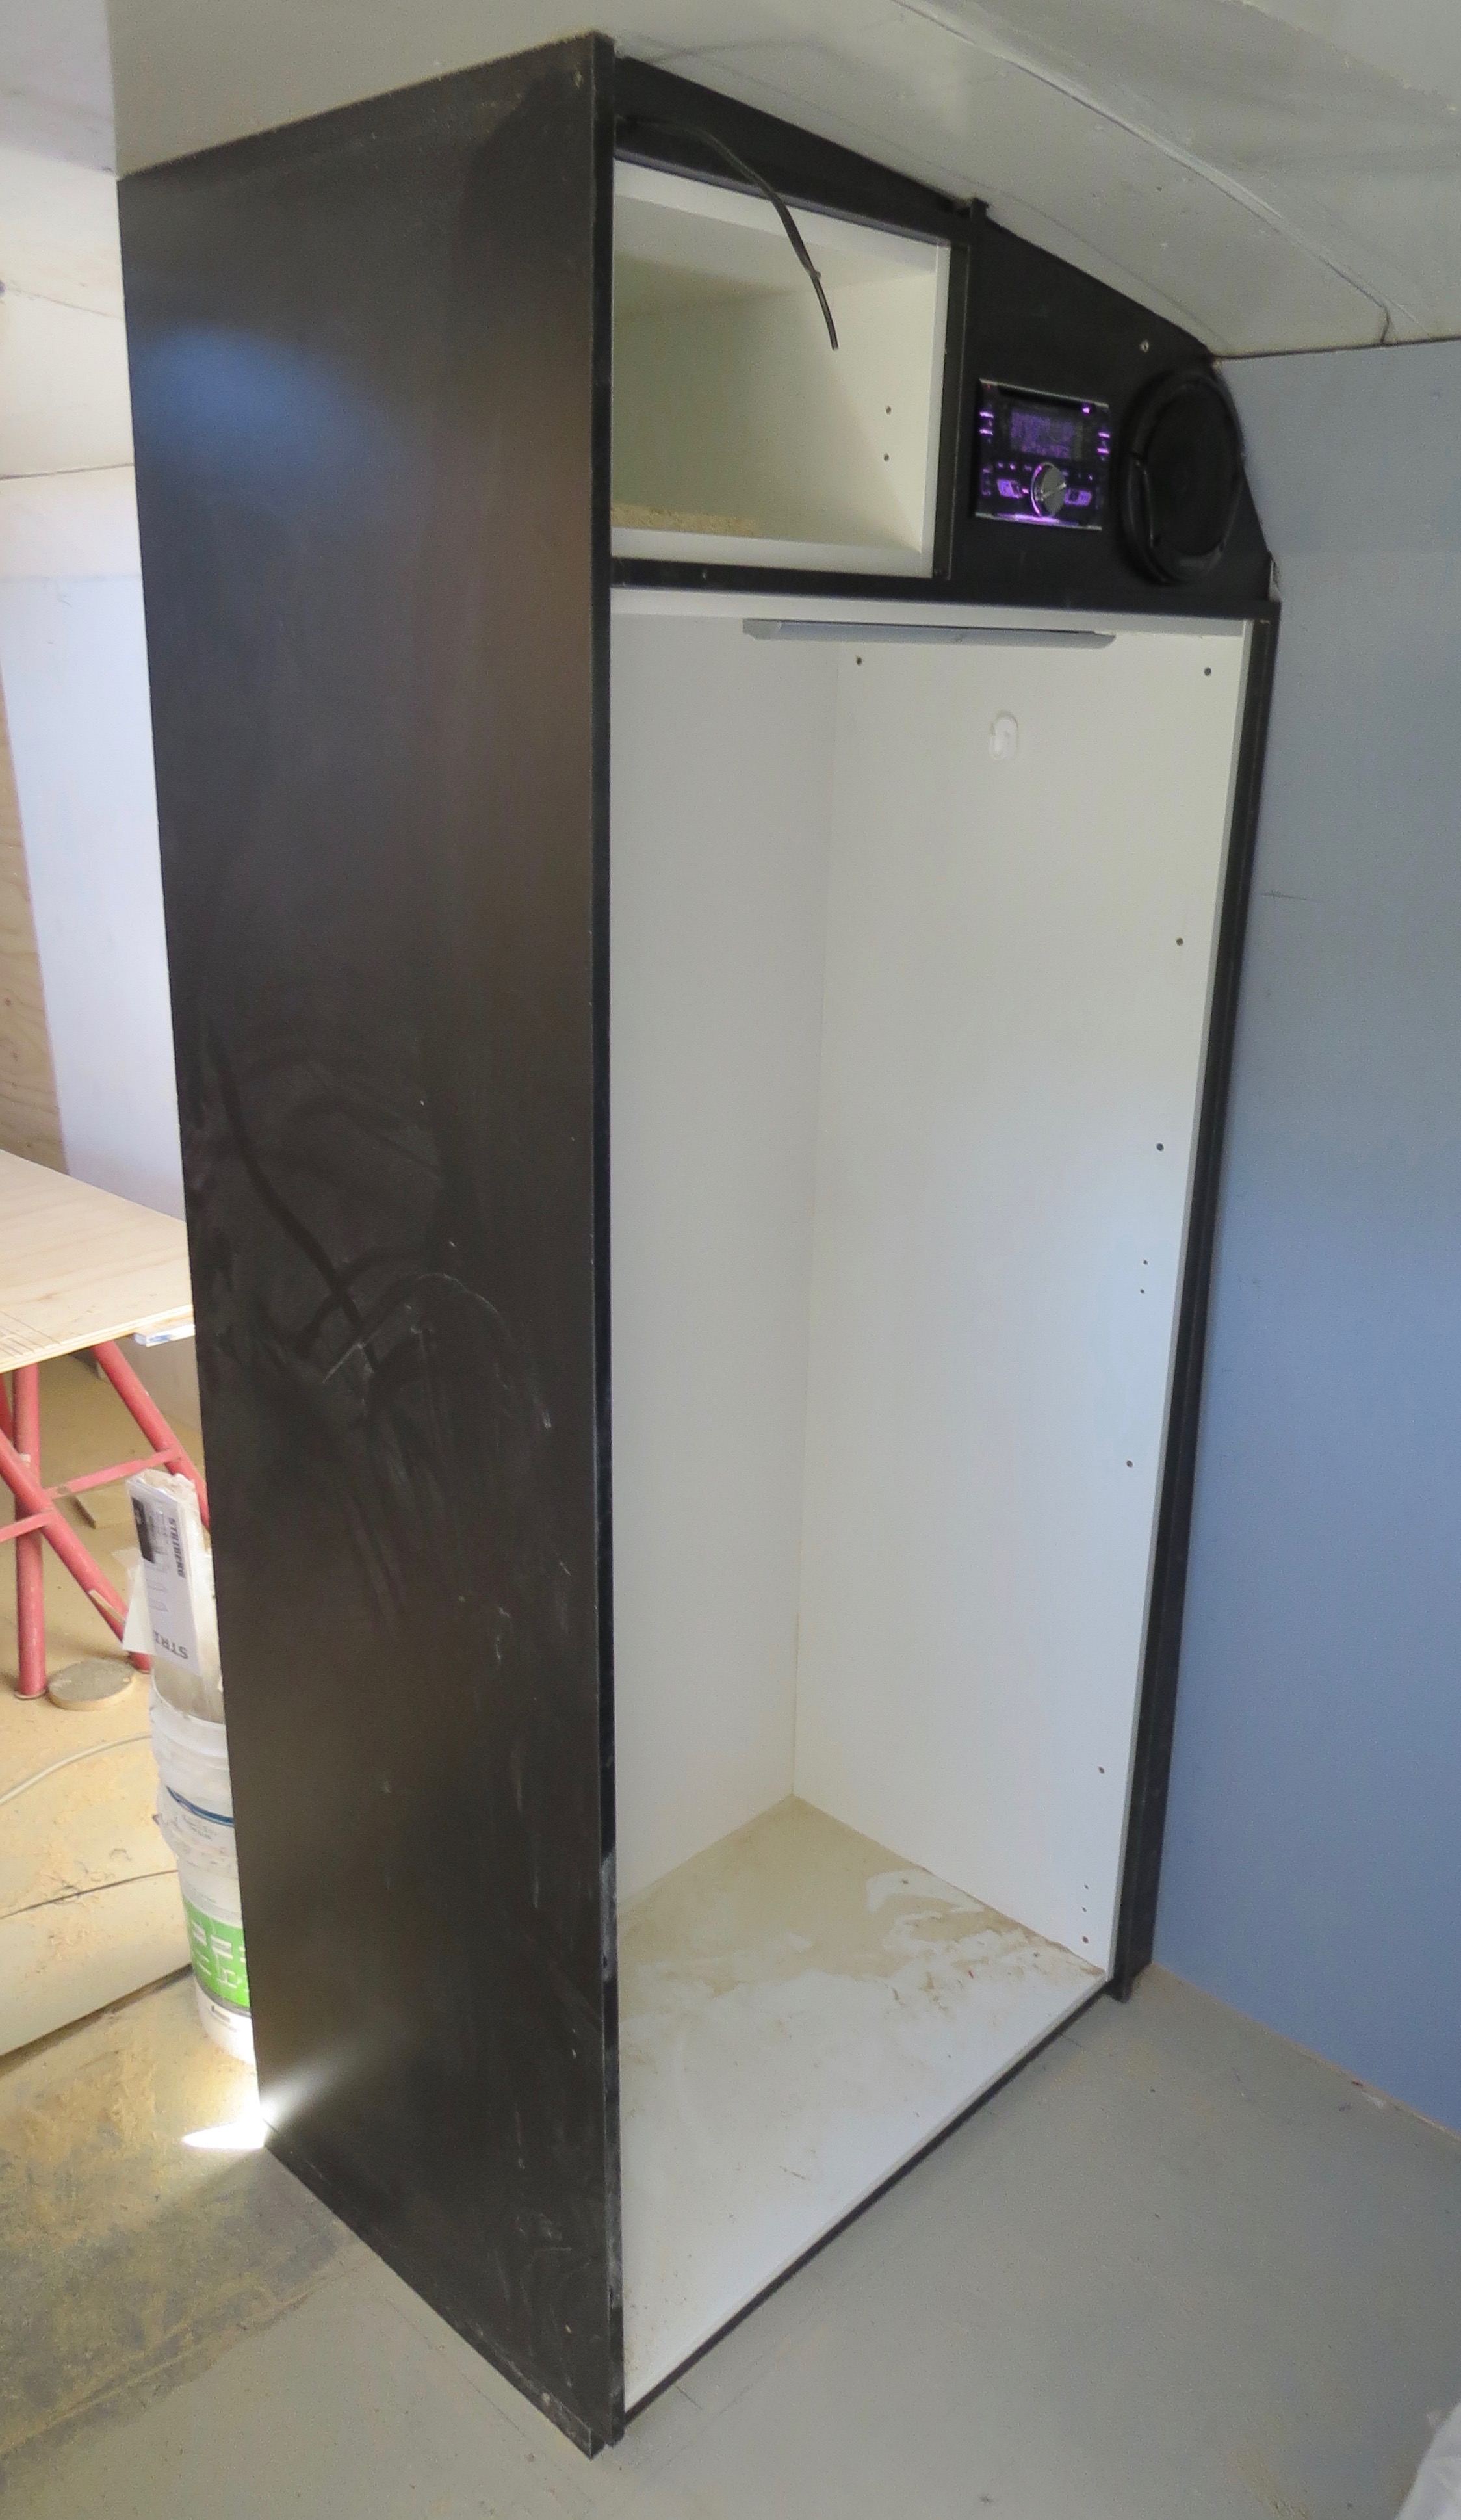
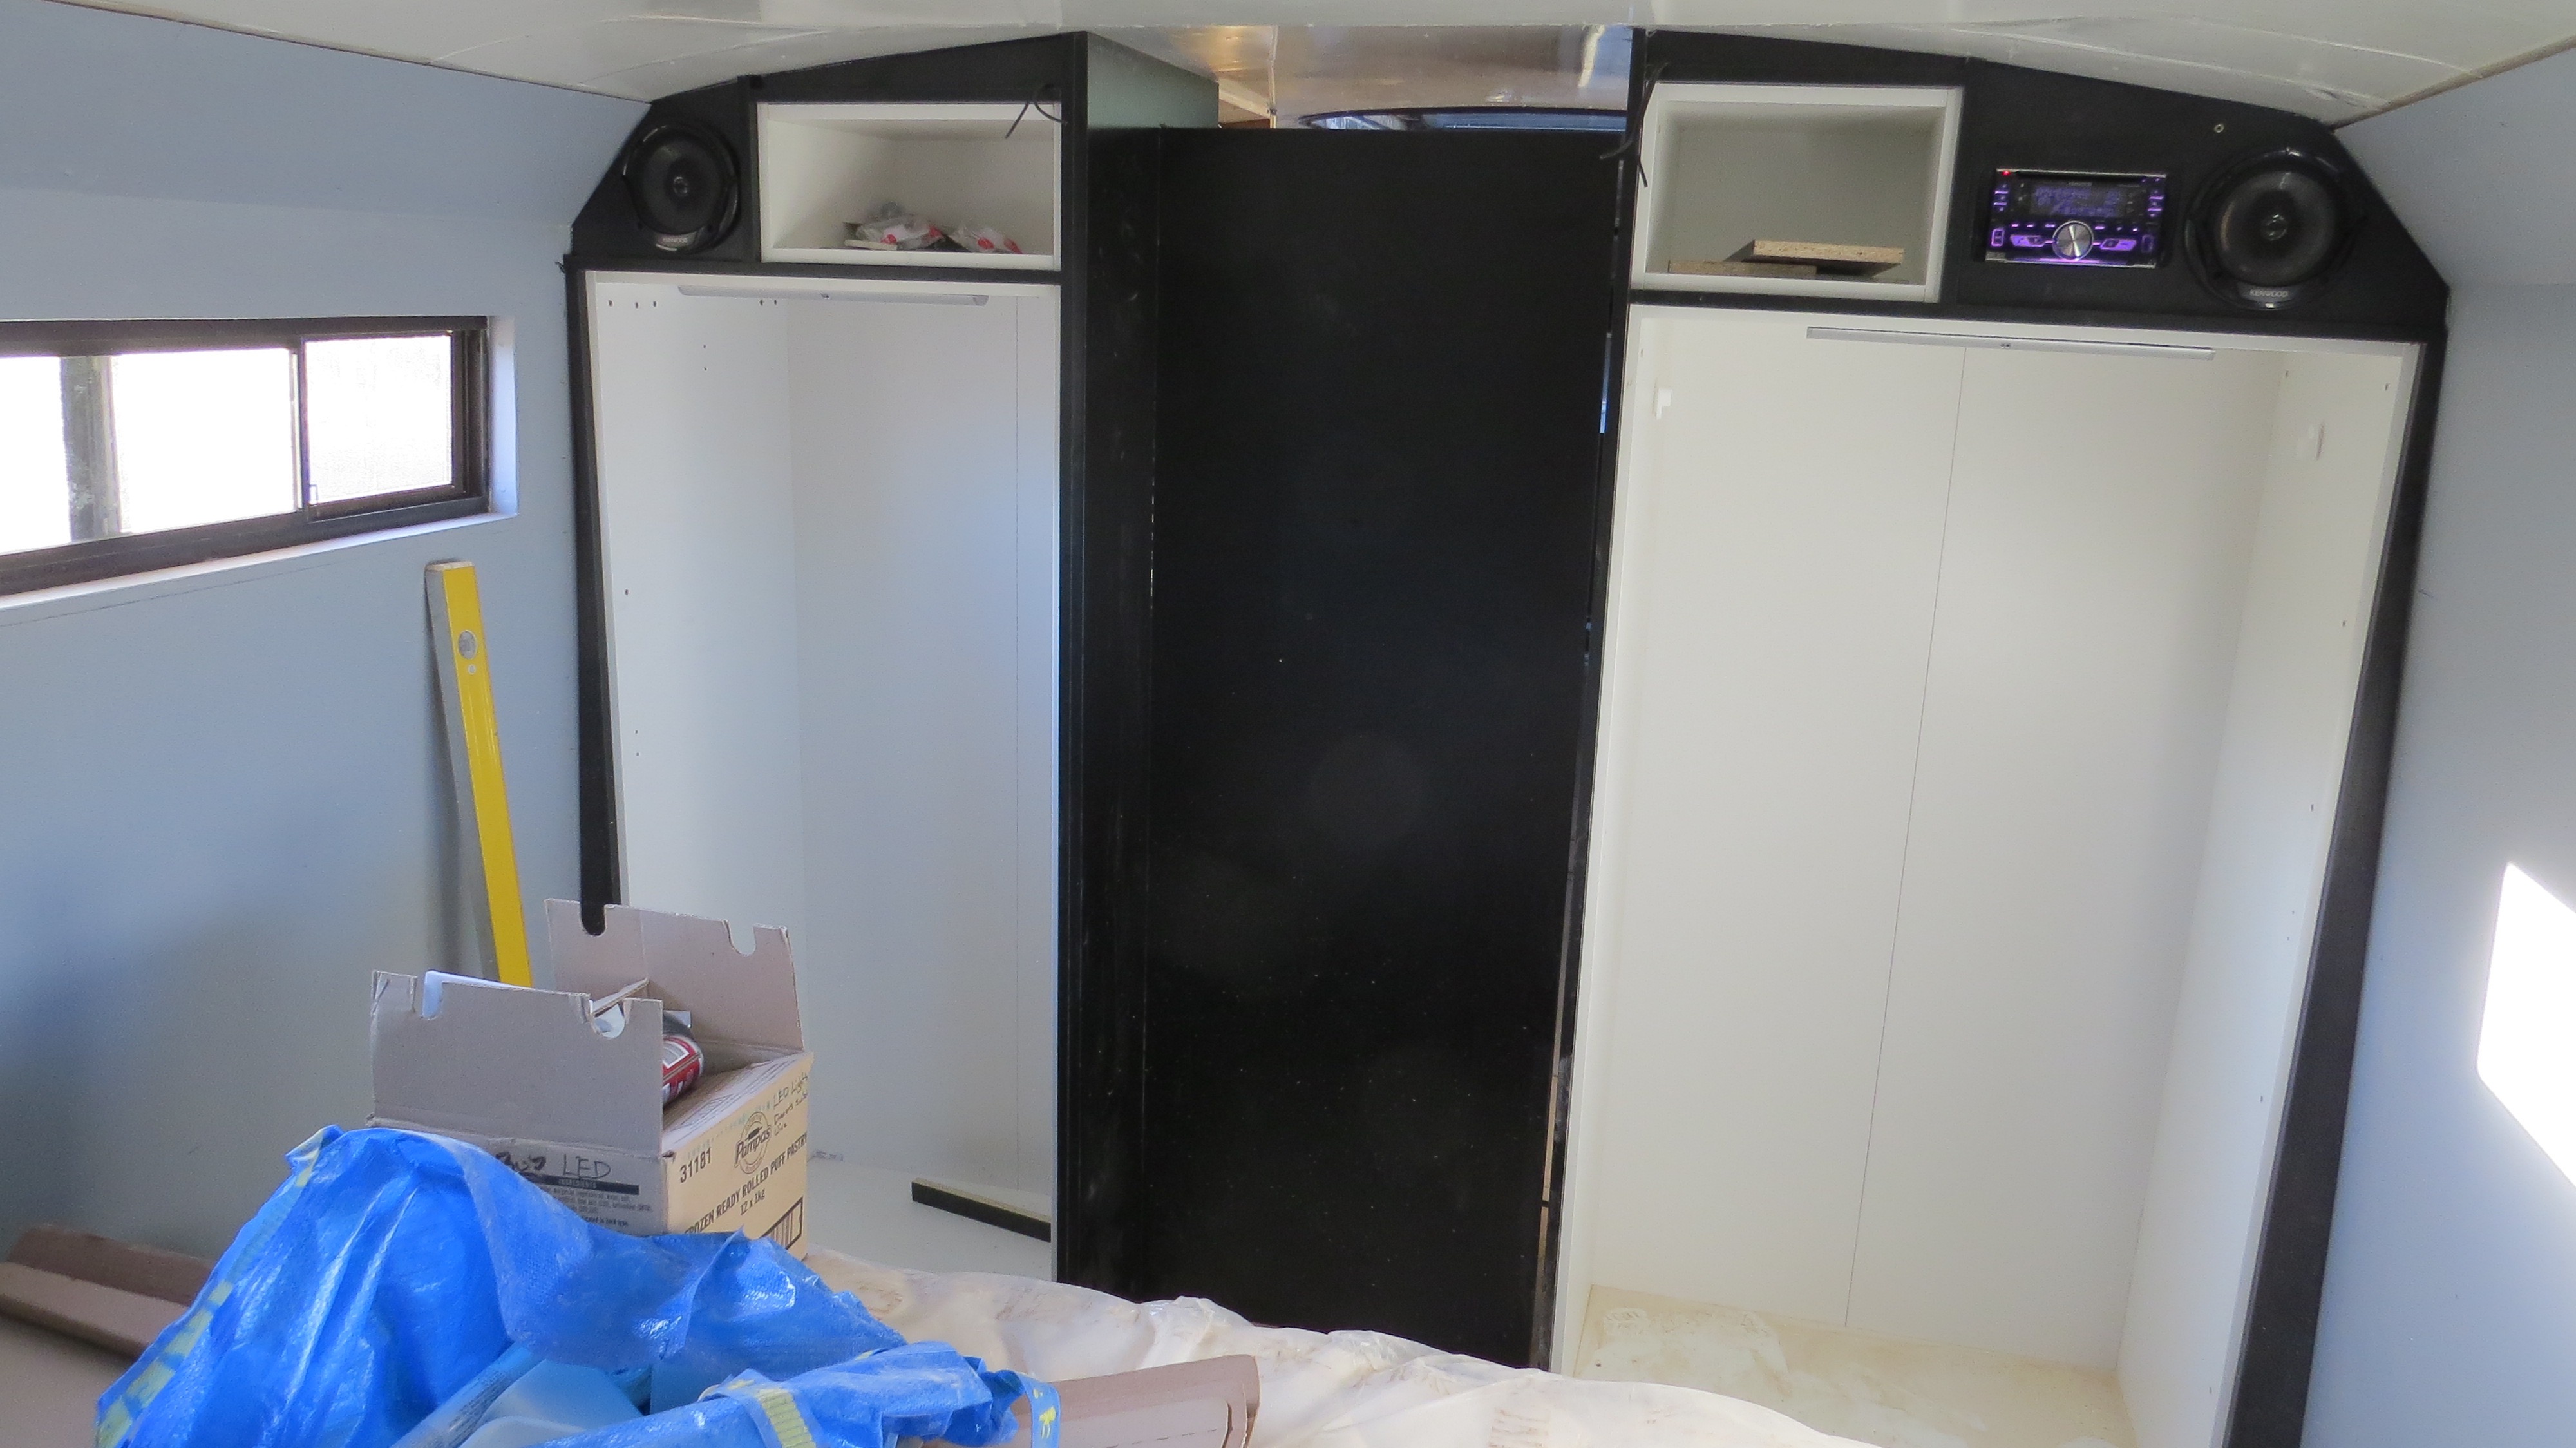
Setting up to screws to put the wardrobe in place and the power for the other wardrobe light running under the floor.
Screwed and glued into place.

Stereo time

Got to have some tunes in the bedroom, so with a bluetooth stereo we can have sound for our phones or the laptops when watching a movie in bed. So it’s time to put the wardrobe on this side as well as fit the stereo so I can totally finish off the wardrobe.

Cut out for the stereo.
Well that fit’s.
Now to cut the face board to size, not much room to play with.
Test to see if it all fit’s.
Screwing it all together.
All in place, now I’ve got tunes when working.

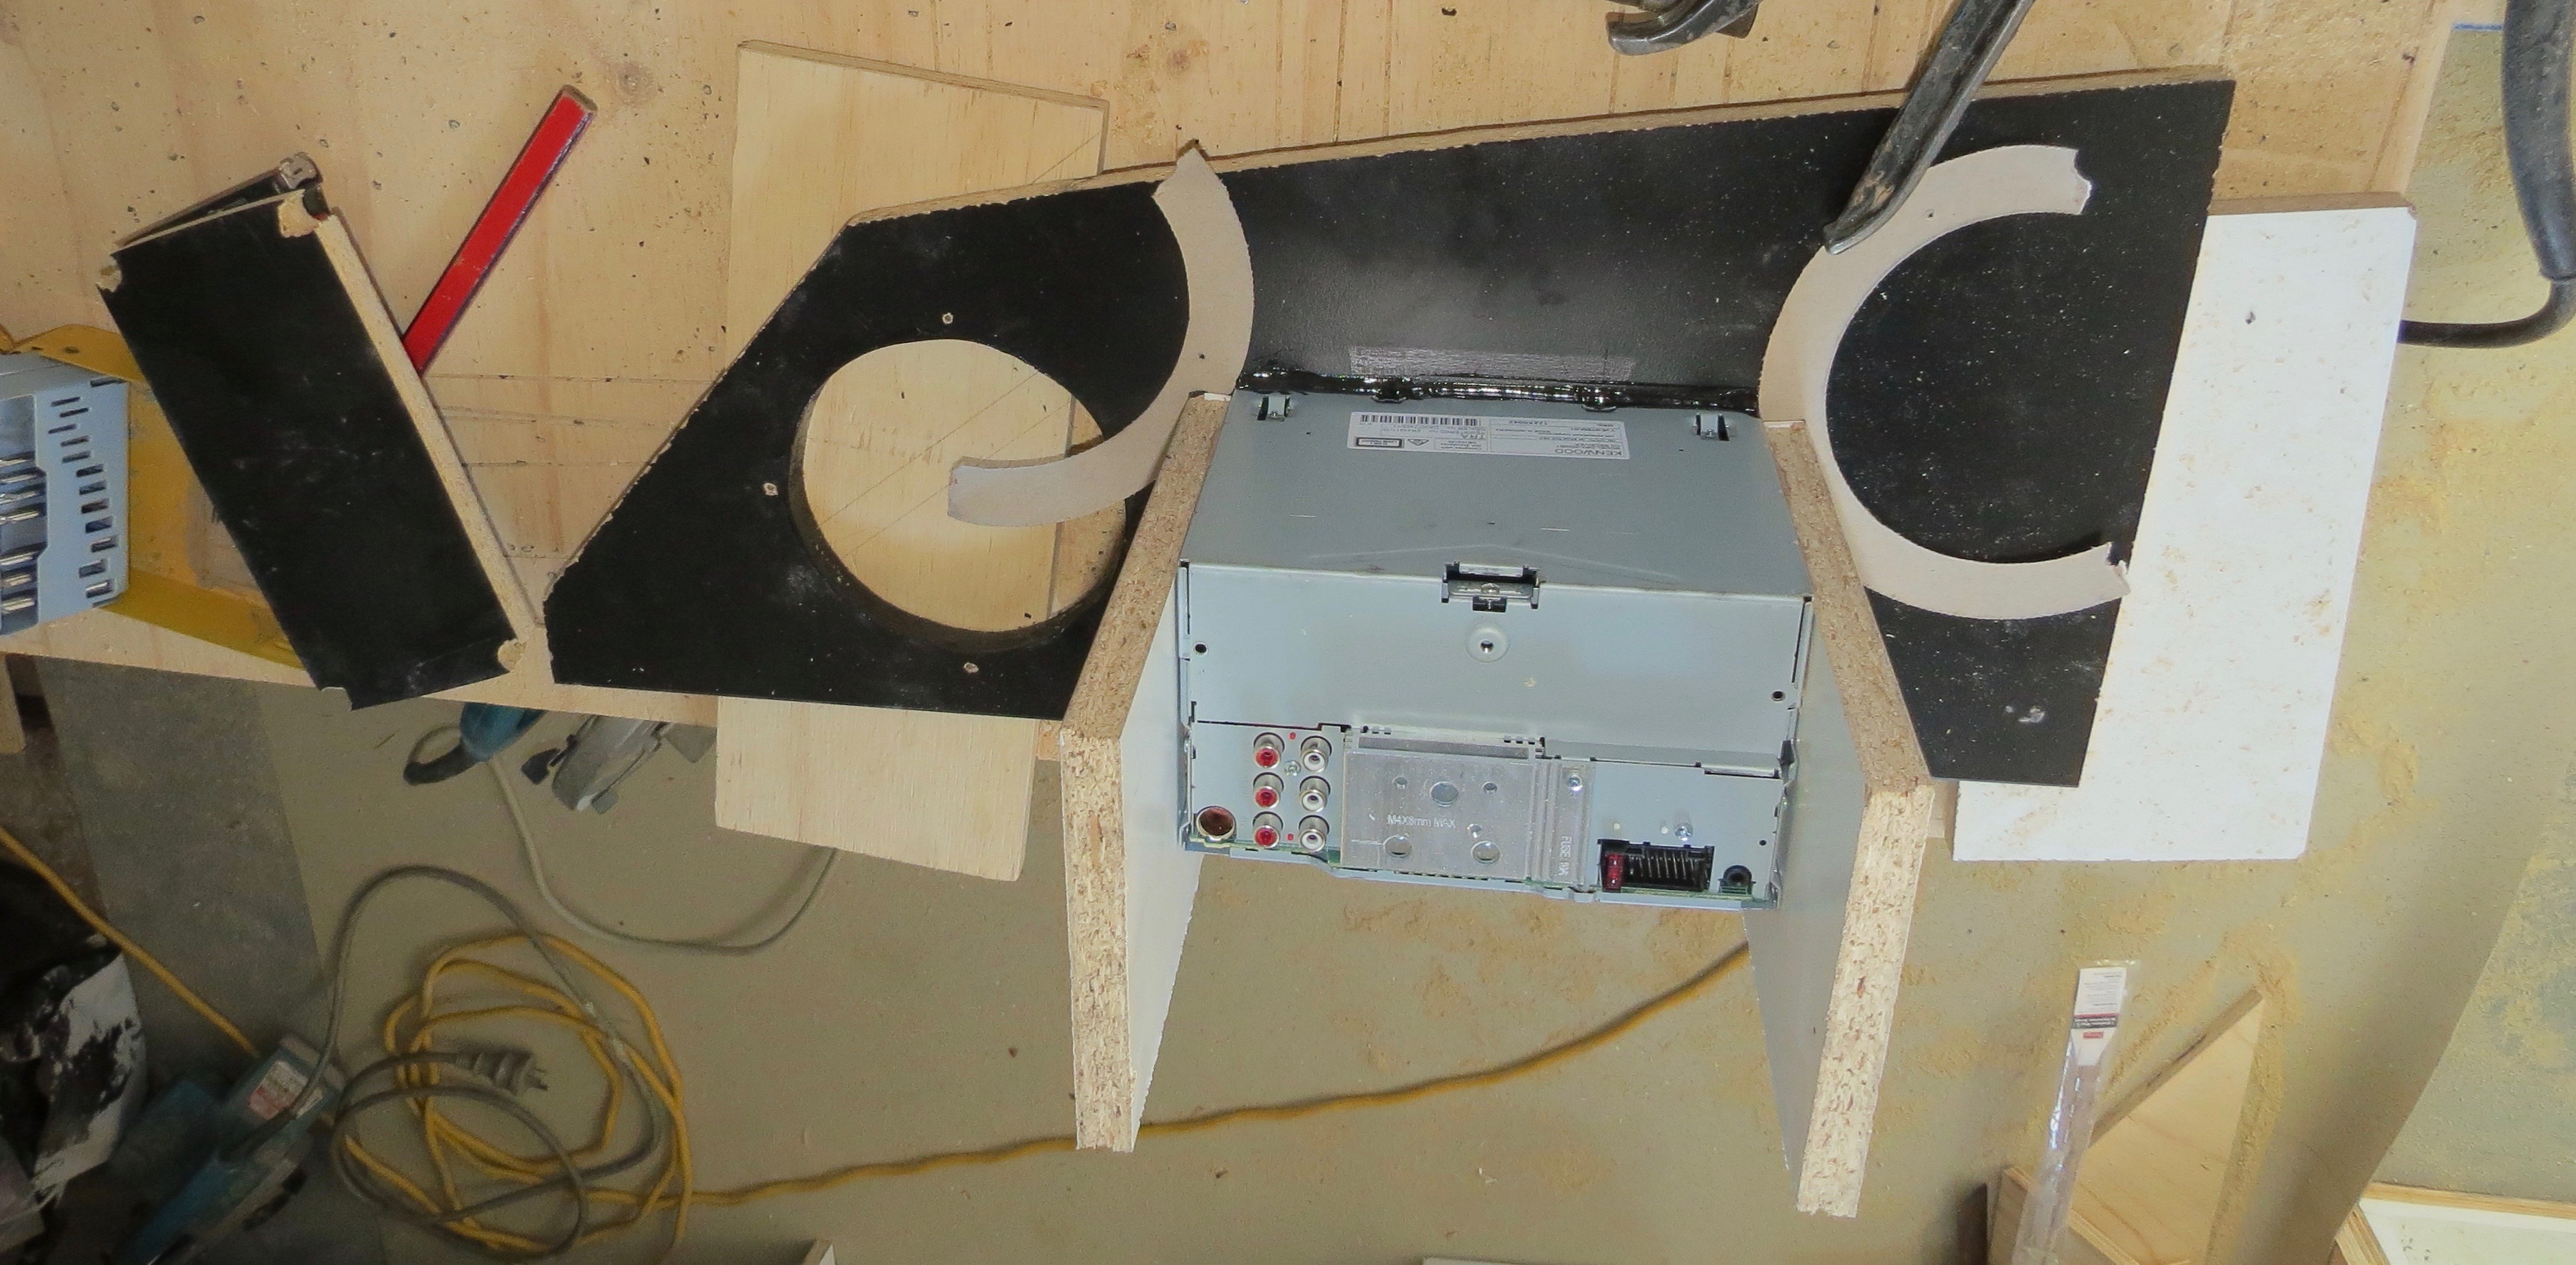
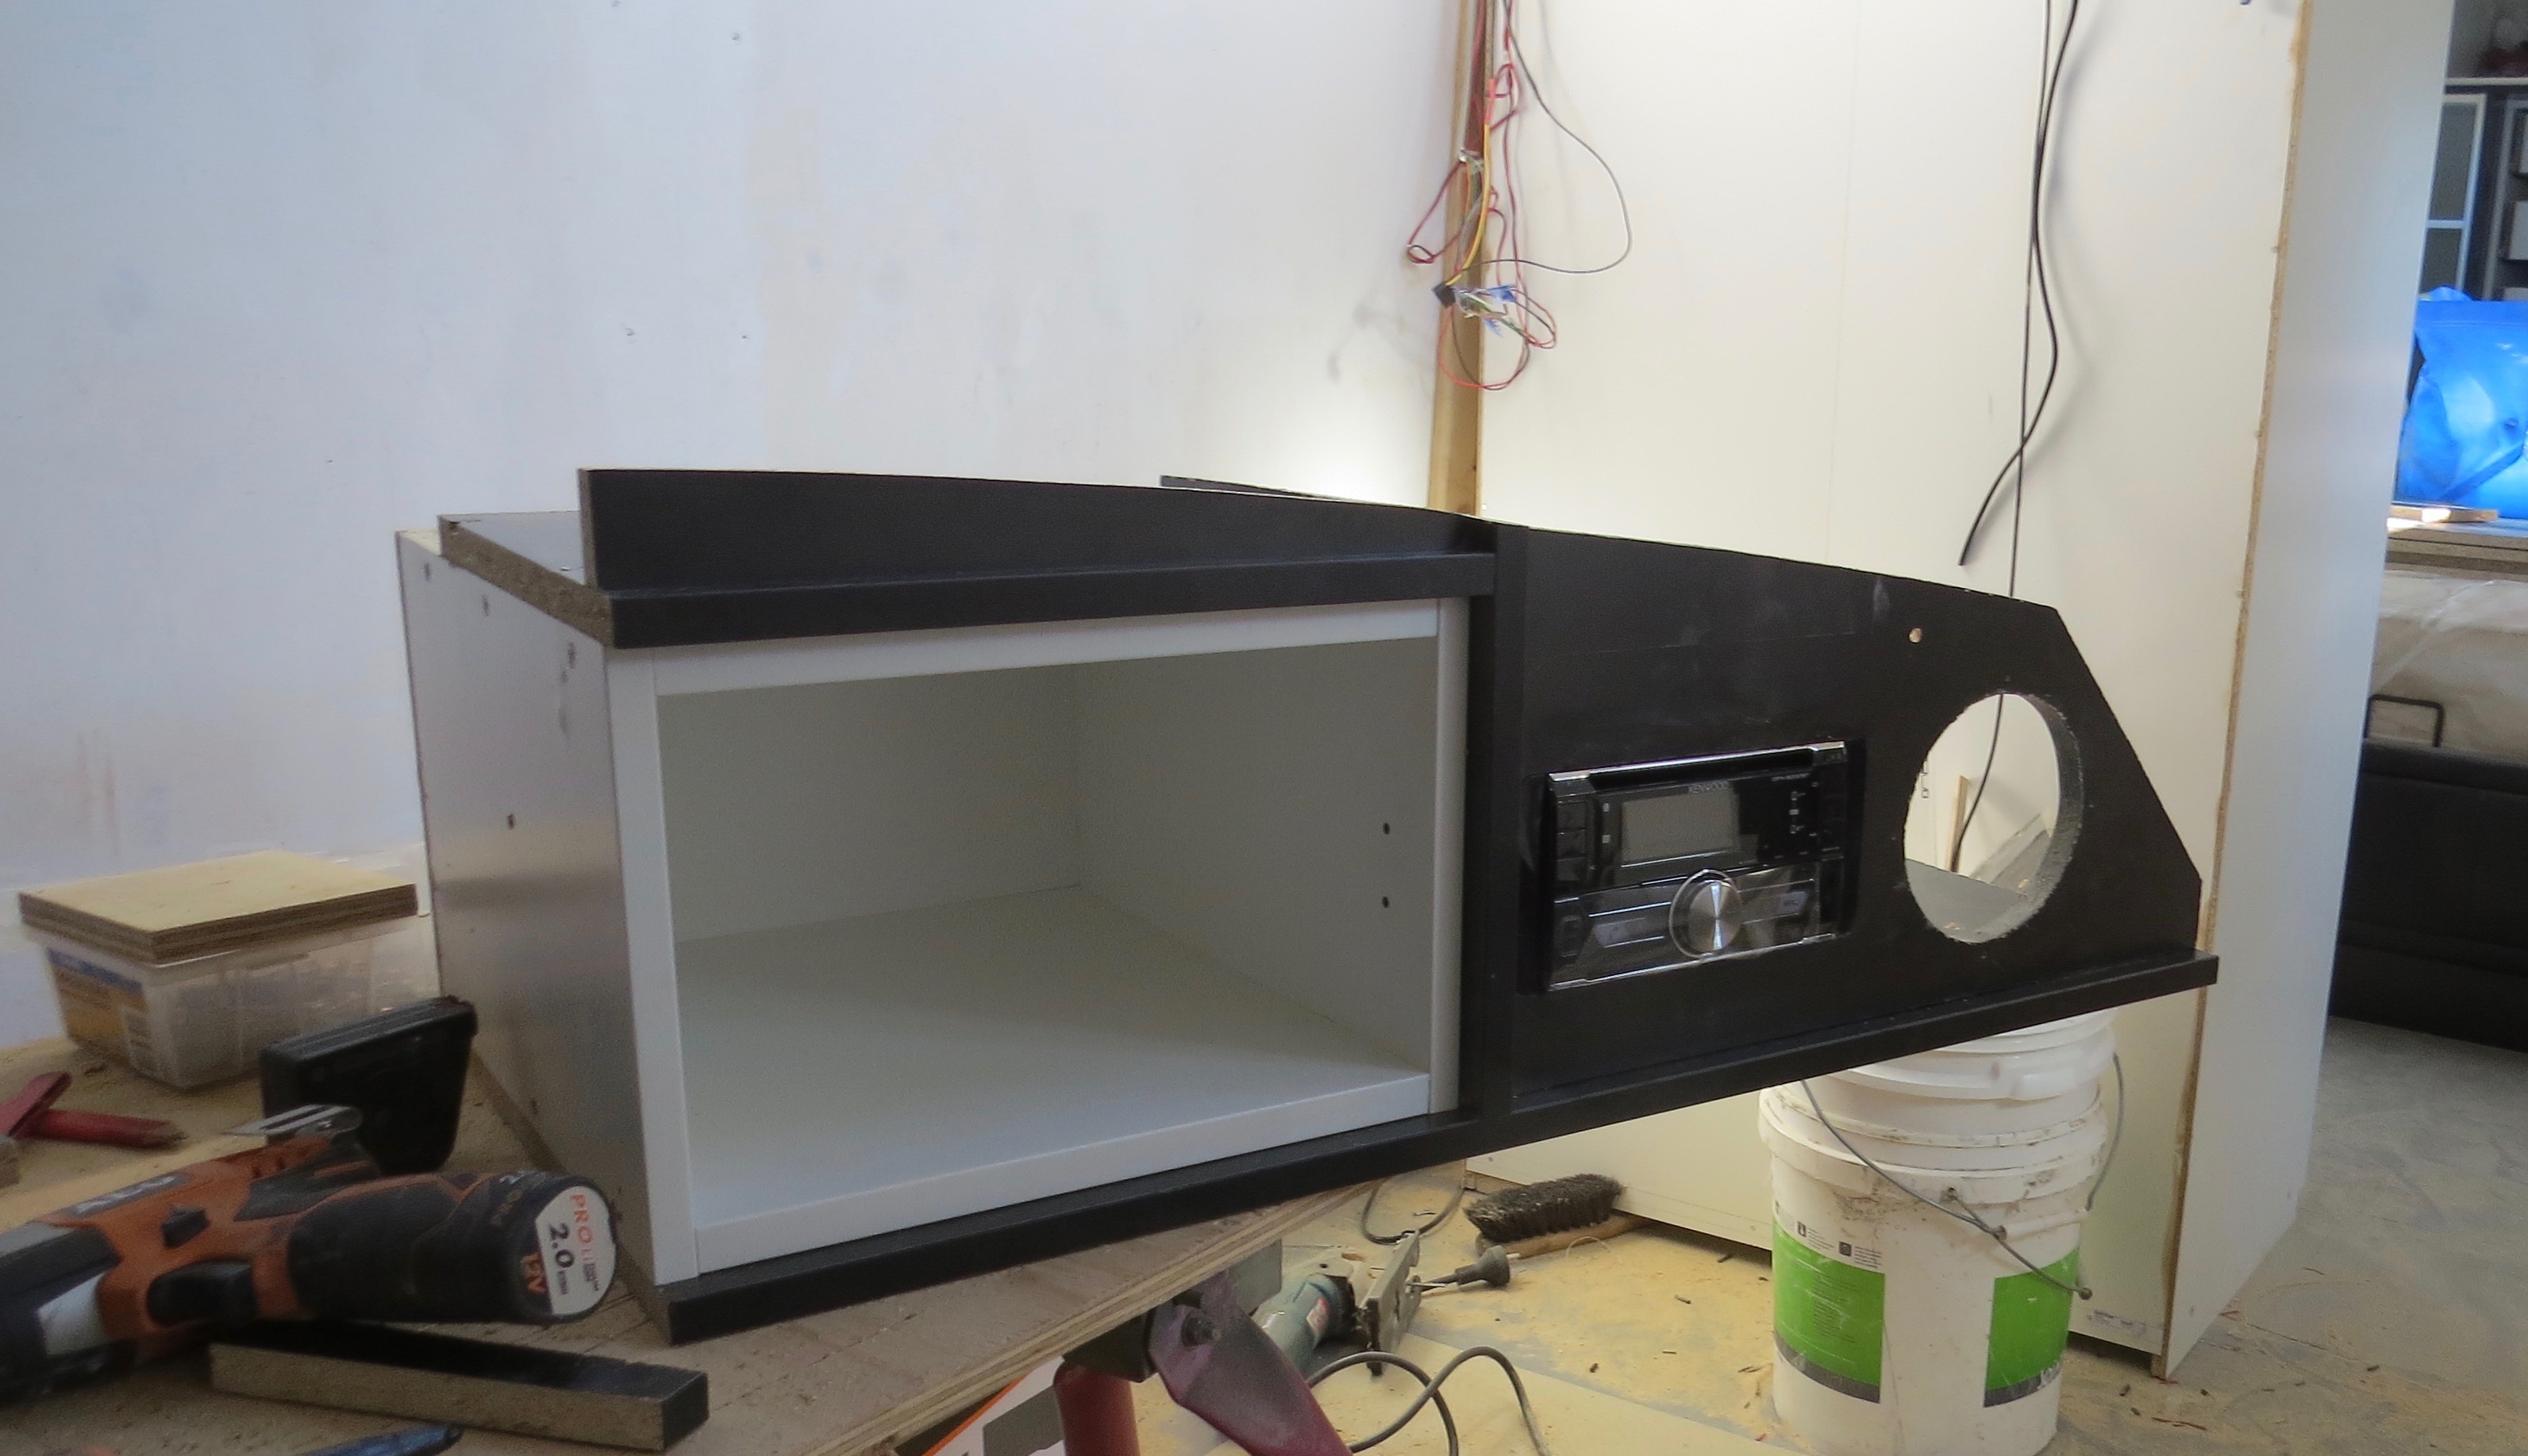
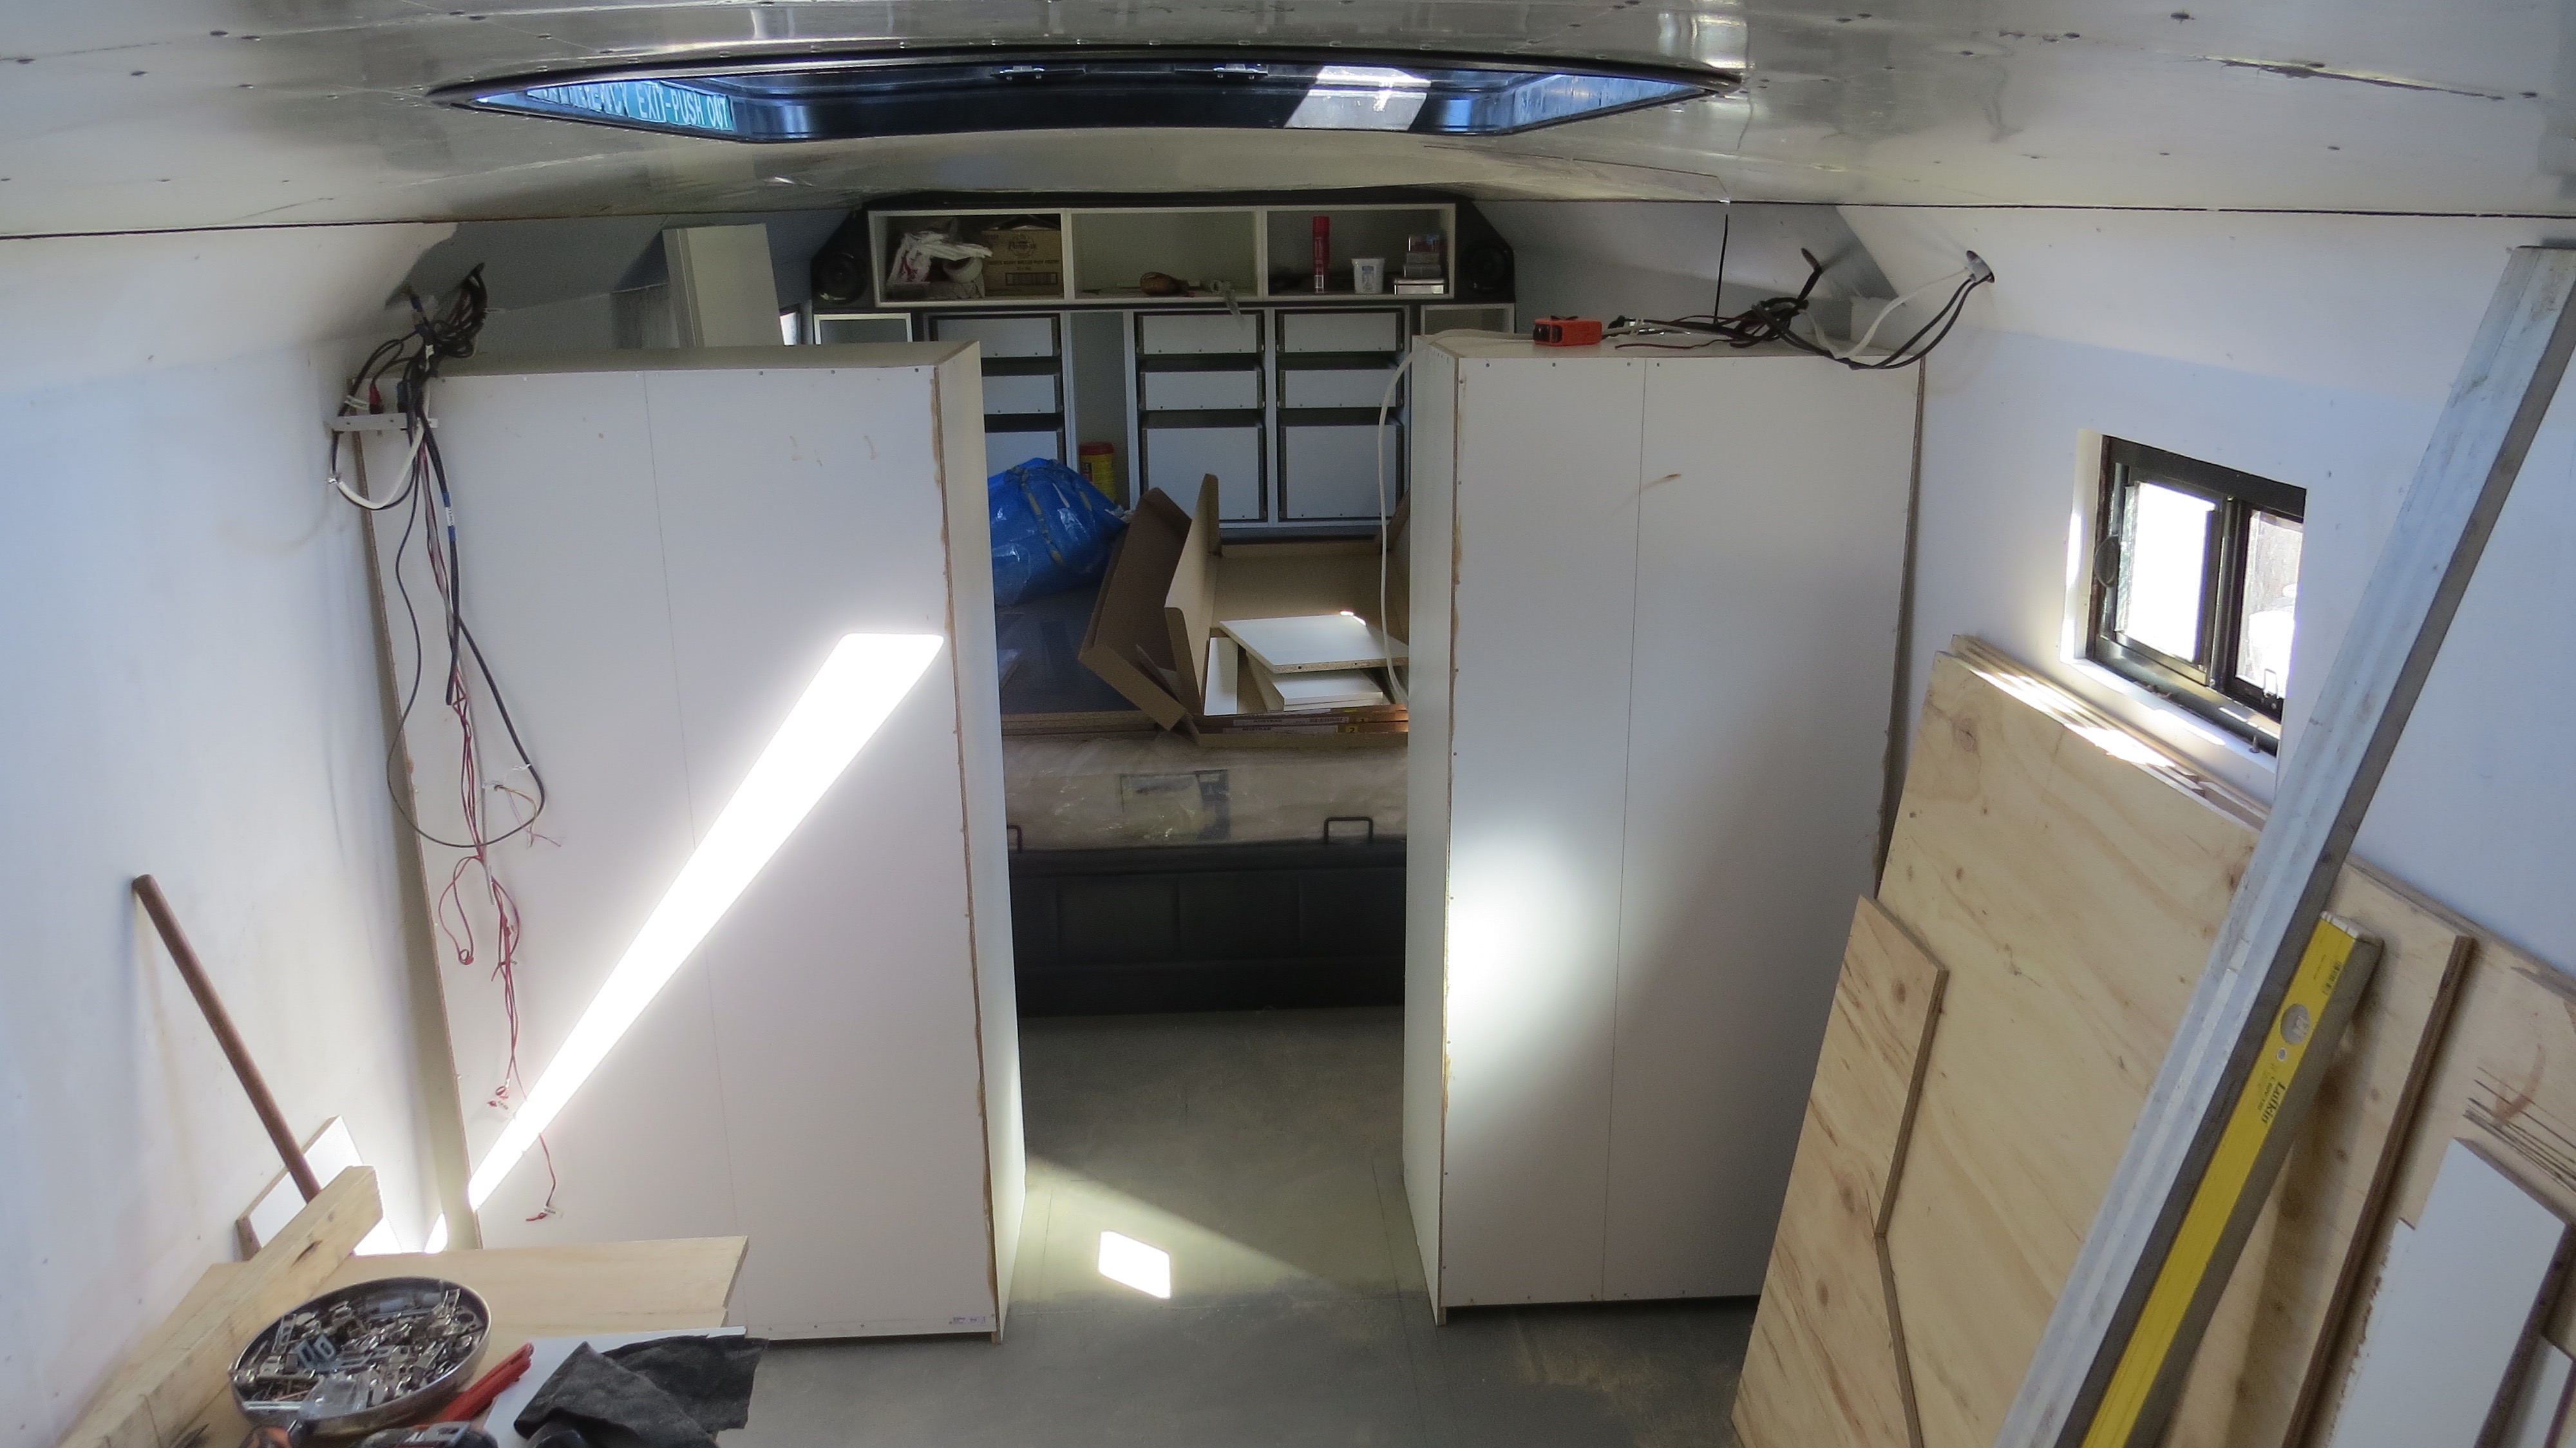
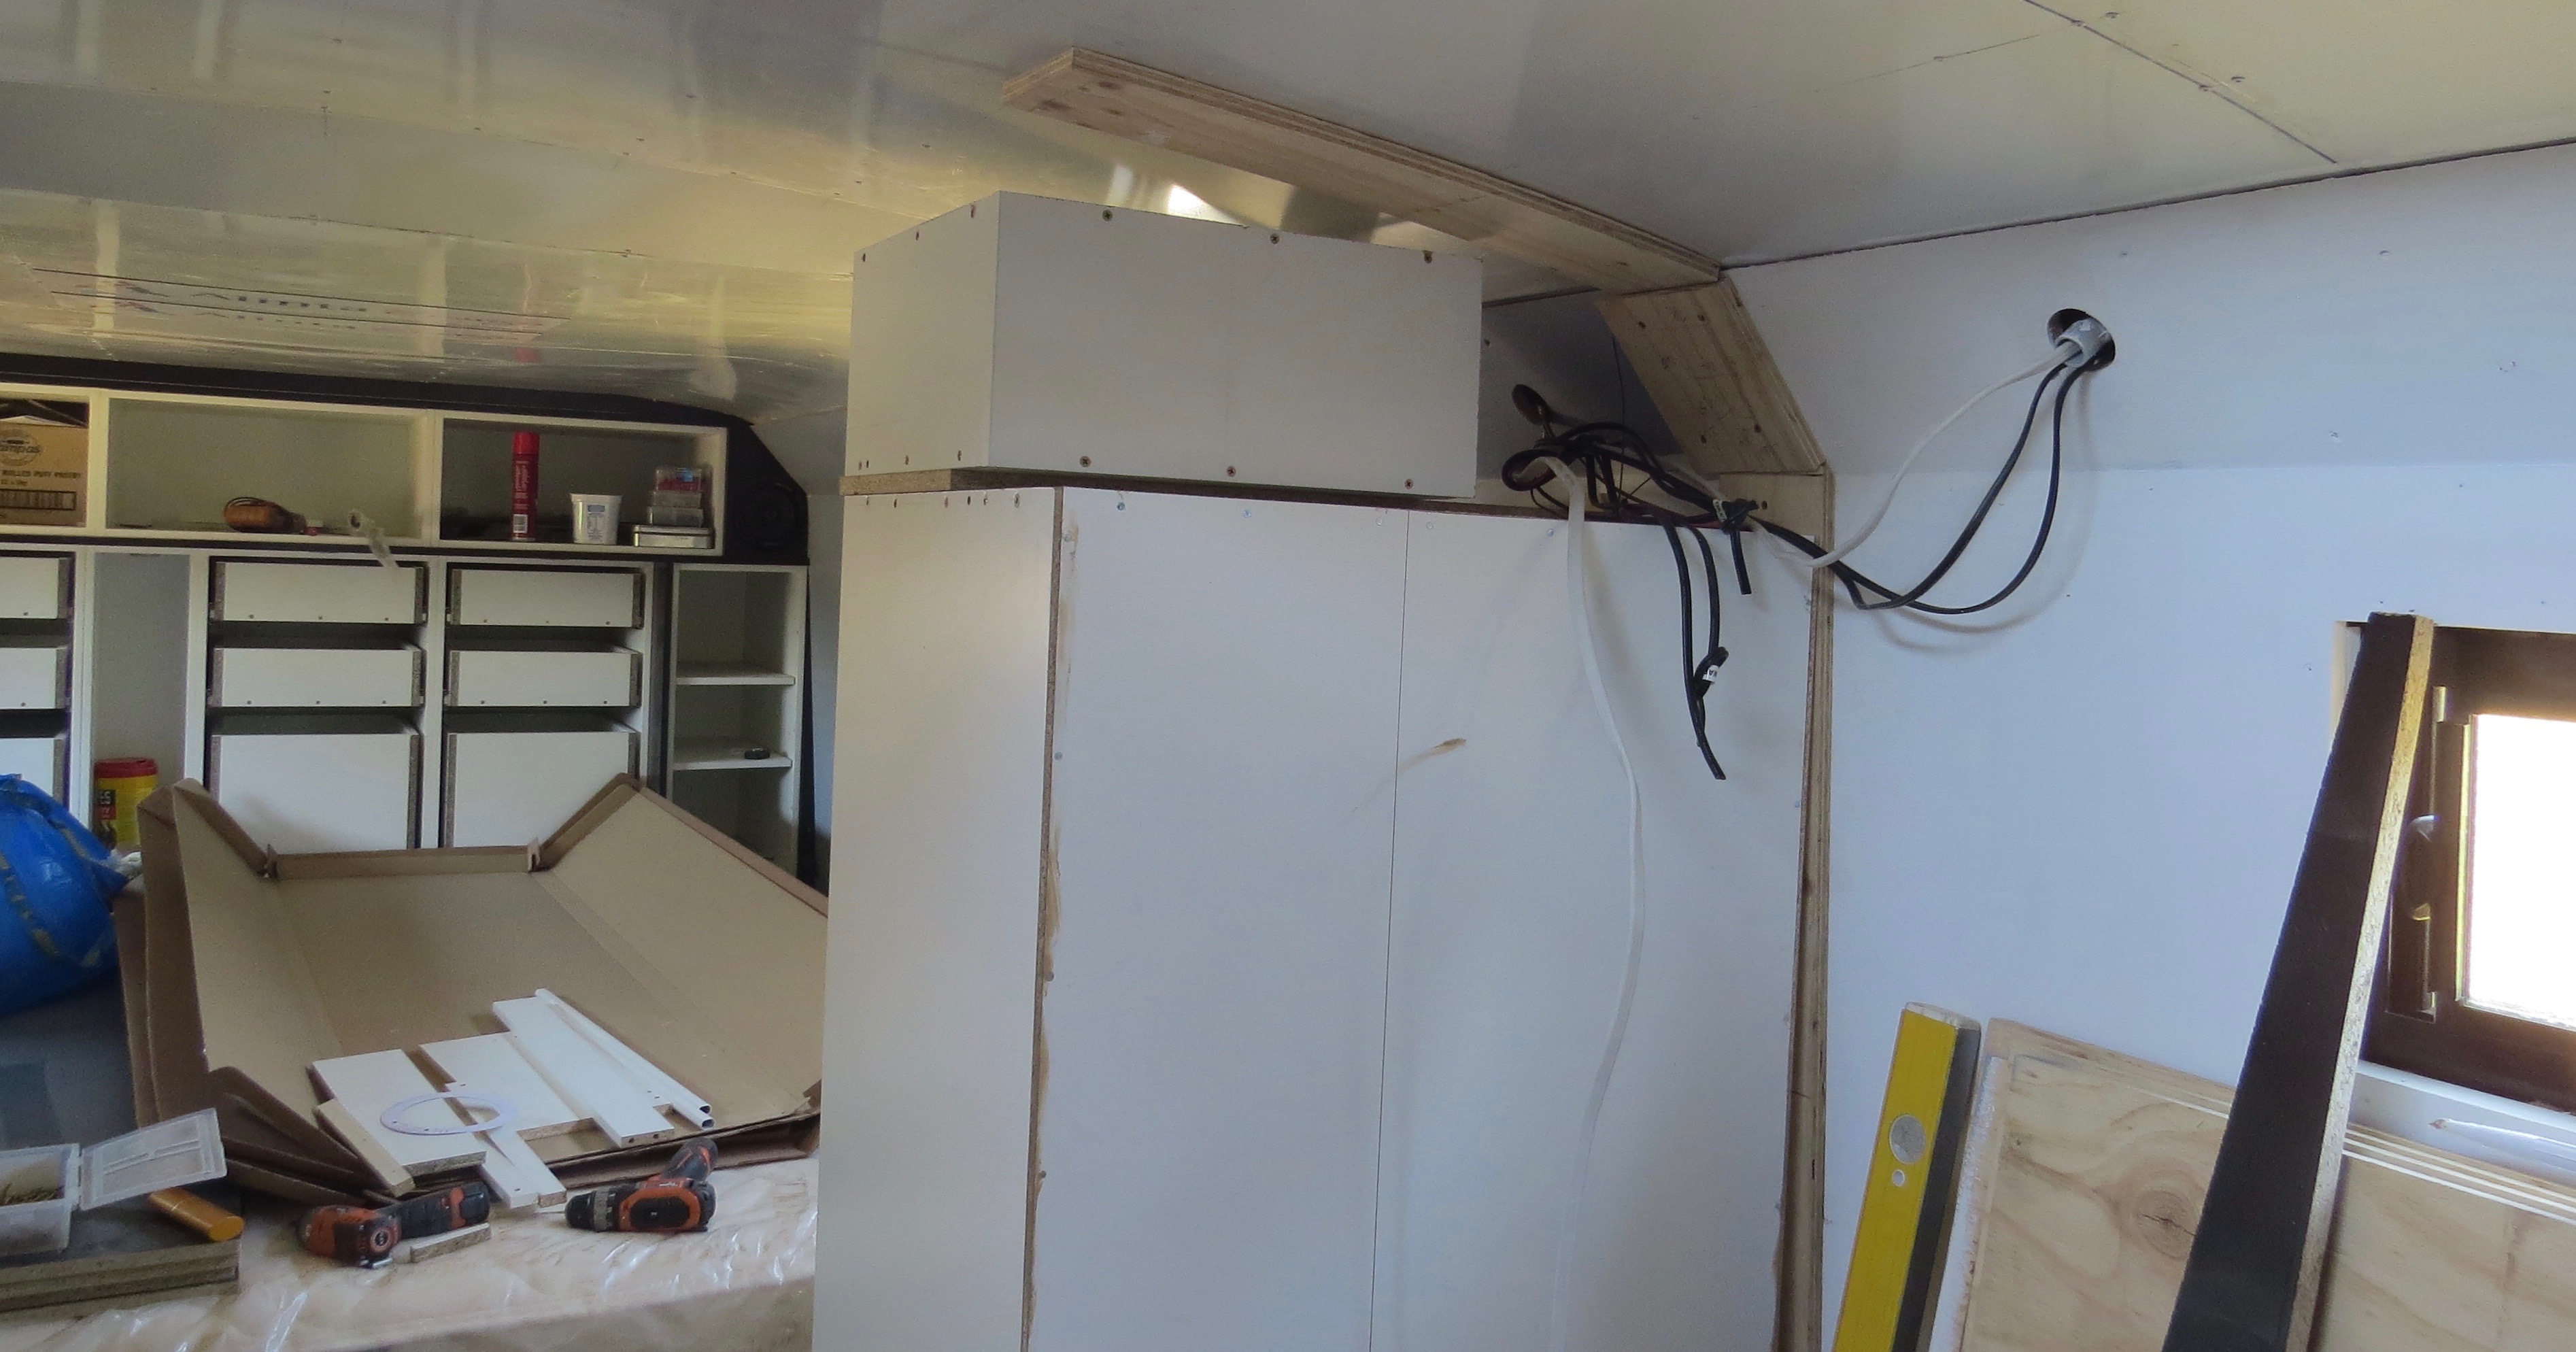
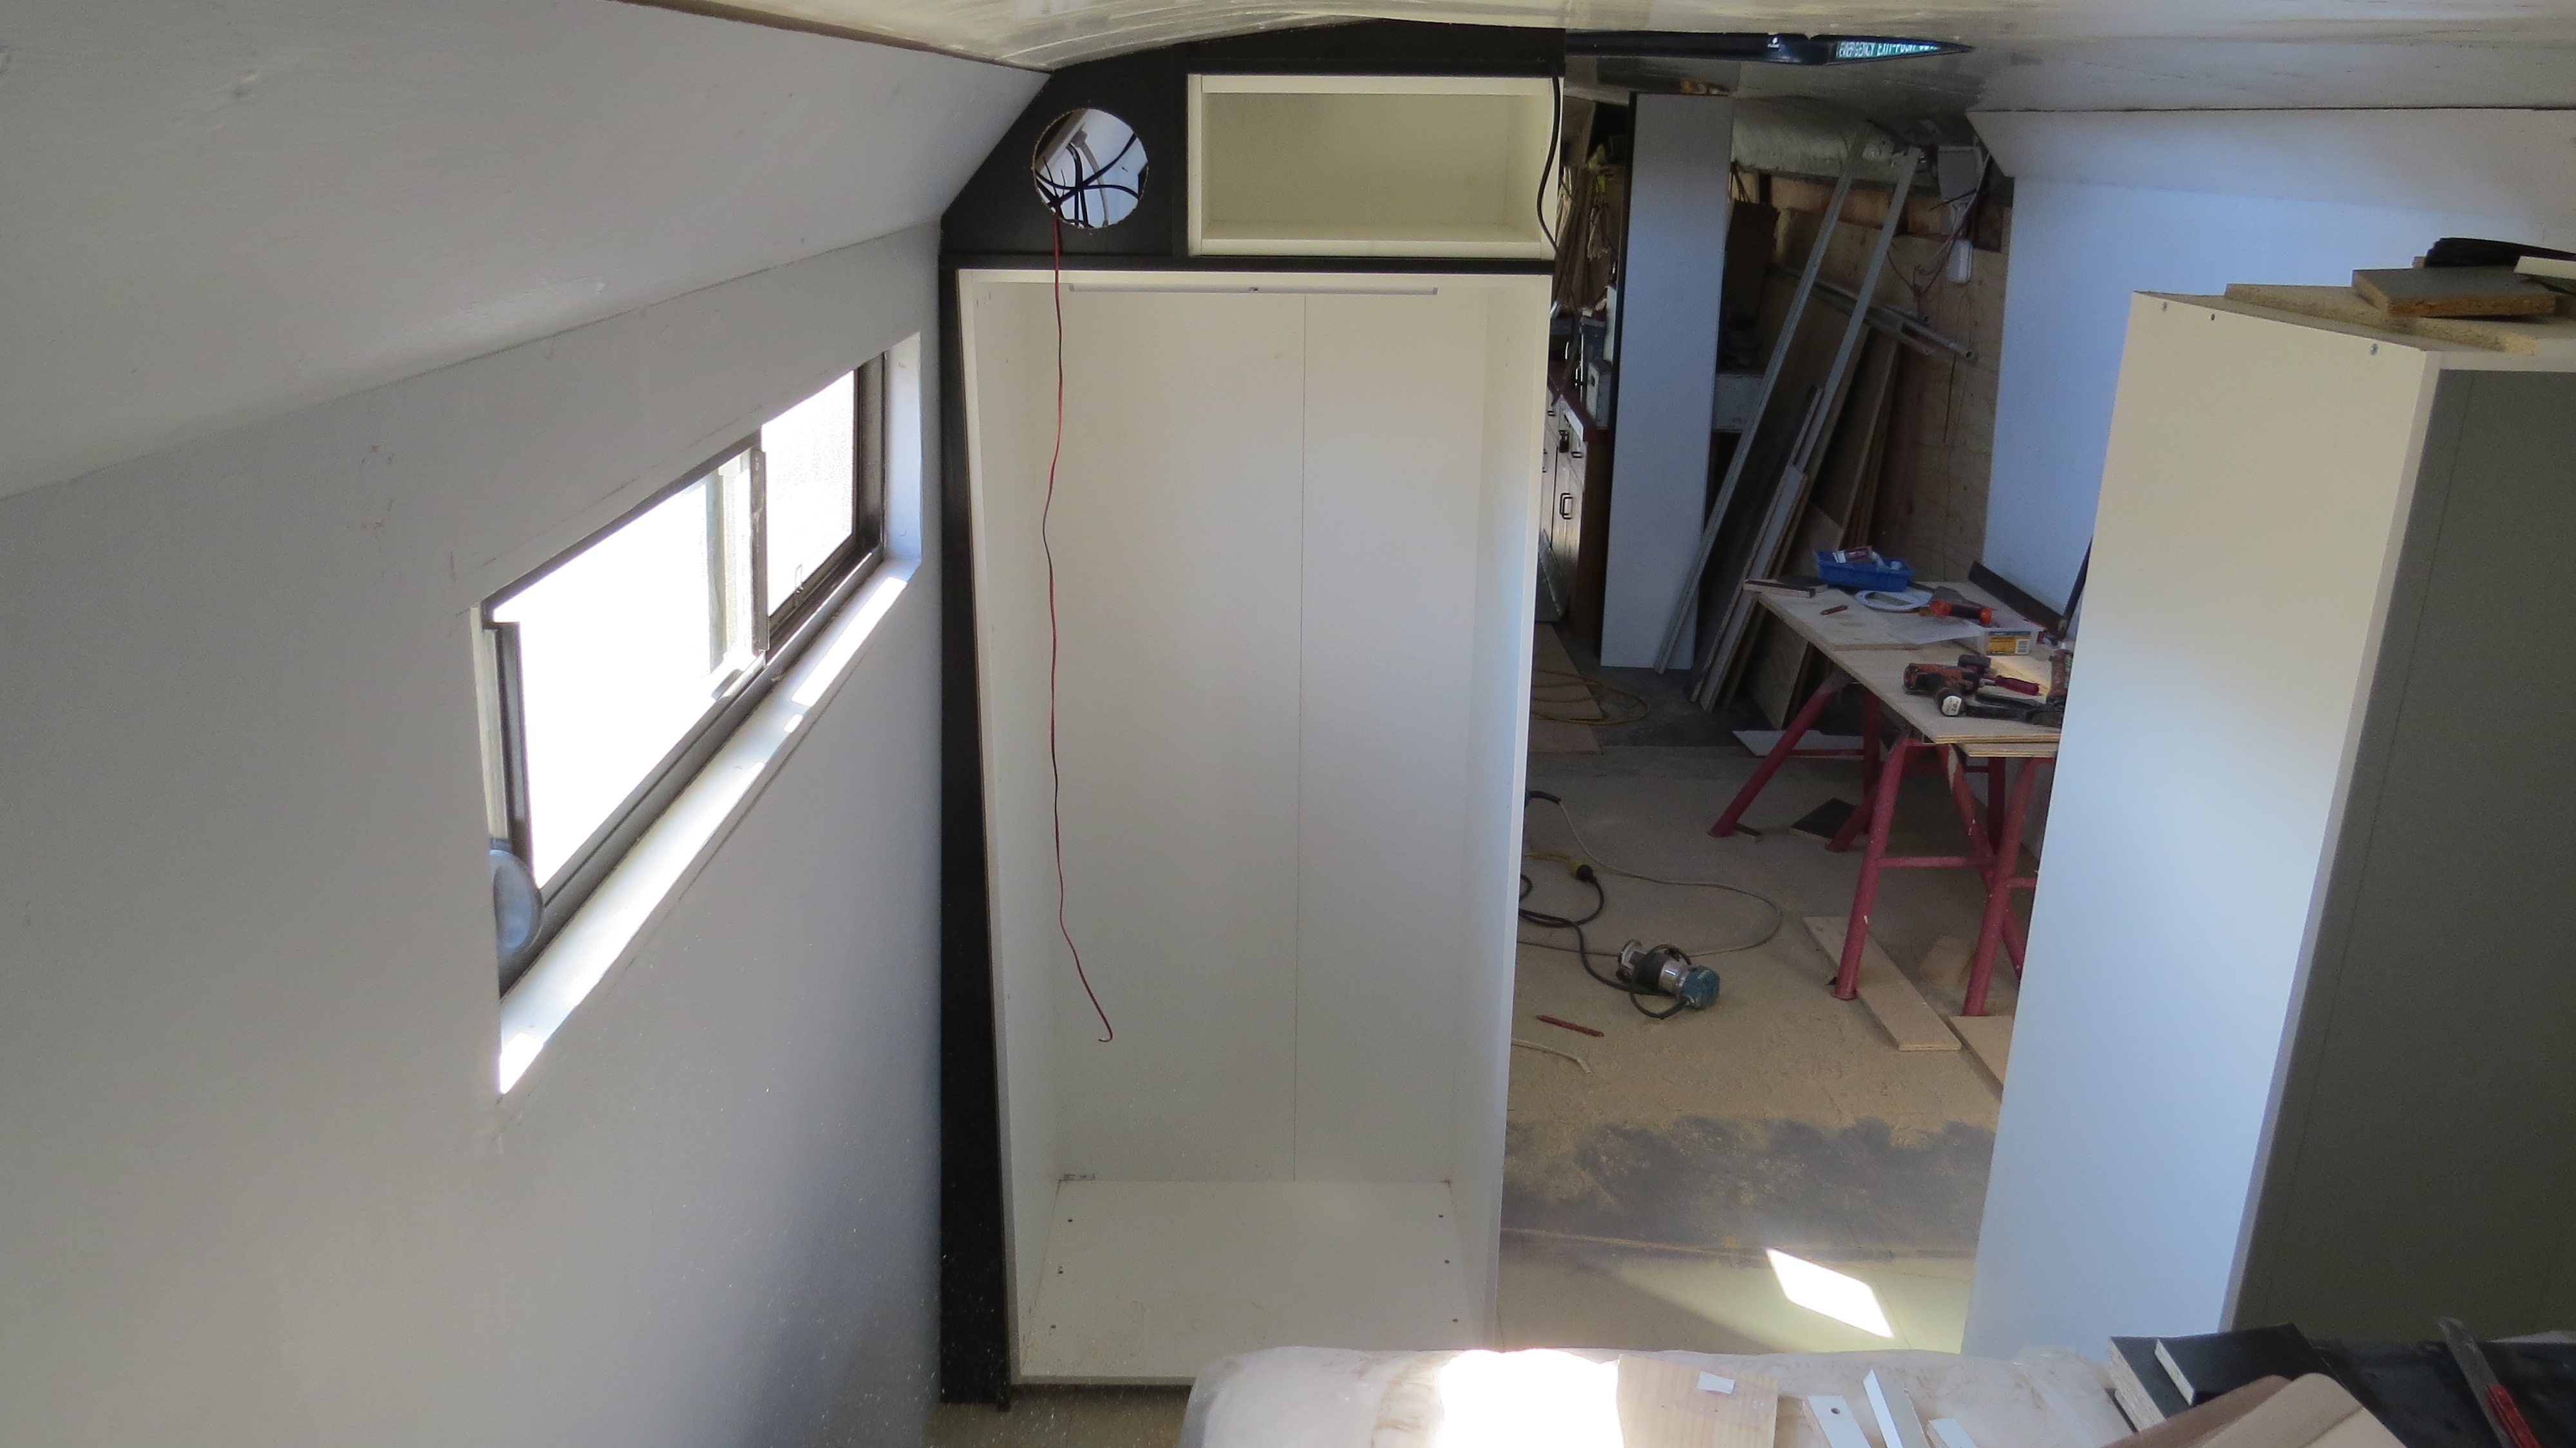
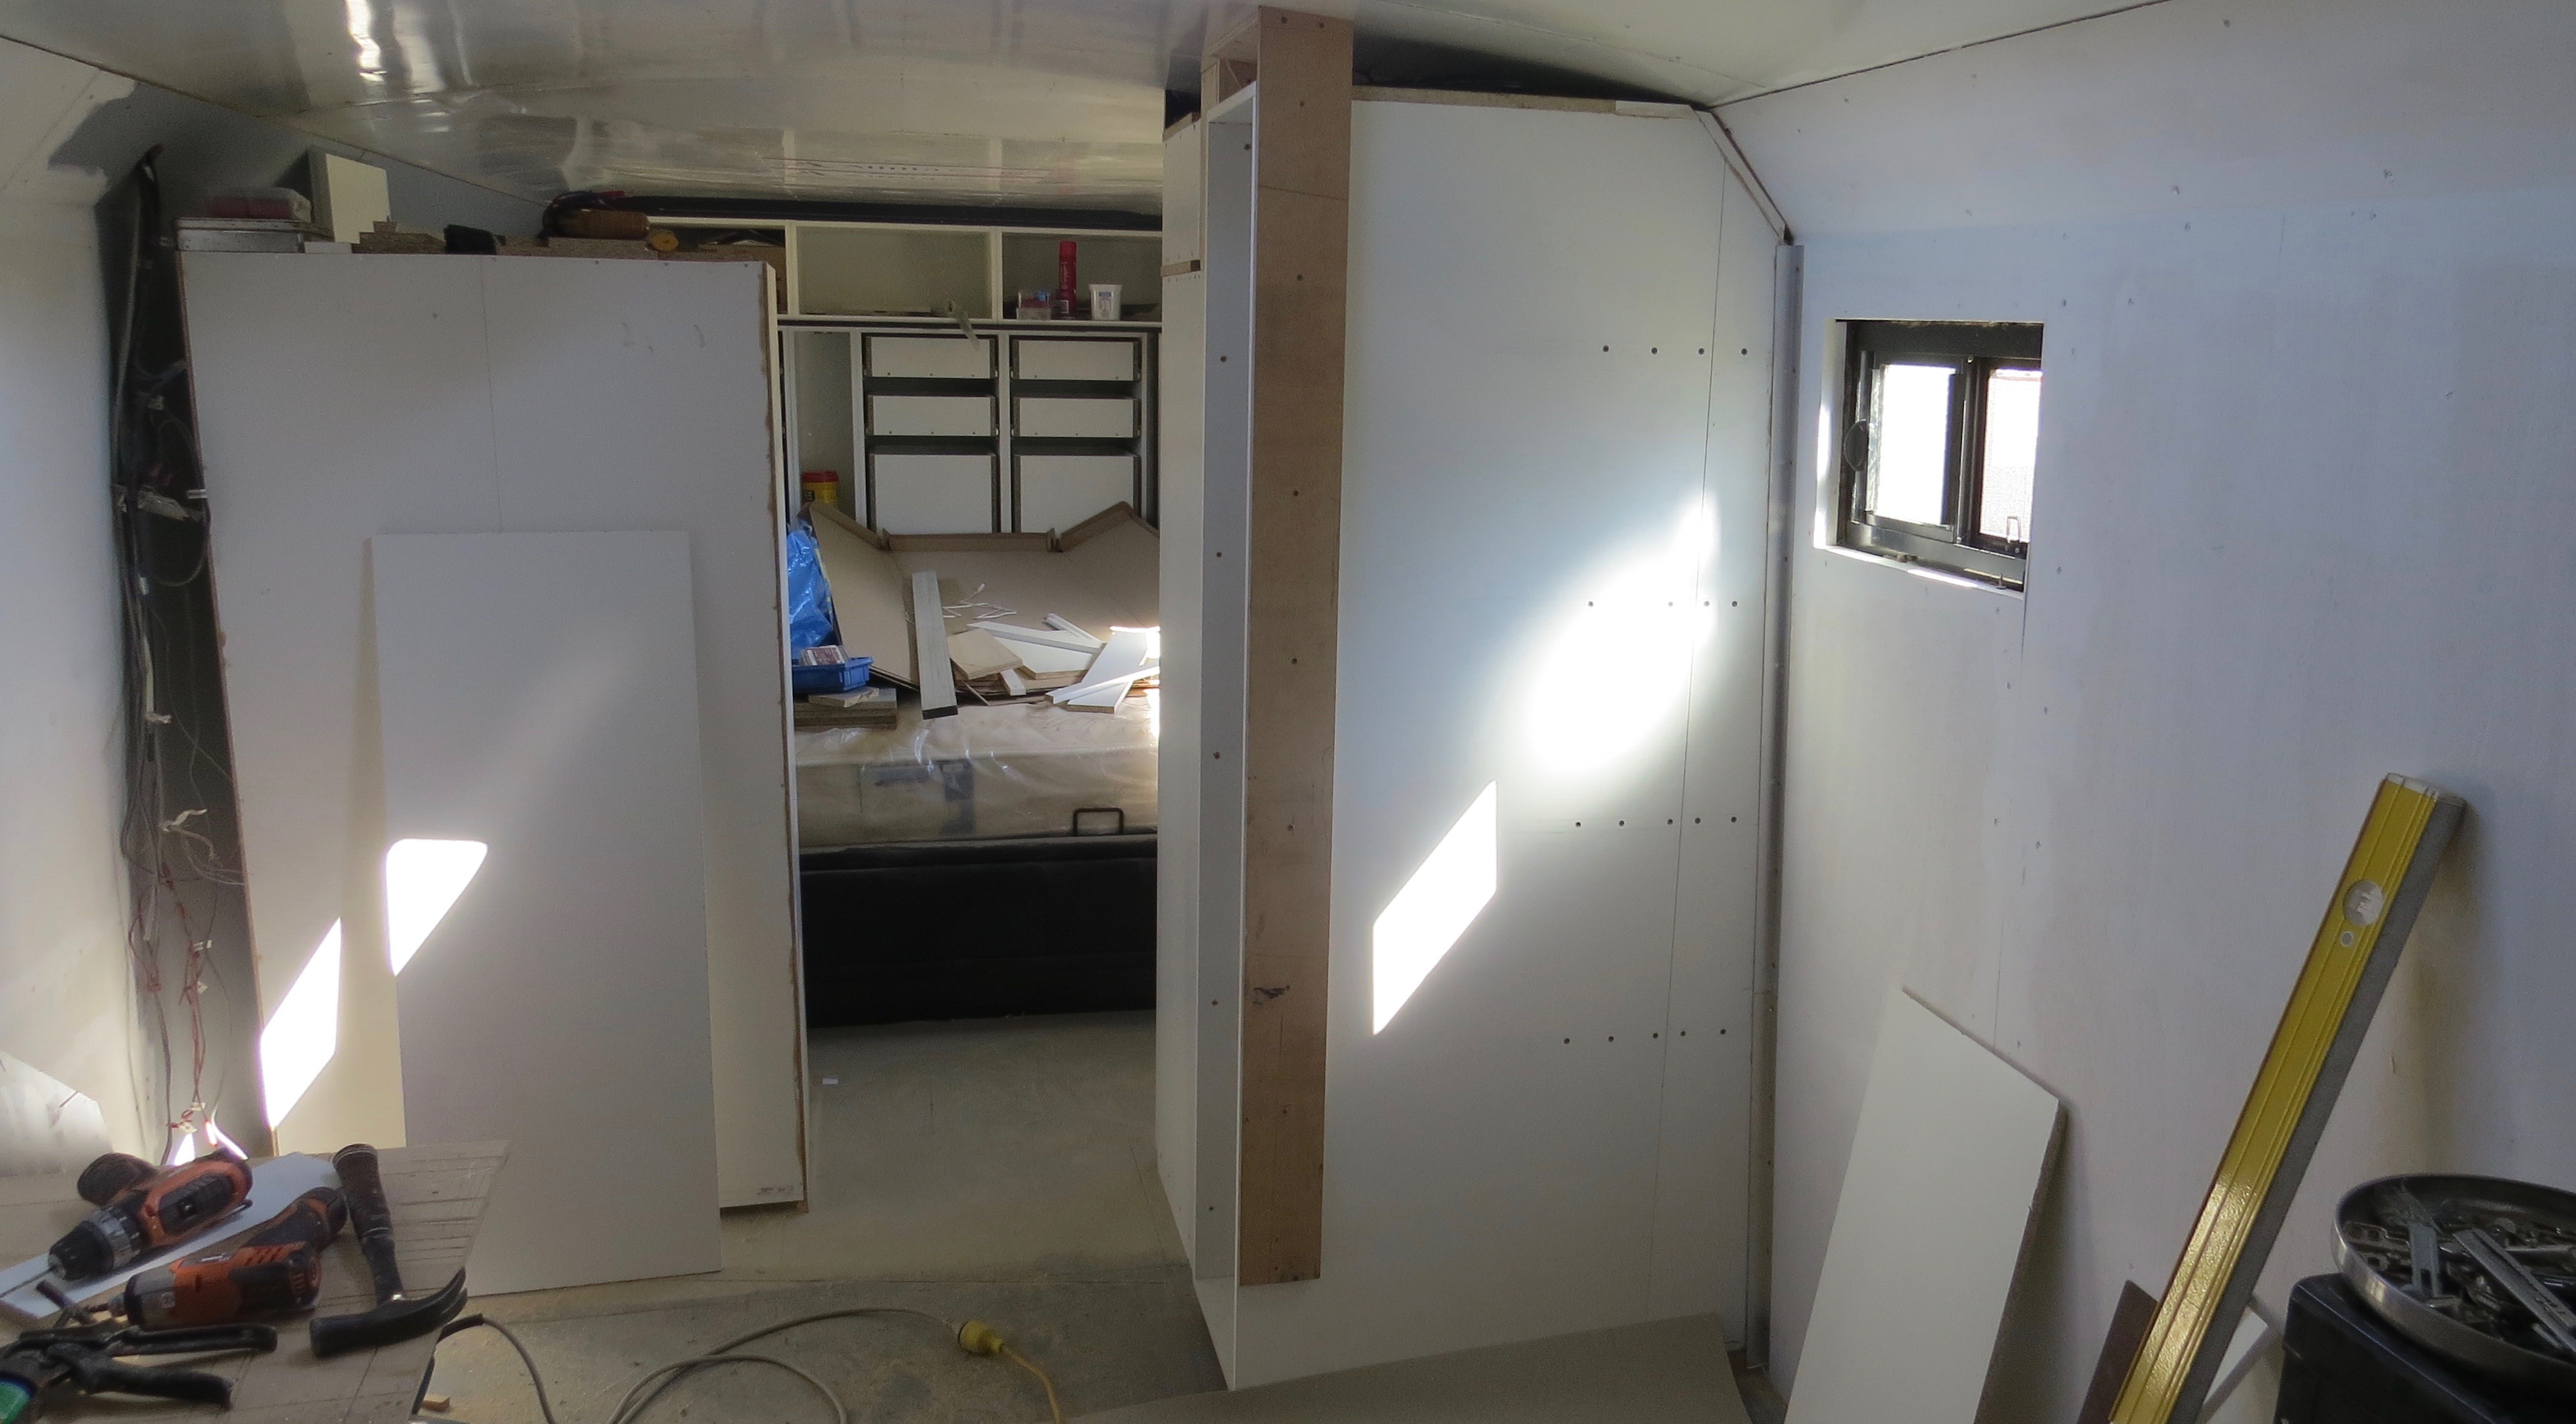
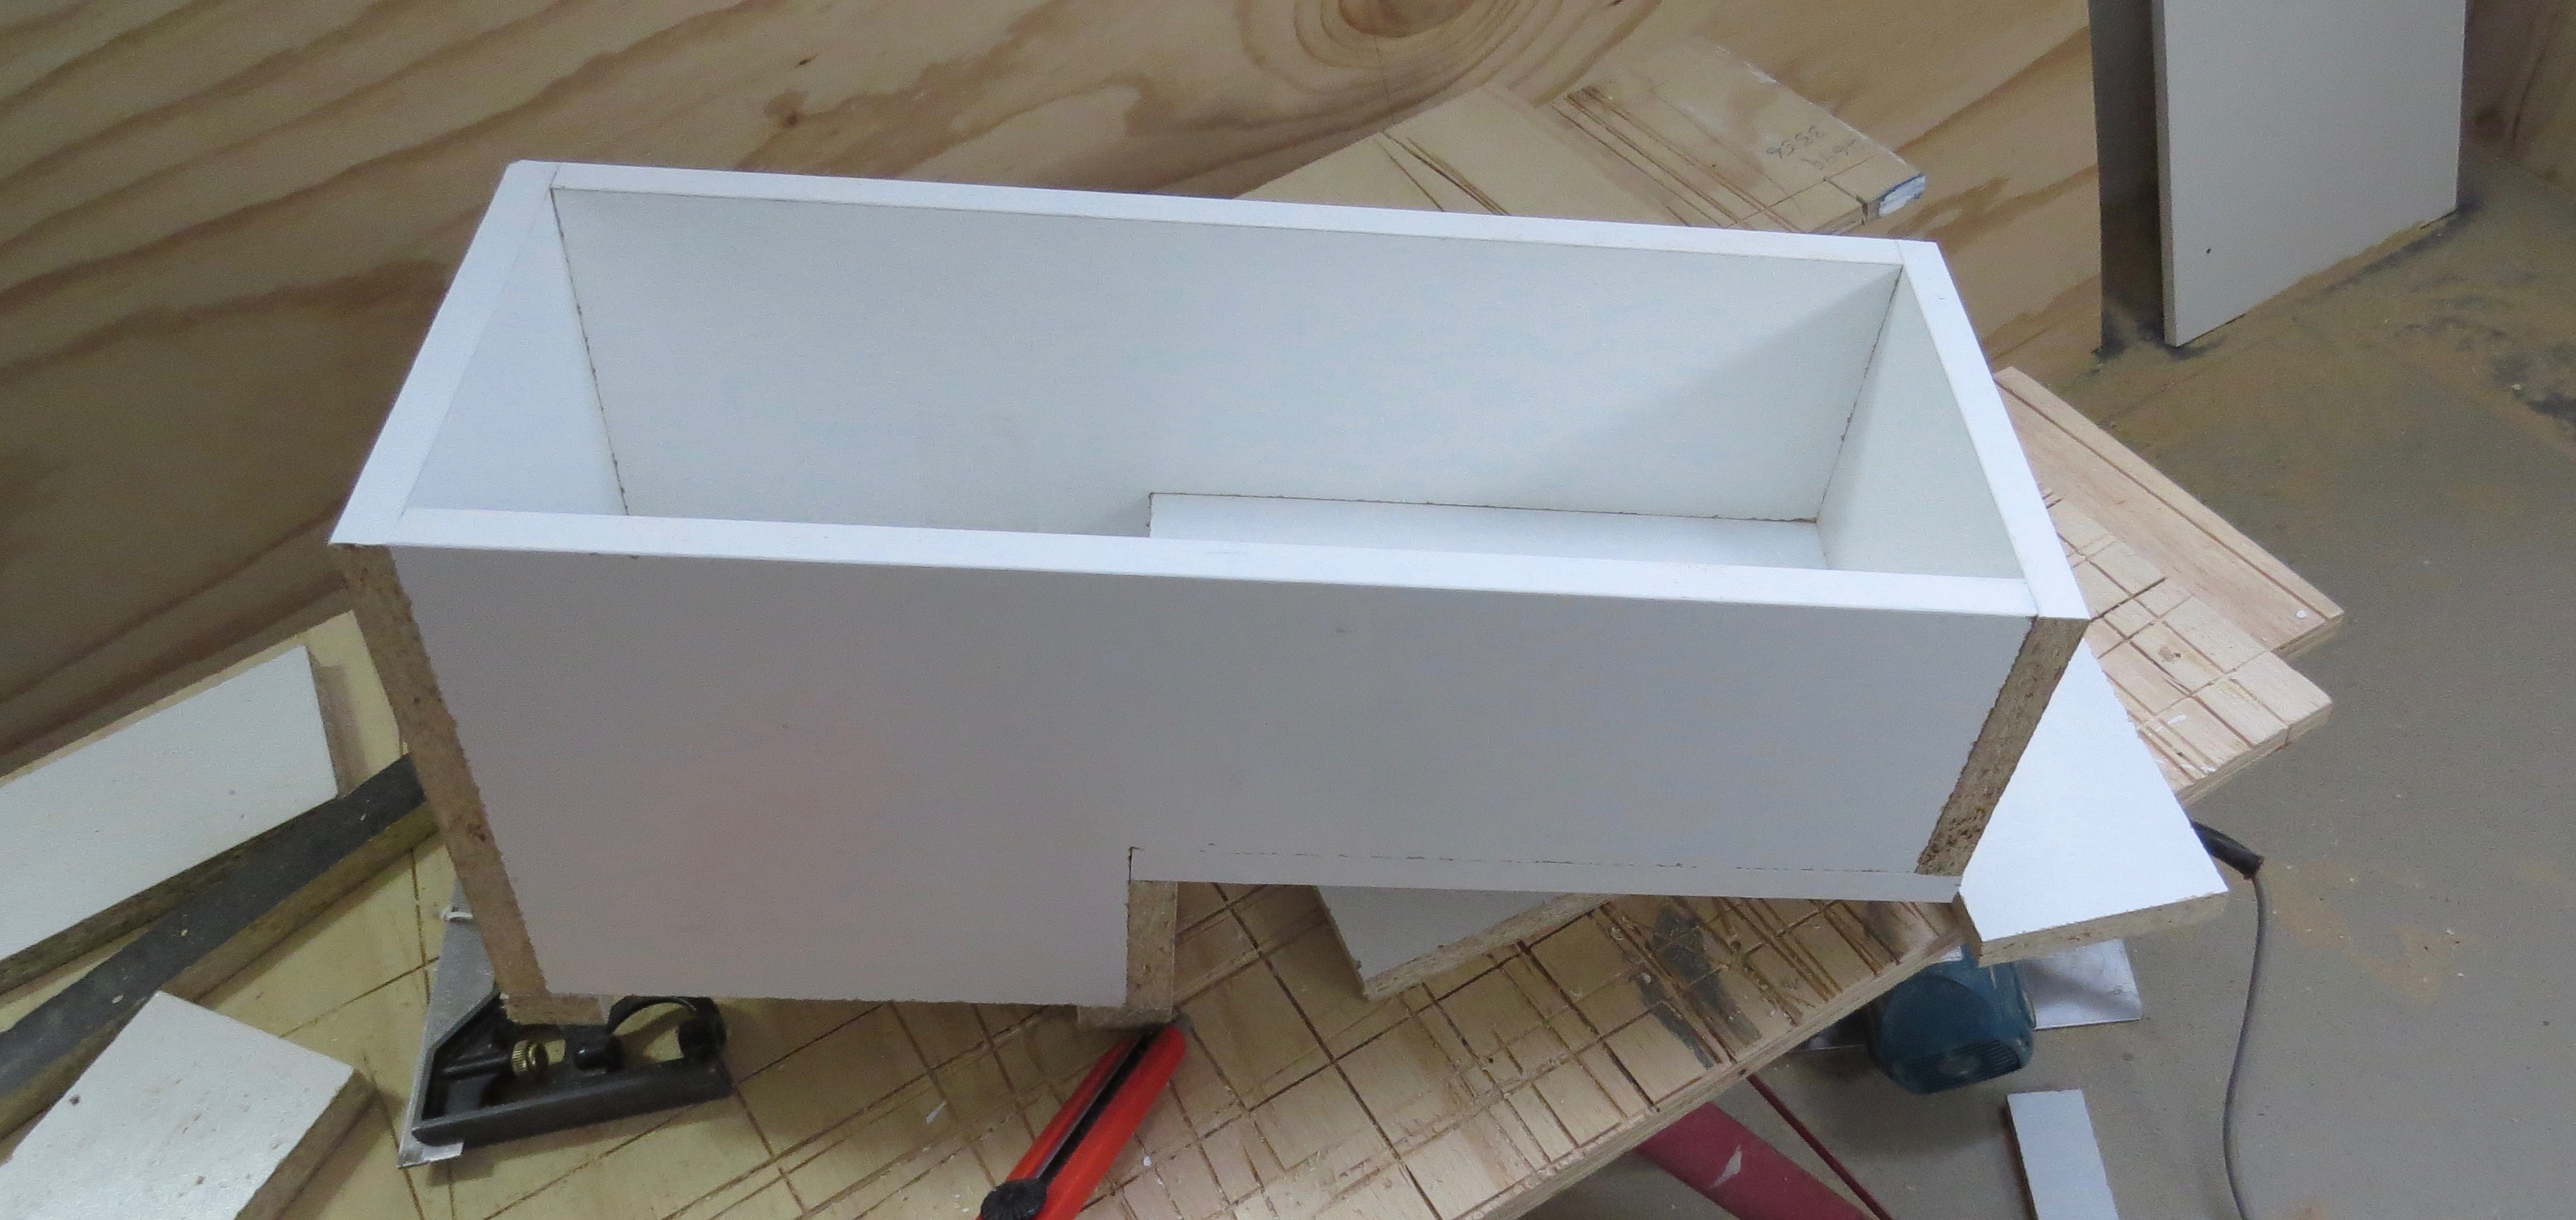
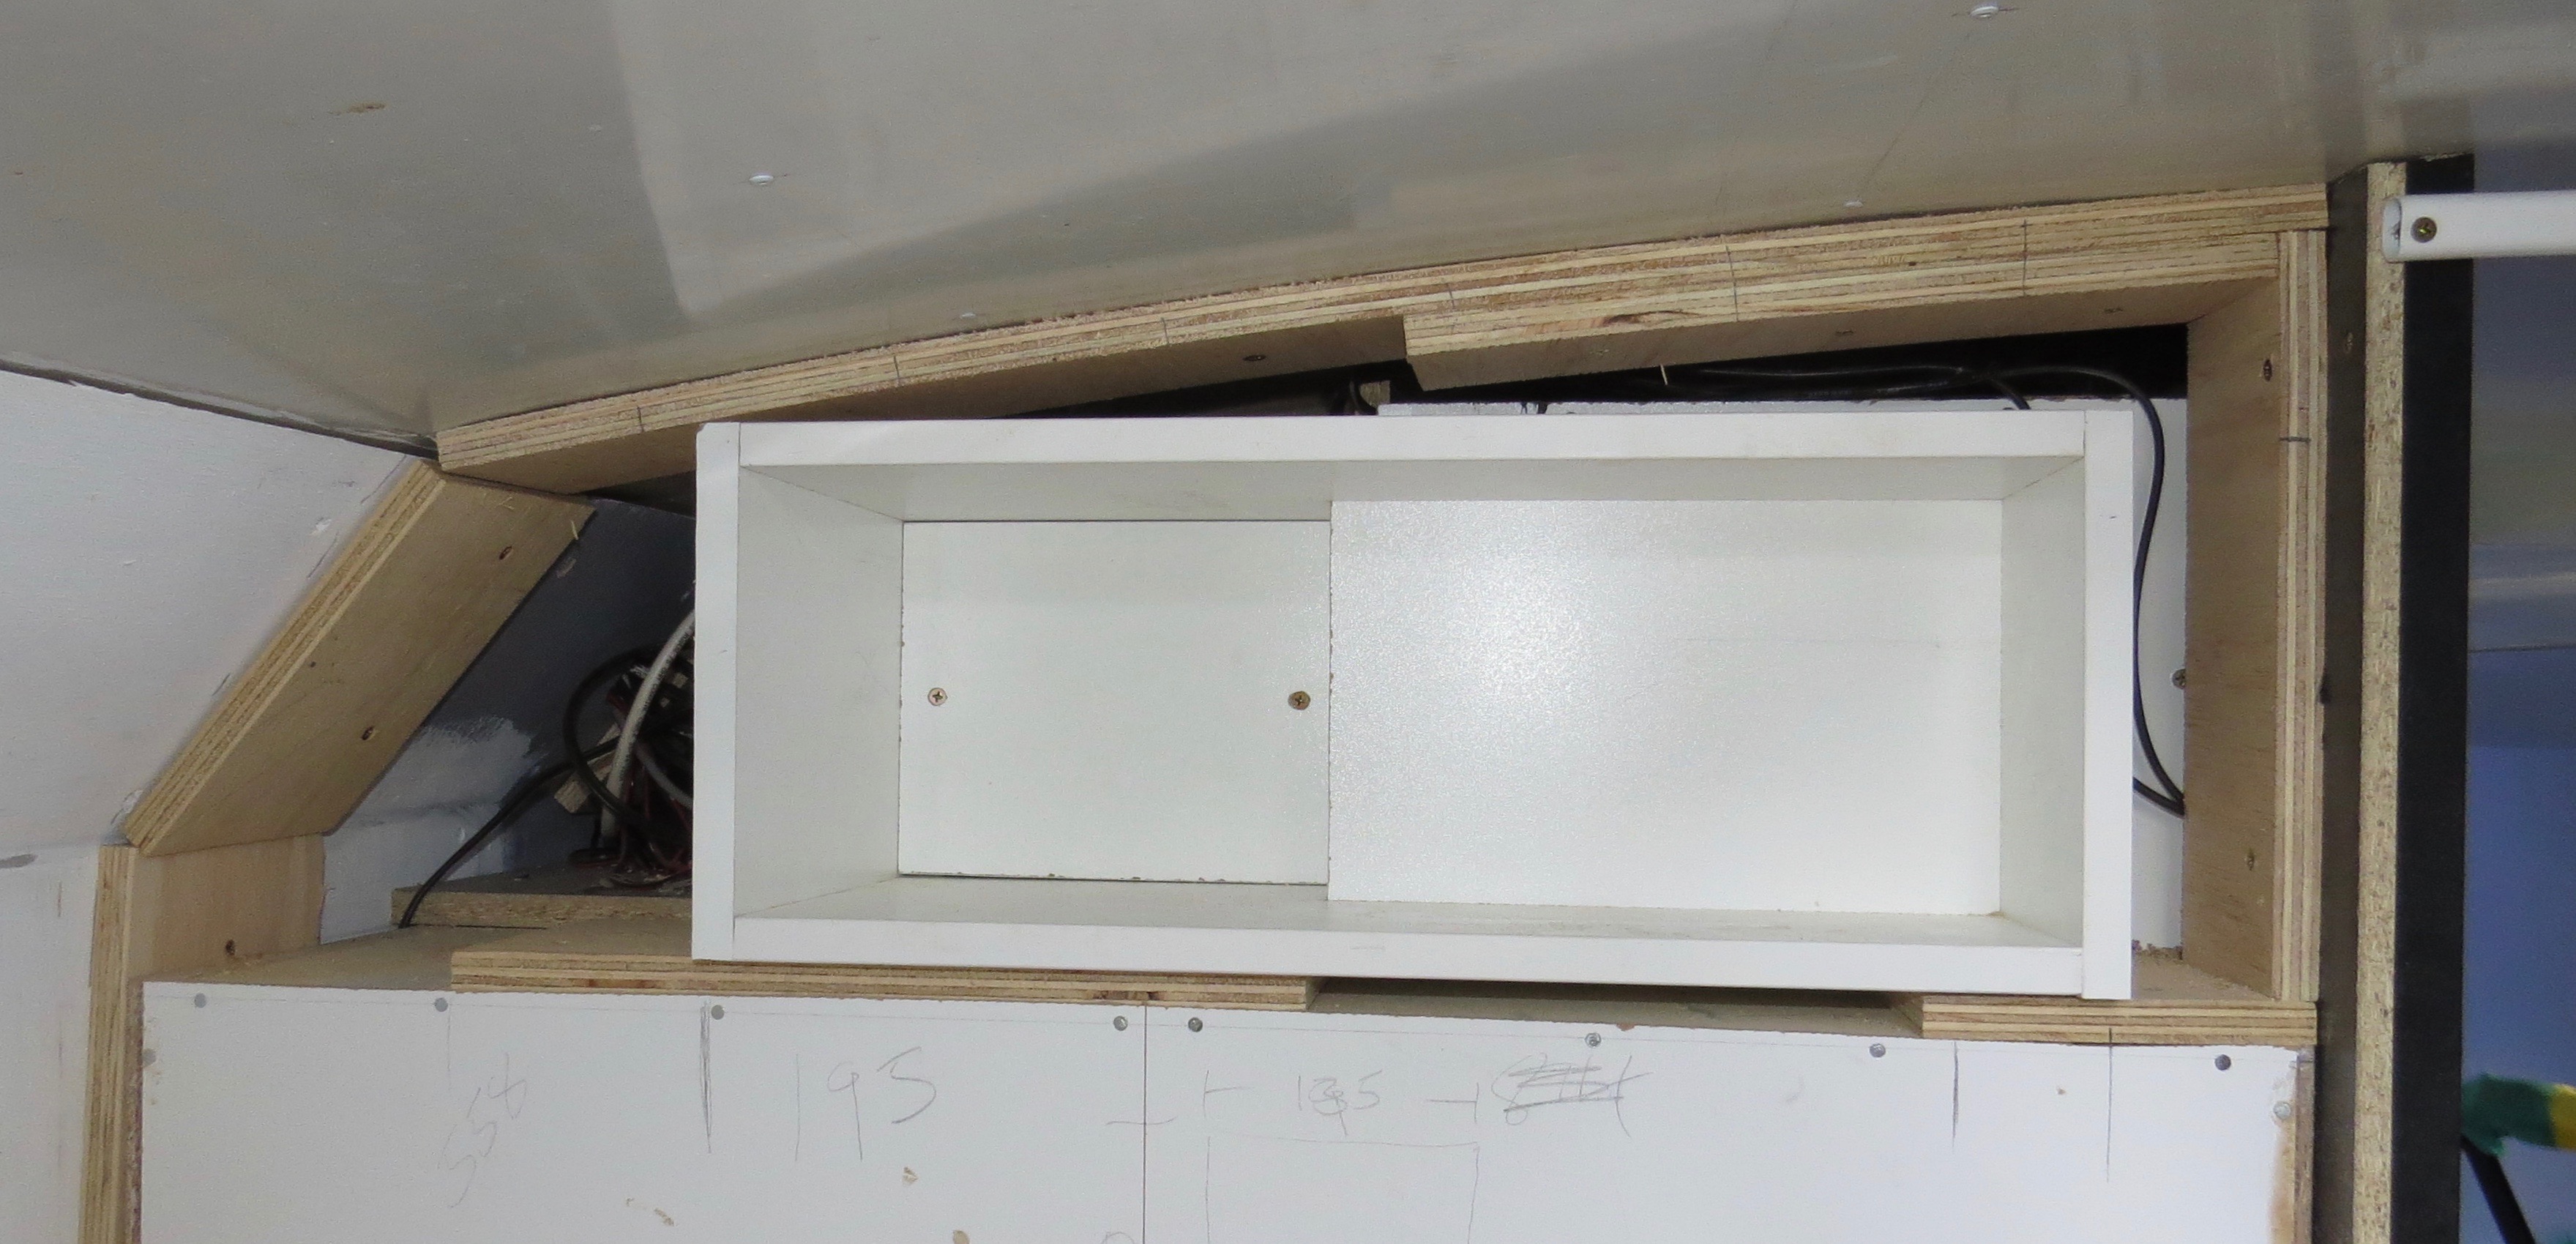
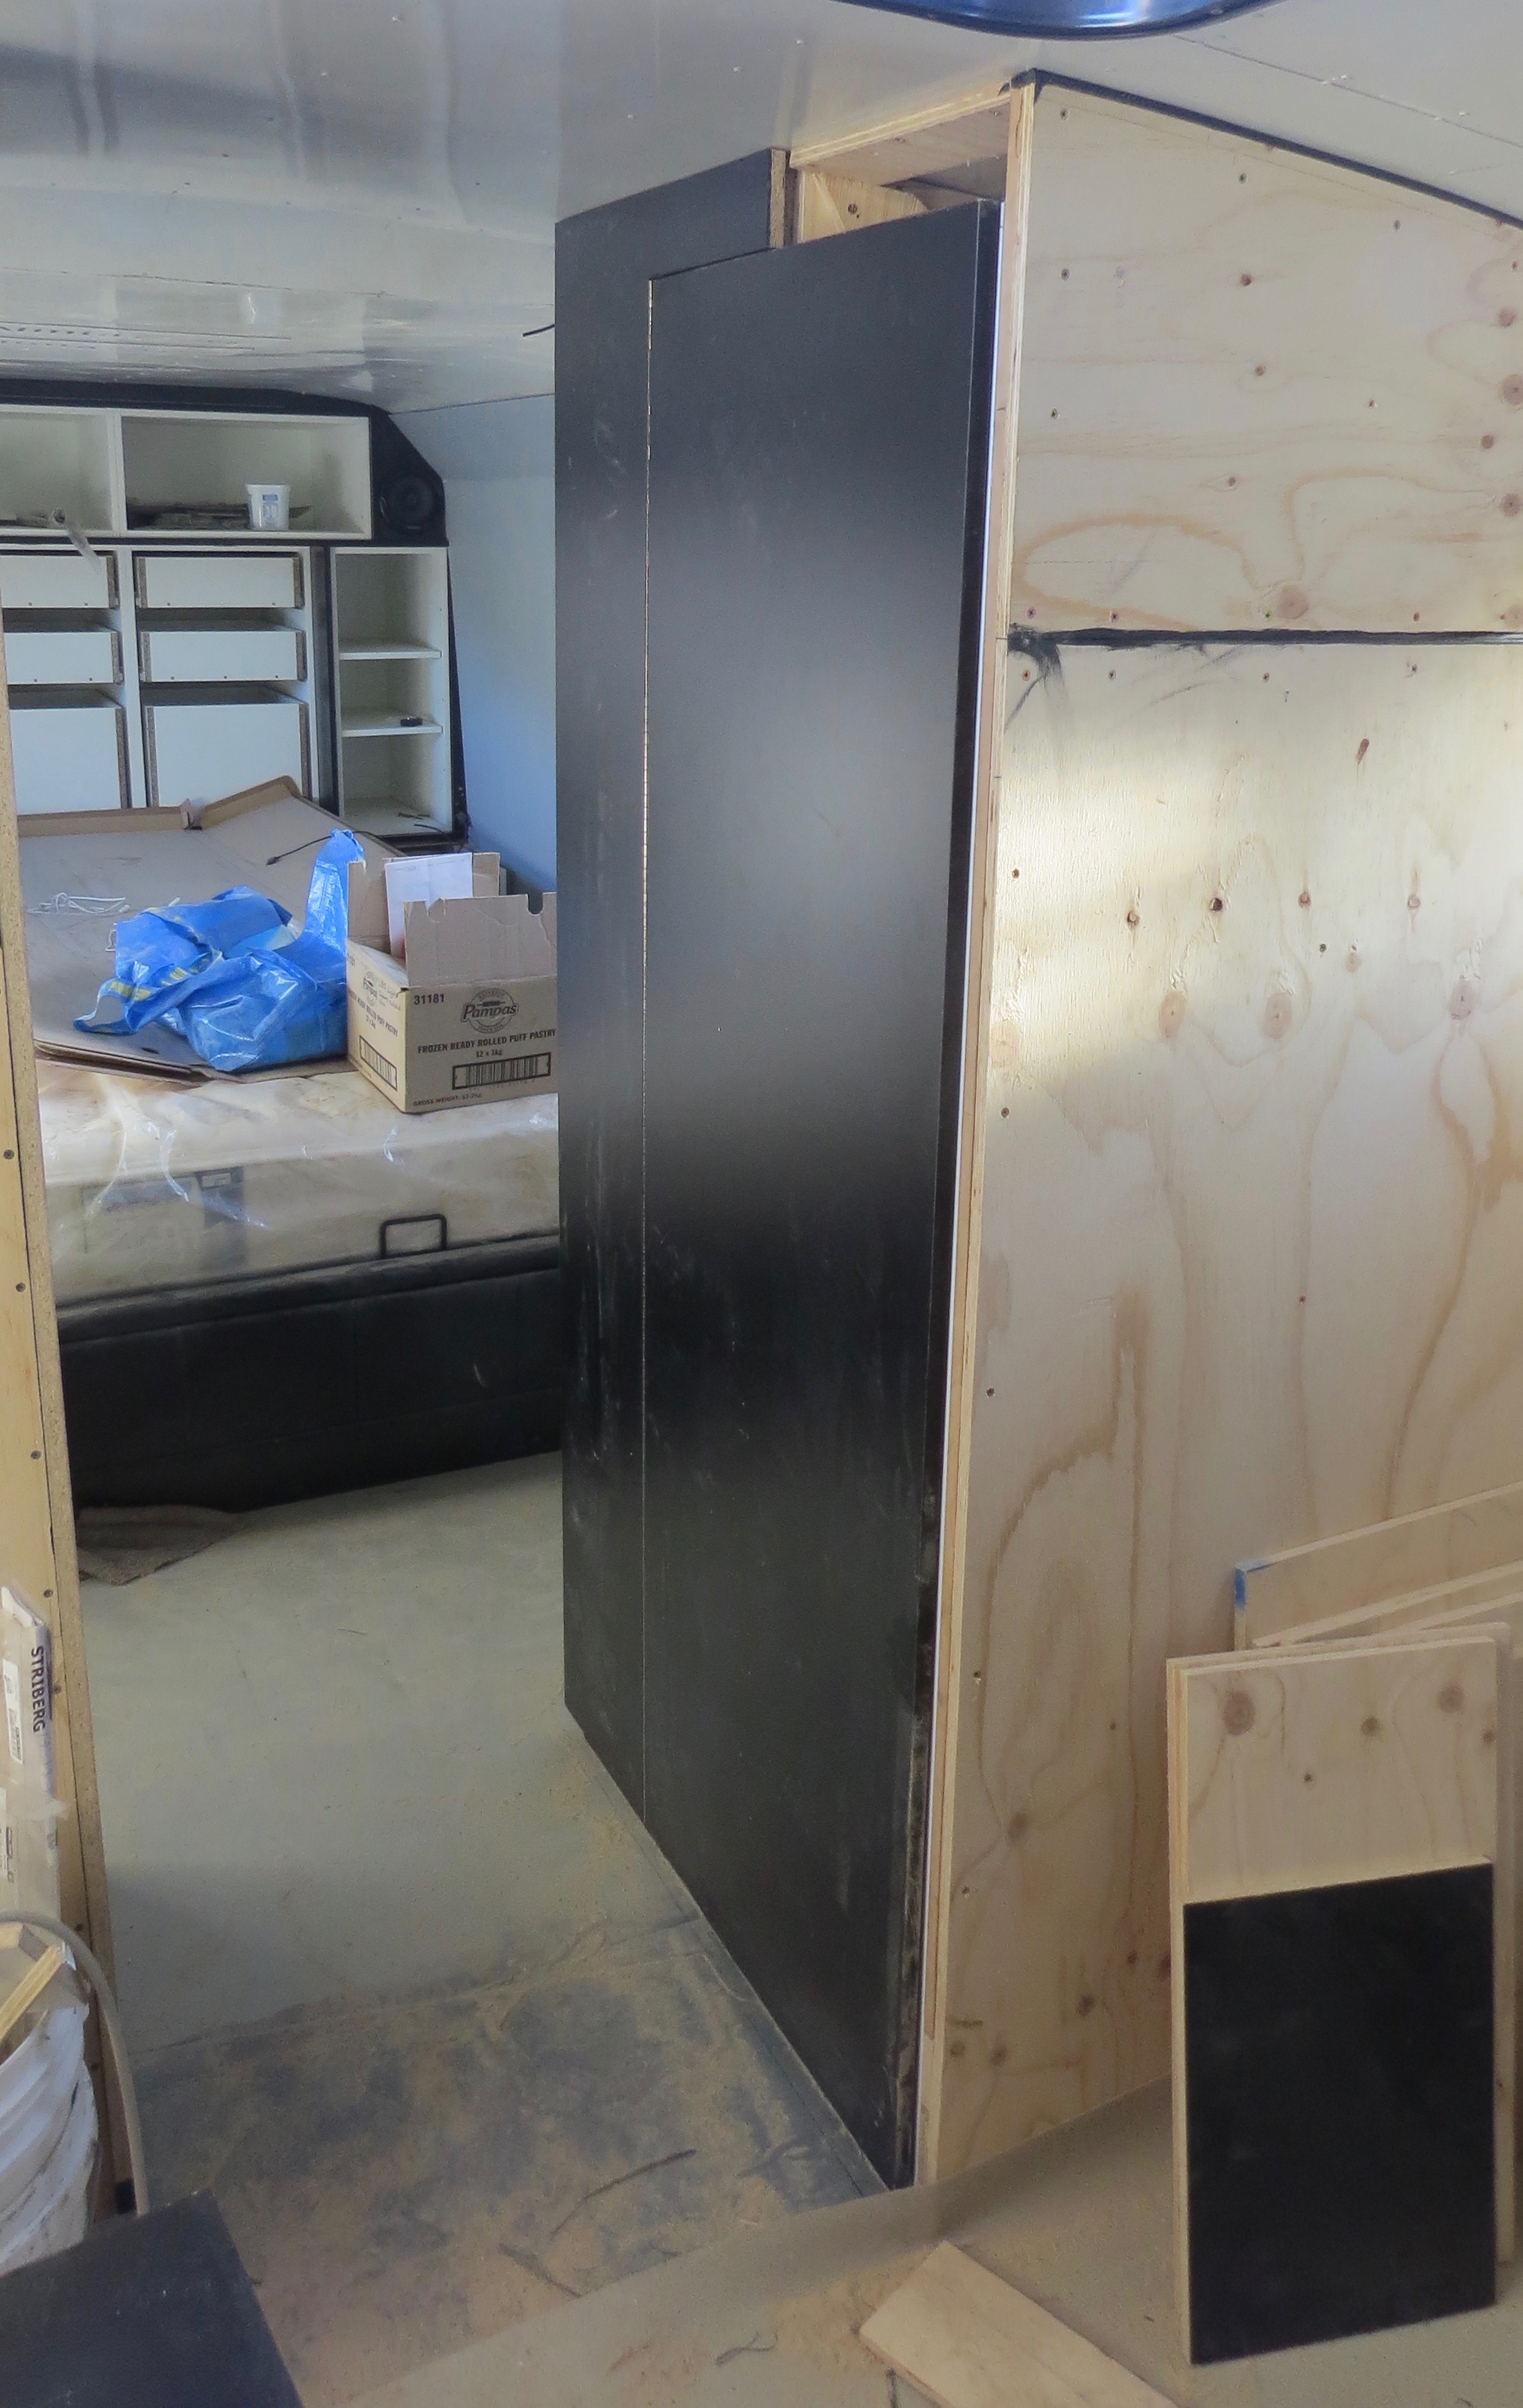
Finishing it off now

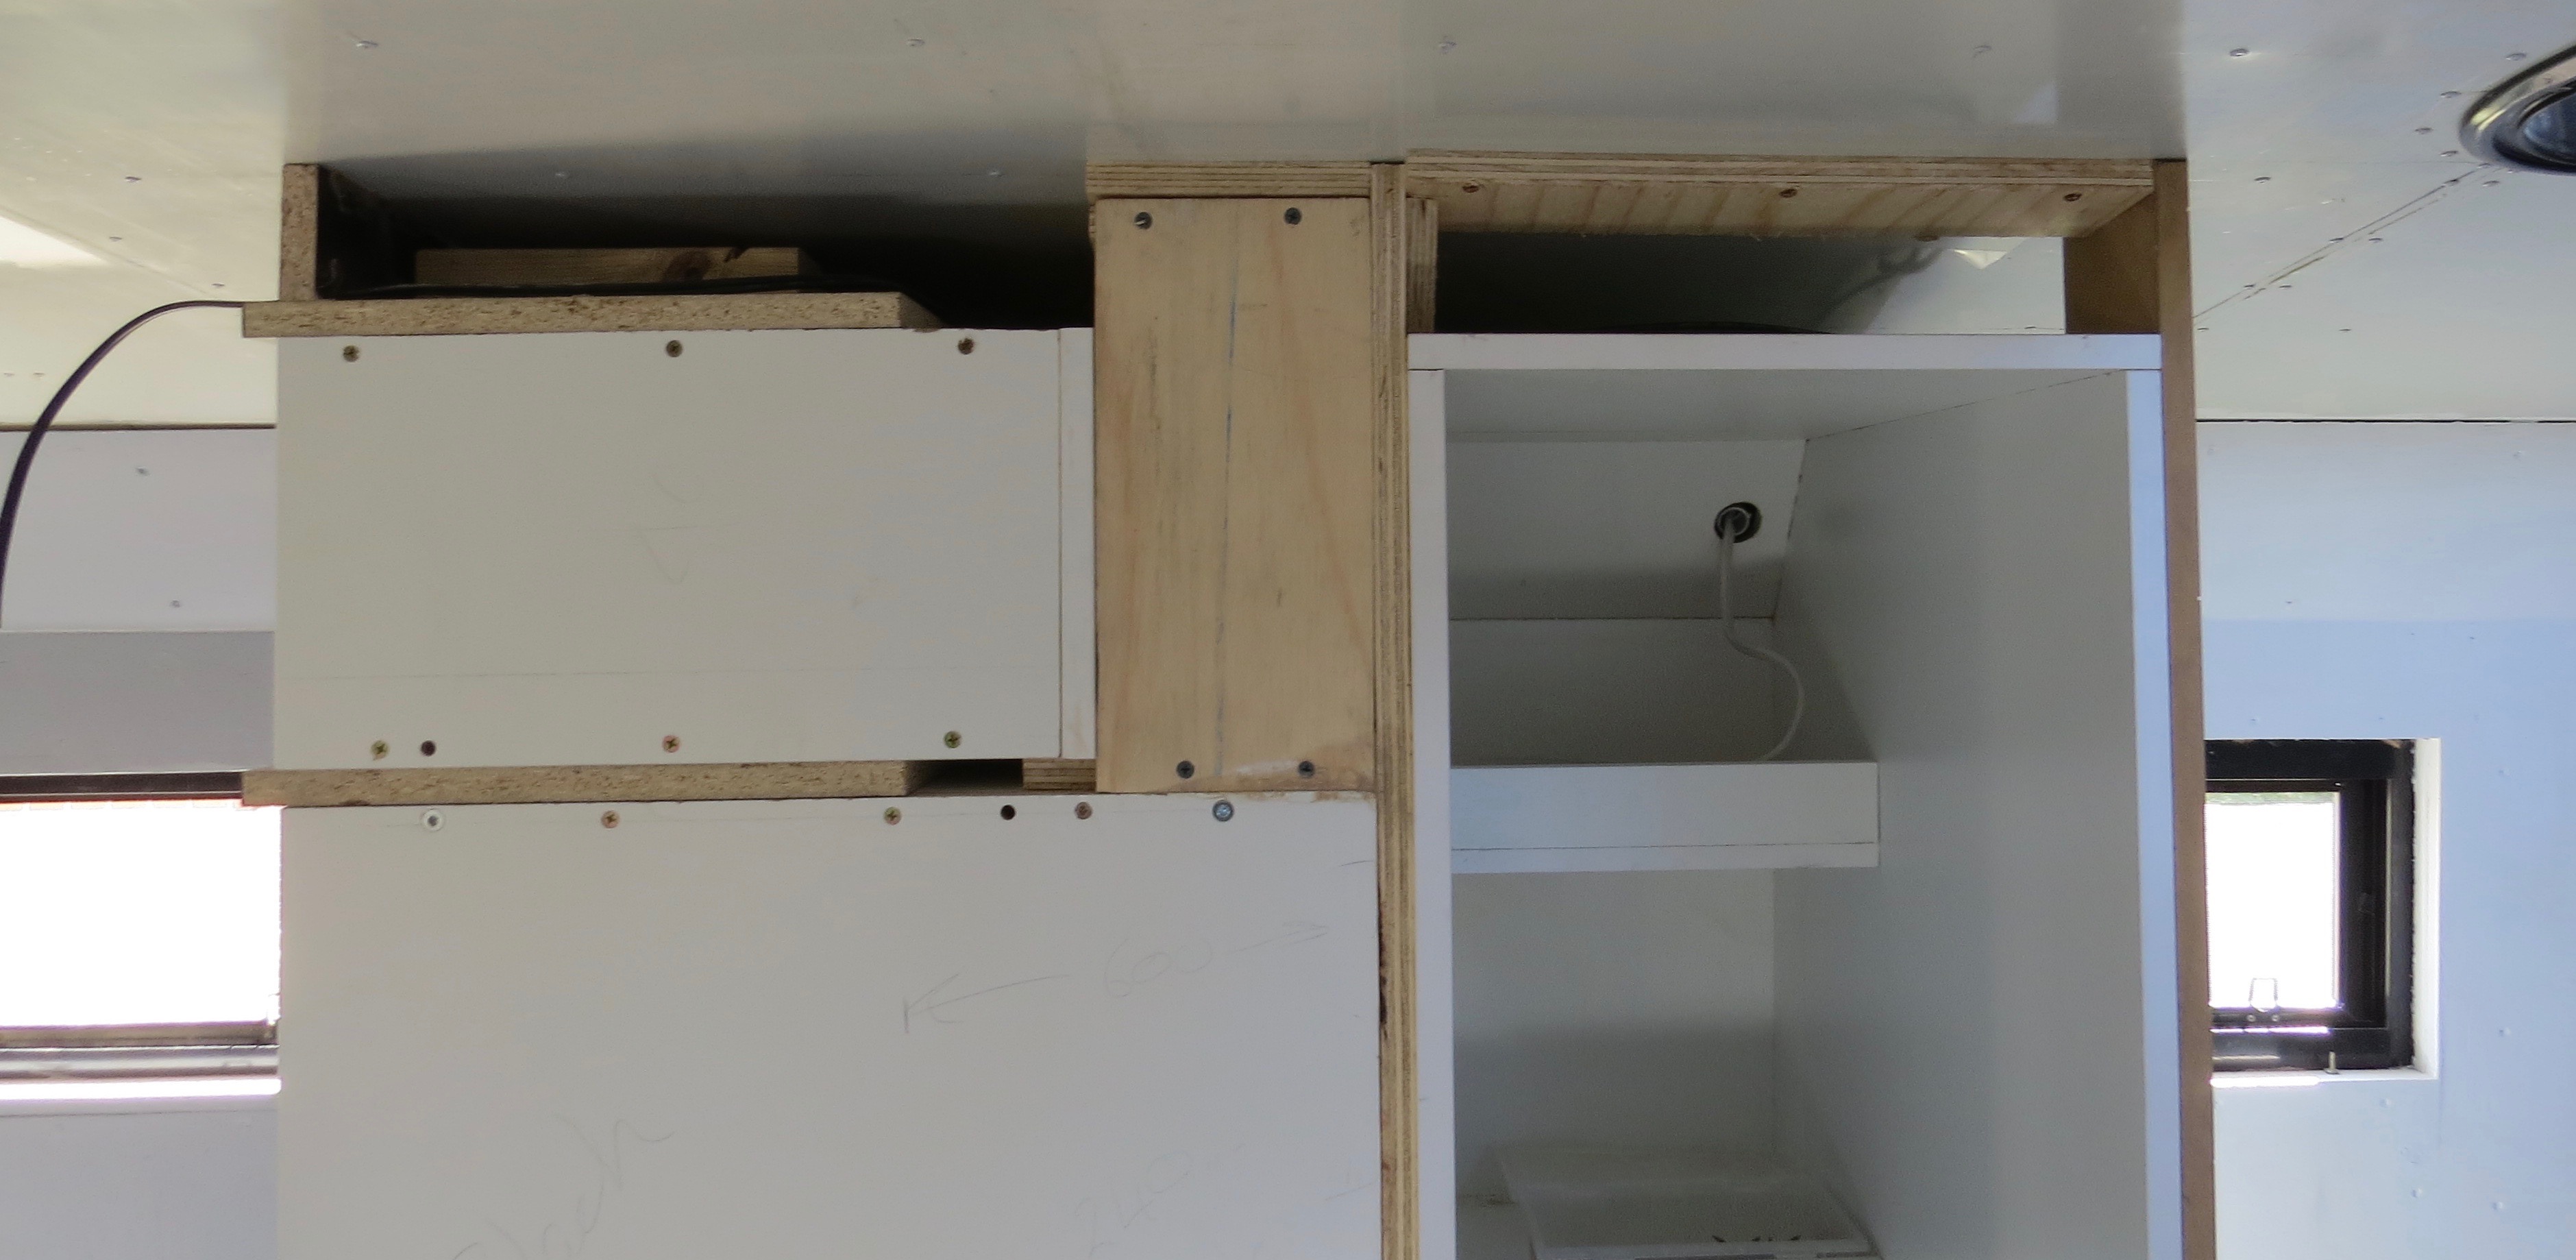
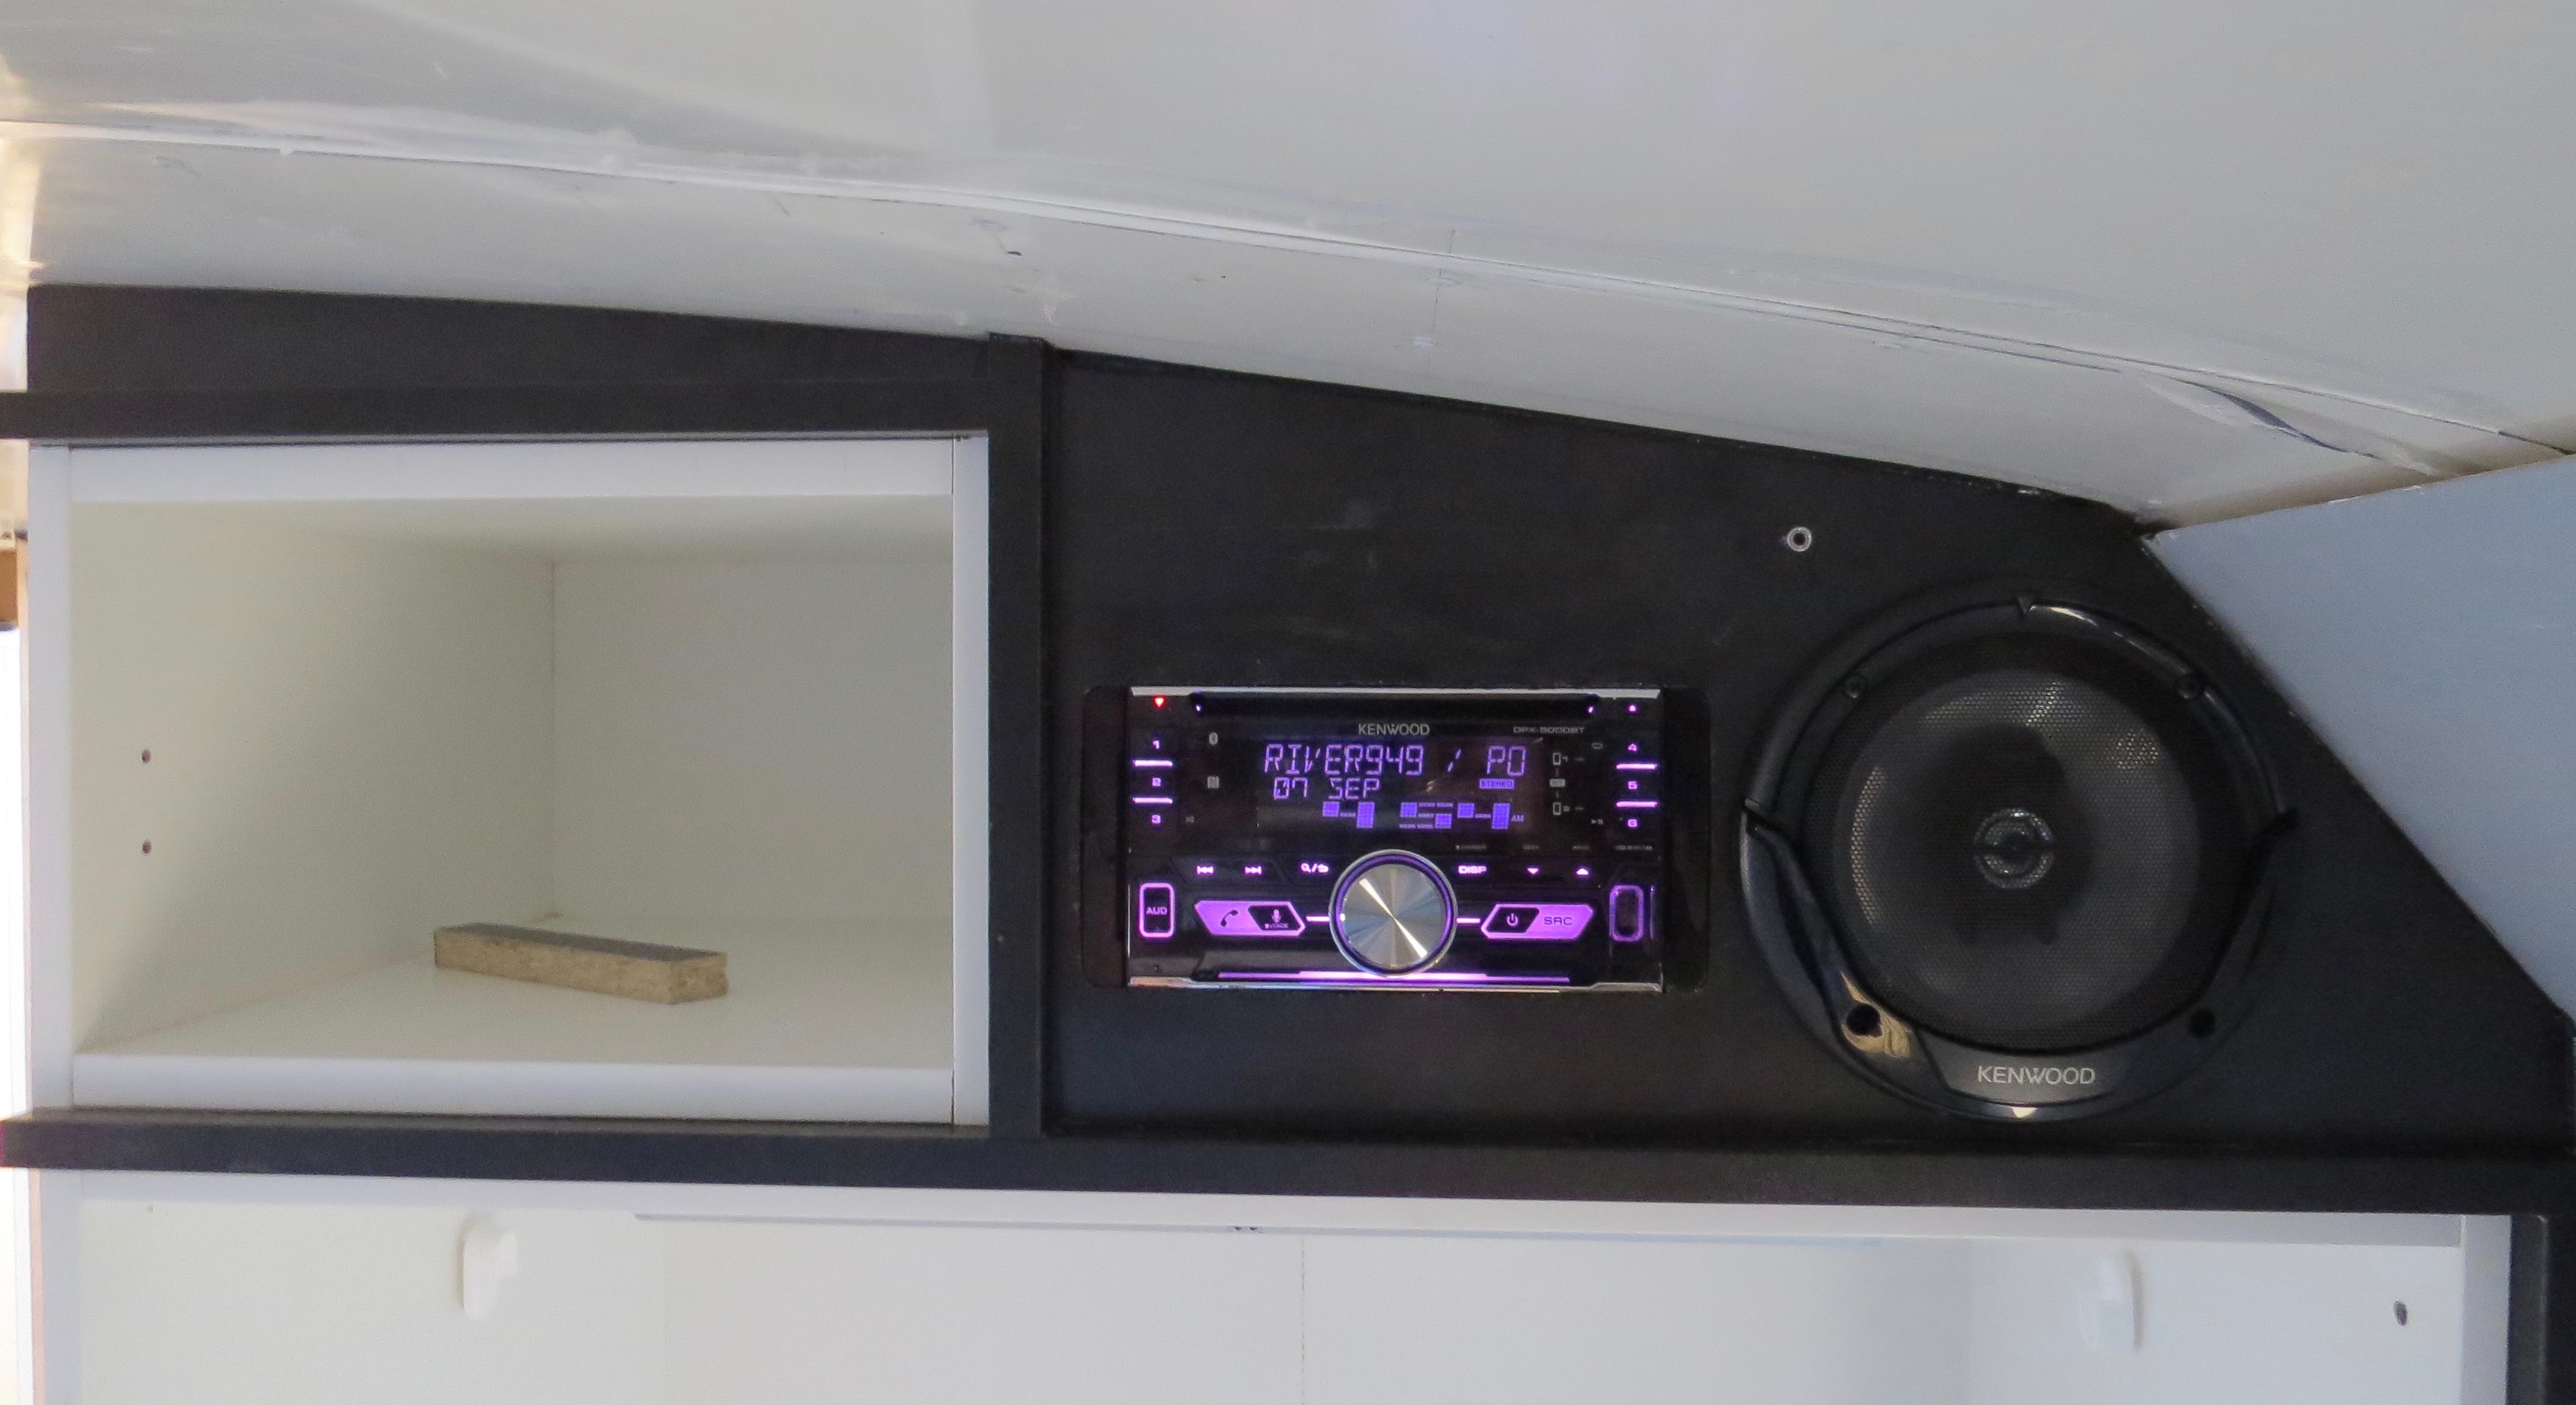
Now the stereo’s in place Charmaine spotted a space behind the stereo that she said would be good for more storage. Looks like I’ve got to make an other cabinet as well, it will all so give us access to the stereo if we need to….hopefully not though.

Here’s the whole she saw.
An other odd shape box I had to make.
No more whole and access to the stereo if I need it.
Cabinet door fitted, this will be covered the same as the wall later.
Still have to finish the walk way and utility door.
This side done of now.
Utility / Bedroom door in place.
Light fitted into the utility cupboard, comes on when you open the door.
Bedroom door closed or utility door open depending where you are standing.
Job done for now.

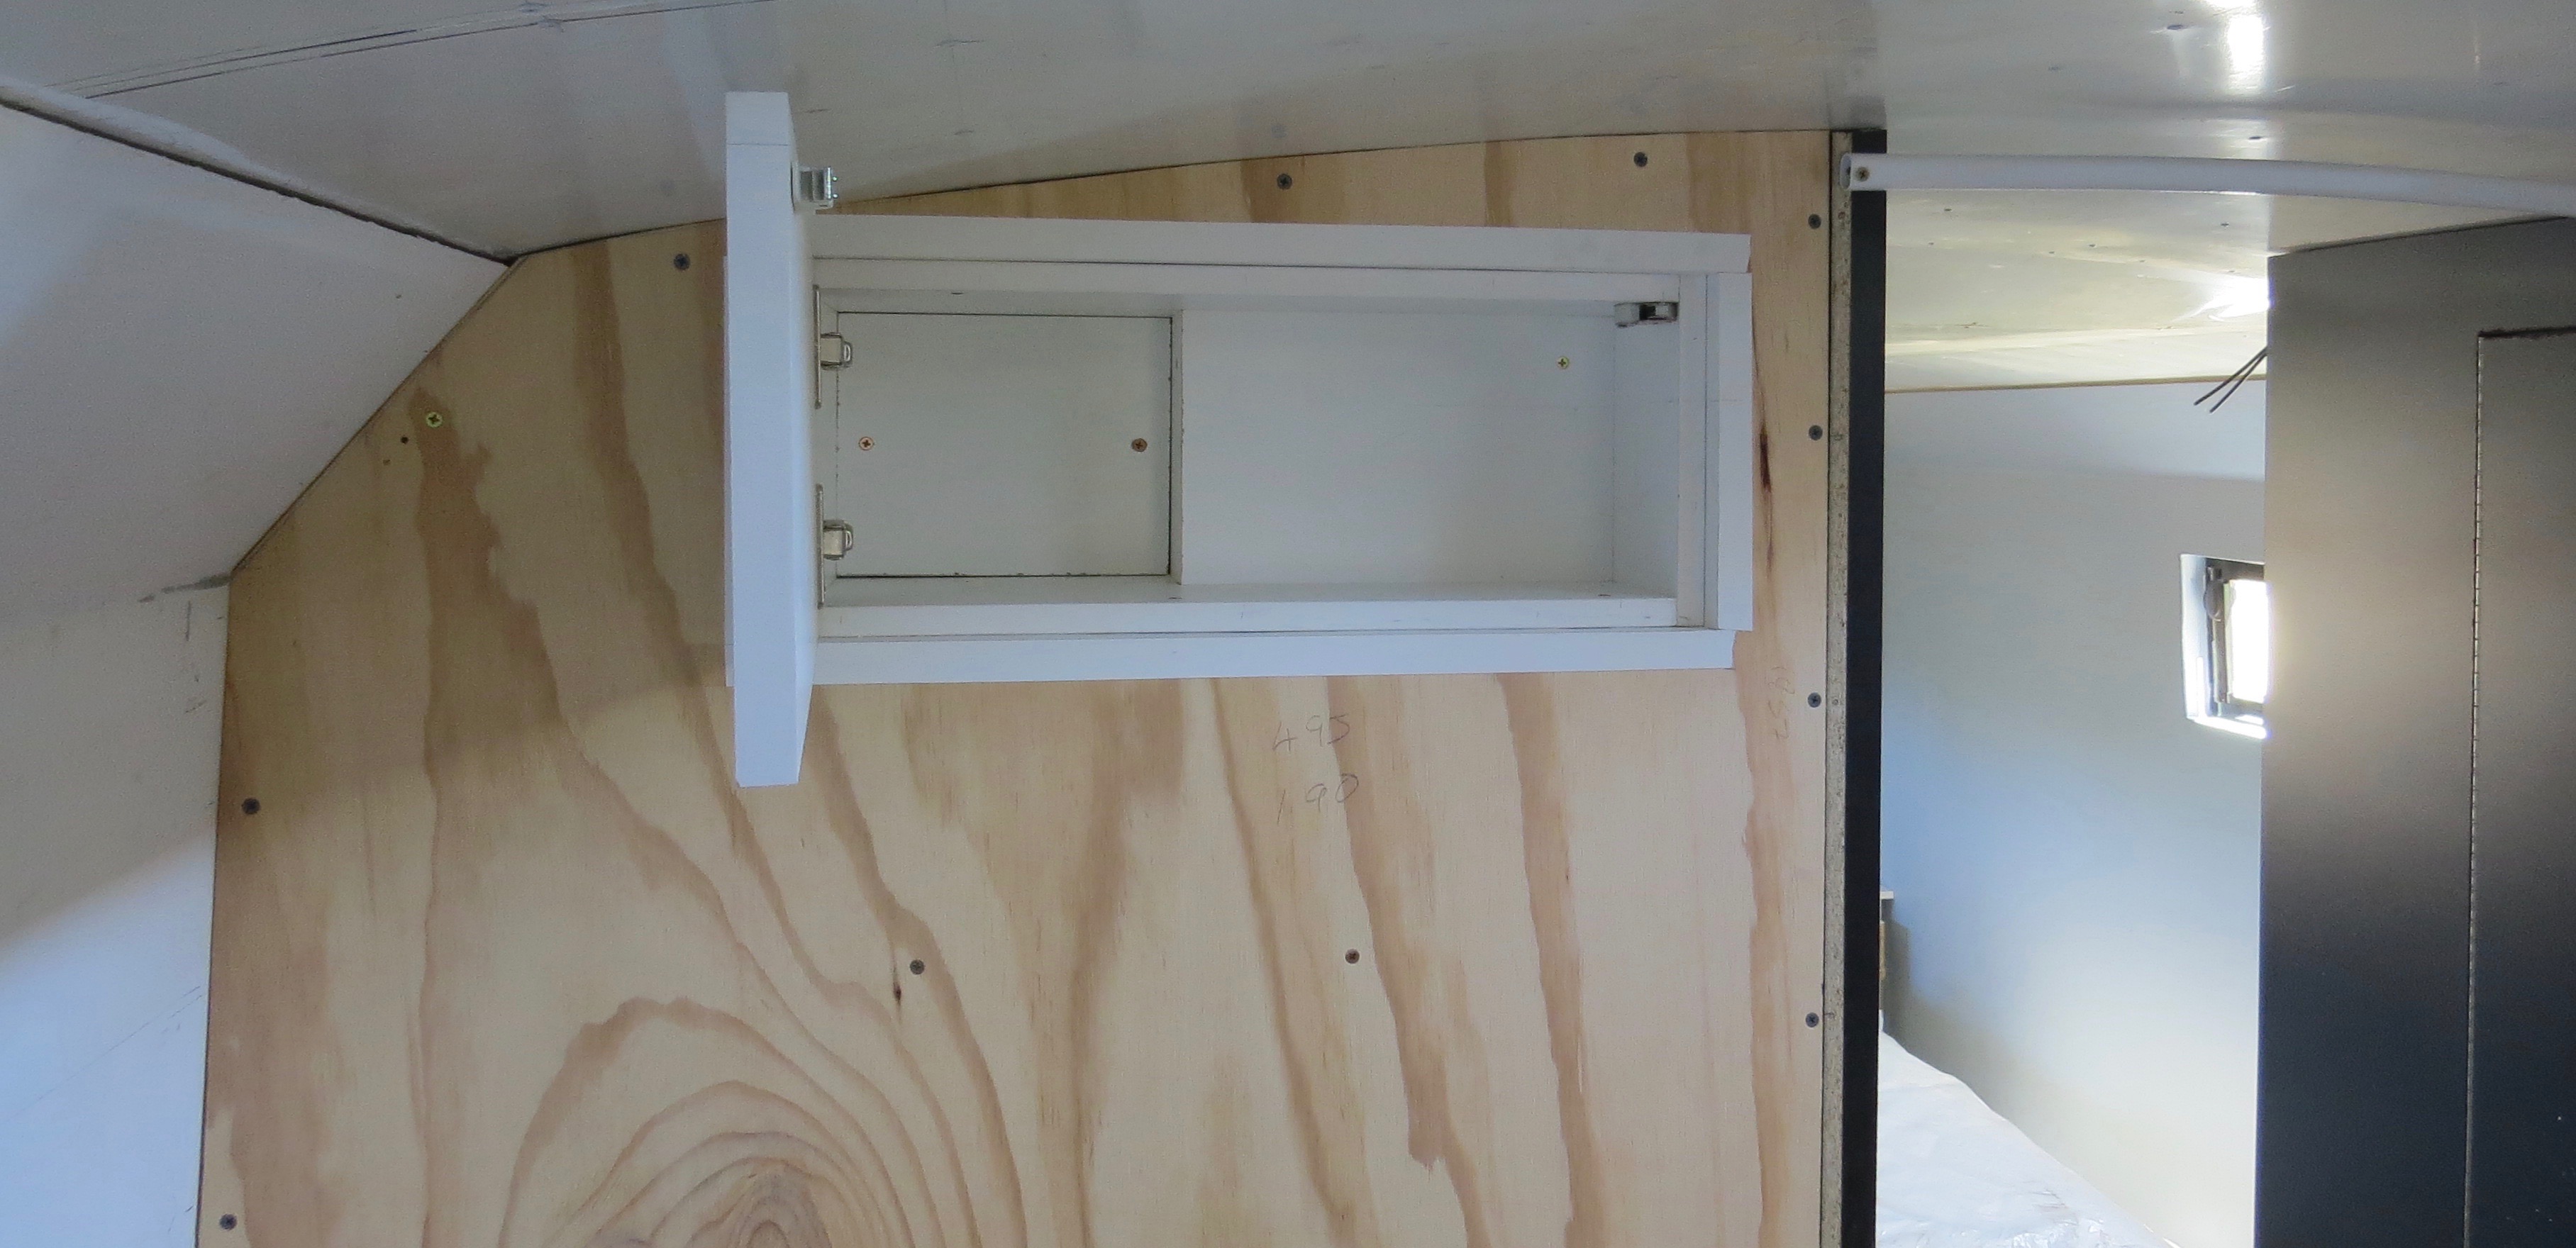
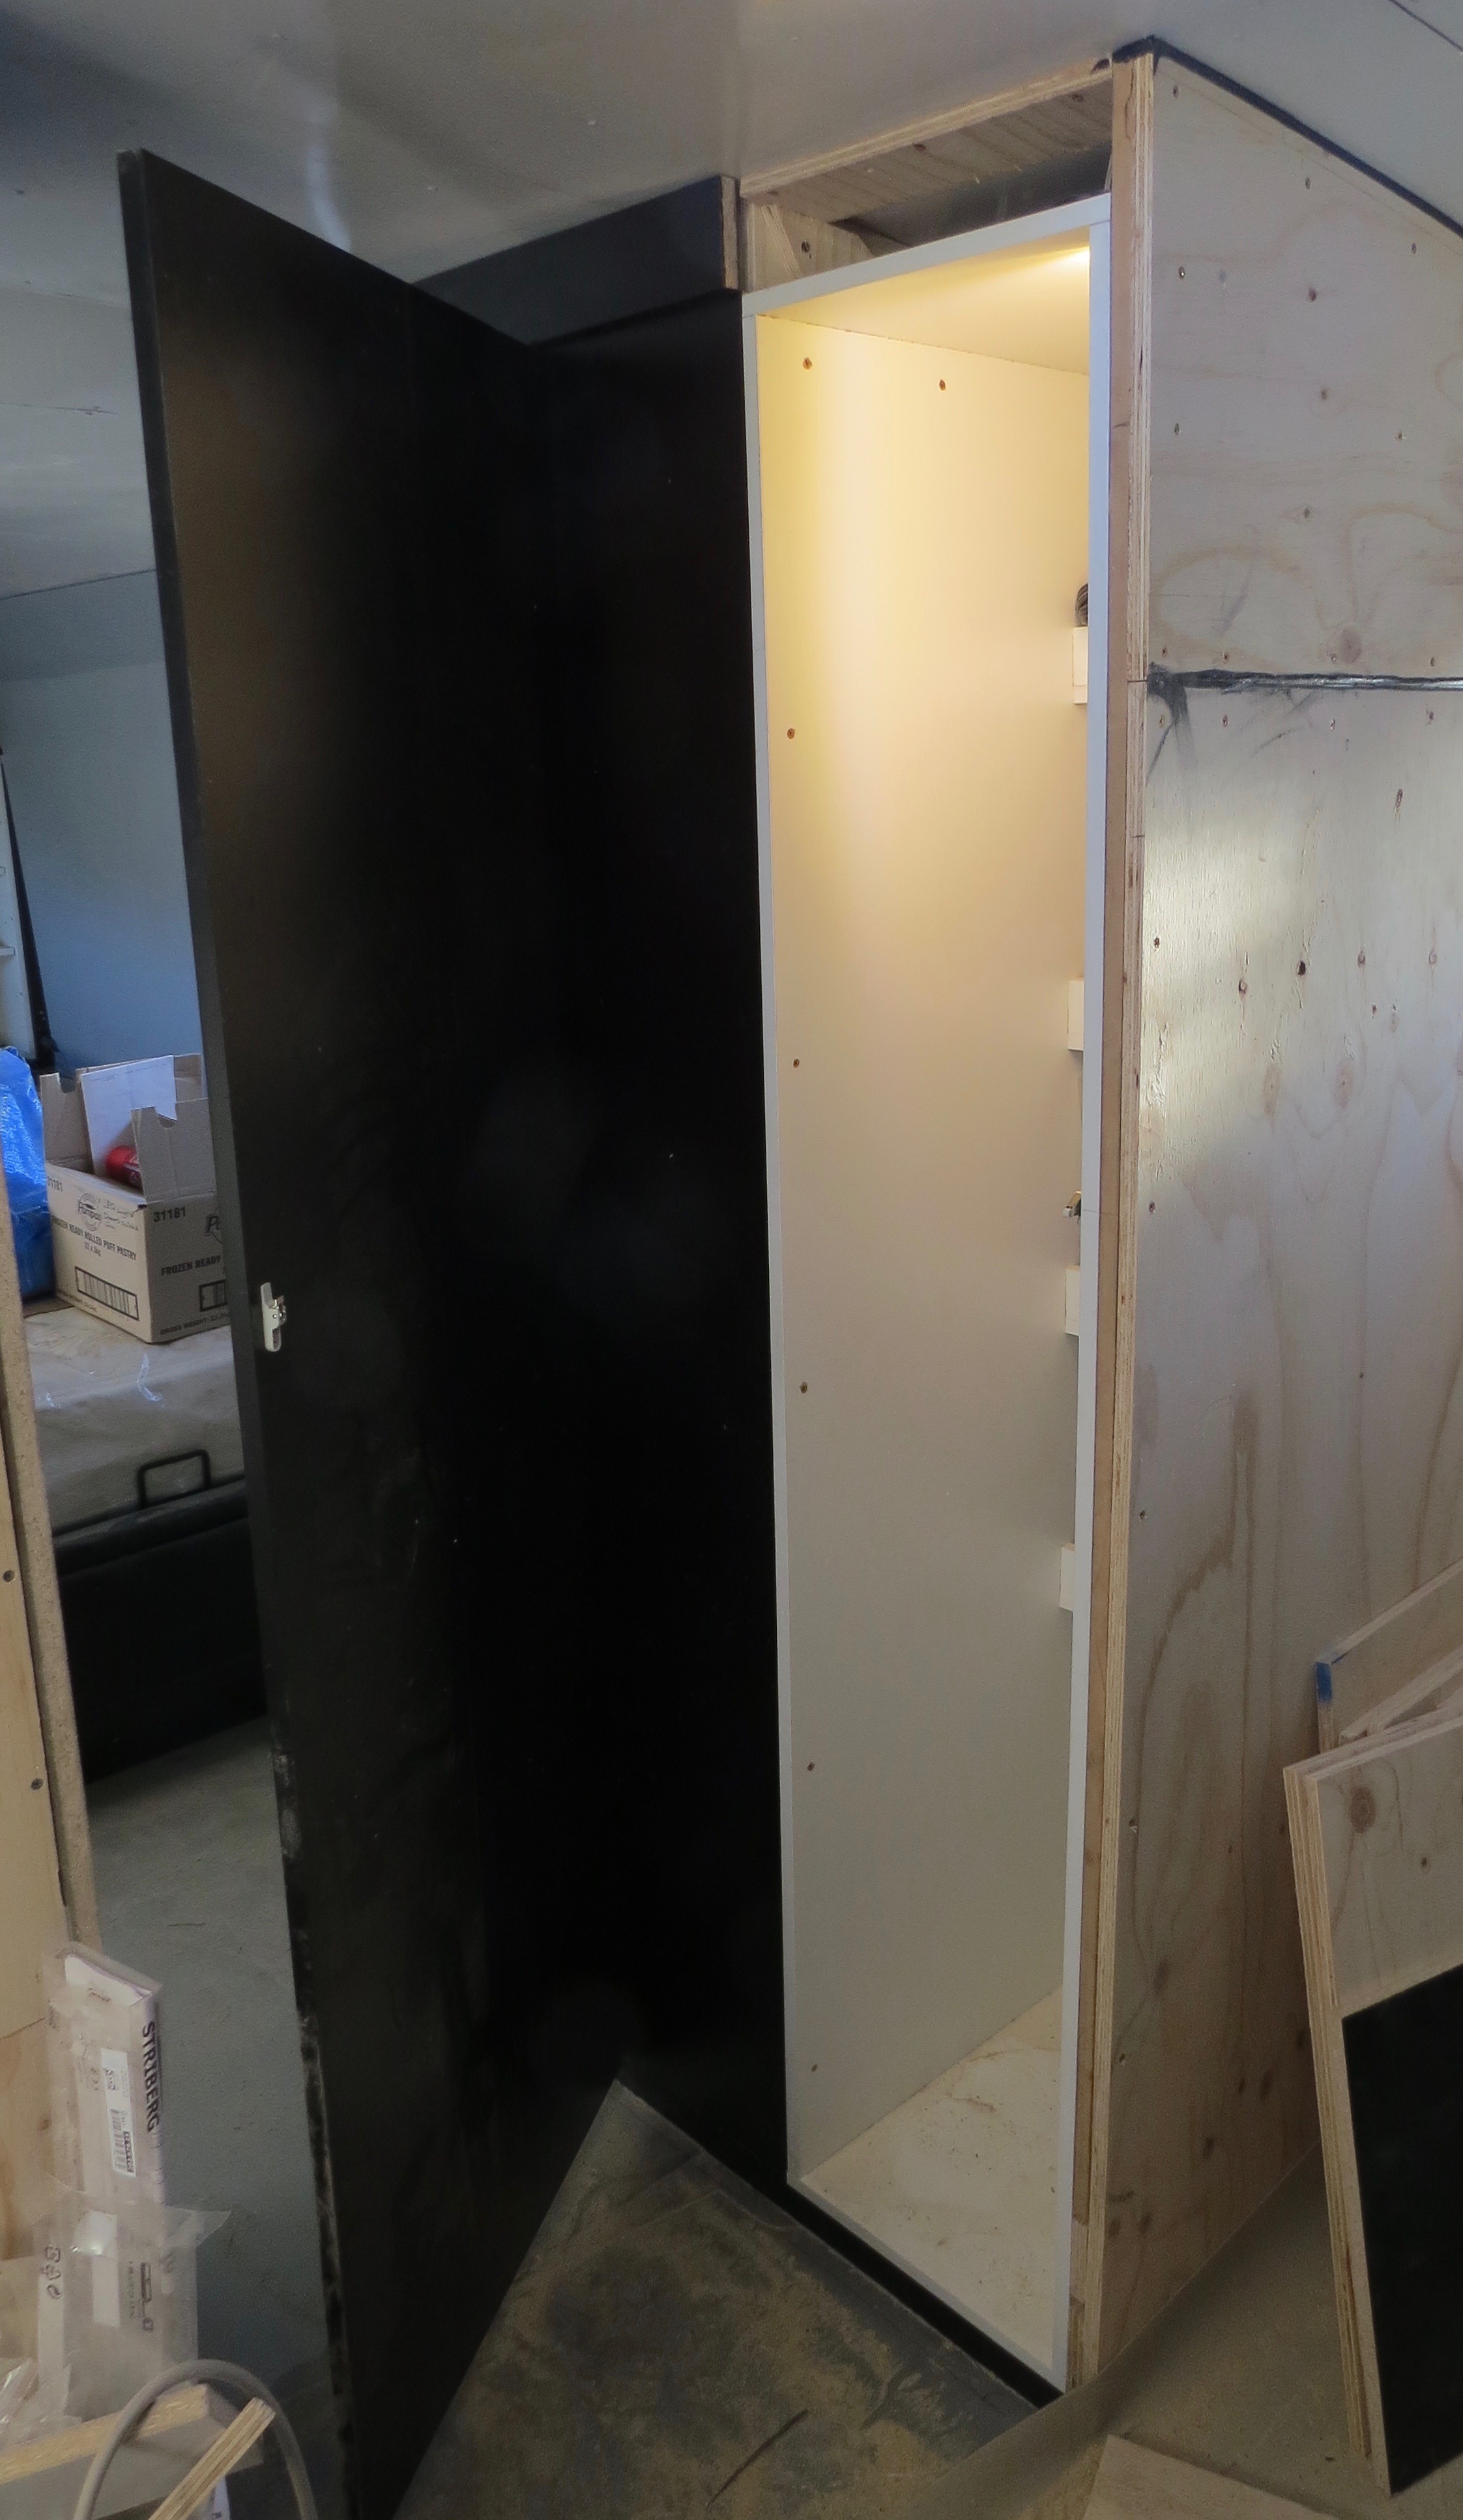
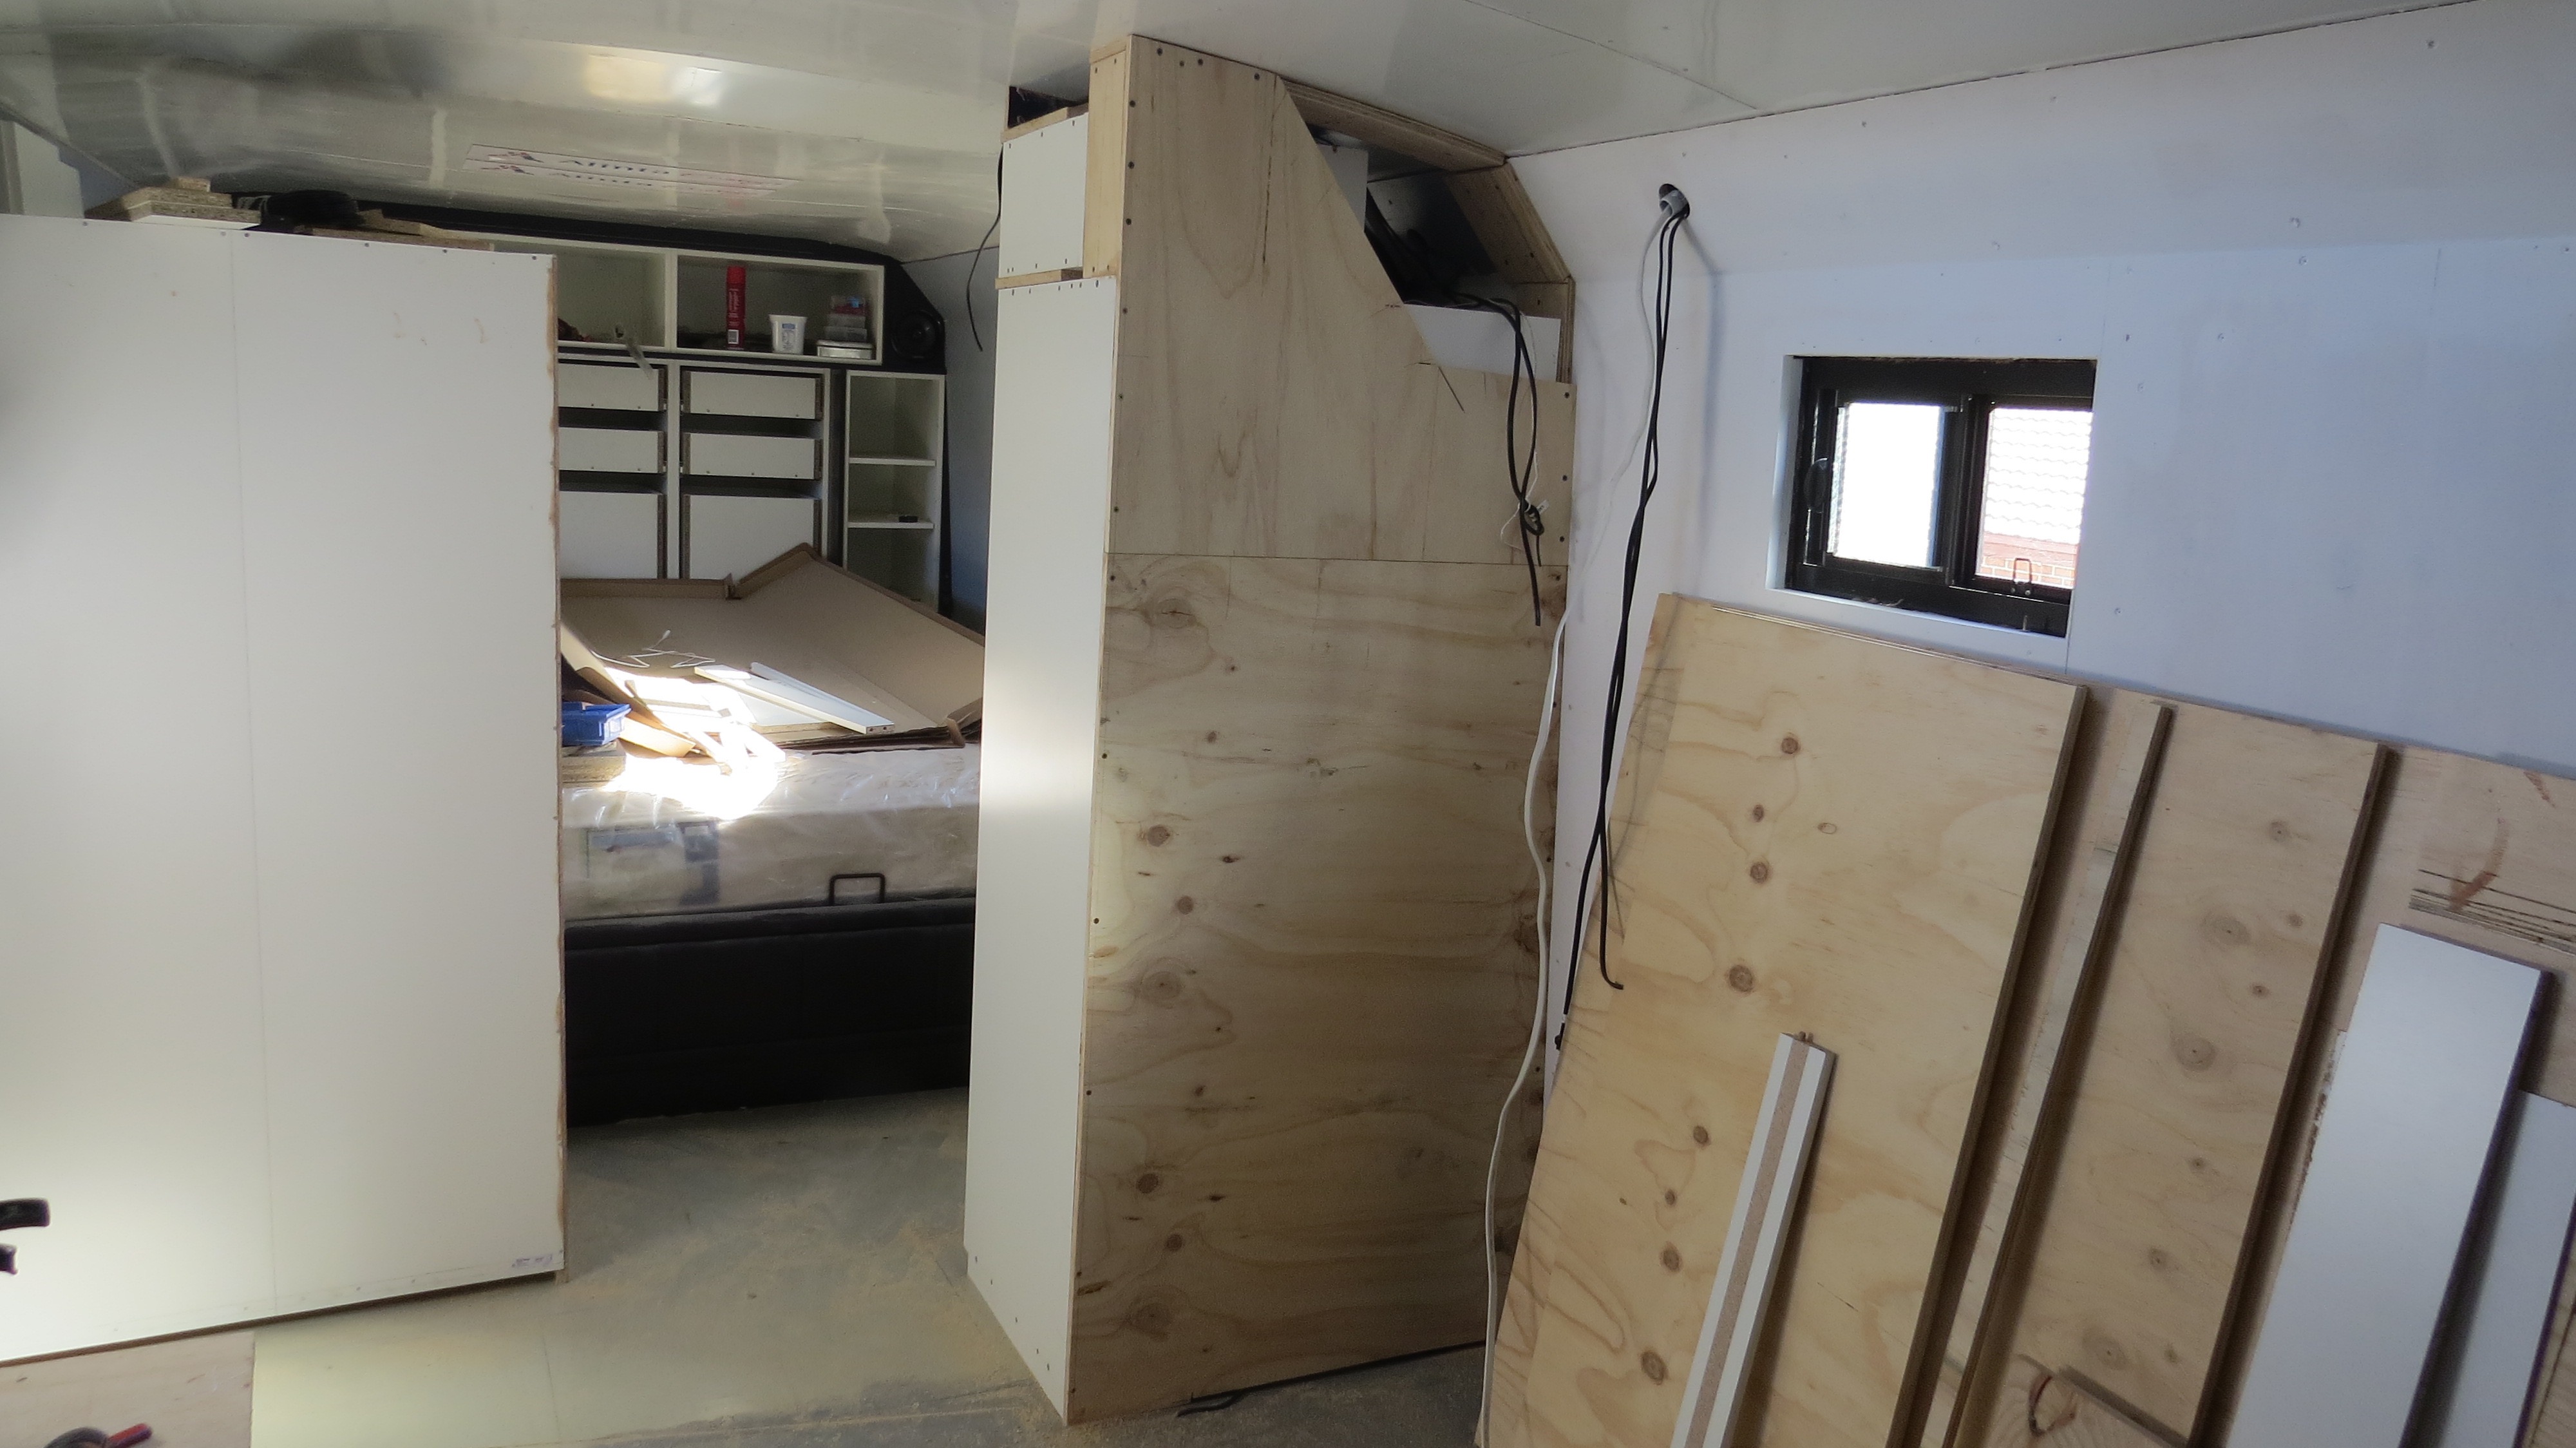
Apart from the cabinet, draw fronts and wall cladding the bedroom is finish. We still thinking of ideas for the walls, and will get all the draw / cupboard fronts when the kitchen and bathroom are finish. This way we can get them made up all at once, so that will be in the future some time off, for now.


The bedroom need some wardrobes

New bedroom wardrobes

We bought new wardrobes just to cut them up just because nothing ever fits when your making a motorhome. This will definitely be a custom motorhome with lot’s of storage space, Charmaine’s very happy.

First off we had to make some room to build them as most of the supplies are in the coach as well as being a work place.

There’s a bed behind there some where.

Wardrobe time

Making up more boxes again, screwing and gluing them together after cutting them down to size. We had to cut 35mm off the bottom and around 250mm off the top to make them fit the place as well as some where to put the speakers. The off cuts will be used to make up some more cupboards that will sit on top of the wardrobes, the more storage space the better.

One down one to go.
Both made now sitting in place.
One more box on top made up of off cut’s.
The trim around the wardrobe take’s time.
Speaker time.
A test fit.

Utility cupboard

Behind the passenger side wardrobe there will be a narrow utility cupboard wide enough to fit the cordless vacuum, the deck ladder for the back hatch roof top deck access and other cleaning things. This one has to be made from scratch as it’s such an odd shape, it will have three to four deep shelves, for laundry washing bottles ect .

More ply to give some more support.
The start of the utility cupboard.
Power to charge the cordless vacuum in the utility cupboard.

At this stage I’m just making it up as I go along, but I think its enough for what Charmaine needs for the use of this space.  Now it’s time to cut the rest of the pieces up that I need so to finish screwing and gluing it all together. The top of the walls actually lean in around 85mm and by not going all the way to the ceiling I don’t have to worry about the curve for now.

Screwing the utility cupboard together.
Time for some shelves.
Screwed into place.
Oh no not another angle!!
Packing on the side.
Lot’s of fiddly bit’s.
Toilet wall in place.

Now for the other side wardrobes

I had already built it so, it’s just a matter of starting on the trim to go down the side between the wall the support under the wardrobe. Then build a small cupboard to go on top and somewhere for the other speaker with the stereo. The passenger’s side has all the wires, 12v lighting as well as the speakers on that side.