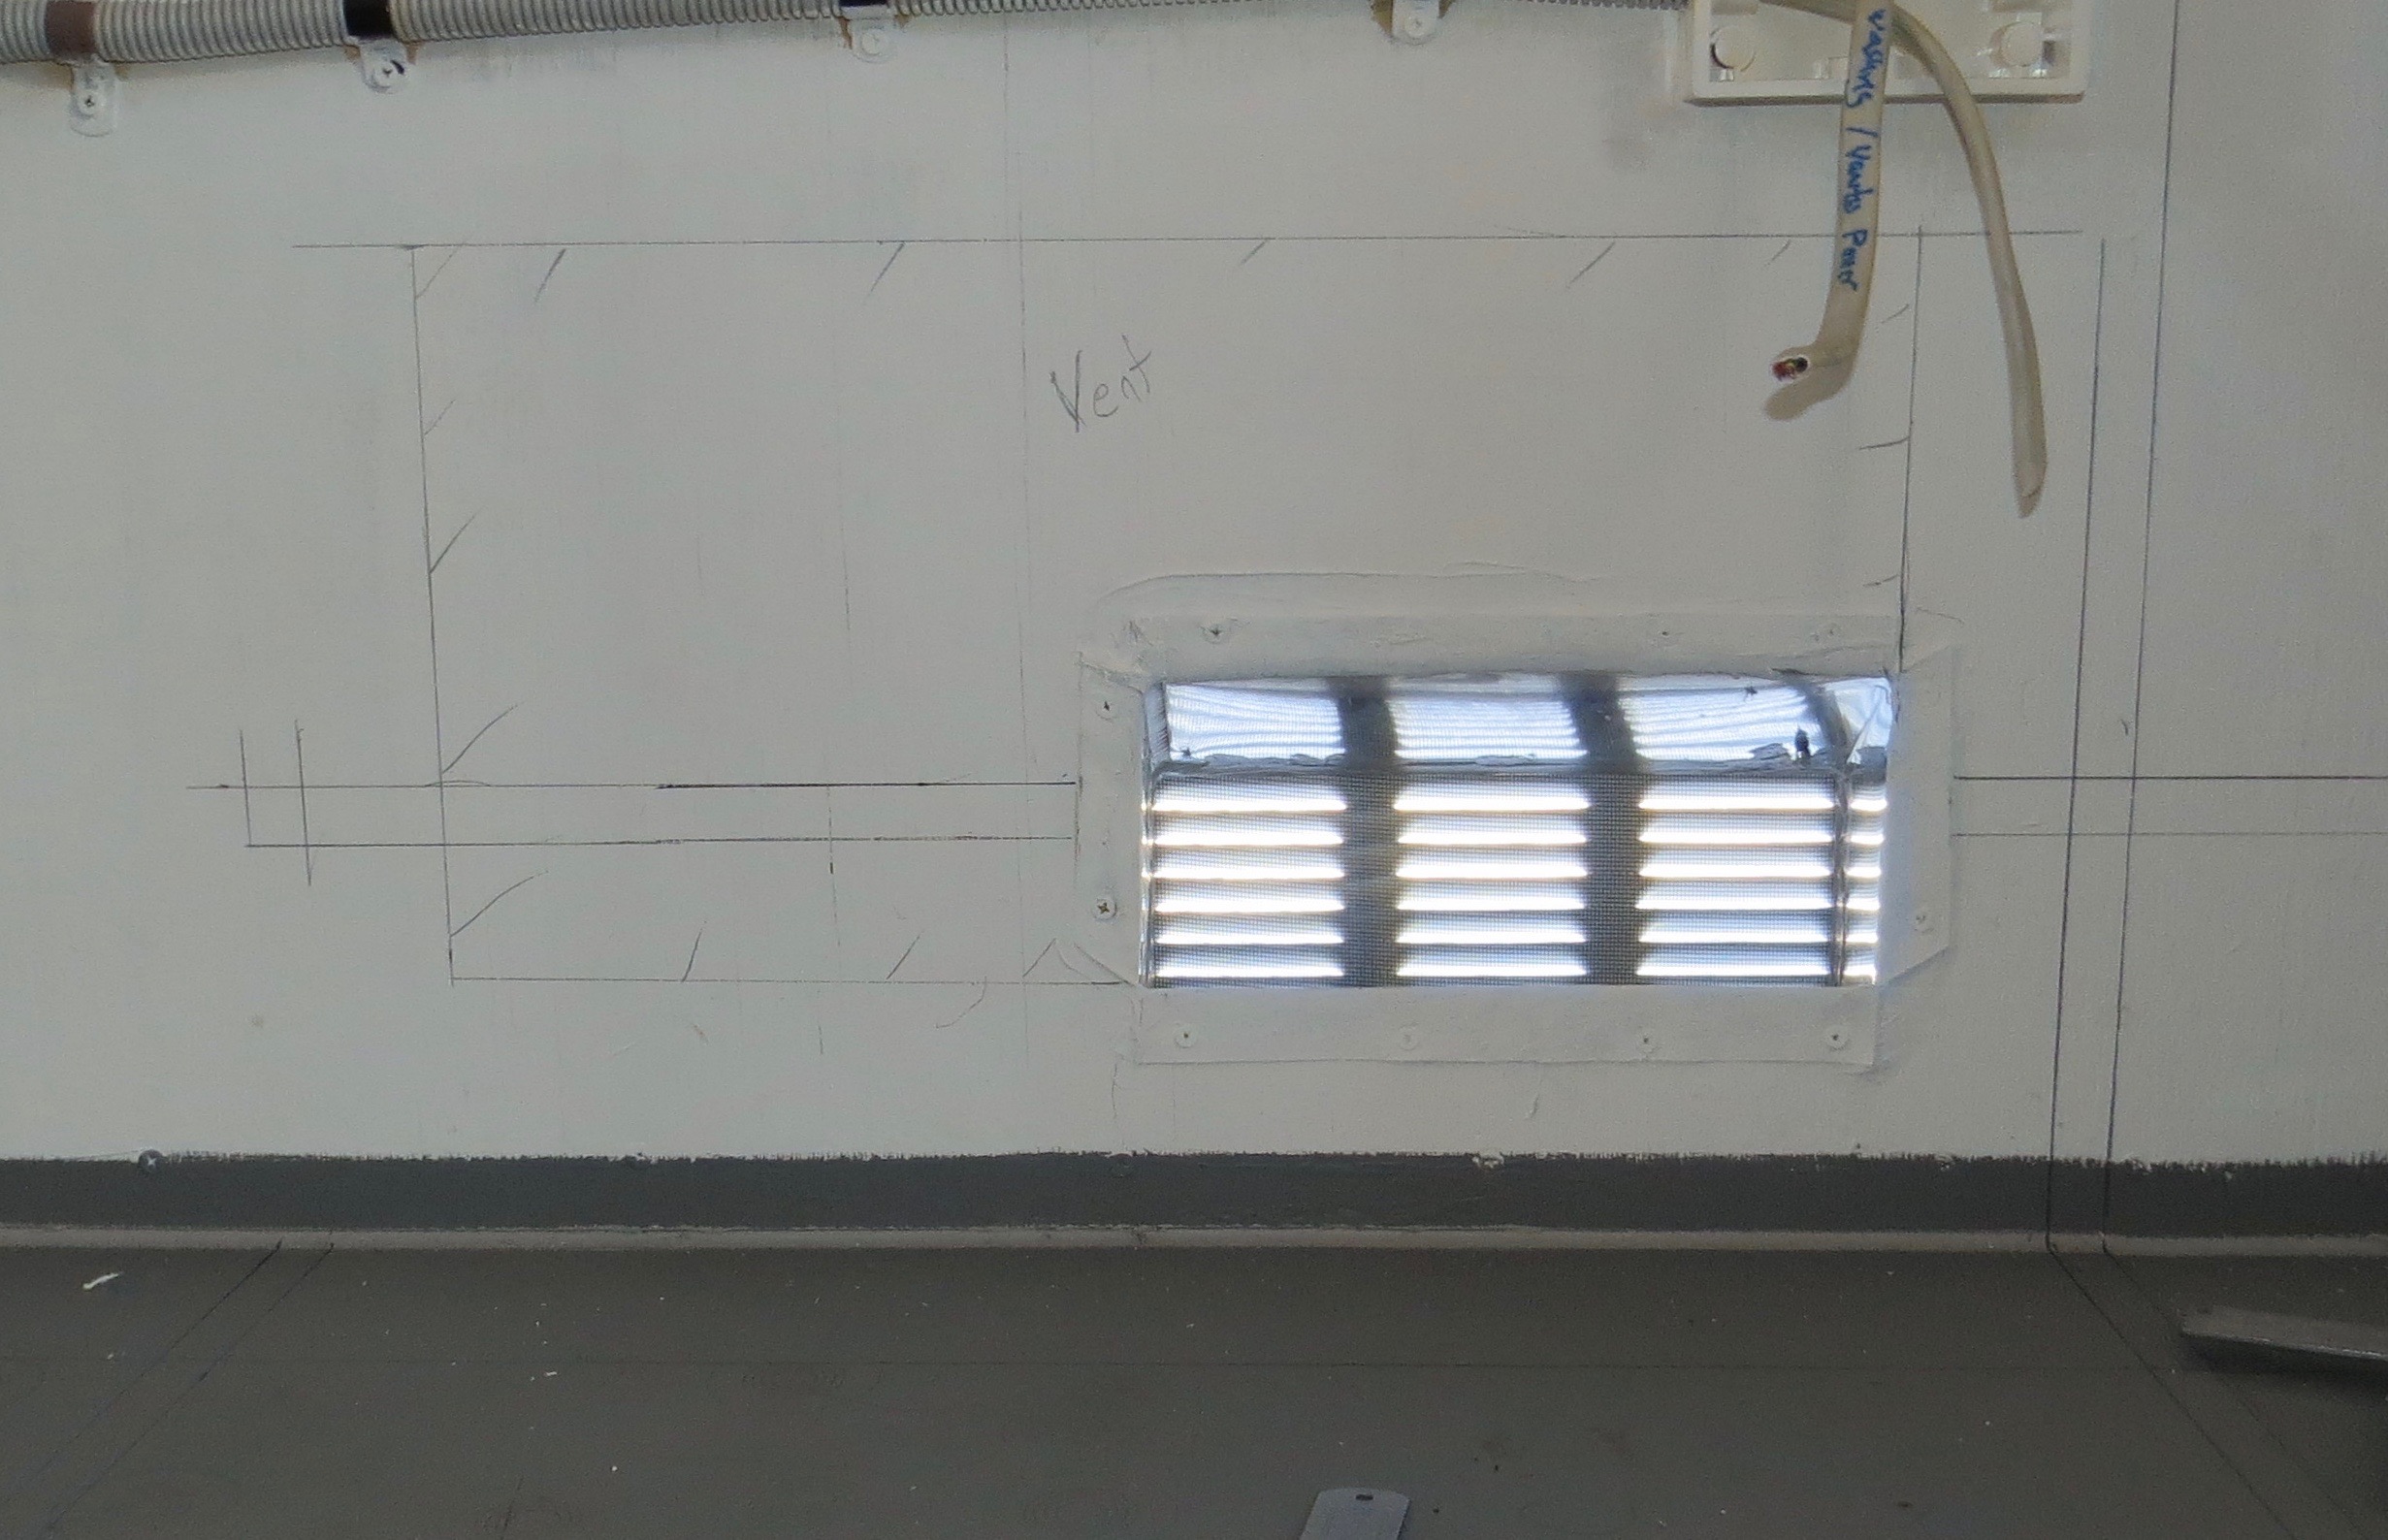
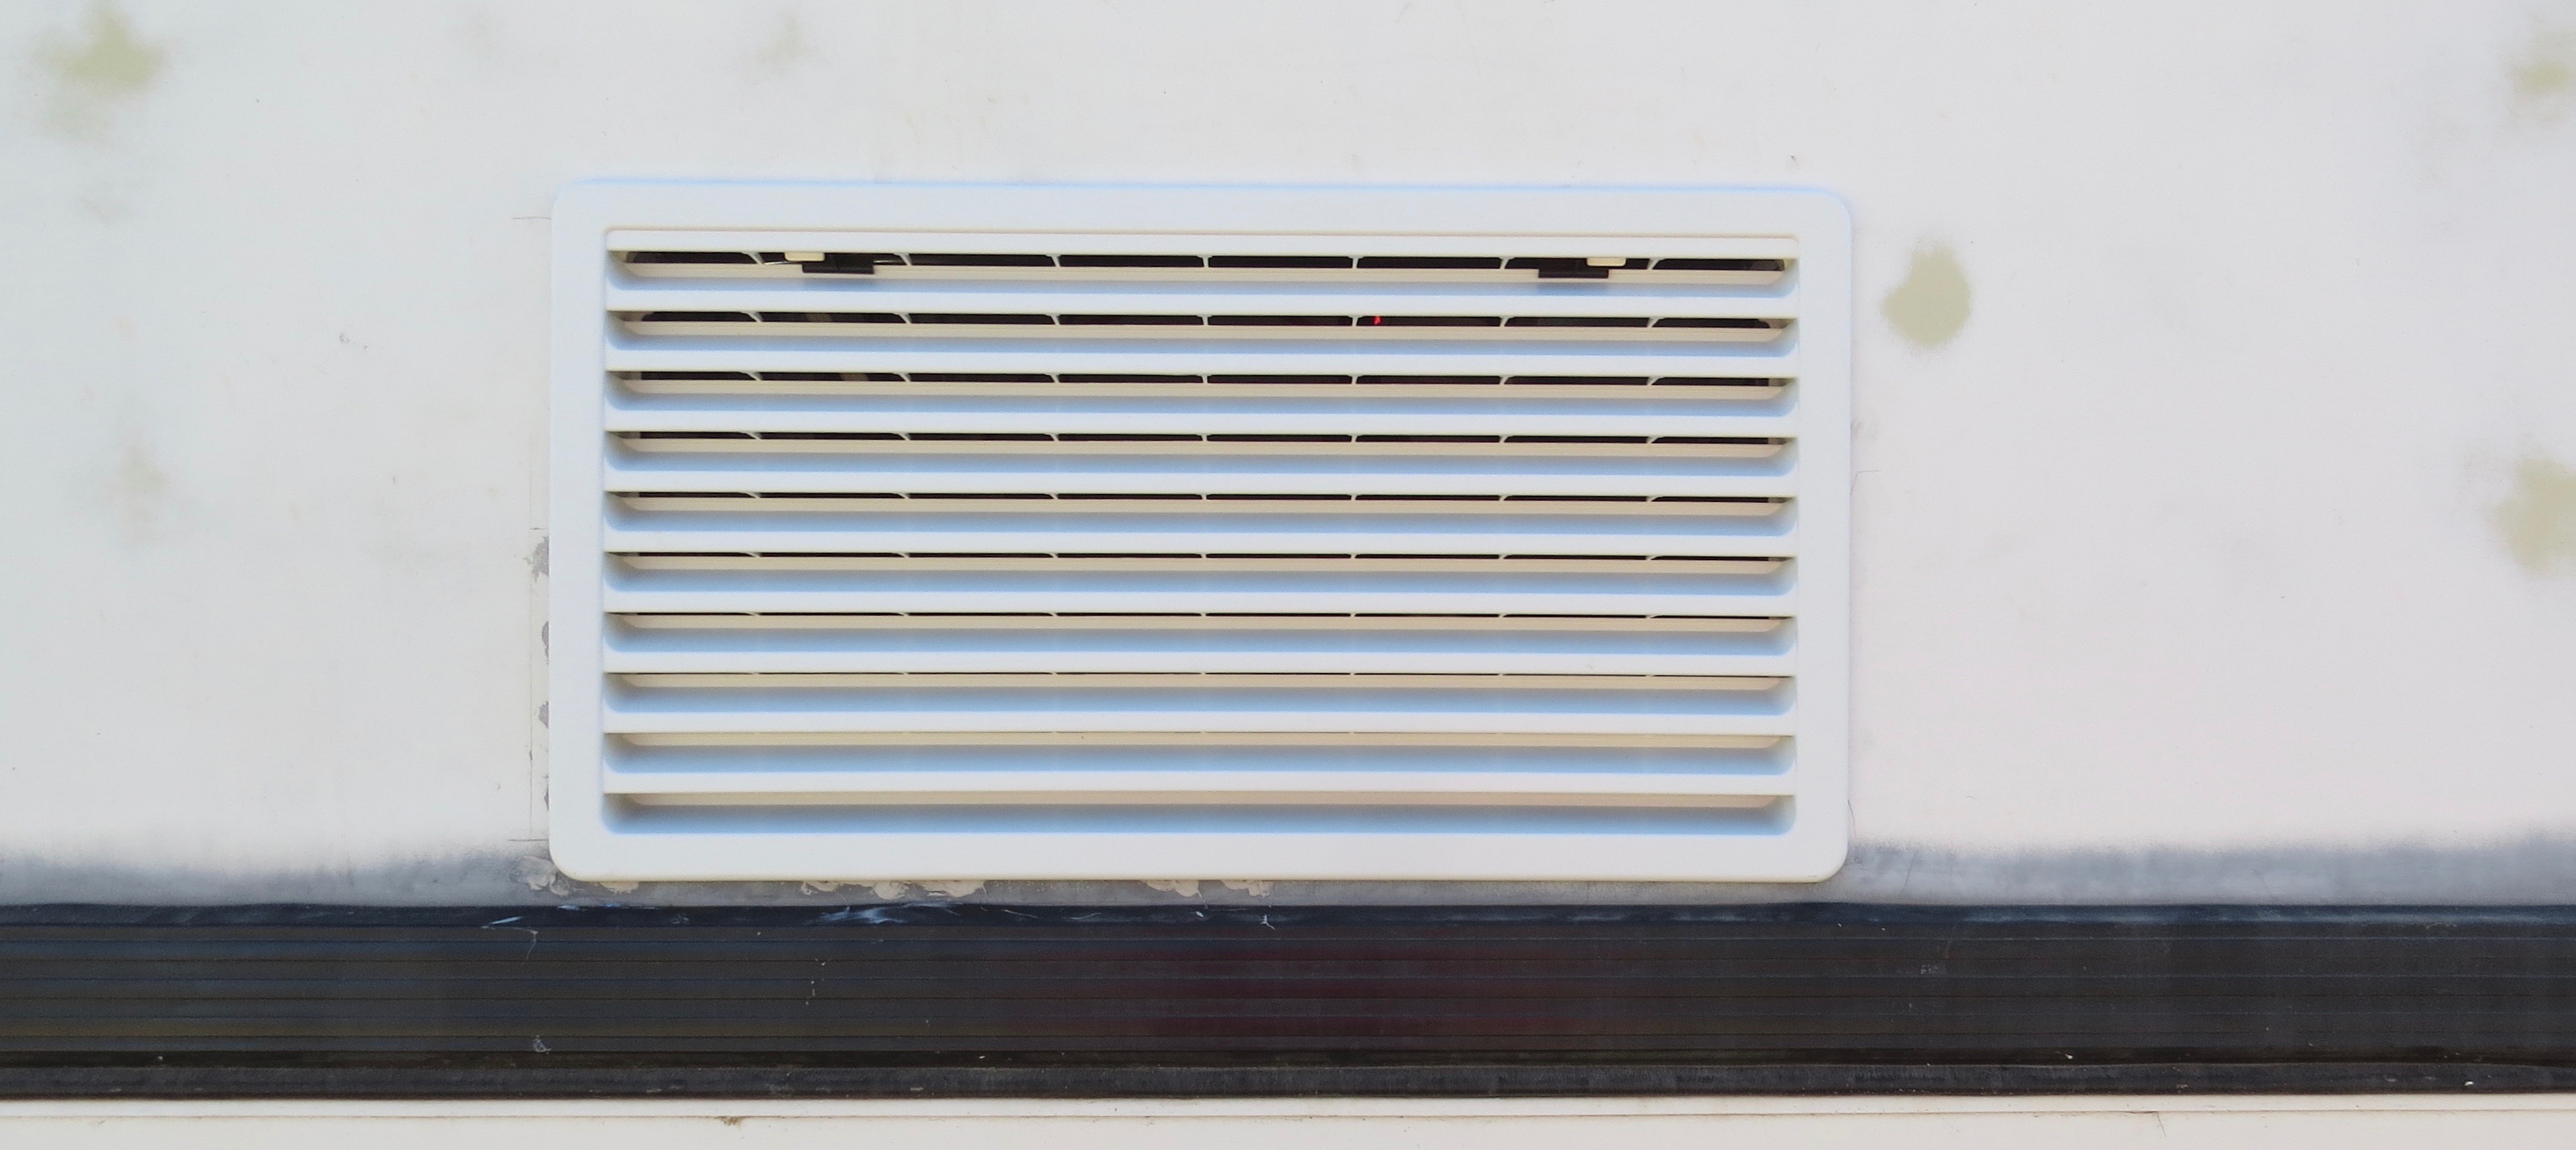
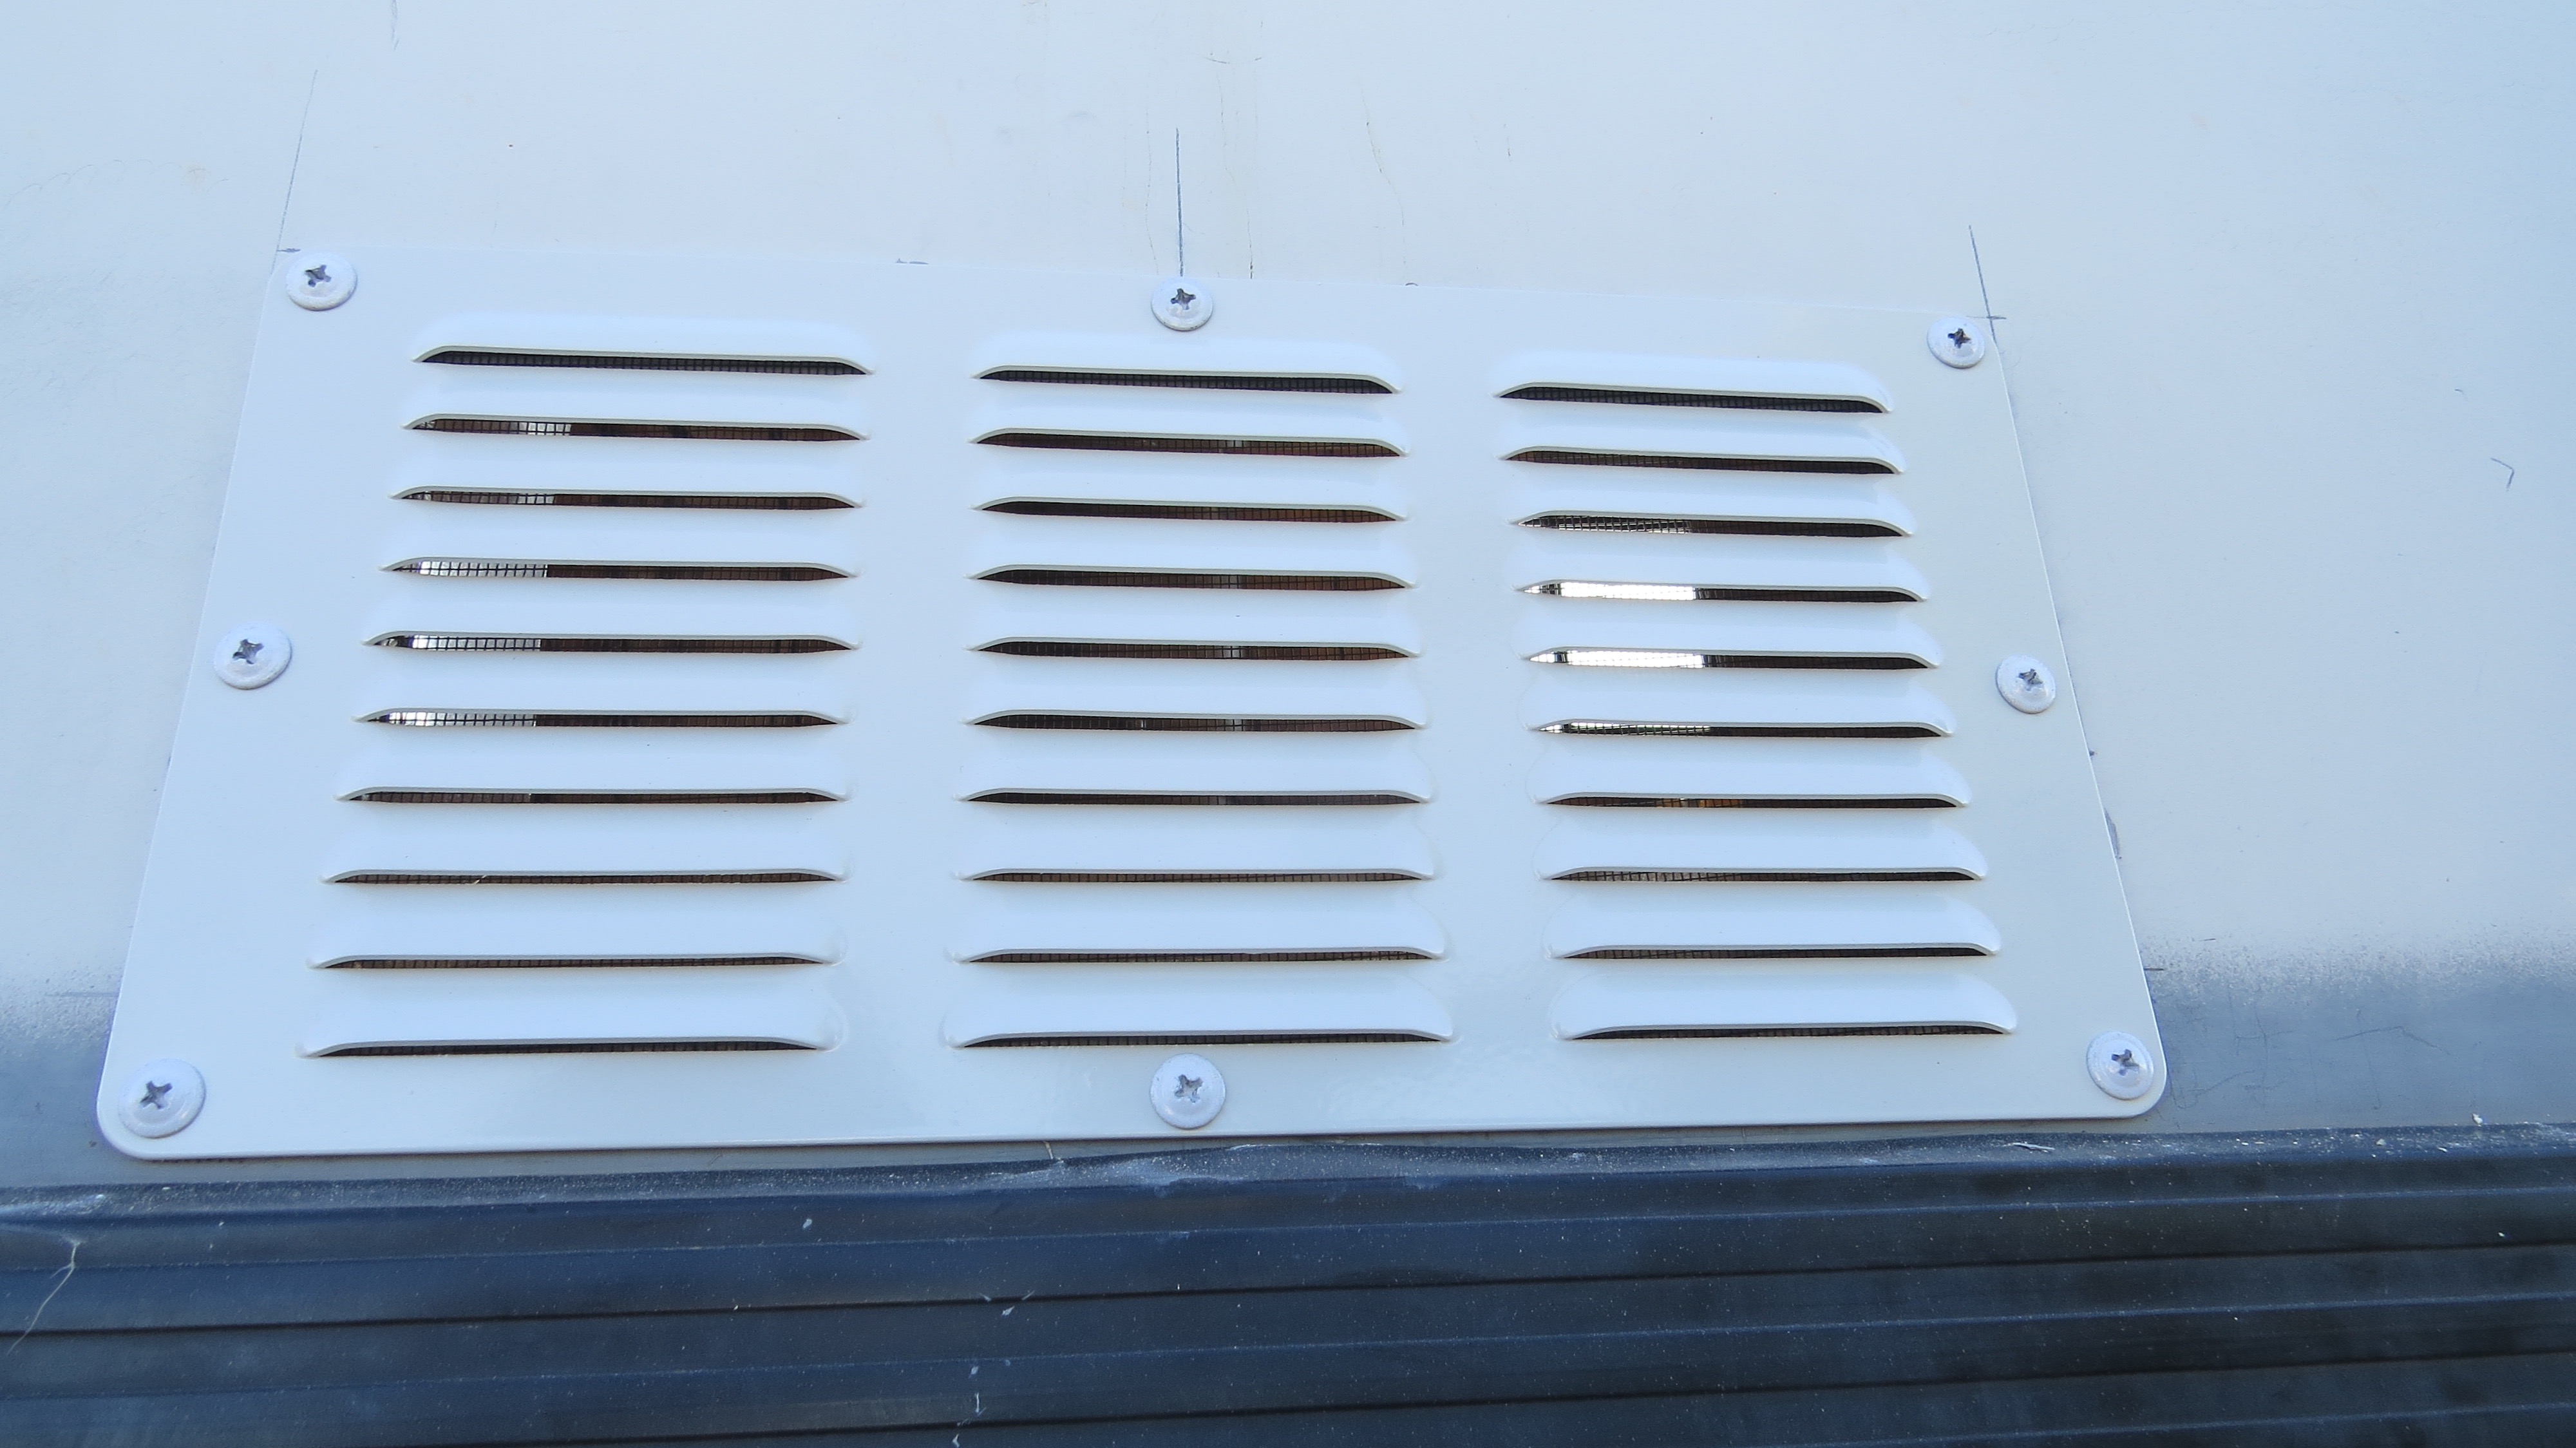
Being a typical man I put some vents in for the fridge, but now after reading the installation manual I have found out that the vent’s are way to small. So off to the caravan shop to oder the right size vent’s as well as an extension for the flu so the hot air go’s straight out side. The post about putting the small vent’s Prep work for the new fridge. Not what to do !!!
Though’s vent just don’t make the grade.
Should have read the fridge fitting manual be for I started the job.
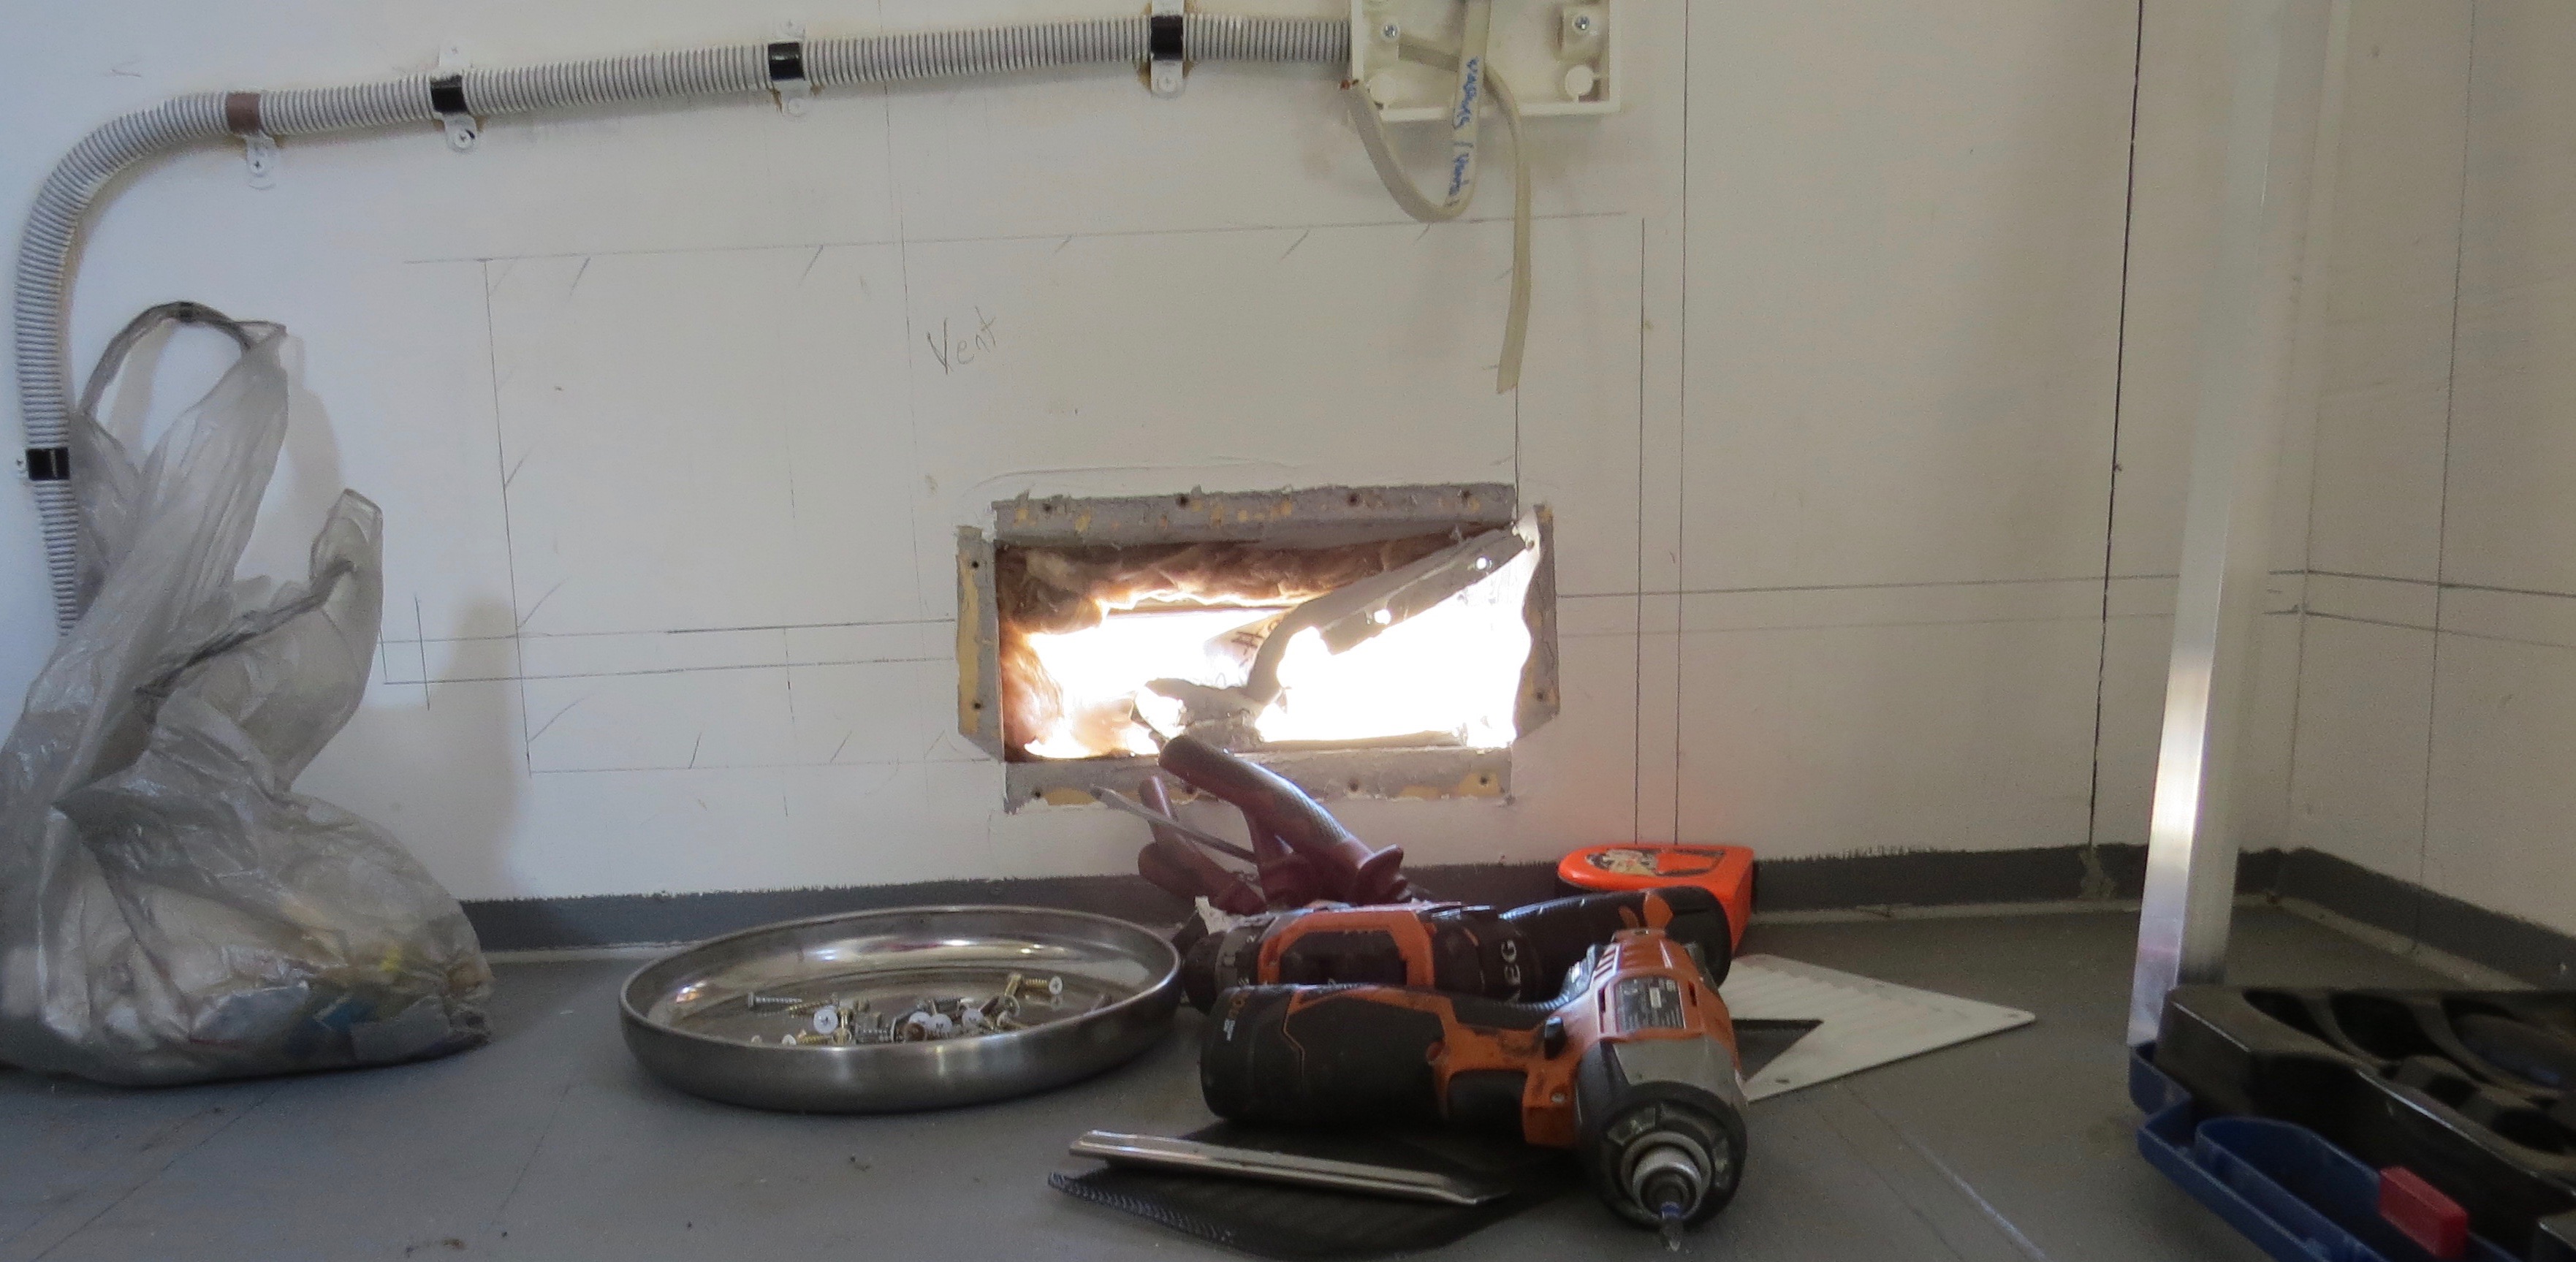
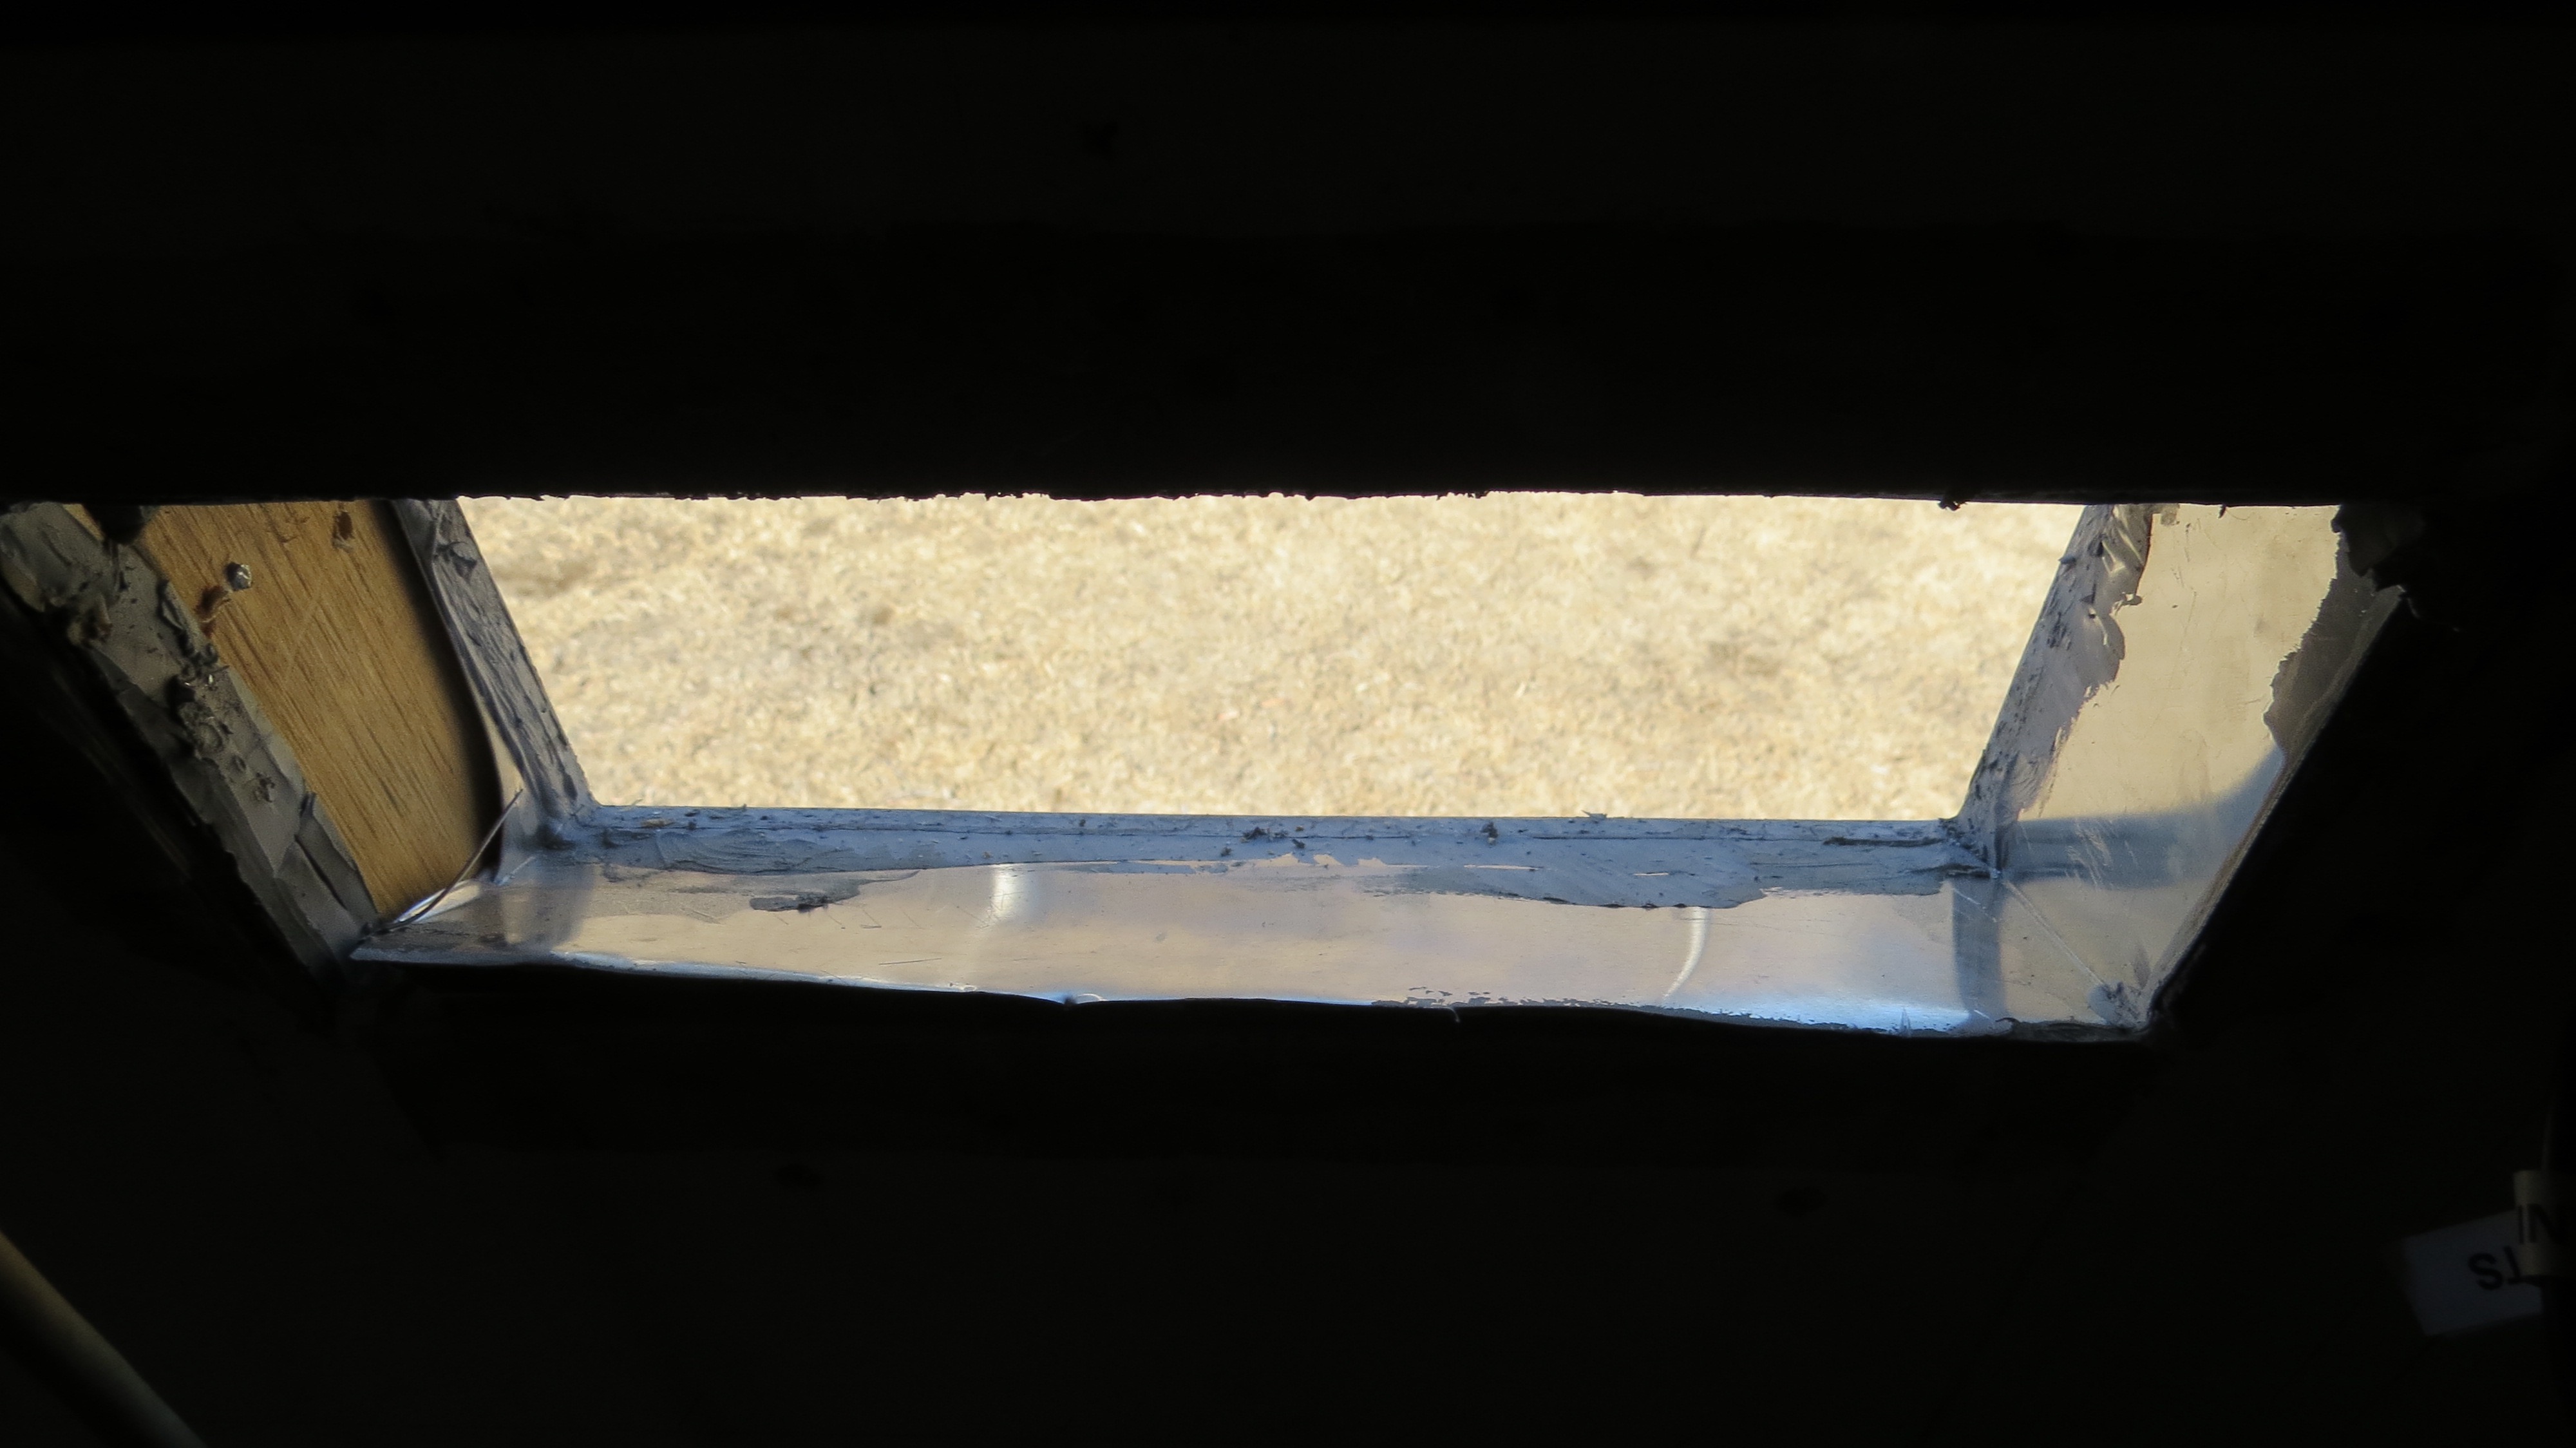
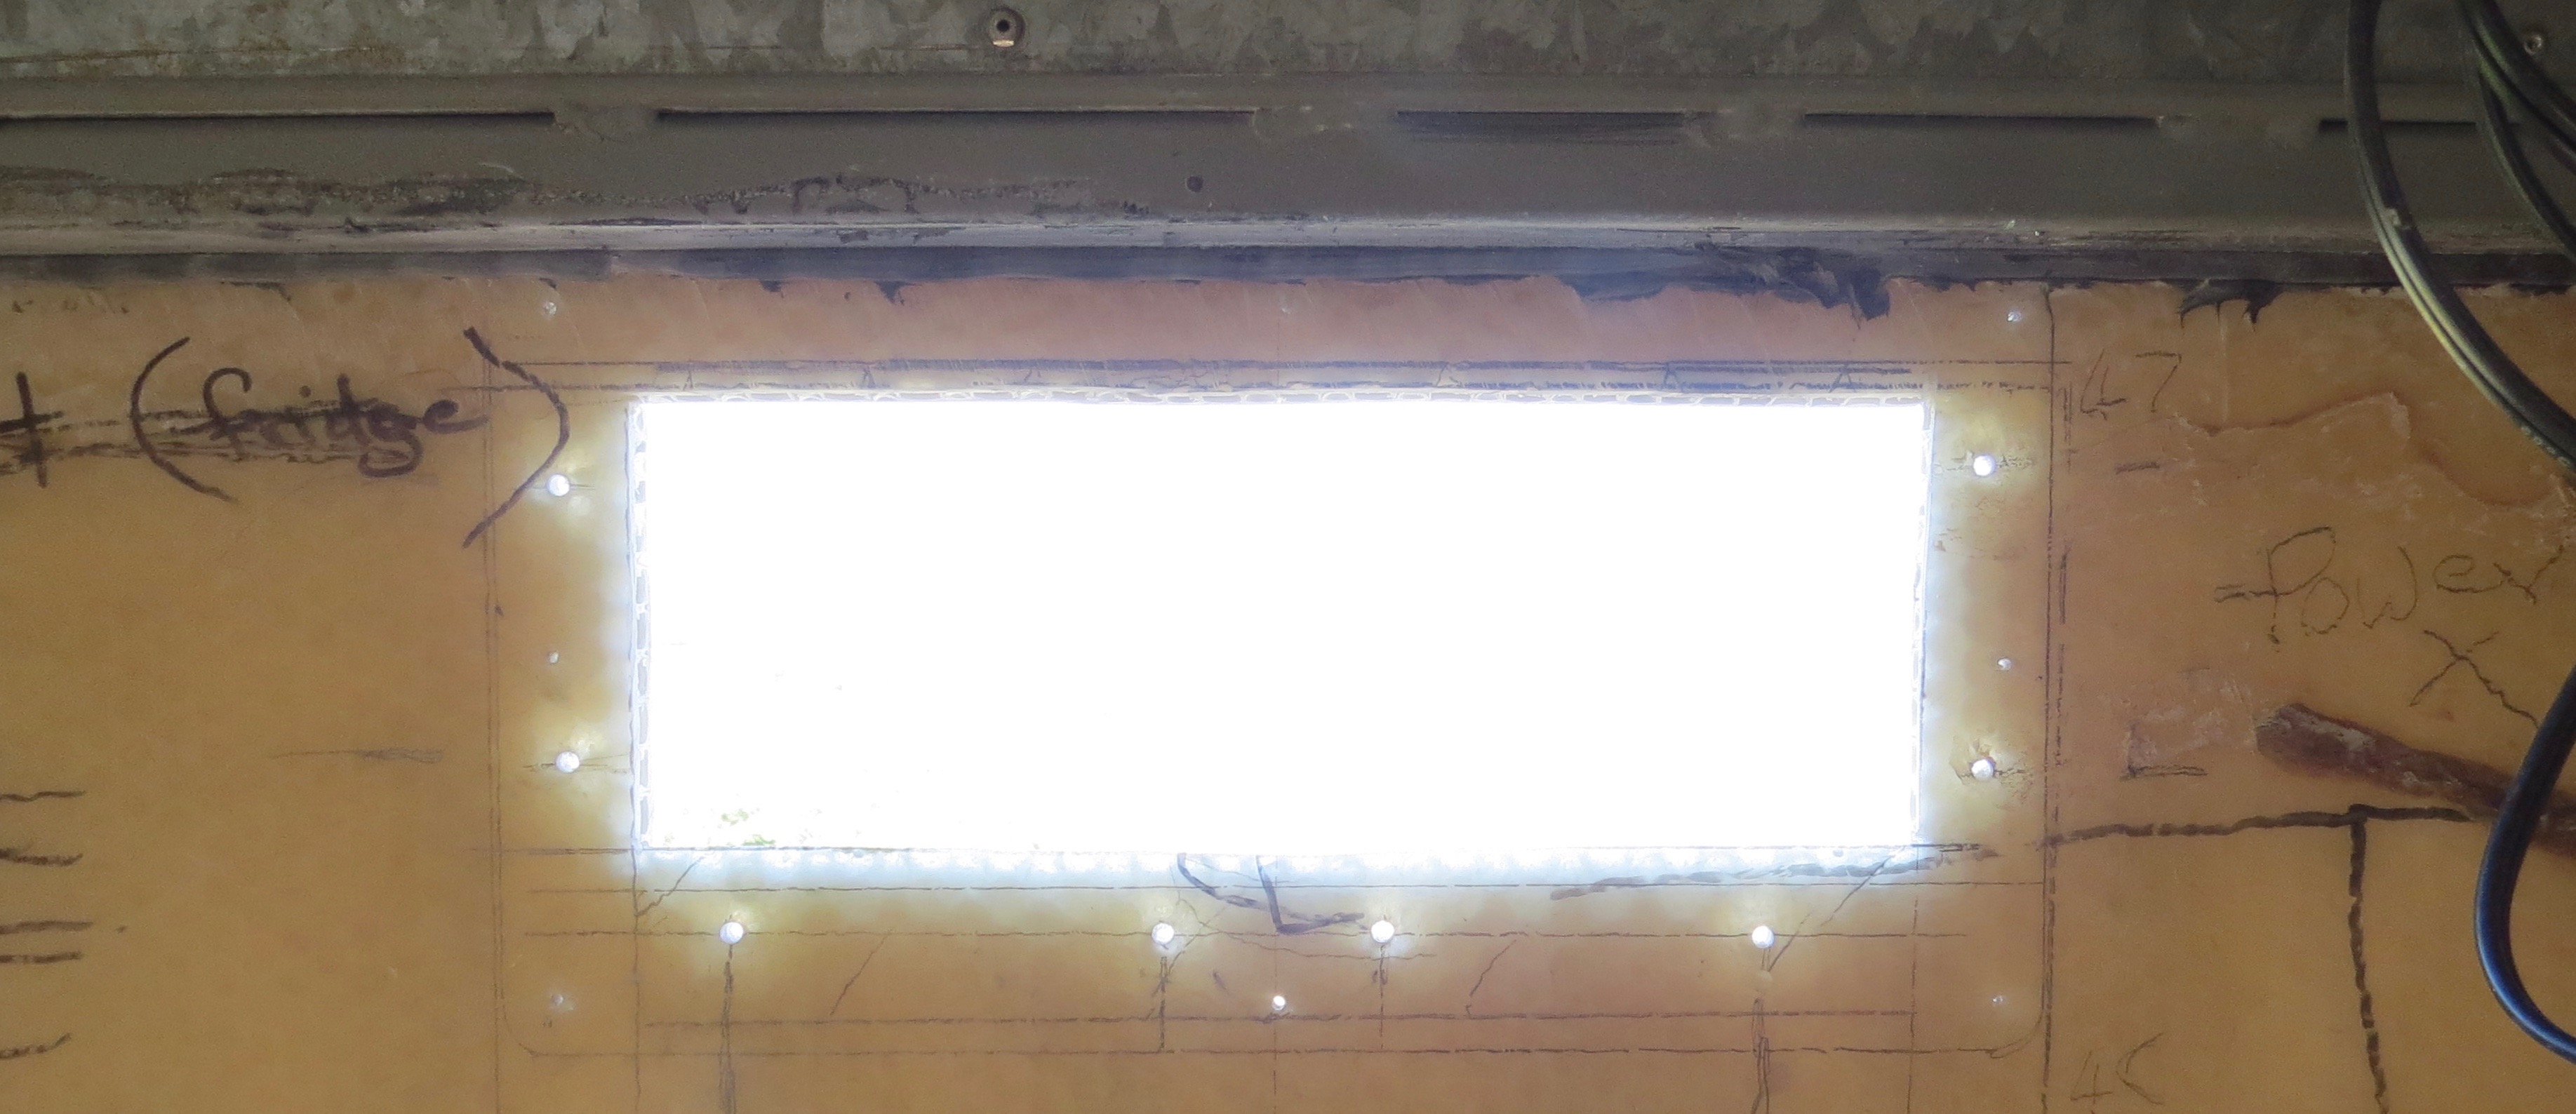
Time to make a mess & rip out the vent’s
So now is the time to start pulling the vents out, the only problem is I fitted them to well. This is not going to be fun at all, but lesson learnt and I’ll read every manual from now on.
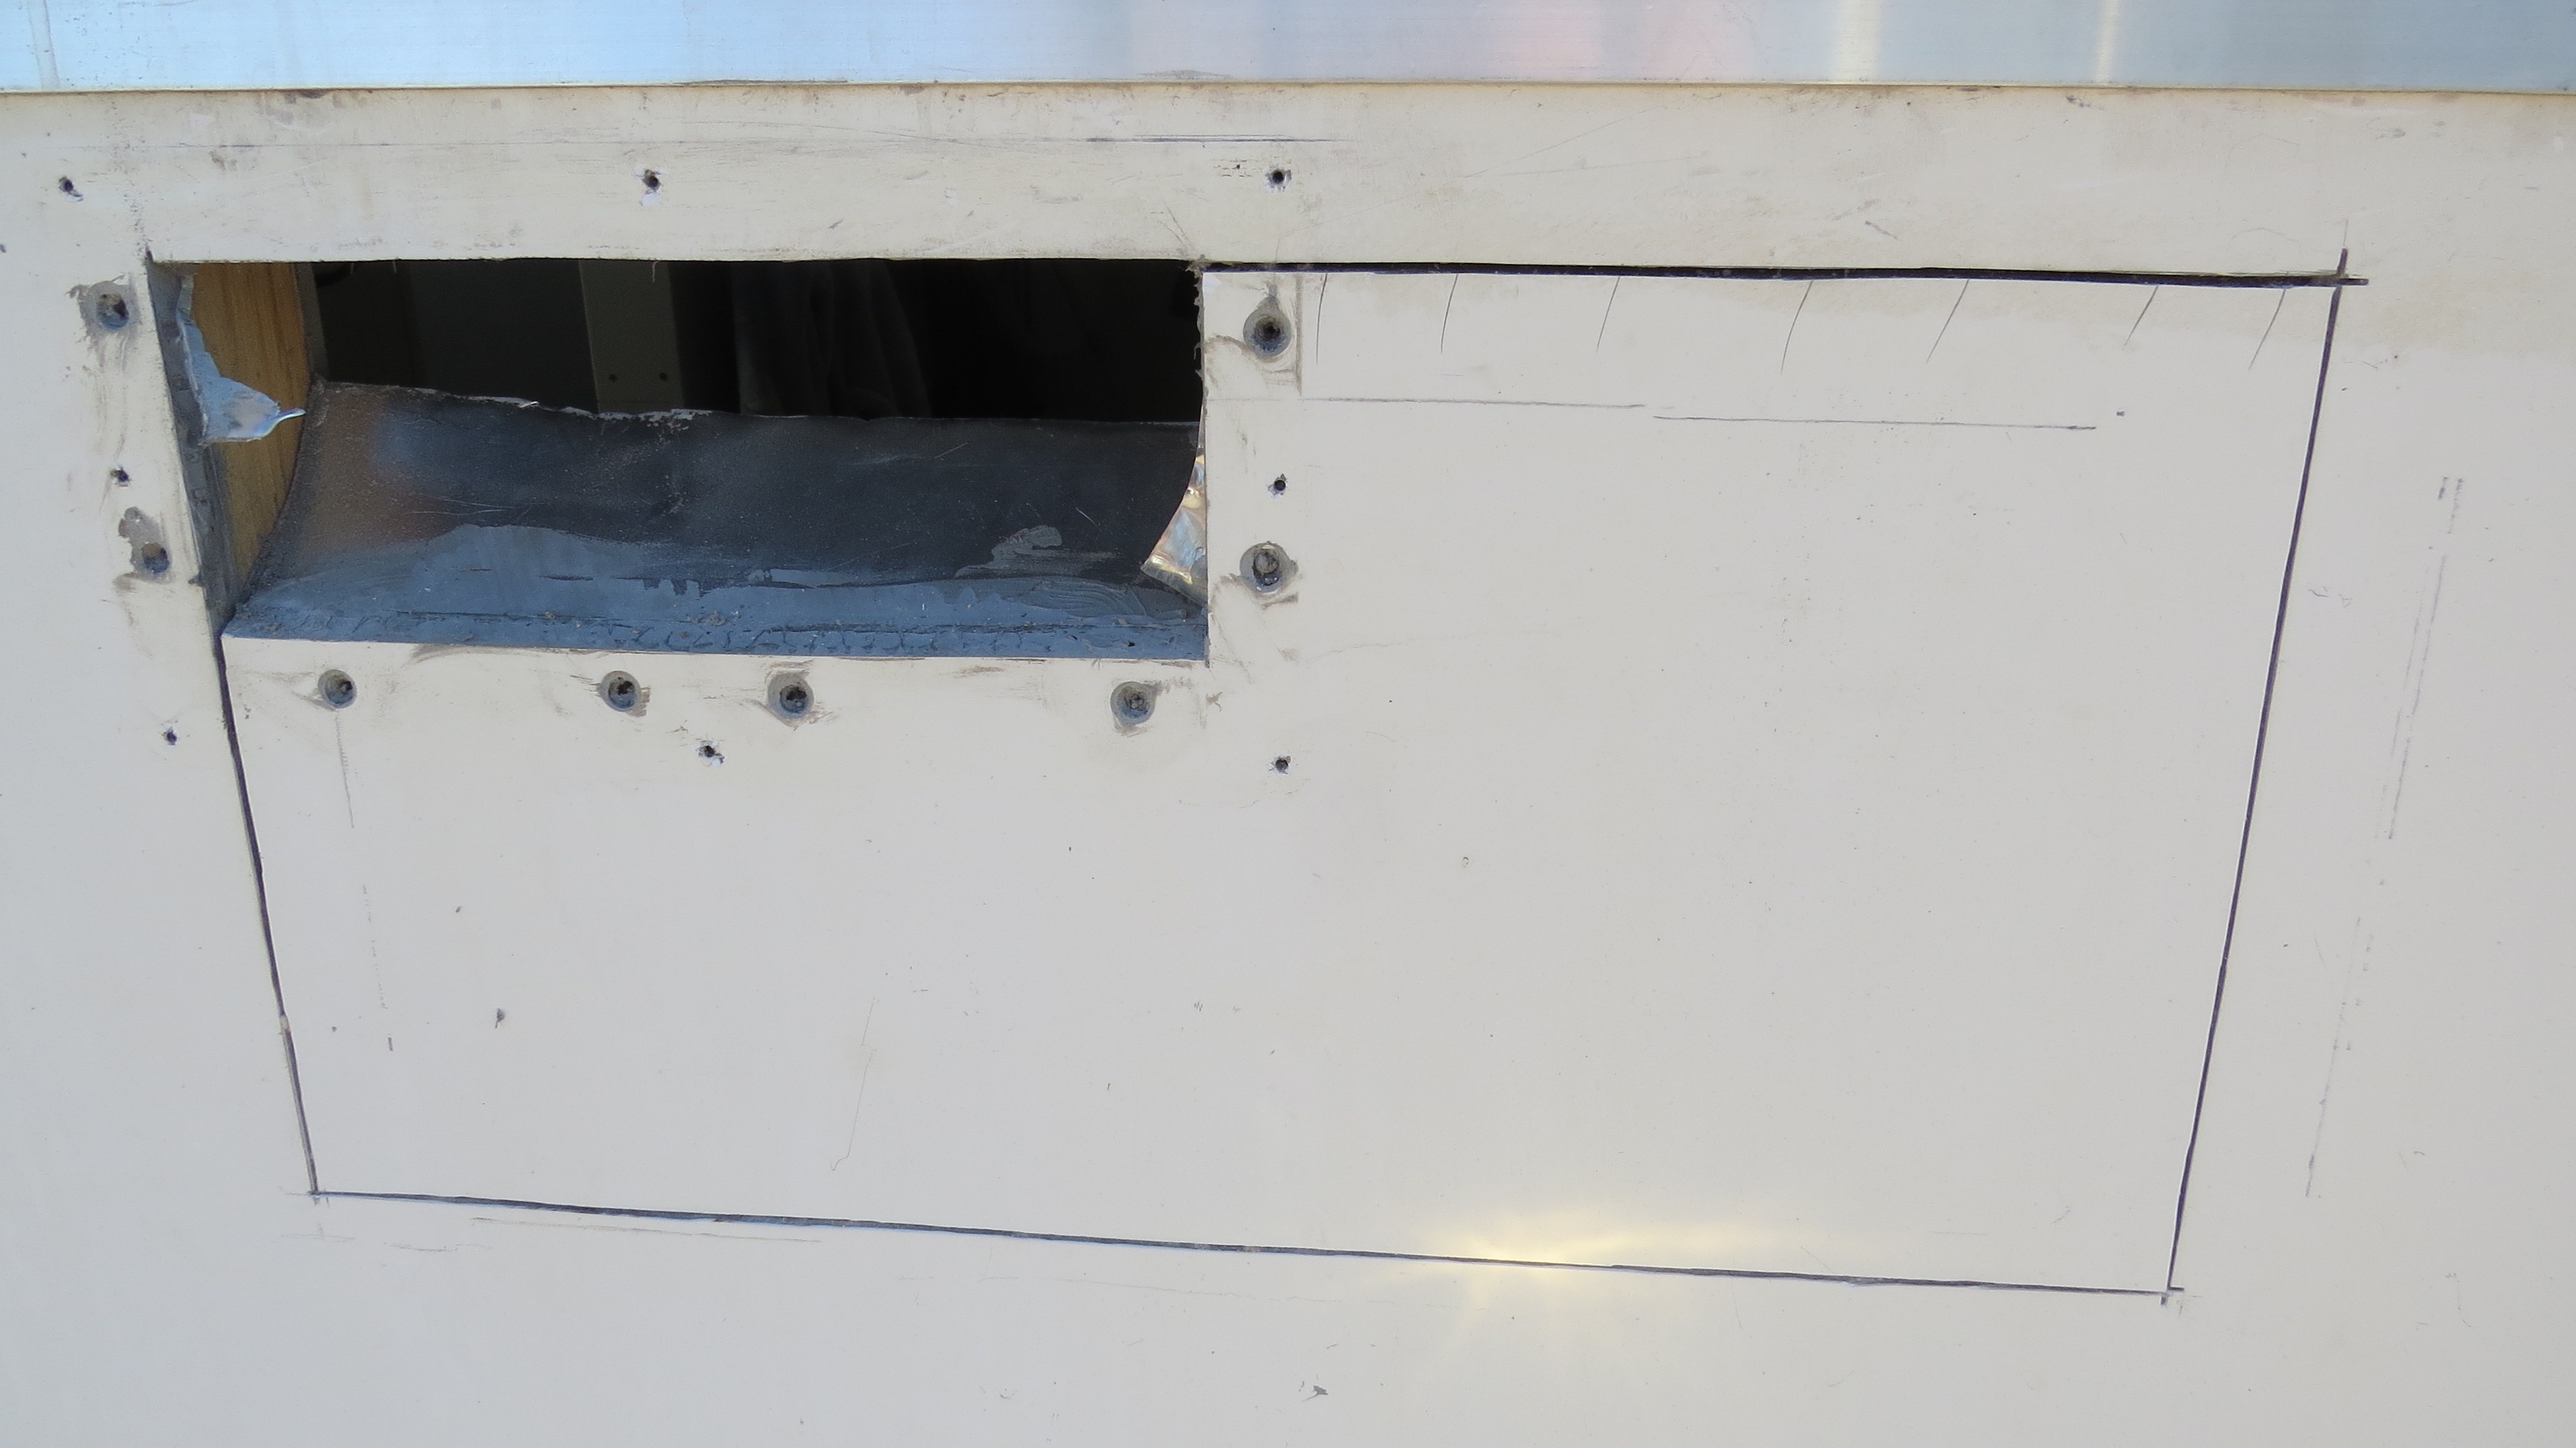
Bugger I put them in to well.Sheet metal = cut fingersBottom hole cut to the new size.Four time’s as big.
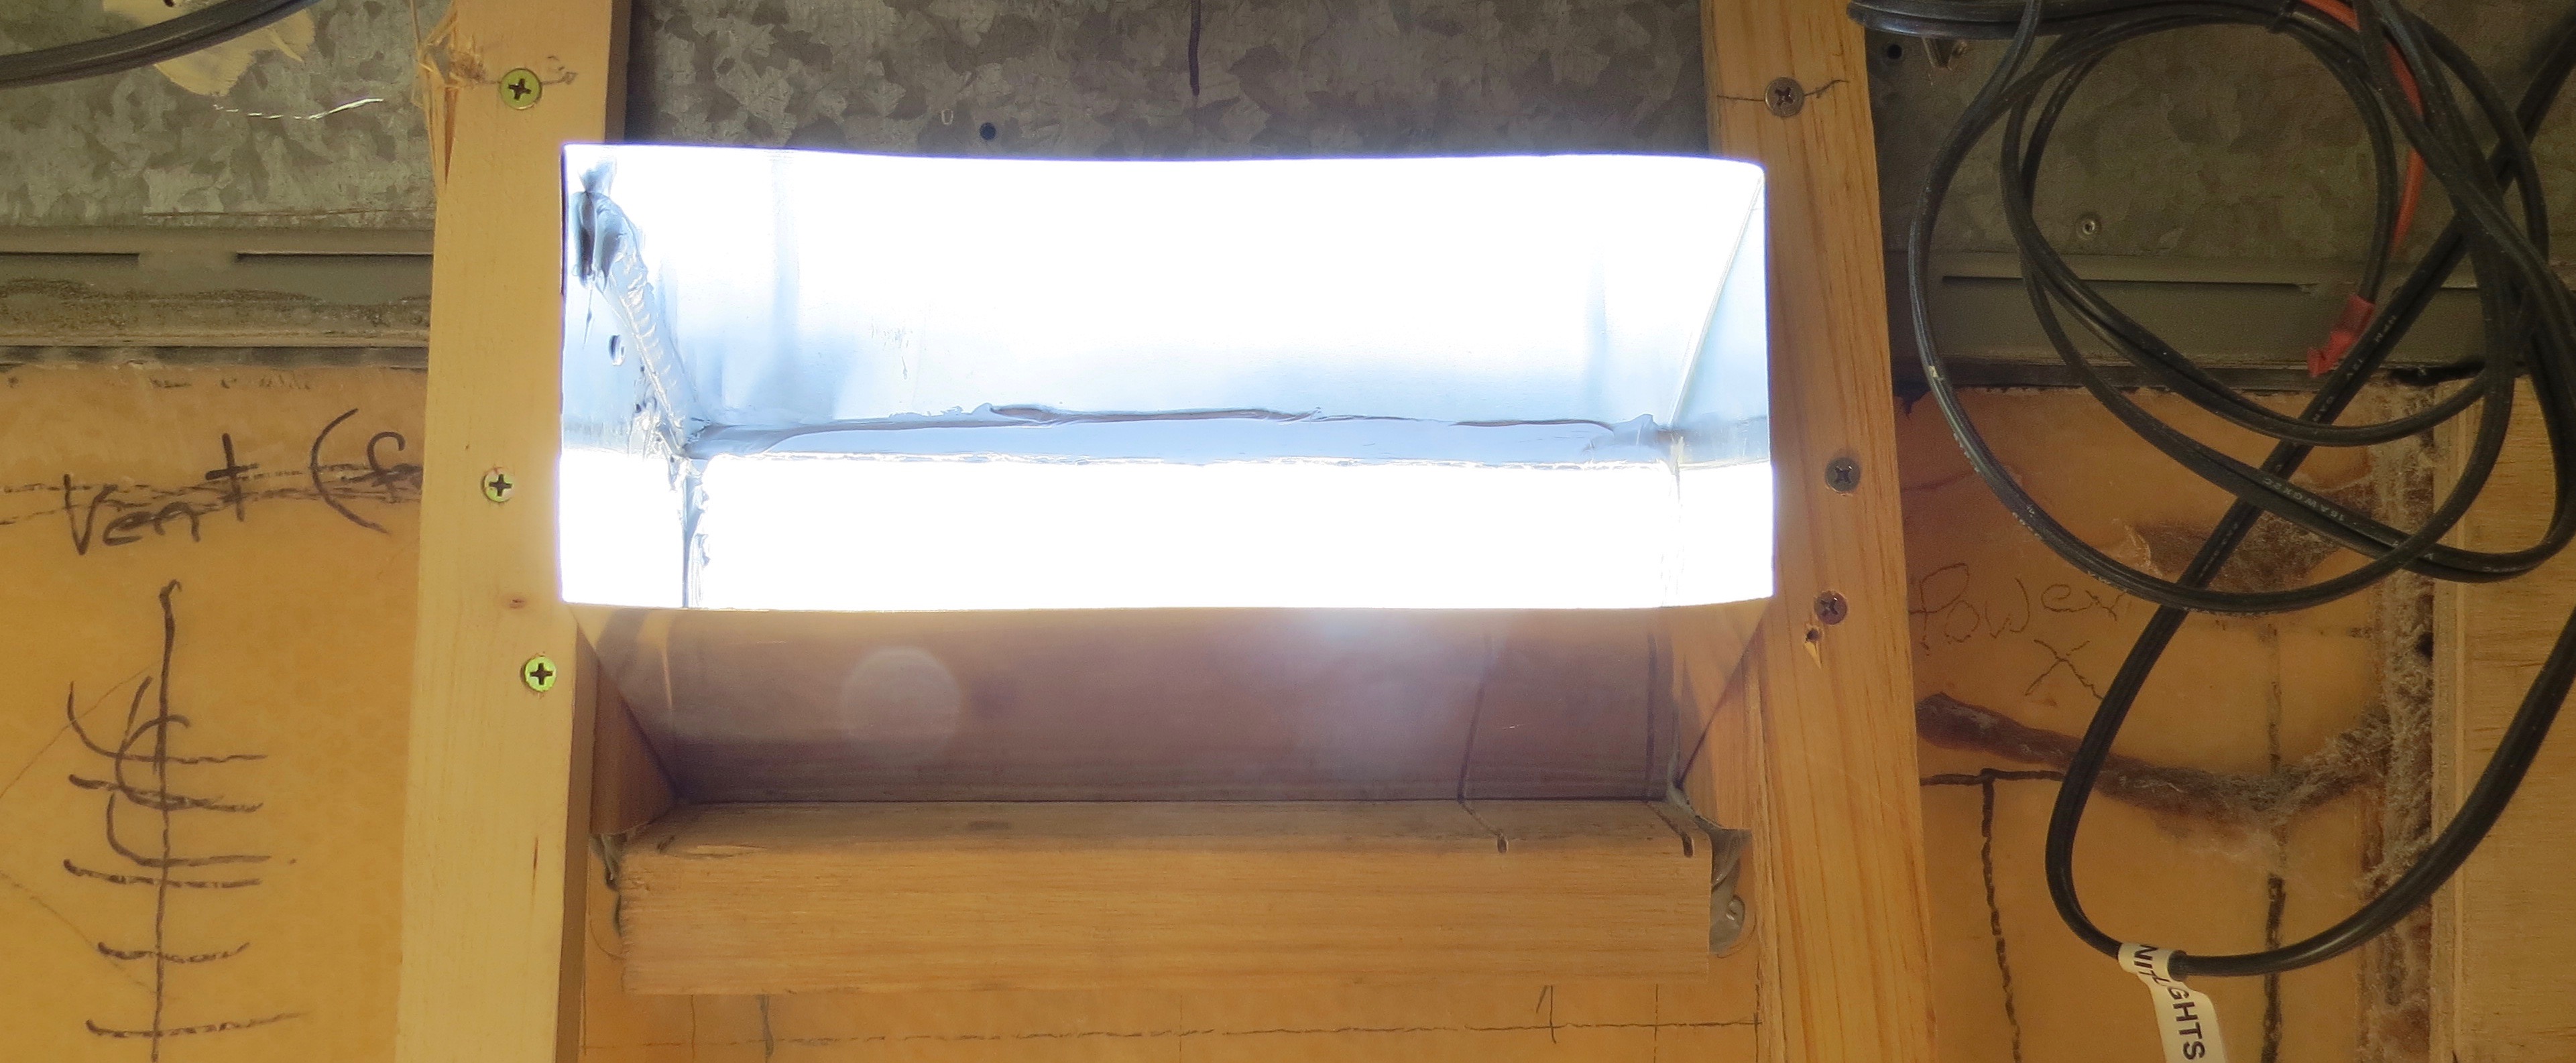
Now that I’ve cut the bottom hole to size, next will be to bend up some sheet metal to fit in the gap so it will be waterproof again. This will be one pice at a time not like the first time when I made up the ducting in one pice.
New side duct work to make and fit.Top and bottom.Bottom pice in place.Nice outlook And the side’s in place too.That’s the bottom one gone.
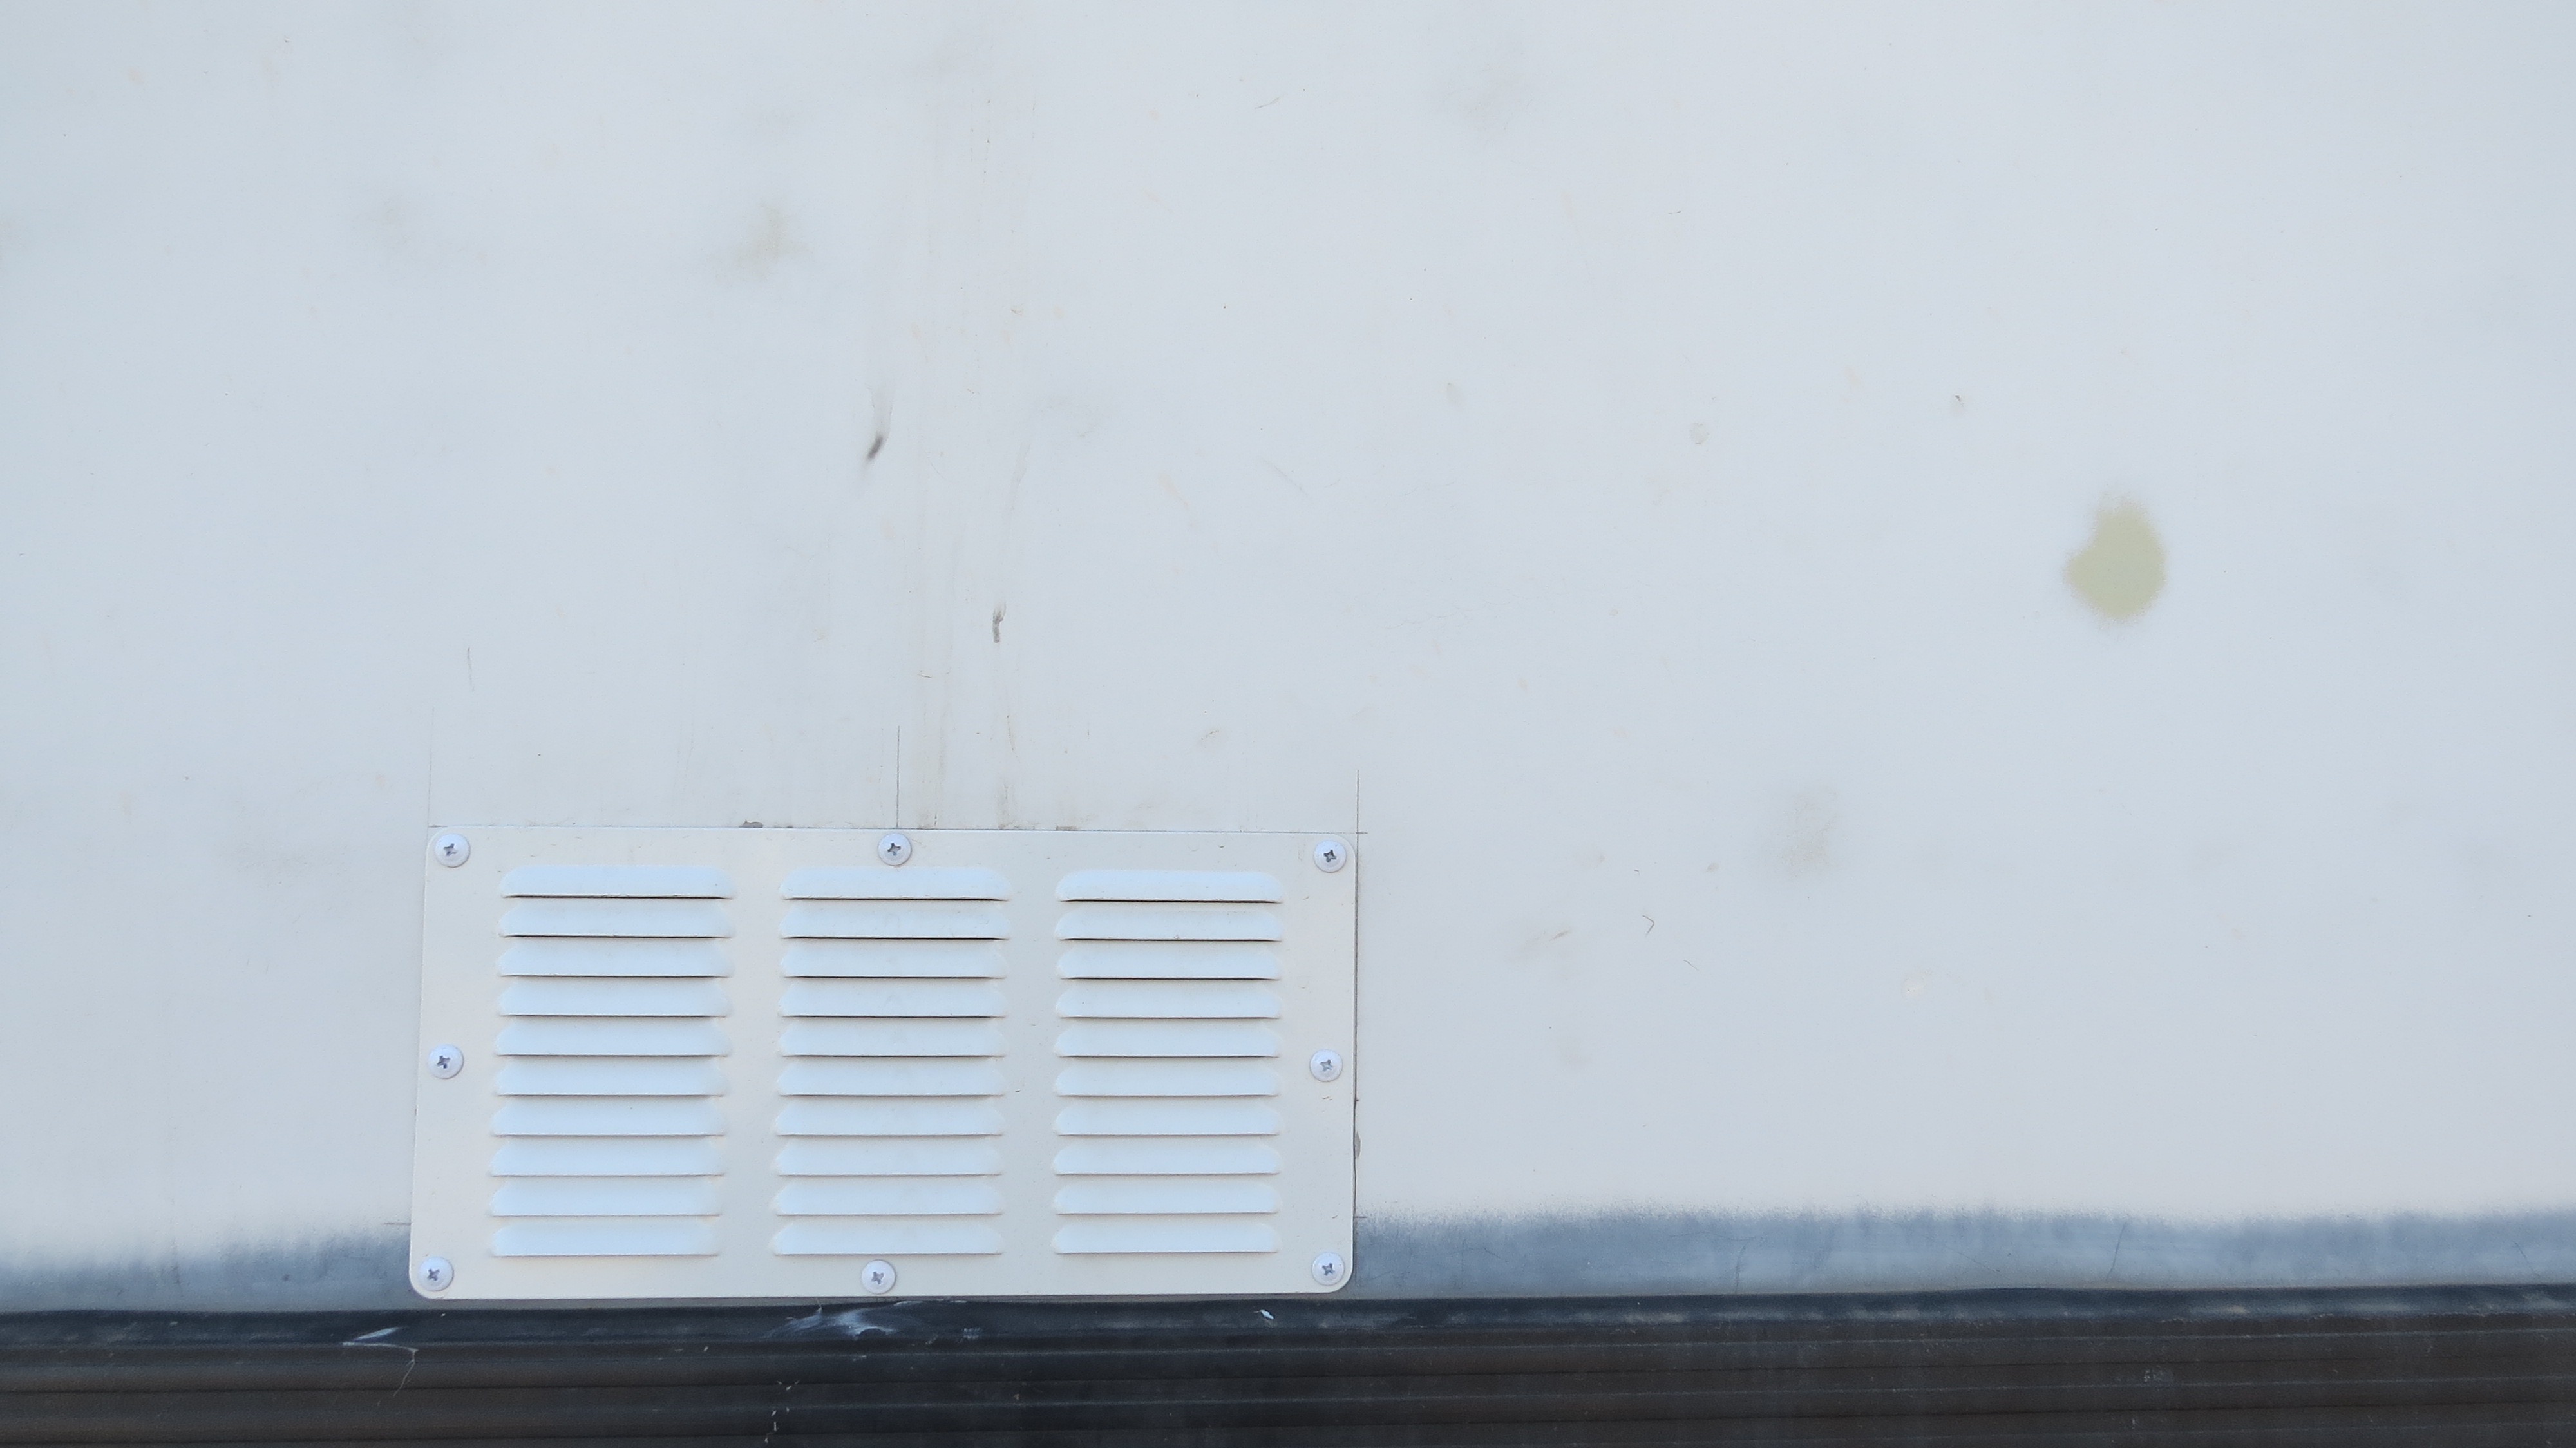
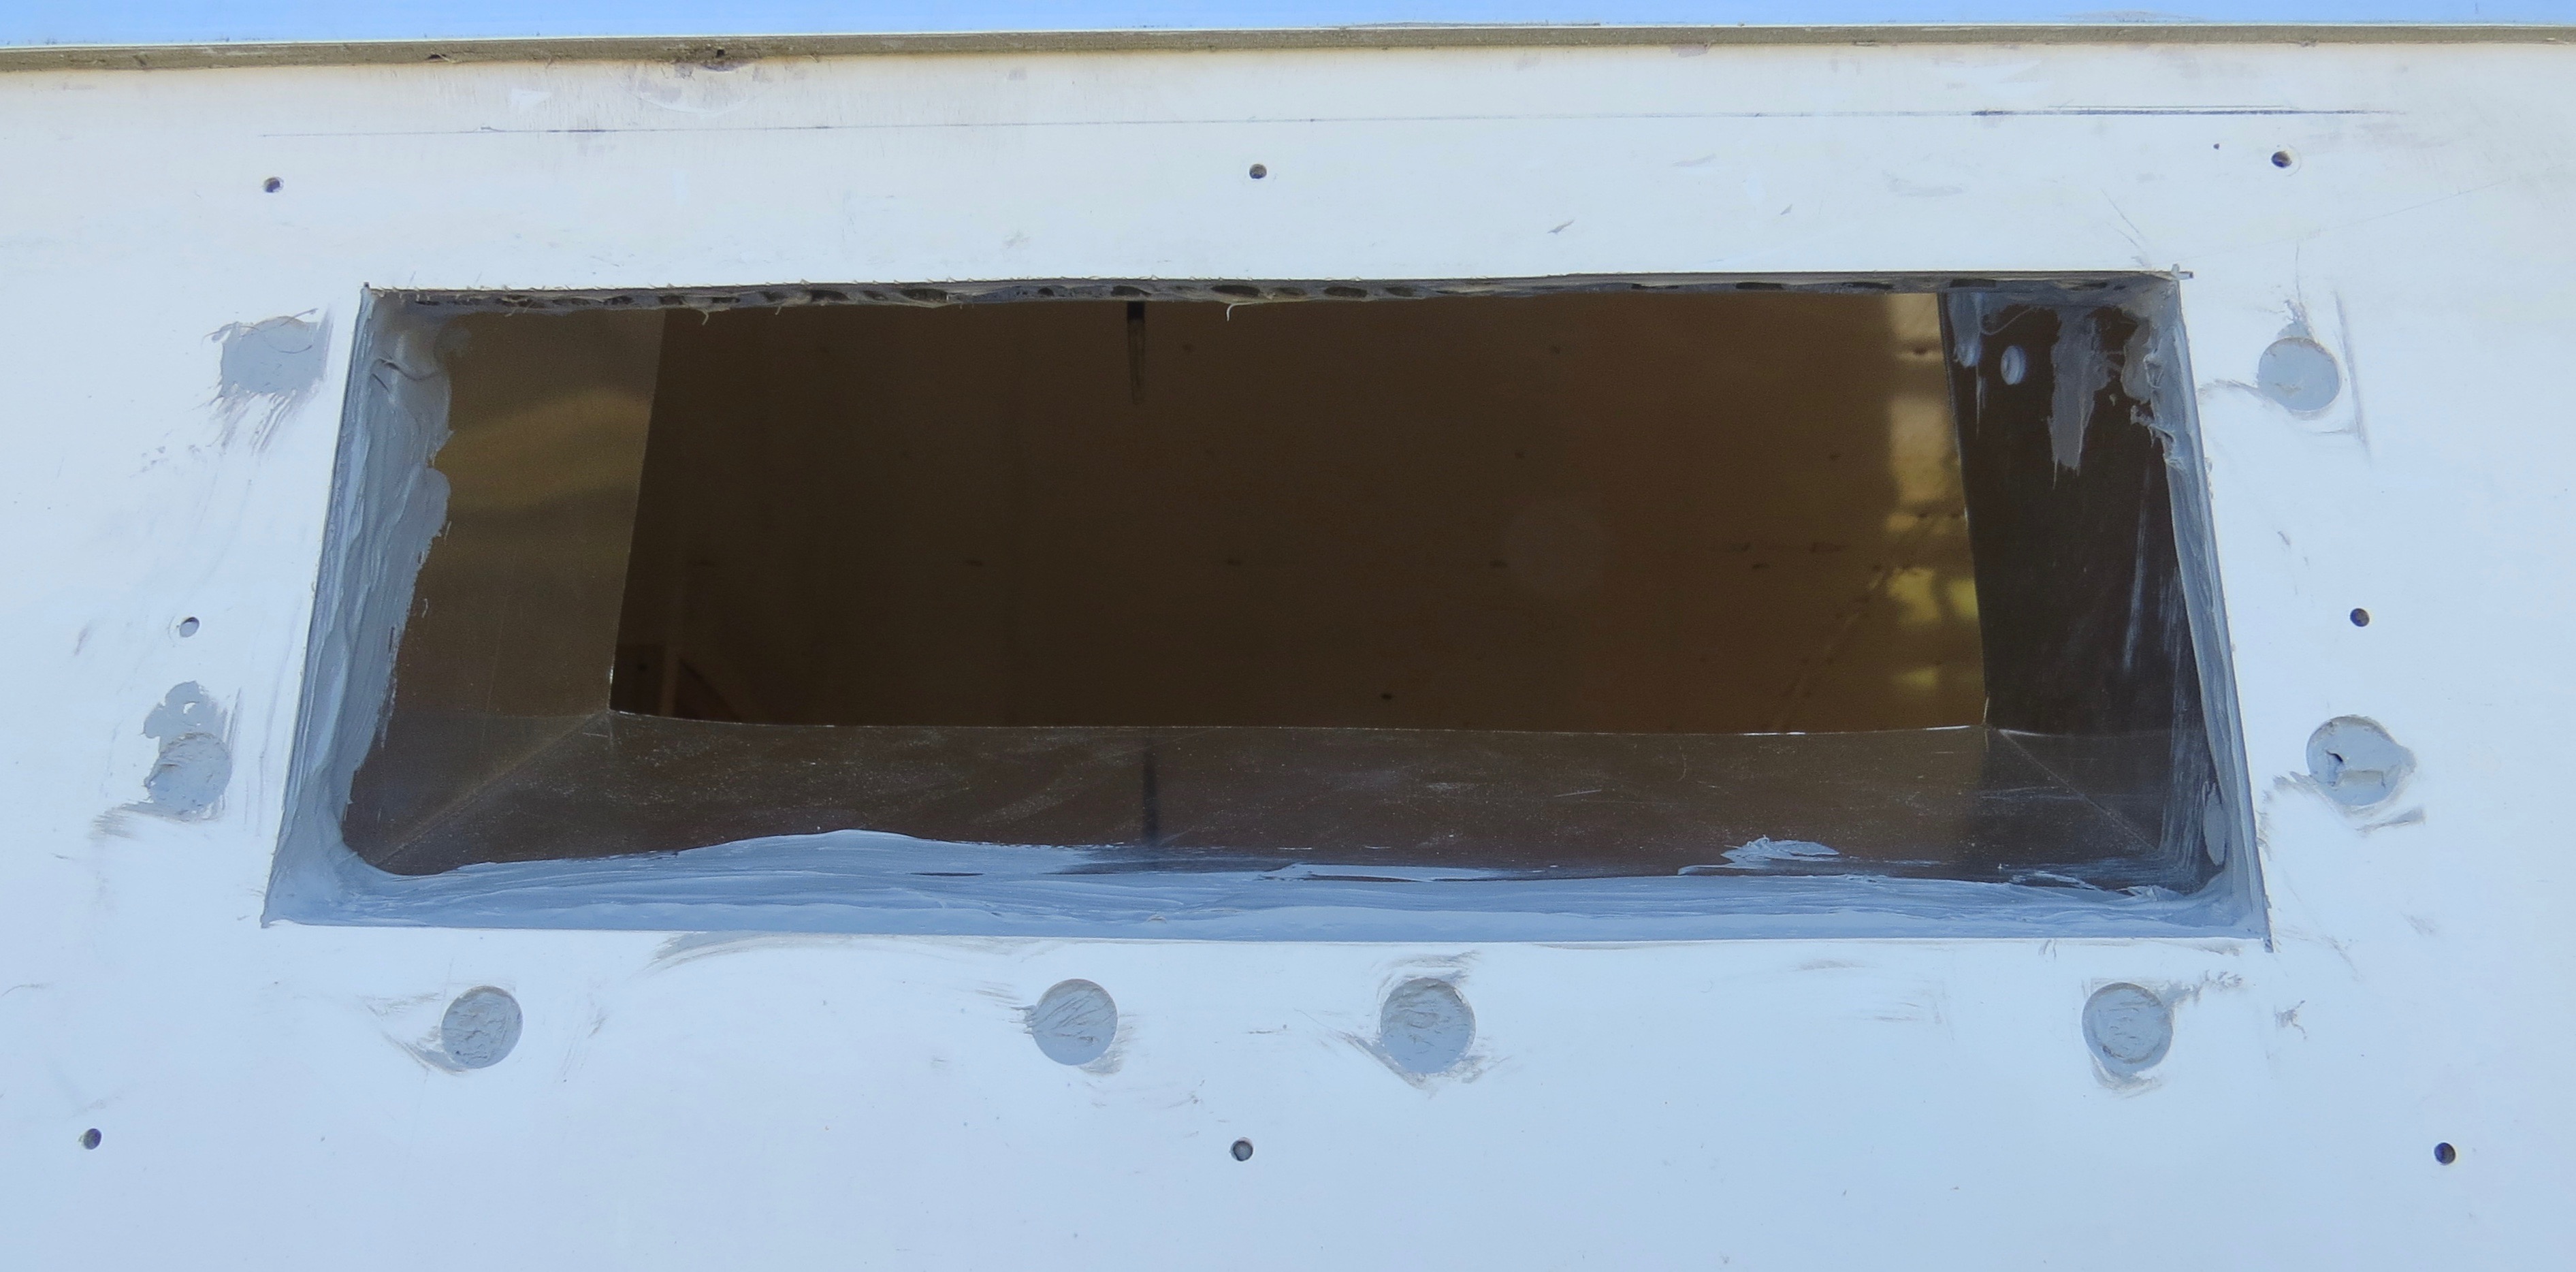
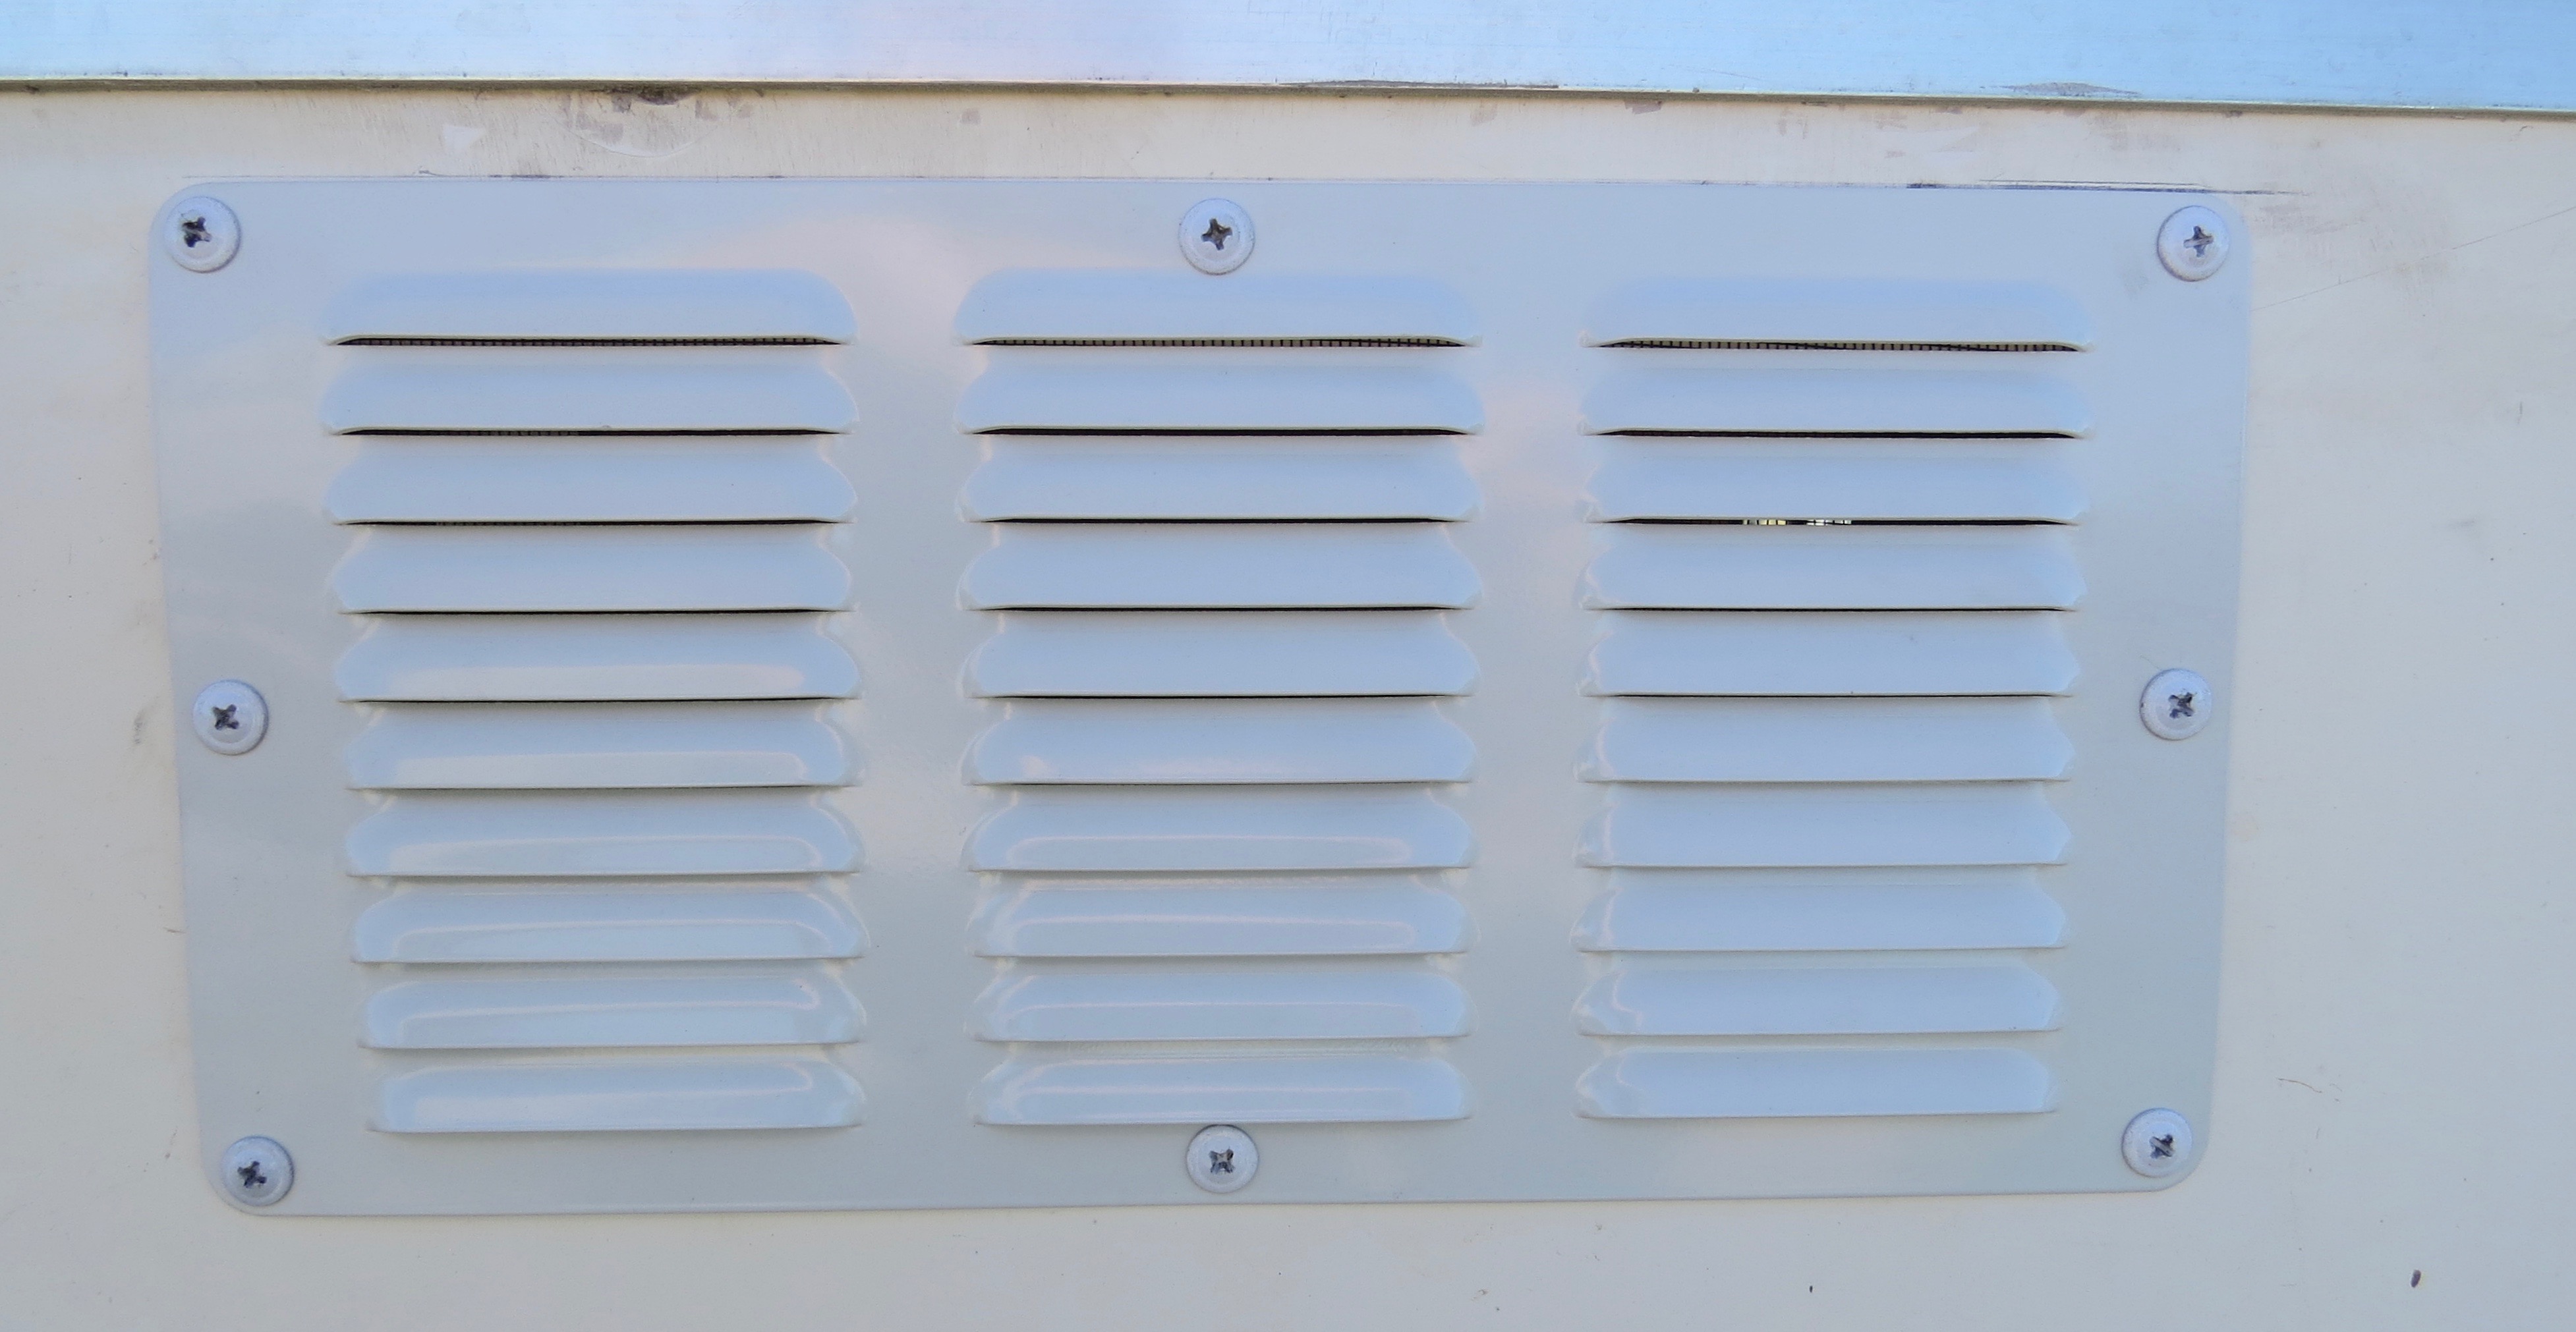
The right size vents now
After fixing the bottom and top vent holes, now it’s only a matter of fitting the new right size vent covers. Now this was the best part as I know I’ve got it right this time!!
New vent base in place.Just fit’s in the hole.
Now to pope rivet it in to place.Just need to put on the coversNow for the top one.looking from inside.
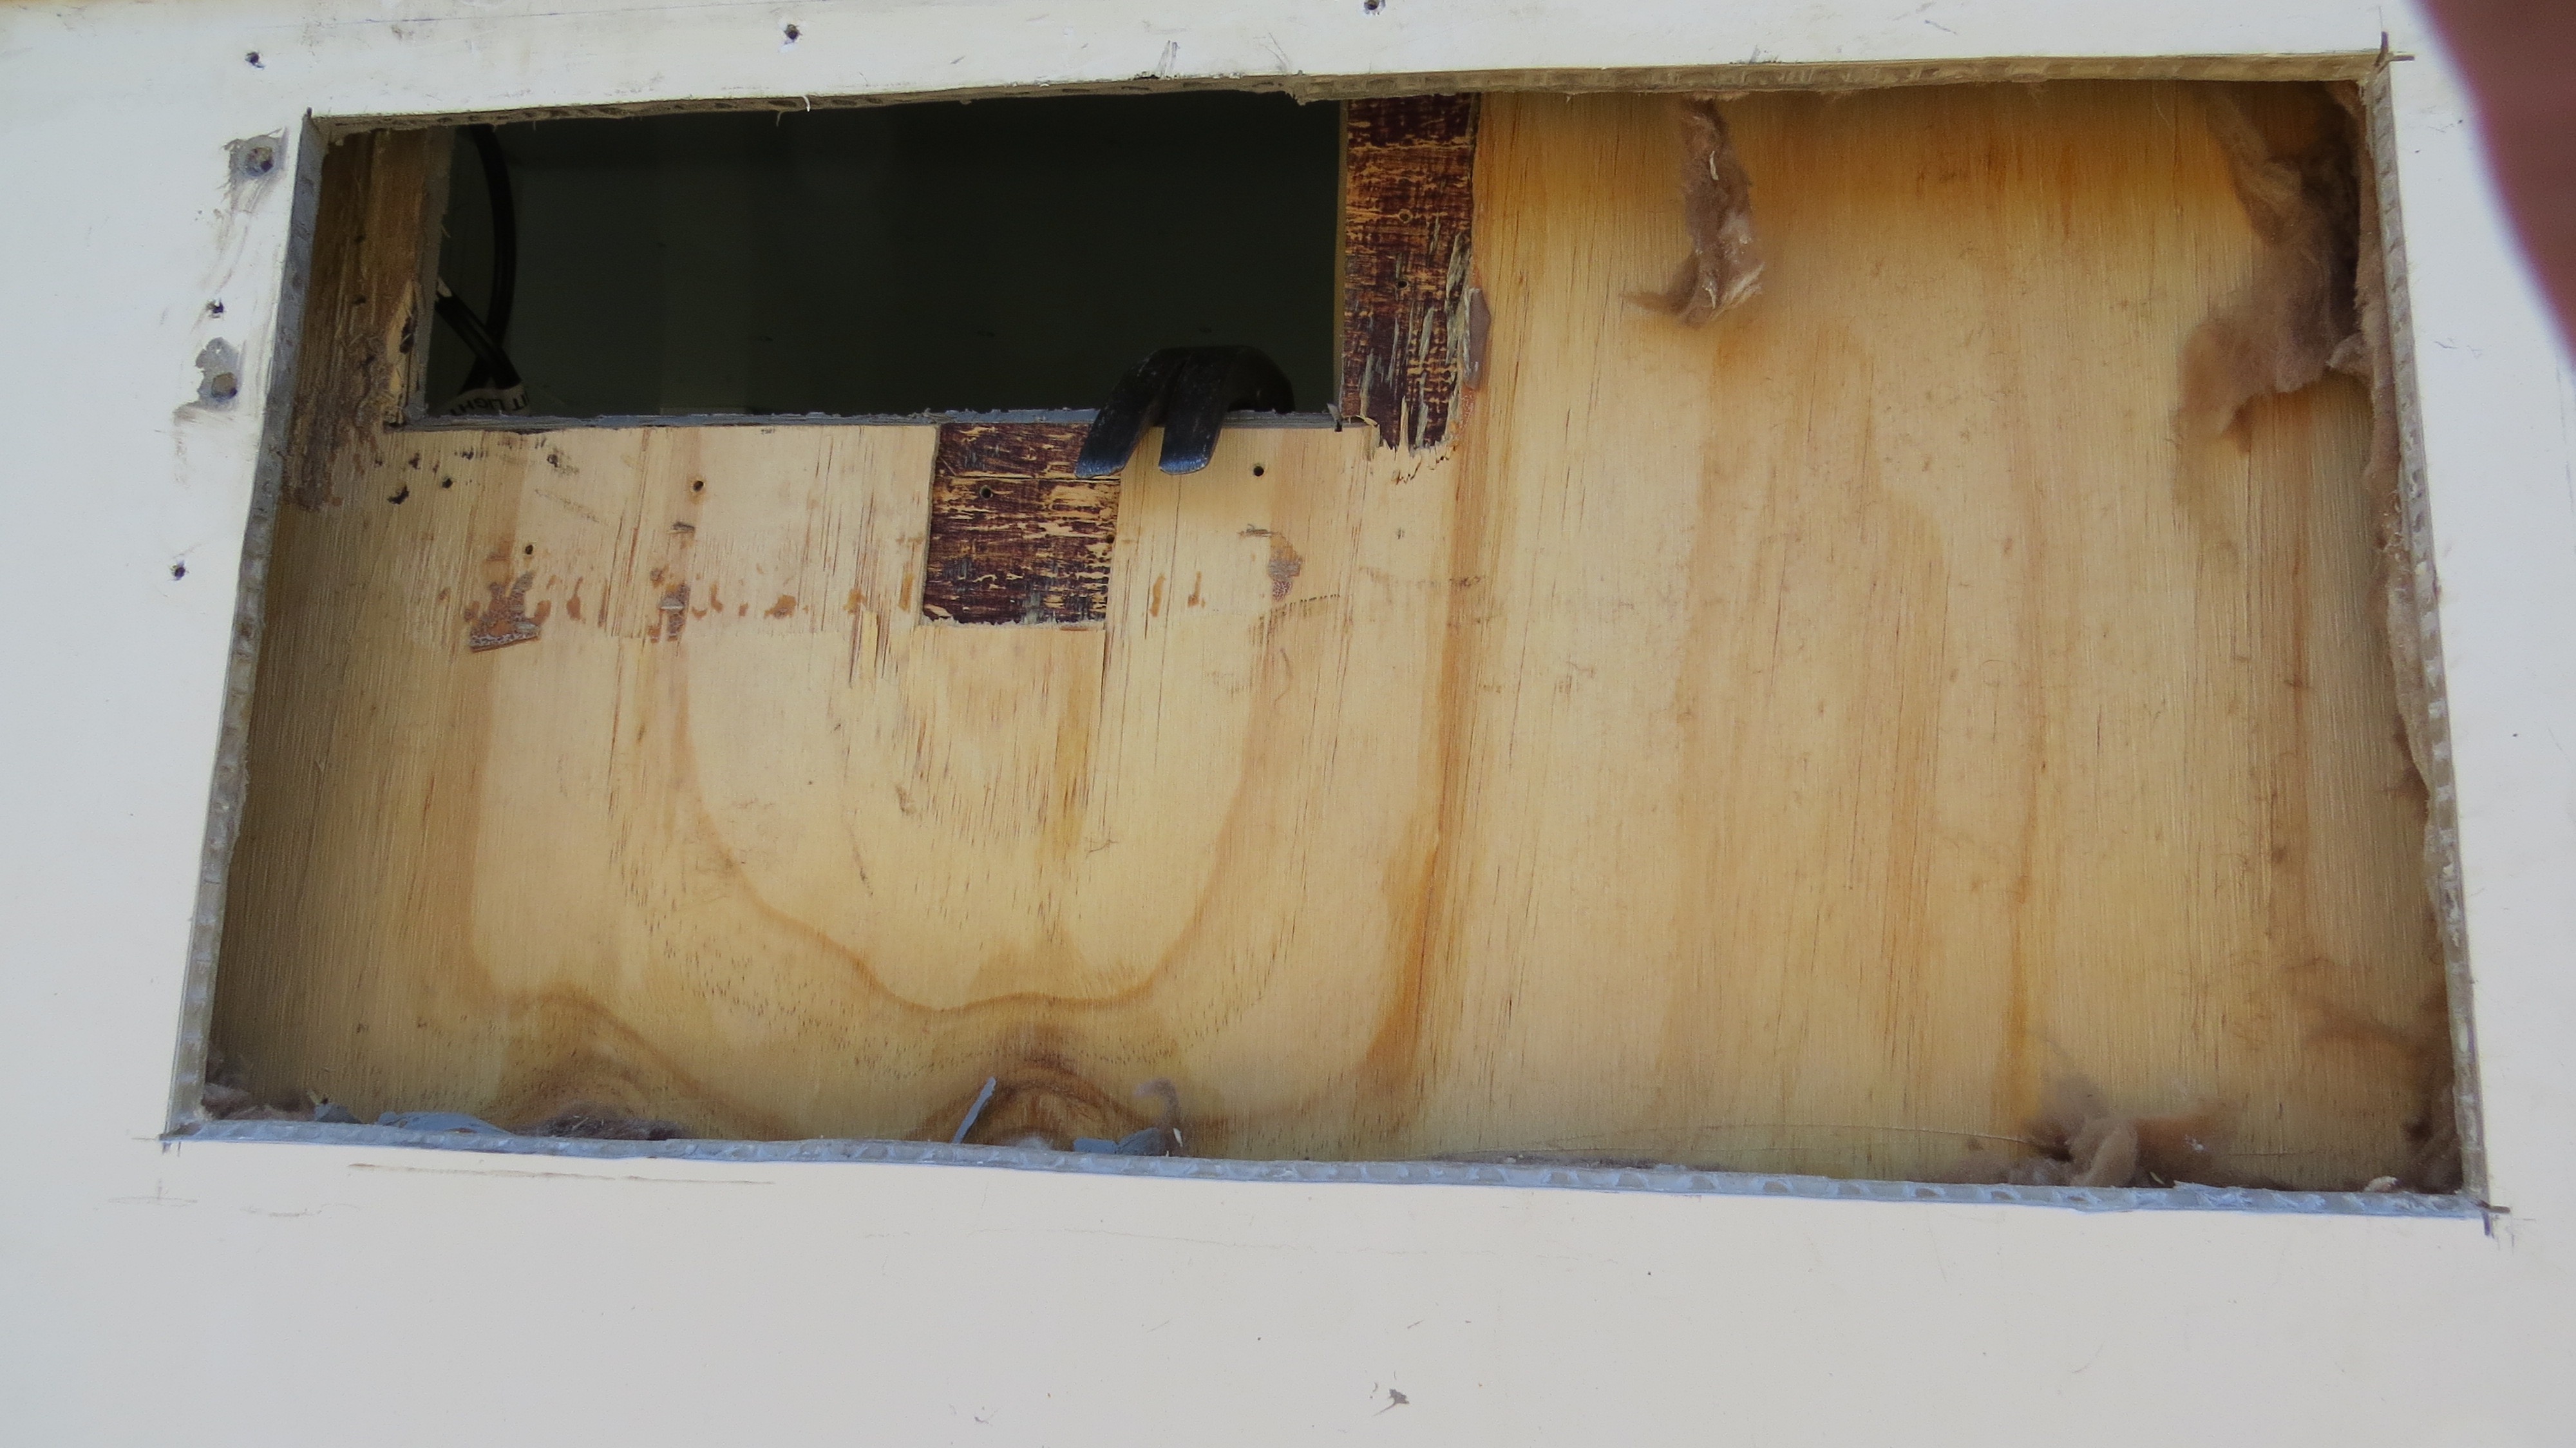
Now for the top vent
F!#k this is not fun as the top vent is even a bigger pain to get out, as I had timber all the way around the vent hole.
This one was even harder to pull out than the bottom one.Why did I do such a good job.After grinding out the new hole in the fiberglass.now to make more ducting.All the part’s for the top duct.Happy day’sTop duct finished’now the gas fitter will be able to fit off the fridge.
Now that job is finish for the last time I think I need a drink. But lesson learnt I will always read the installation manual first before starting another job.
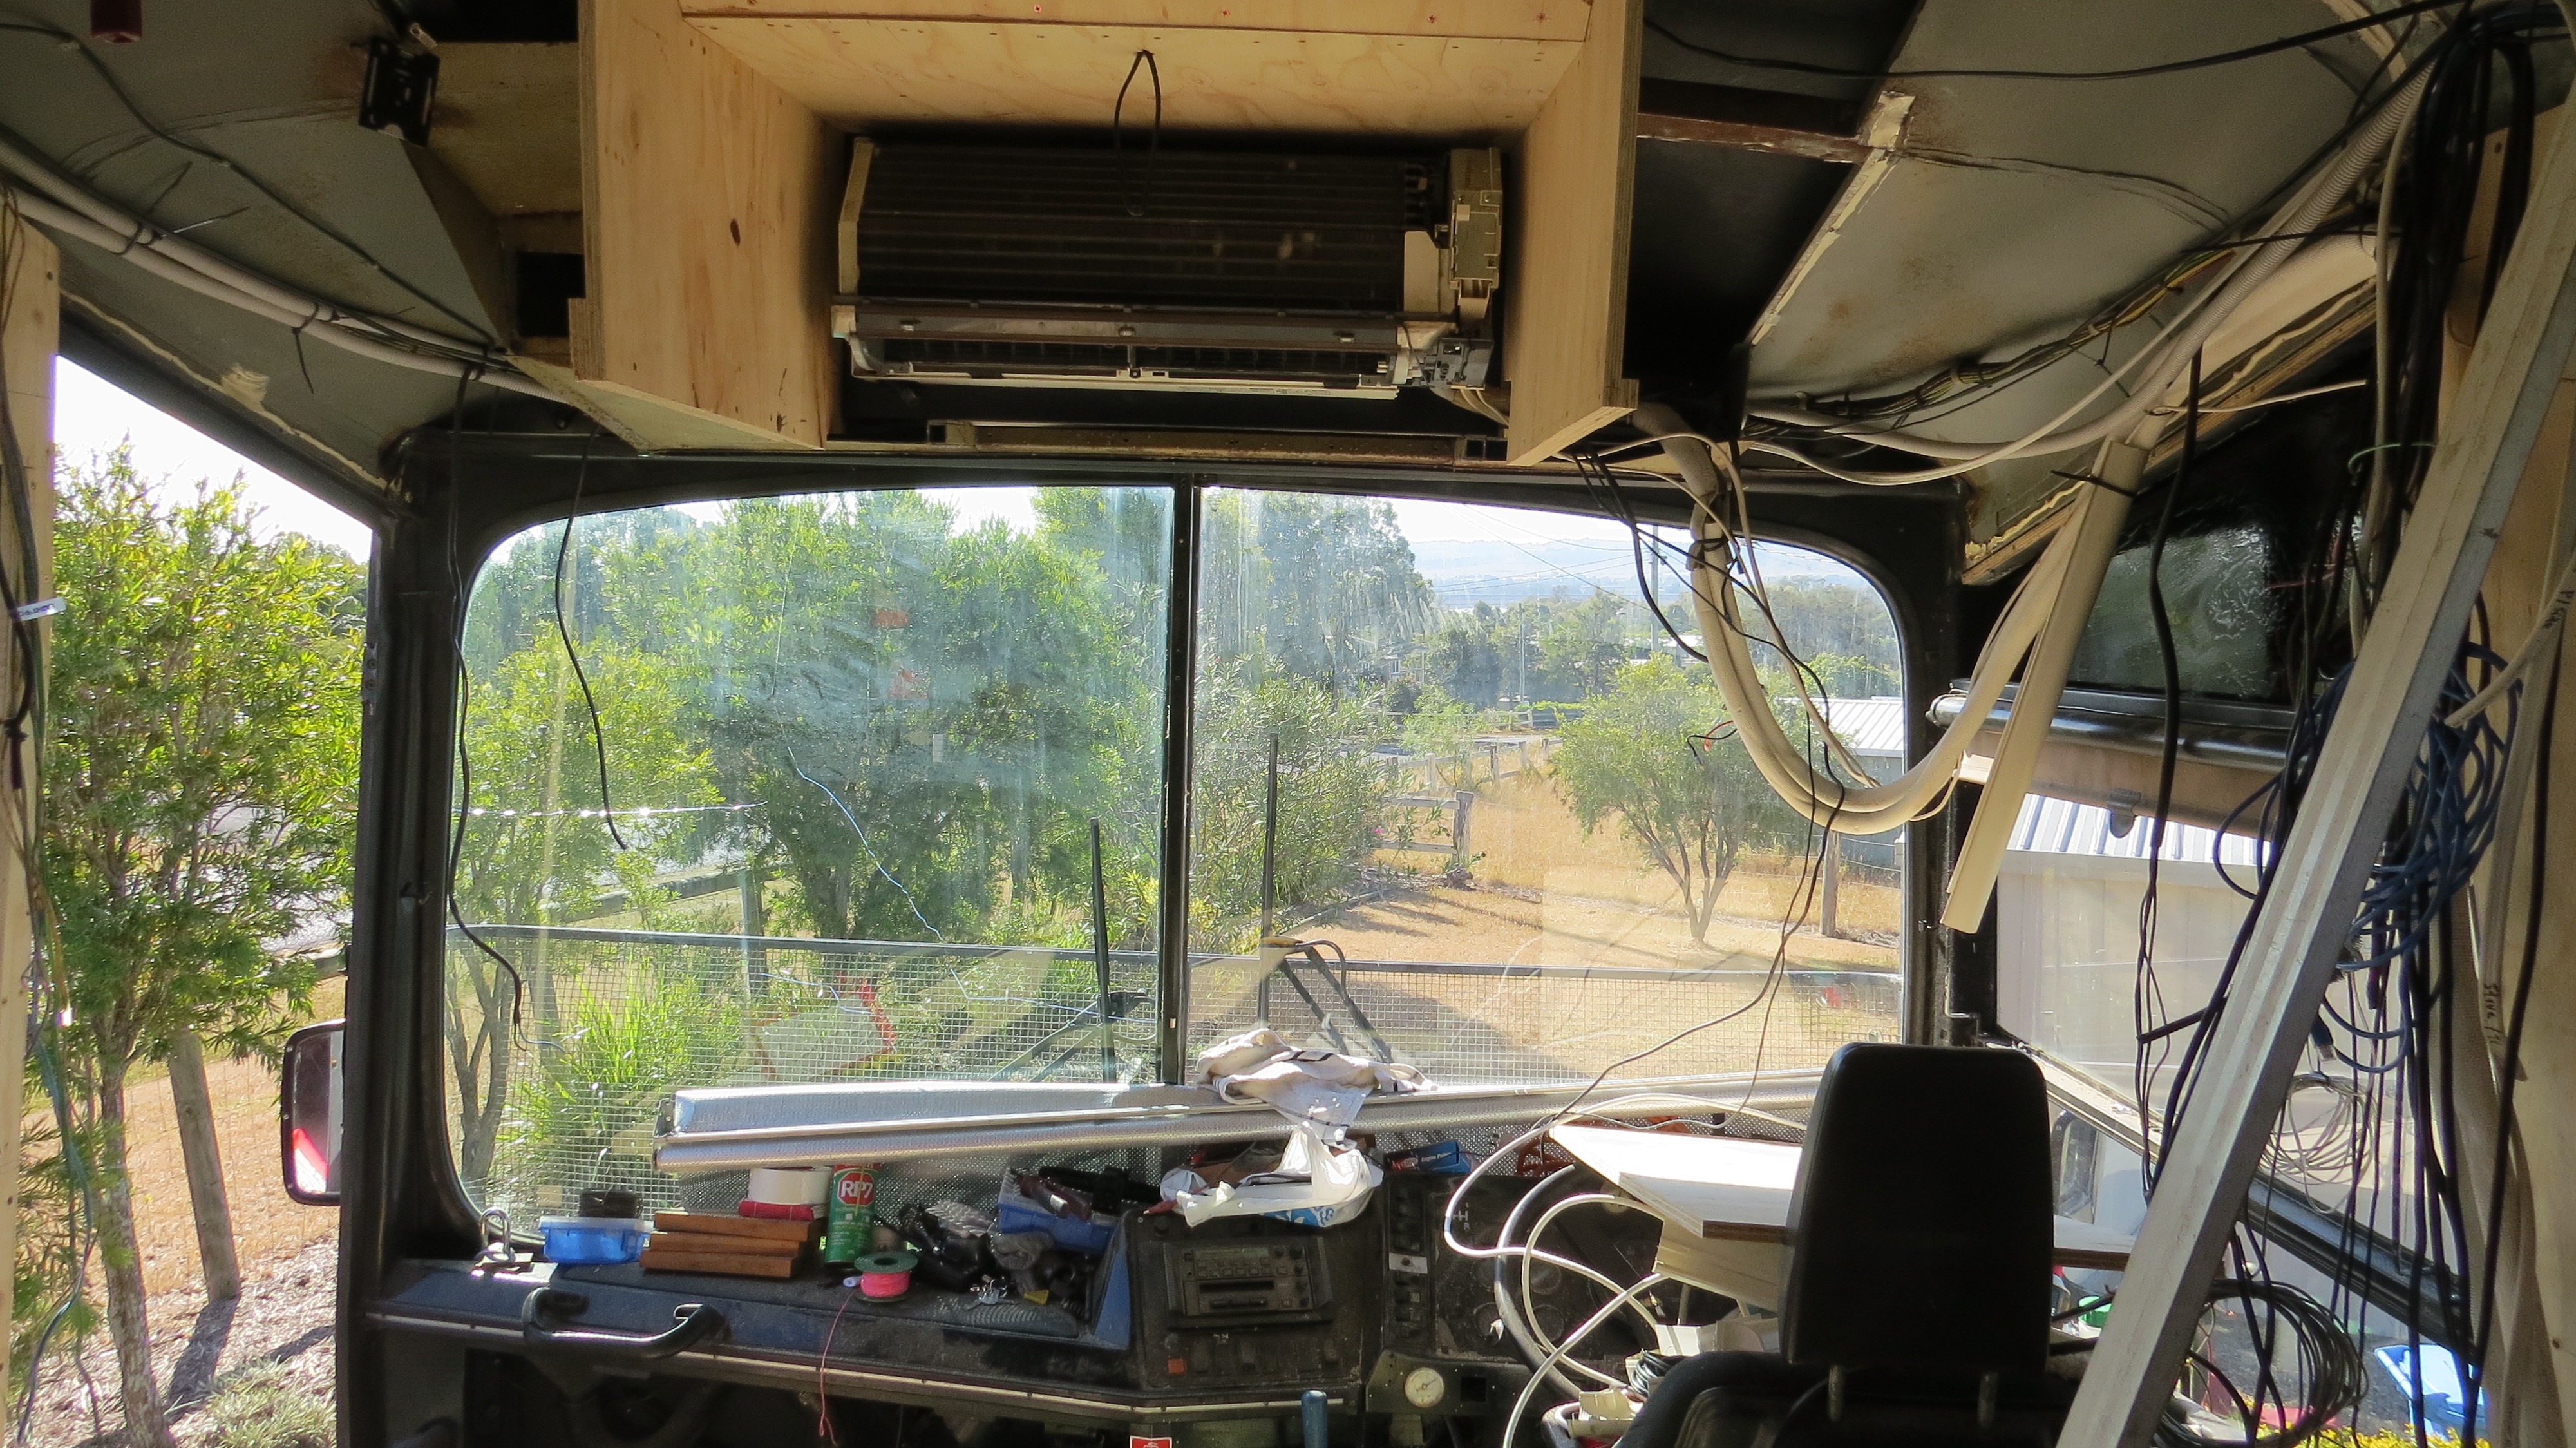
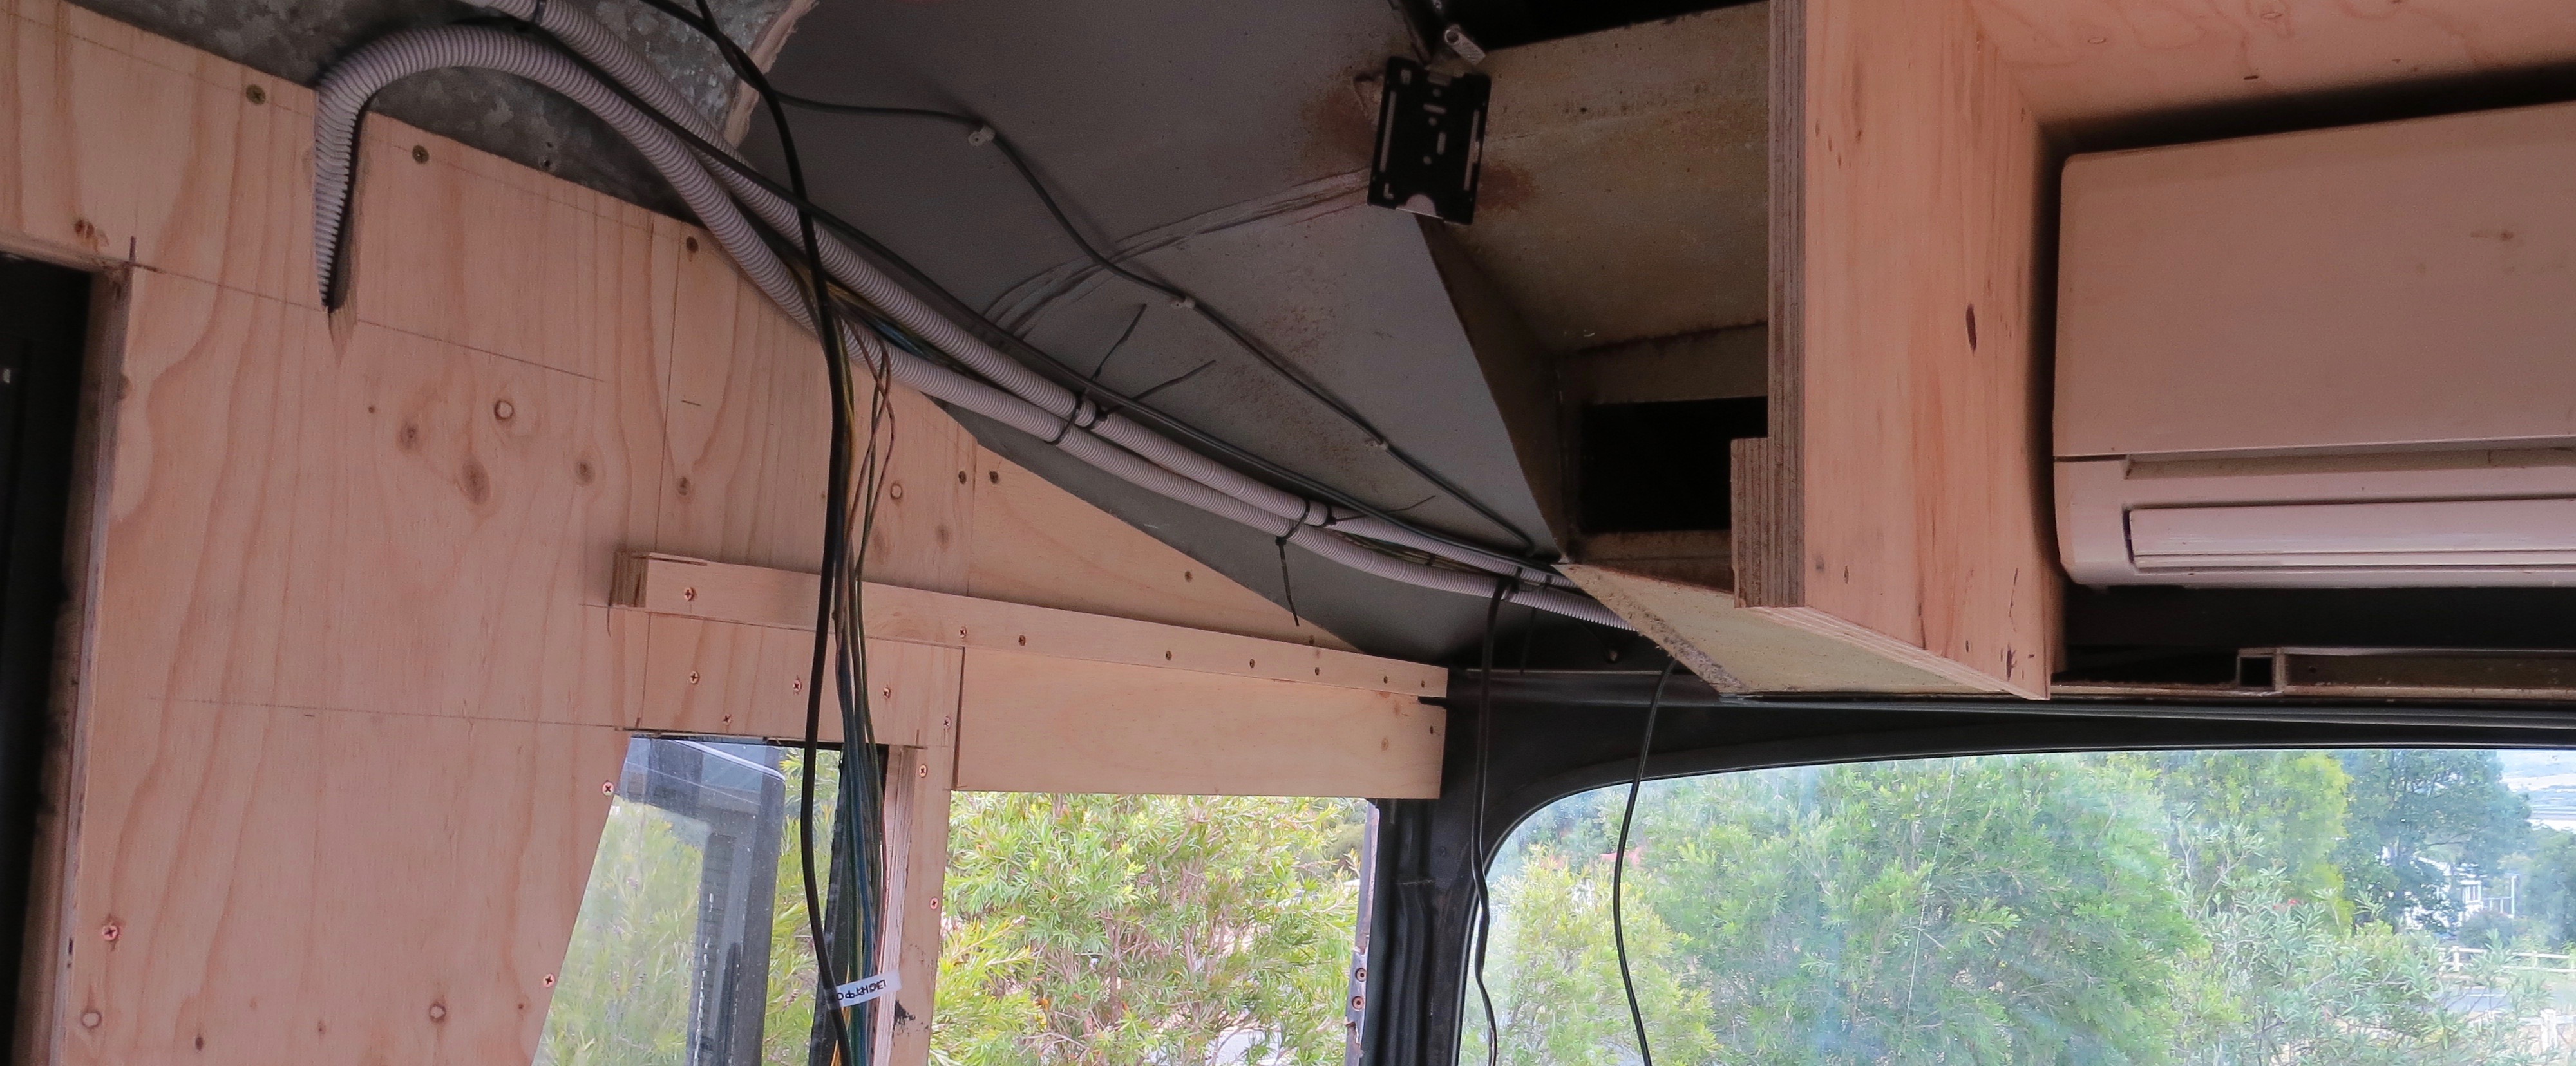
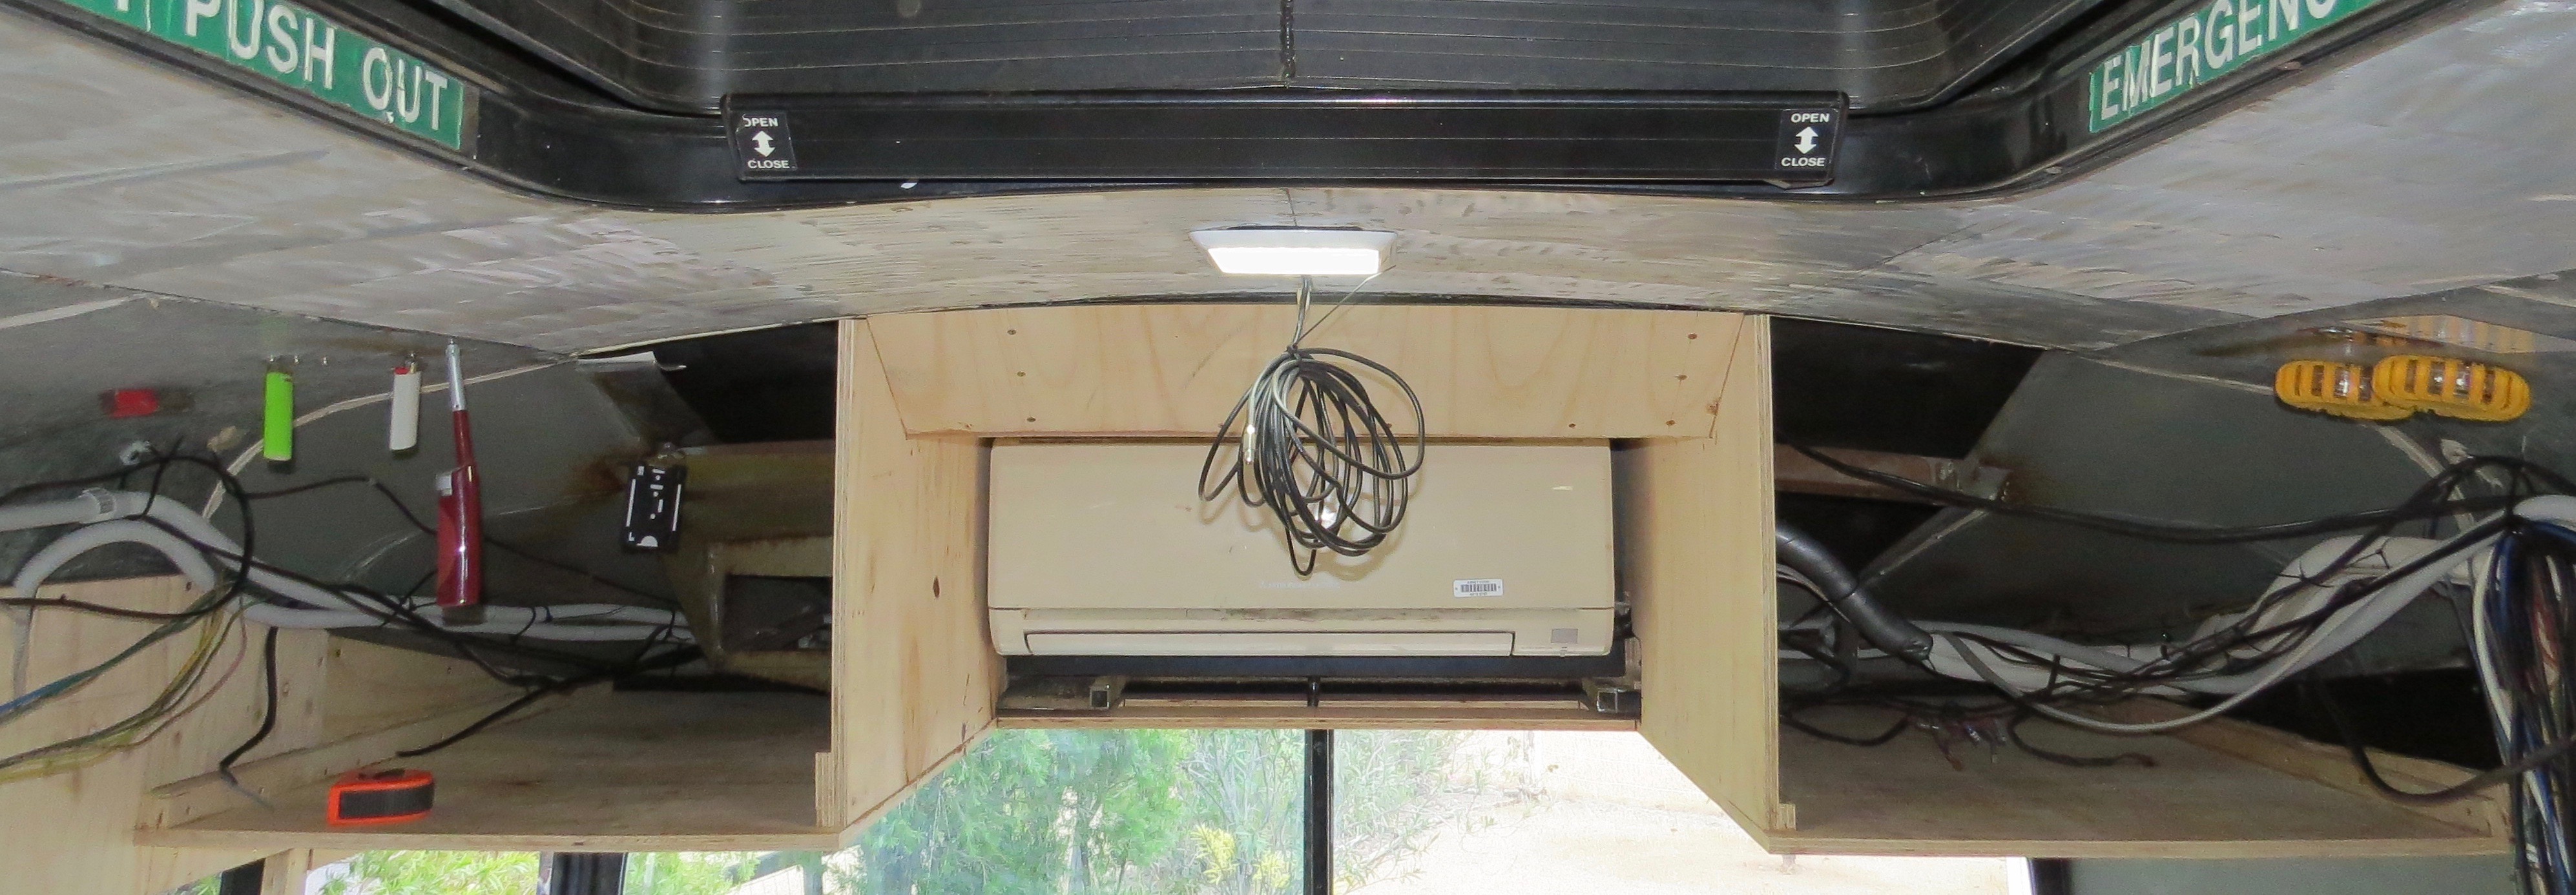
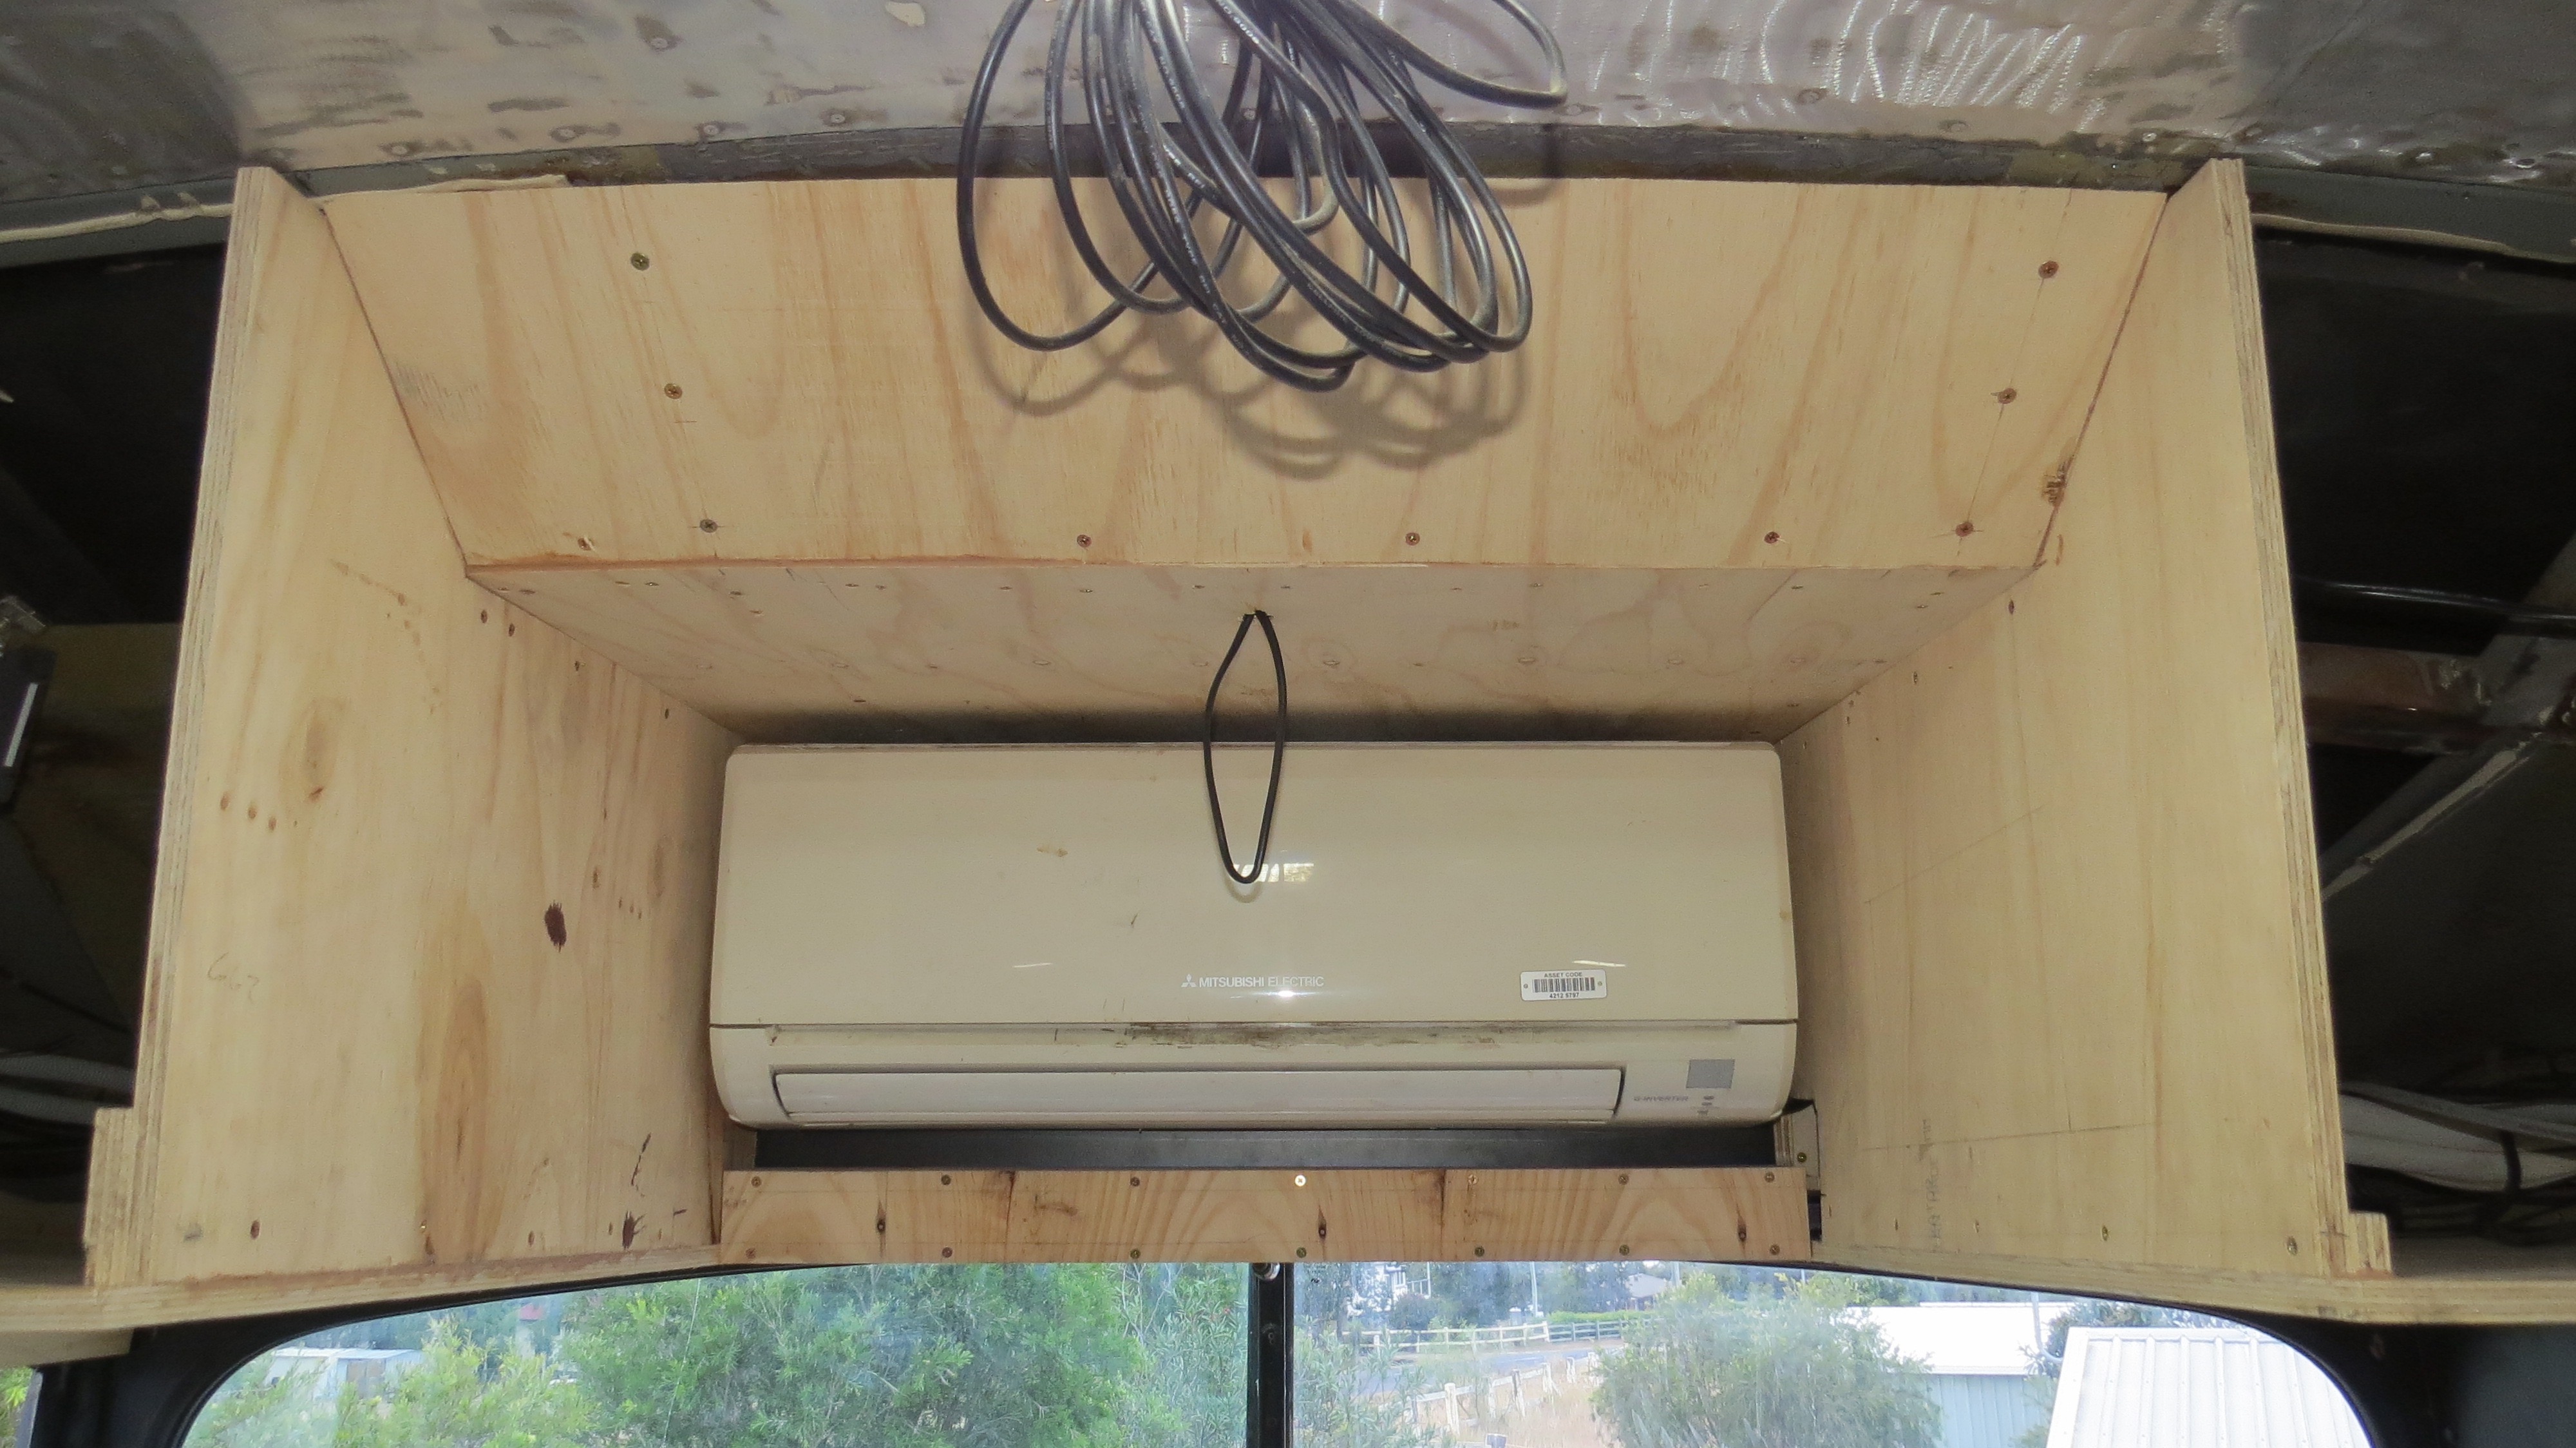
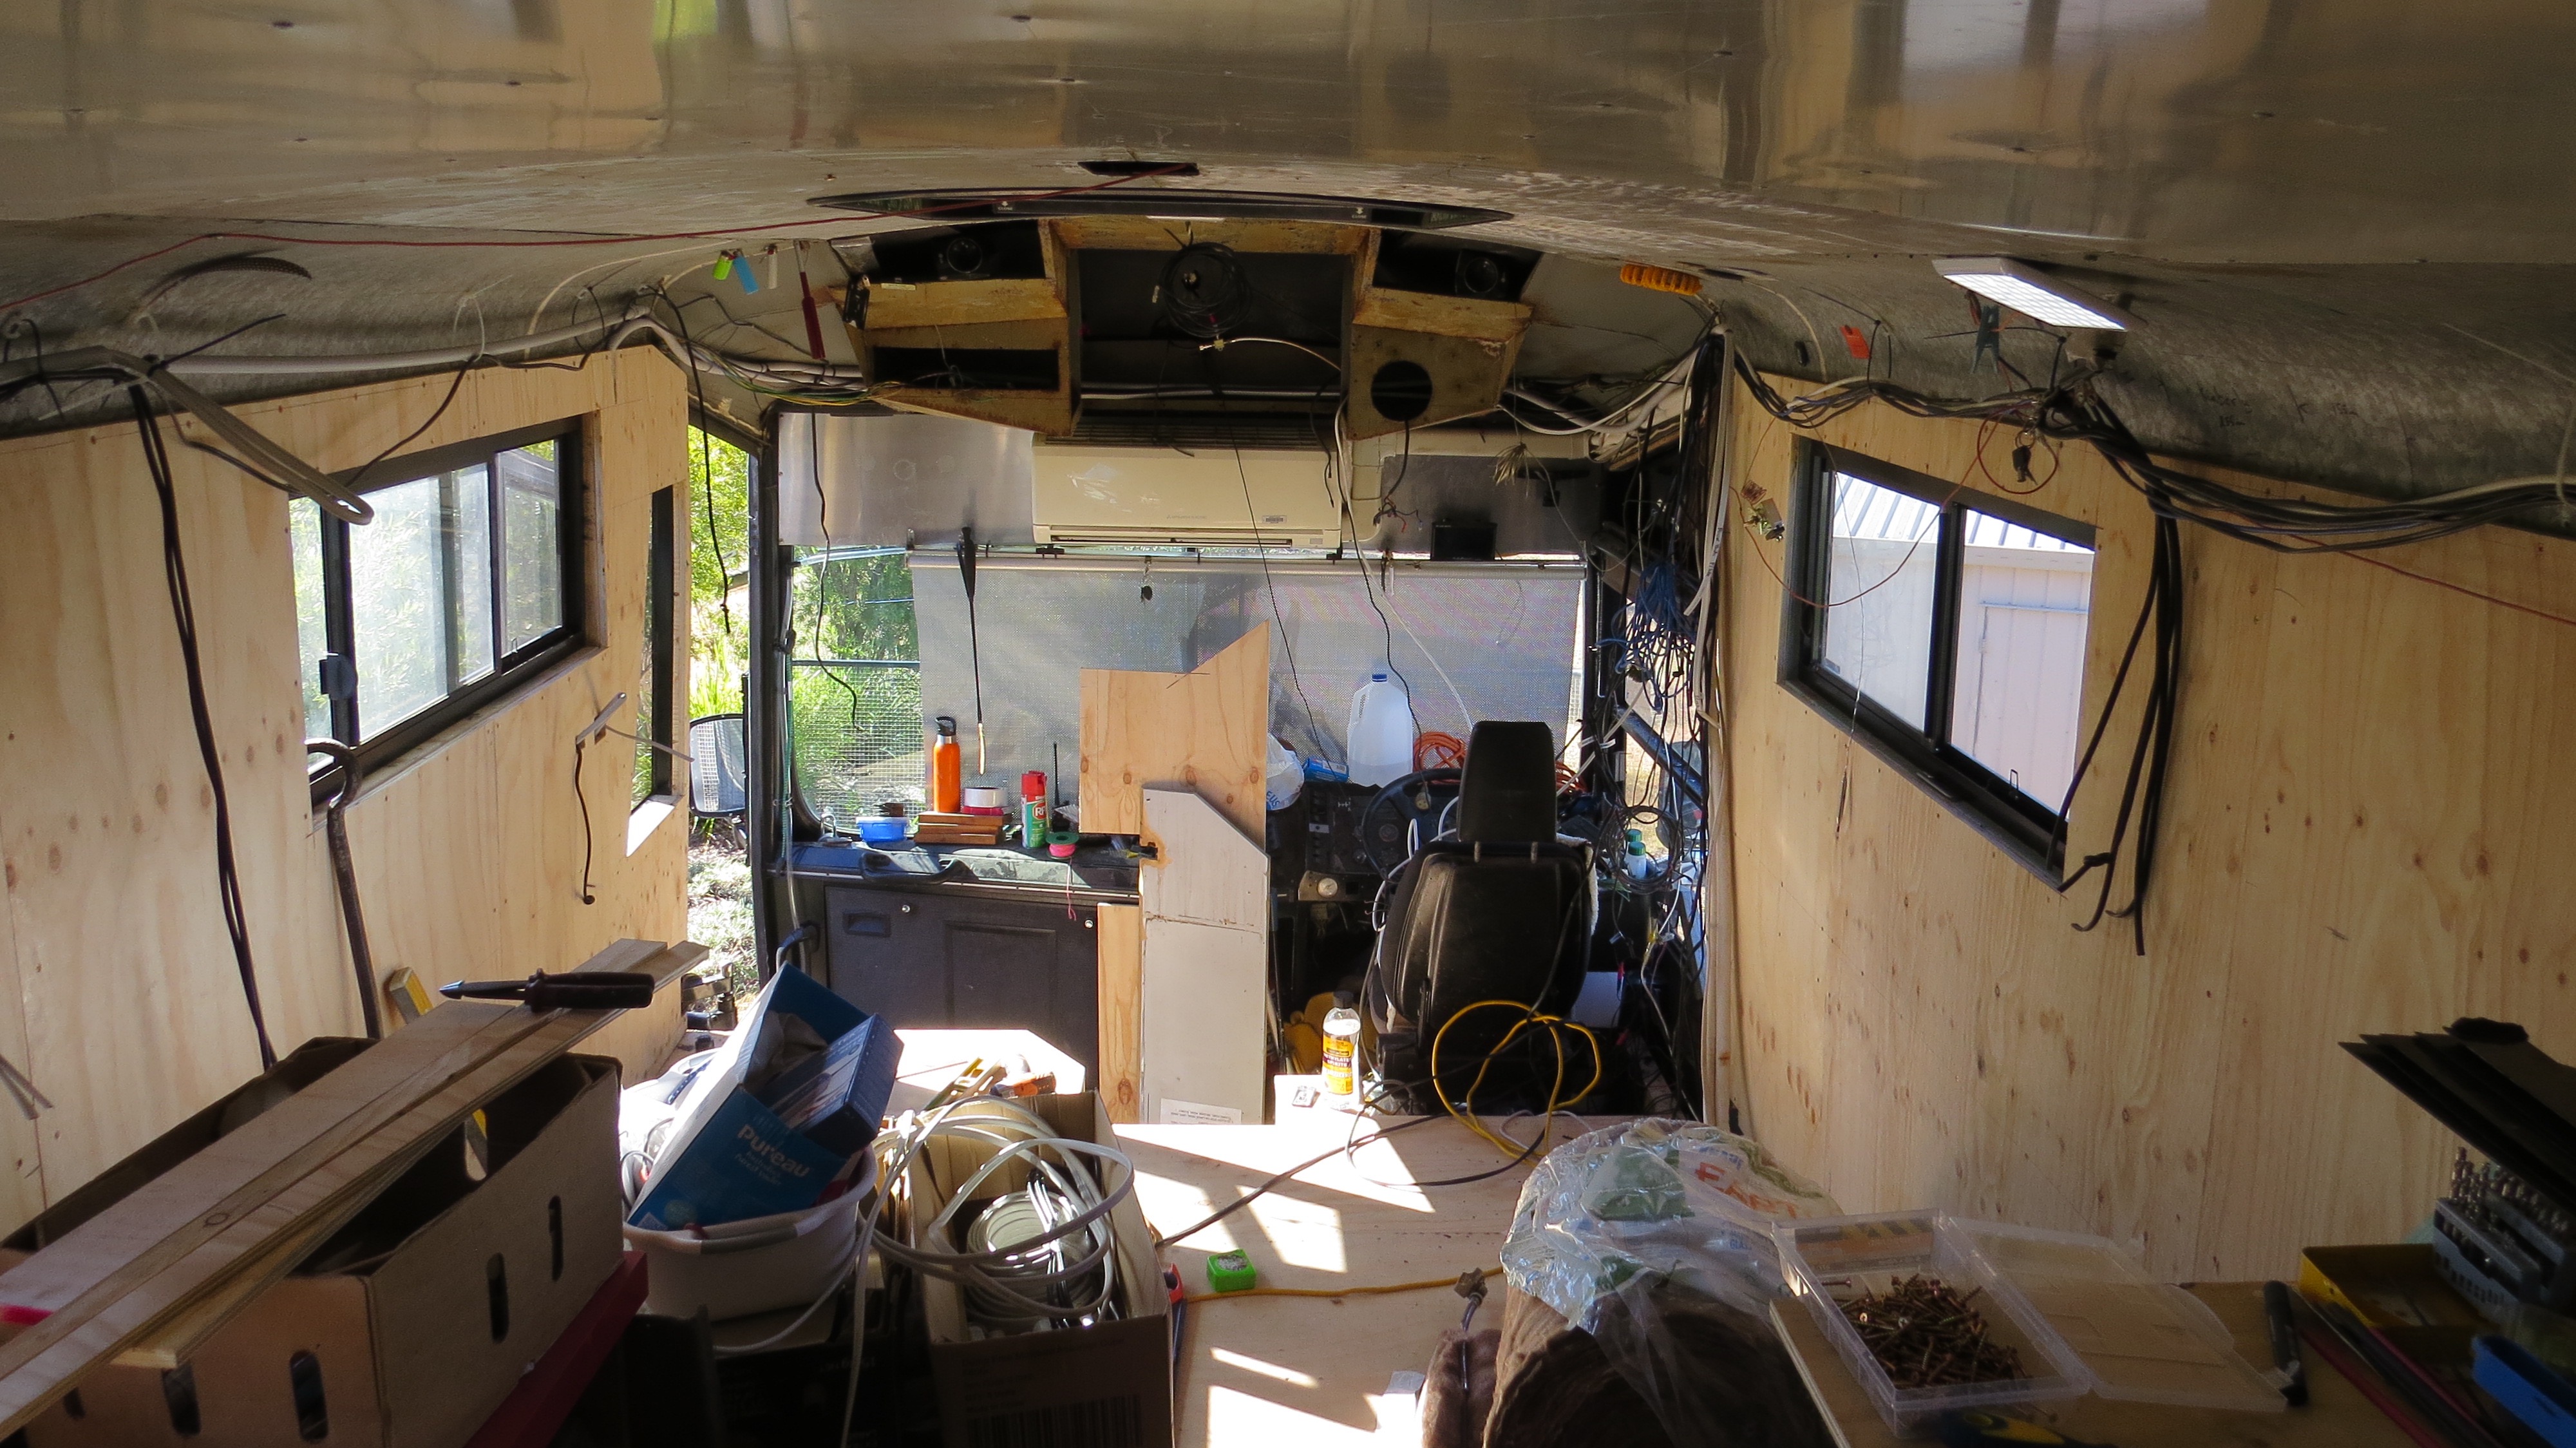
Yes it is a dream, just a lot of work to get there. With the air-con fitted into place now I can finish off all the small bits still to go. So back out with the tape to mark out the next pice to be cut.
Now I’ll have to move the air-con pipes.Well that’s the air-com pipe’s in place
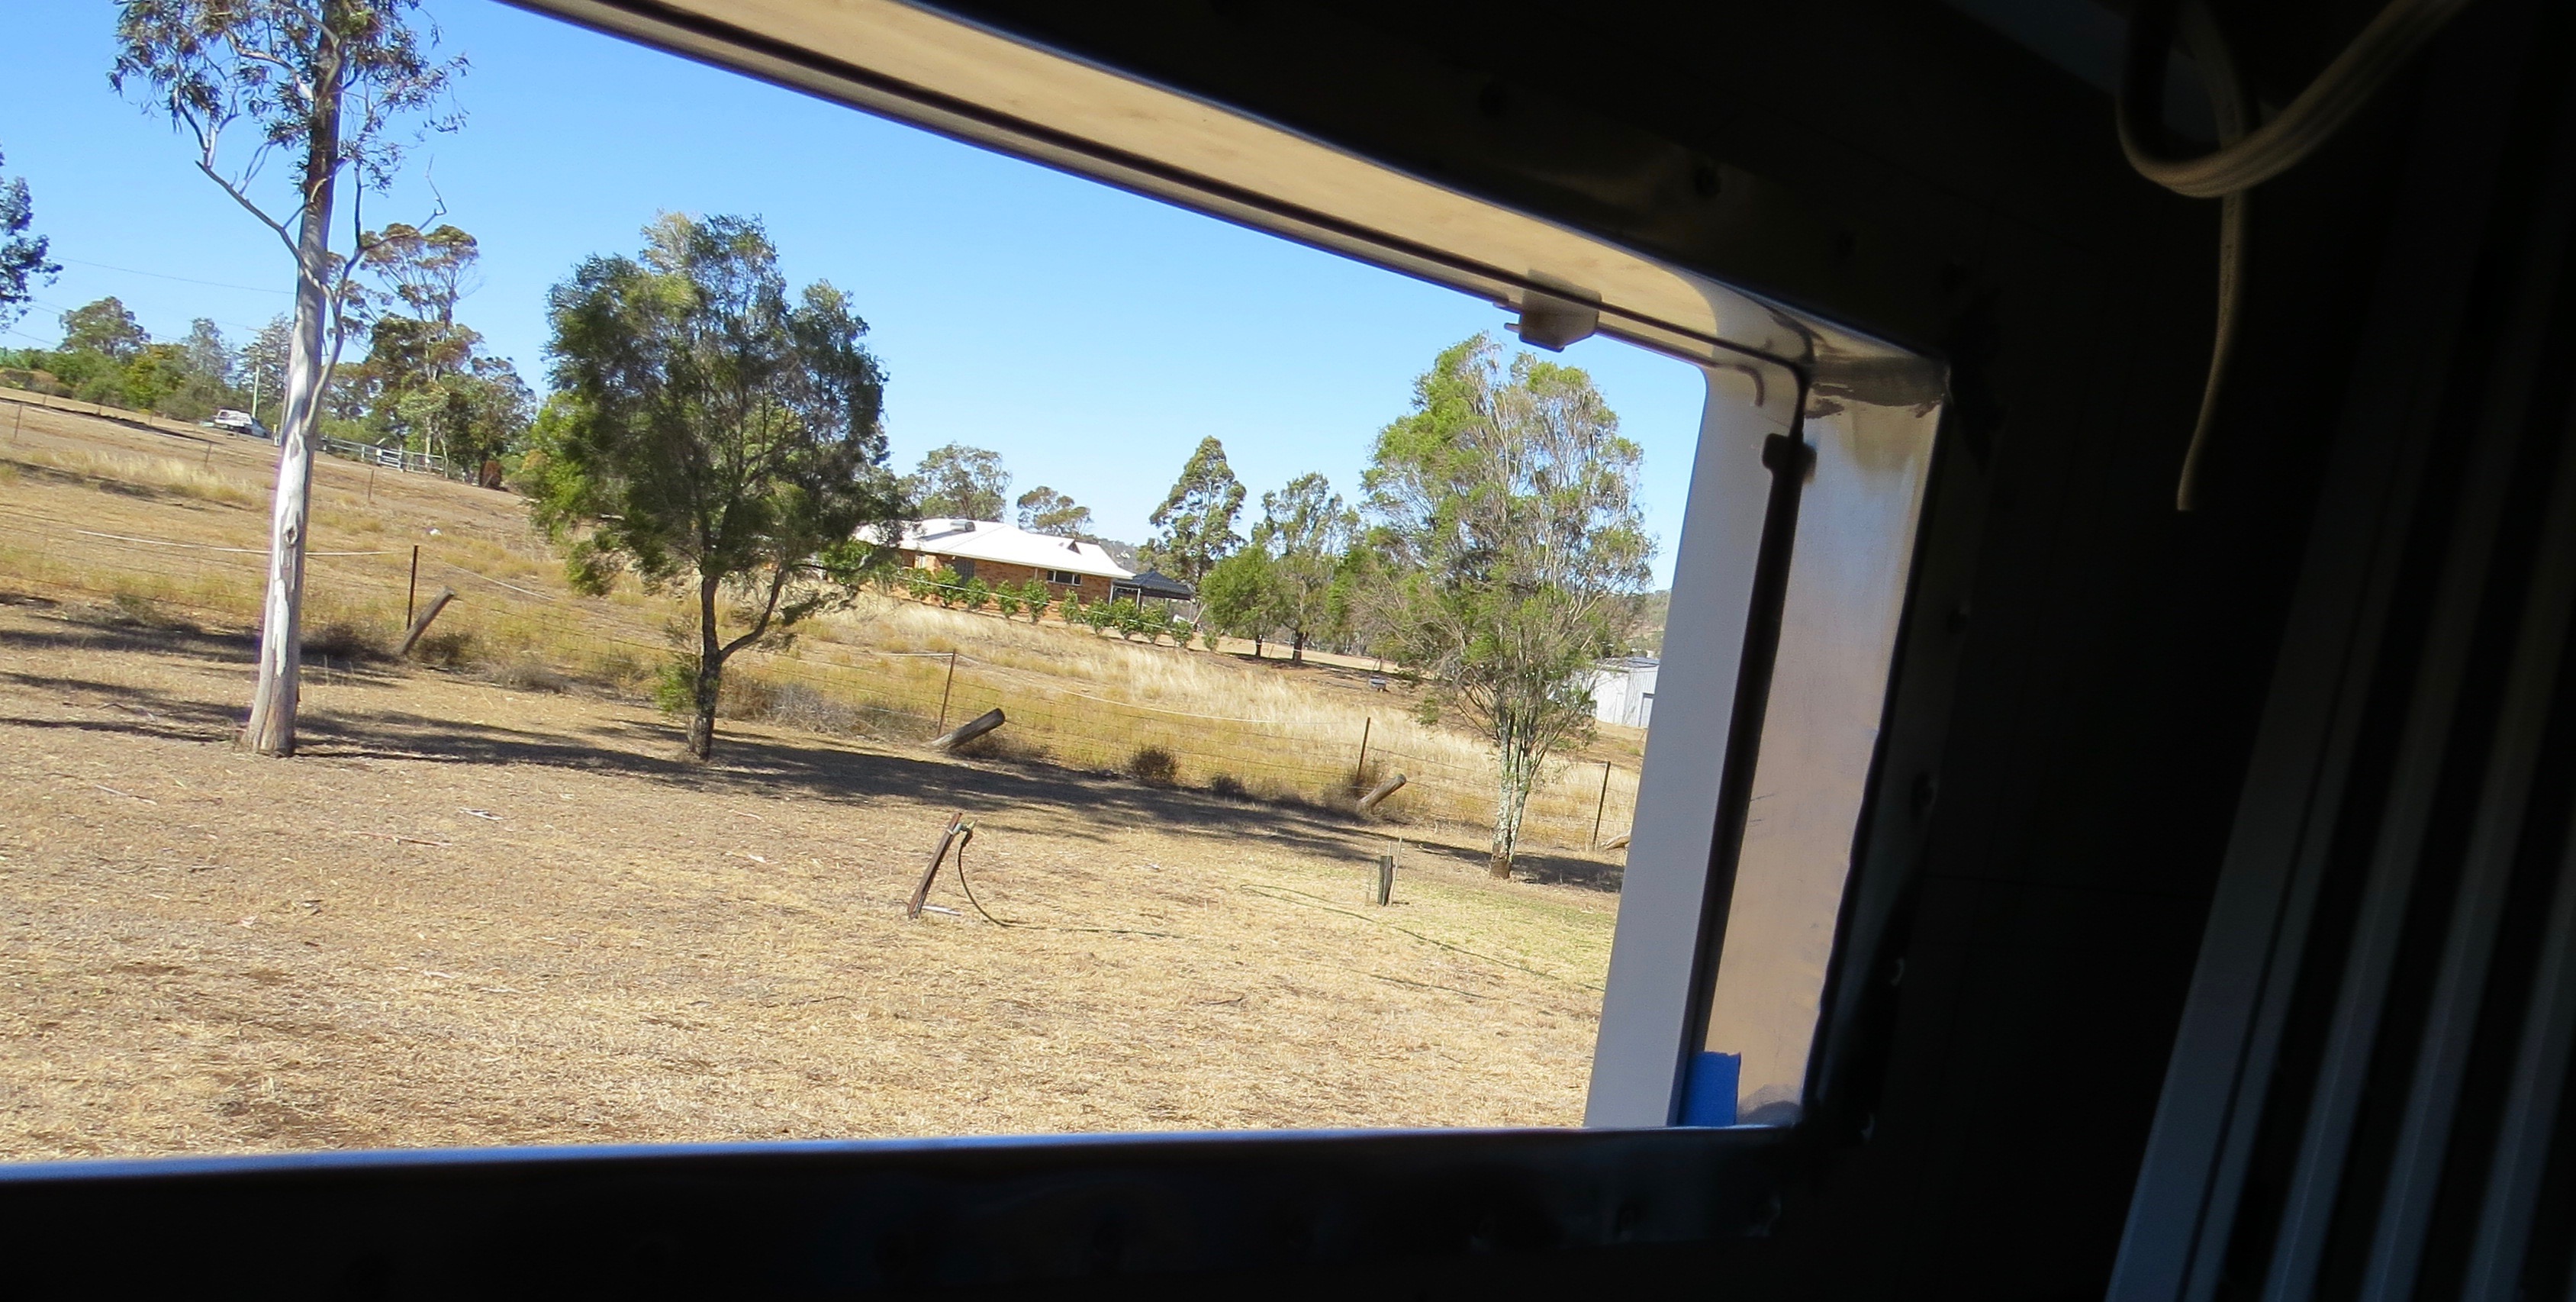
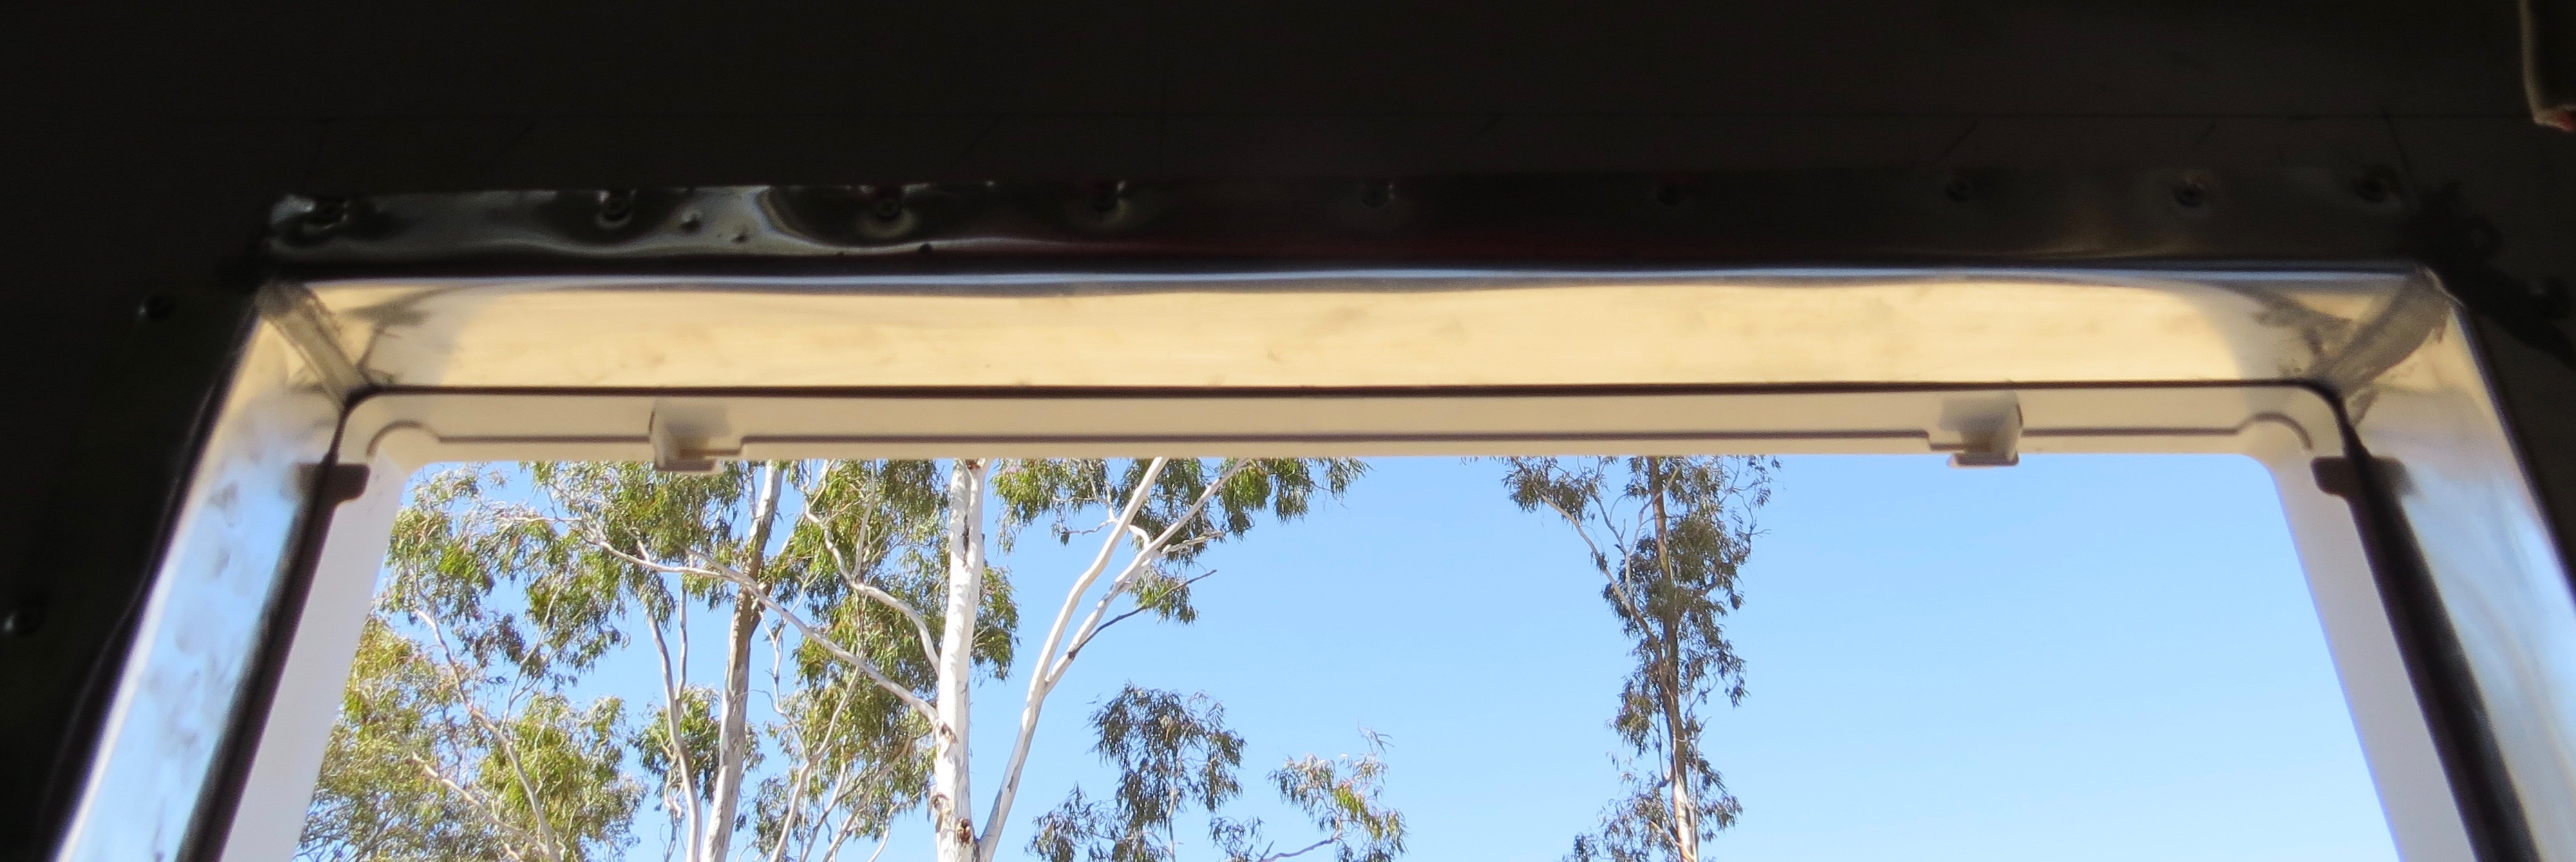
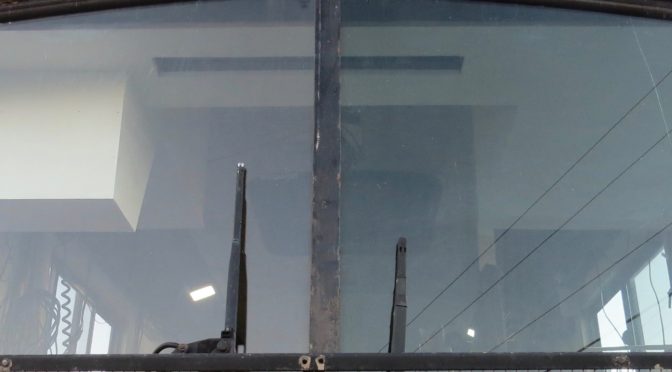
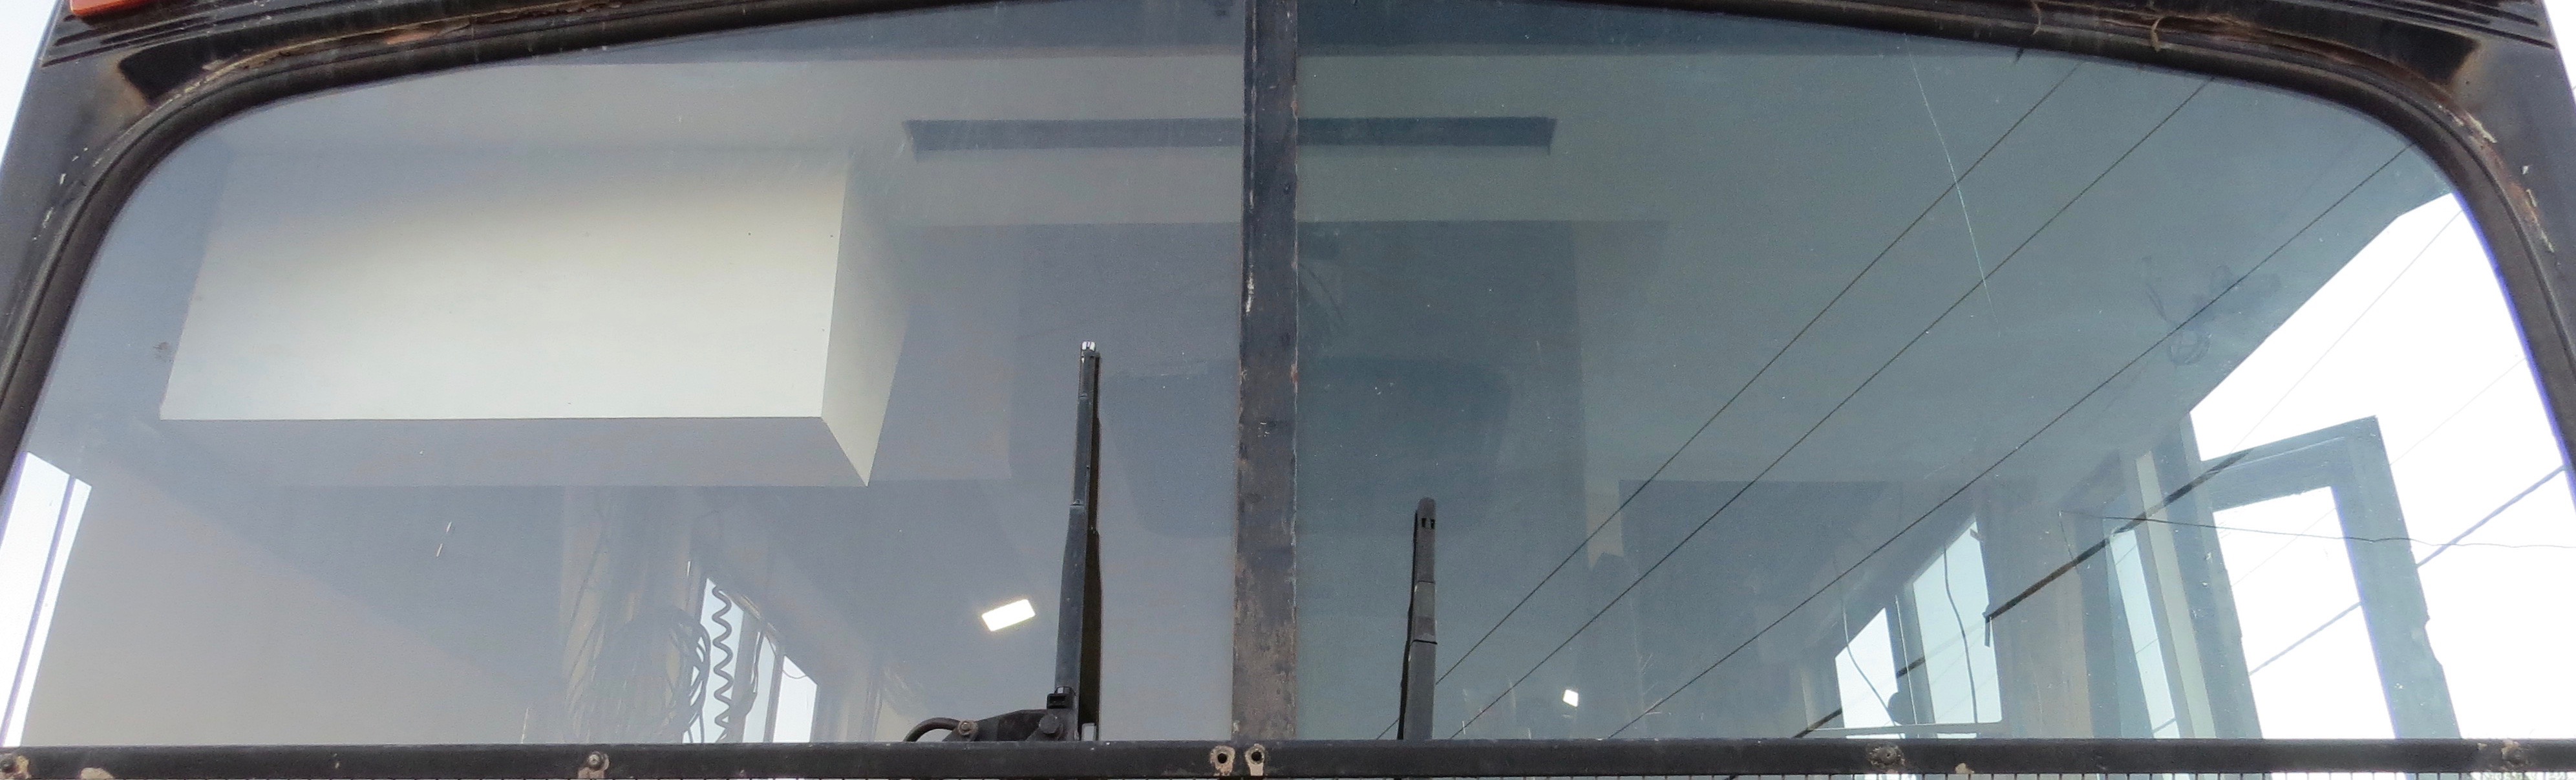
I have also covered the top of the driver side window above the pull down shad with insulation behind it, because the heat that comes off the window when the sun’s on that side make’s like not that nice.
The door side will look unfinished till the new door go’s in.
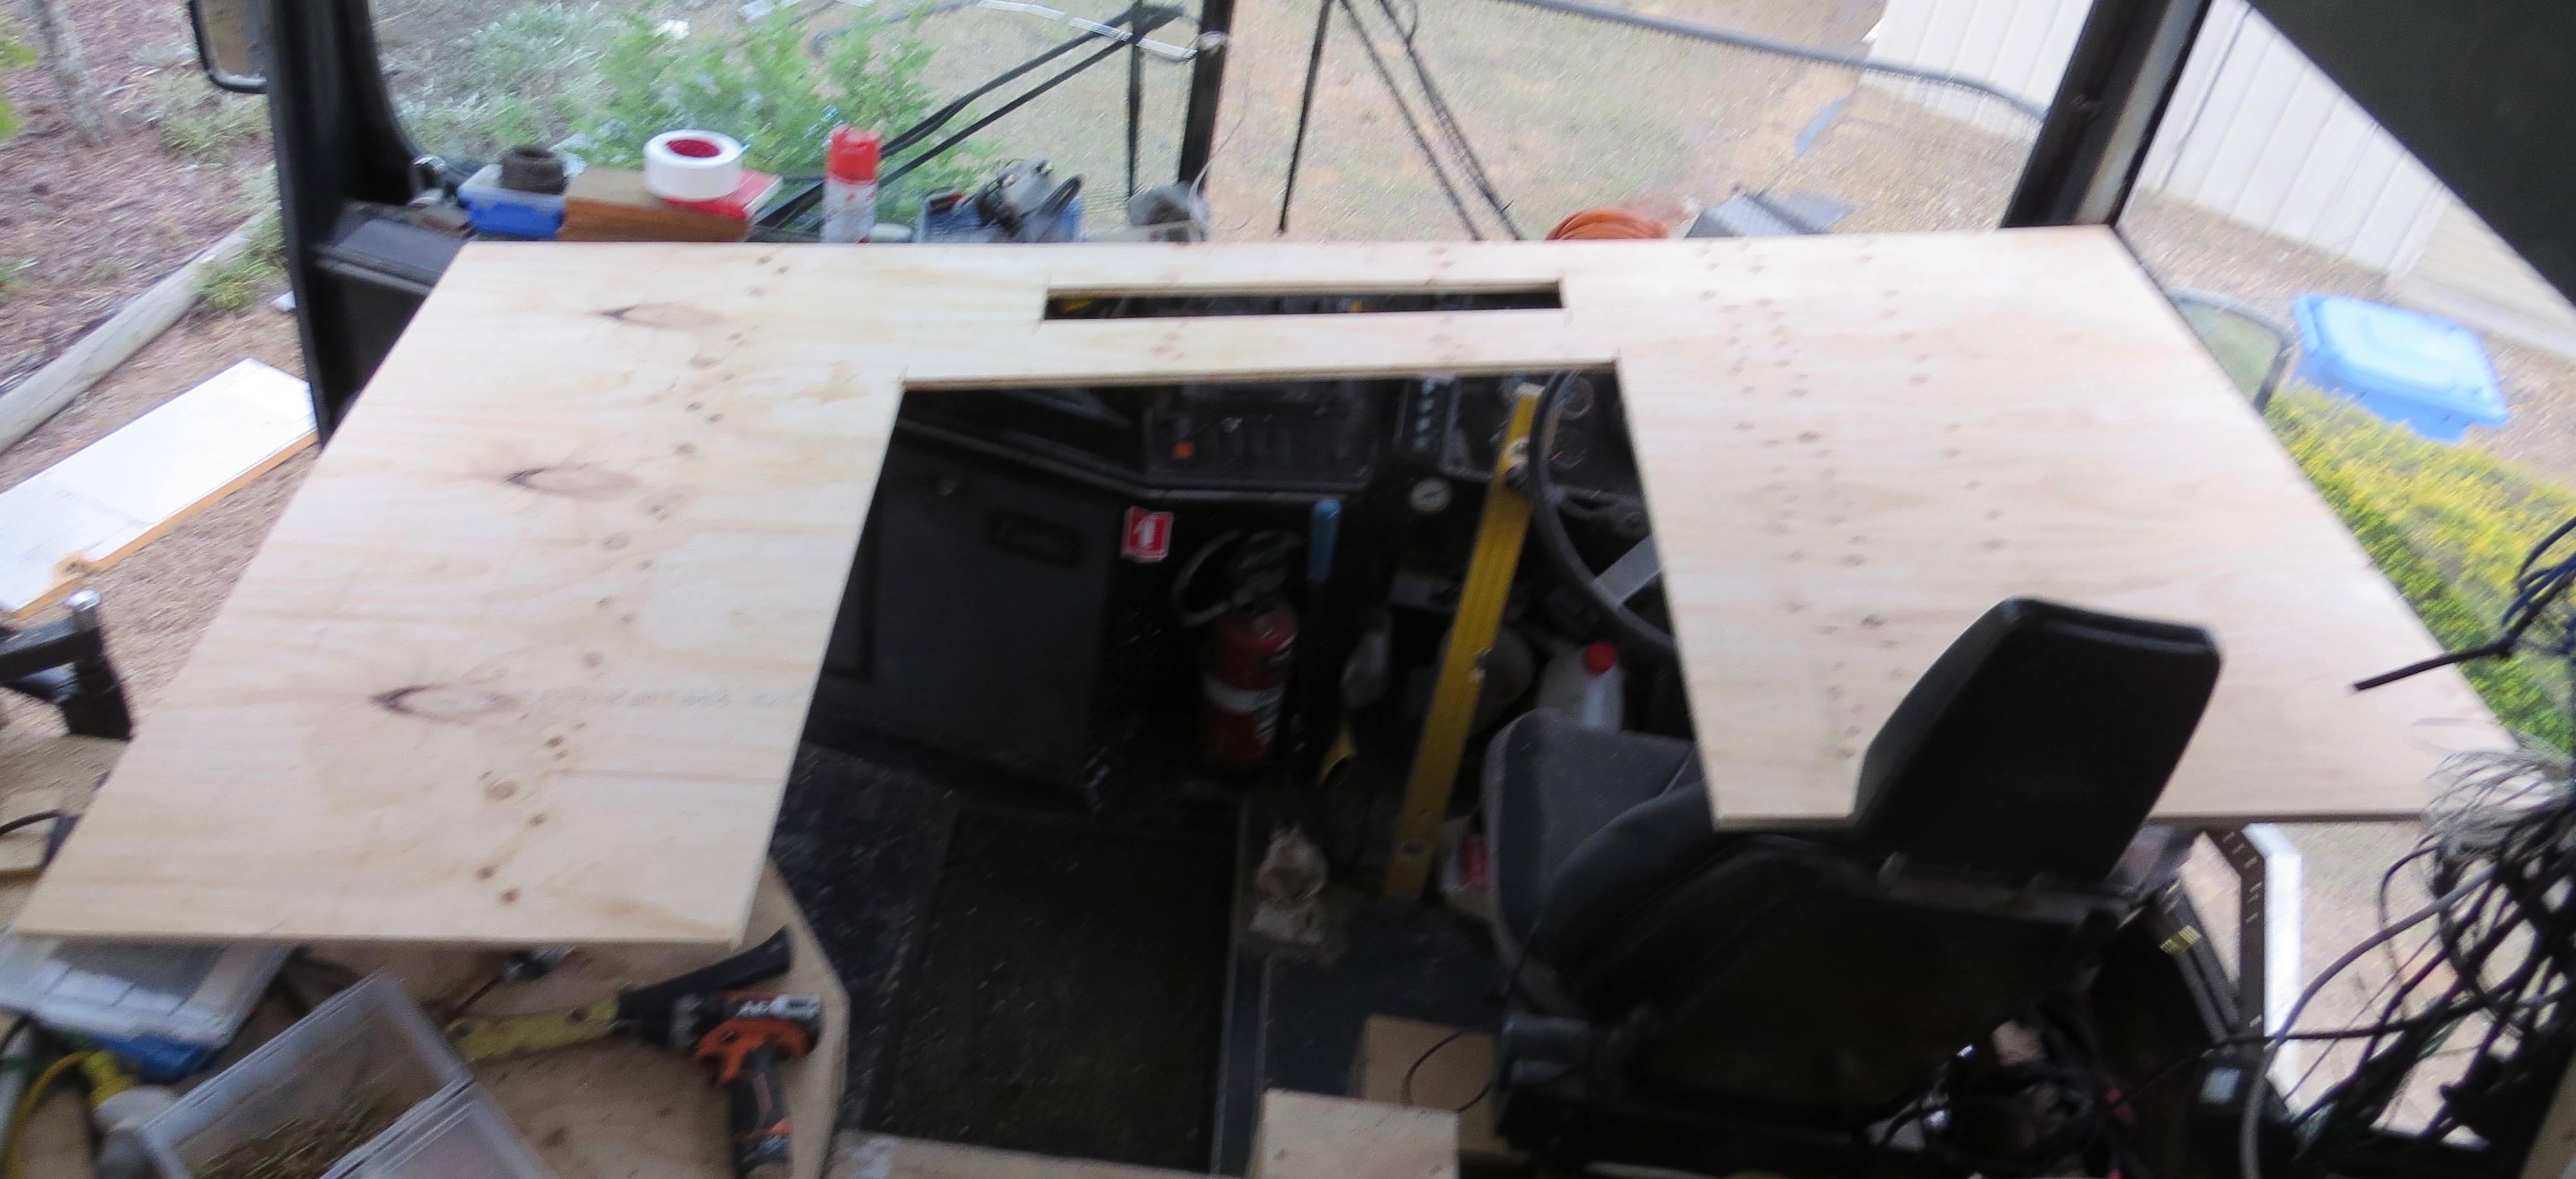
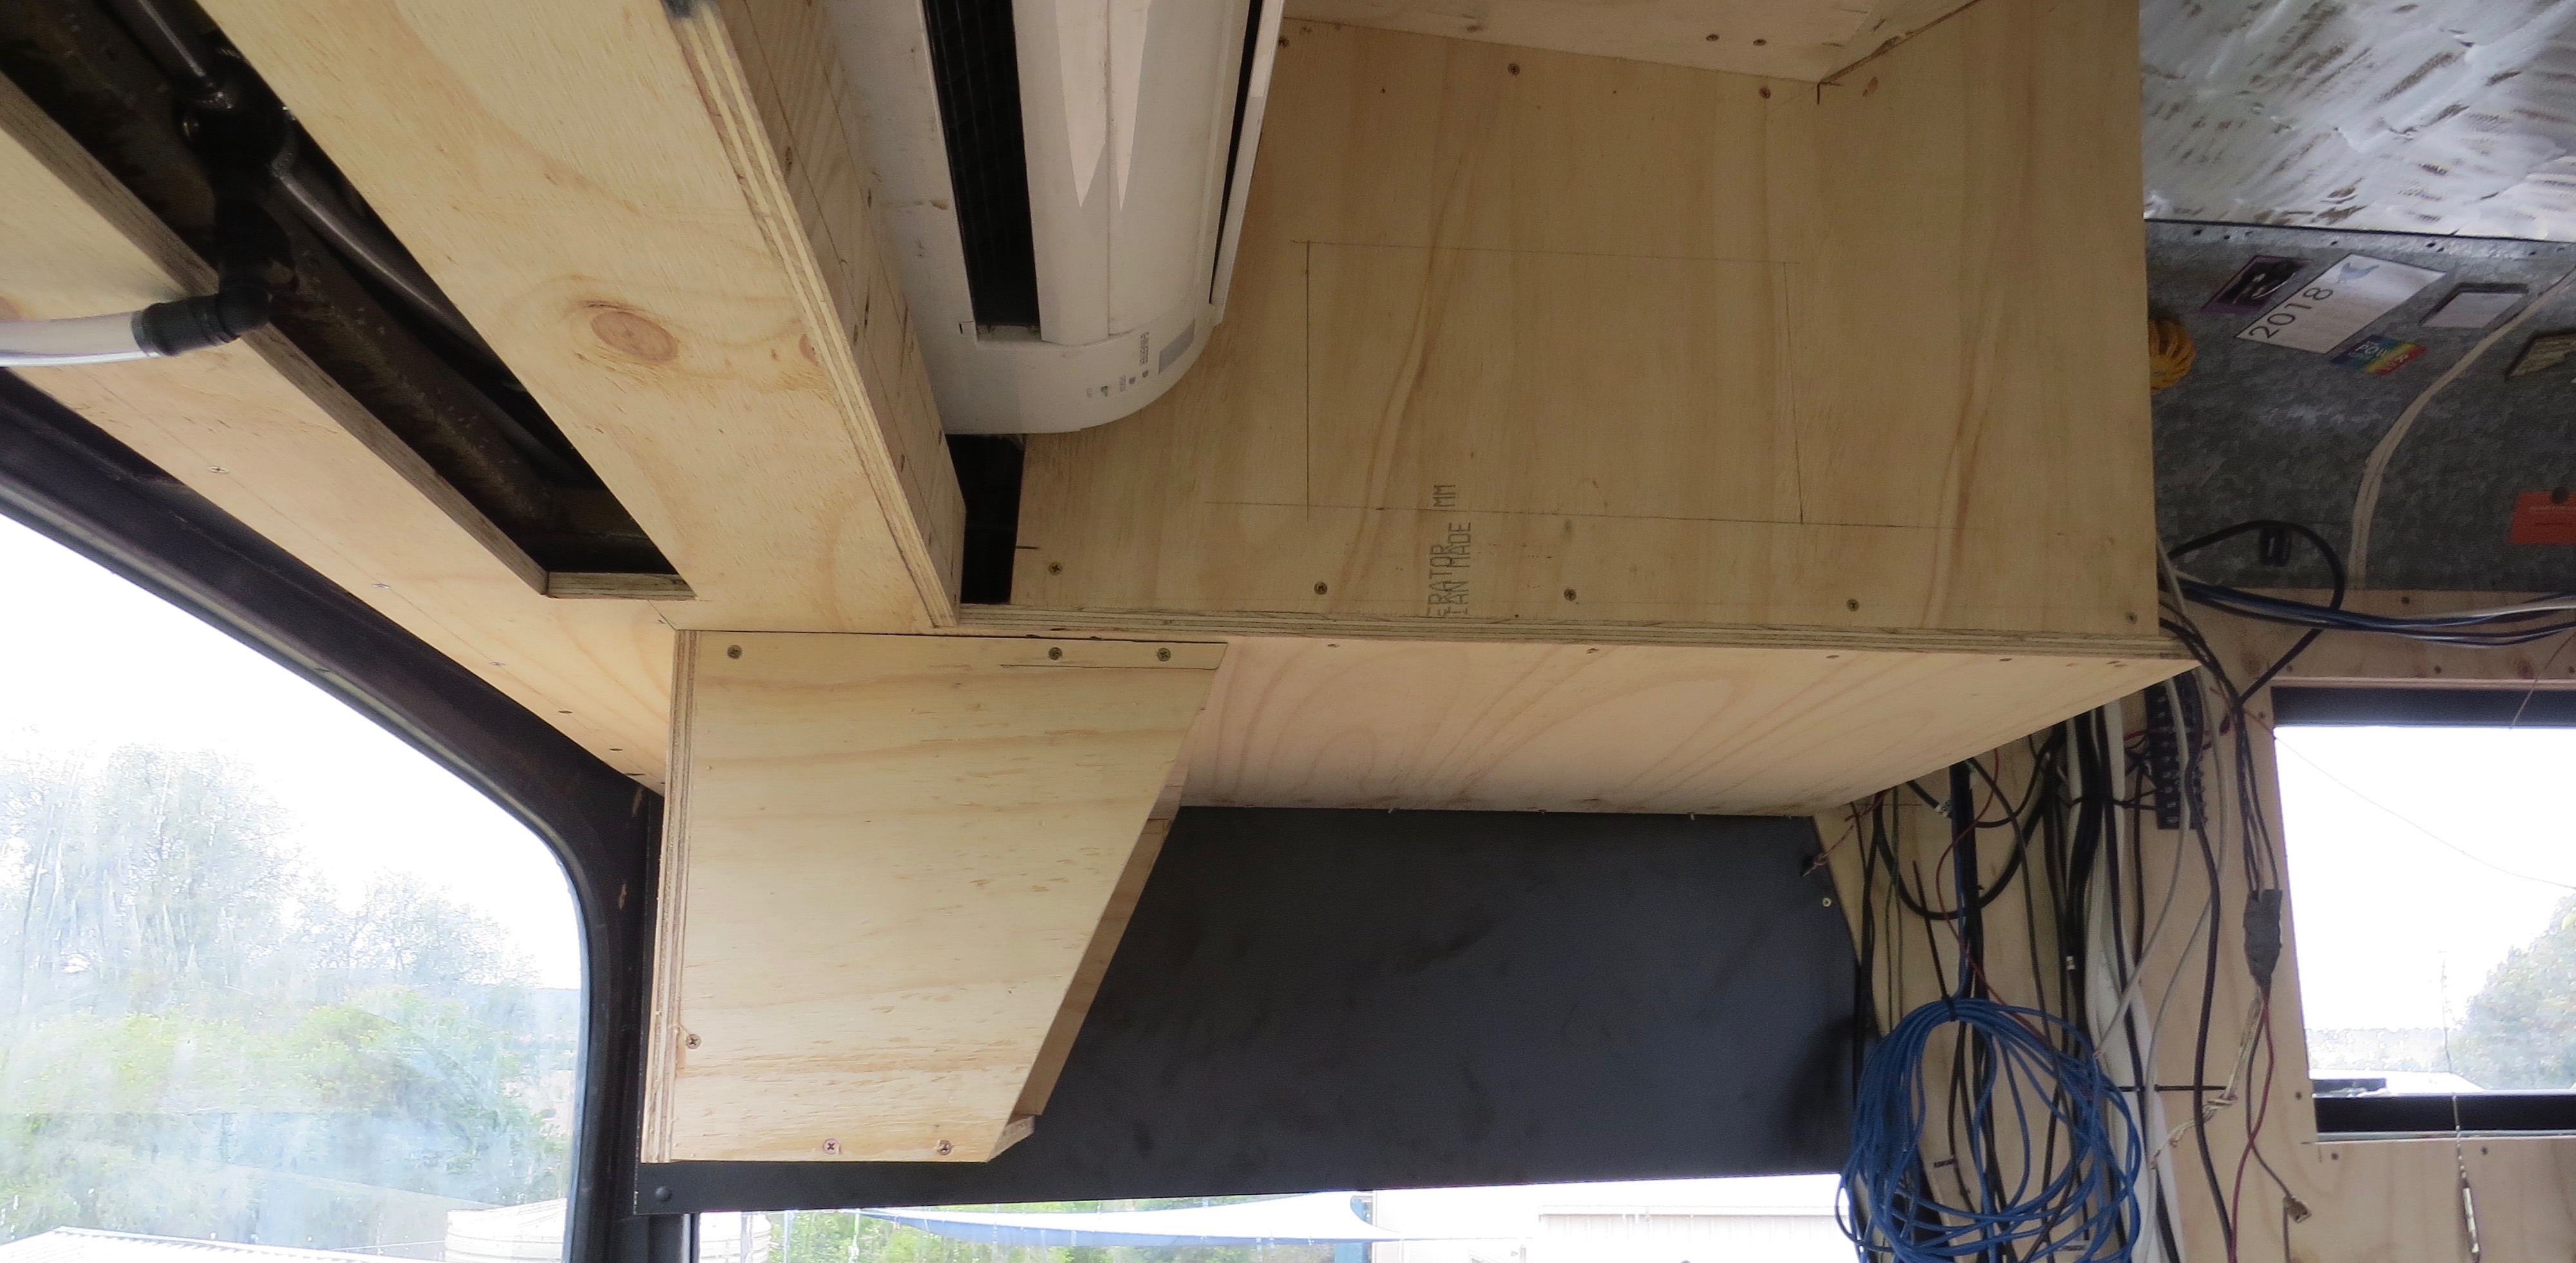
Now to cut more ply to fit into place across the front to finish off the bottom of the air-con housing. Making every measurement count as I don’t wont to stuff a pice of ply up.
I think I’ve cut it right.
The things you do by your self
Now all I have to do is get it into place, glue & screw it by myself as Charmaine’s at work.
BeforeAfter.Joy Joy Joy
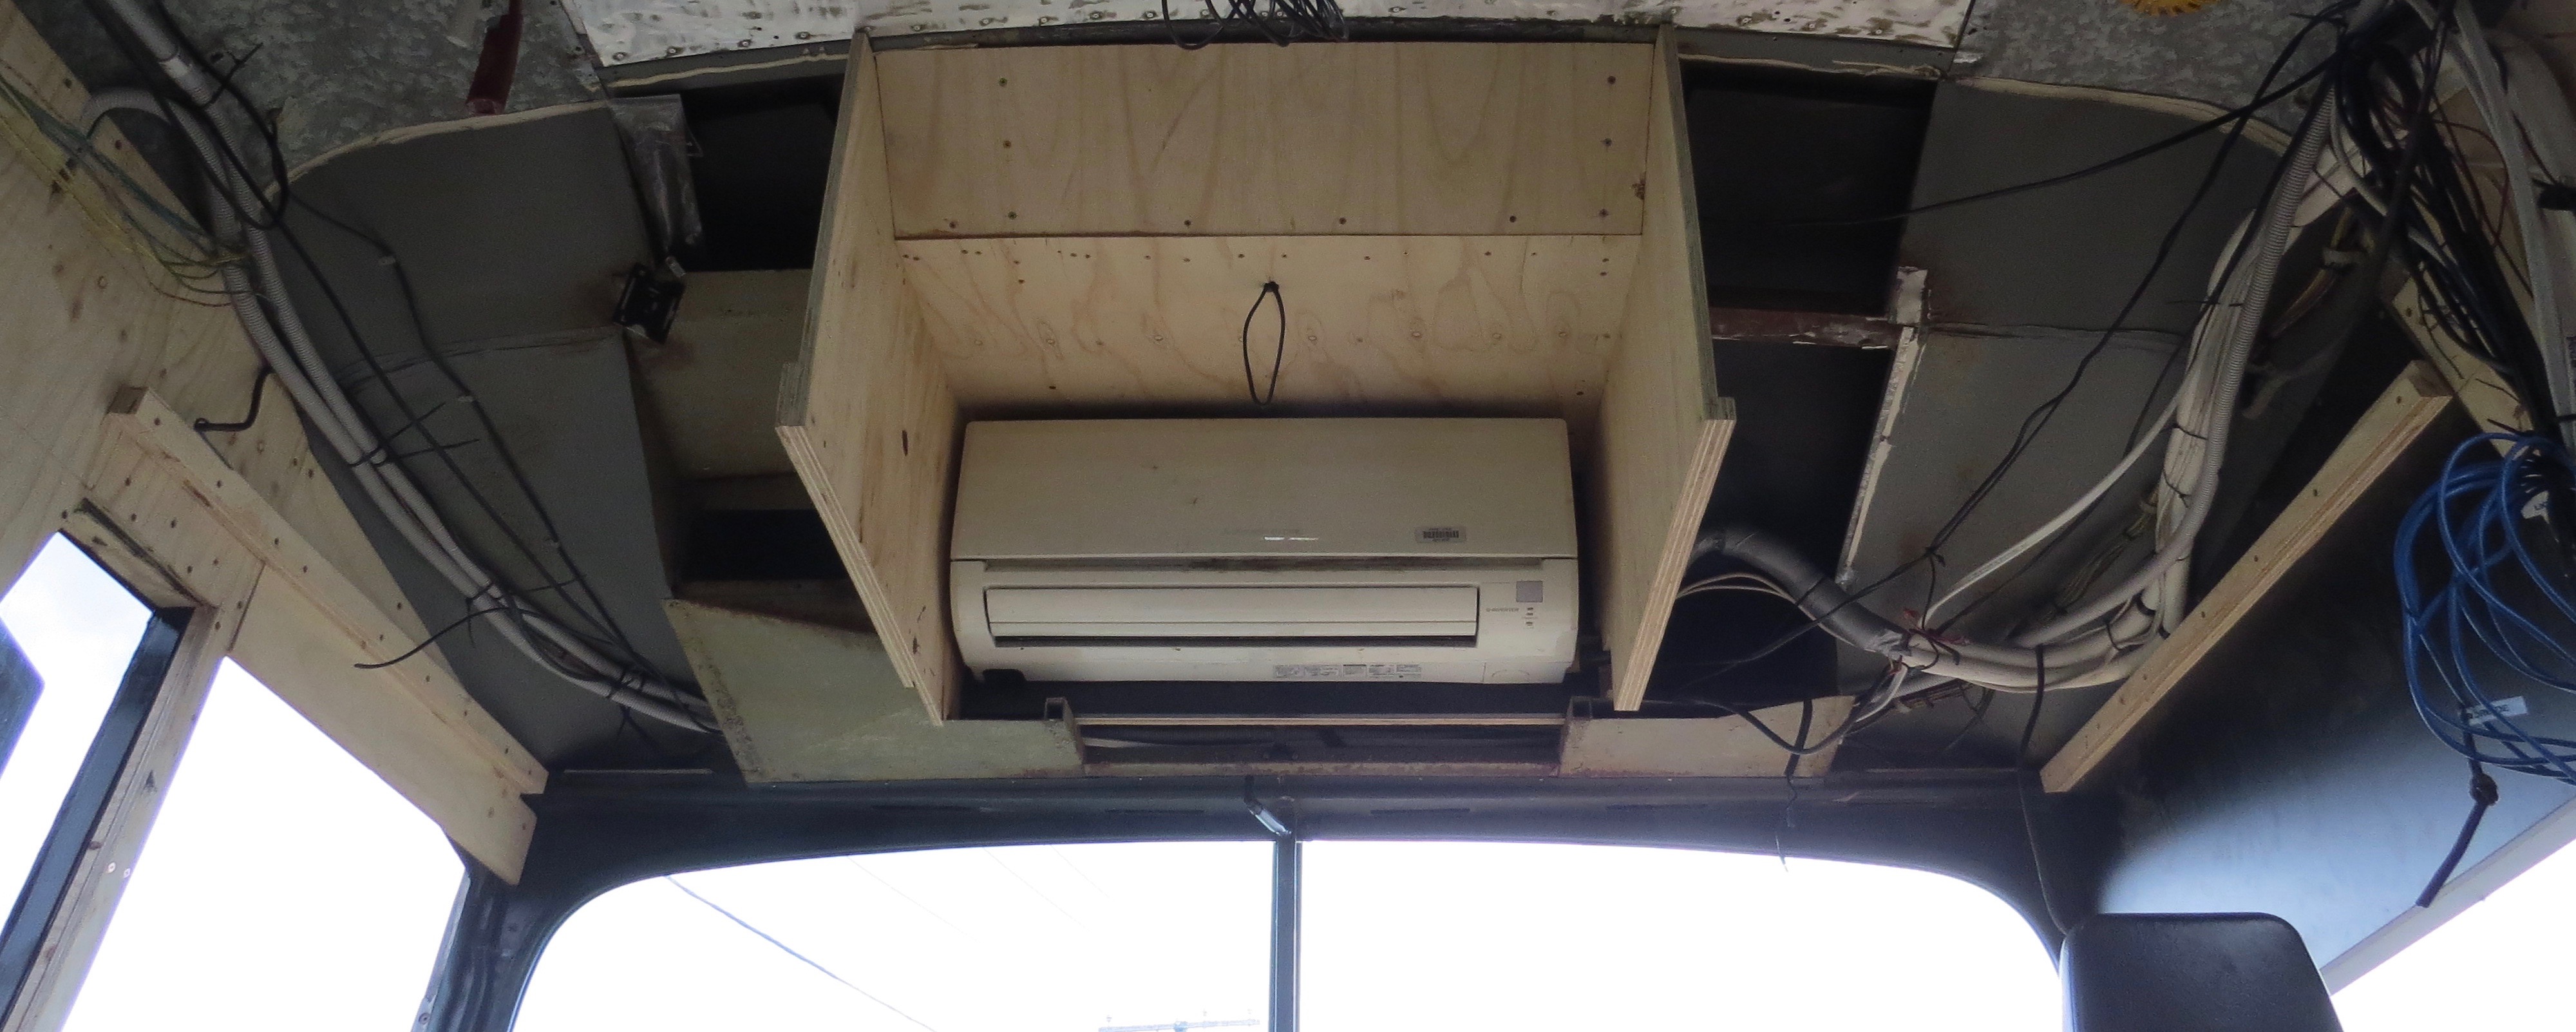
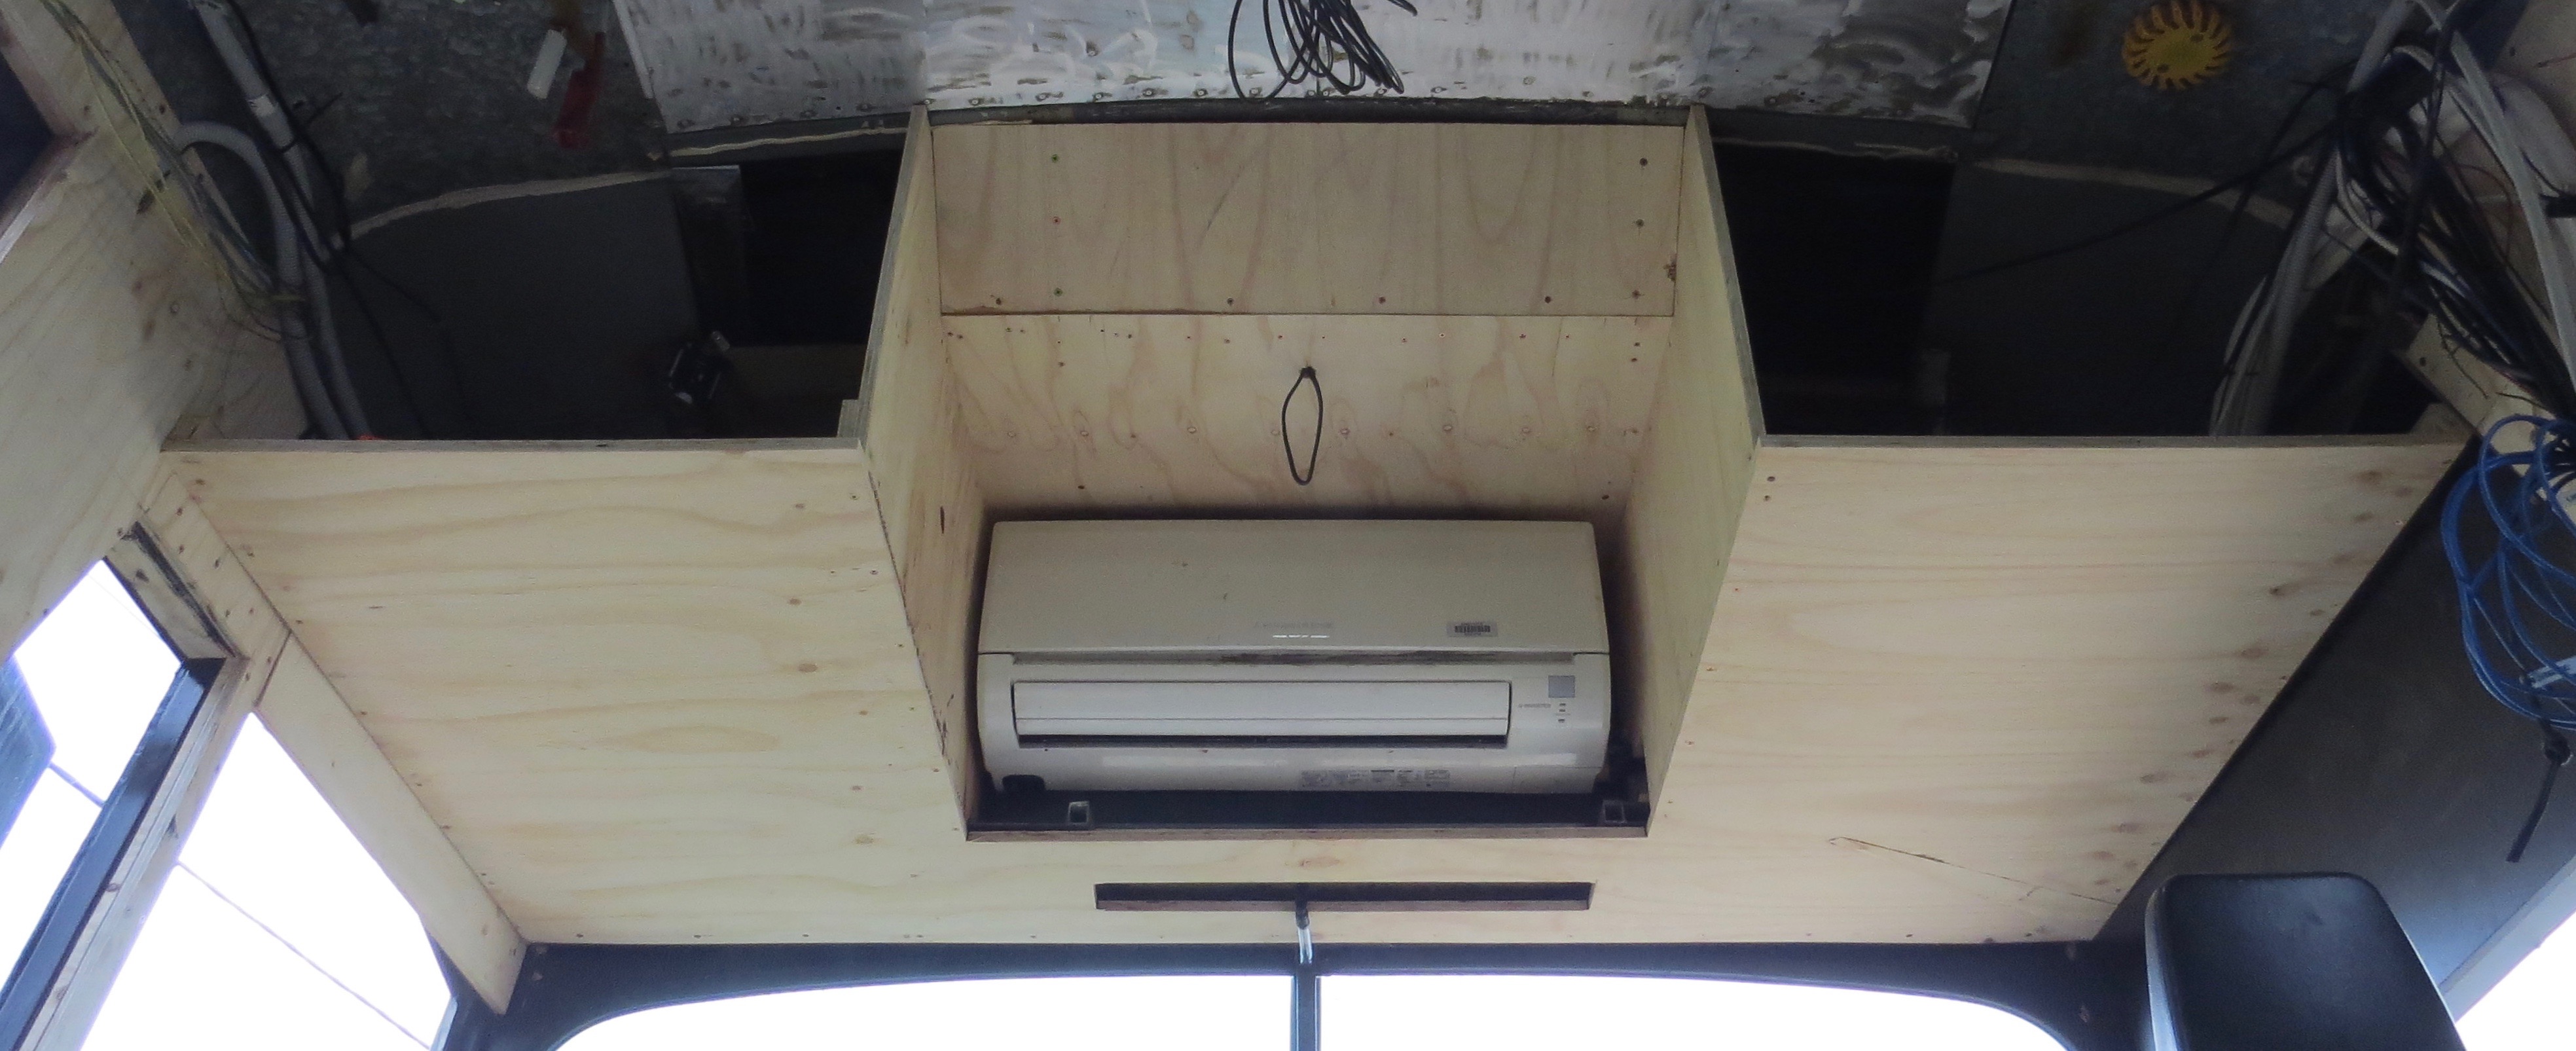
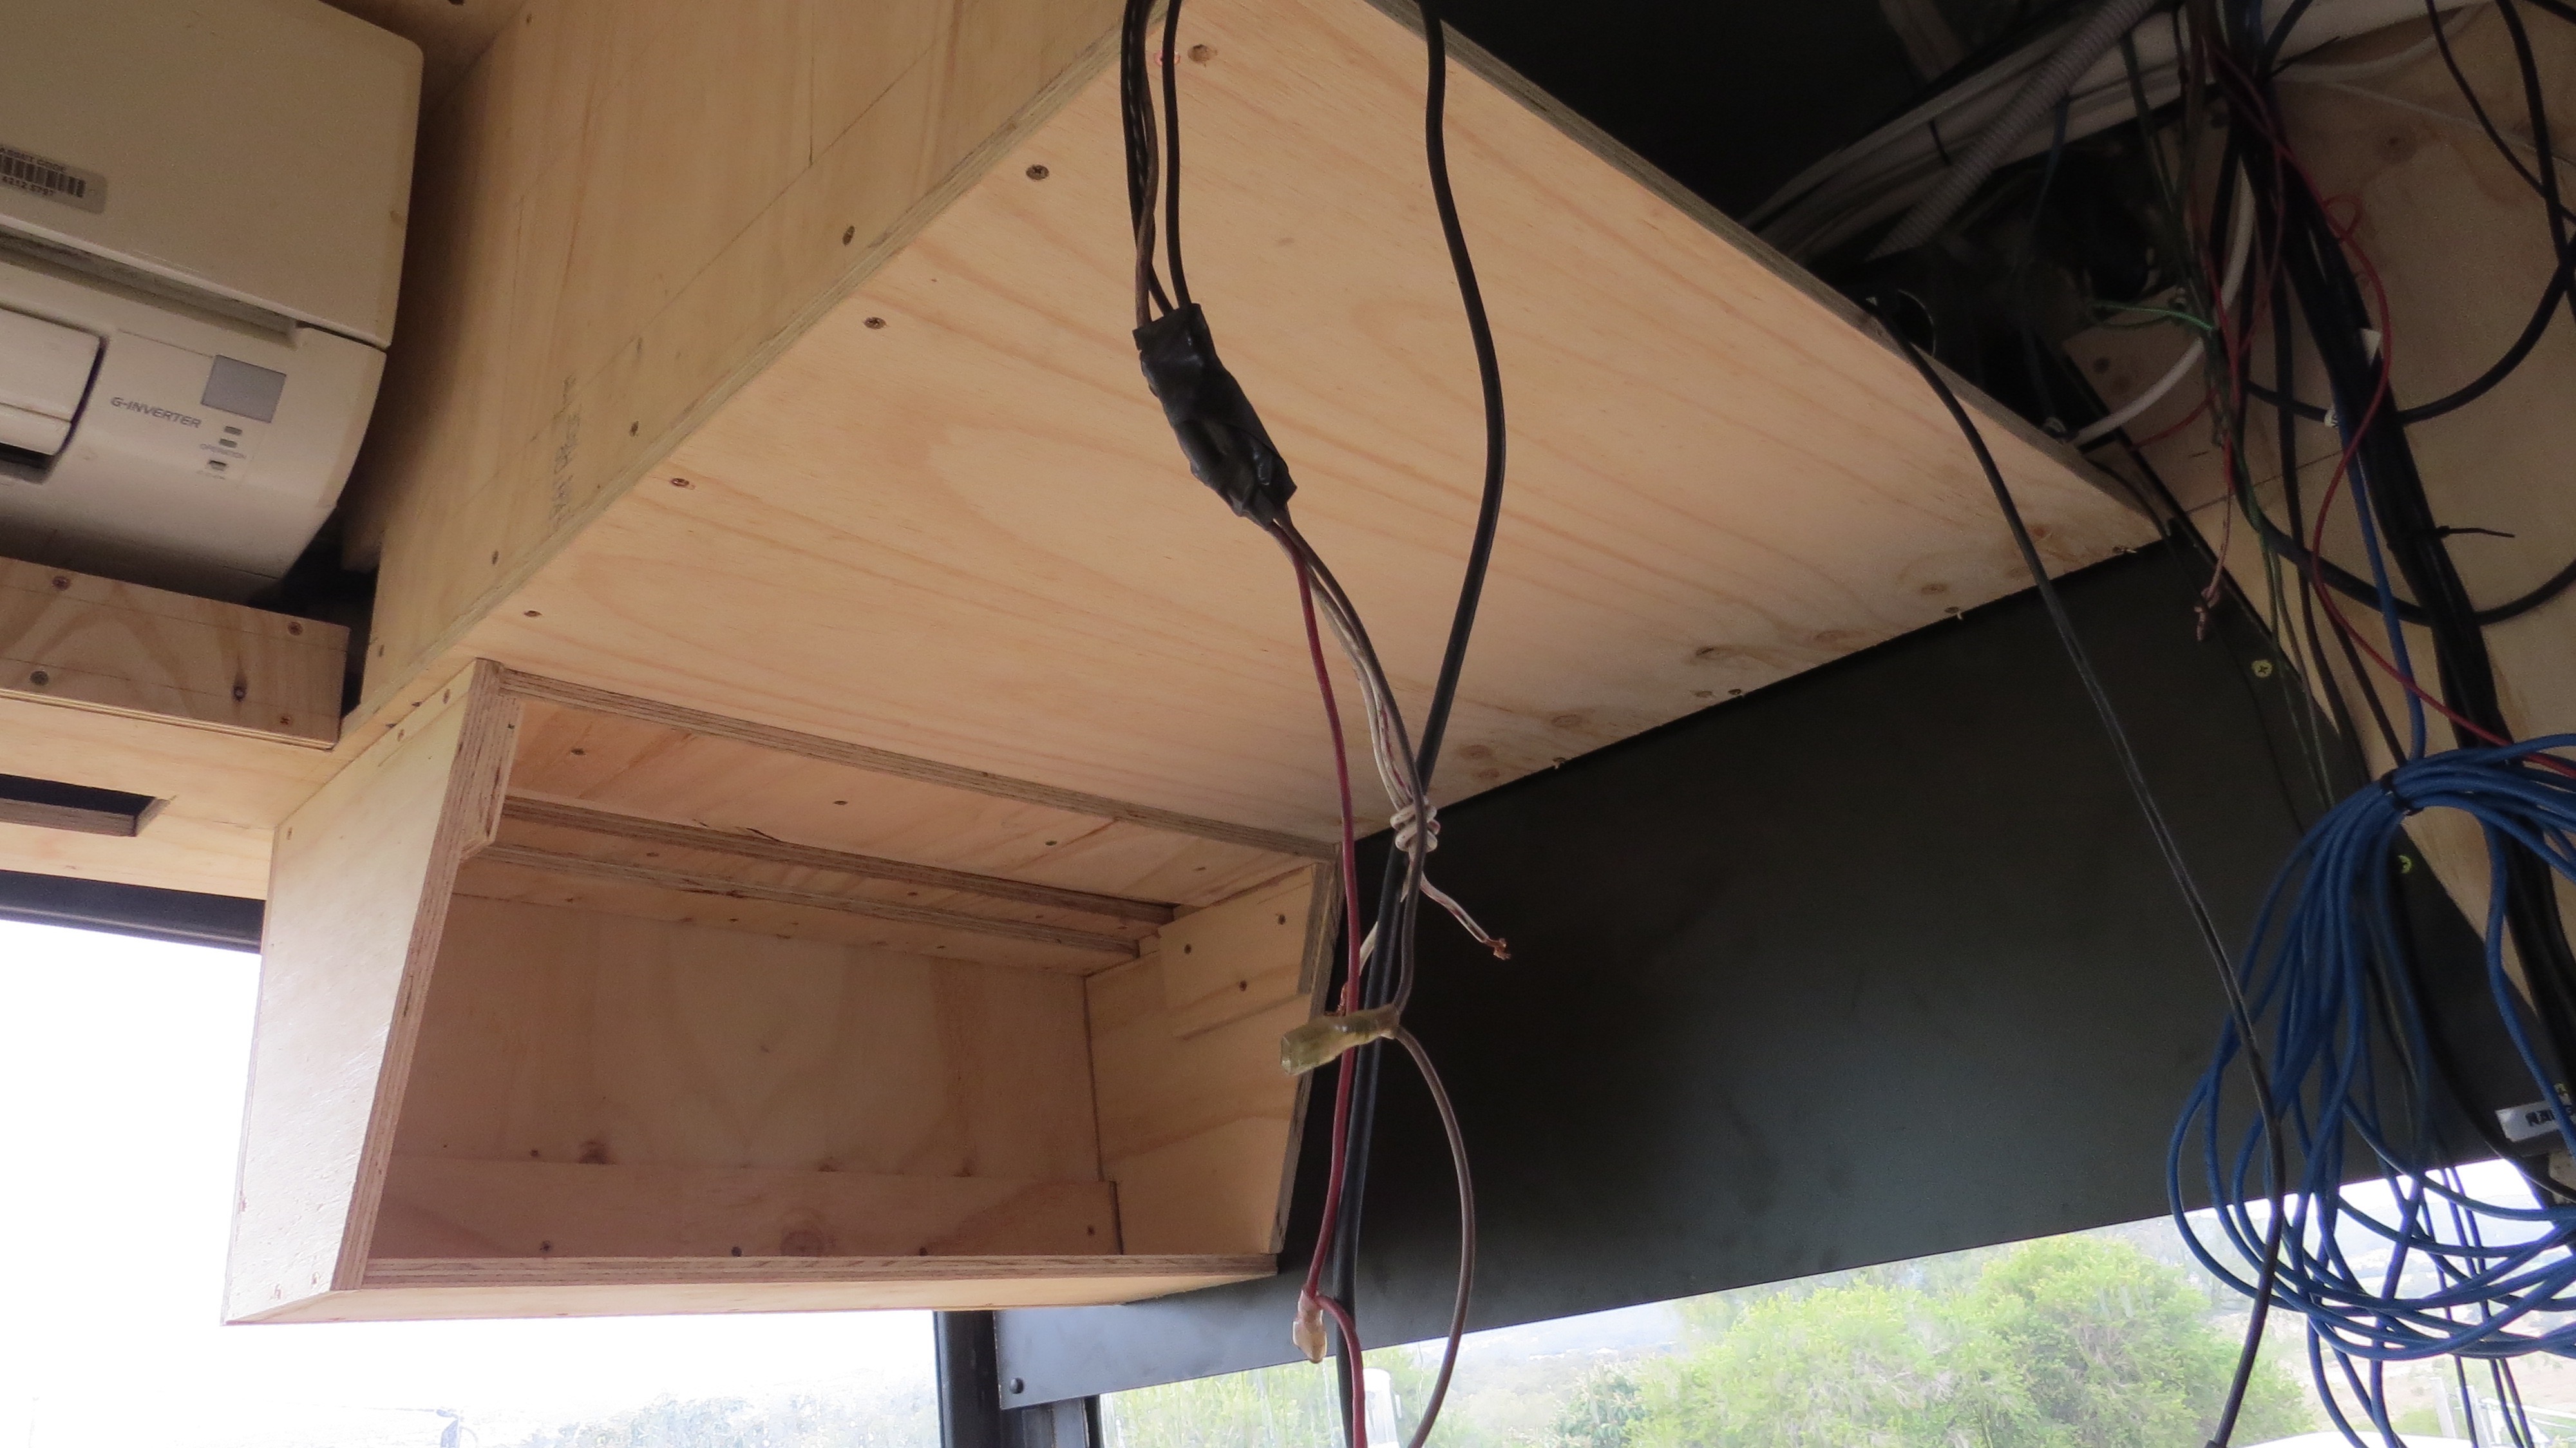
Now to tidy up the little bit’s to finish it off across the bottom of the air-con.
Lot’s of small bit’s the fit into place.Somewhere to put the GPS, Two way and reversing camera screen.Should have lot’s of room for everything.
This will be covered later on and have a panel to fit the GPS, two-way and the reversing camera screen as well as anything that I think of later.
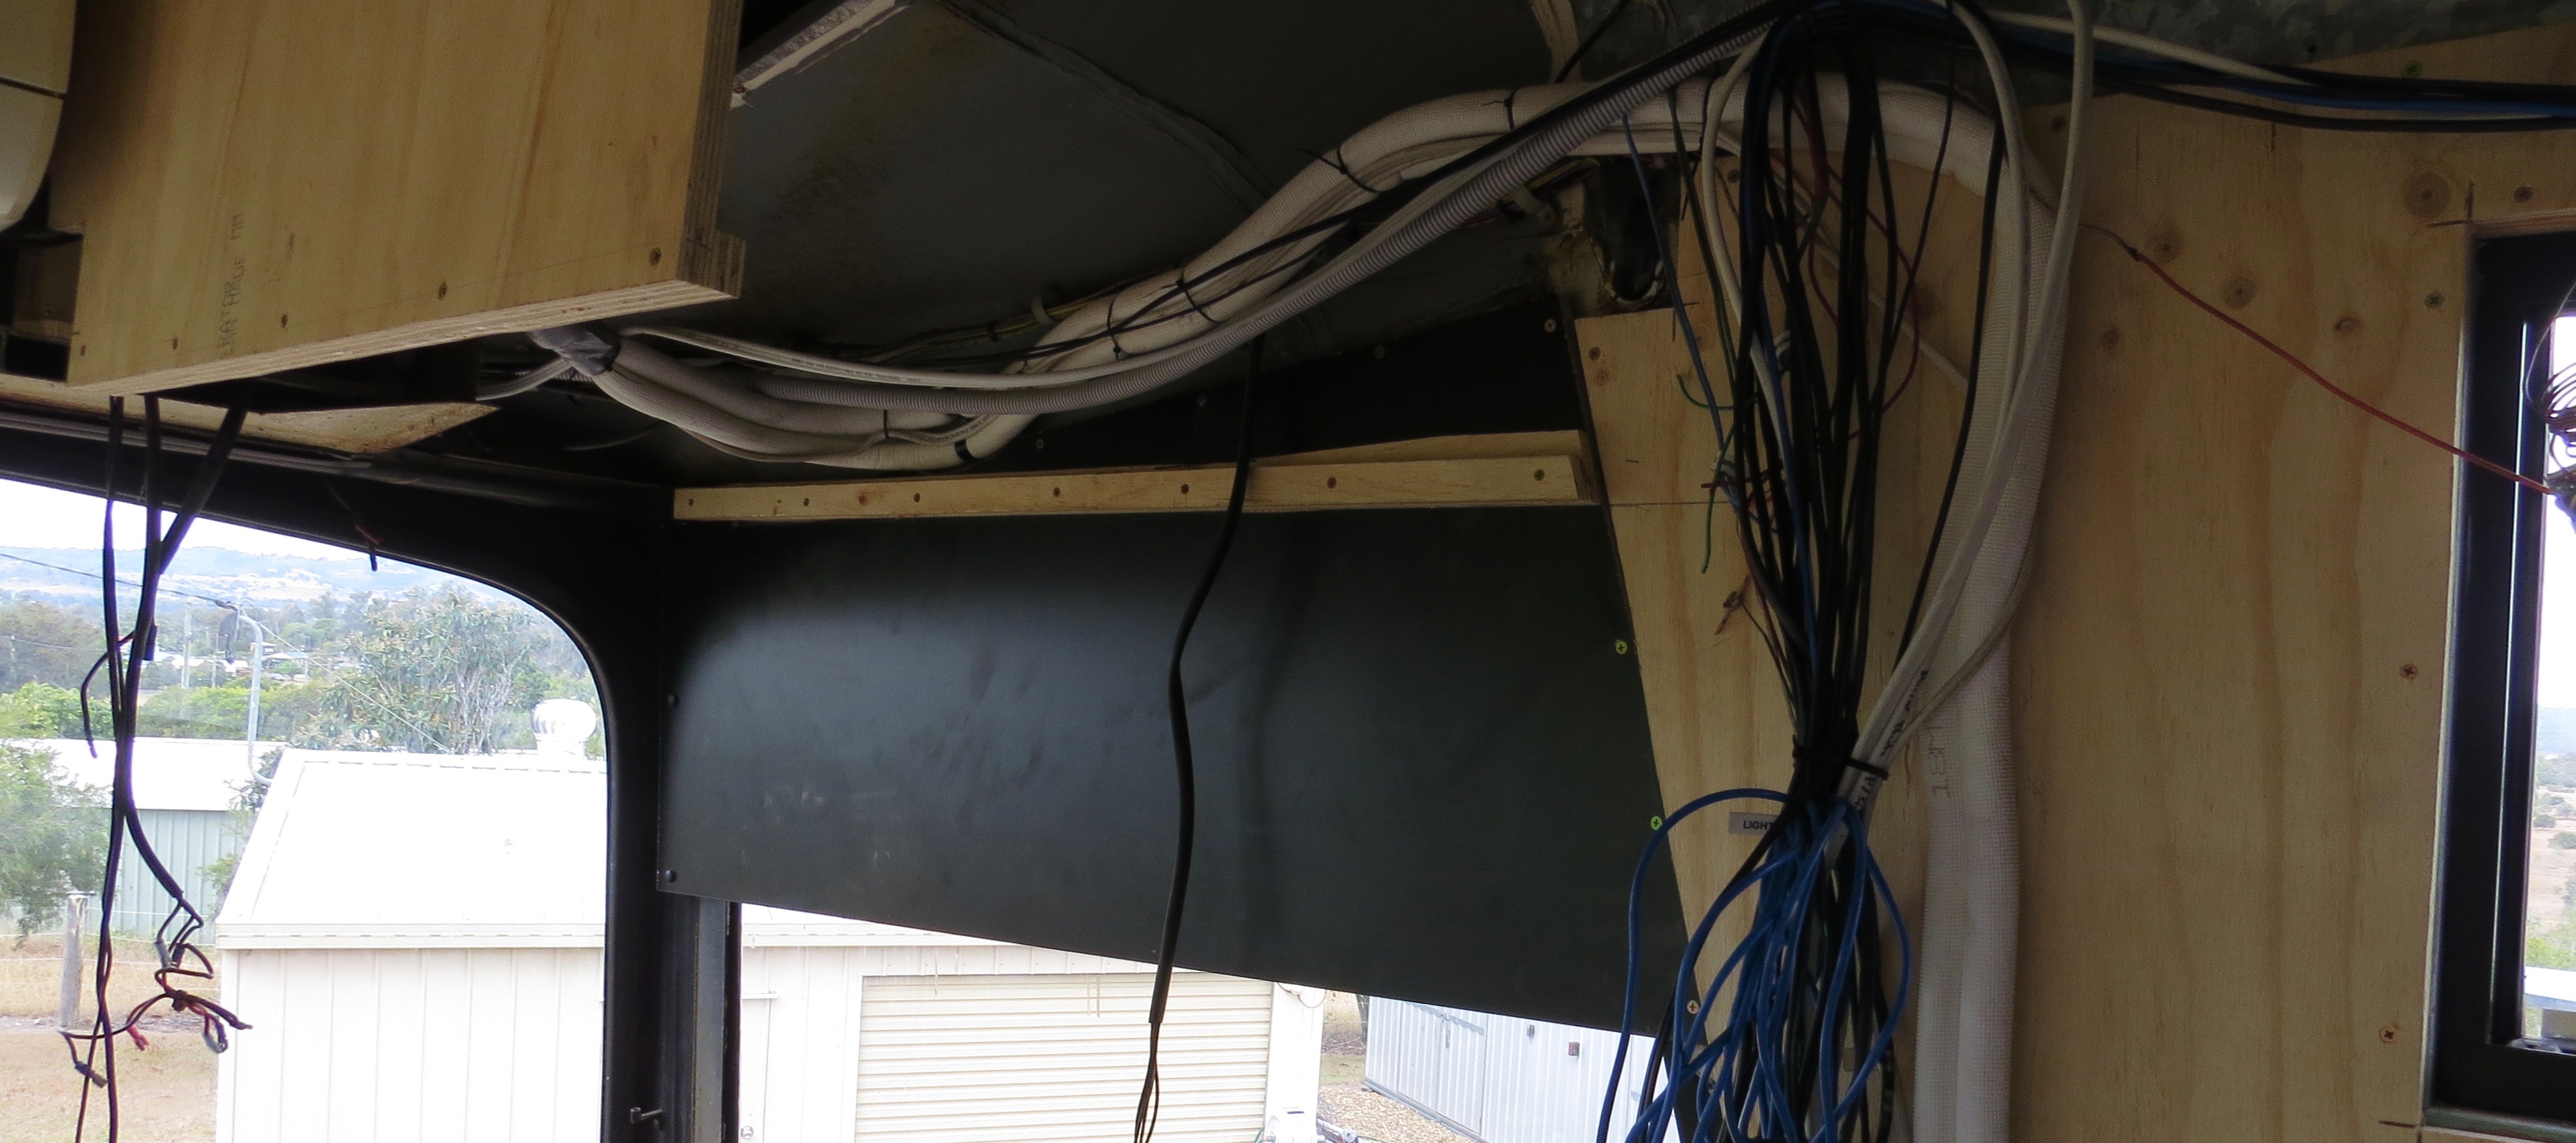
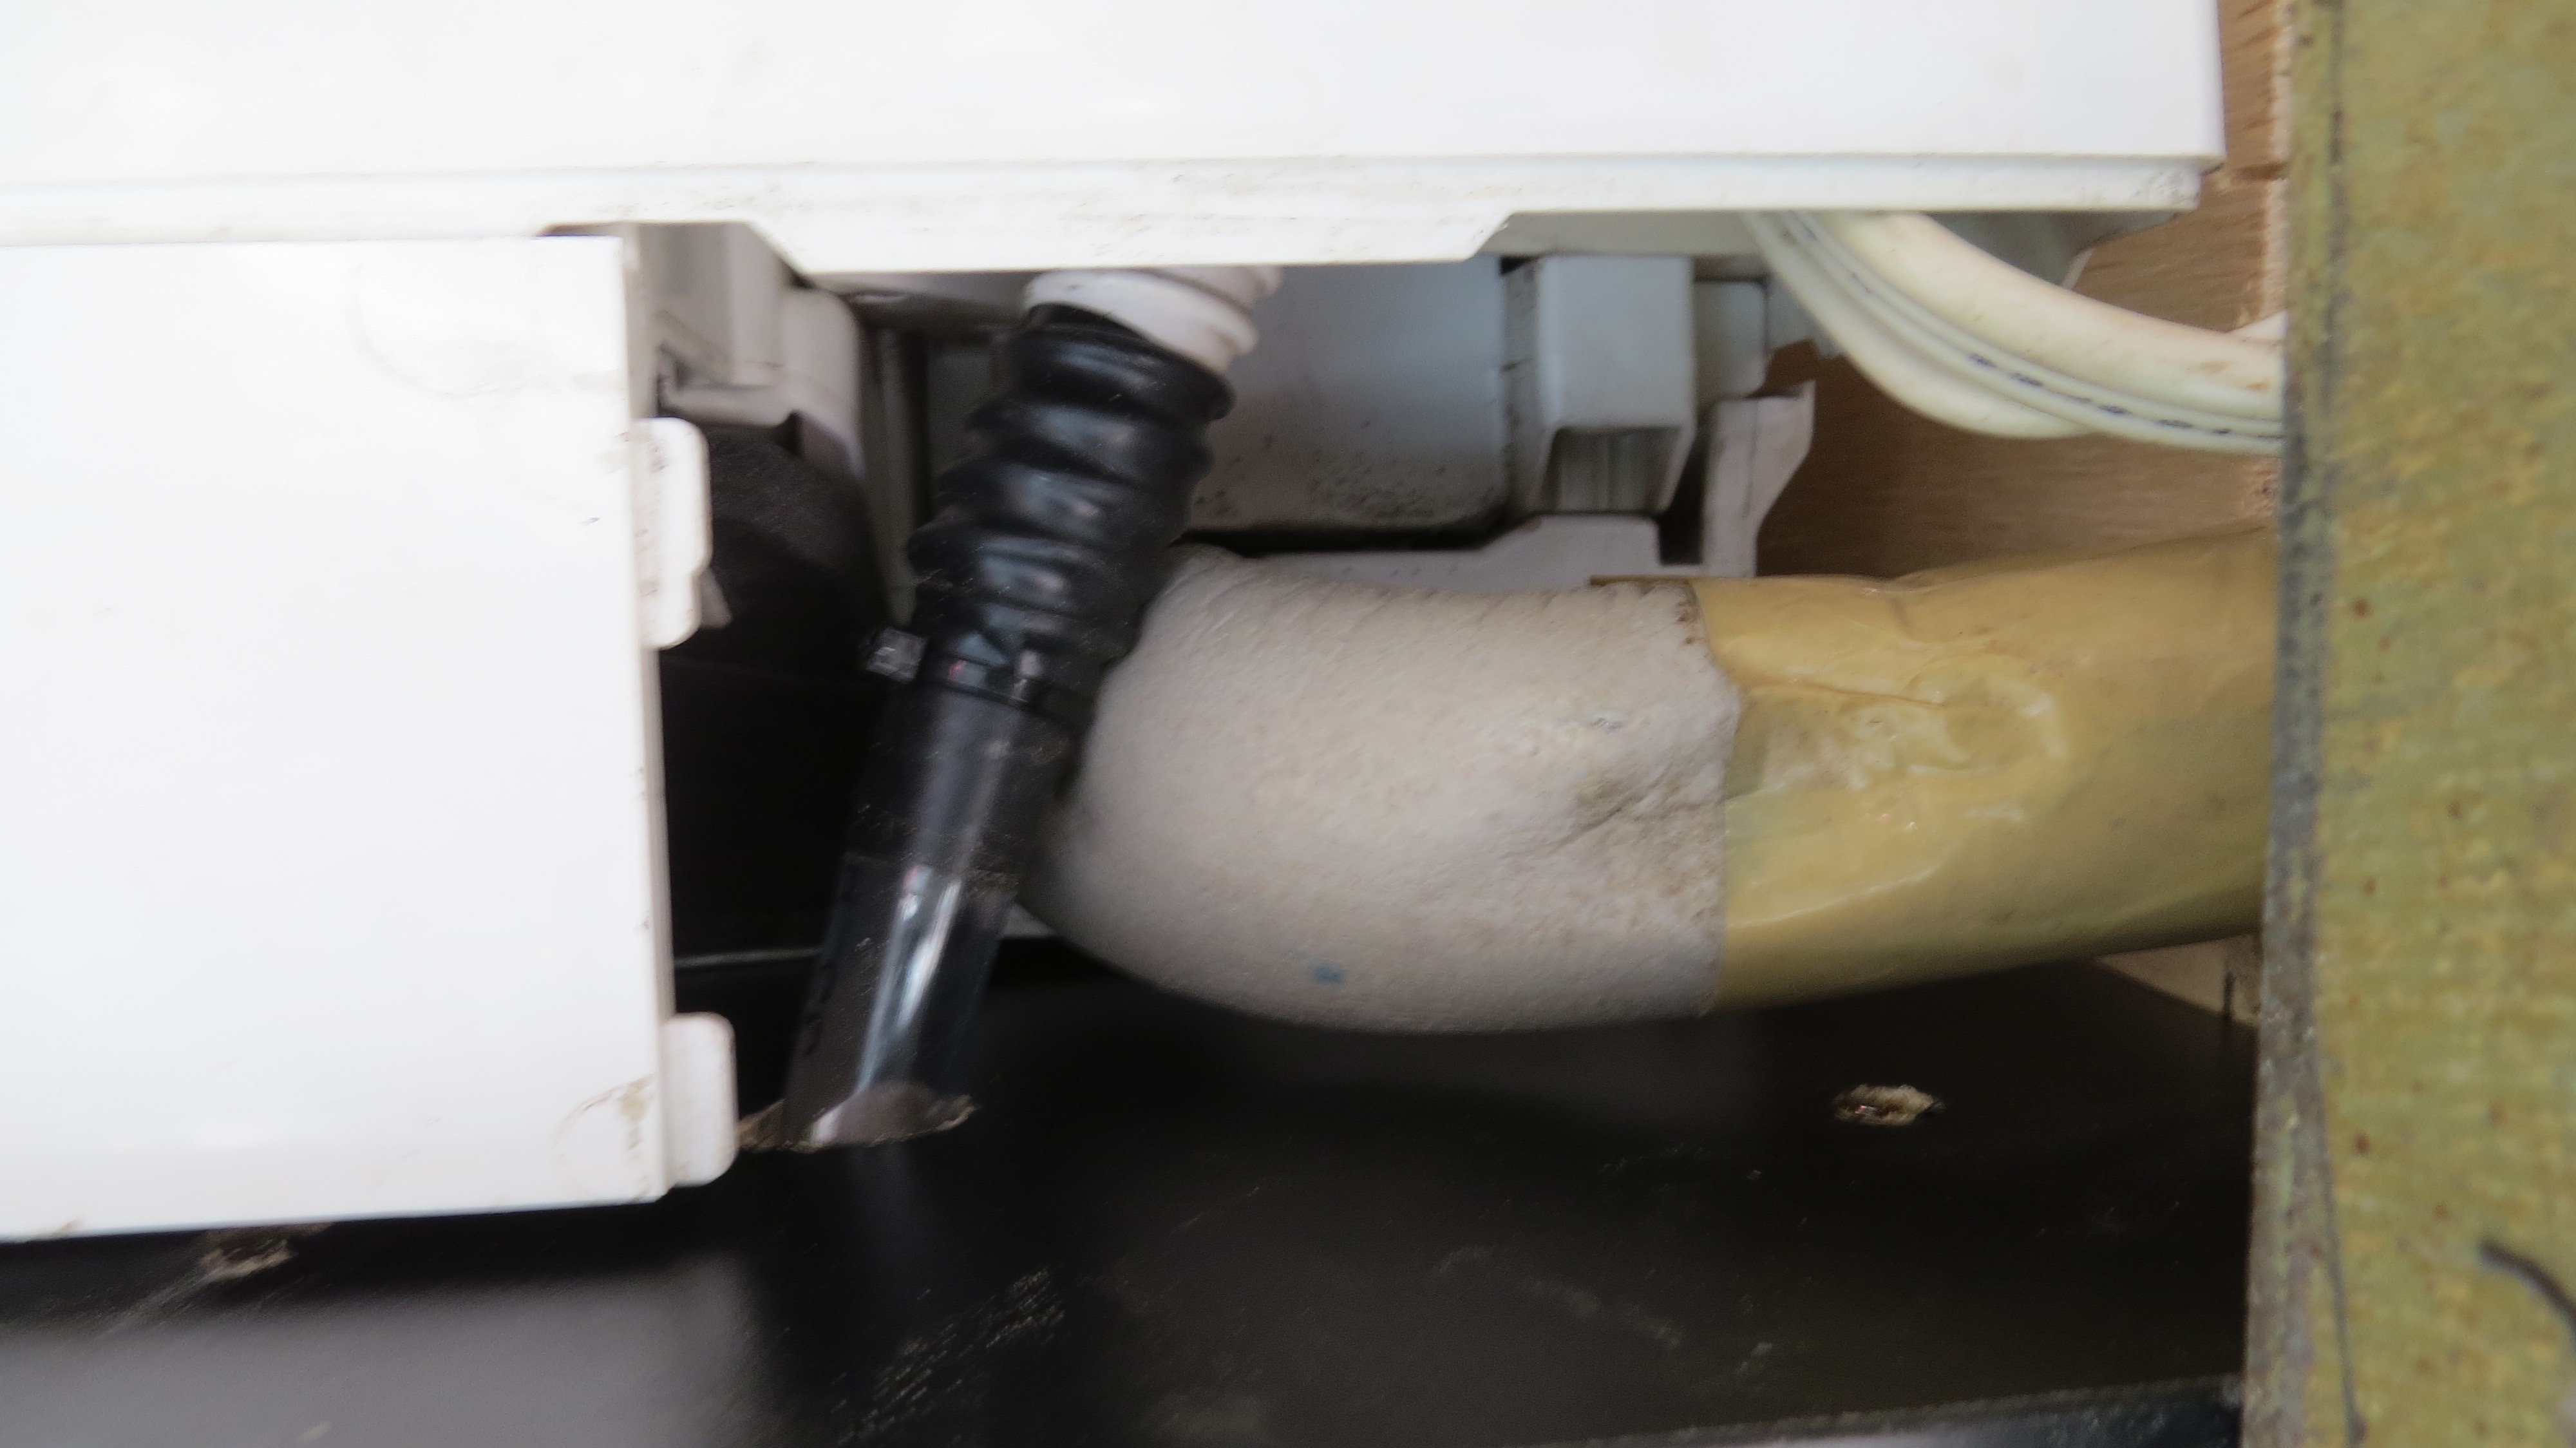
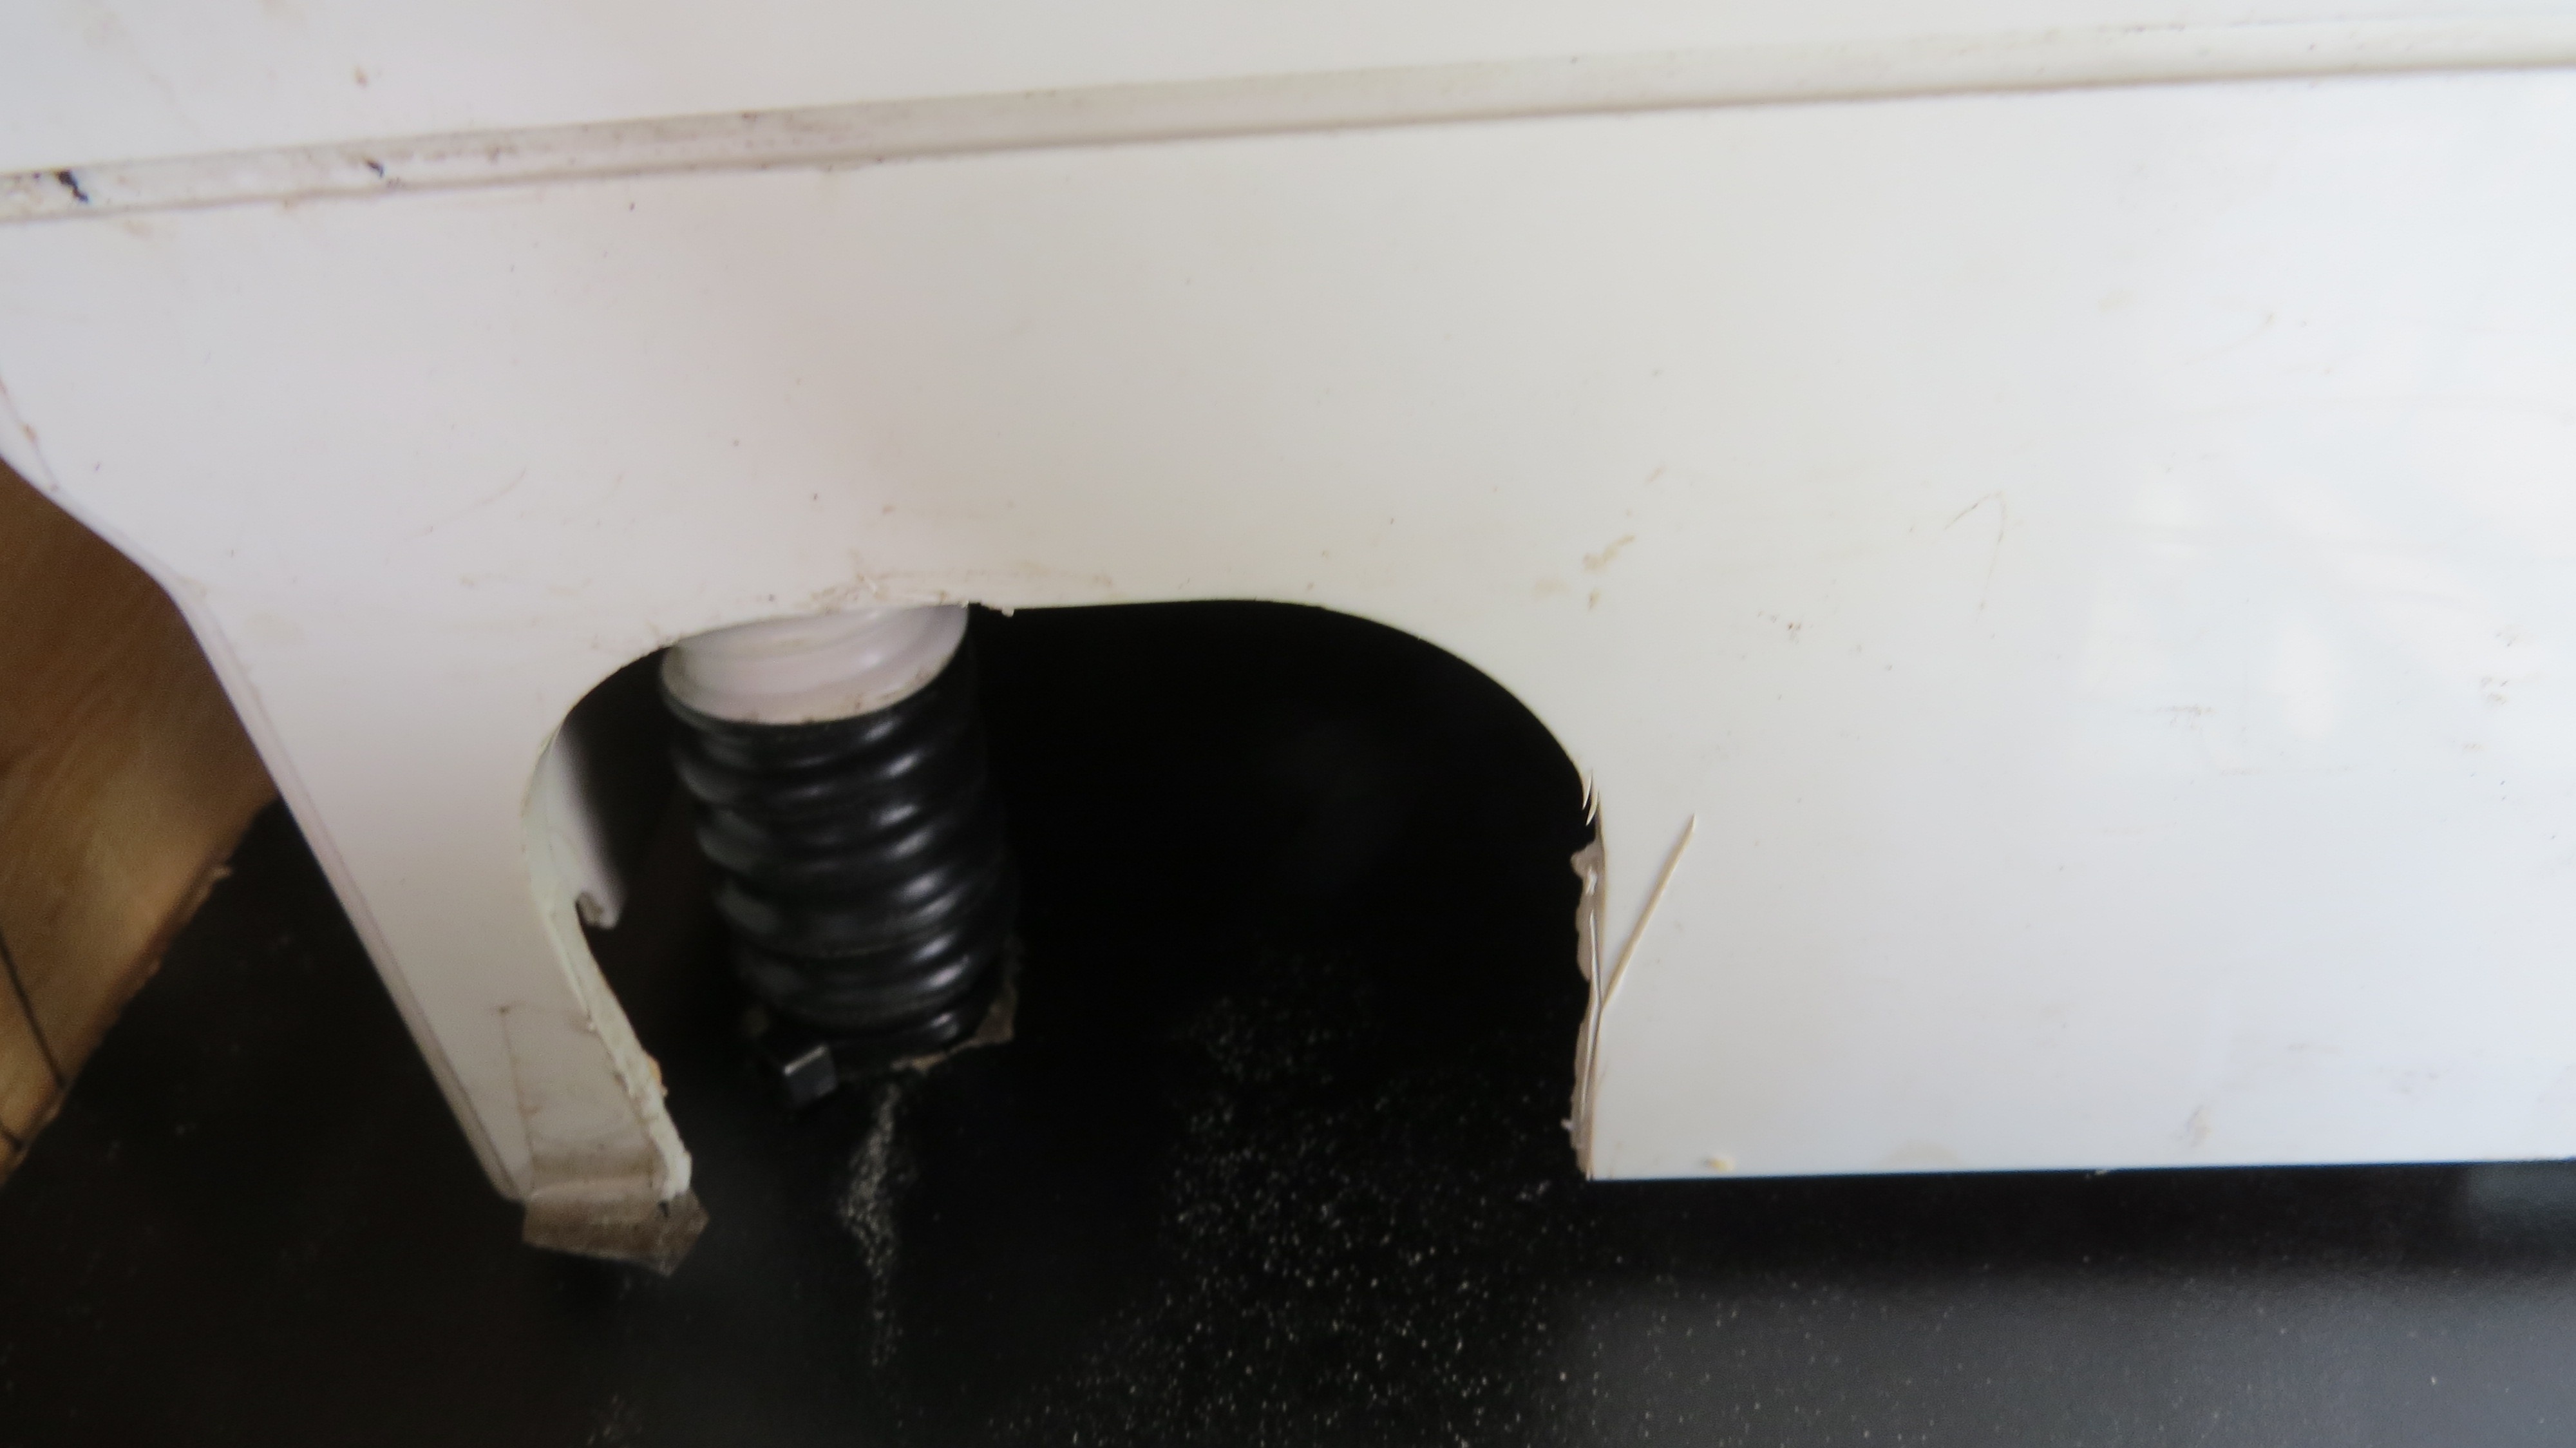
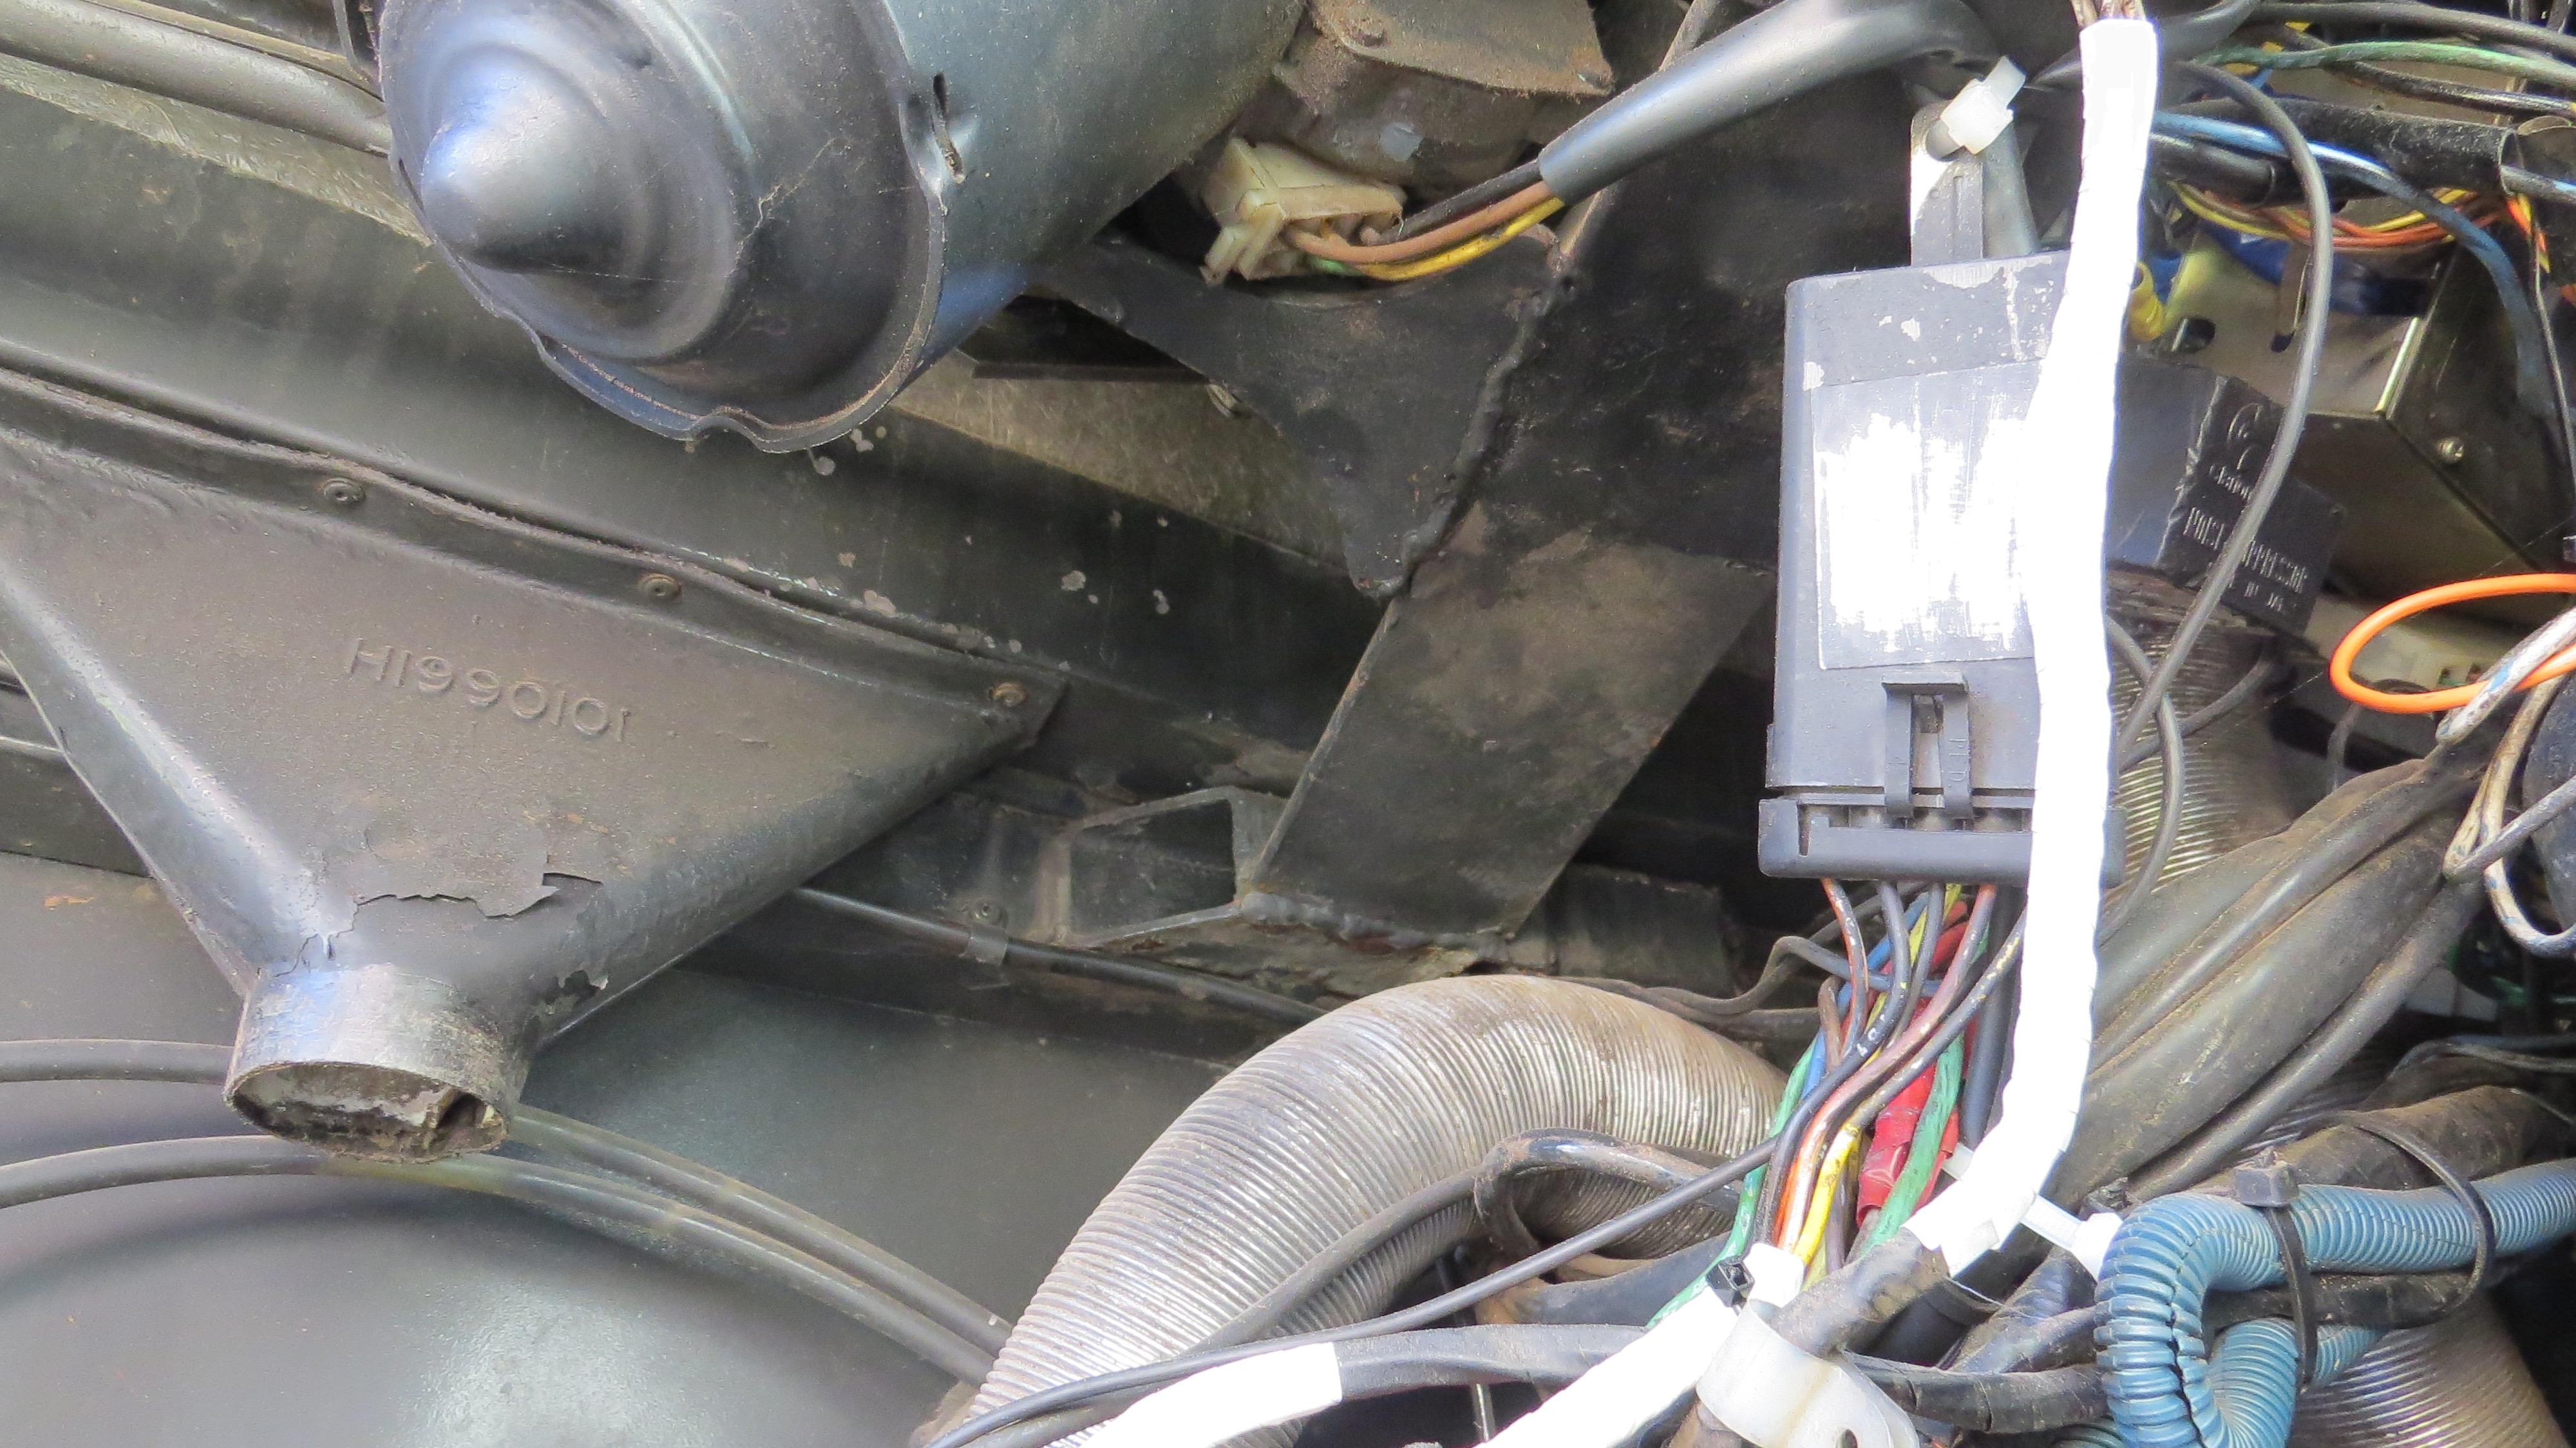
From outside.The hole is for access for running power and the air-con drain’s.
The drain for the air-com was fun to put into place. It needs to have a drain on both side’s because when your driving down the road and the coach sways from side to side the water go’s every wear. We found this out driving down the coast from Townsville, They was no problems in the outback because of the low humidity.
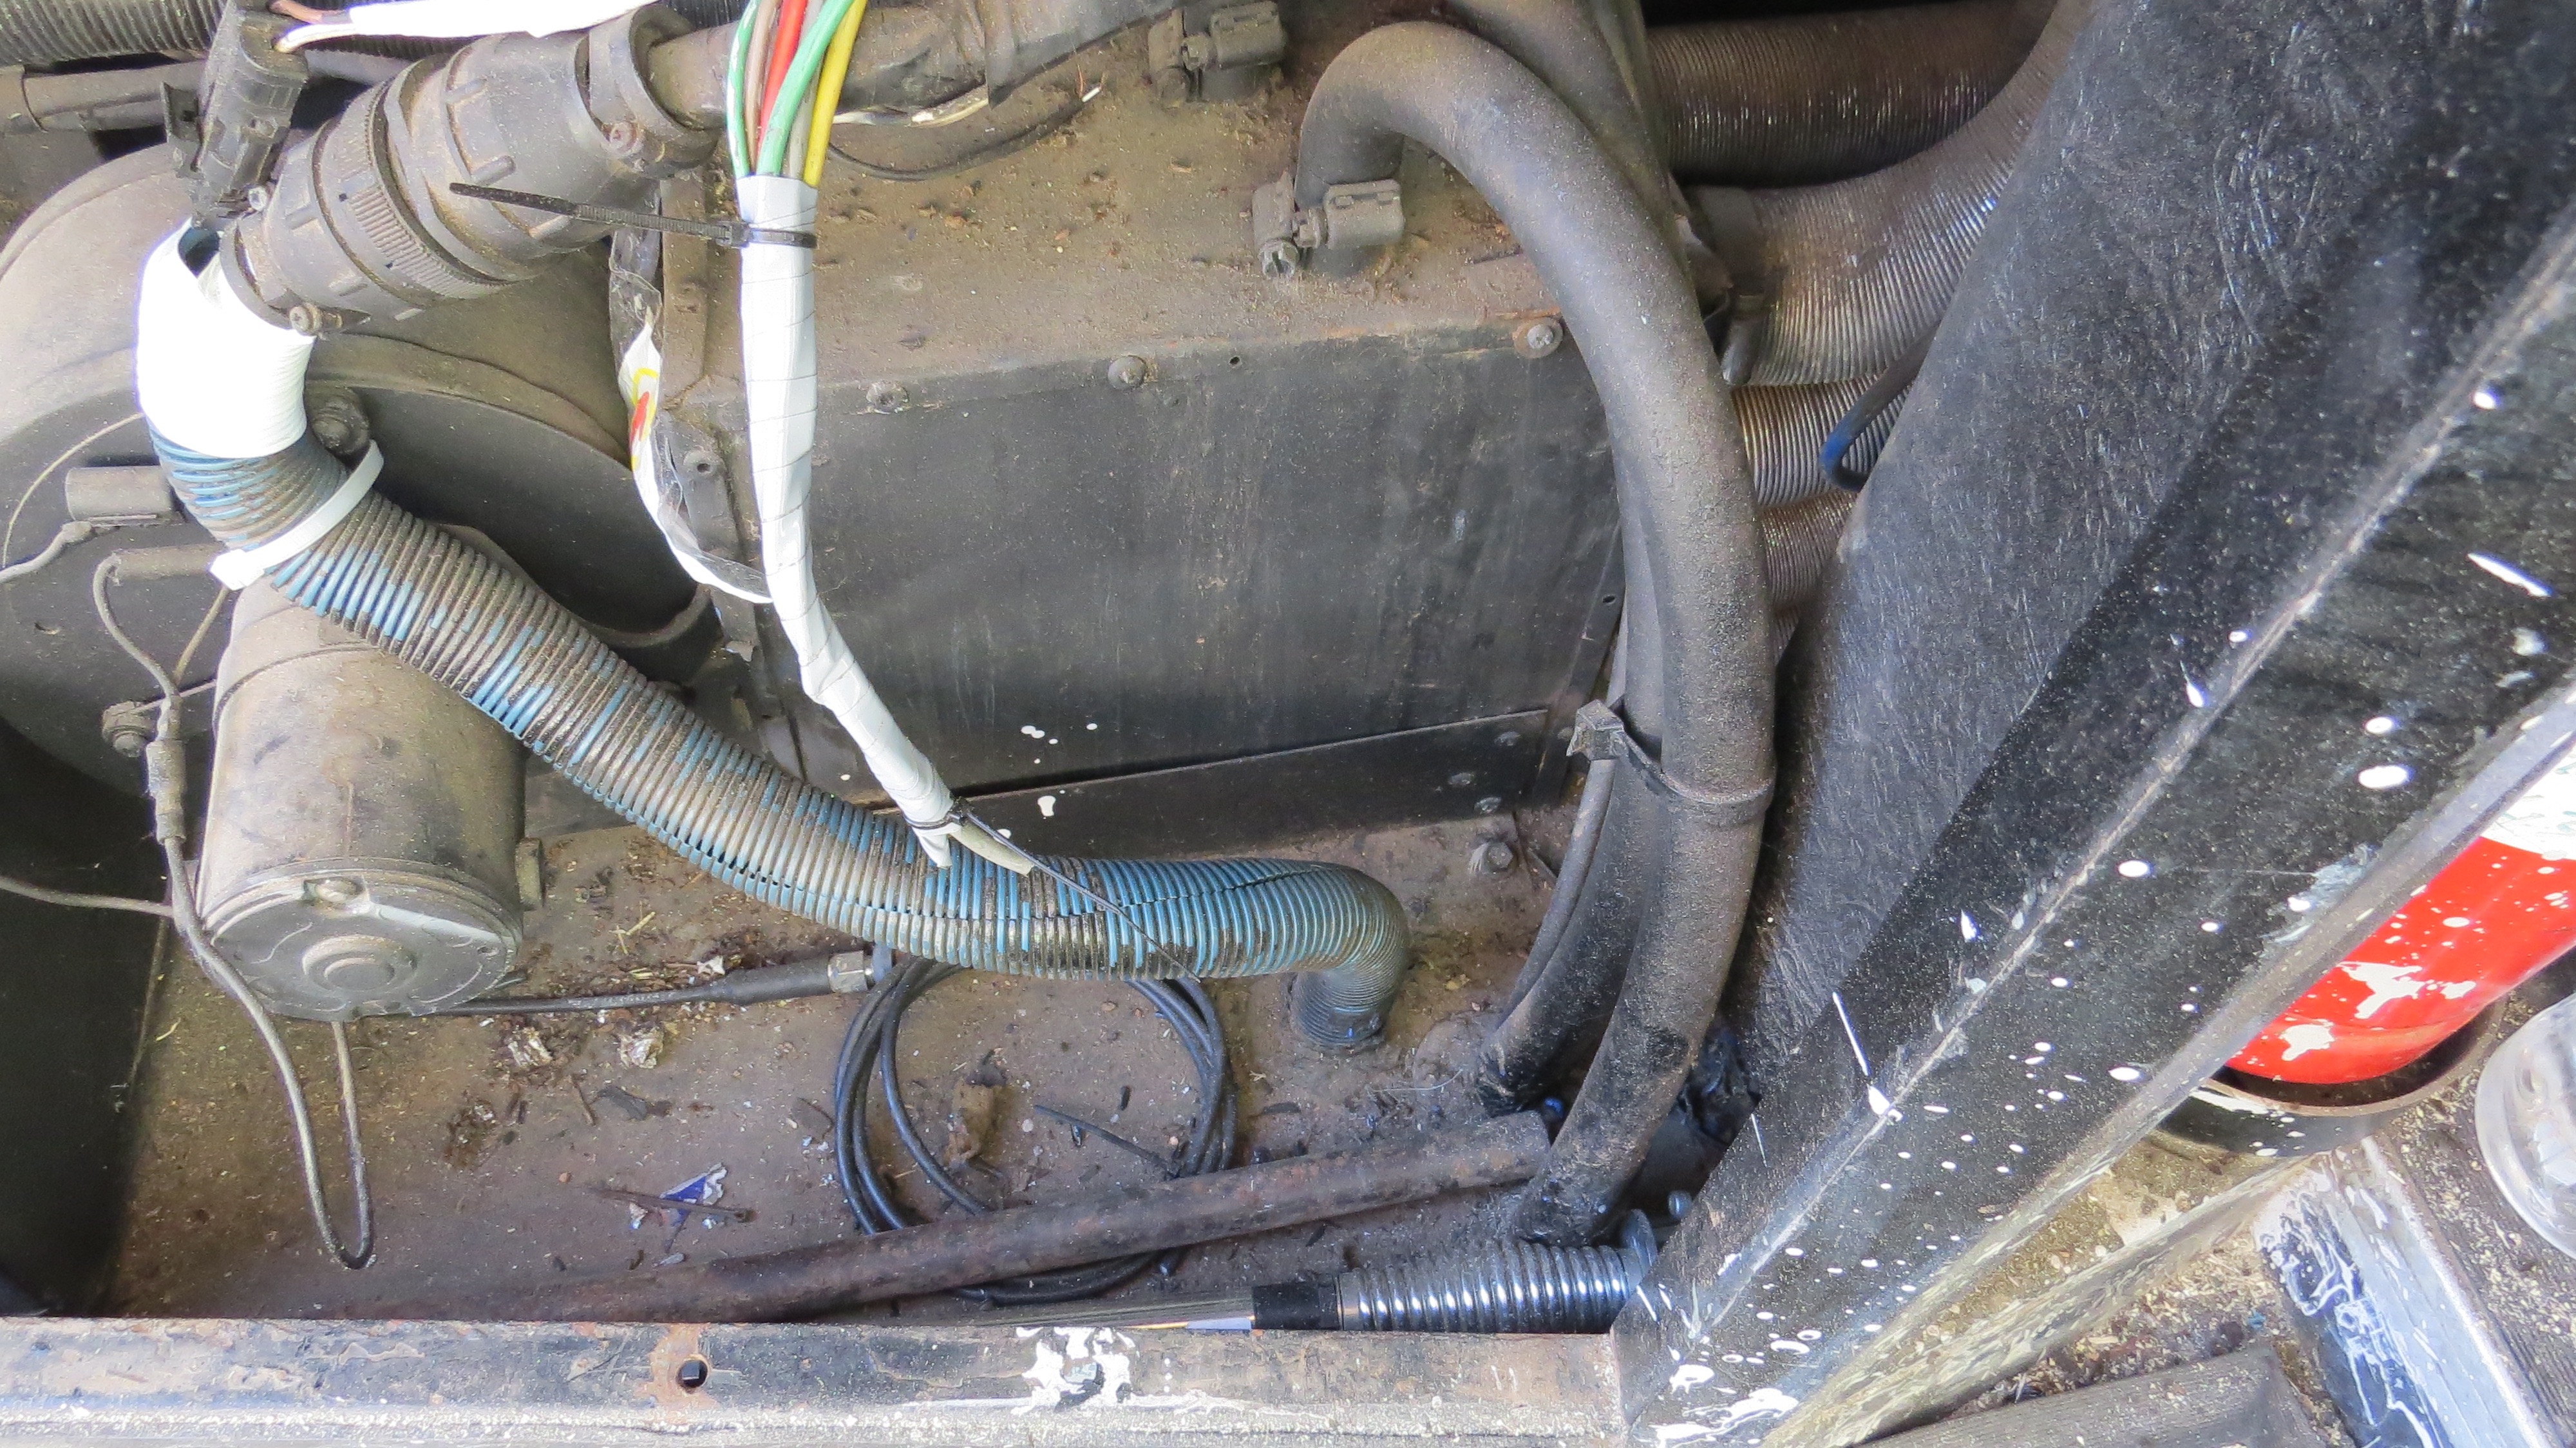
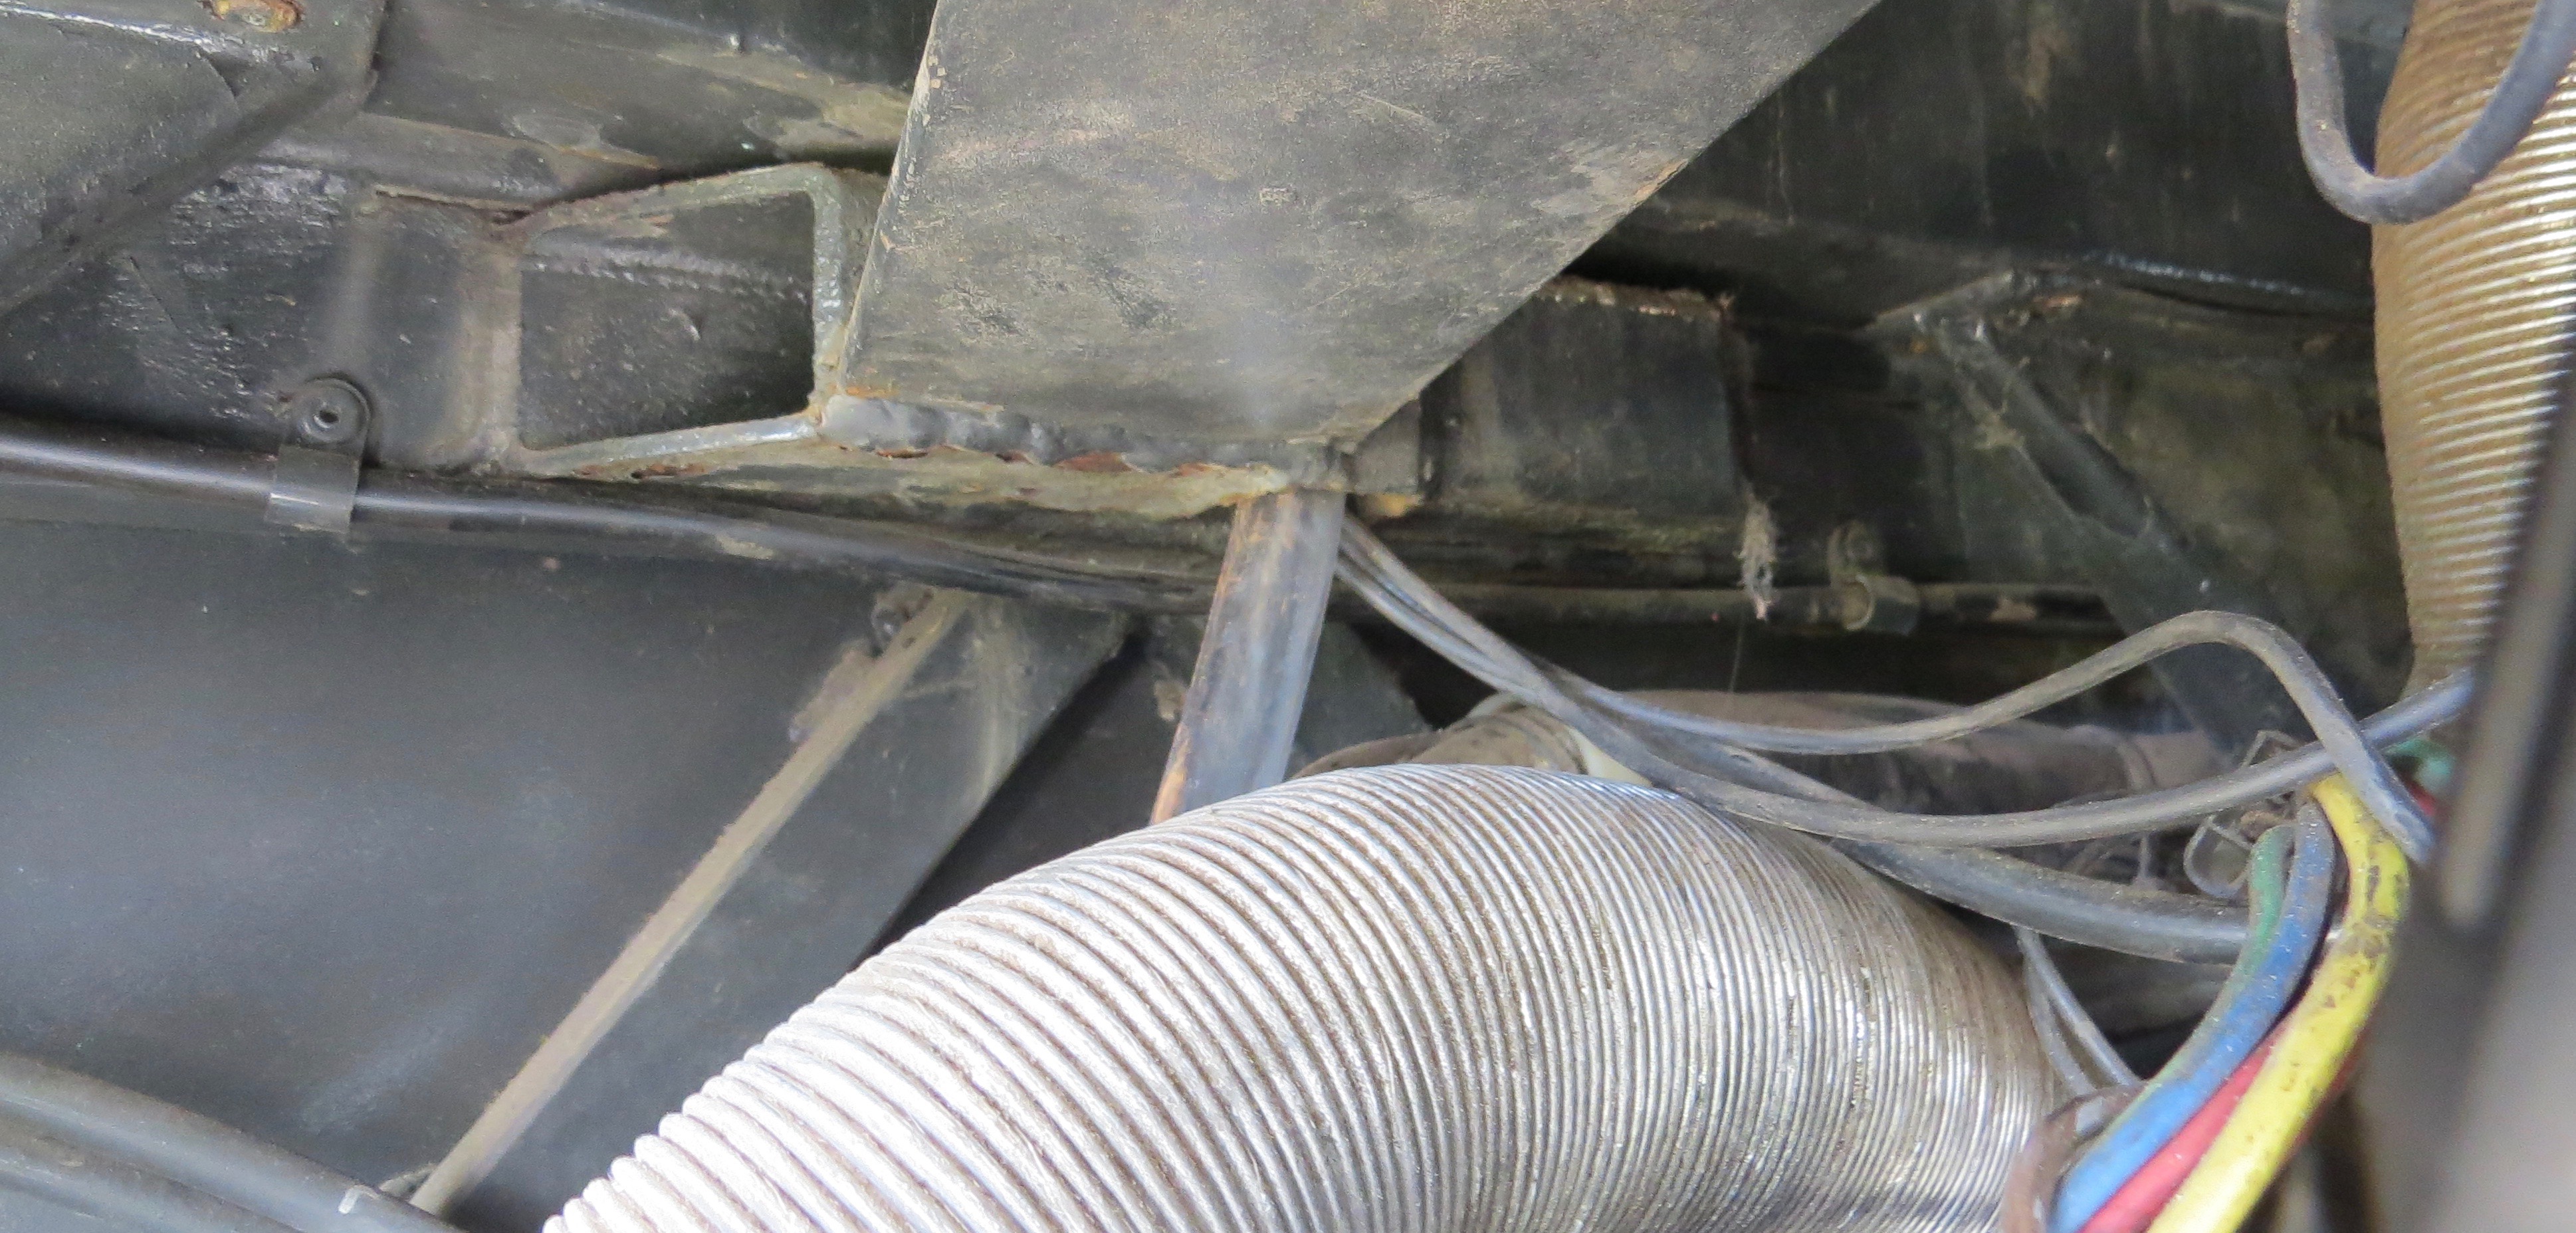
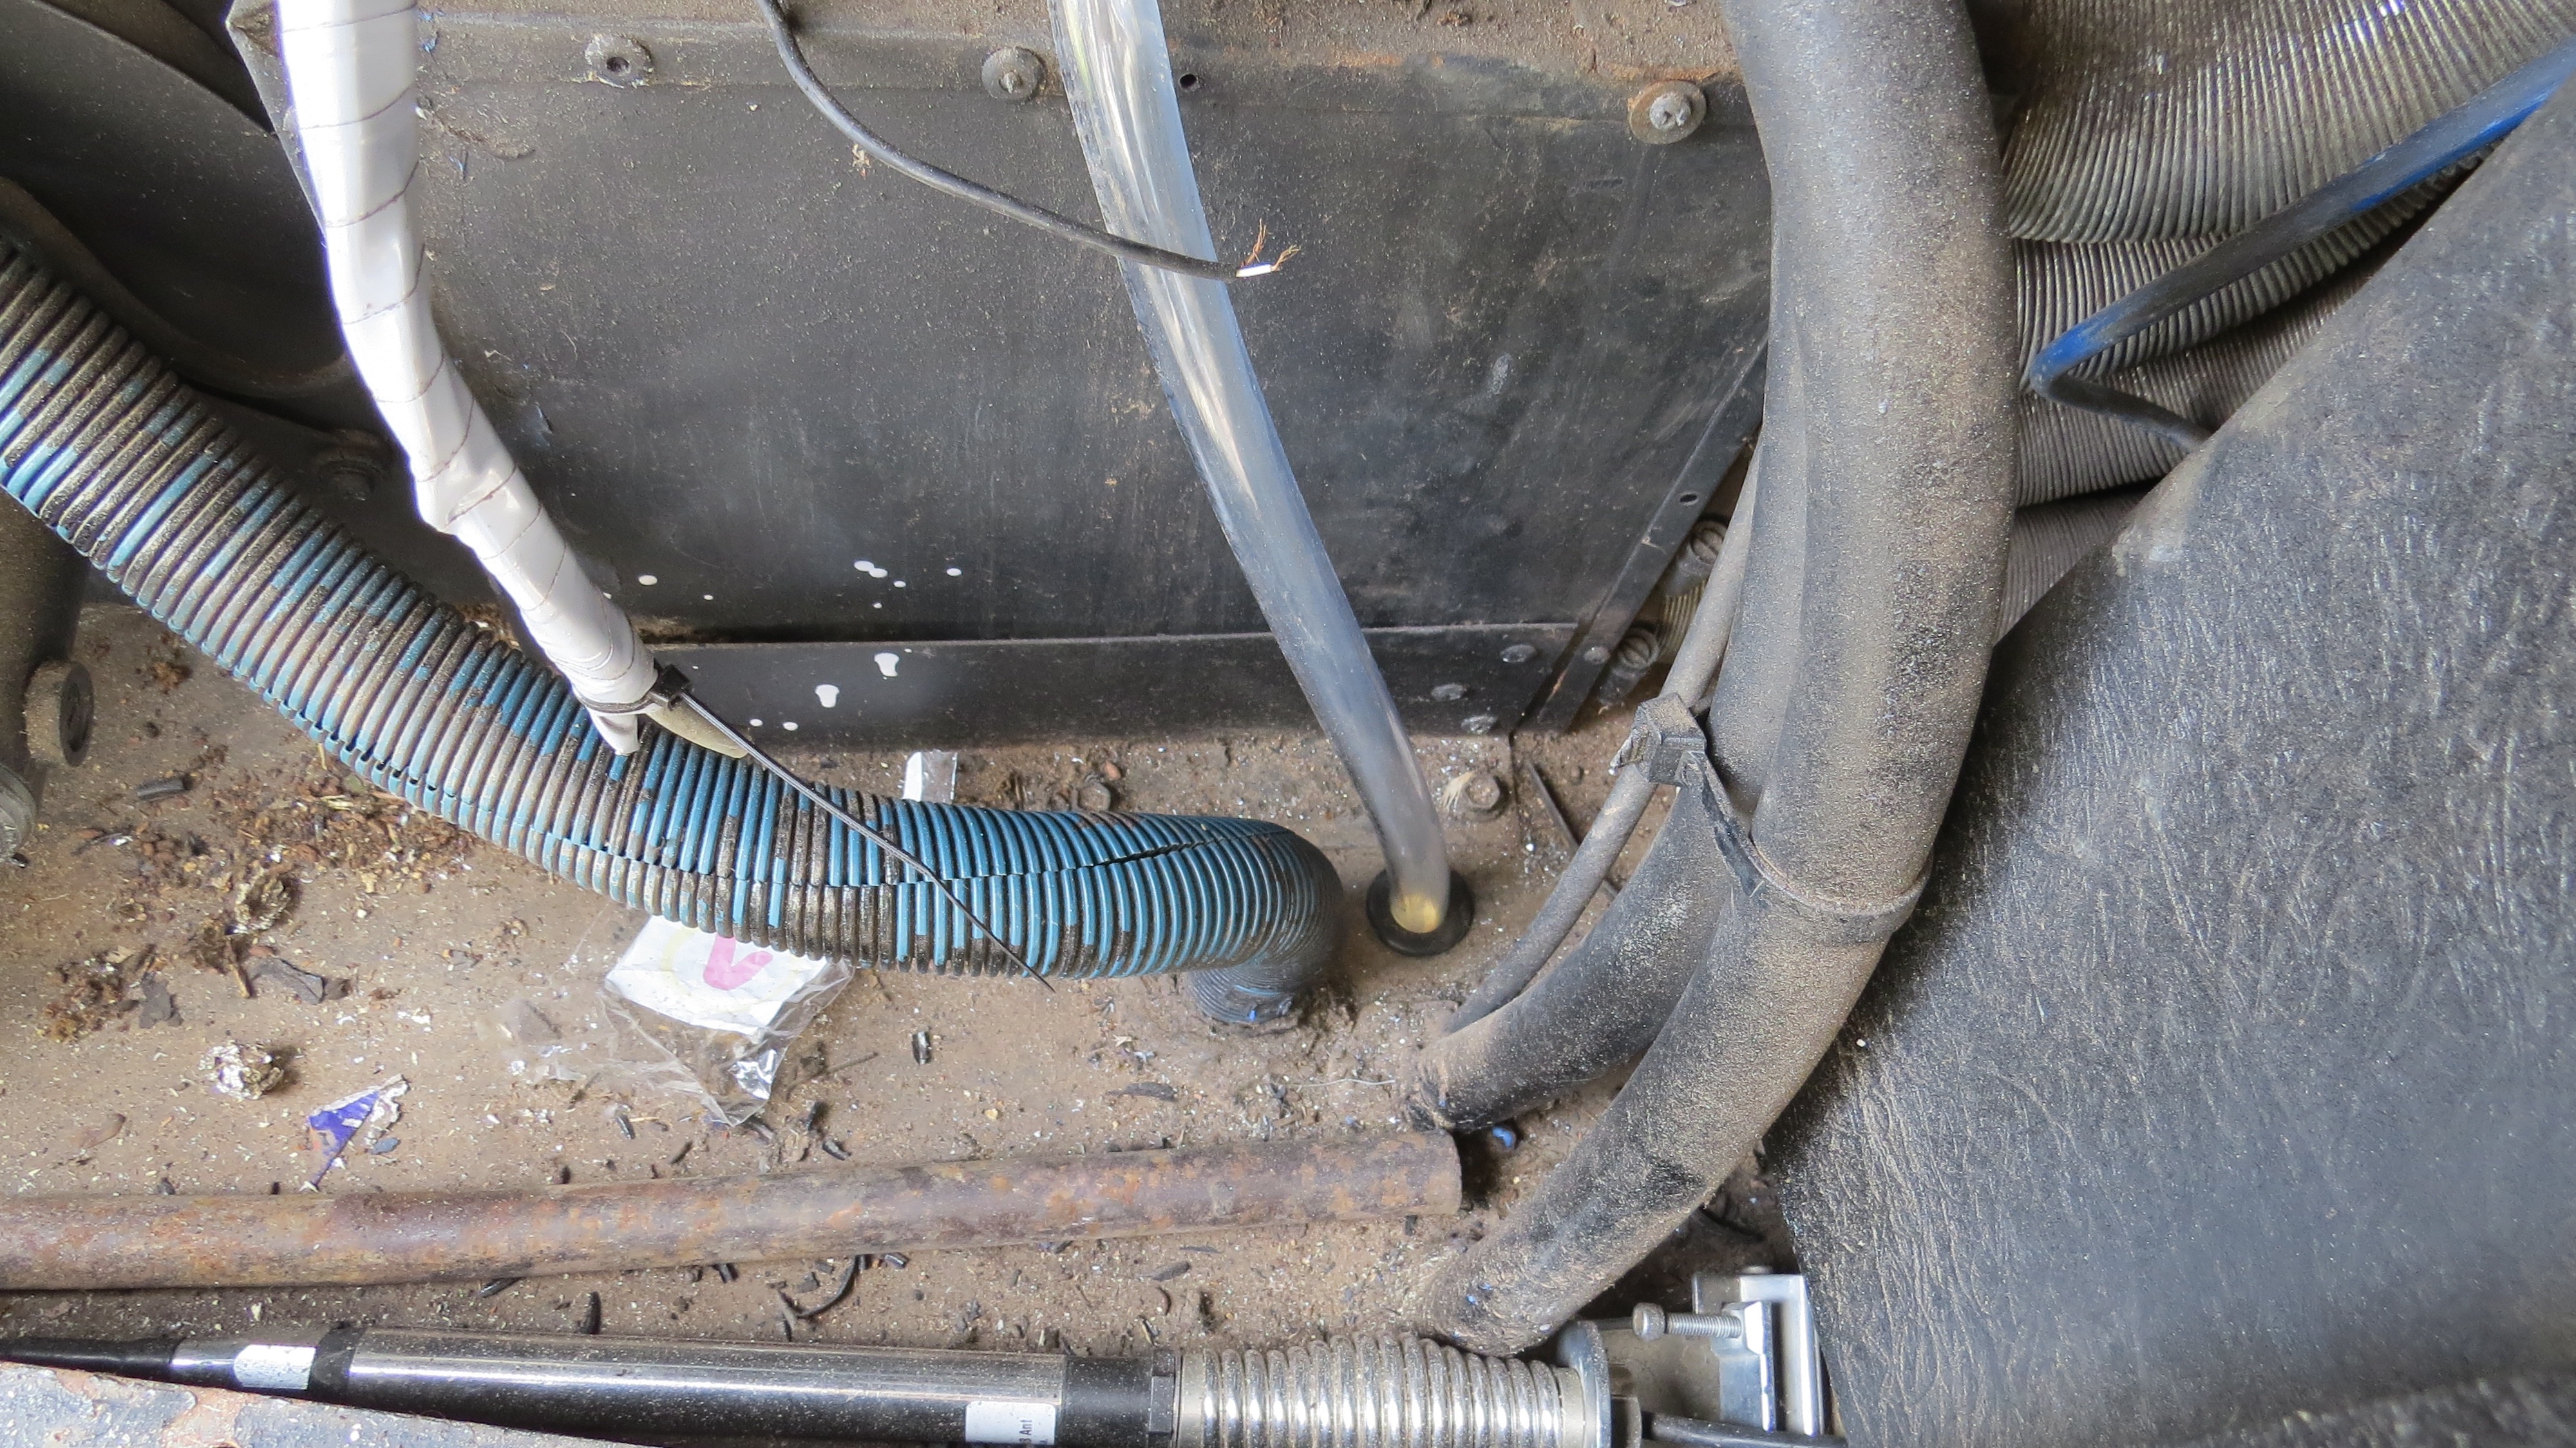
I ended up running the drain down through the middle windscreen support bar then through the floor so it will drain out on the ground below the driver’s seat.
Drivers side drain.Passenger side drain.Looking for somewhere to run the drain pipe.I will have to go through the floor.I had some fun running the pipe up the RHS tom the air-con.This will work.
Well that’s done thank goodness, even the drain works when your driving down the road.
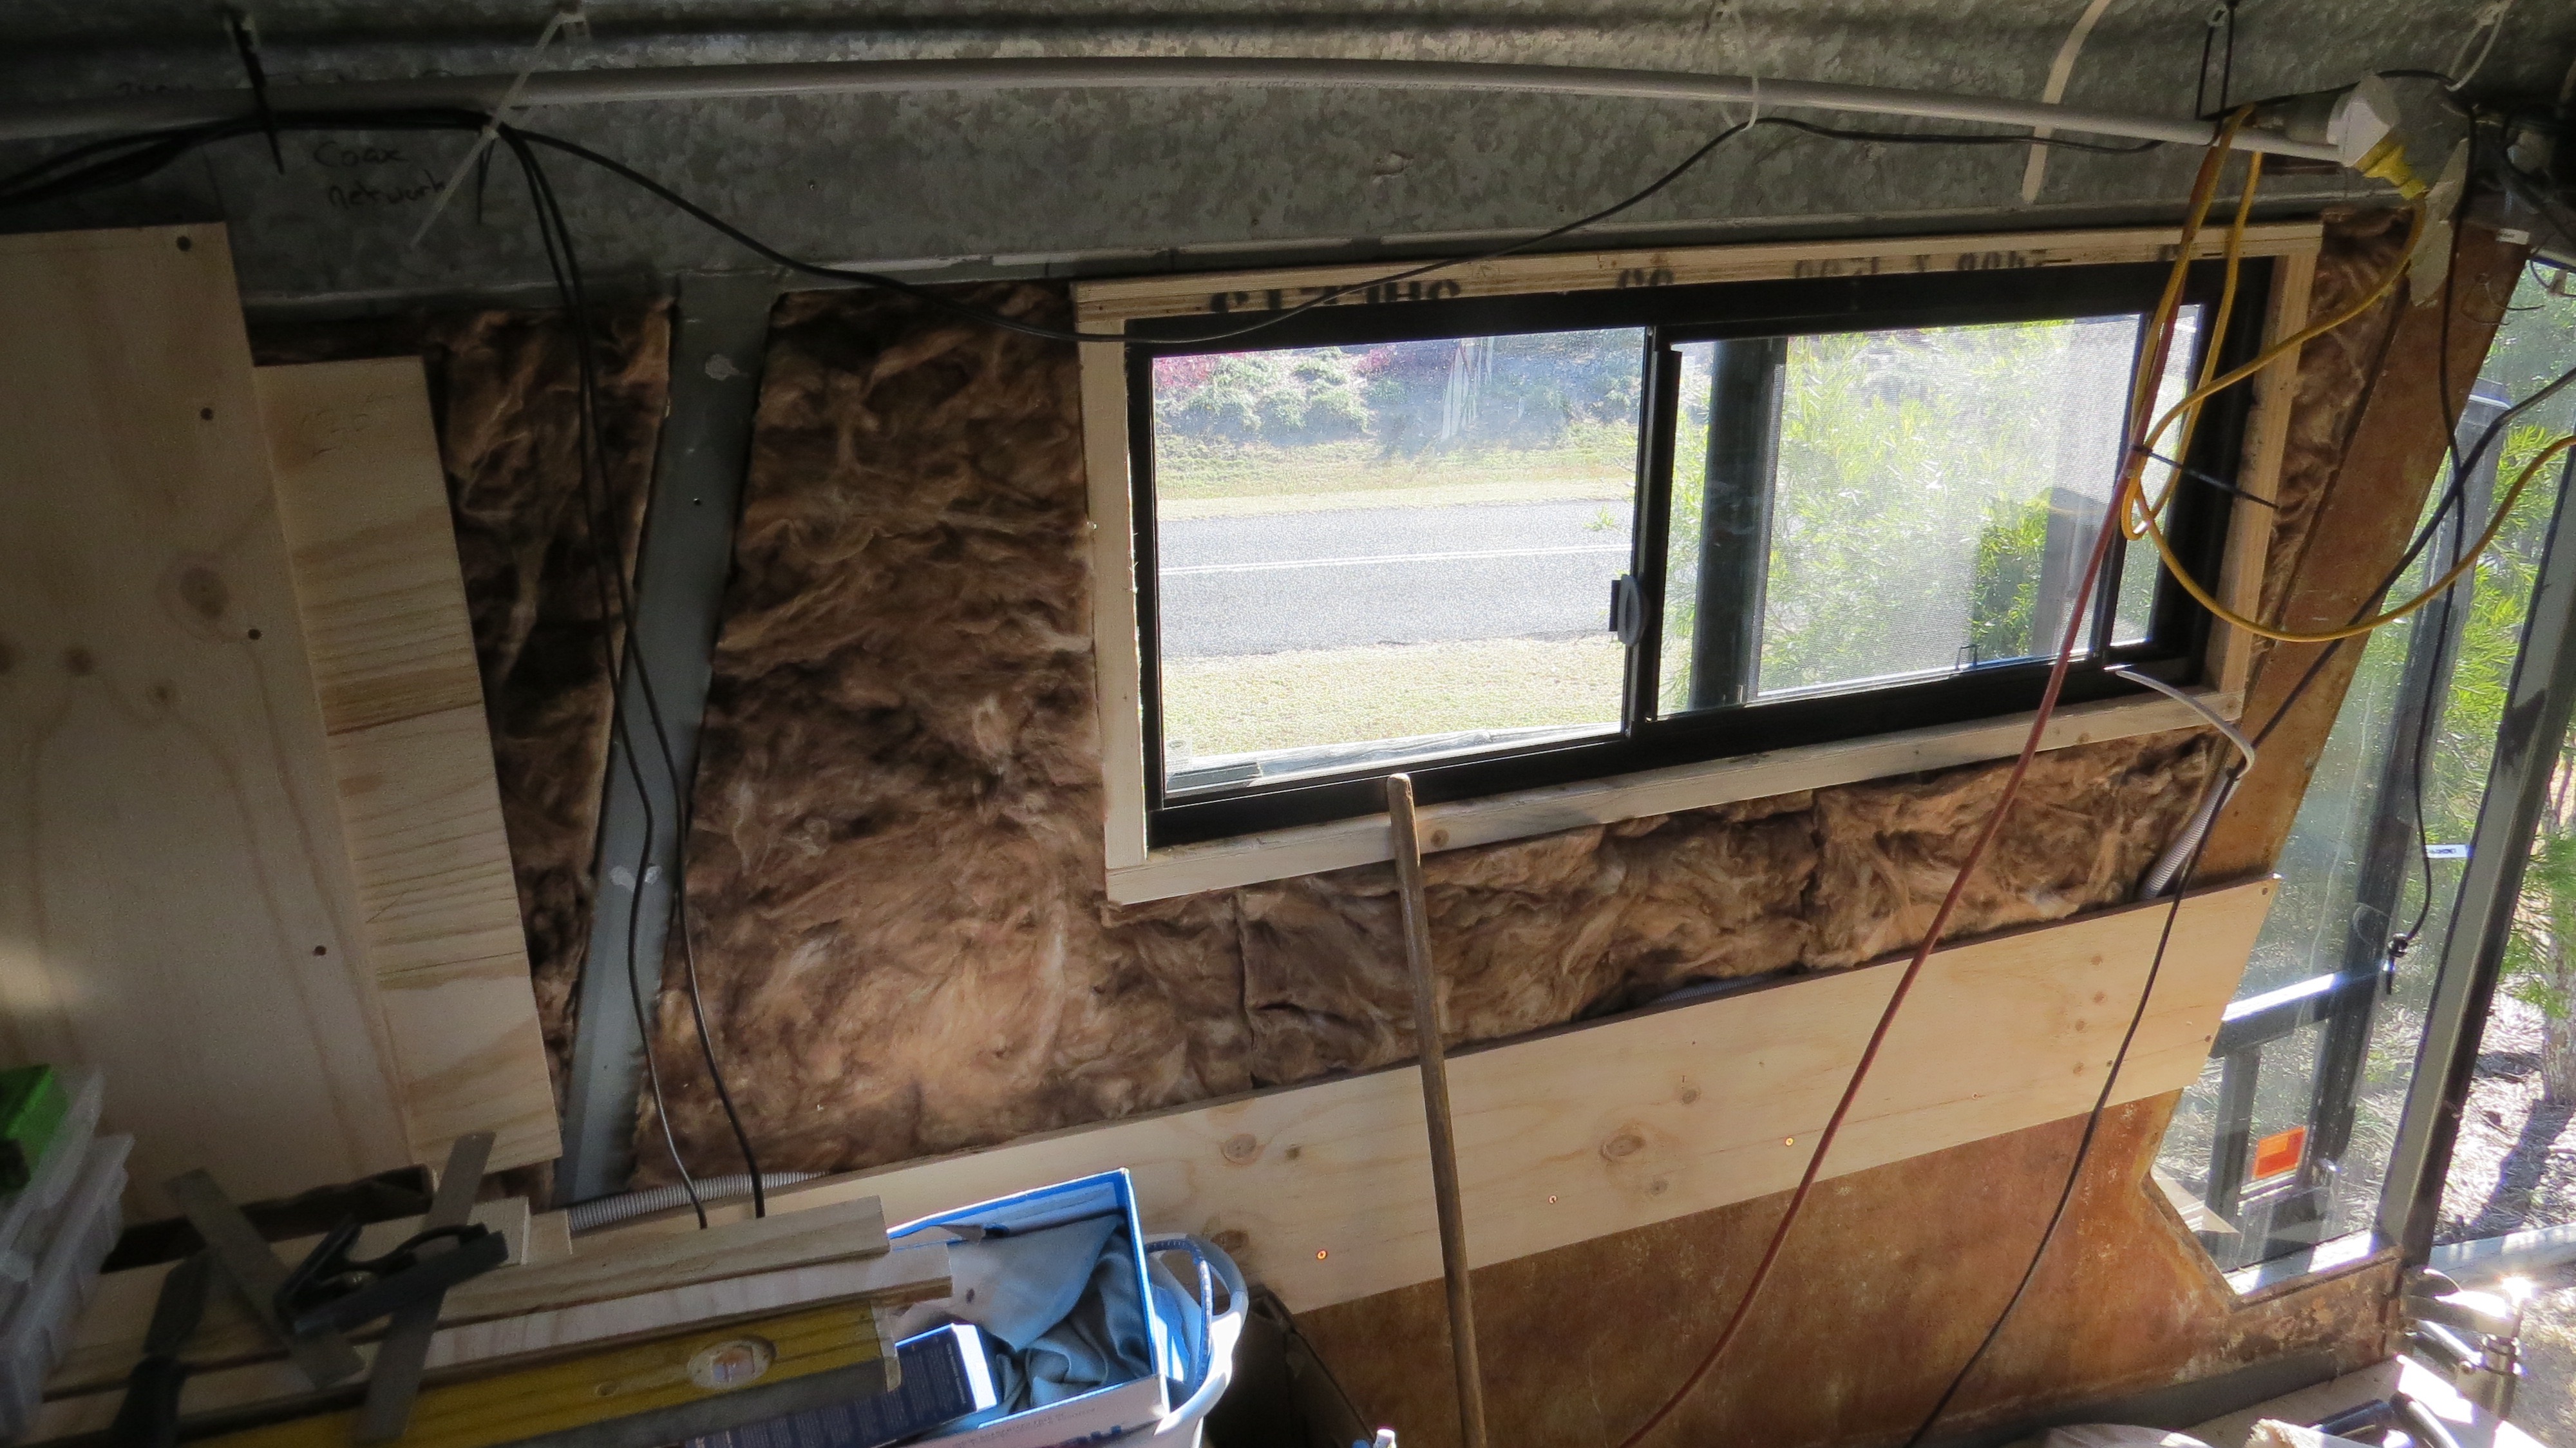
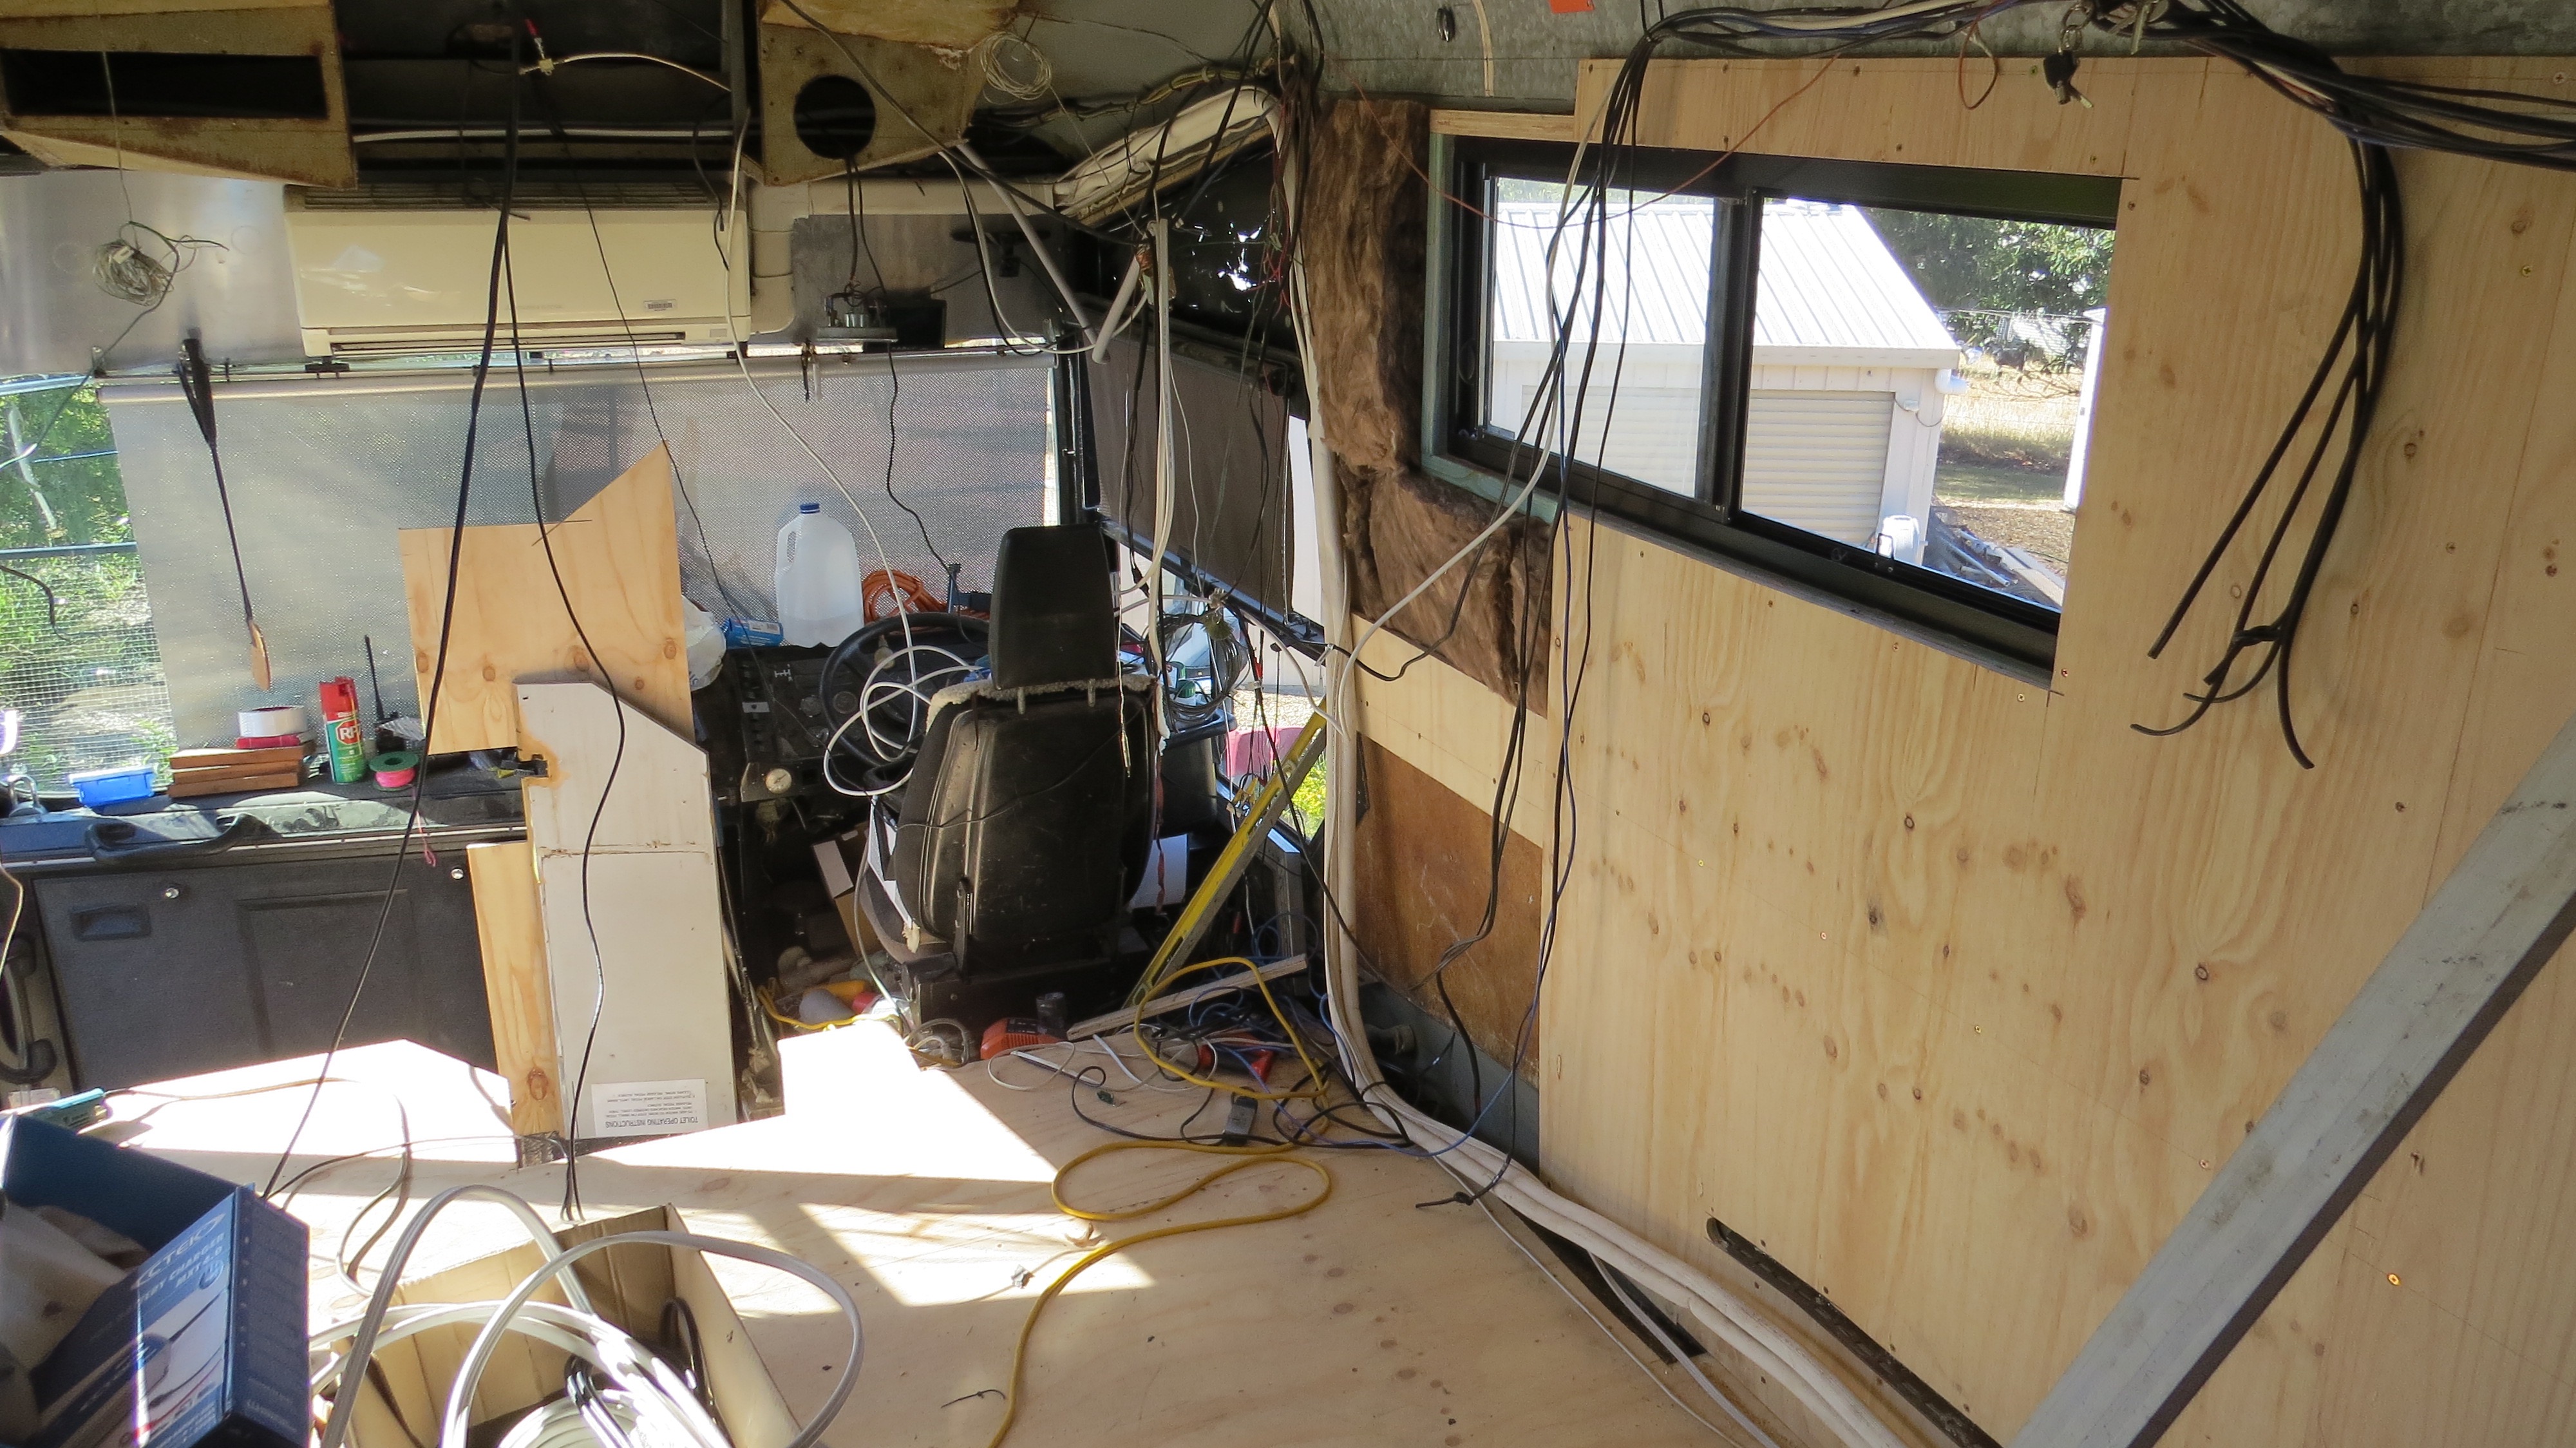
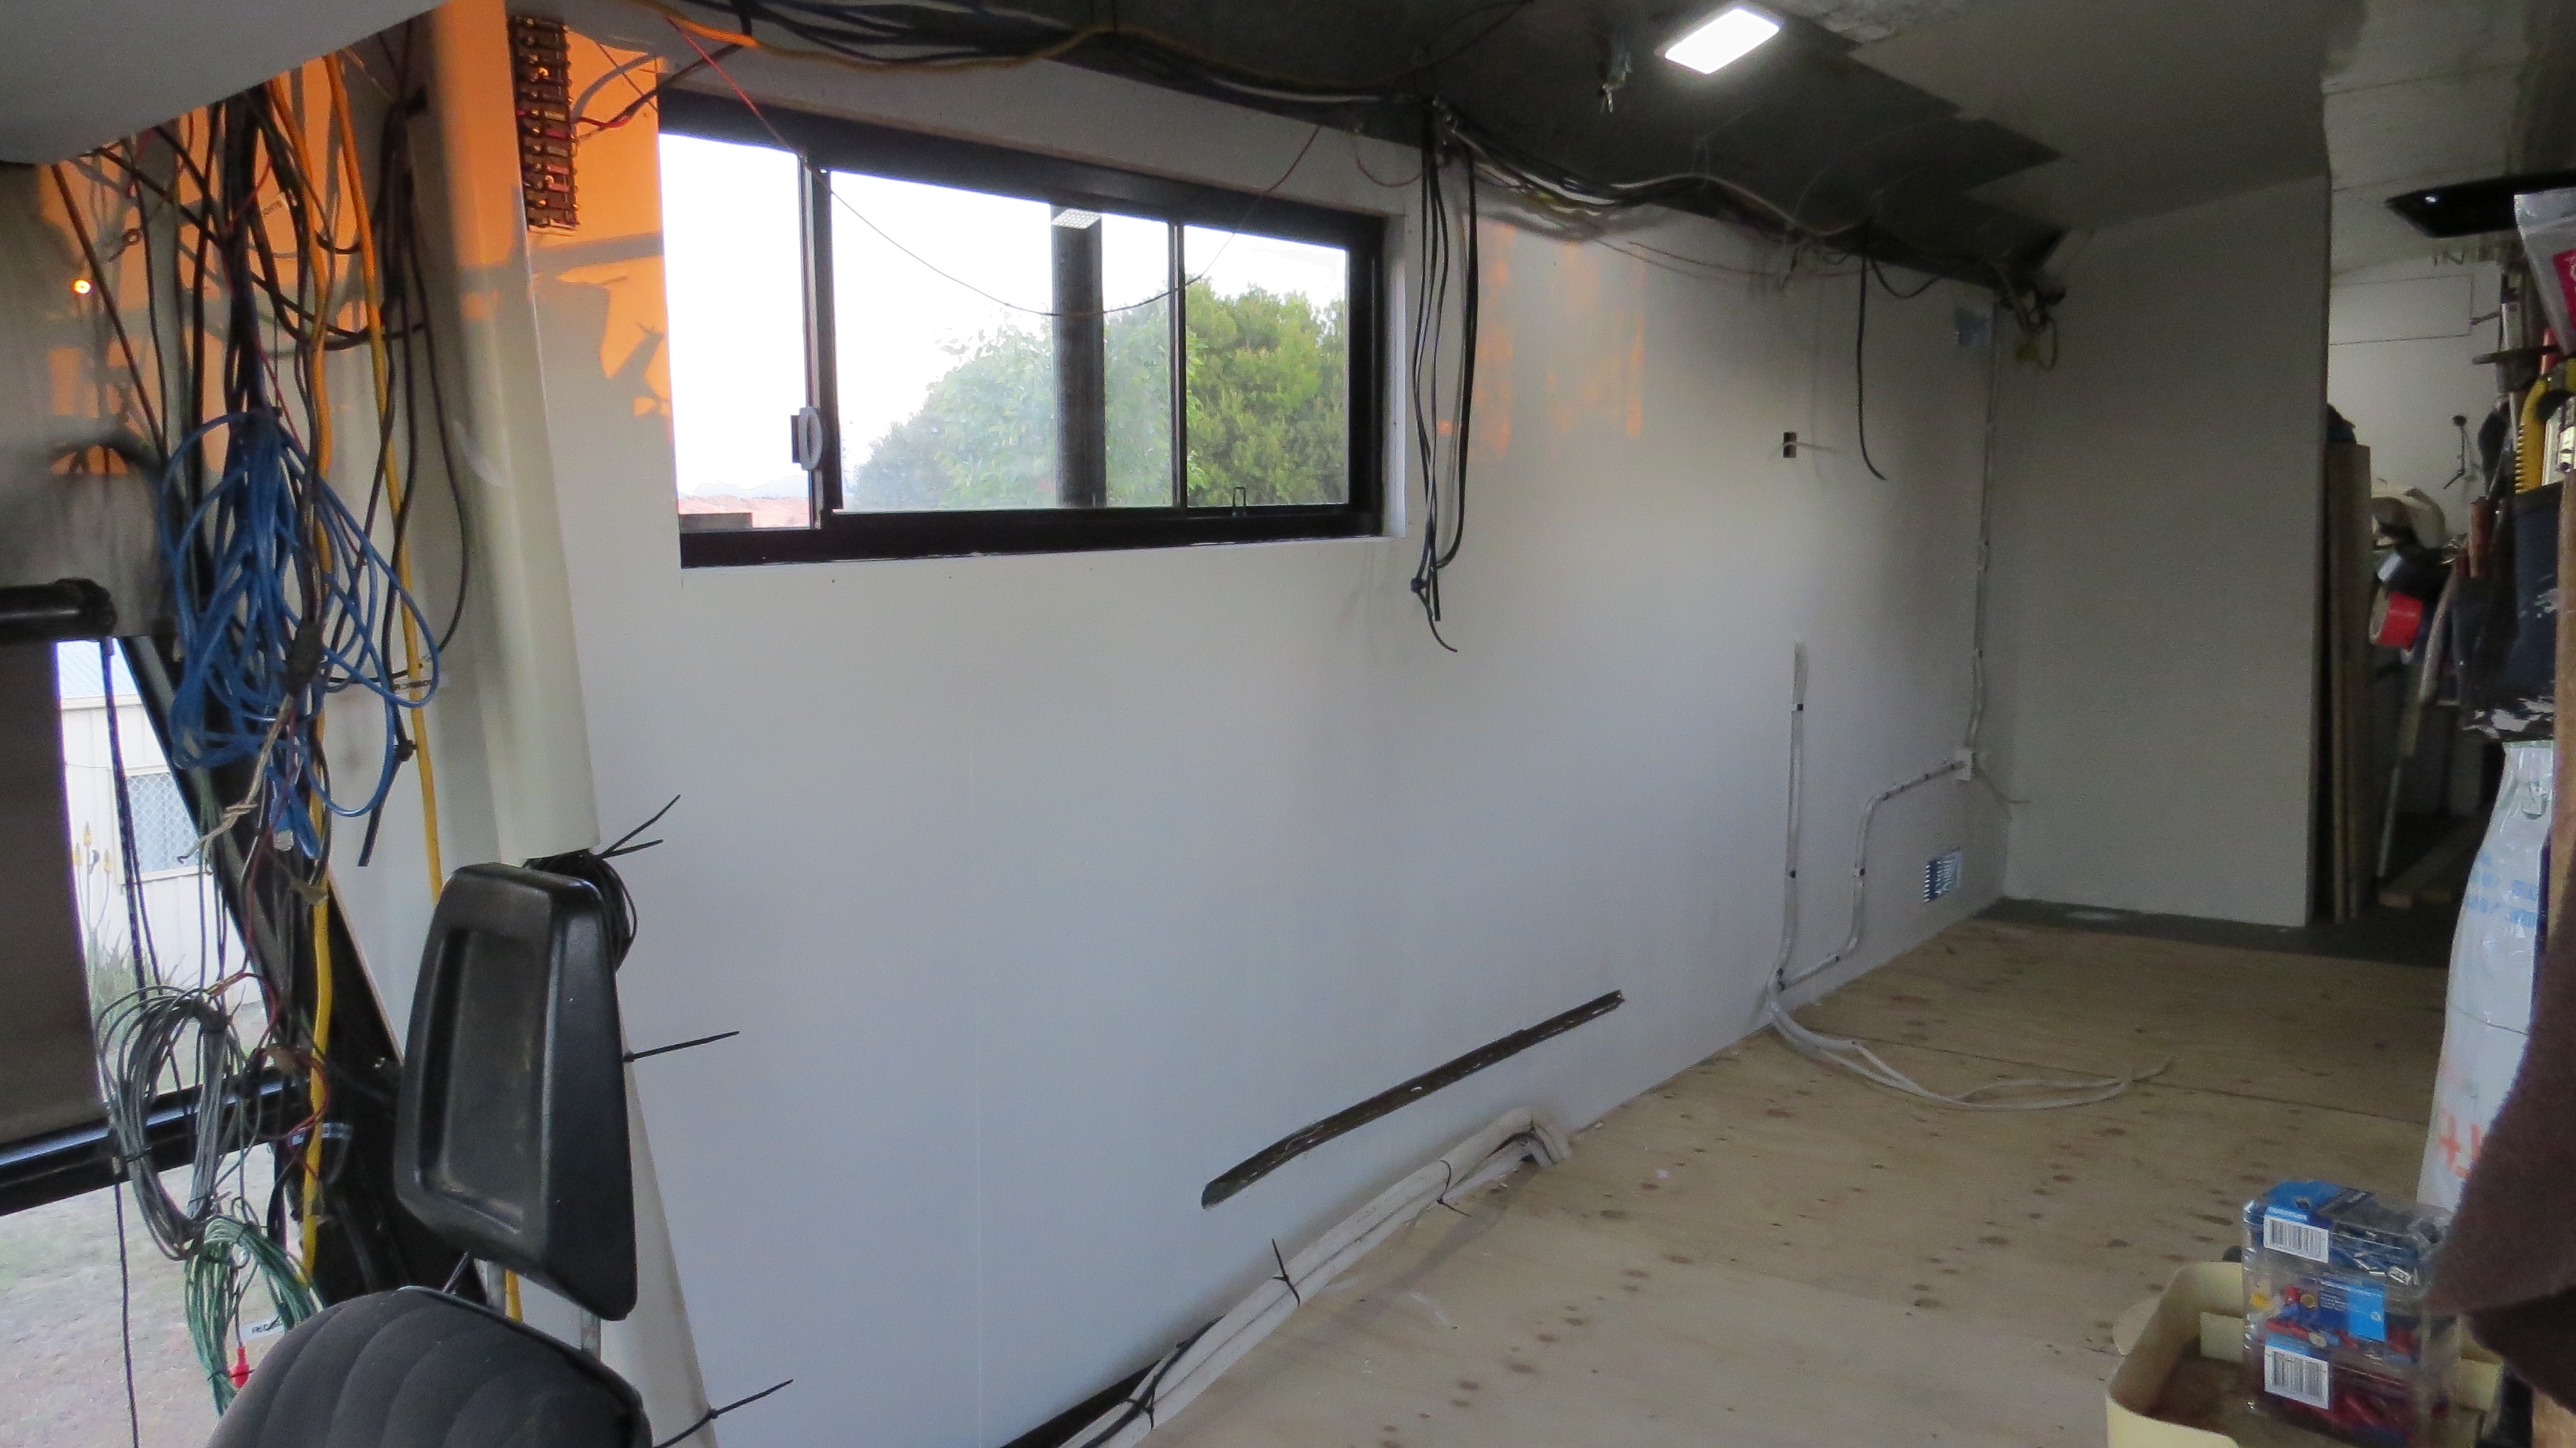
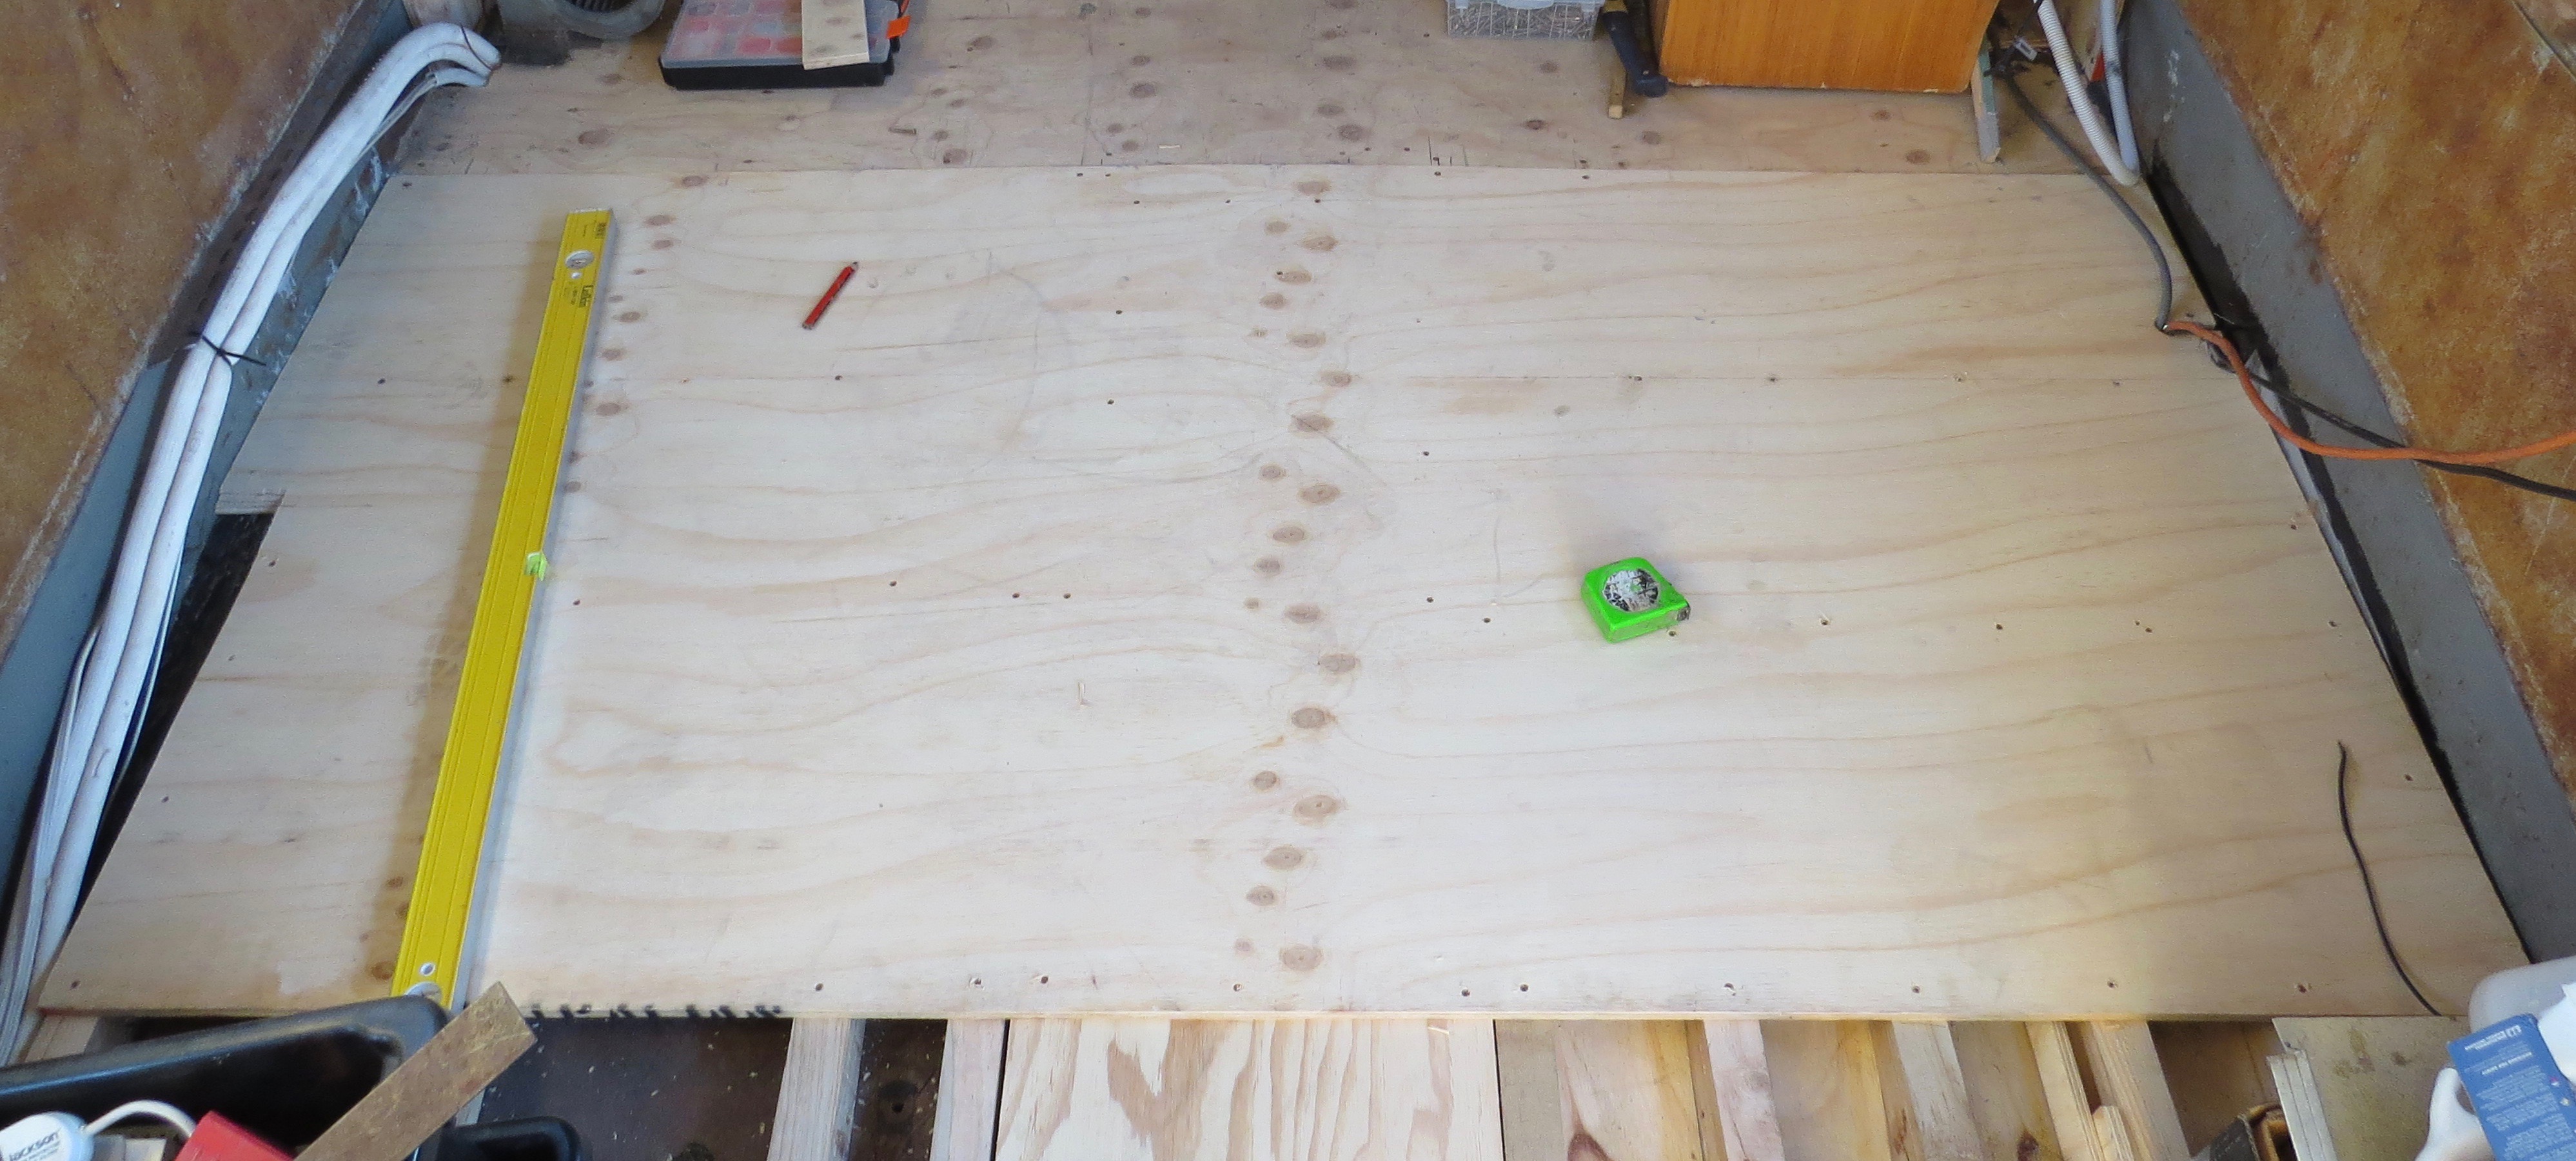
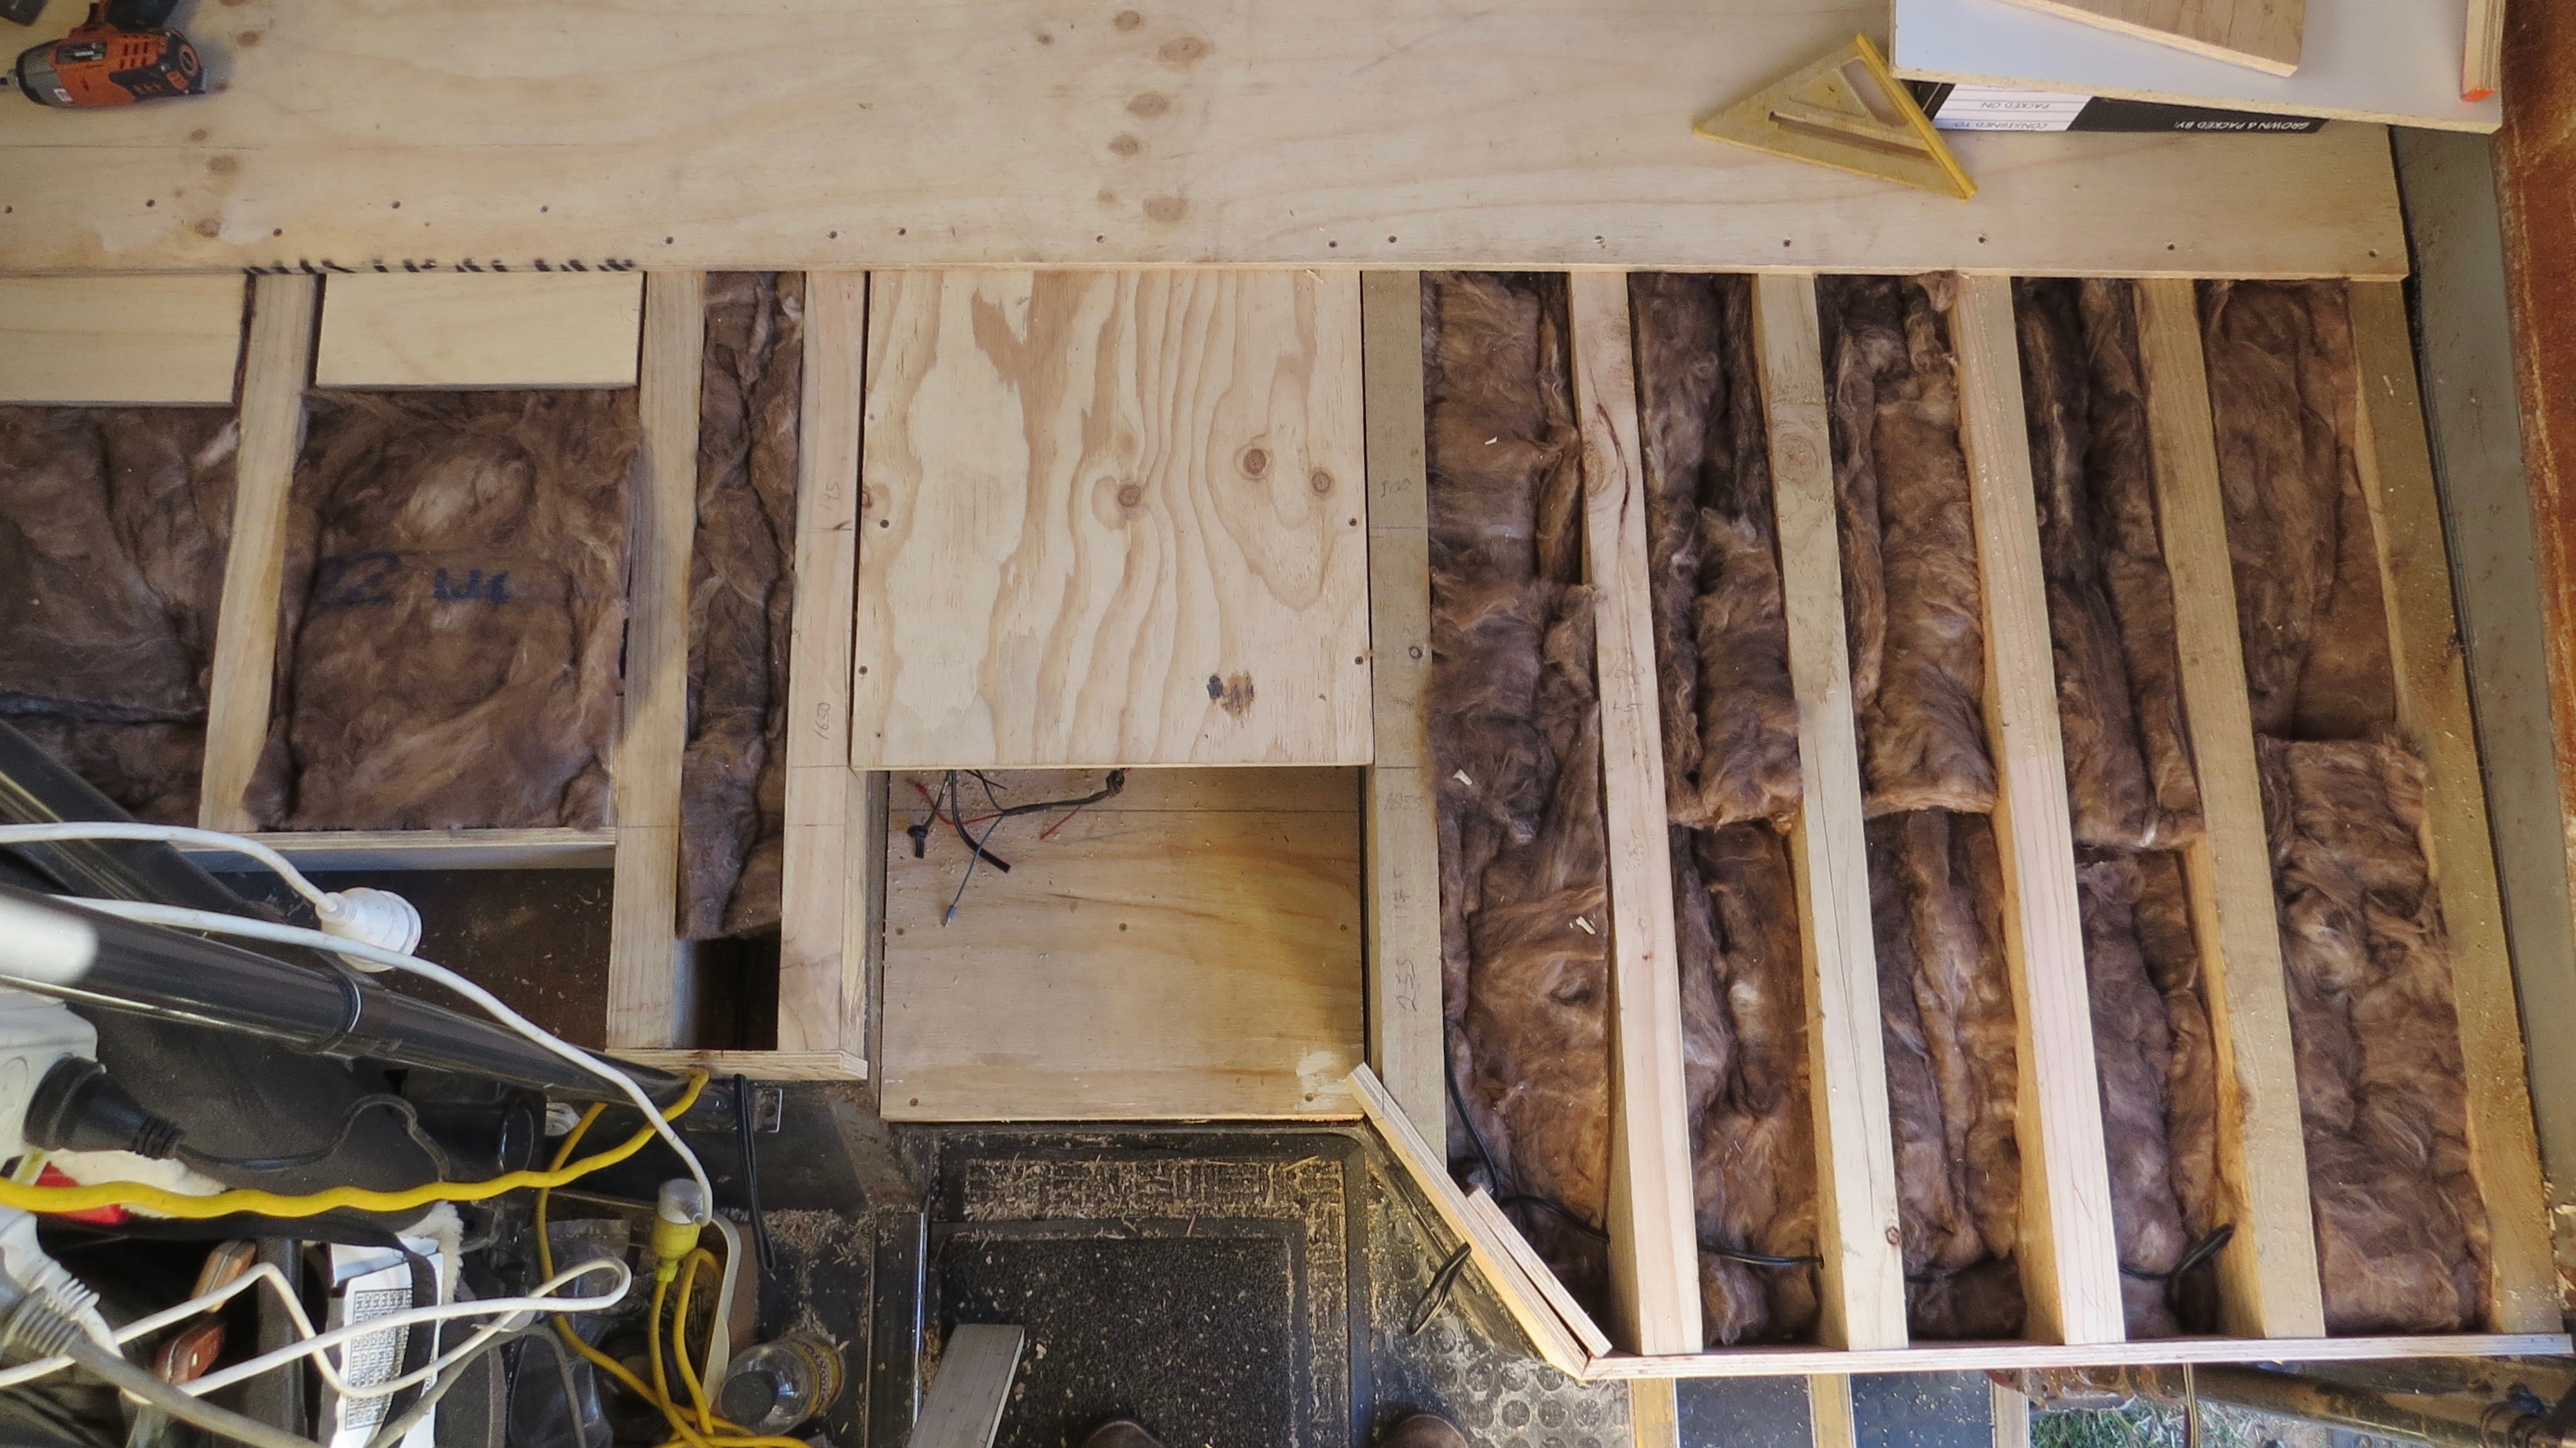
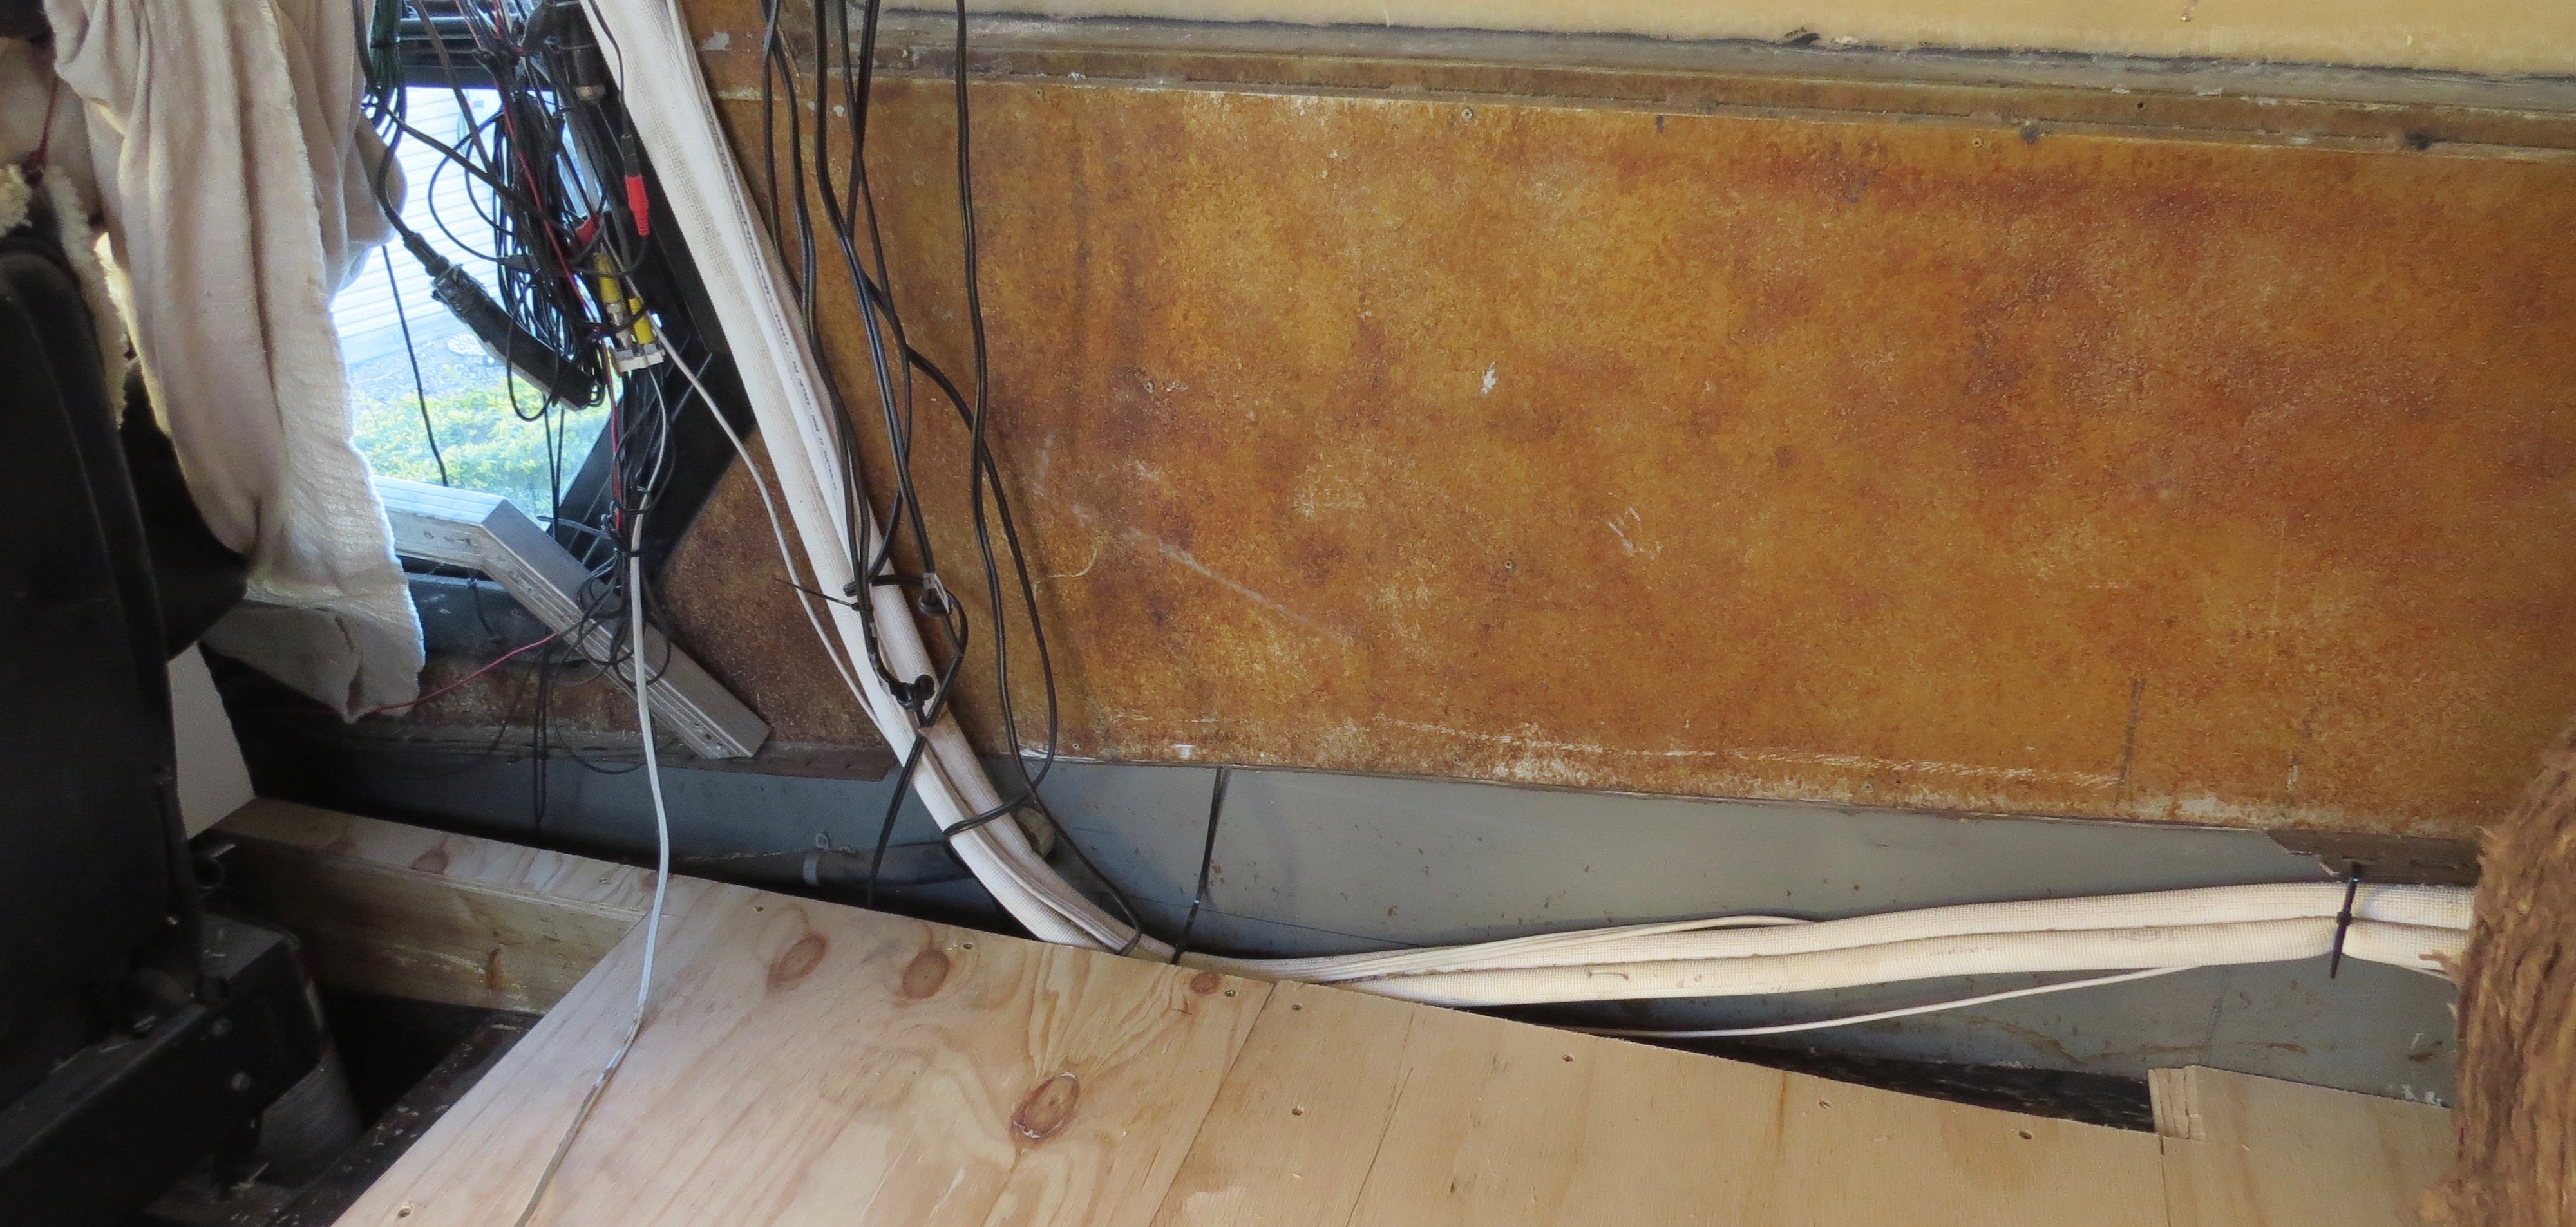
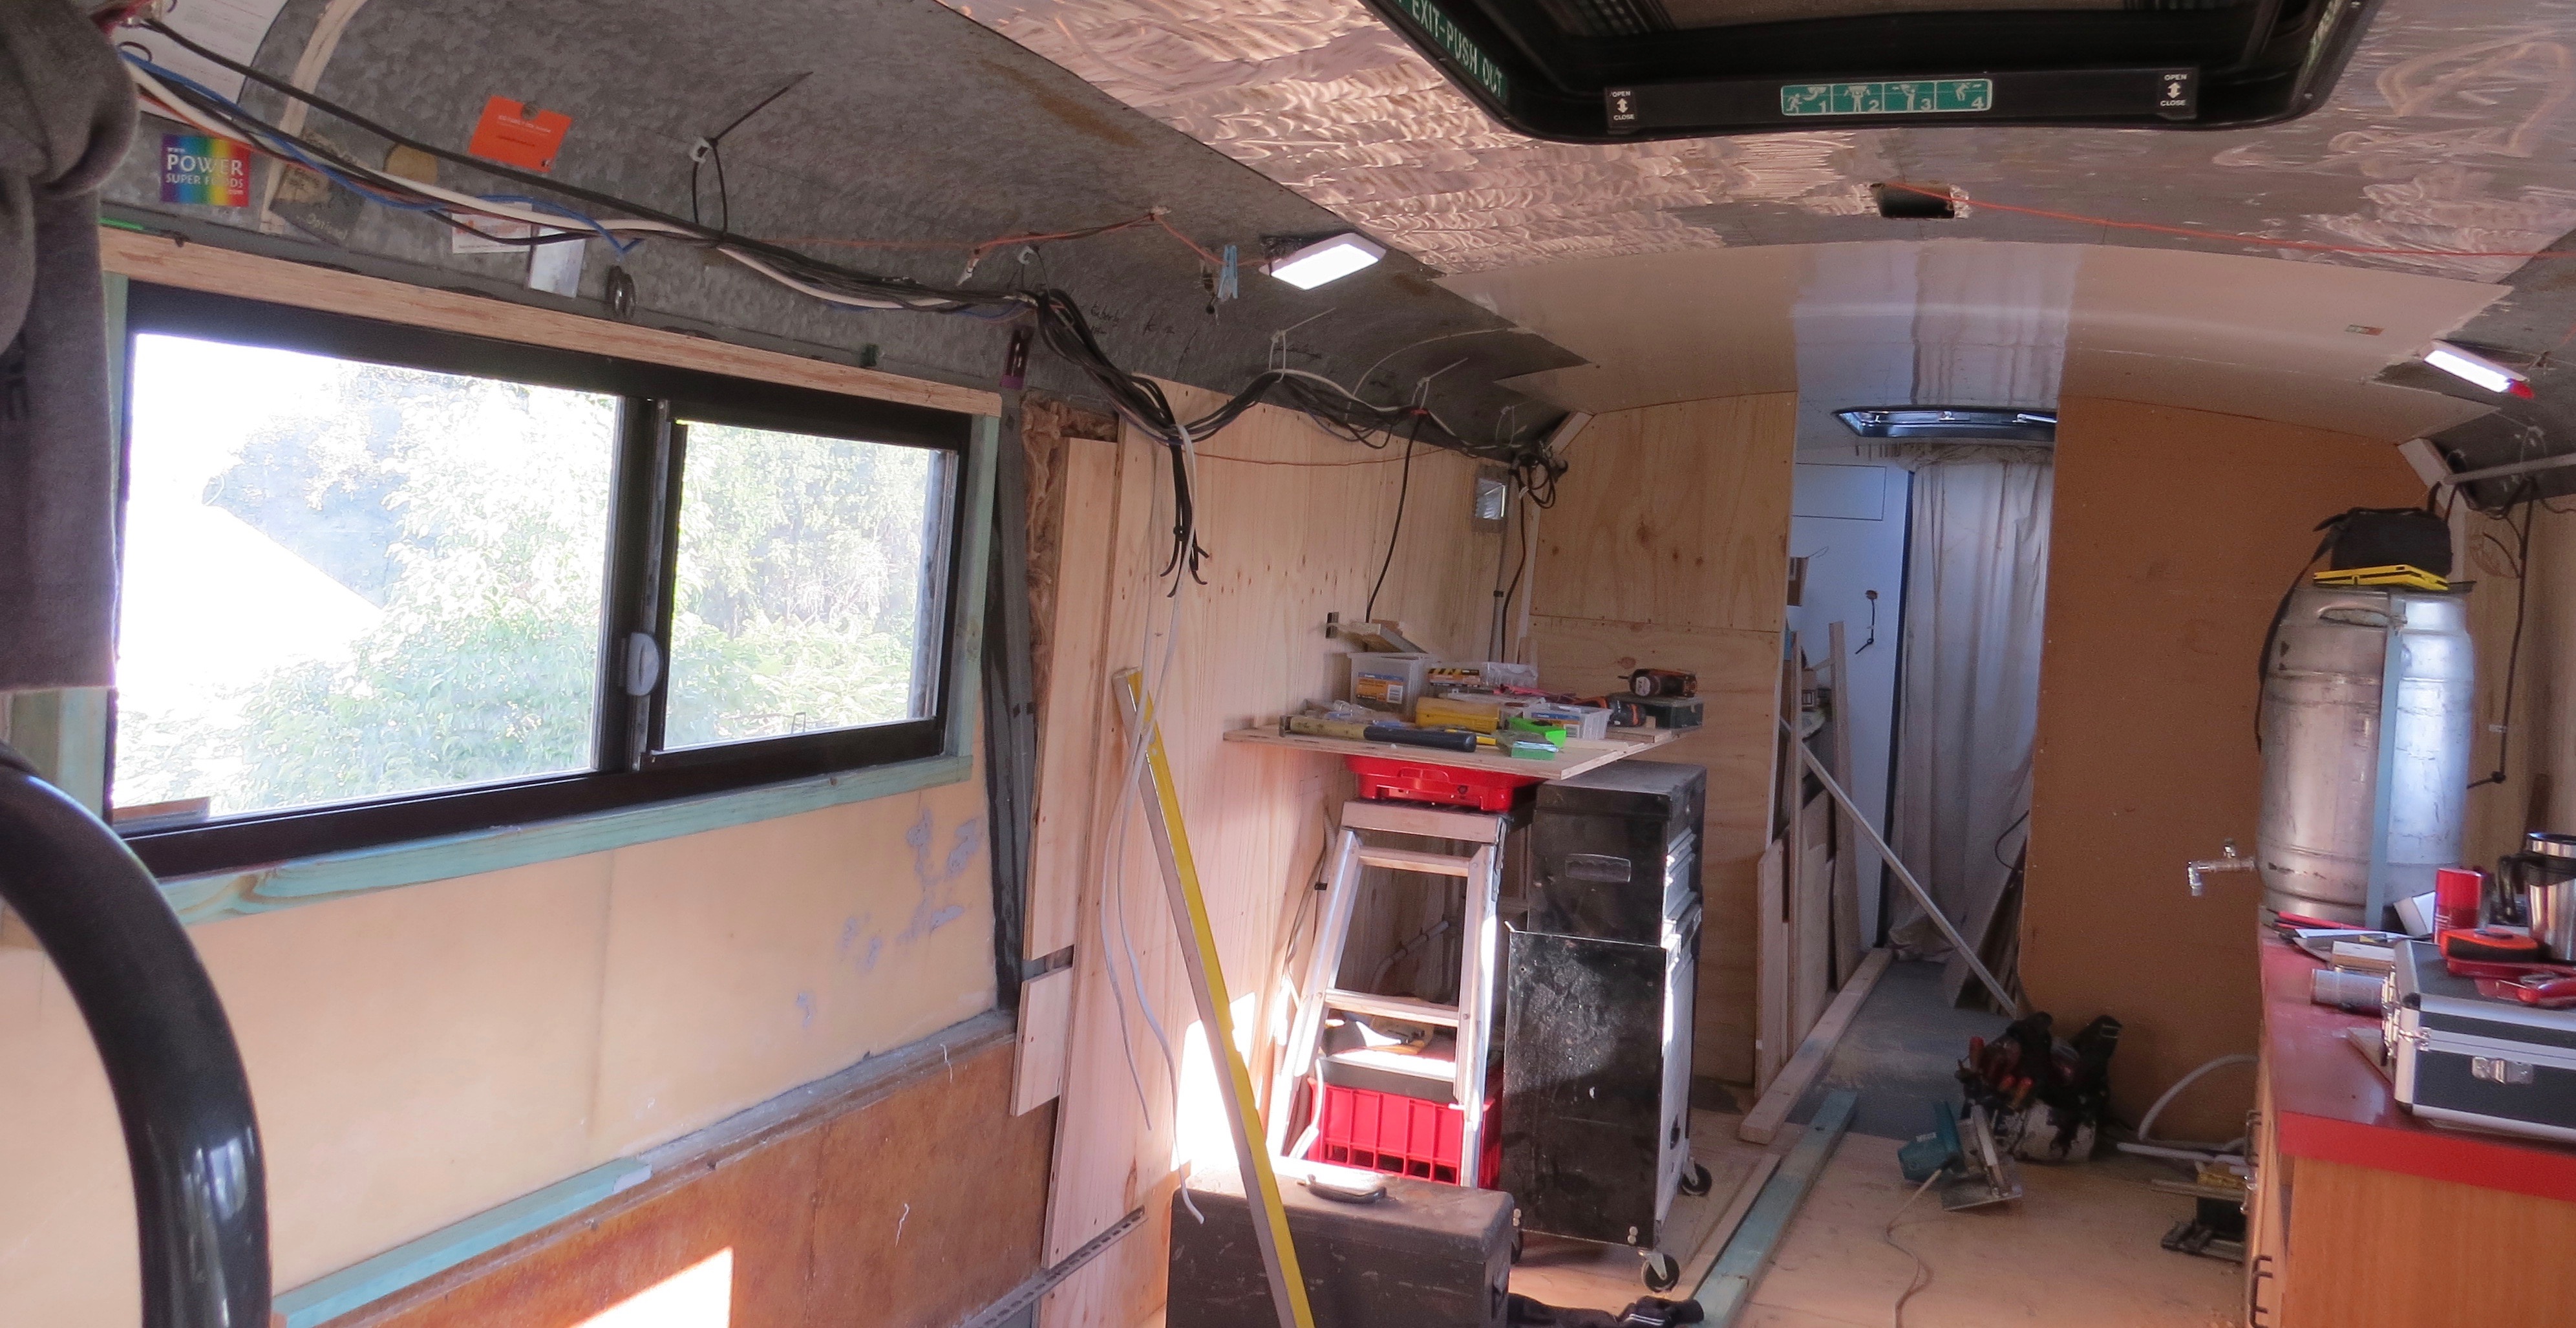
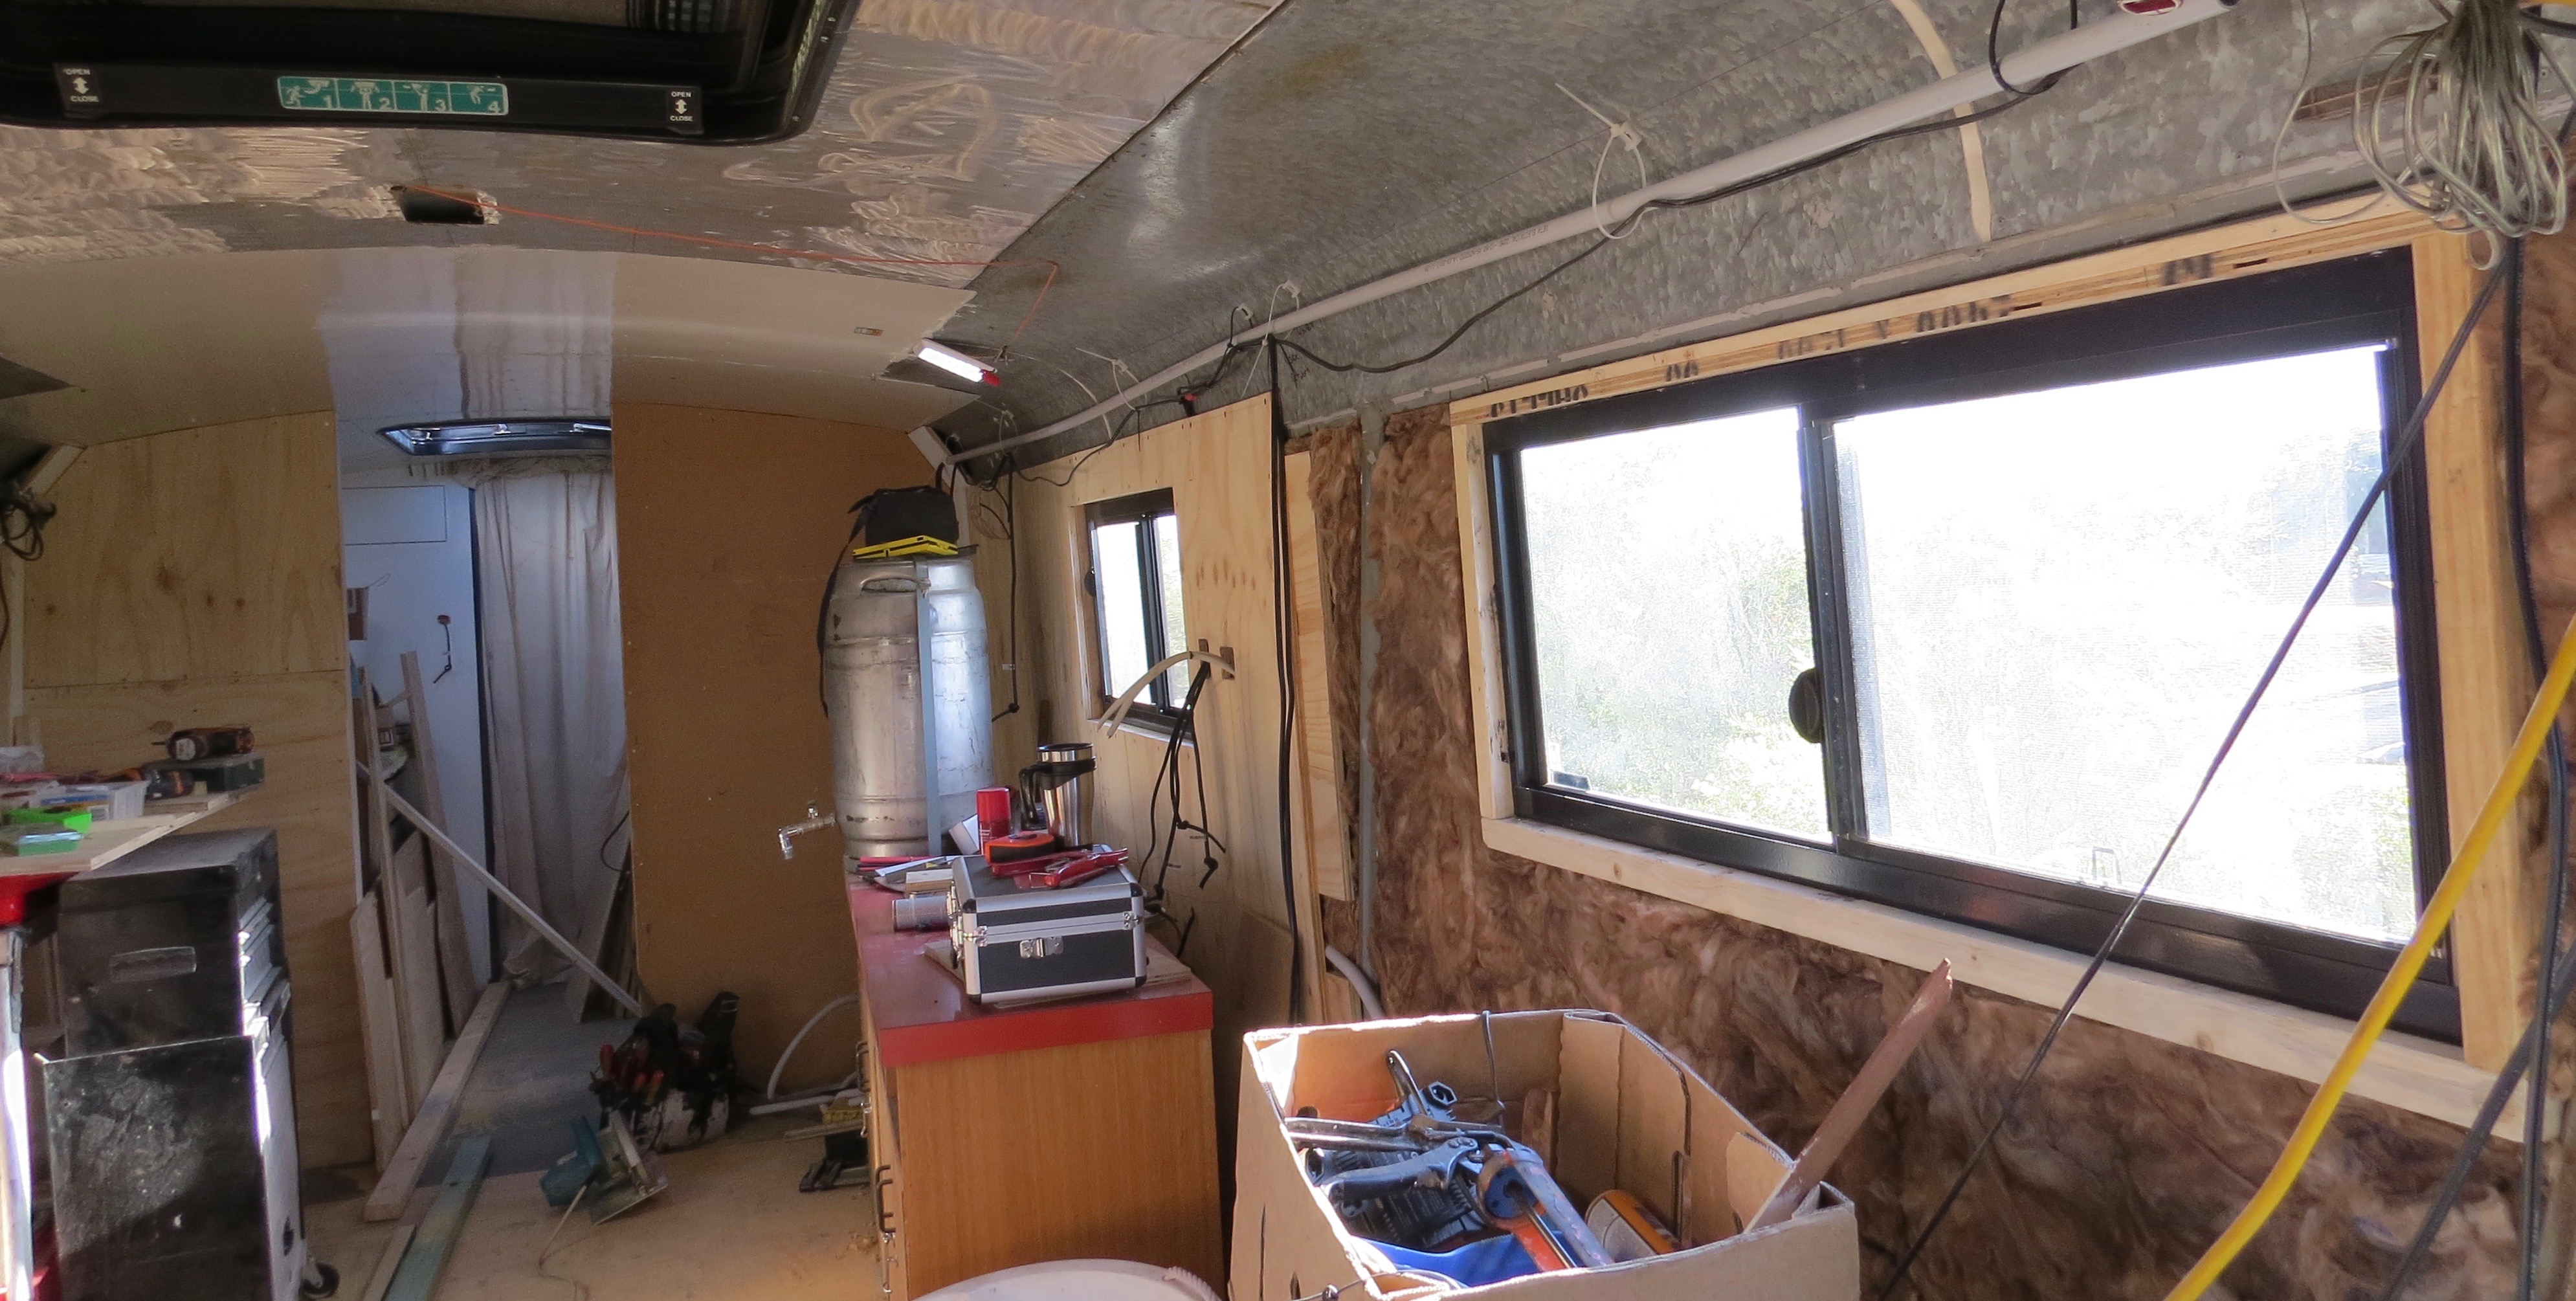
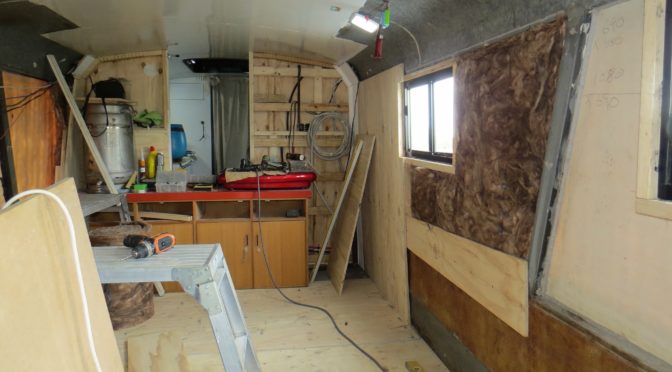
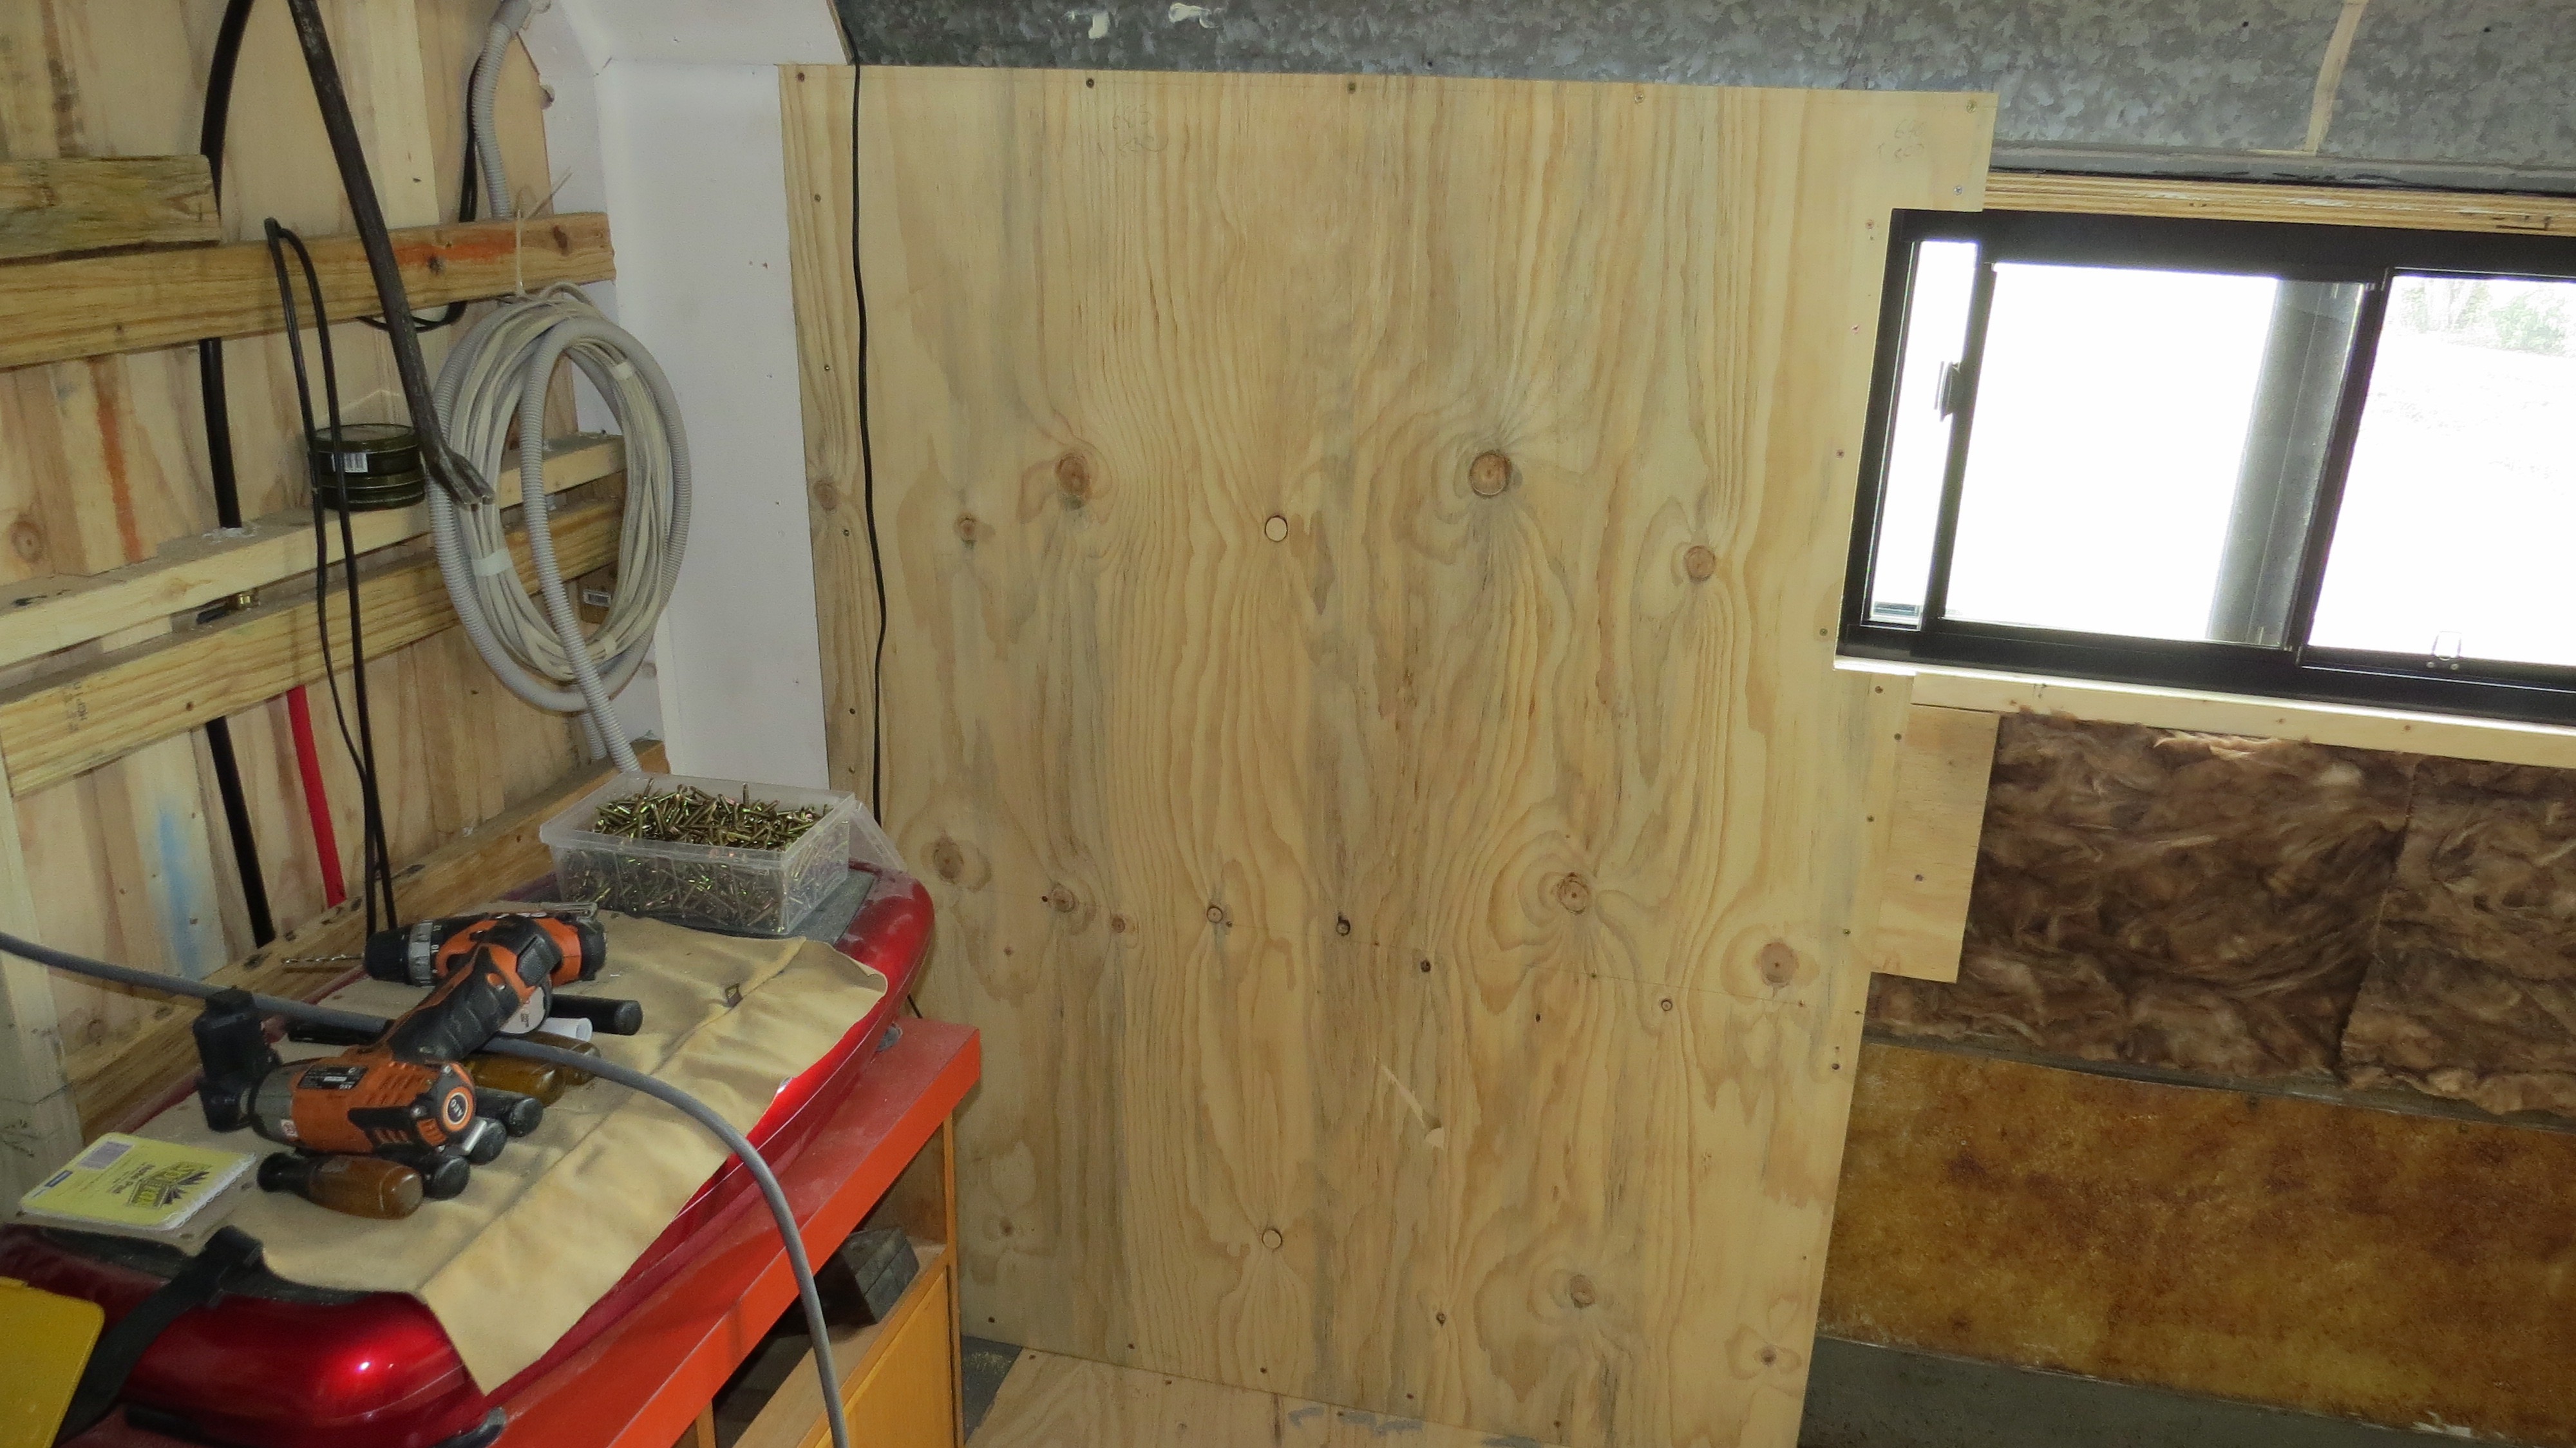
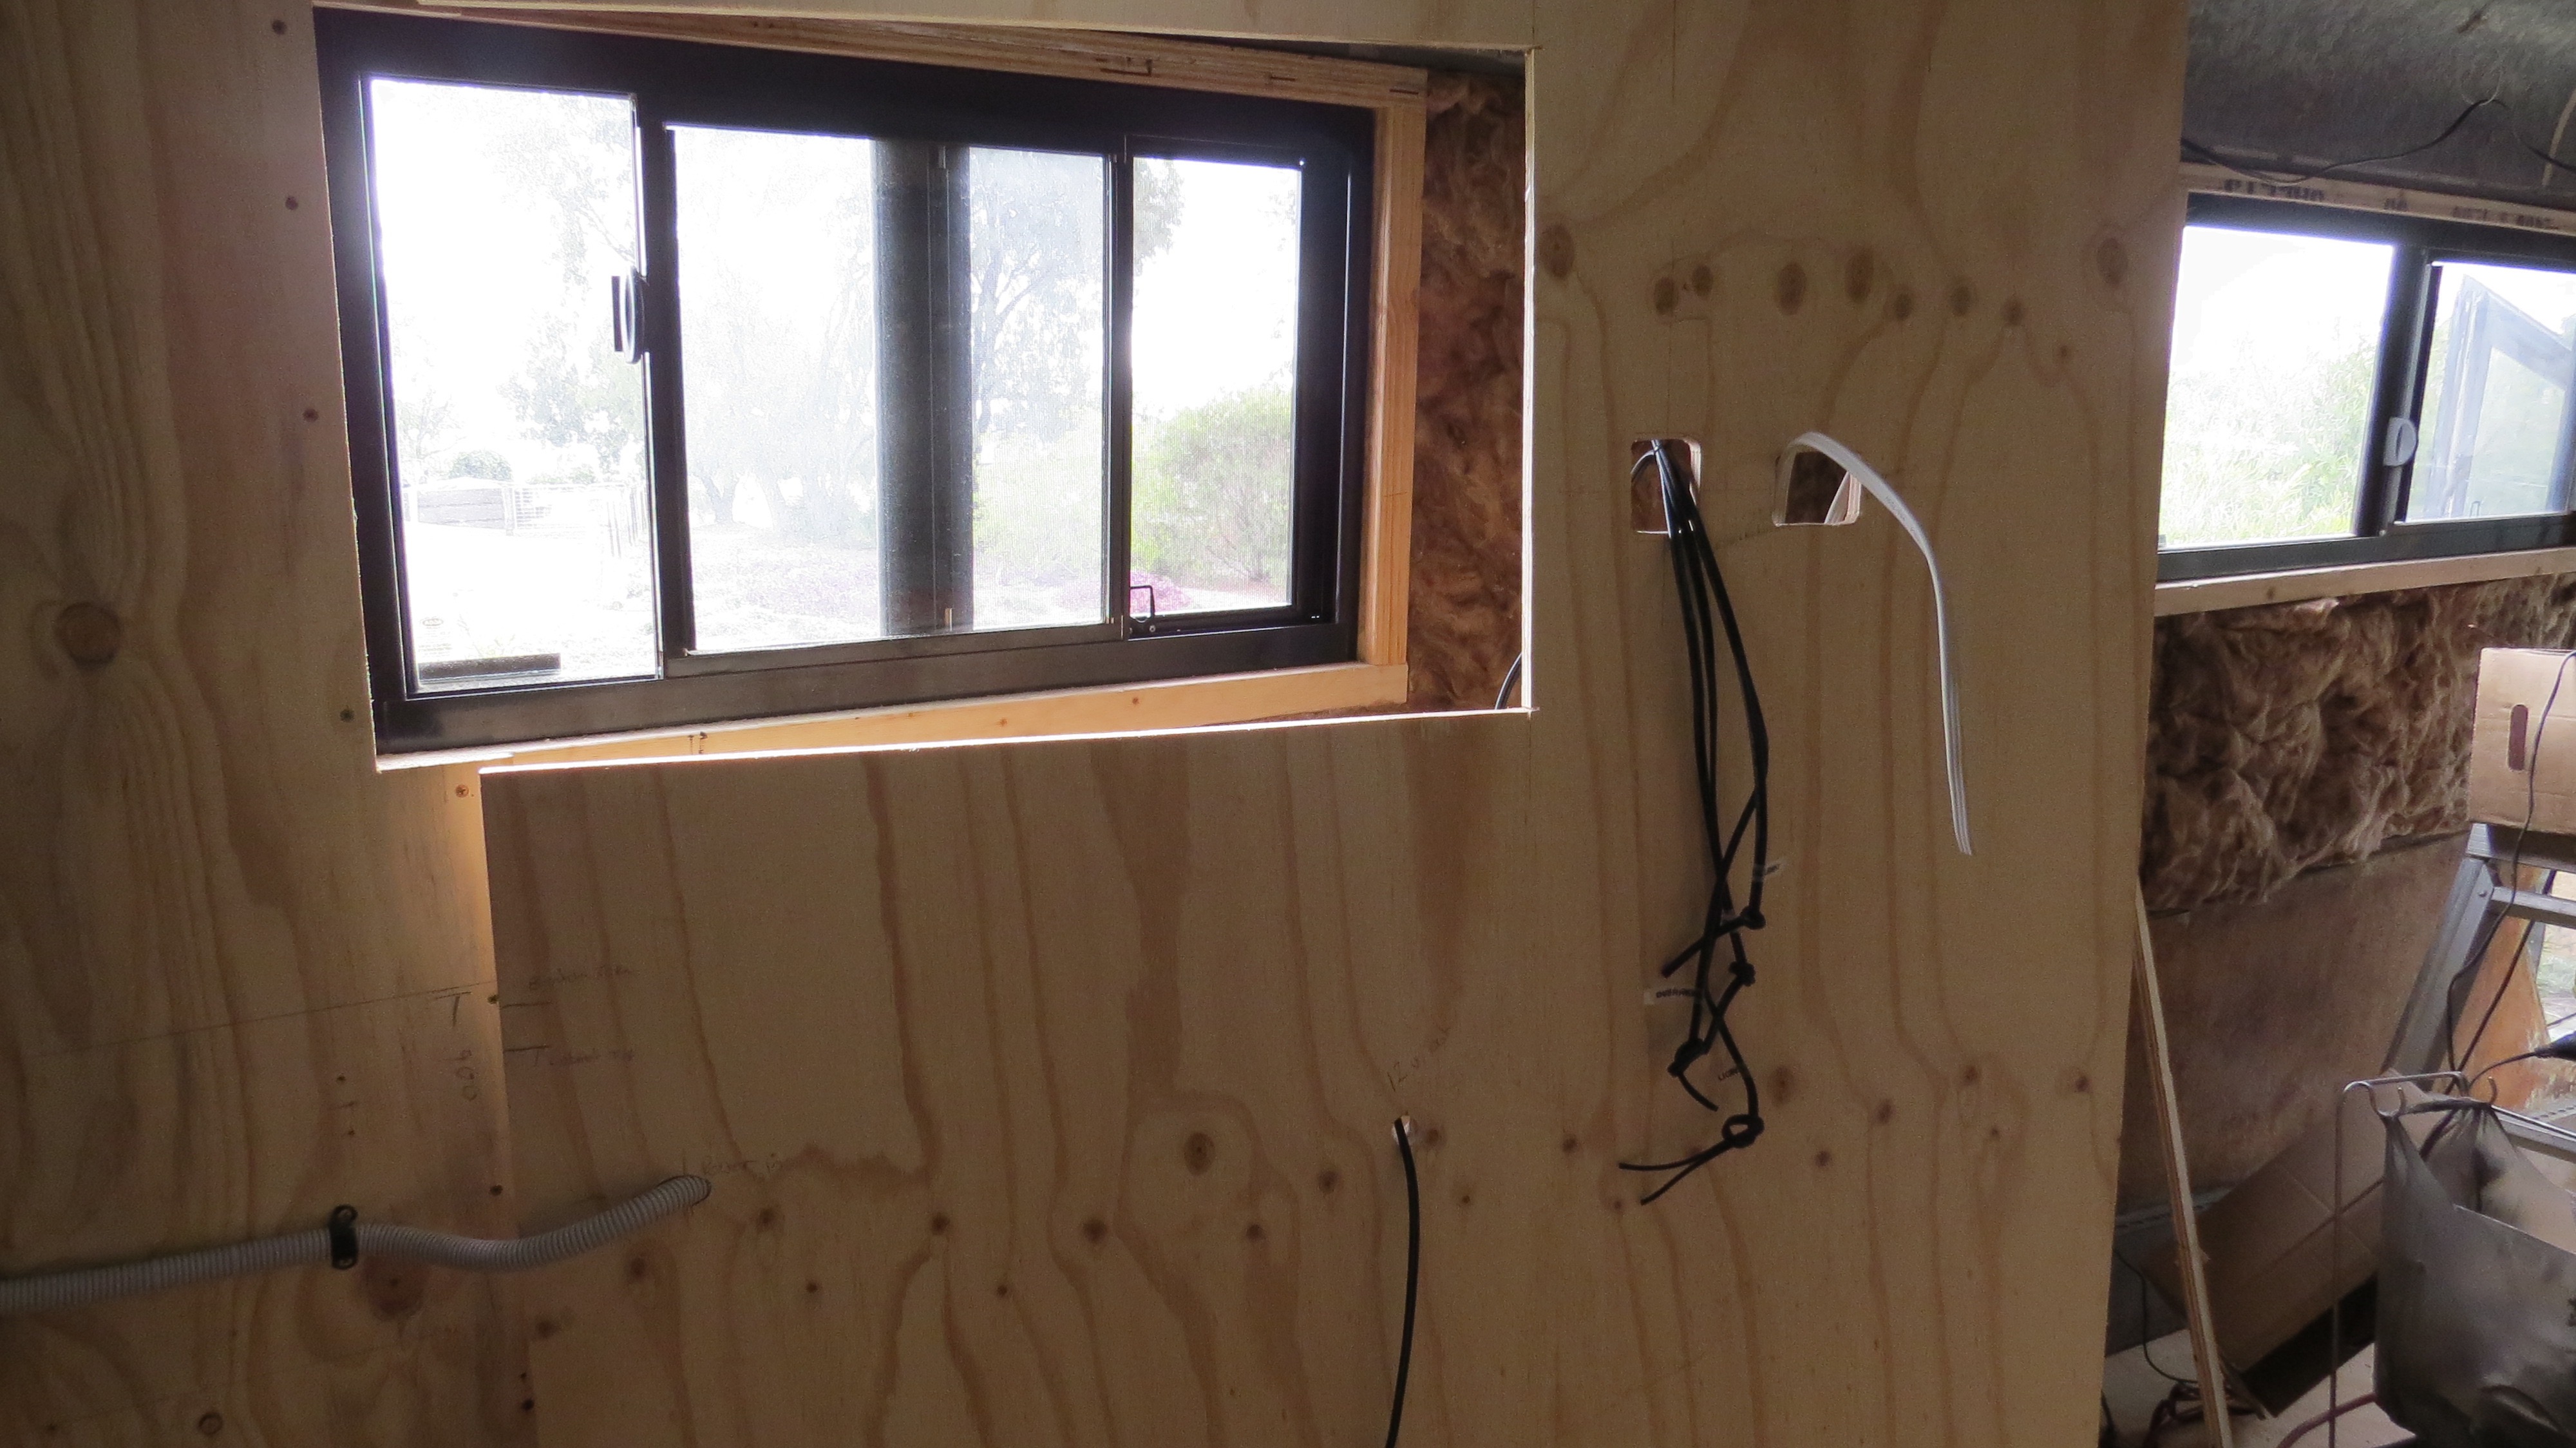
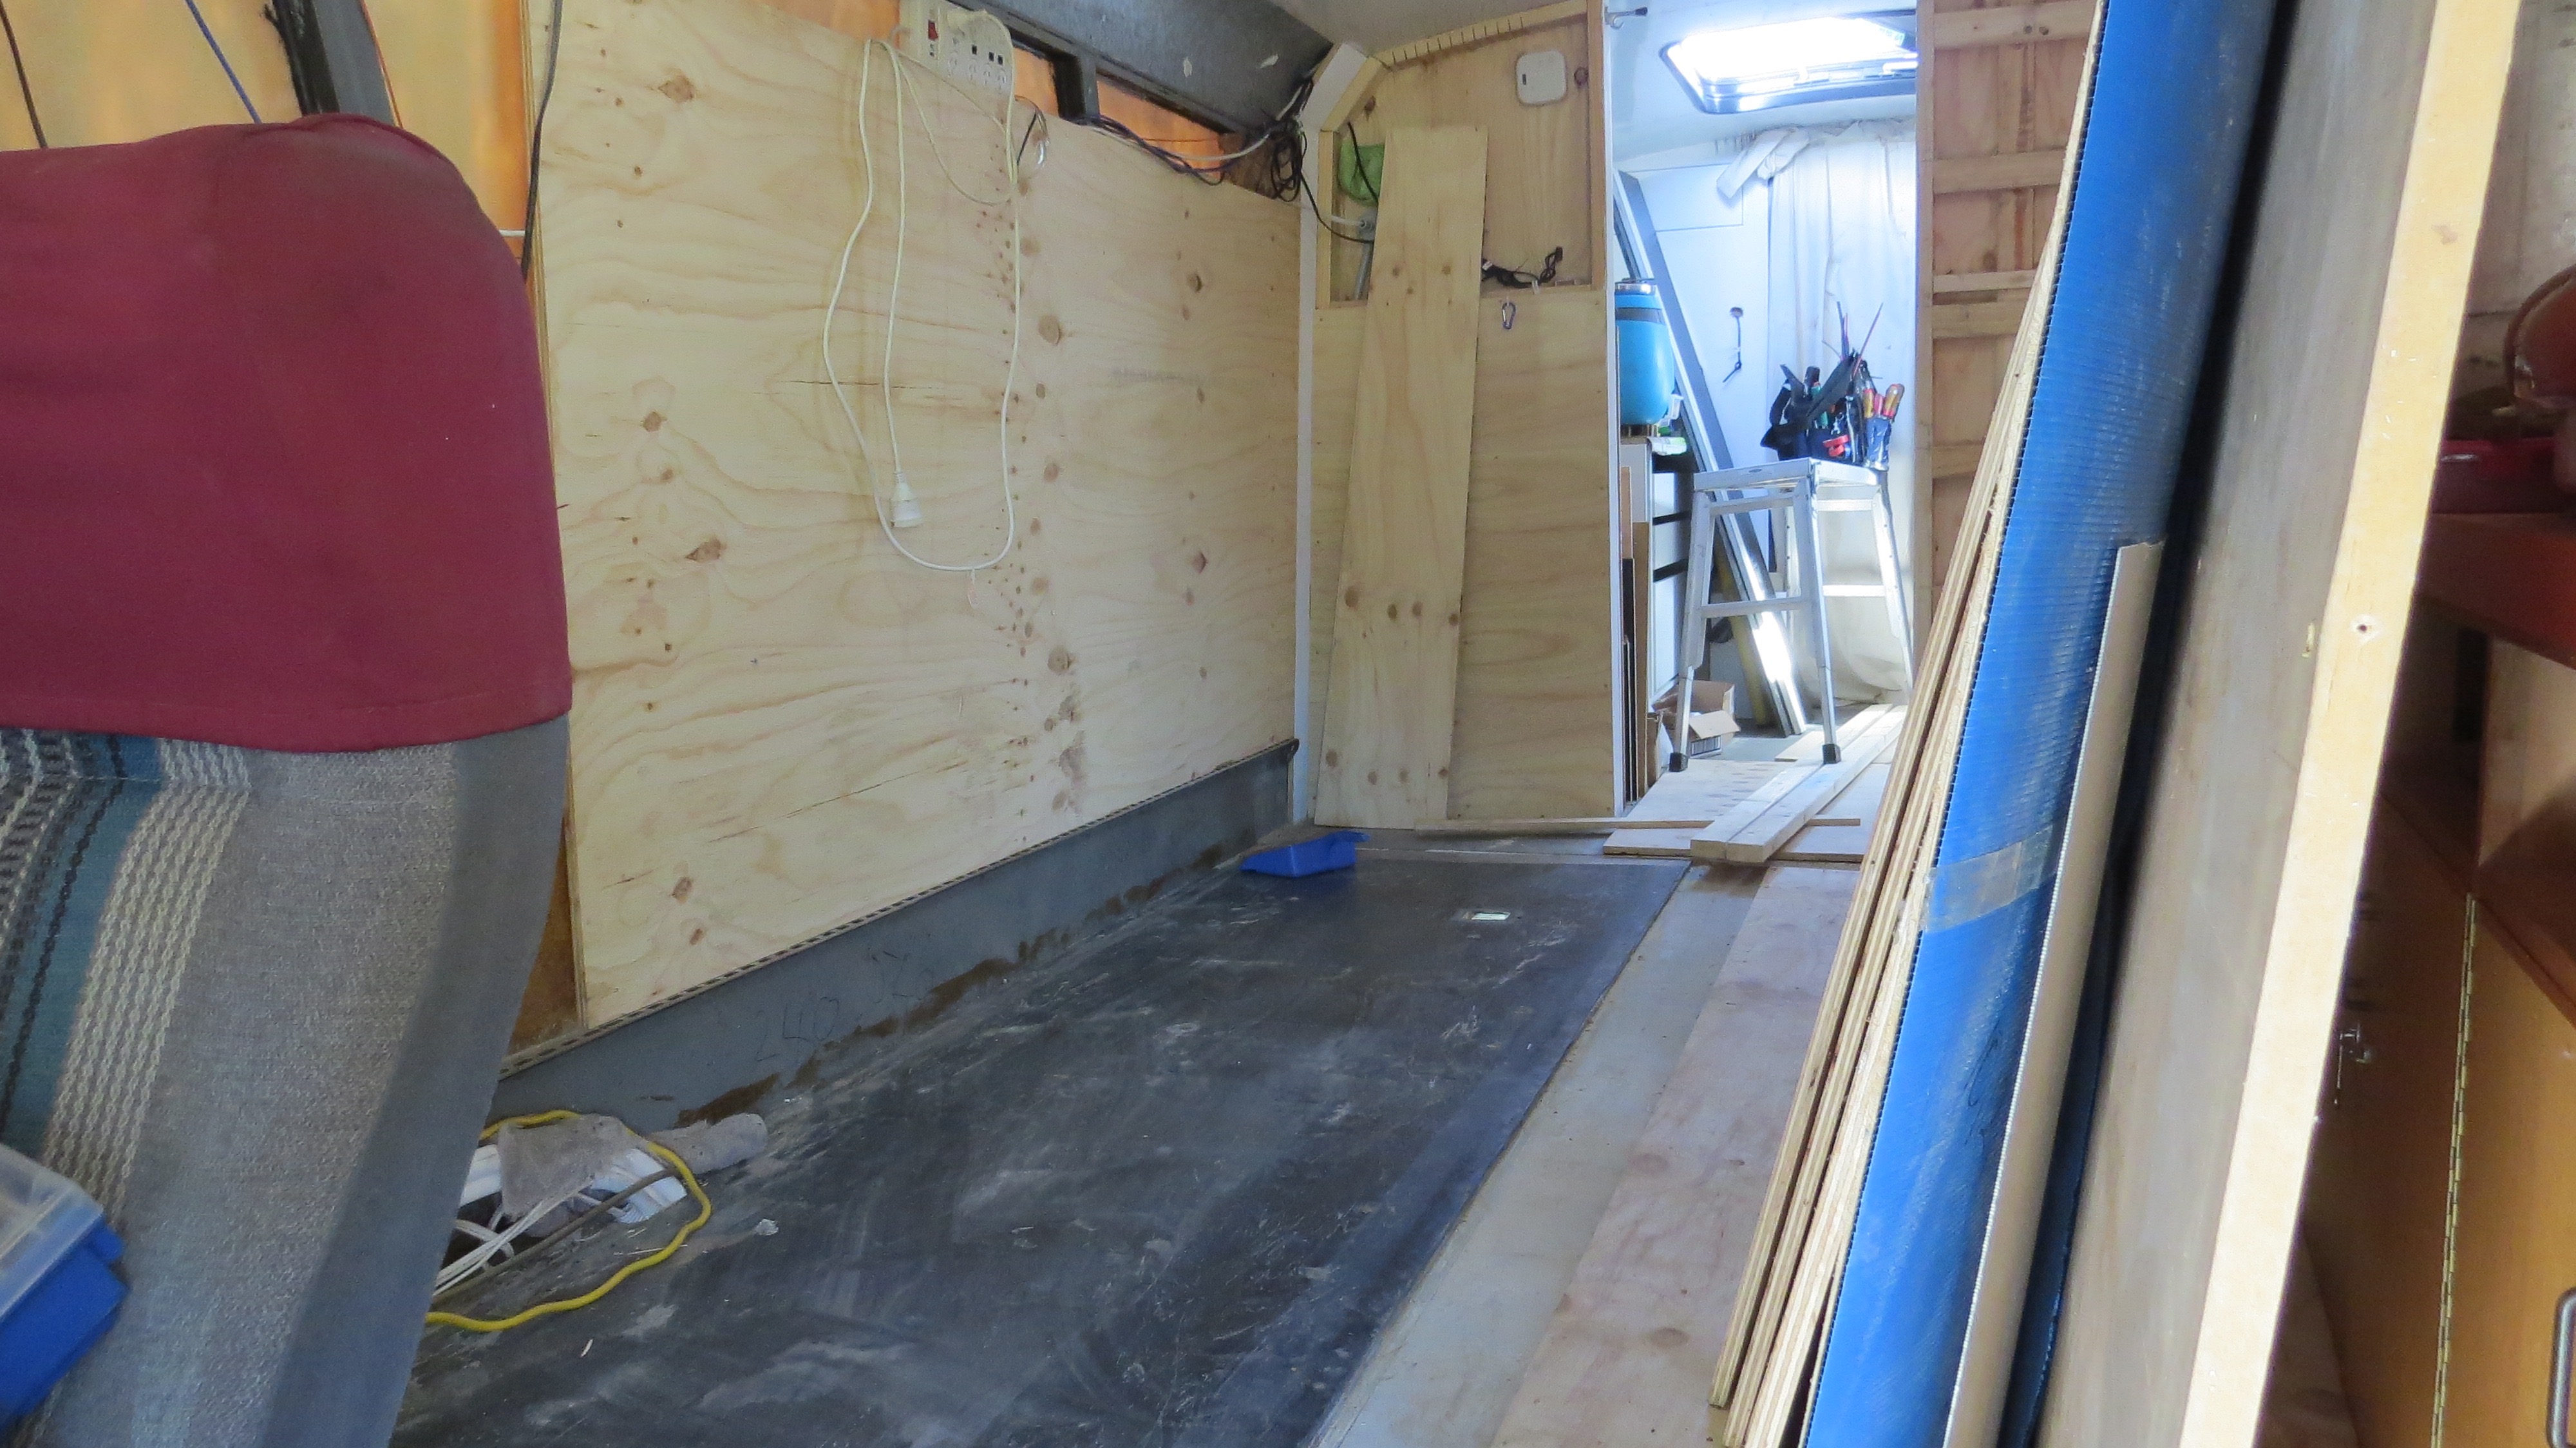
After starting on the bedroom wall at the Bowen house sit, now at a house sit in Laidley Heights a year and a bit later it’s finally time to finish them. With the floor down and the front window in place, all that needs to be done is to cut the ply to length with the window cutouts. I’ve packed more insulation around the window with some 12v and 240v cables to go into place.
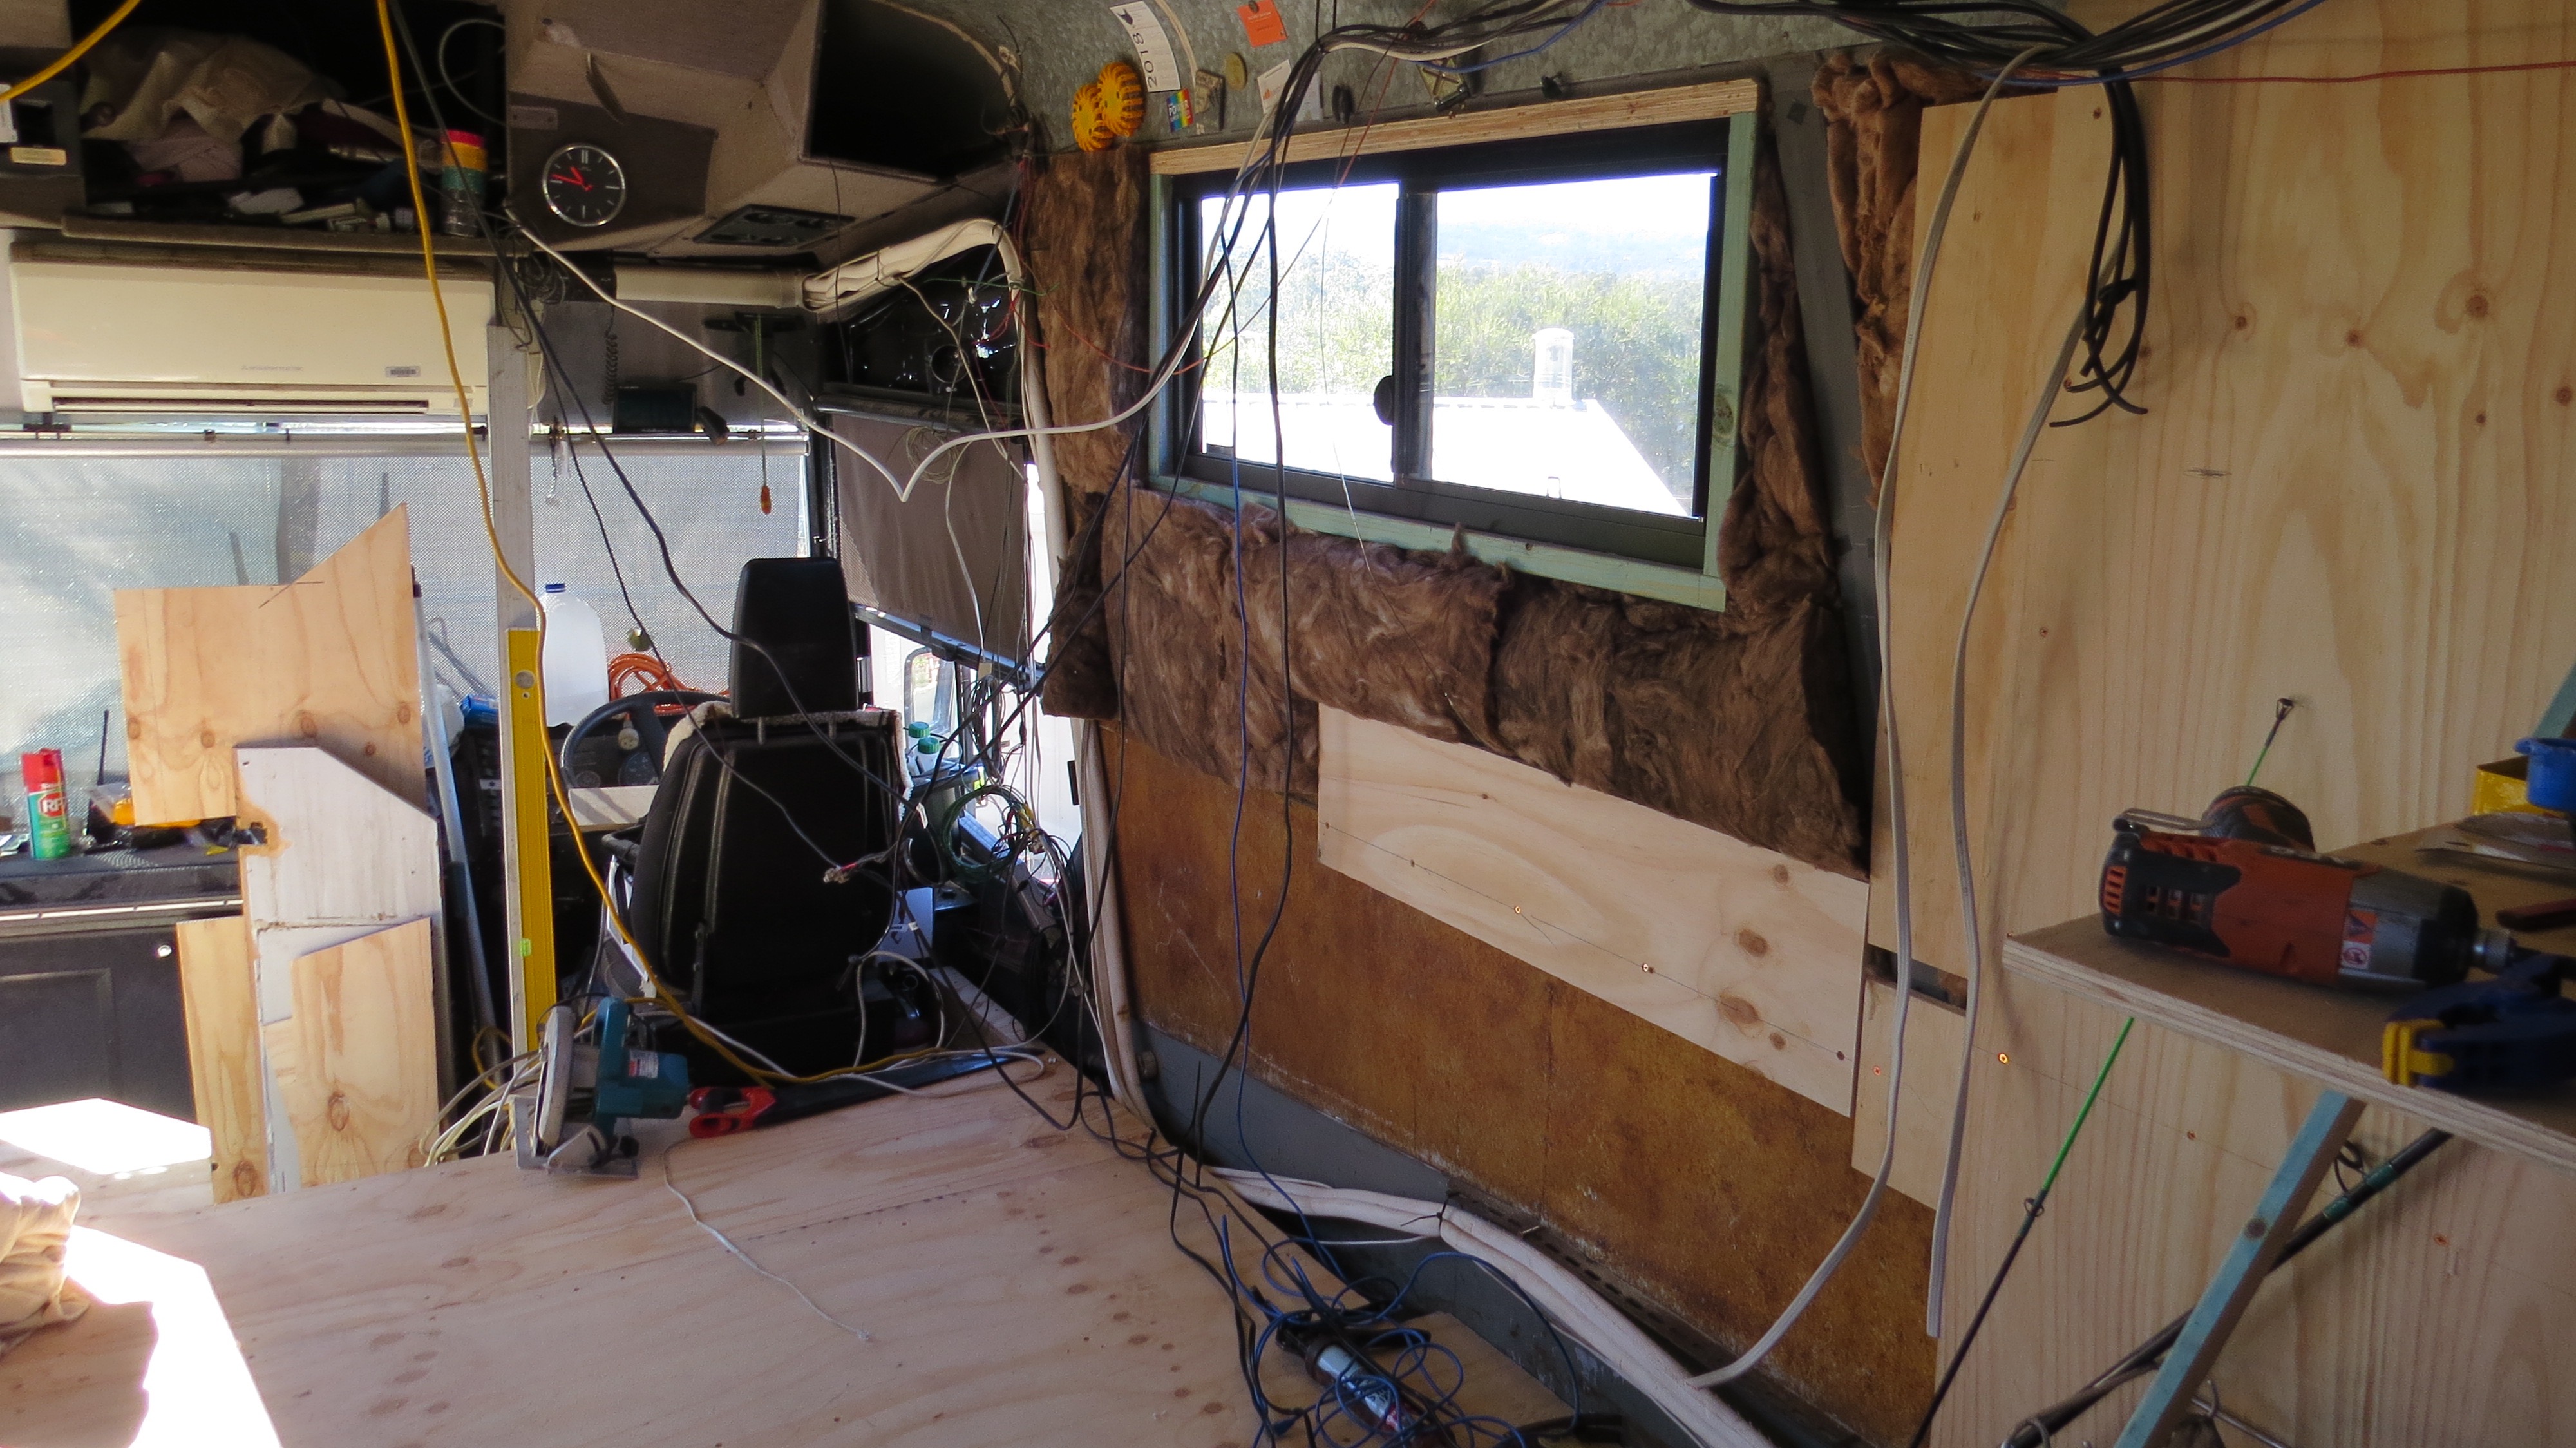
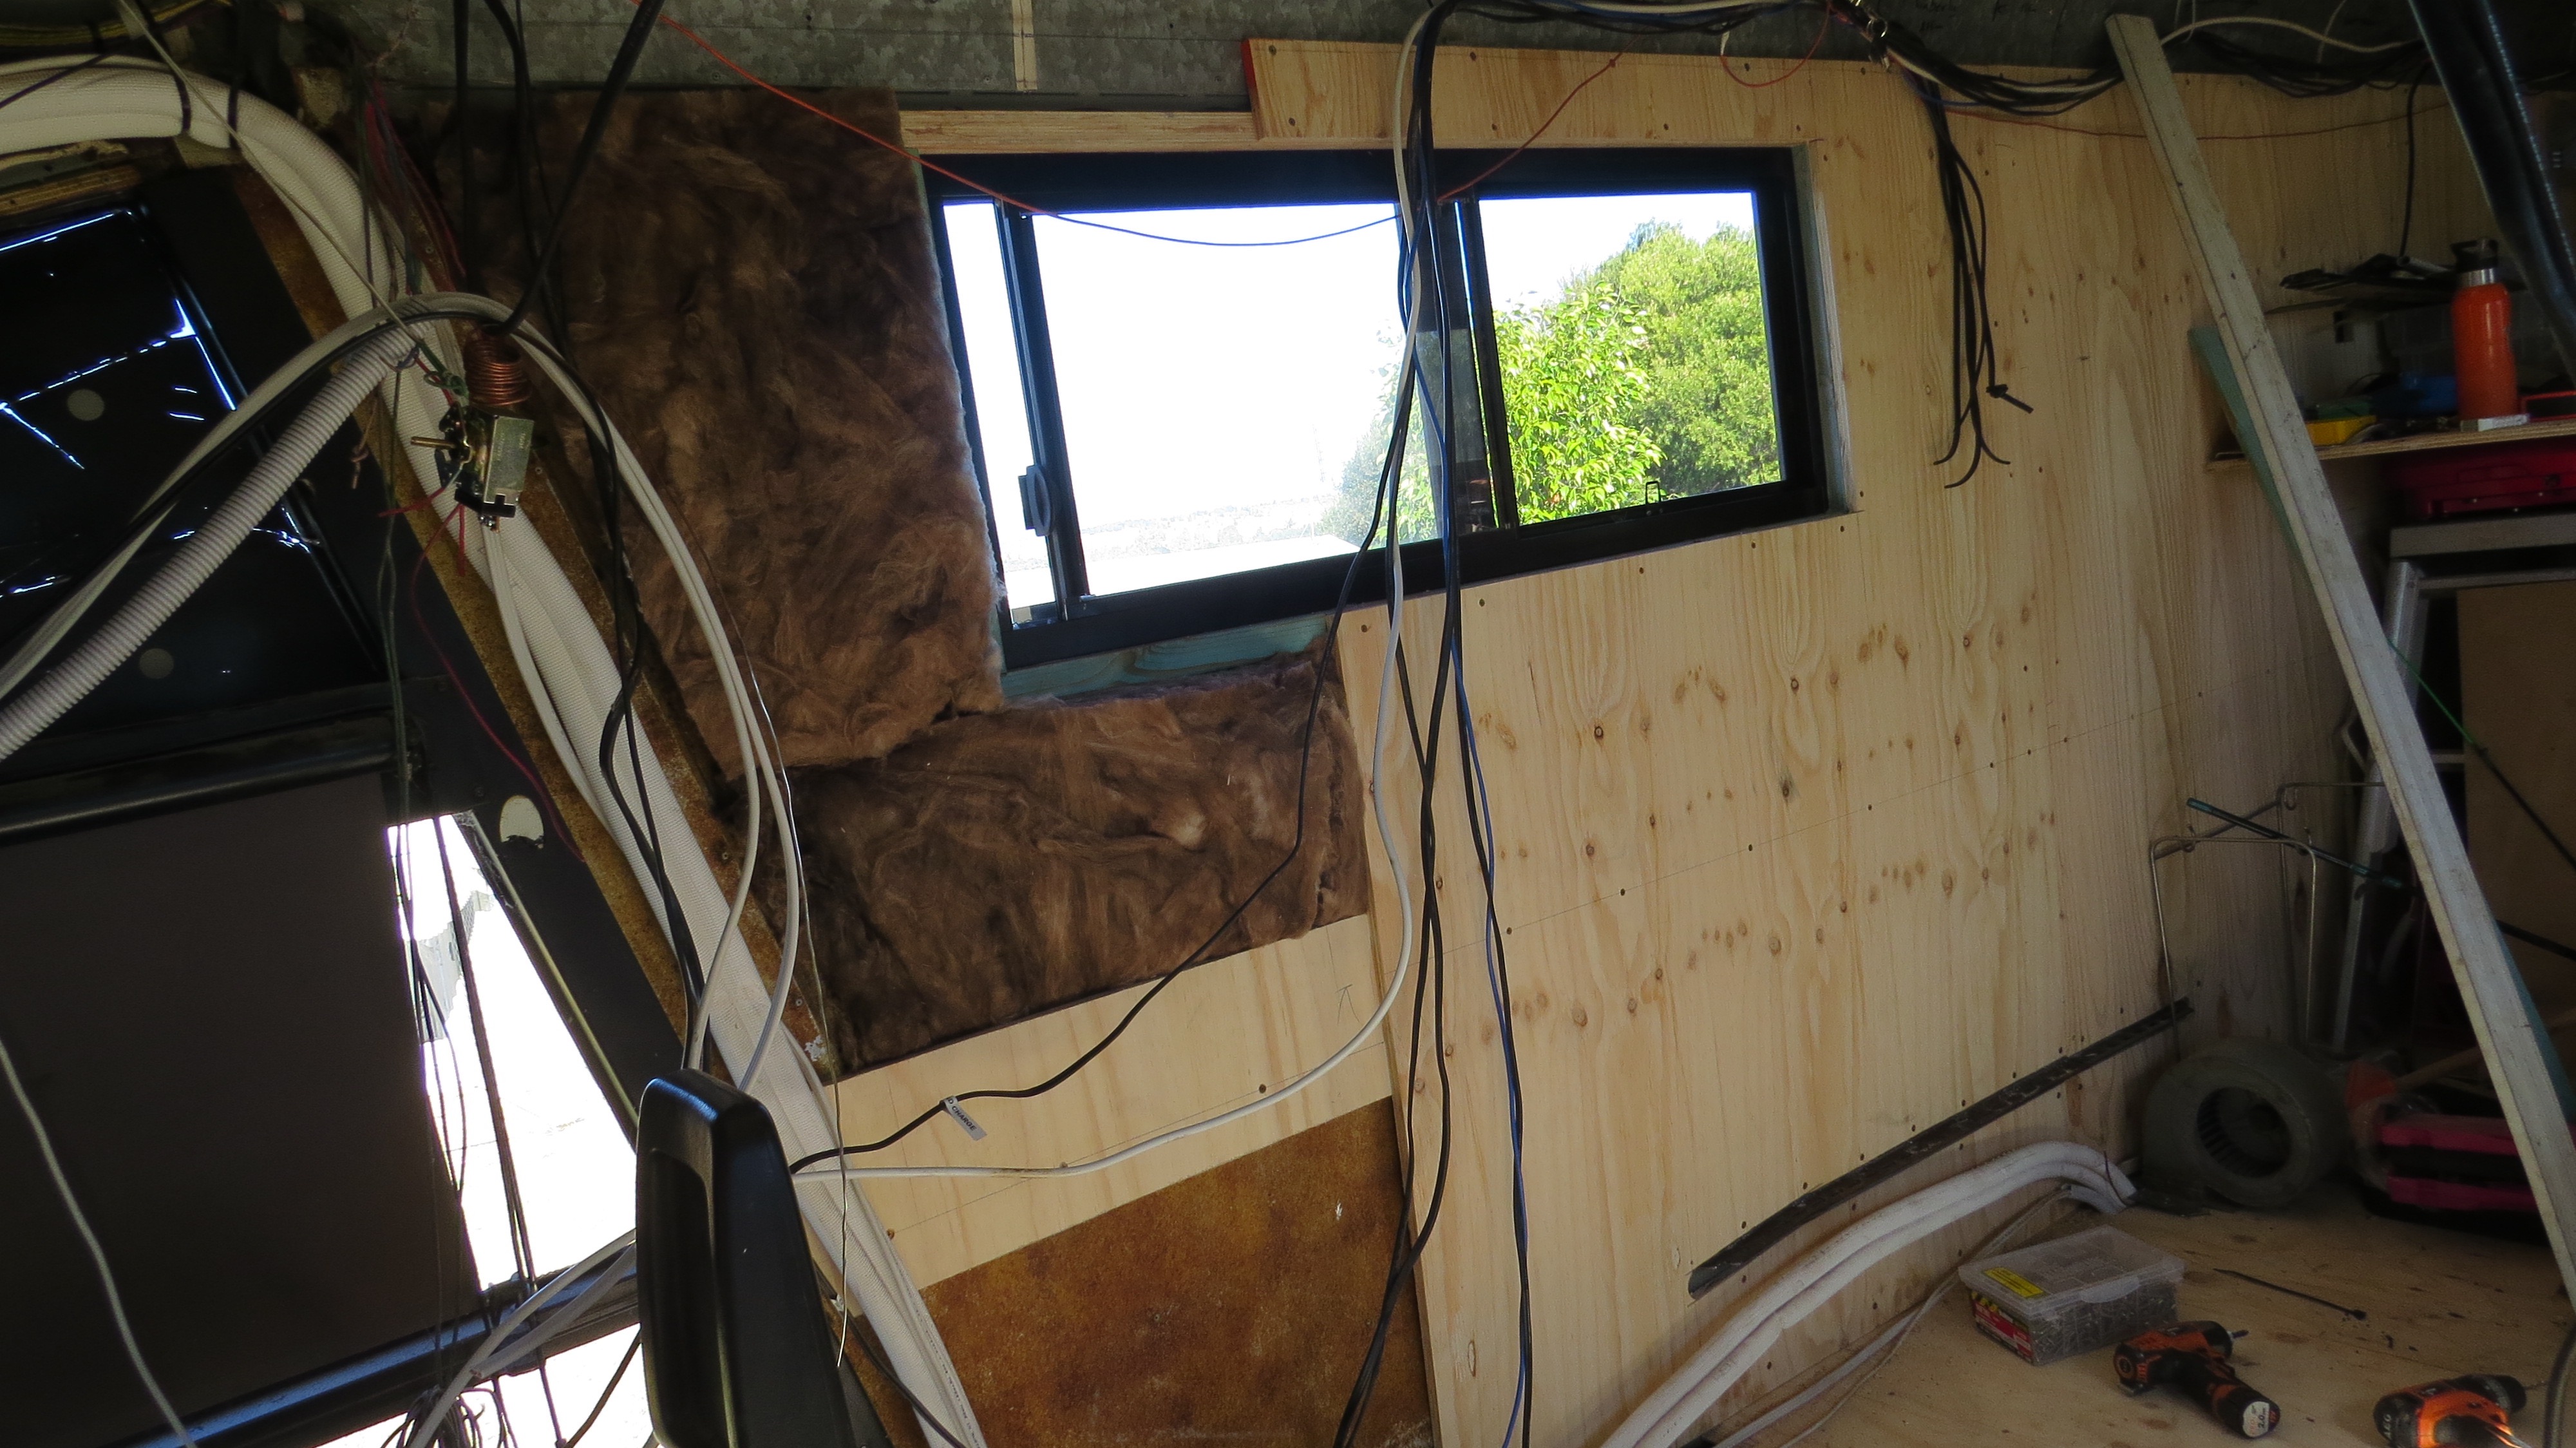
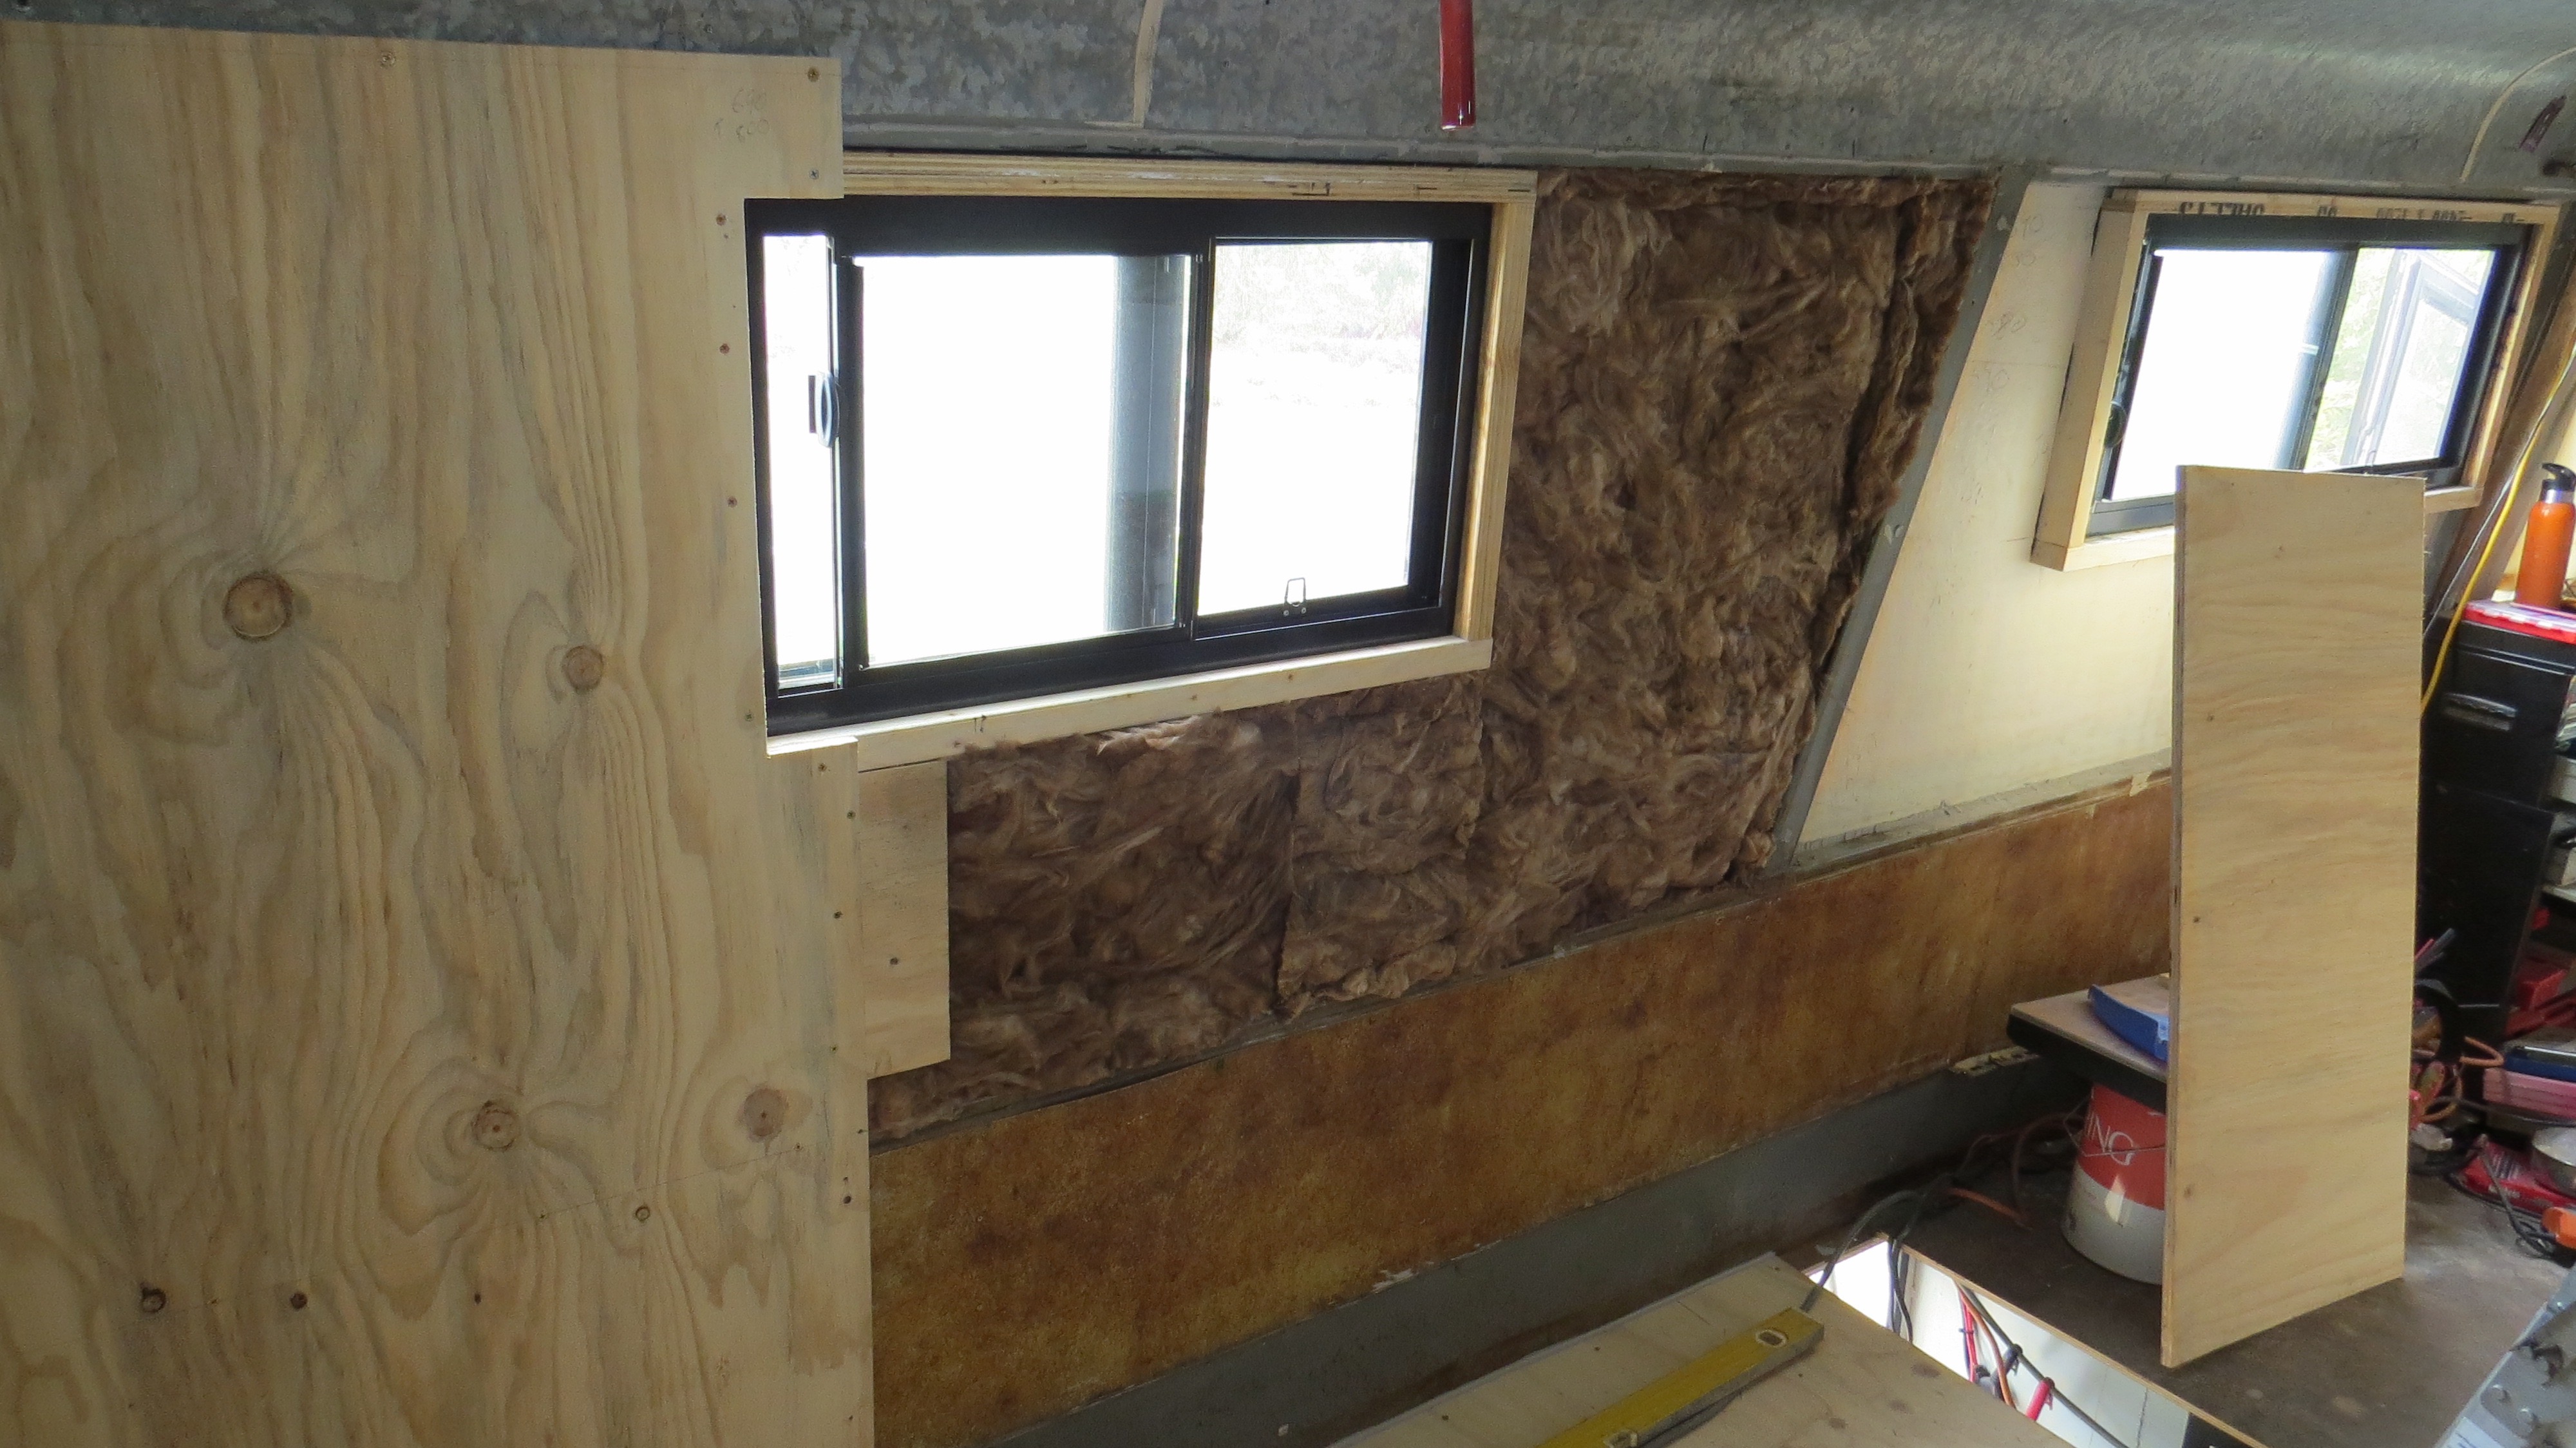
Four more panels to go.The walls are going up again.Just the NOT so much fun one to cut on this side now.This side’s not so bad to cut to size.Lots of wires everywhere.
I’m glad that all the wires have been tagged both ends, otherwise I’d have a hell of a time working out what I have put where. On the passenger side window I have painted some of it black as I’m covering some of it up. I will be putting in insulation where I had painted.
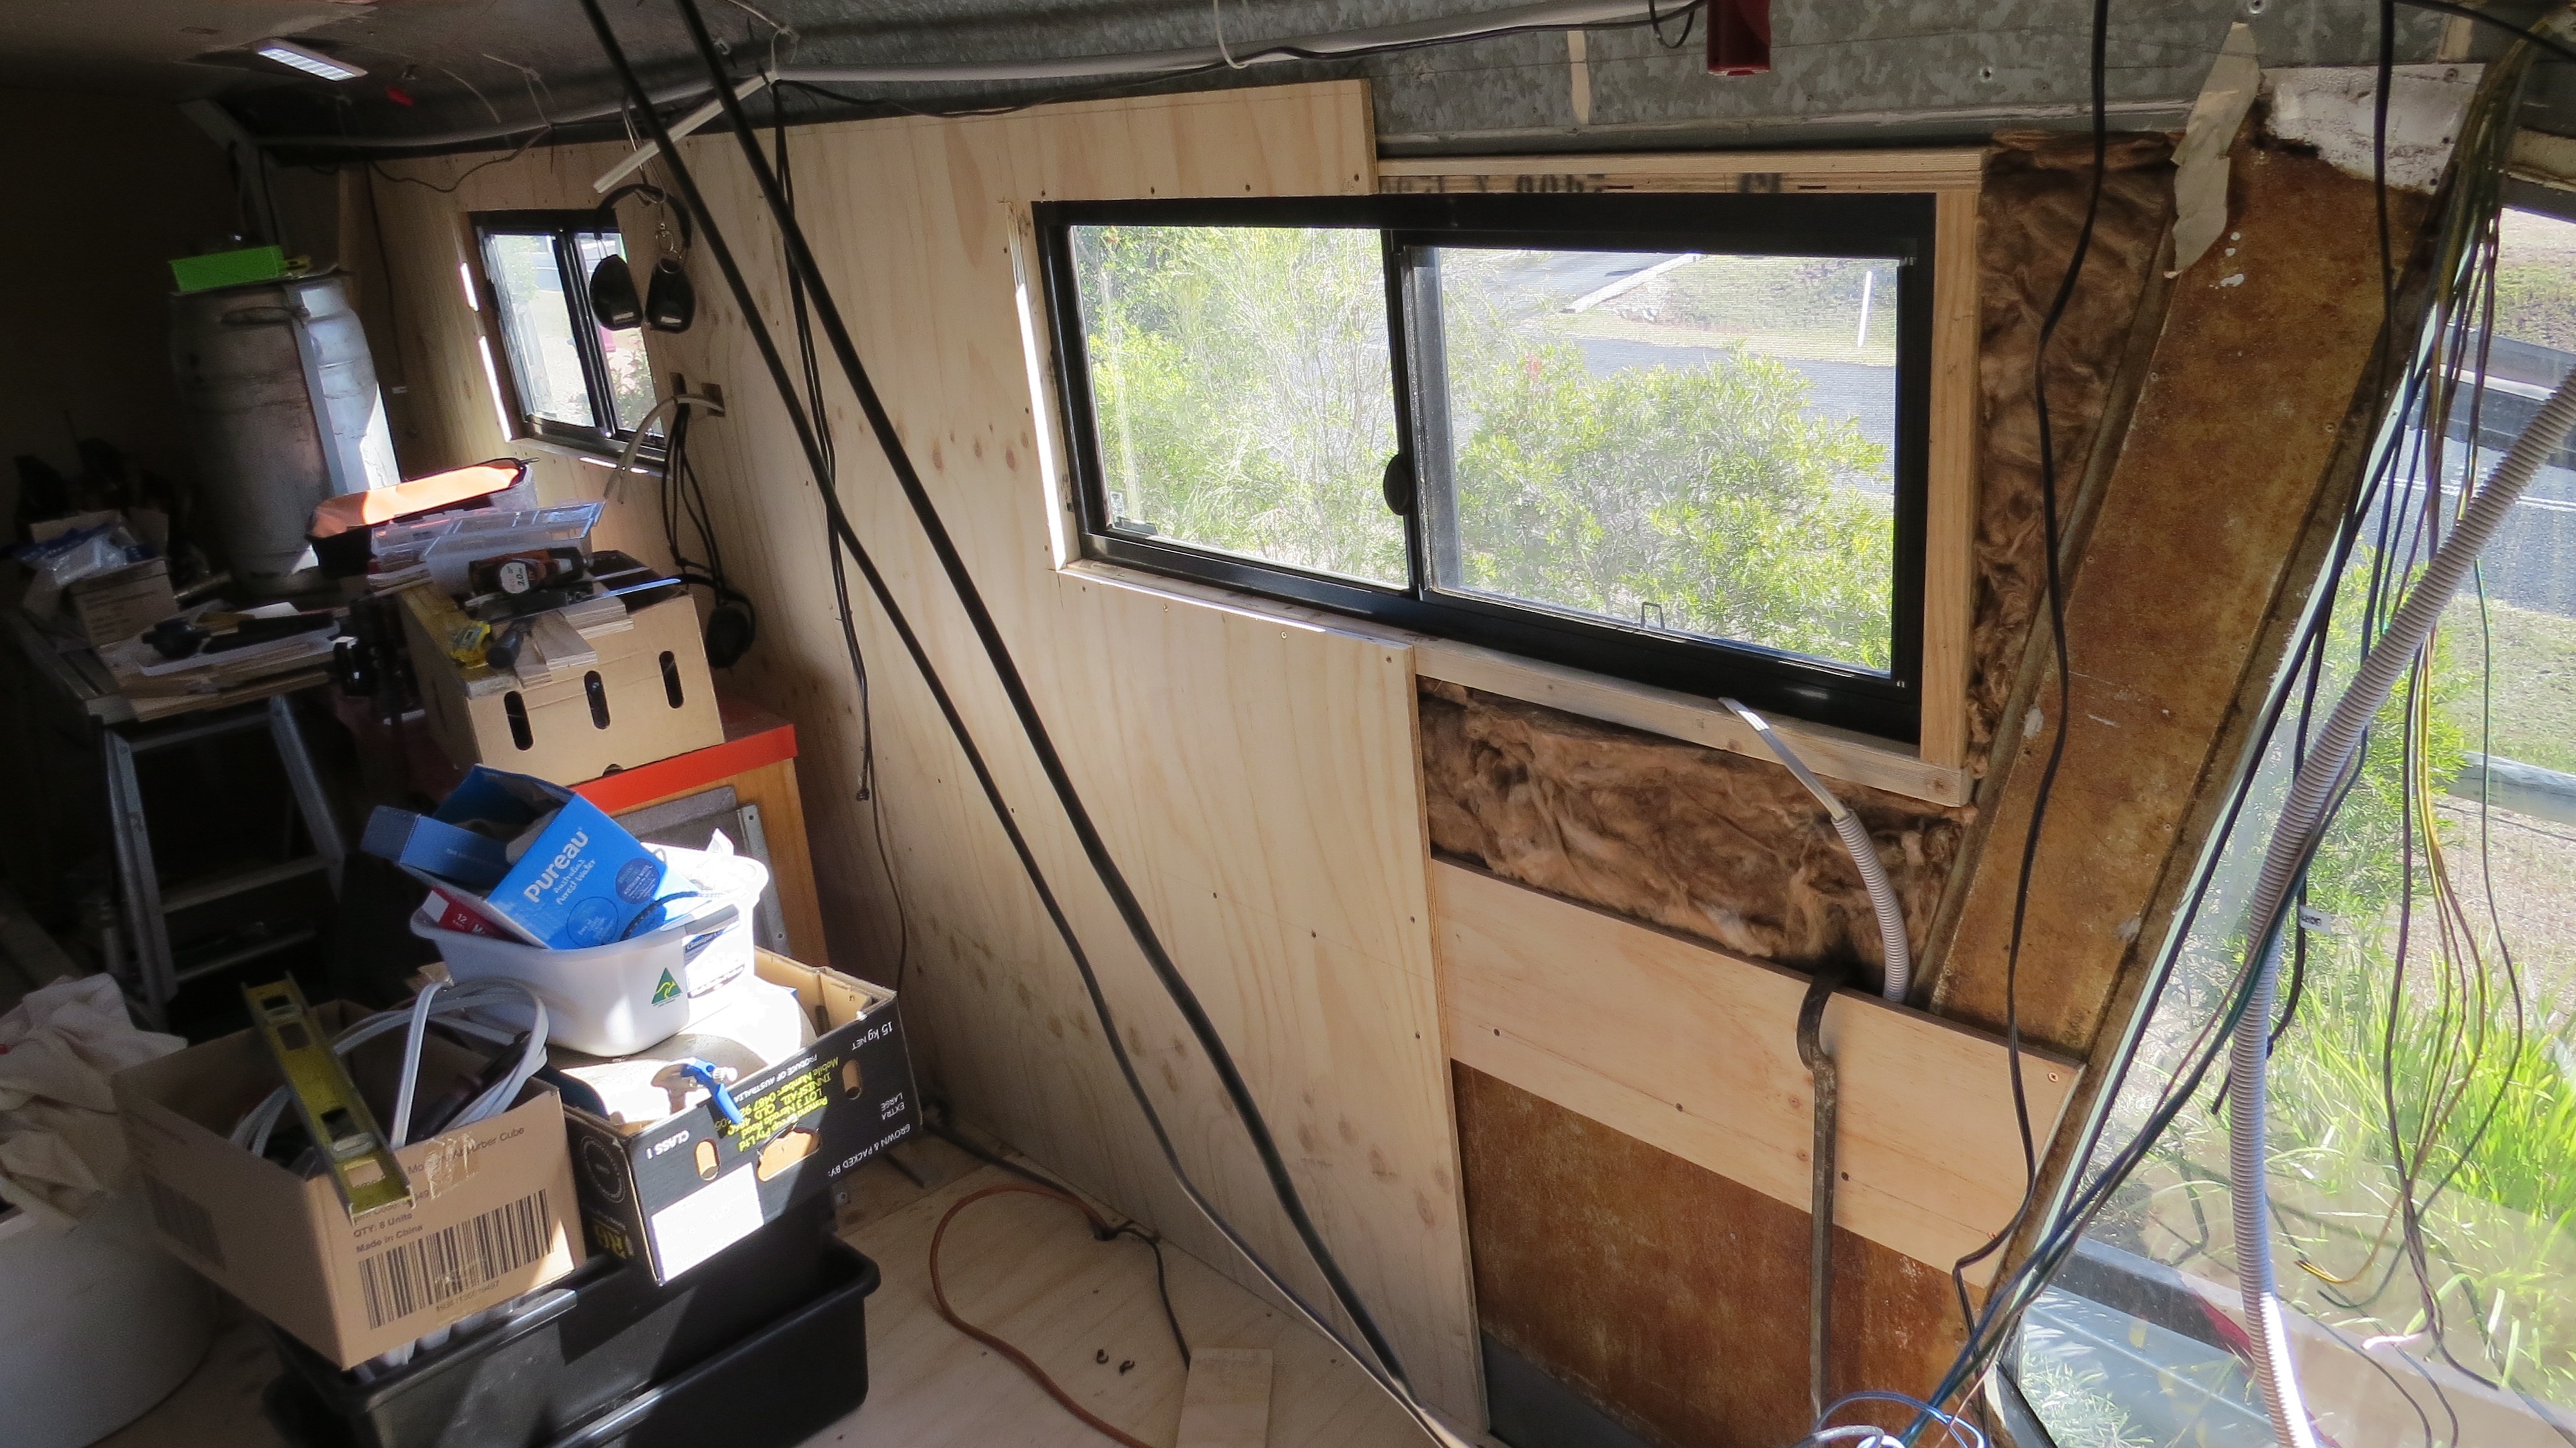
Screwing and glueing time again.Well that fitted like a glove, more ass than class.Good to see all the walls up.All done.Only one side painted as the other side of the coach has stuff everywhere.
Apart from where the new door will go in and around the driver’s seat all the wall panels are in place. We are still looking at different products to finish off the walls, but that will do for now.
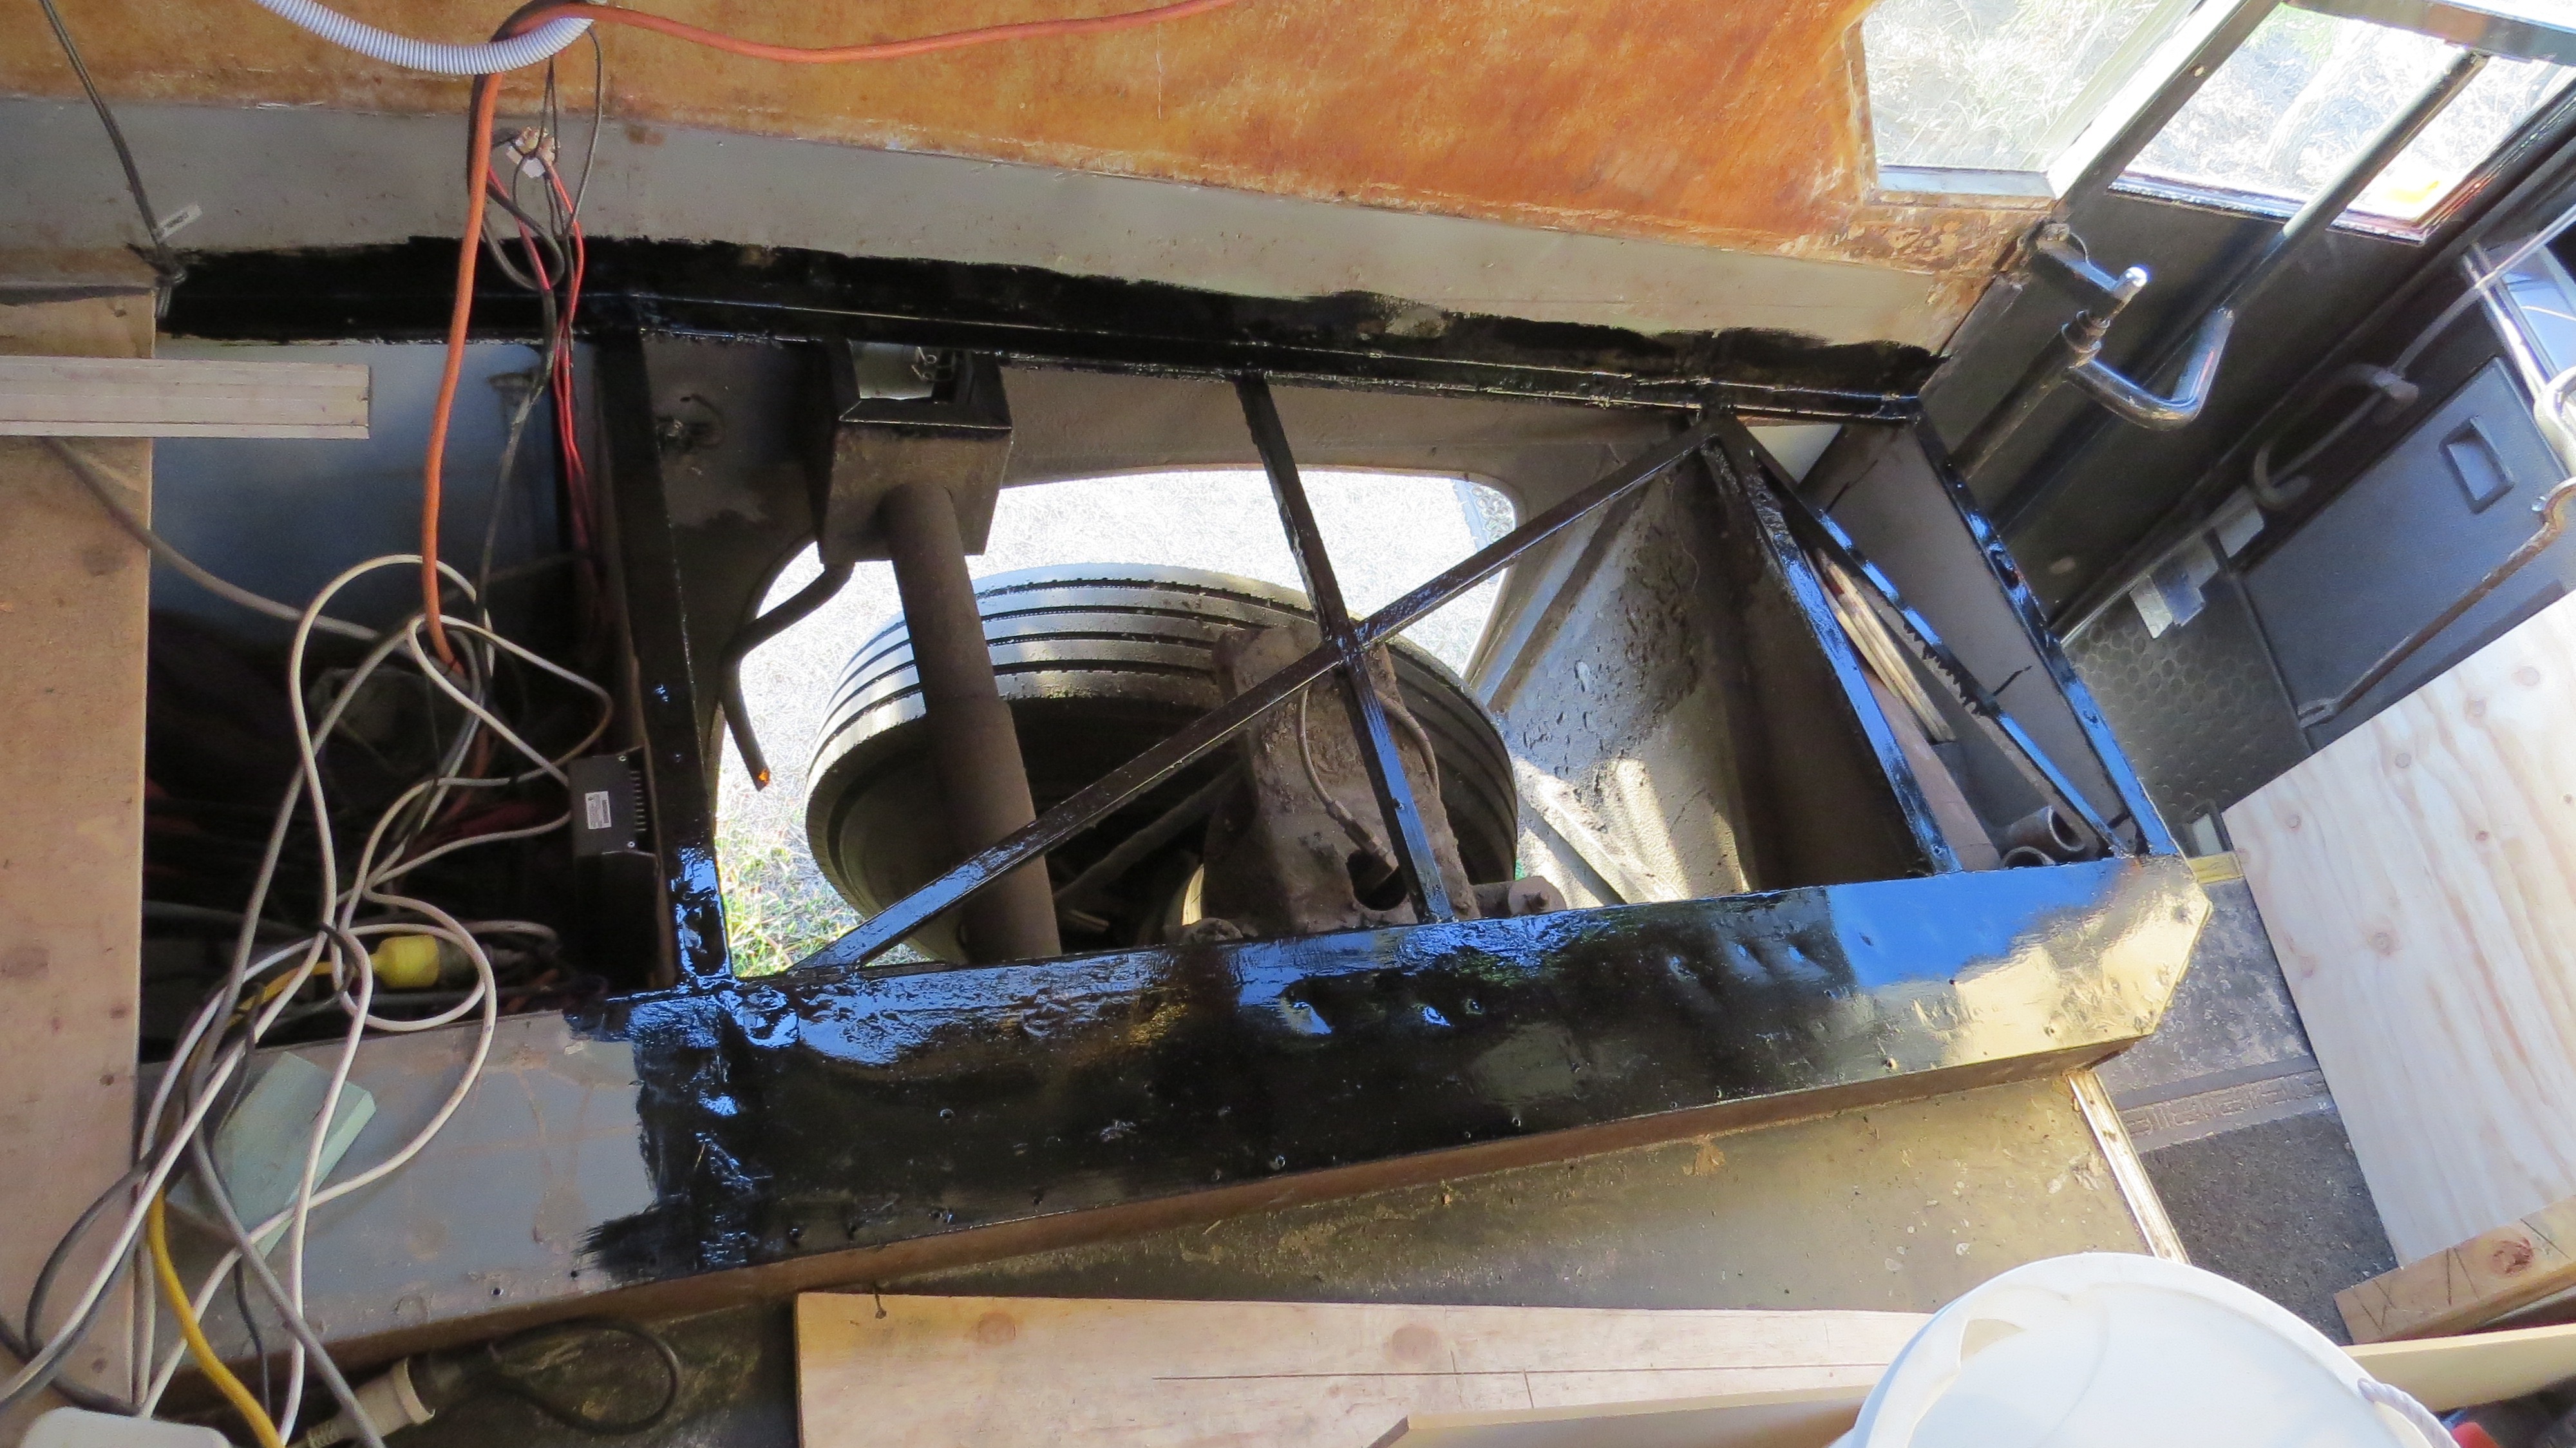
I’m so glad, soon the whole floor through the coach will be flat. The front 1800mm of the floor slopes down 165mm, which means that I will have to build up the floor some how. That’s after I rip up the old floor, at least this will be the last time on my knees making a mess.
There’s a hole in the floor again.
As normal I’ve started ripping up the old floor and with head down ass up, I forgot to take photos again. This is after cleaning off the old glue and fixing the rust, then two coats of undercoat paint and three topcoats.
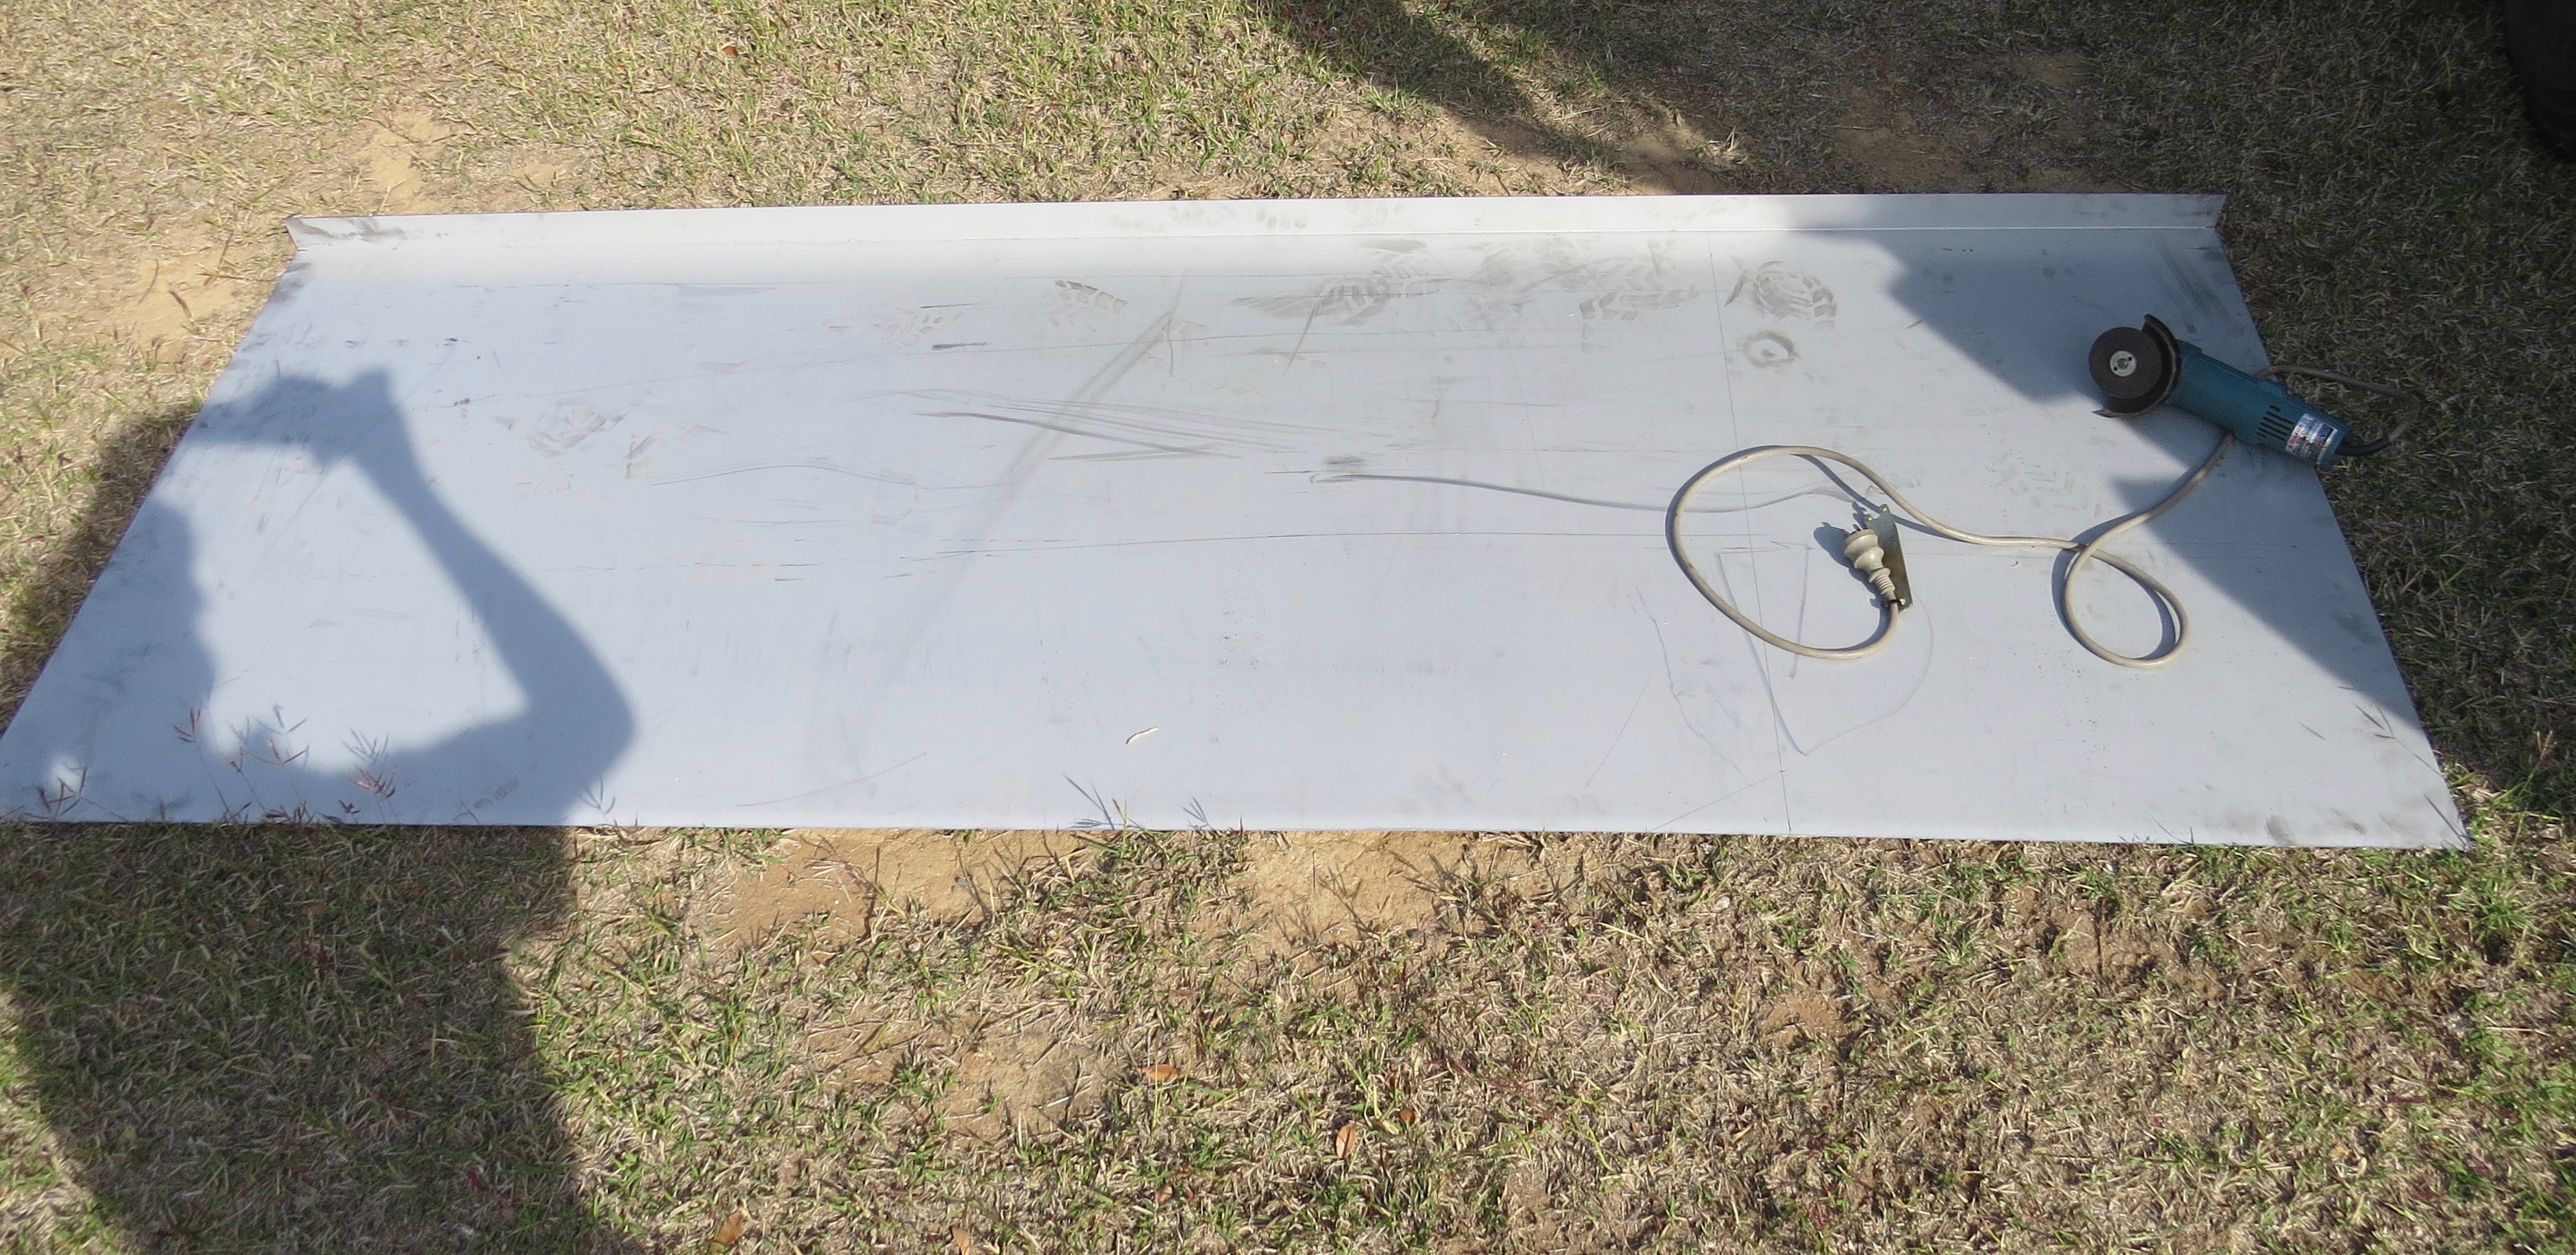
New sheet metal cover to go over the front passenger wheel.
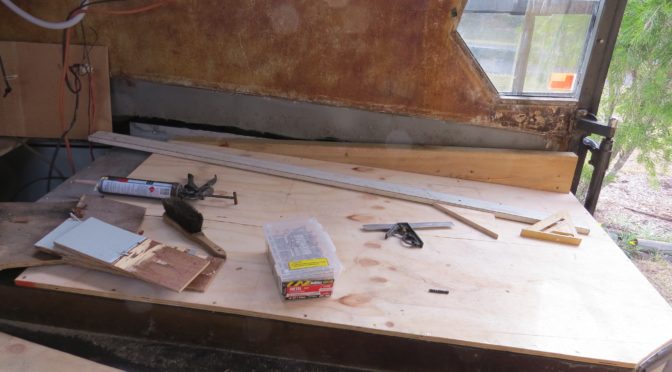
I had a sheet metal workshop cut a sheet 2400mm x 1200mm x 1.2mm down to 2400mm x 950mm, then fold a 50mm lip down one side that will go up the inside wall. All I have to do is cut it to length and glue then using 5mm pop rivets fix it into place.
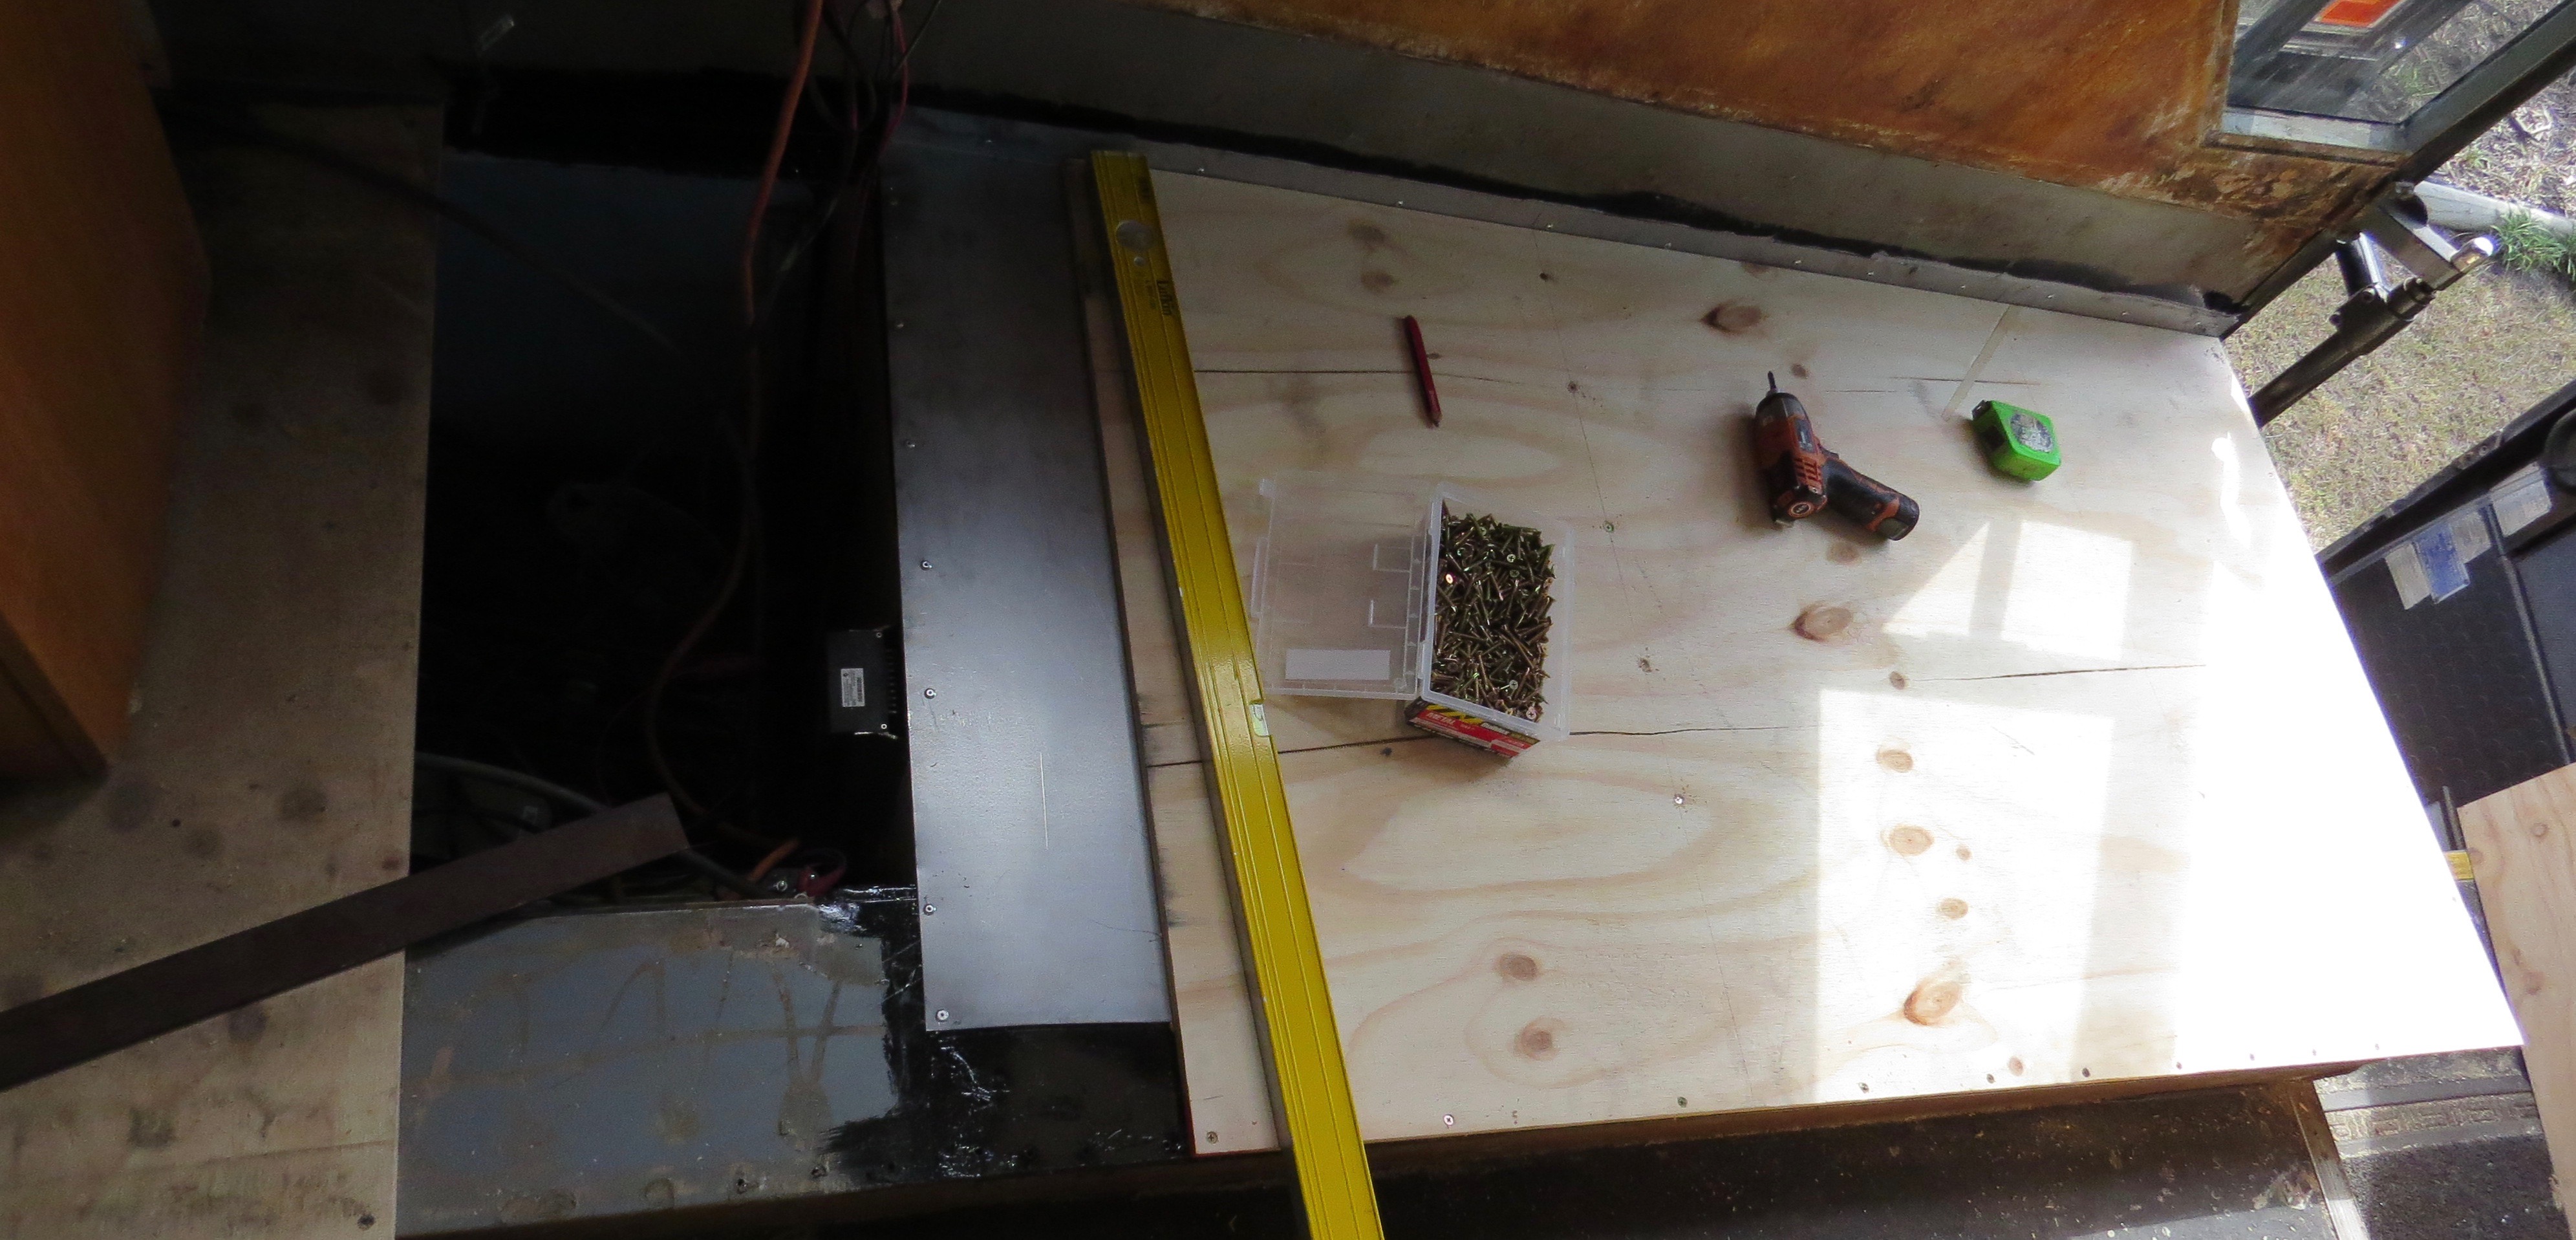
I forgot to take photos again.
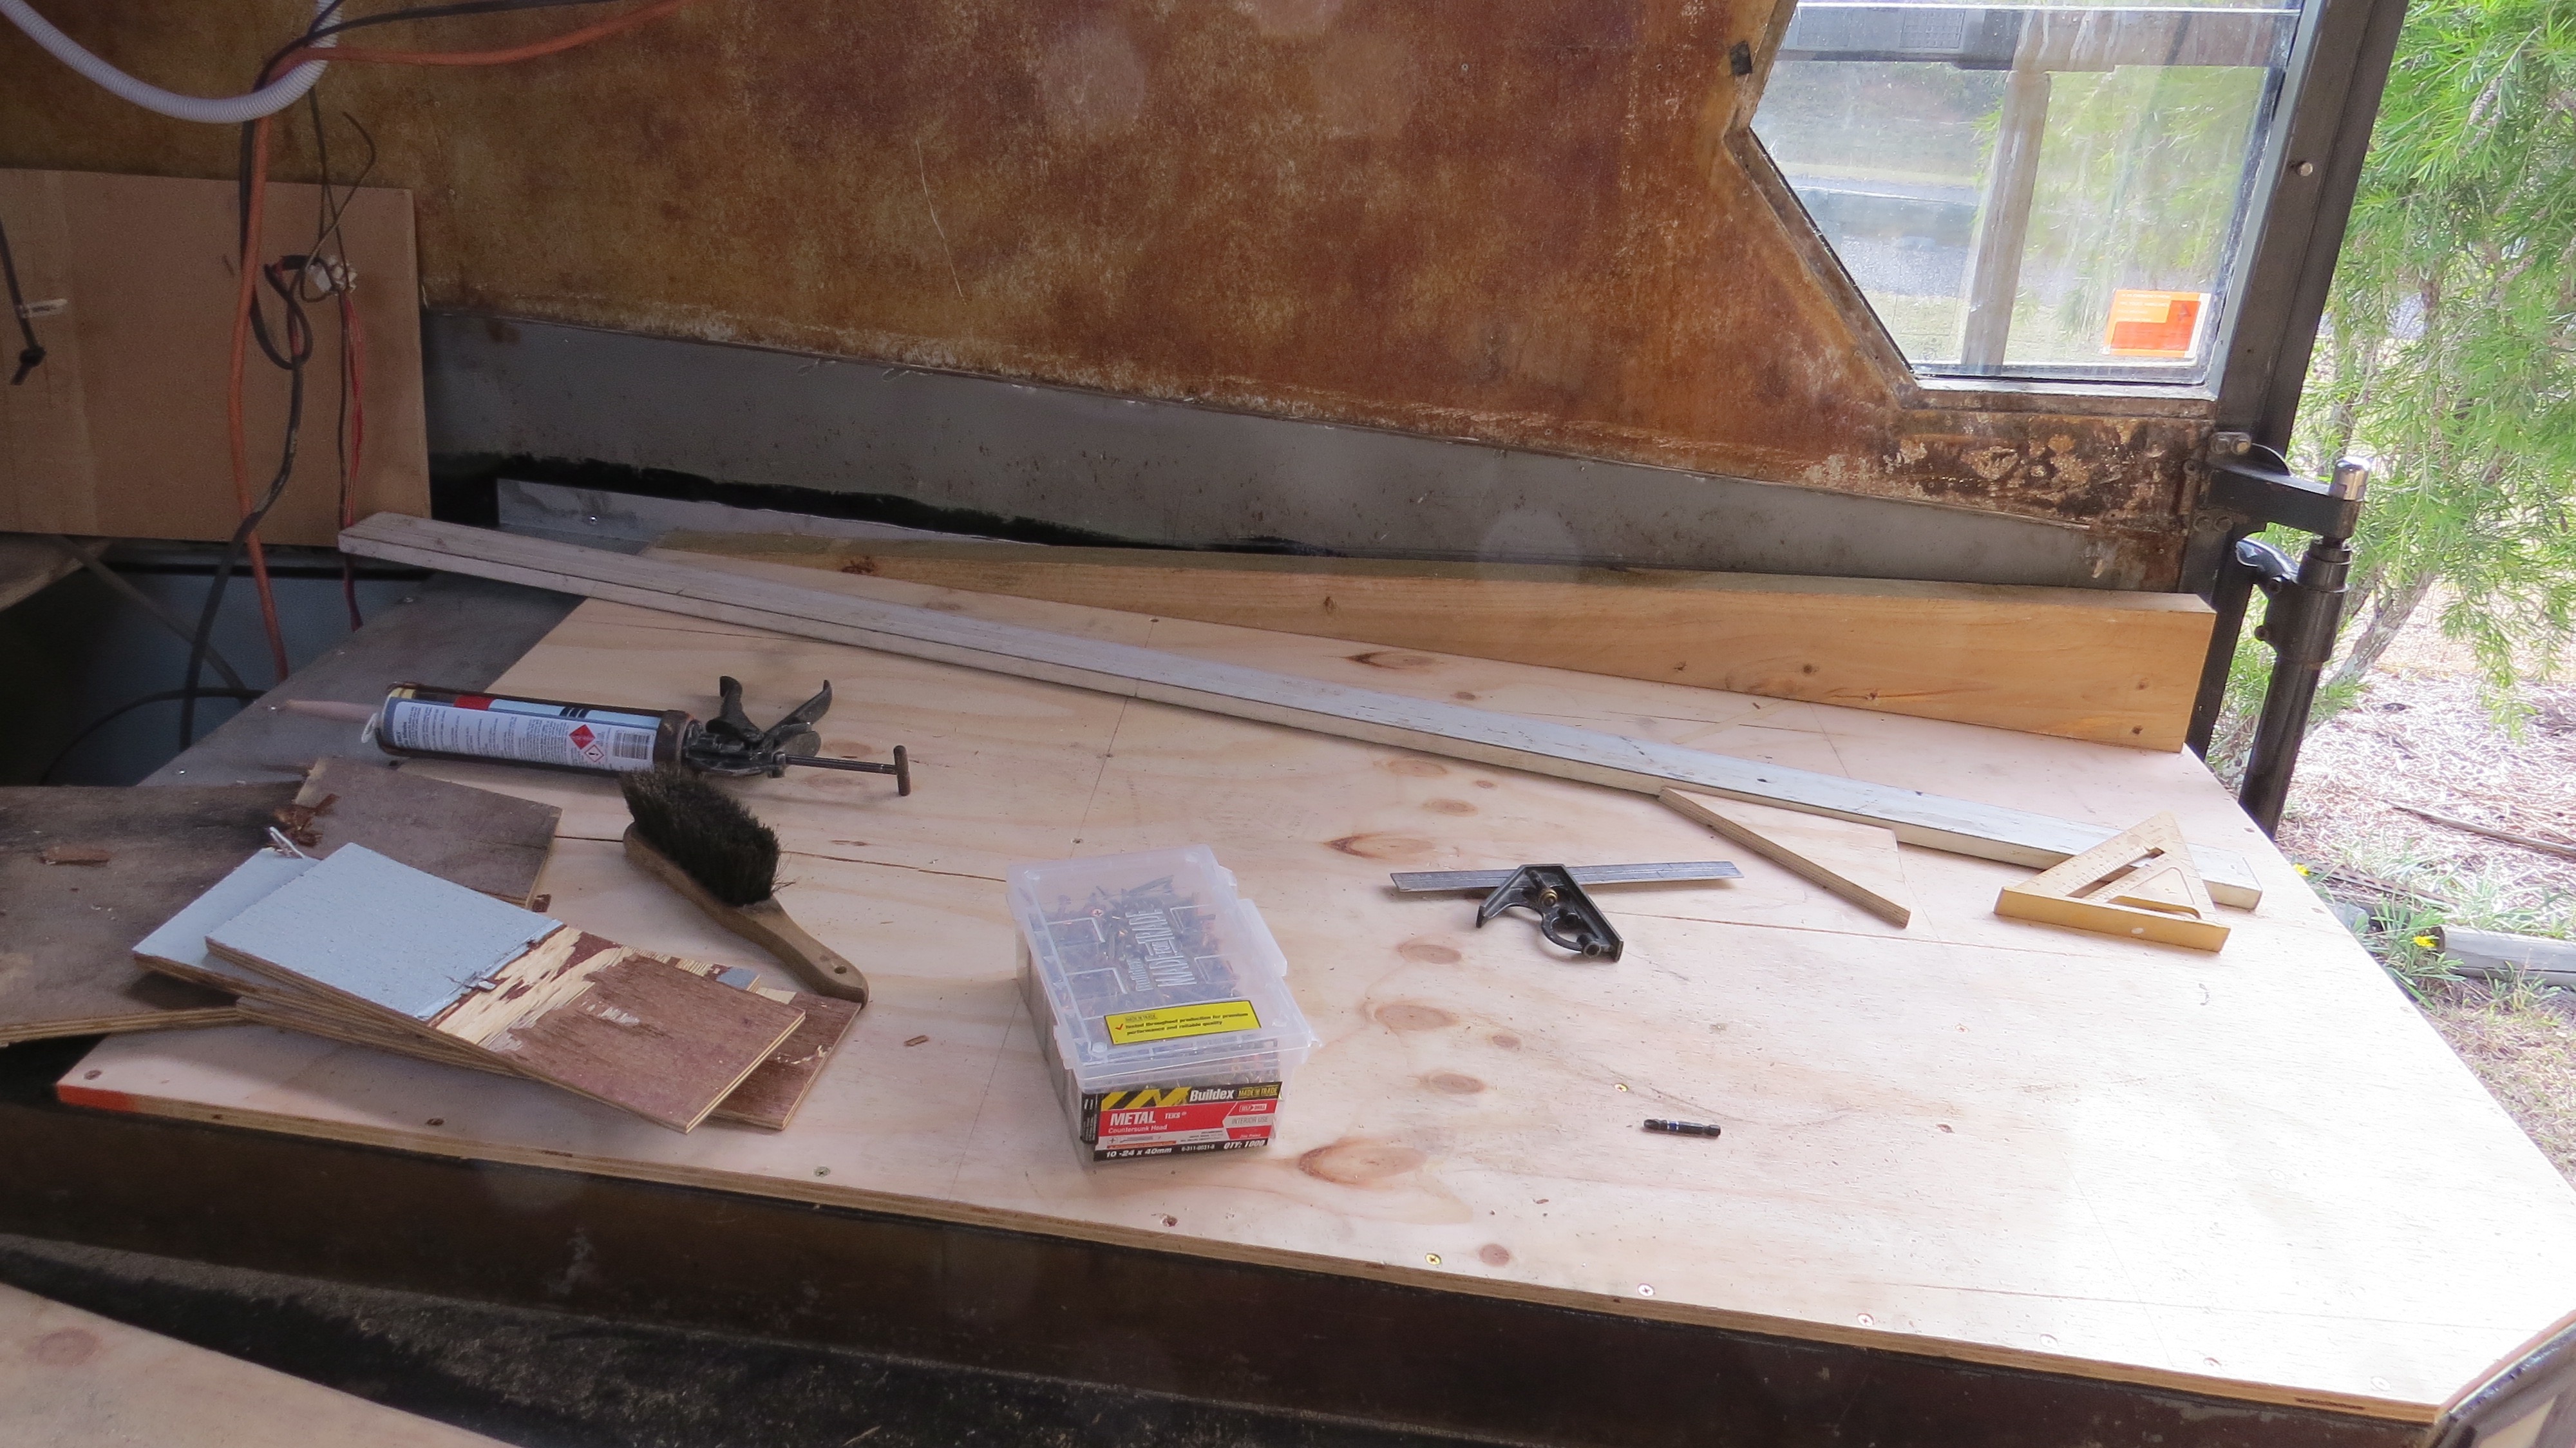
Yes I know it’s been one of though’s days, I keep forgetting to take photo’s. As you can see I’ve fitted the sheet metal into place as well as the ply over top. From here on I’m going to mark out the floor level on the side wall’s and start lifting the floor up.
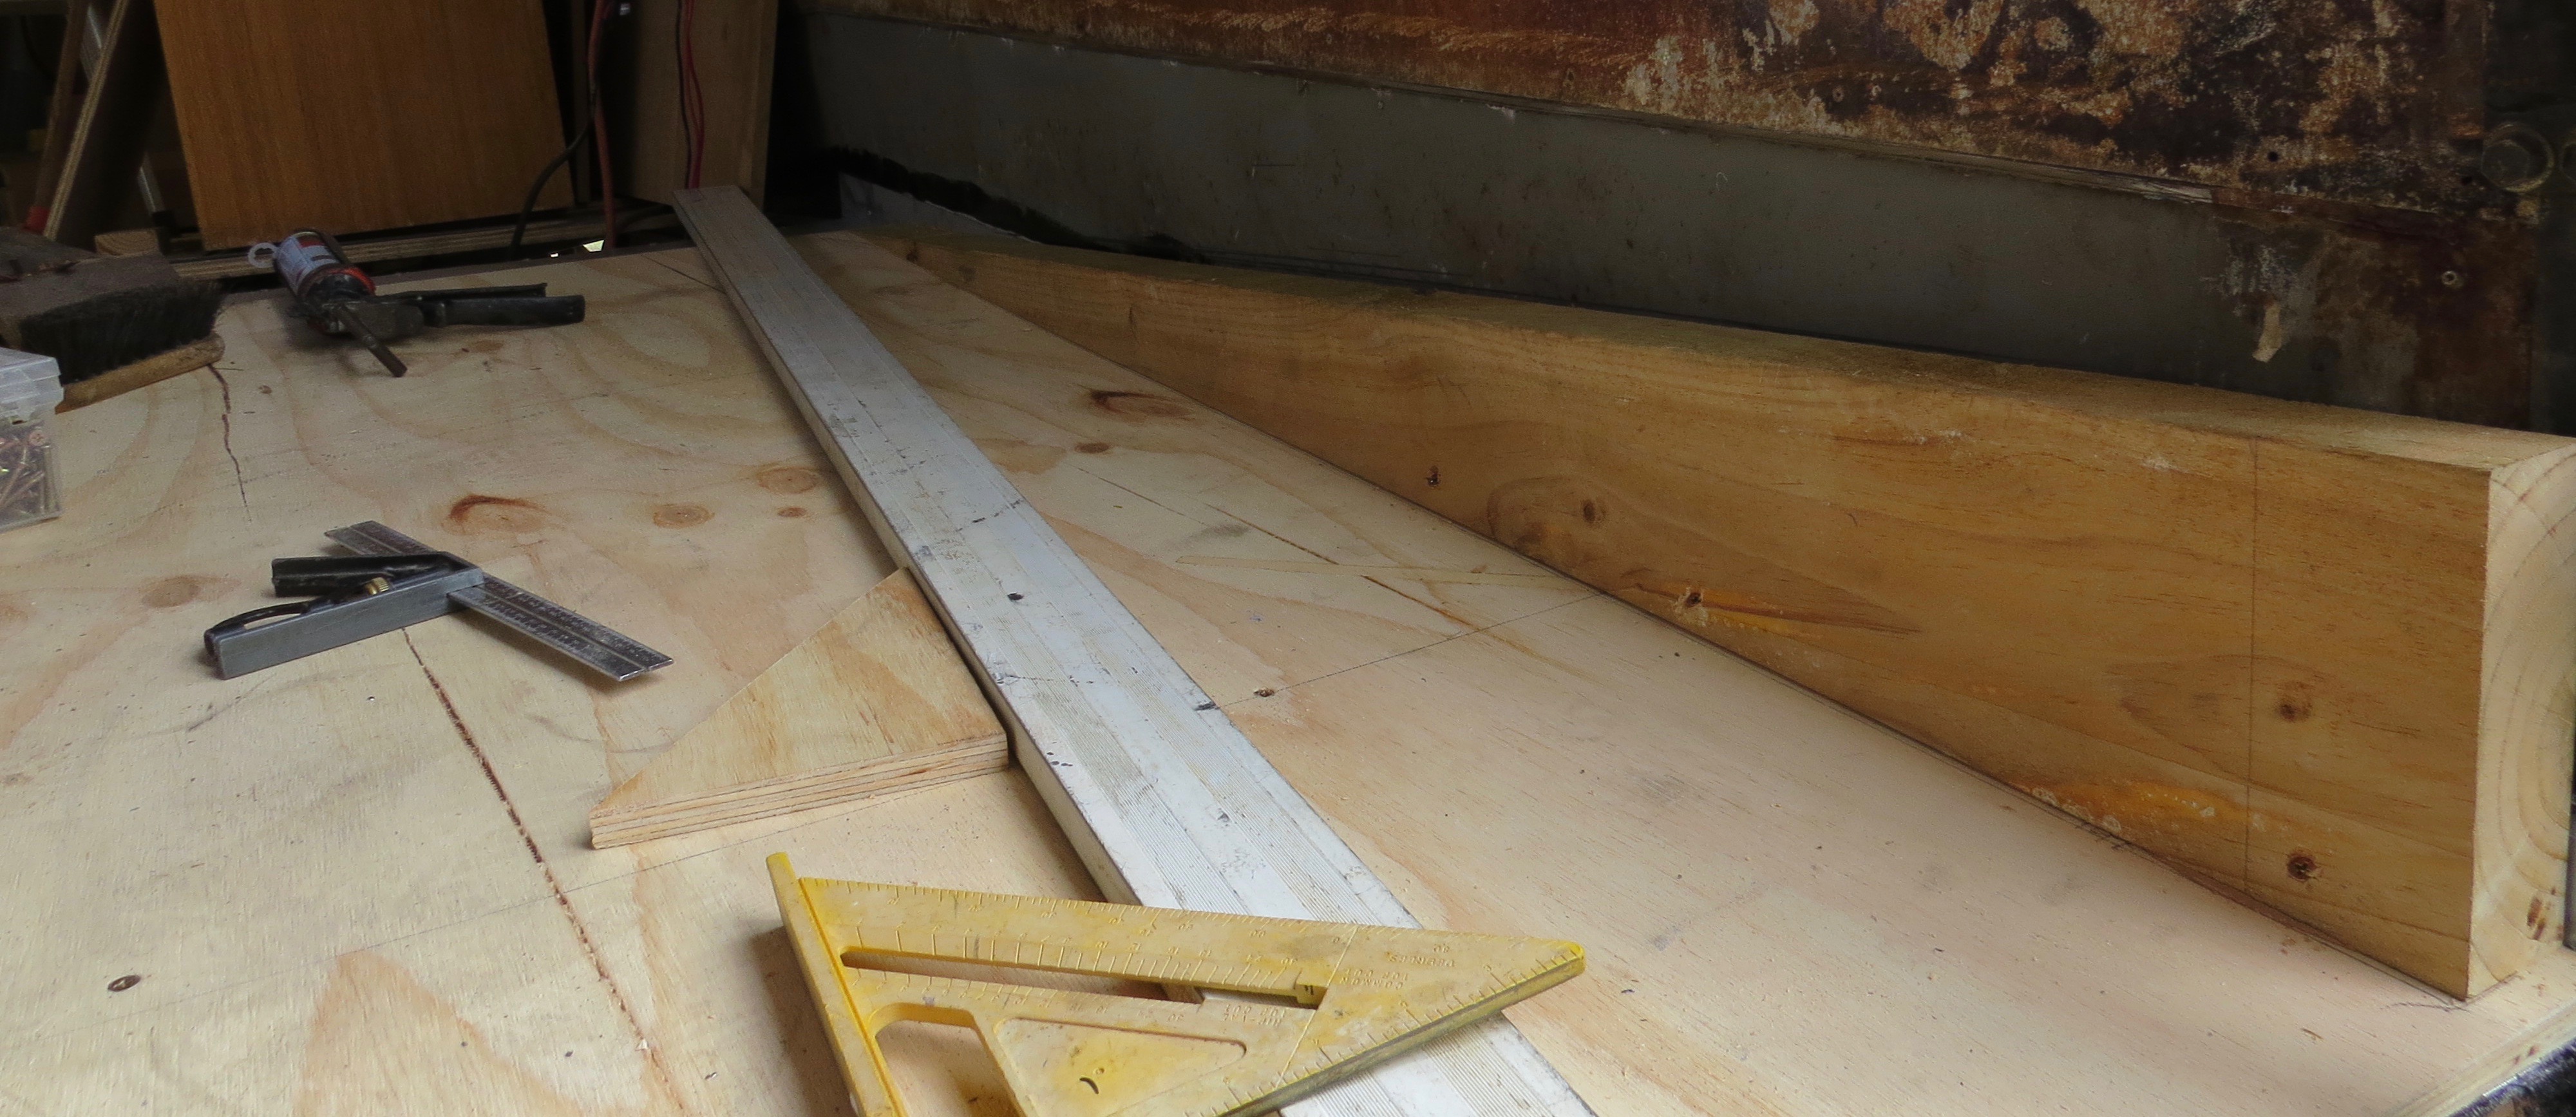
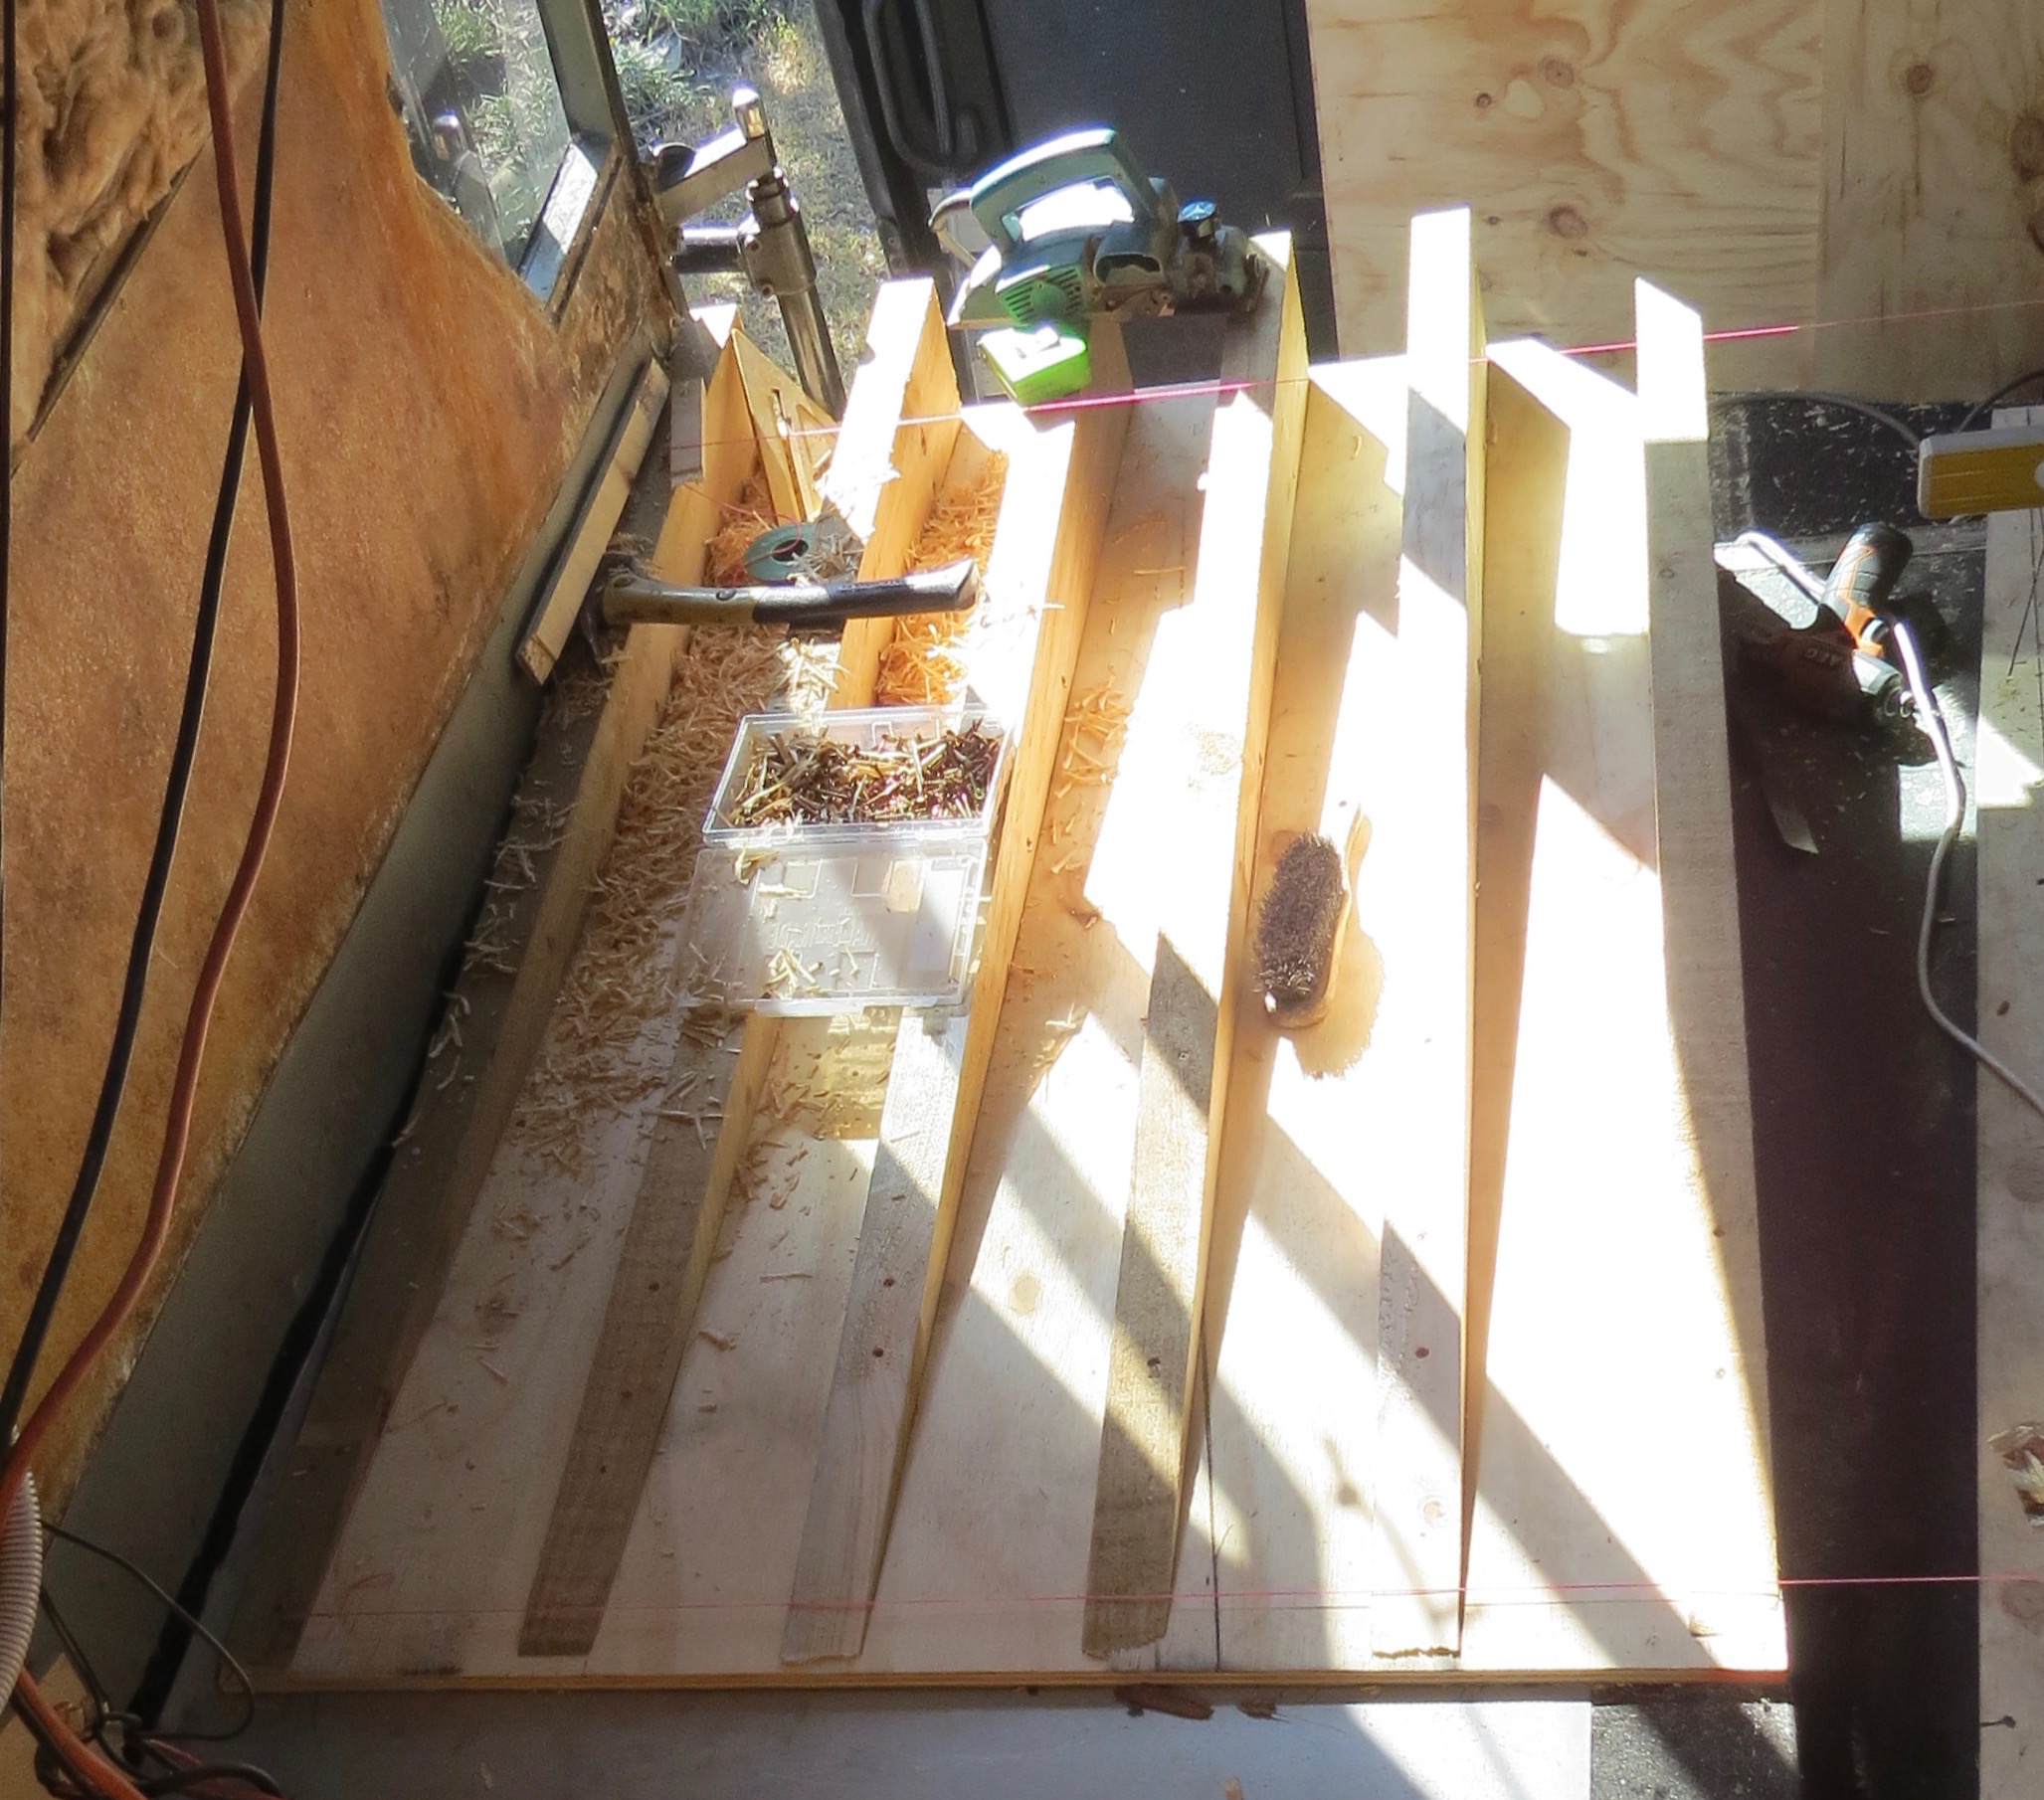
Levelling up the front floor.Just a bit of a step up.Screw, glue and onto the next one.
I need to pick my feet up as I’ve snapped the string line so many times.
this side done.
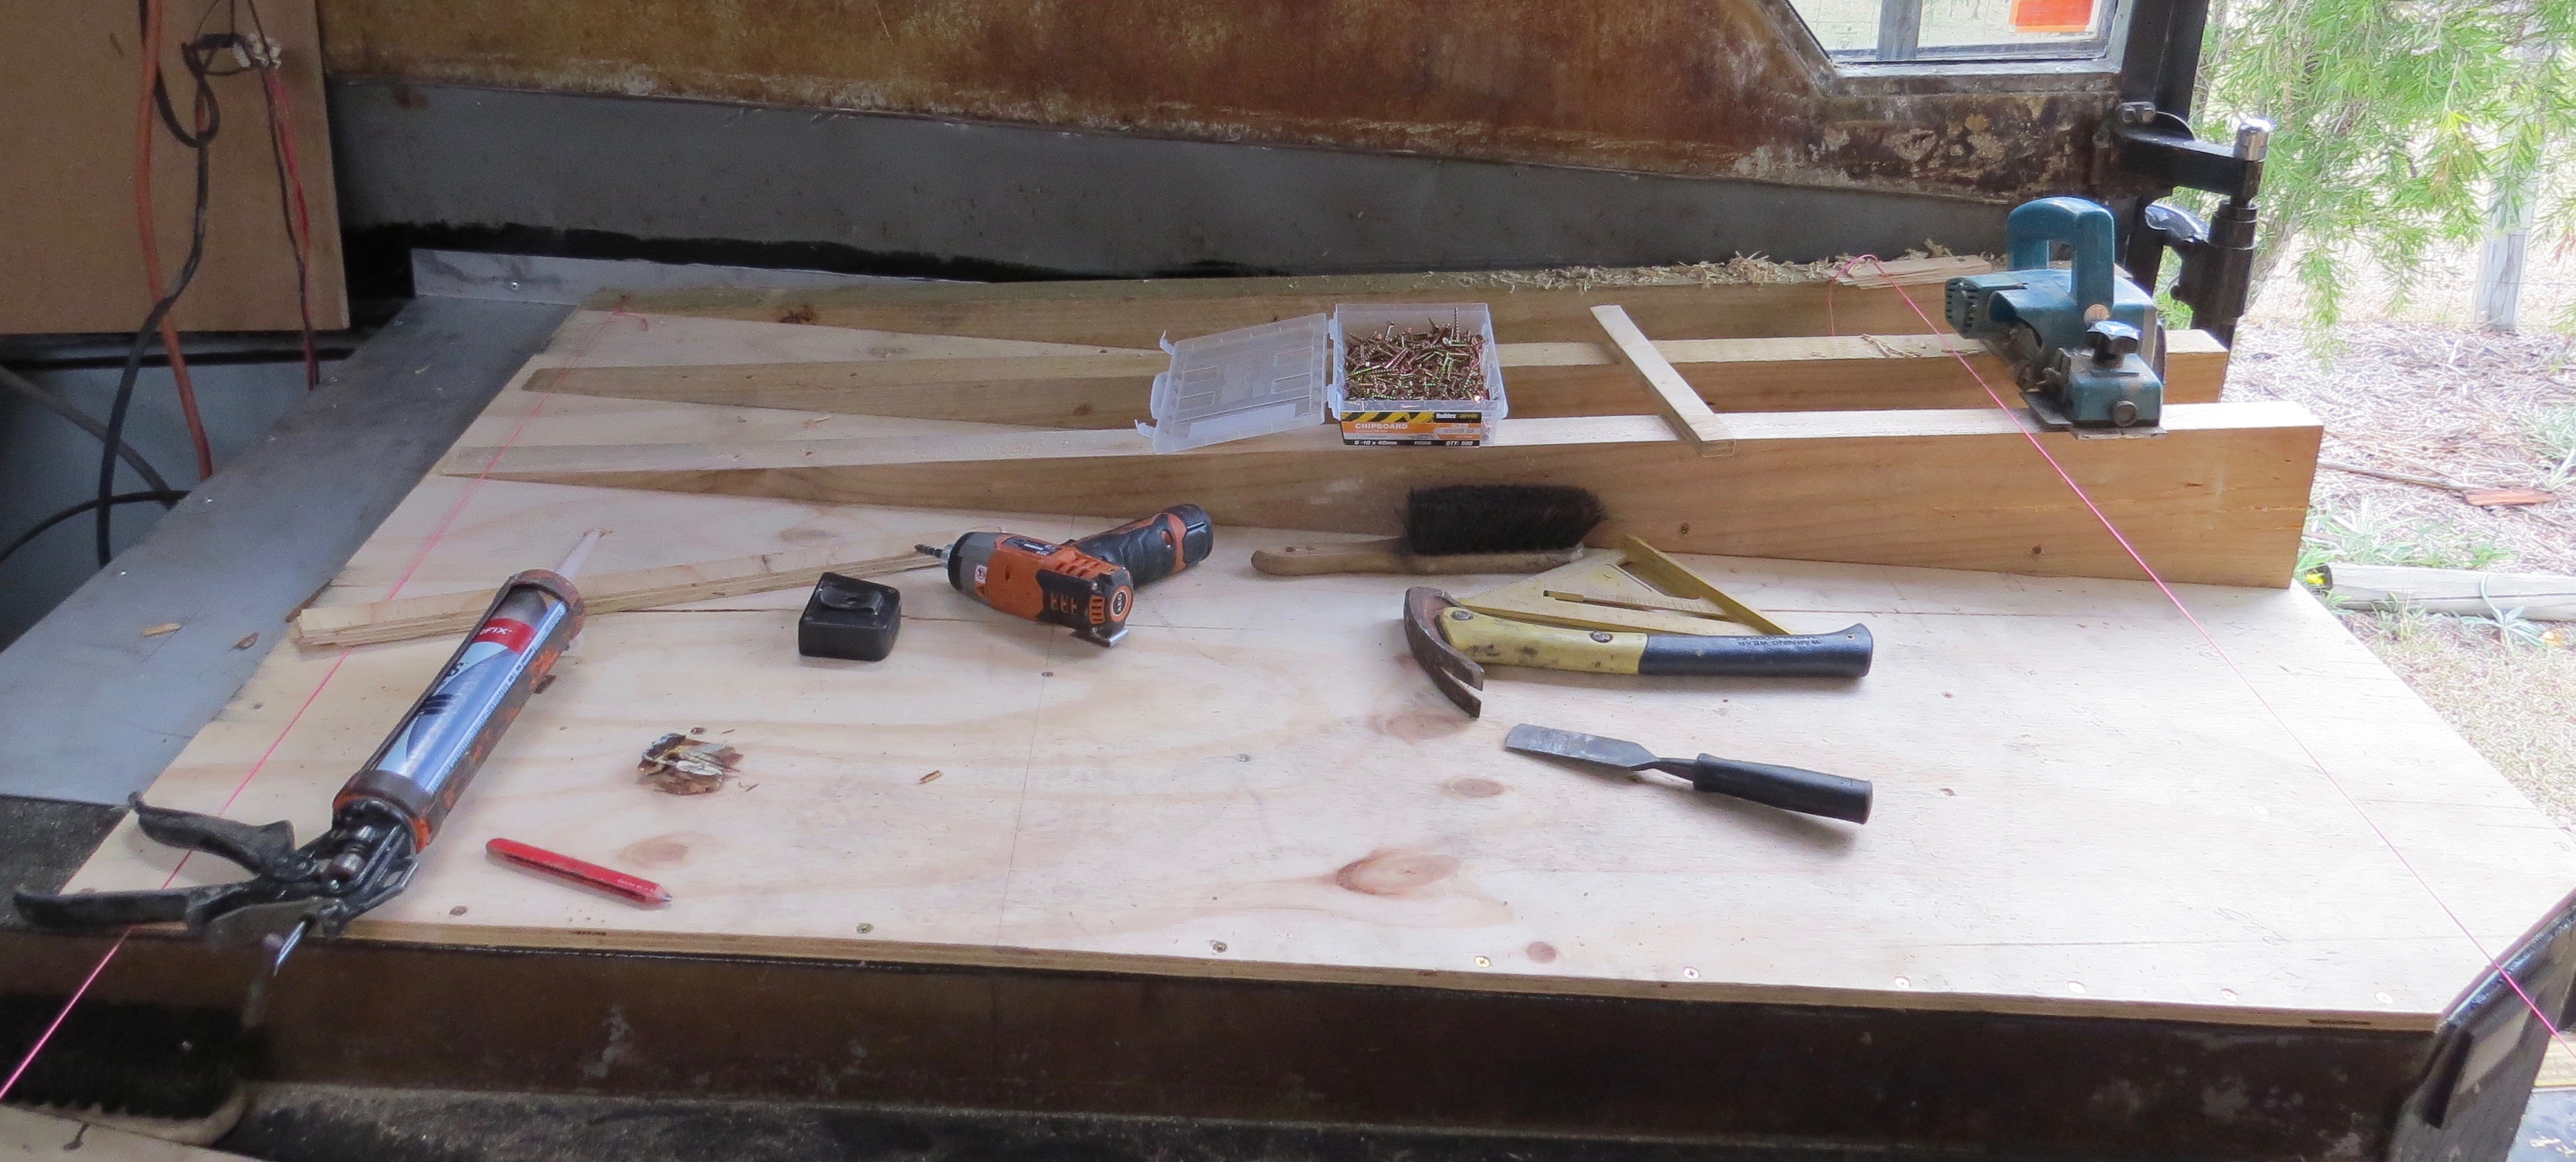
Nothing is ever straight forward, so I’ve had to plane every bit of timber that goes down. This side is a bit of over kill, but one big chair will be fitted here somewhere.
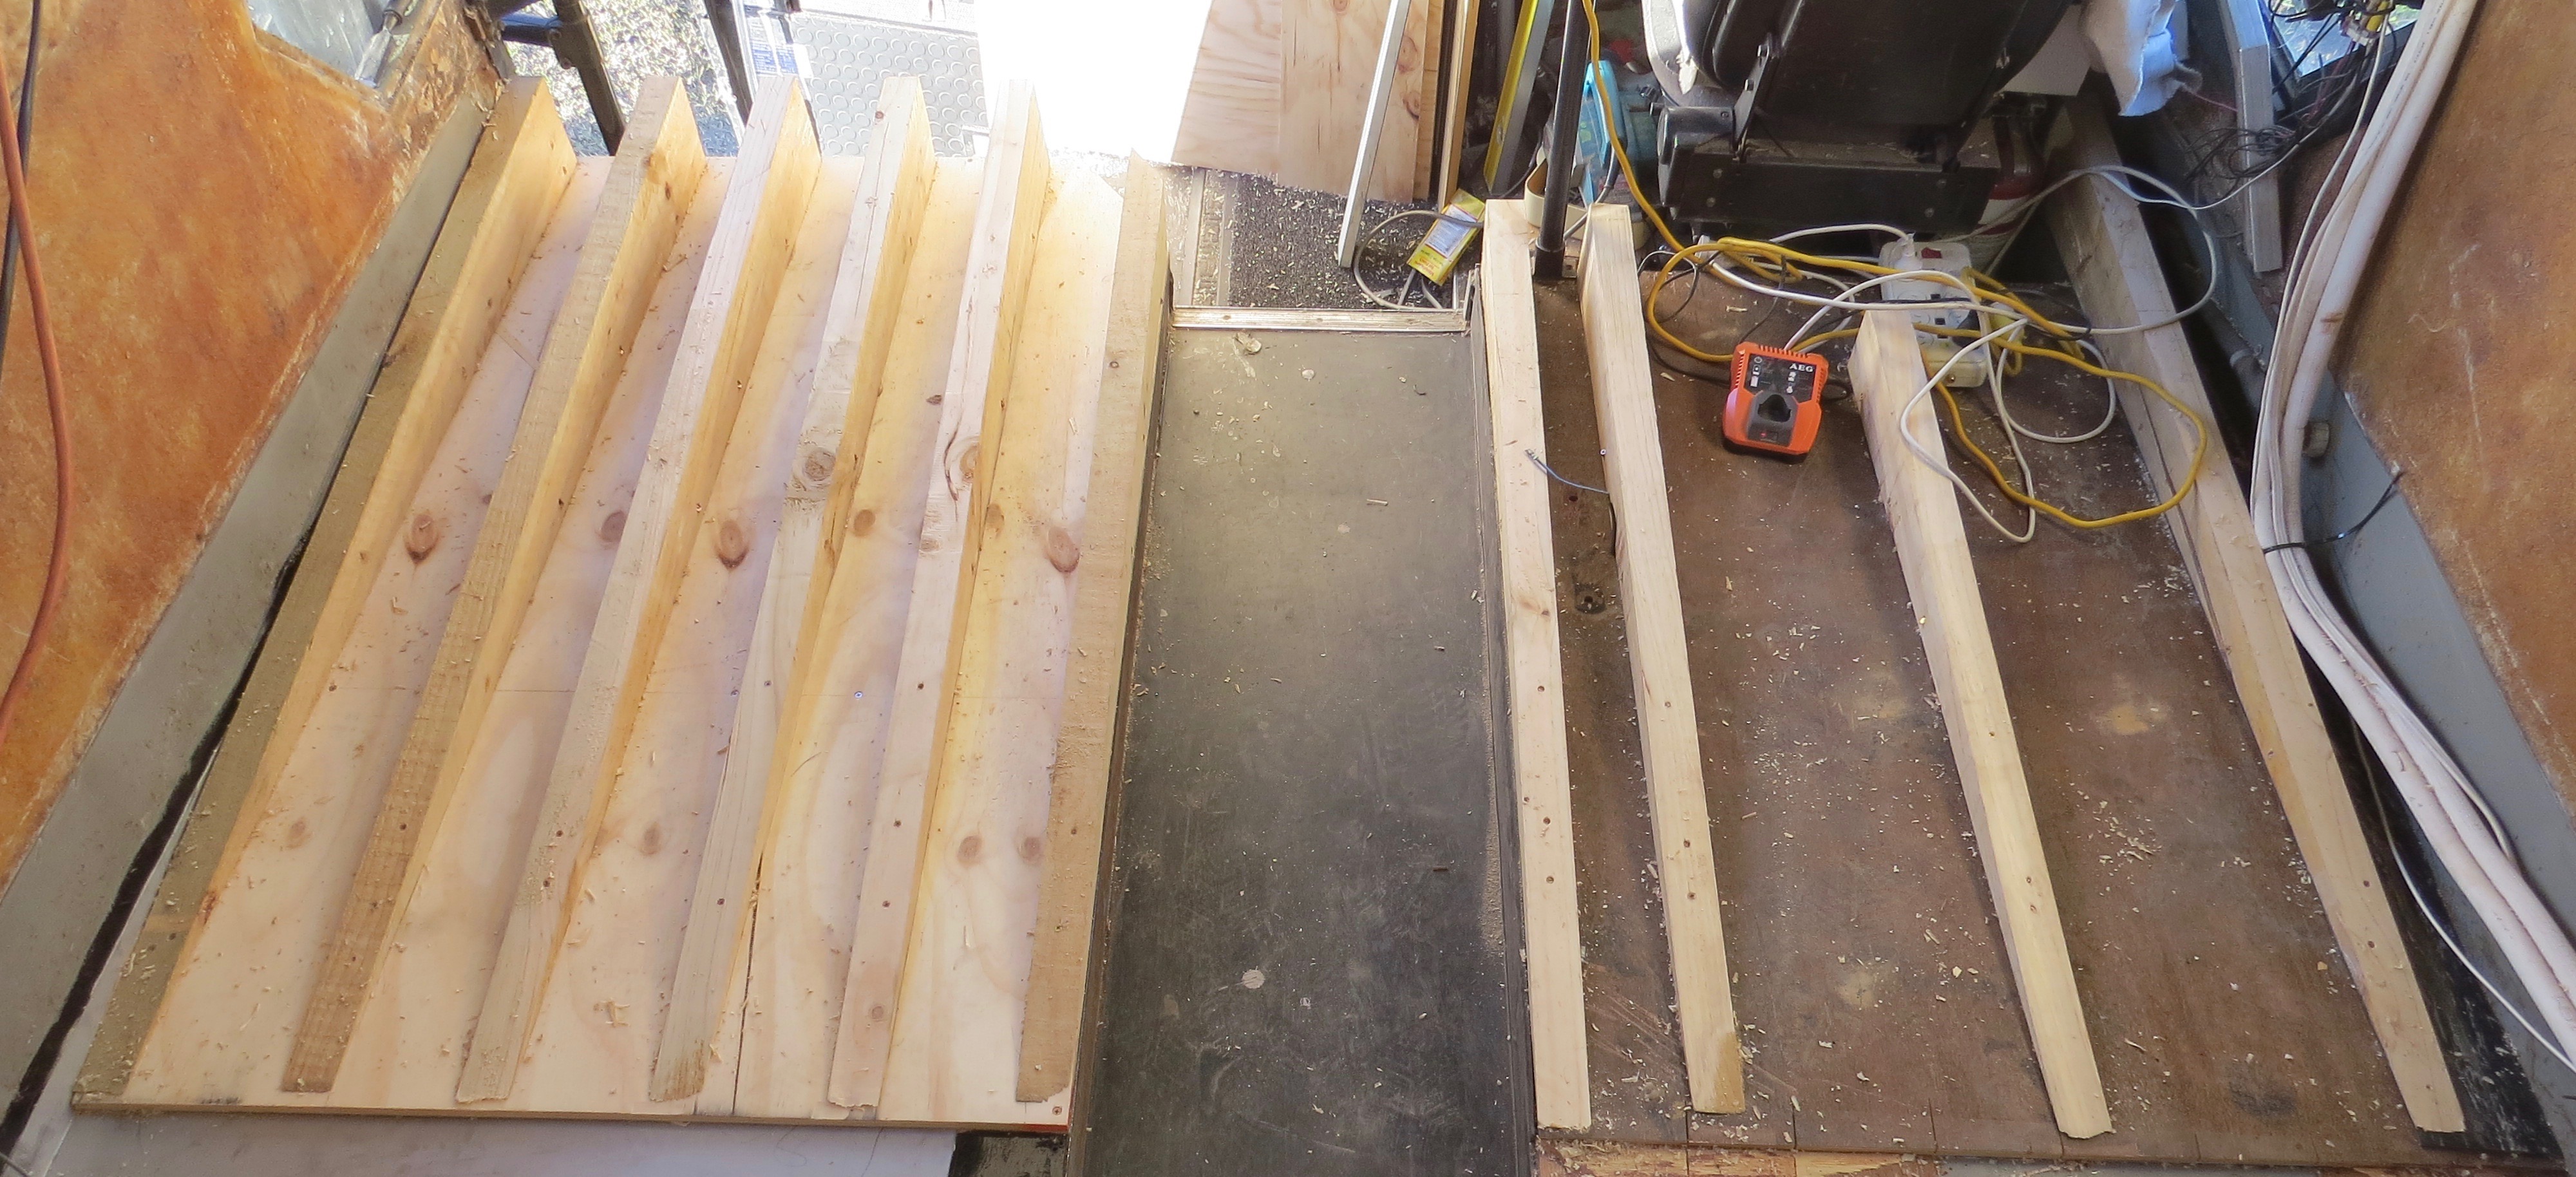
Both sides finished.
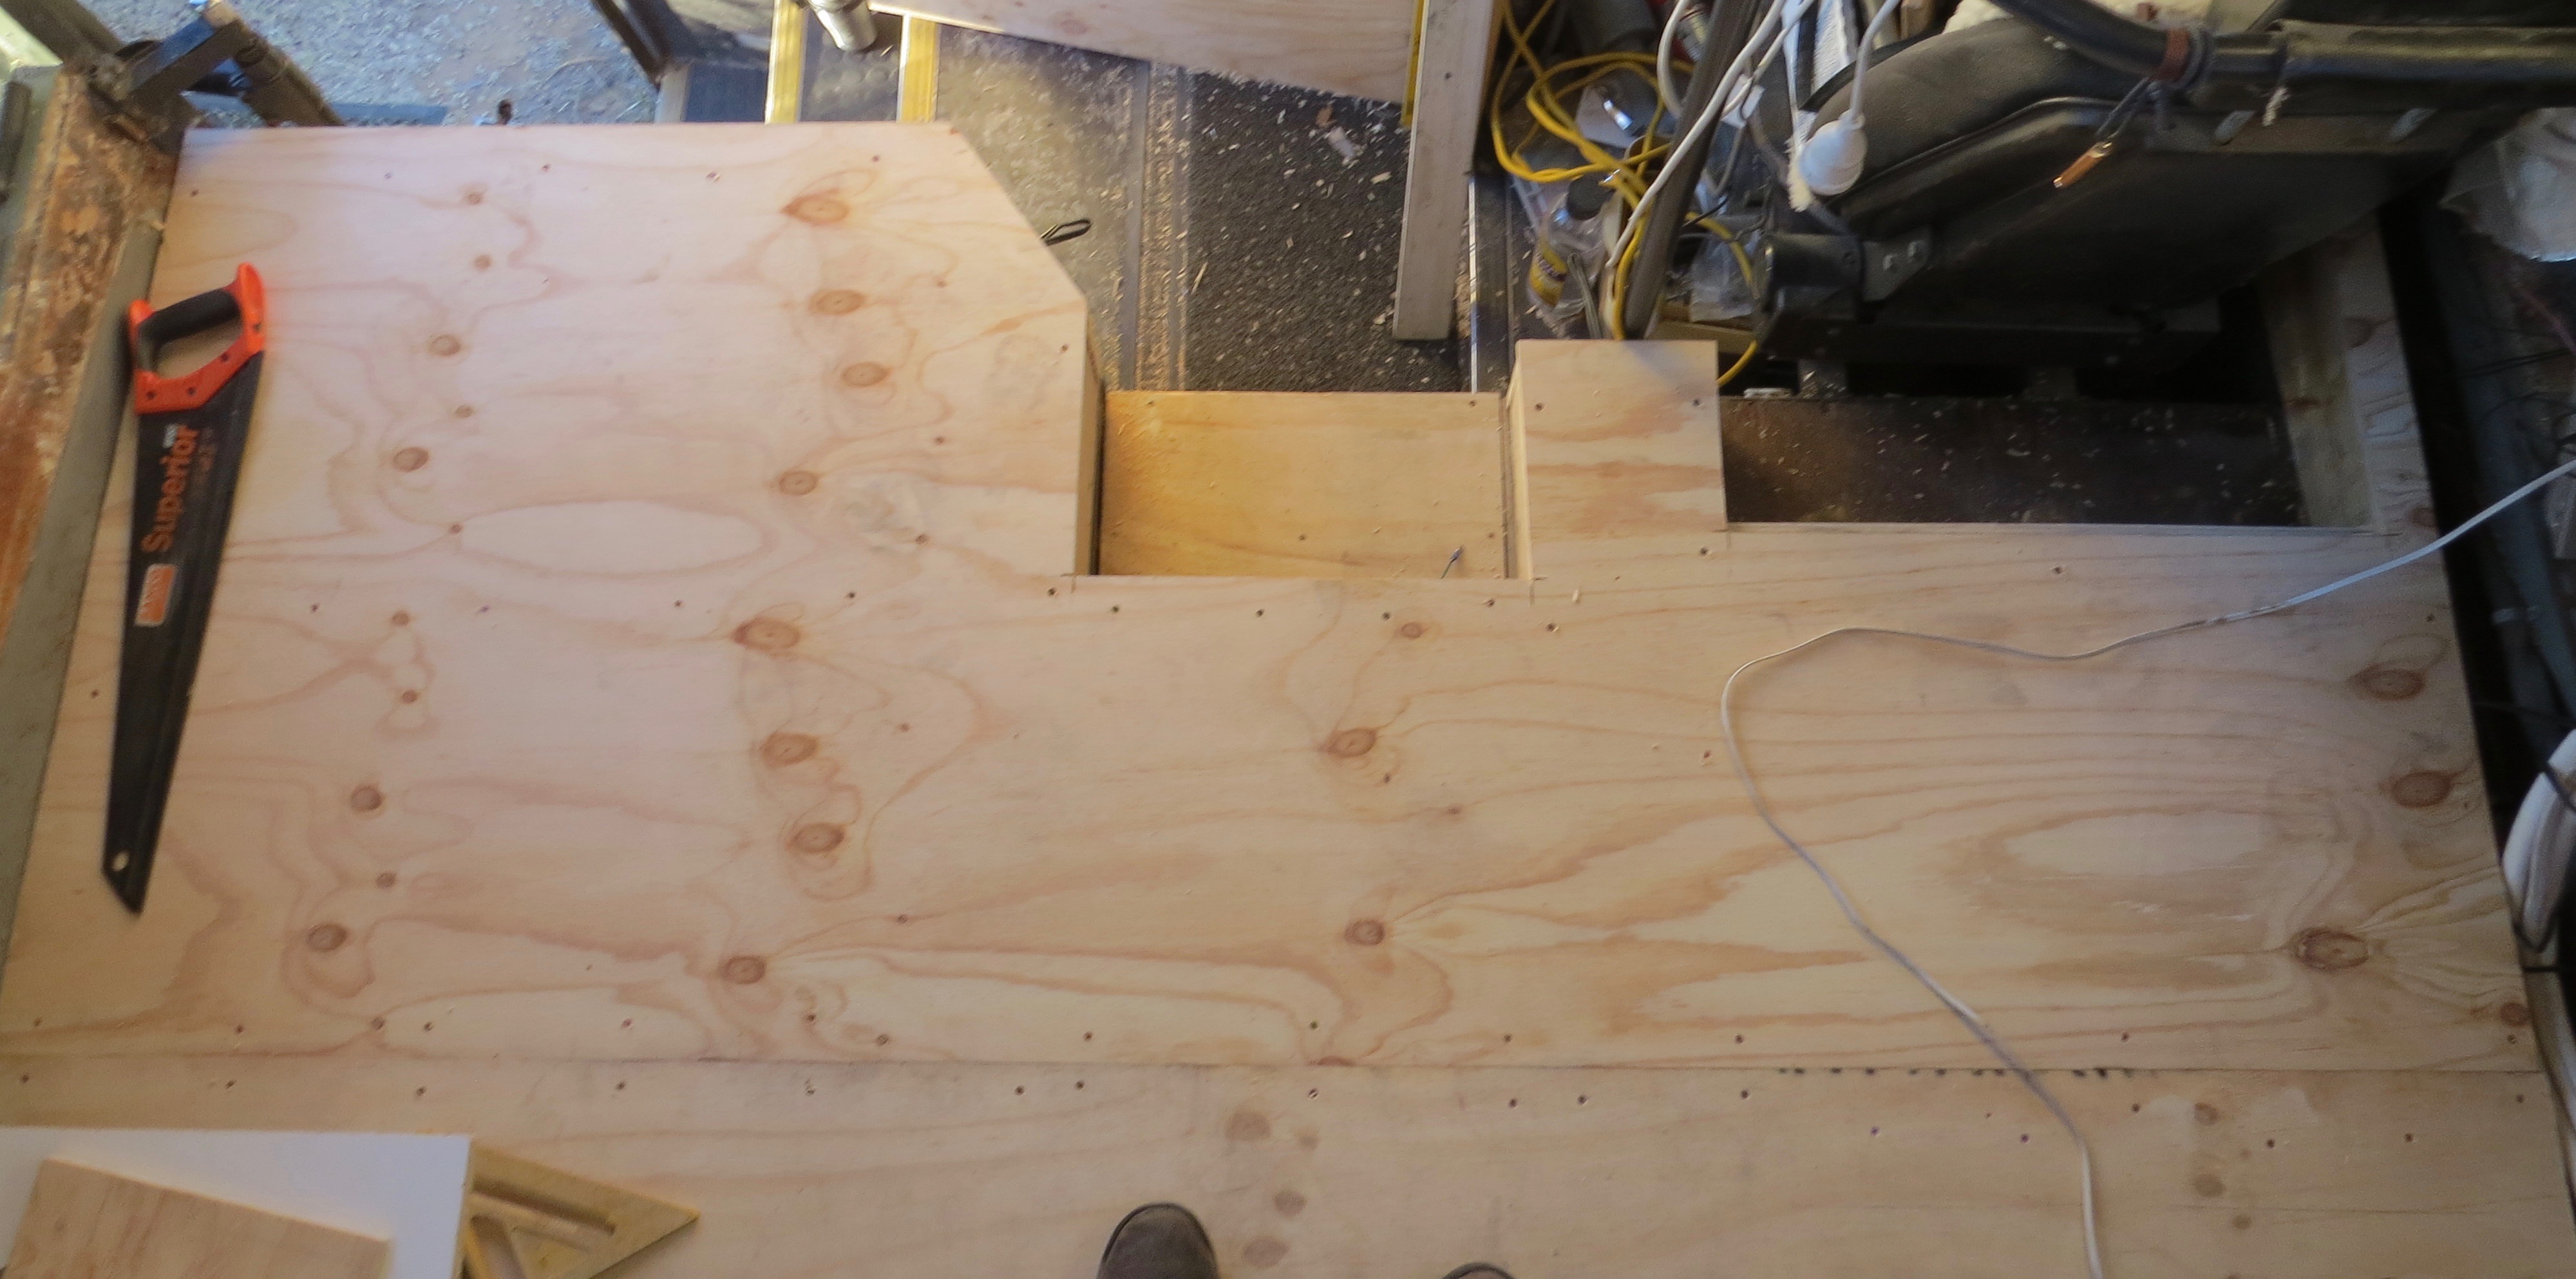
The driver’s side has a cut out area for the seat and down beside the wall the air-con pipes and power will run. I will have to make up some kind of cover for this later on. The next job is to set up for the step up onto the main floor level.
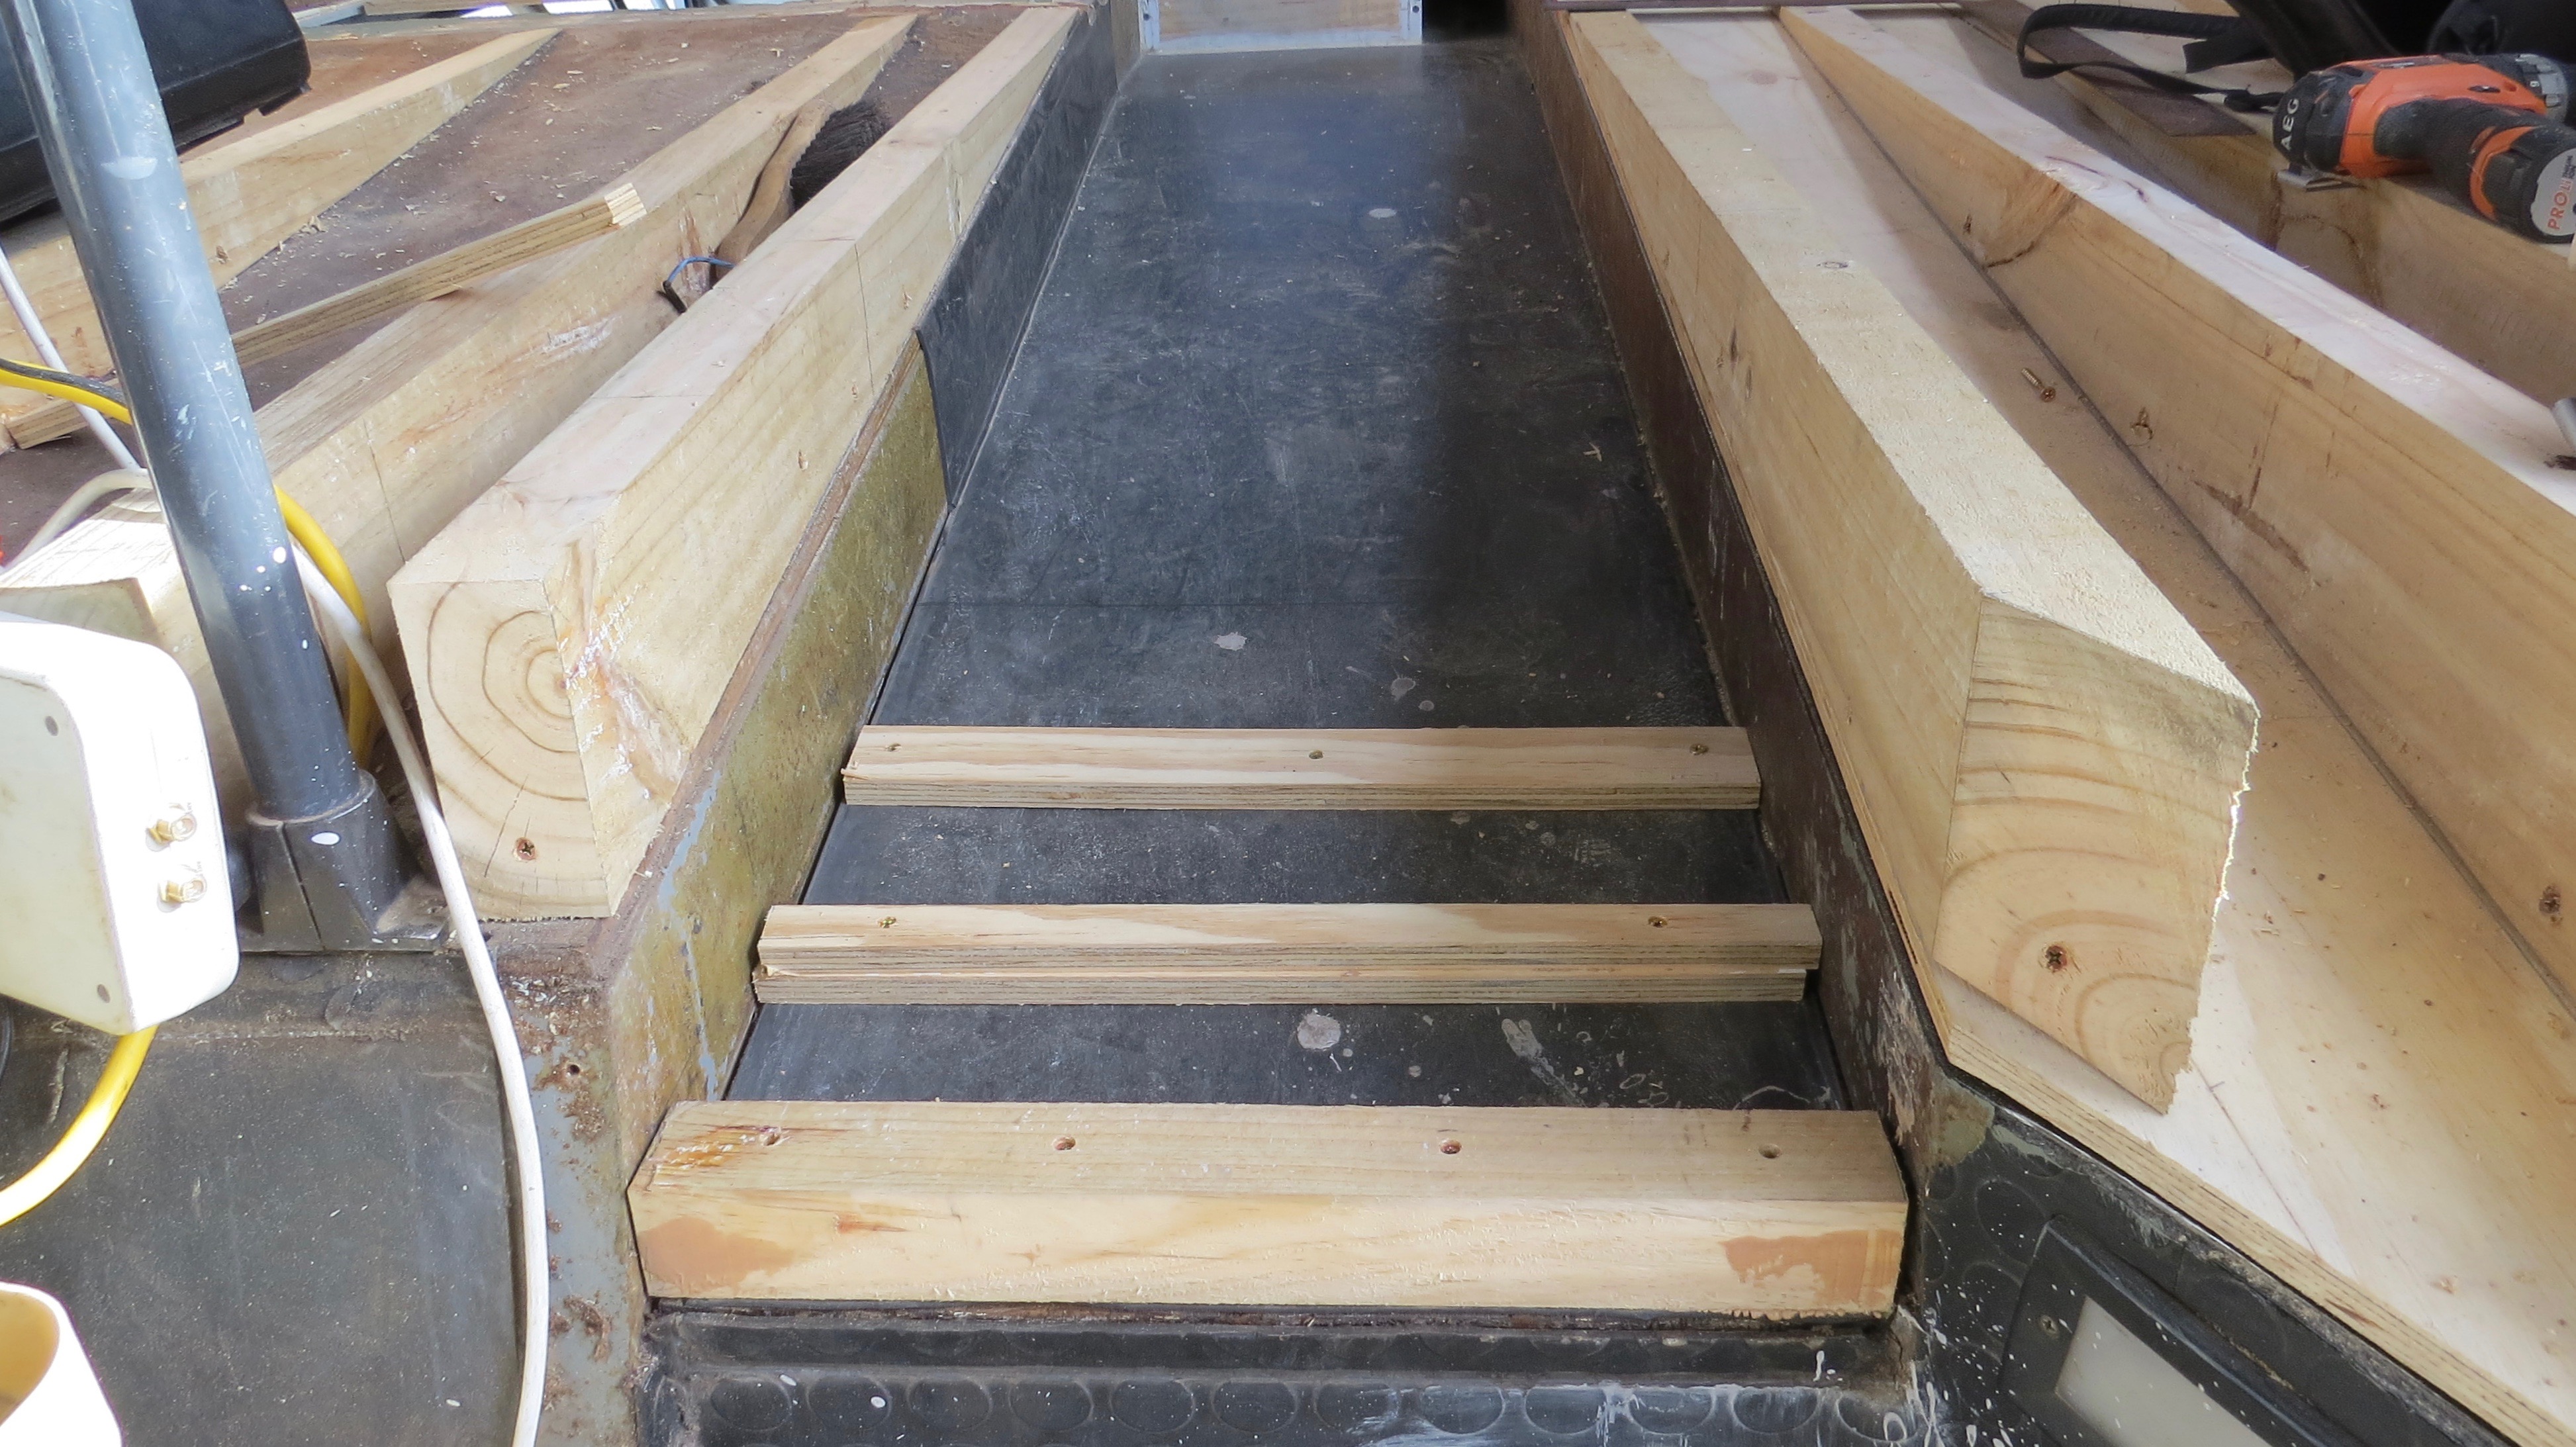
Need a new step too.With the floor lifted up this should help.
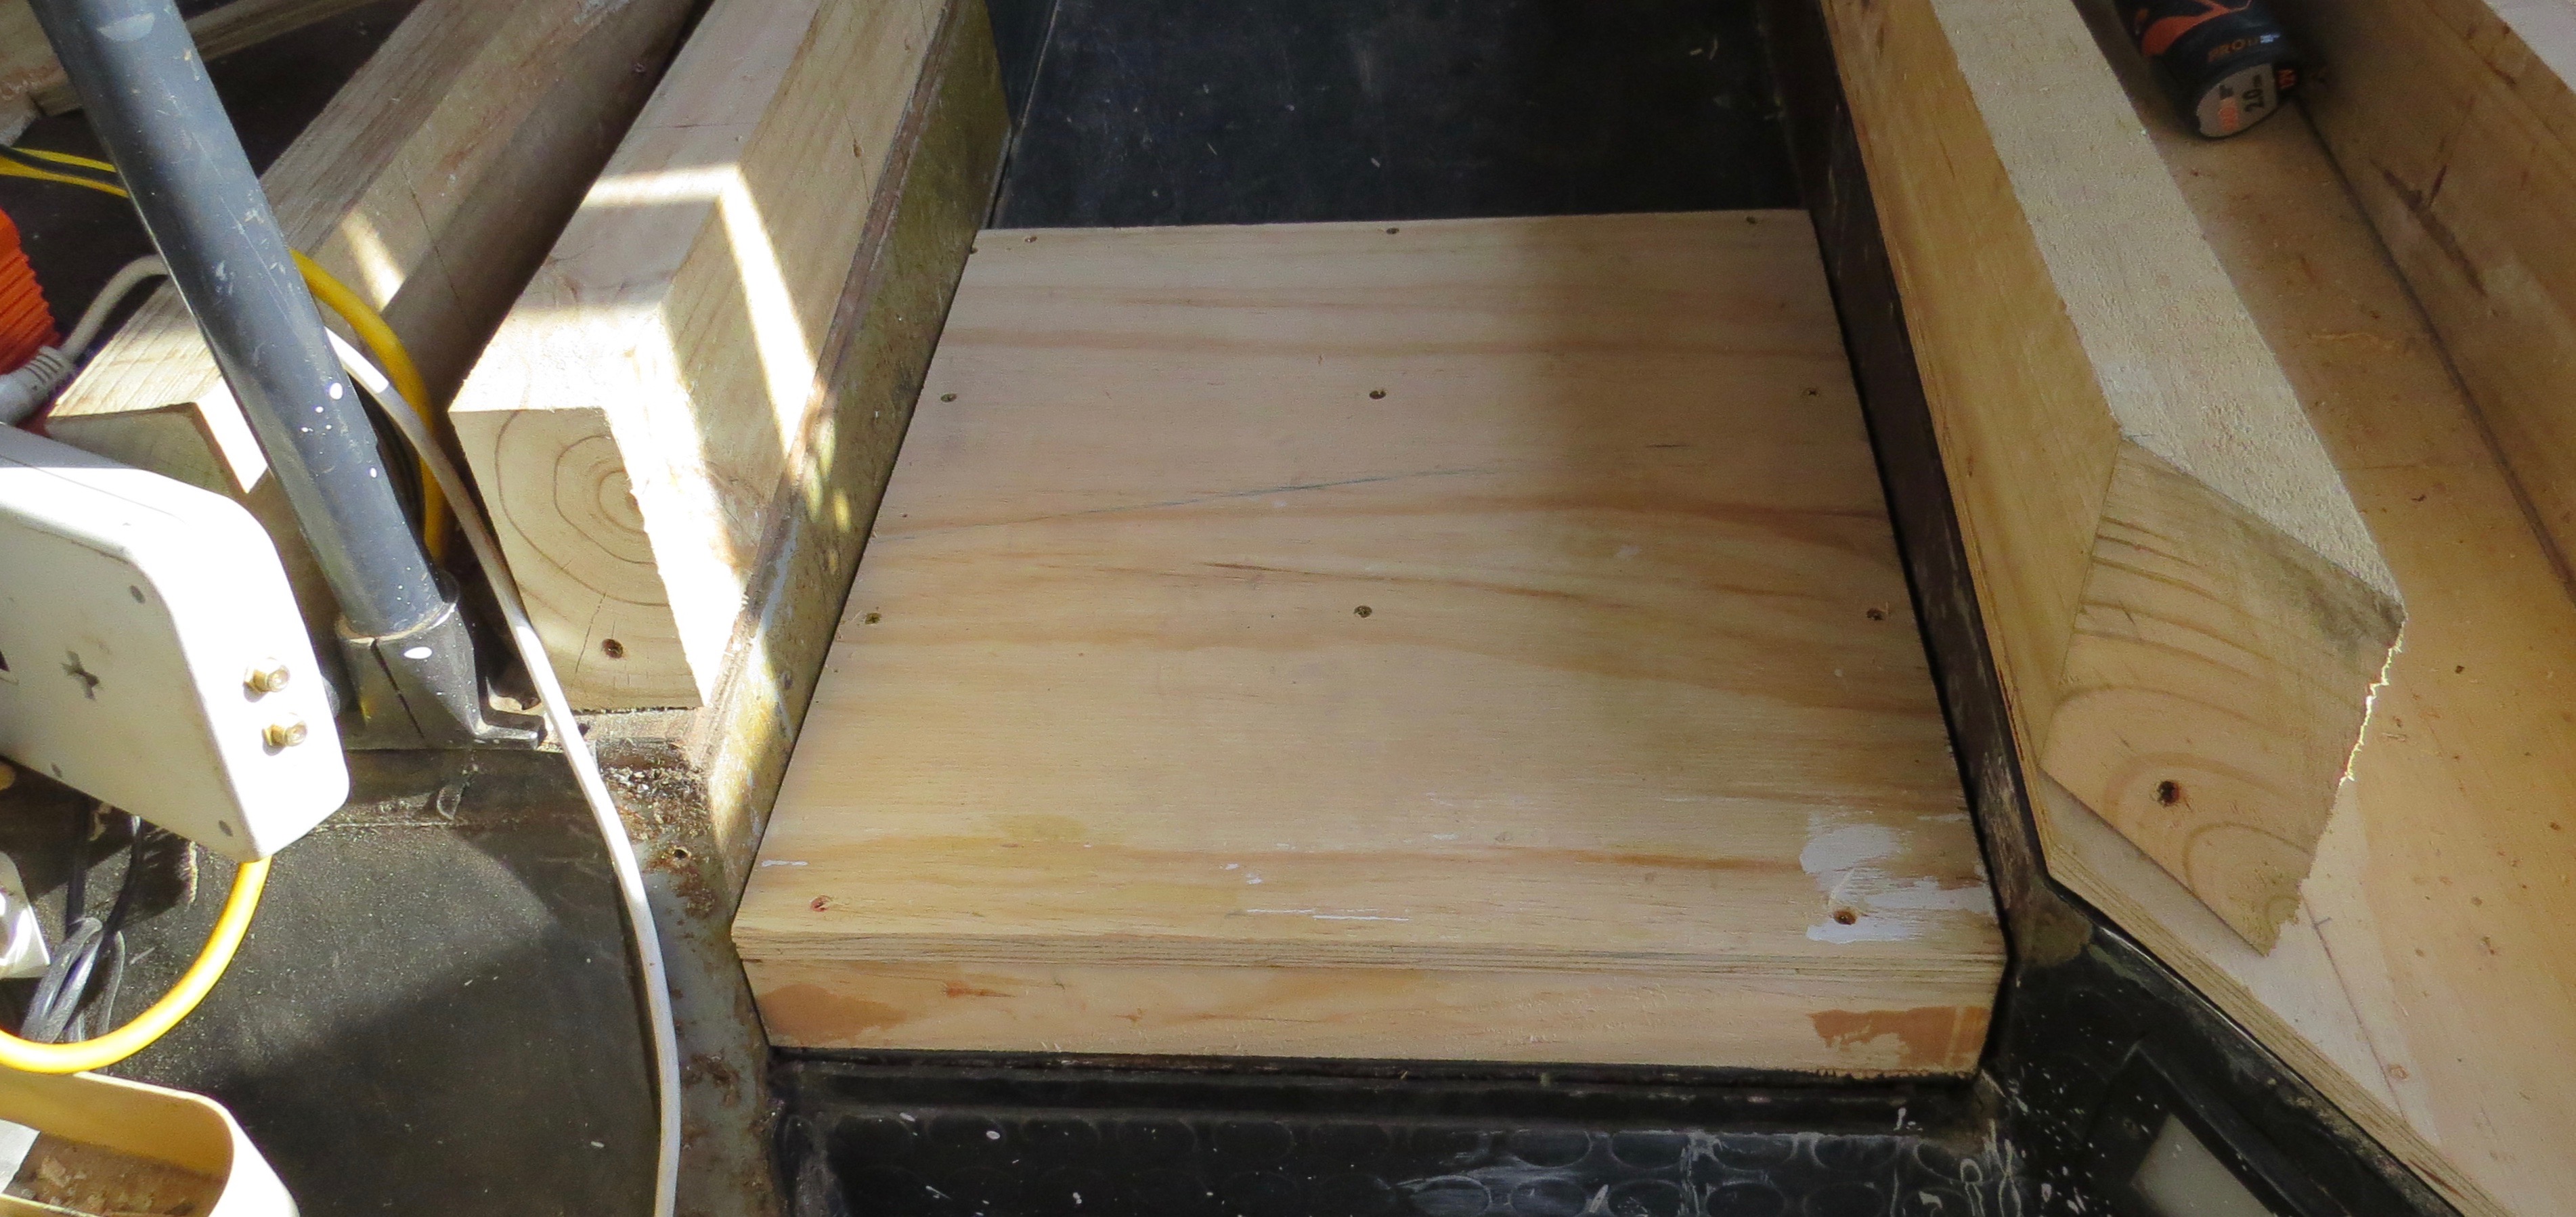
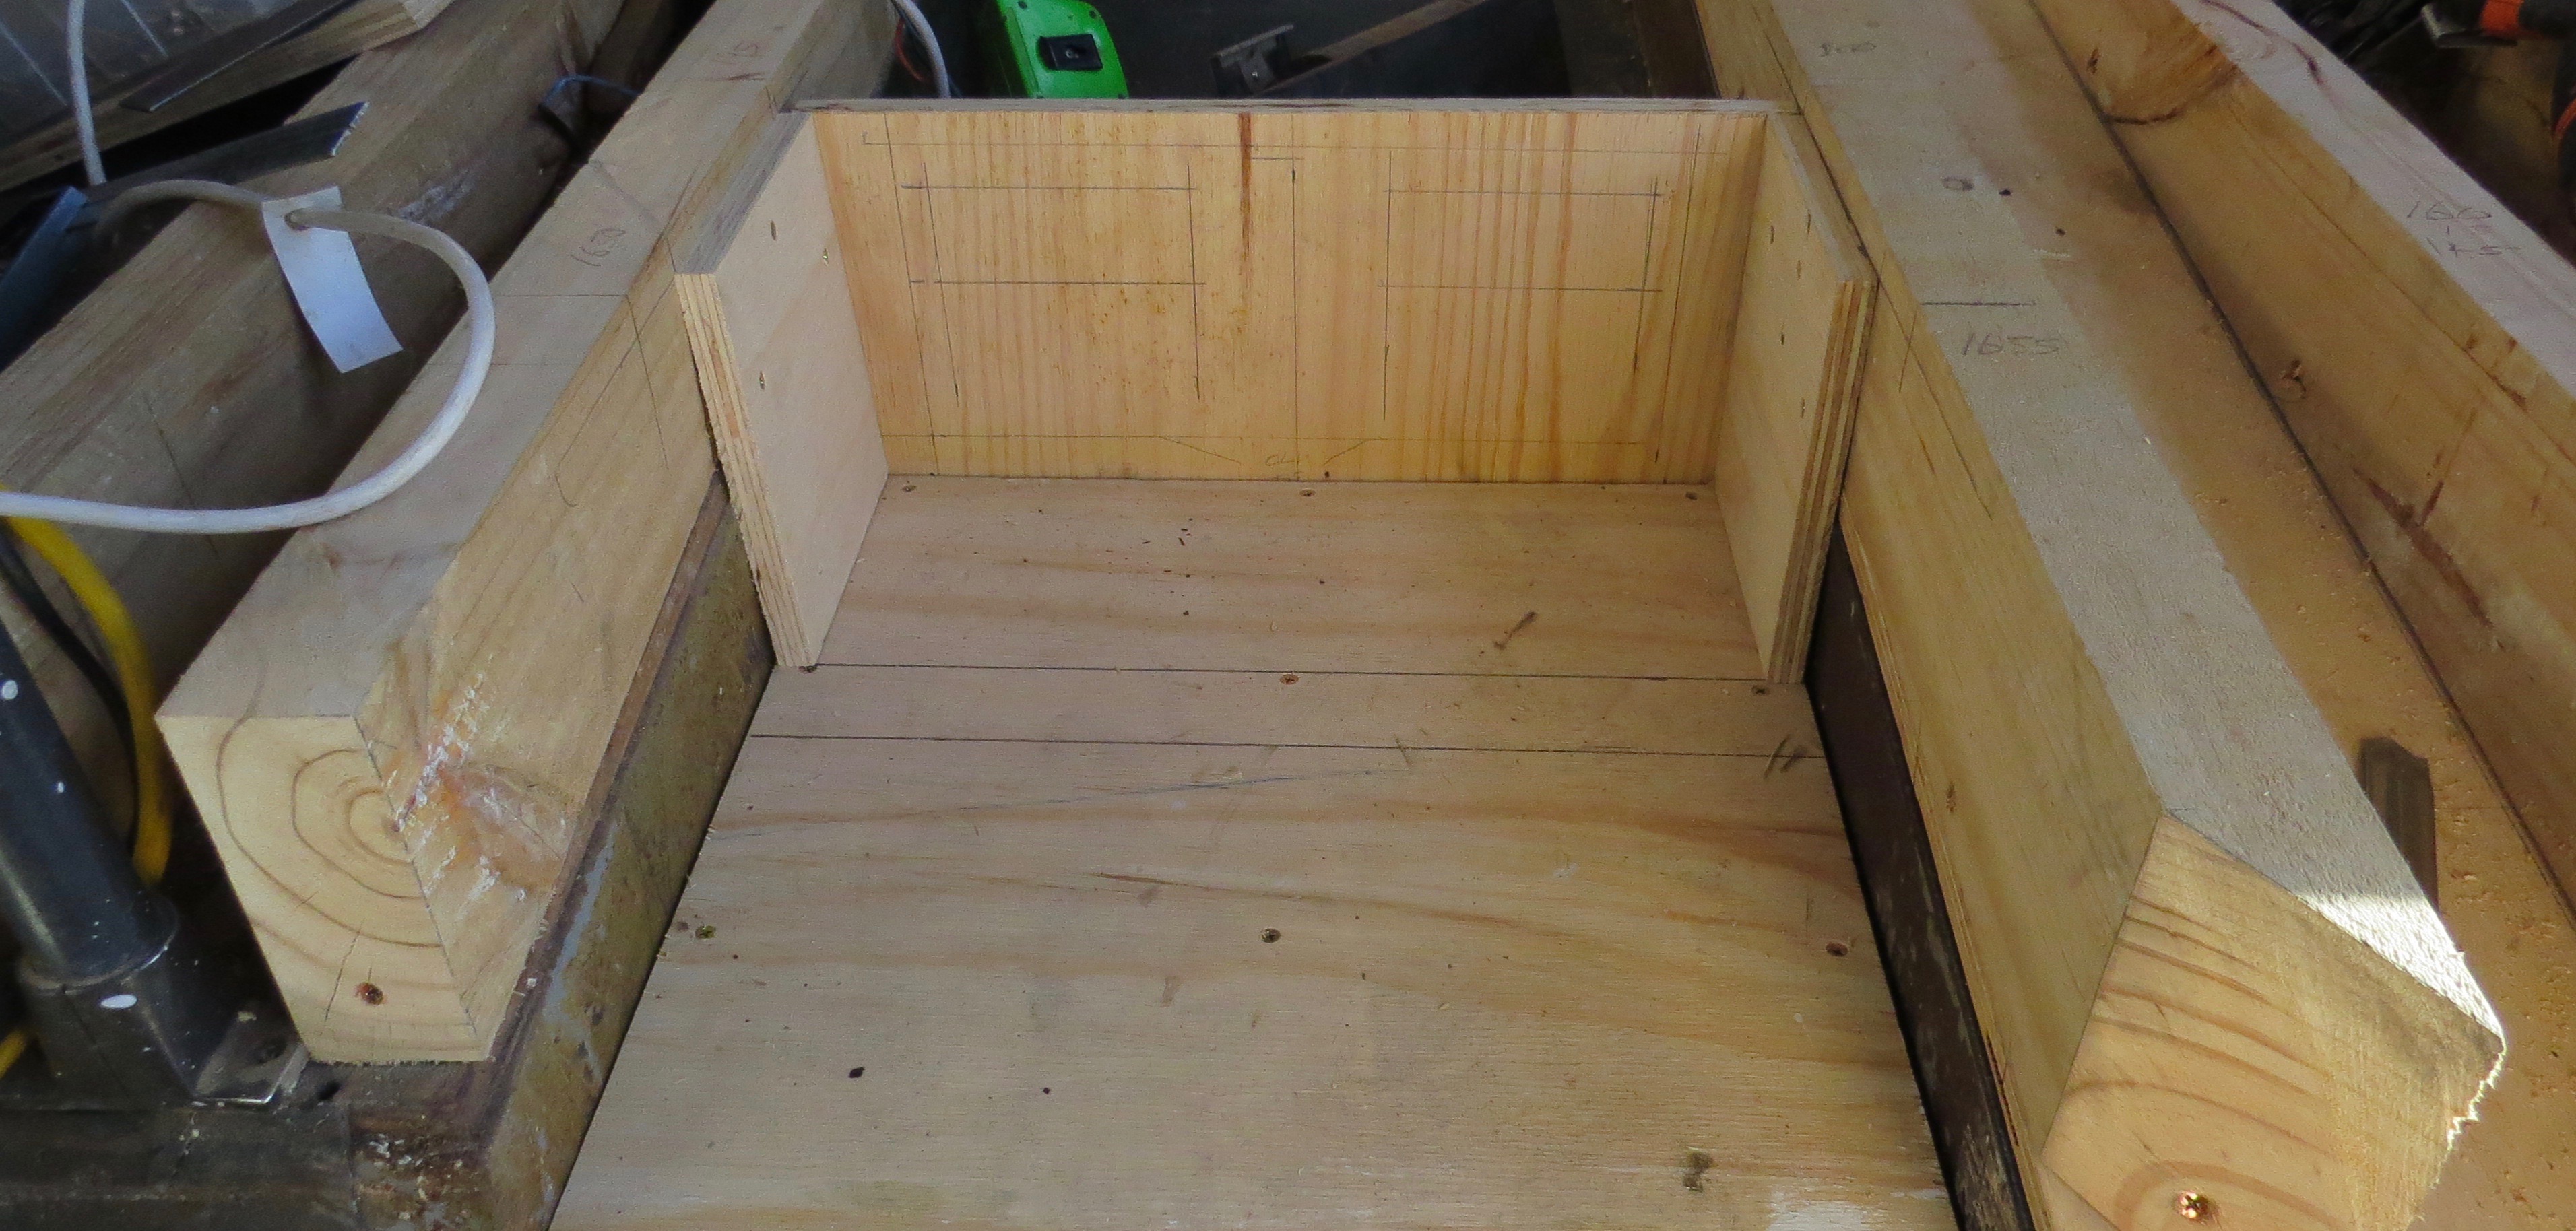
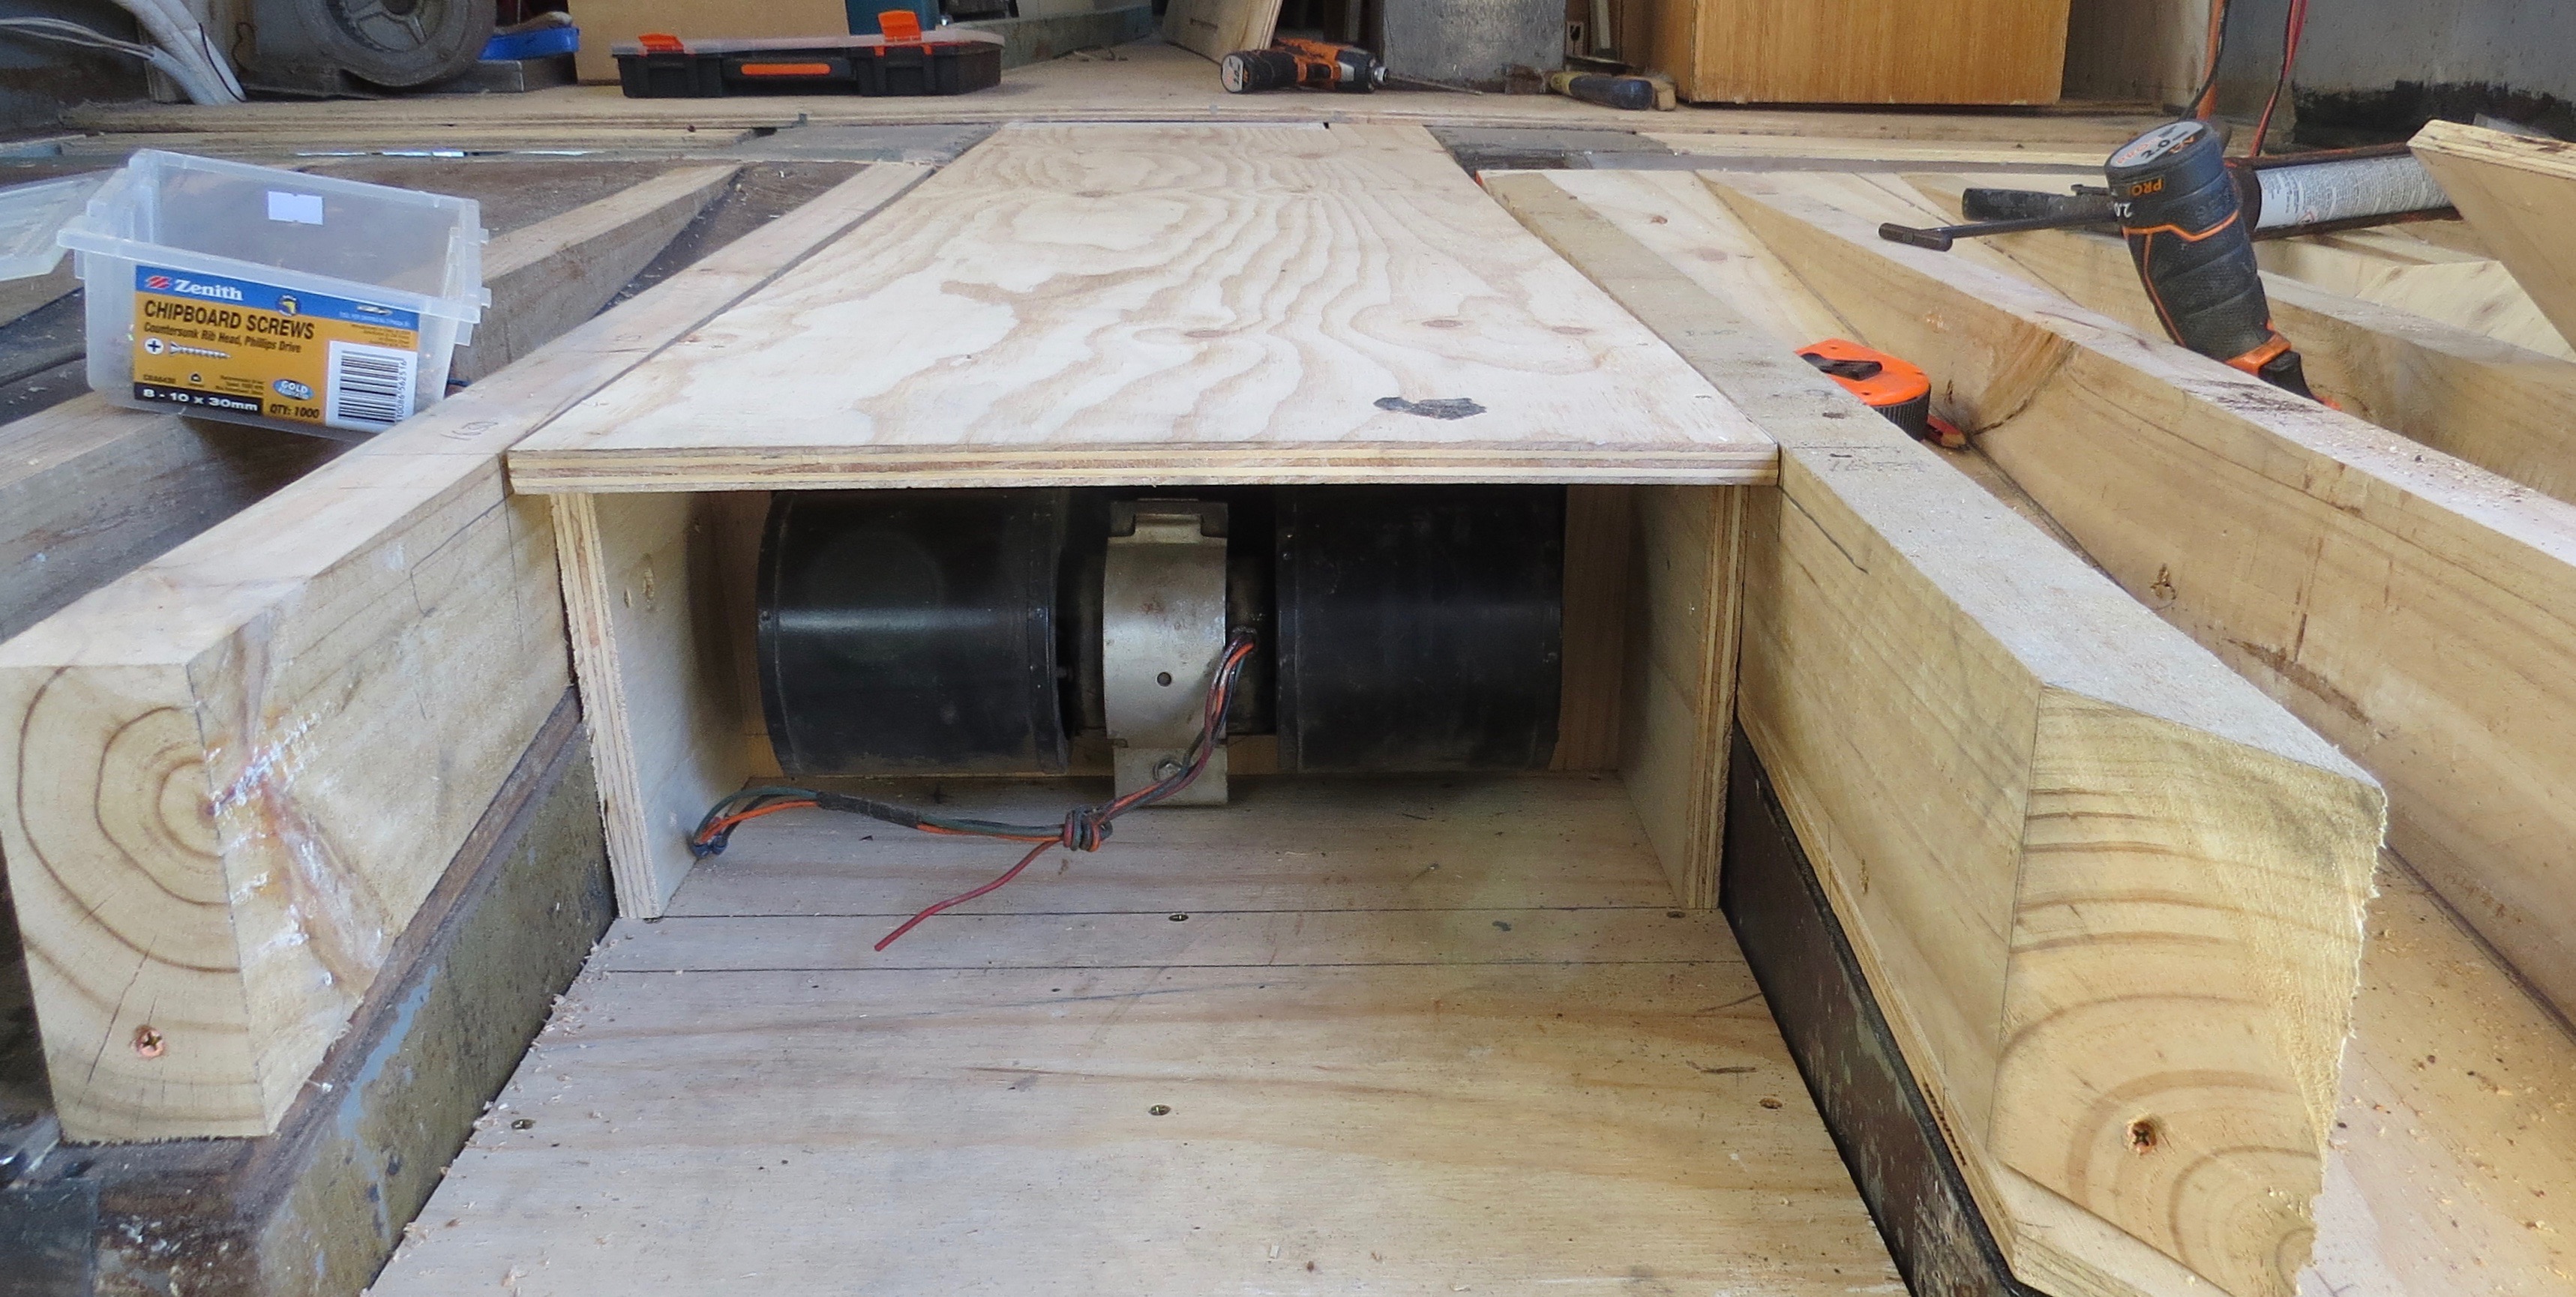
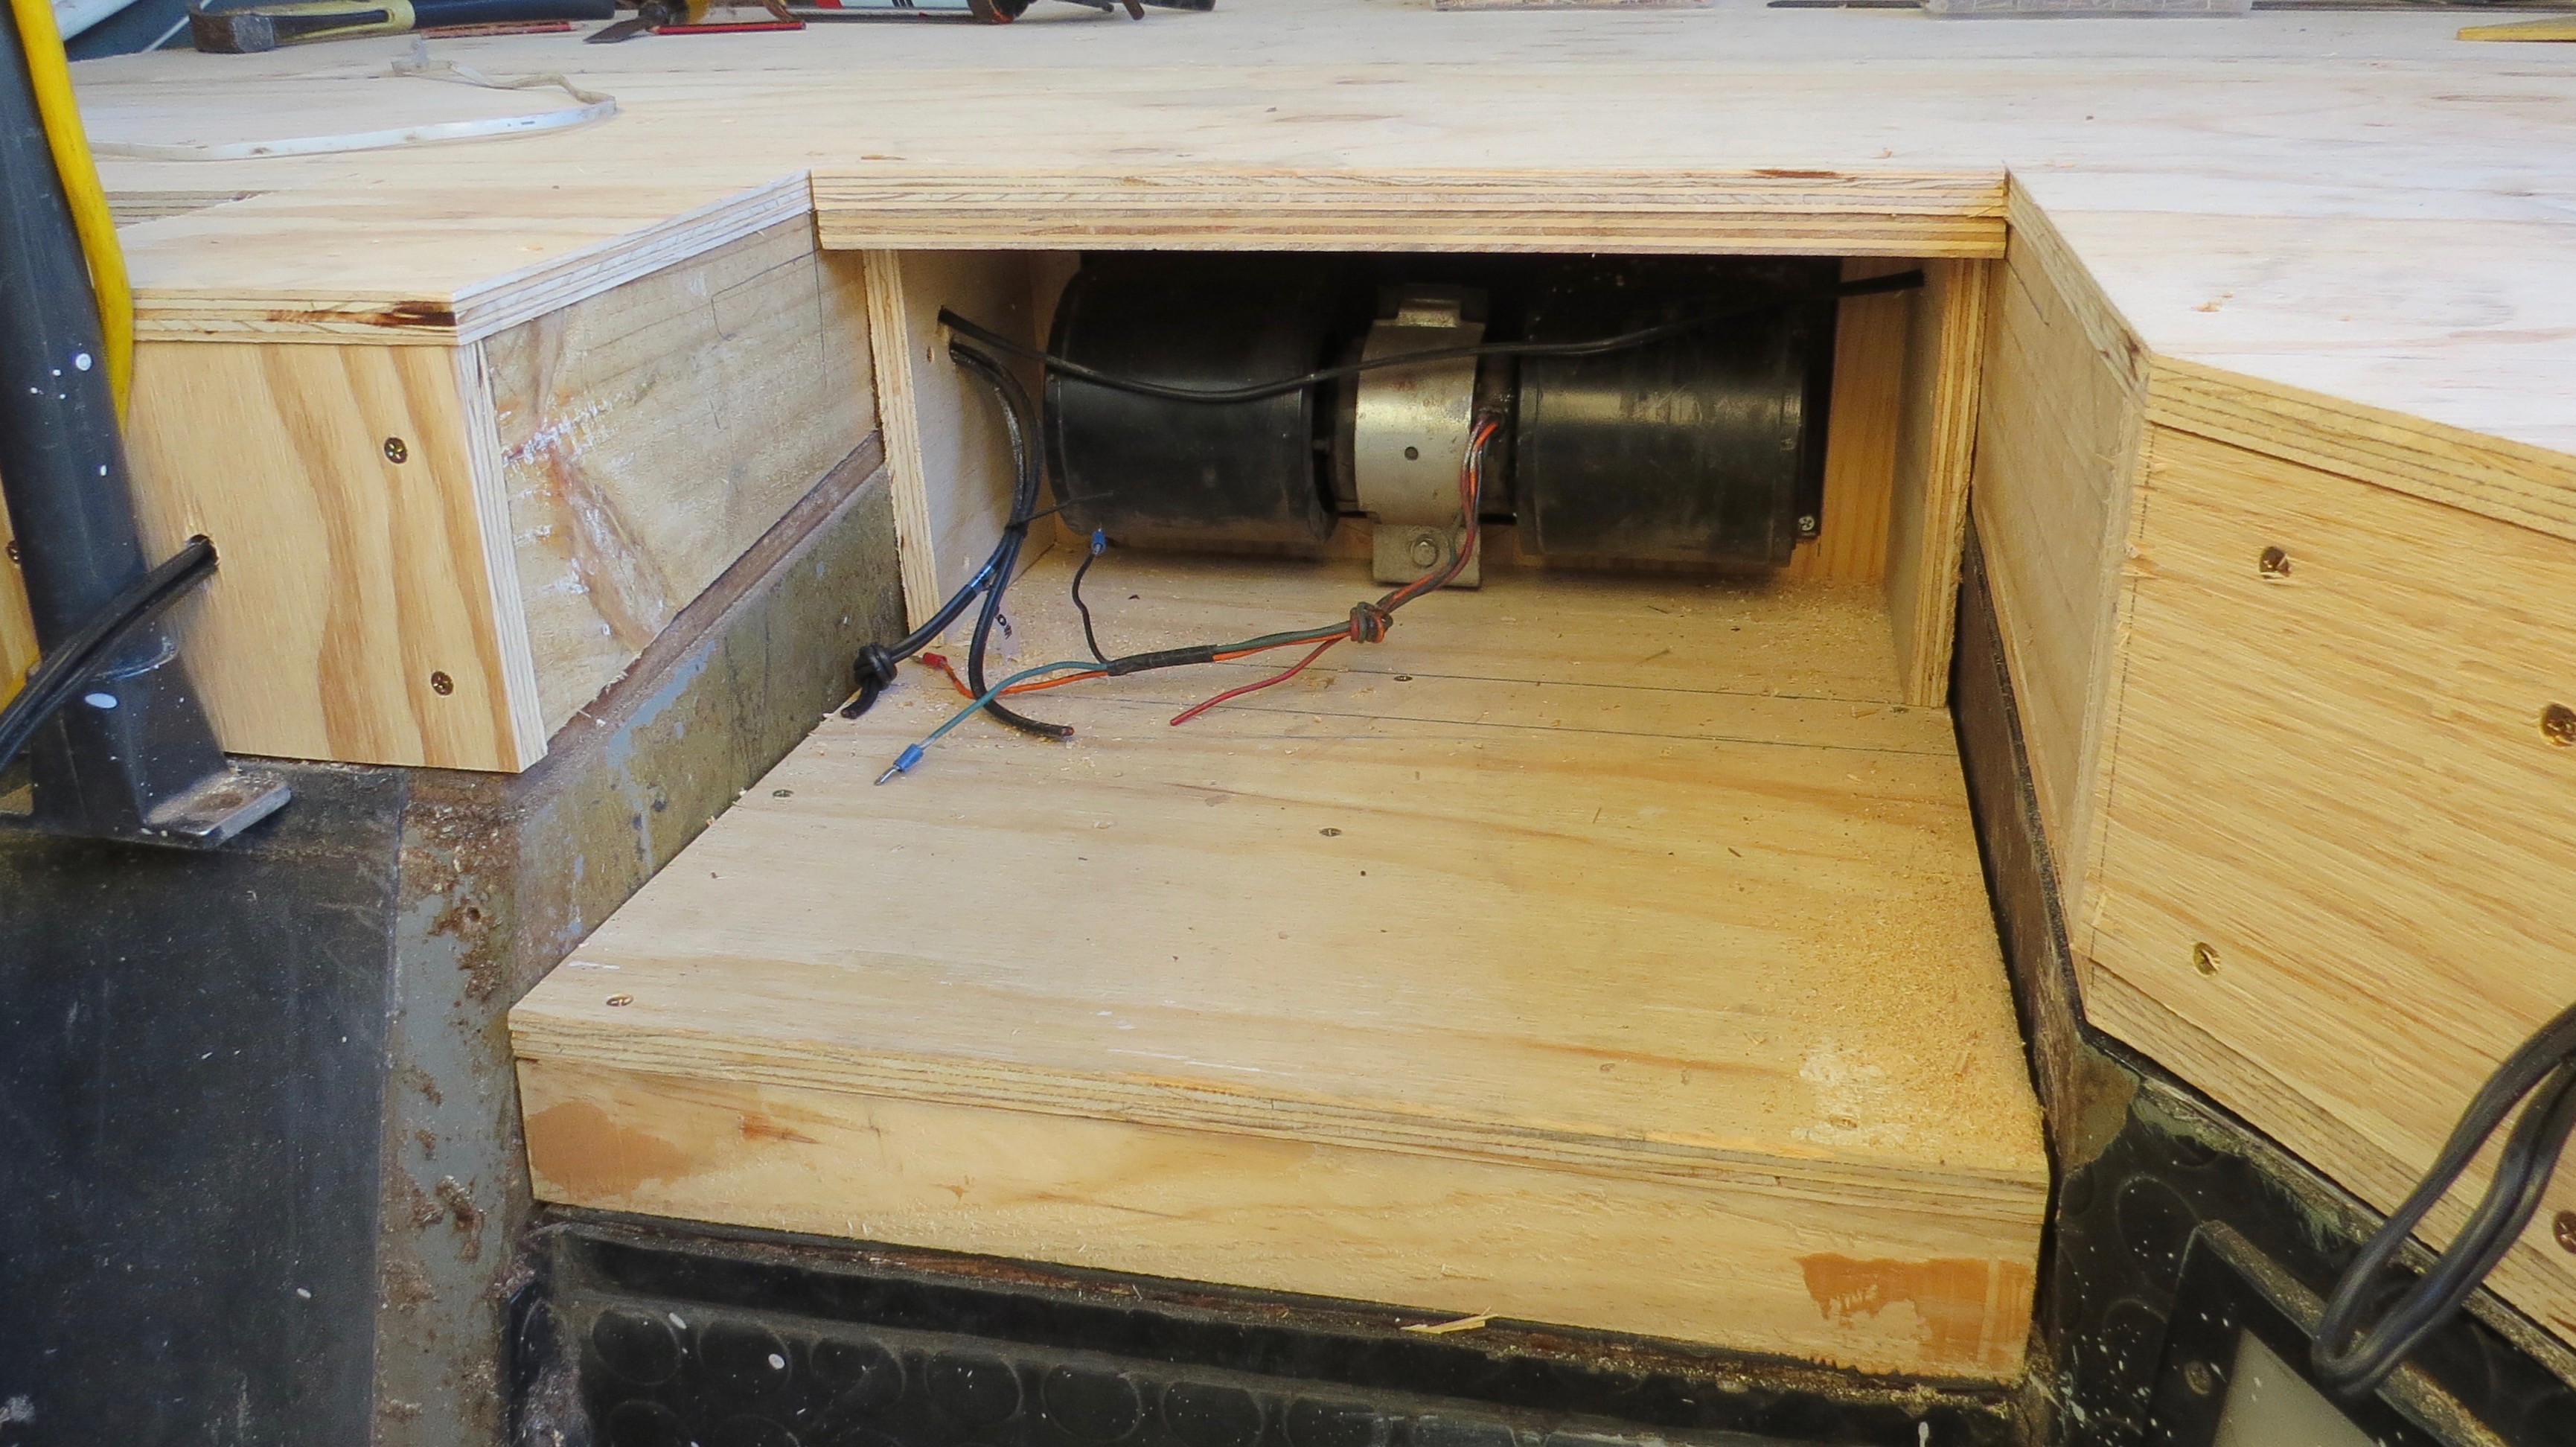
I had an idea about moving air around the coach, so with a fan out of an old floor heater I’ll be able to blow air down the back of the coach through the floor cavity.
Setting up for a fan to circulate air down to the back of the motorhome.Extra piece of ply down the middle.Some holes should do the job.
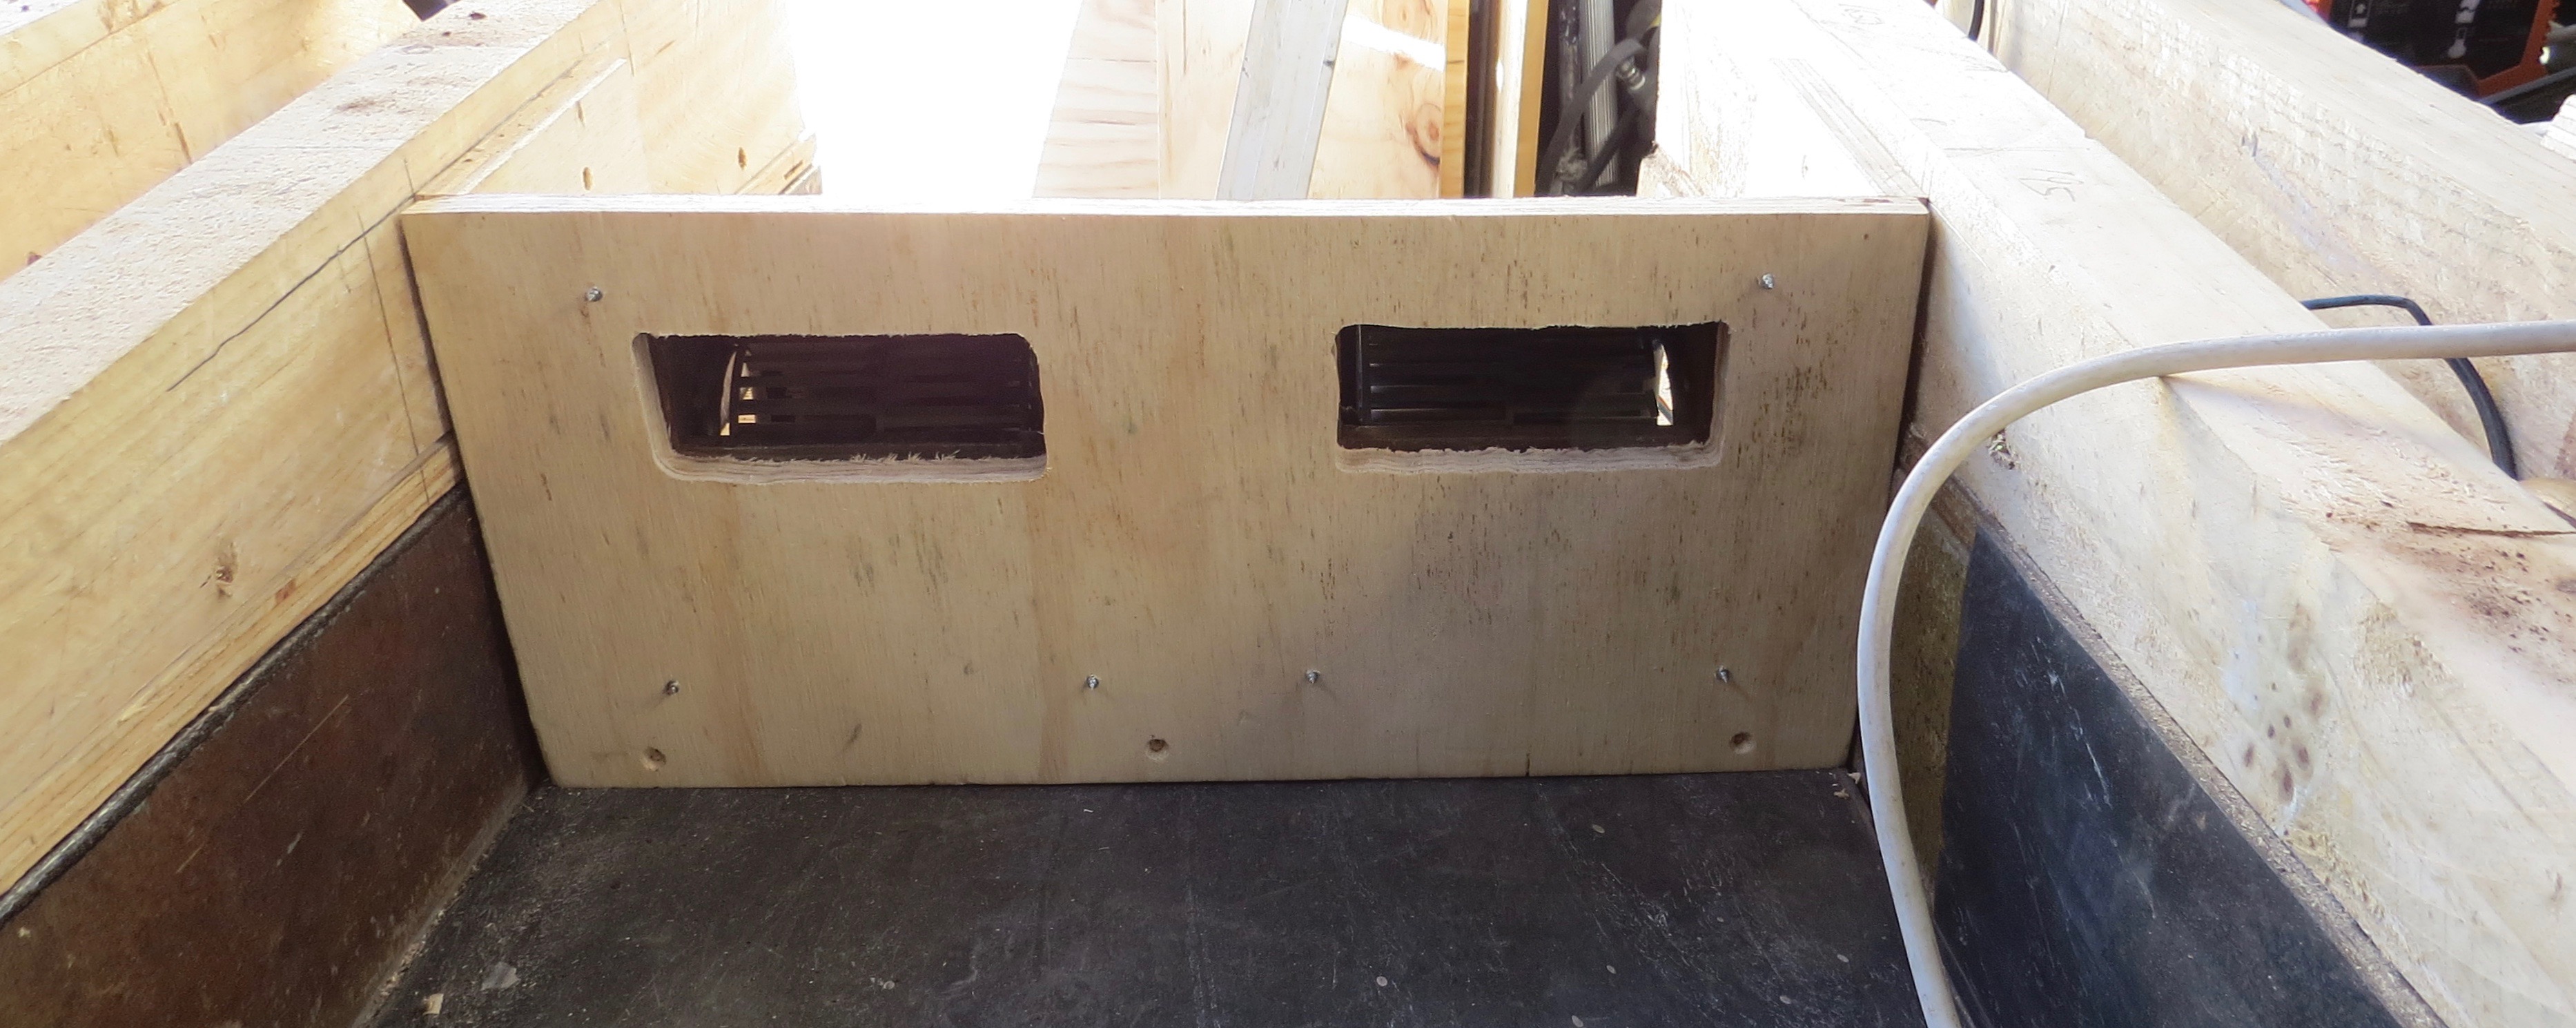
Later on I will have to make up a cover with vent to finish off this part of the job, but now it’s time to put down some floor sheets.
Second last sheet down.Some trim around the front.
There is always something more to think of, ….I’ve run some 12v cable for lighting up the stairs and to run the three stage fan. So after drilling lots of holes and pulling cables then putting in some insulation it’s time for the last sheet.
Insulation in place and some wires in for the lights for the steps.The last pice of flooring.
Let’s hope it fit’s.
Looking good.Wire in place for the three speed fan.Some where for the air-con and power to run down this side.
Next will be to finish off the wall to the drivers seat and on the other side up to the doorway.
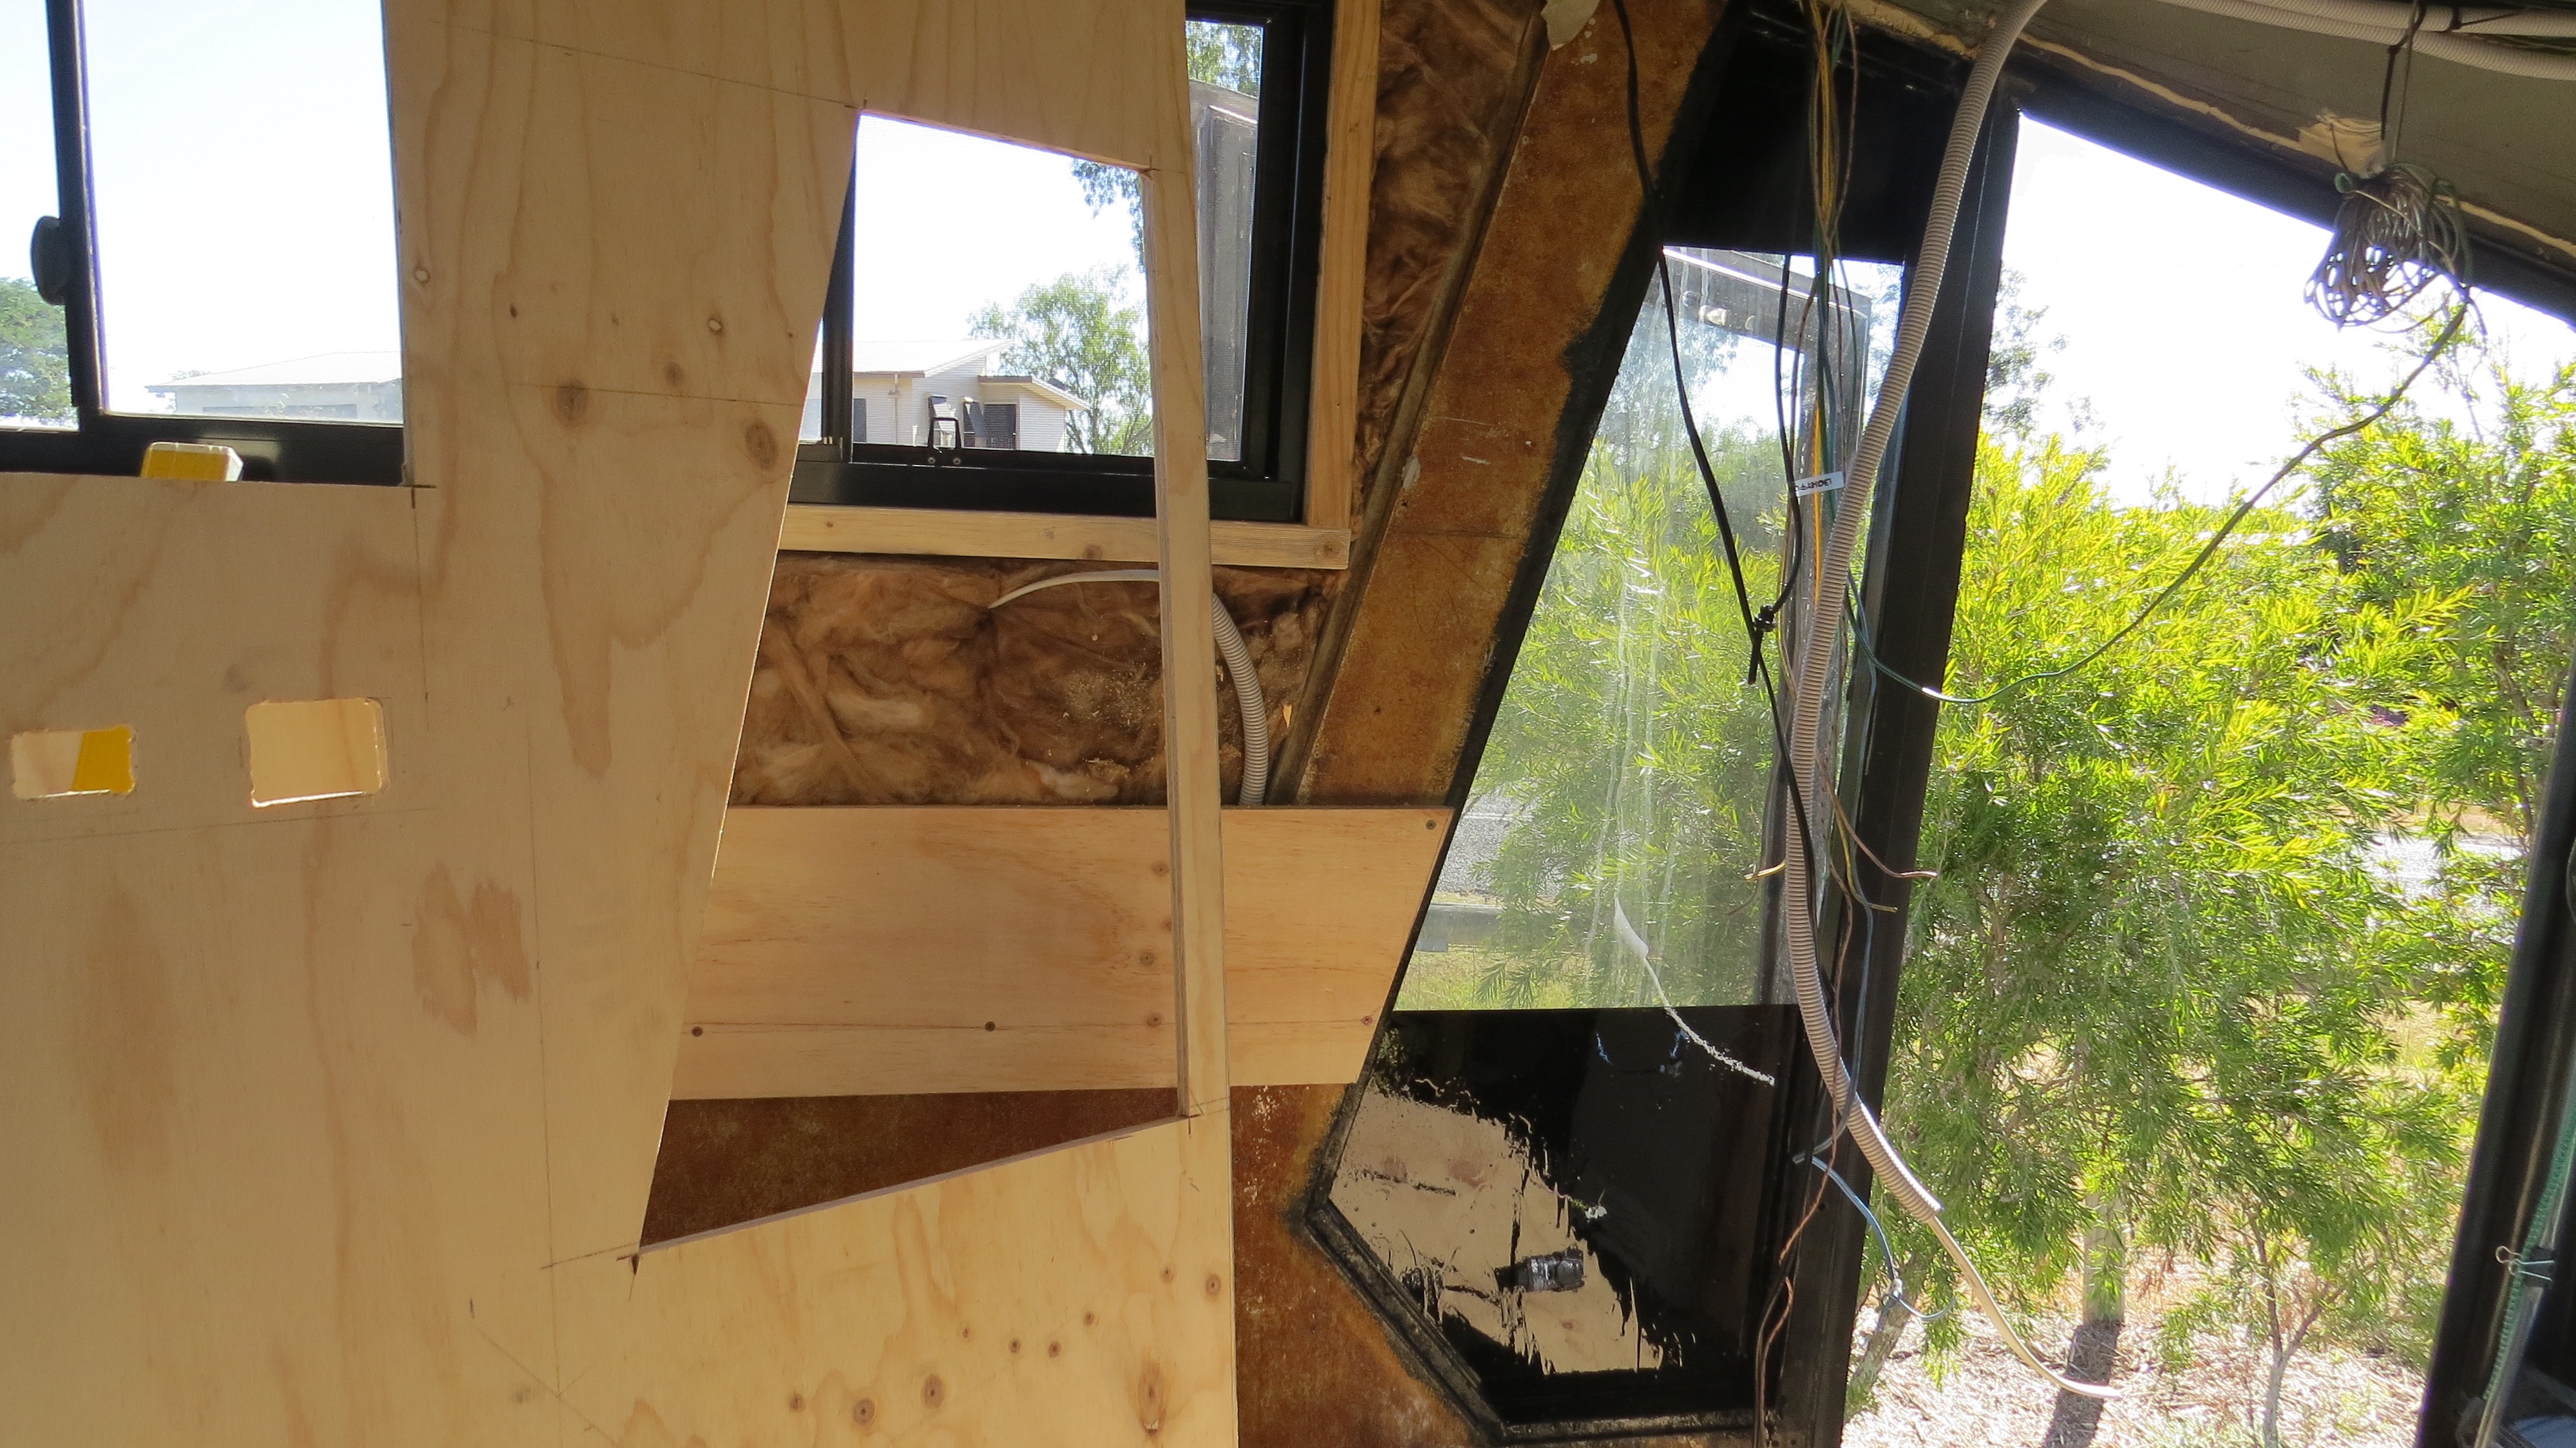
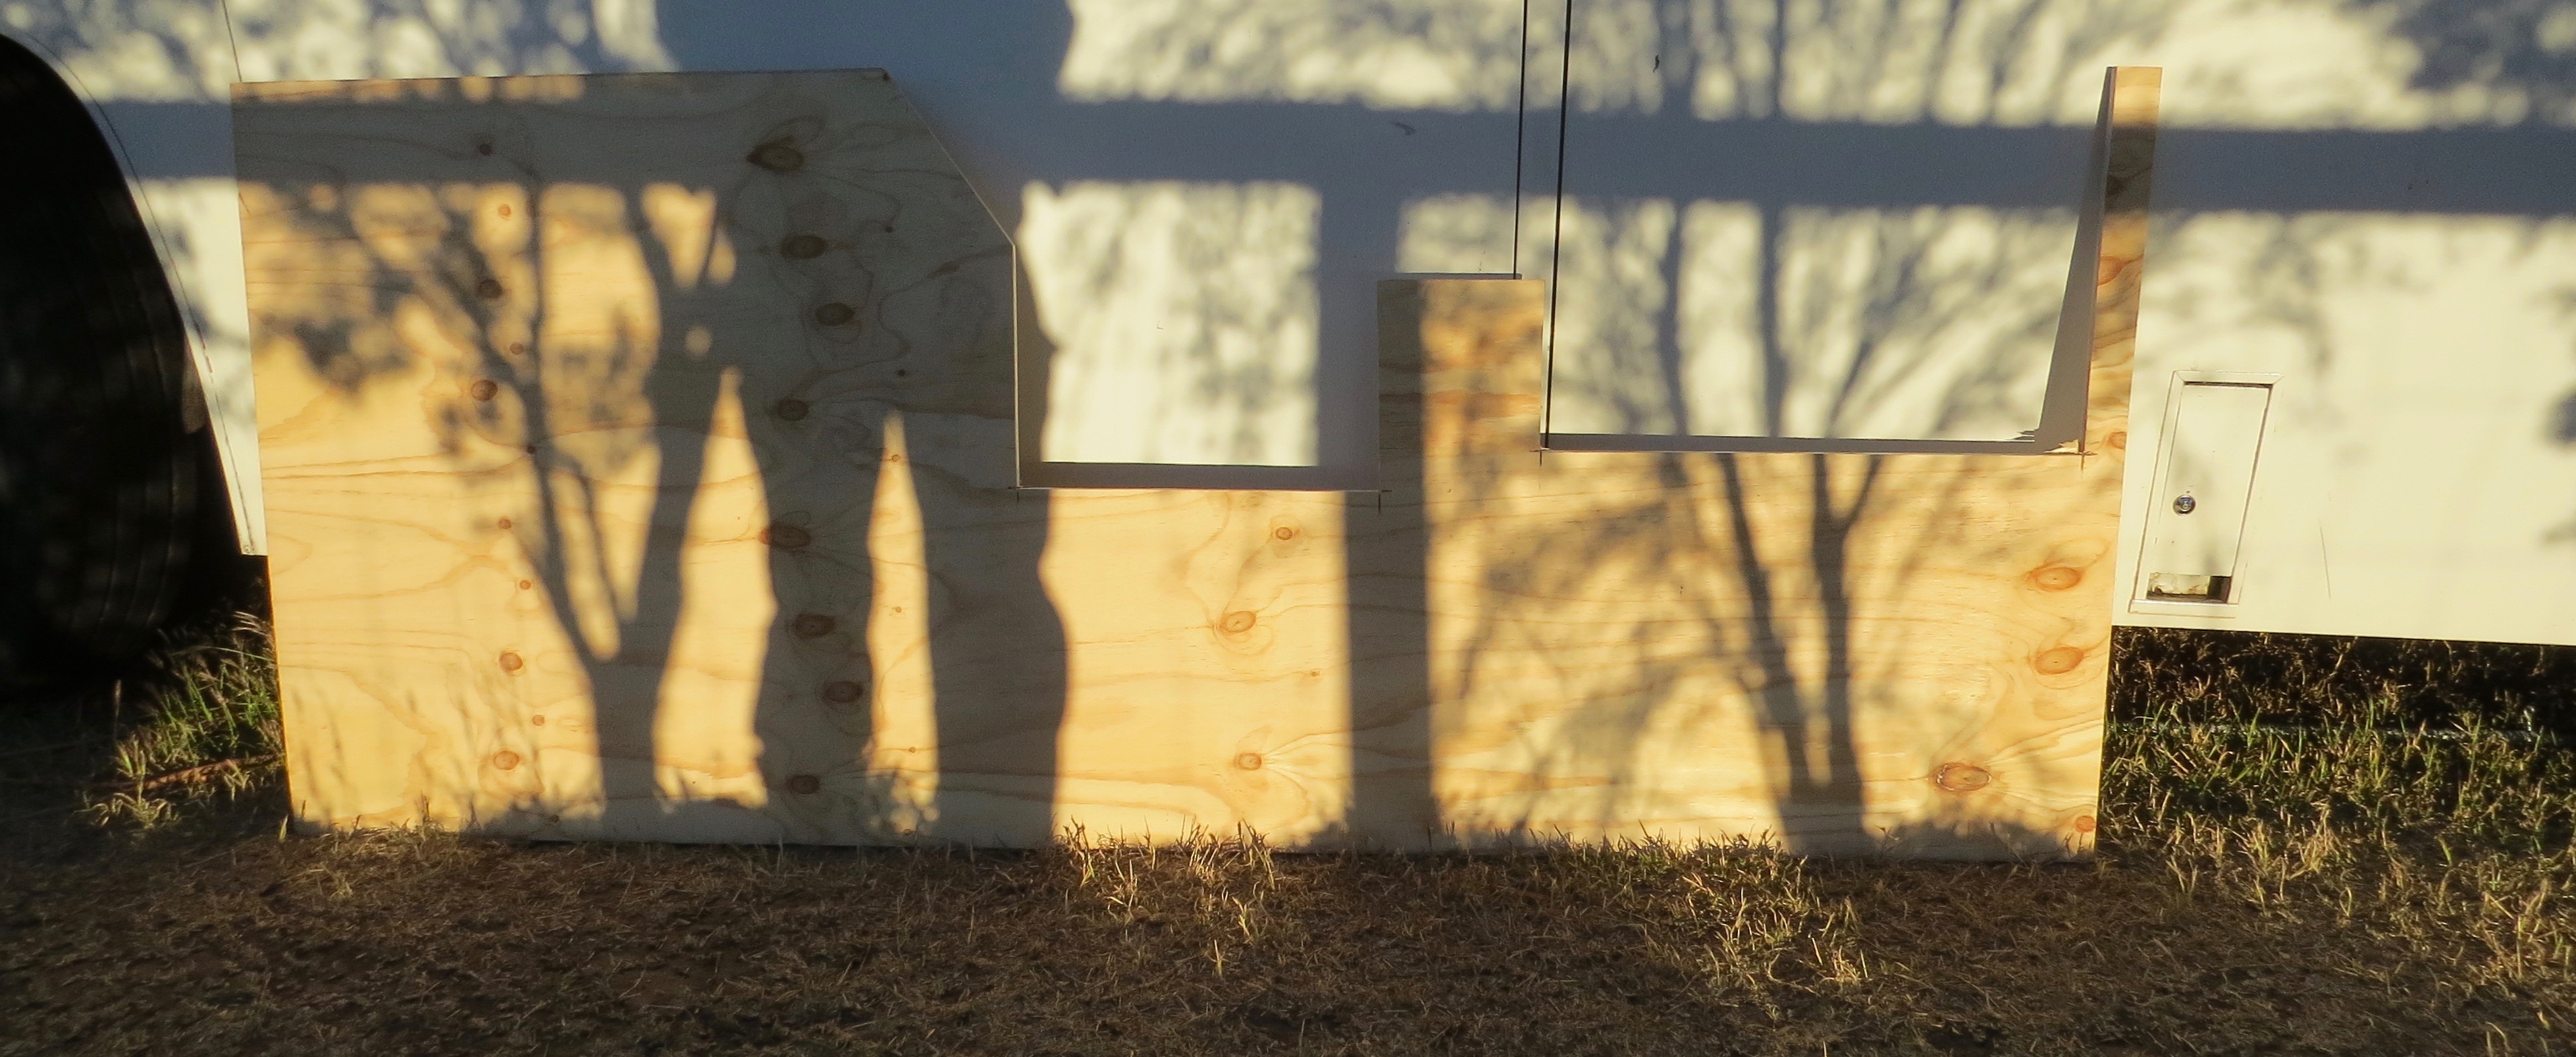
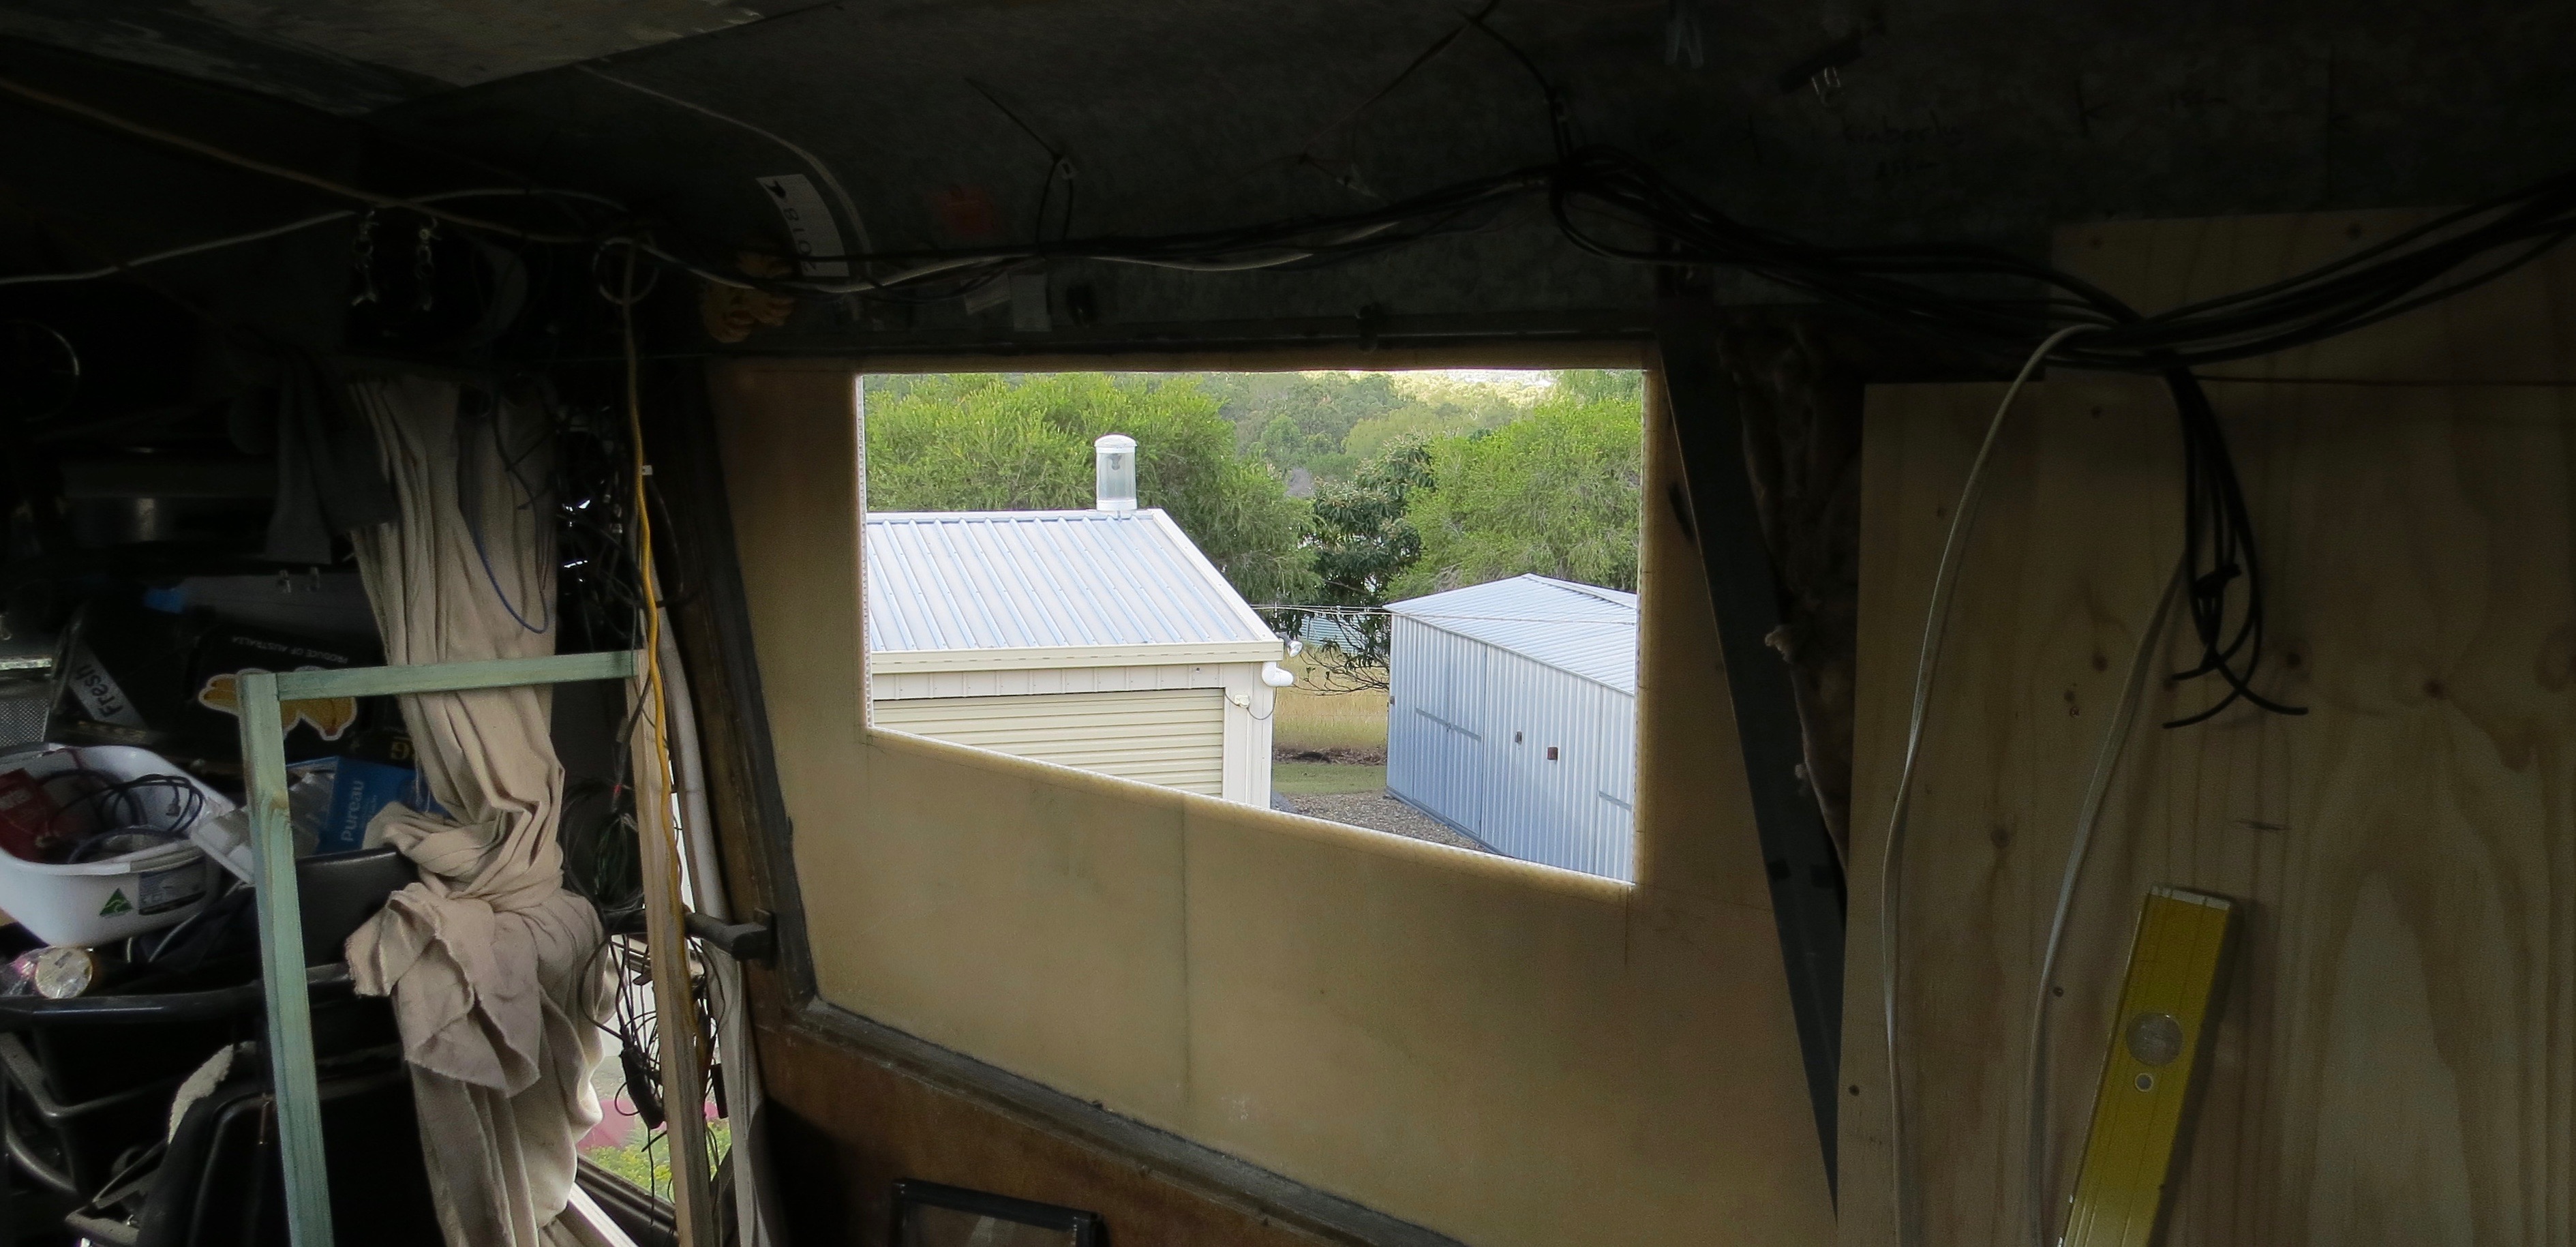
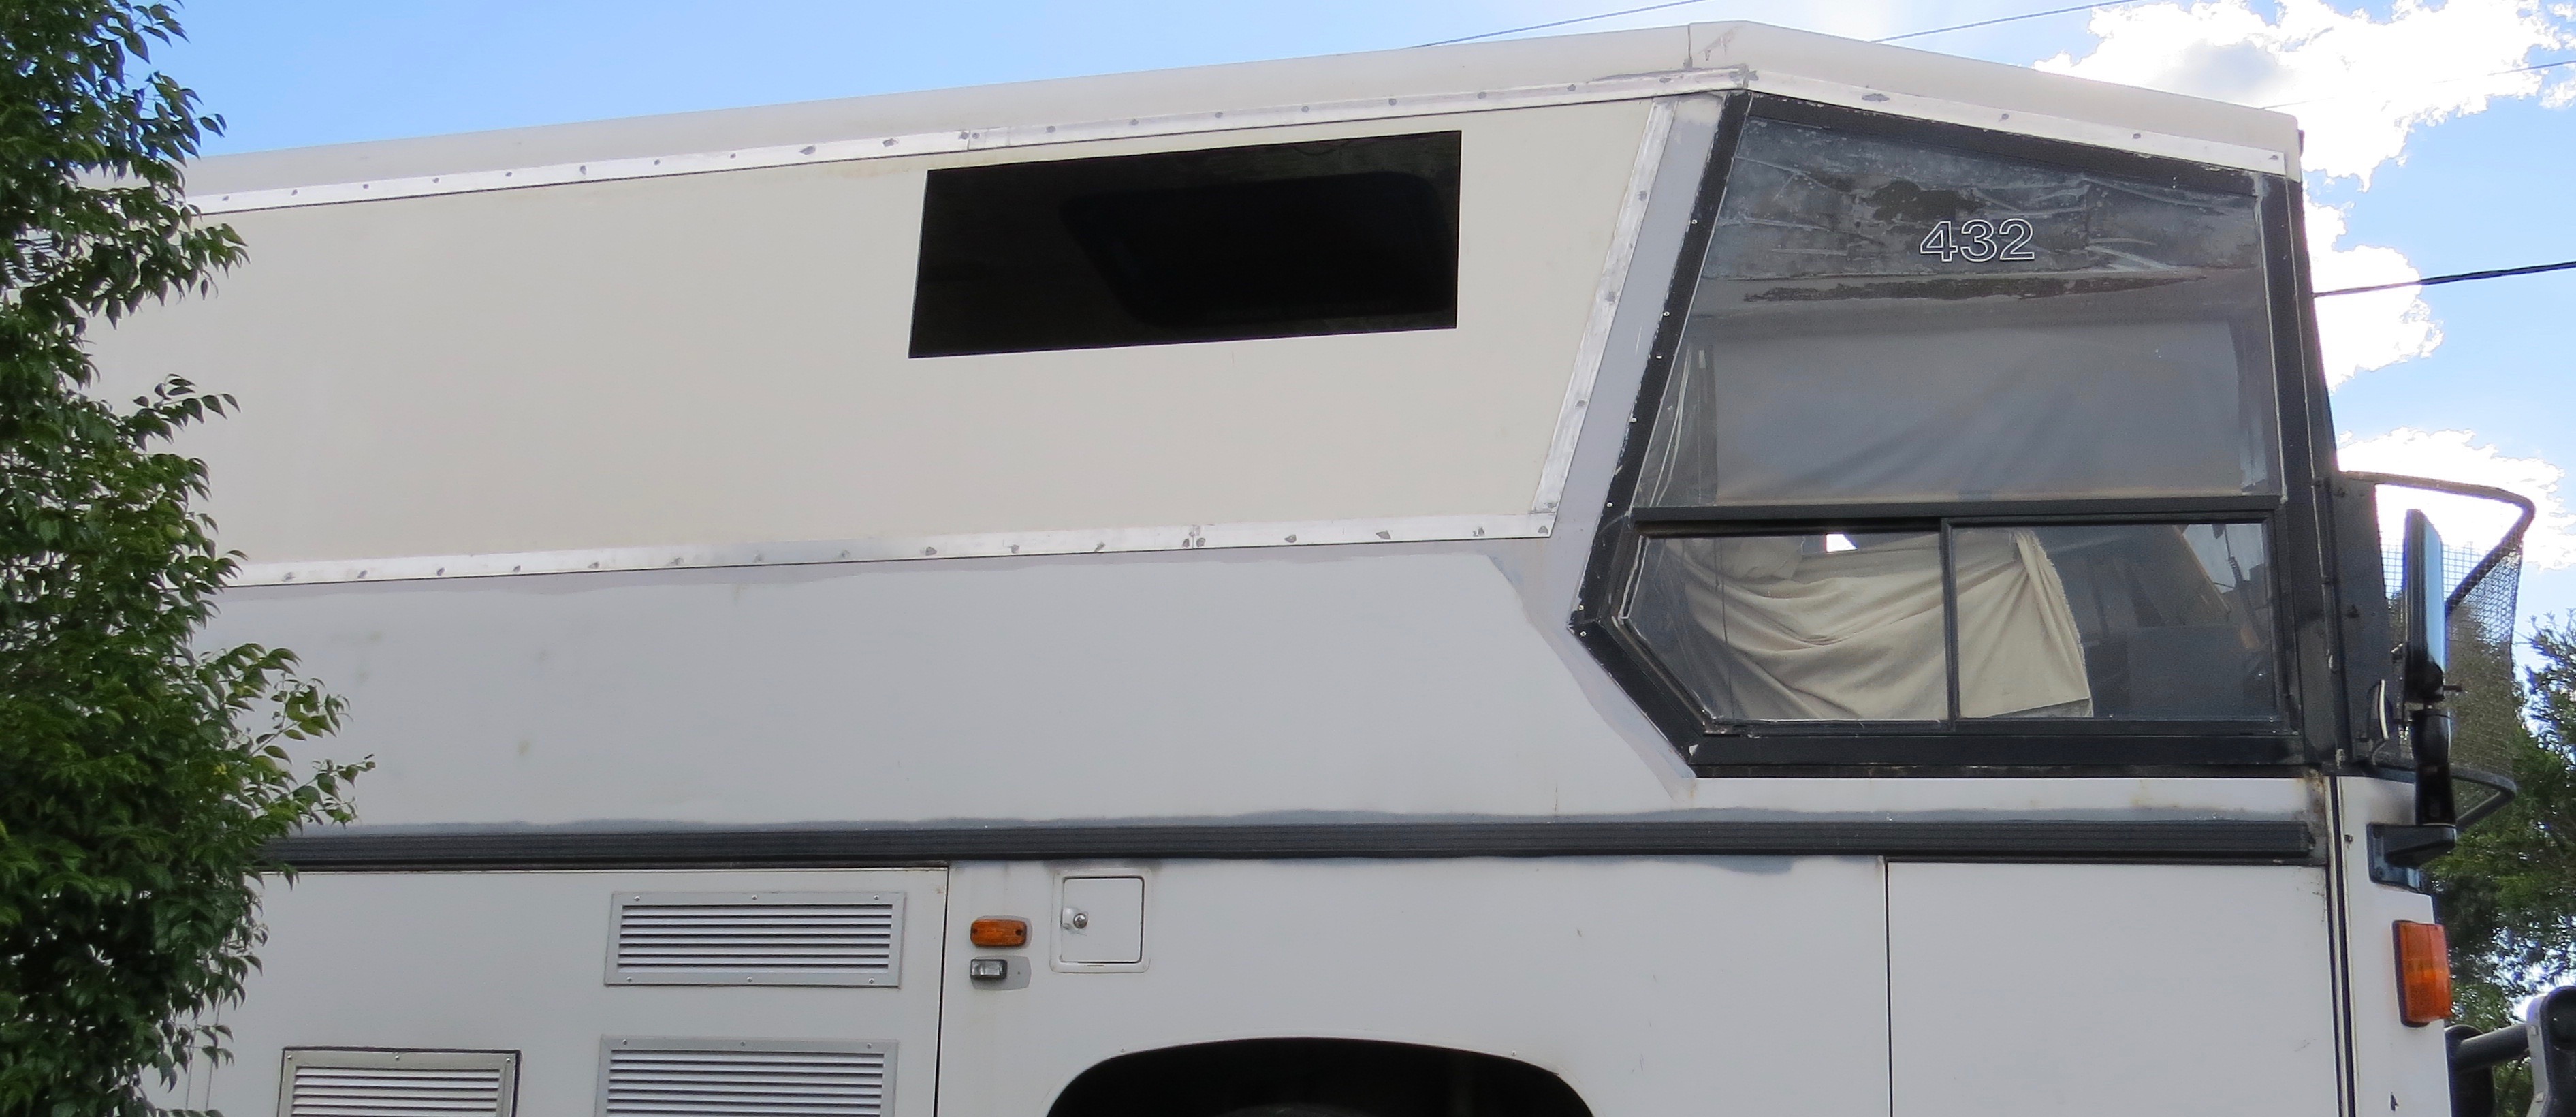
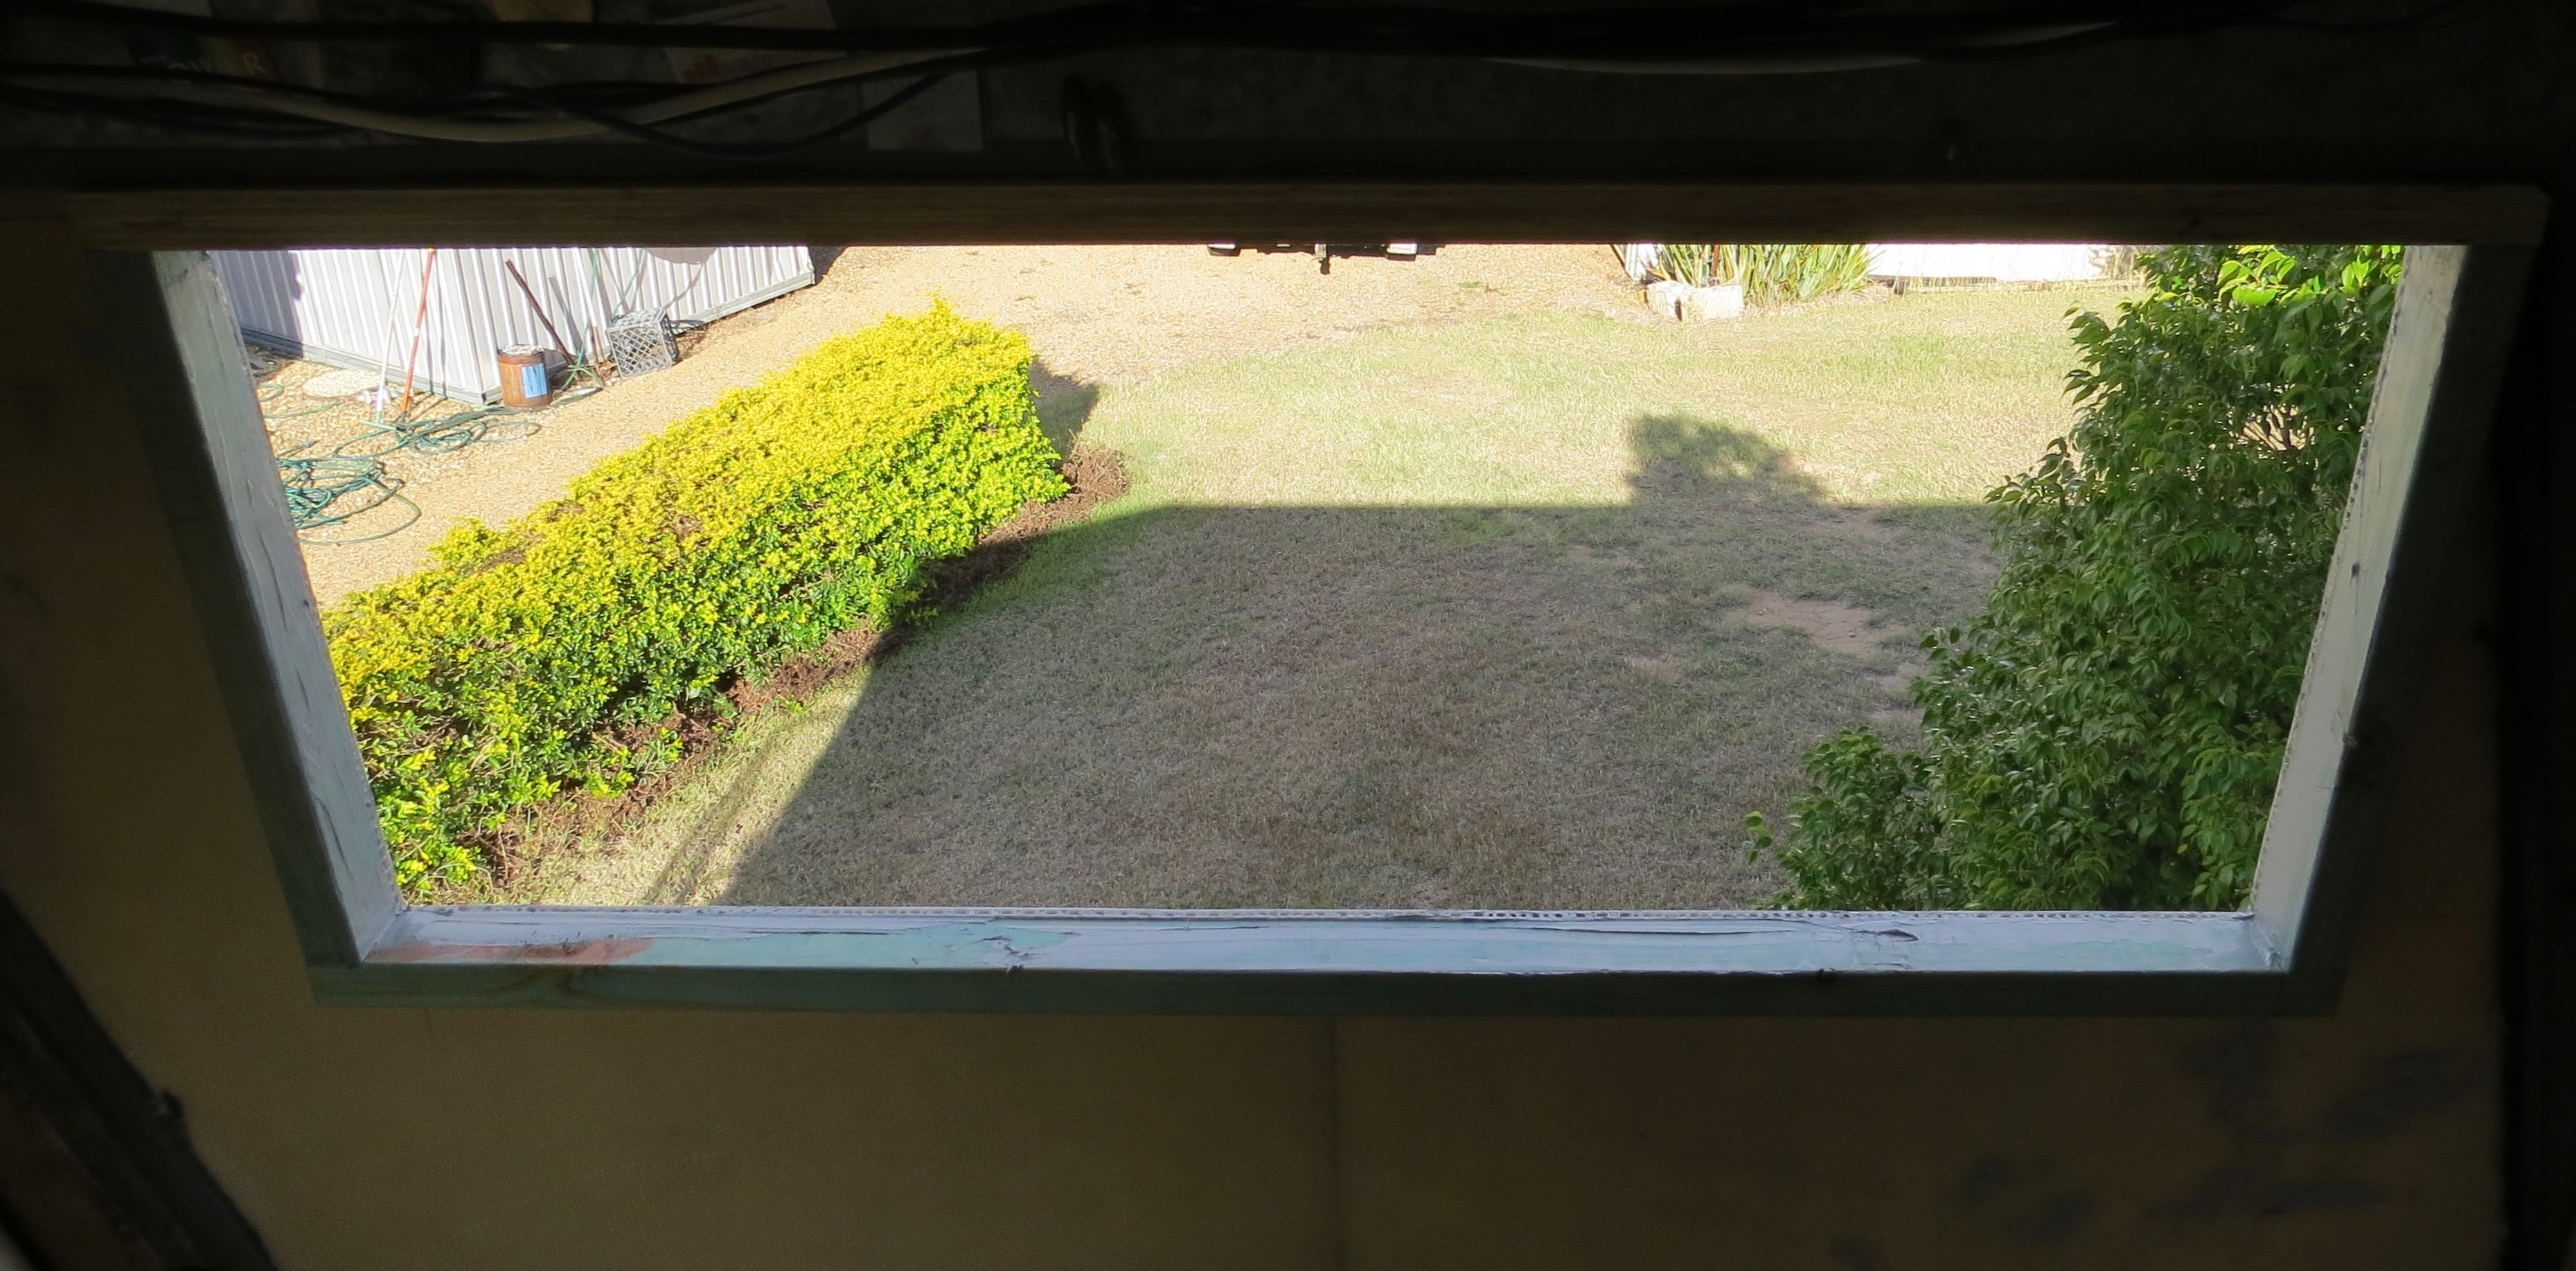
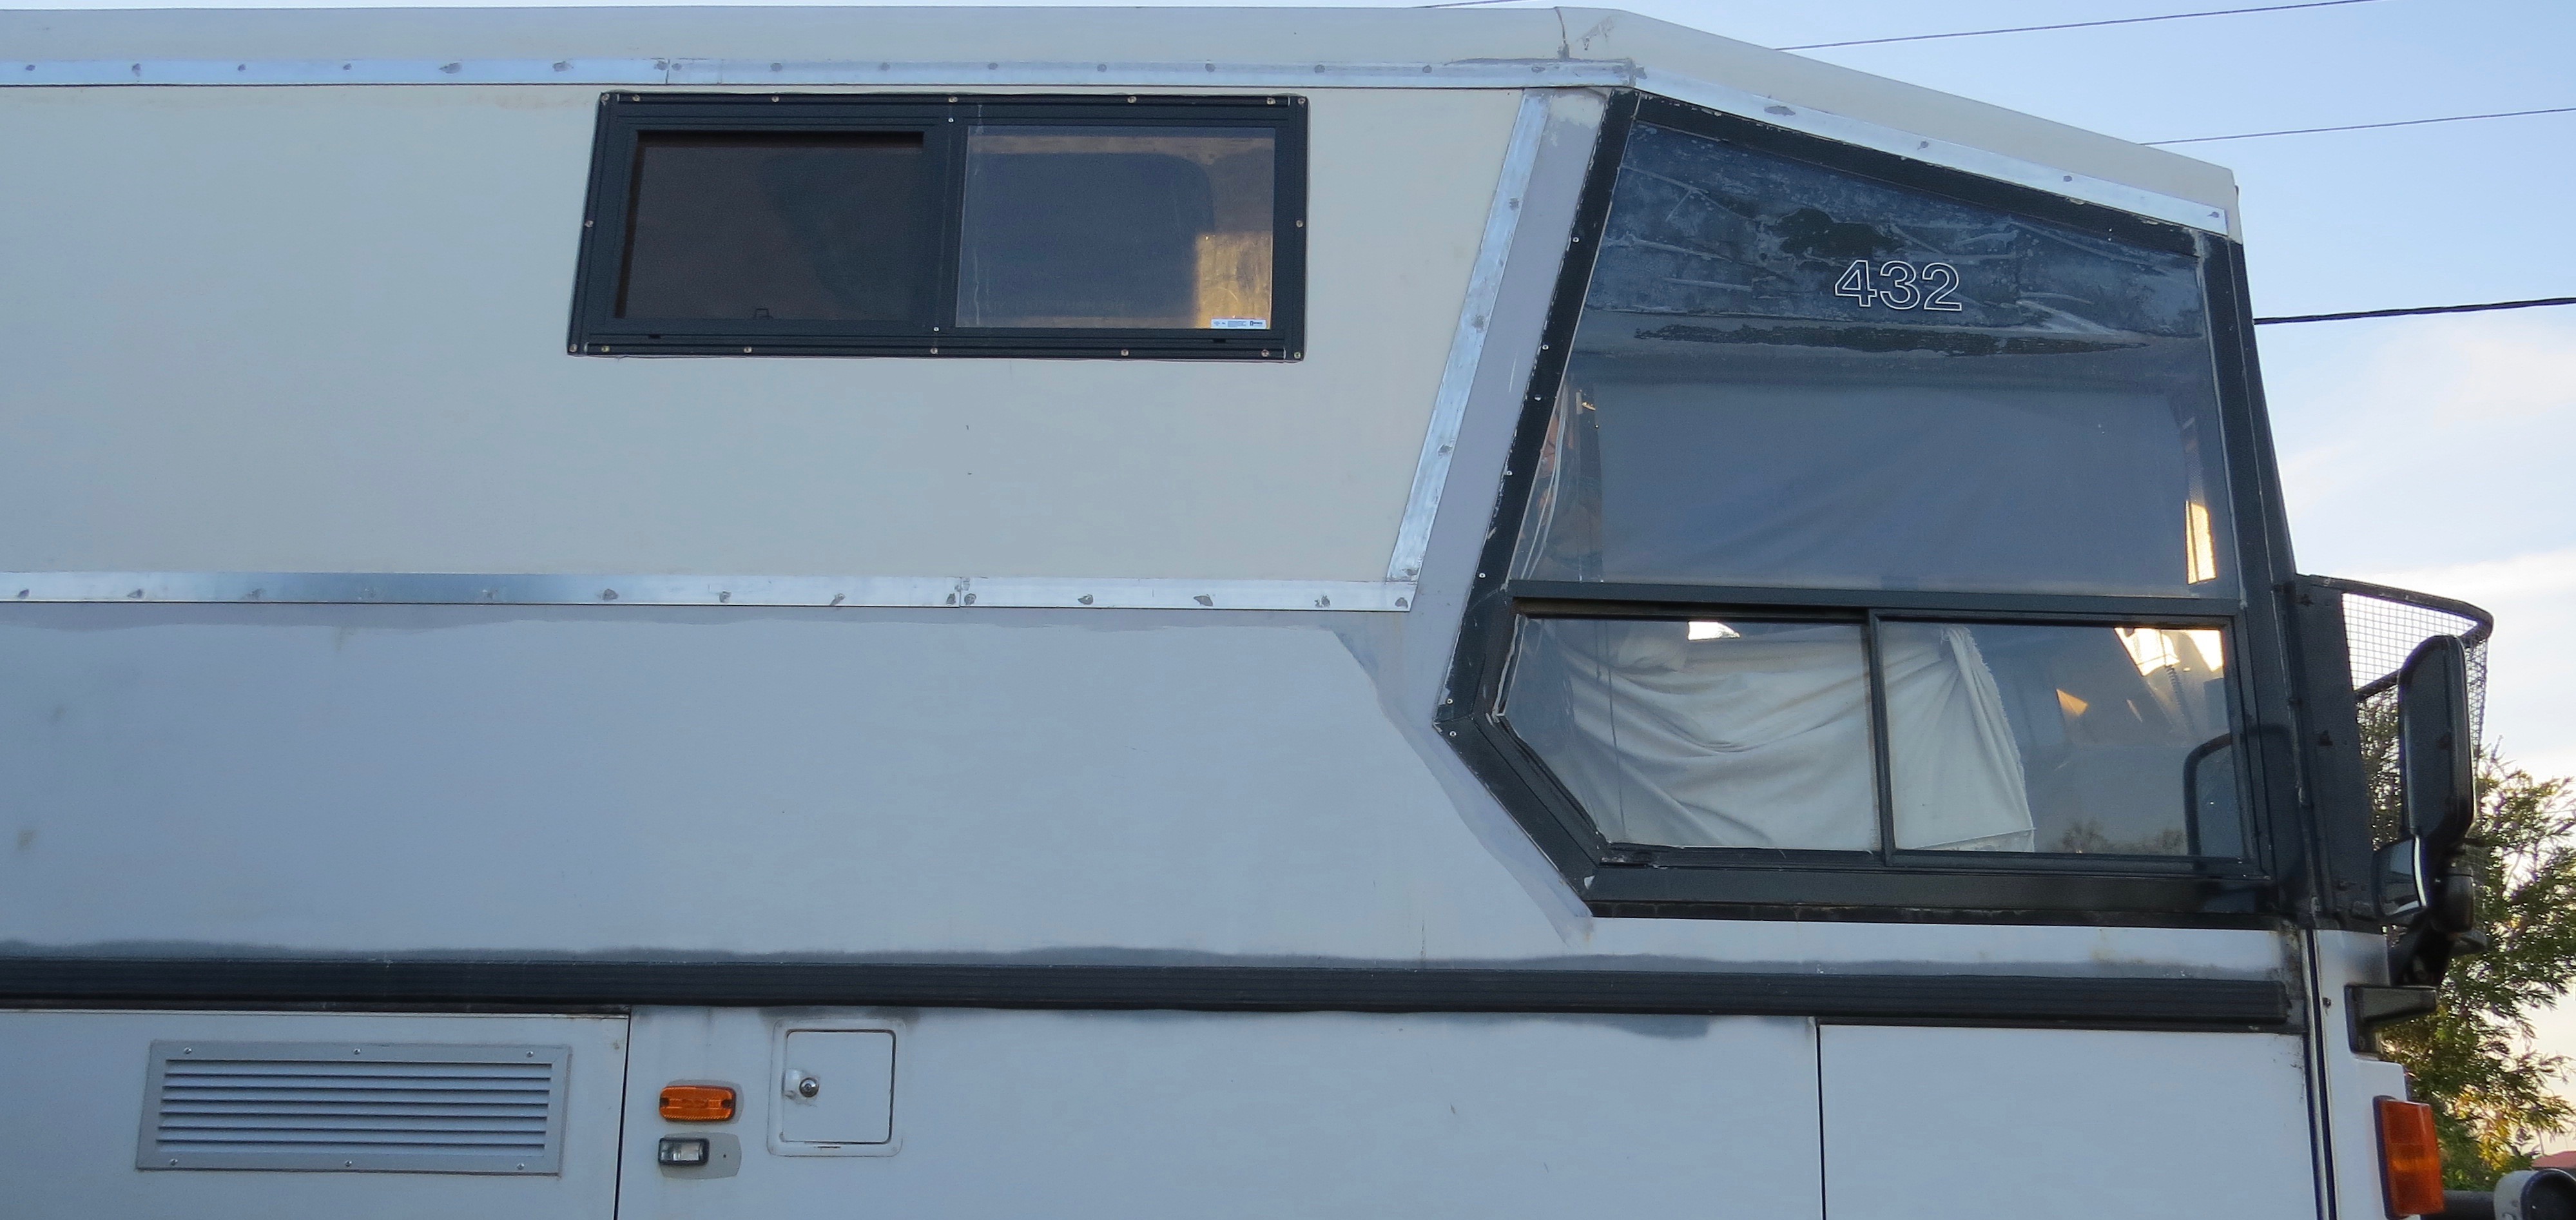
This is the last window to be fitted and that means one less job that needs to be done. Just have to mark out where the window has to go first, then double check it to make sure it’s in the right place.
Another hole in the side of the coach.The last major cut has been done.
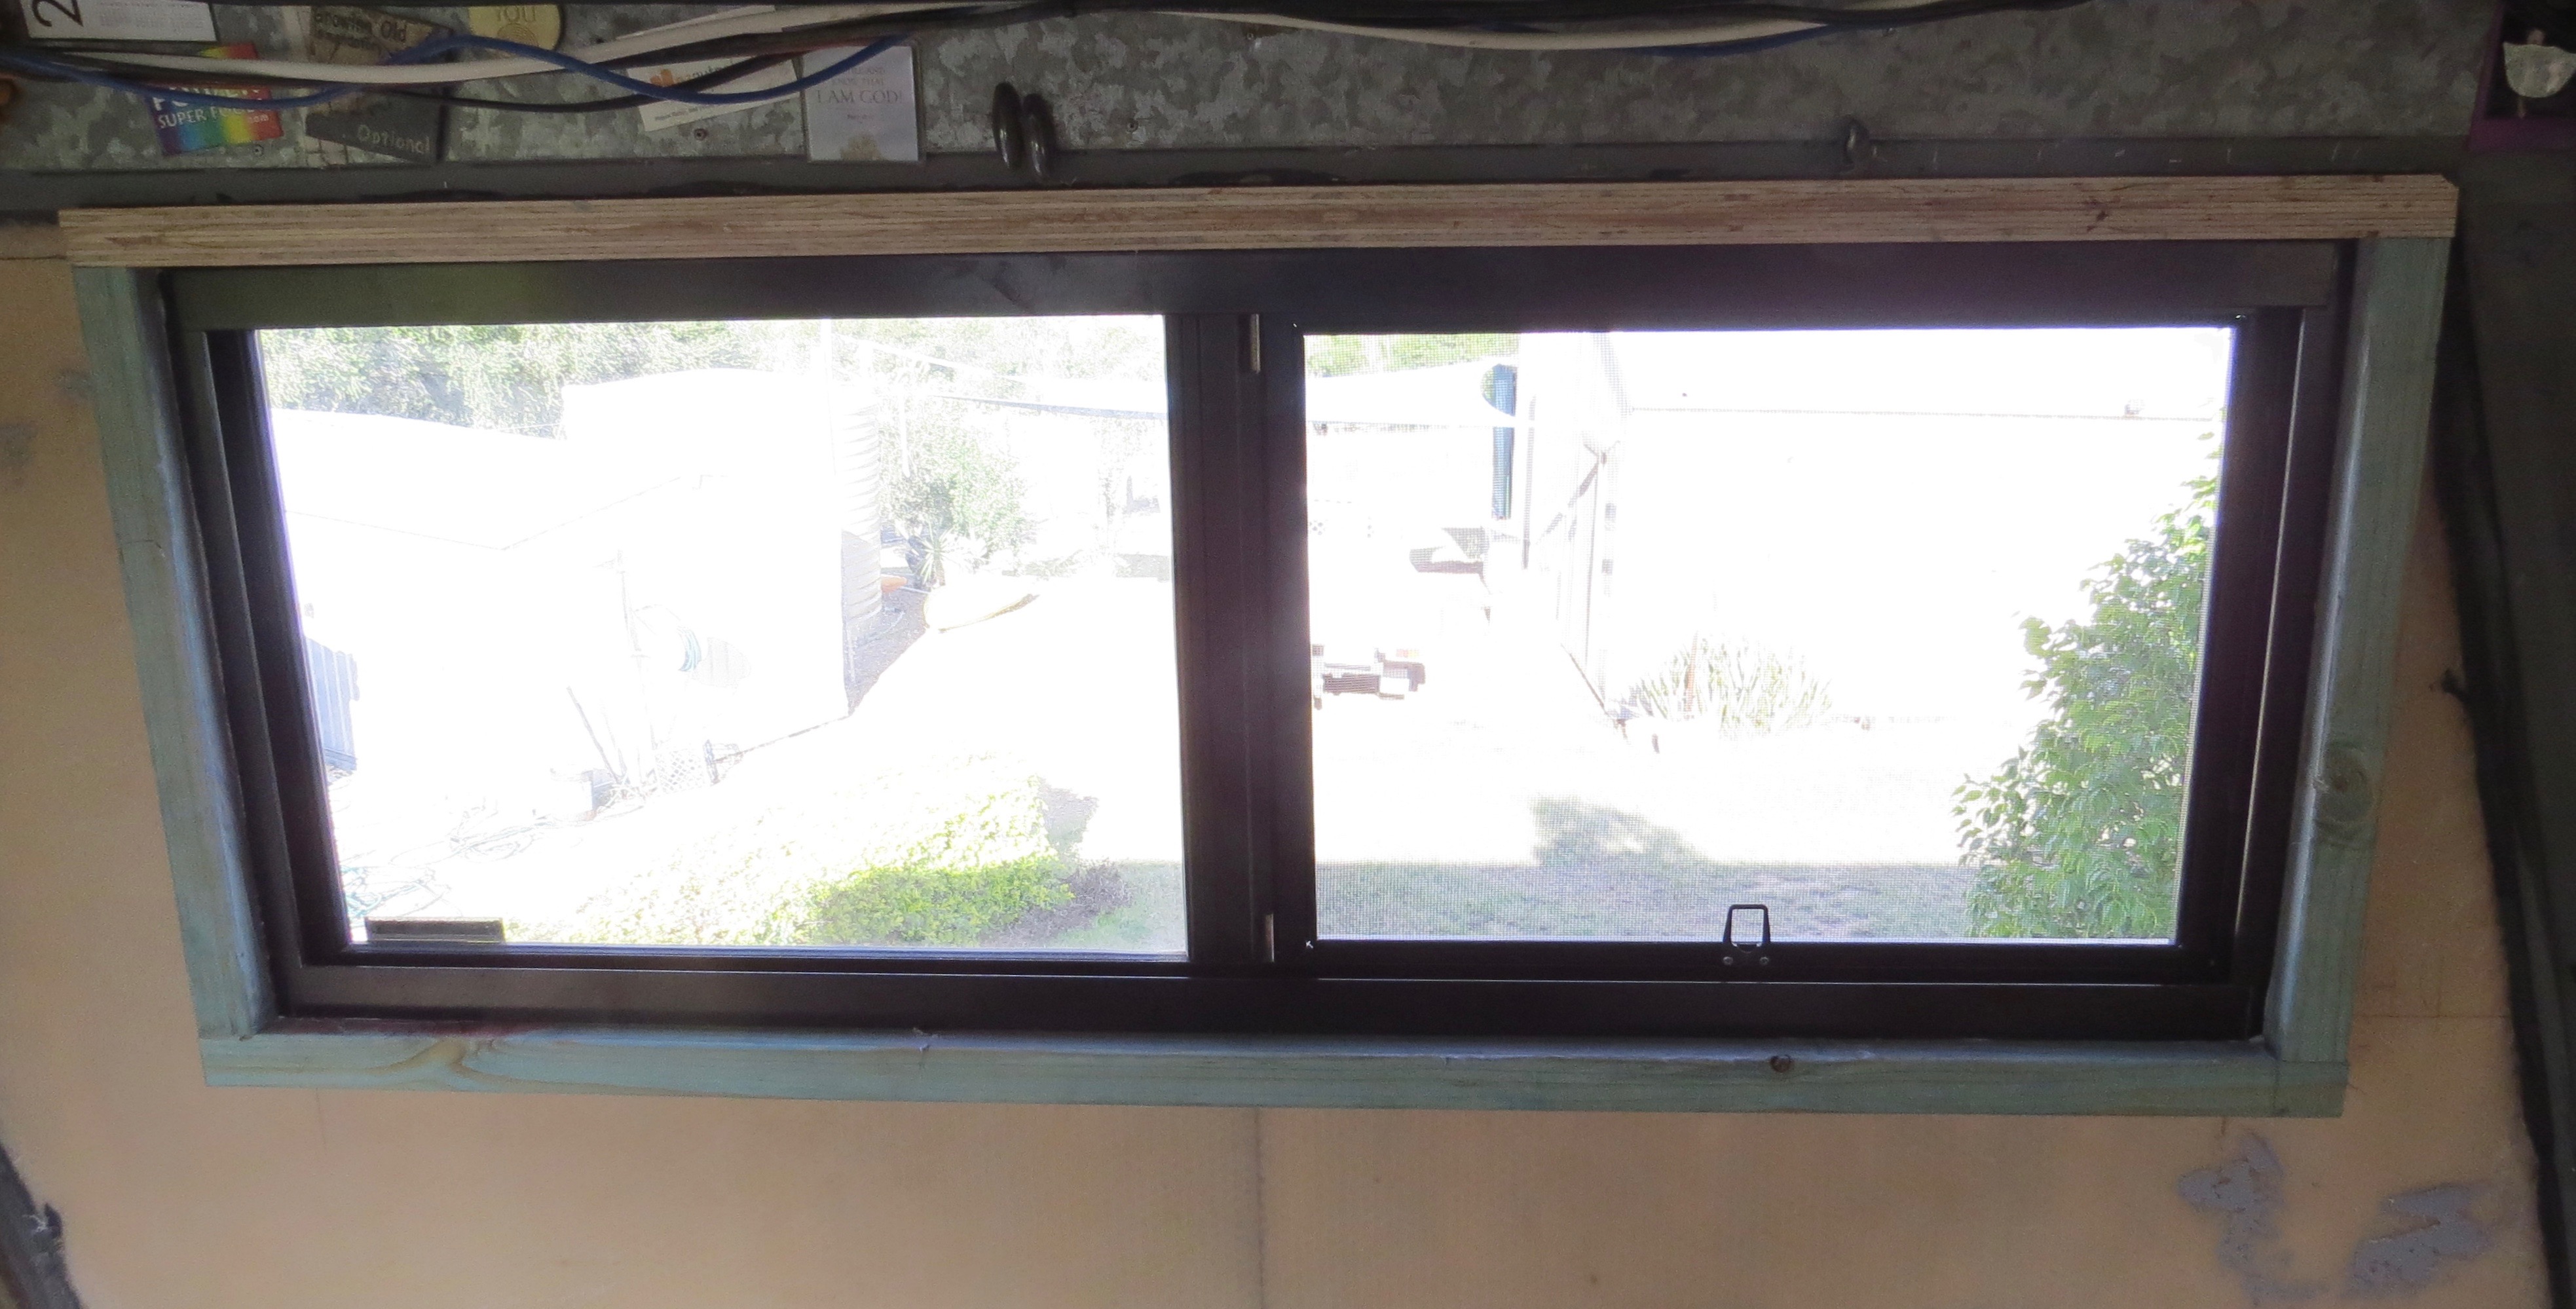
Now all I have to do is rip down some timber for the size to fit around the window hole. A little bit more gluing, screwing and that job is all done.
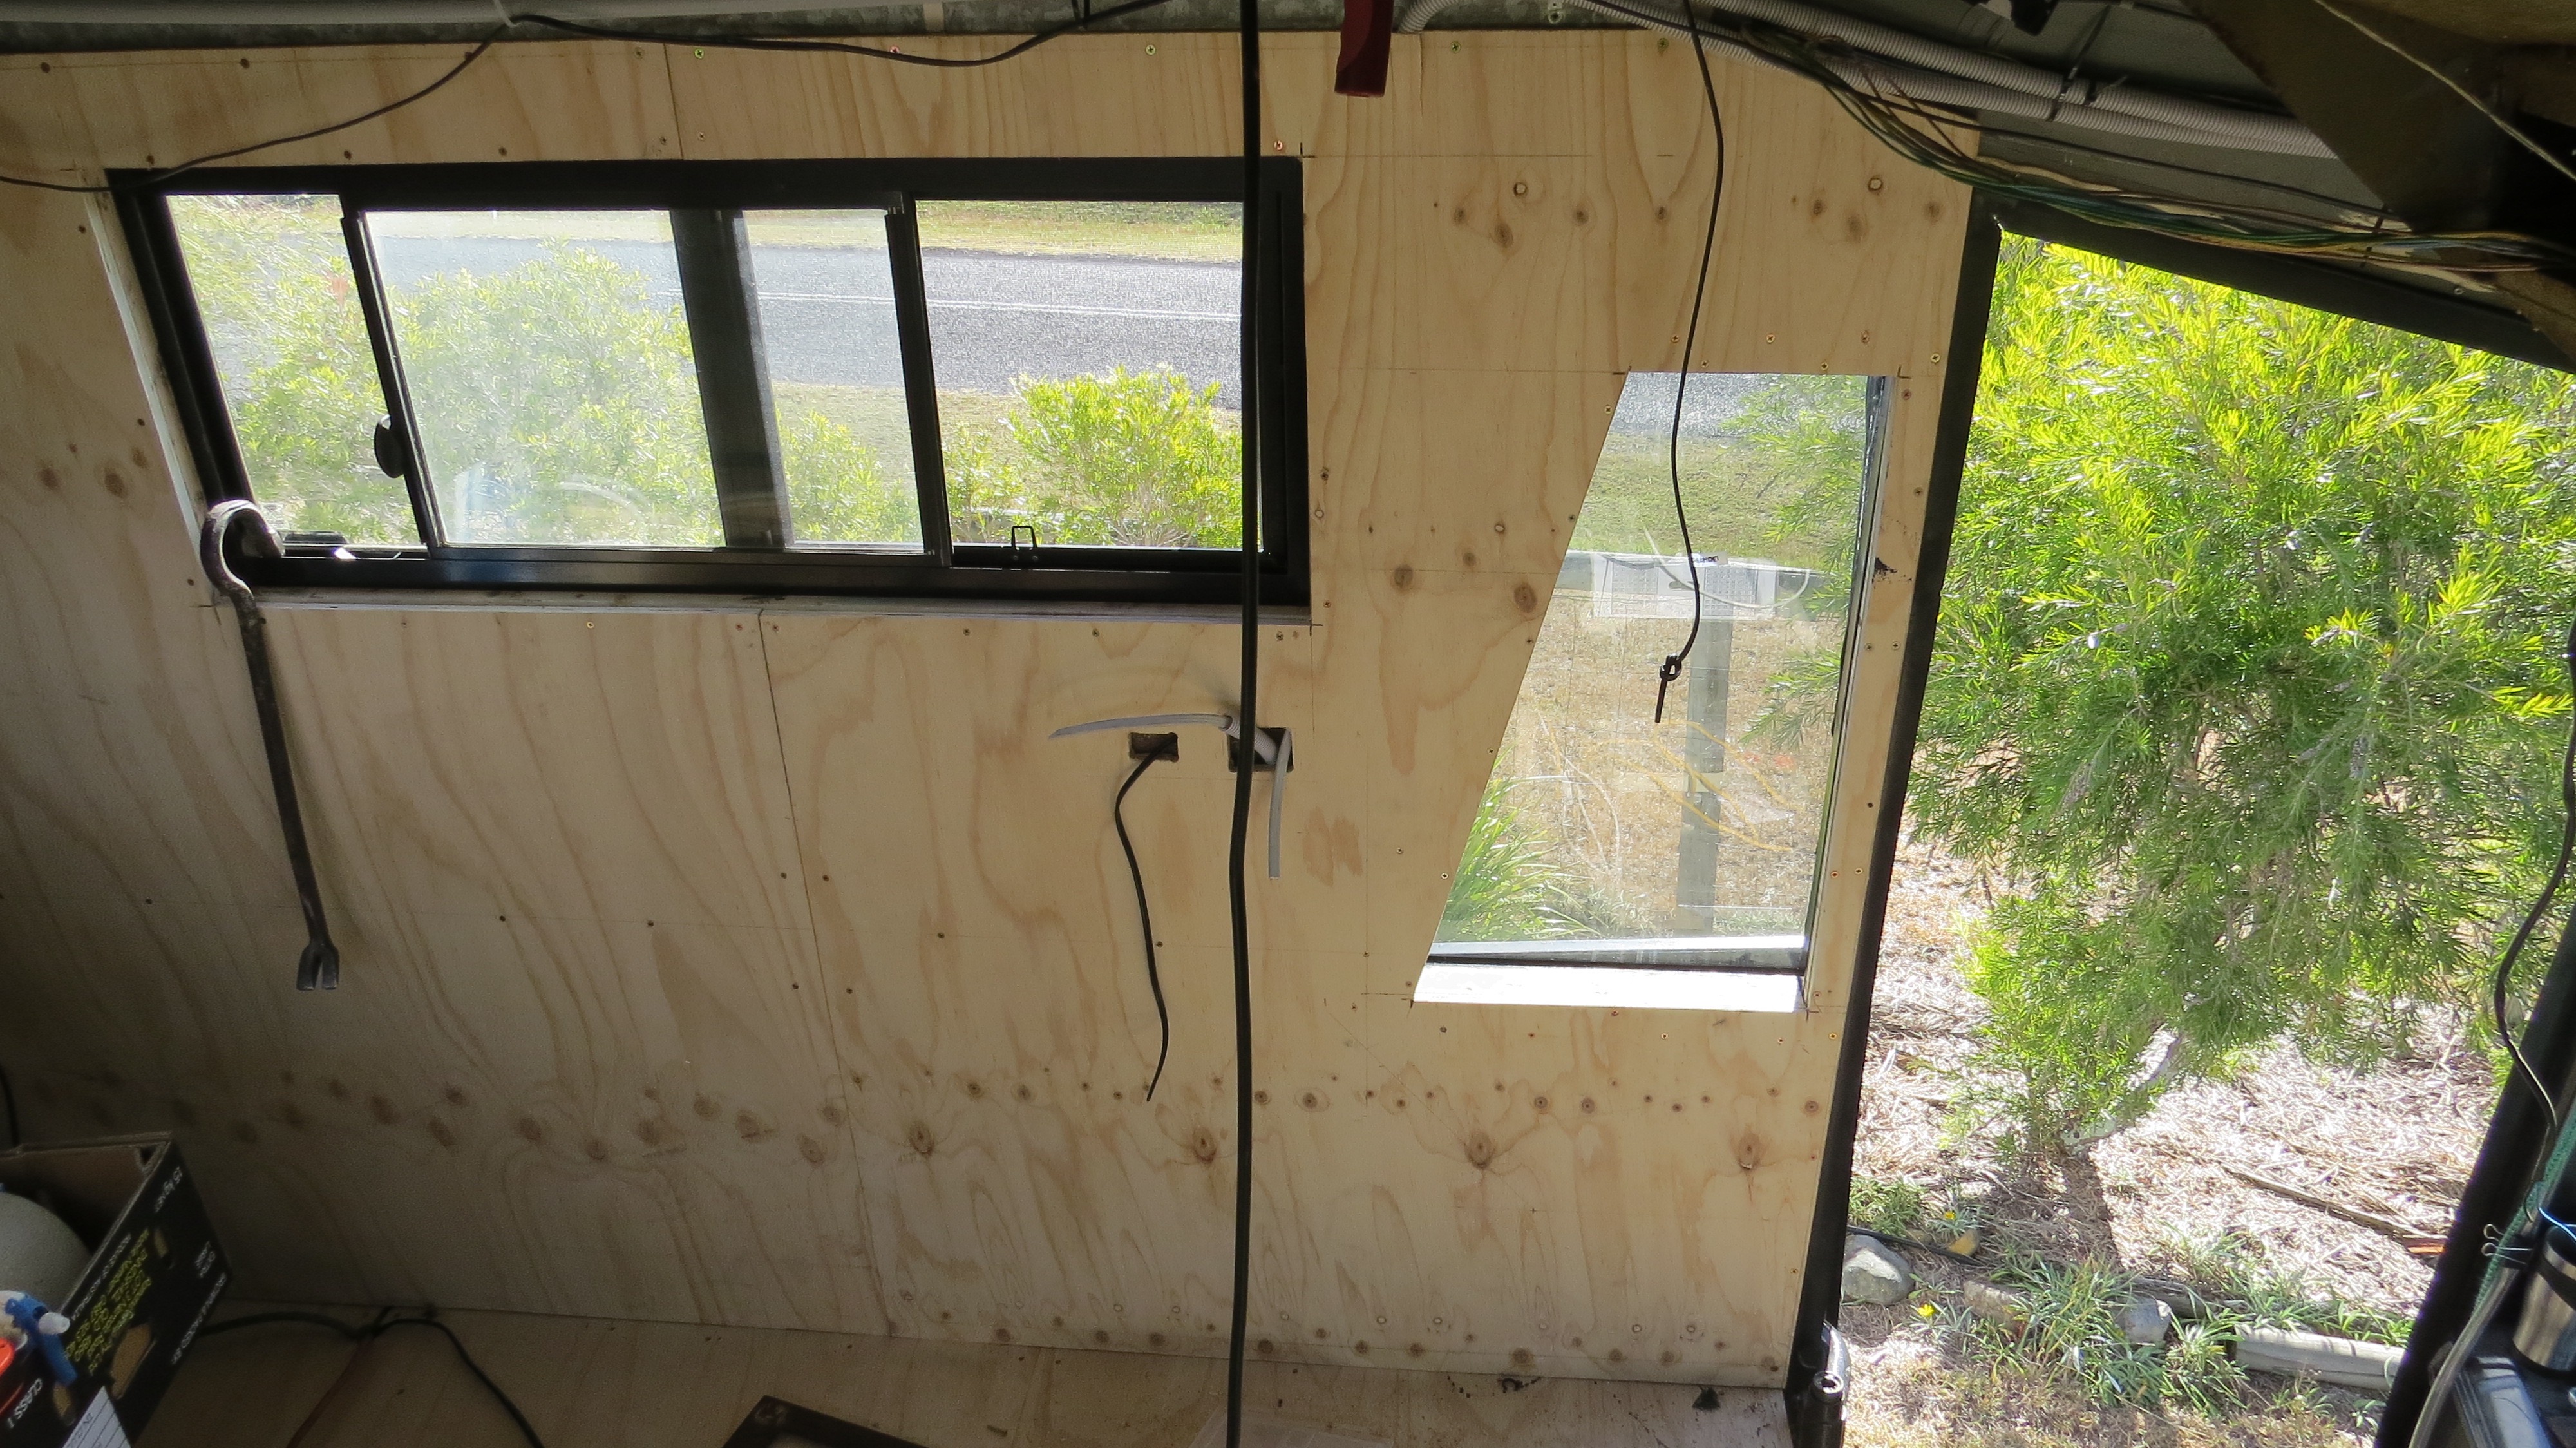
Timber surround in place.The last window is now in.
The window frame has been sealed and screwed from the out side.
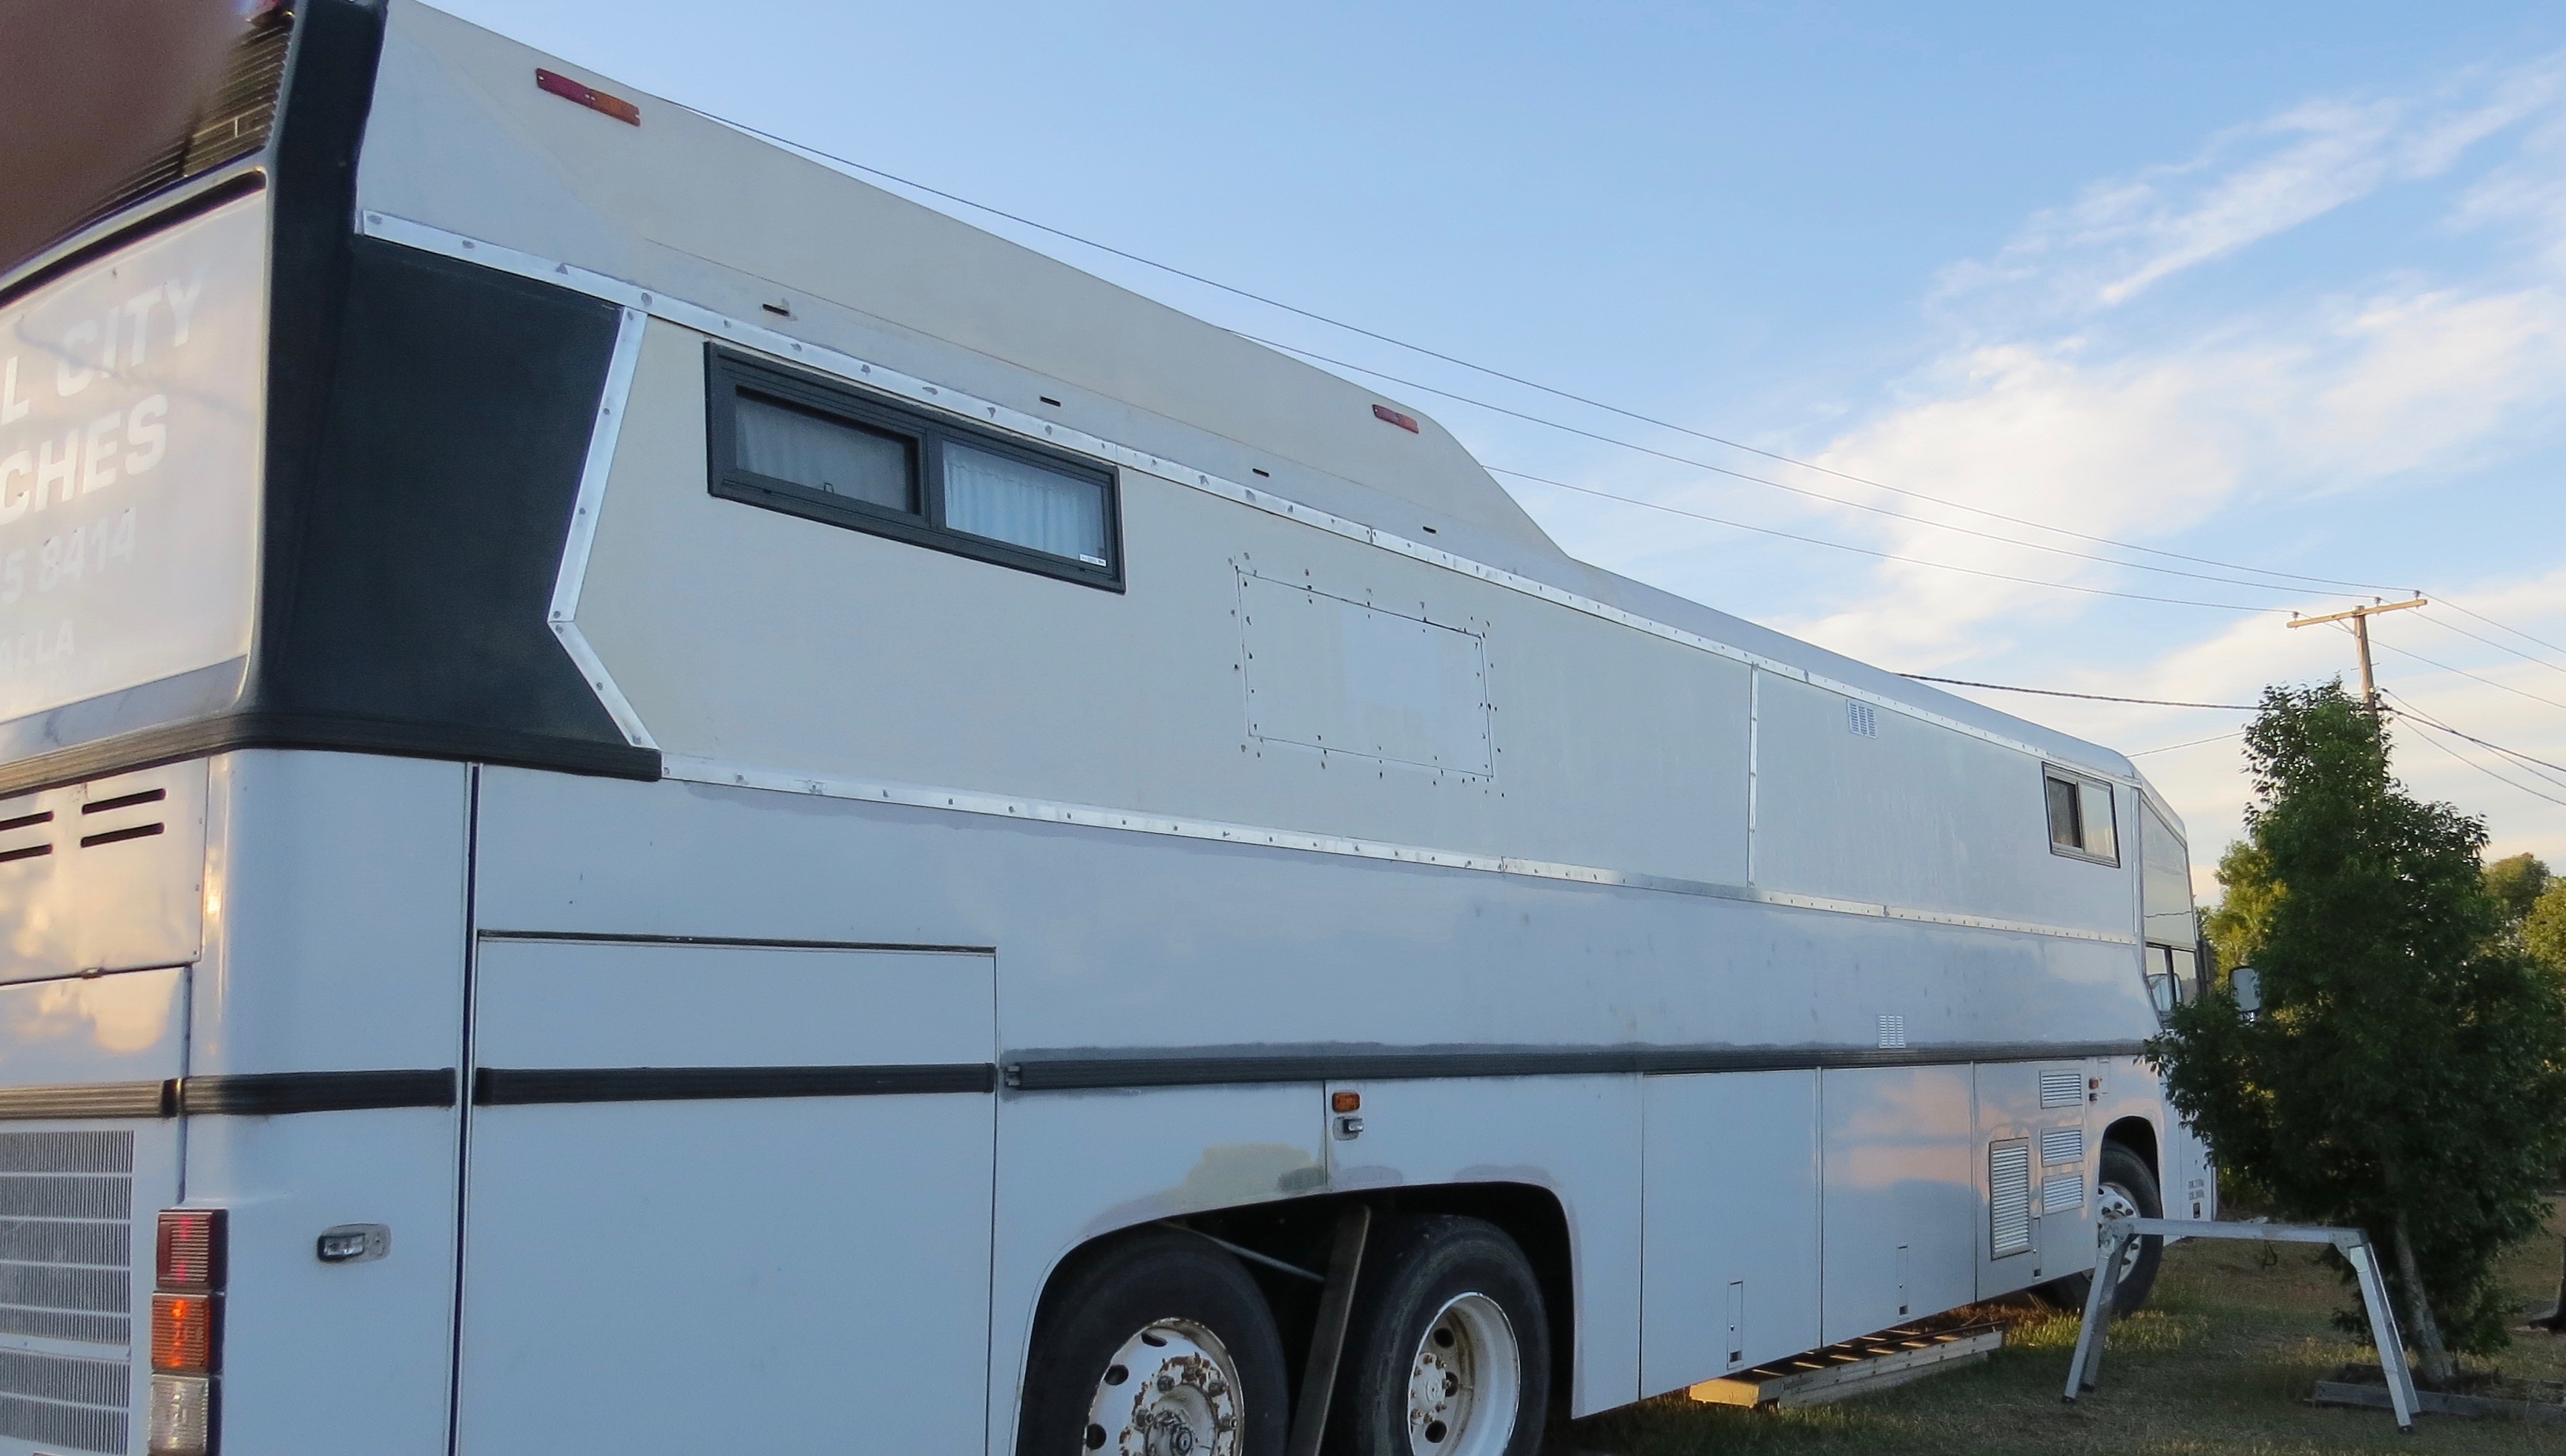
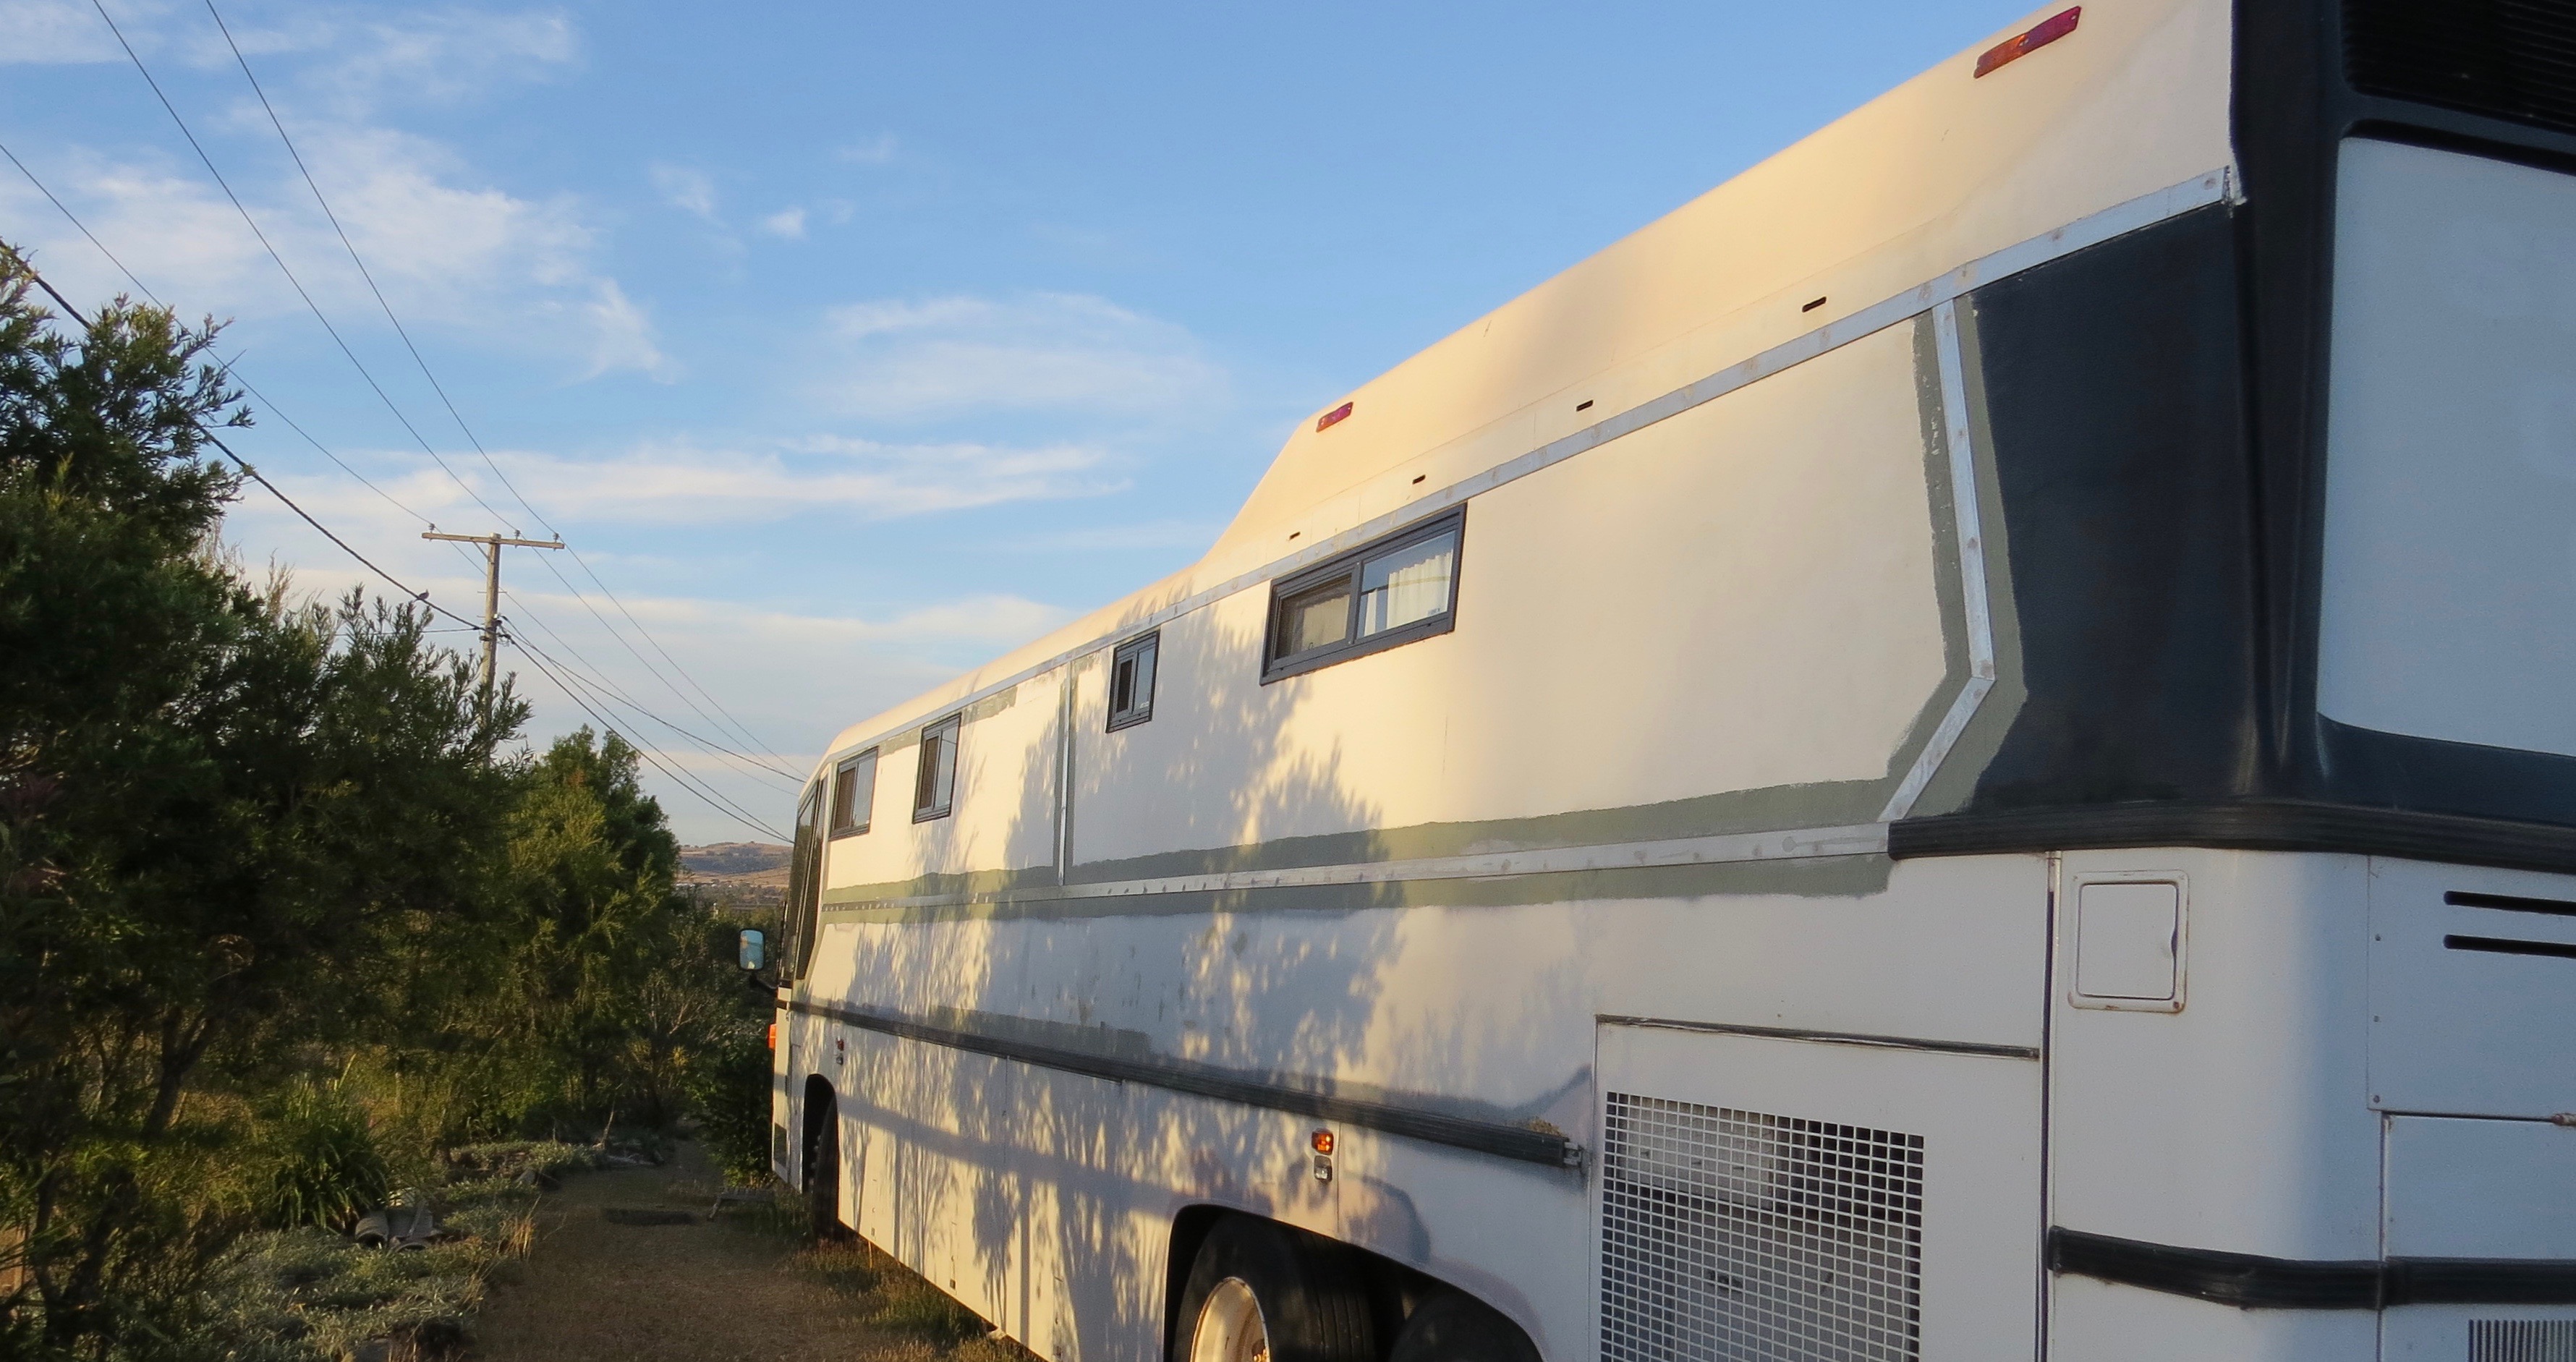
Now that is the last one finished.The other side.From outside.Drivers side.Passengers side.
Well that makes a big difference to the outside, now it’s starting to look like our home on wheels. It’s so nice to see the job list being ticked off one by one. Once I have worked on finishing the front floor and walls,… all that will be left to do is fitting out.
The kitchen walls are the next job on my list, as we have worked from the back of the bus to the front. building as we go, or making it up as we go, as we have never done anything like this before. By the time we have finish the motorhome We might know how to build one.
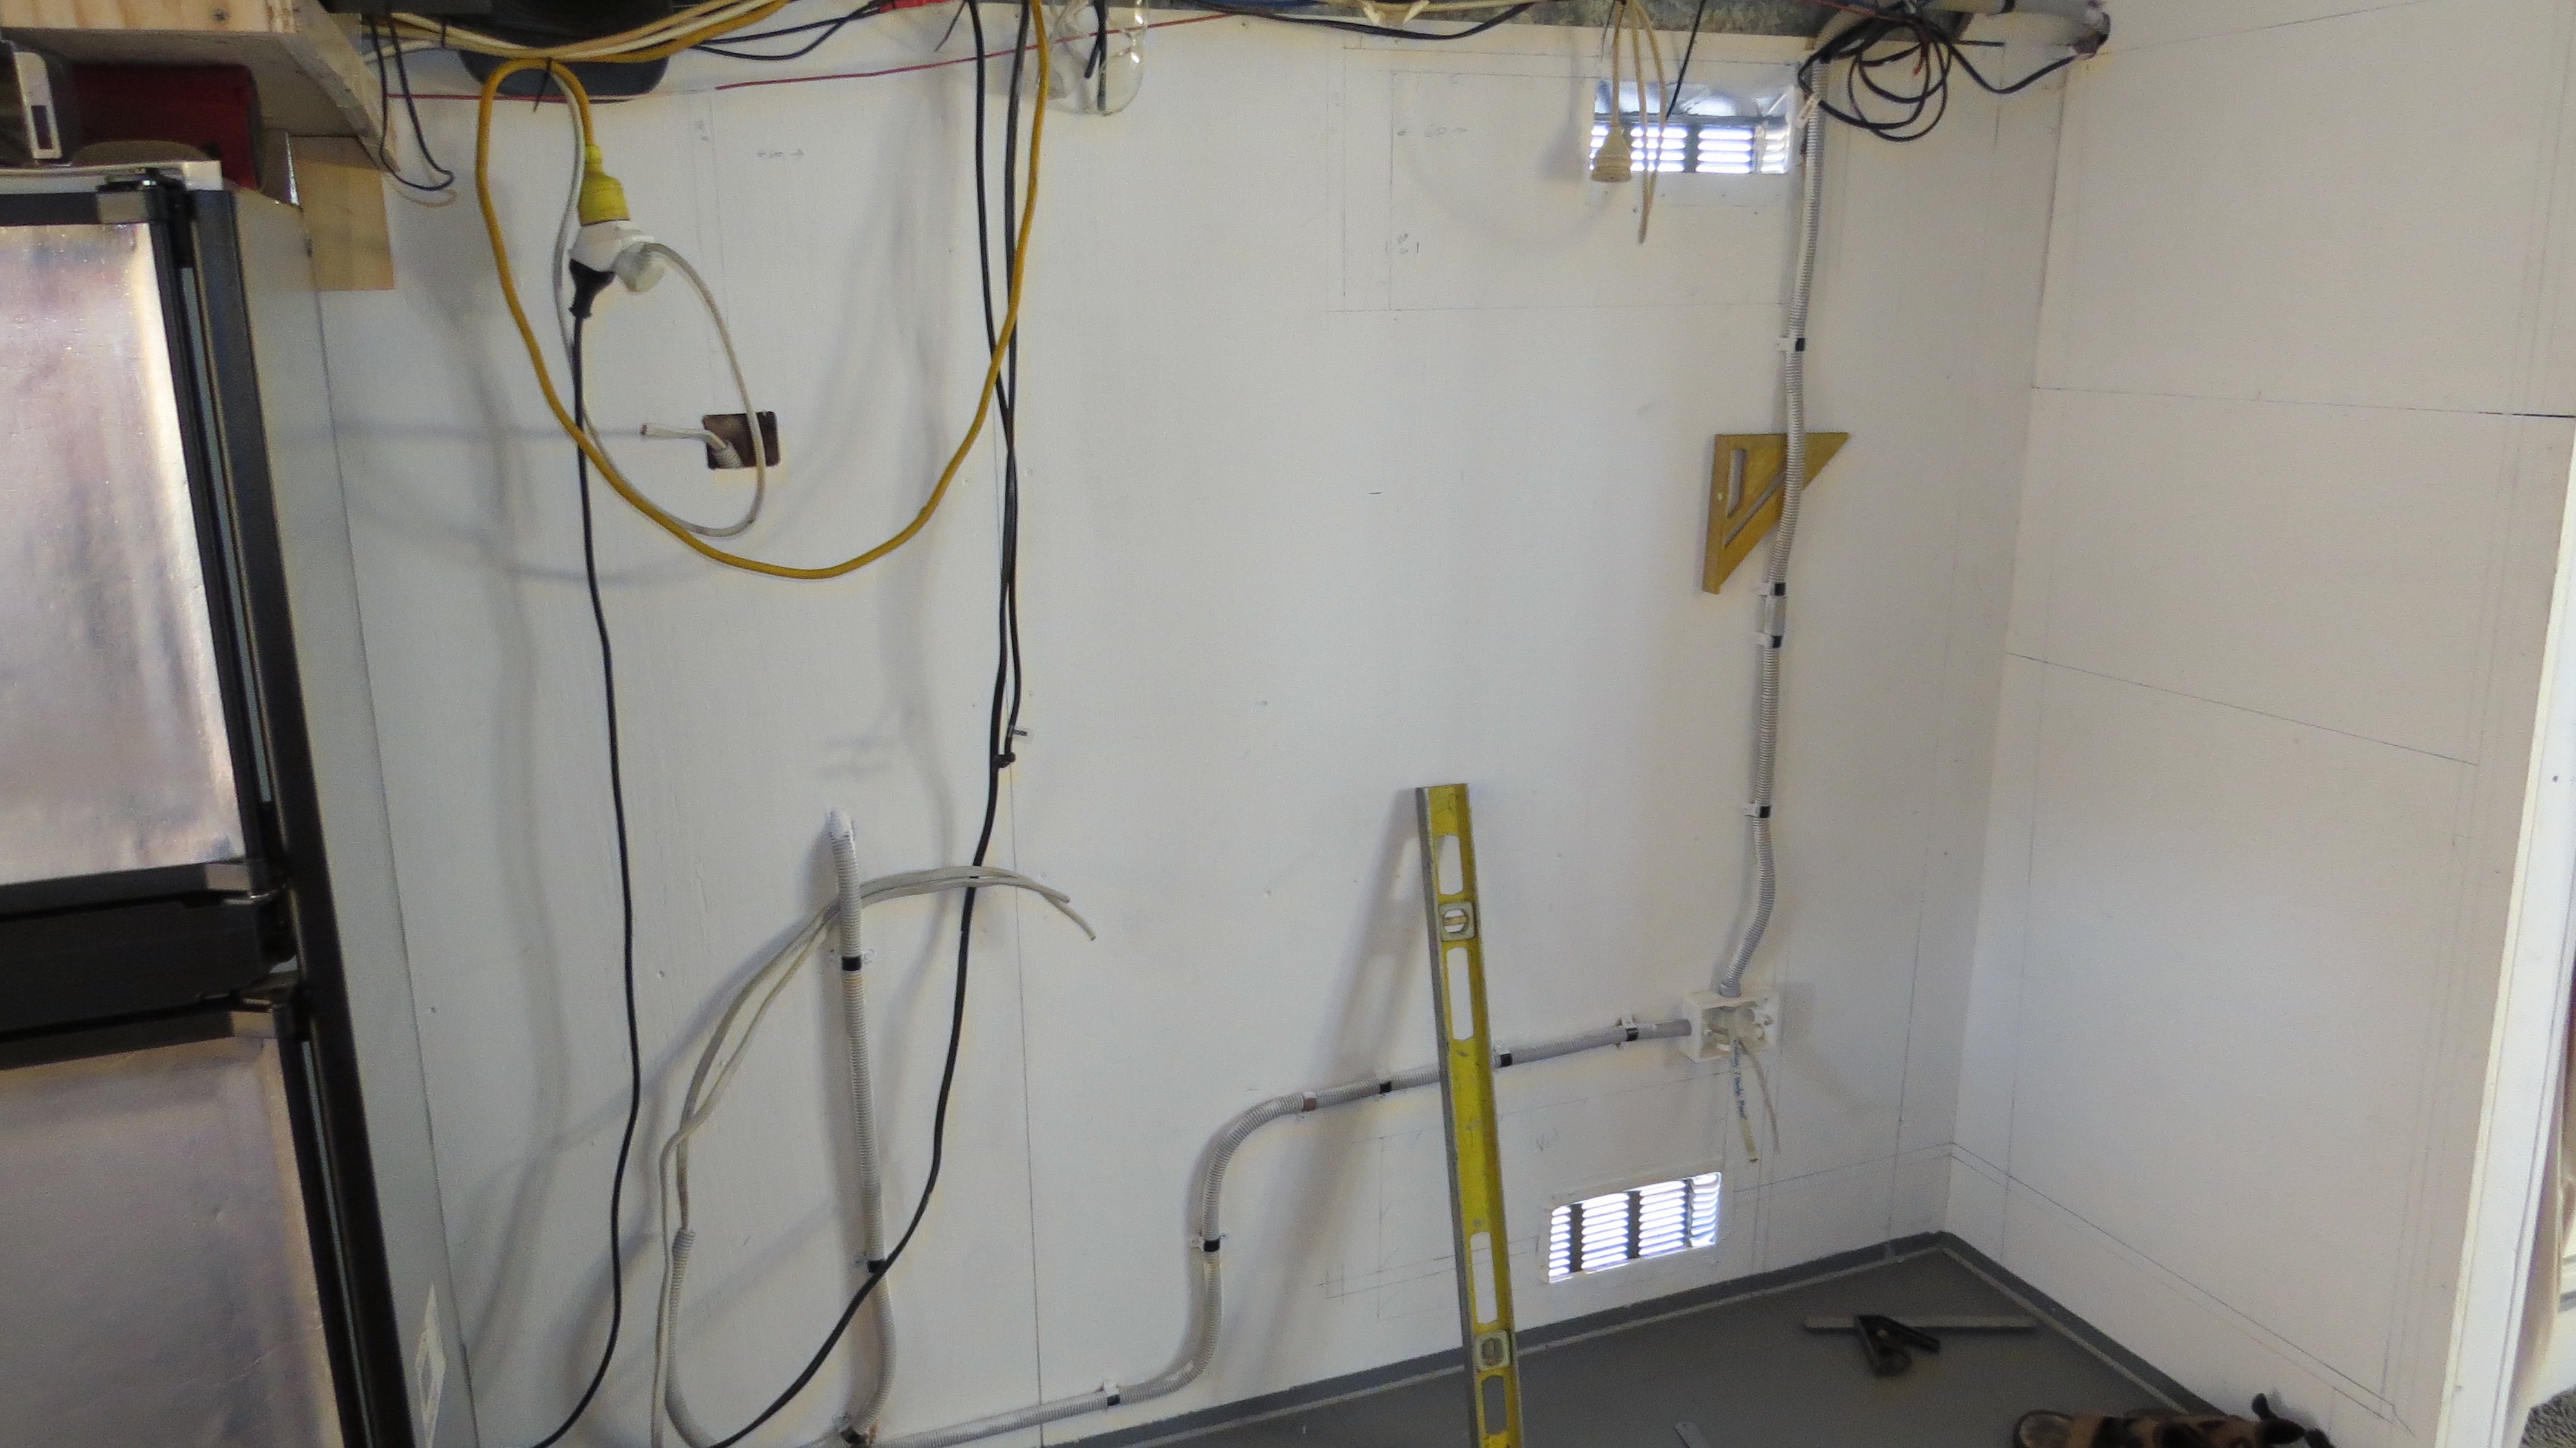
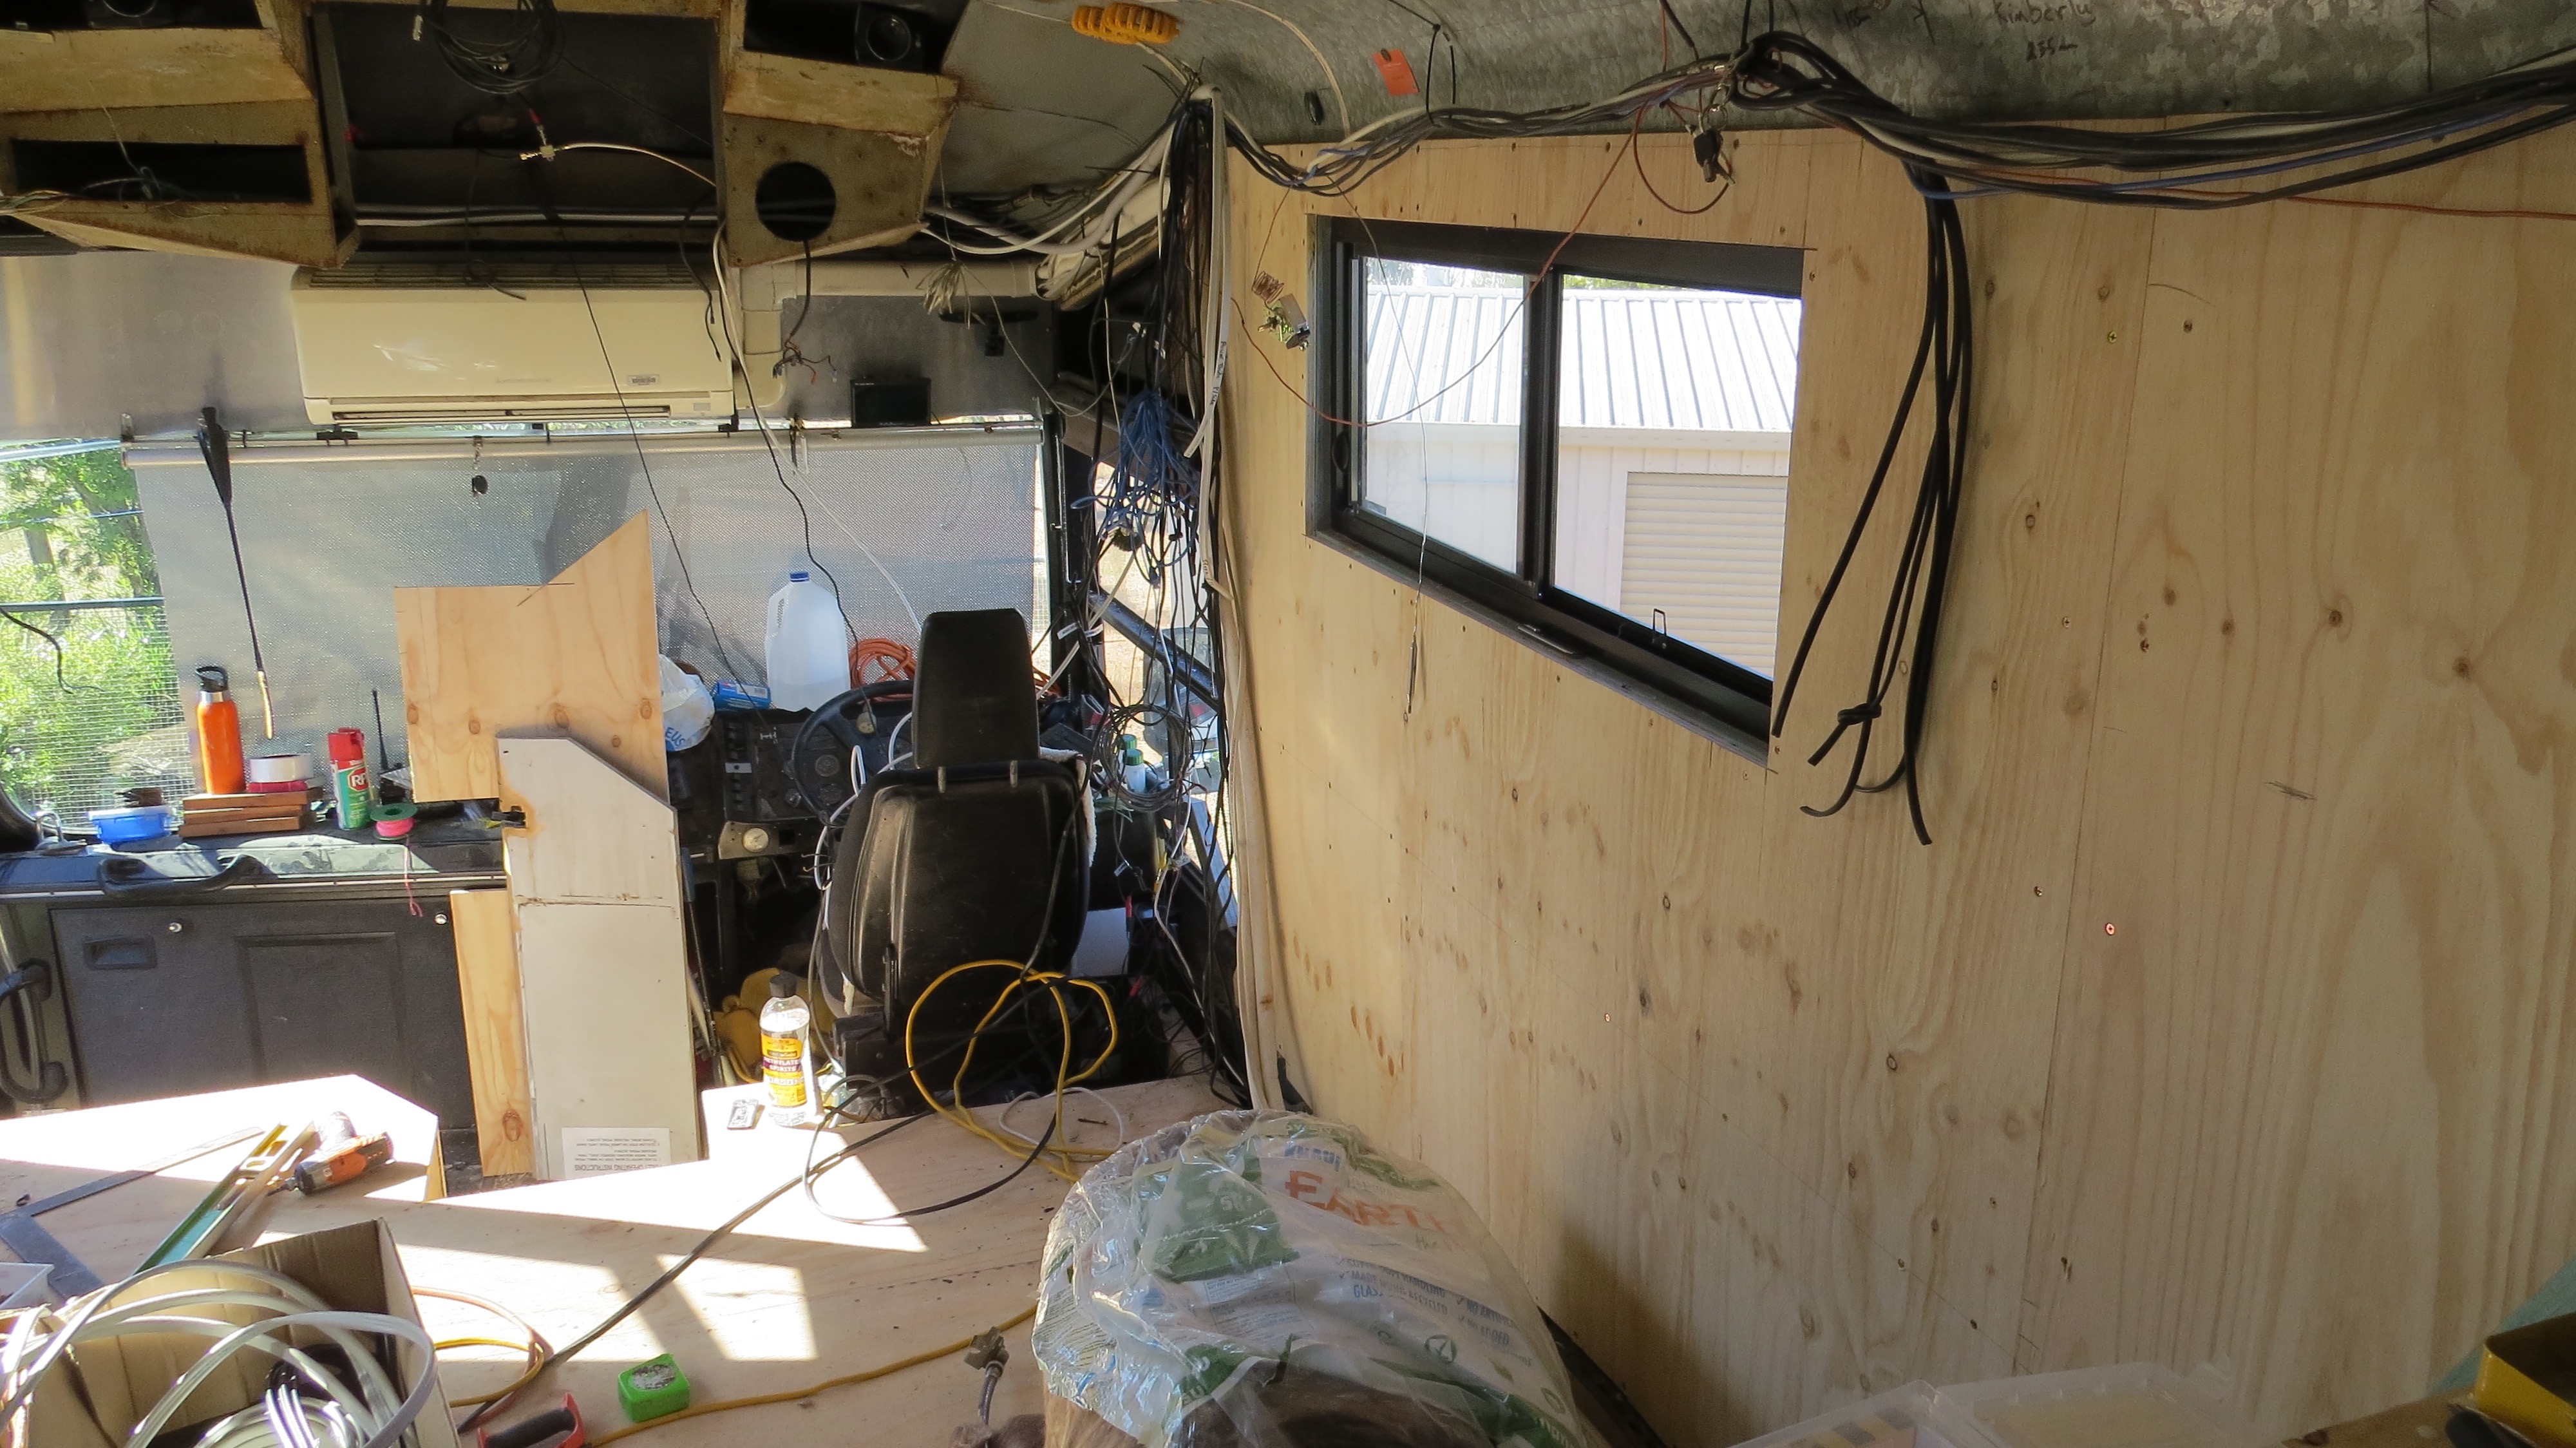
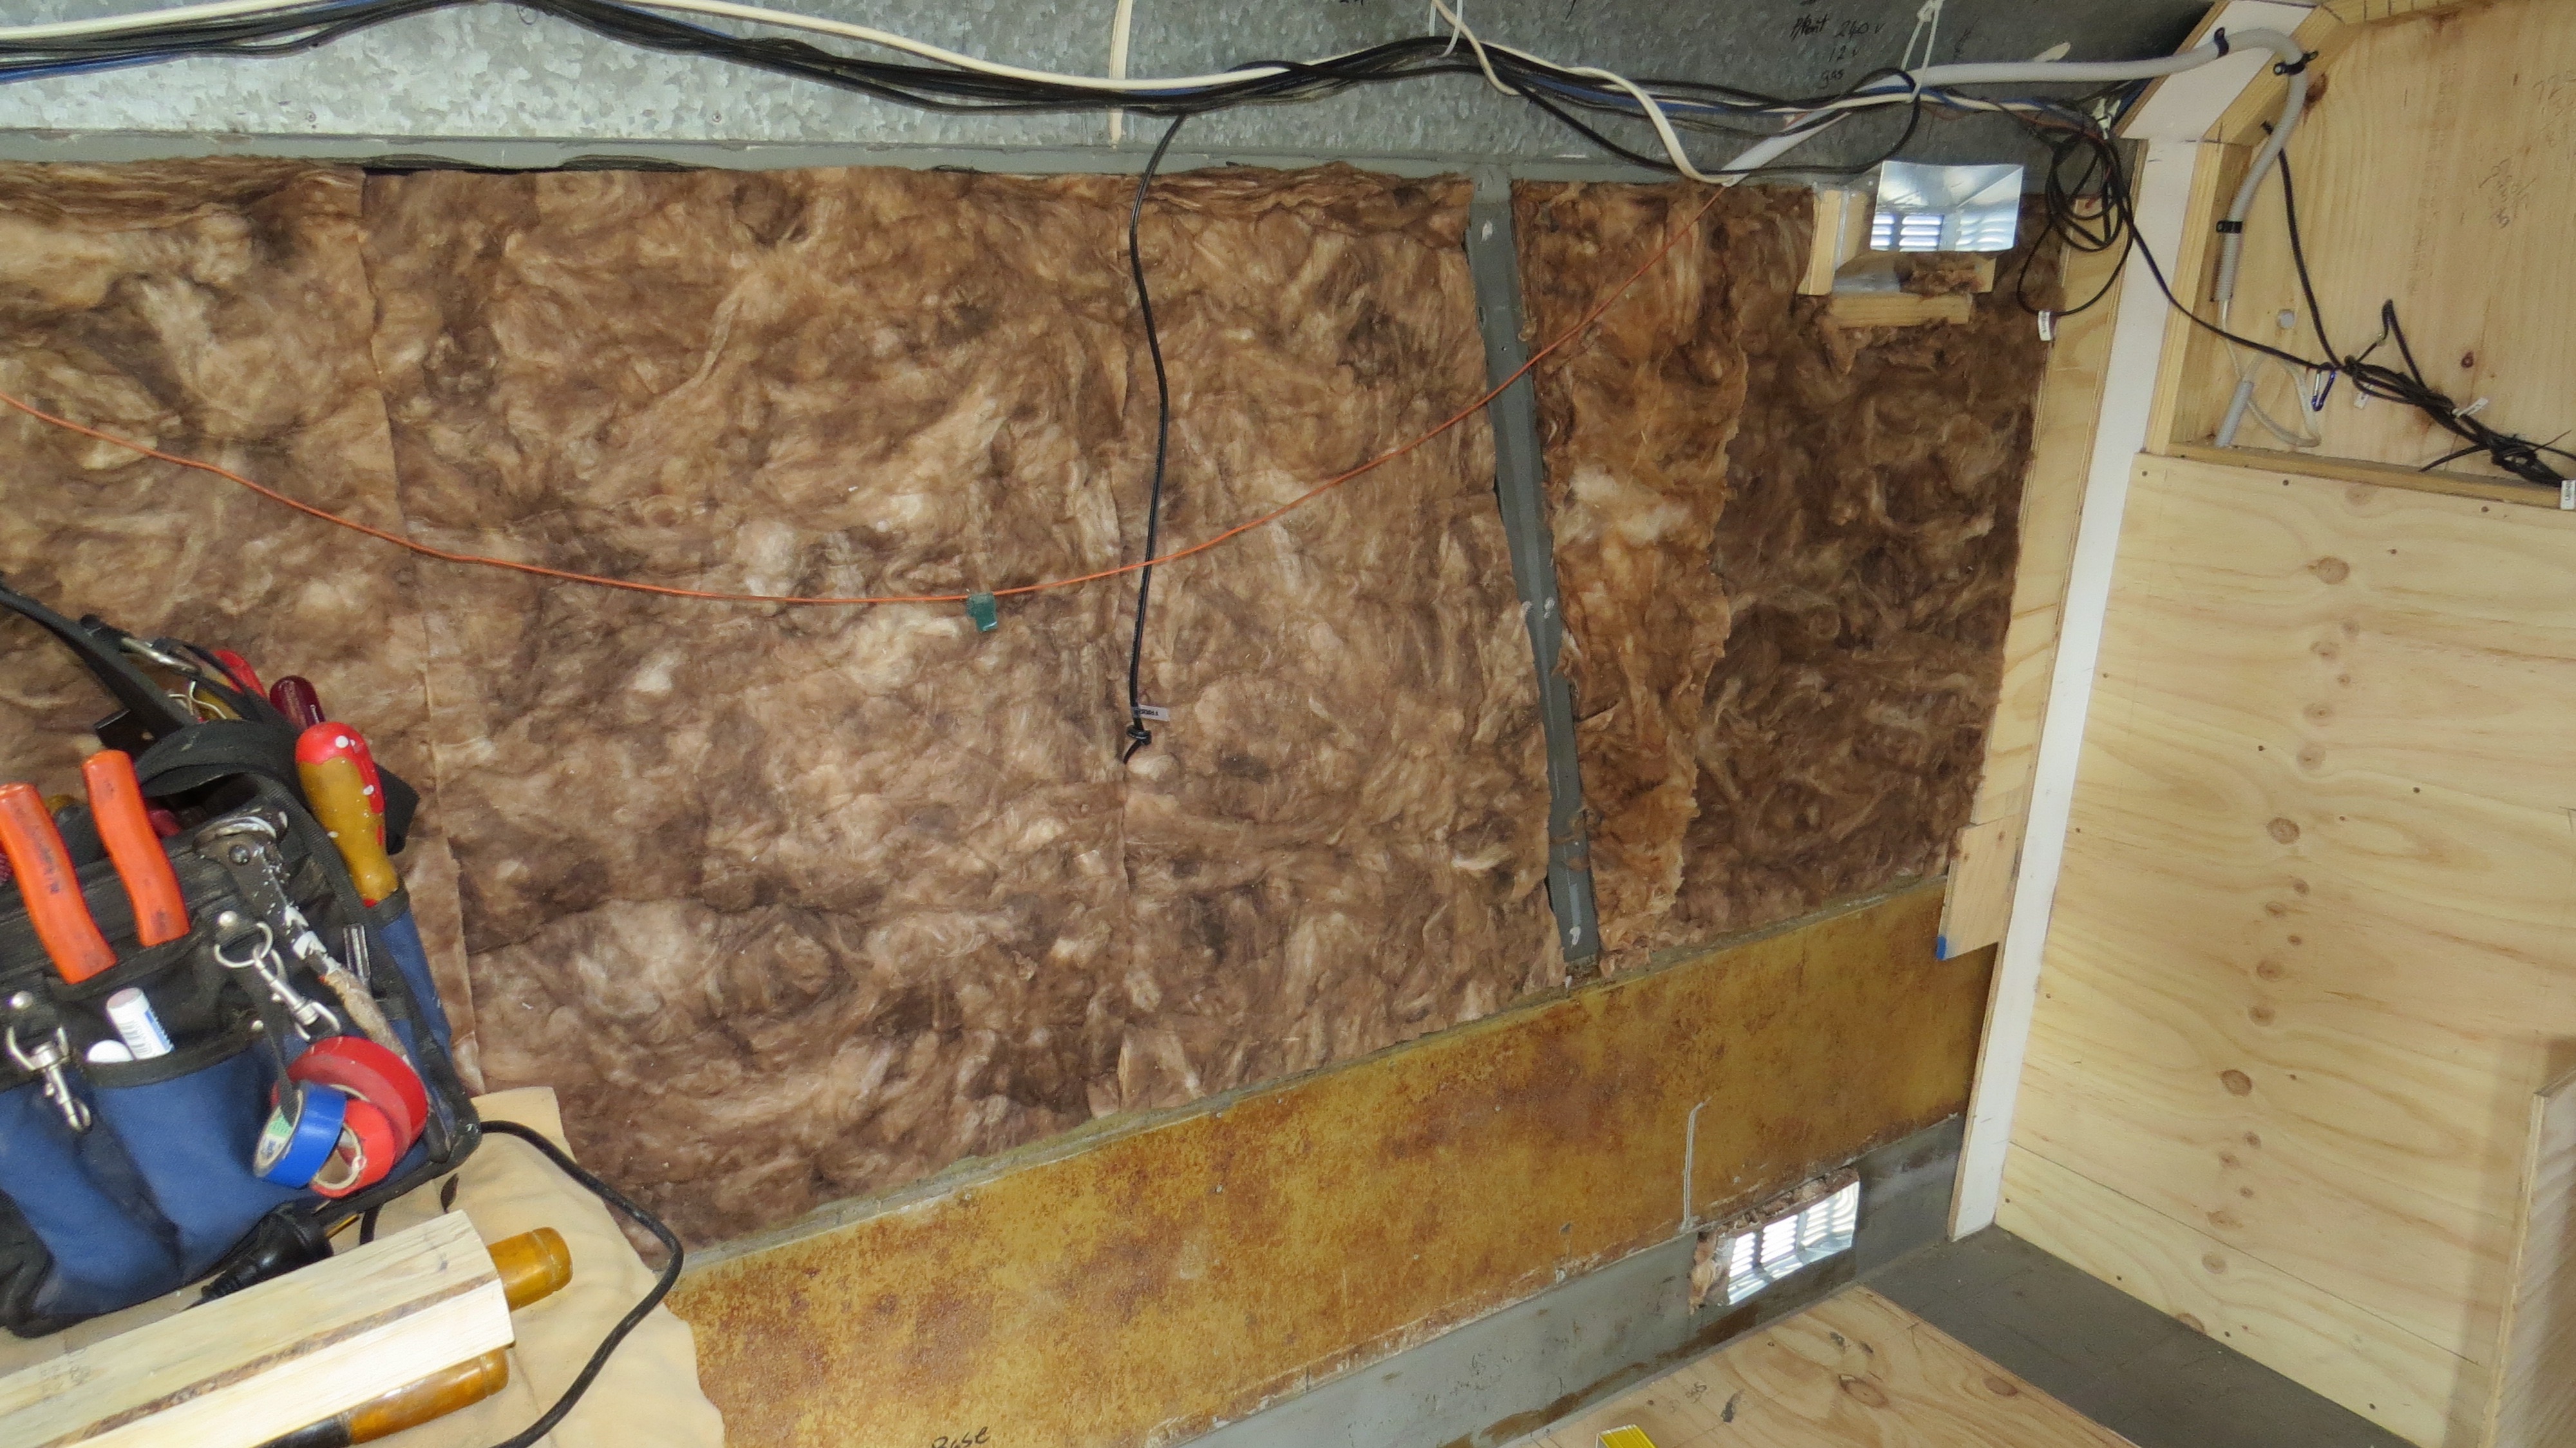
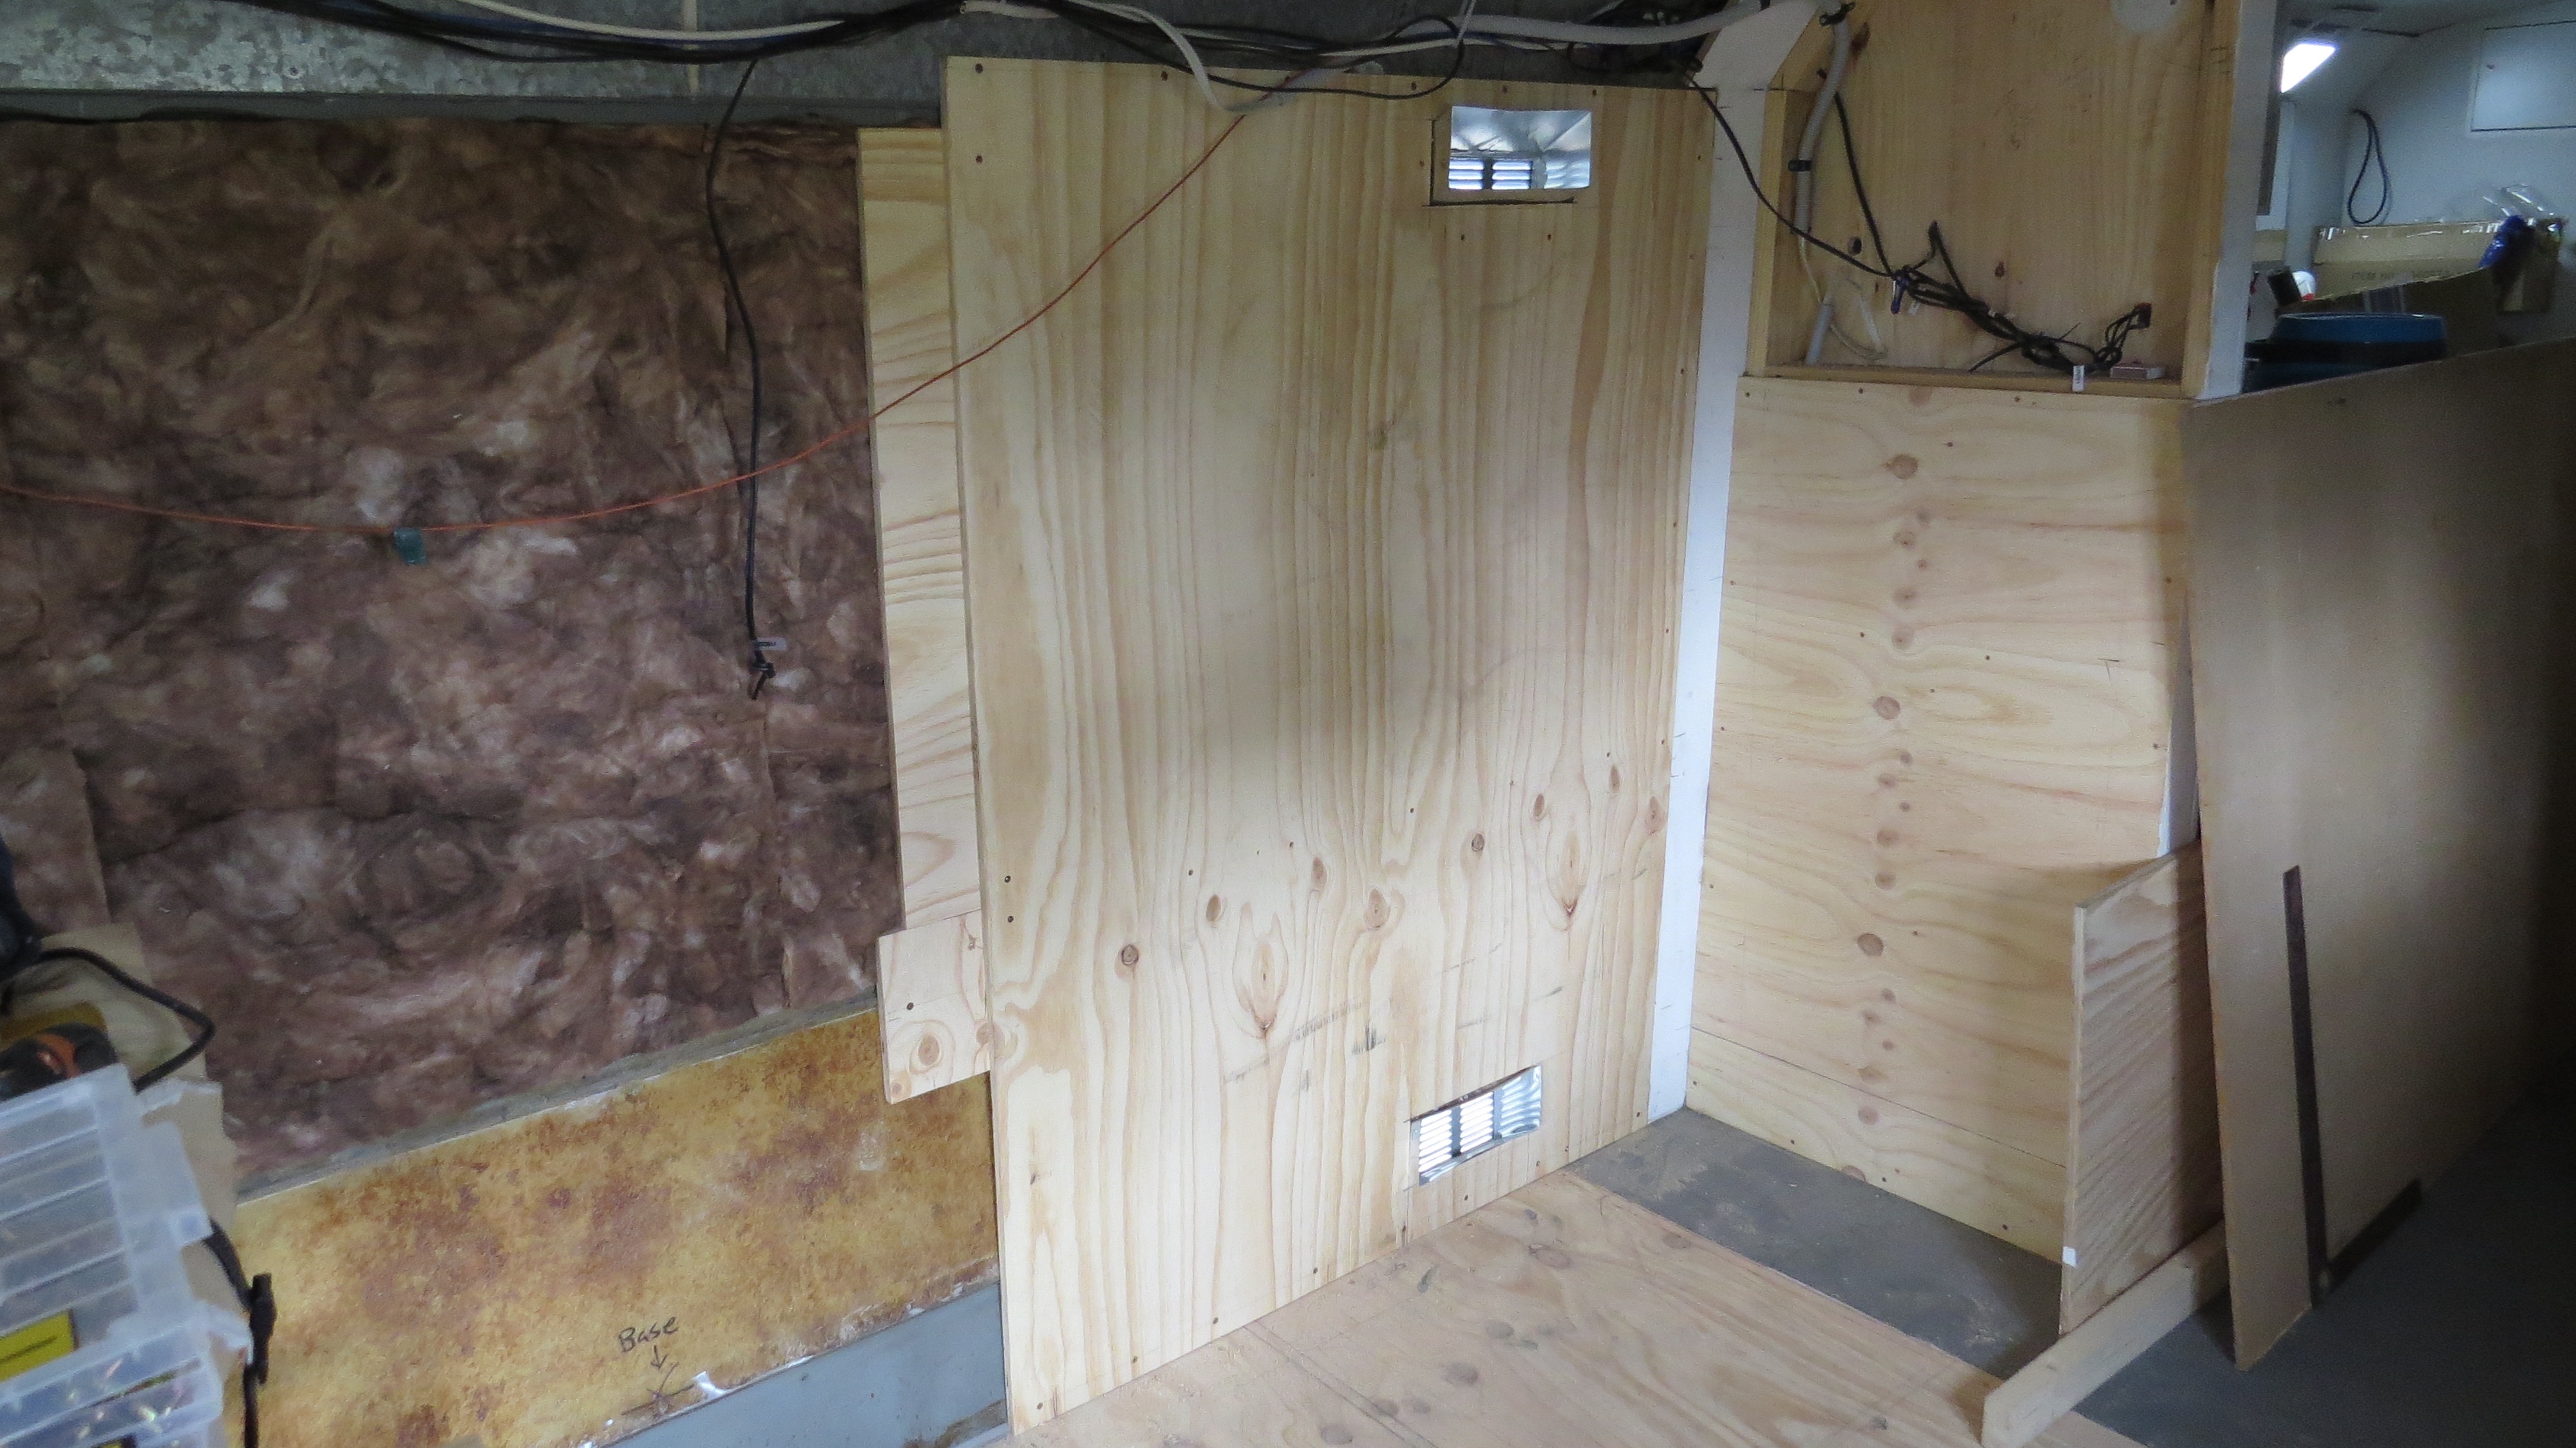
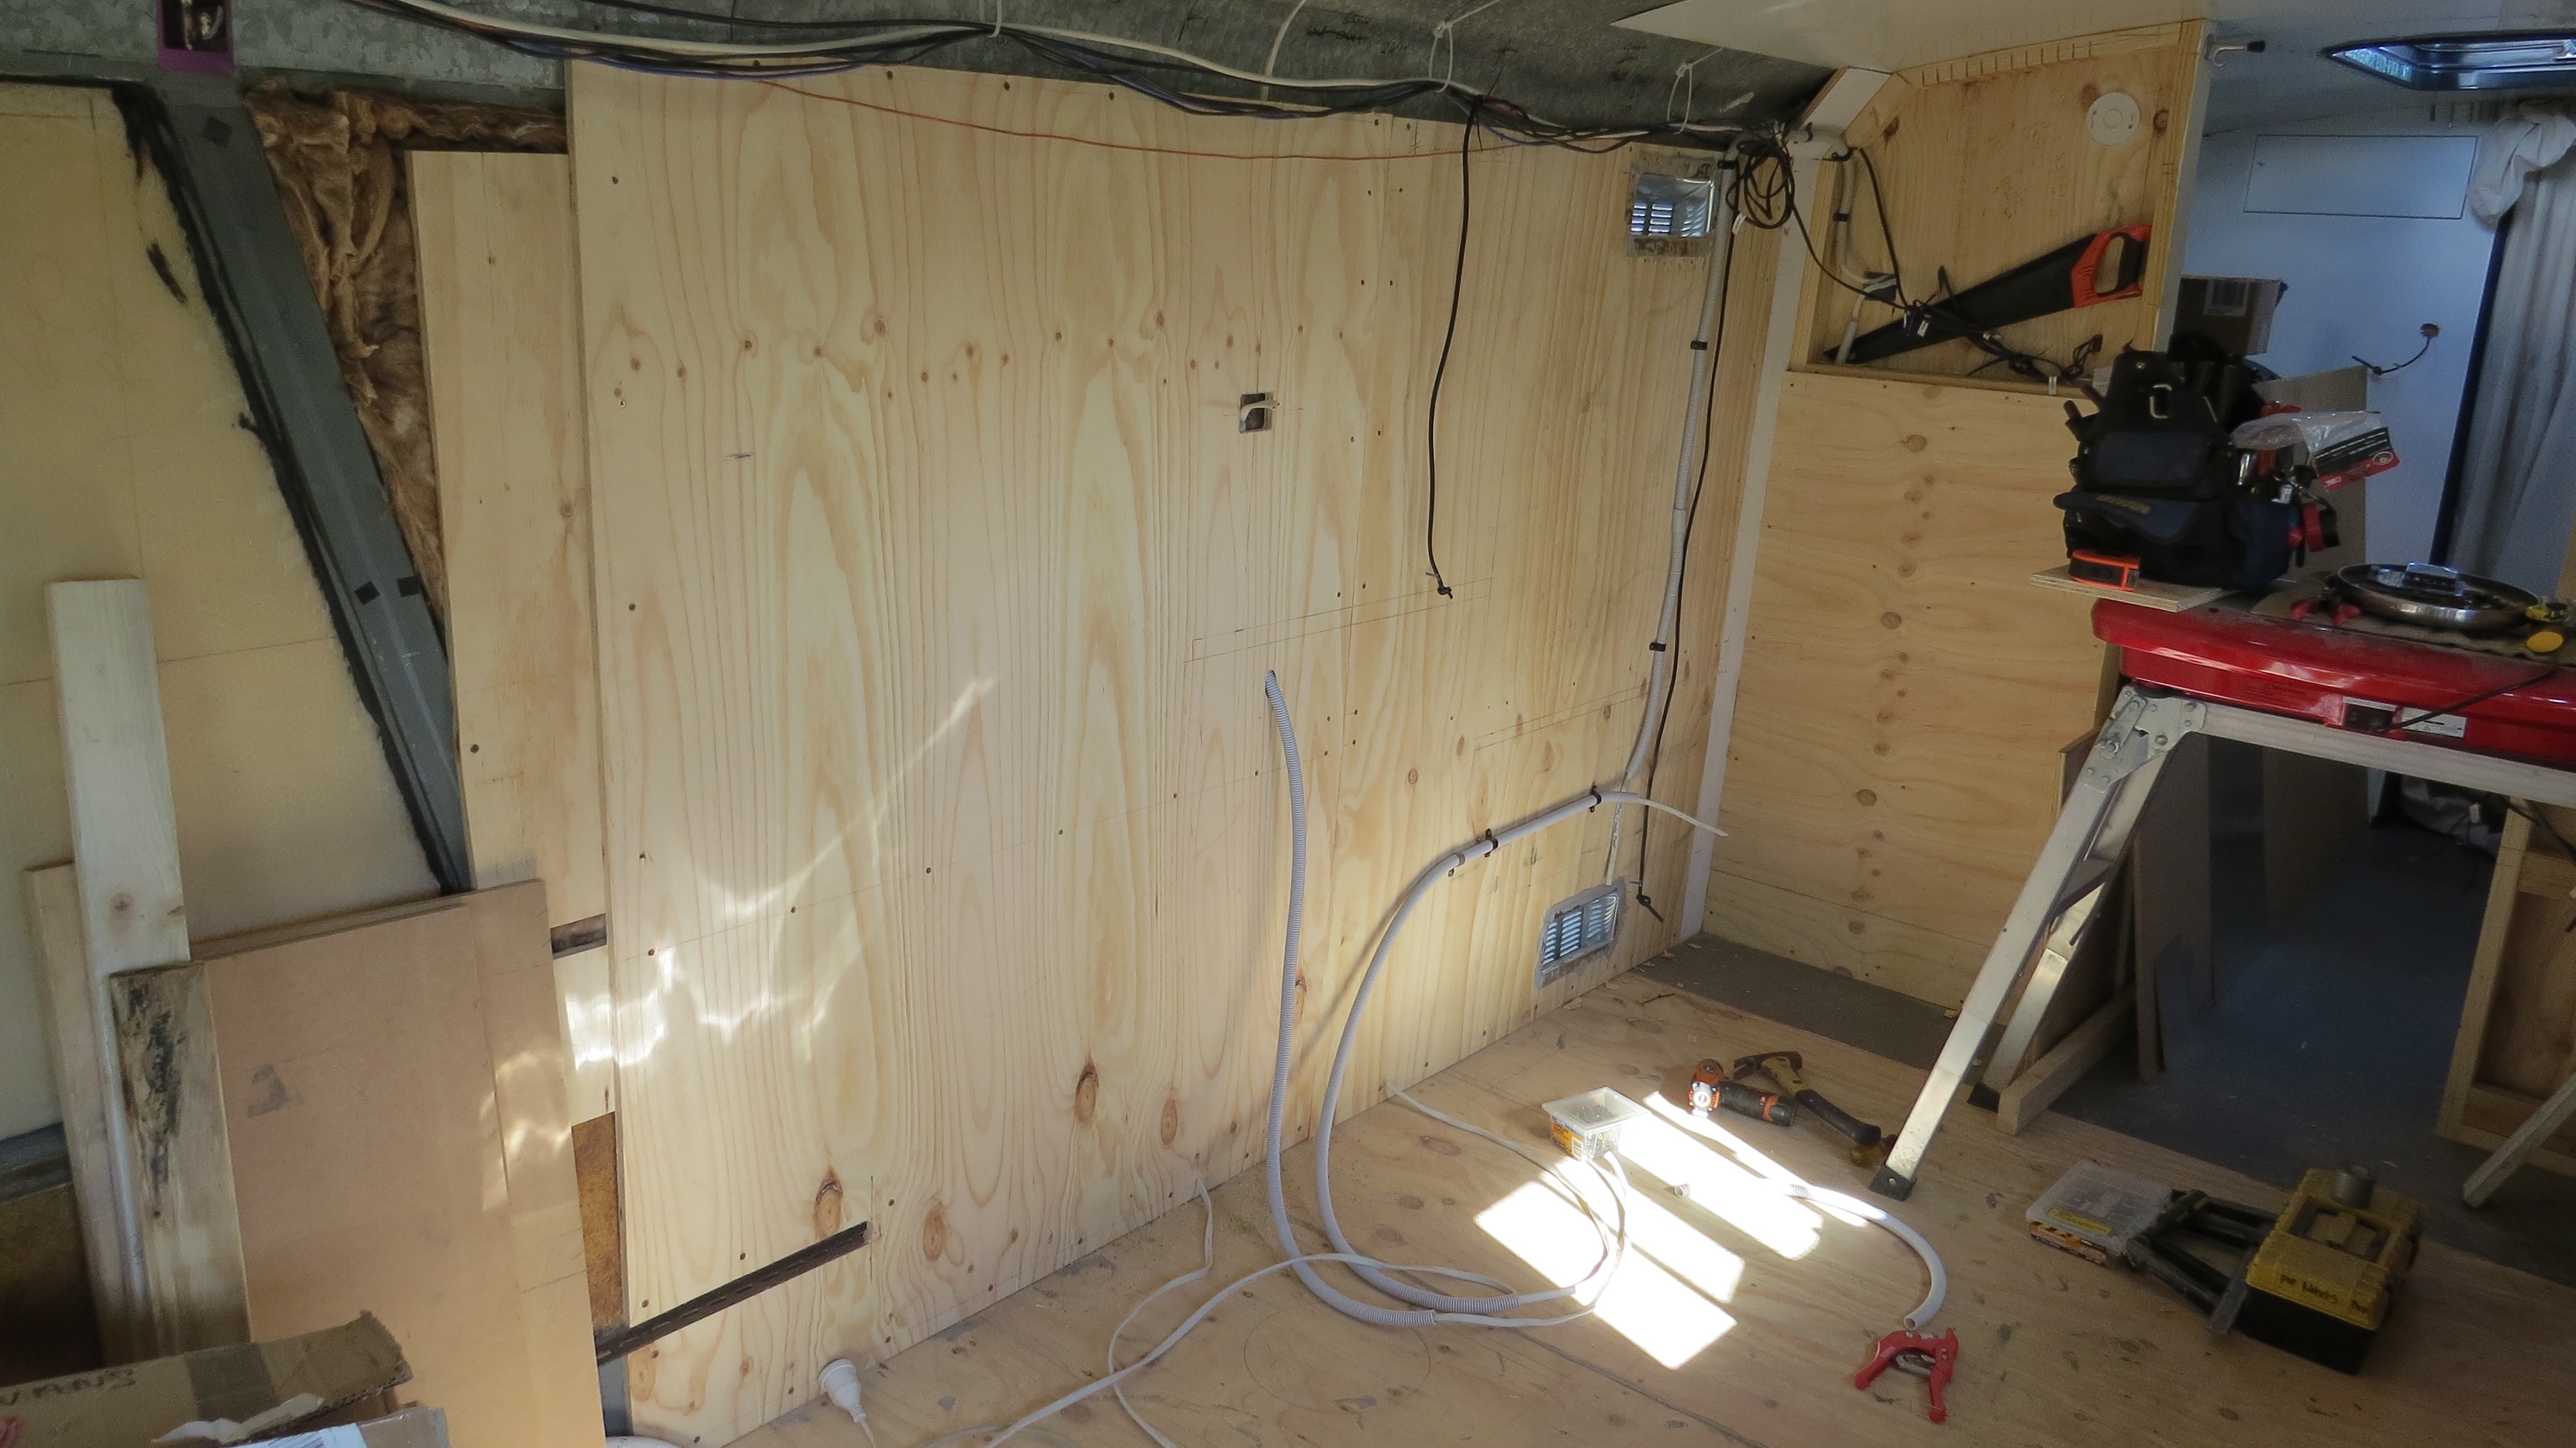
So now that the floor in the kitchen is down the wall are next. This means more sparky stuff for power points and light switches too. there is too much to think about some times, but it’s better to get it right now. Like gluing the insulation into place one of the job I don’t like.
It’s nice to be putting the walls up.Insulation glued up in place.Mid timber packer in place, screwed and glued.Driver side insulation up in place.
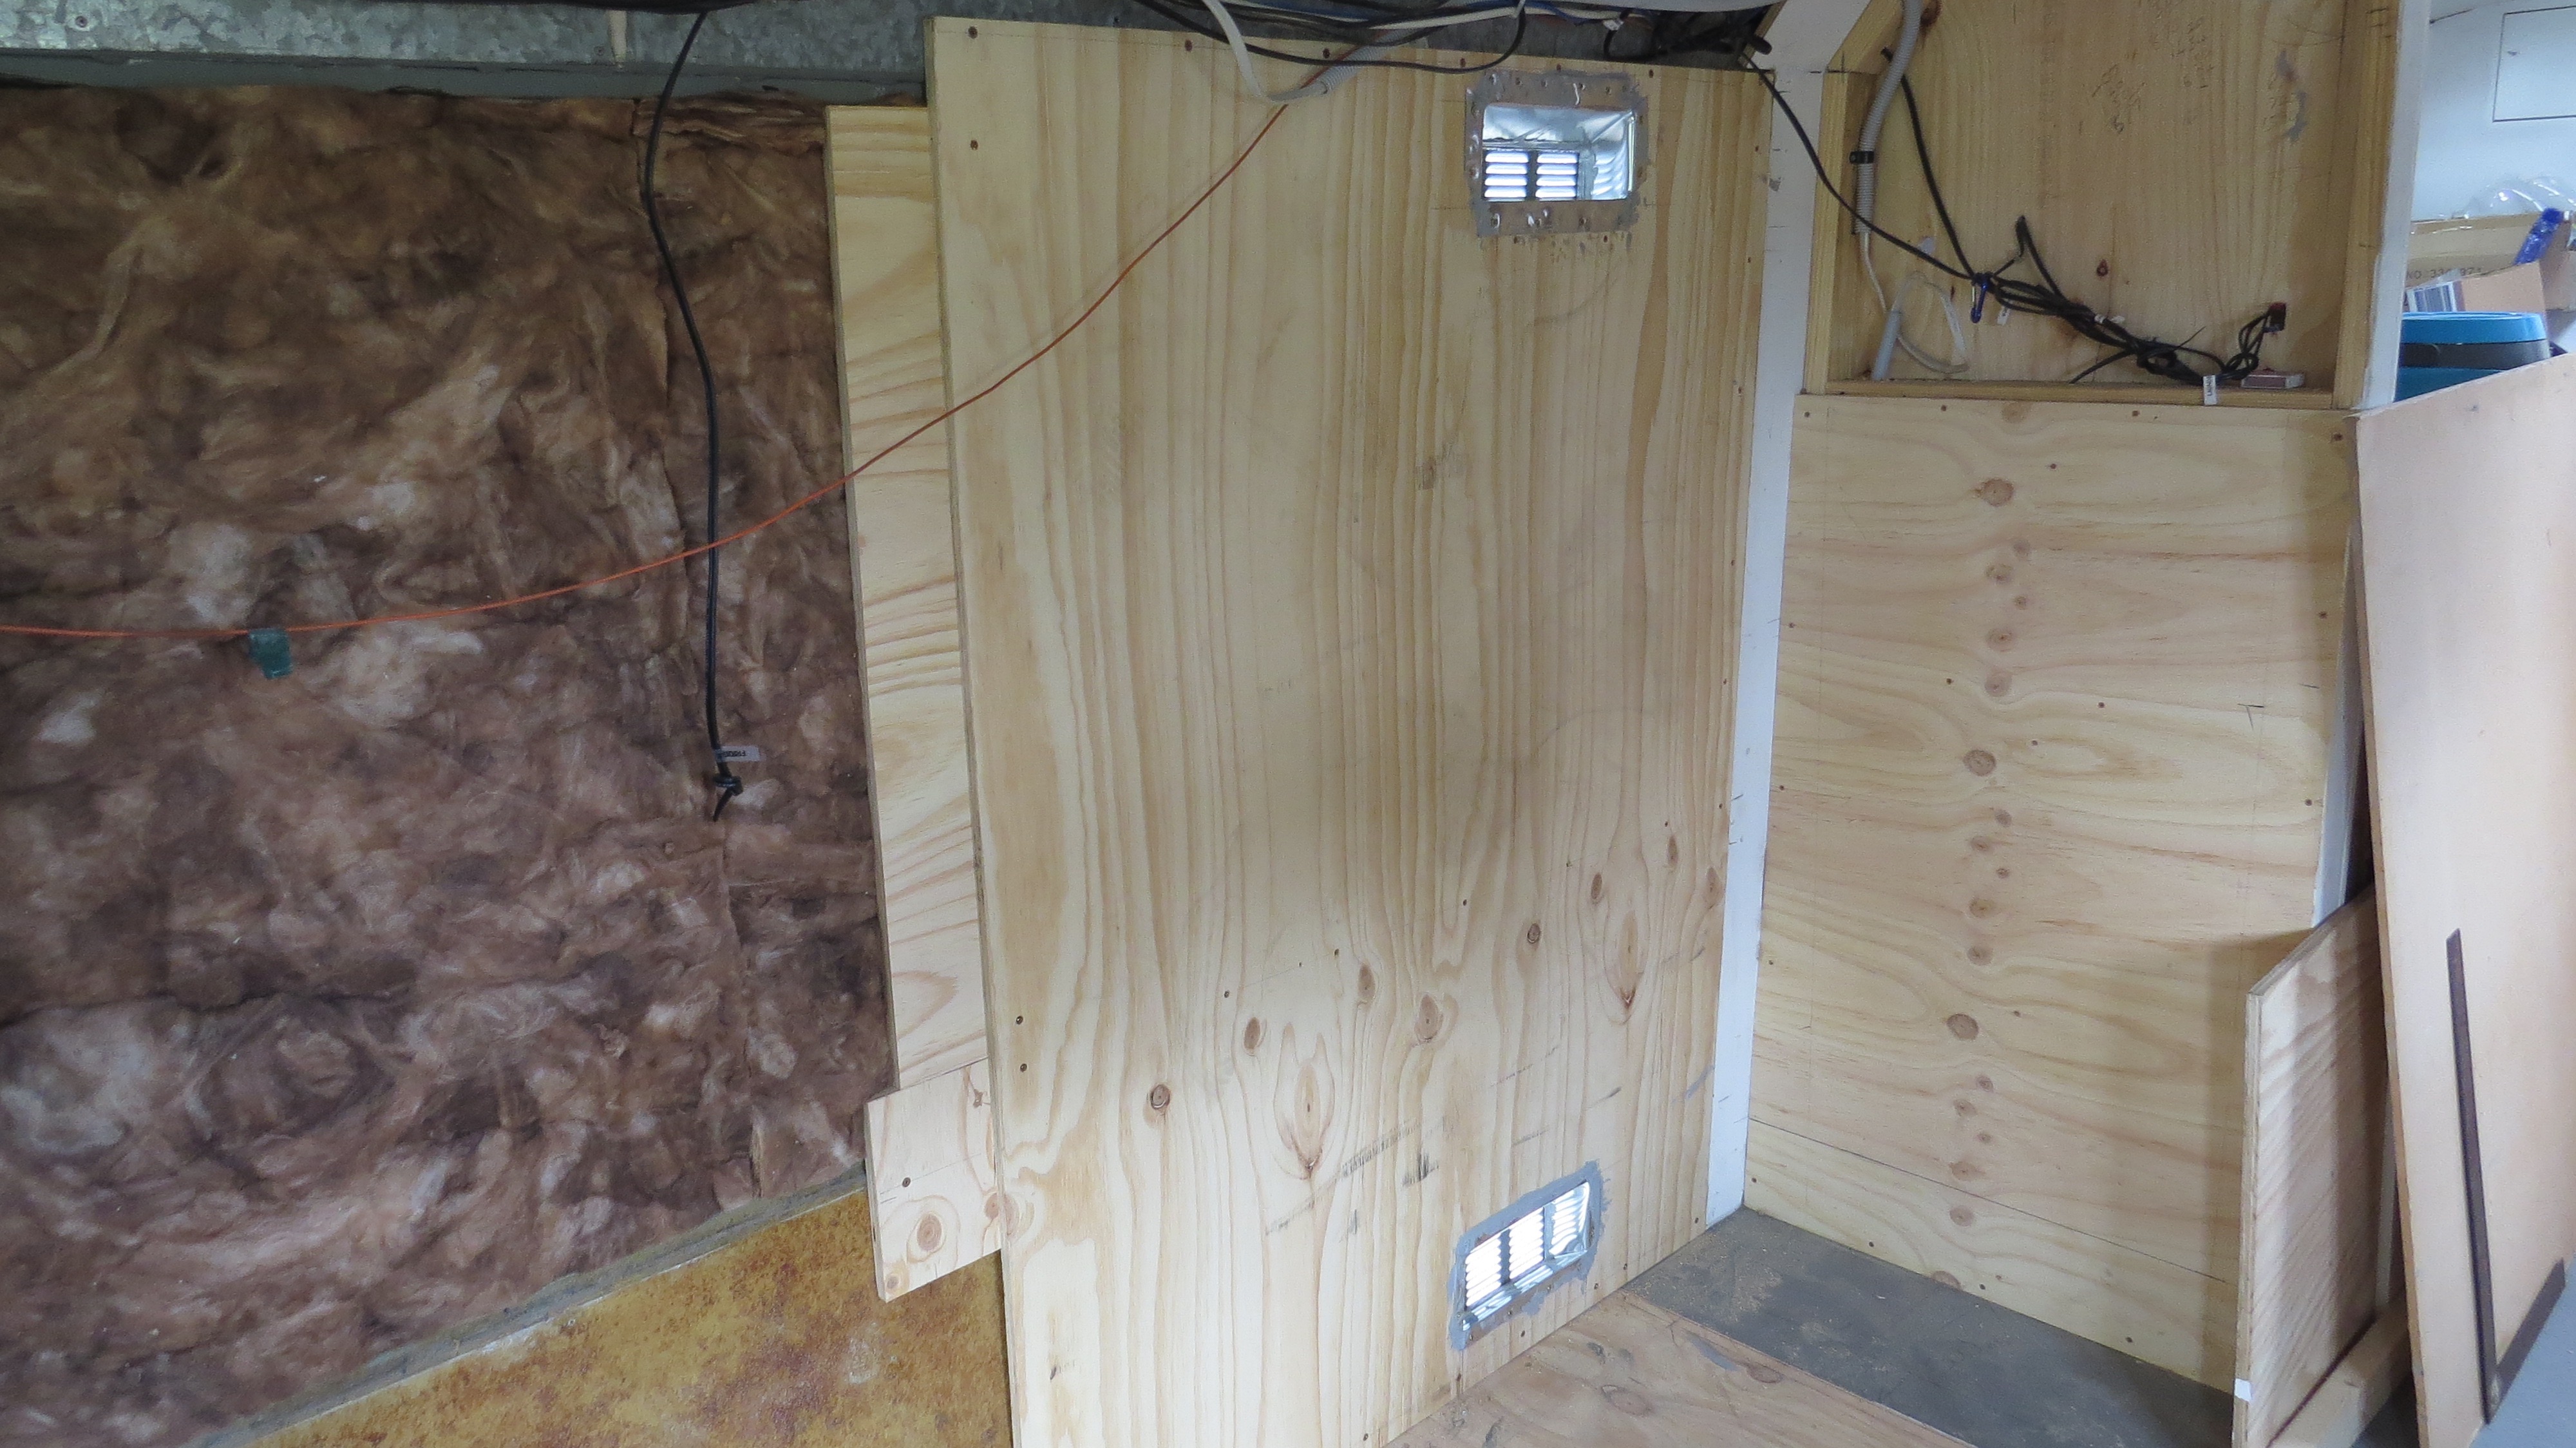
On the driver’s side I also had to cut out holes for the fridge vents, that I’ve already talked about.
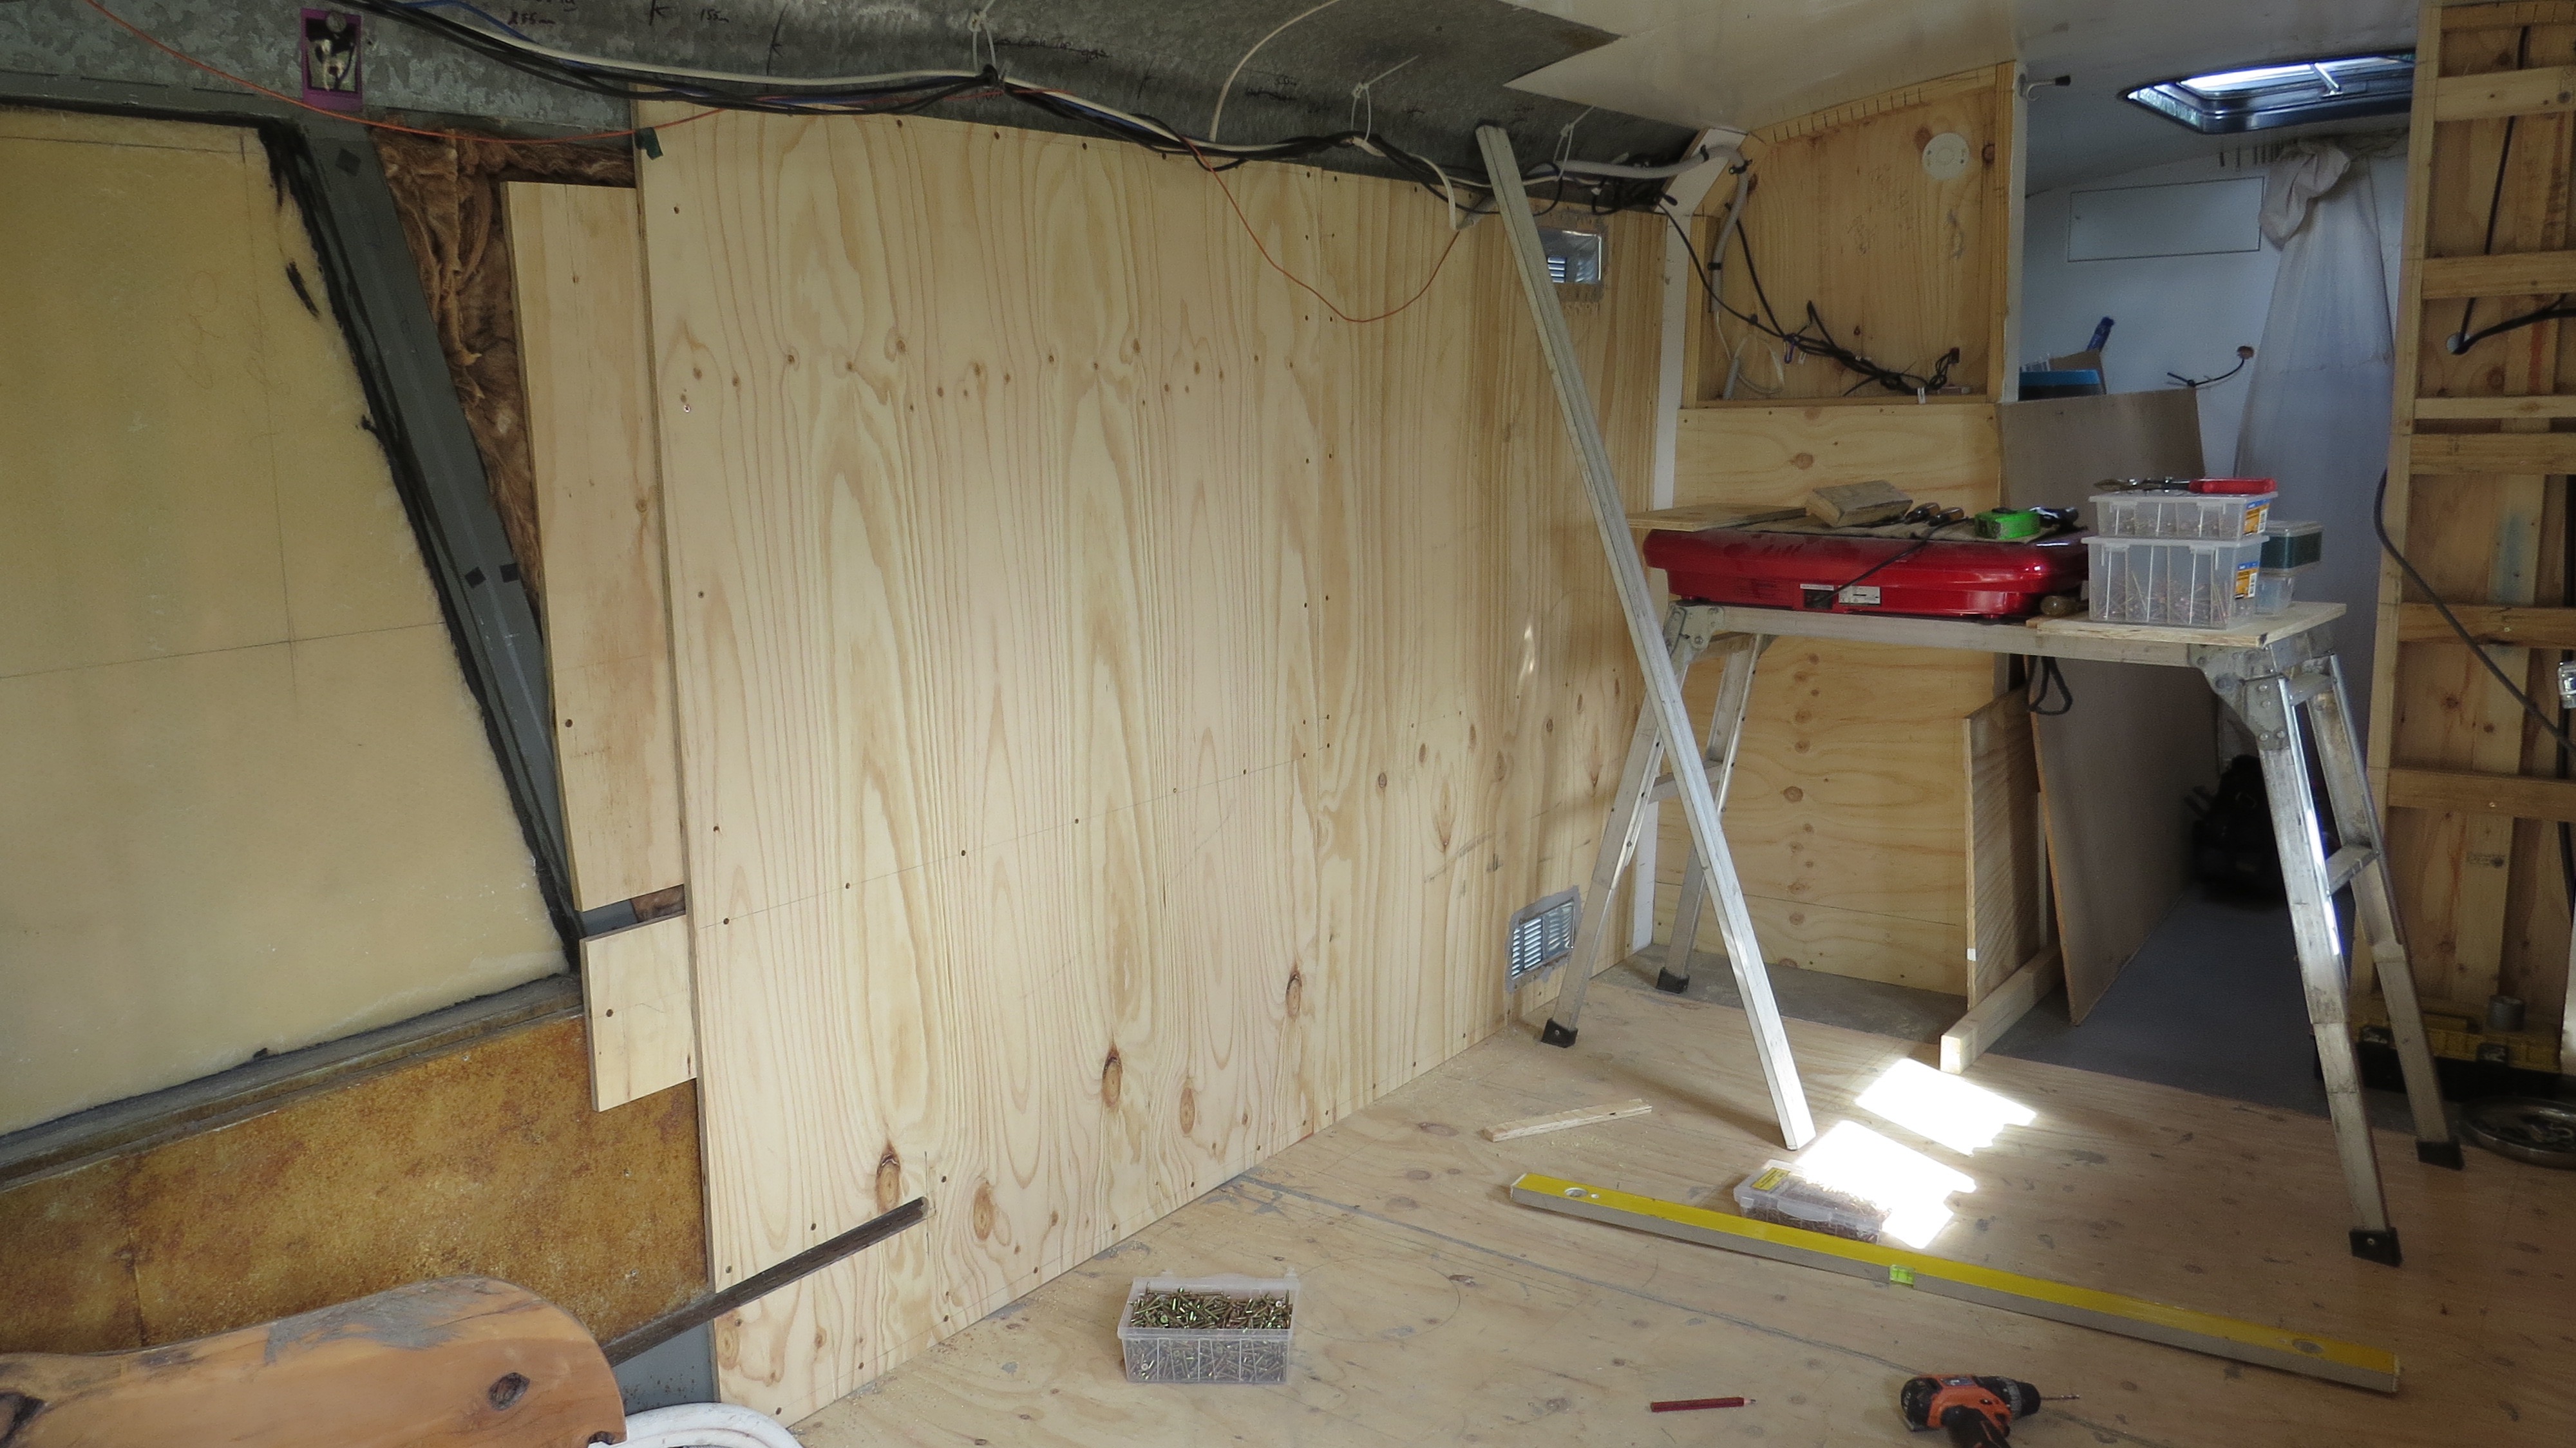
Fridge vents cutouts were in the right place.Now thats finished, time for the next sheet to go up.That’s as fare as I can go on this side for now.
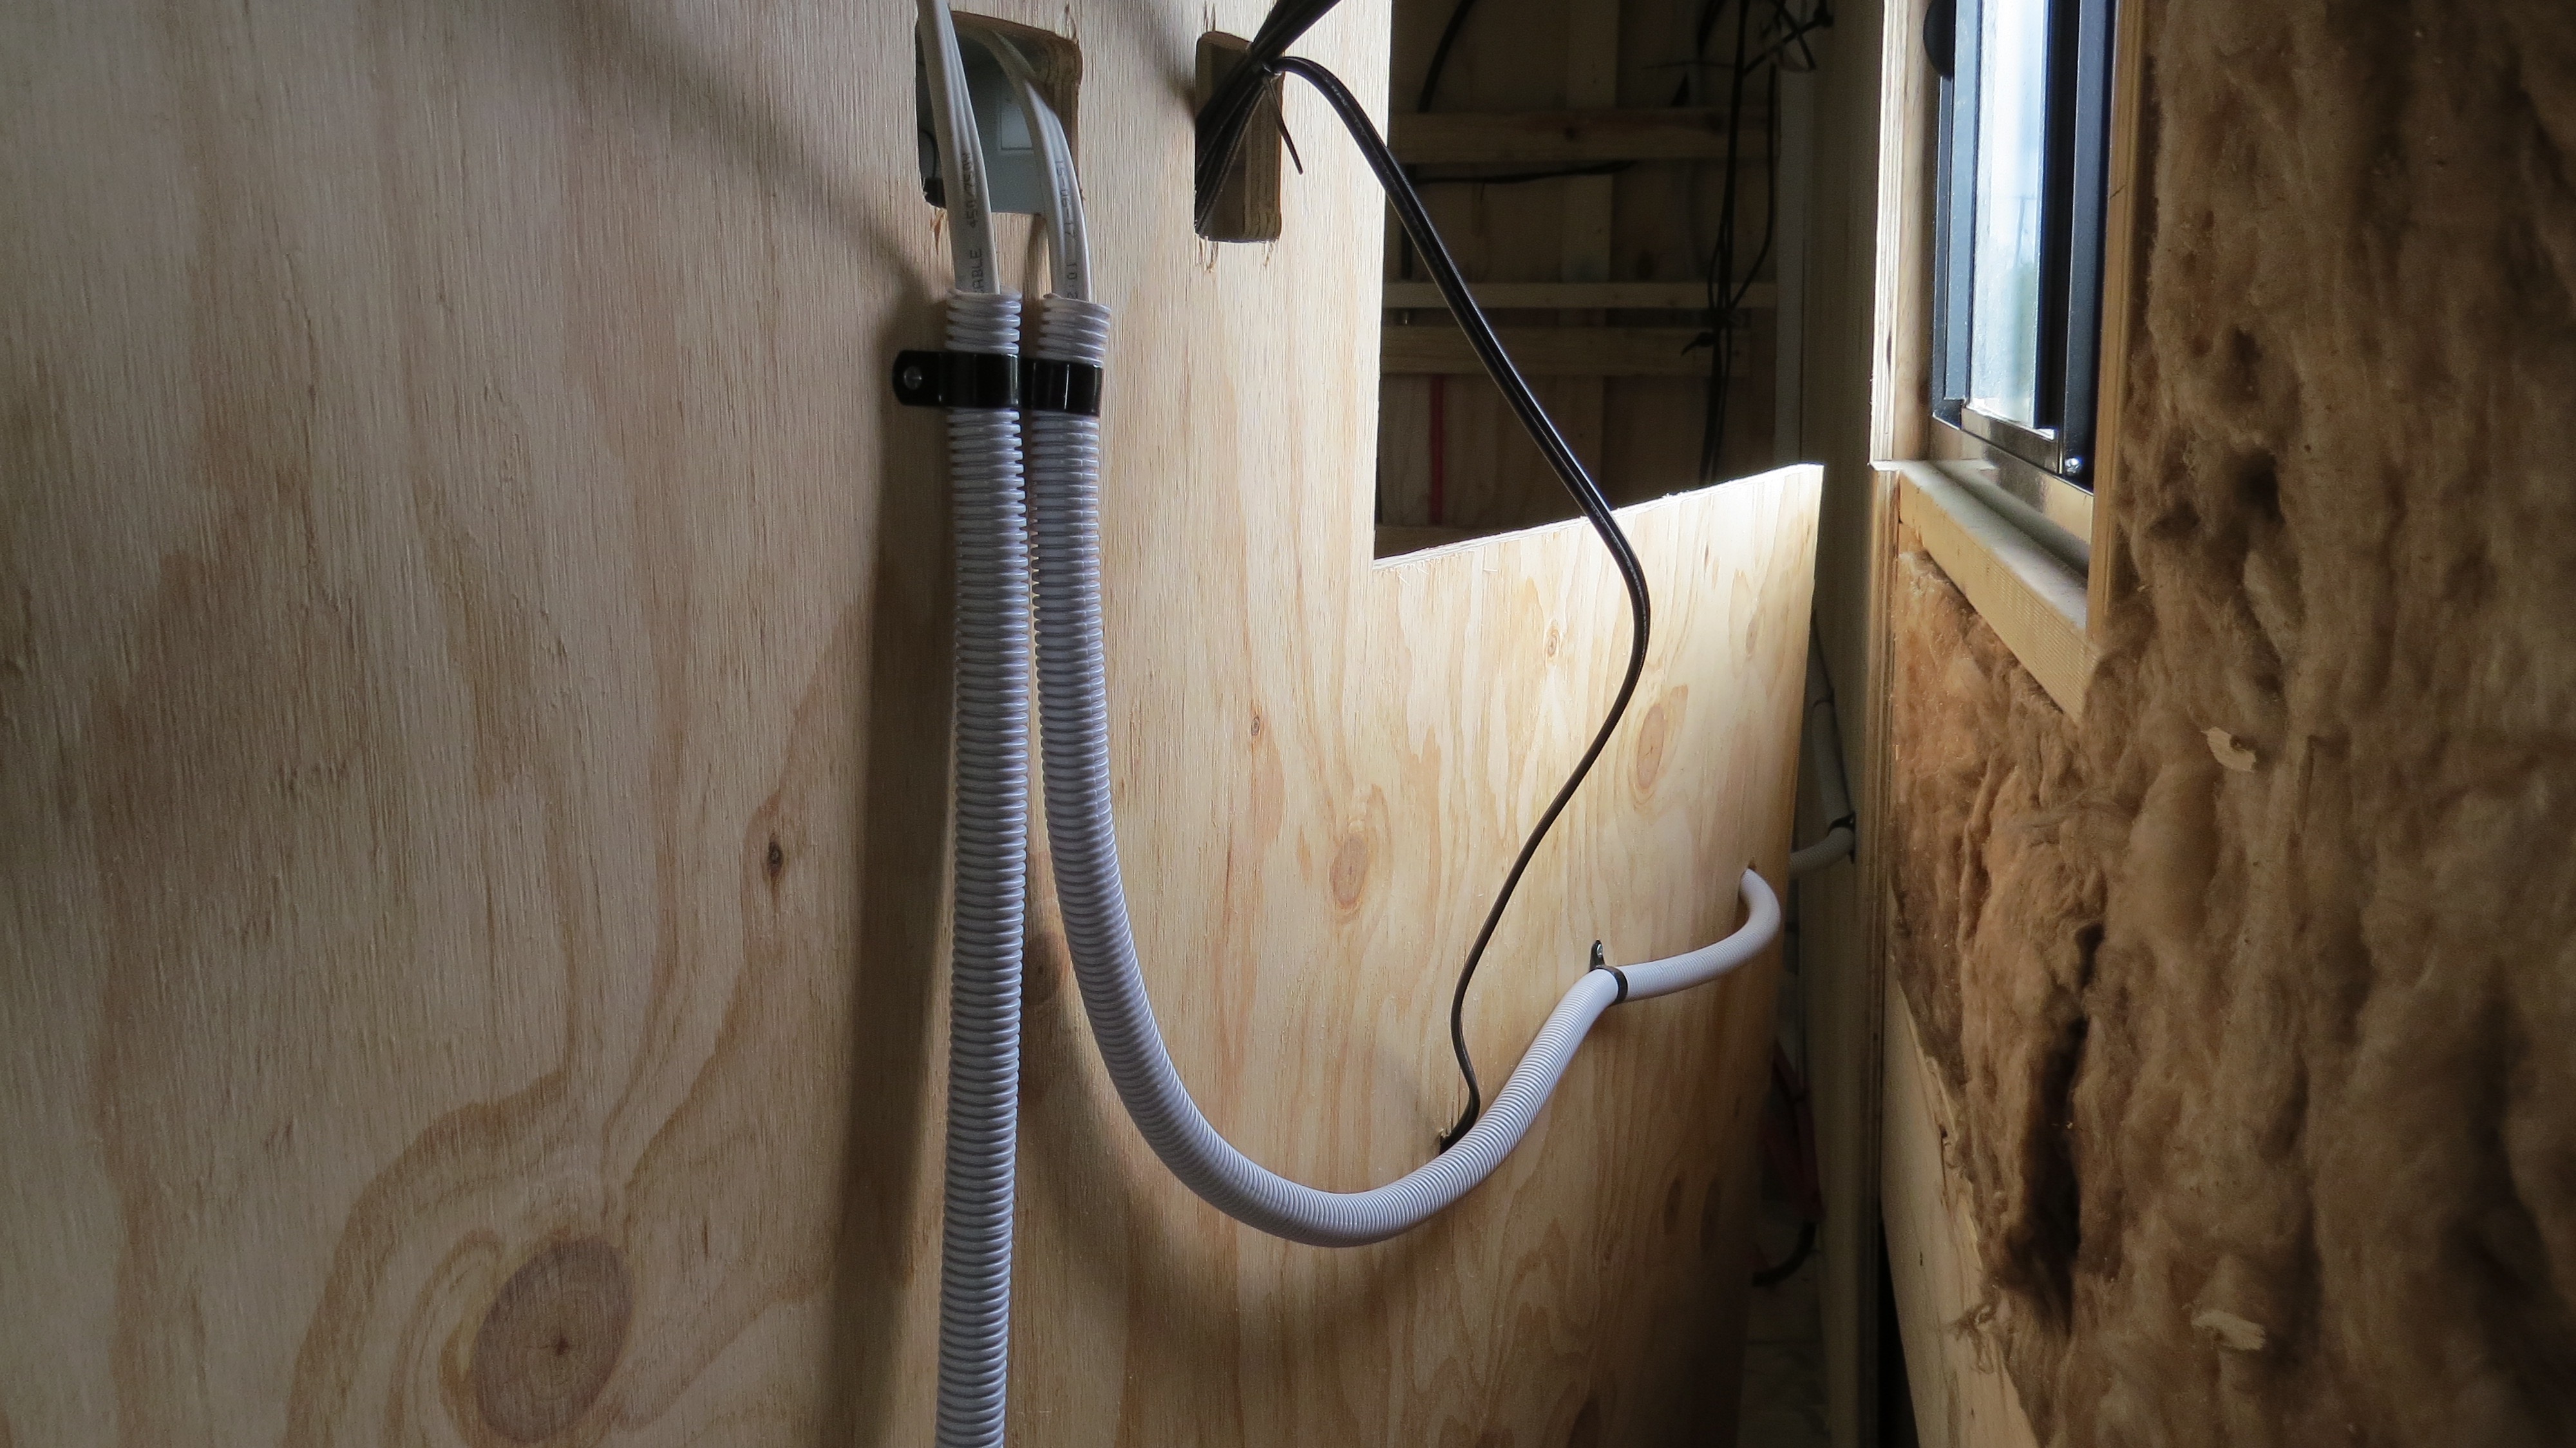
Some plumbing & sparky fun
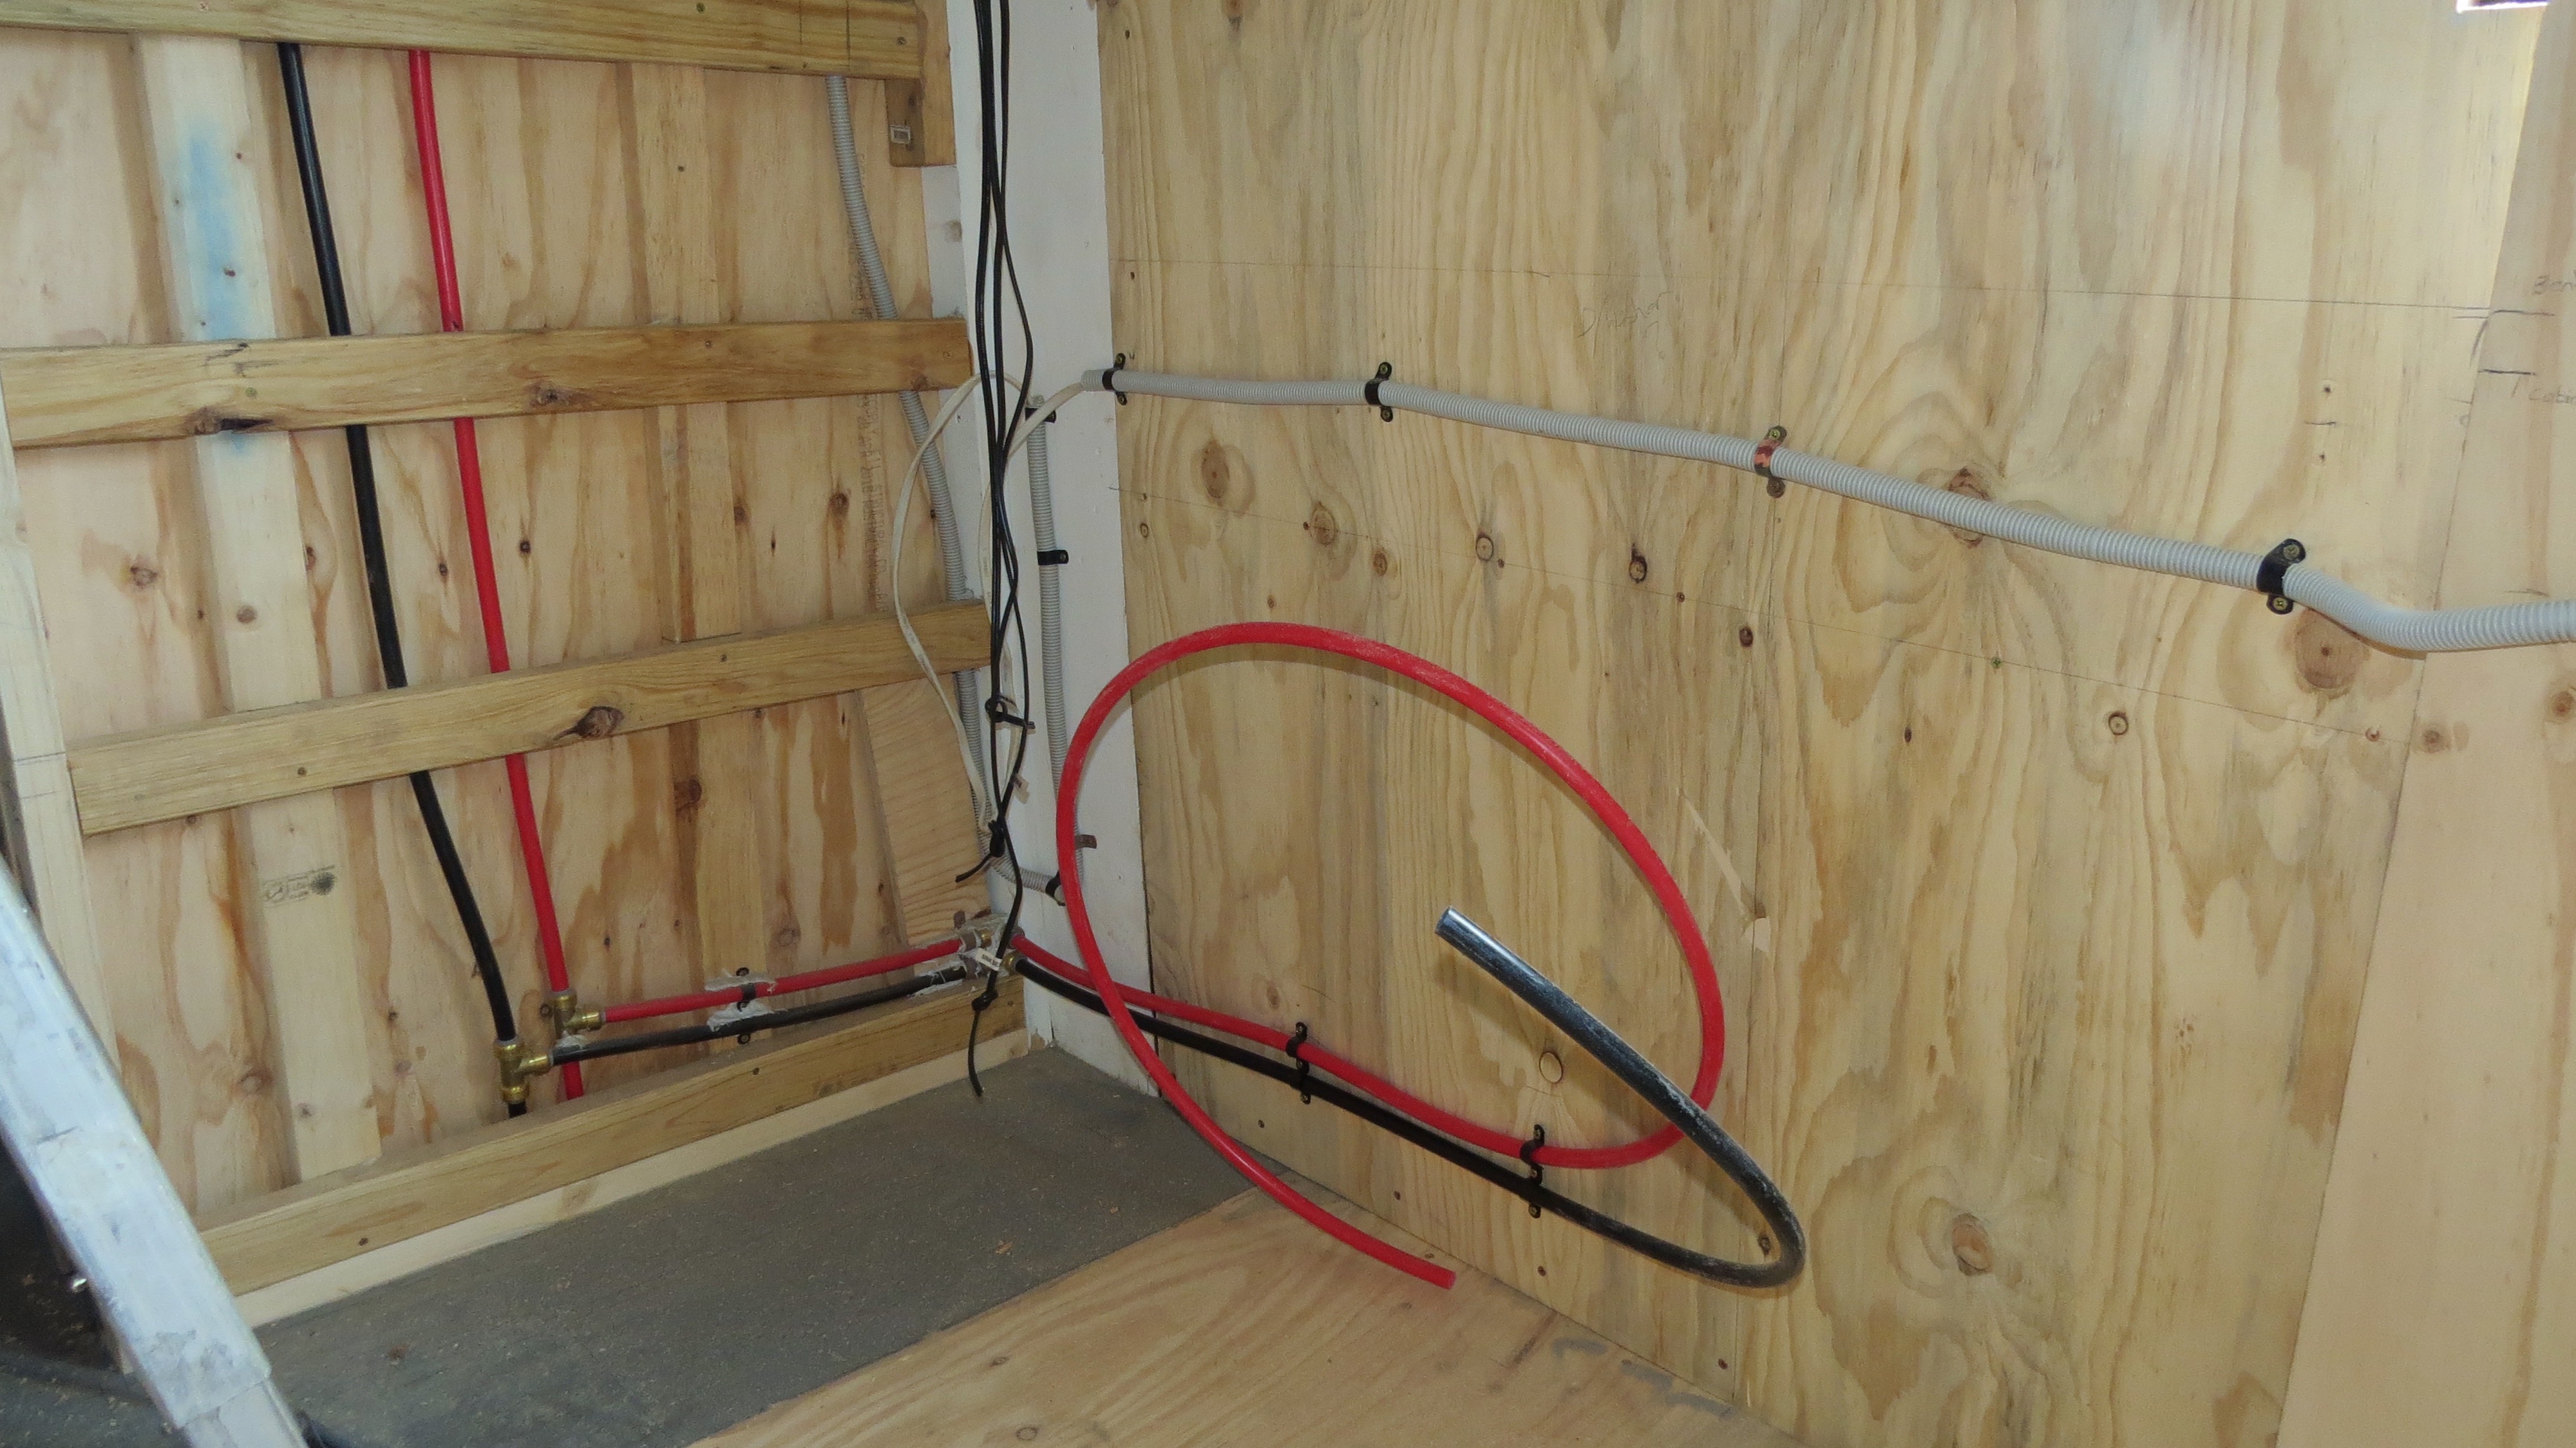
There are so many things to do when it comes to power and water, the main thing is to get them in the right place. The dishwasher and kitchen sink will beside each other on this side. The wall oven is going above the dishwasher, so will have to have 240v for both. Then I’ll be running 12v cable for the lighting for both sides of the kitchen, there will be lots of lighting options from low lights top ceiling lights.
Plumbing for the dishwasher & kitchen sink as well as power for wall oven & dishwasher.240v for the power point and 12v for the light switch.Every cable is tagged so I know were it go’s.Lot’s of lighting options here, should look great when it’s finished.240v and 12v cables in place for the fridge and range hood as well as a power point.
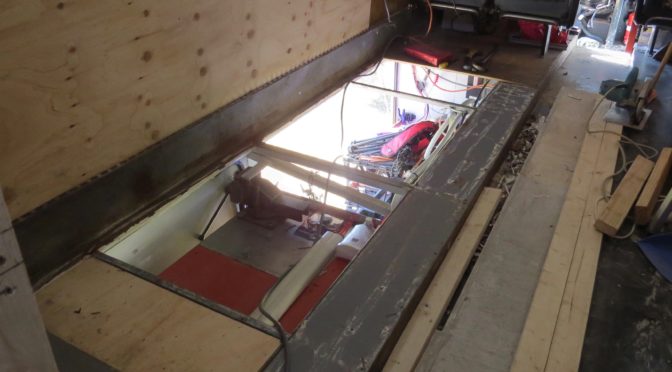
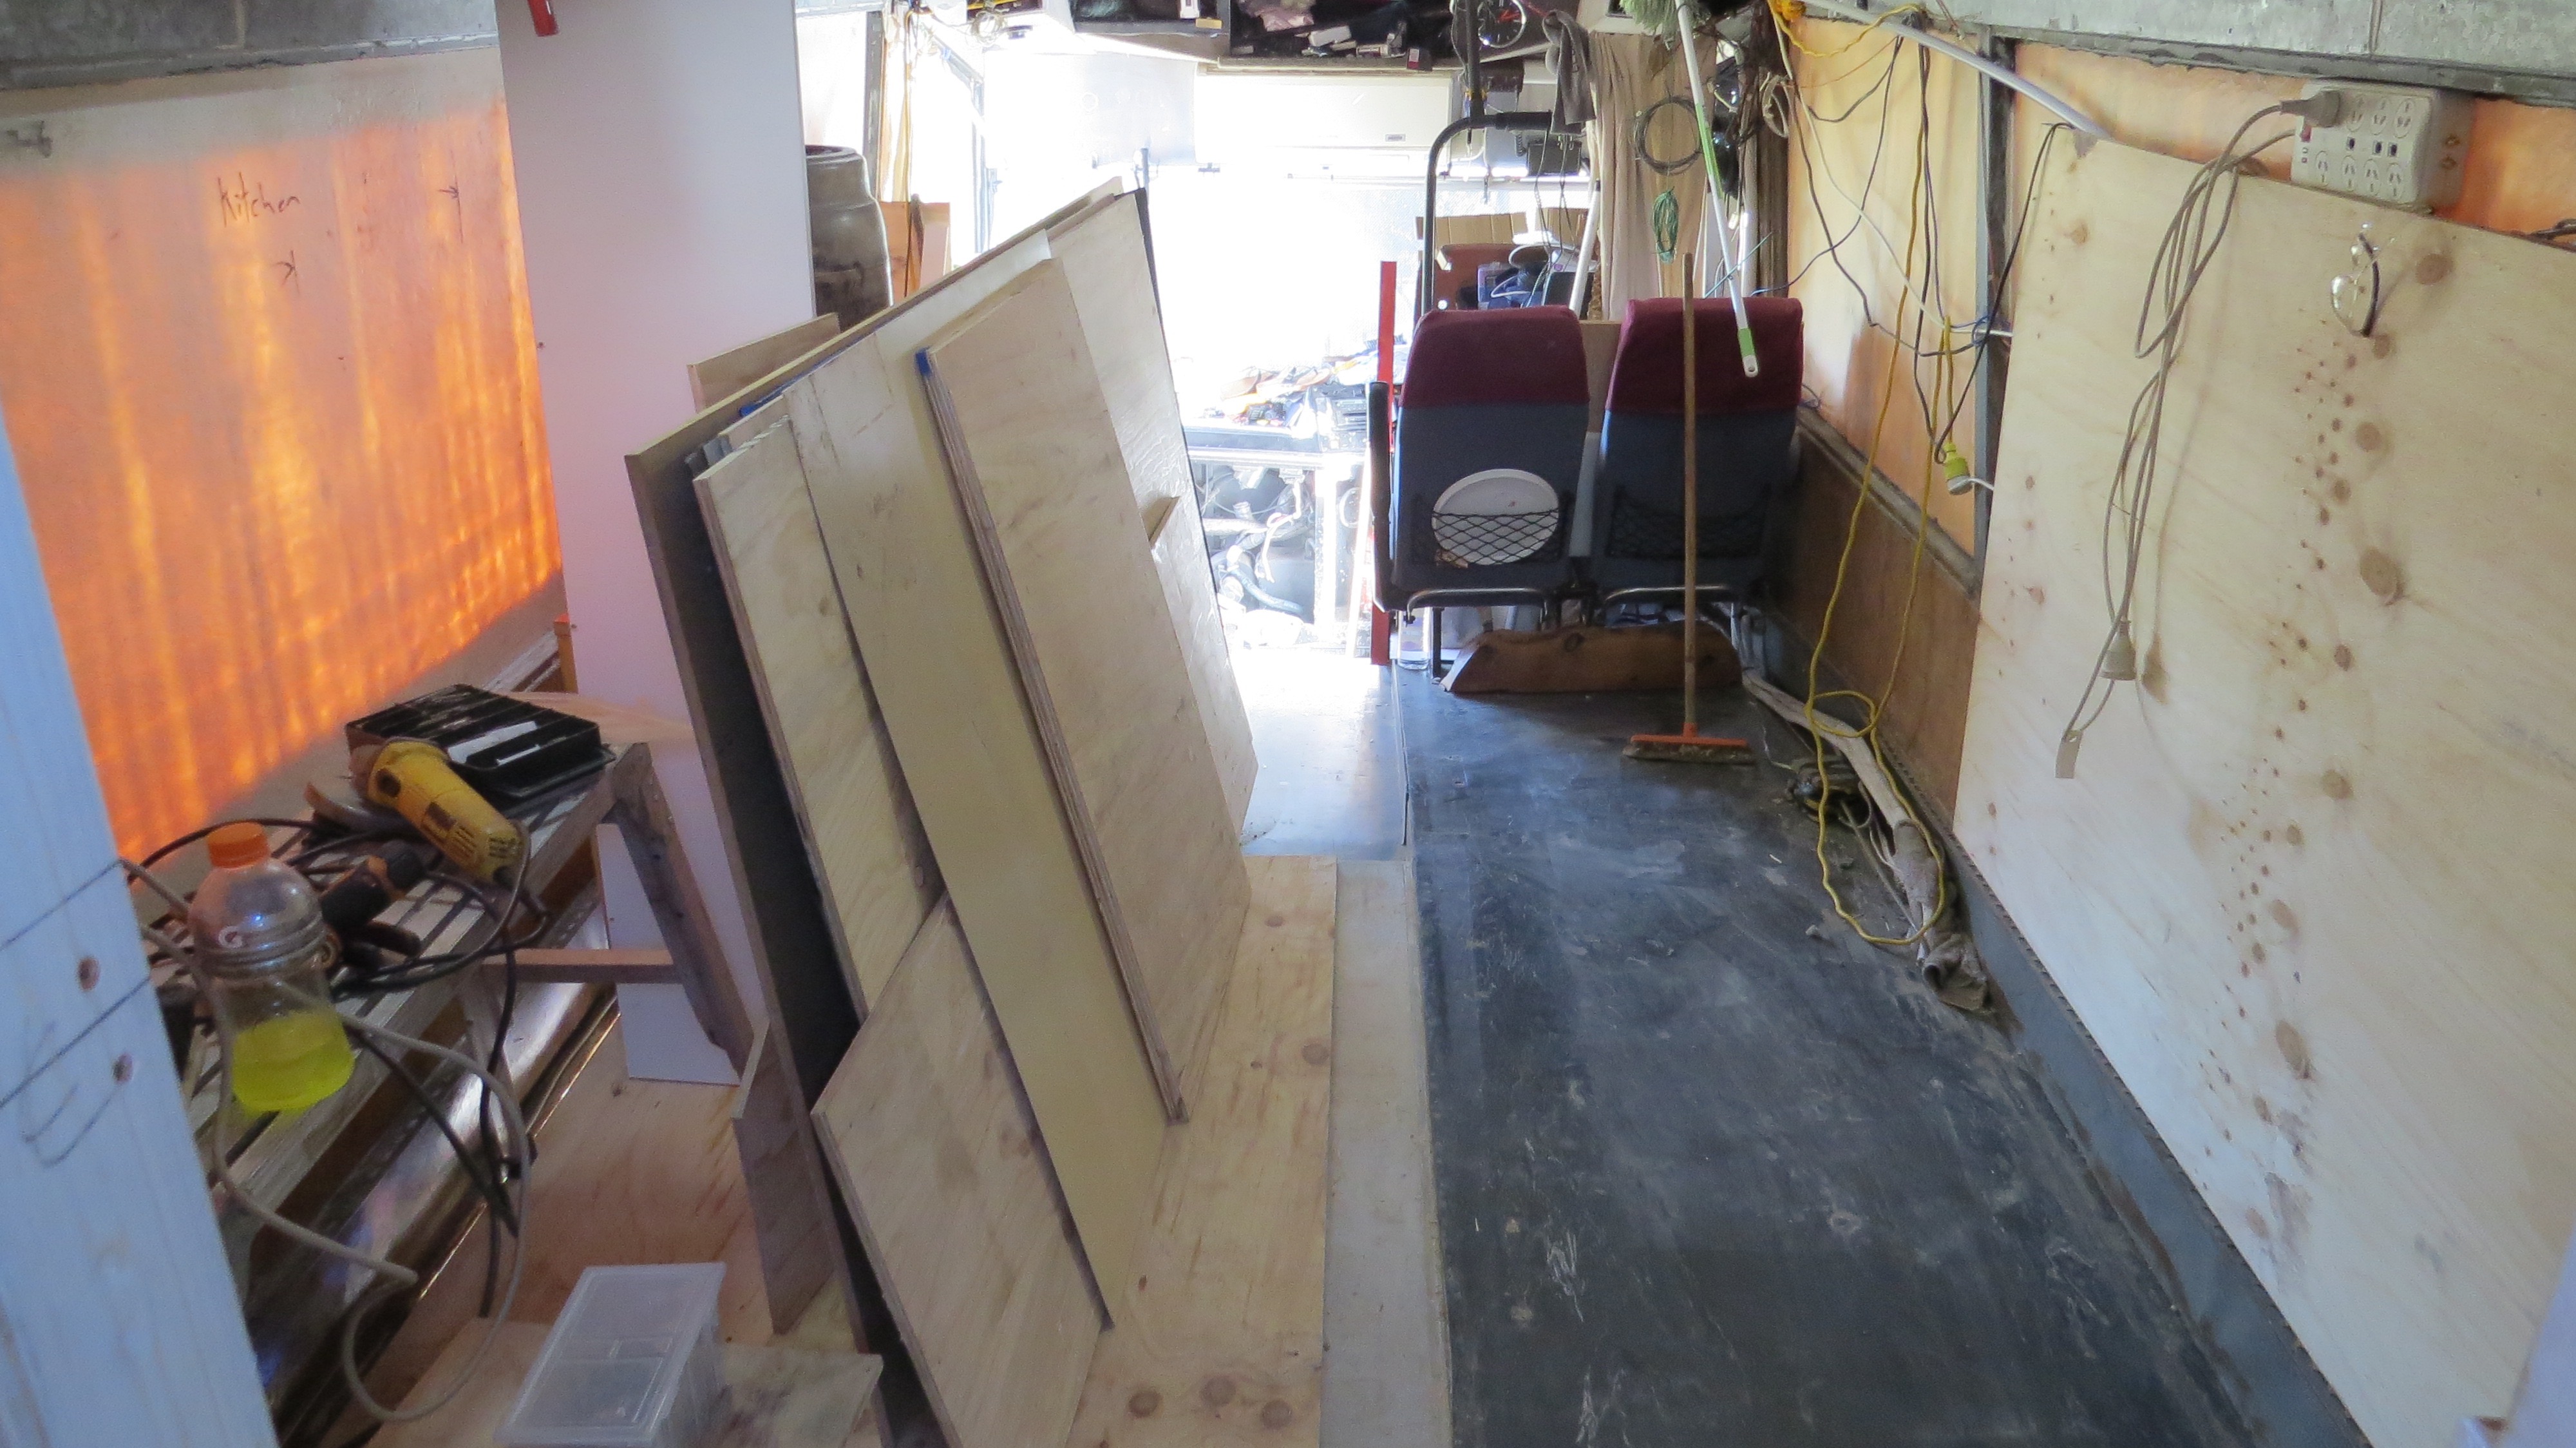
One step closer to finishing the floor for good. After the kitchen floor there will be only the front to do. But now the fun bit of pulling up the old floor, they keep using too much glue on one side again.
Two side’s???
There are two side to every bus and on this bus one side the floor is glued down way more than the other. The driver’s side had always been the painful one to rip up. I’ve started on the easy side even though I know it’s better to do the crappy job’s first.
First off I’ll have to pull up the rubber floor.Now the side that was glued down more.Ripping up more flooring this time the kitchen.Now that’s the easy side done.
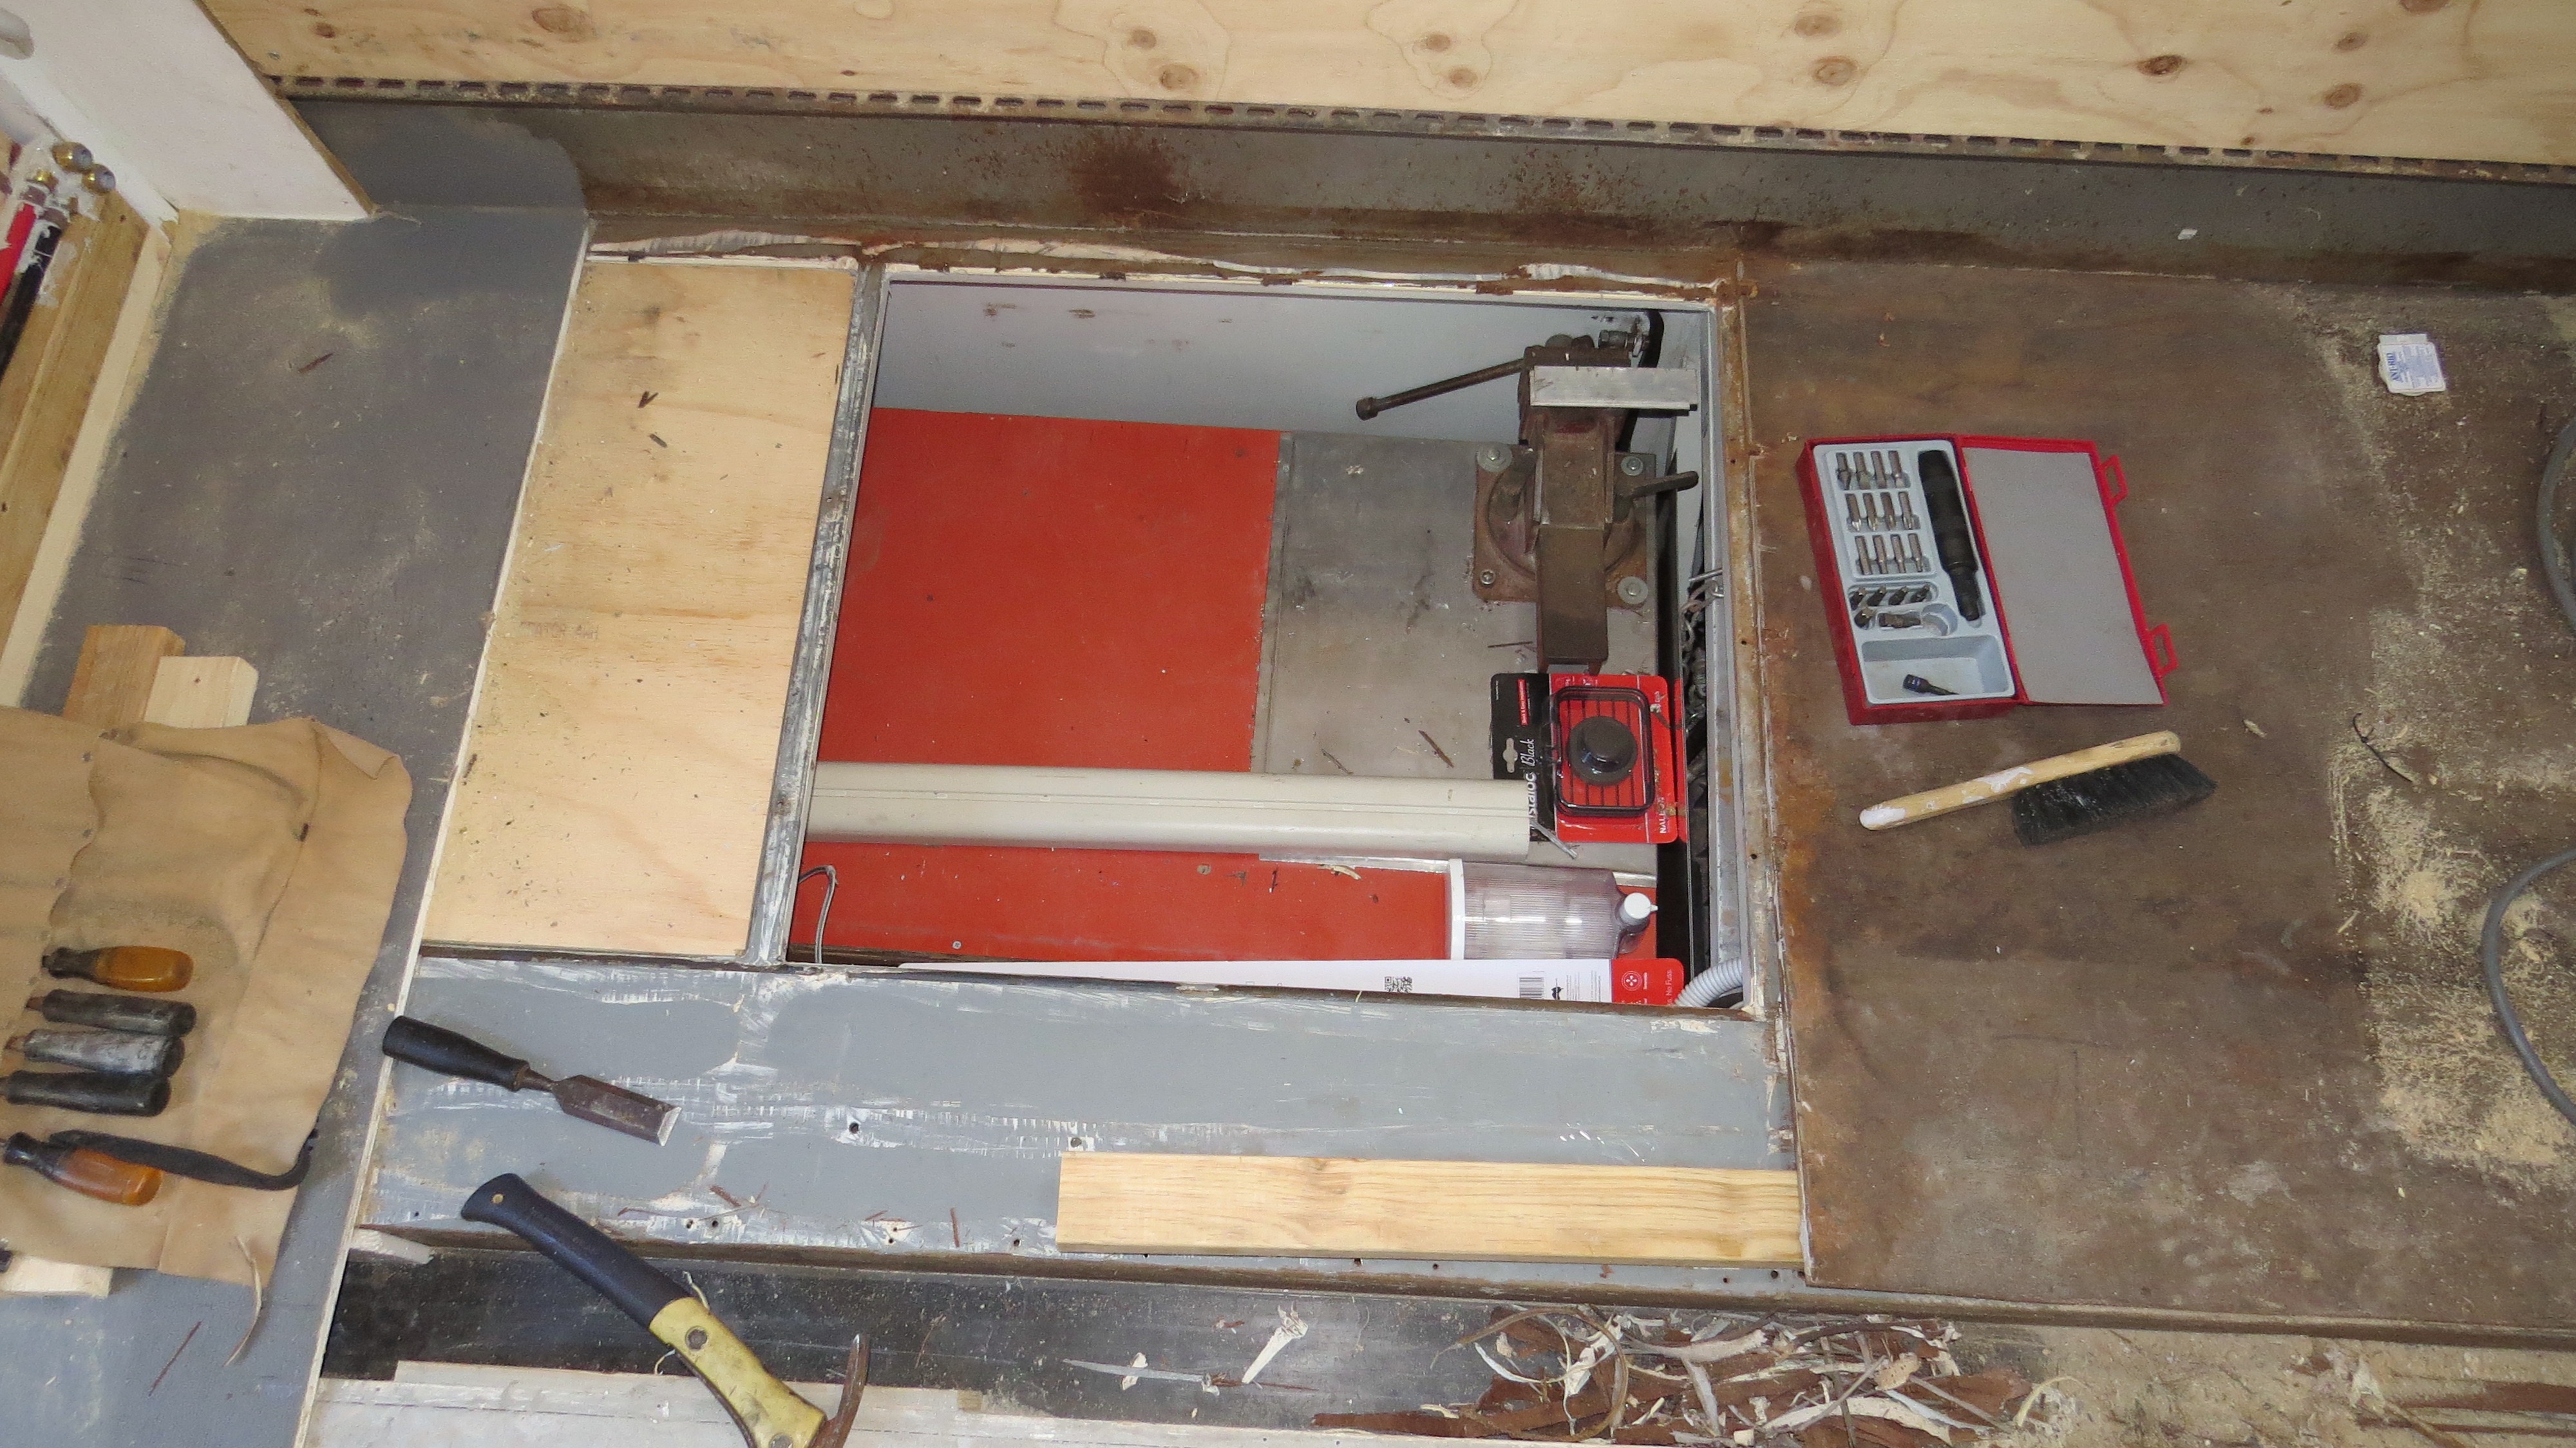
Now the hard side
So I’ve had to cut the old floor ply into little pieces just to get it up, the floor that is!!! One bit at a time I had to pry up and scrap off the glue.
I’m having to cut the flooring into small bit’s to get it up.Thank goodness that’s done.
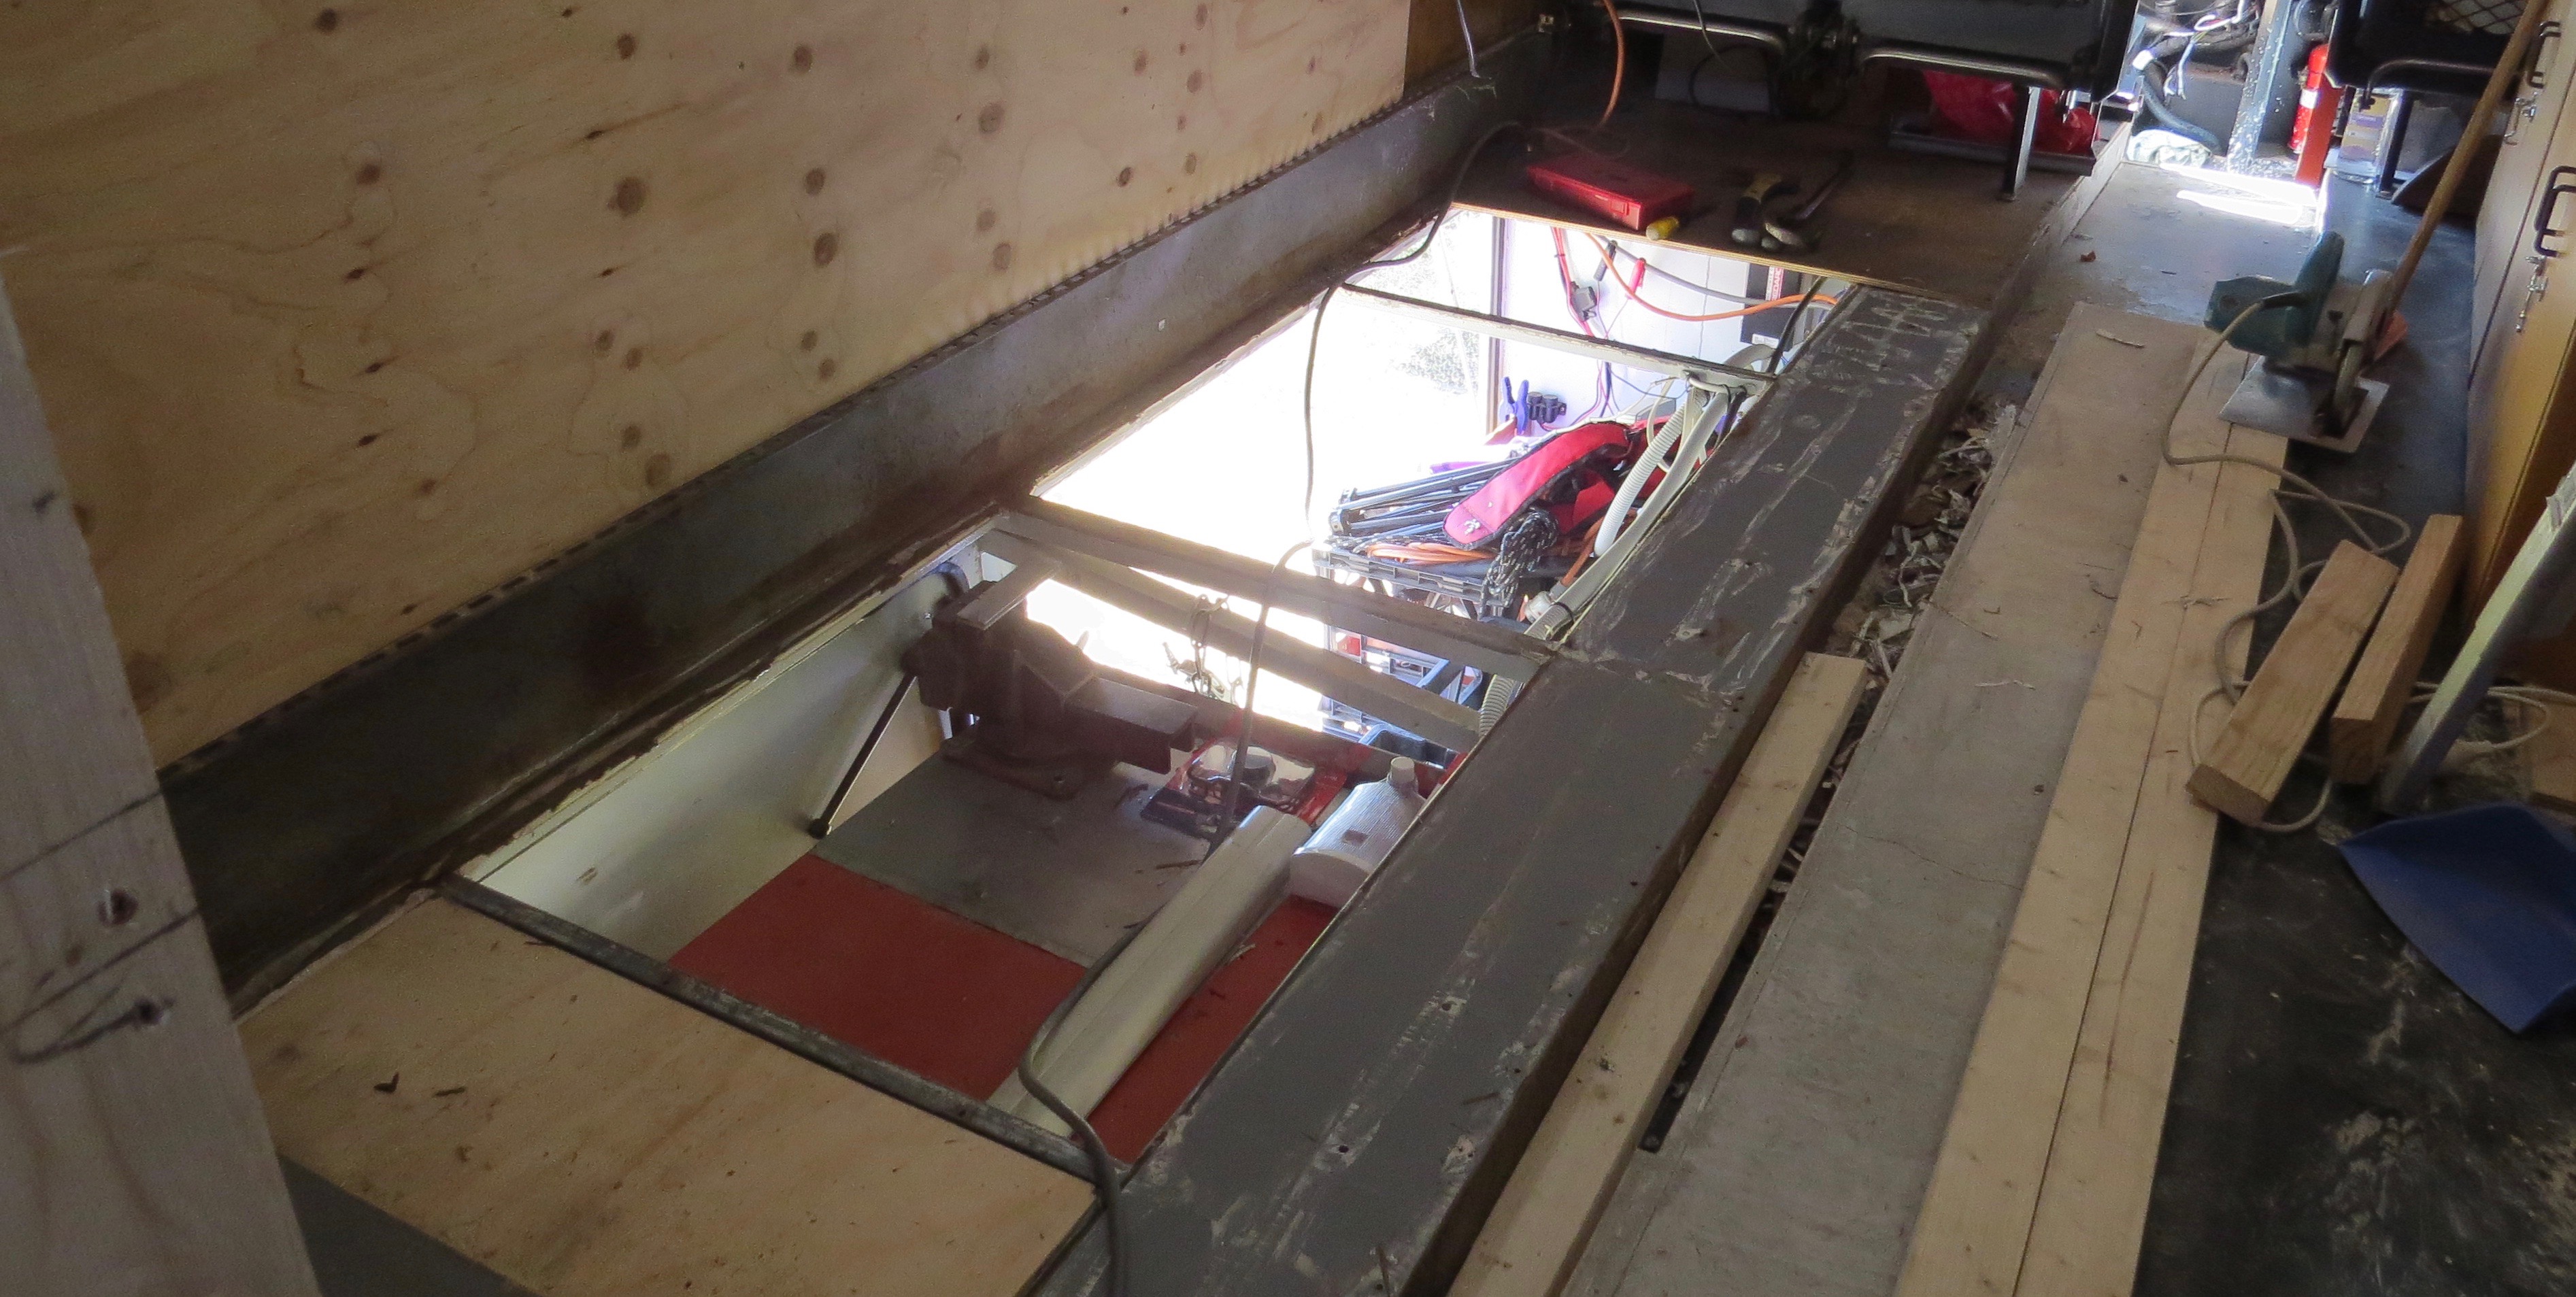
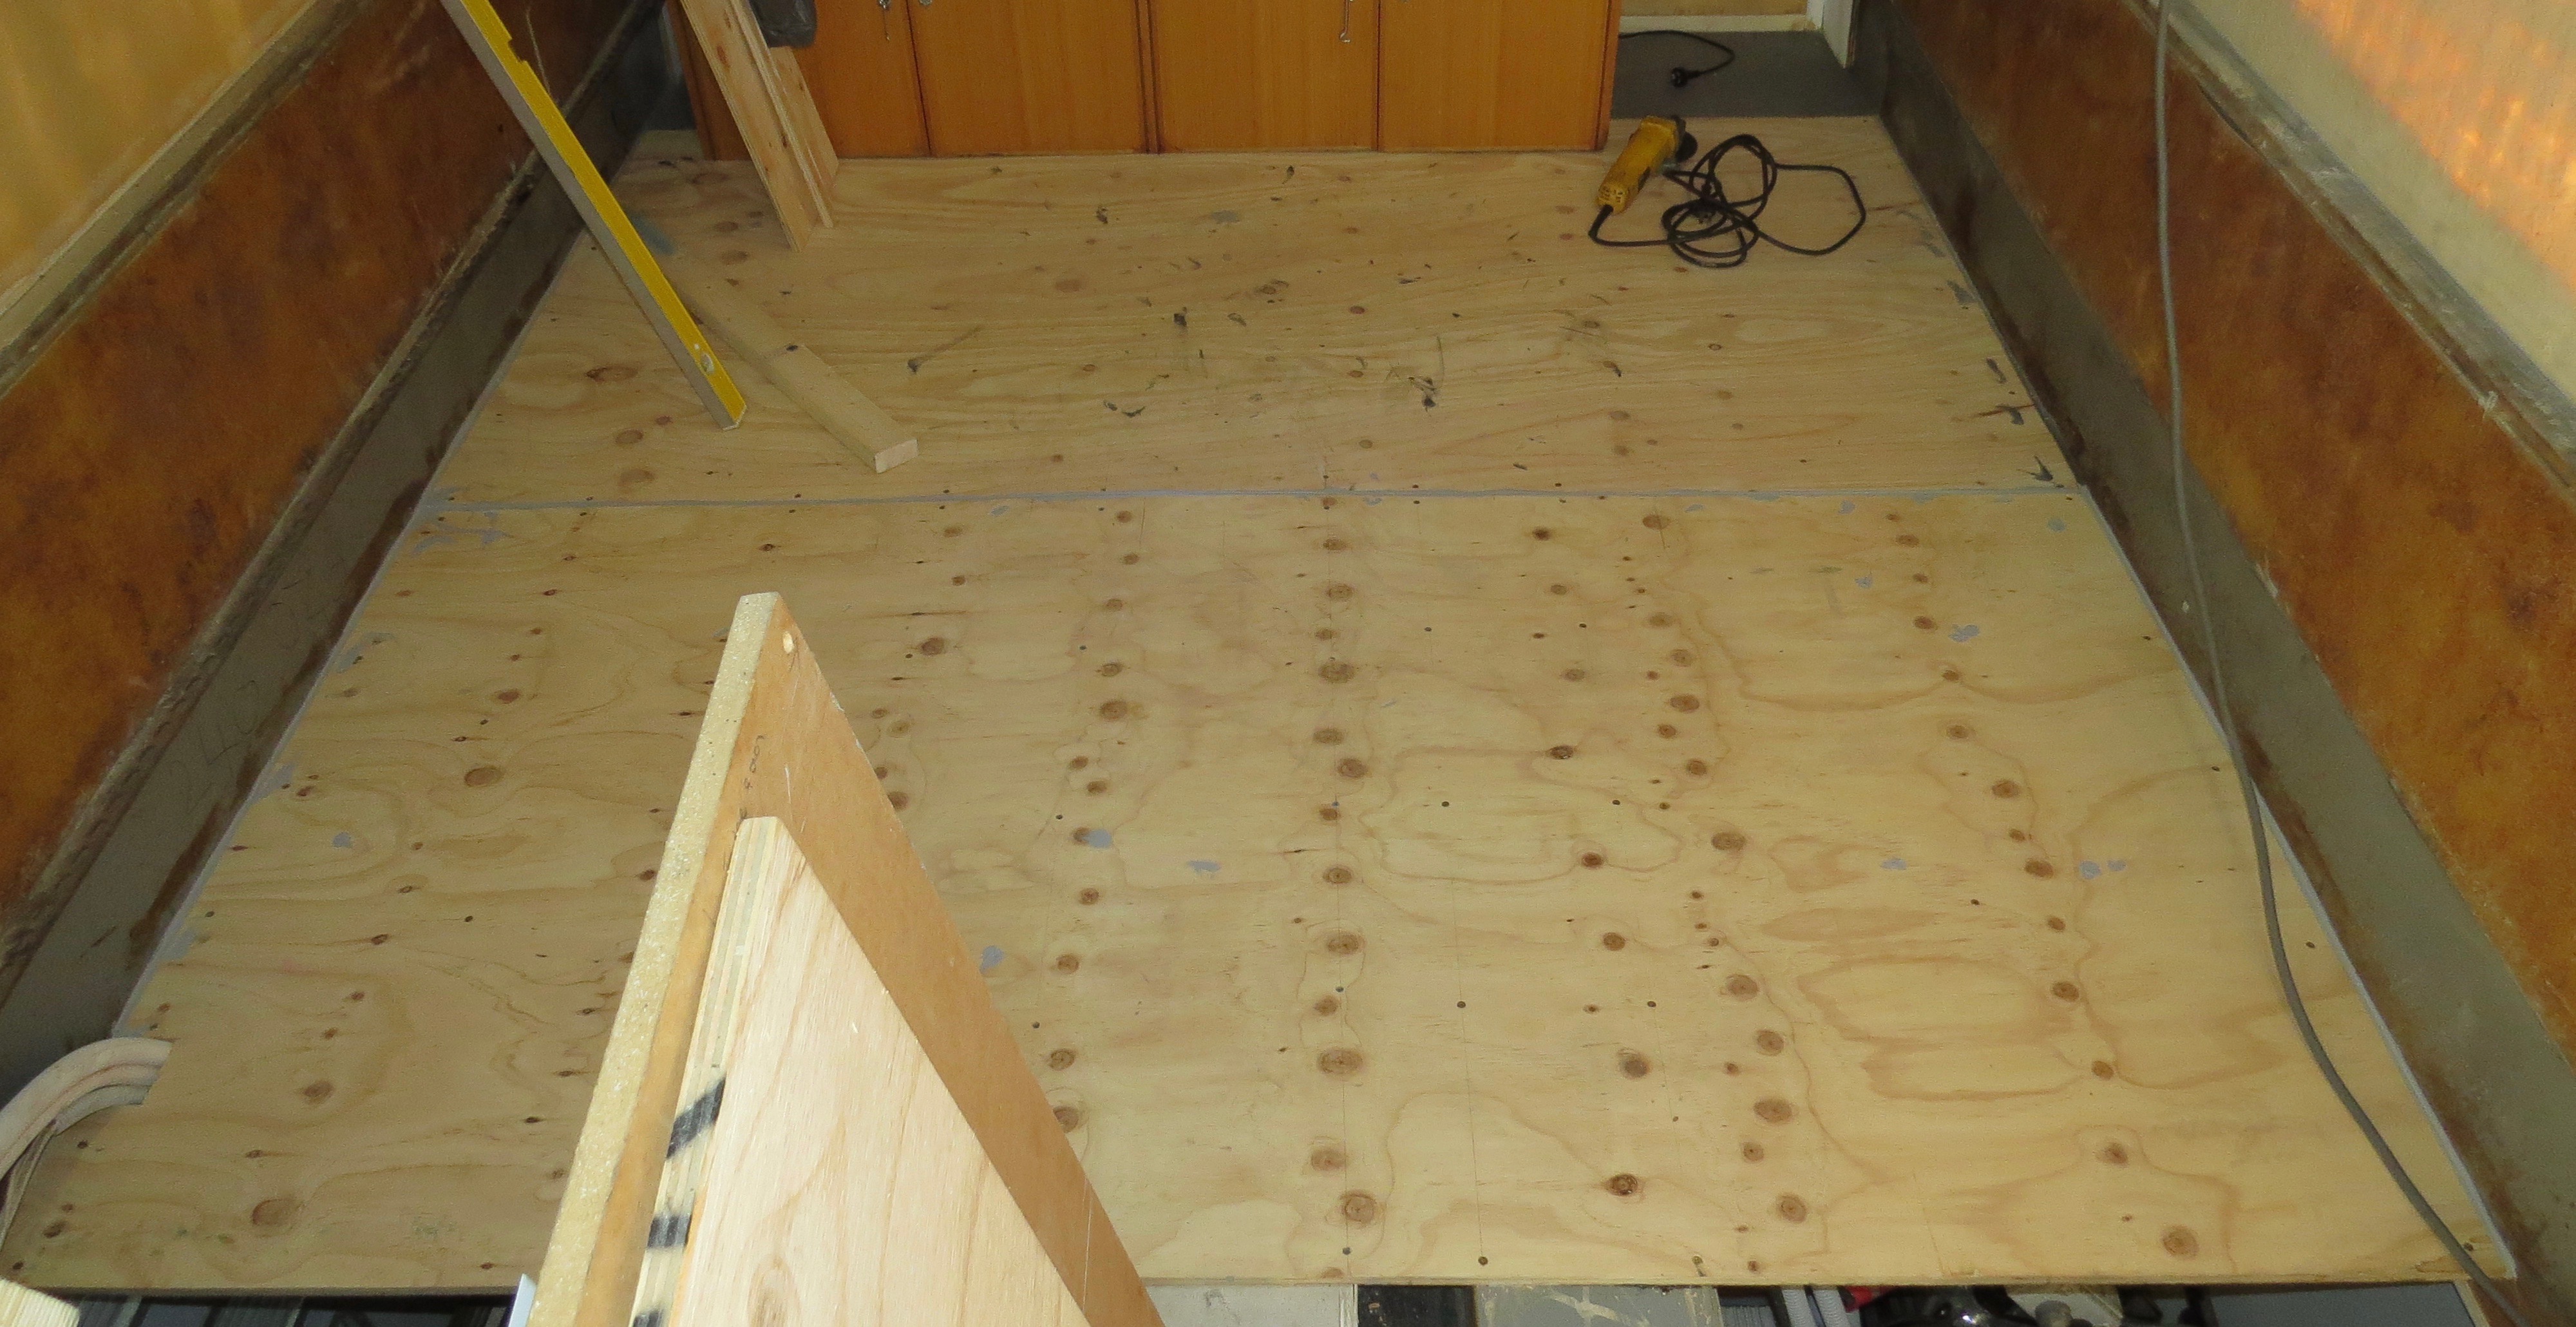
New ply time
Next I’ll have to cut off the old seat rail that runs down both side’s of the bus so I can fit the new floor sheets into place.
Just have to cut off the old seat rail now.
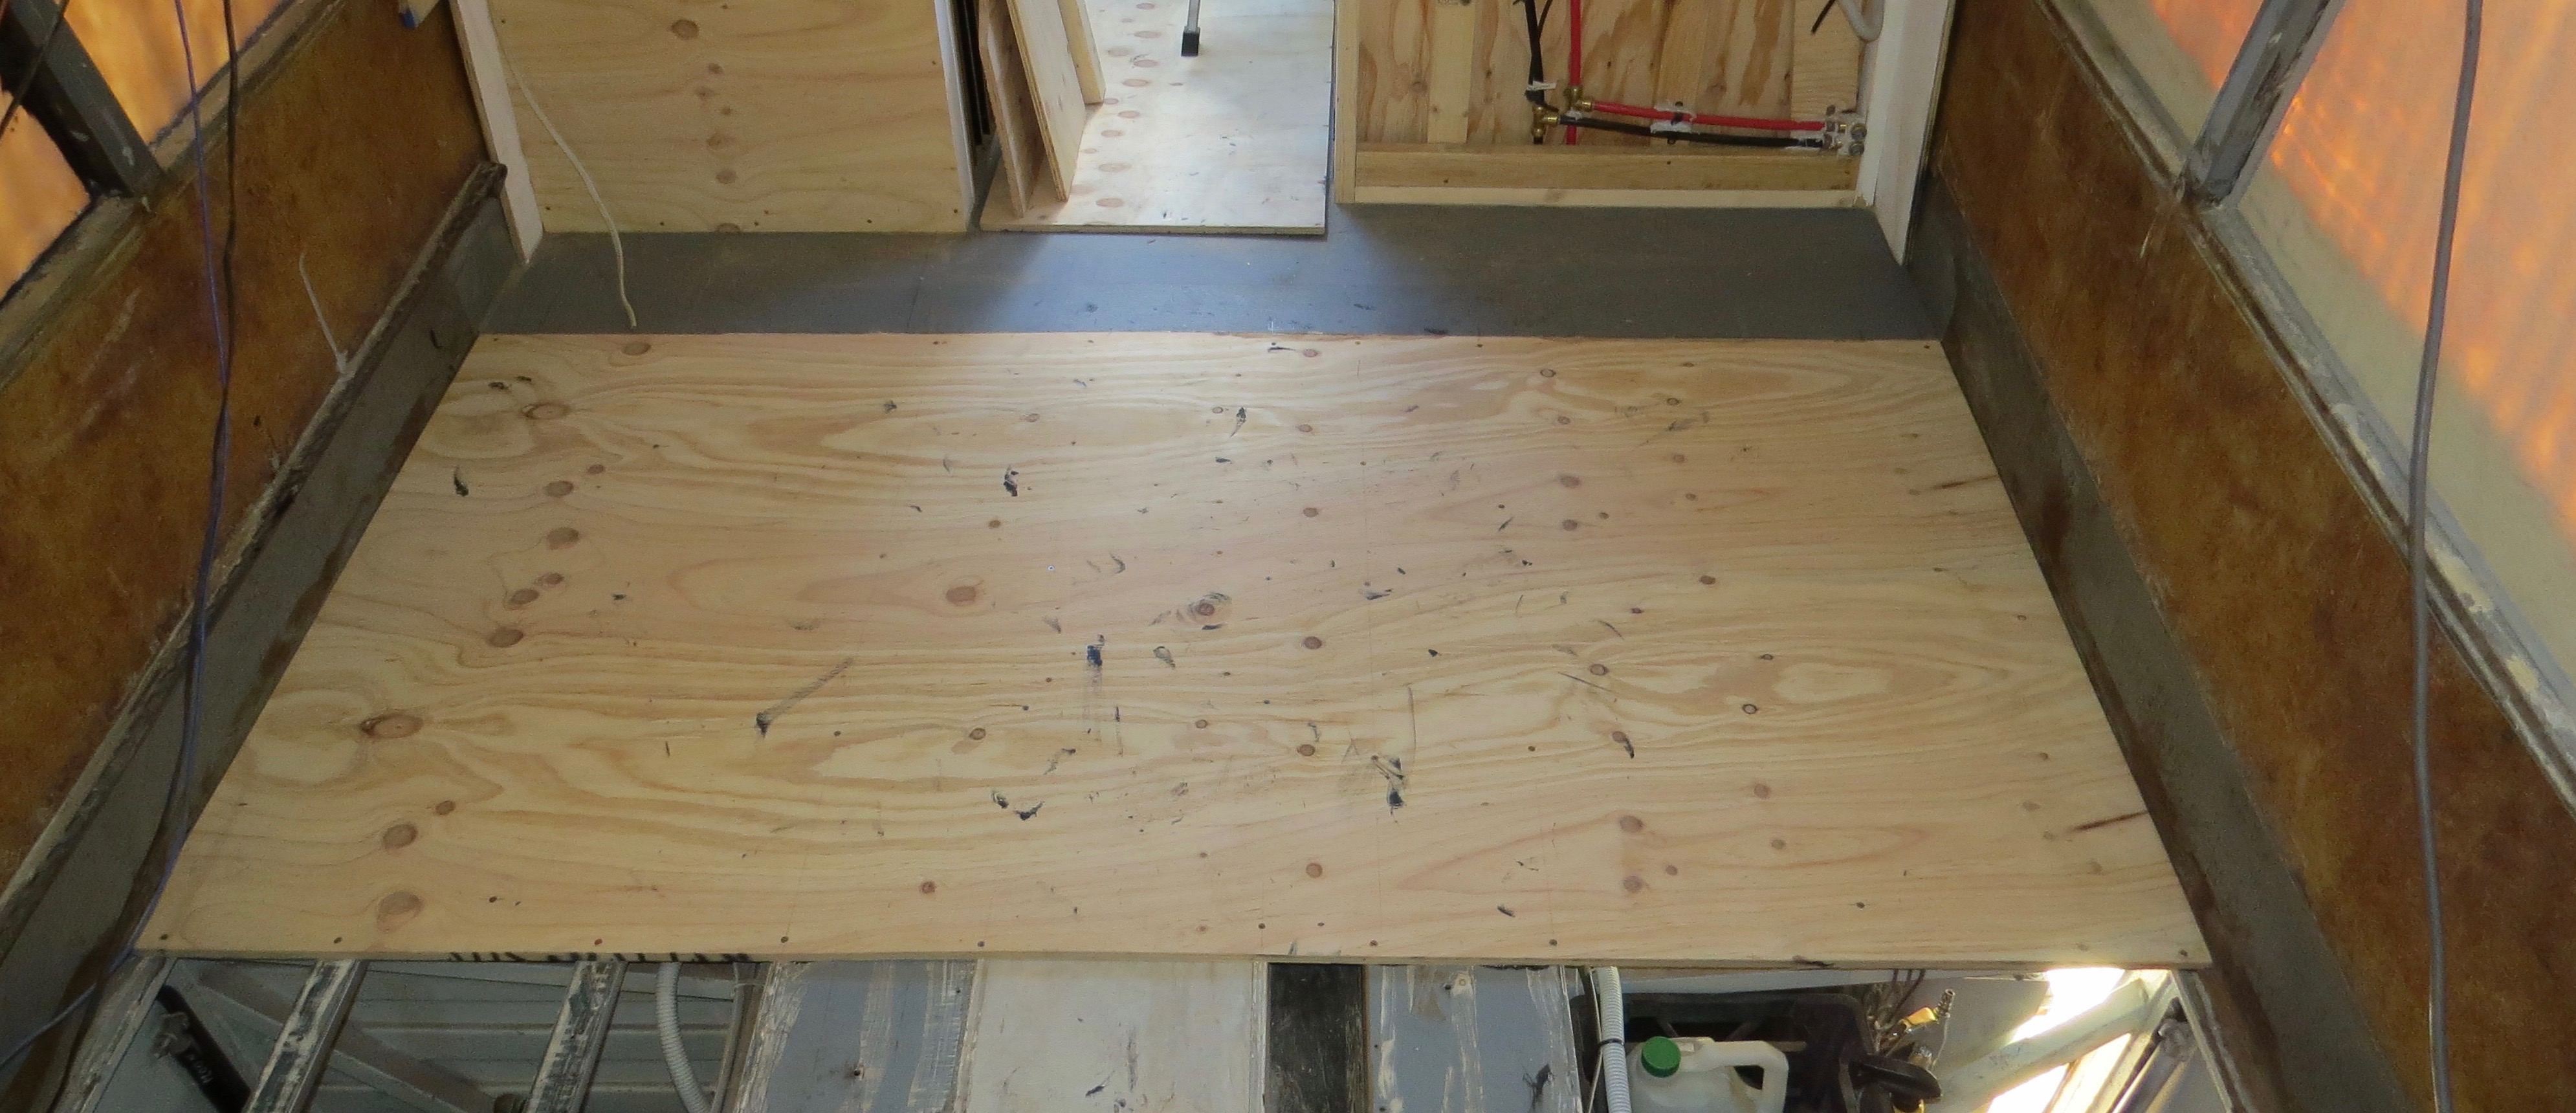
Now all I have to do is cut the new flooring to size and screw and glue it into place. Yes glue and lots of it as I’m not going to be pulling it up ever again.
Ply board ready to be cut to size.One sheet down one more to go.Kitchen floor down.
After this I’ll only have the floor down the front to finish, so I’m looking forward to that day. The next job though will be vent’s in the wall for the fridge.
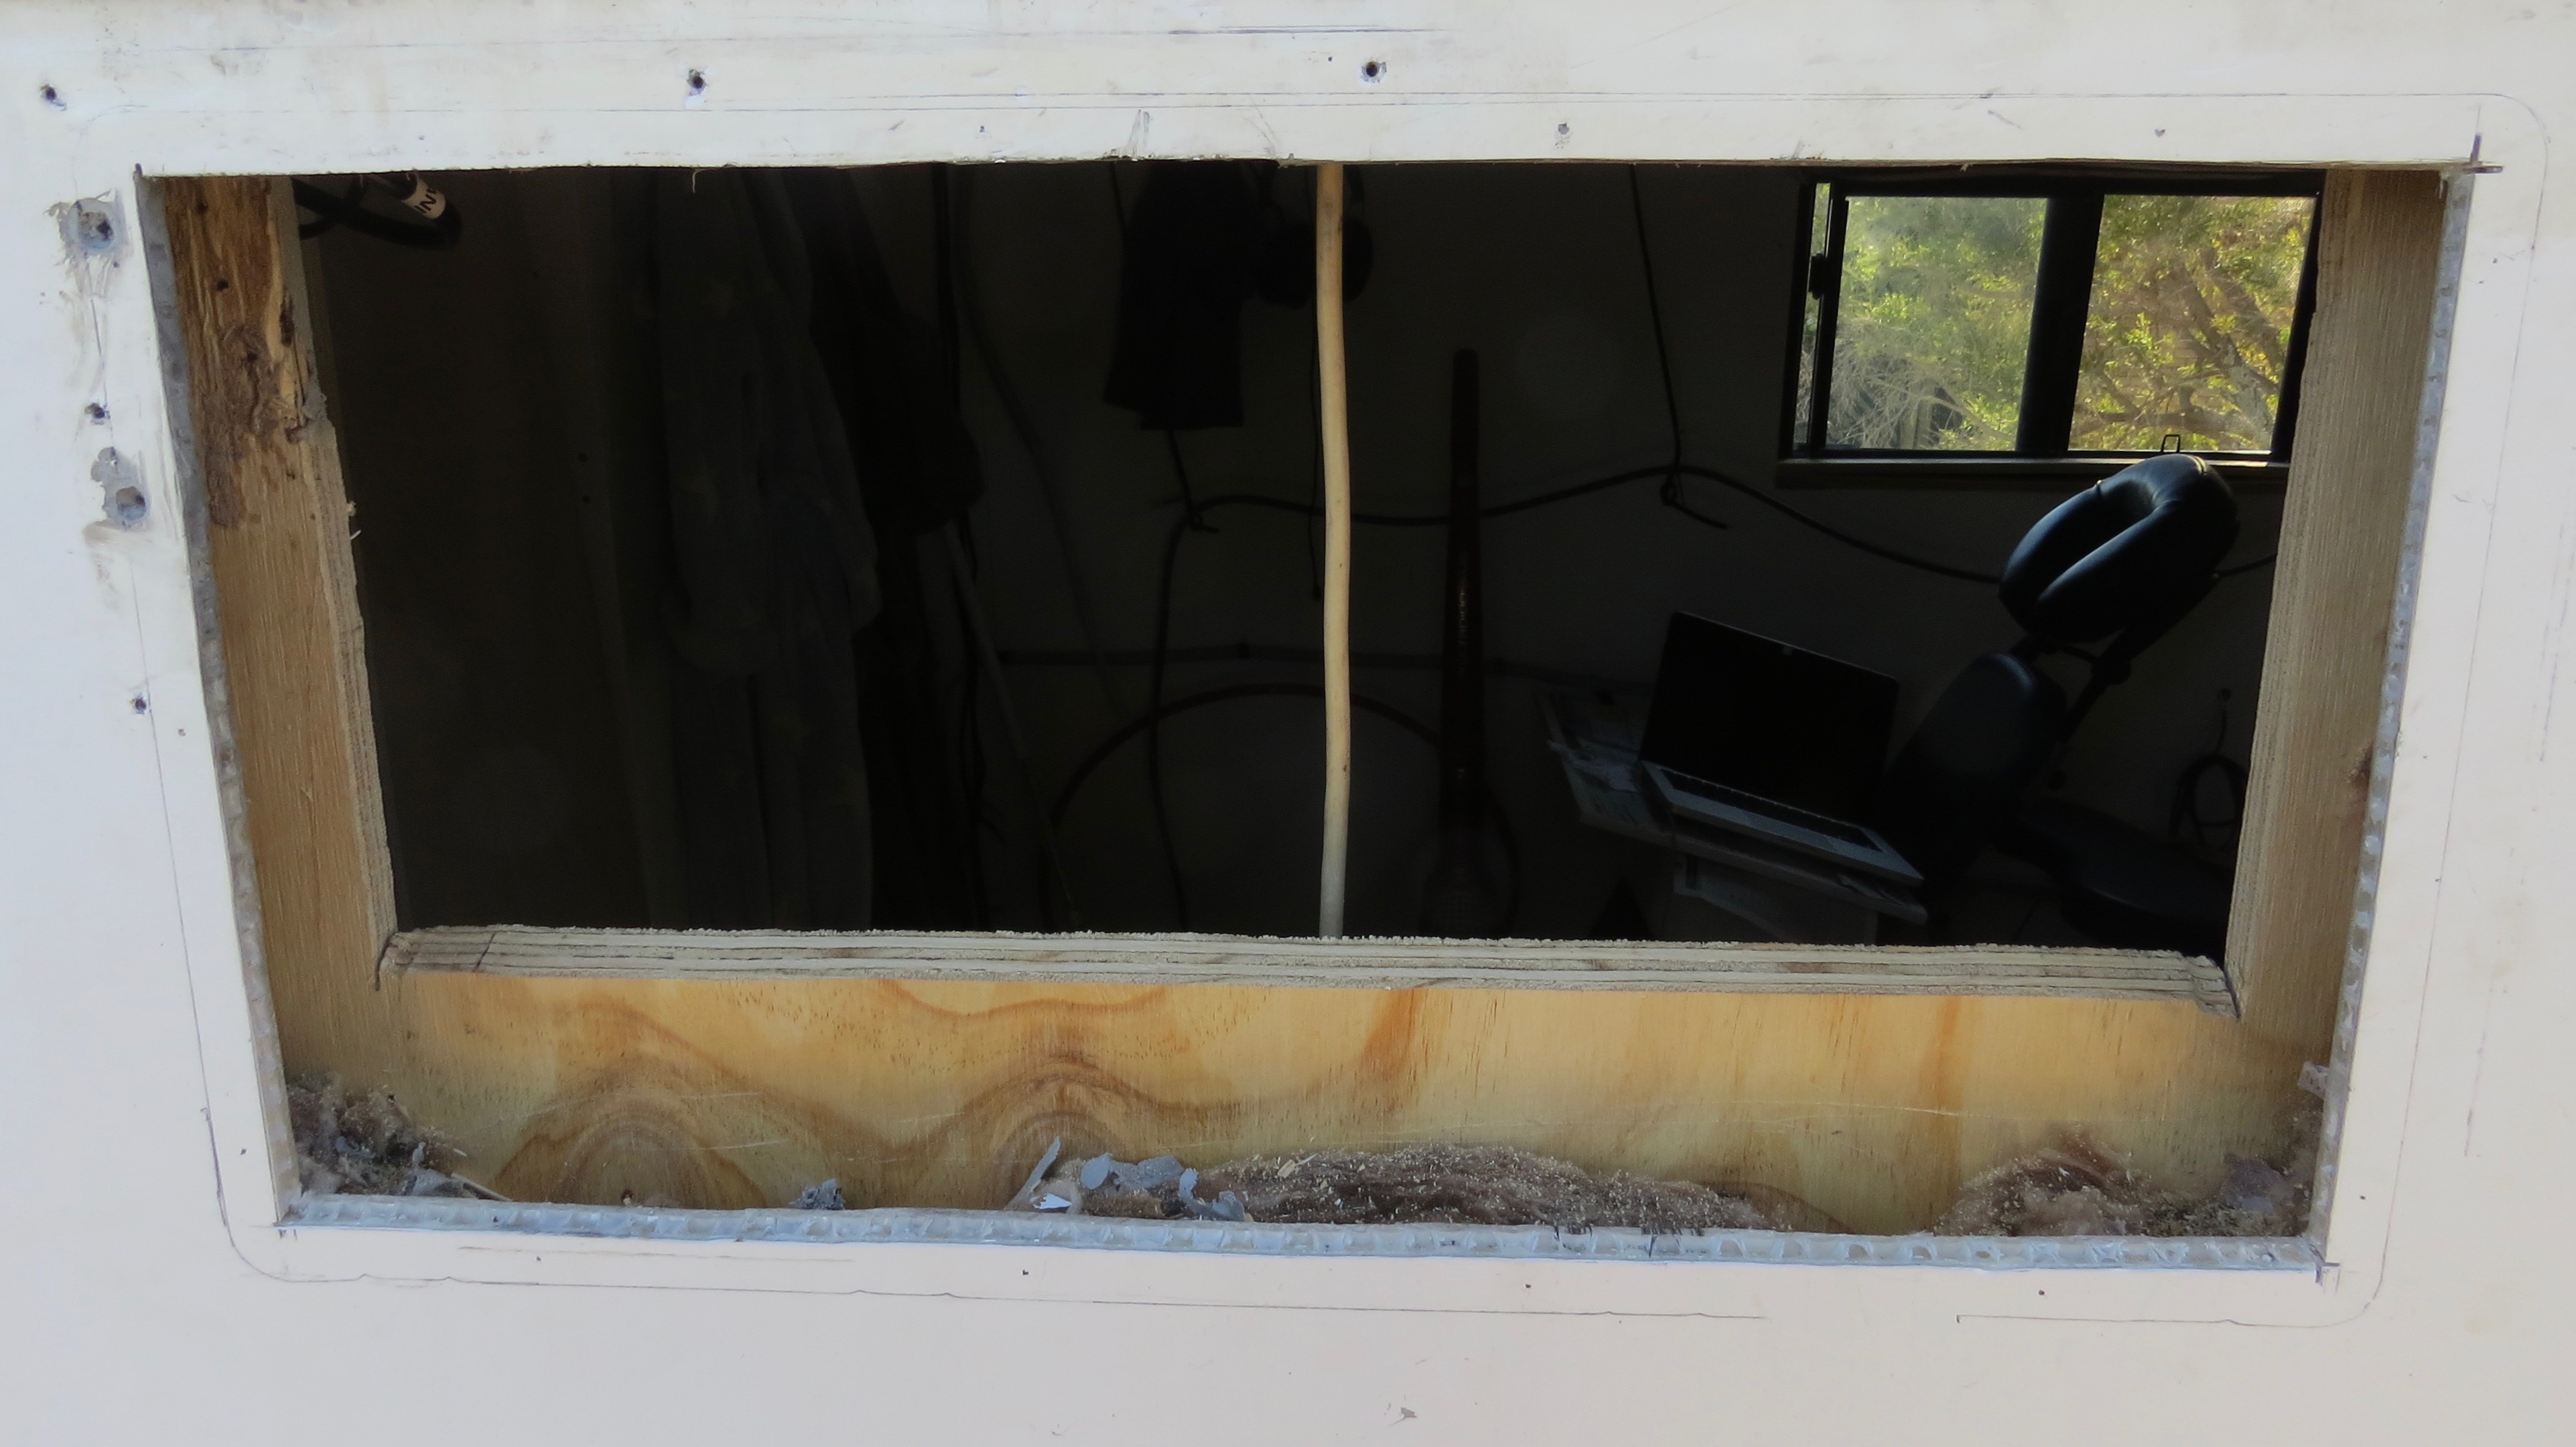
To date we have used our fridge on 240v & 12v, as it was not vented it also keep the bus warm.
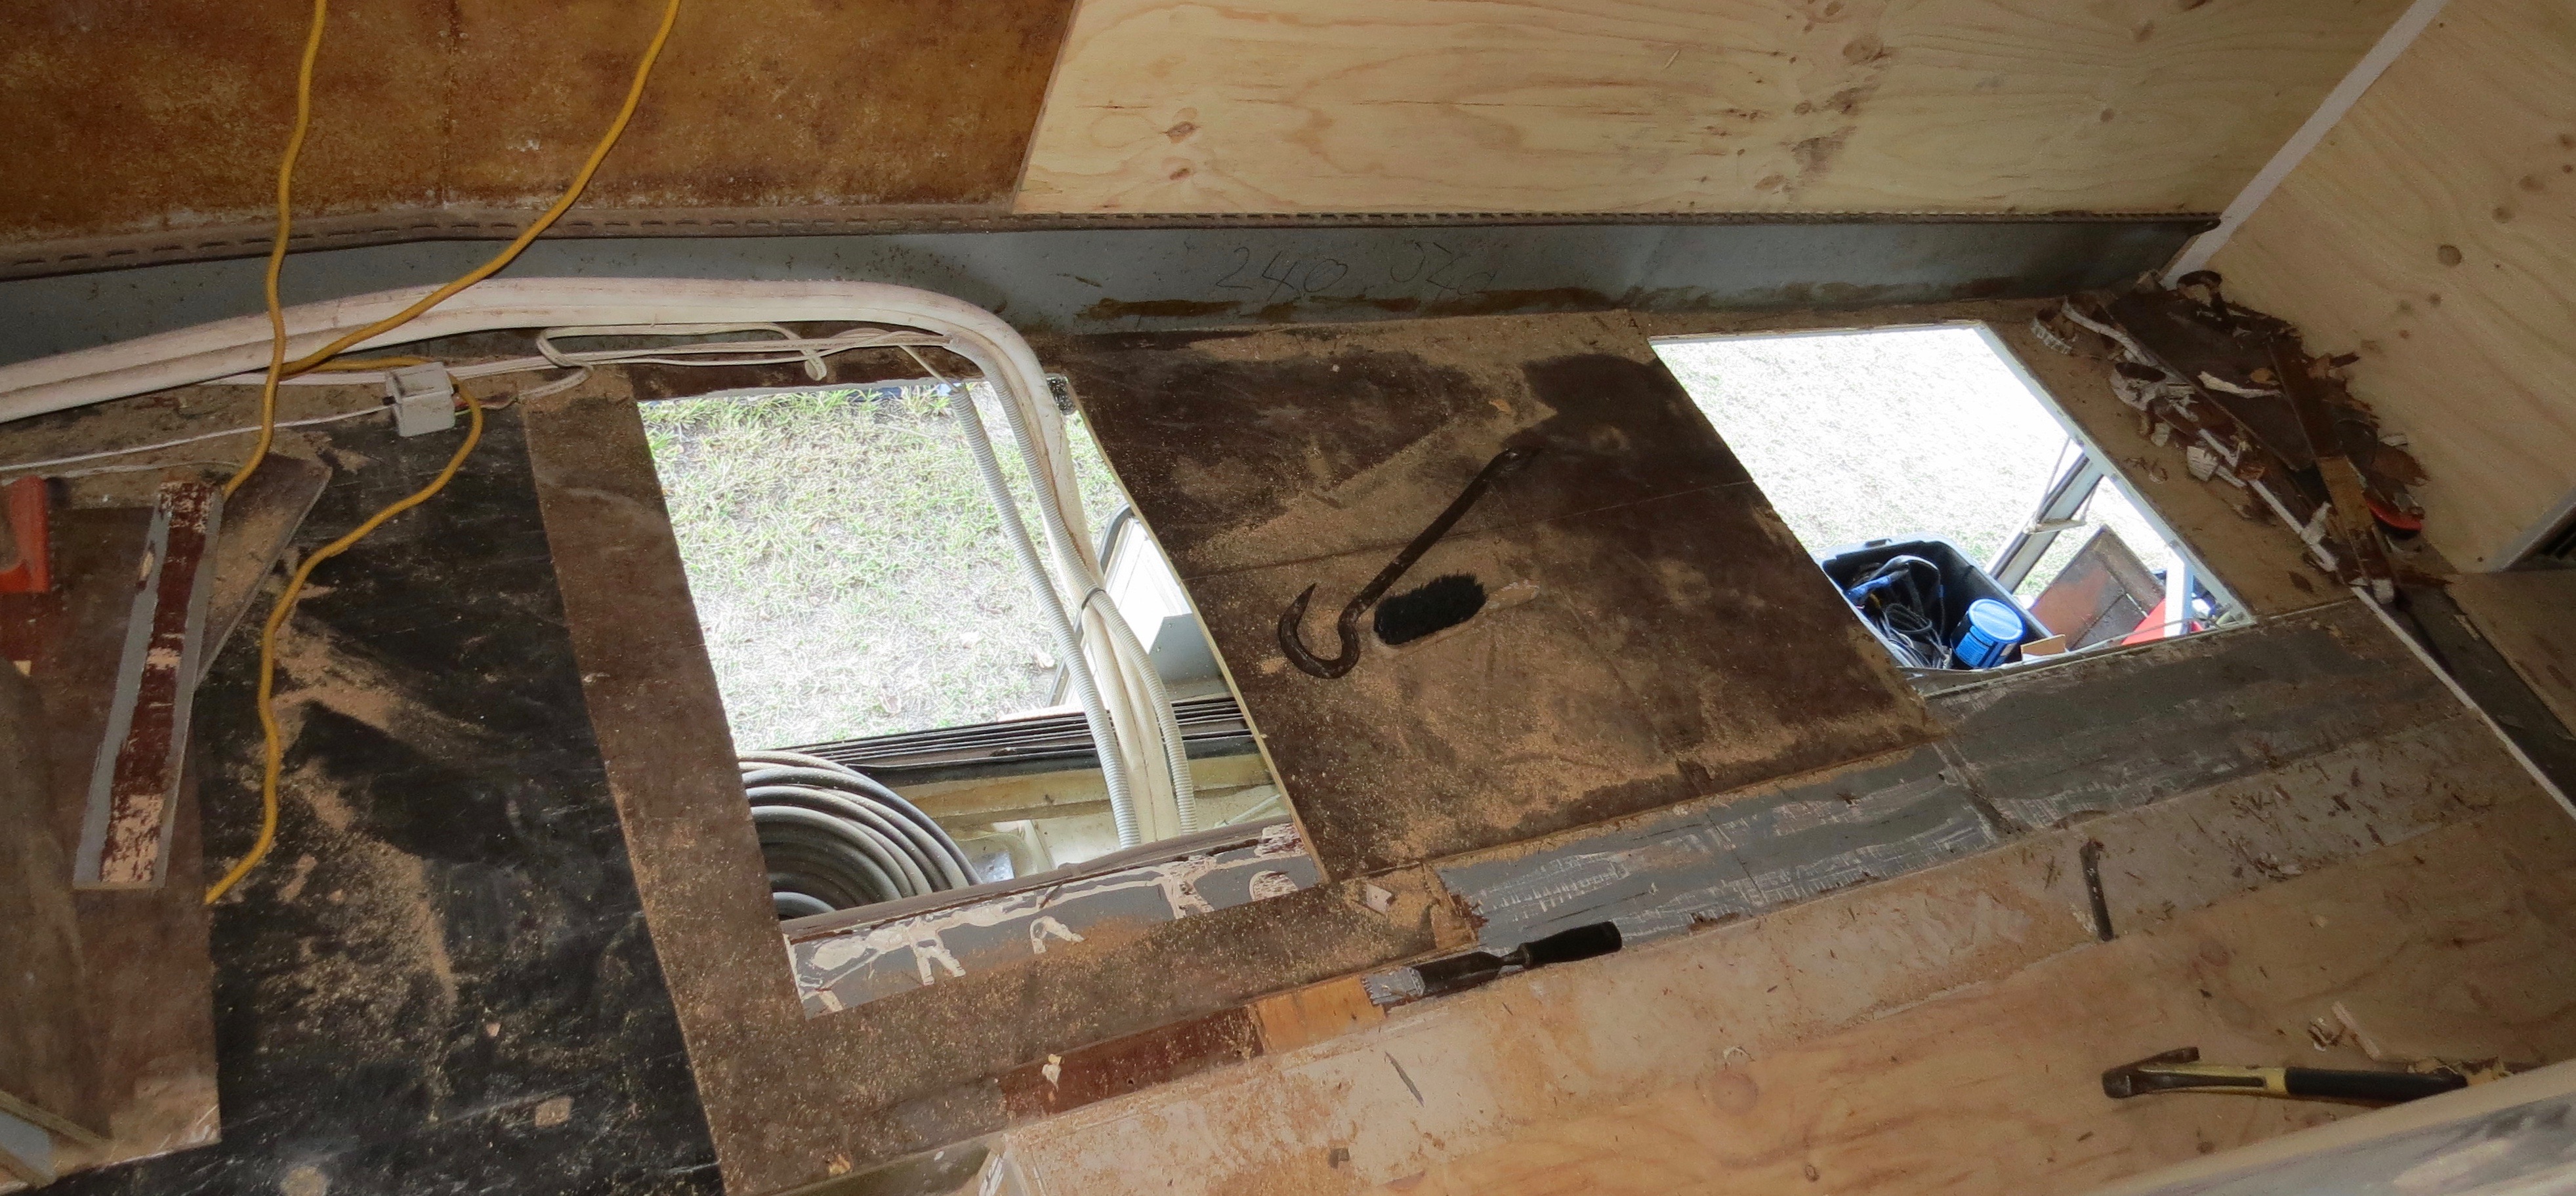
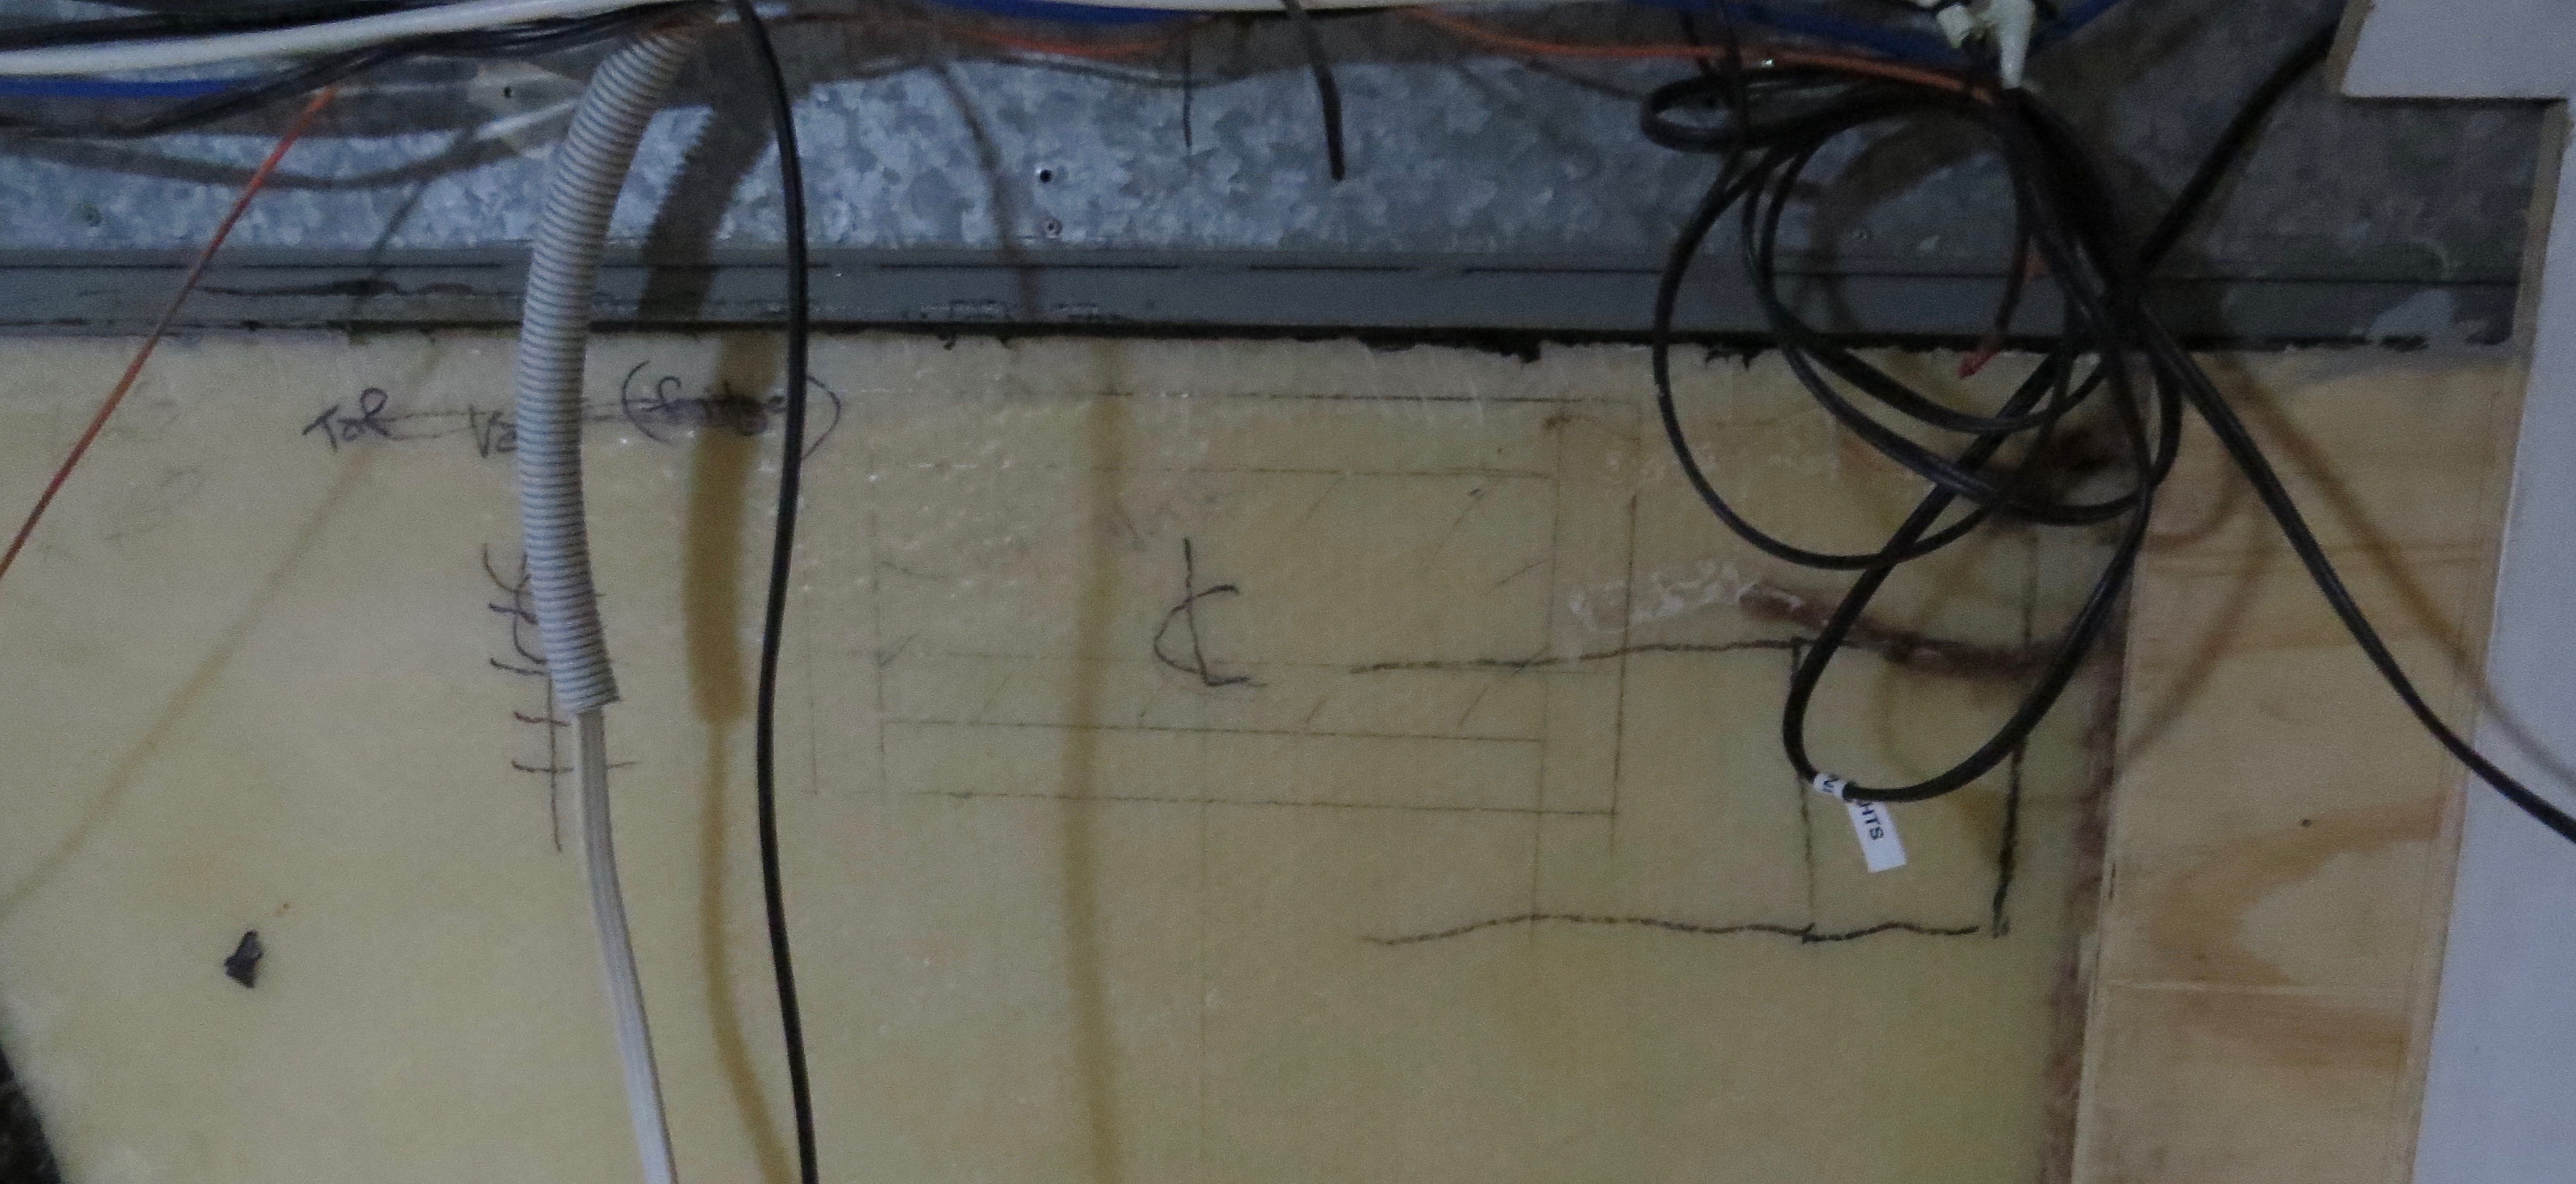
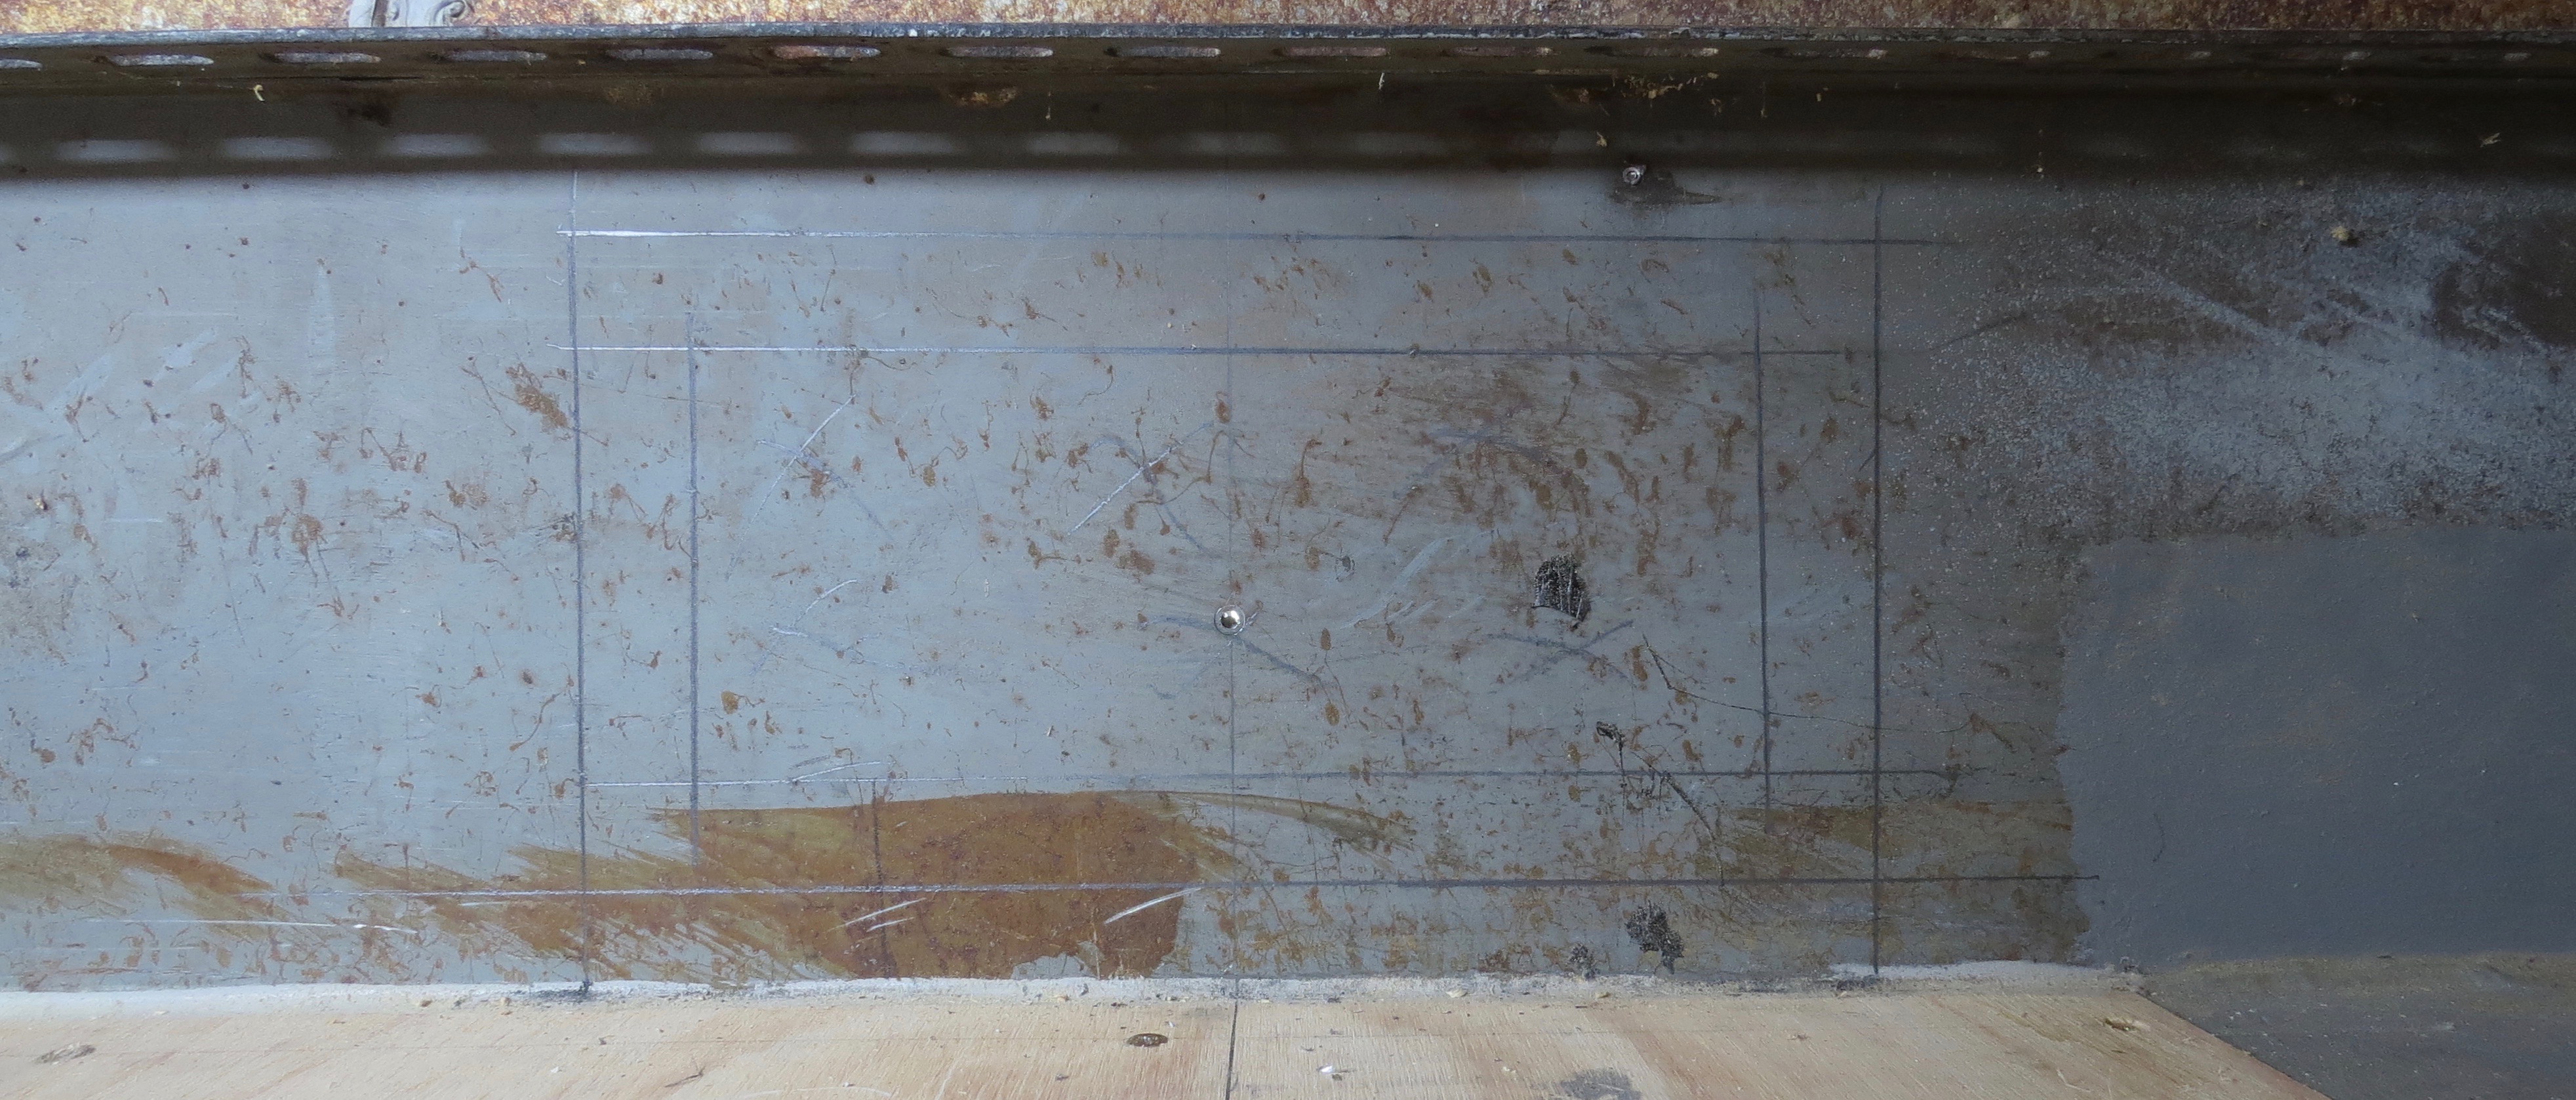
But now it’s time to make up the waterproof ducting for the vents for it’s final resting place.
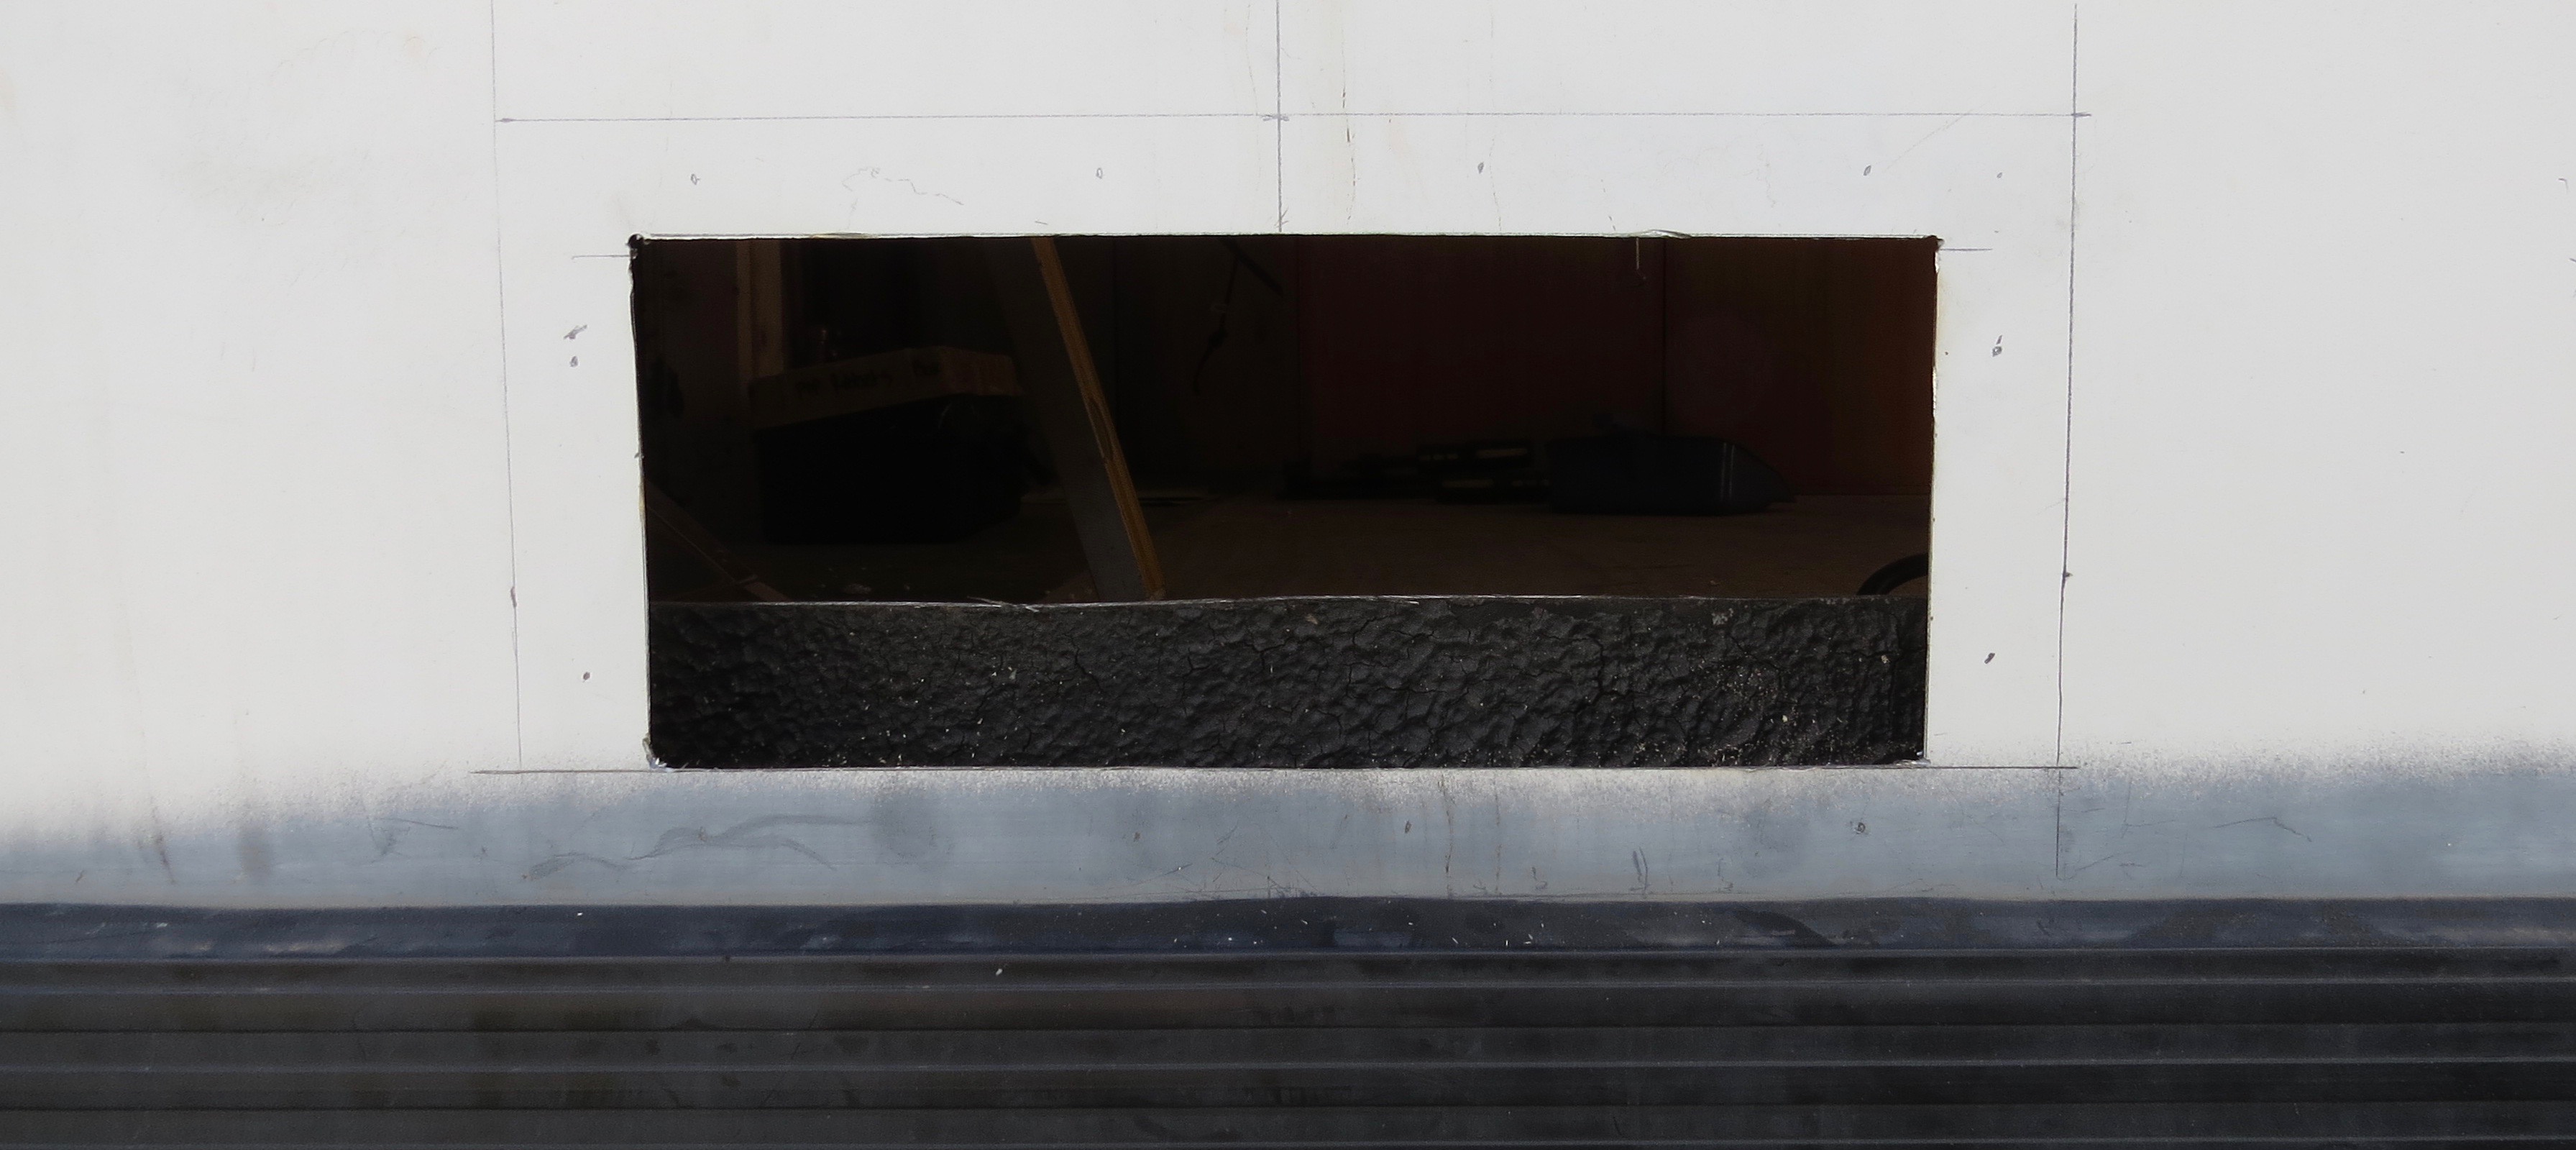
Top fridge vent marked out.Bottom vent marked out.Out side bottom vent.
Sheet metal Time
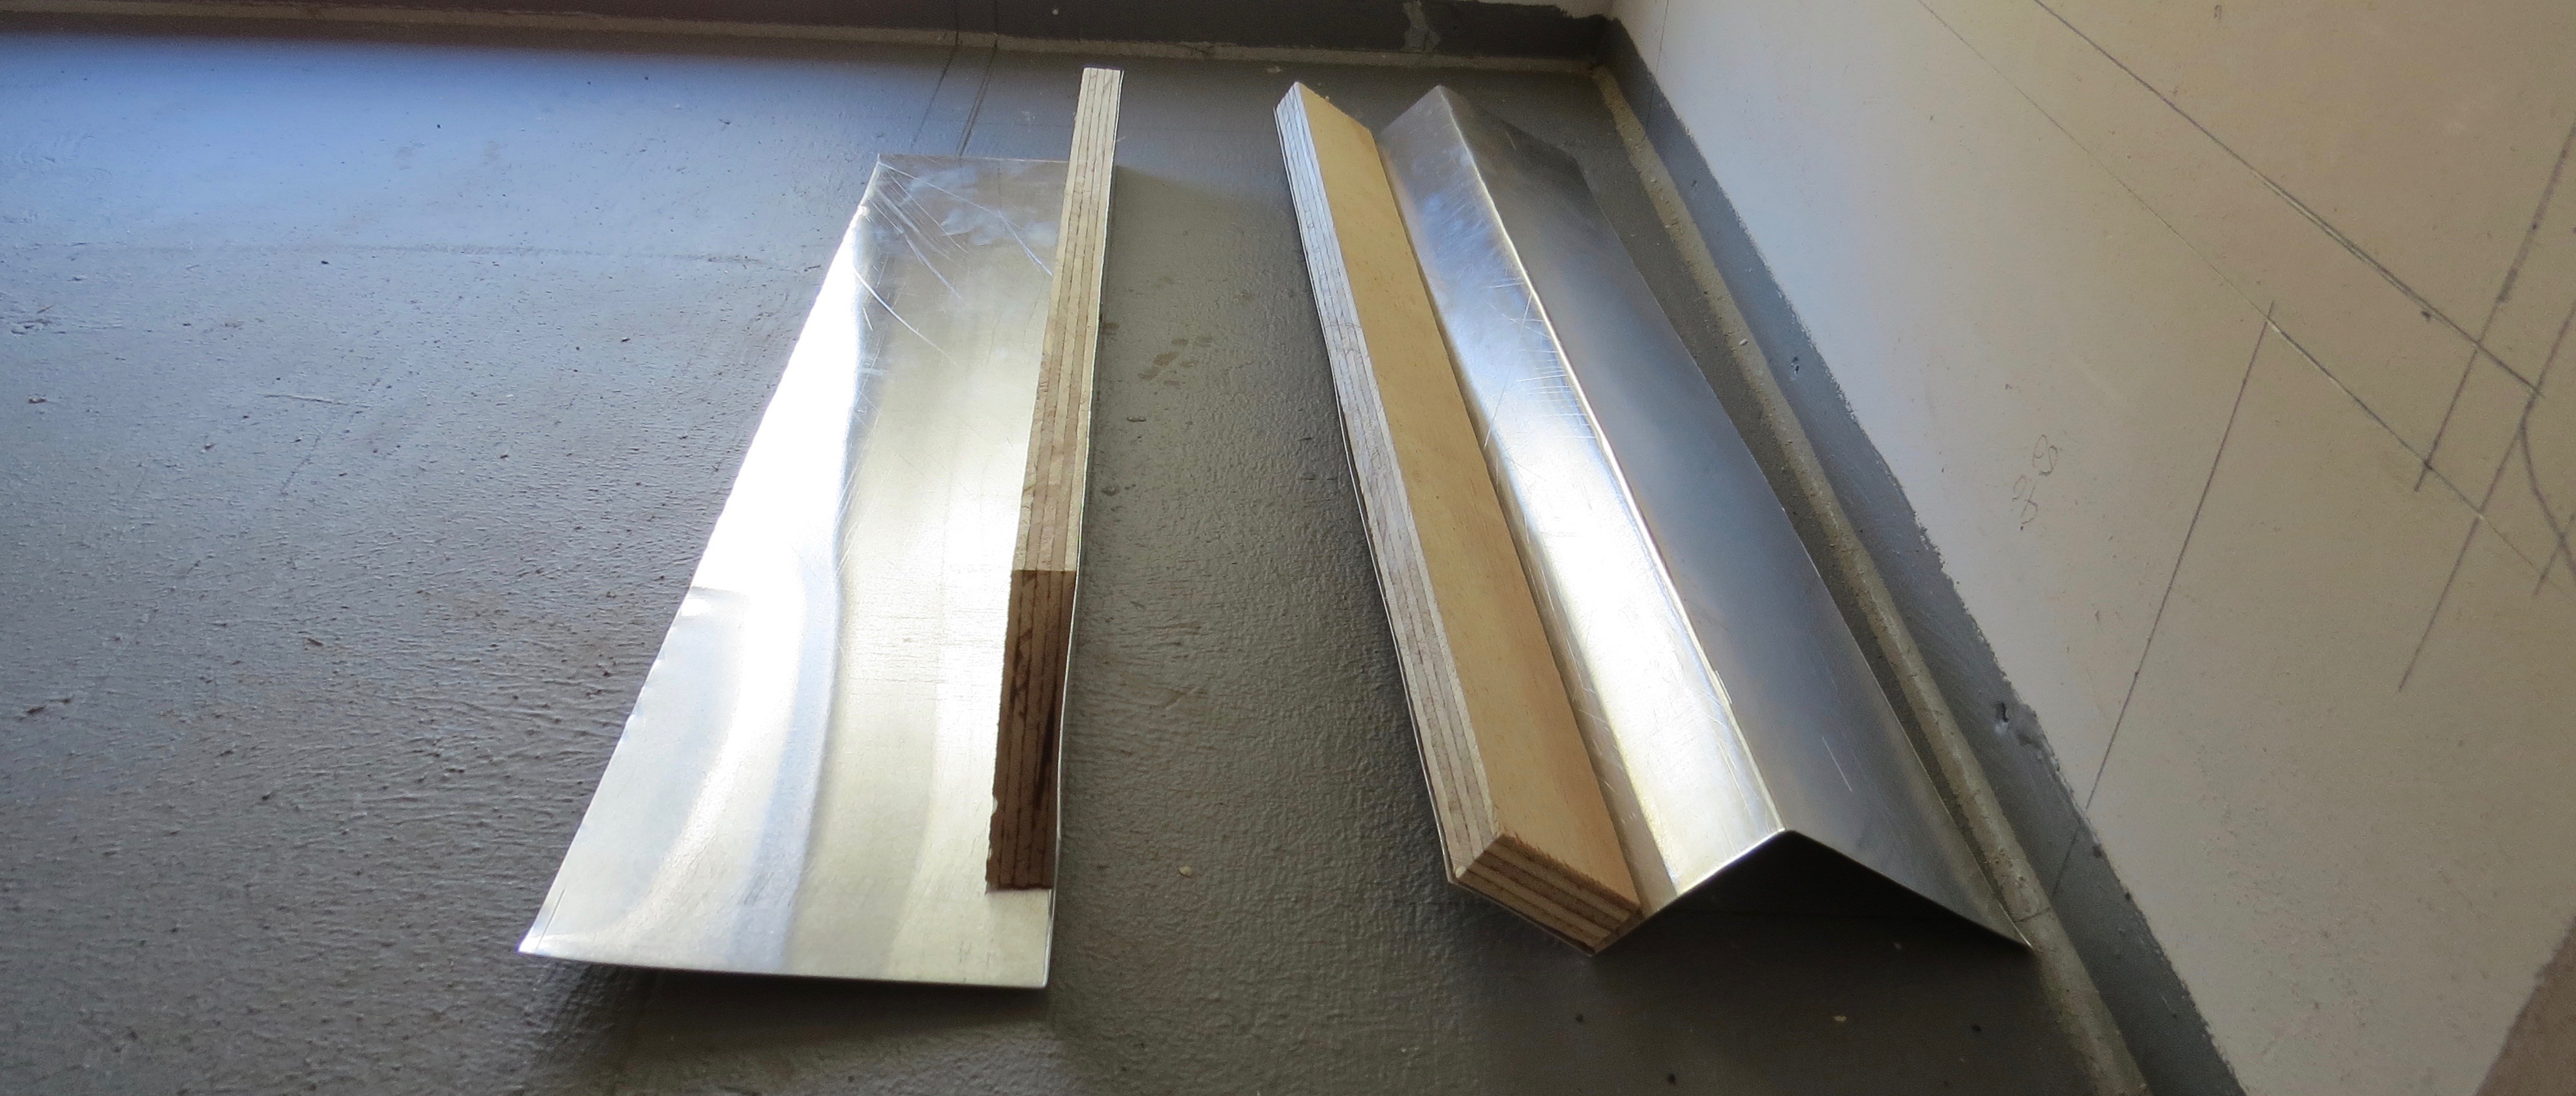
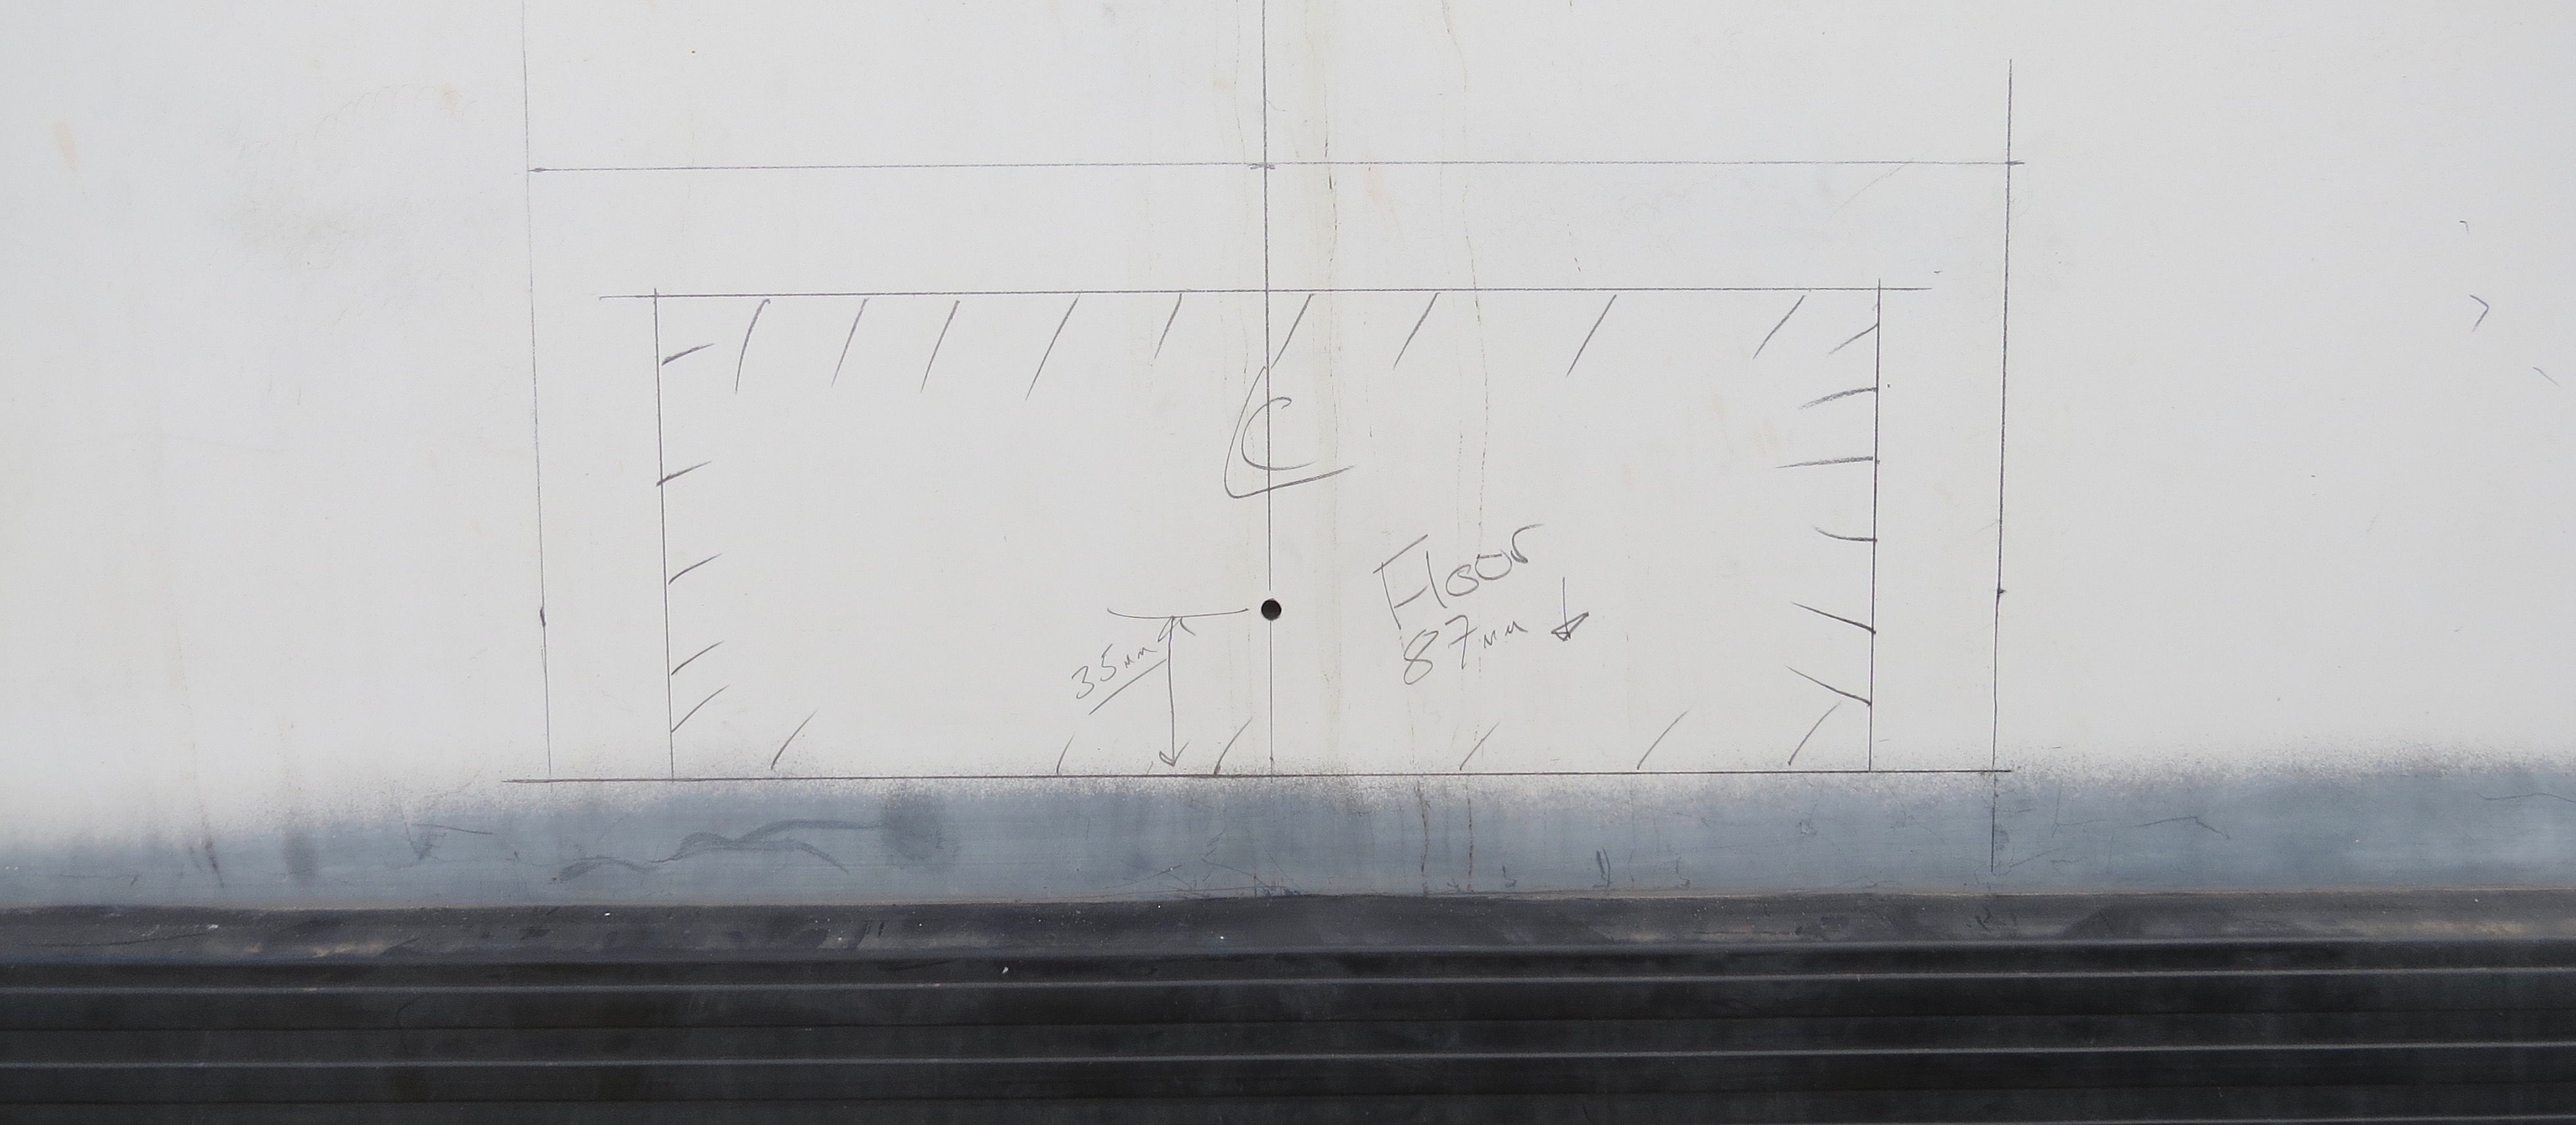
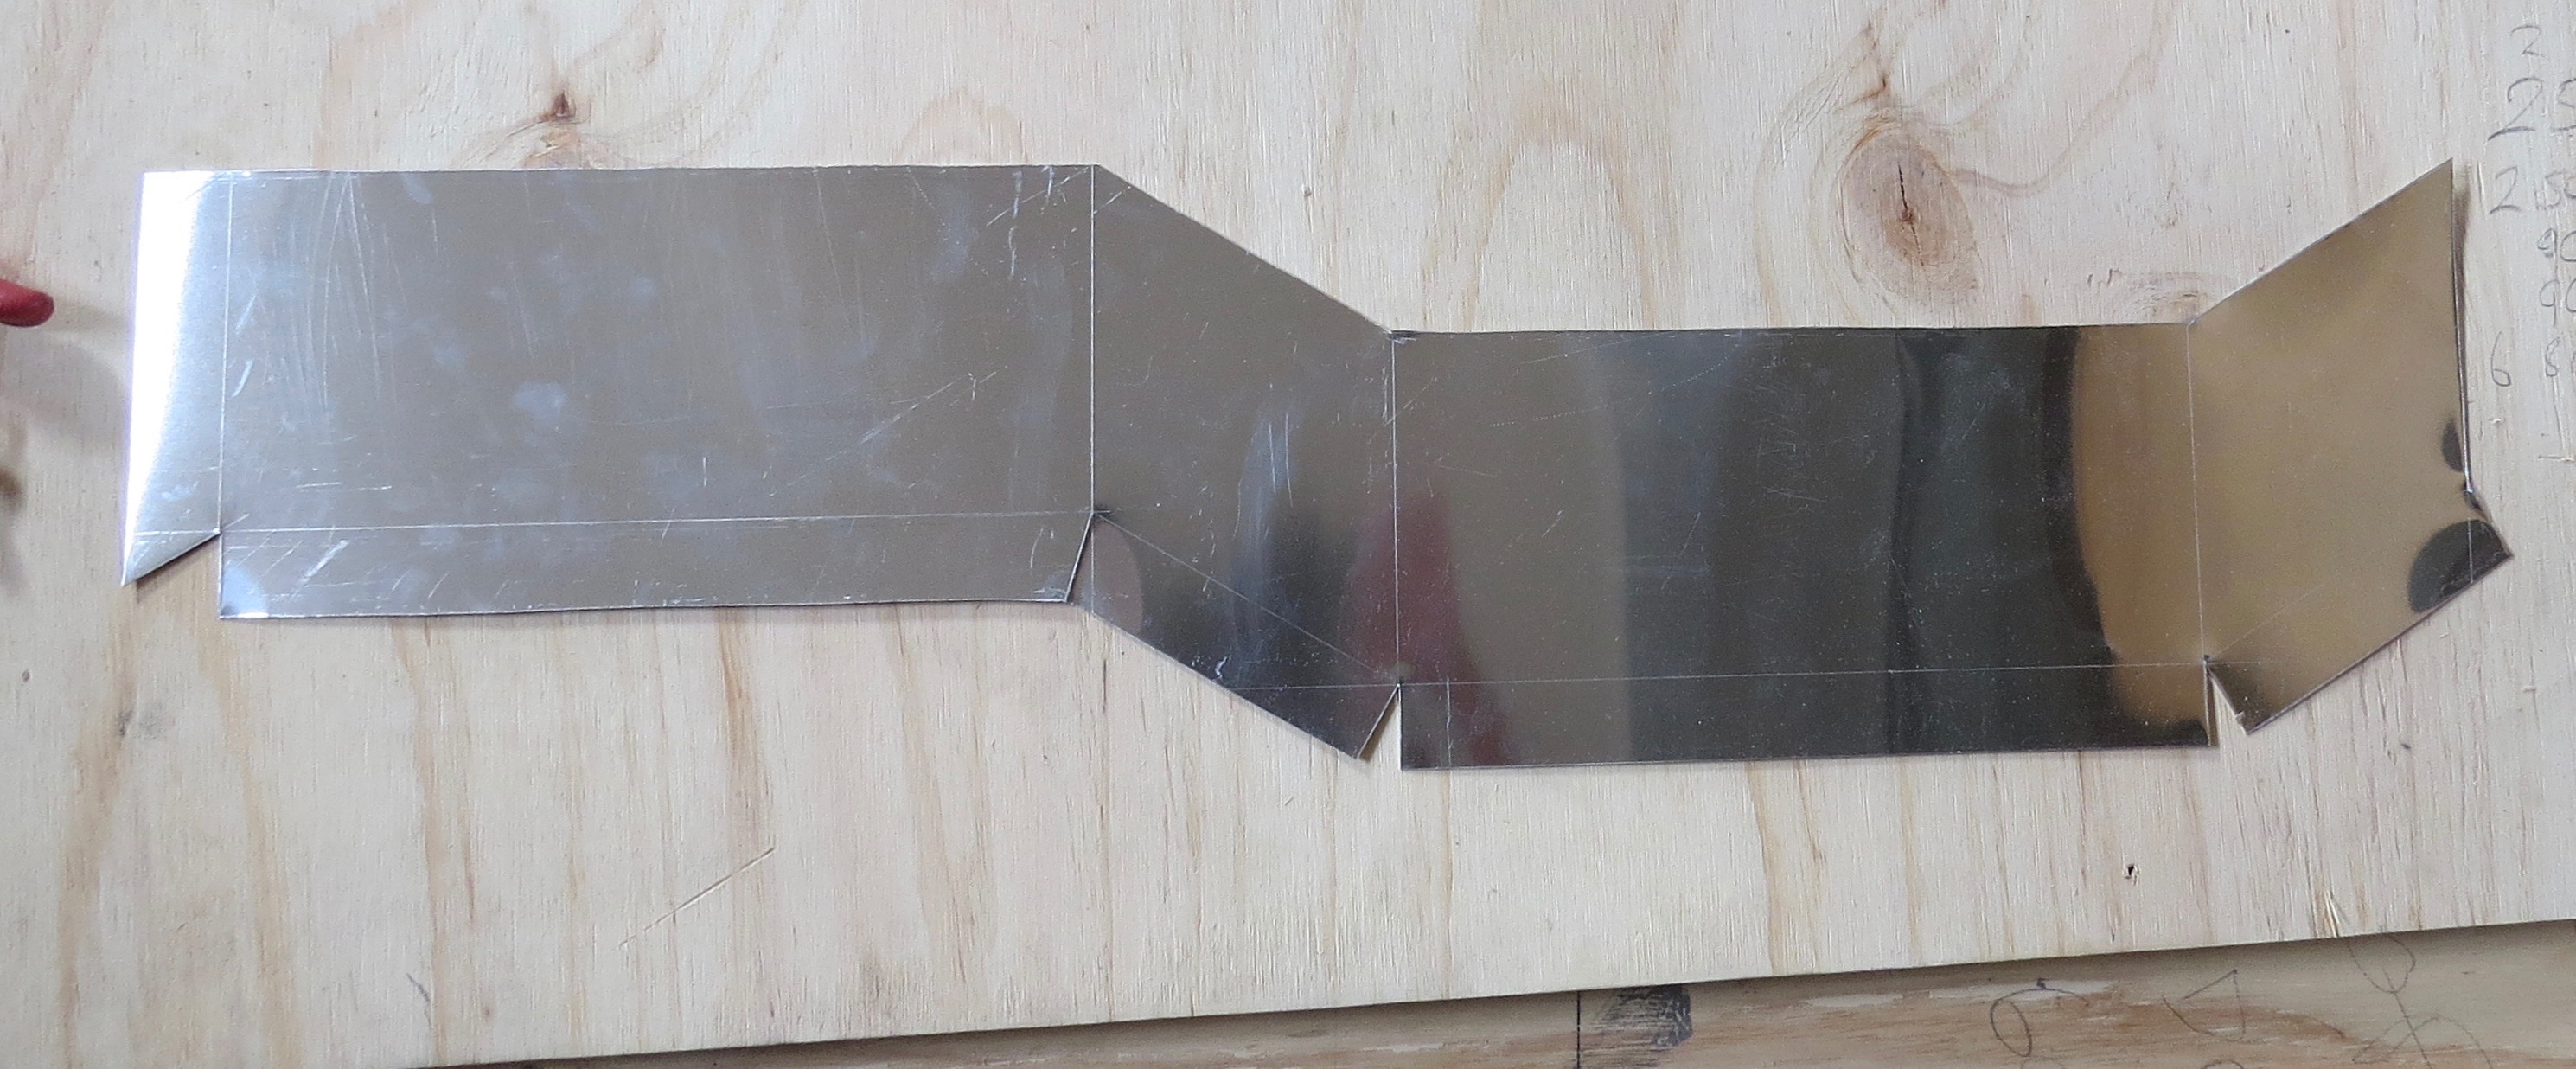
After marking out for the vents, I’ll make a cardboard template to see if I’ve got my measurements right. Well the cardboard one worked perfectly so time to mark it out on some sheetmetal and cut it out.
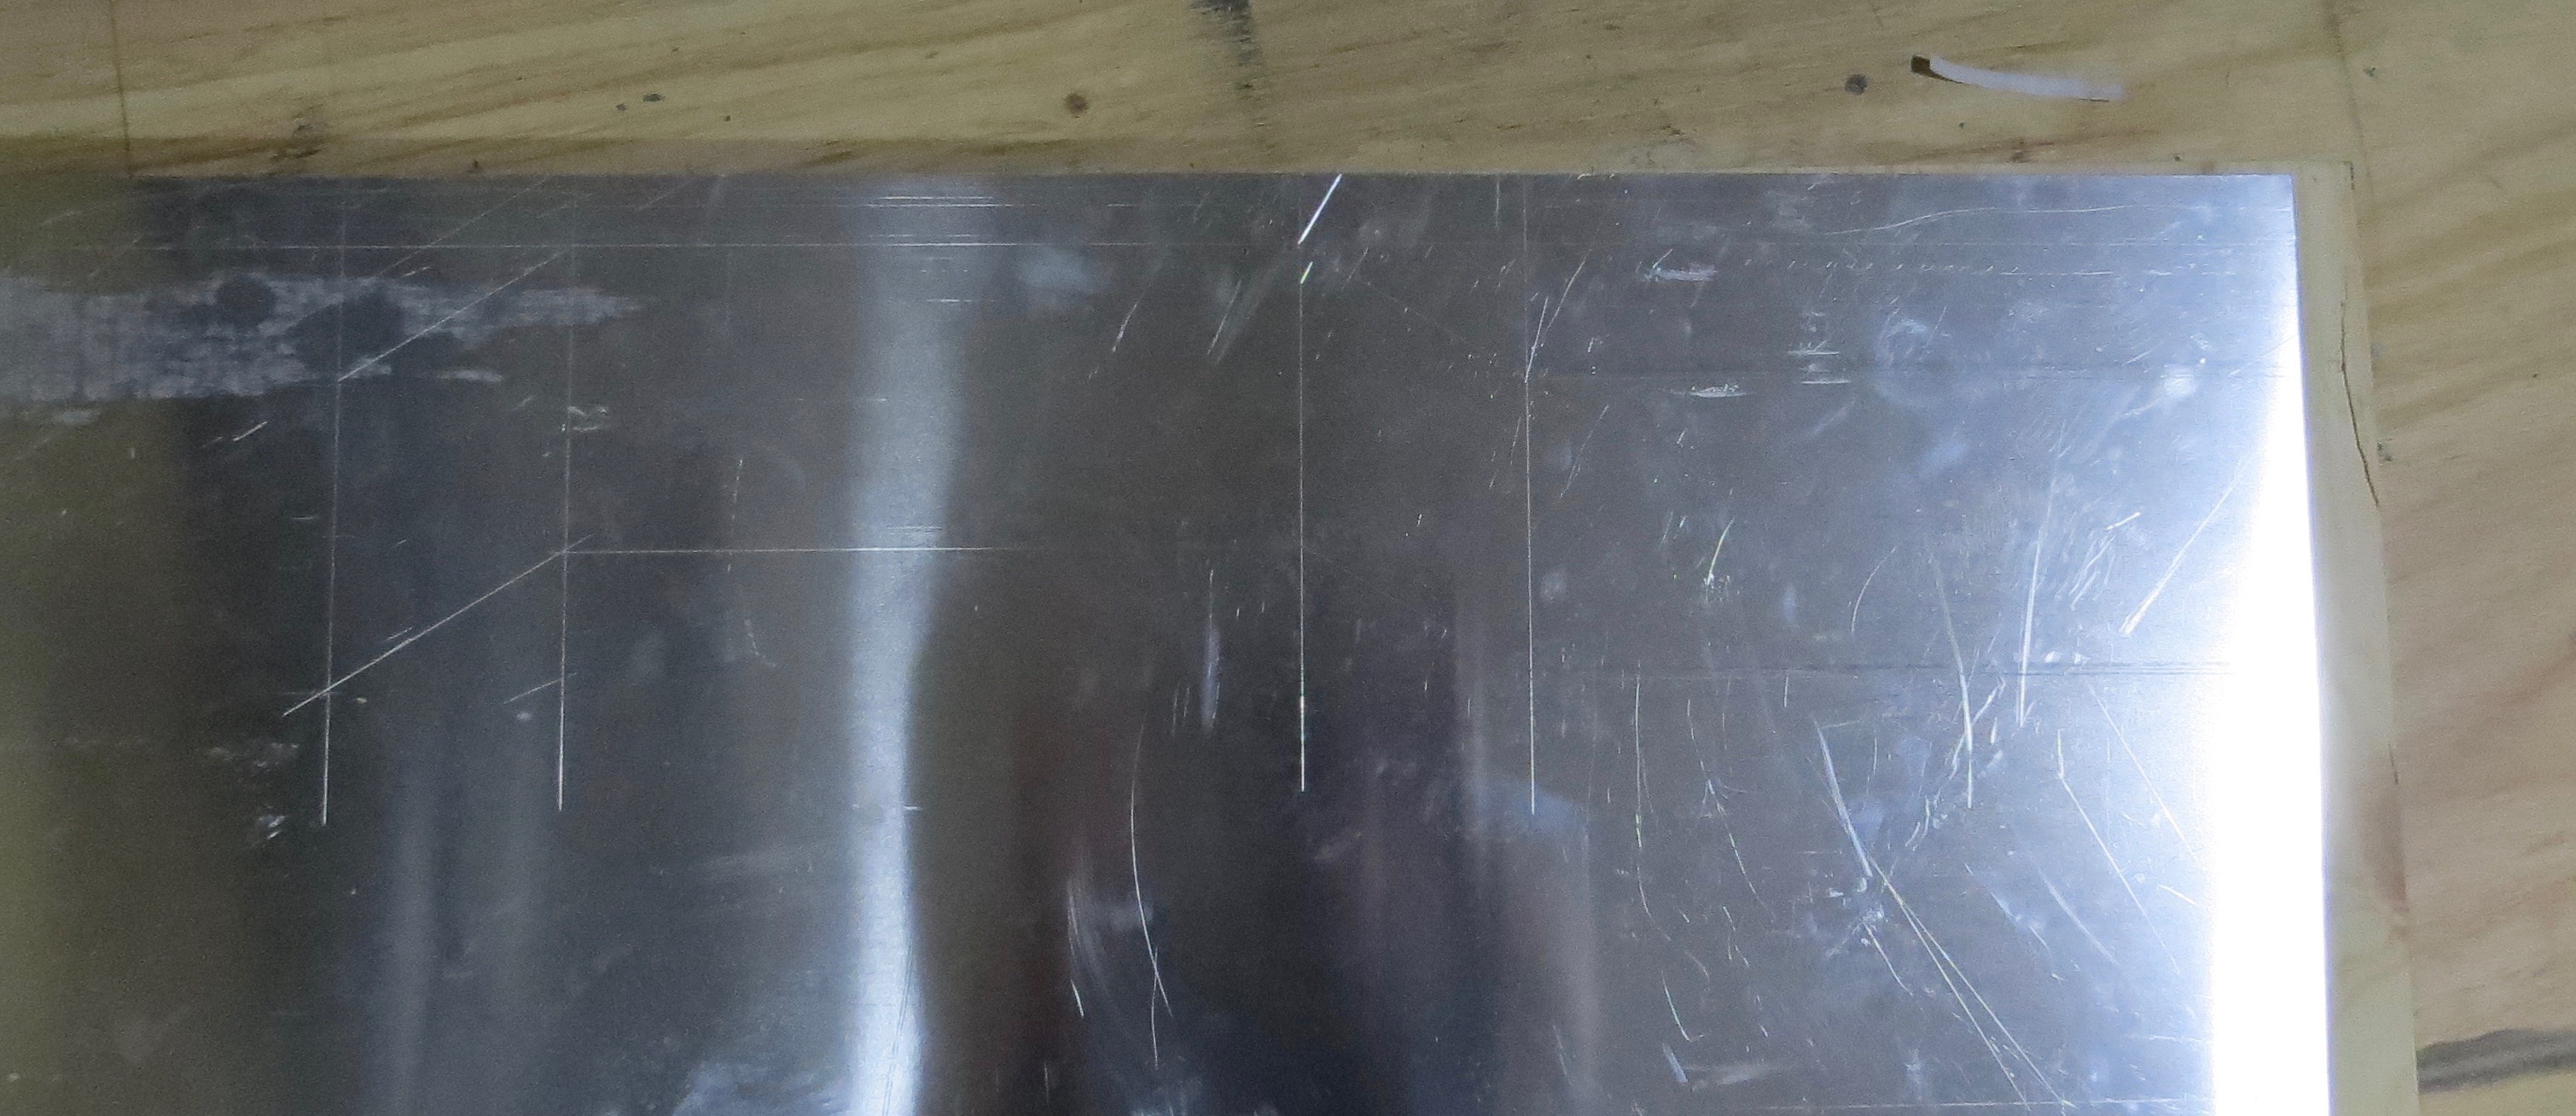
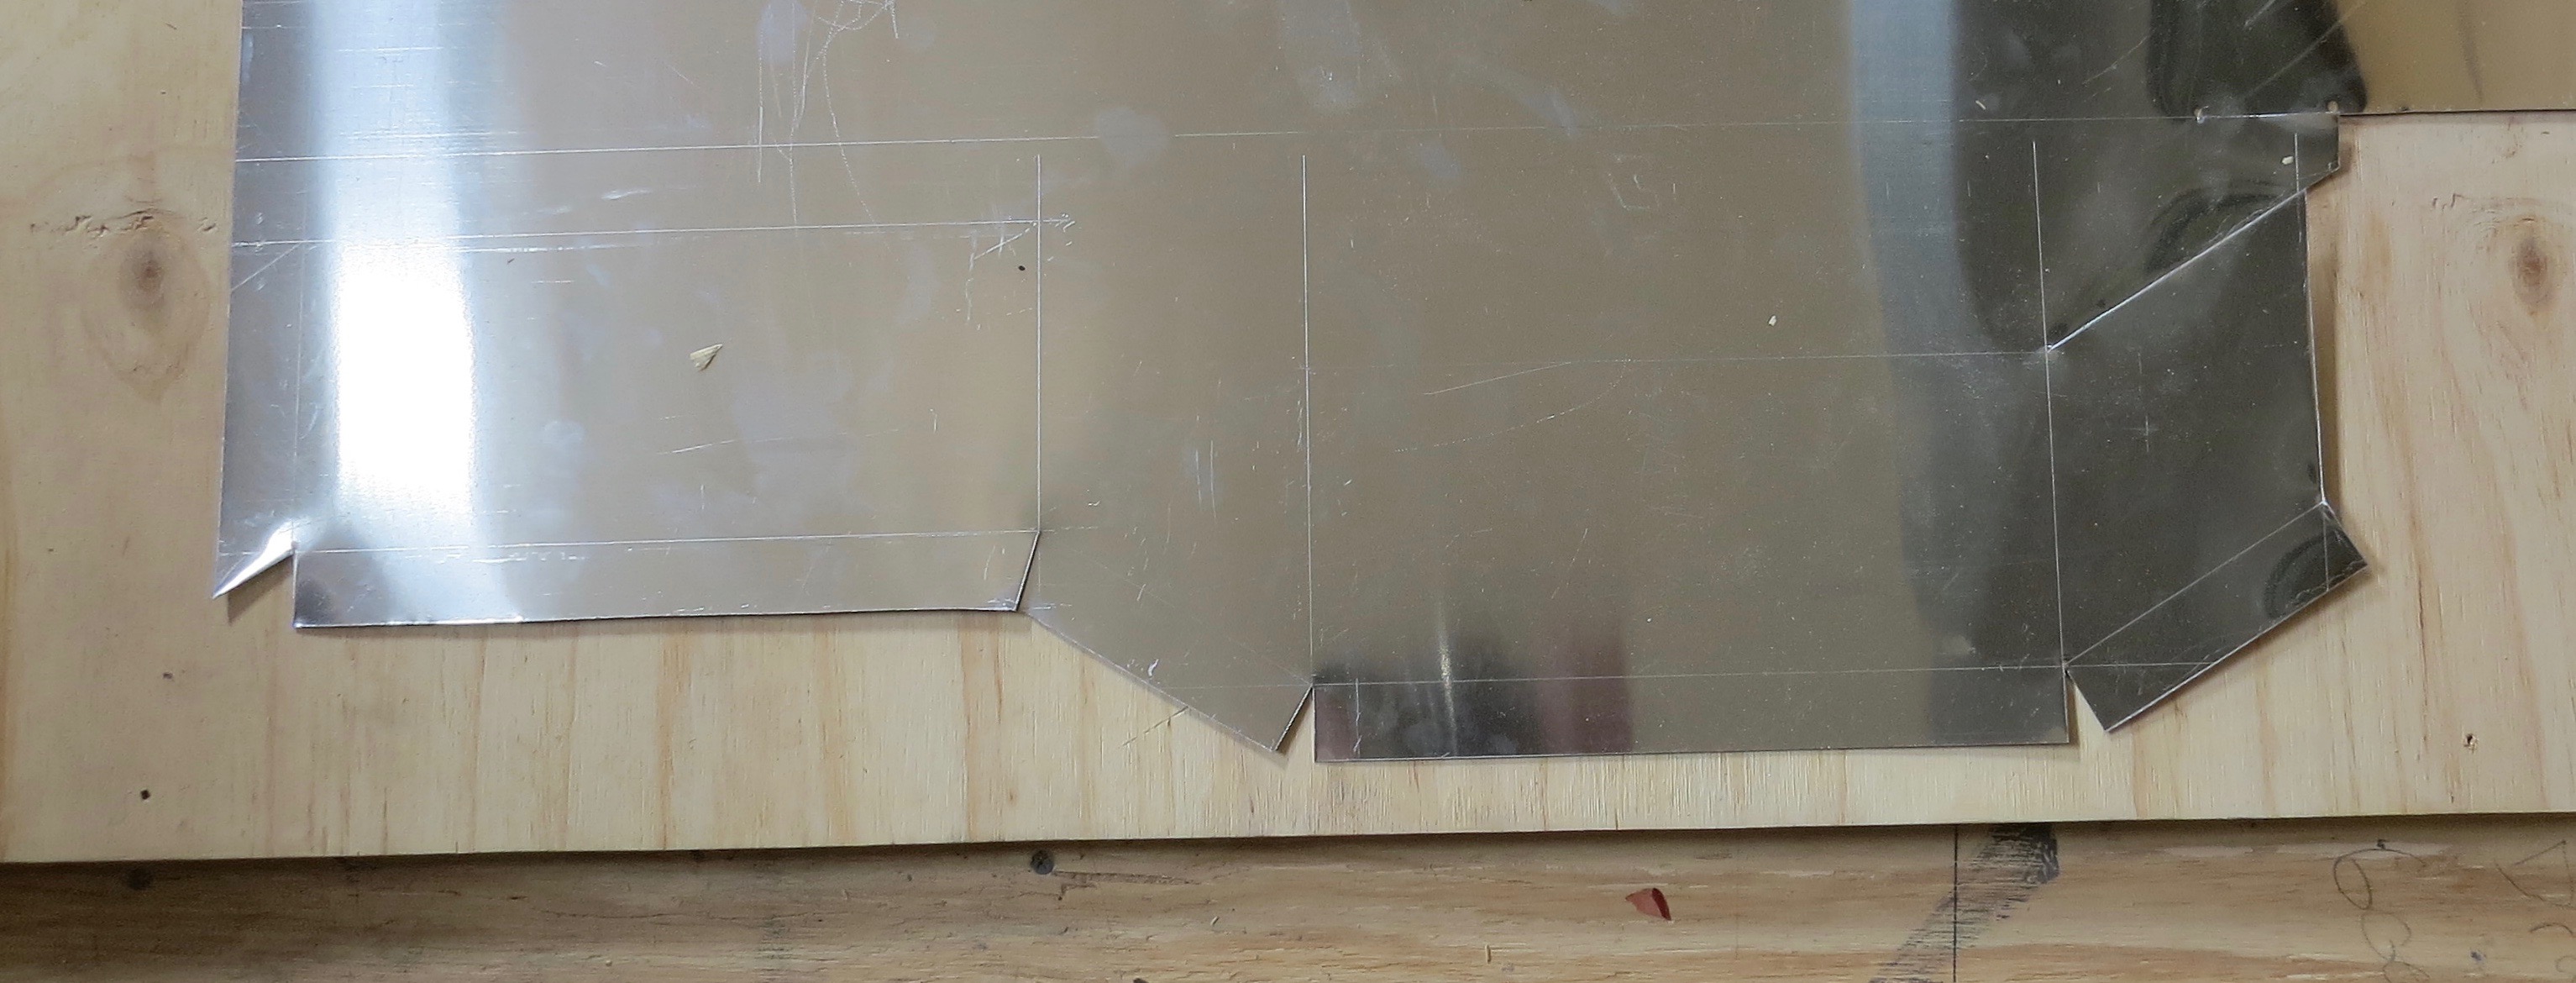
Vent duct marked out.Starting to cut it out.Almost there.Now to start bending it up.
Where is a folder when you need one
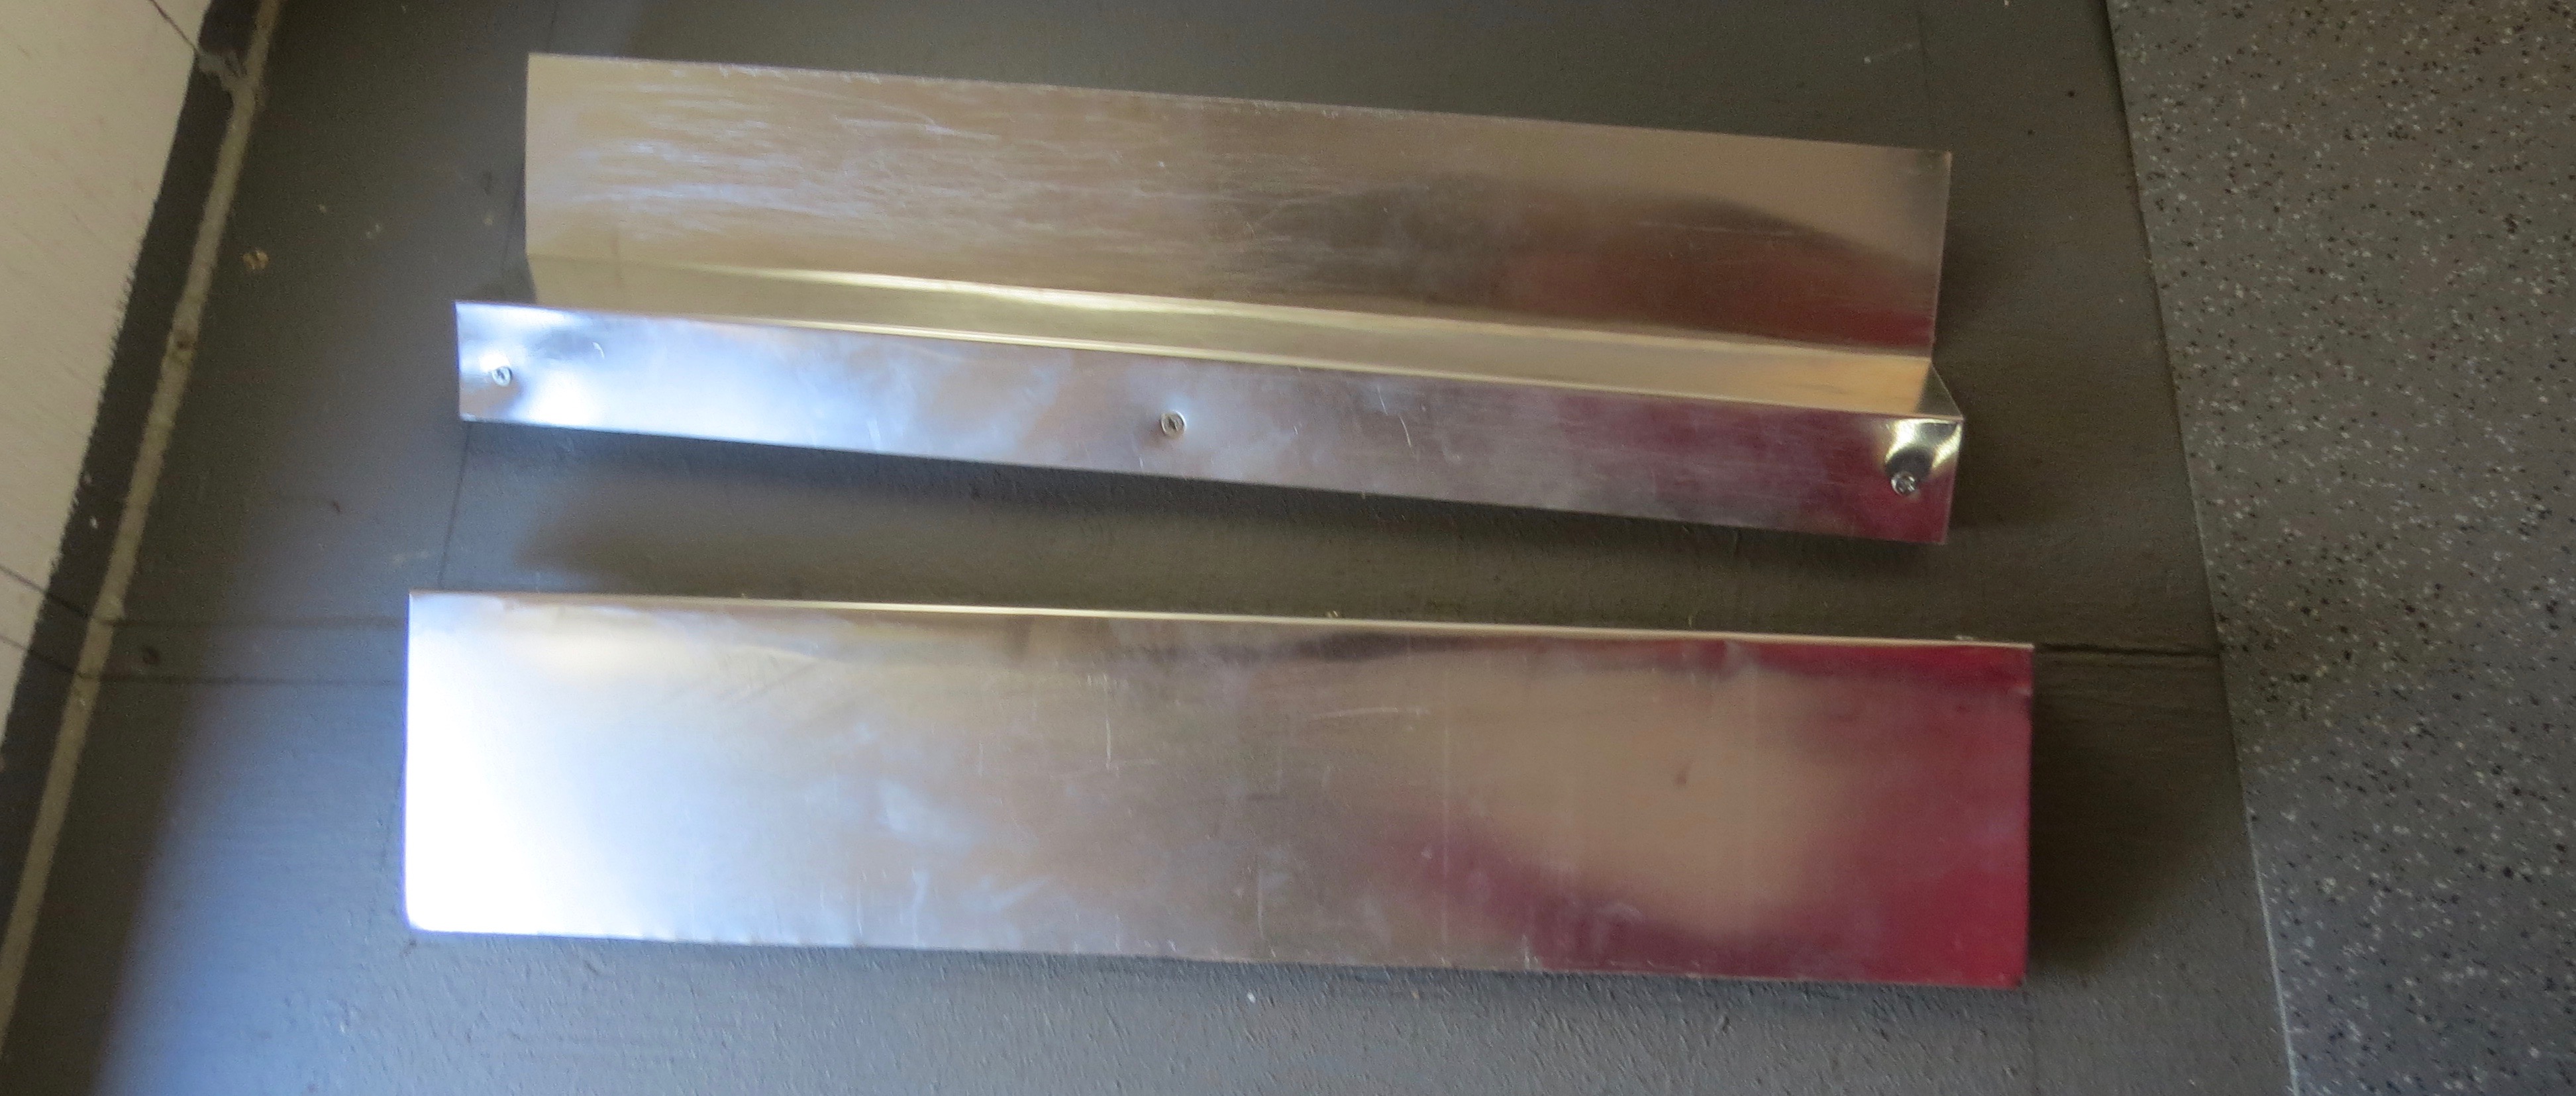
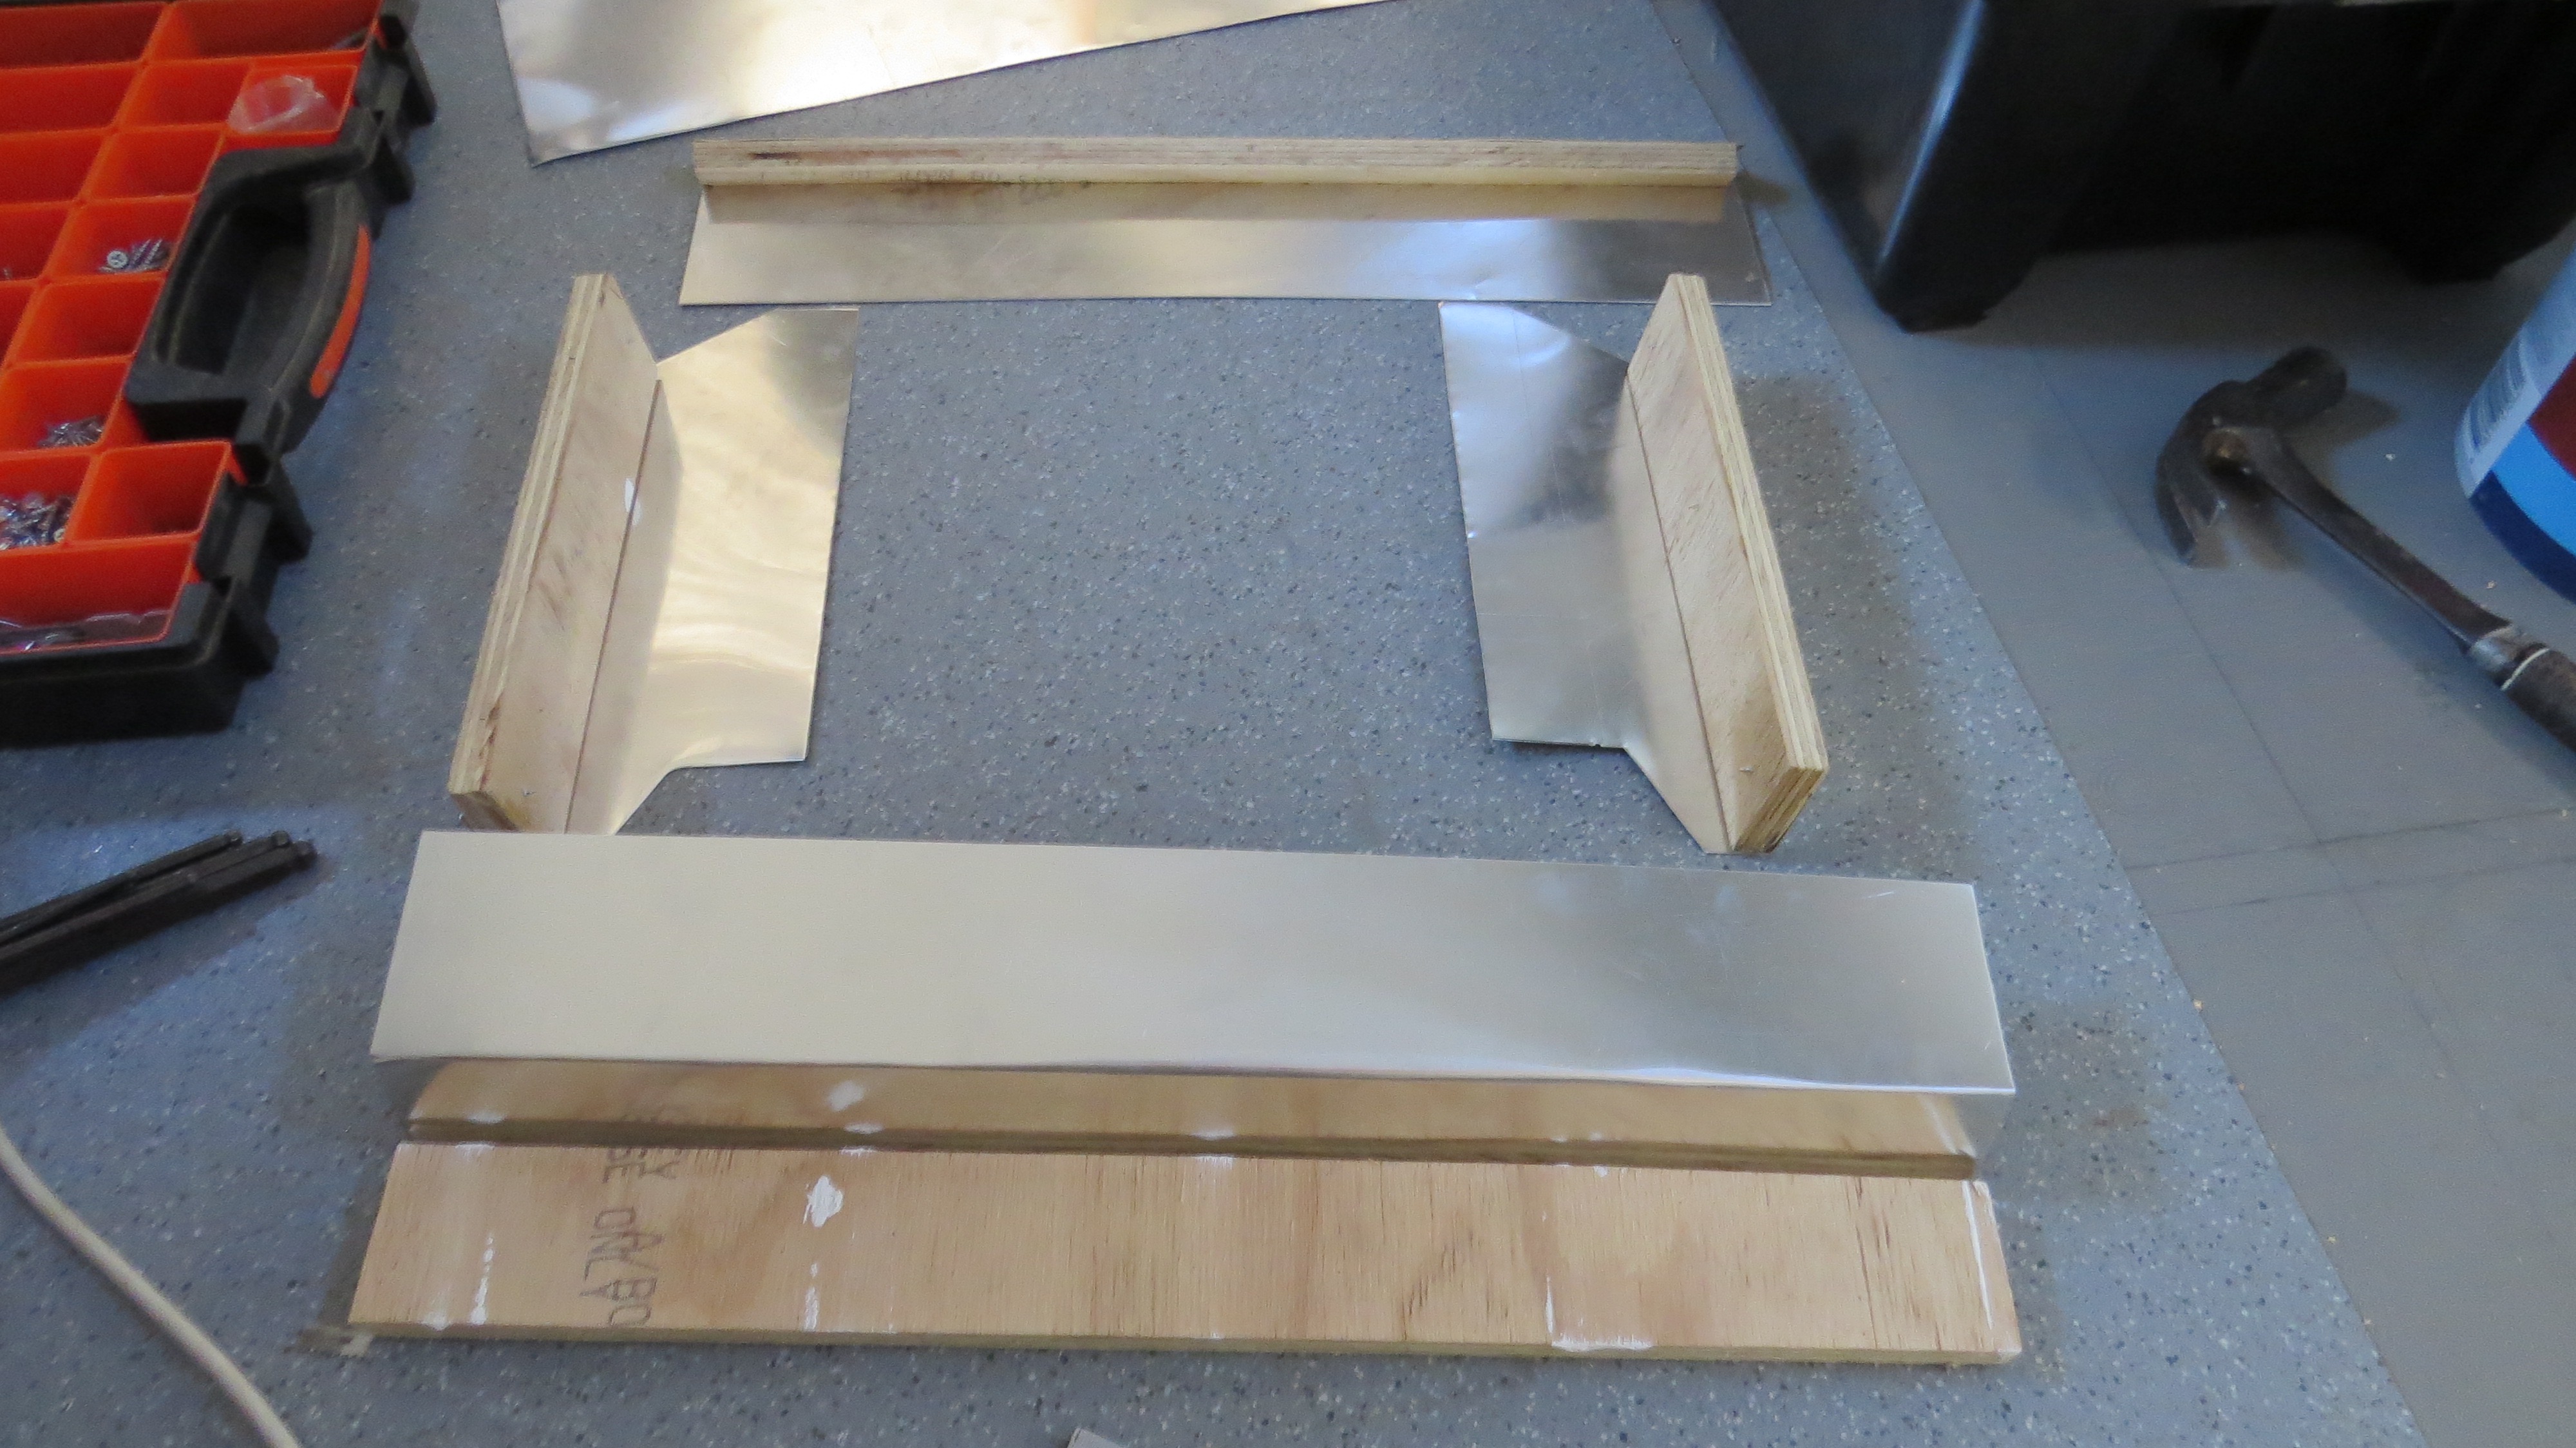
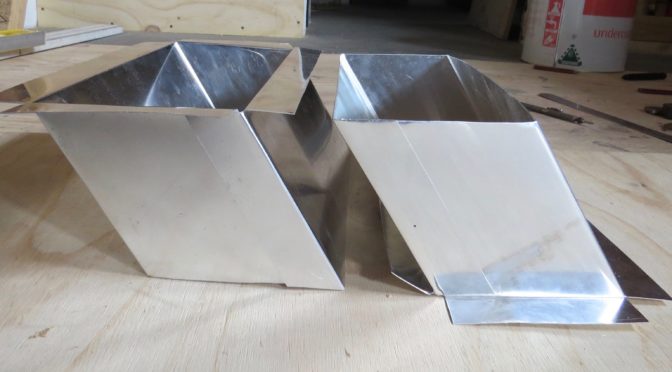
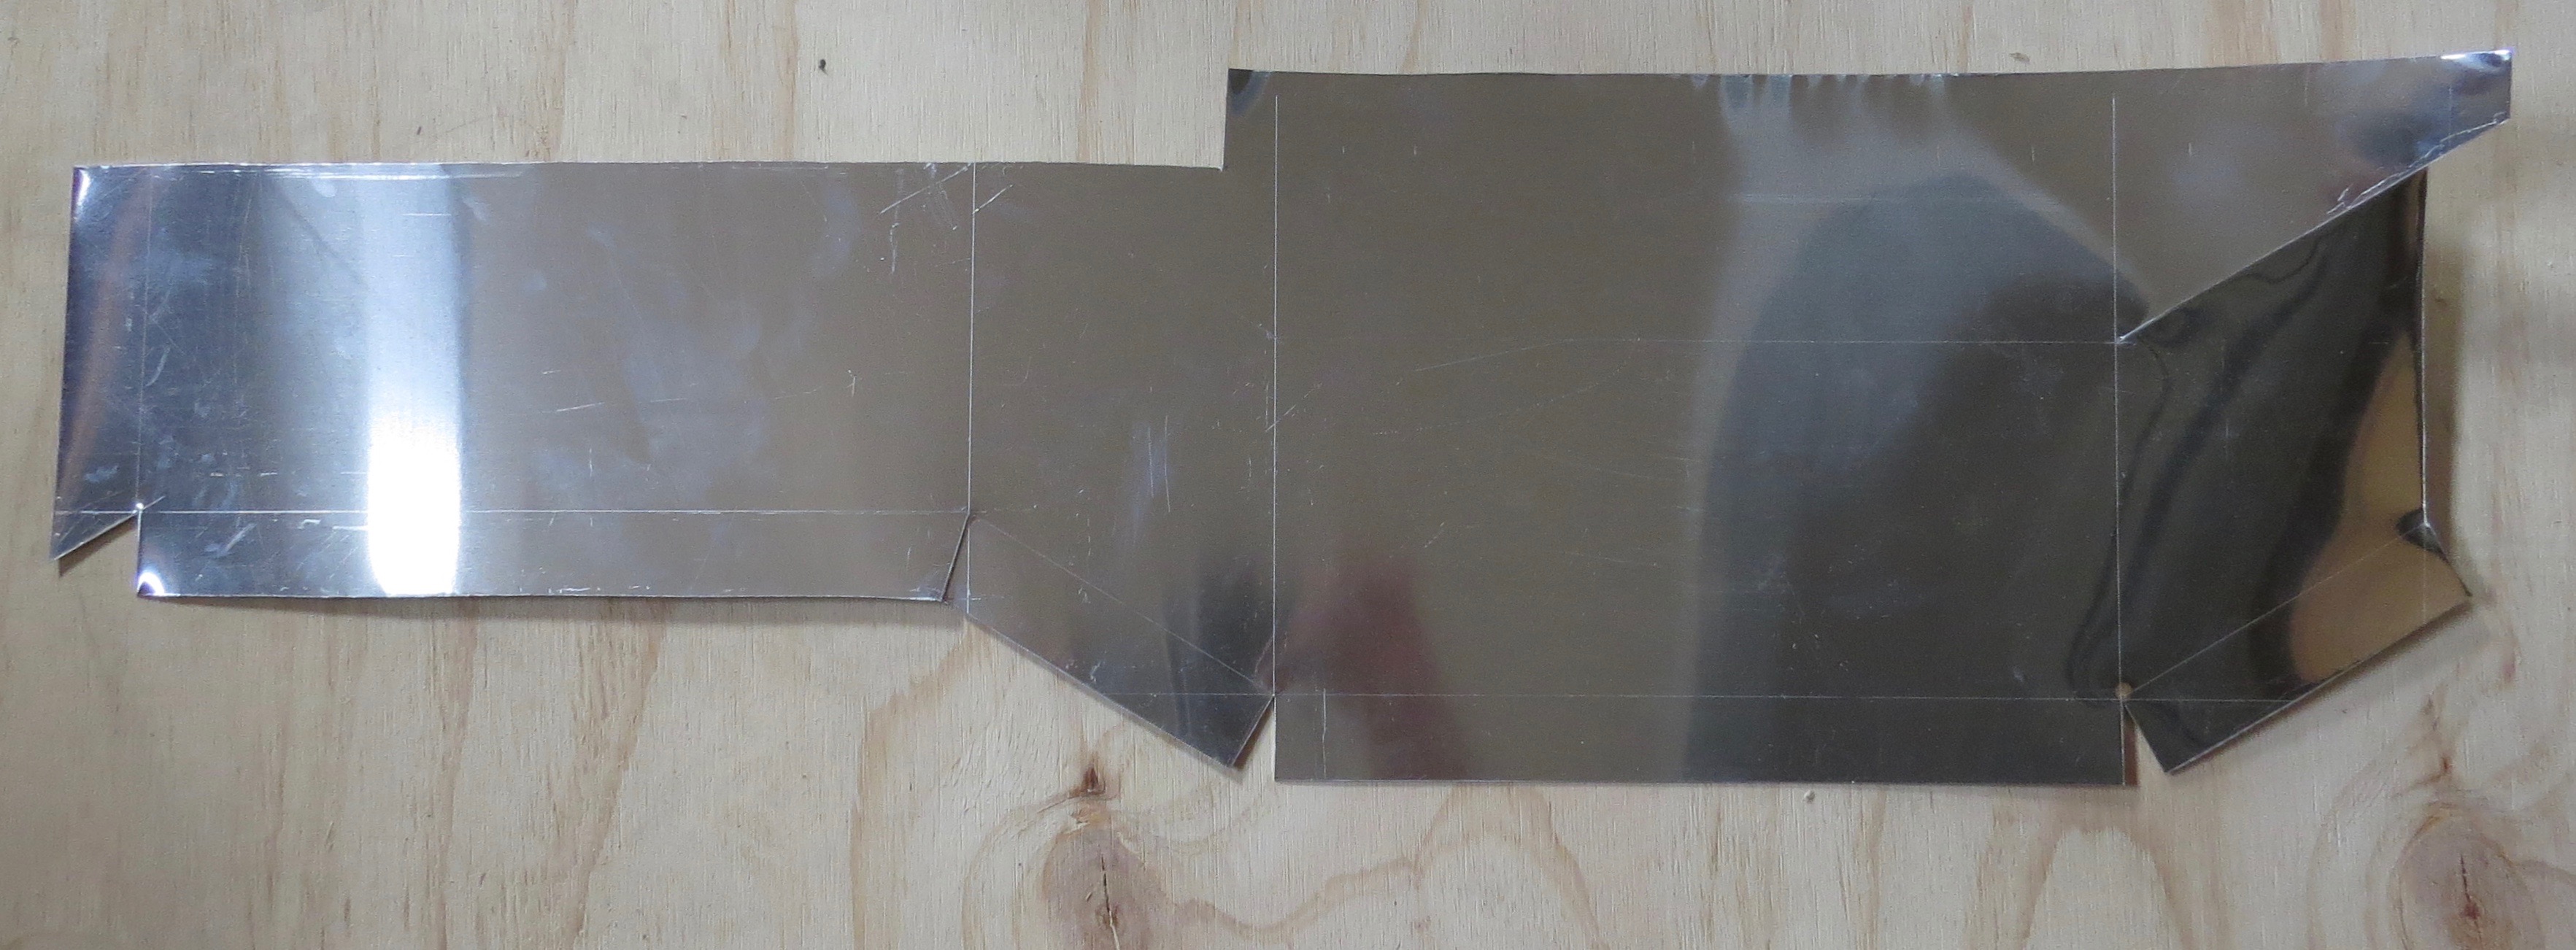
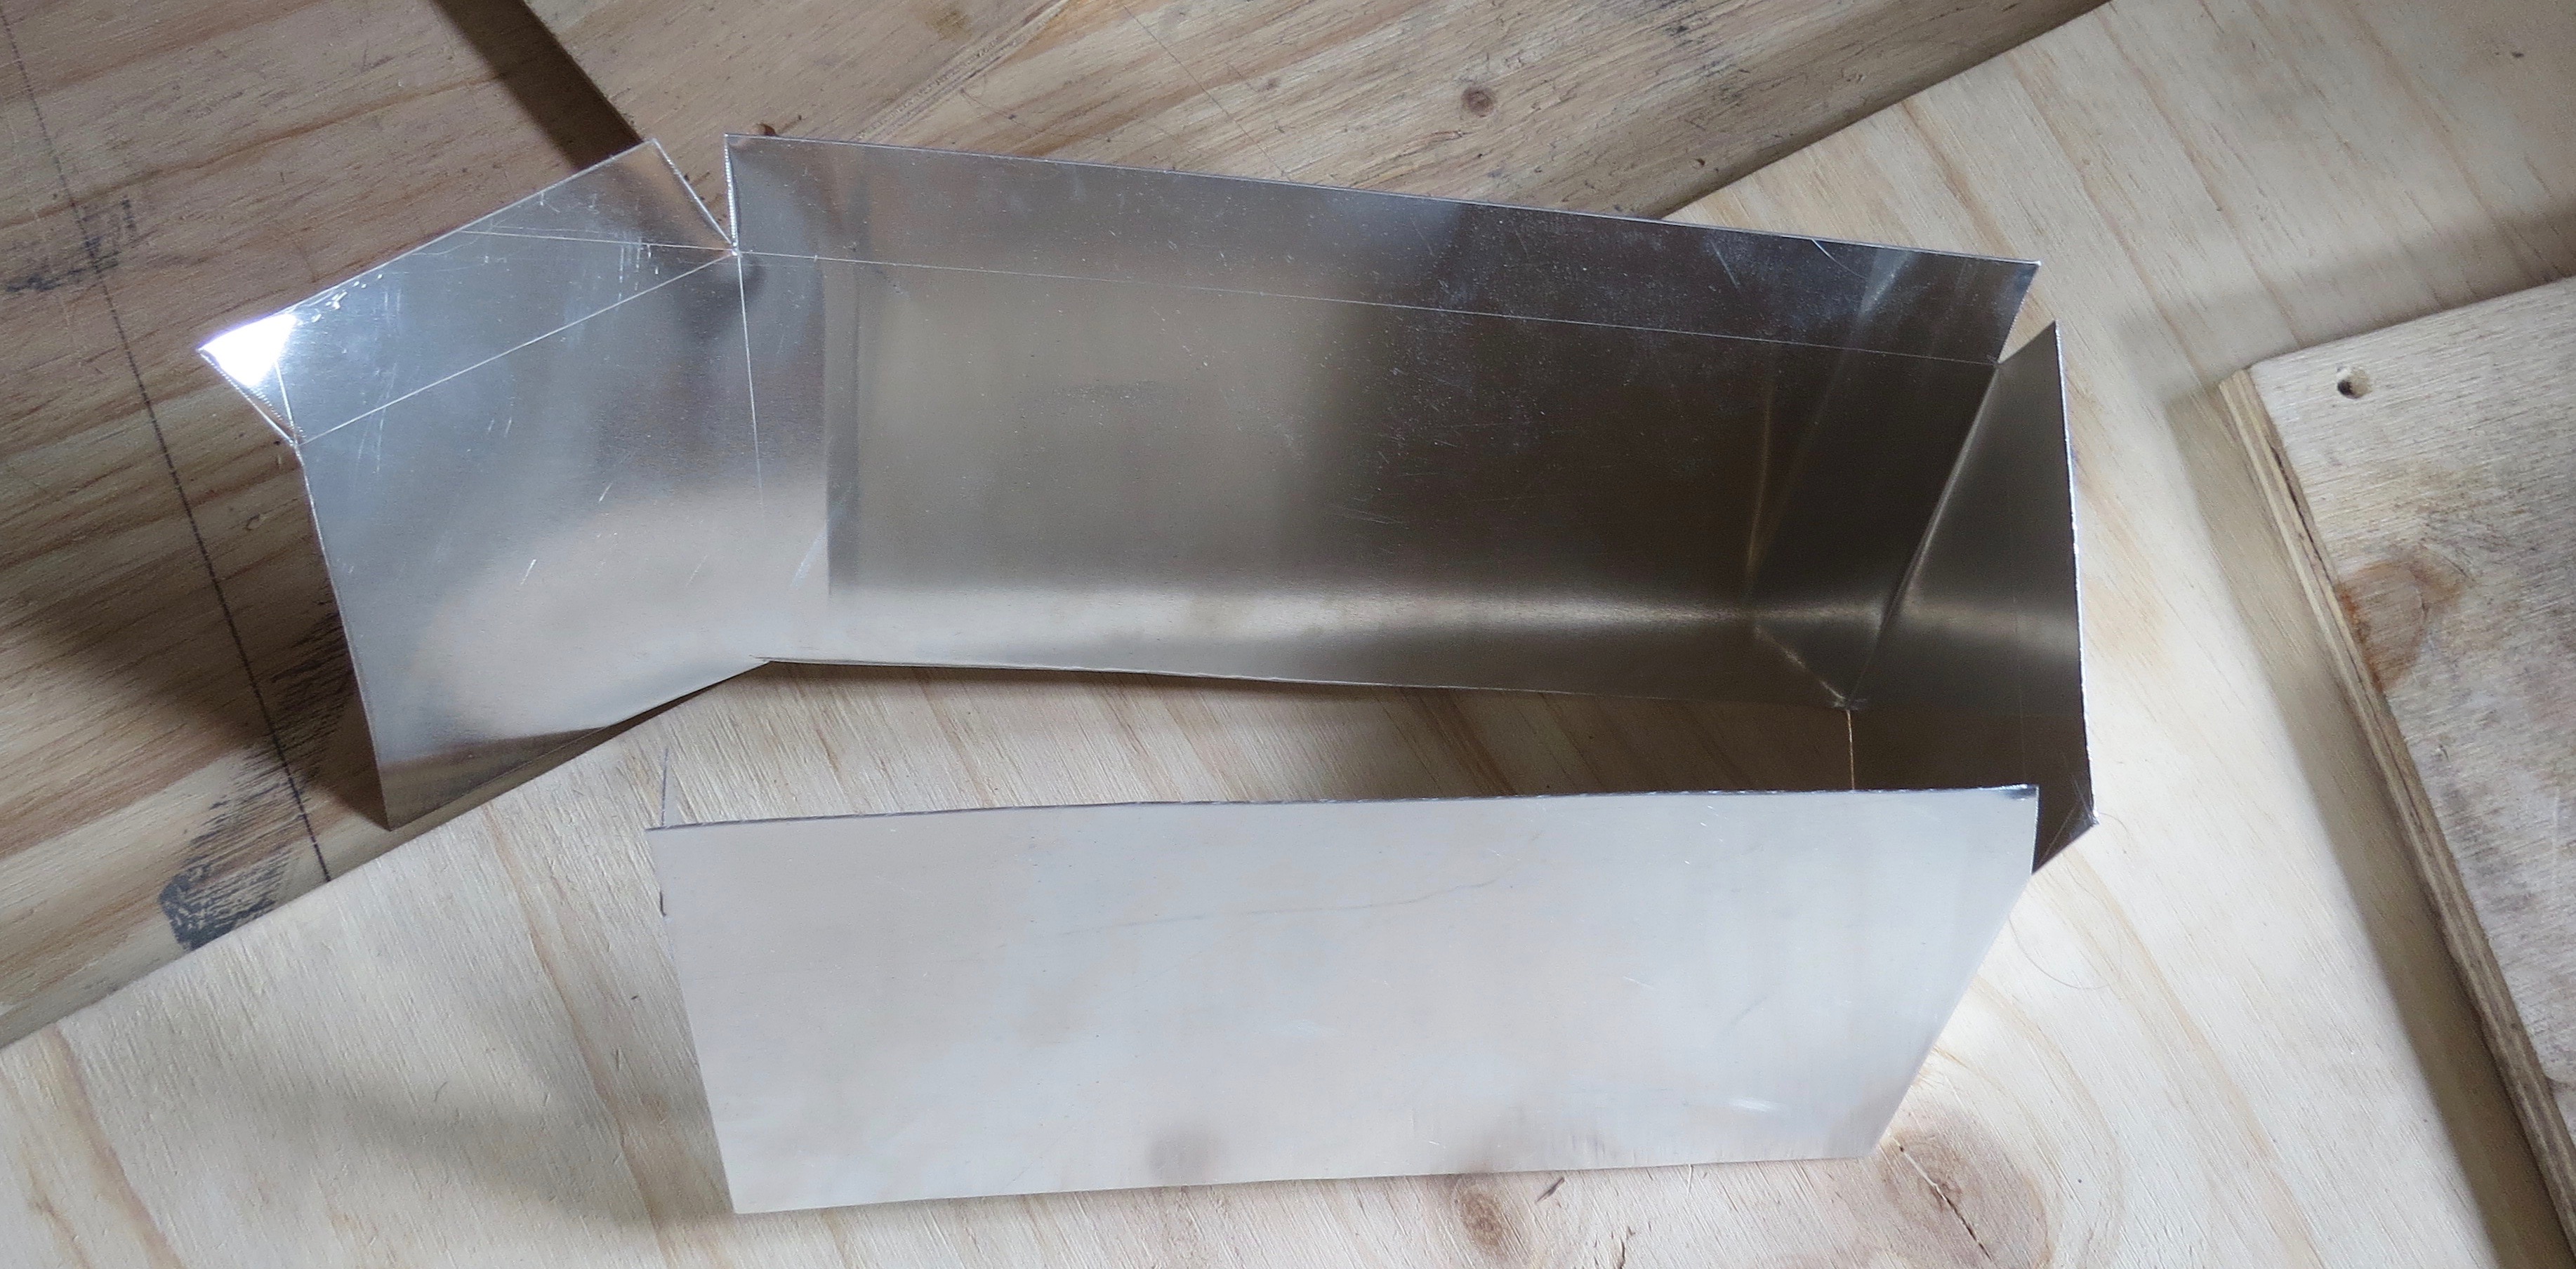
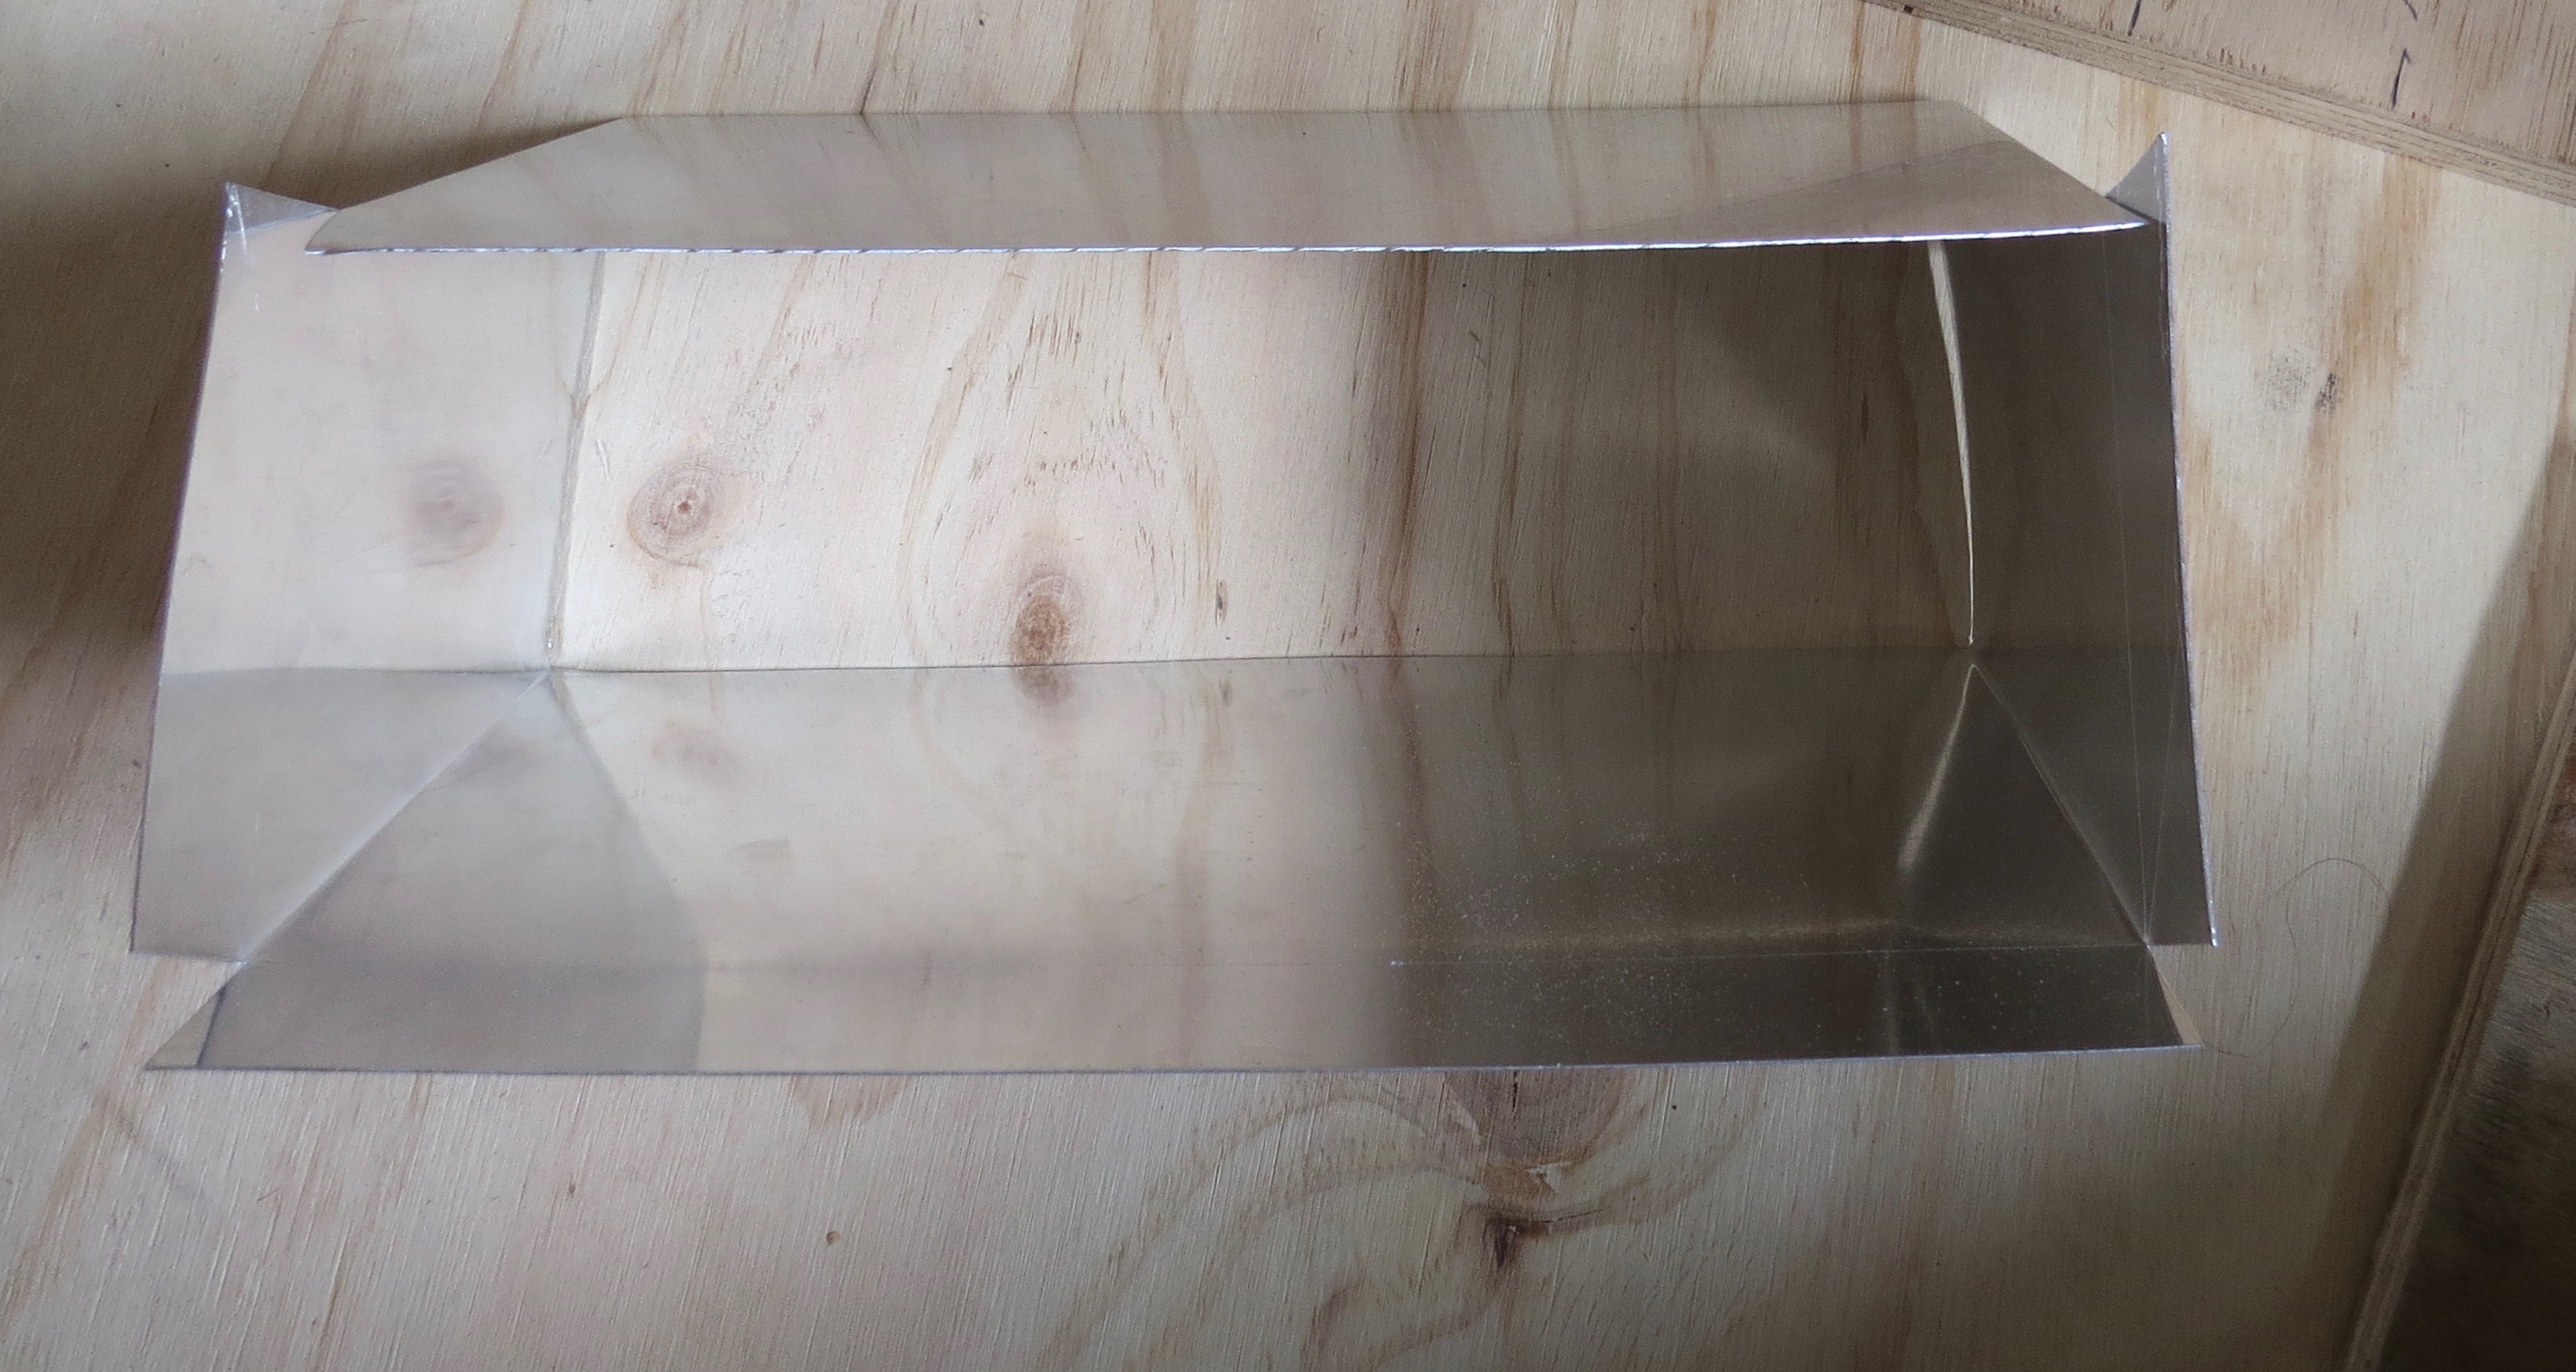
It would be nice to have a folder, but there is no room on the bus for one of those. Lucky I’m only using 0.6mm alum sheet, so I can bend it by hand over some timber.
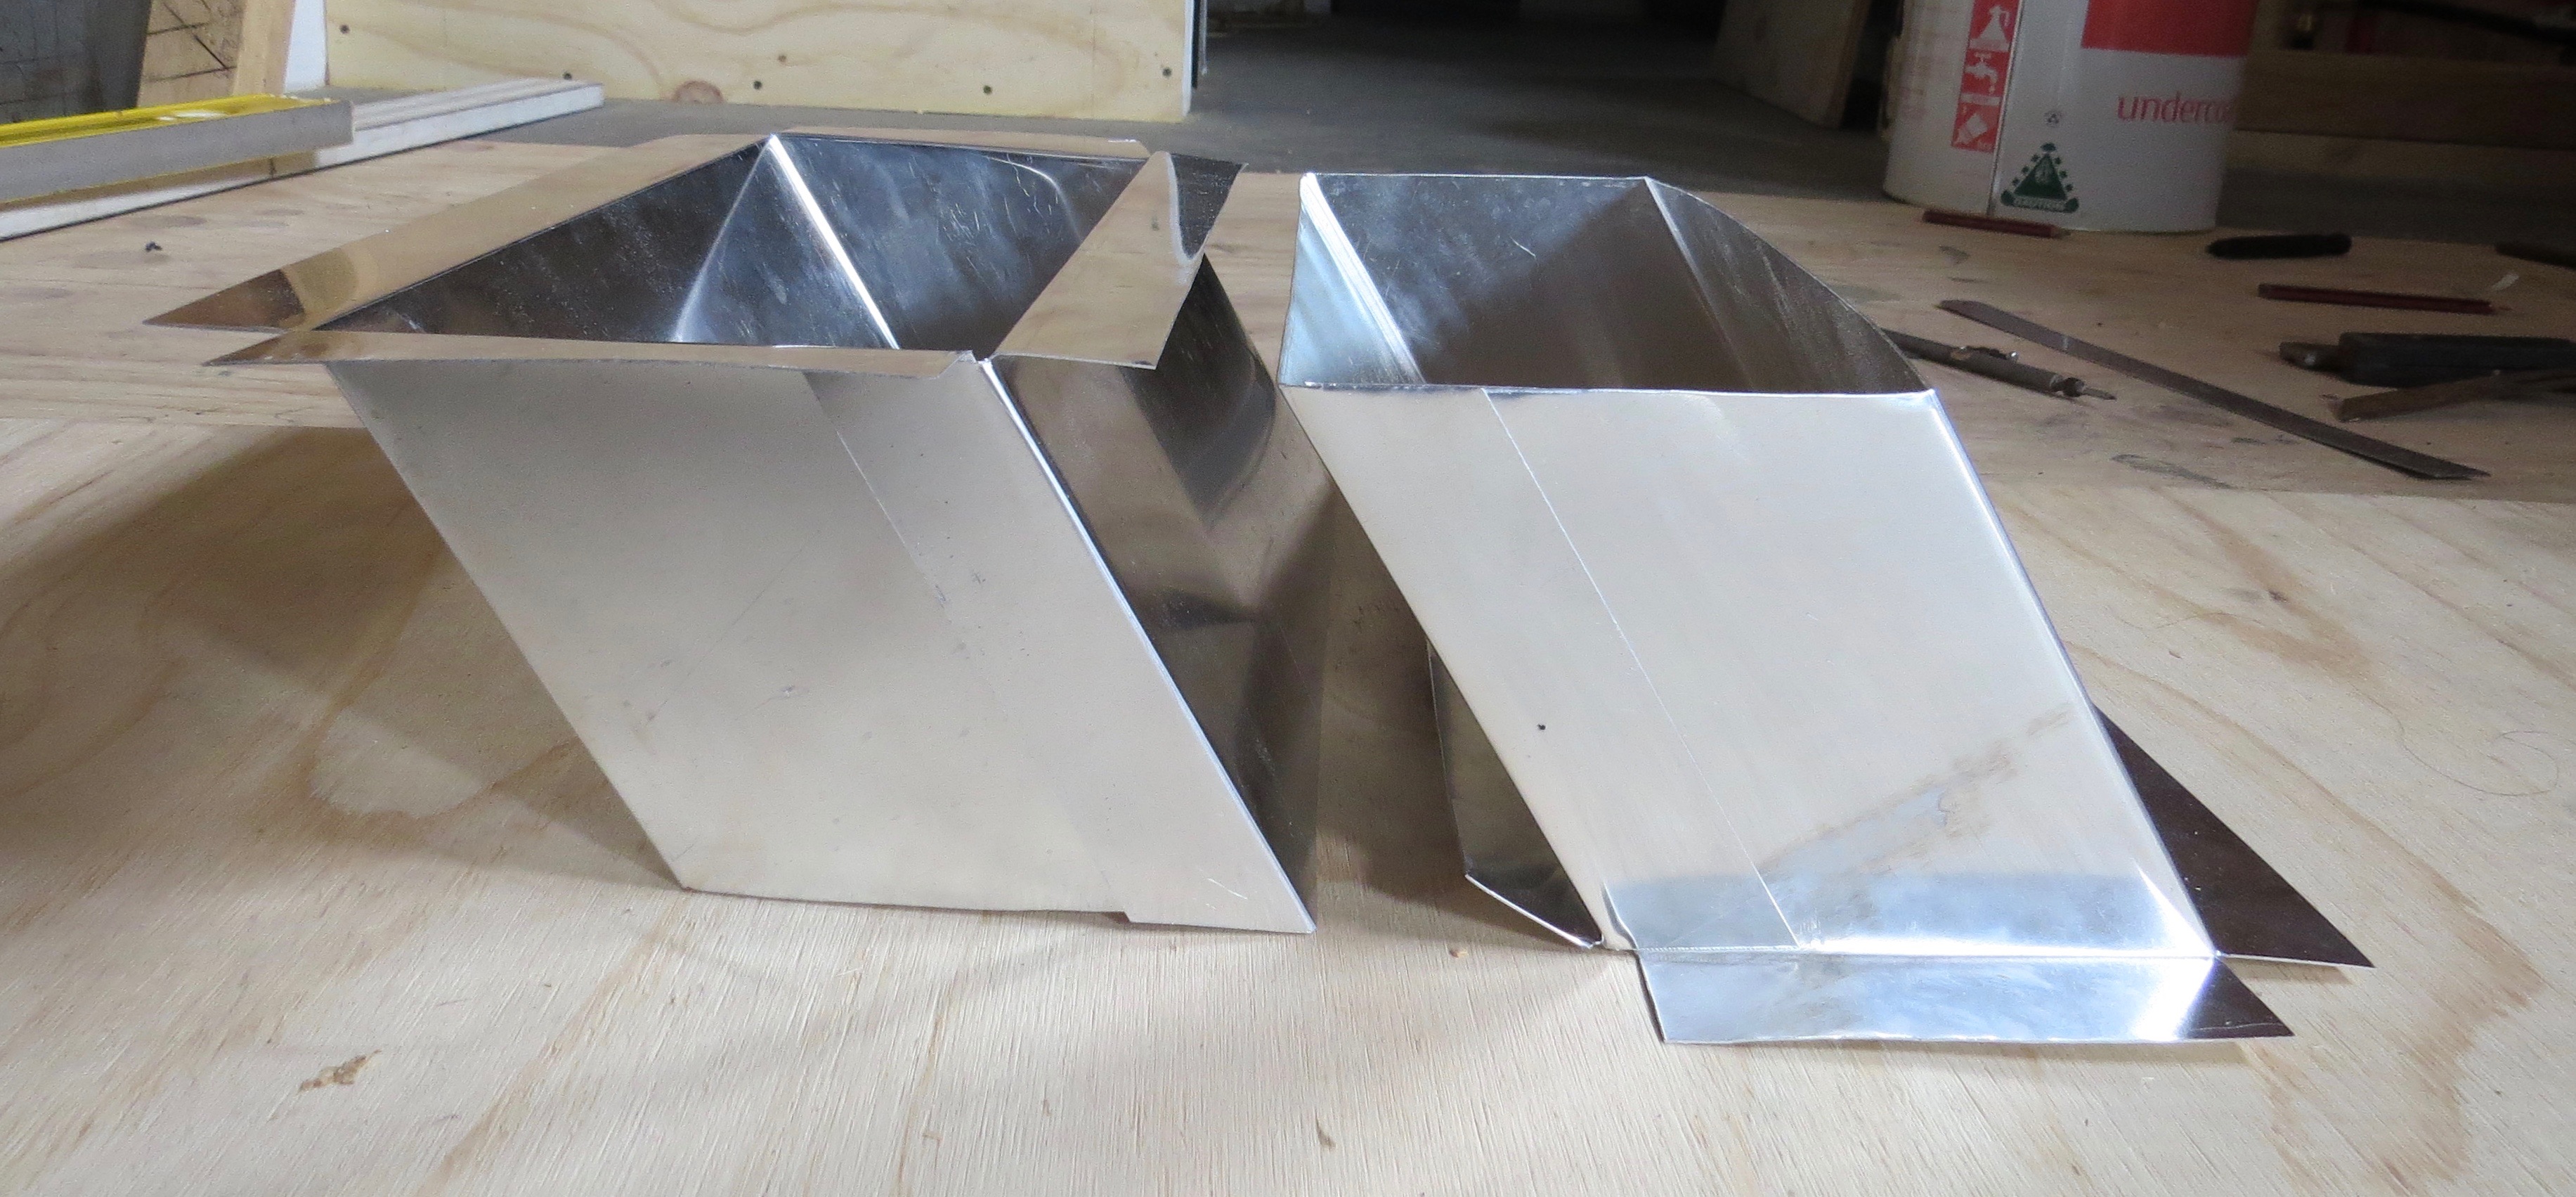
Getting close to the right shape.Just have to bend the flange on one end now.Top and bottom finish.
Time to cut more holes in the bus
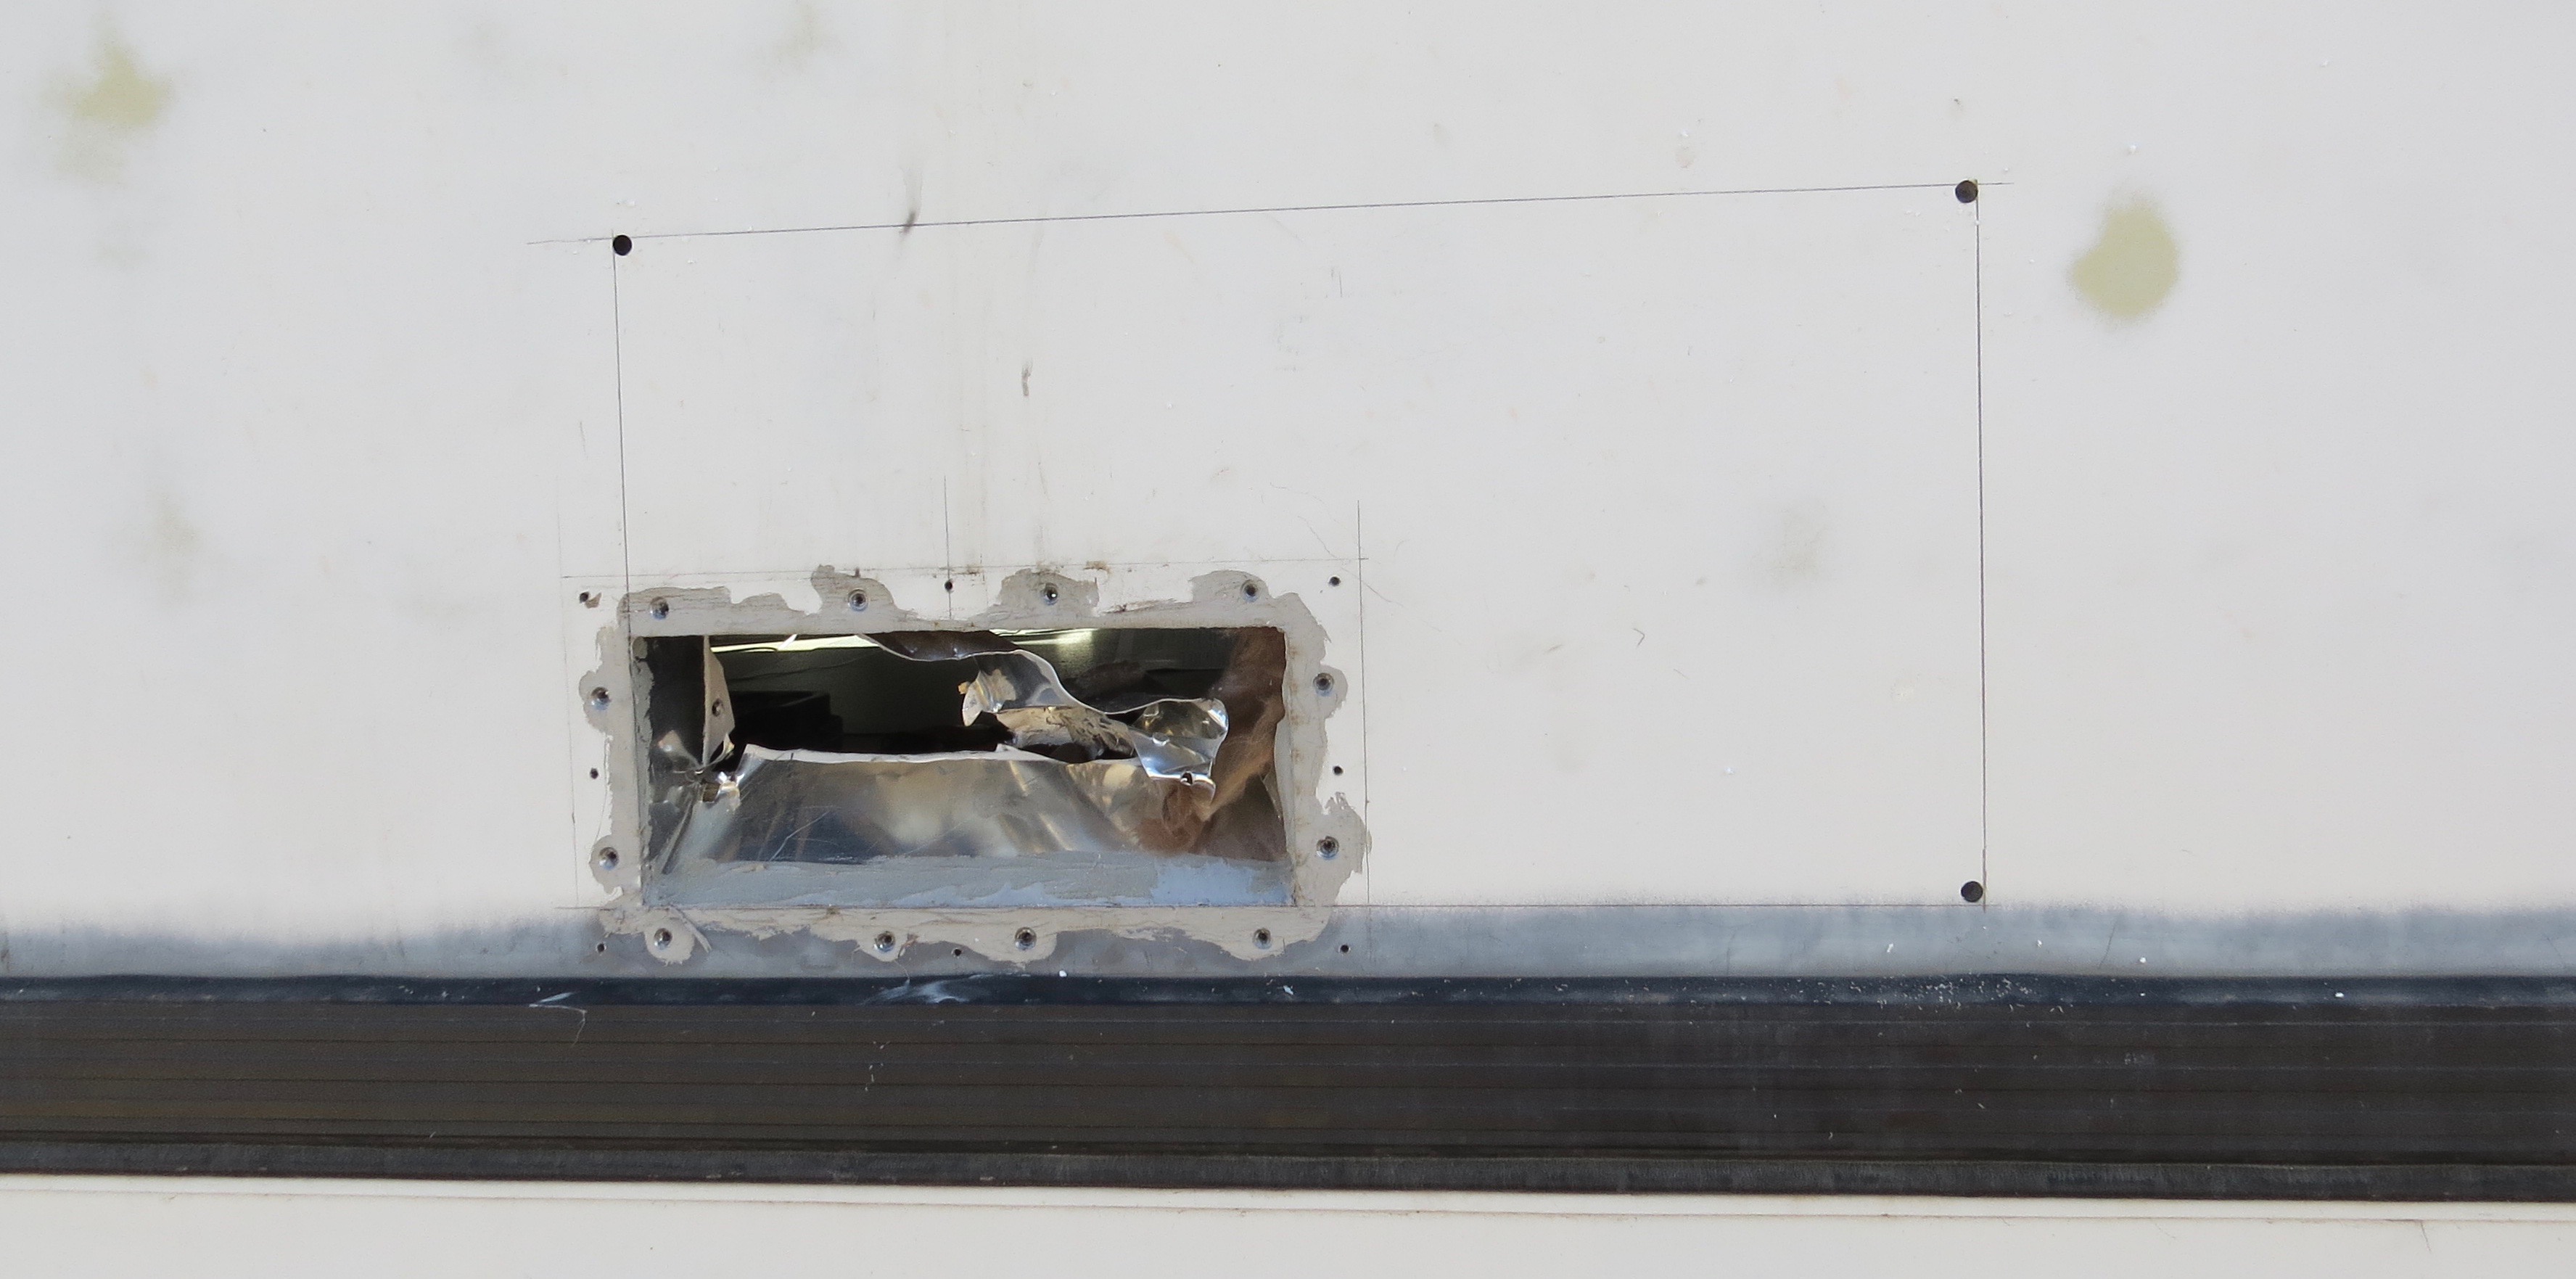
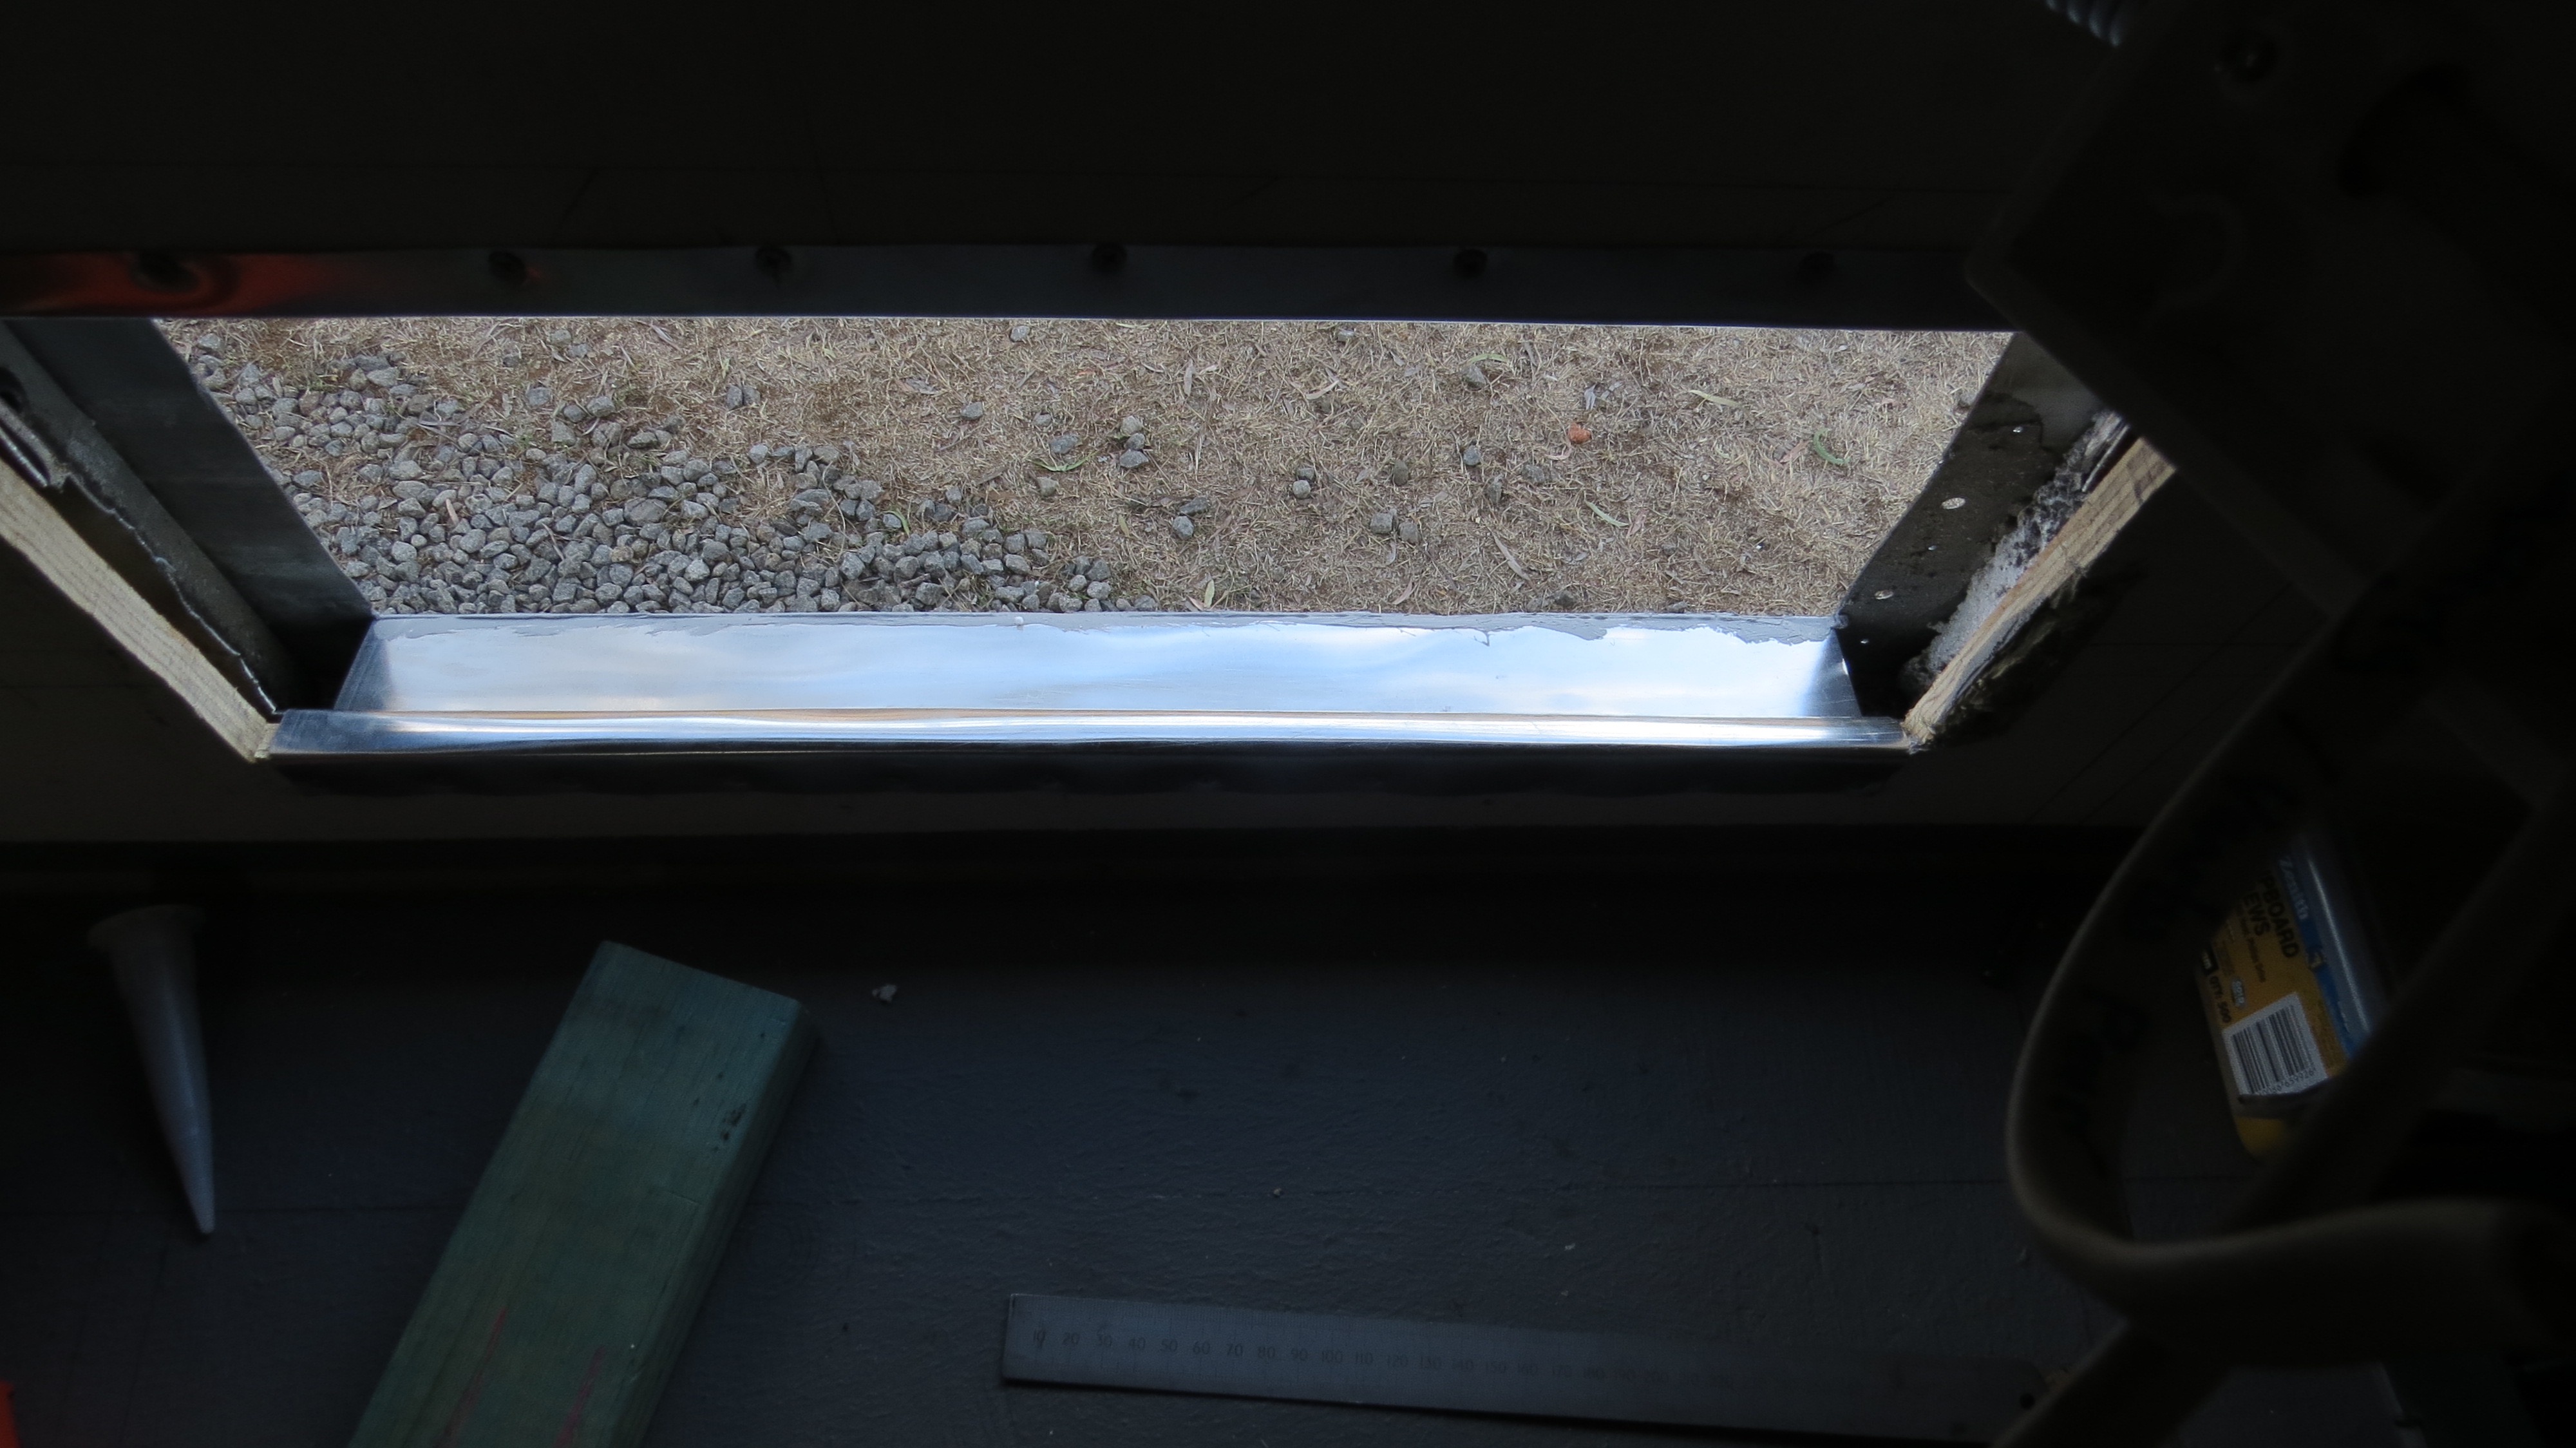
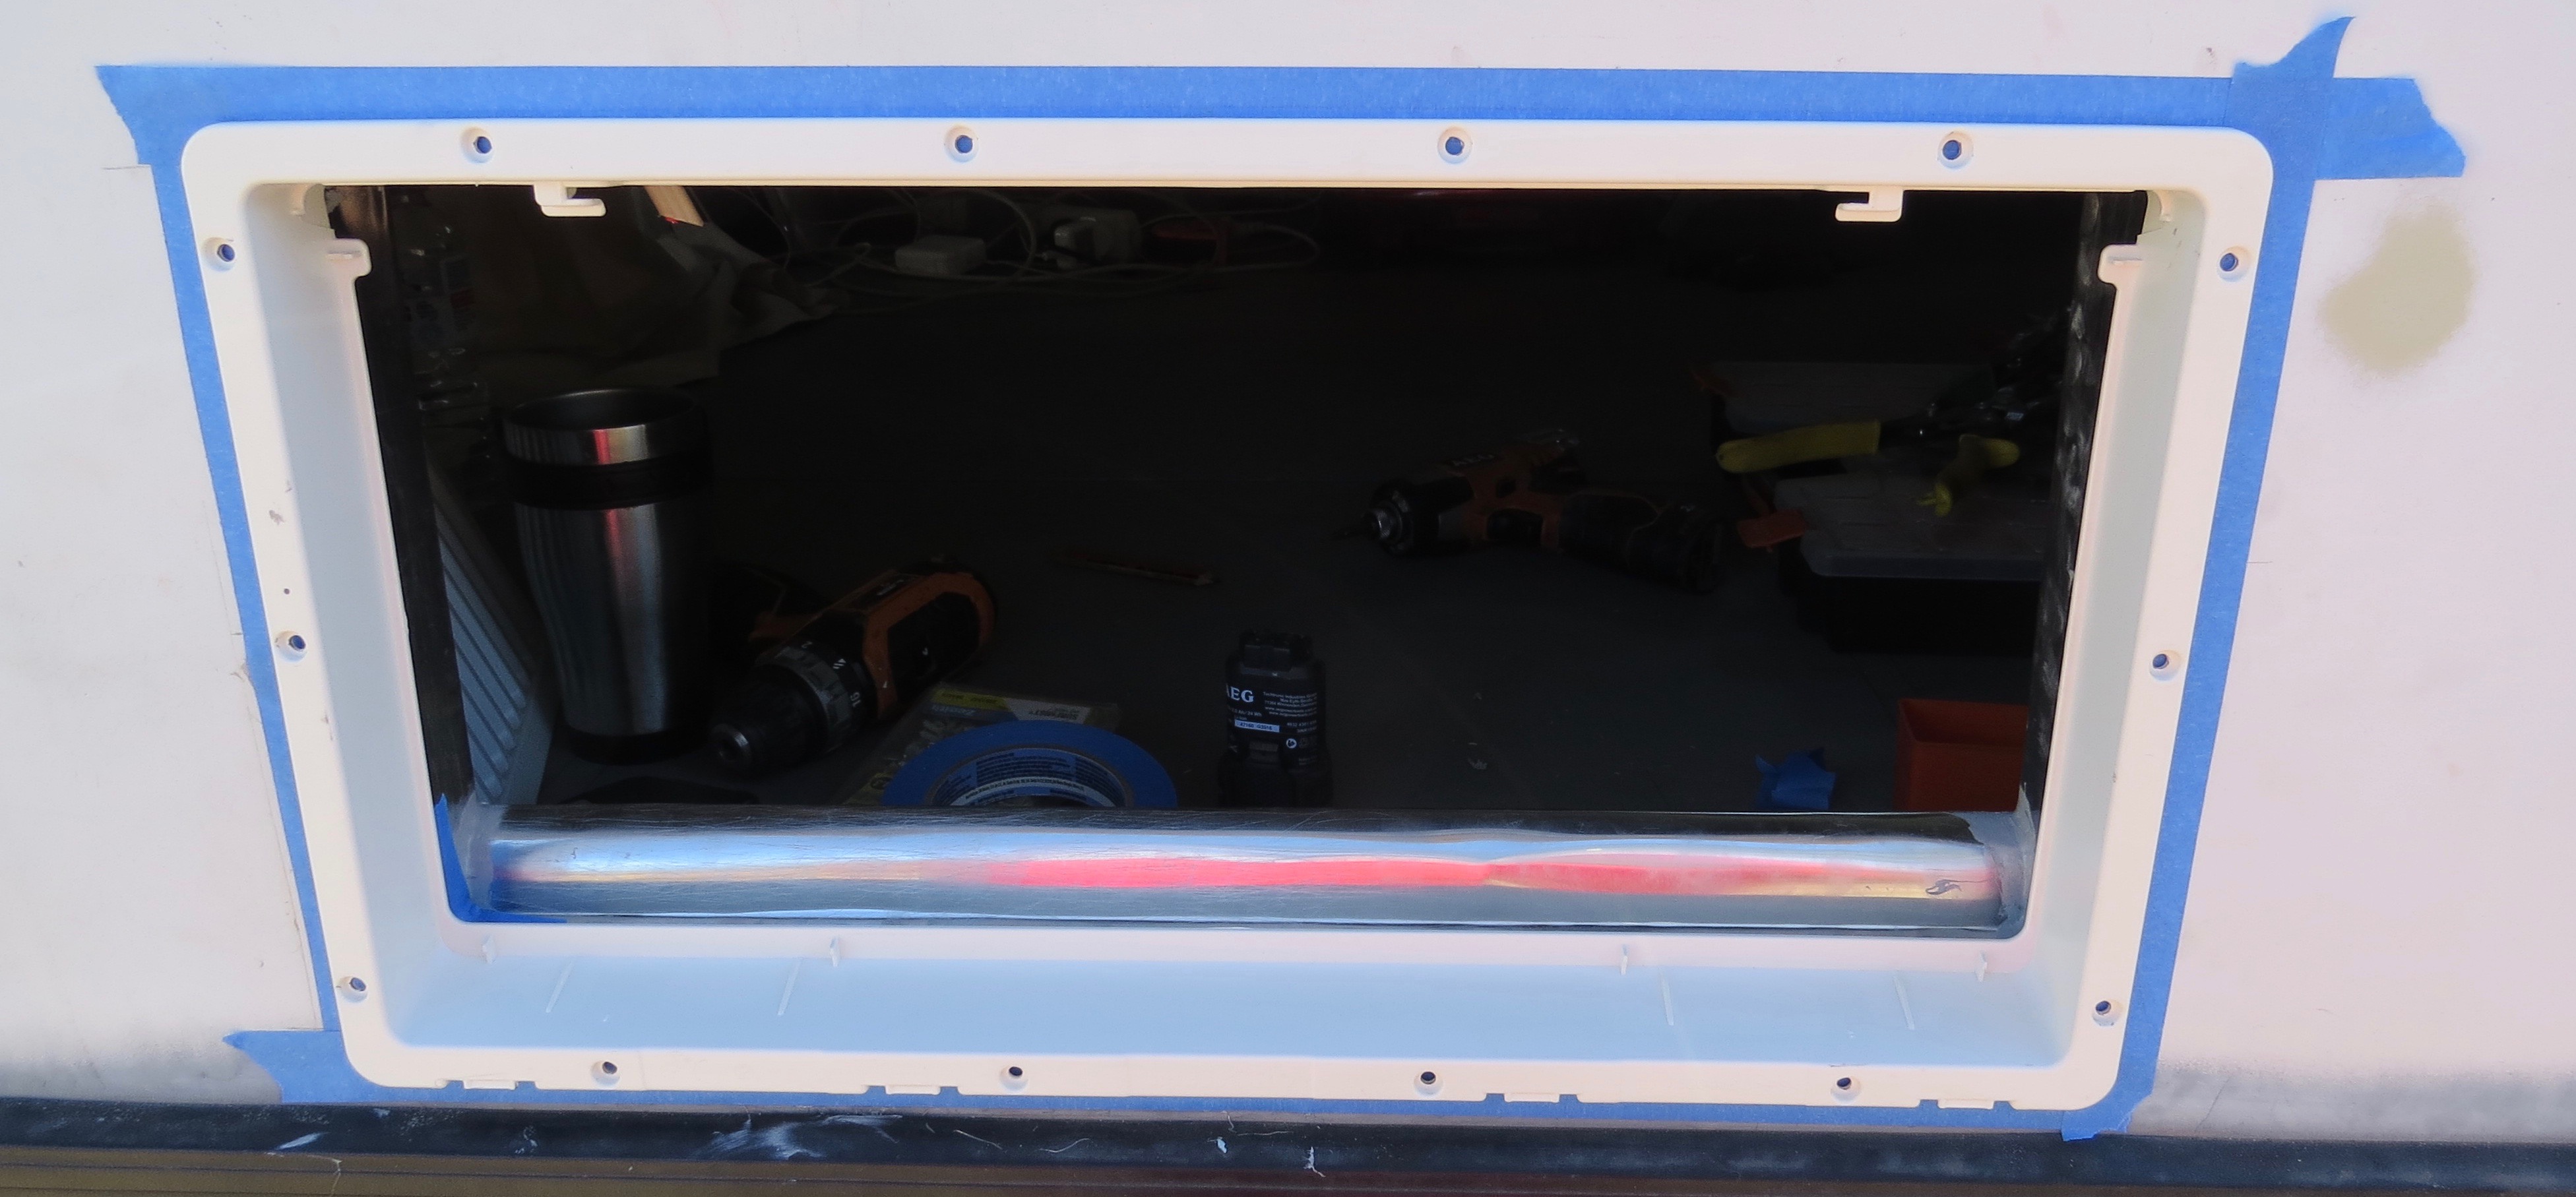
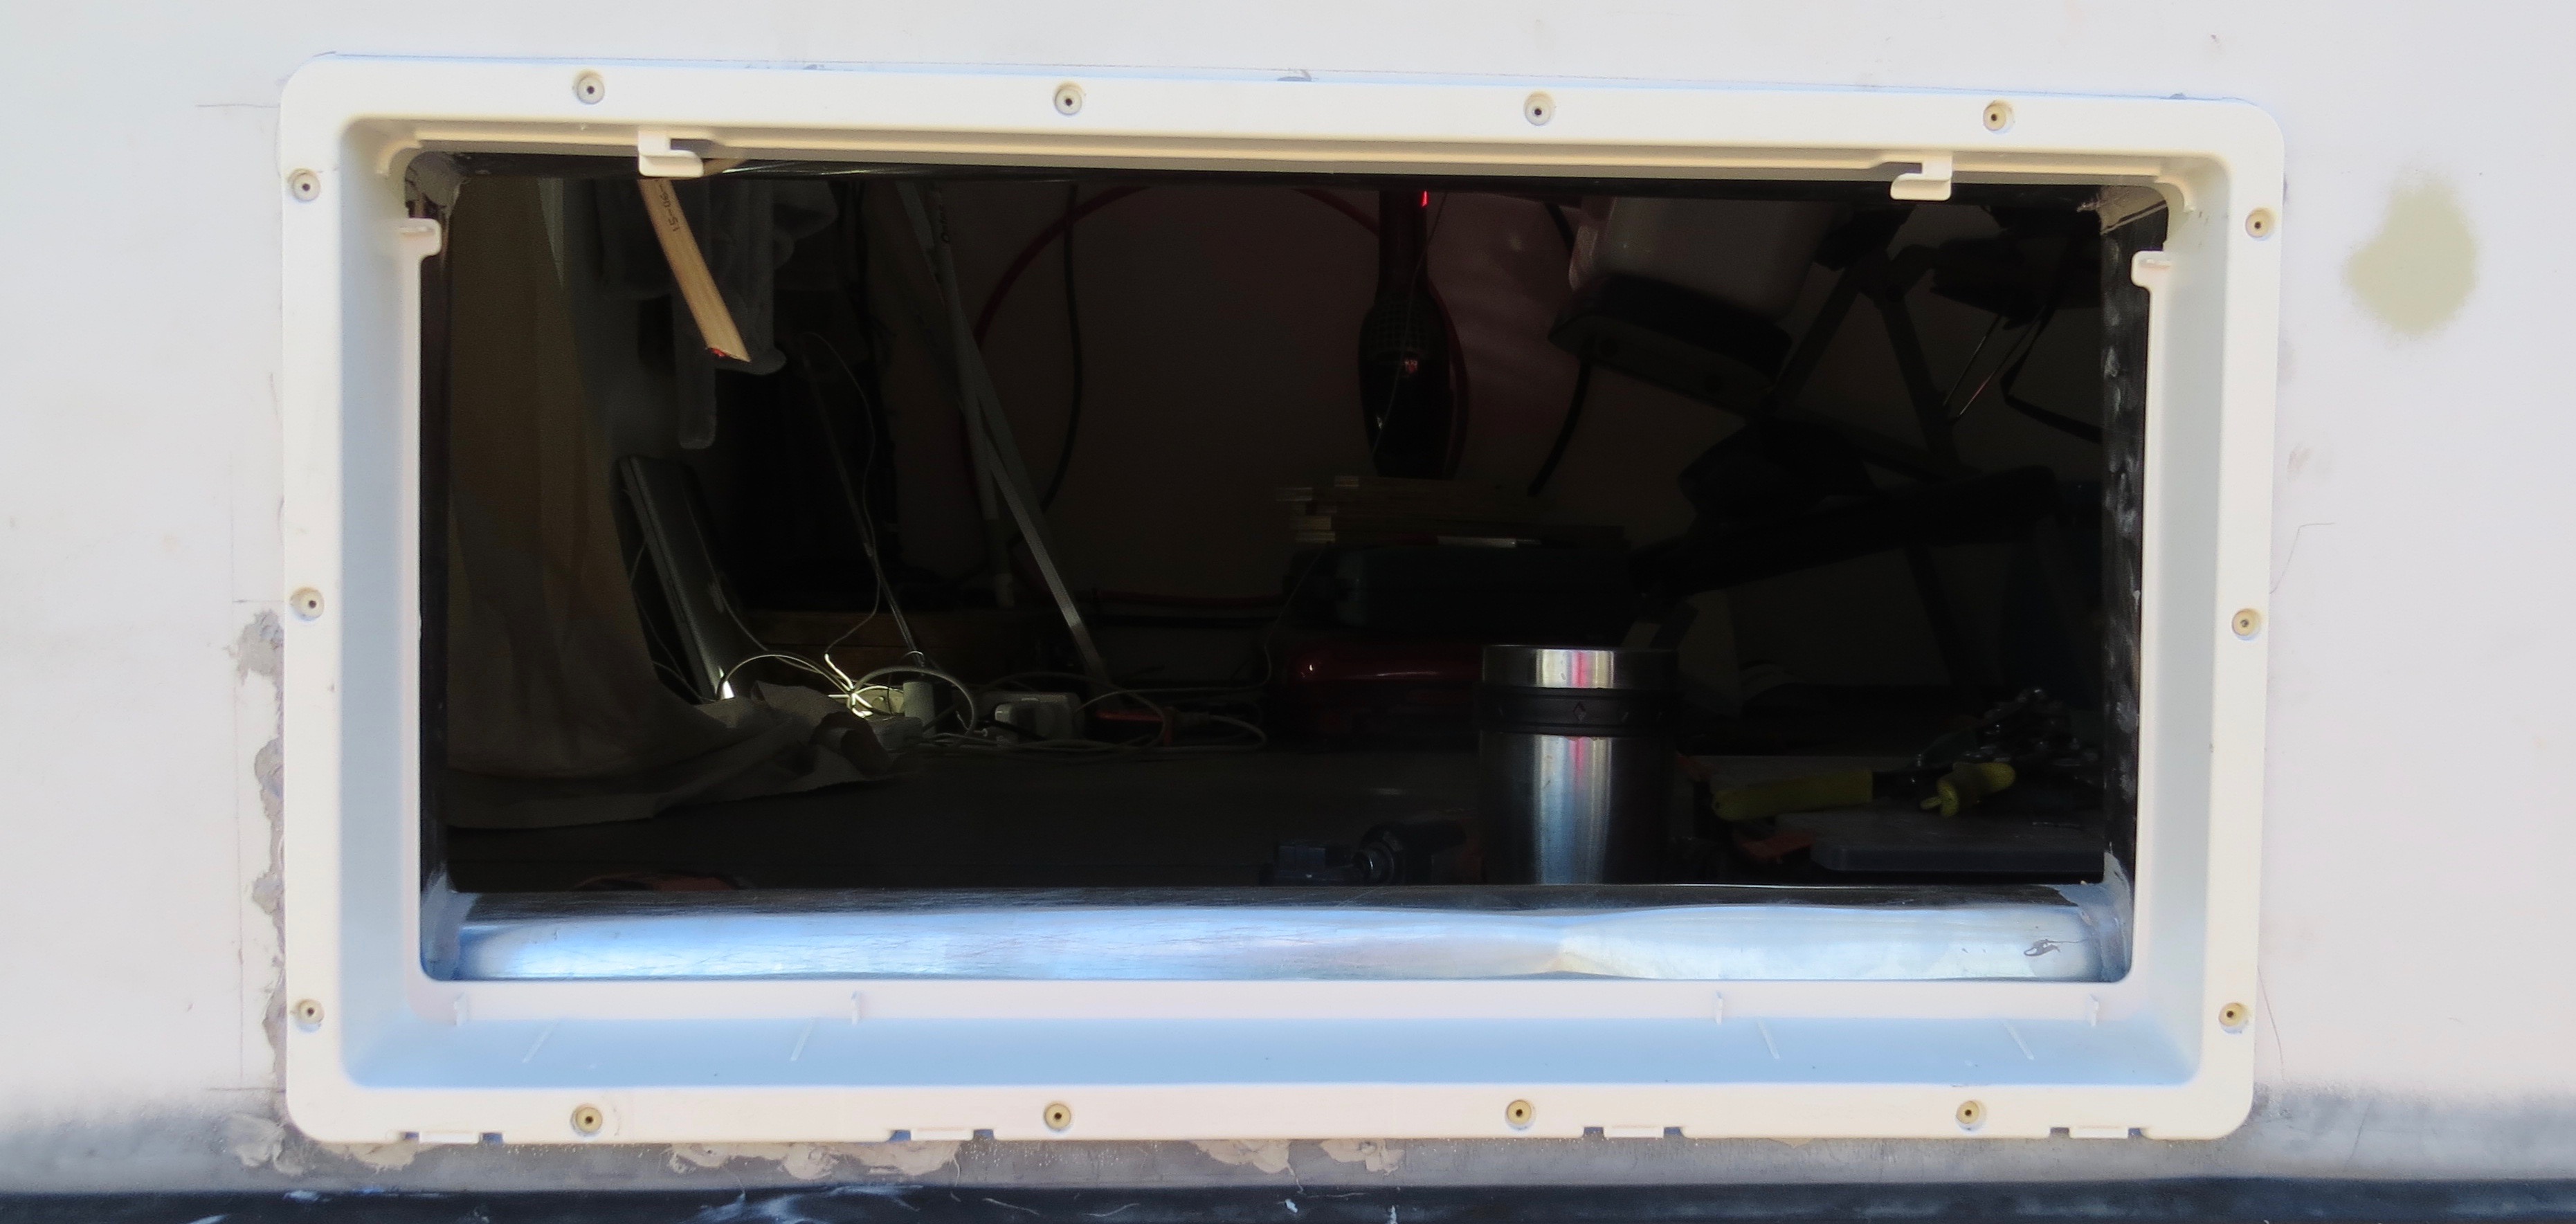
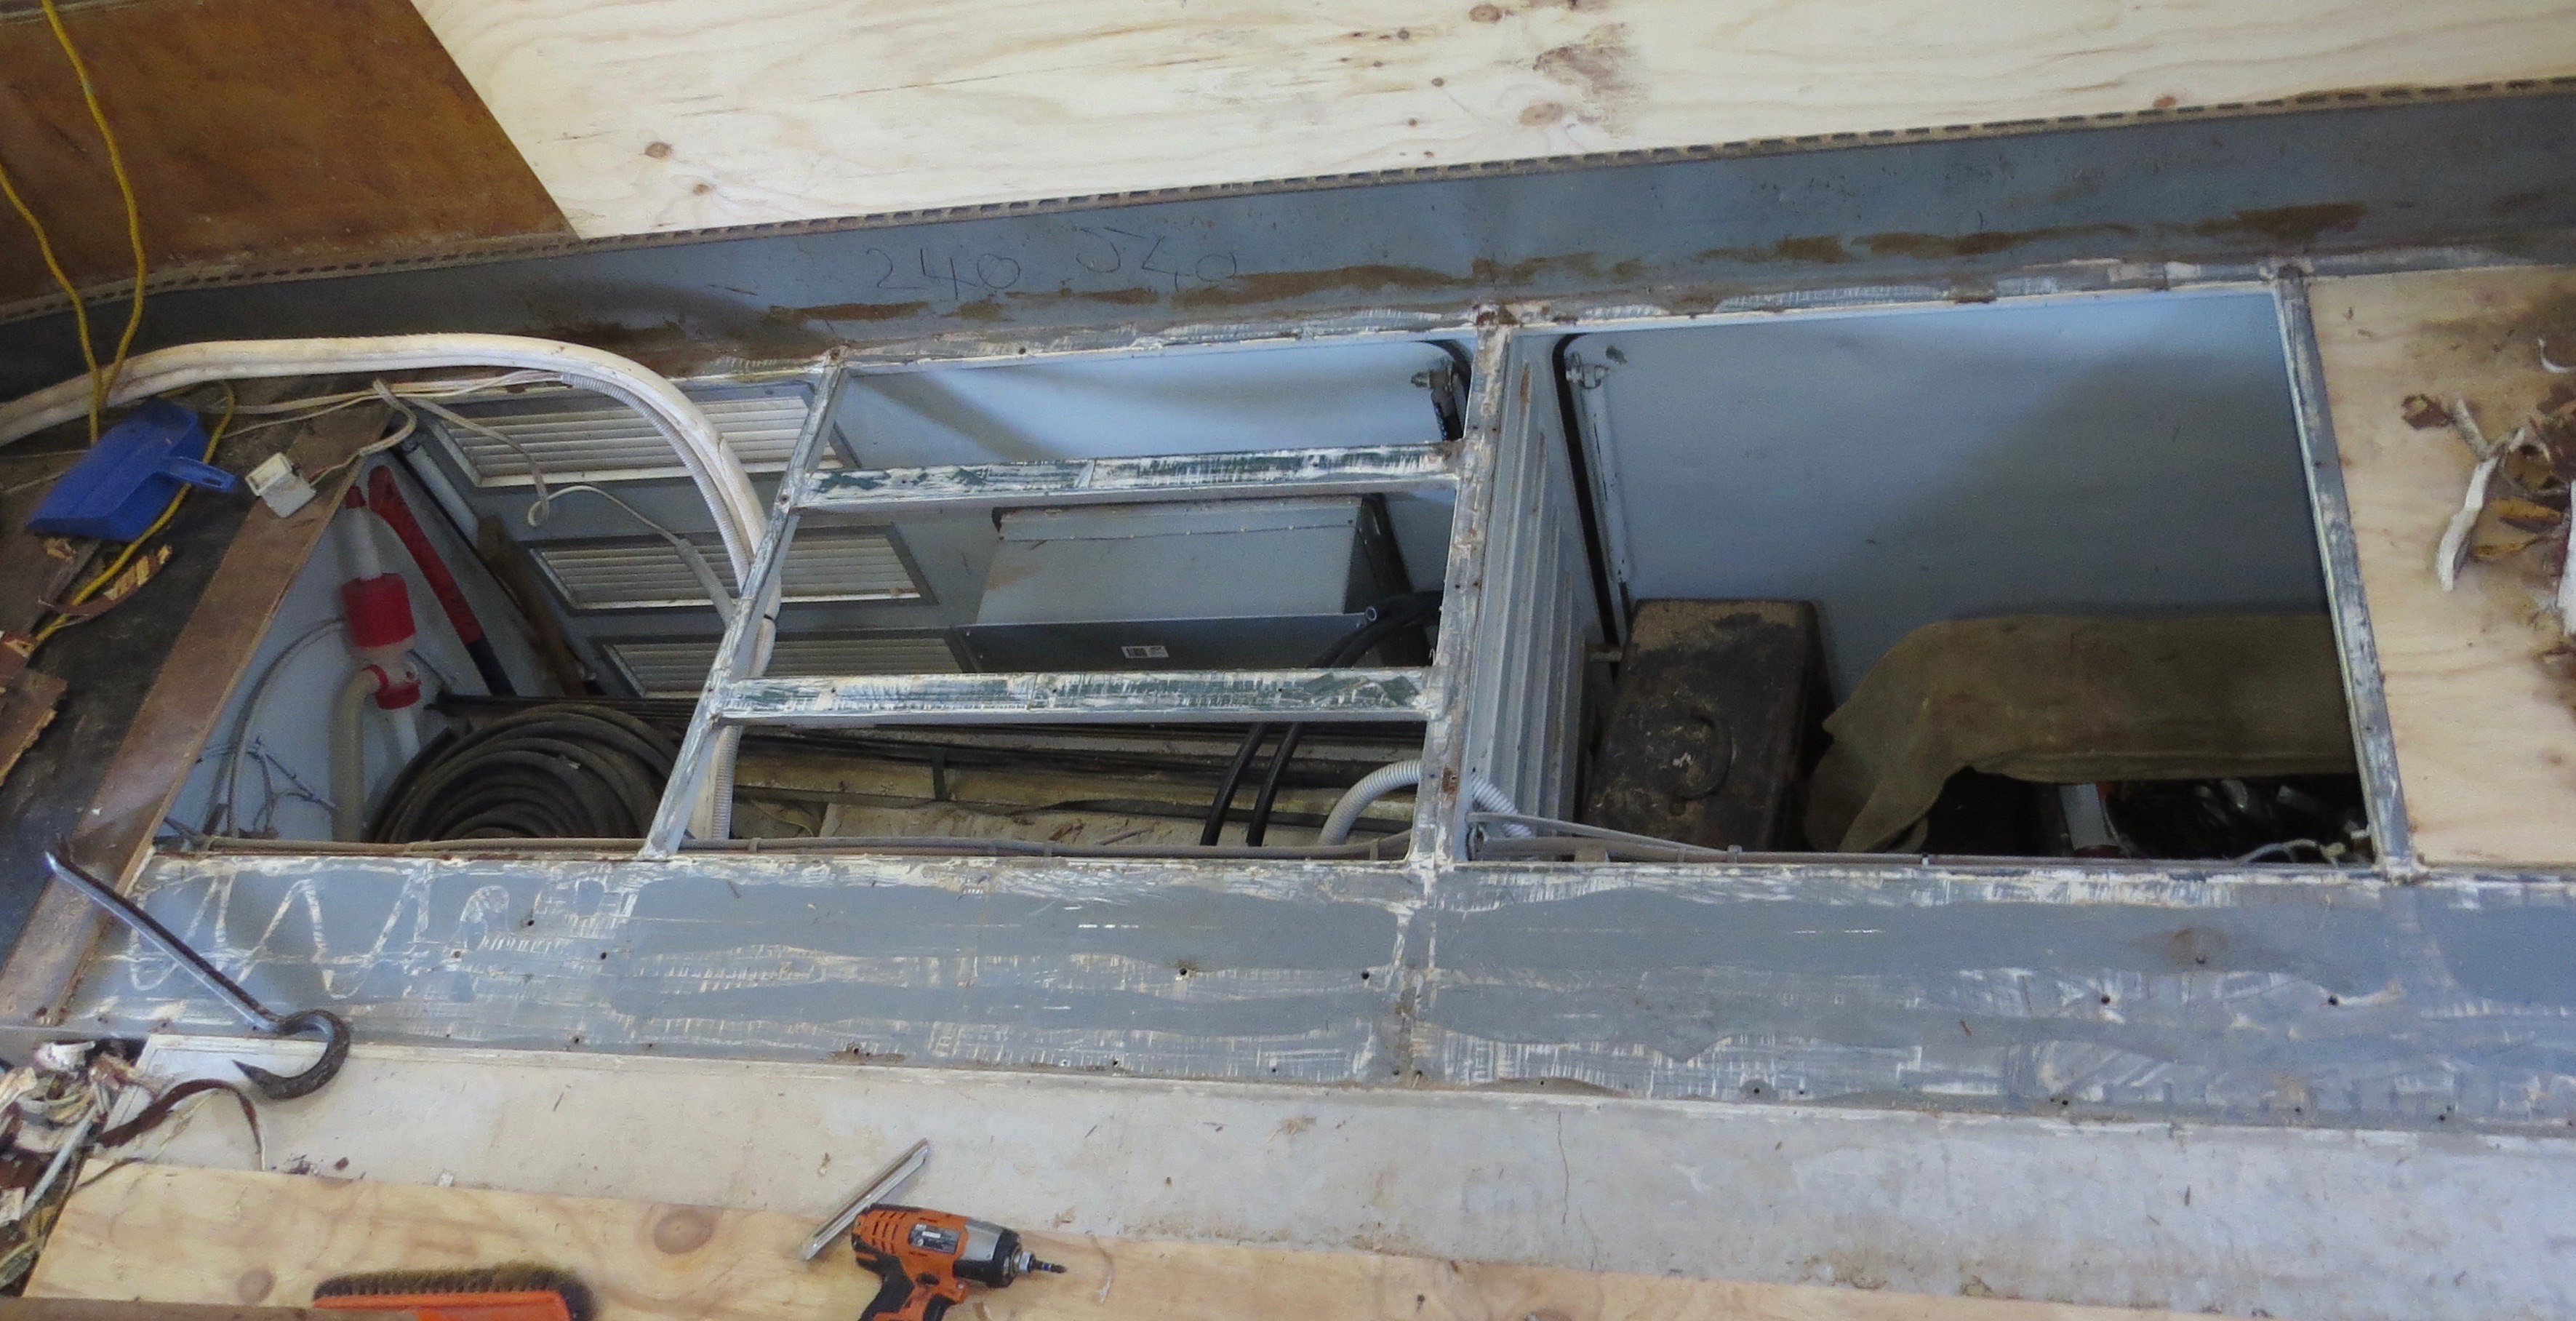
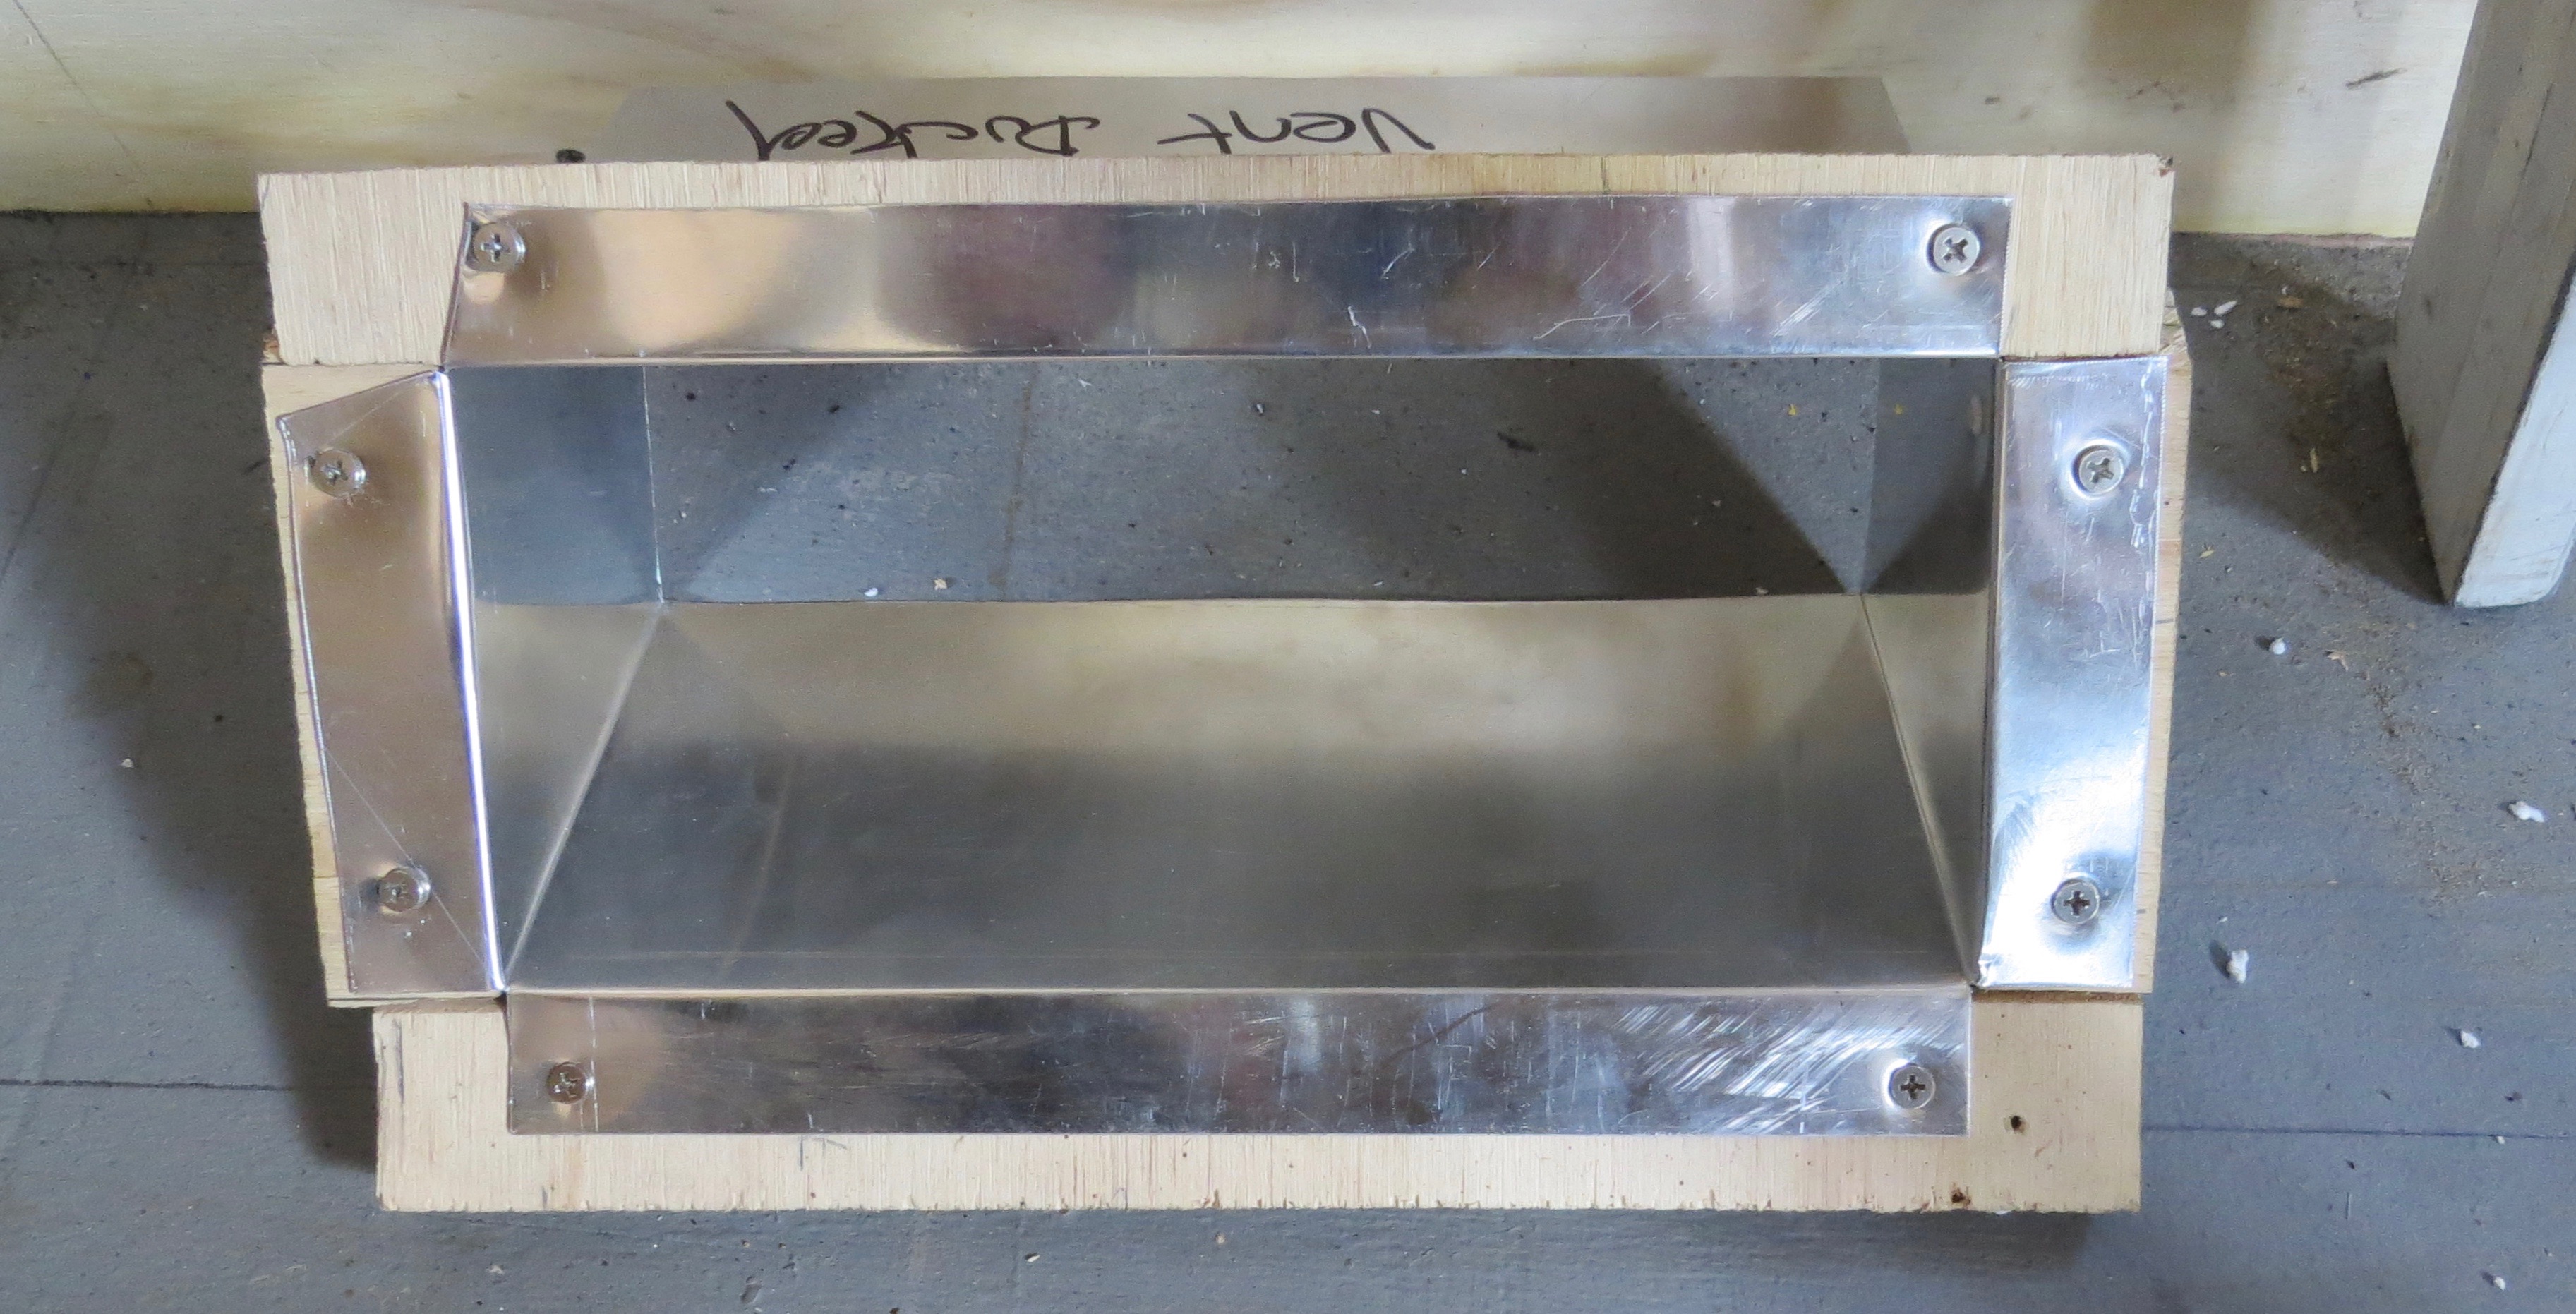
Well I’ve made the ducting, now it’s time to fit them. Out with the grinder again, let’s hope I’ve marked it out right.
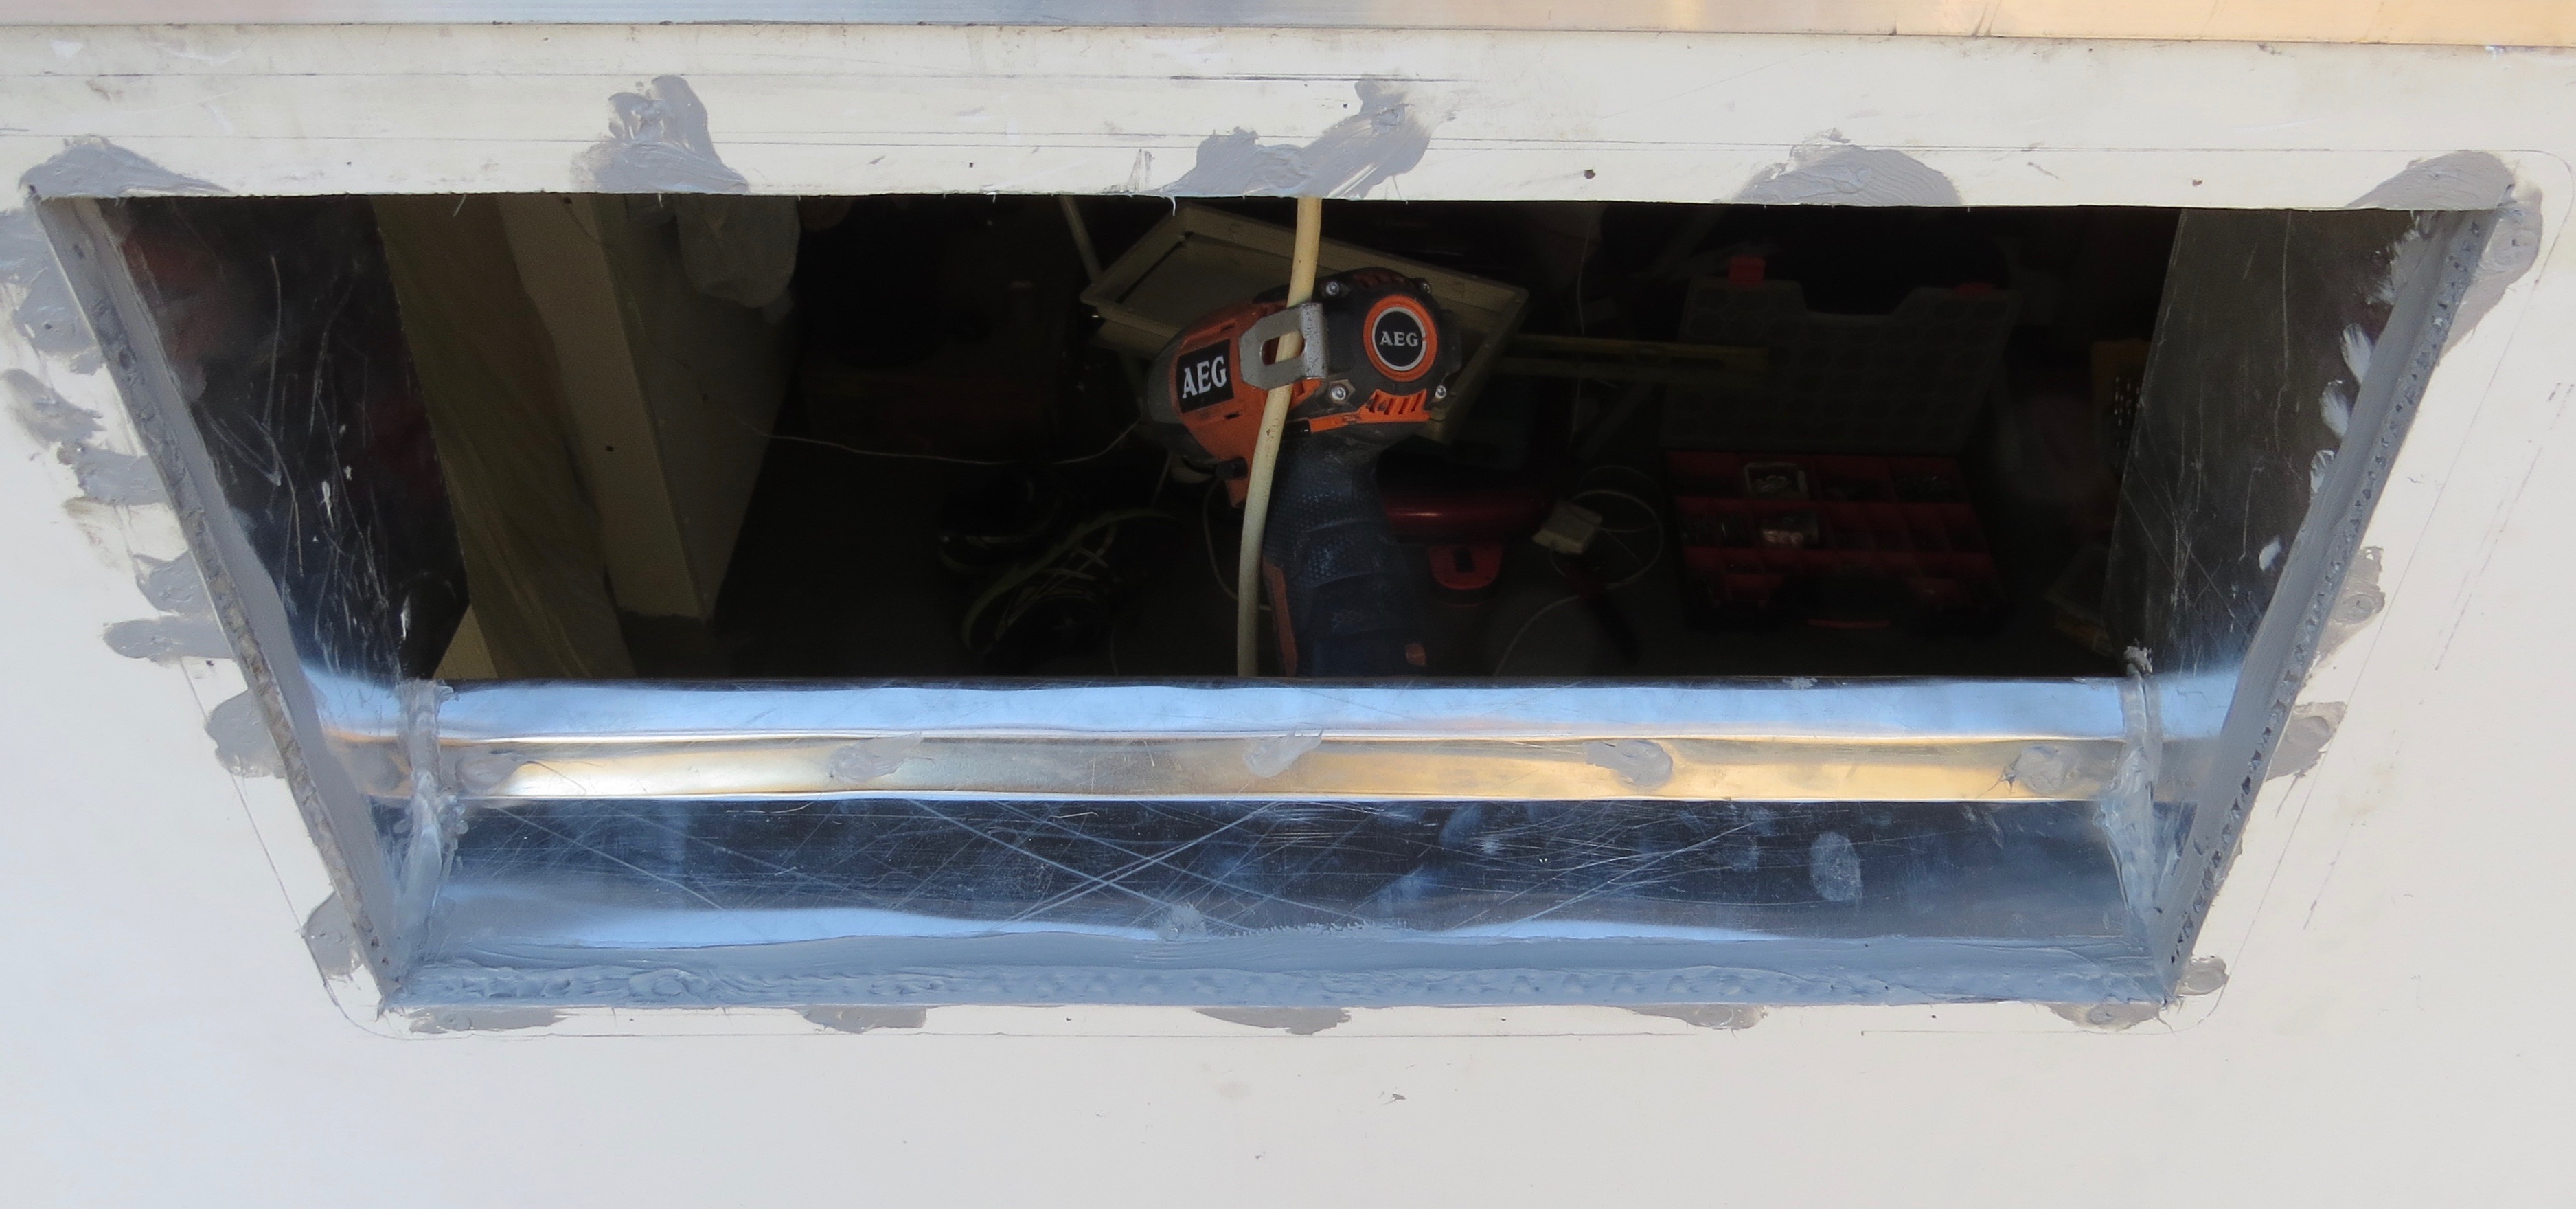
Test fit bottom vent.
Just making sure that the outside hole will be in the right place before I go crazy with the grinder on the outside of the bus.
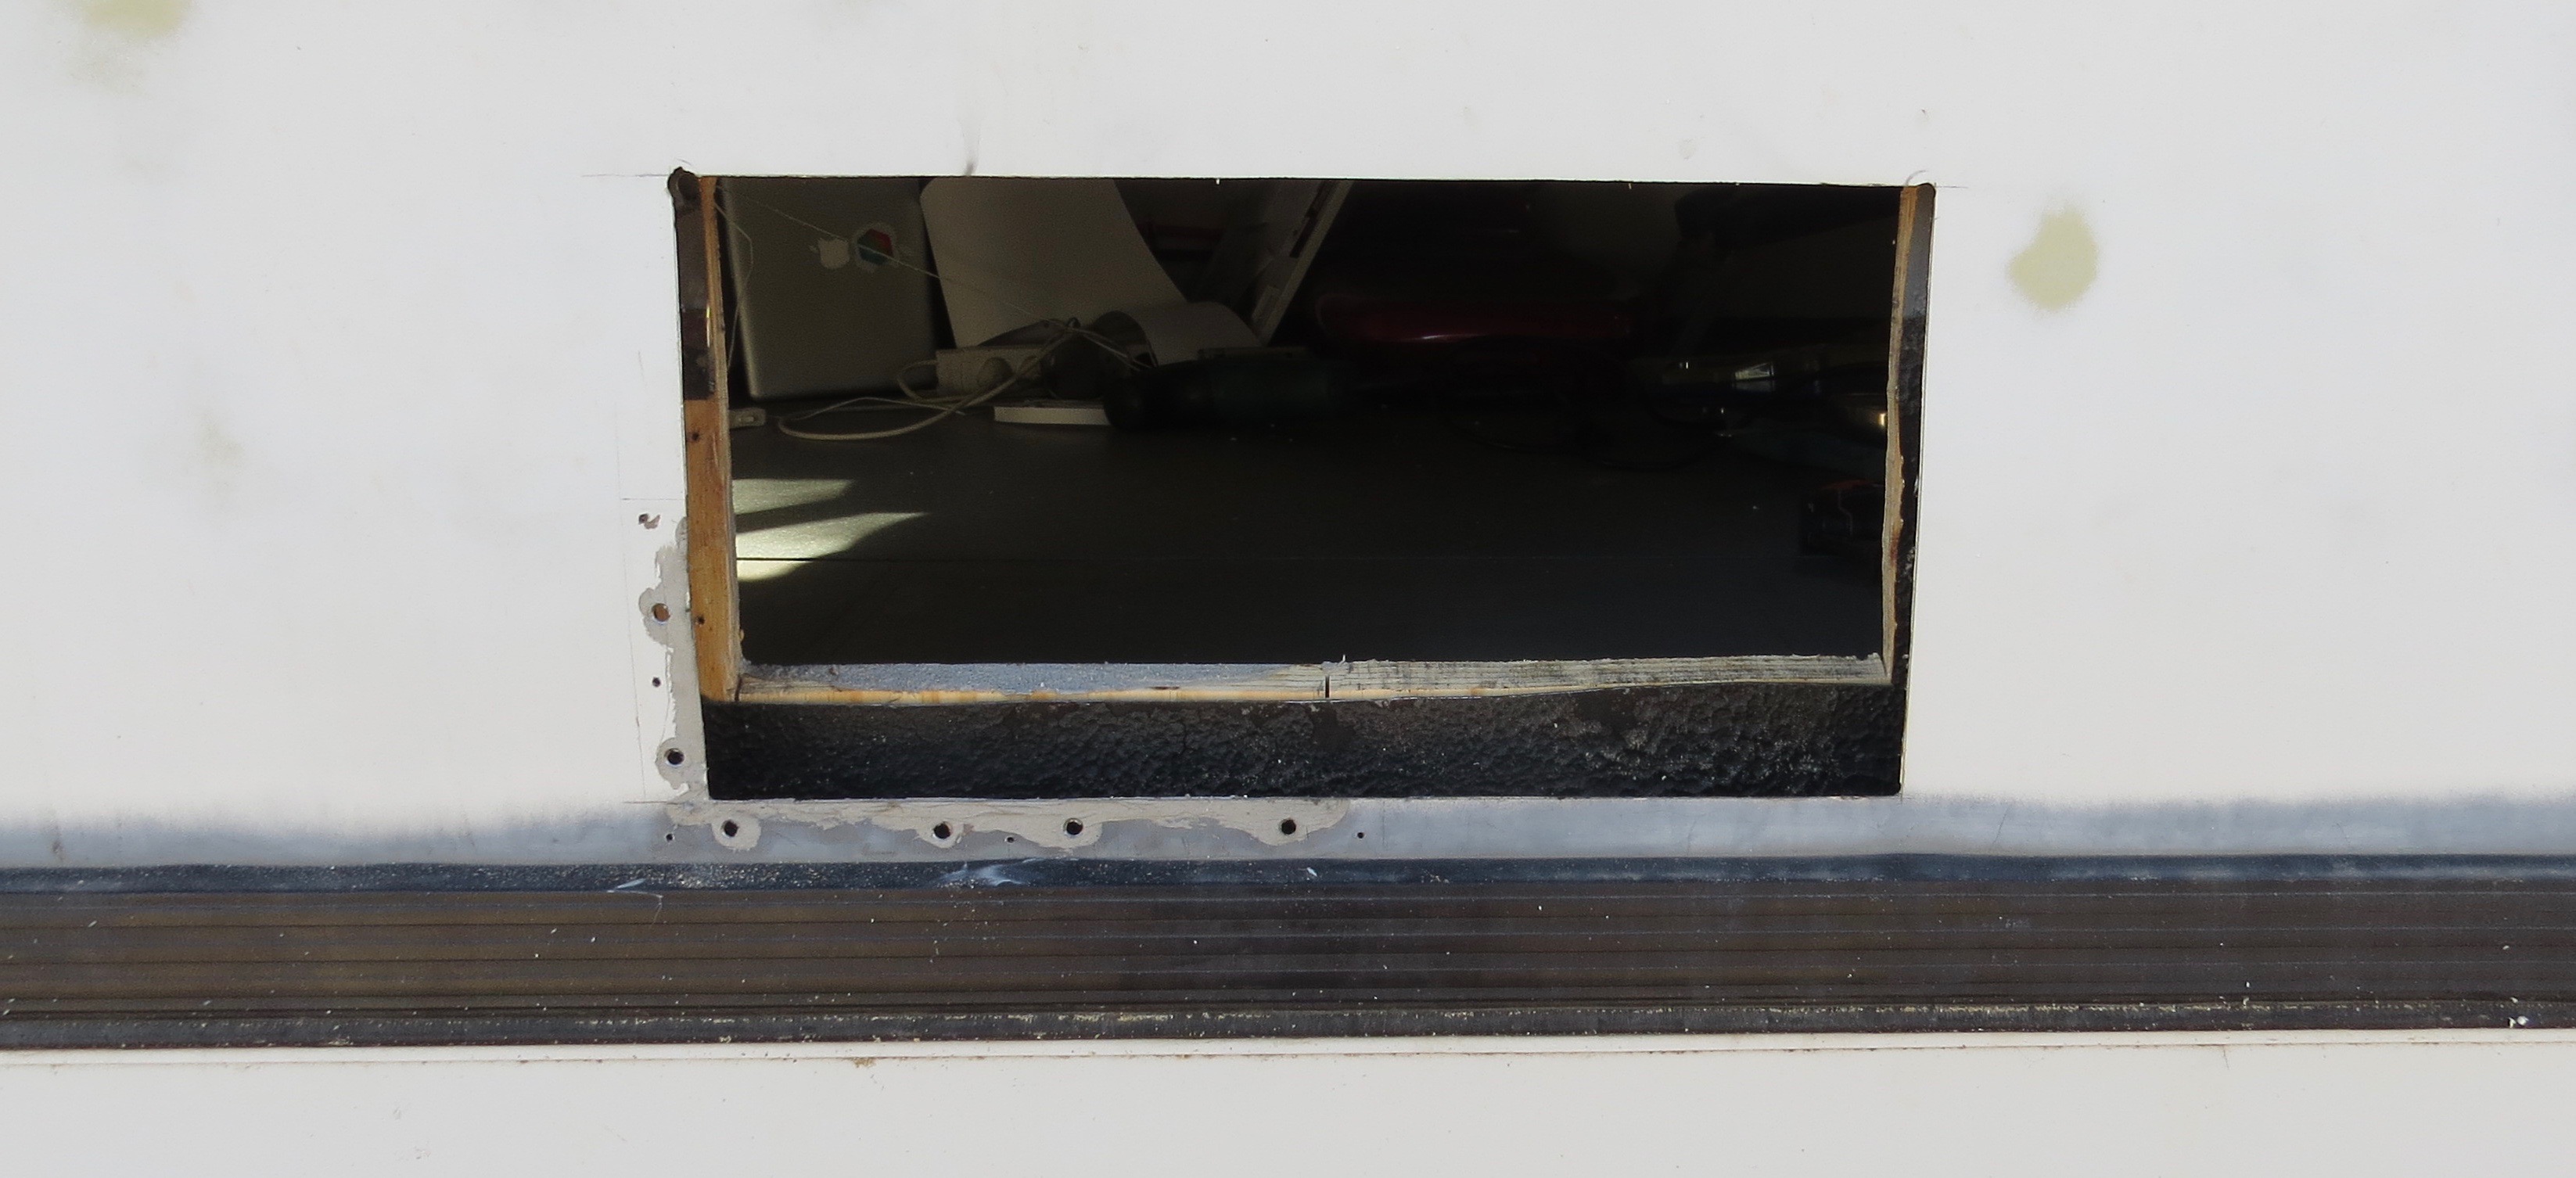
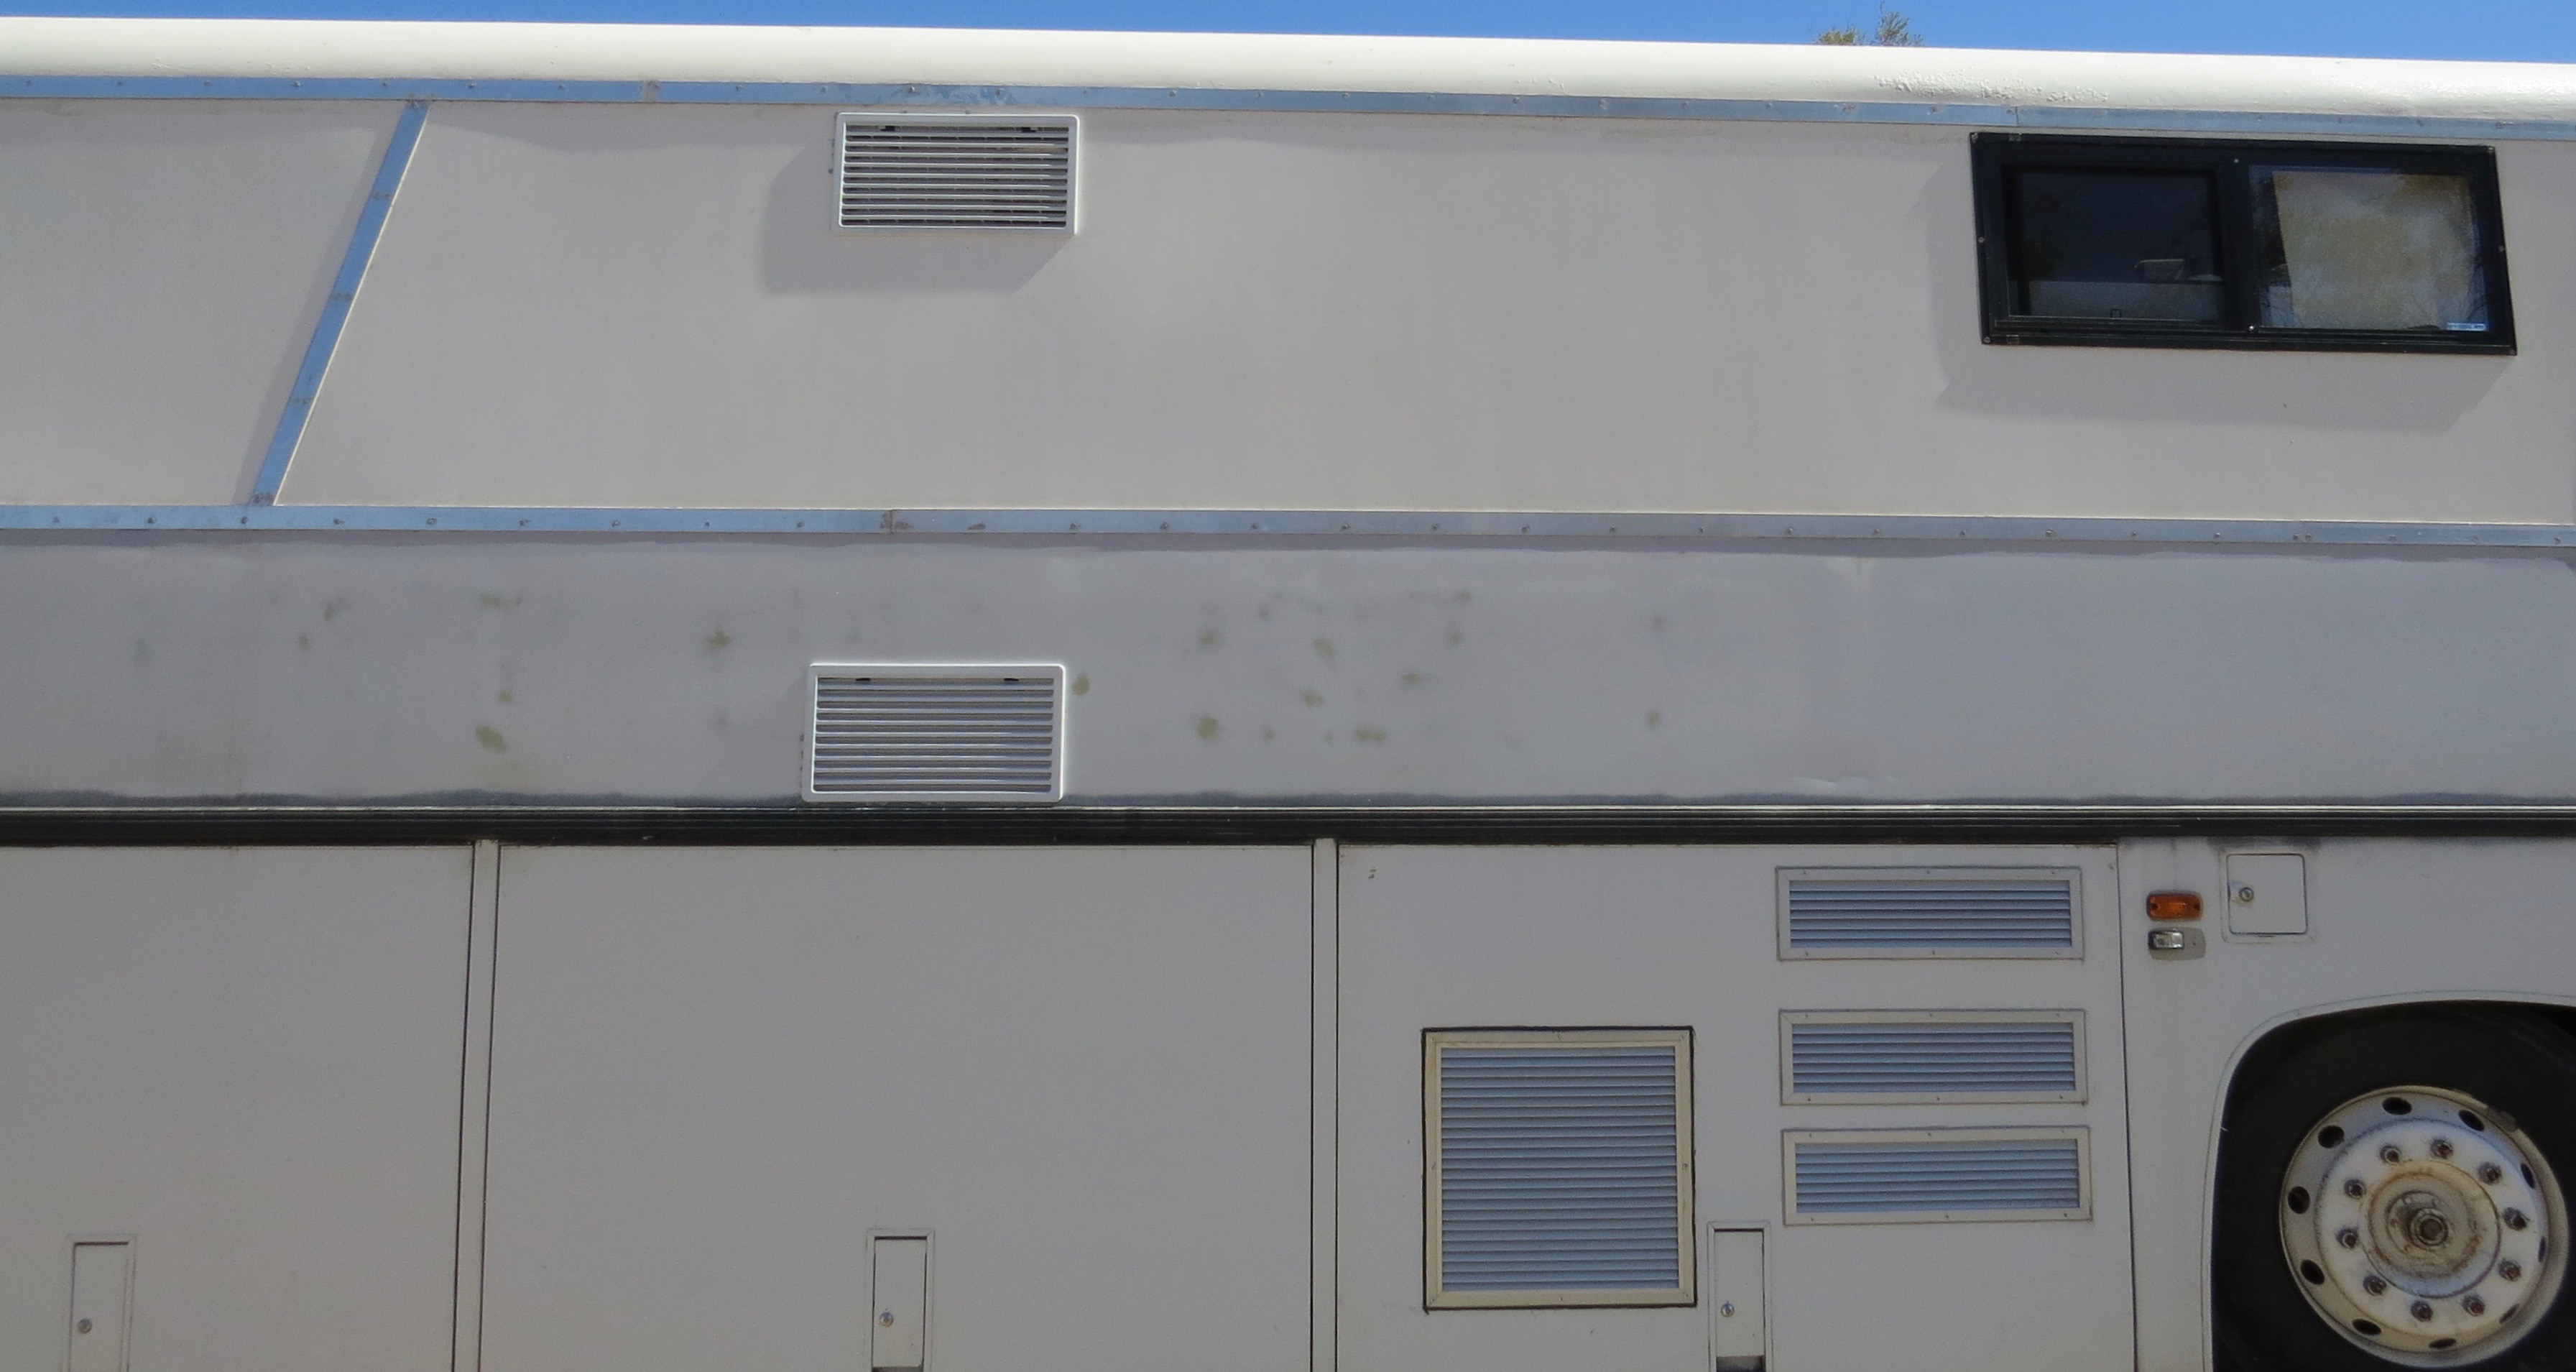
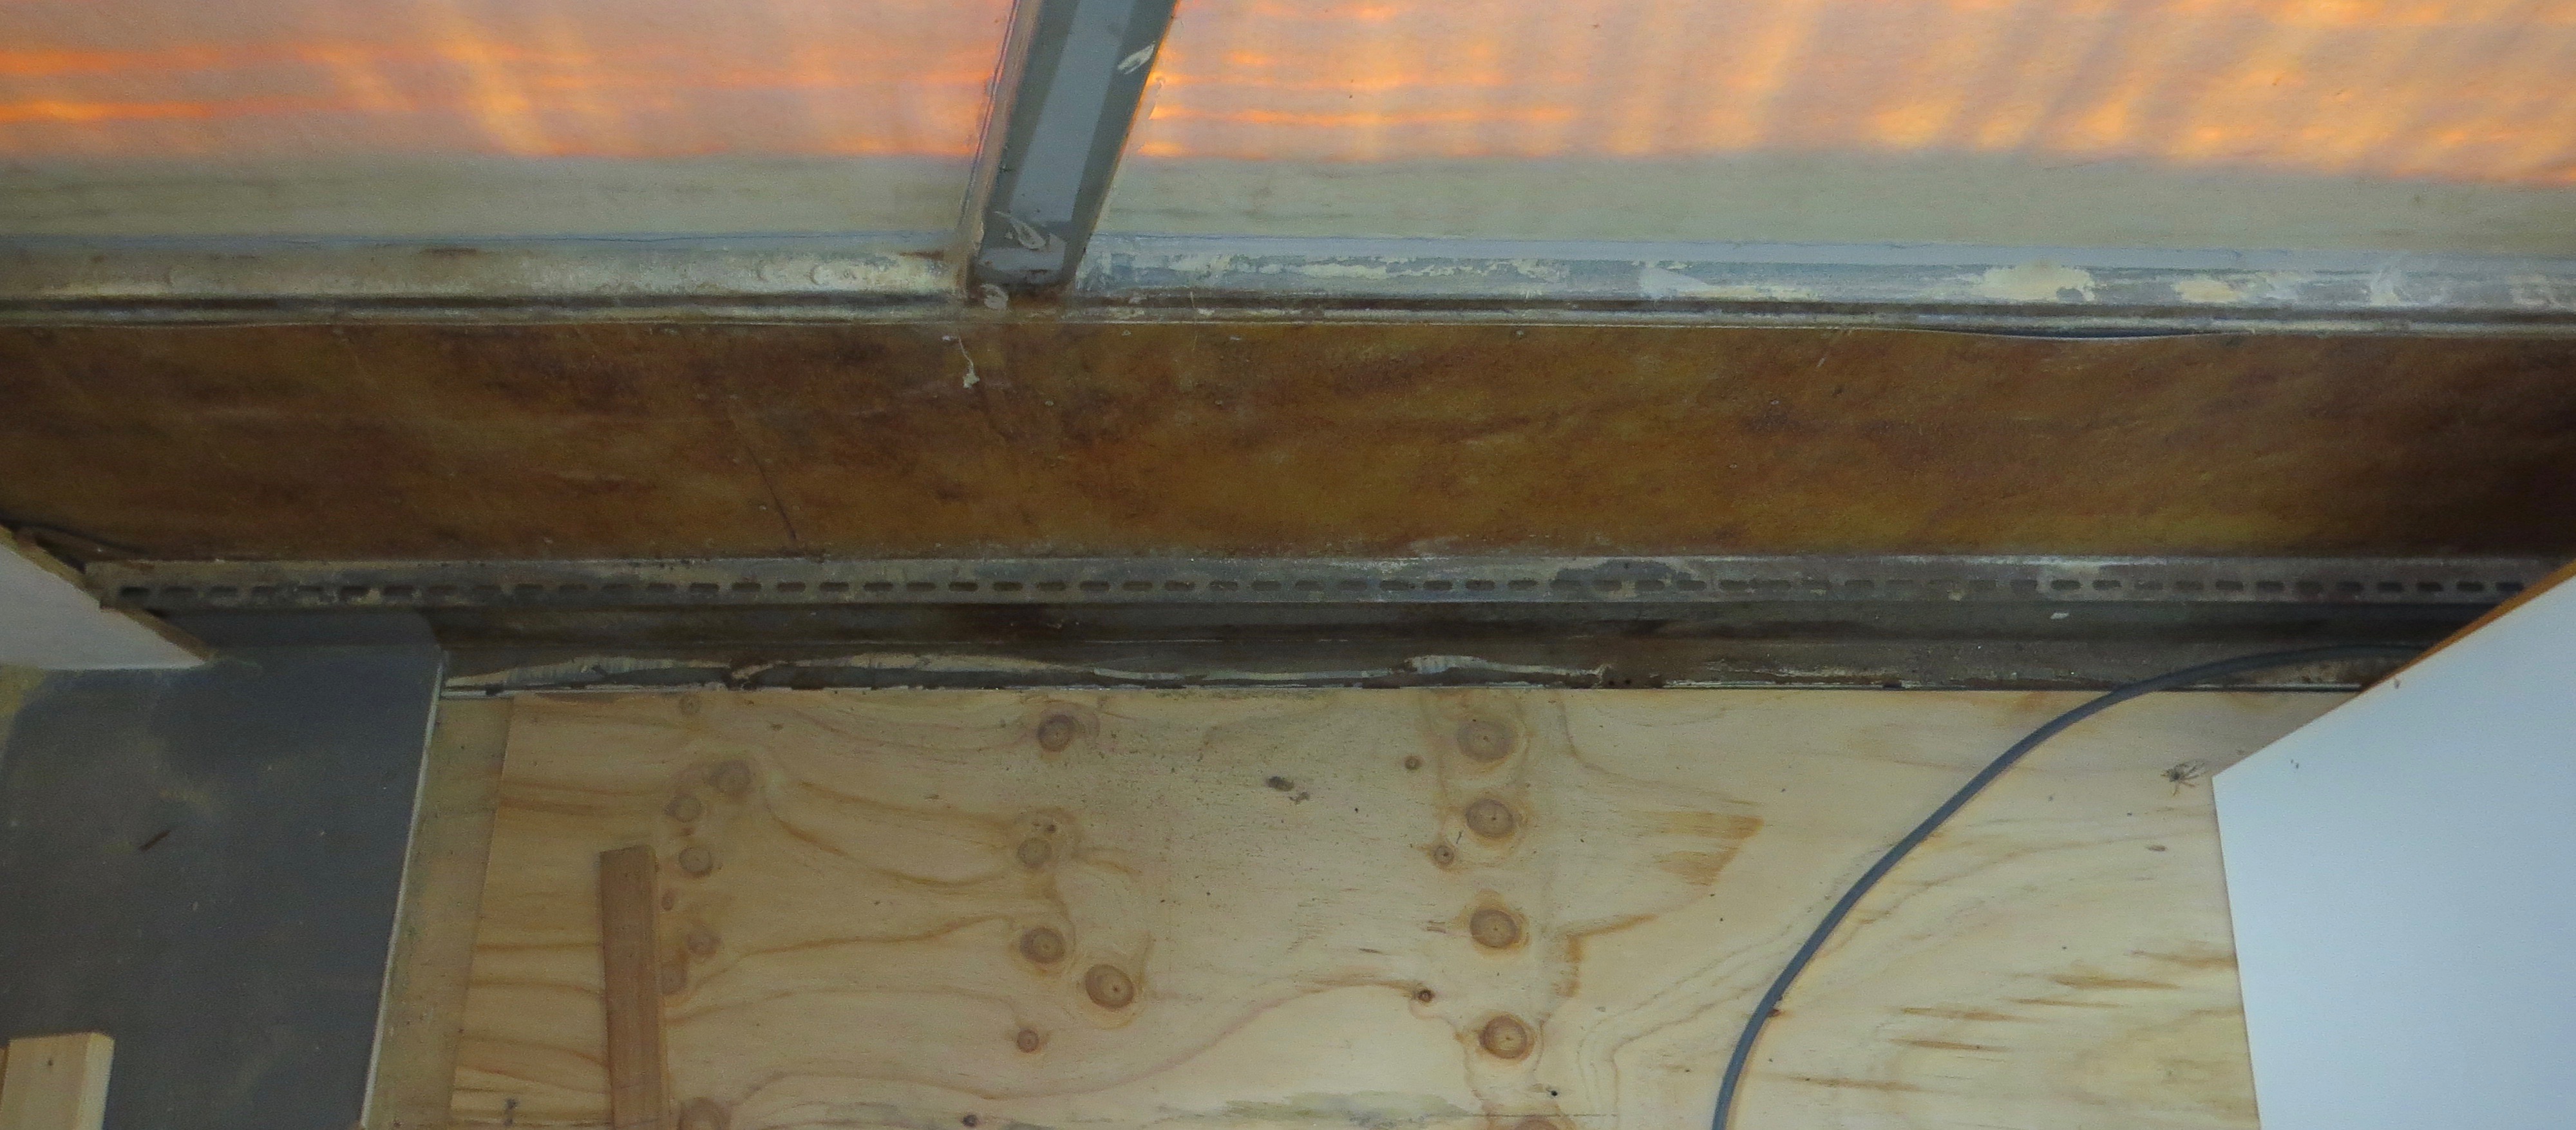
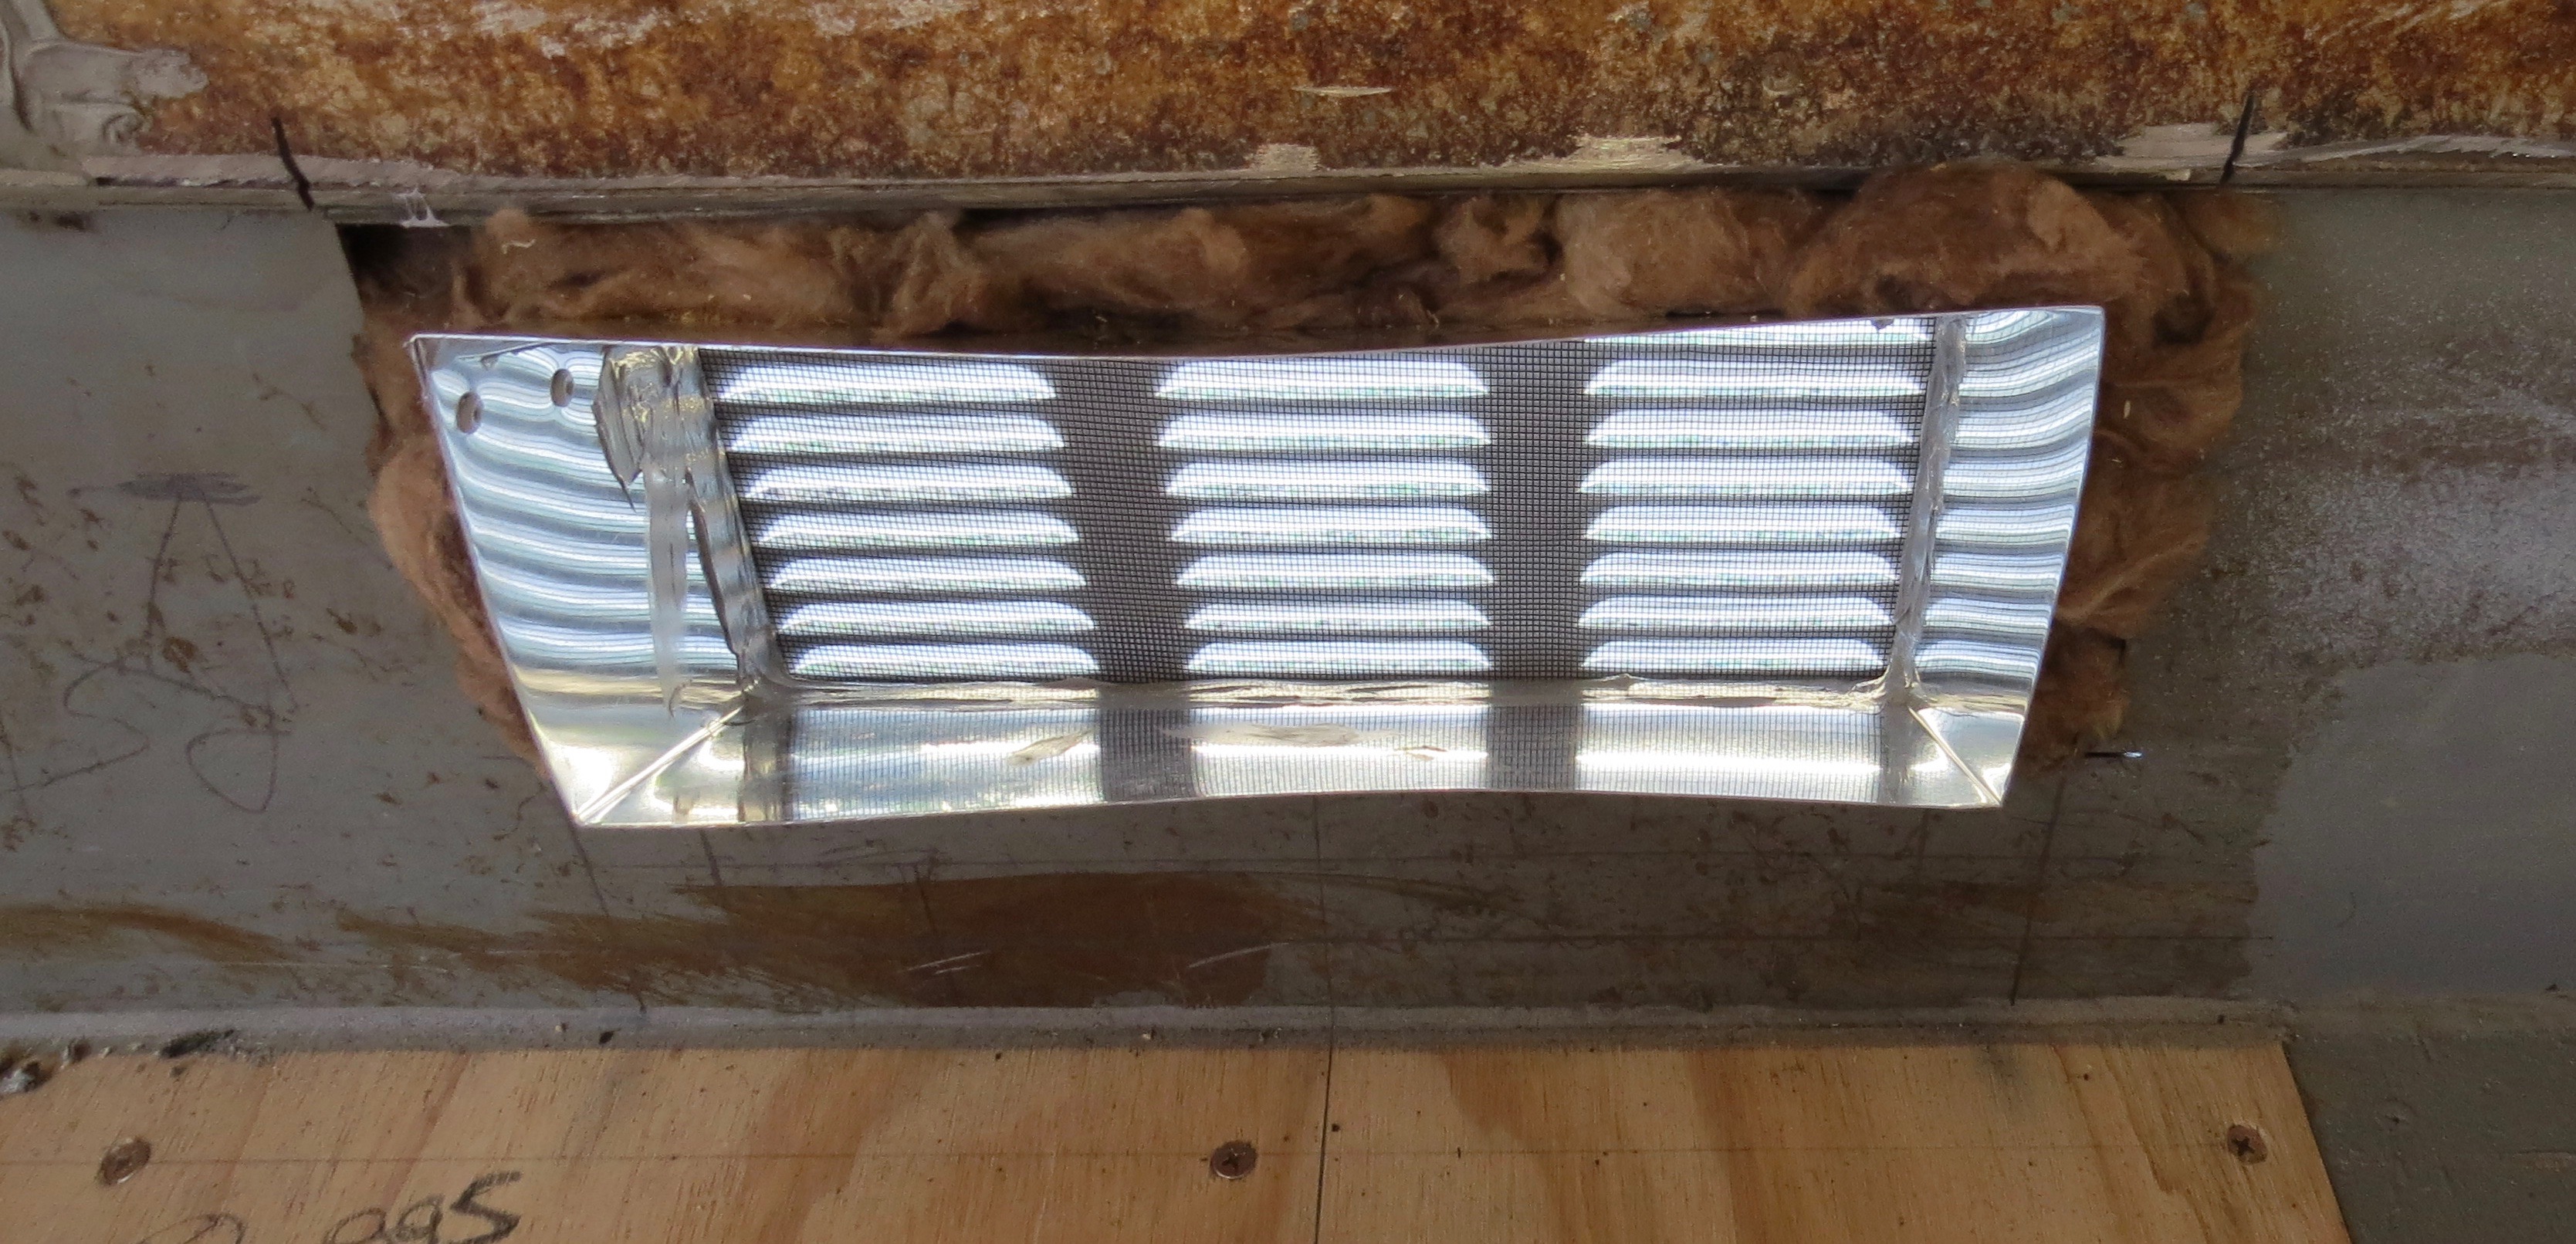
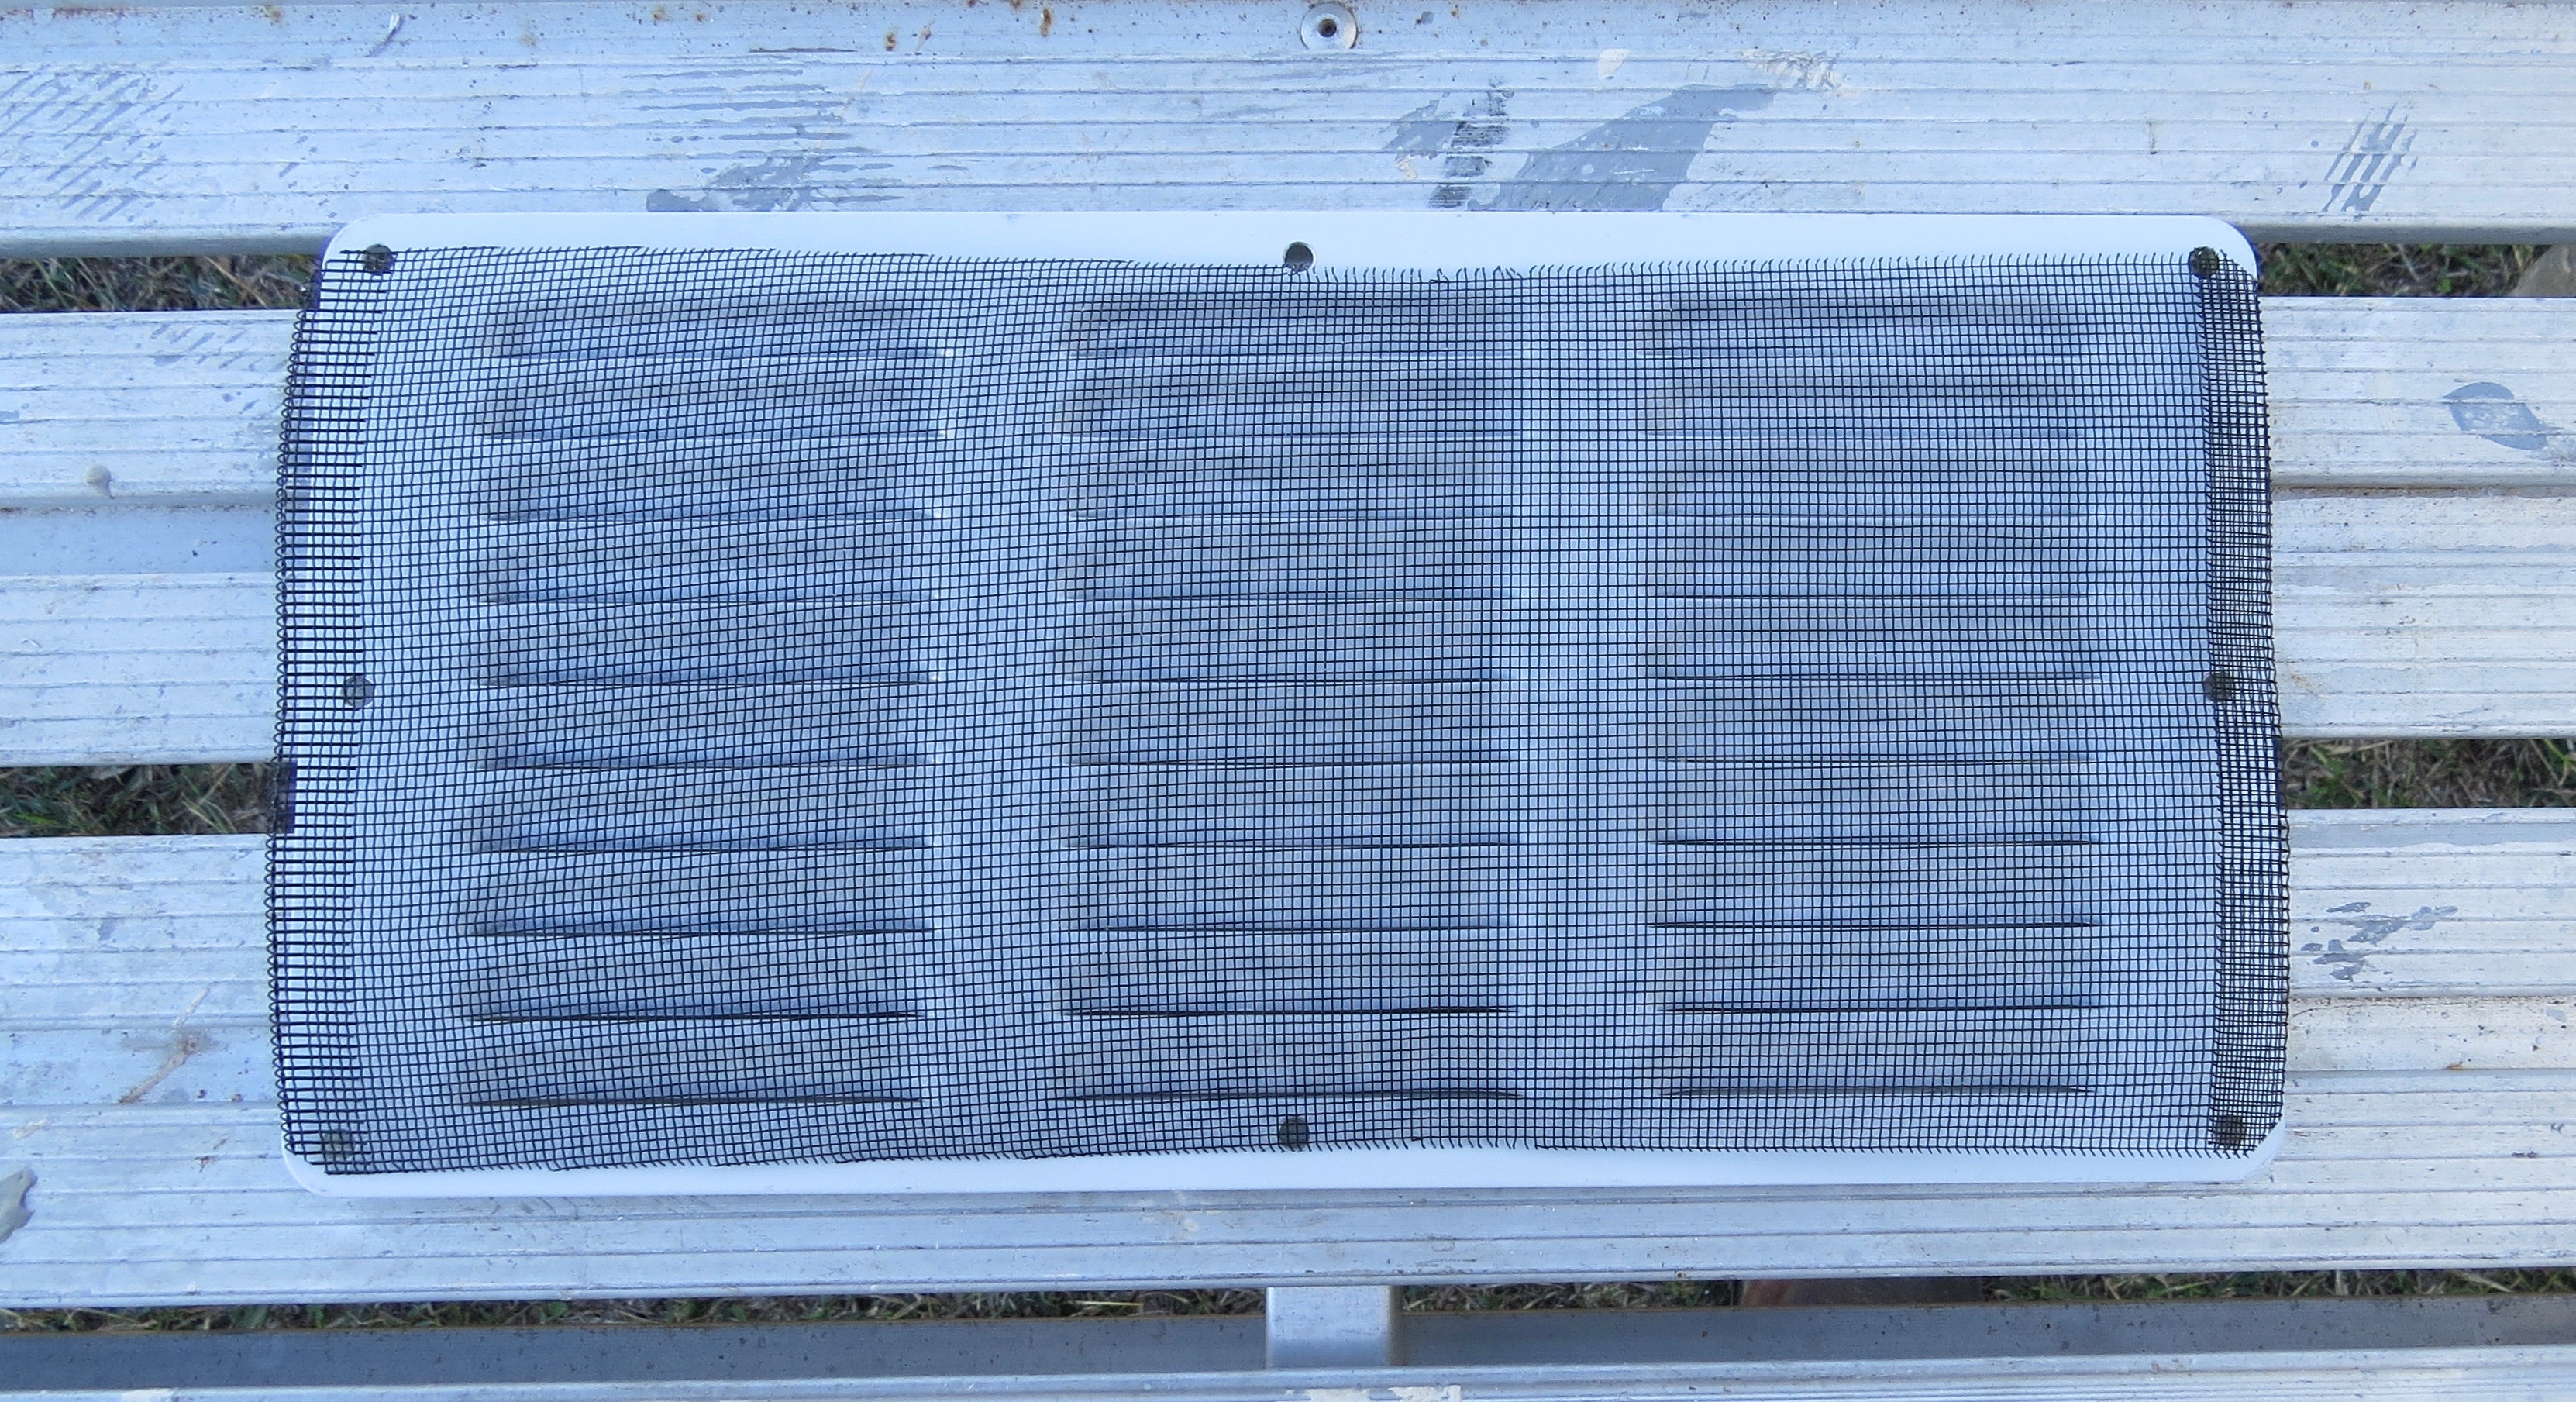
Outside bottom vent hole cut.Drilled and countersunk ready to screw into the timber around vent ducted.Timber support so I can screw from the outside panel and seal with some sikaflex.Well it won’t leak now, just a bit messy.Looking from inside with vent cover + fly screen on.Bottom vent cover in place.
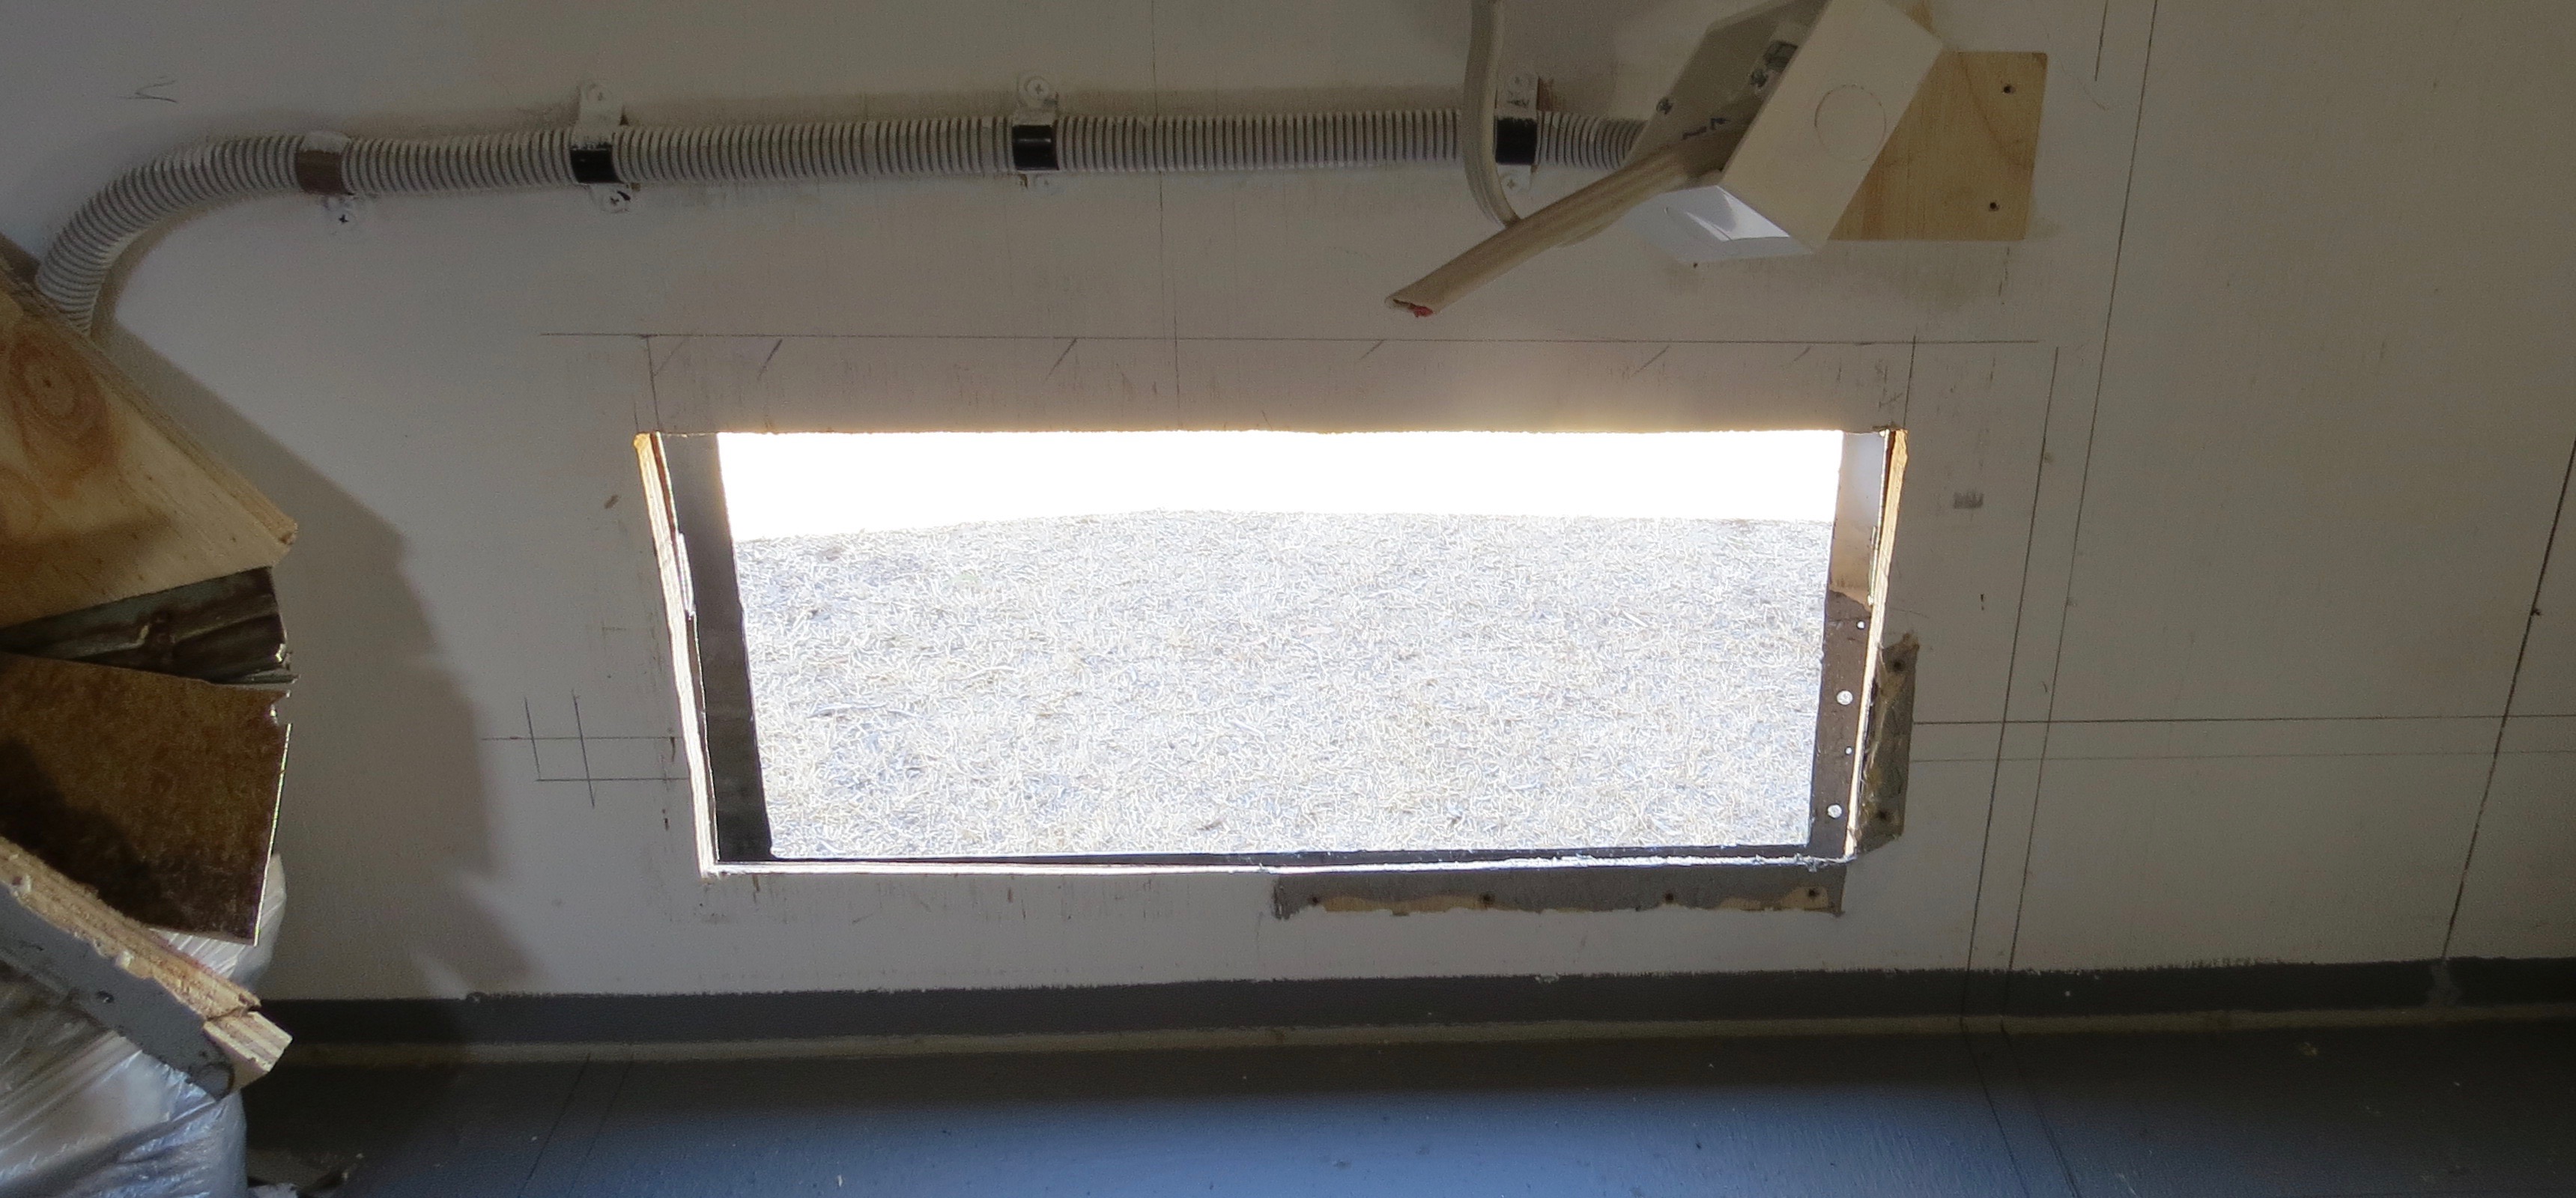
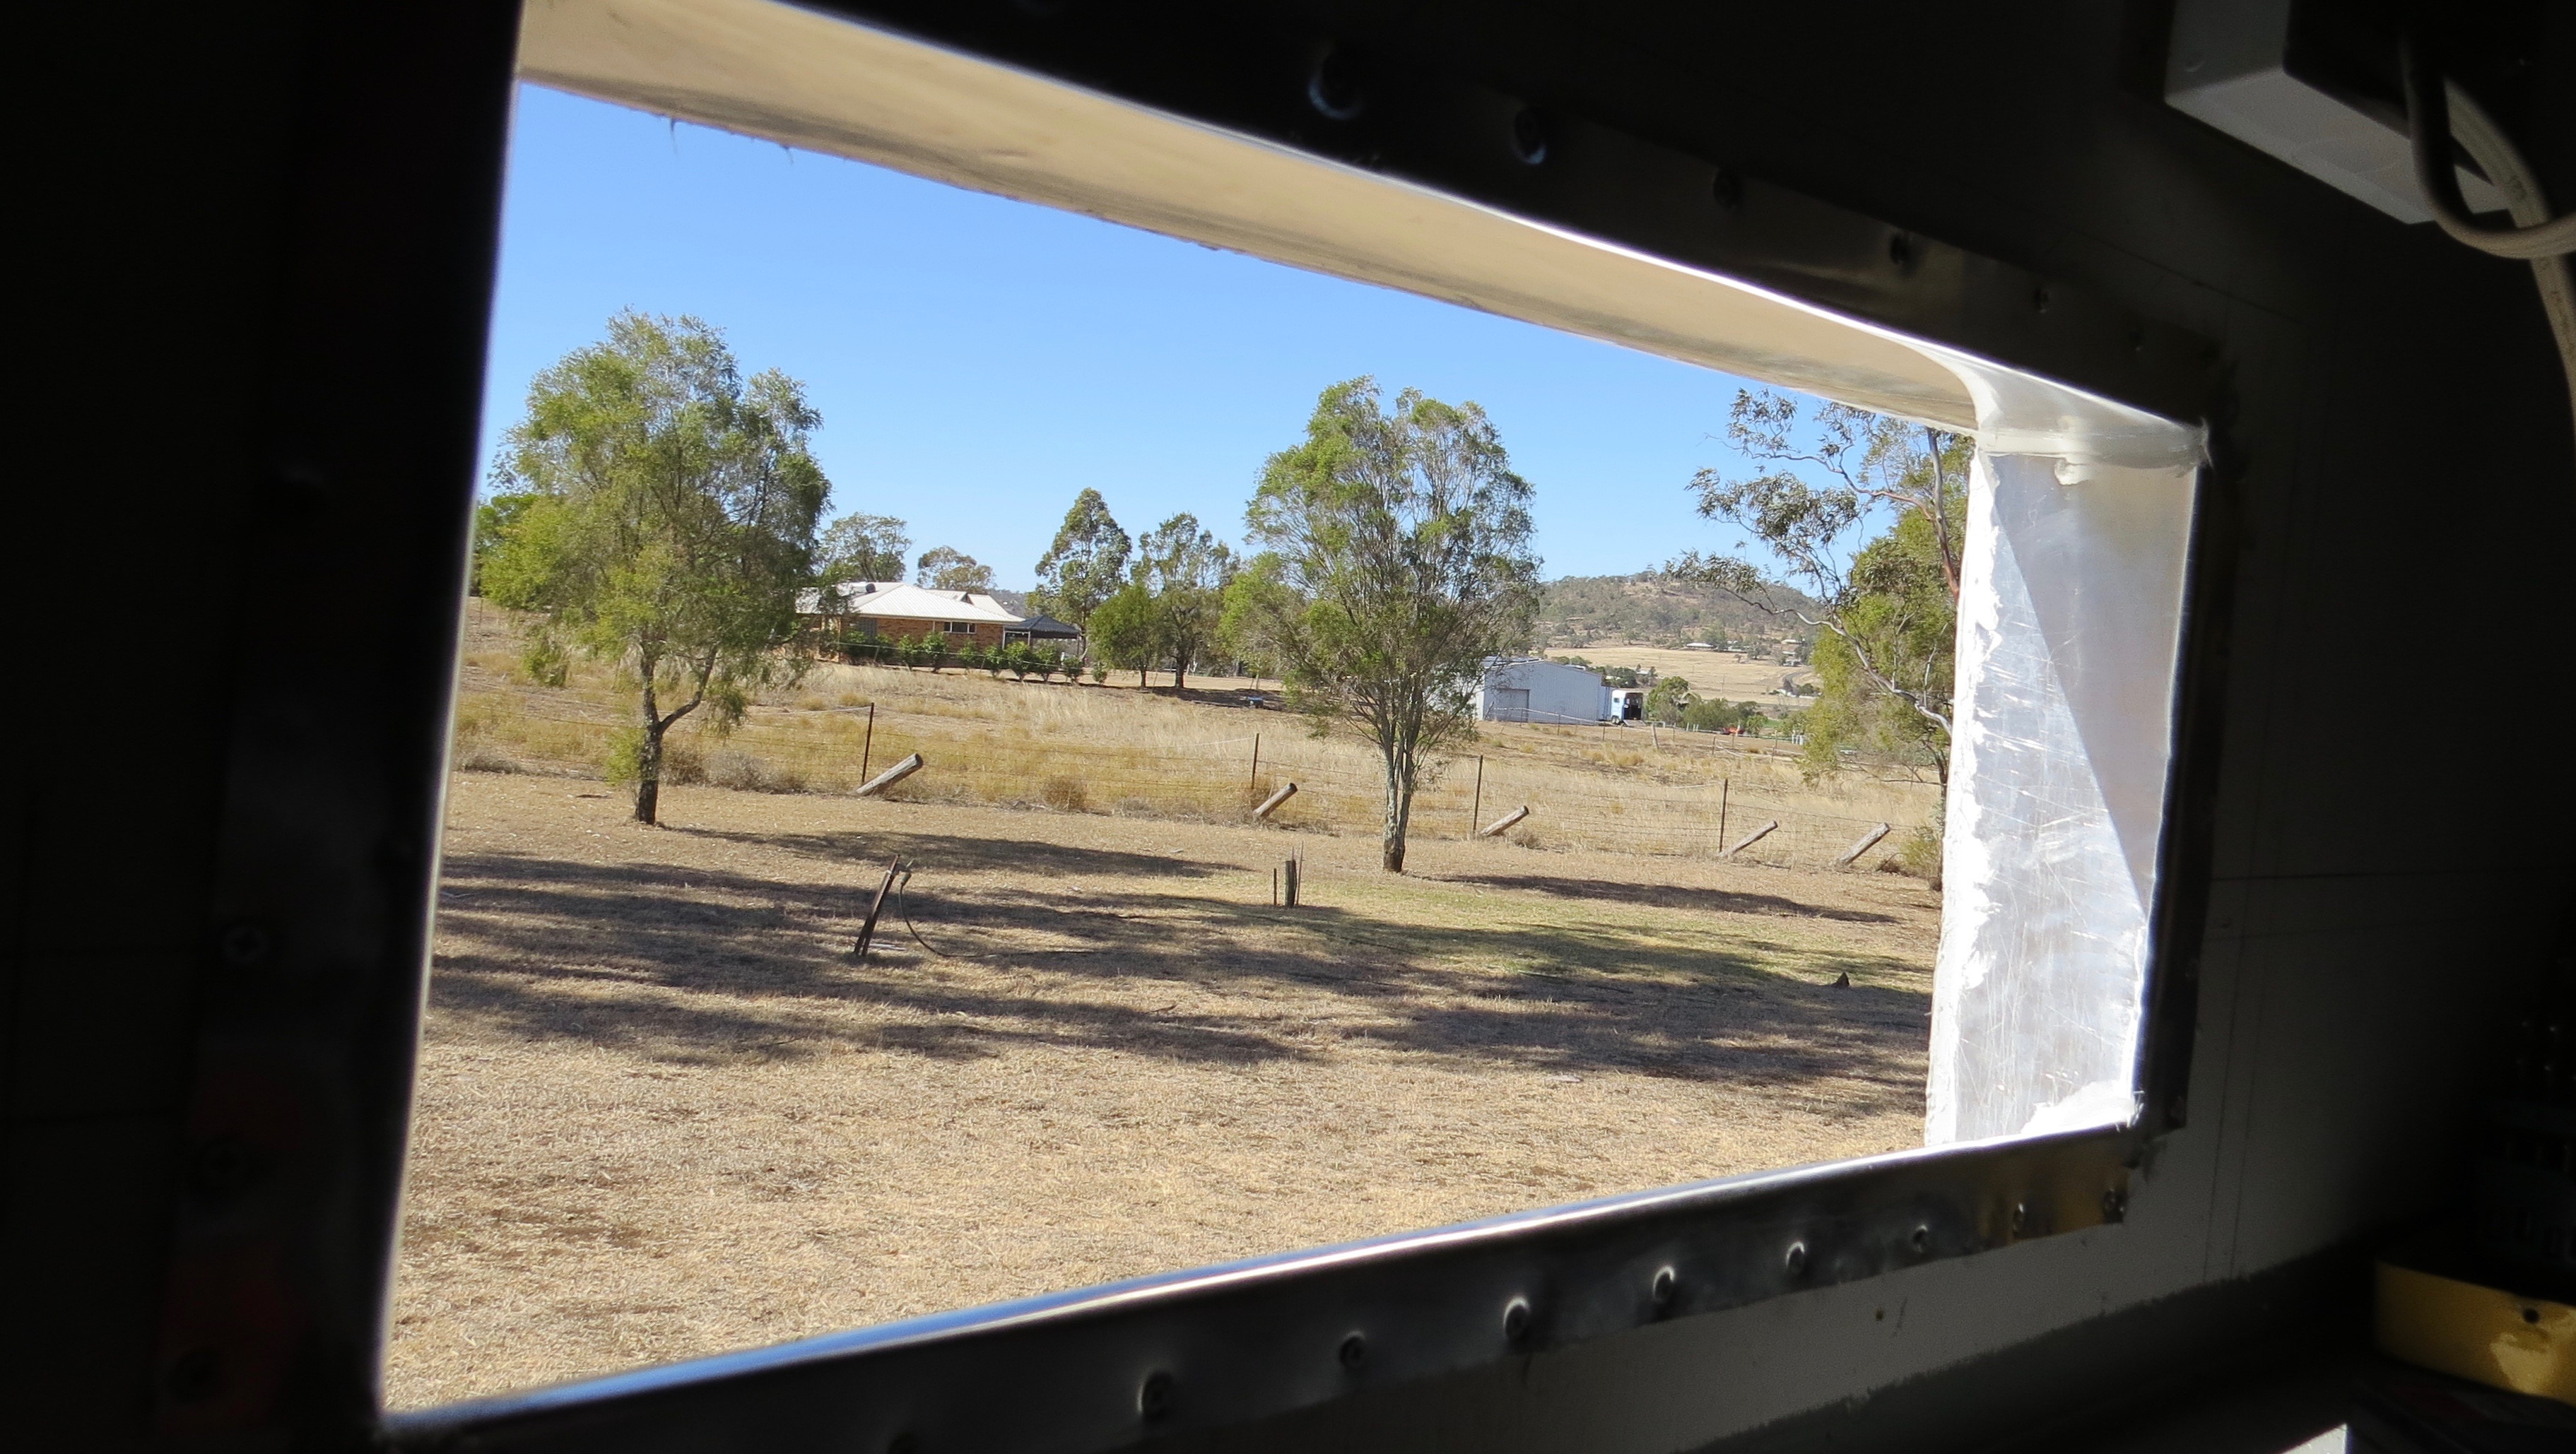
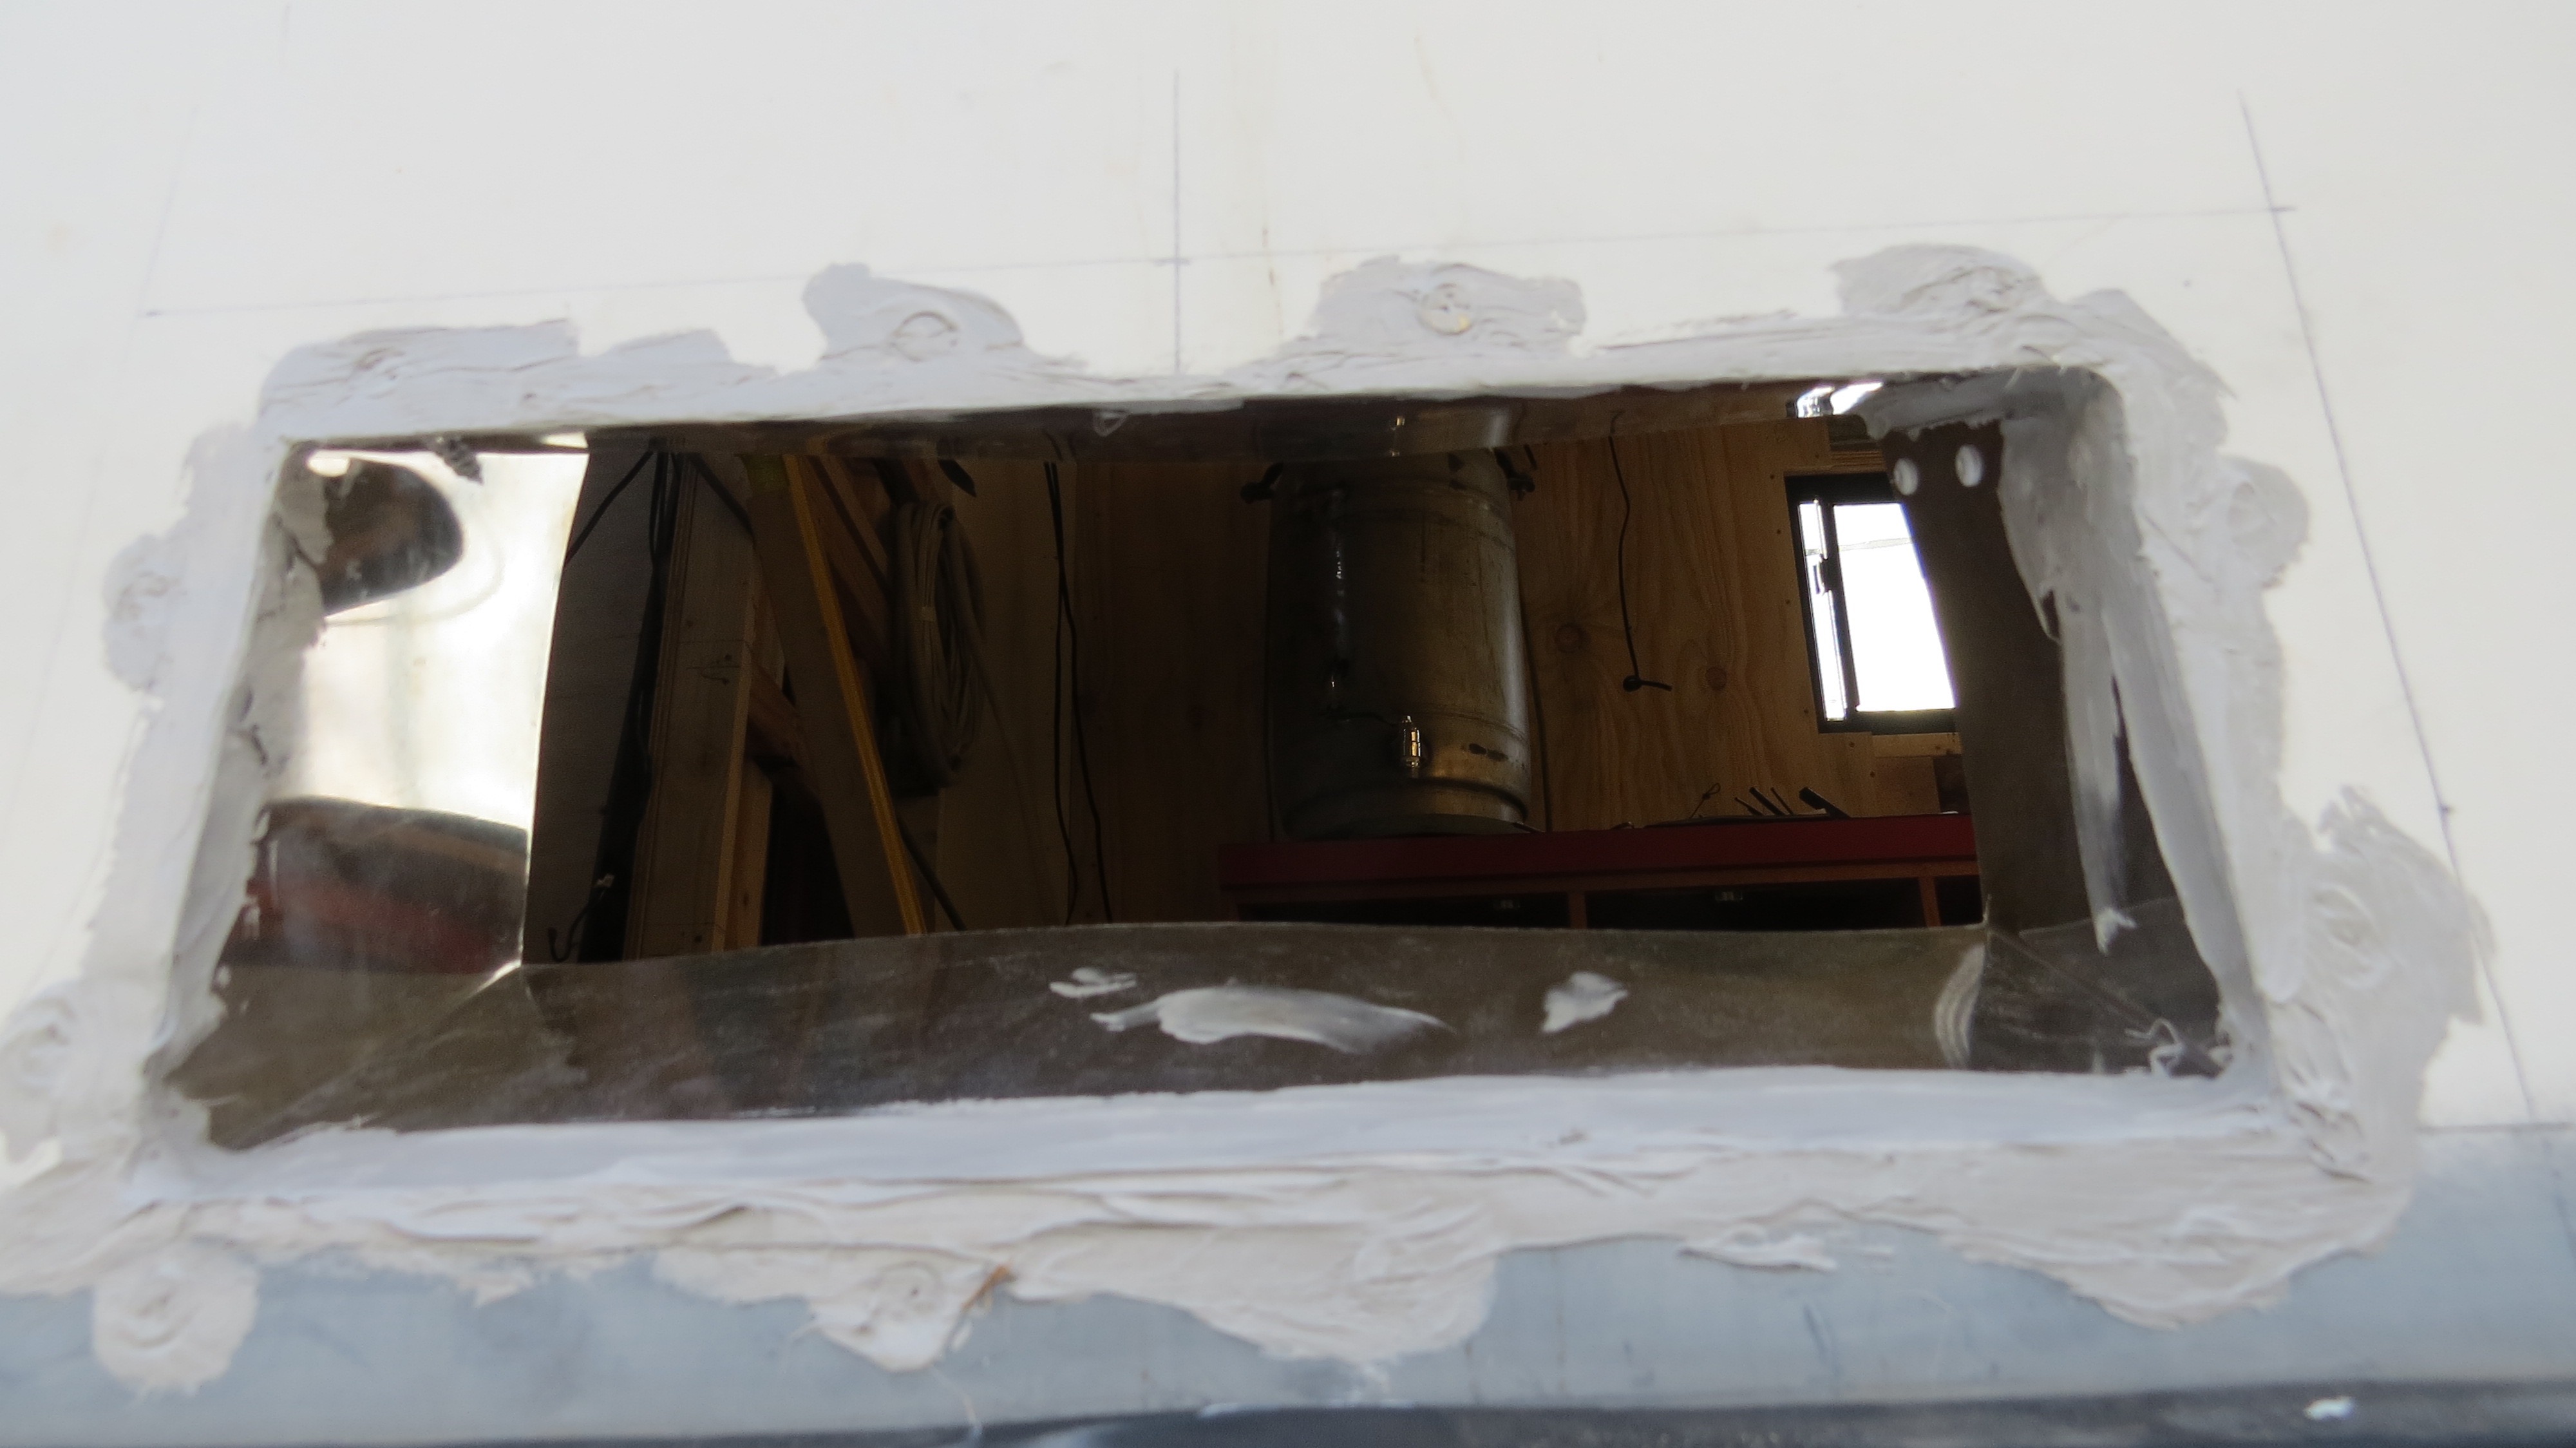
So that was the hard one, the top one will be a lot easier as I only have to cut through the fiberglass panel.
Top cut out.
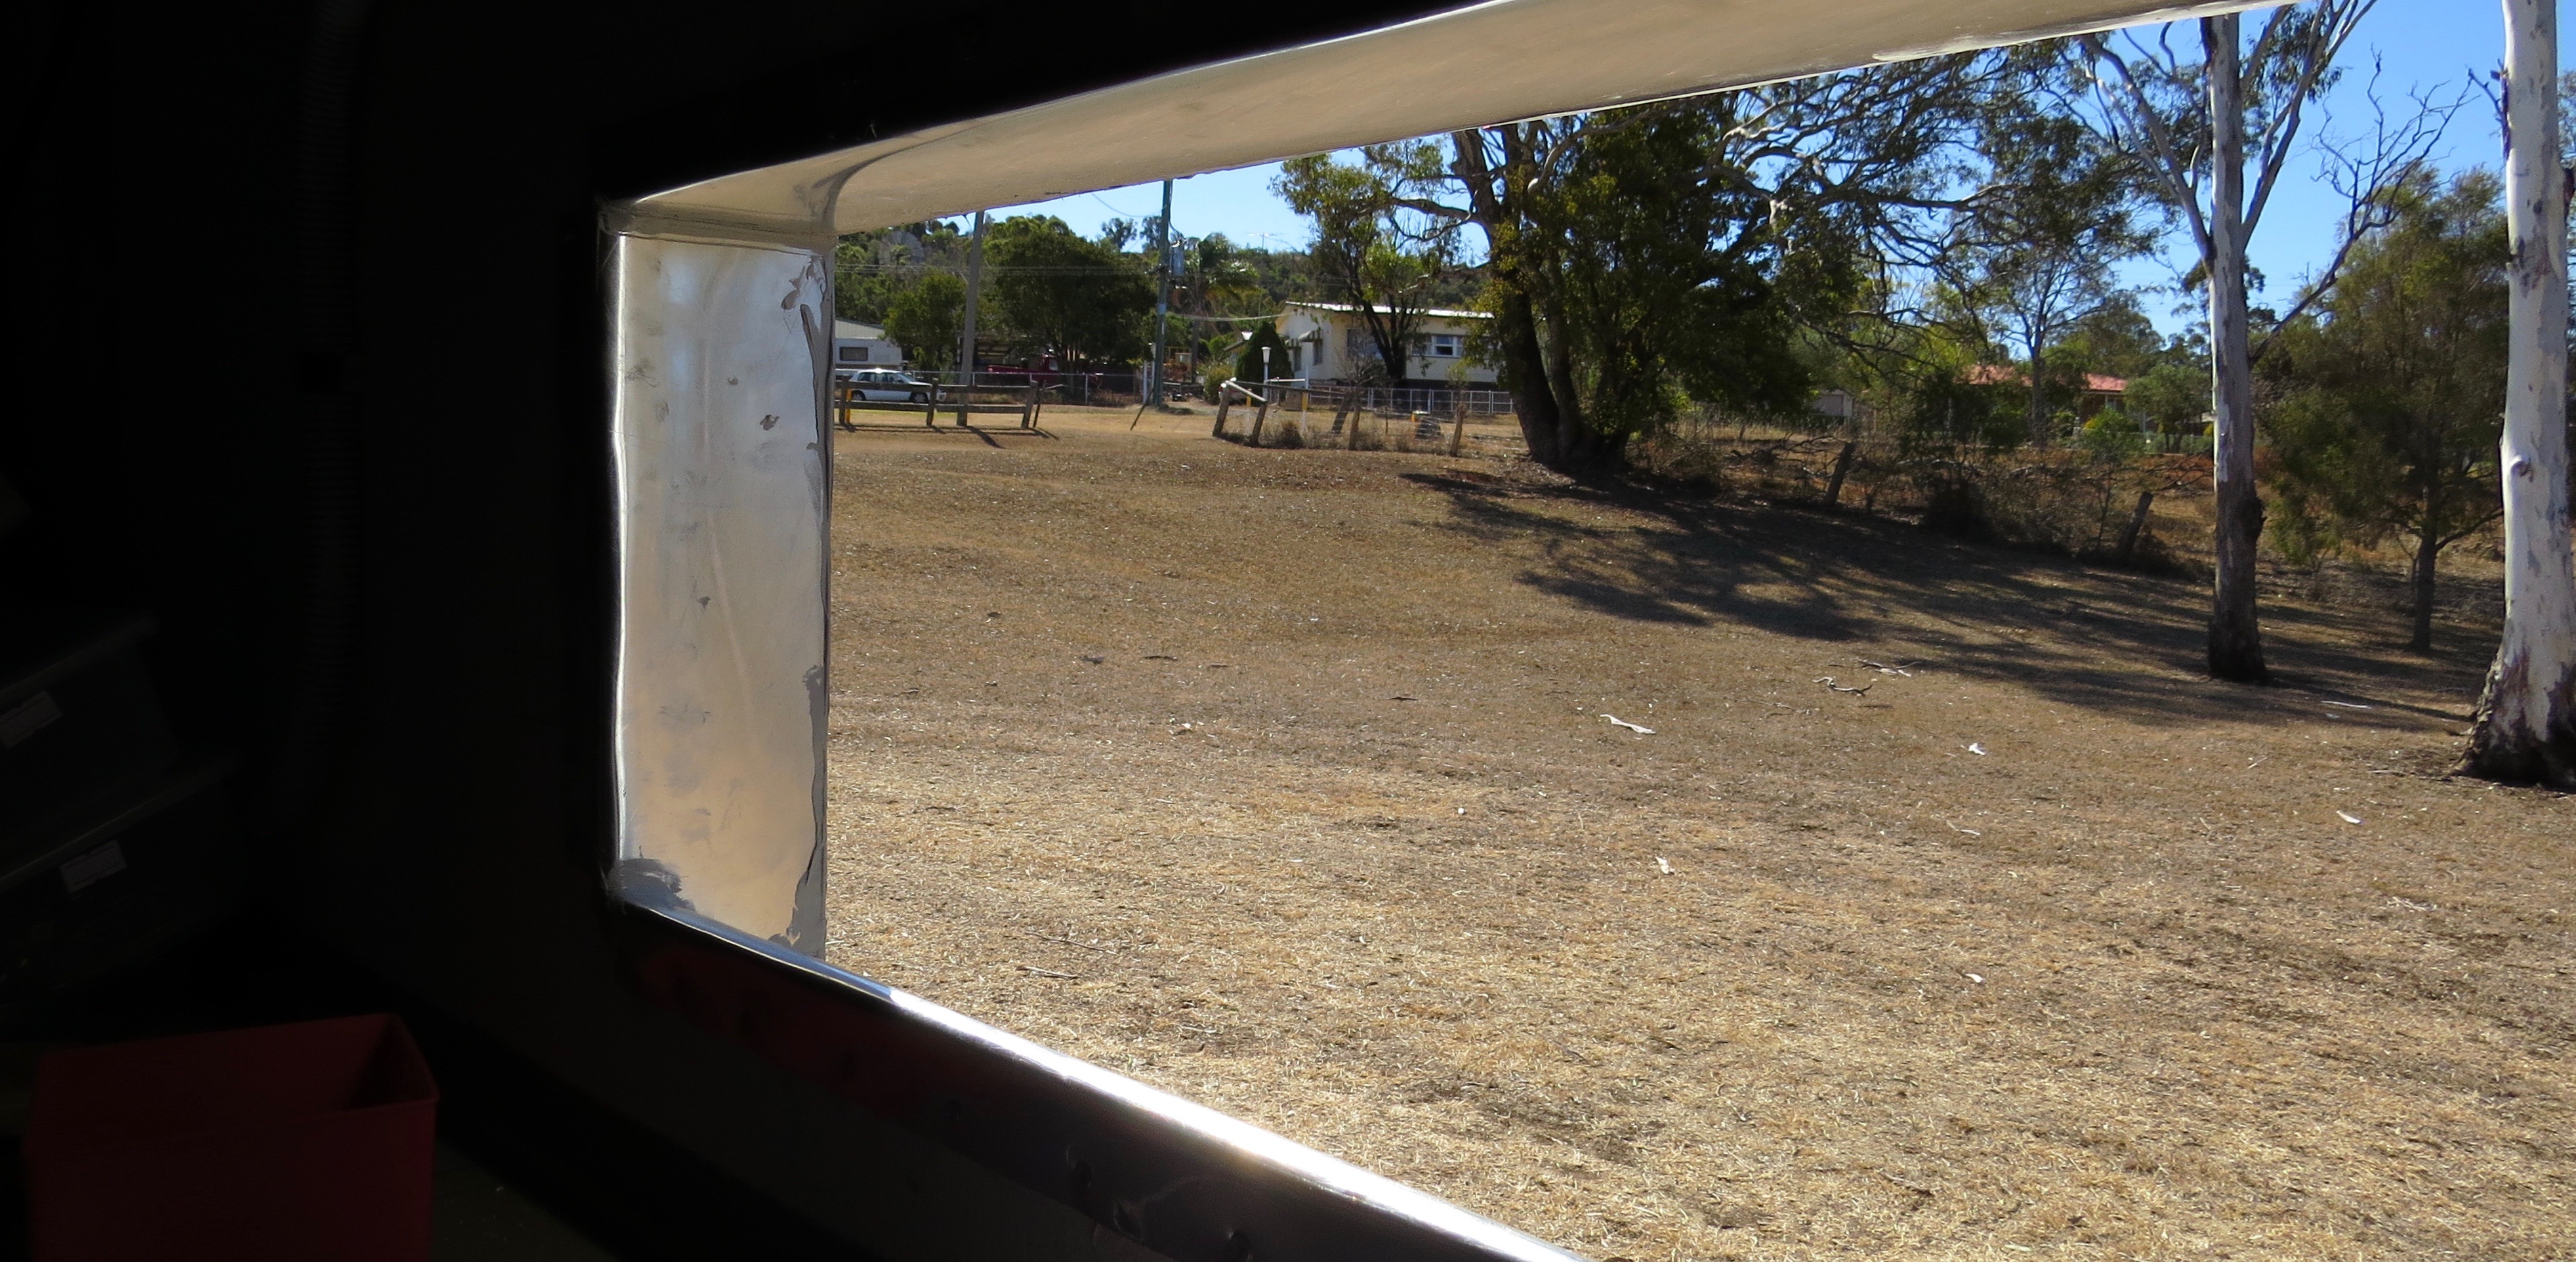
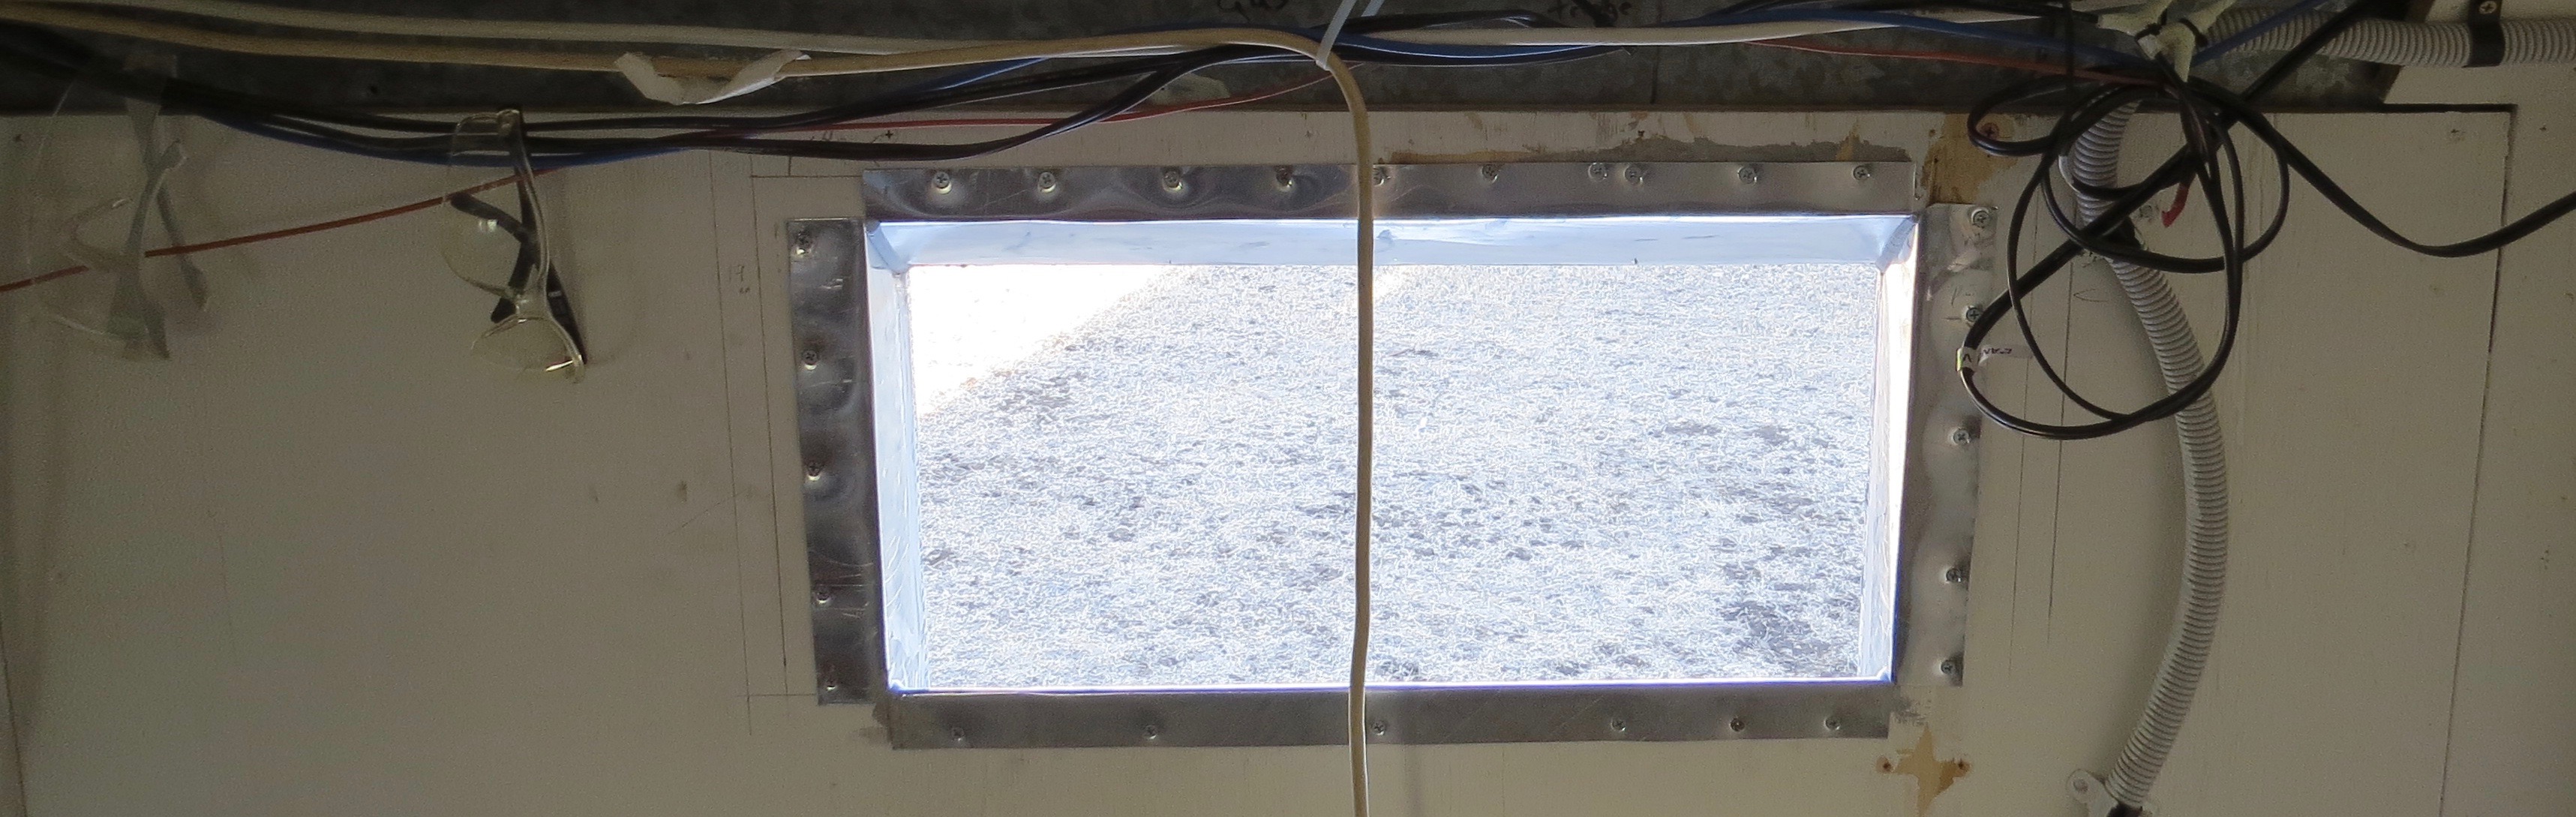
As I’ve only one set of hands I screwed the top vent into place, otherwise there was no way I could have done this vent by myself. Both top and bottom ducting are screwed from the outside of the bus.
Braced in place so I can screw it in place from outside.Top ducted screwed and glued into place, not so messy this time.Top vent and fly screen about to go on.Top vent cover in place now.
Both these vents can be unscrewed so I can clean the fly screen and also have access to the back of the fridge when I need to fix things. So next part of the project will be the kitchen walls, as well as some sparky stuff.
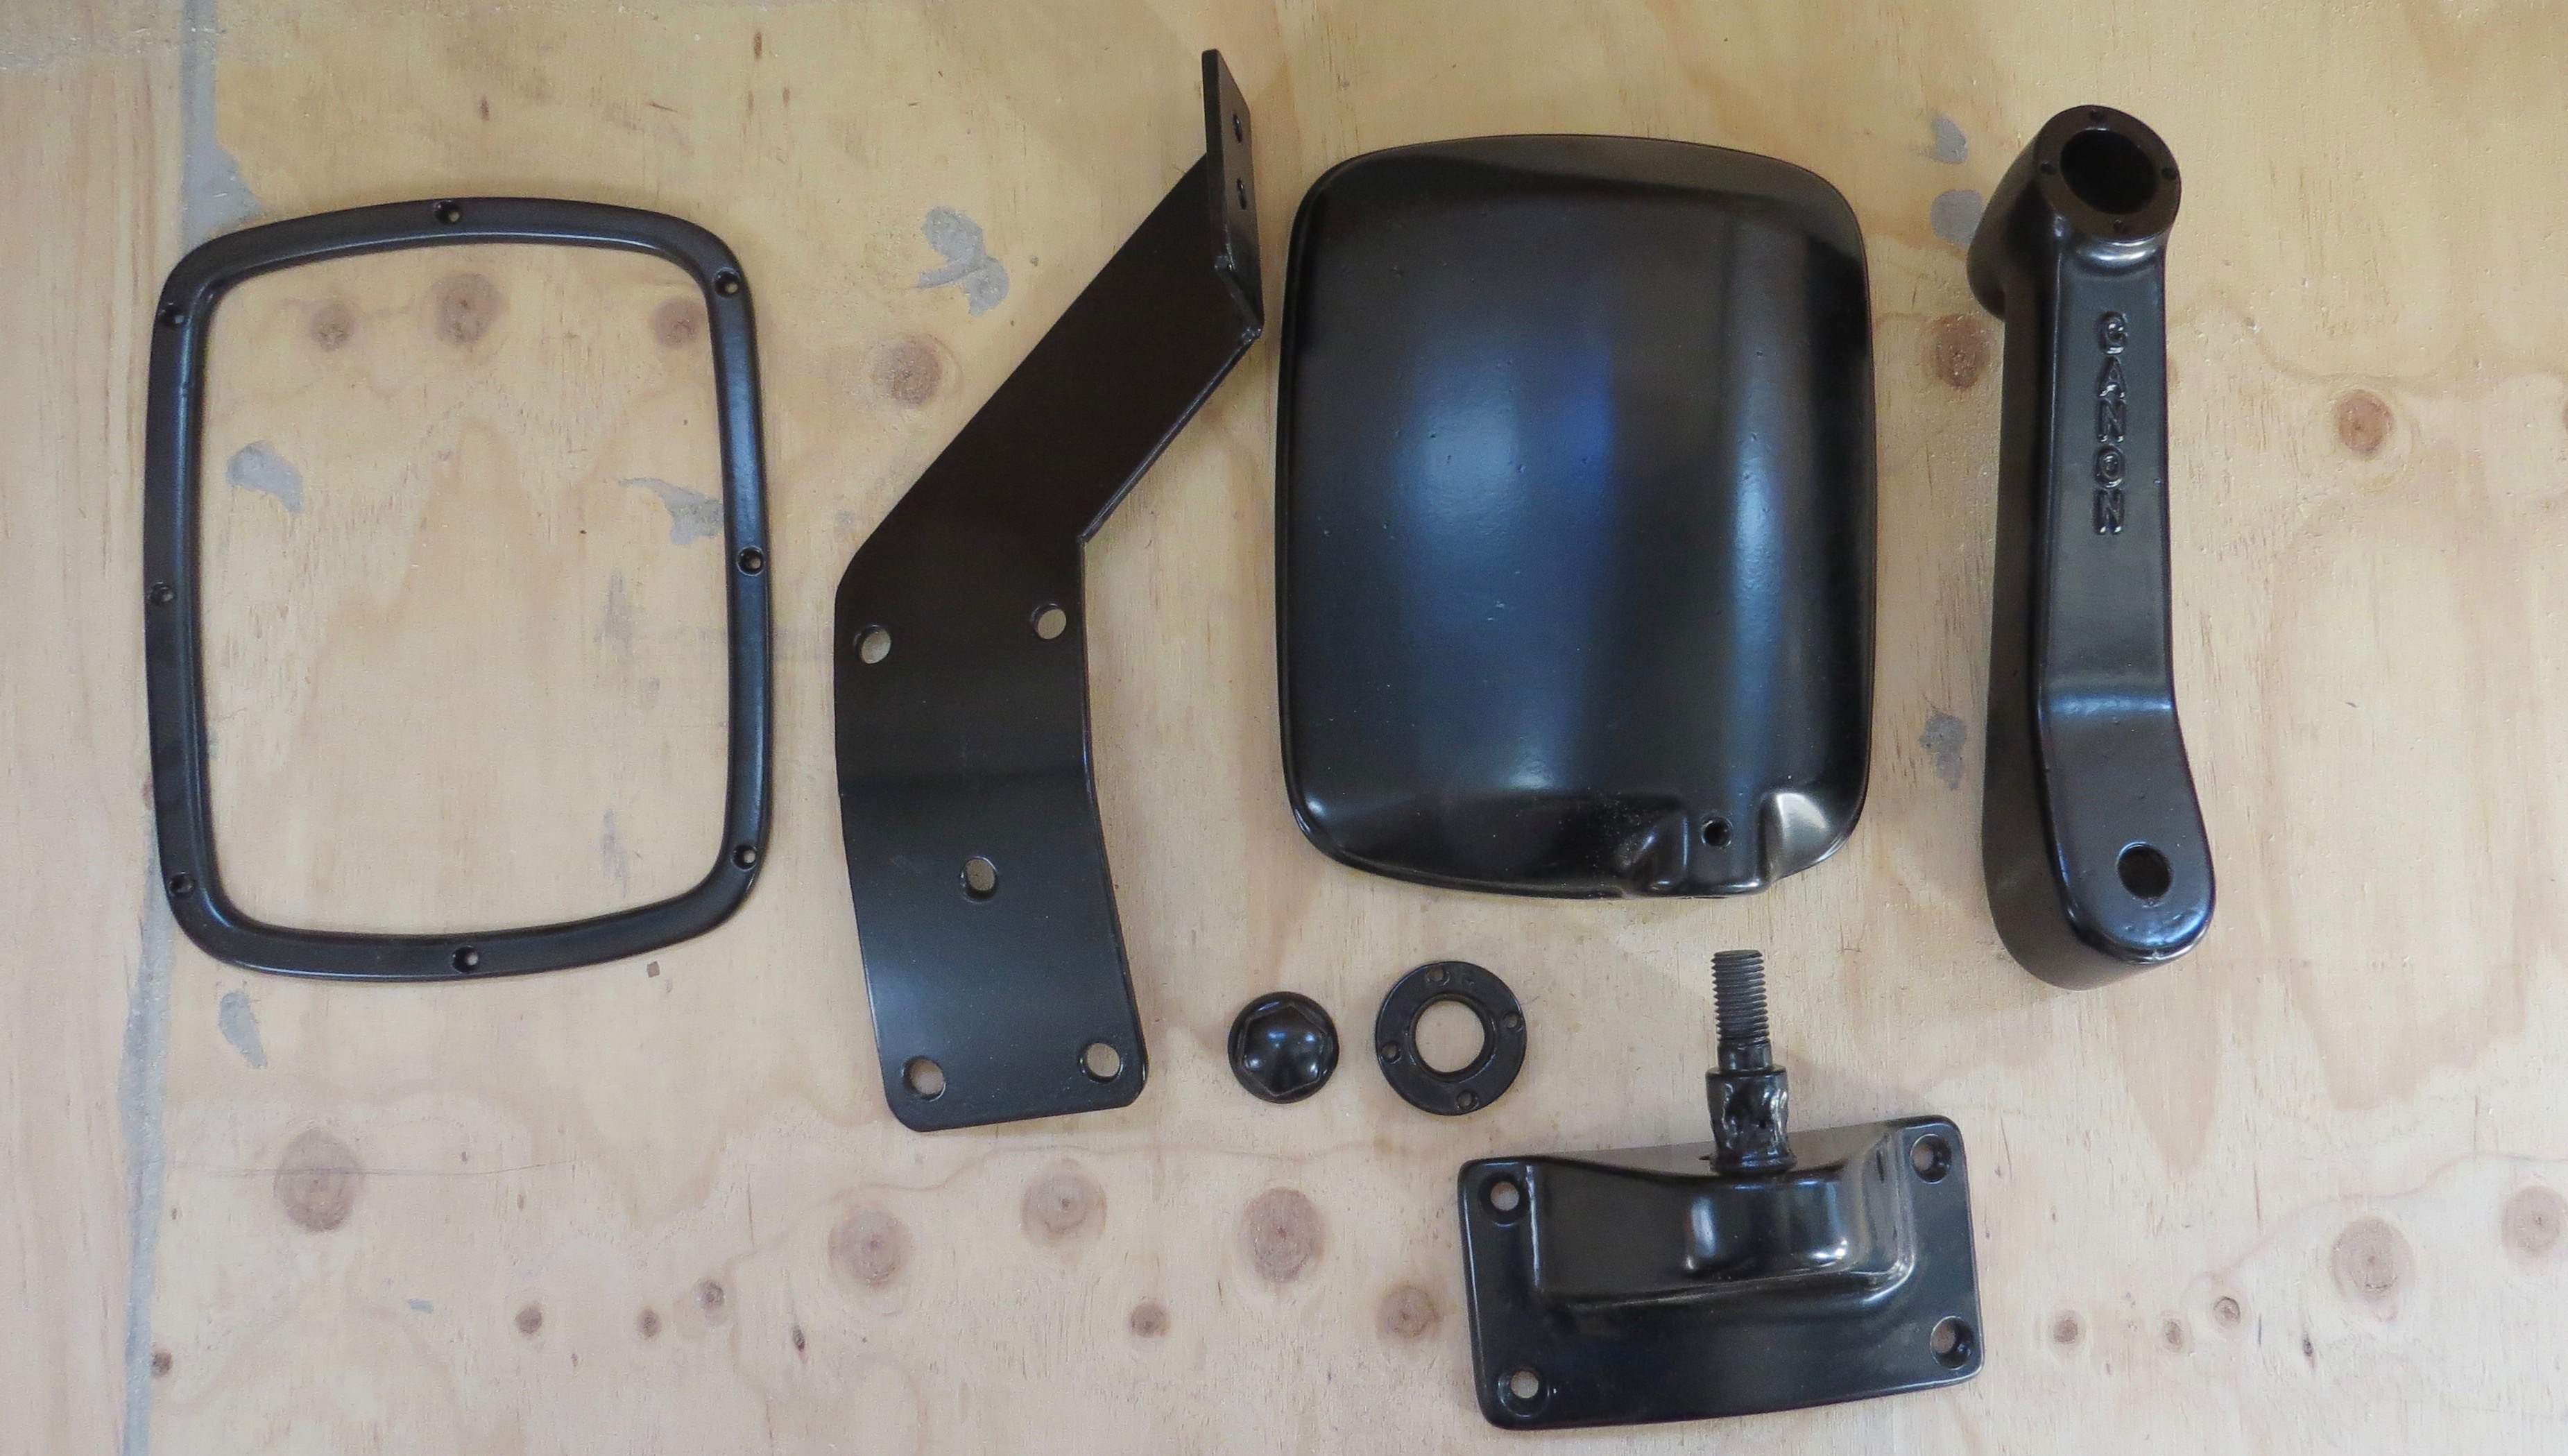
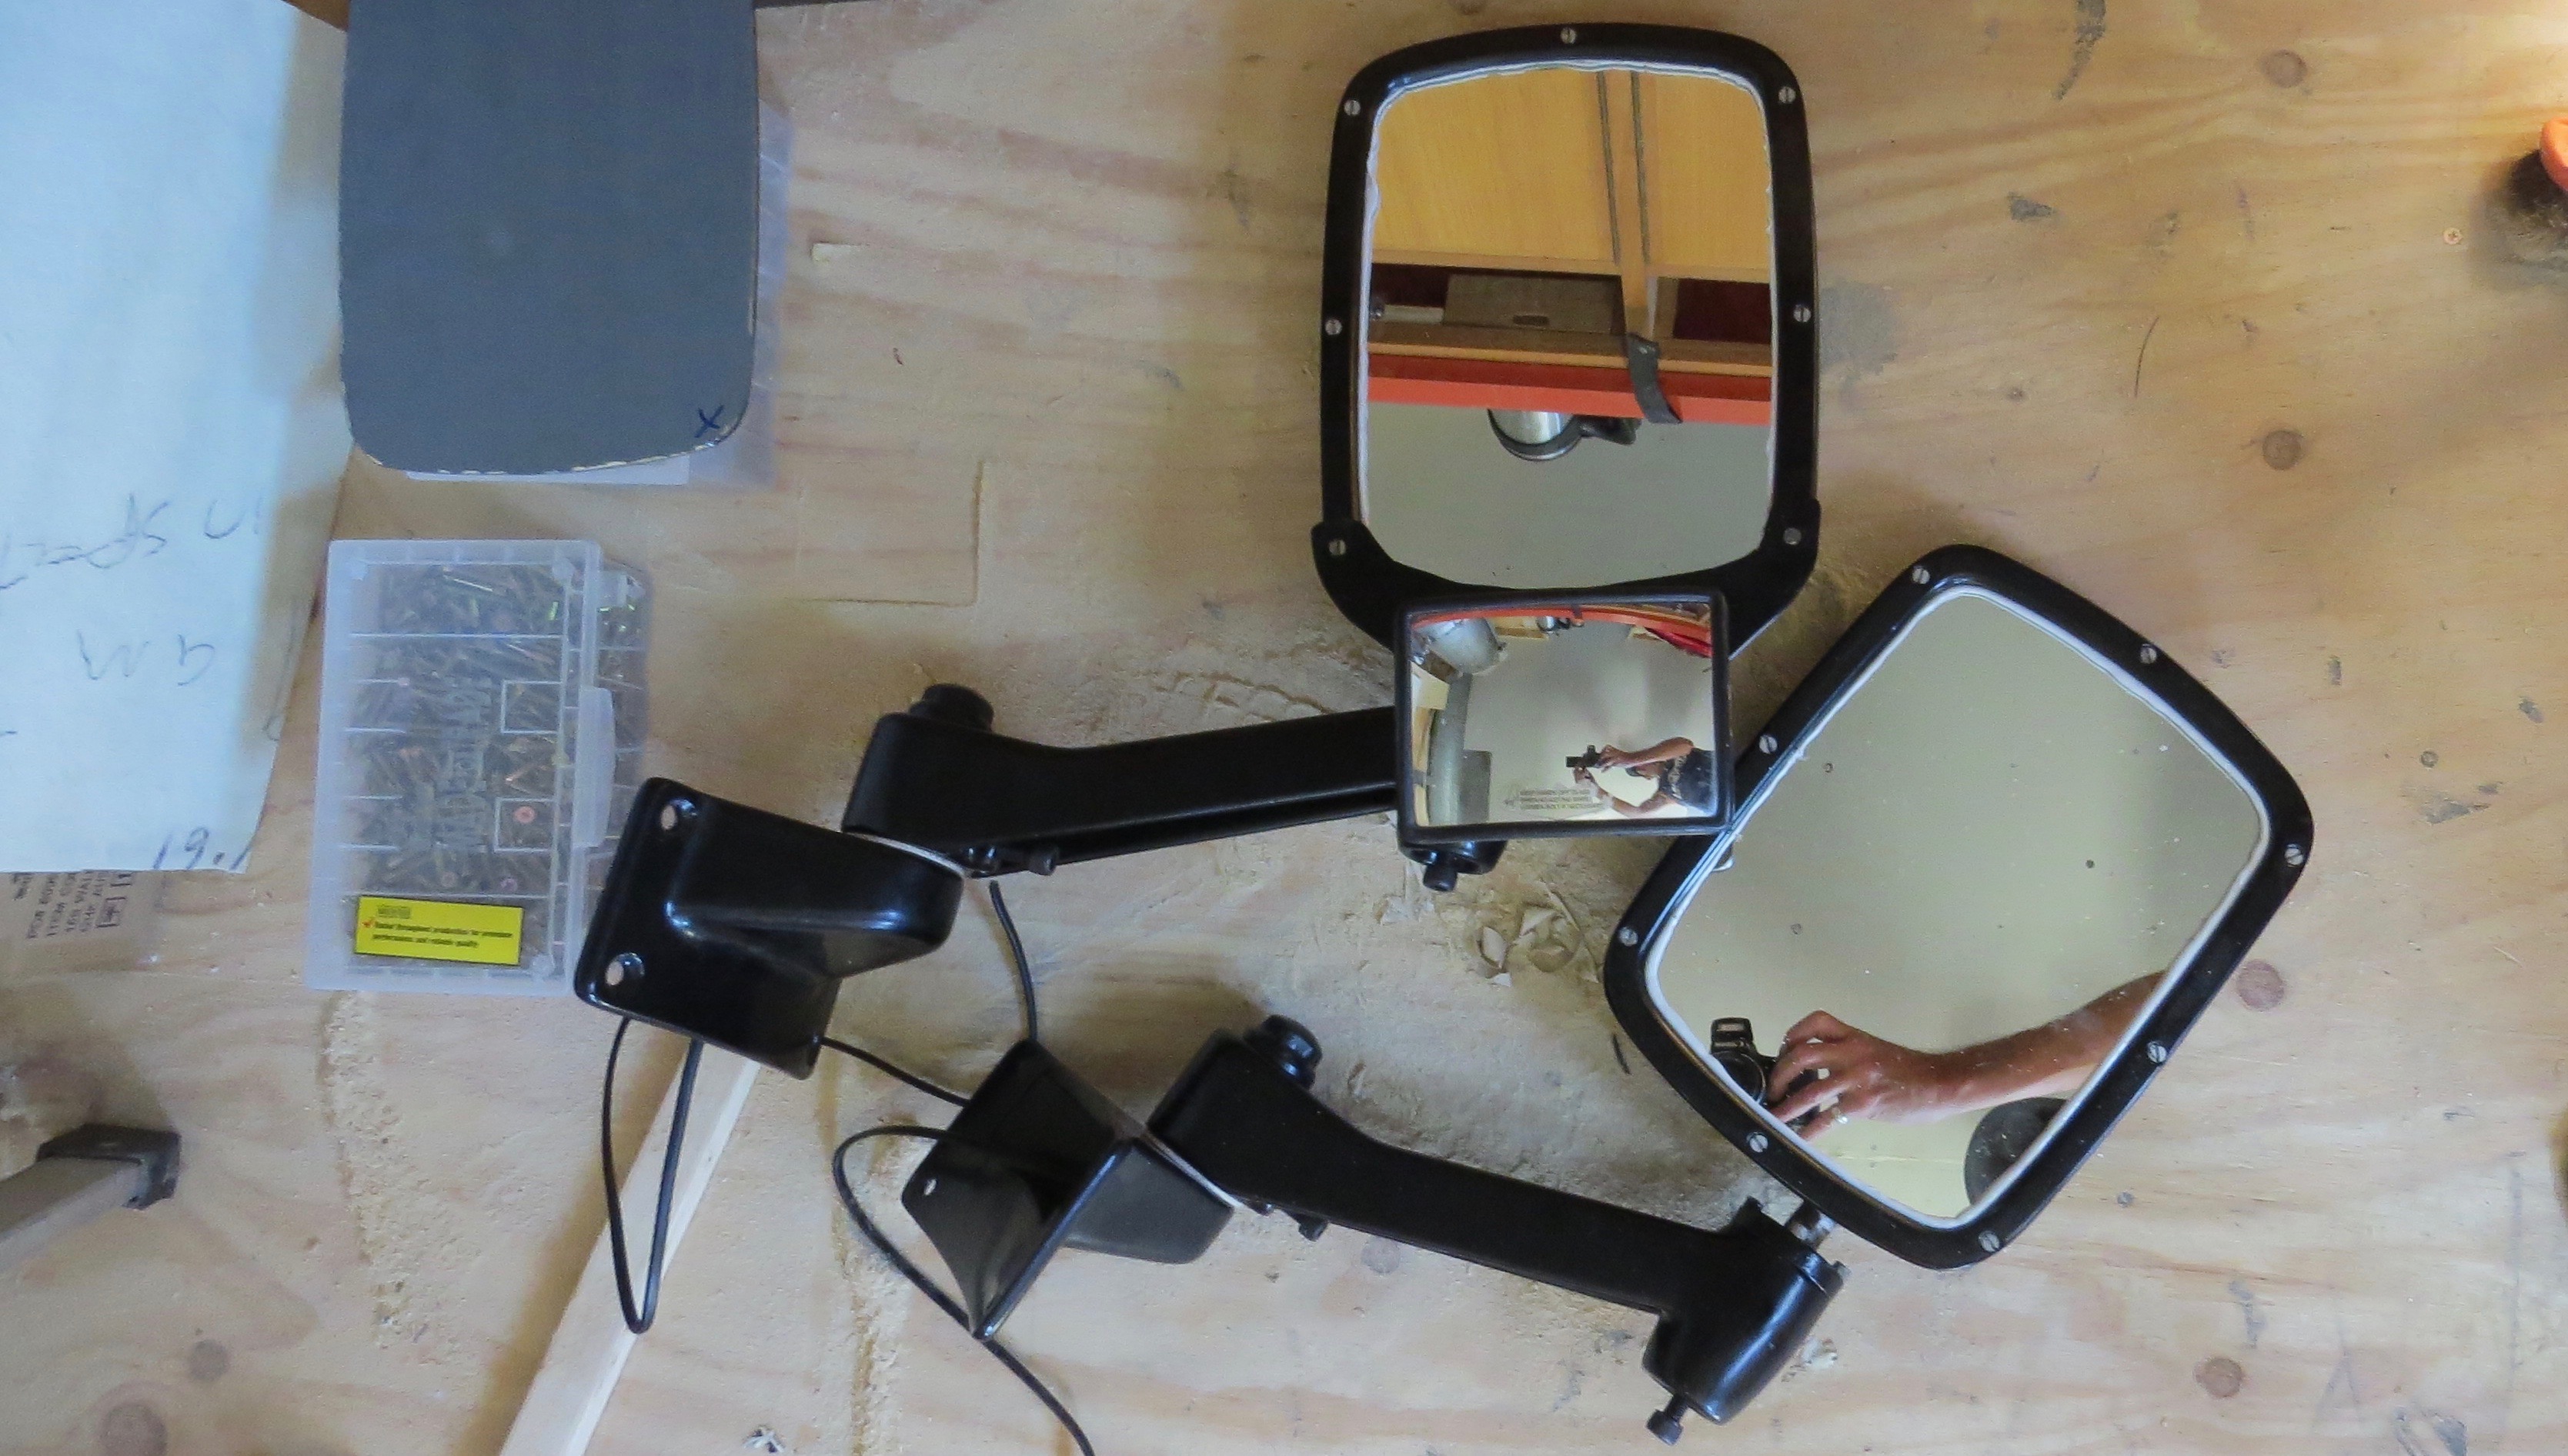
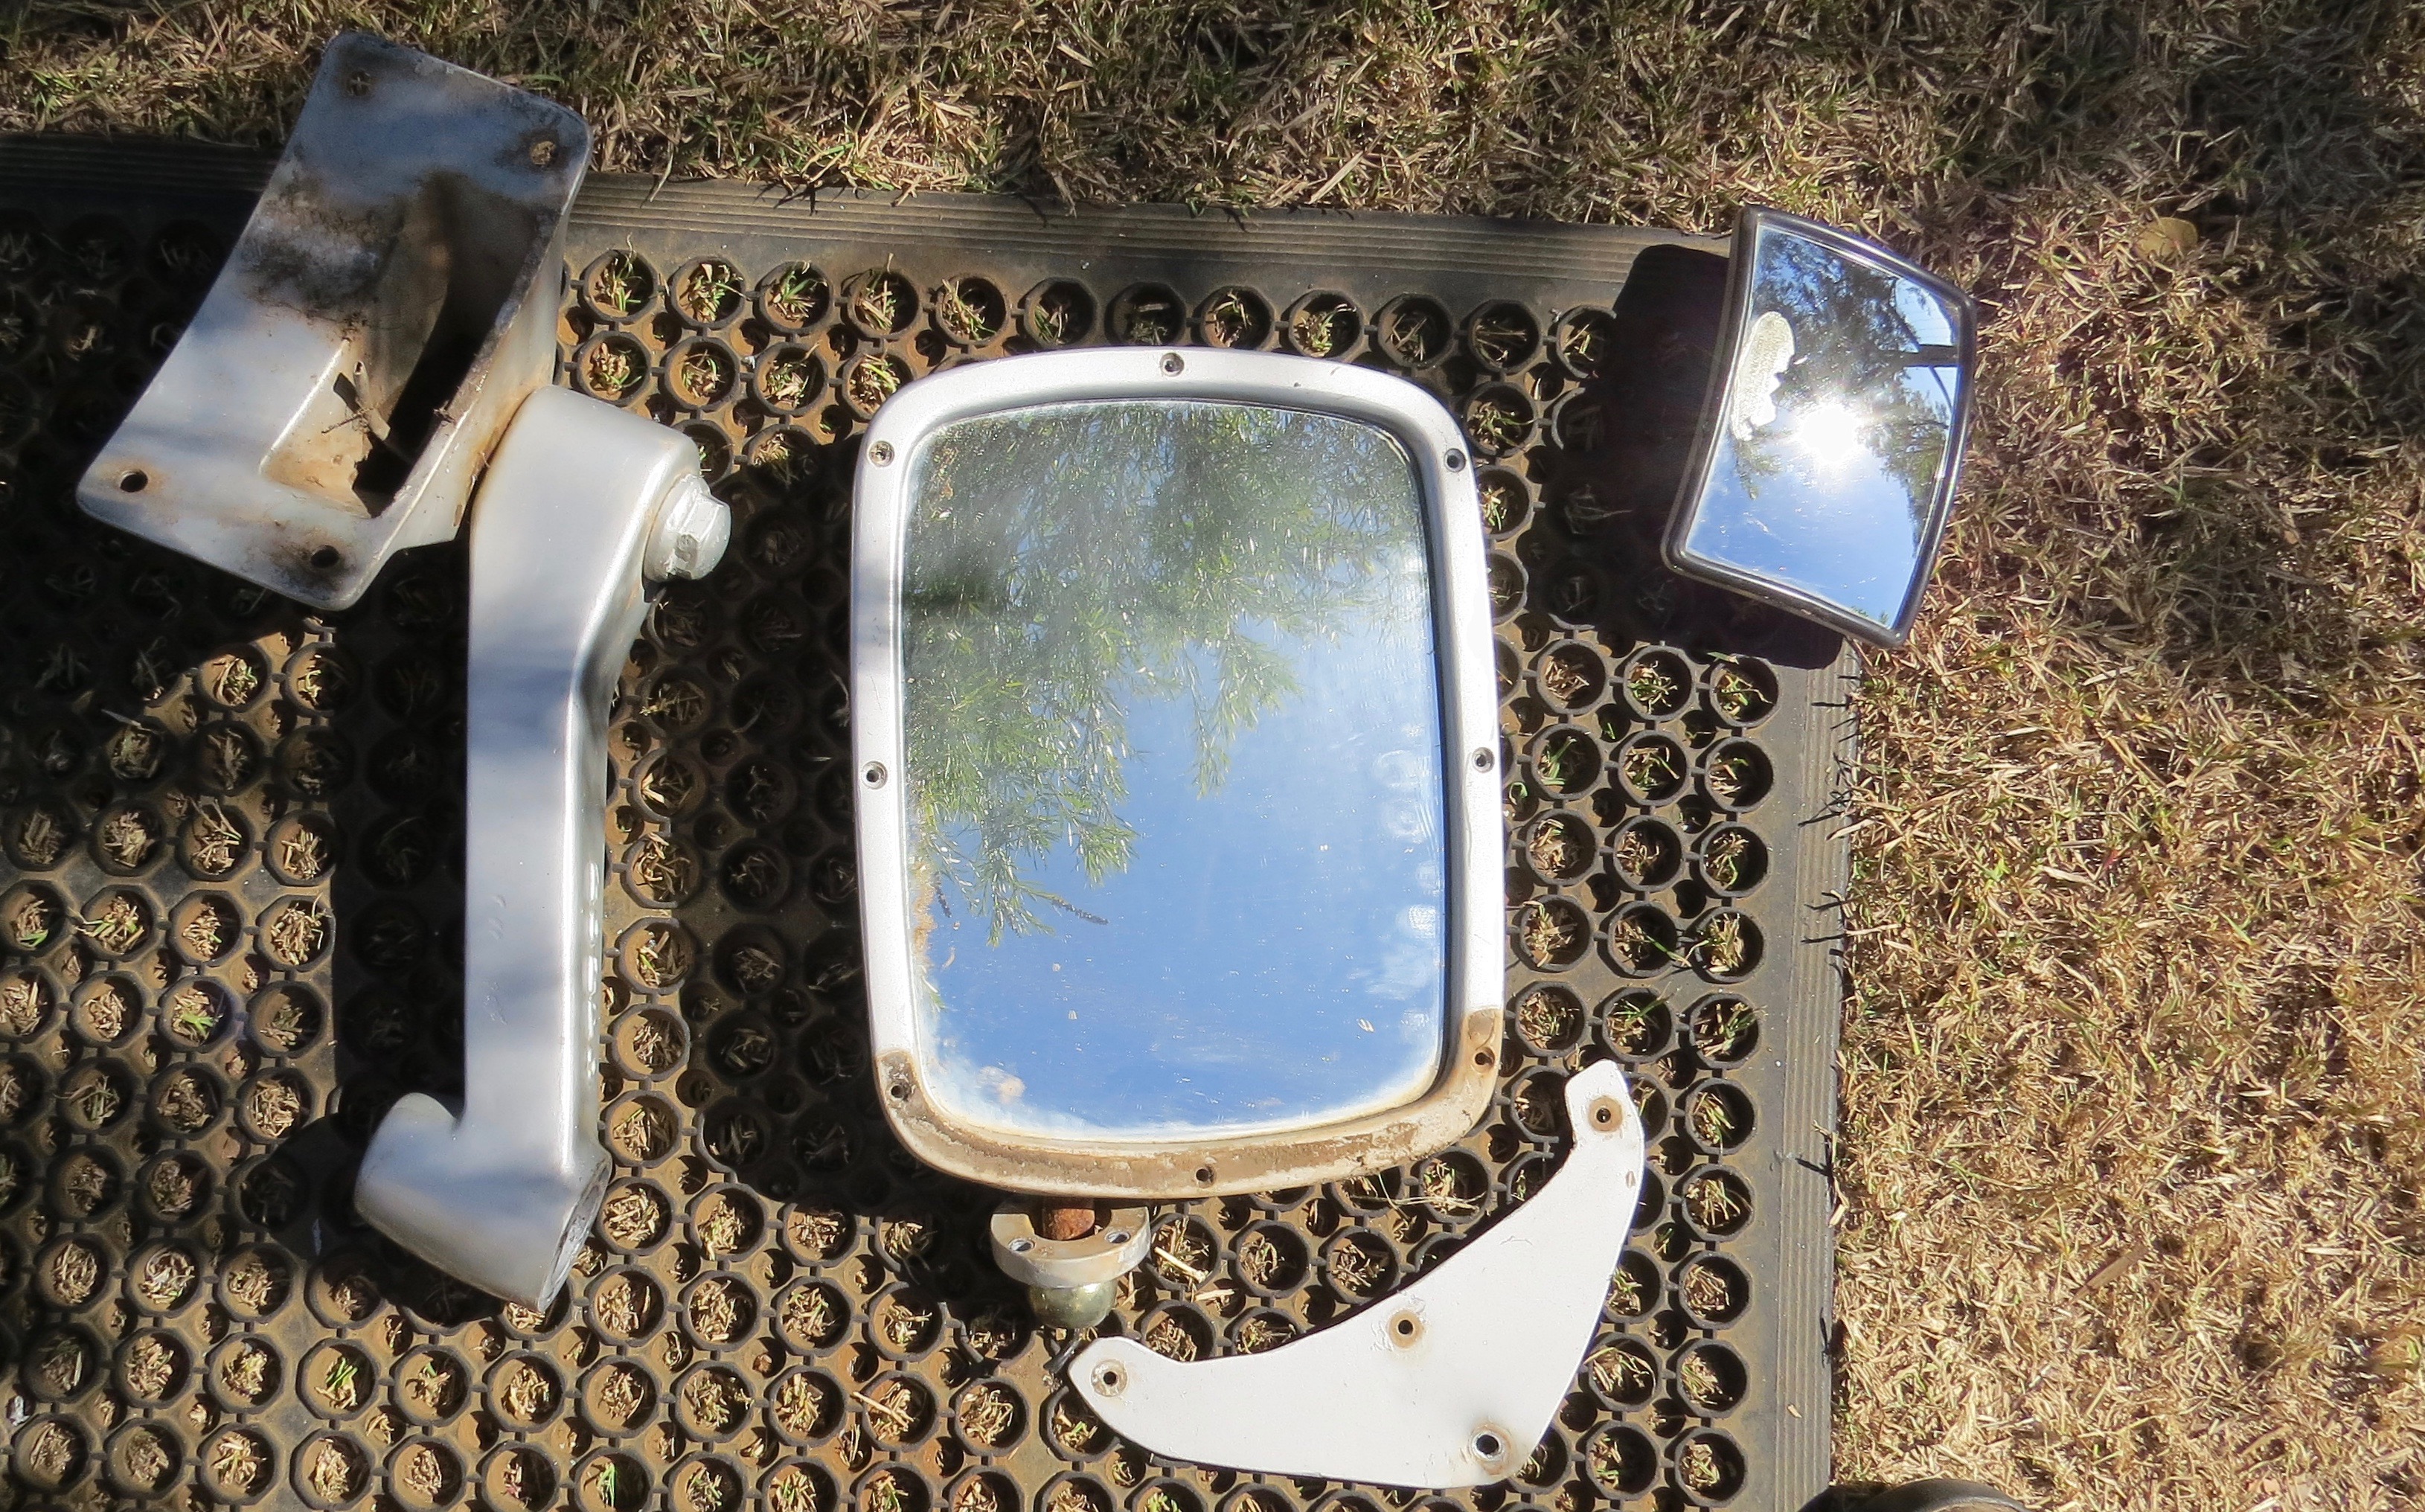
Garden City Powder-coating in Toowoomba did a great job with the mirrors, now I’ve just got to put then back together.
All the part are back, back in Black.
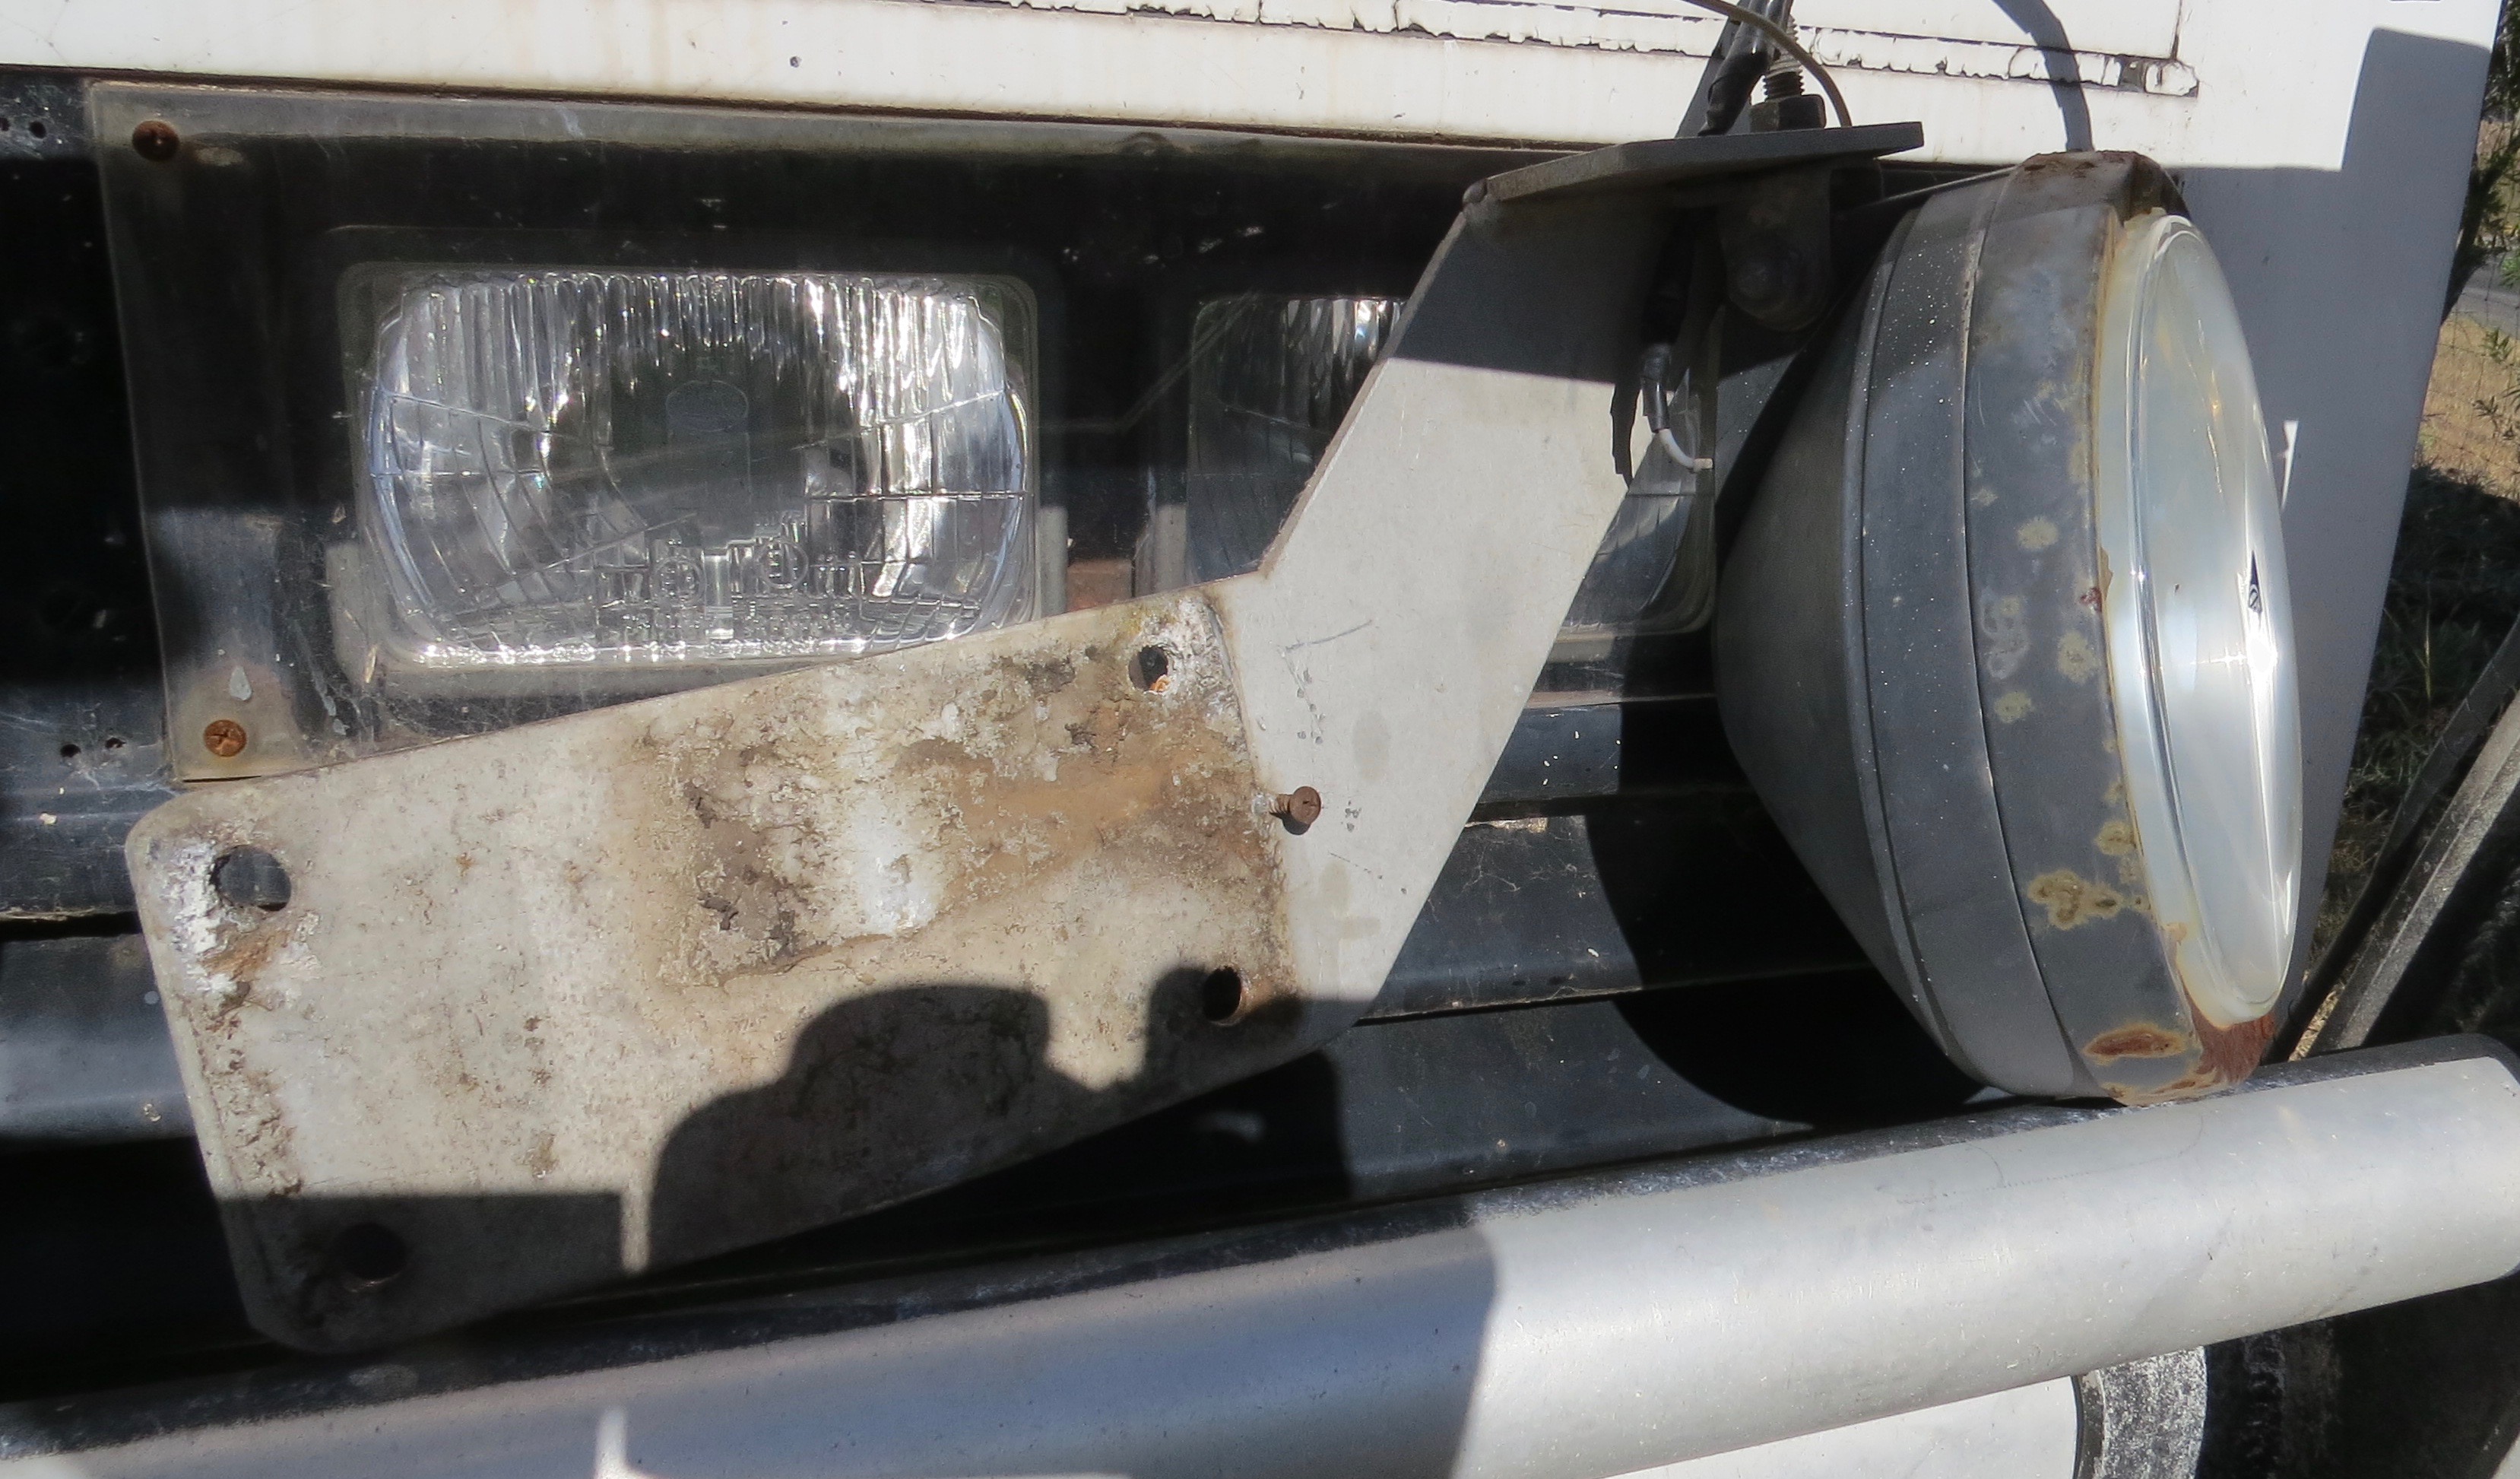
I don’t need to put the spotlight bracket back on as someone has stolen them, so will have to buy some more later on. I had left them under the front of the coach, as they needed to be sprayed as they are a little rusty.
Now can I put them back together
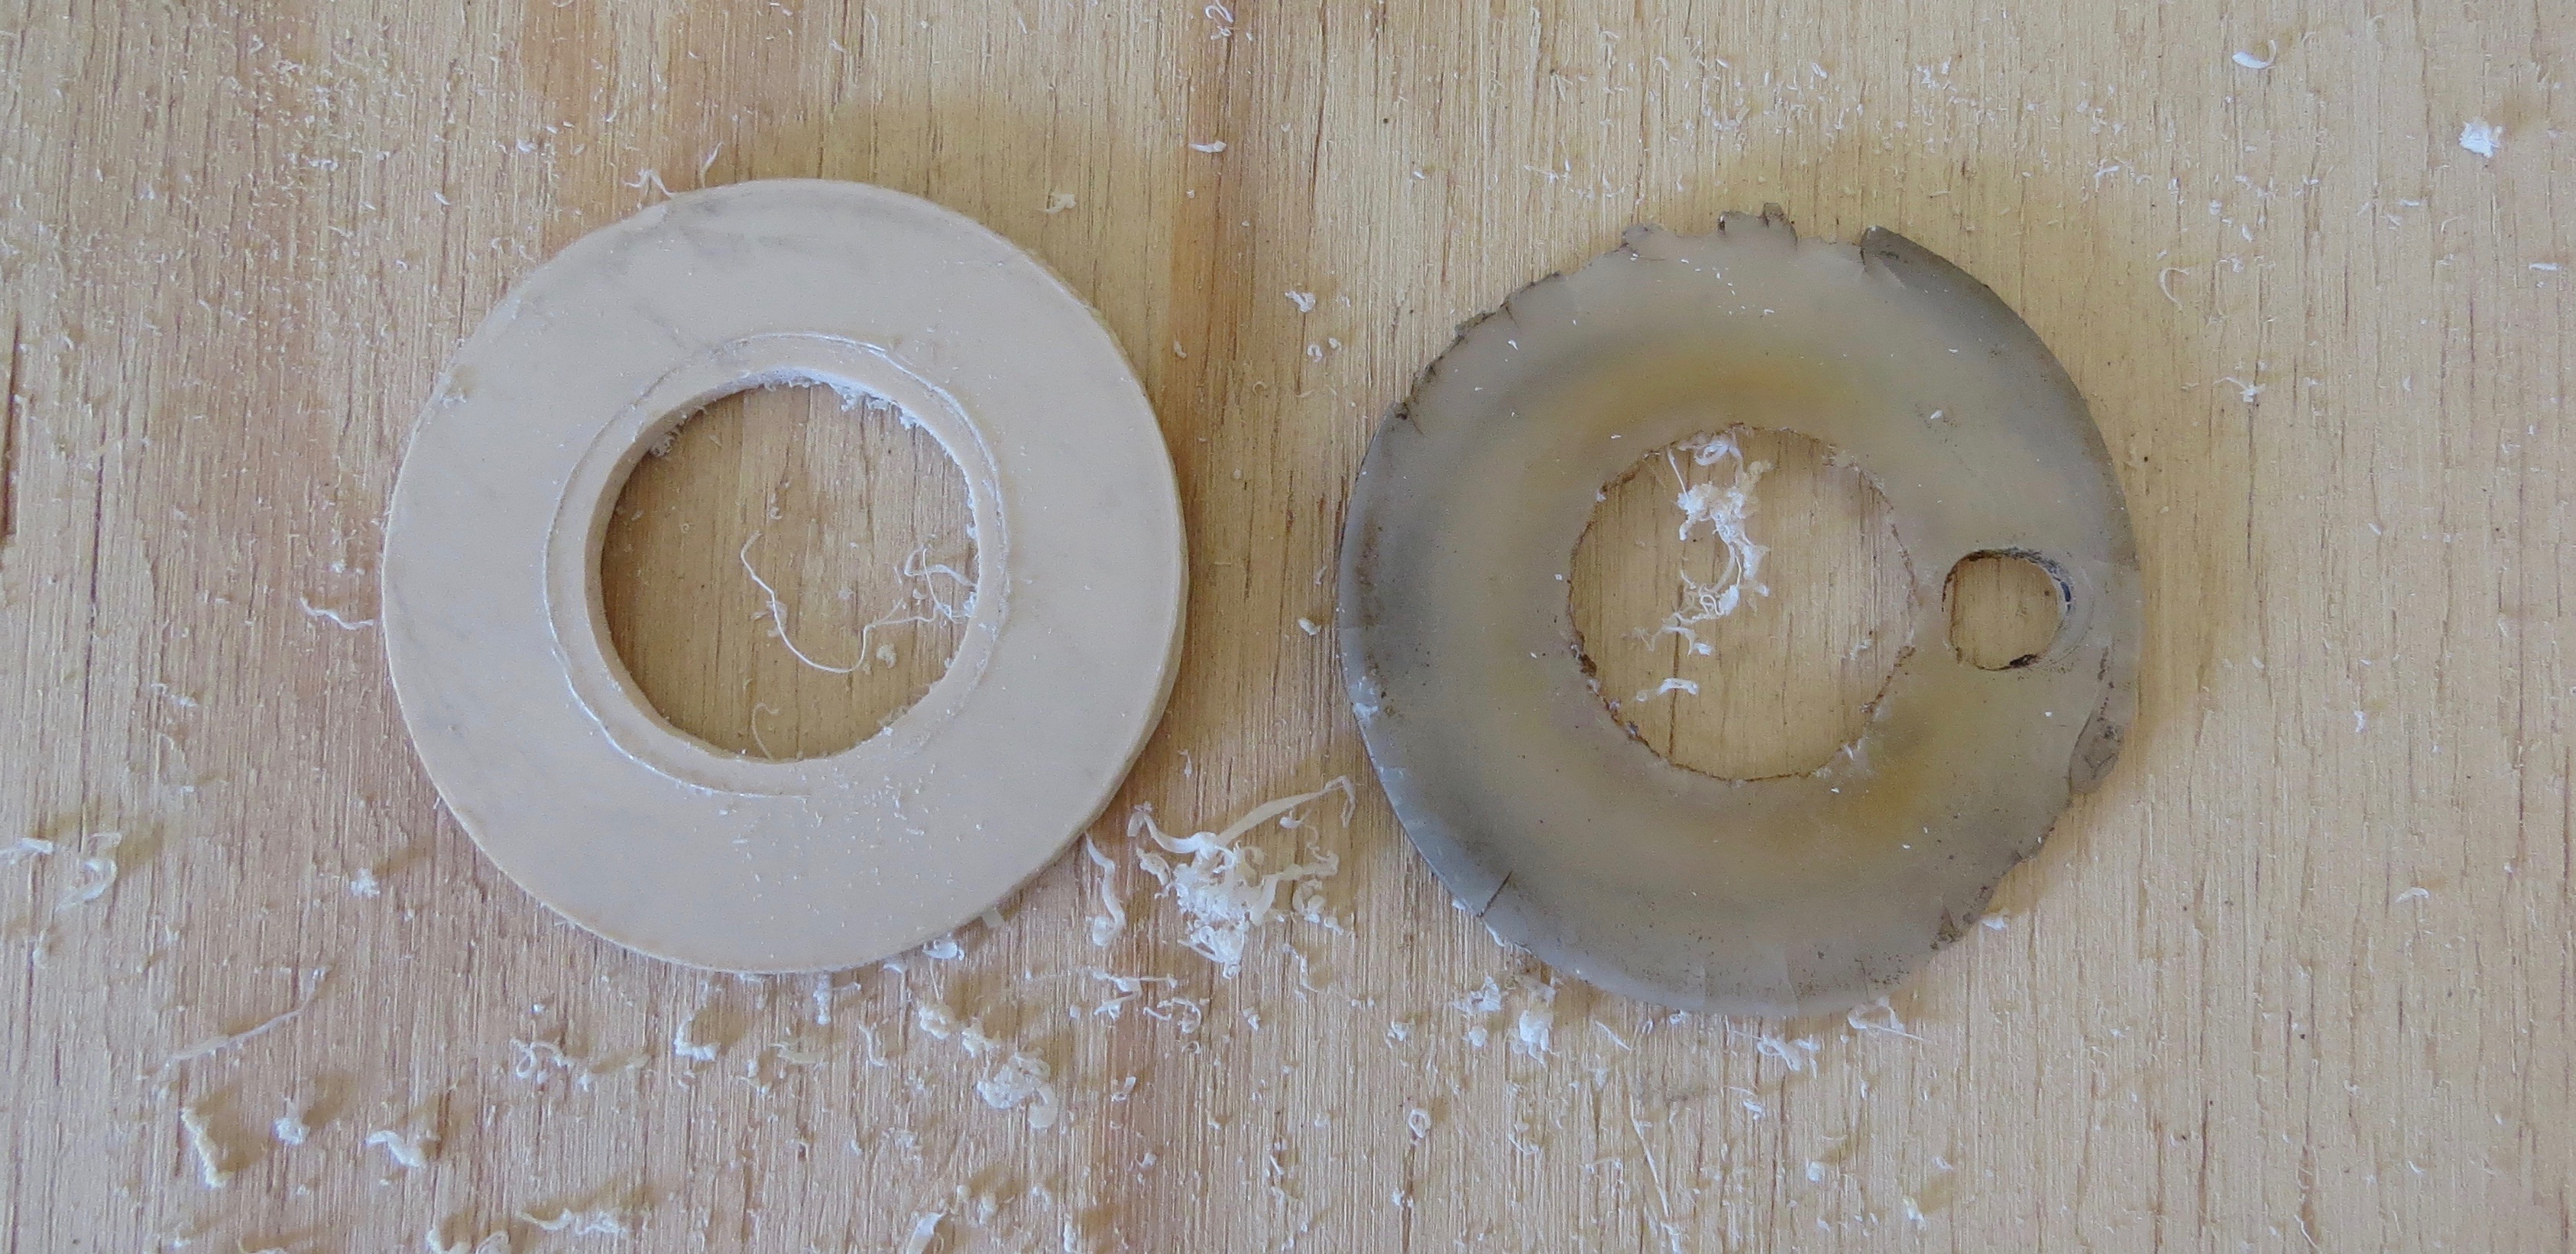
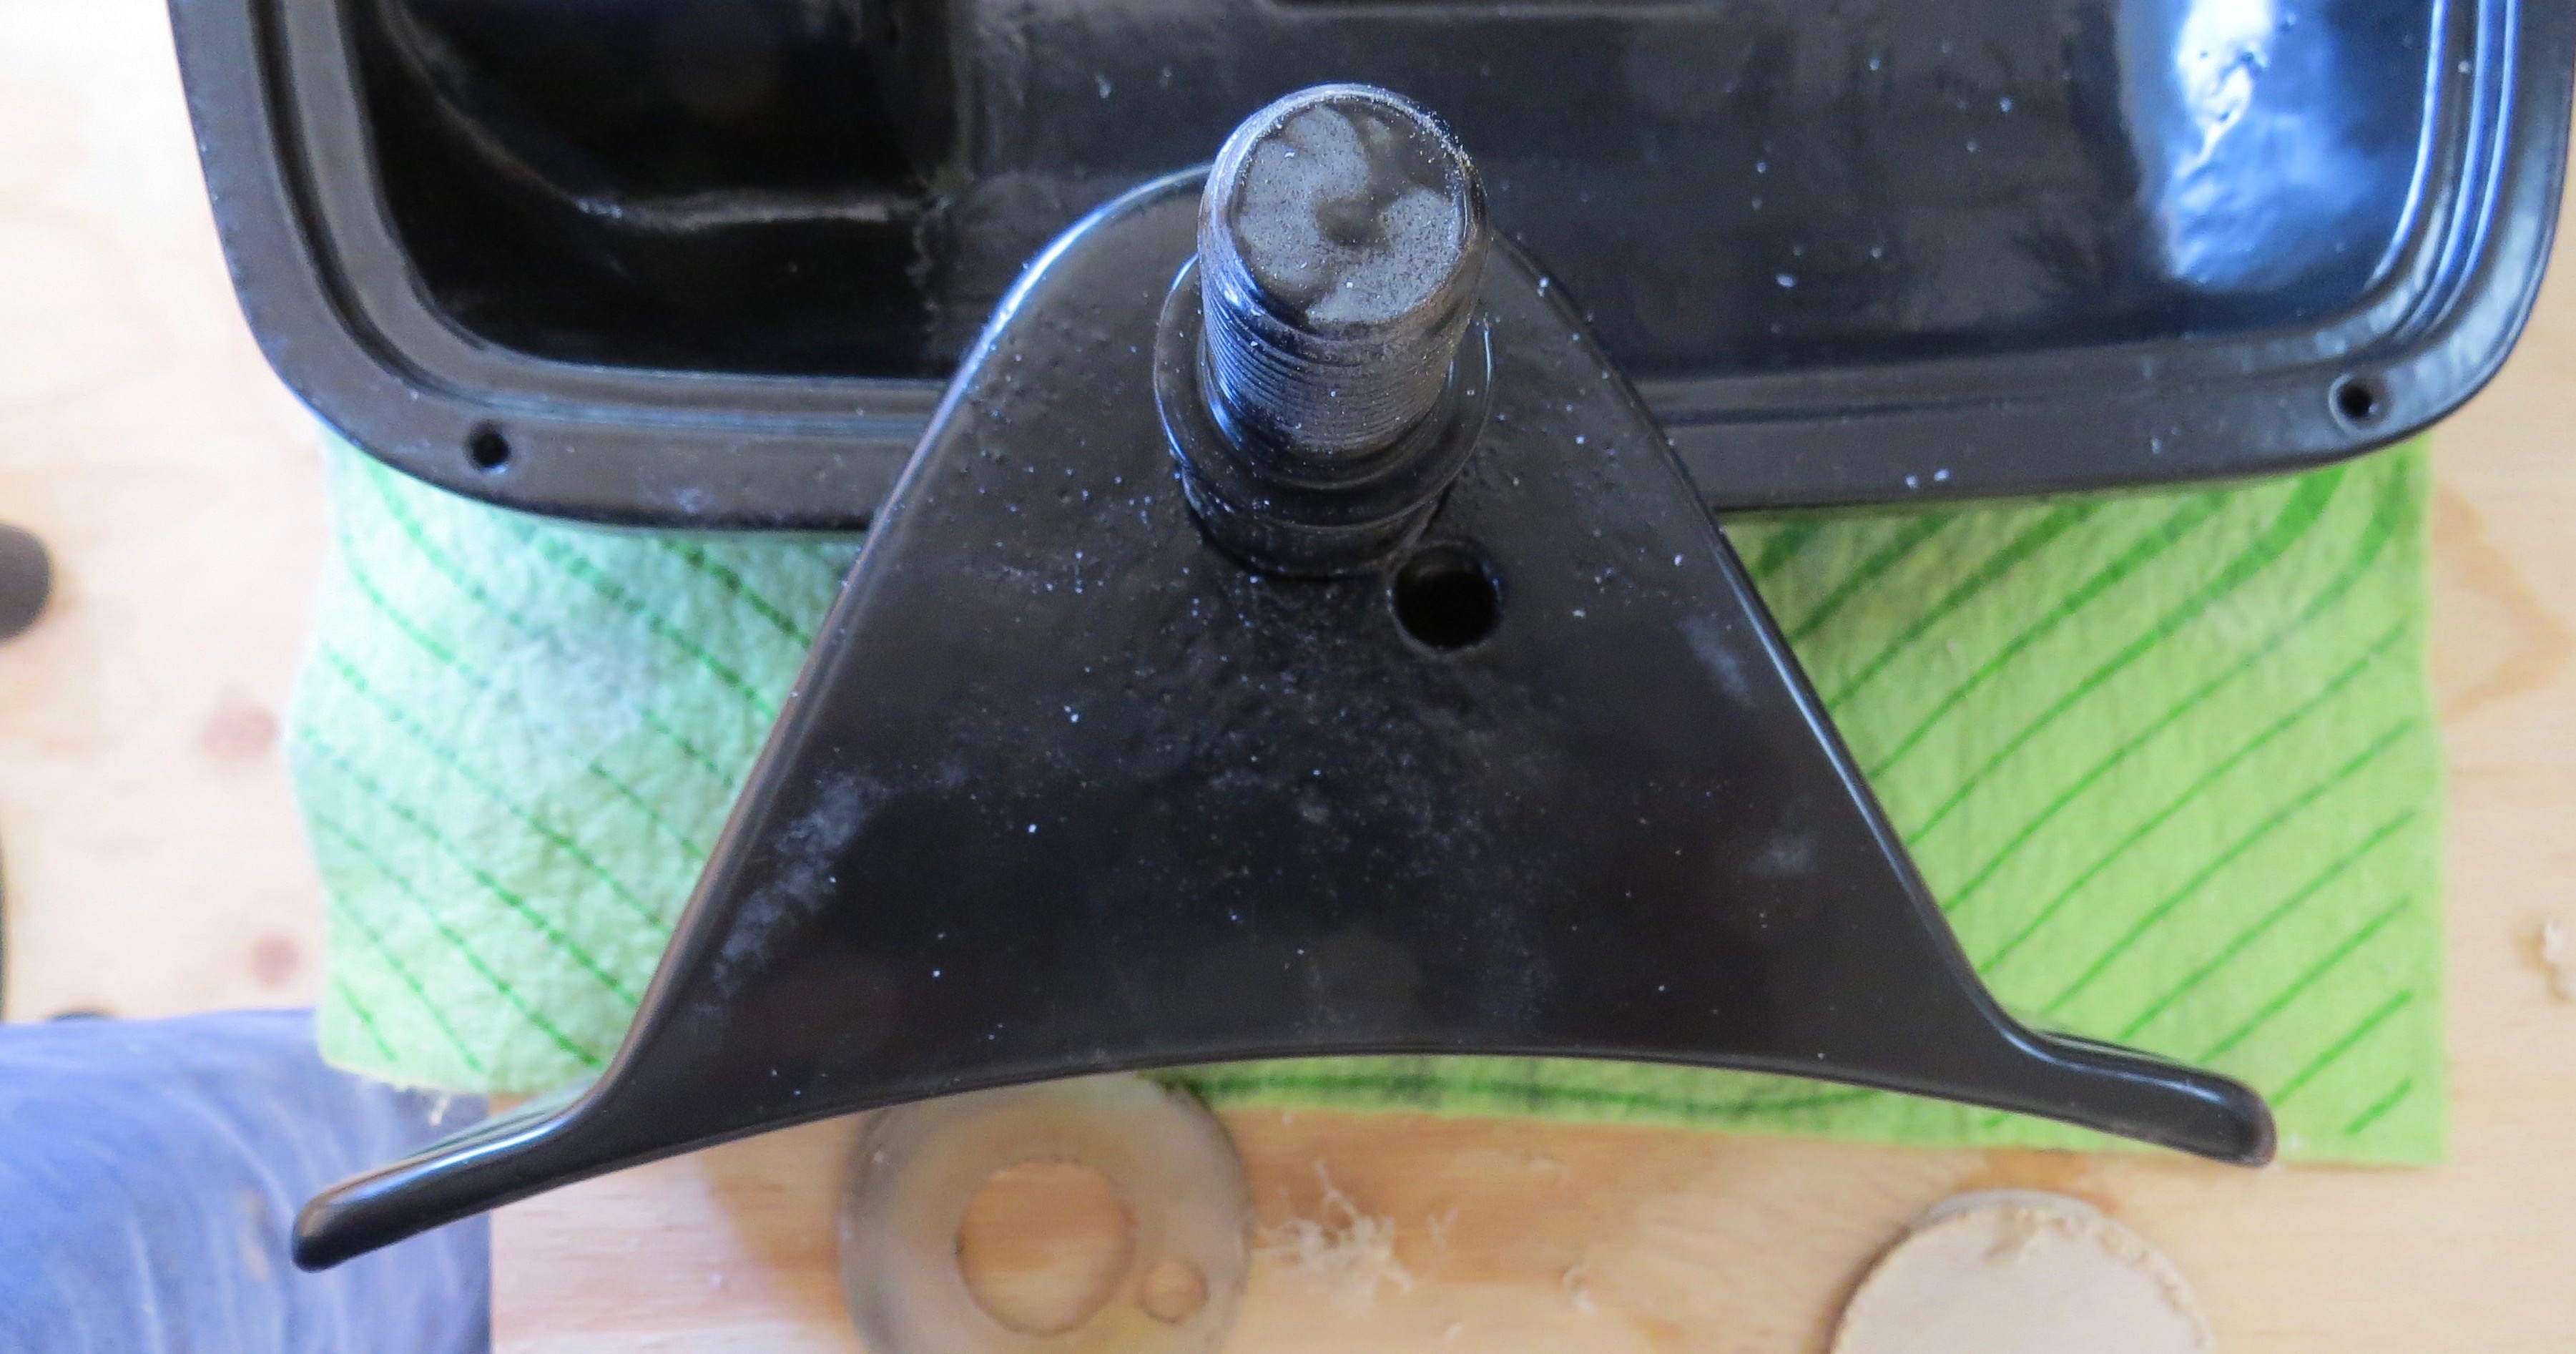
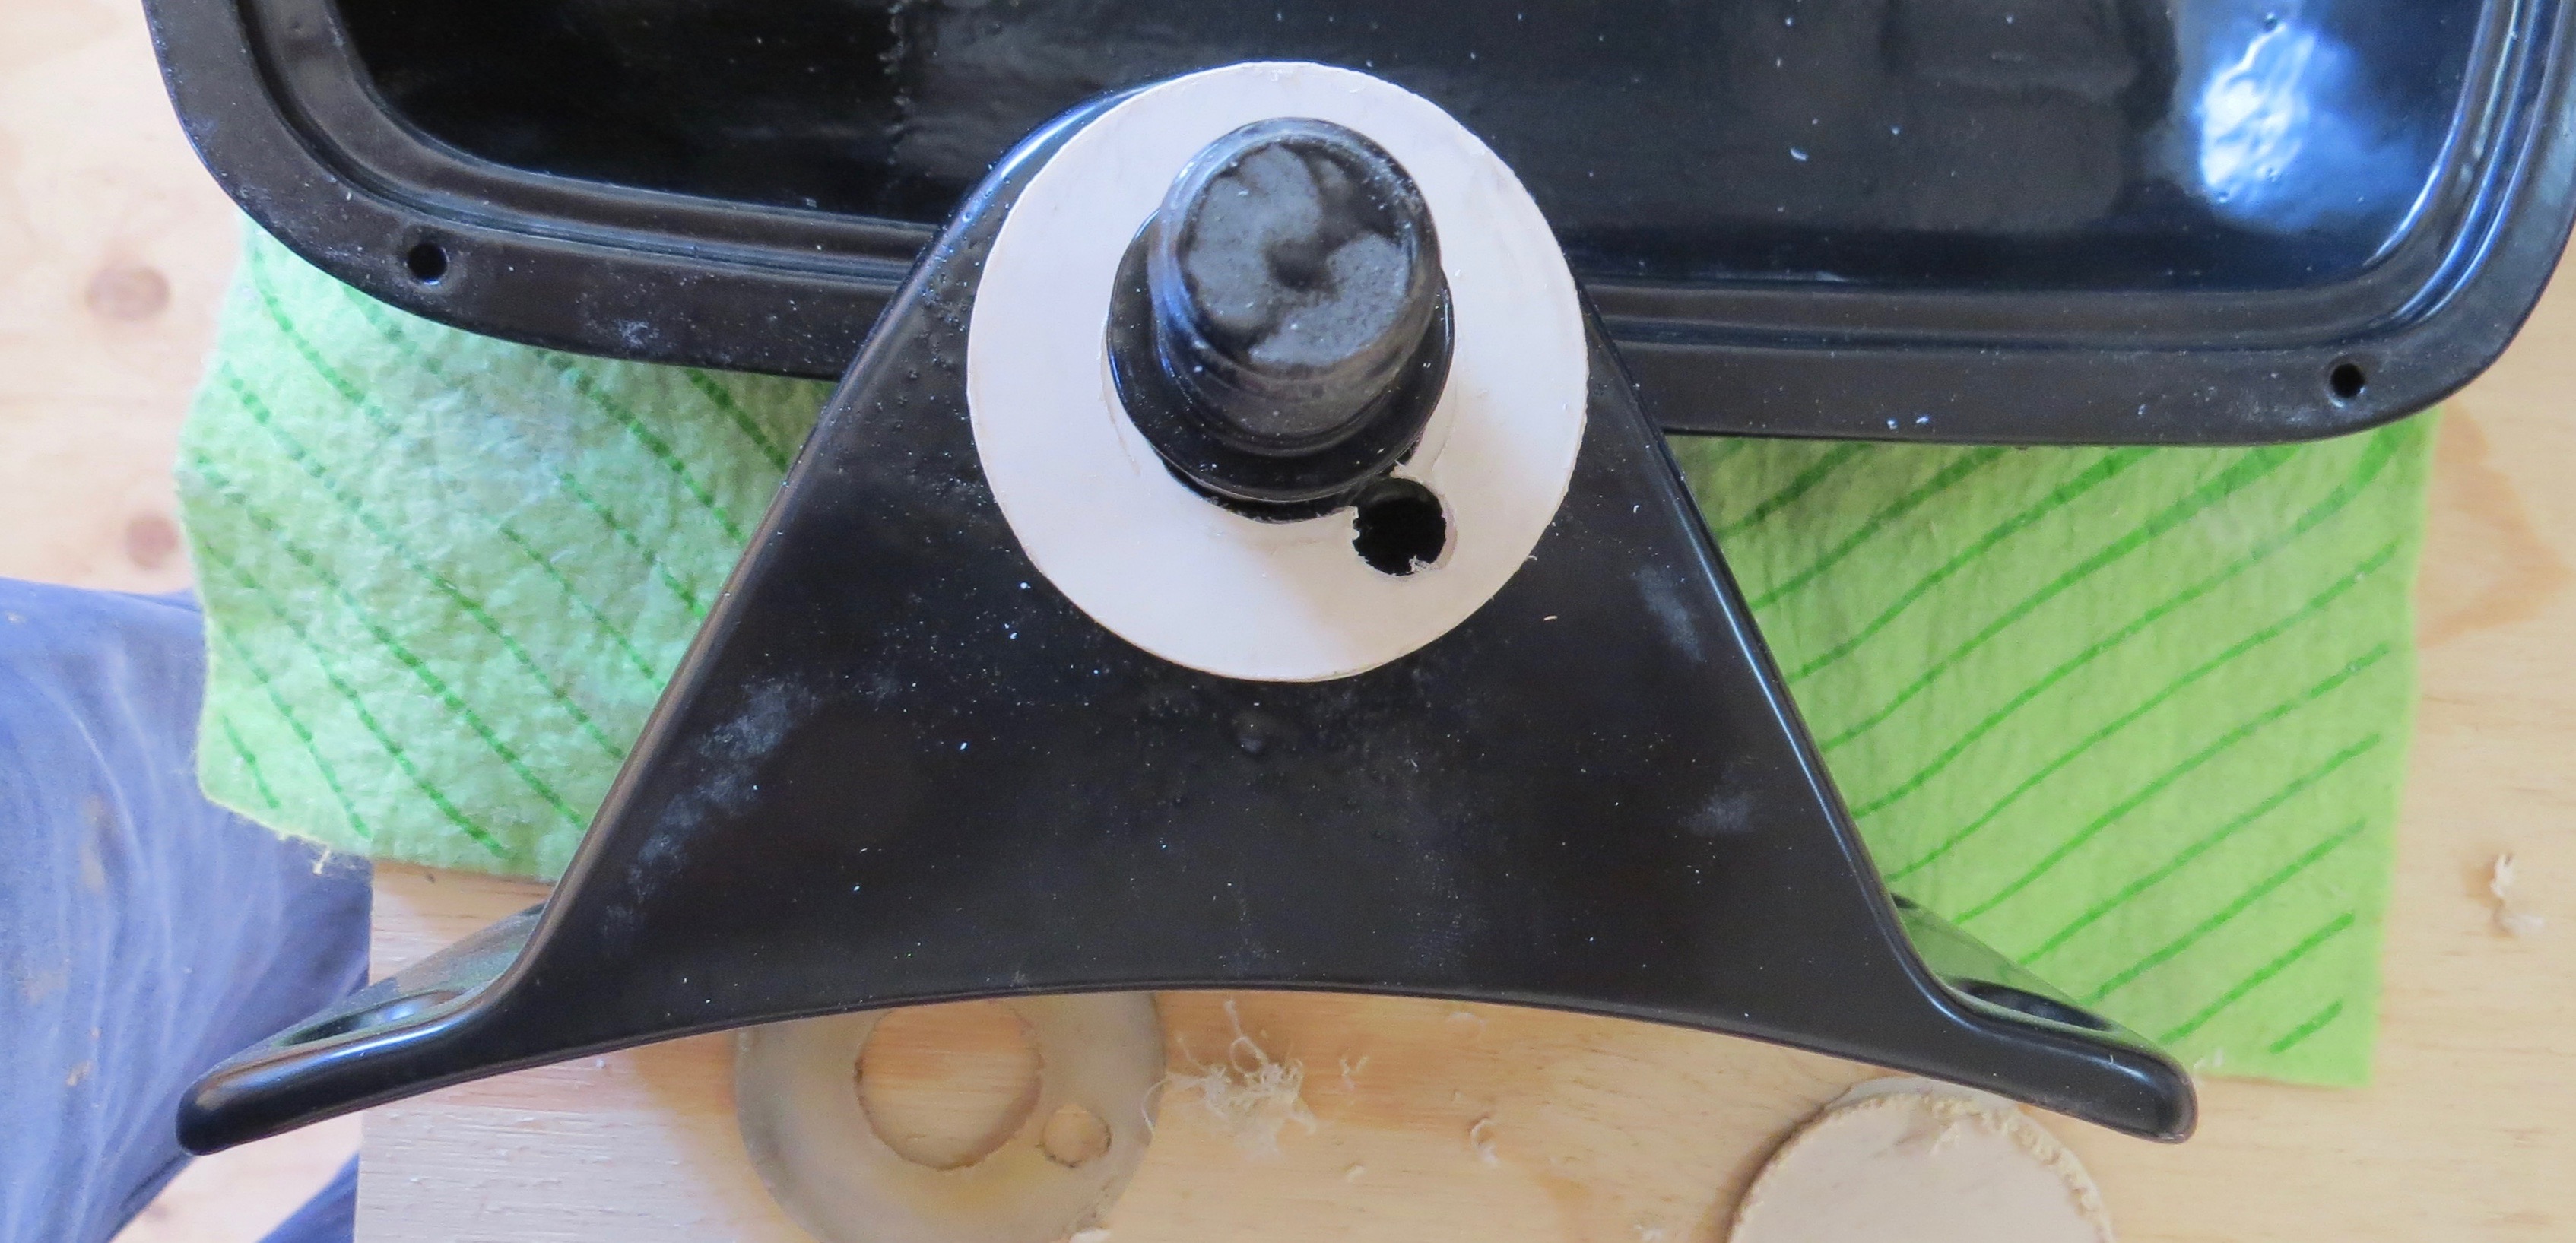
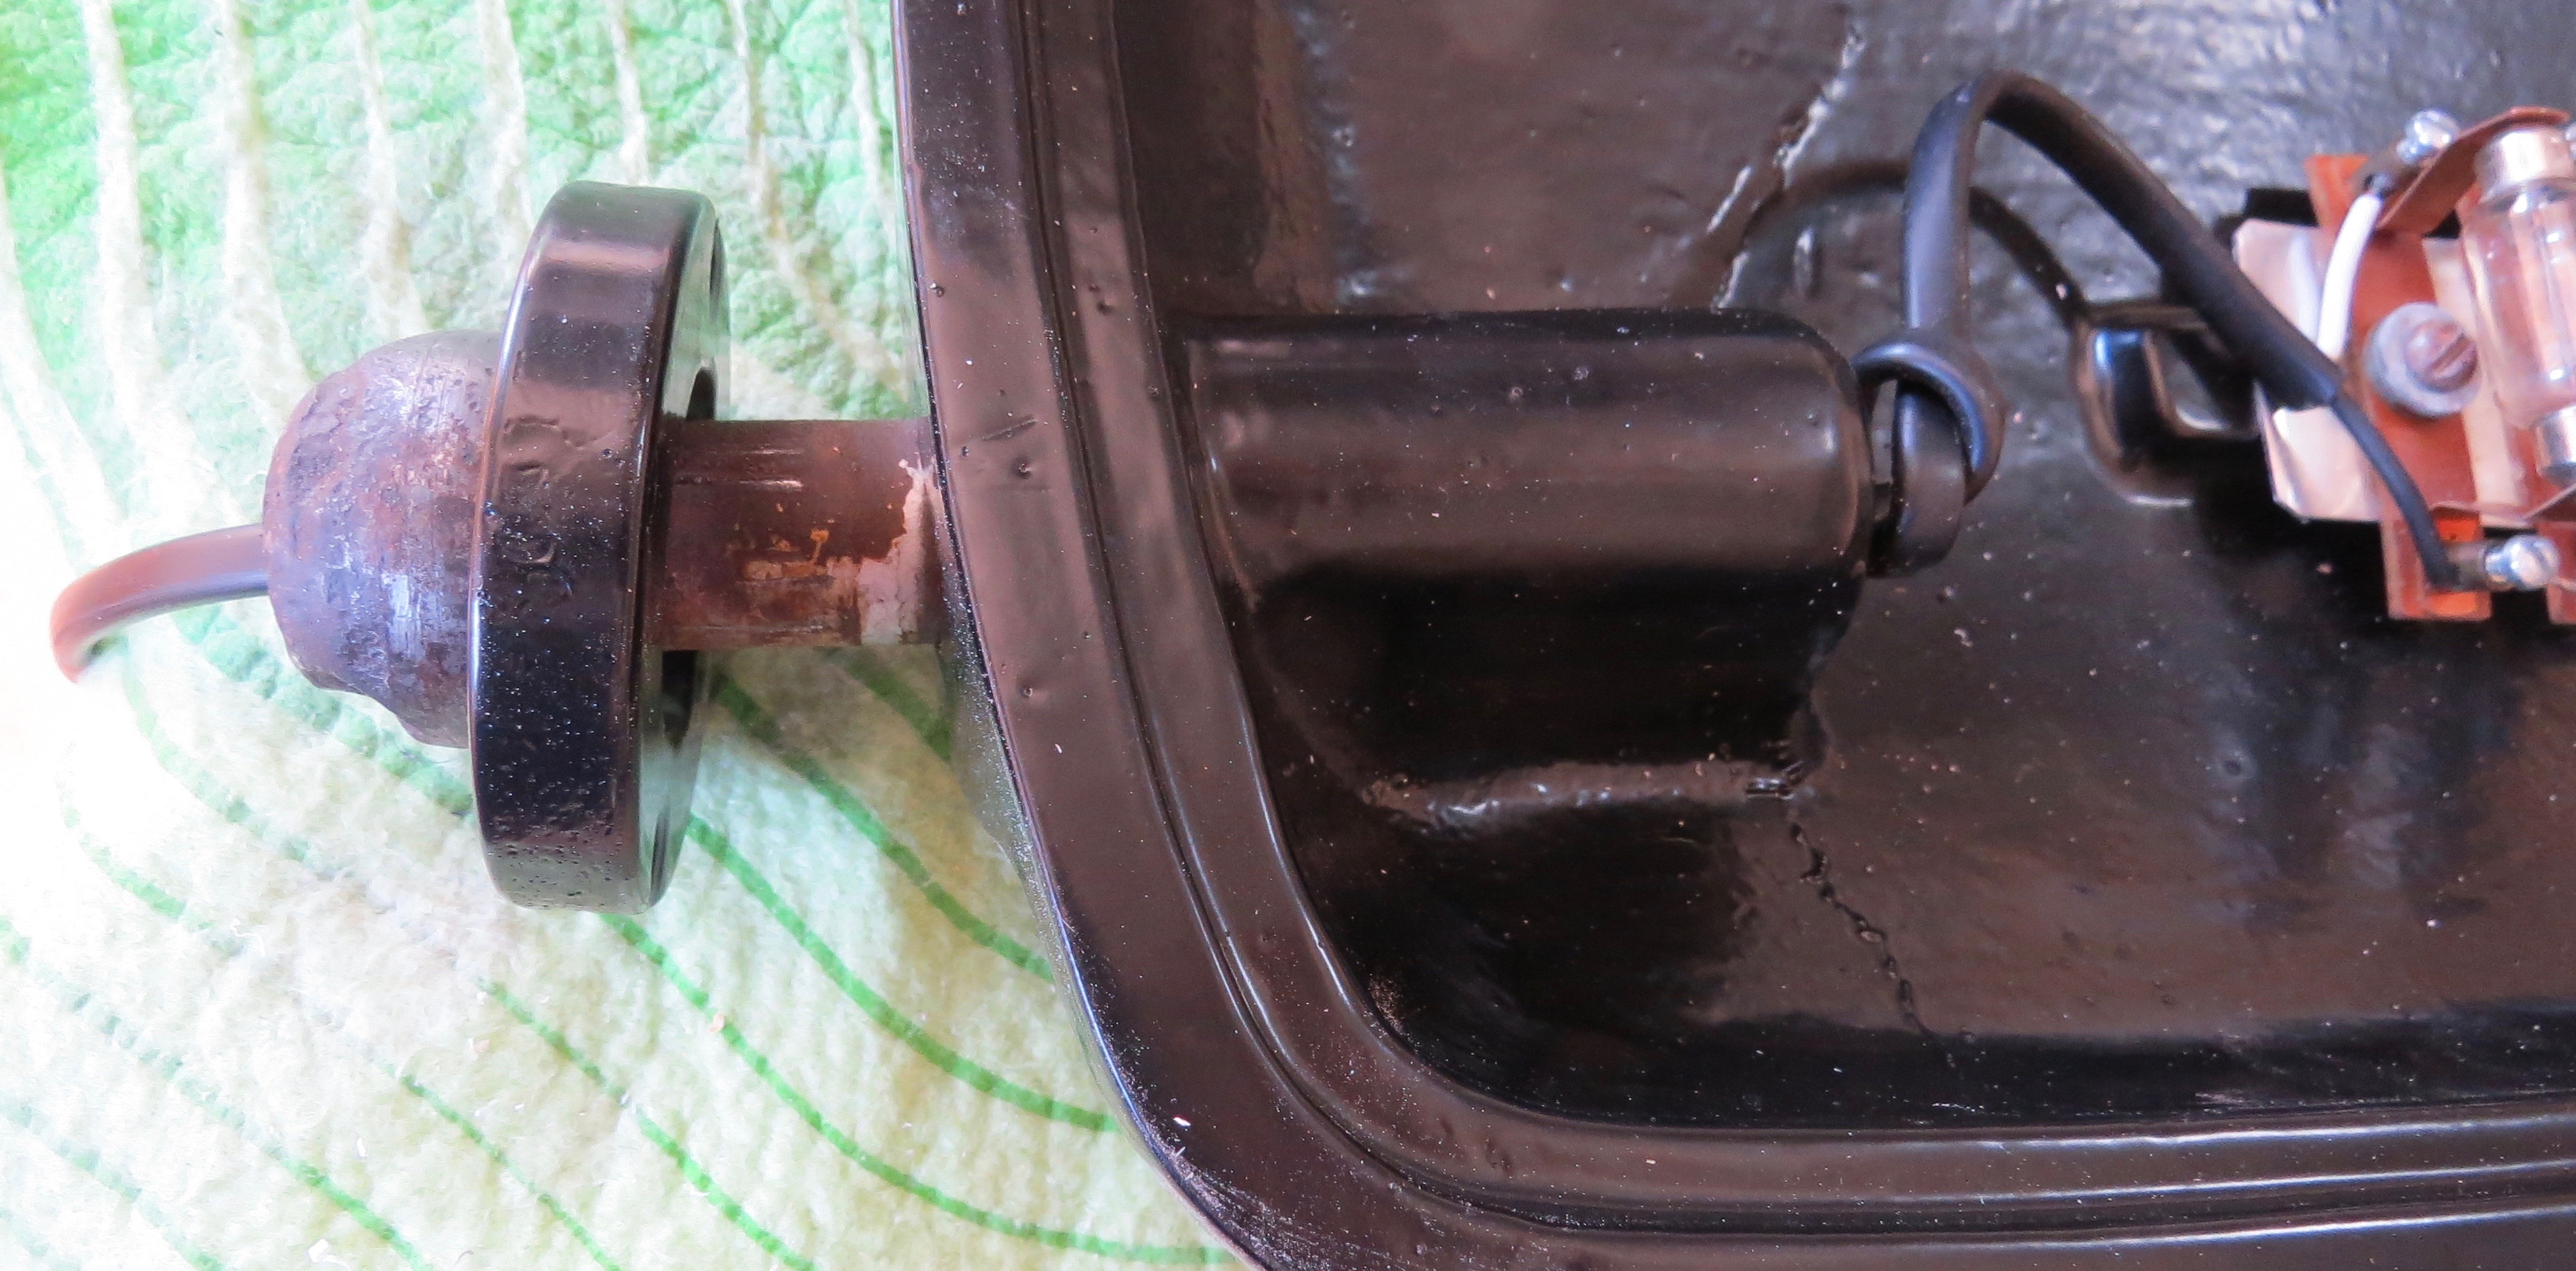
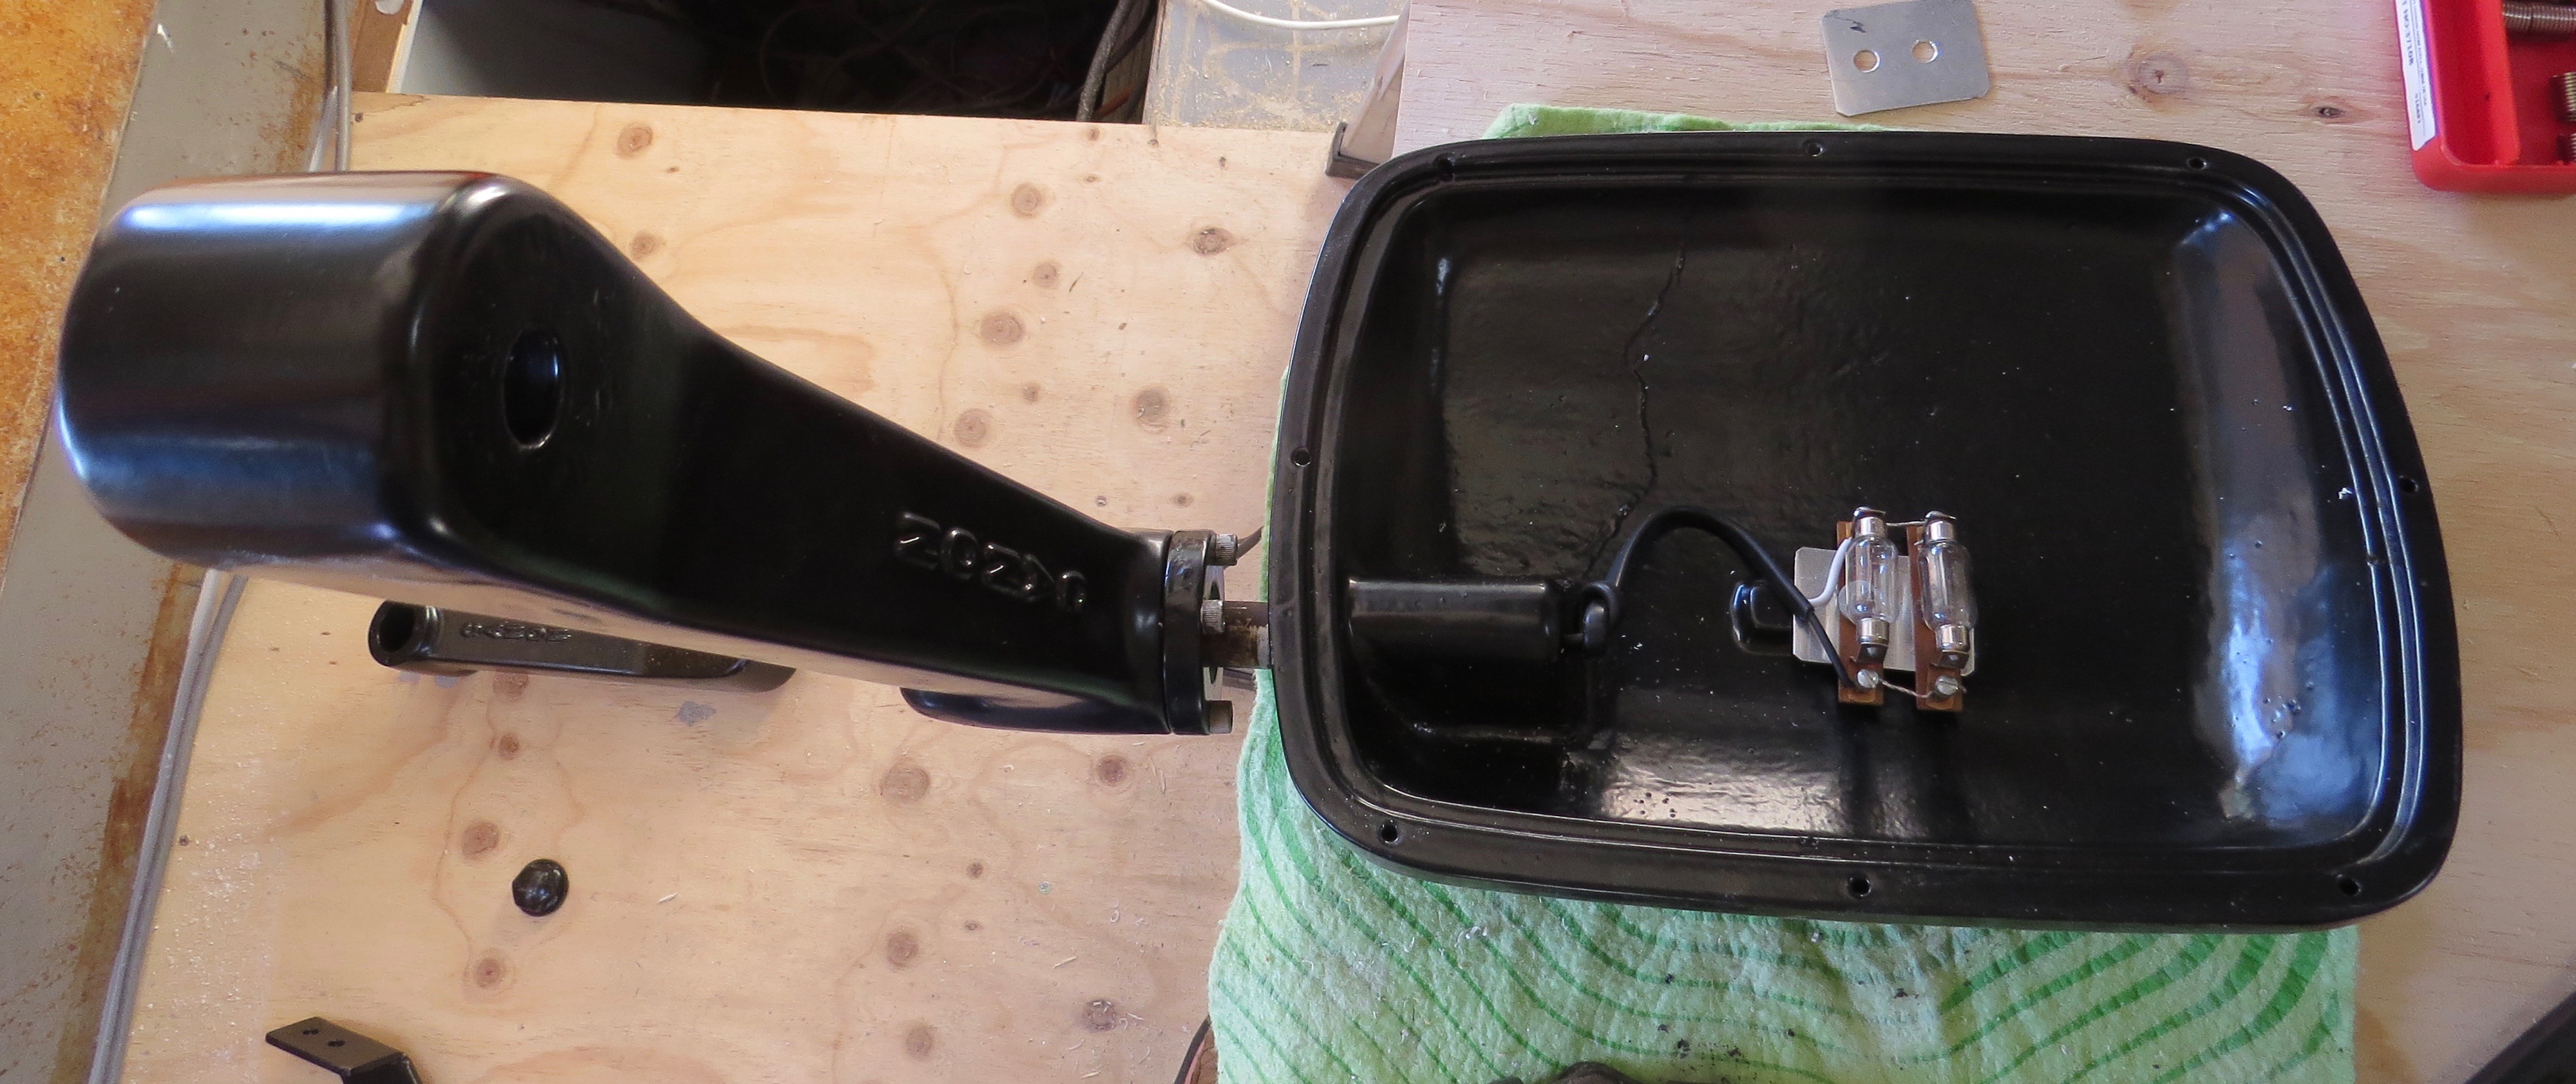
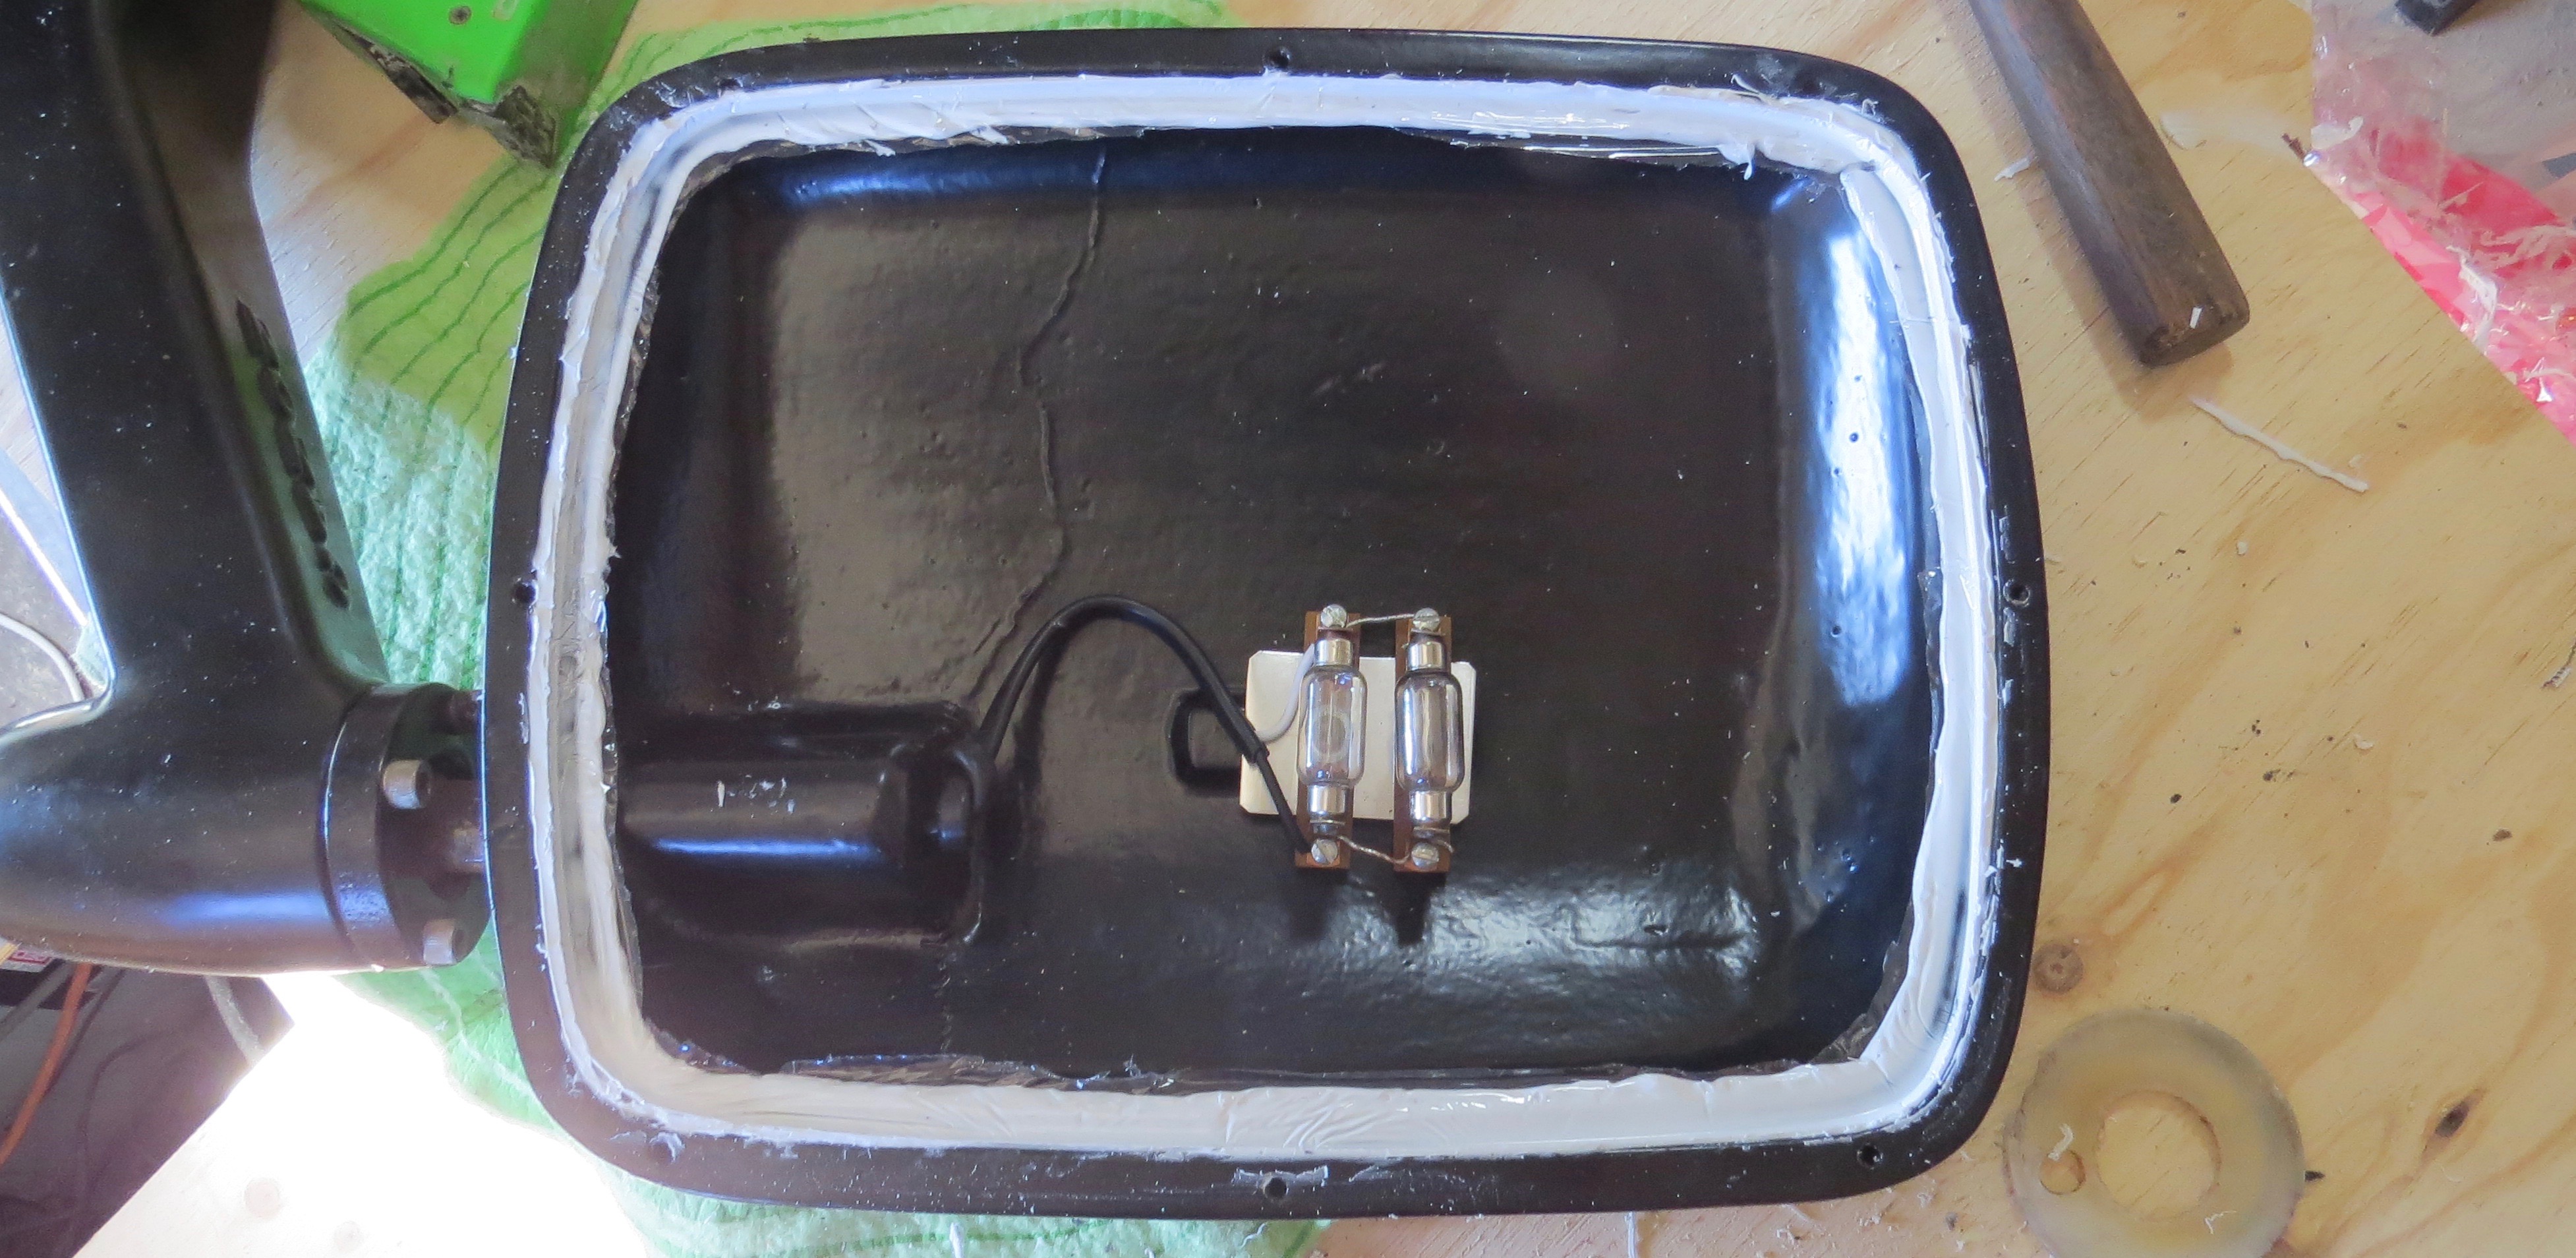
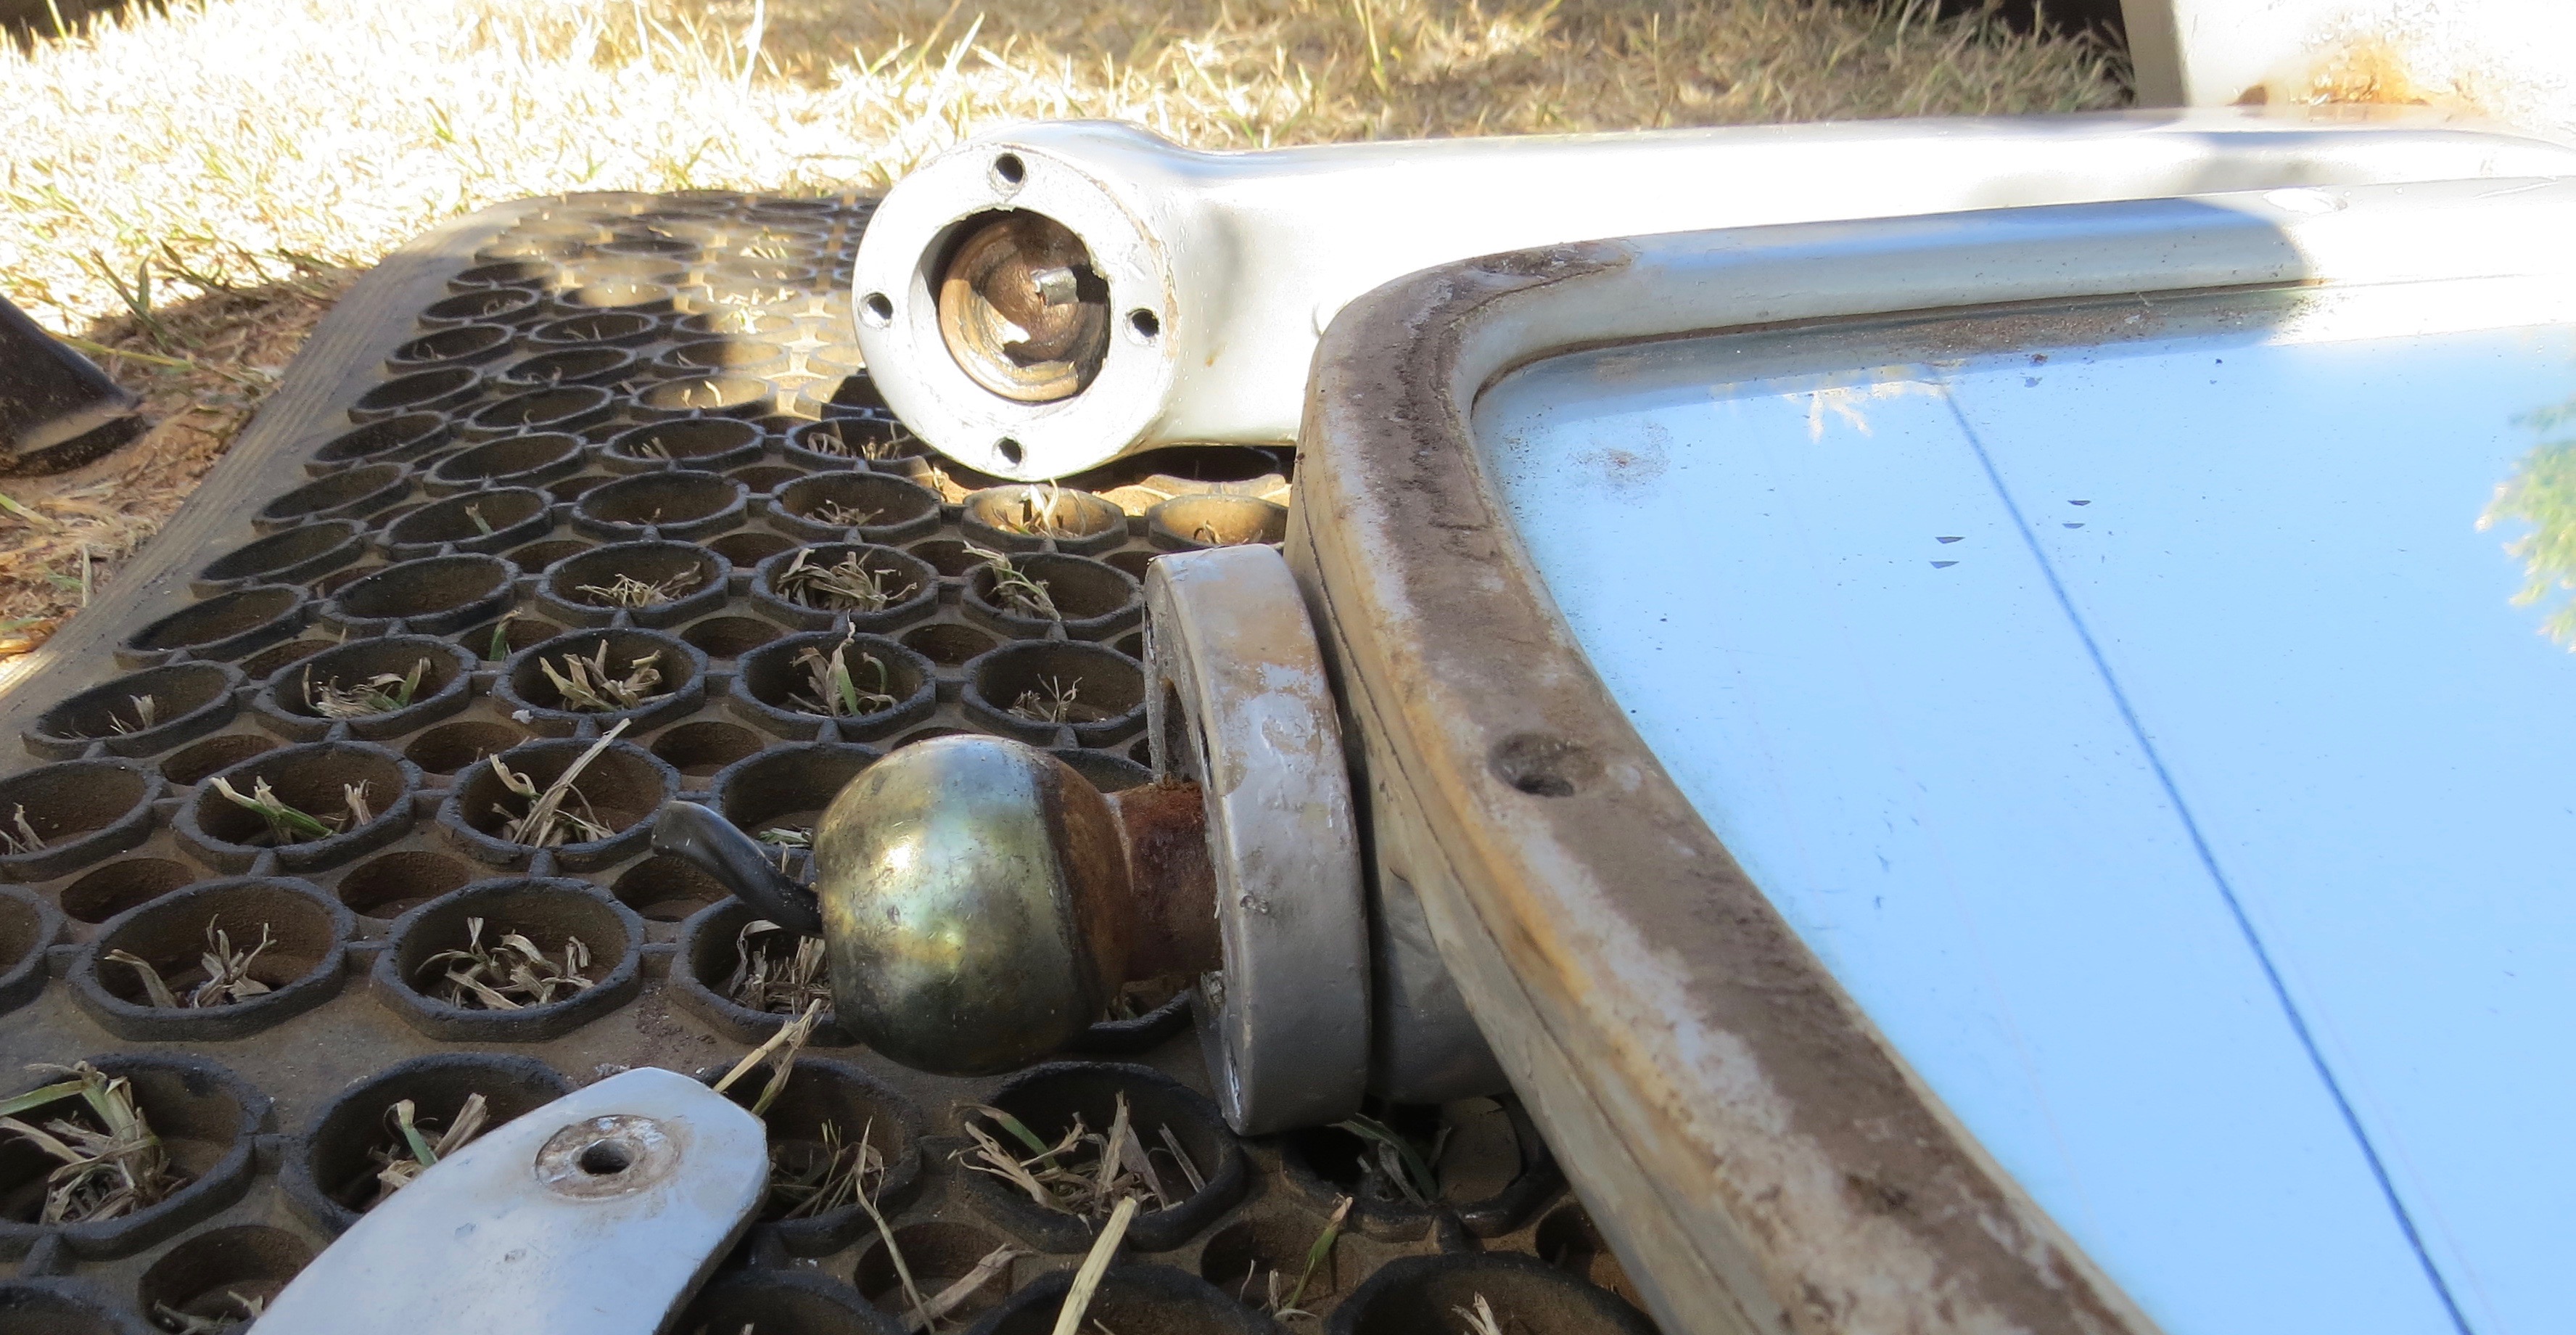
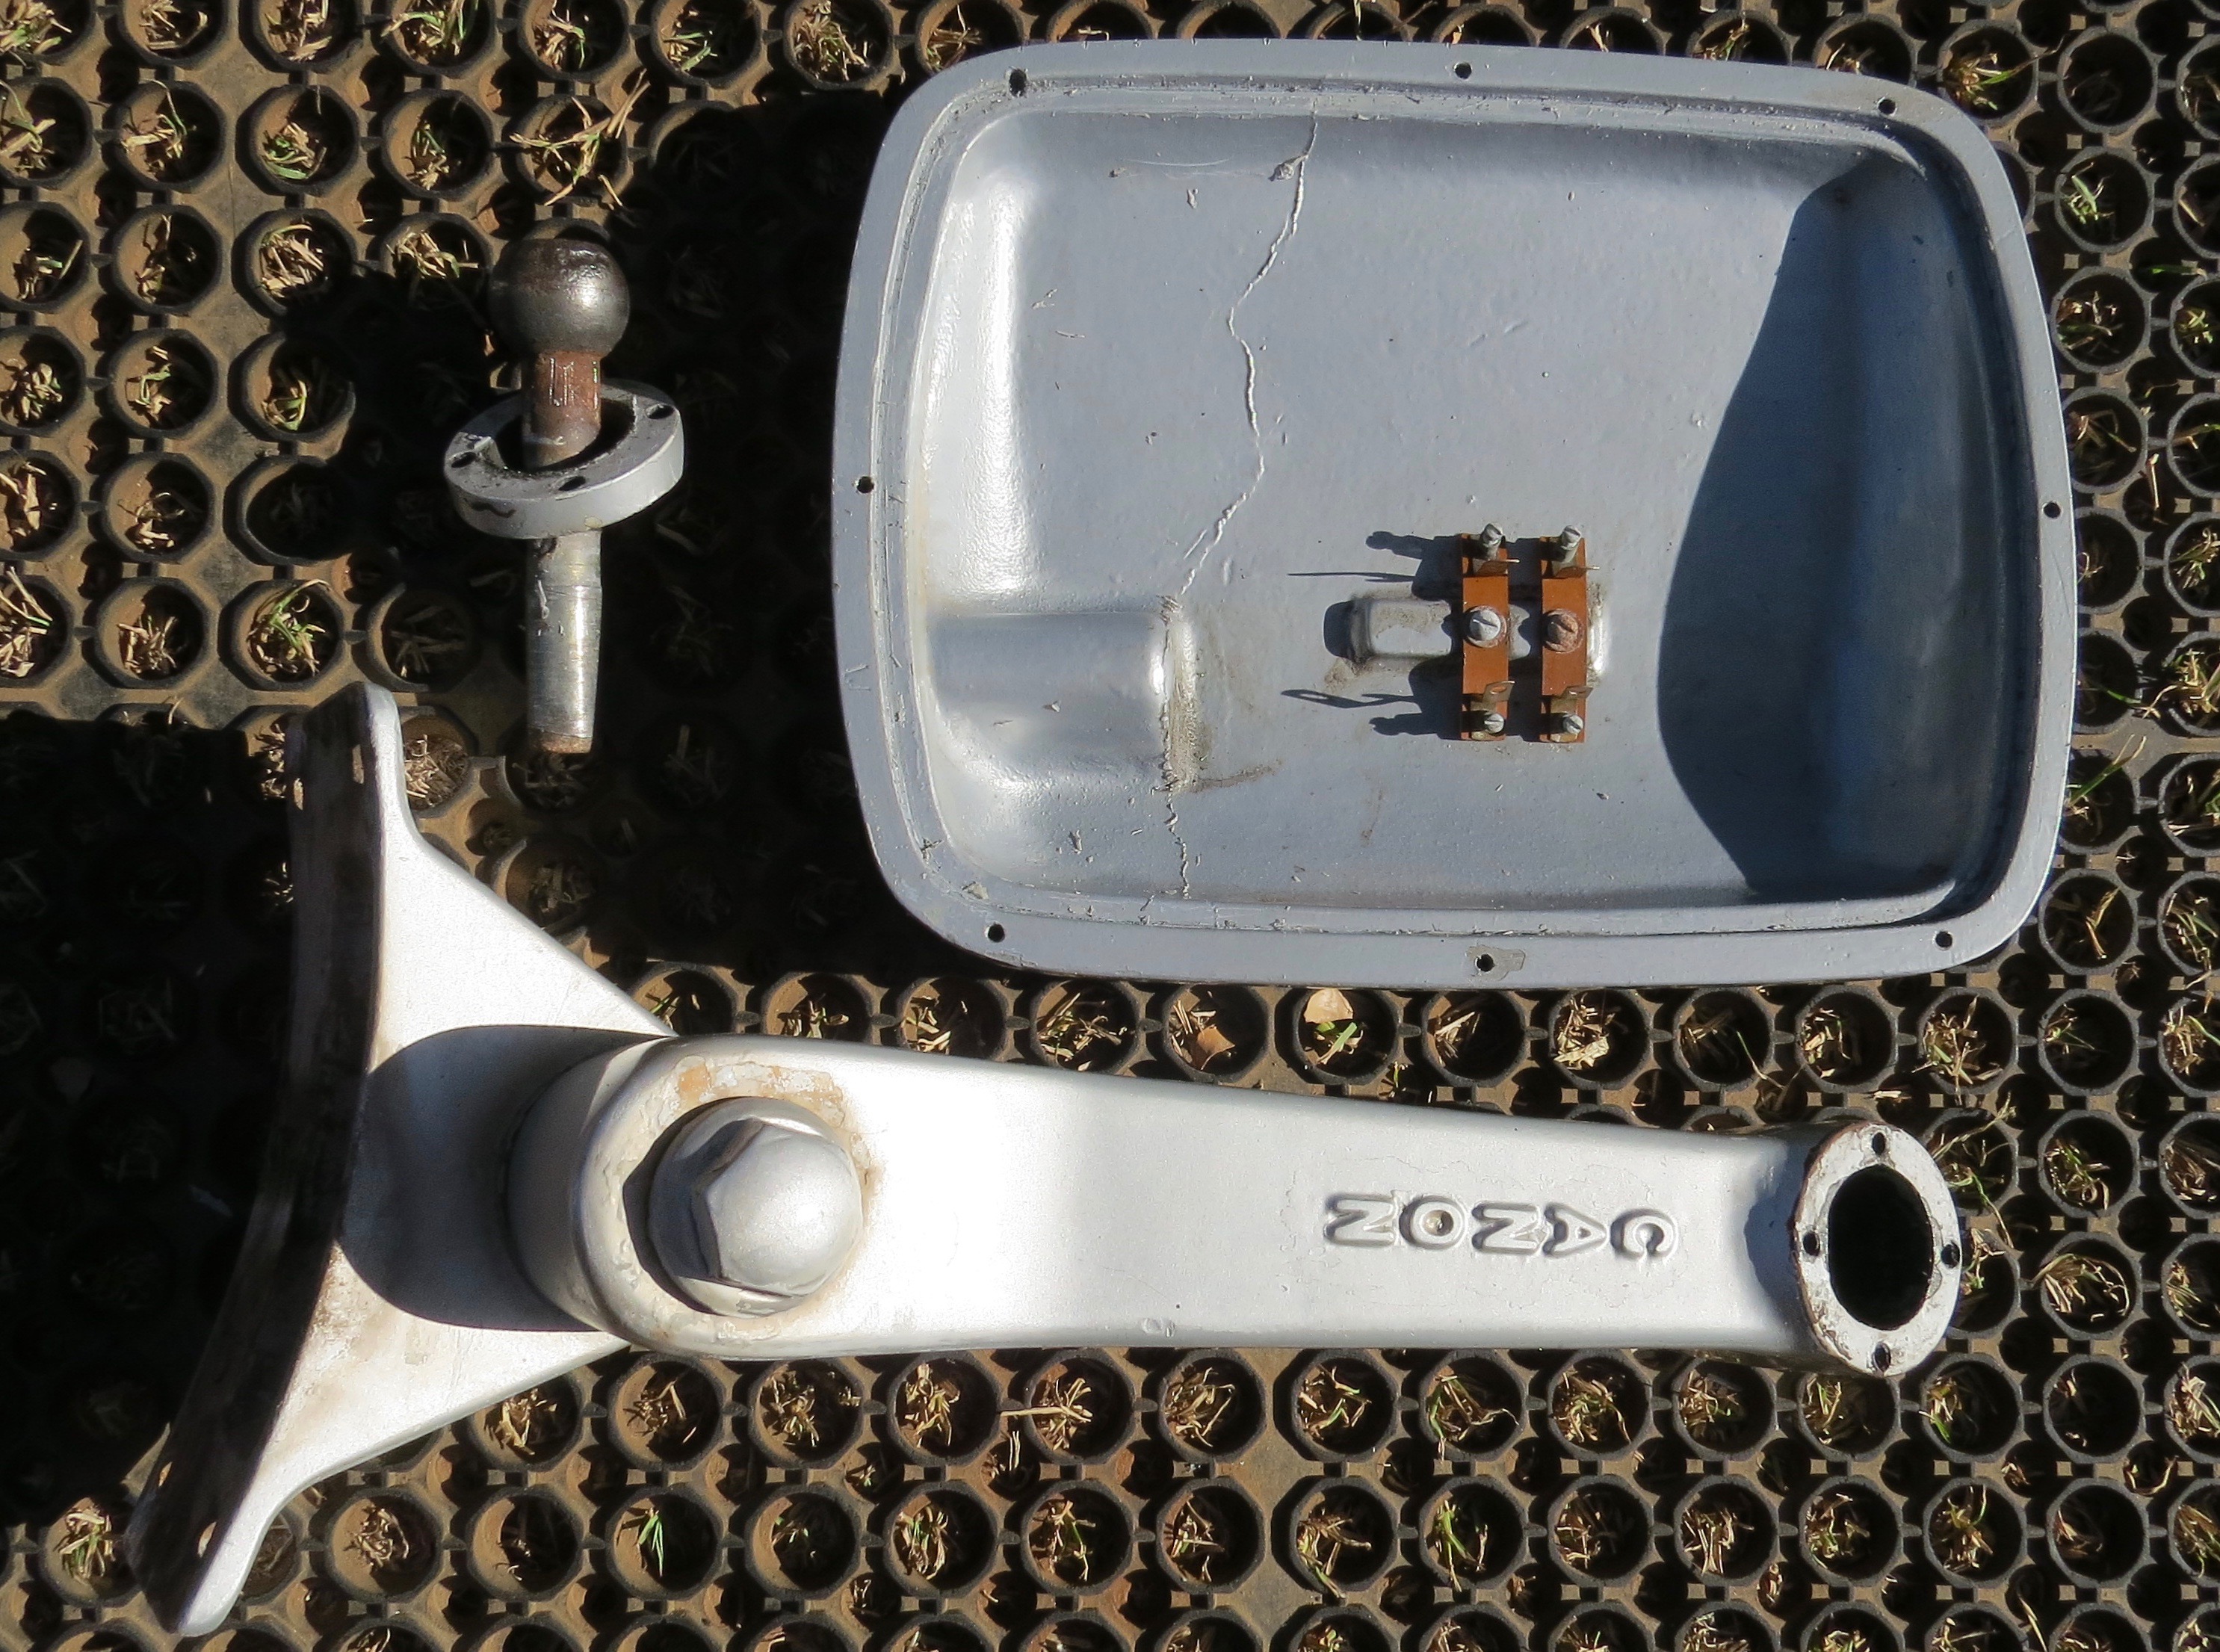
With two box’s full of parts and two washers to make to fit between the main mounting bracket and the mirror arm. Then I will have to fit the lights inside the mirror housings and run the power cable for the 24v.
Making new parts for the mirror support.The bit that bolts on to the coach.The new part fit’s.Wiring in the lights to heat the mirrors to de-fog them.Feeding the wires in.
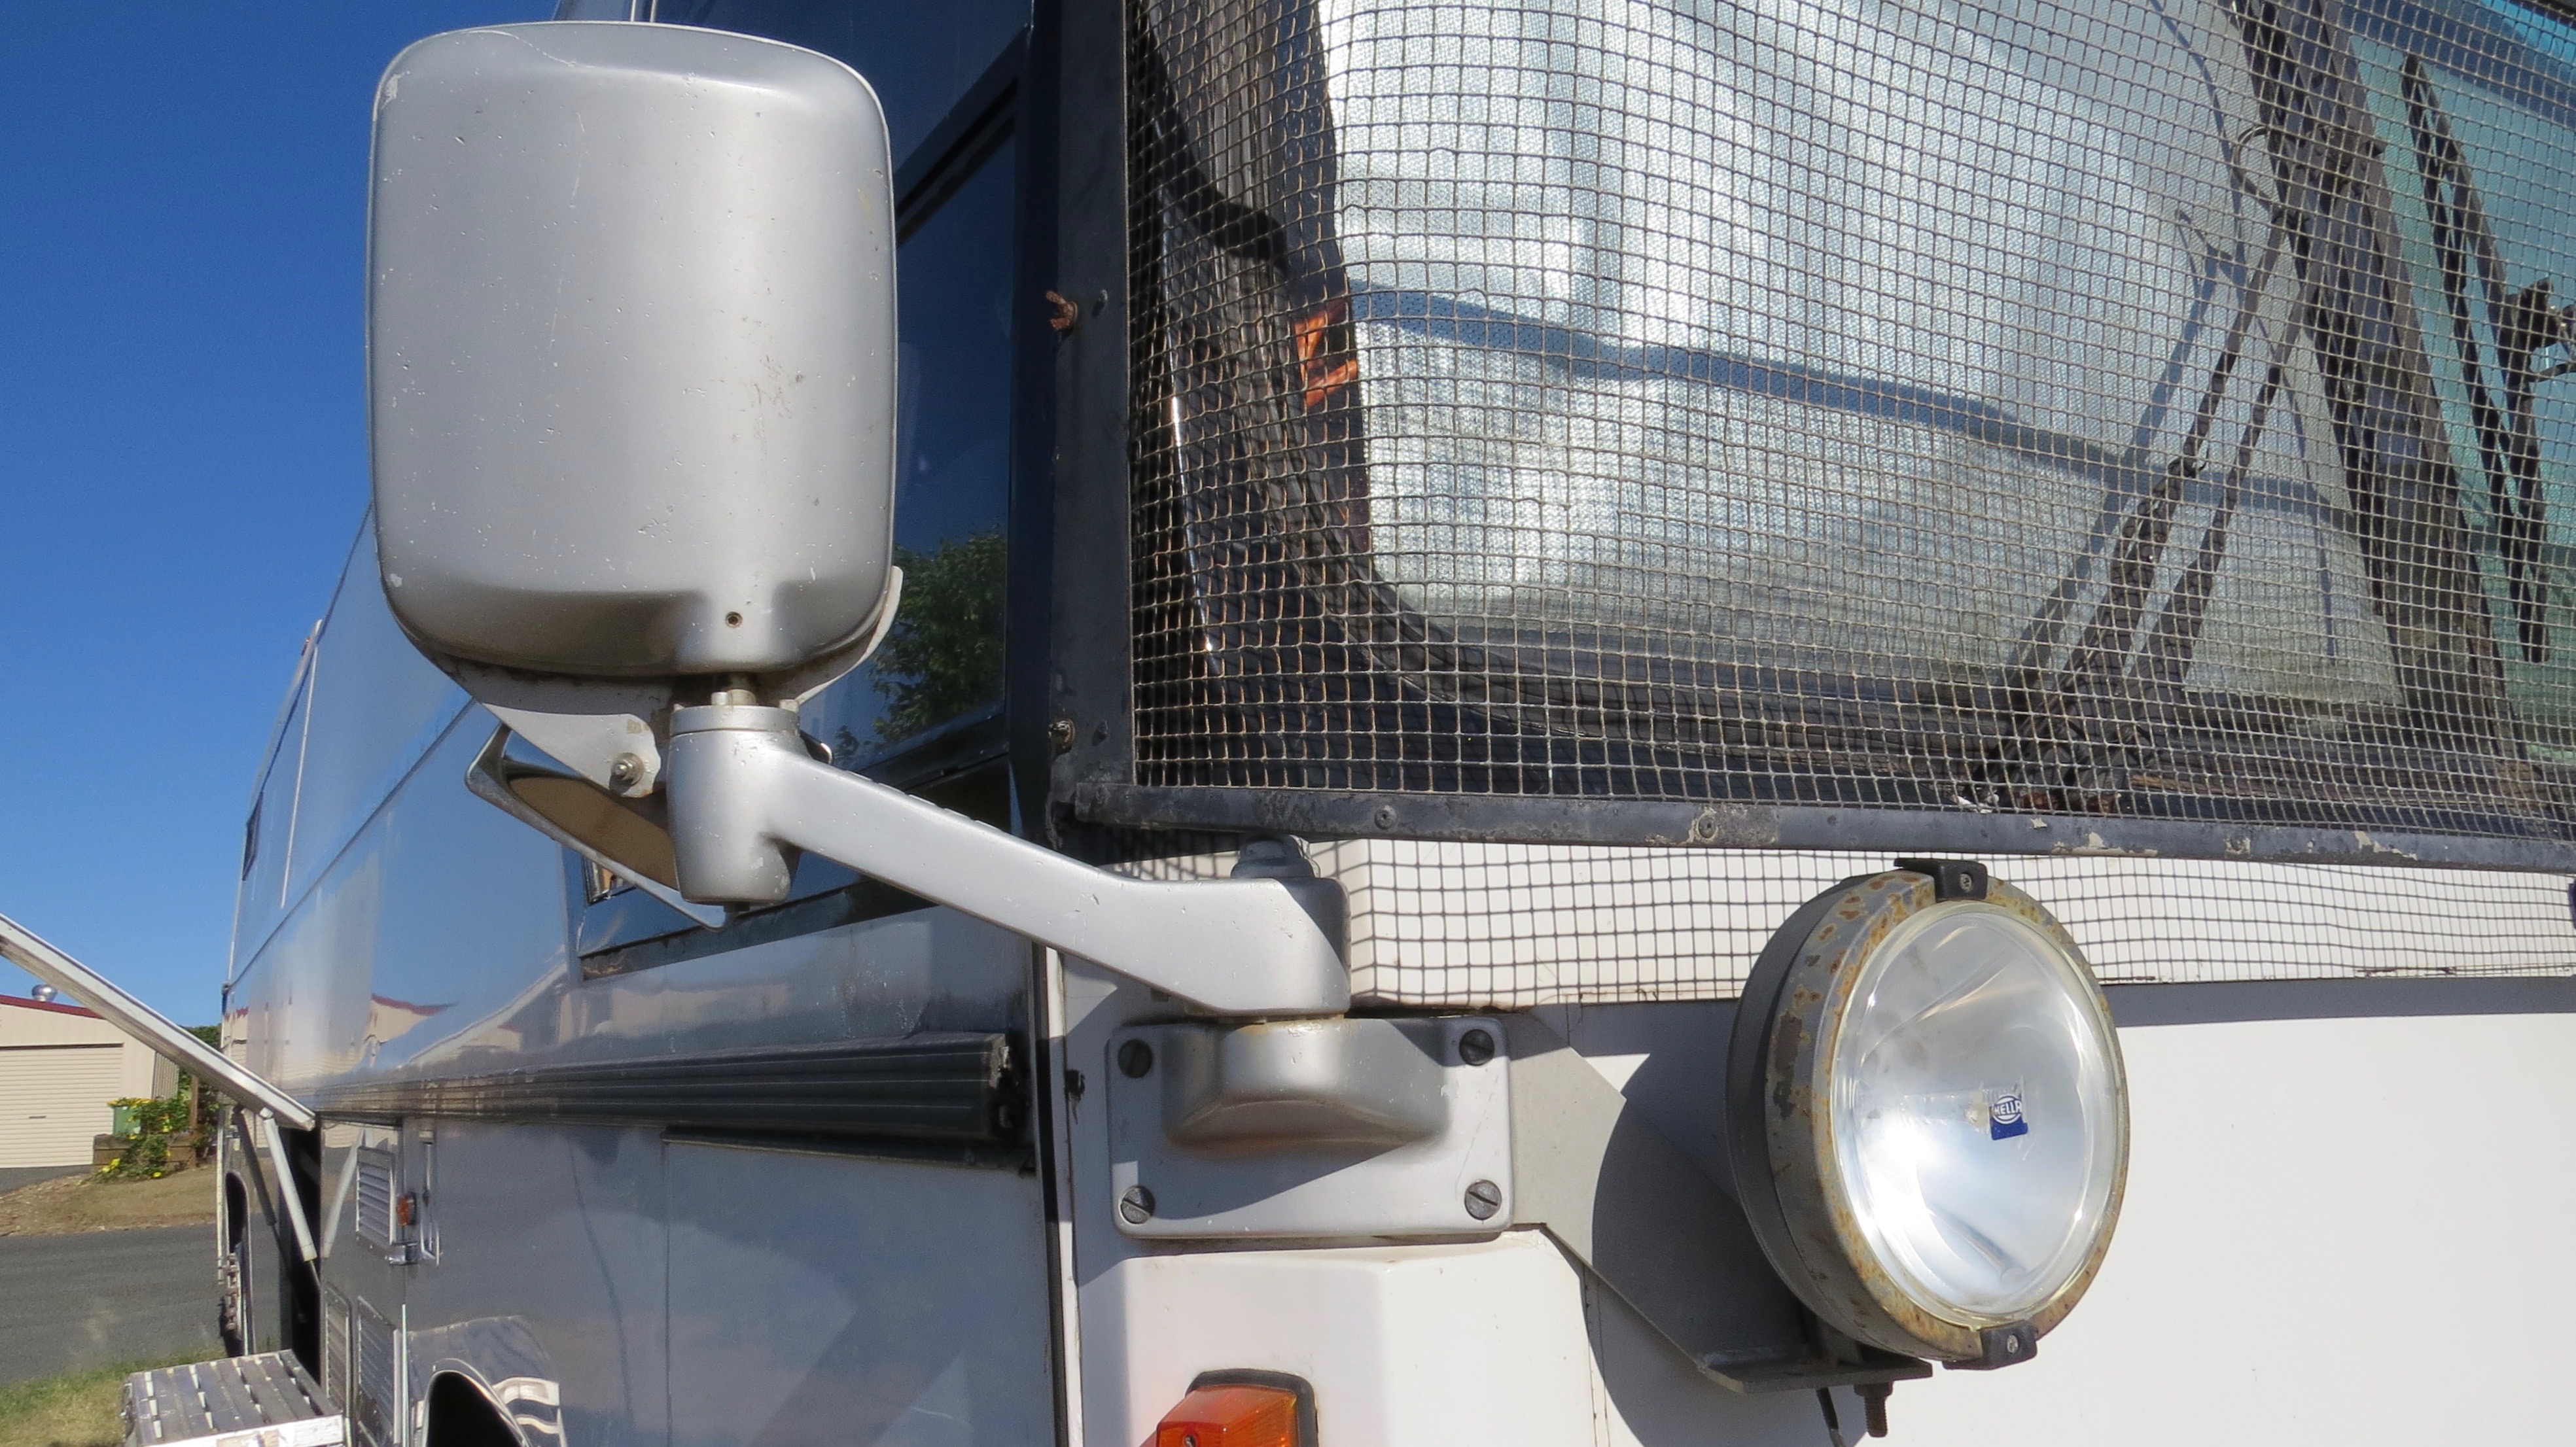
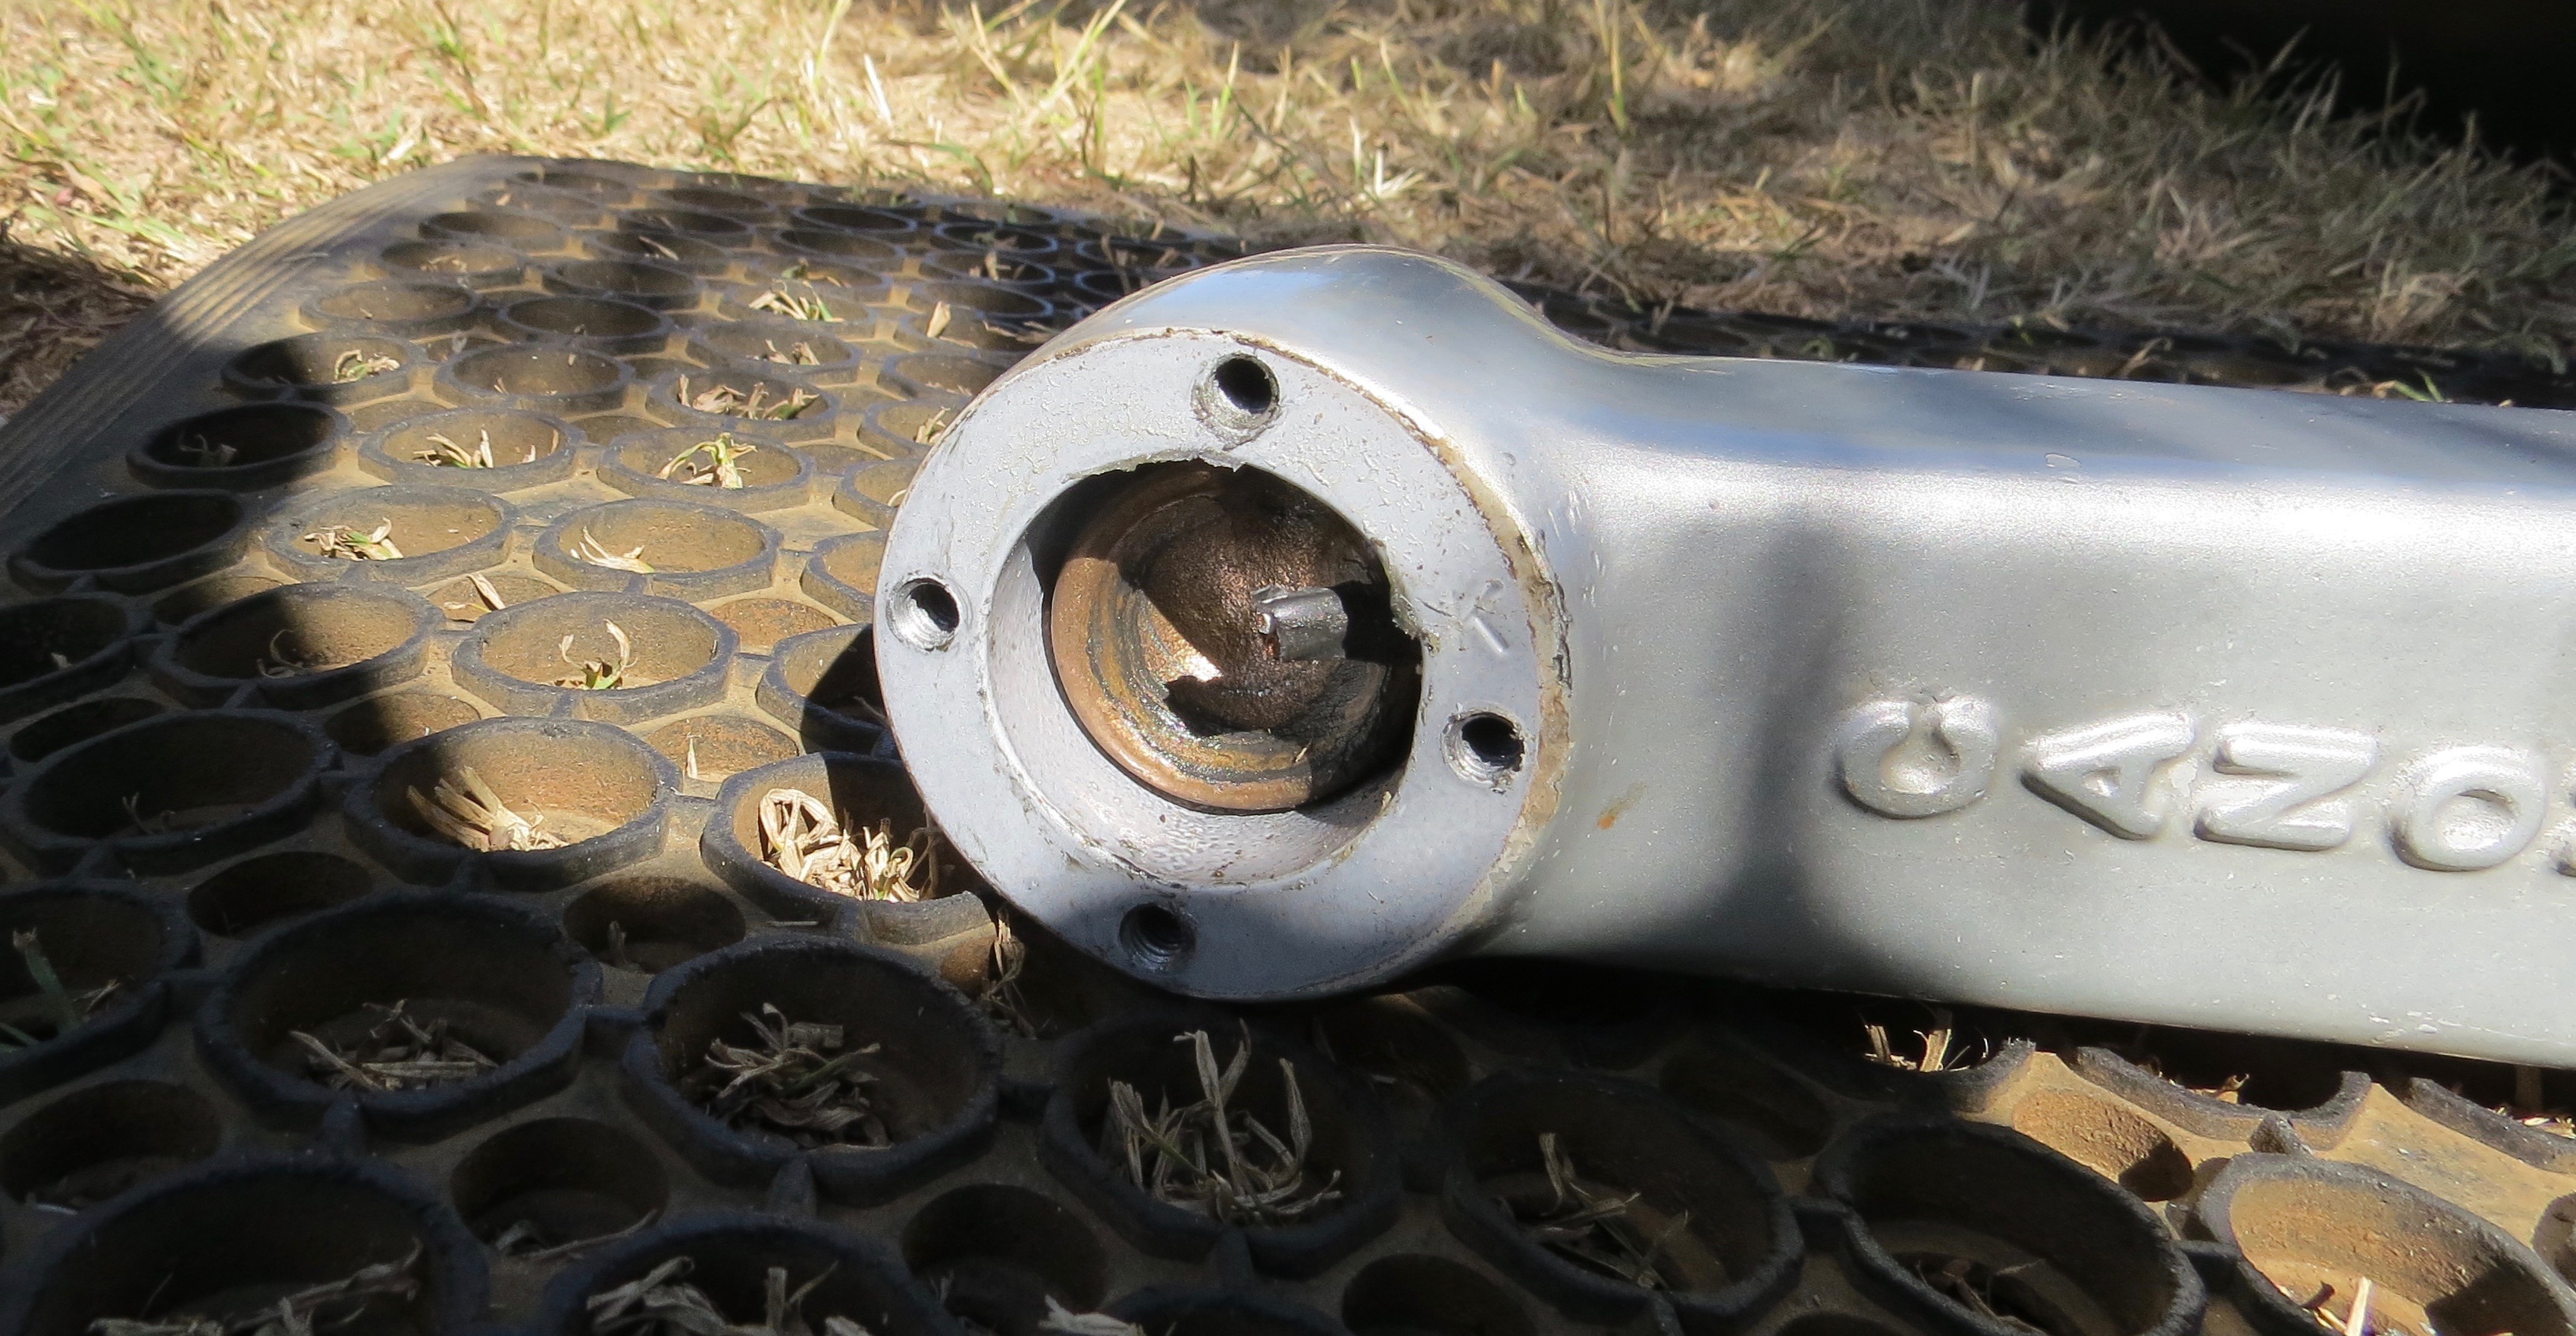
Now to finish putting them together and feed the wire through as I go.
Arm bracket going on.Just need to fit the mirrors.
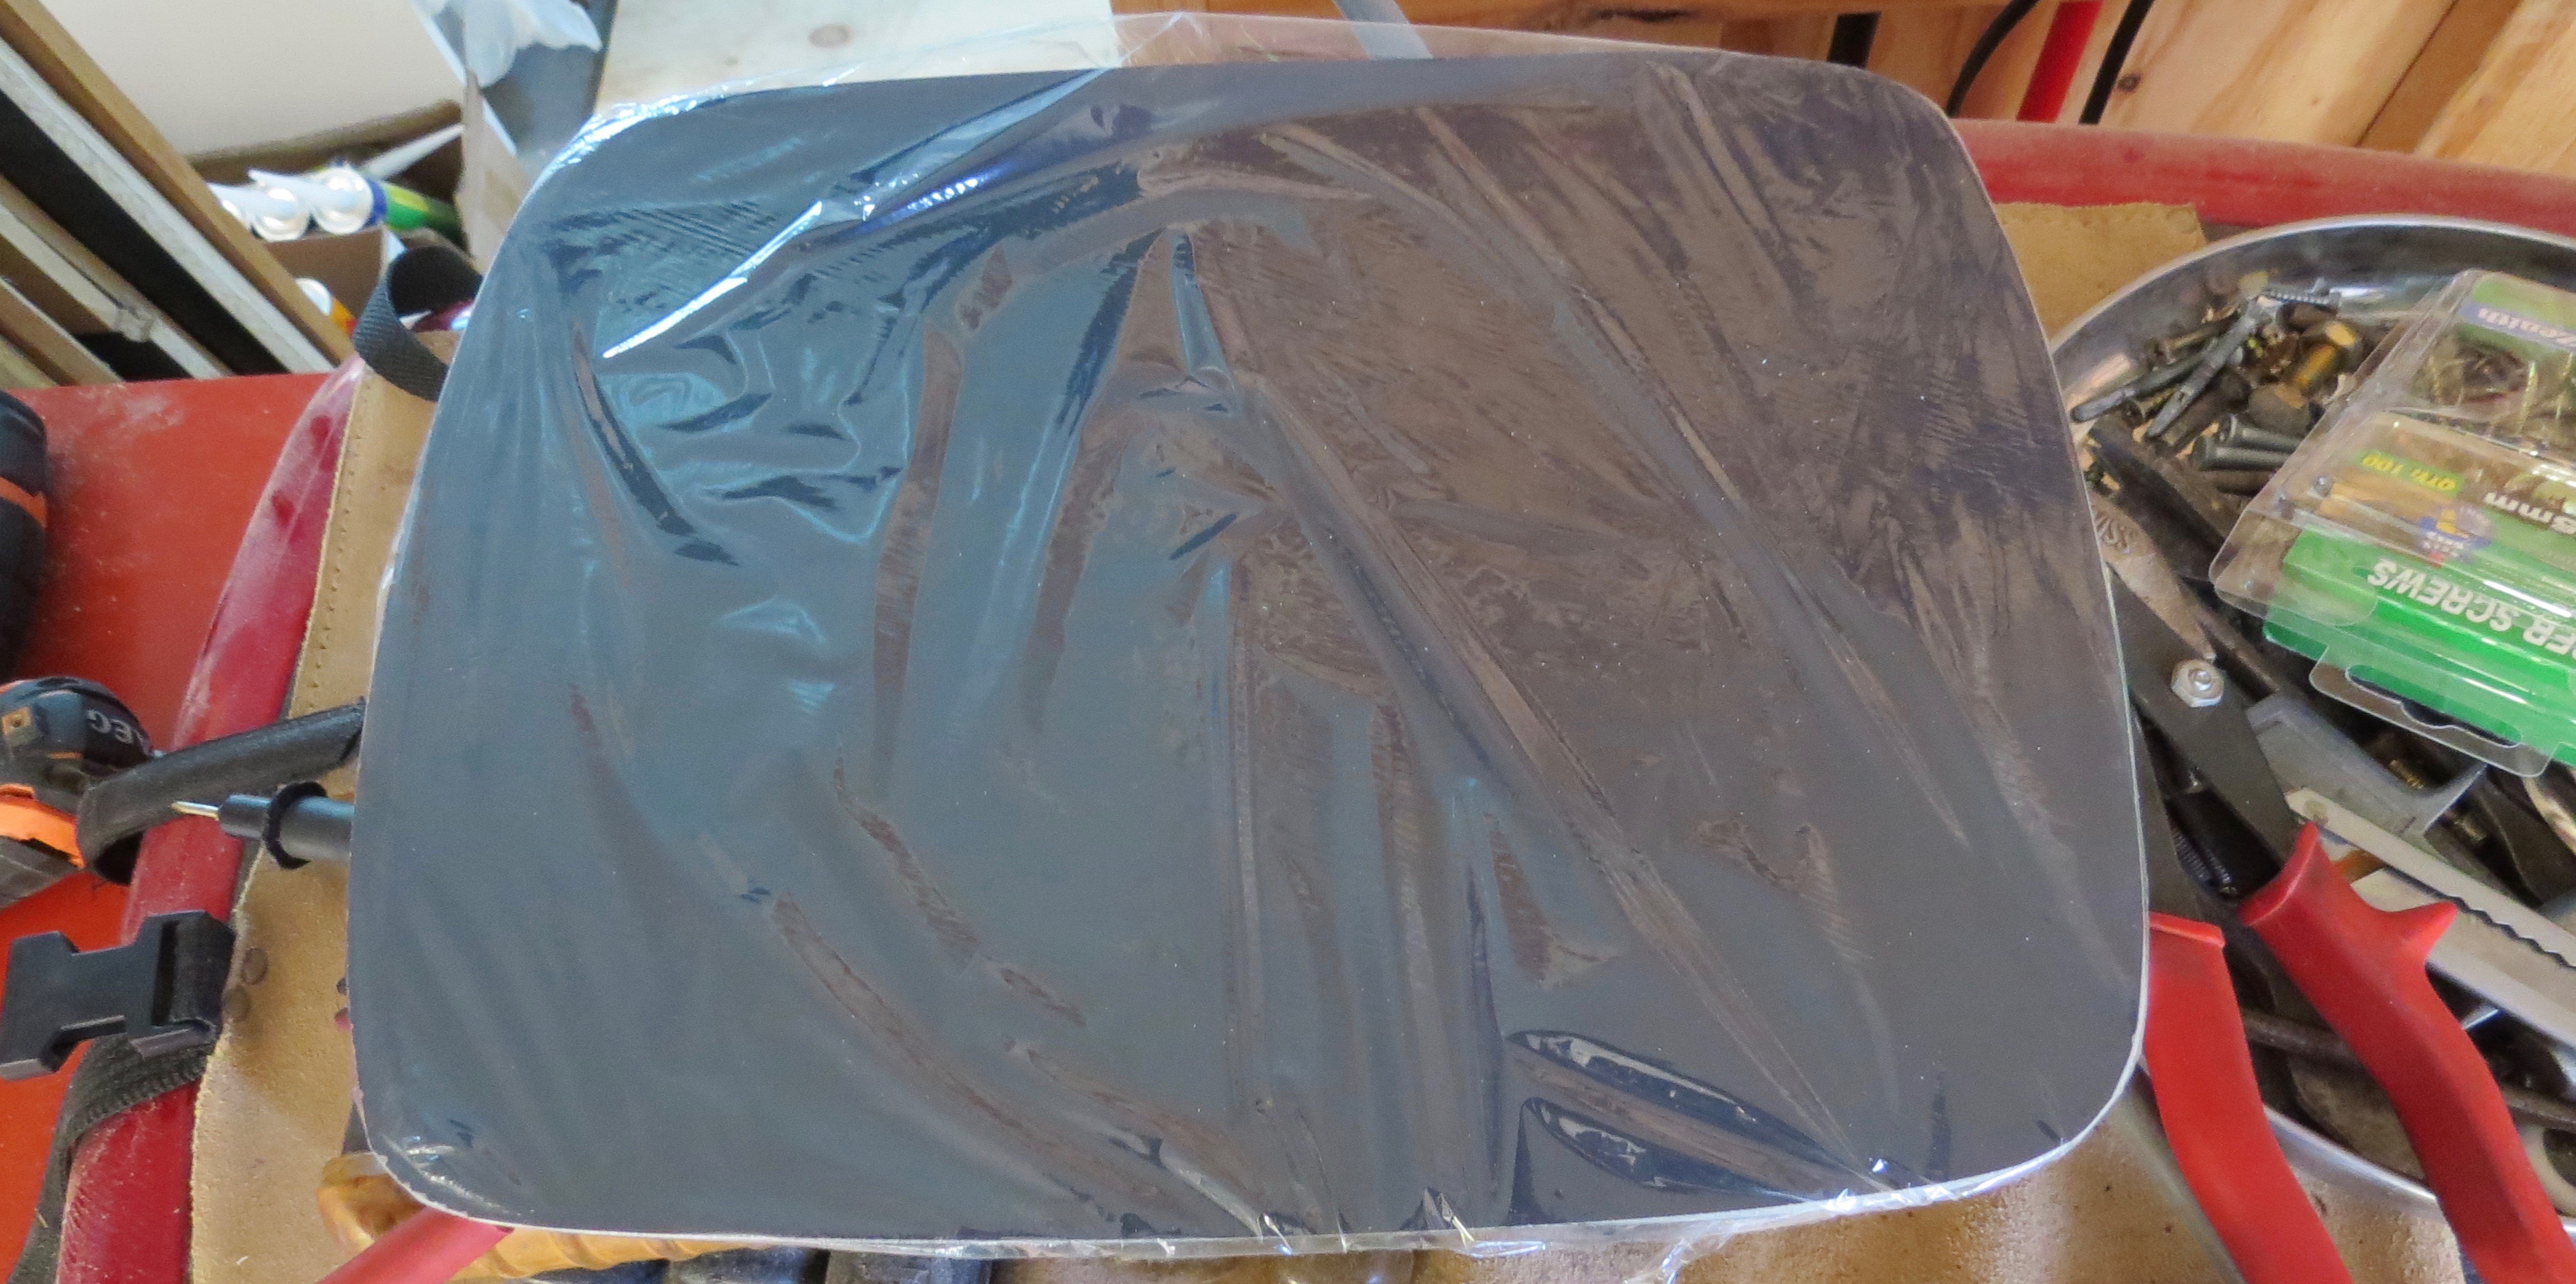
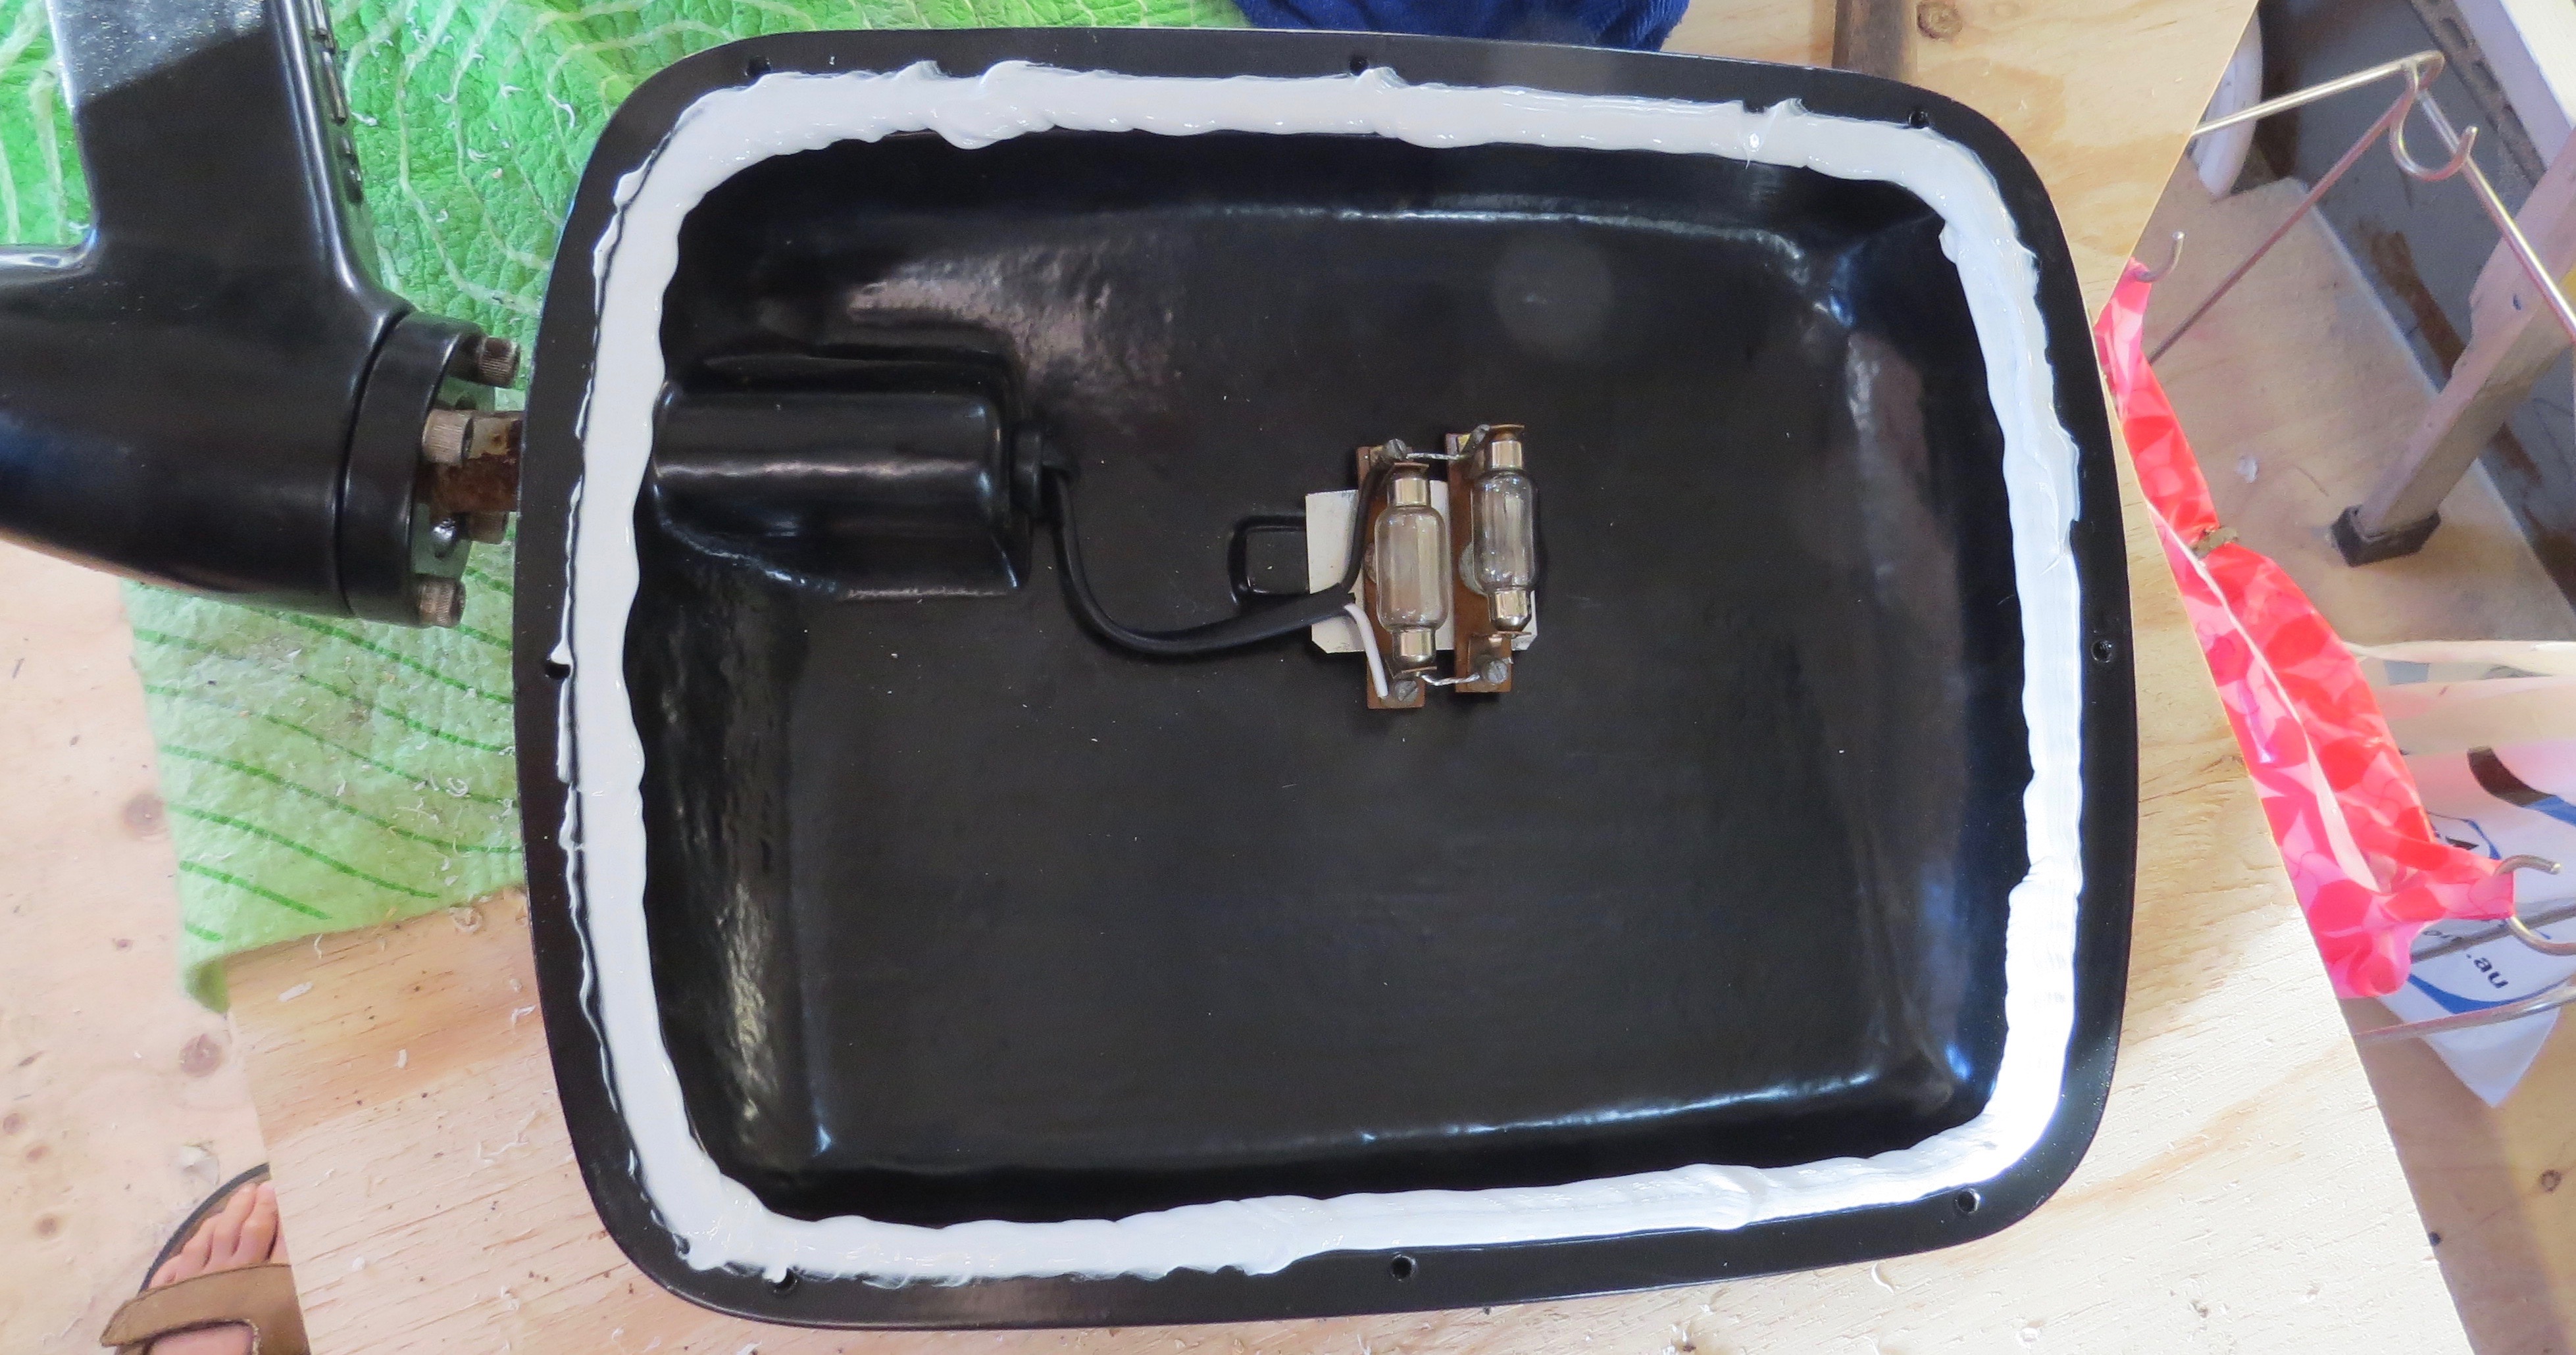
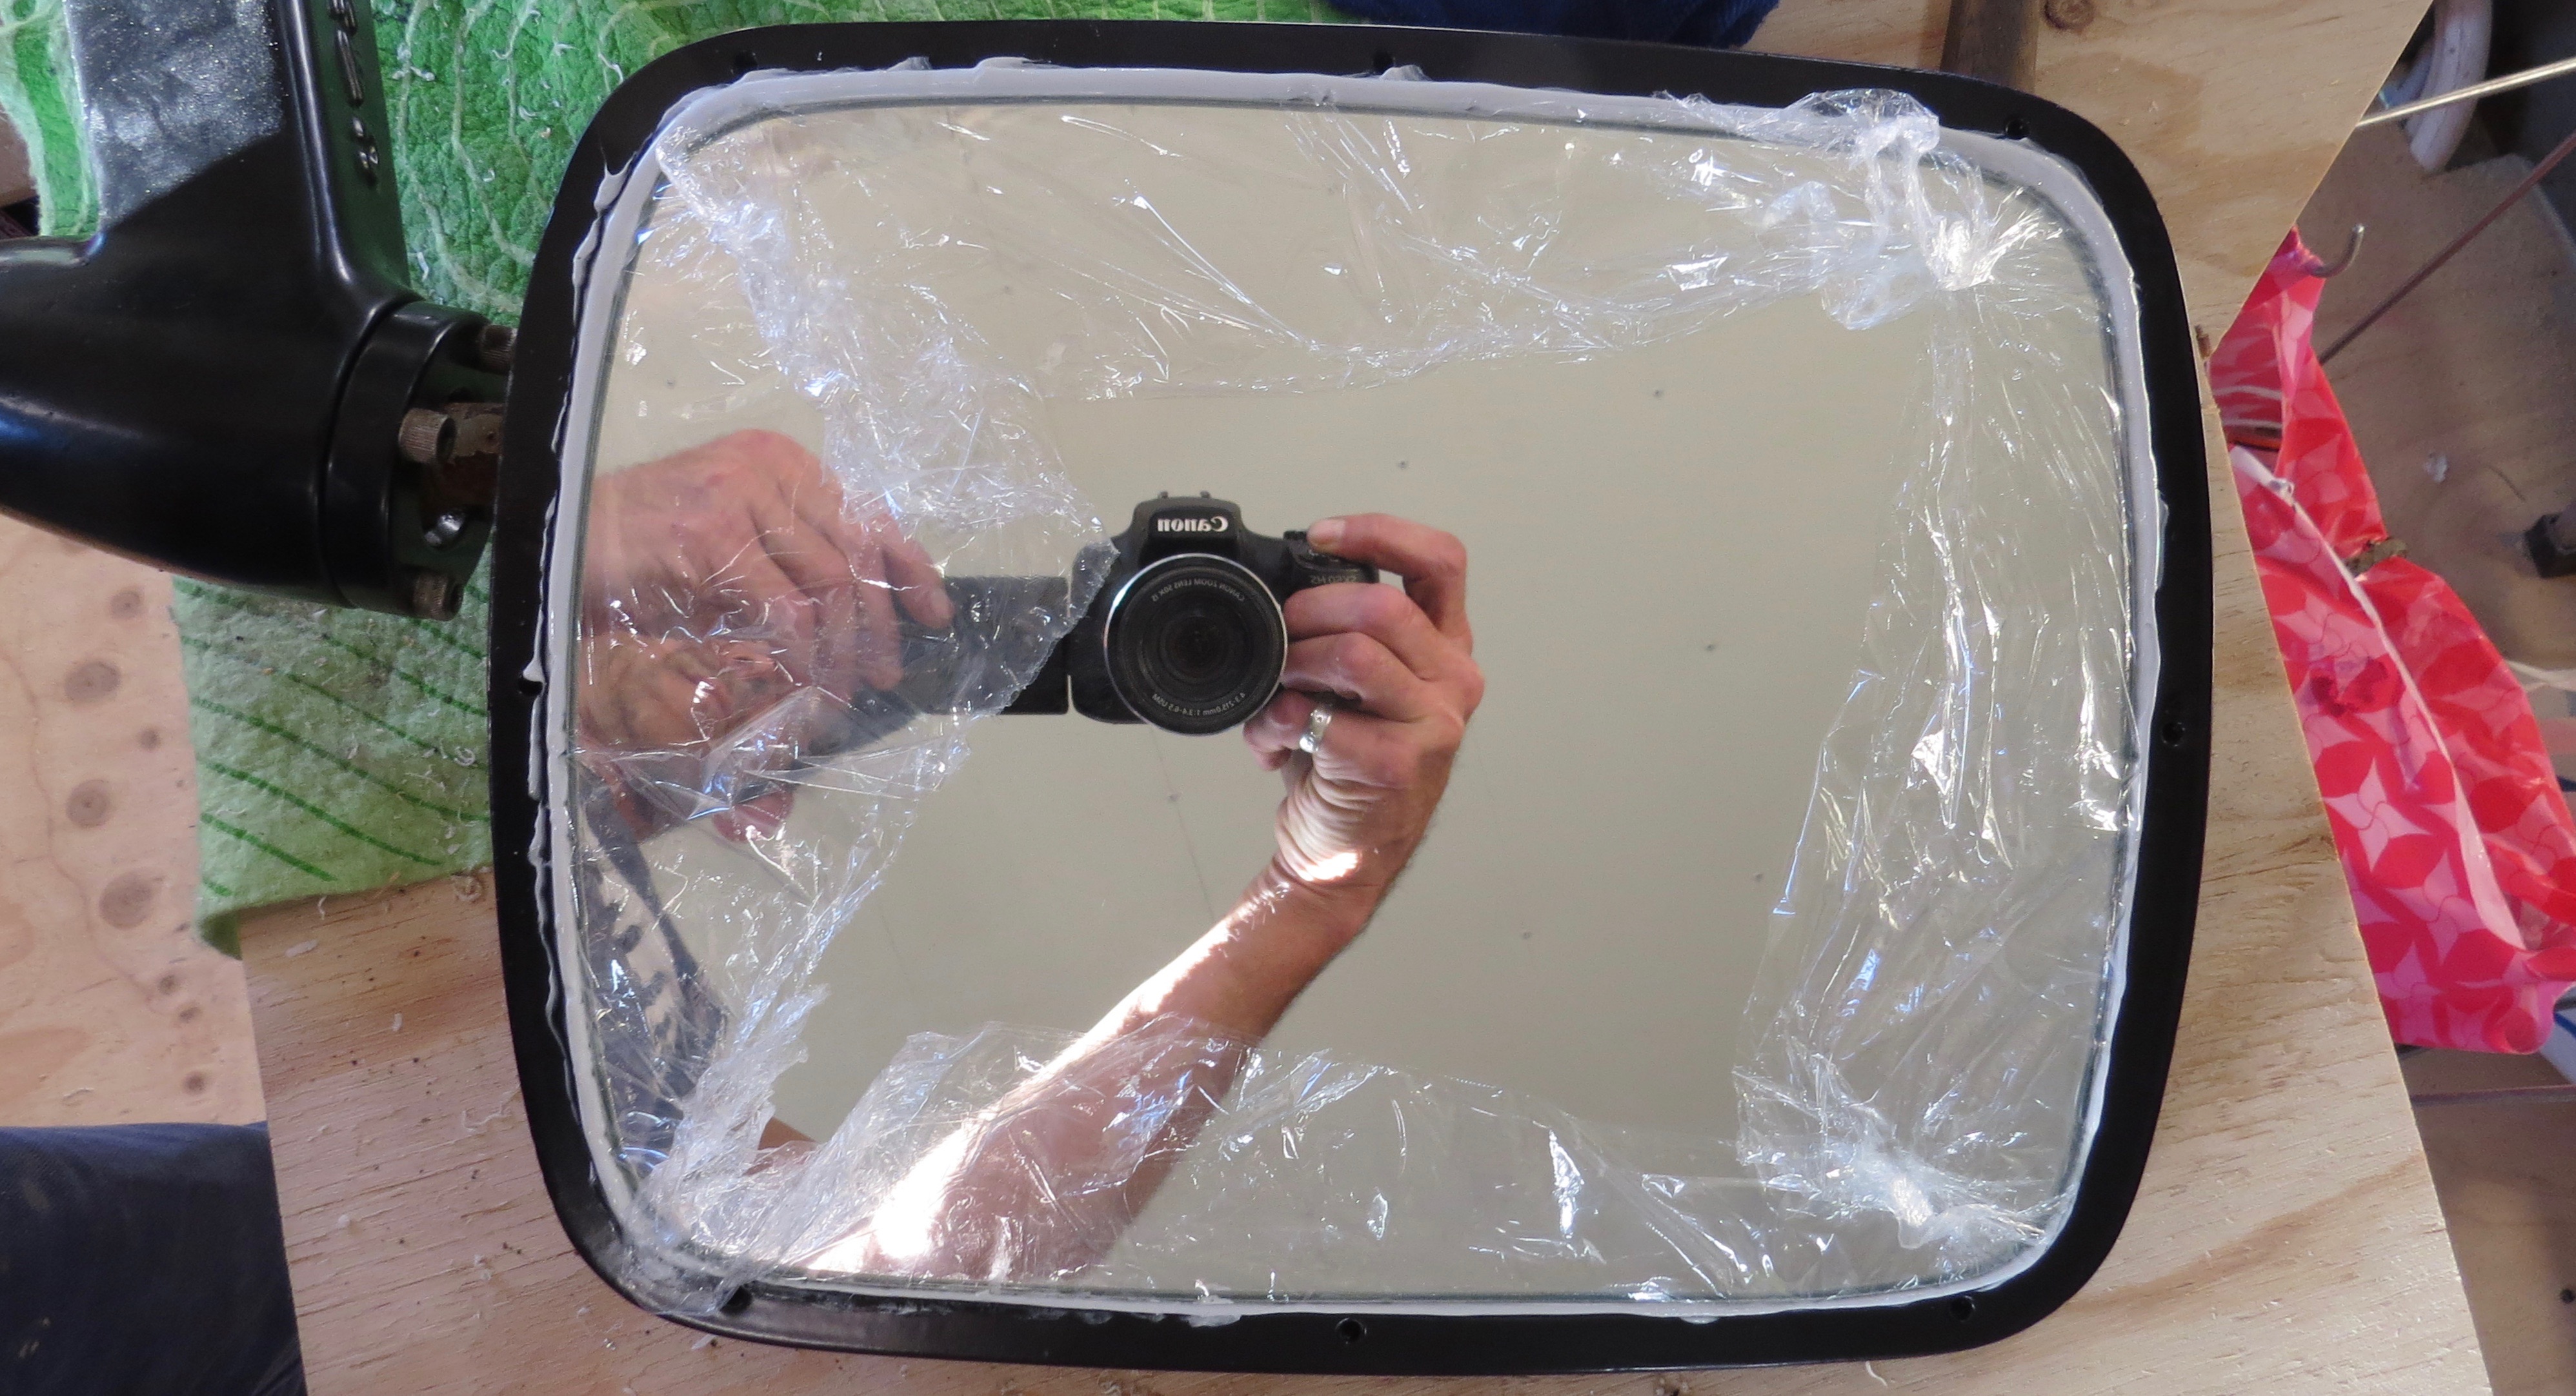
I’ll be wrapping the mirrors in cling-wrap, then run a bead of silicon around the housing. This is so I can remove the mirror if the globes ever blow.
Cling-wrap the mirror.making a gasket for the mirror.Now let it dry before removing it.Gasket in place.
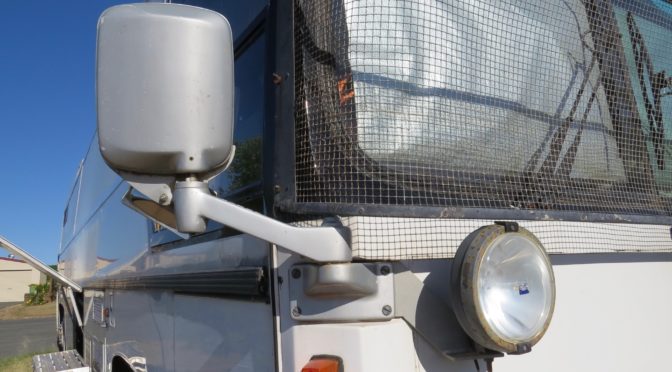
So all I’ve got to do is put the mirrors back in and run a bead of silicon around before putting the face plate on.
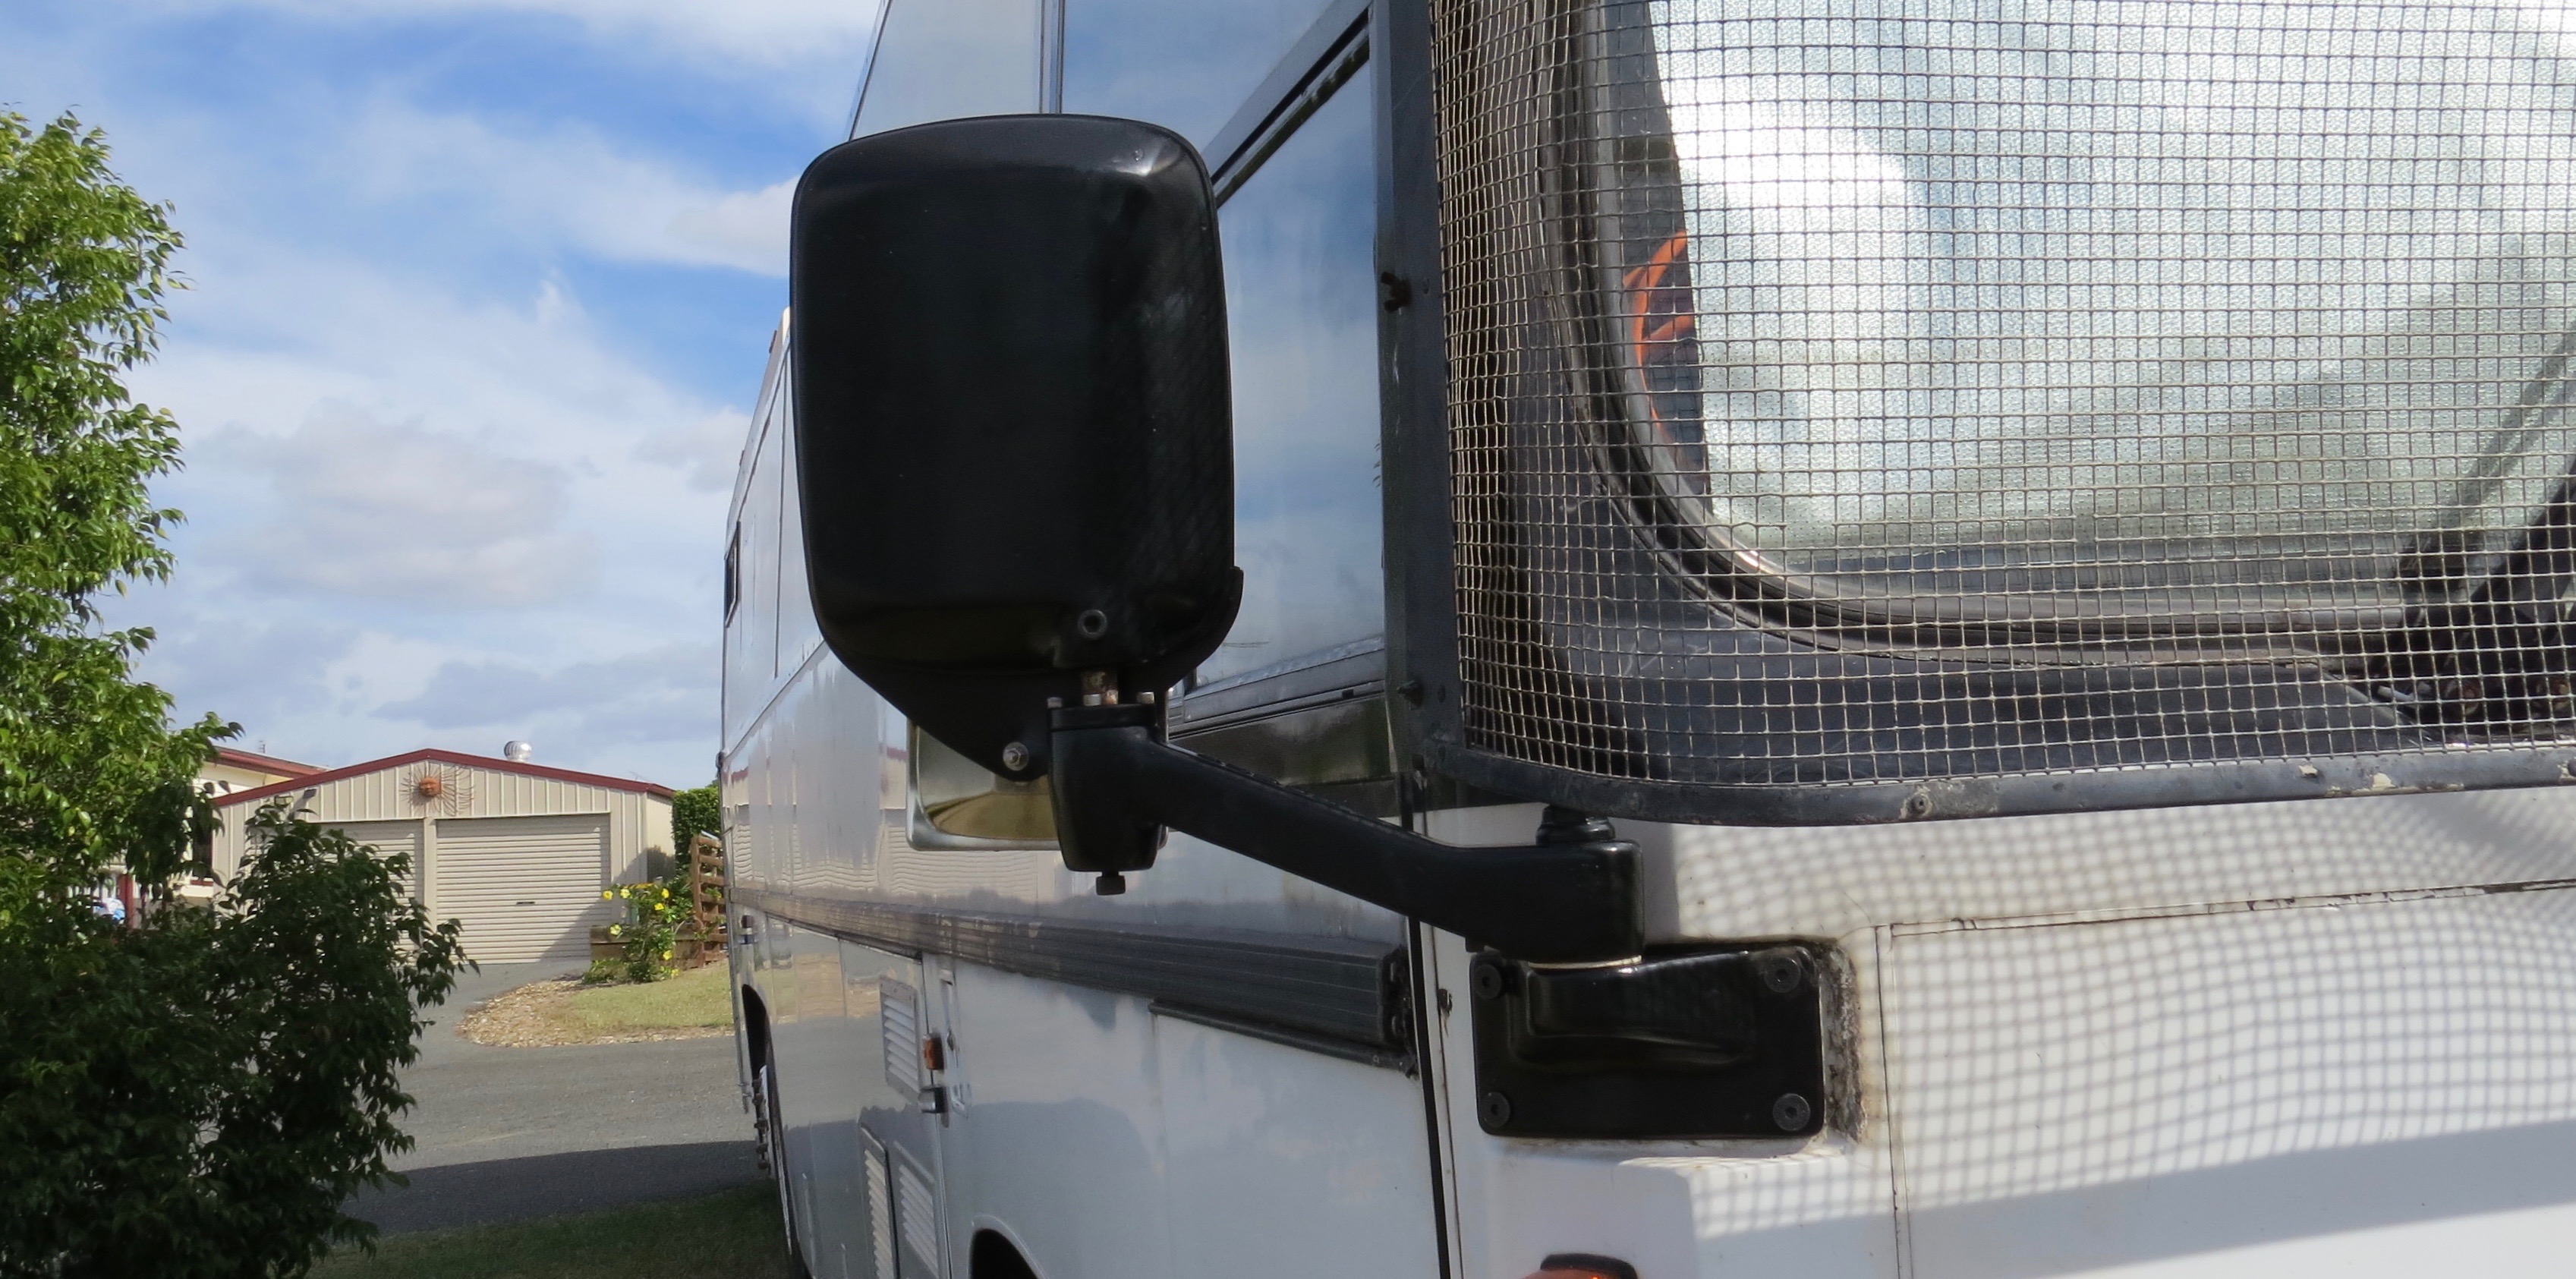
Drivers side all most done.Both side mirrors finished.Drivers side looking good.Now that’s makes a big difference.
Don’t know who drilled the holes for the brackets but one mirror I can only get three bolt in, that’s after drilling out the hole bigger. This will have to do for now as later on I’ll have to pull the mirrors off again to paint the front of the coach some day.
Like many other wire’s, the mirror de-fog wires had been cut. when someone fitted the spotlight brackets. I only found this out when trying to get the mirror de-fogger to go.
Side mirrors have had the wire’s cut for the de-mister’s on both side’s.Now I now why the wires were cut, no holes in the spot light bracket
To start with I didn’t think this little job was going to that much of a problem, once again I was wrong. So now that I’ve started this job we may as well fix it for good. The first job is to pull every thing apart so that I can get all the bit’s powder coated.
Drivers side mirror off, now to finish pulling it apart.Will have to strip it all apart to re wire it.Mirror out, but this one was glued in & I cracked it getting it out.
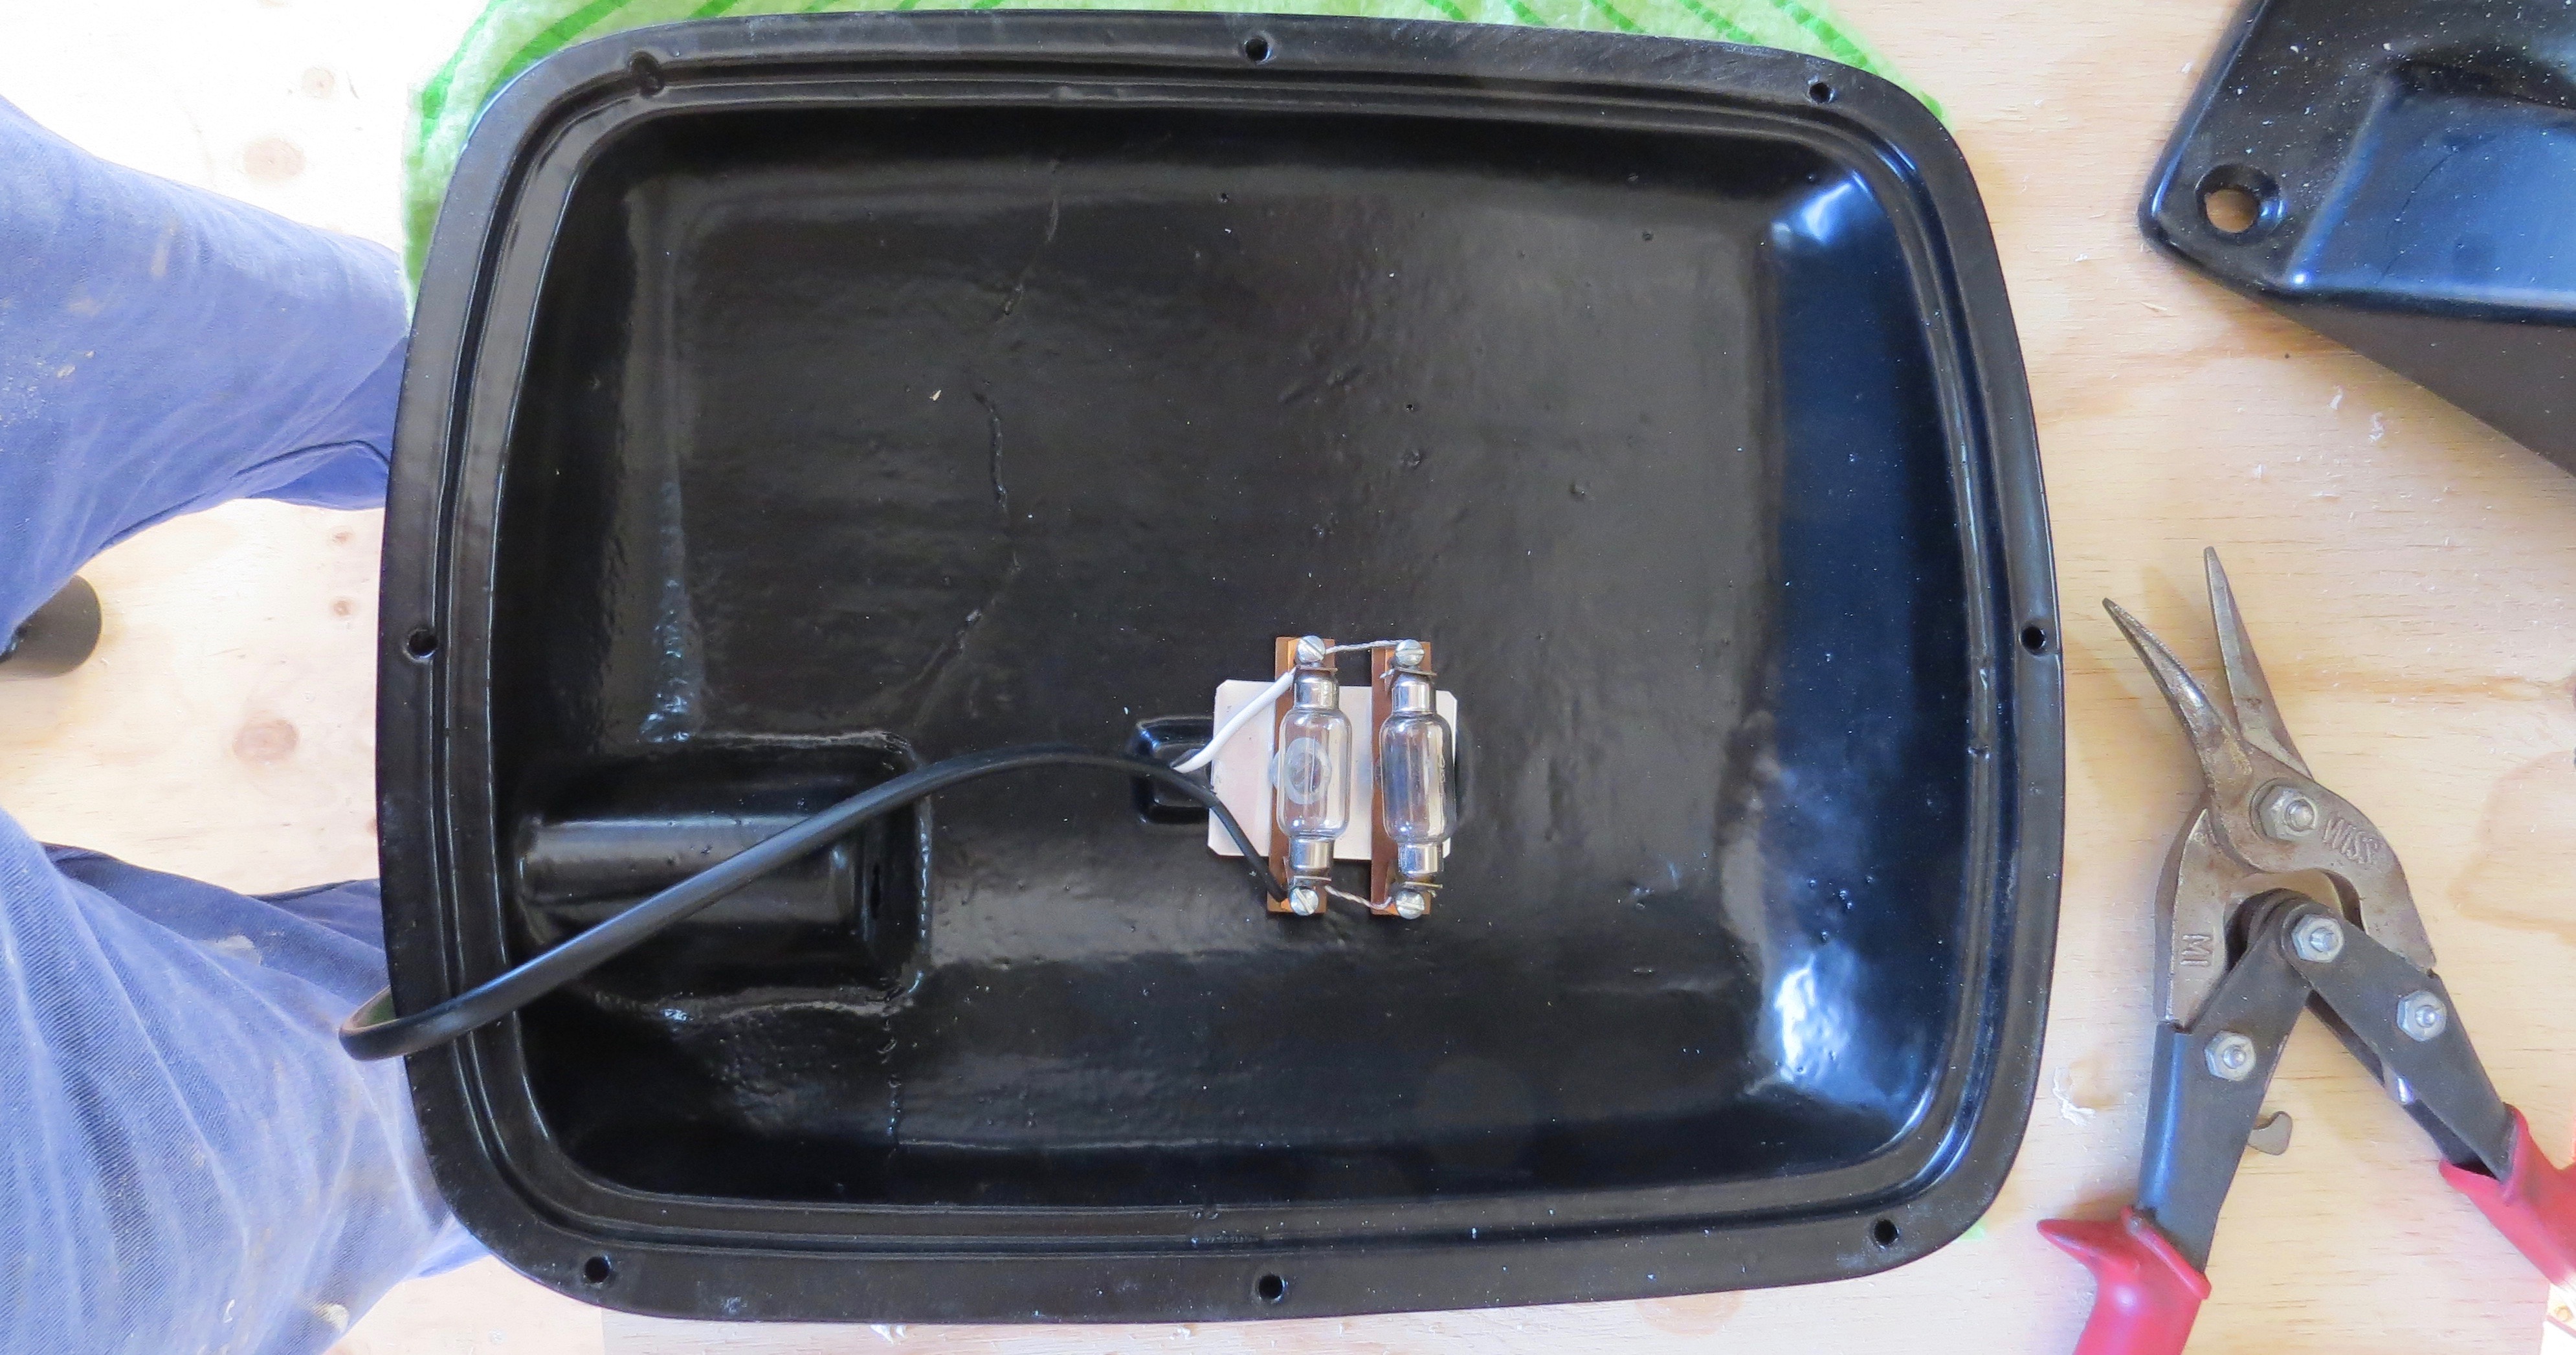
The cut wires at one stage went to two lights in the mirrors to heat the glass up to de-fog them. I thought there was going to be a heating element in there, but two 24v light globes would work just as well.
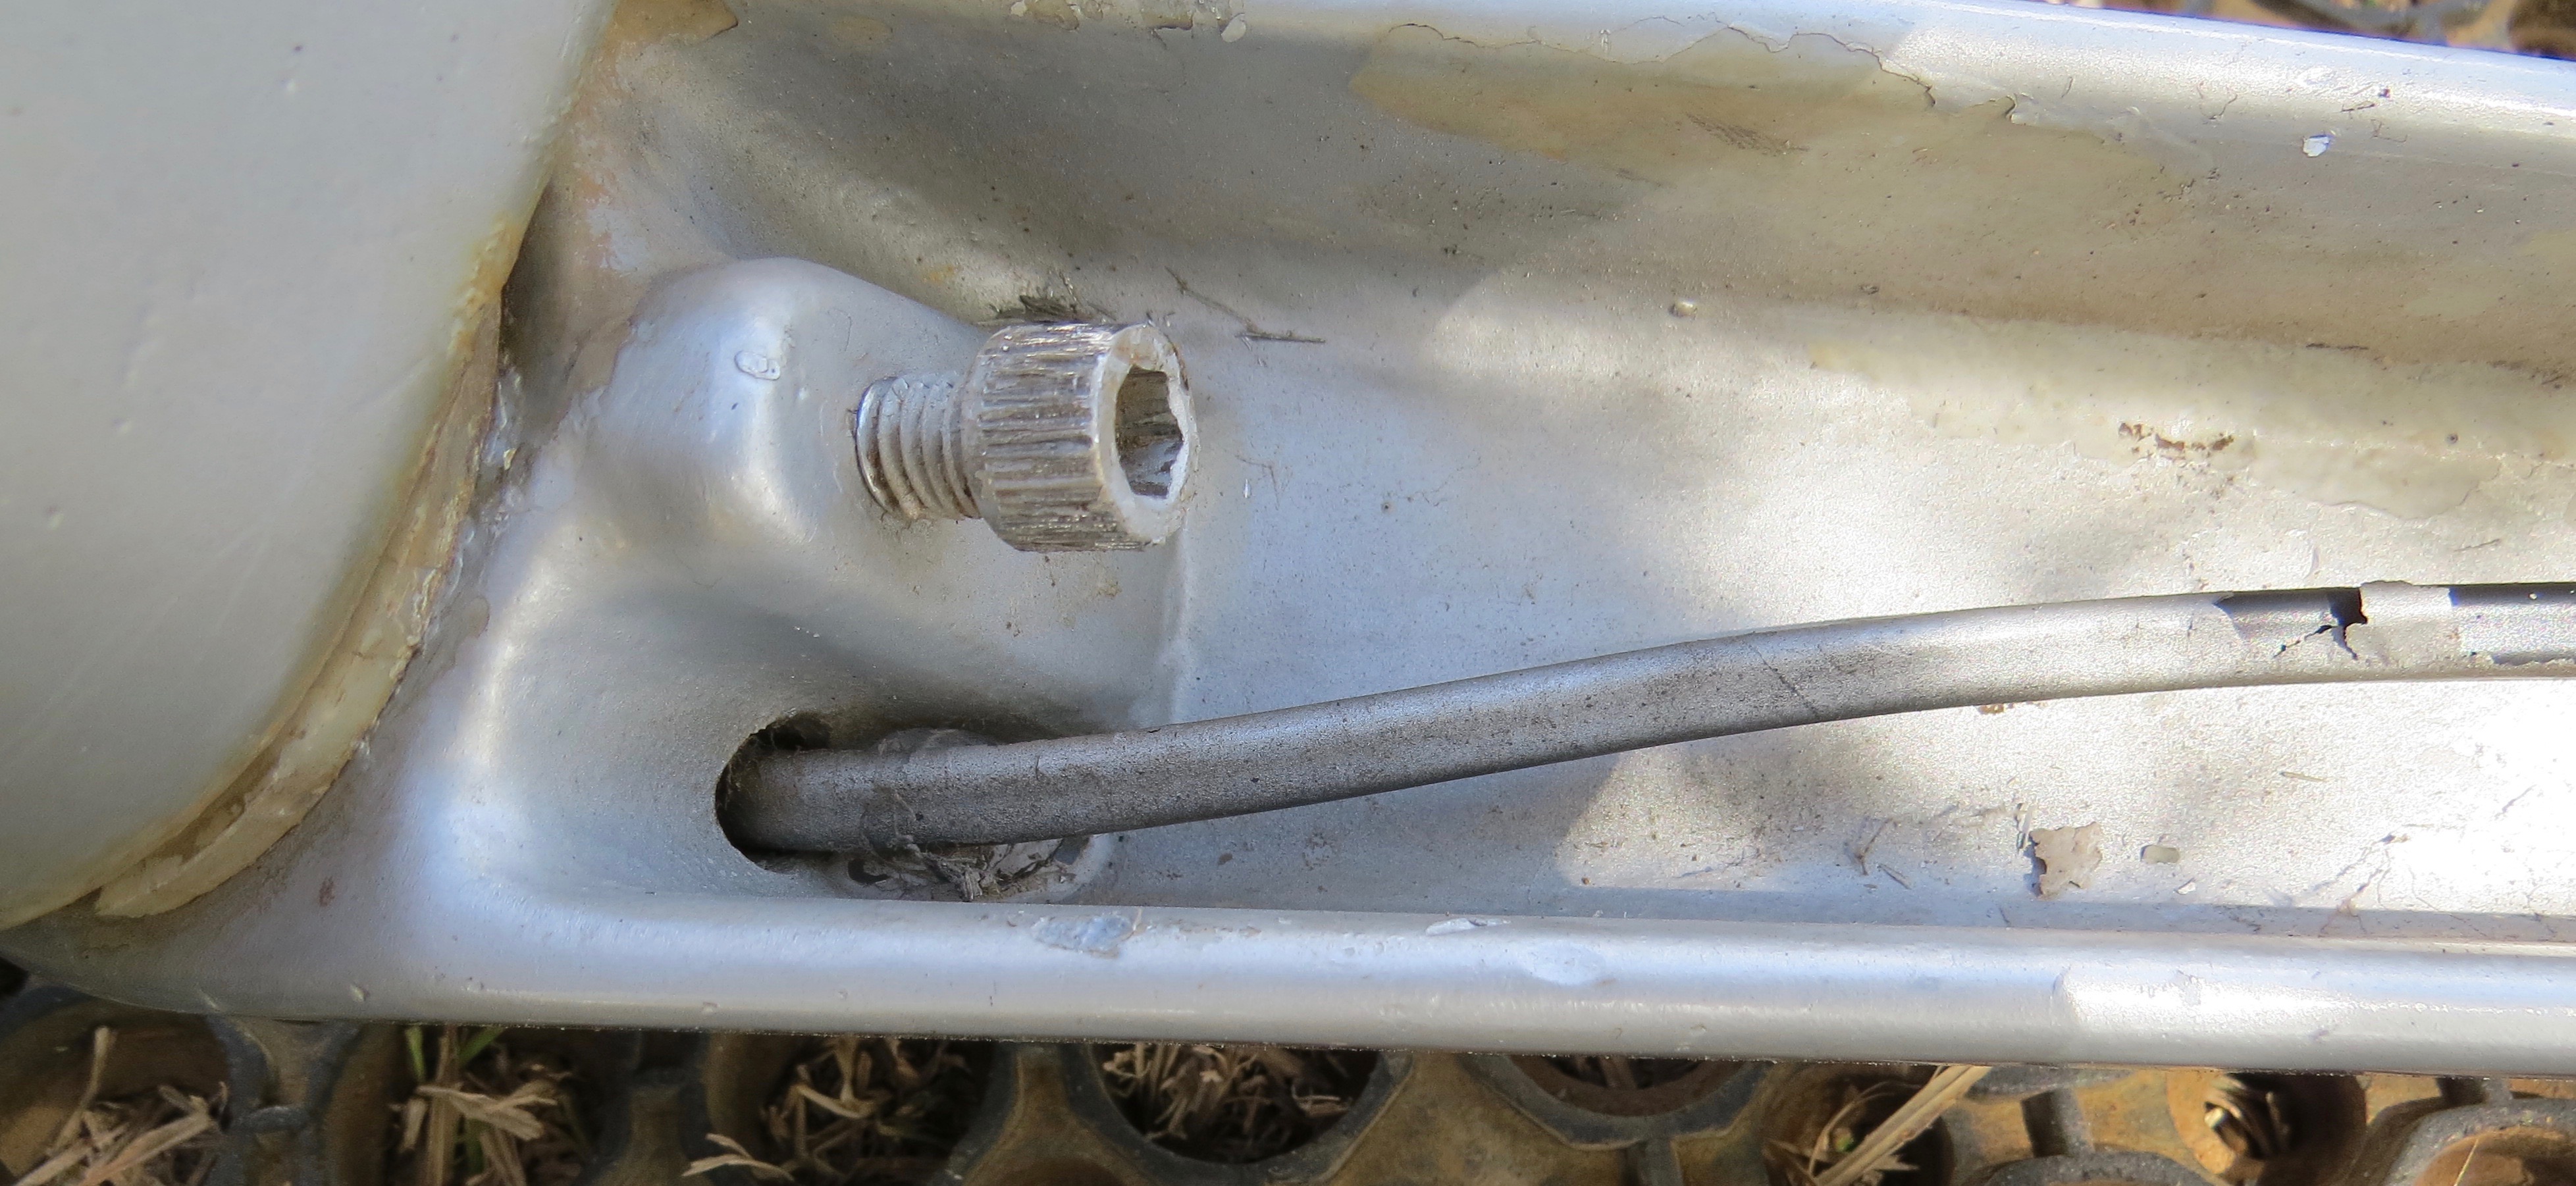
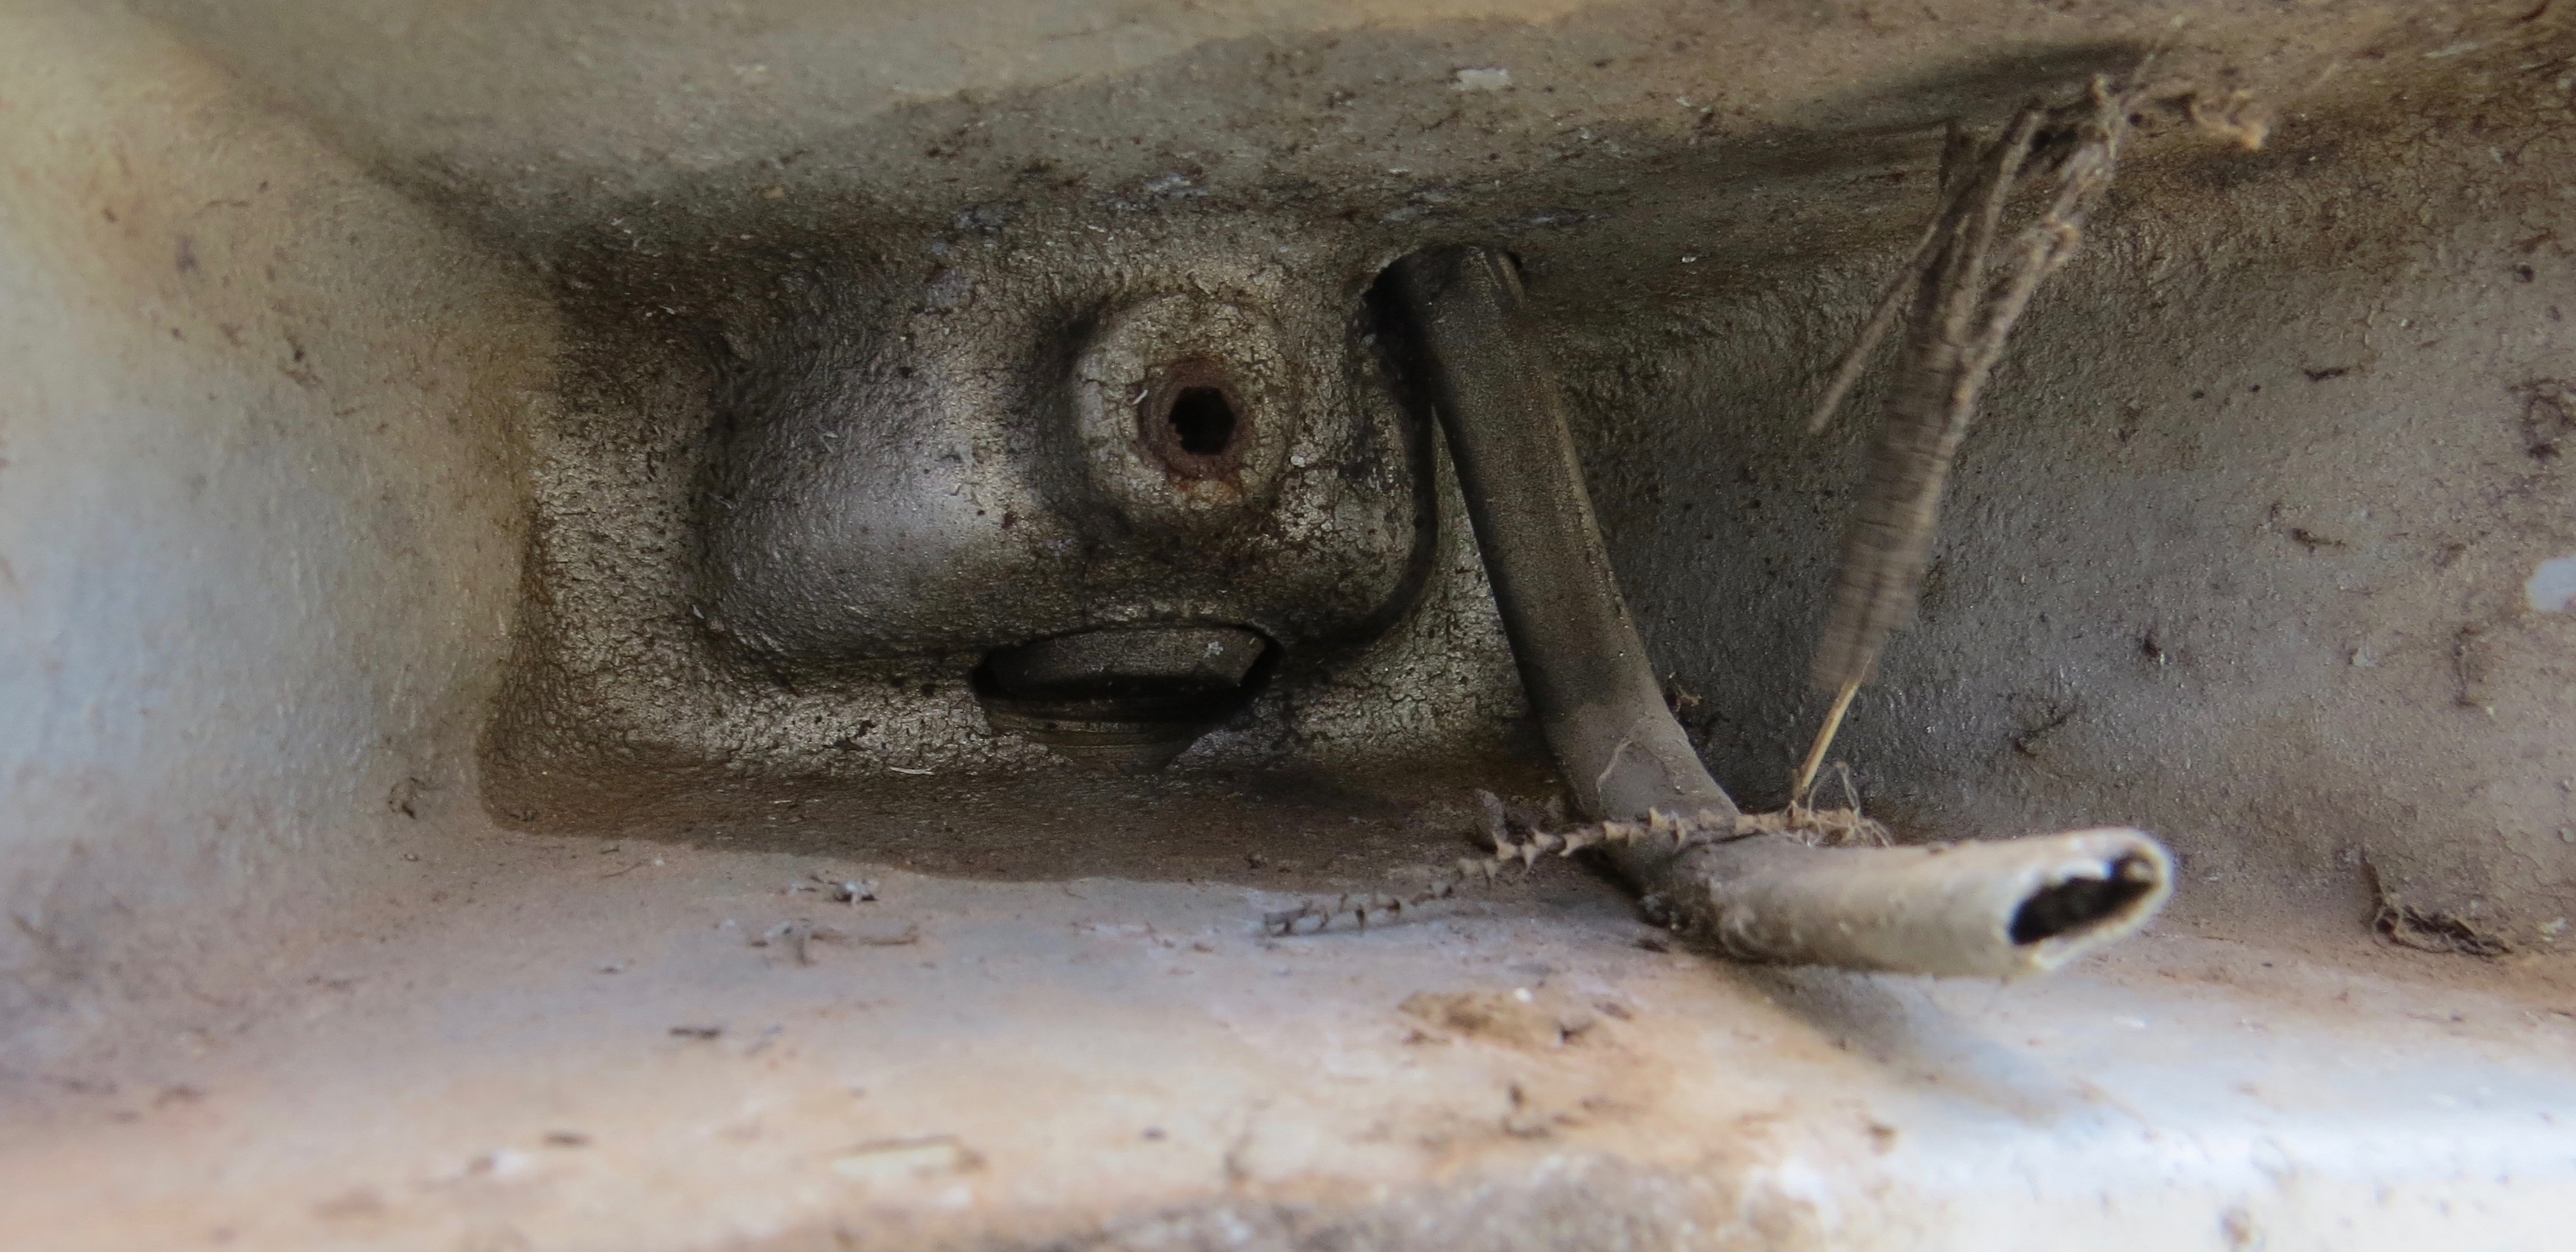
Lots of parts for just mirrors.But something just will not come apart. Bugger!!!And another one that will not move.Even spilt some blood on this job.
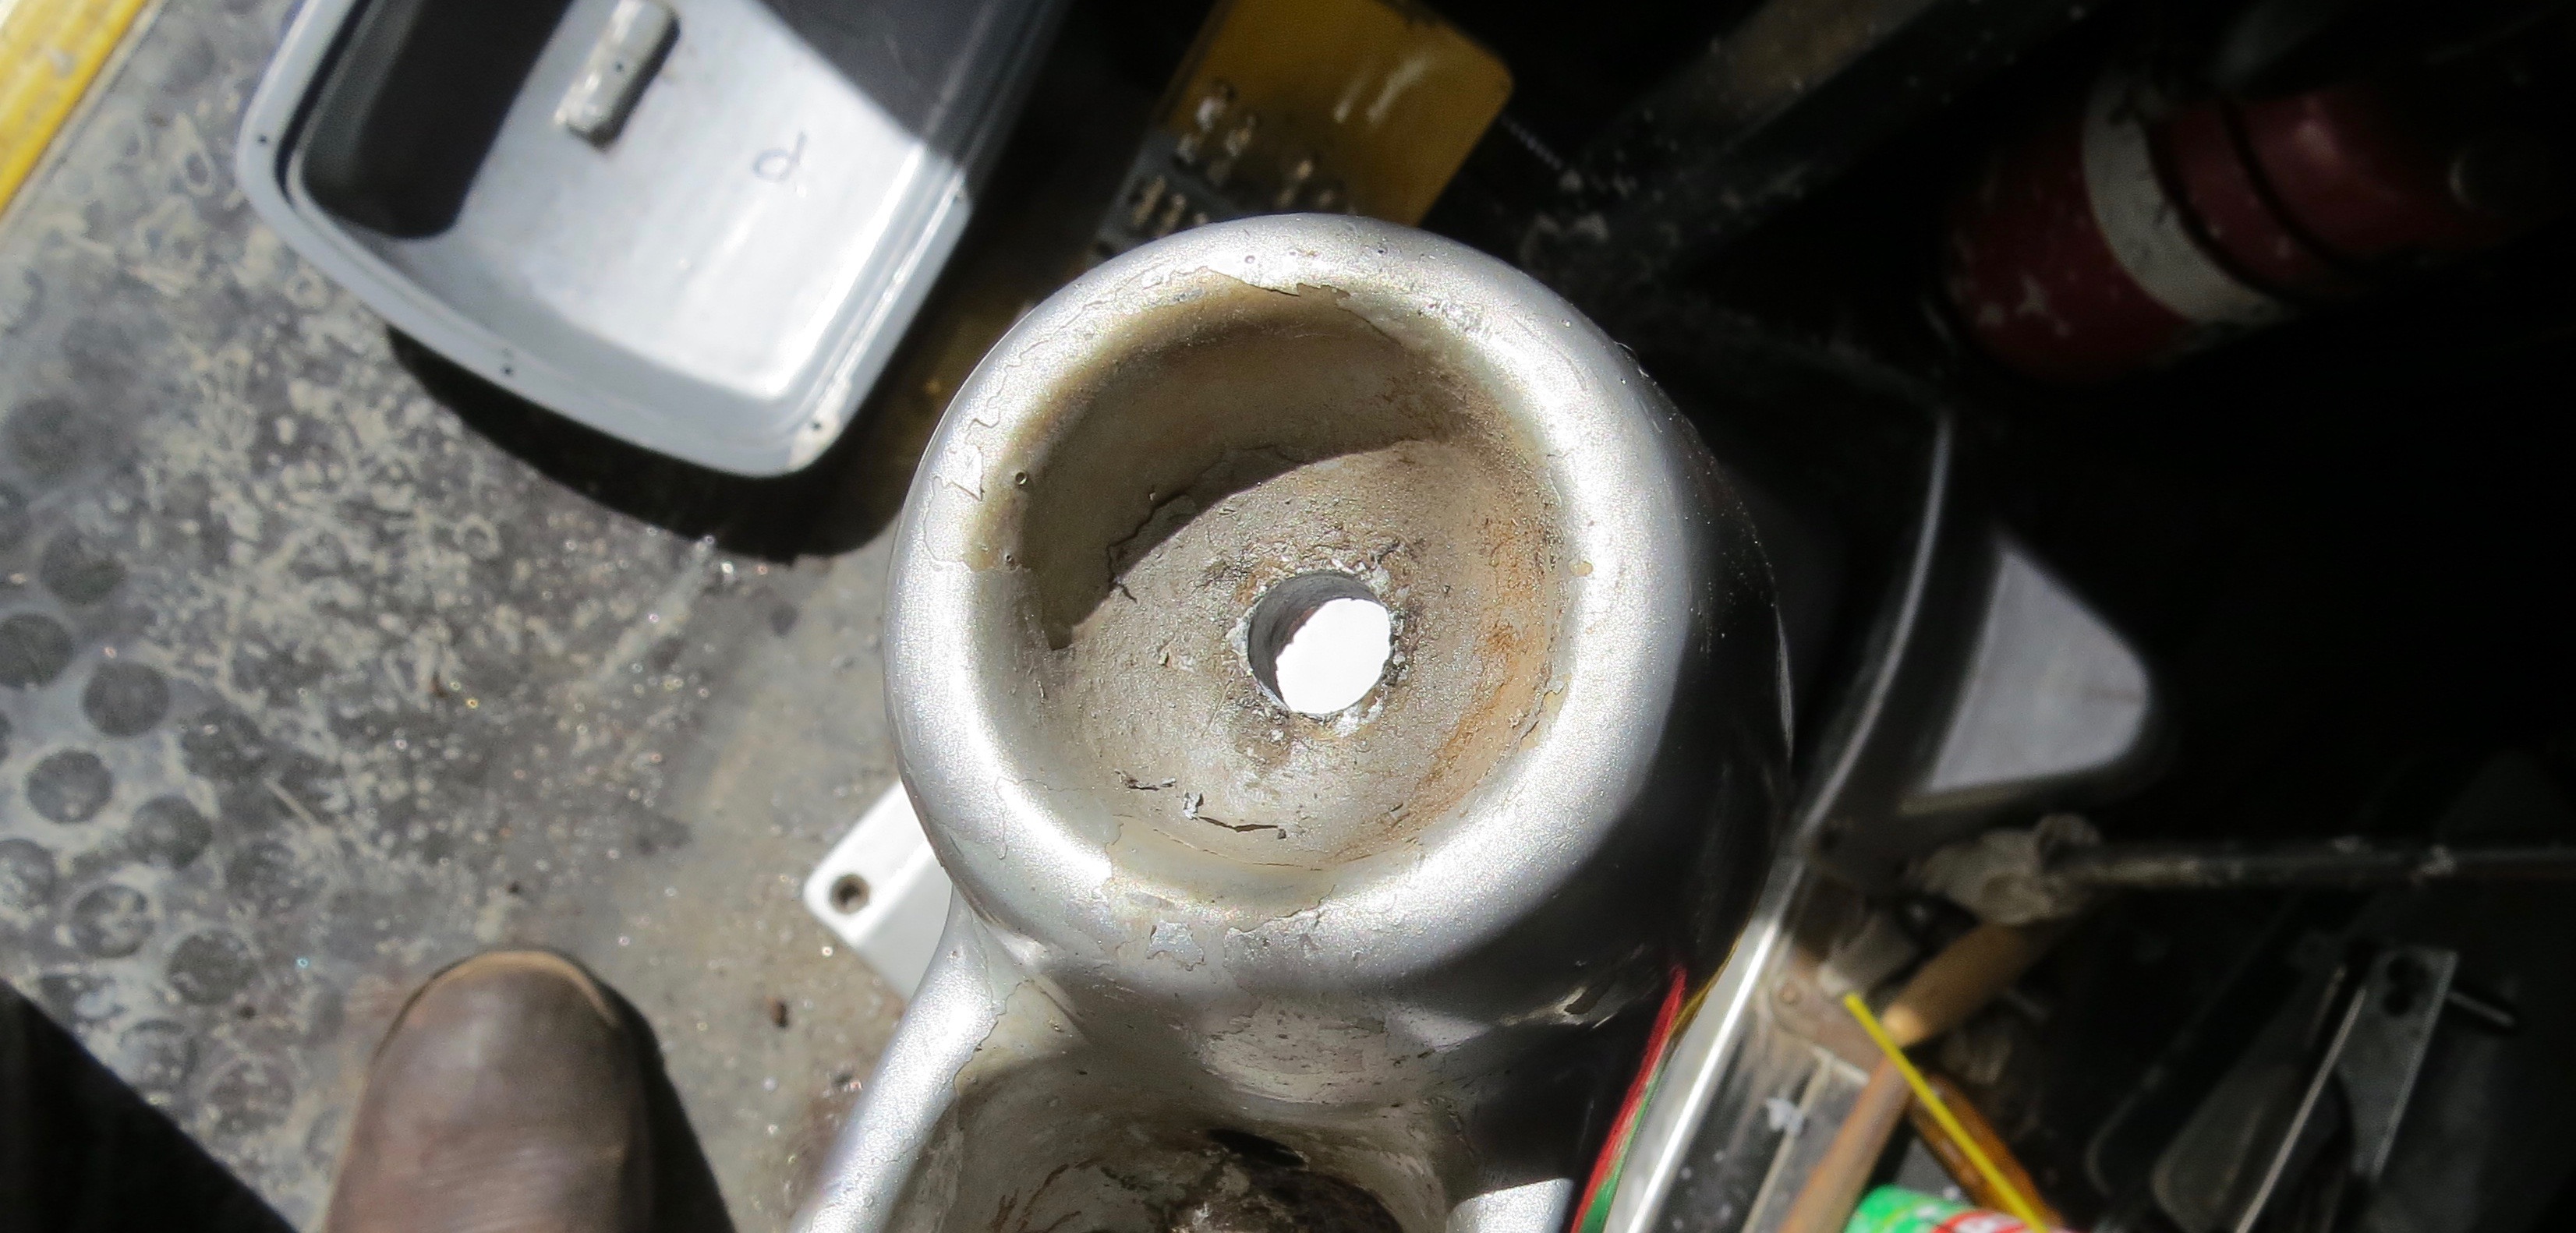
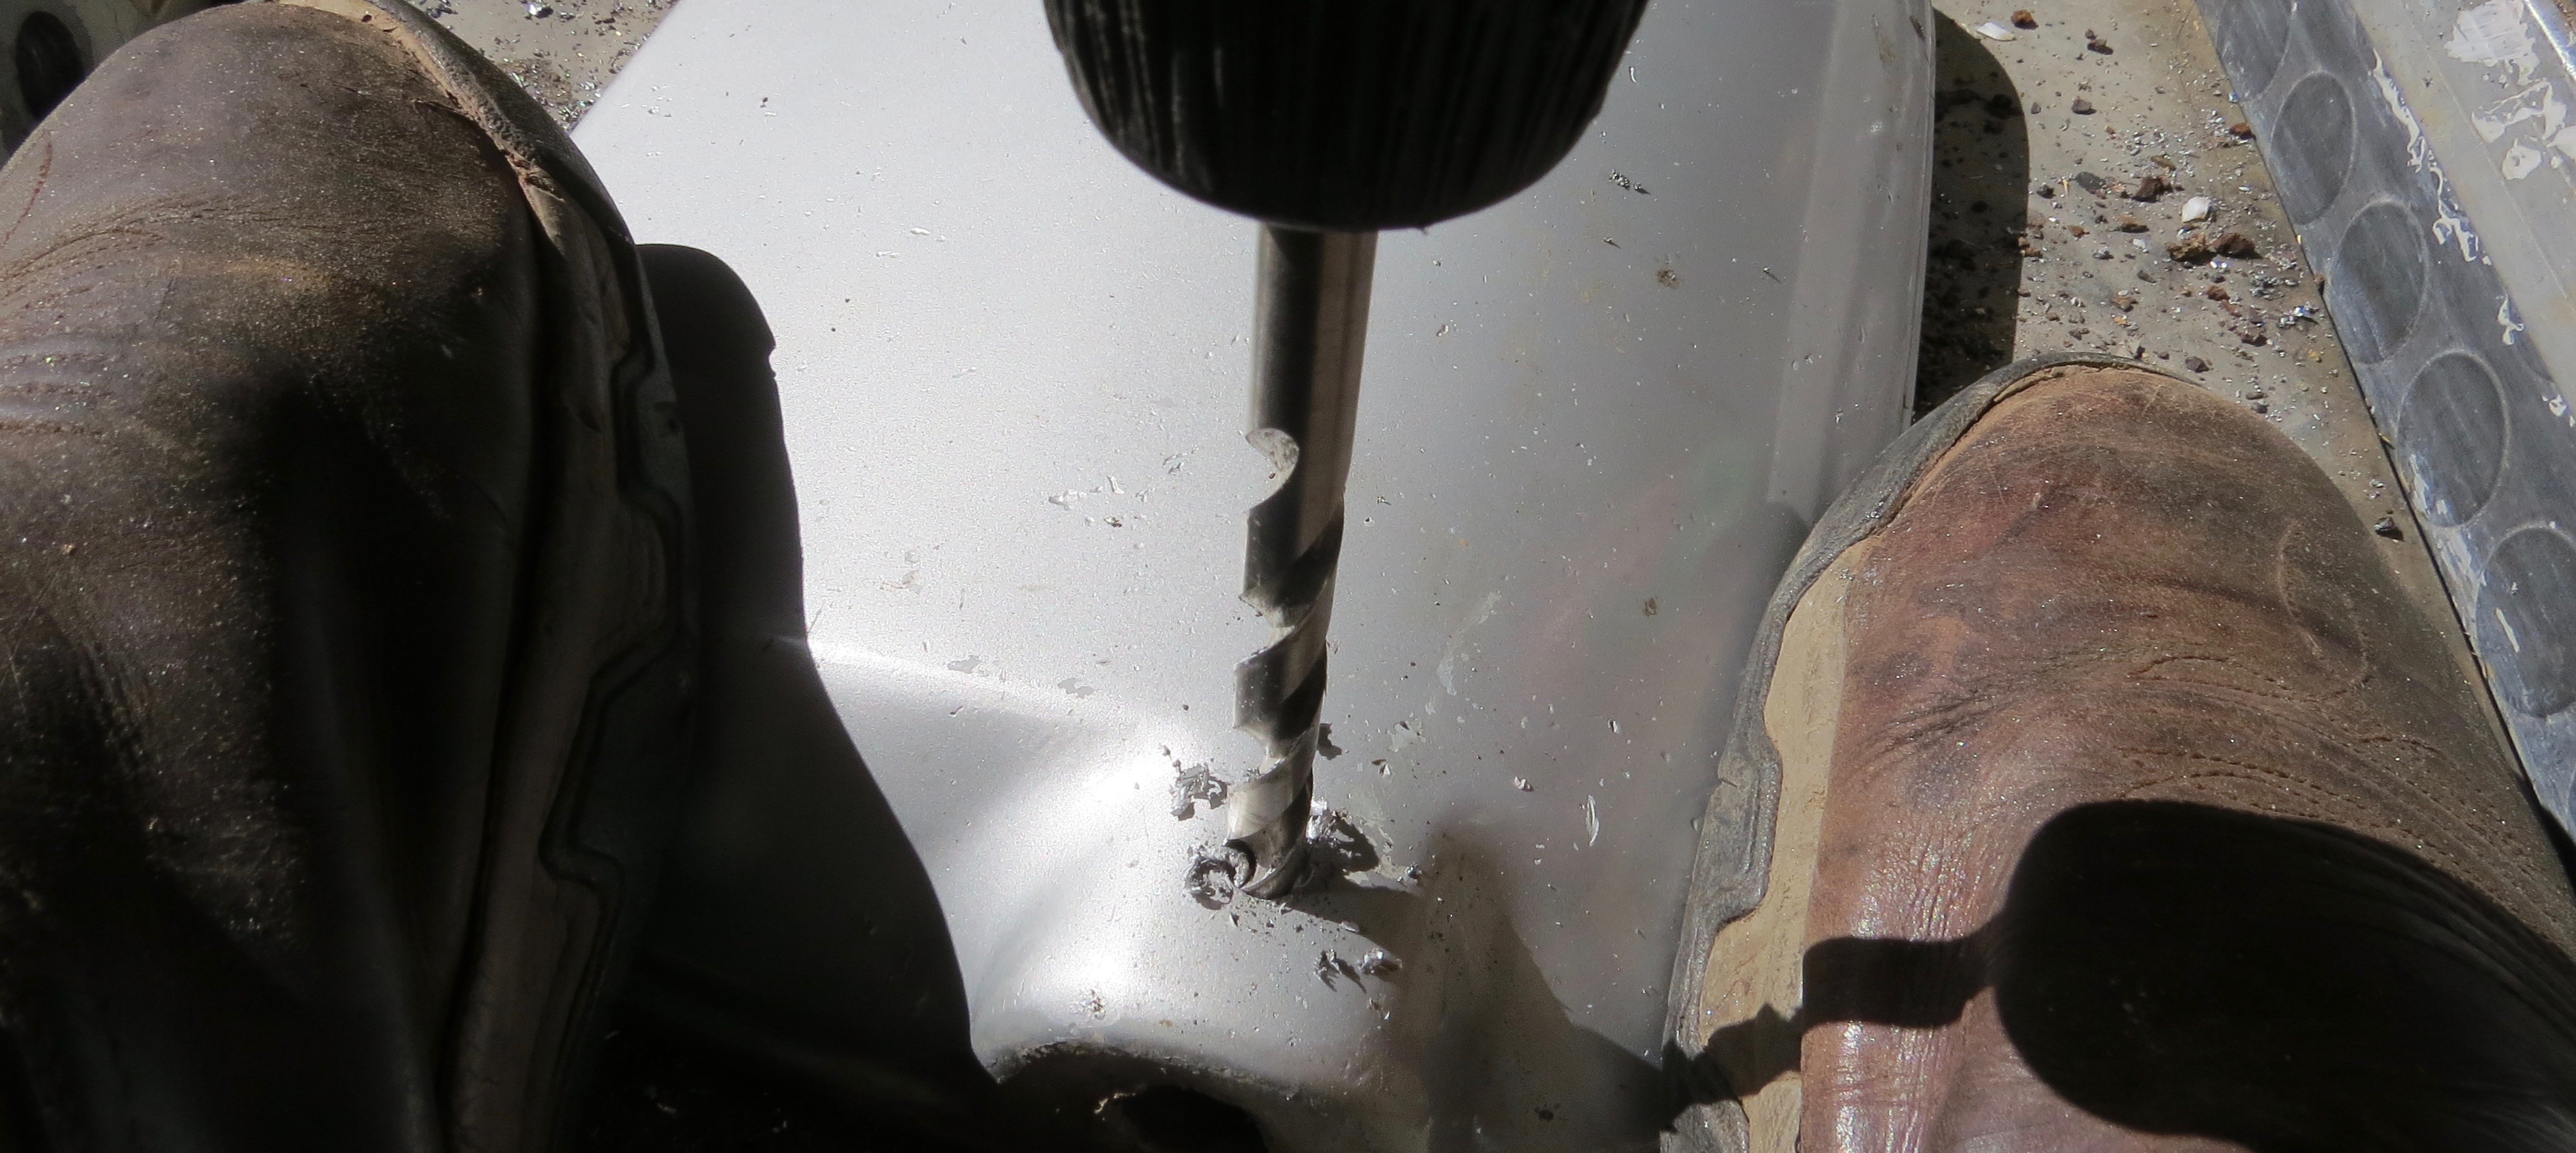
I don’t think anything had been touched for years, so bolt and grub screw are seized up. Now I will have to drill every one out, then try some easy out’s.
Drilling the bolt out so I can use a easy out bit.
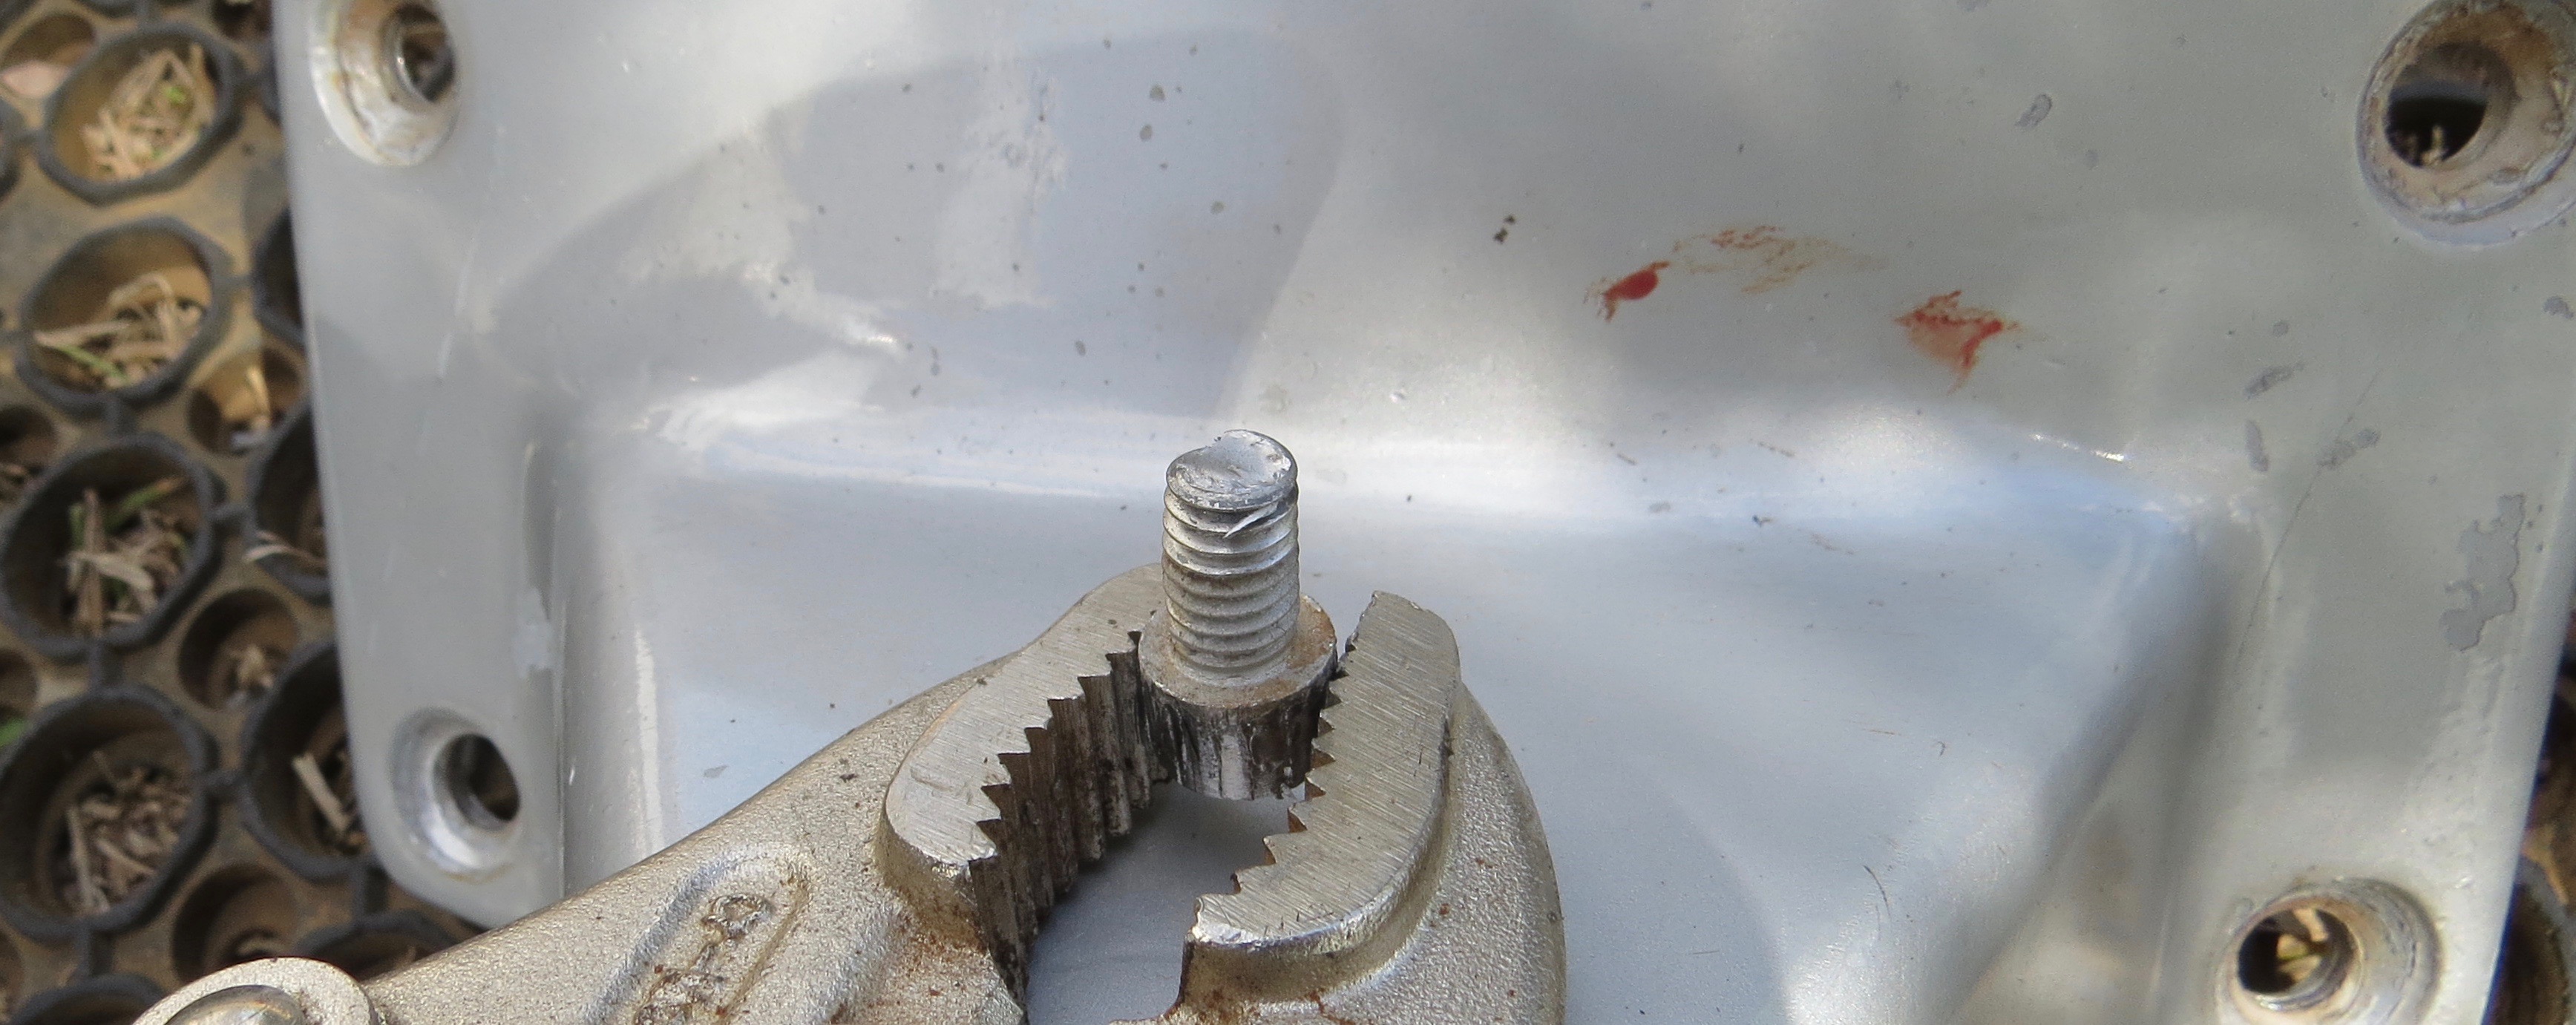
Well so much for the easy outs, they didn’t work. The next plan is to drill them right out and use some recoils and new bolts. This job just keeps getting bigger.
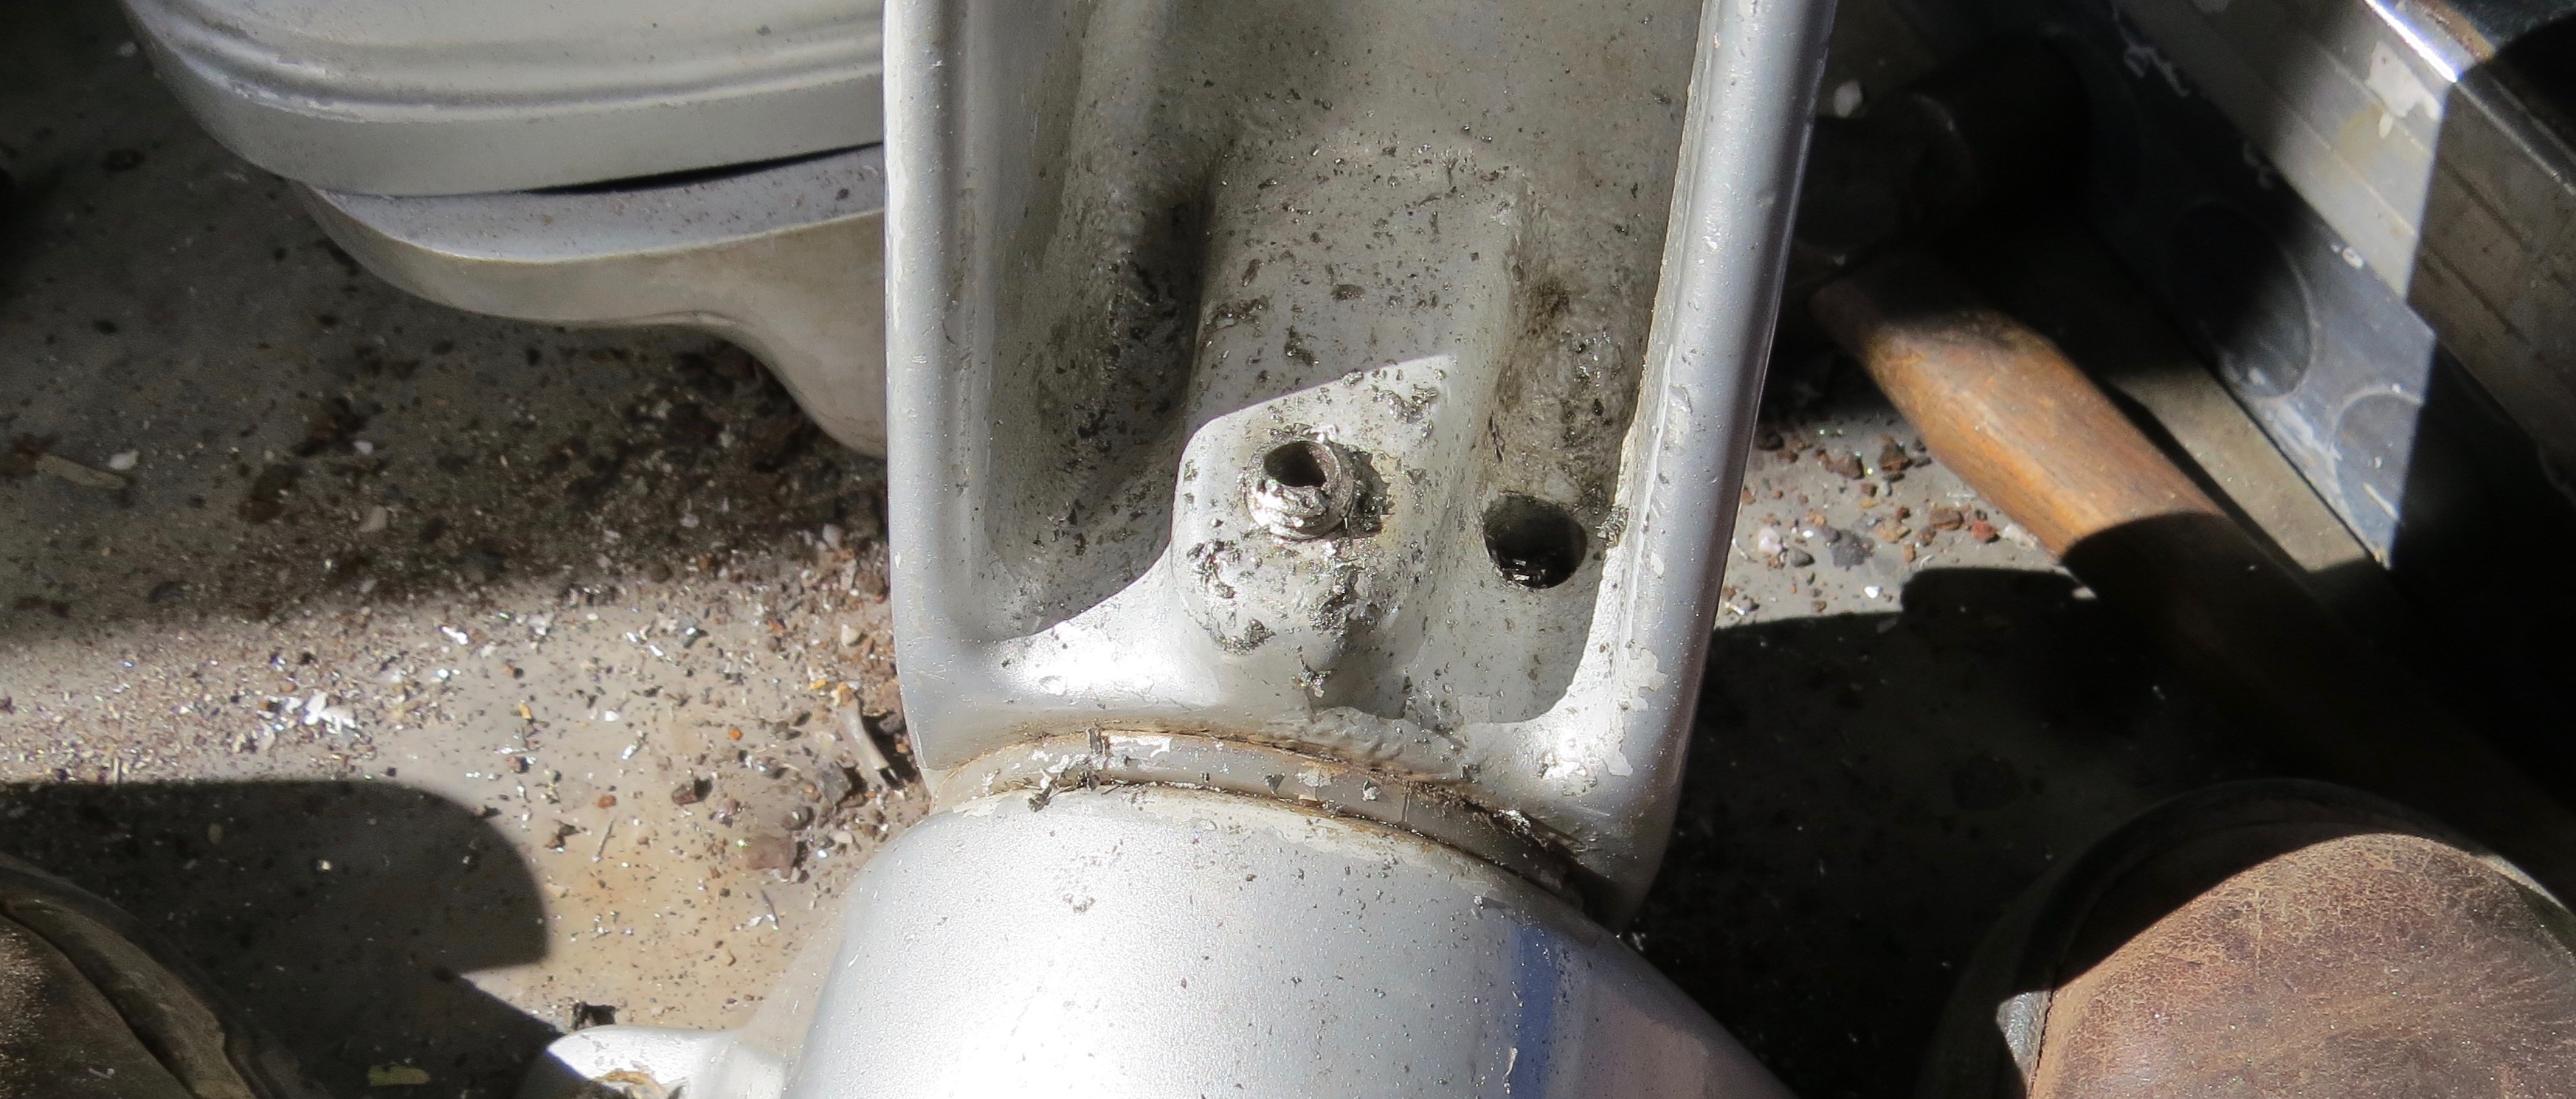
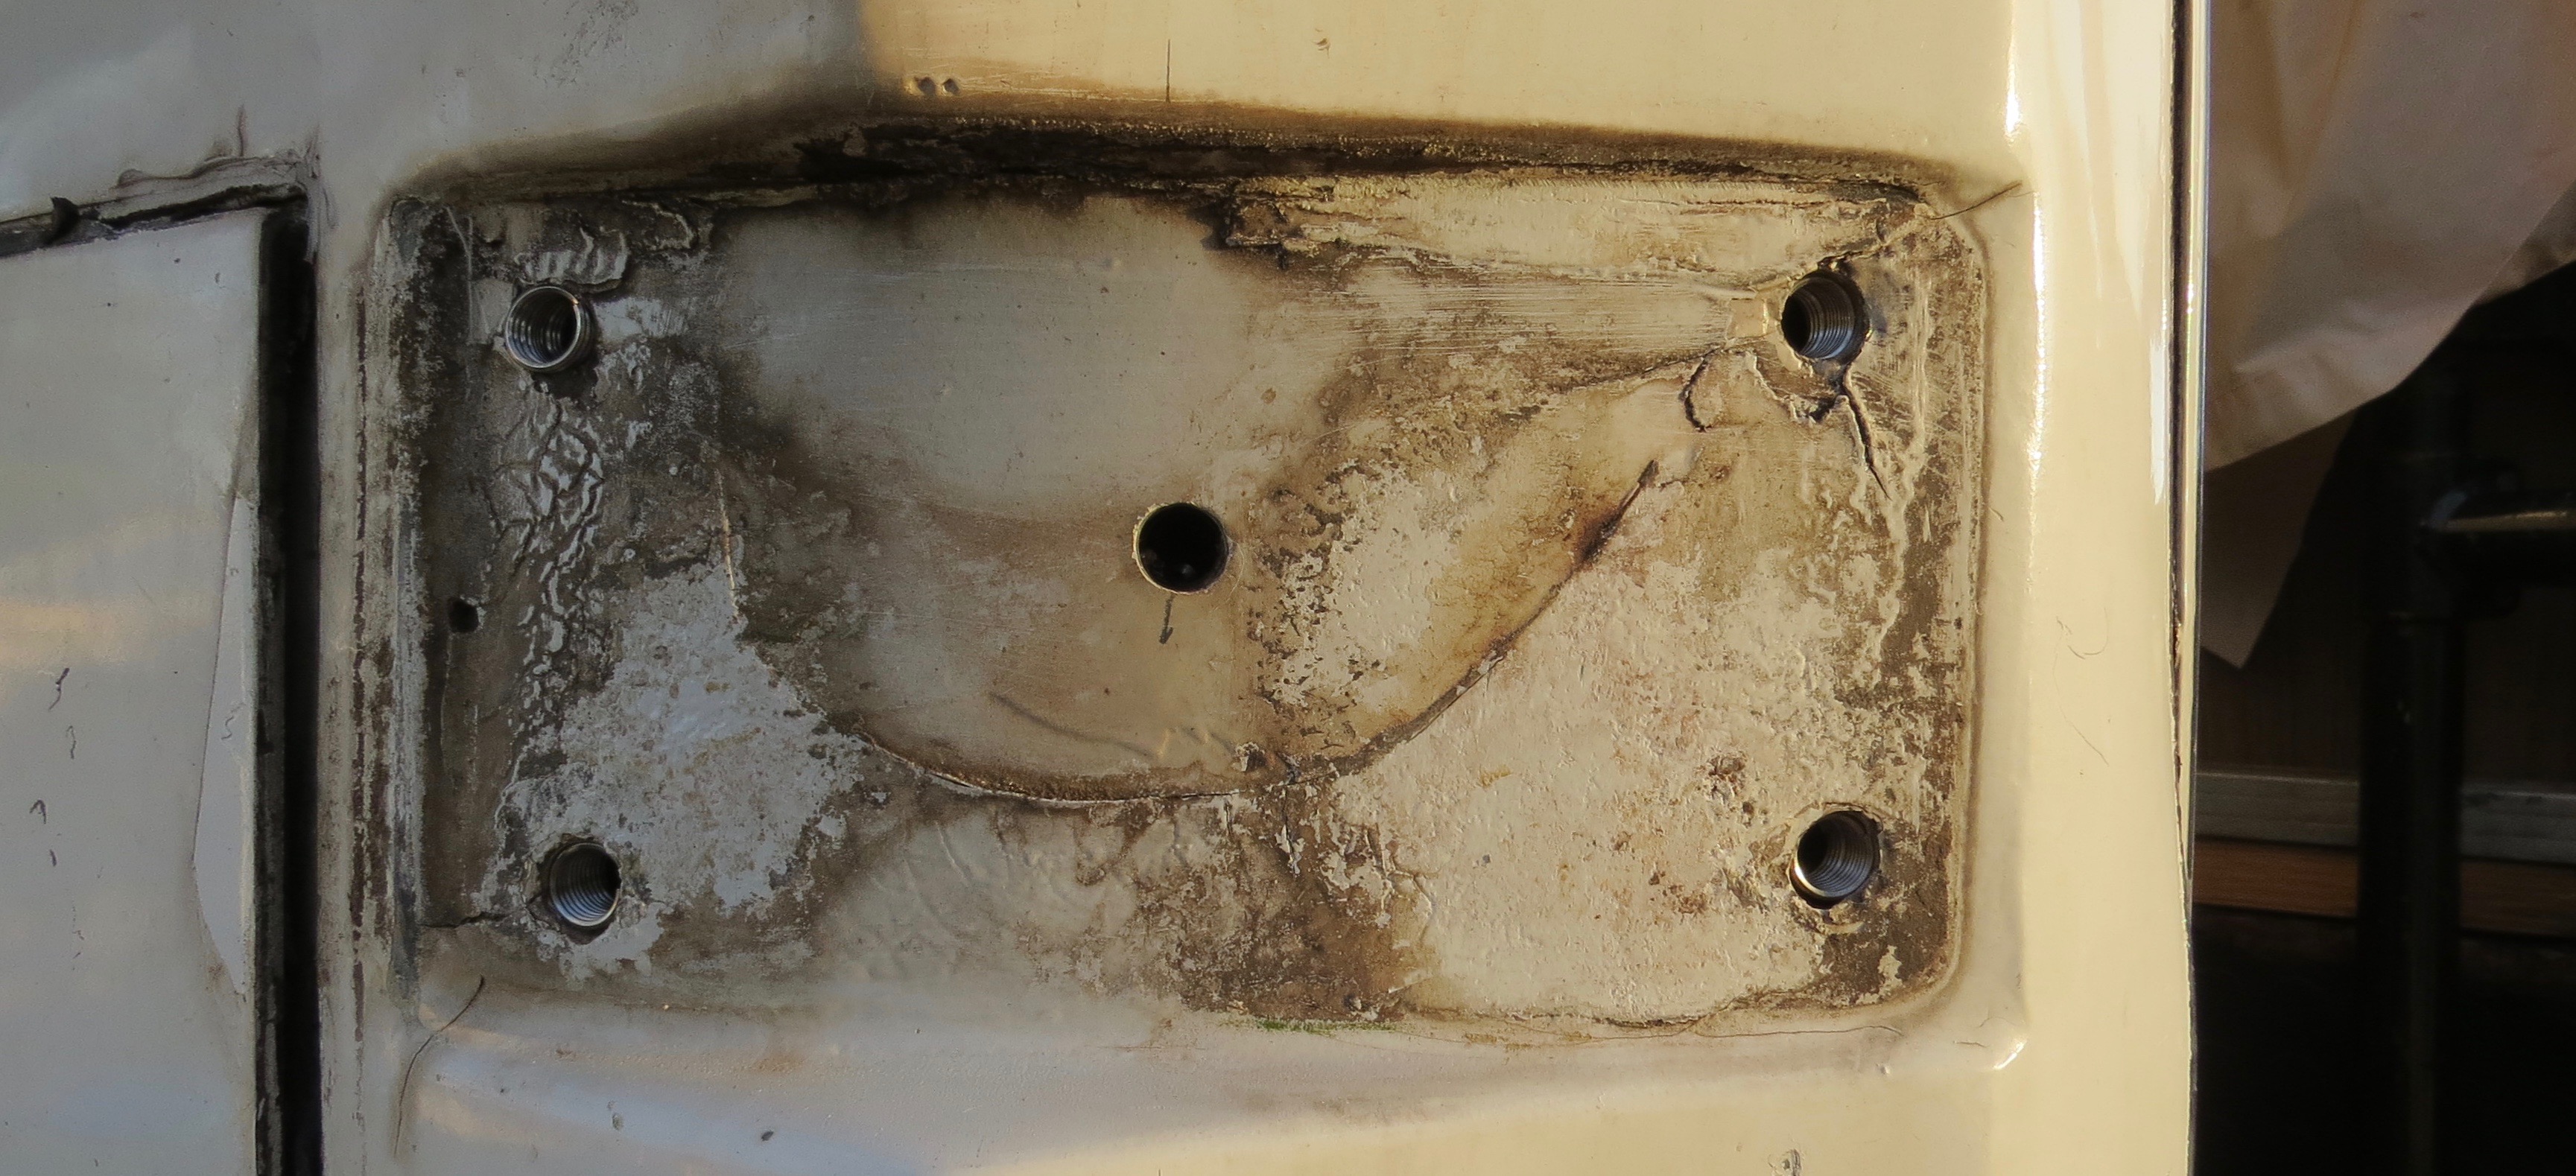
May as well recoil the lot of them.Just have to tap them to size now.Still more to go.Every thread must be done as they are all stuffed.
I’ve even had to recoil the bracket point on the coach as they had rusted and they were stuffed to. Well at least when I get to the stage of painting the coach I’ll be able to get them off again.
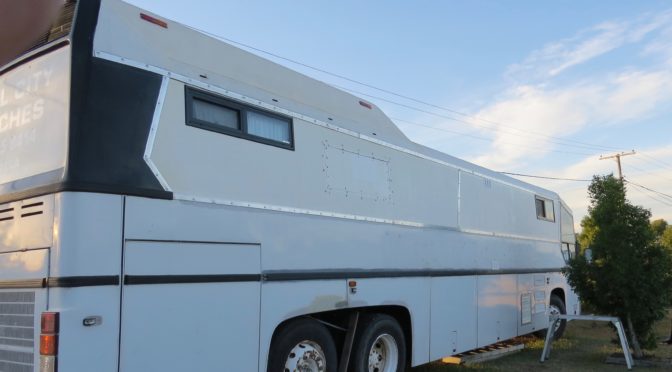
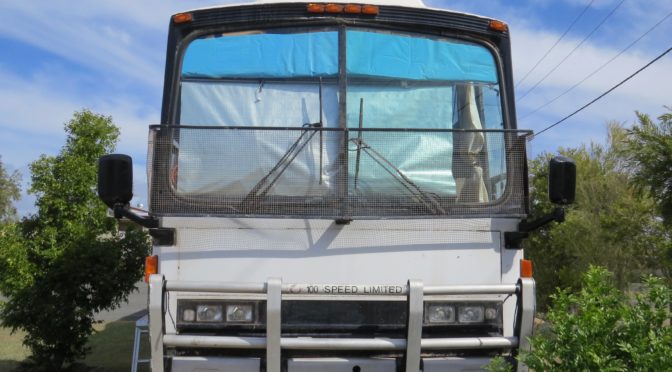
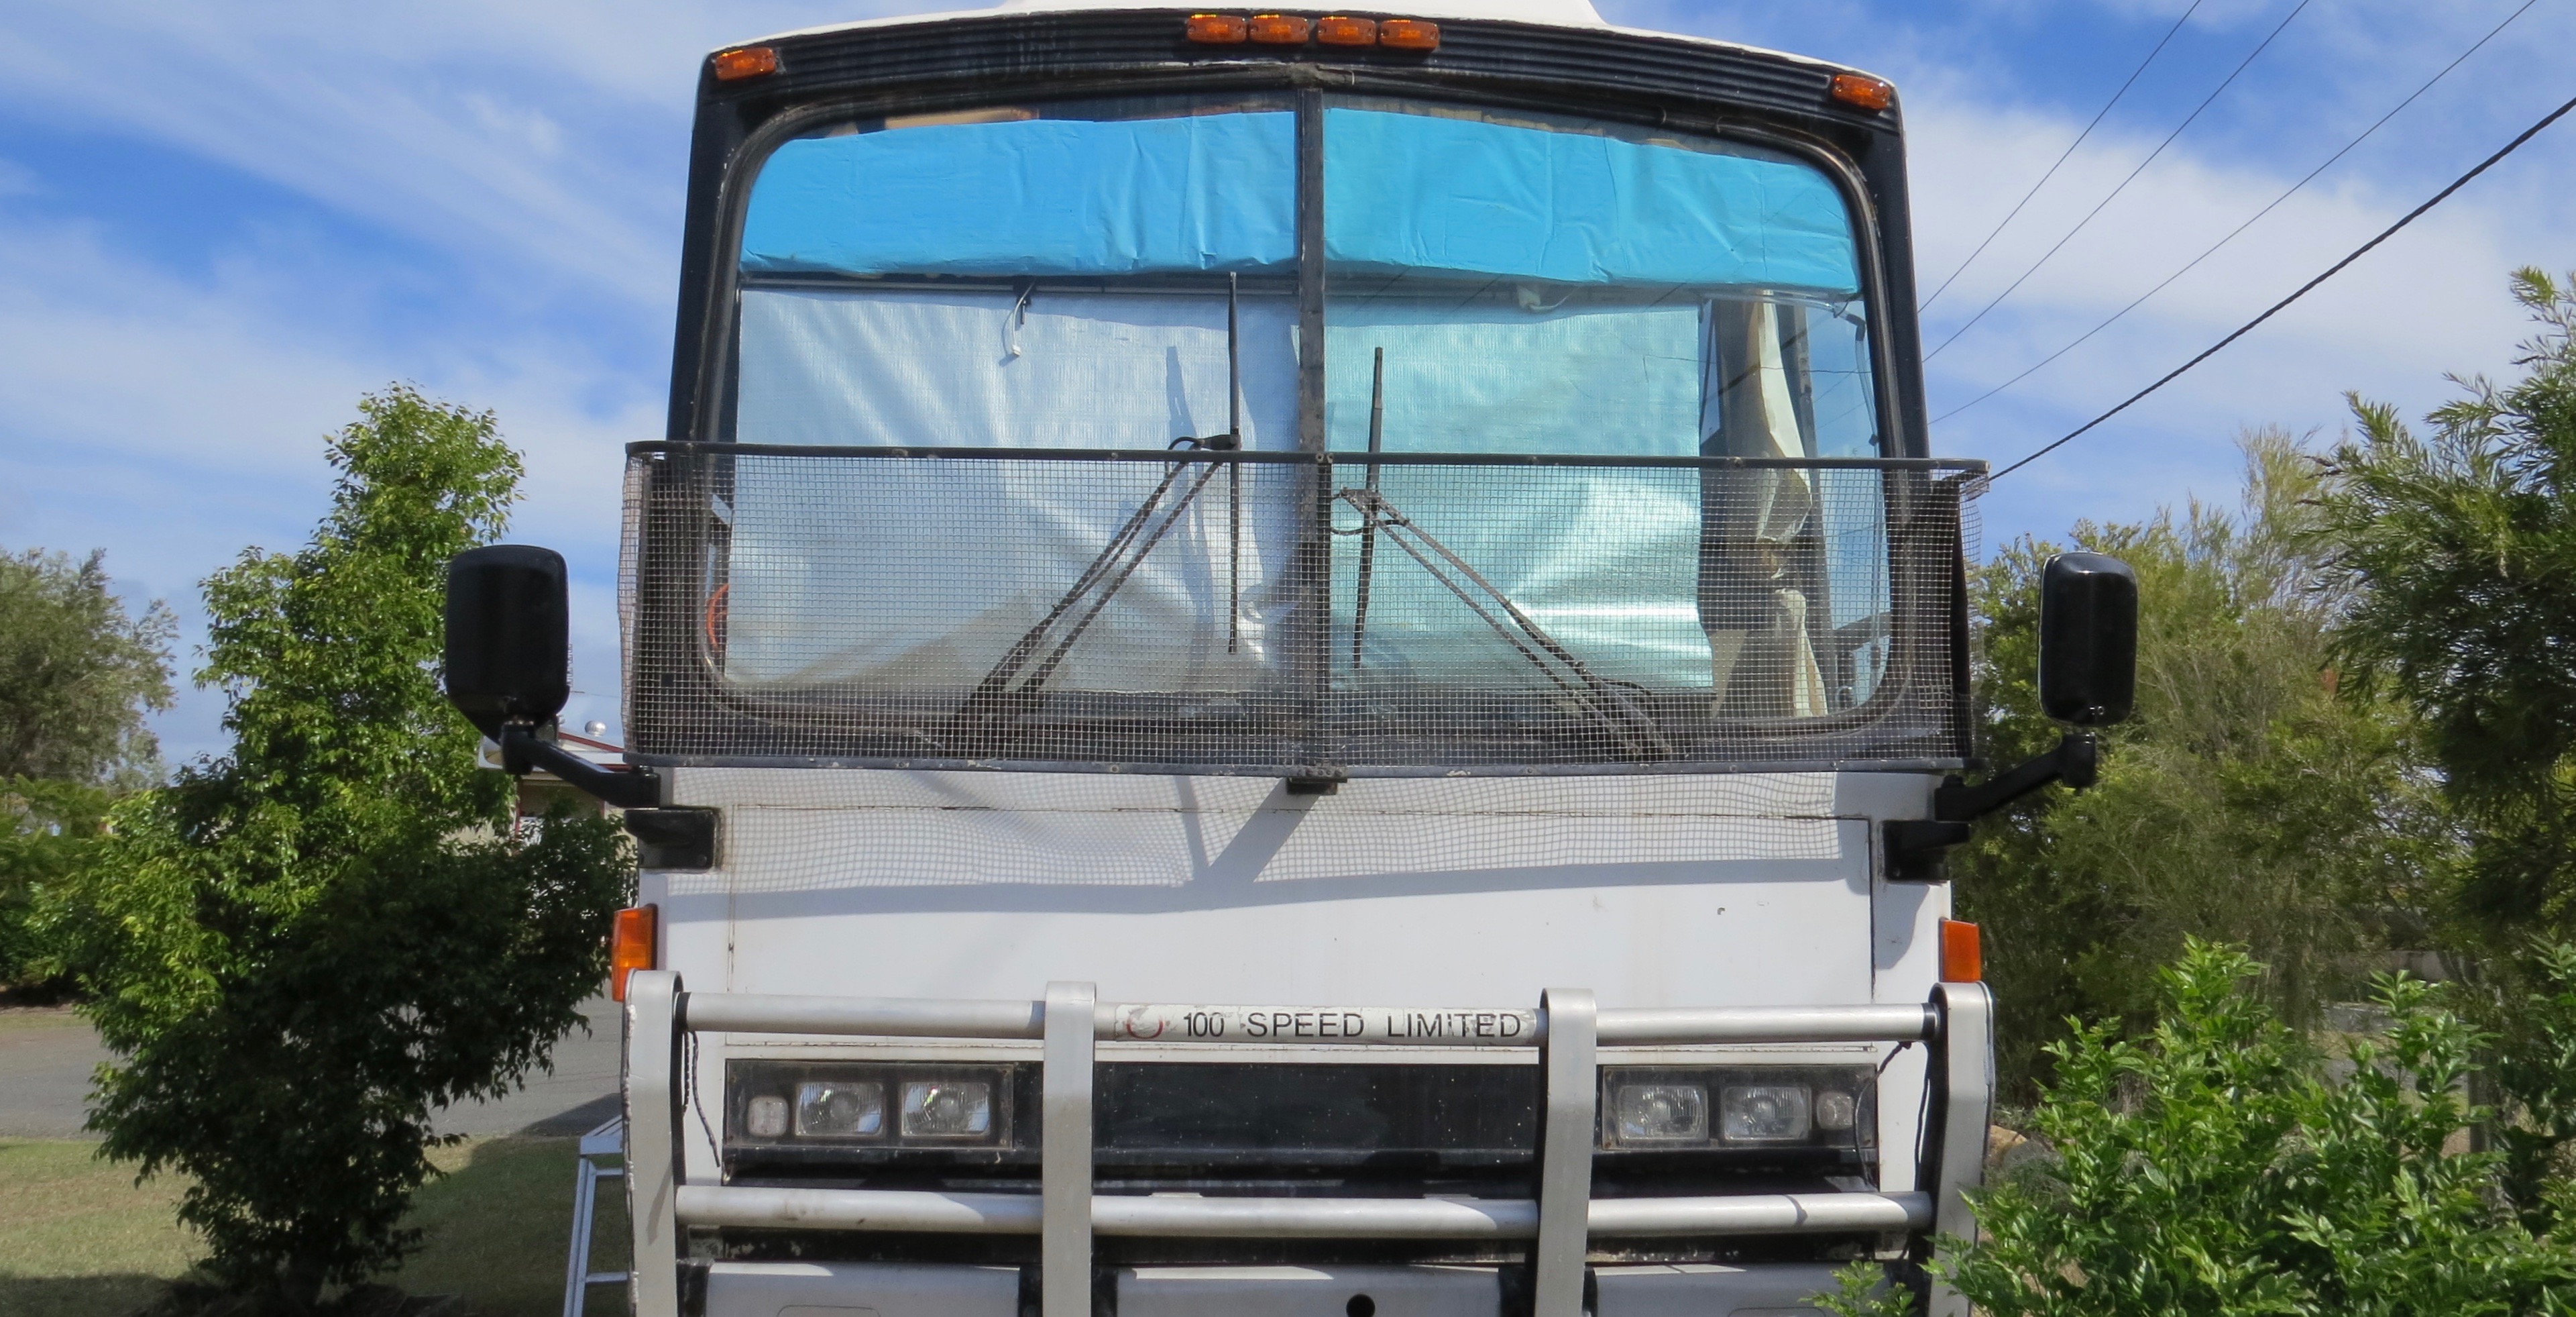
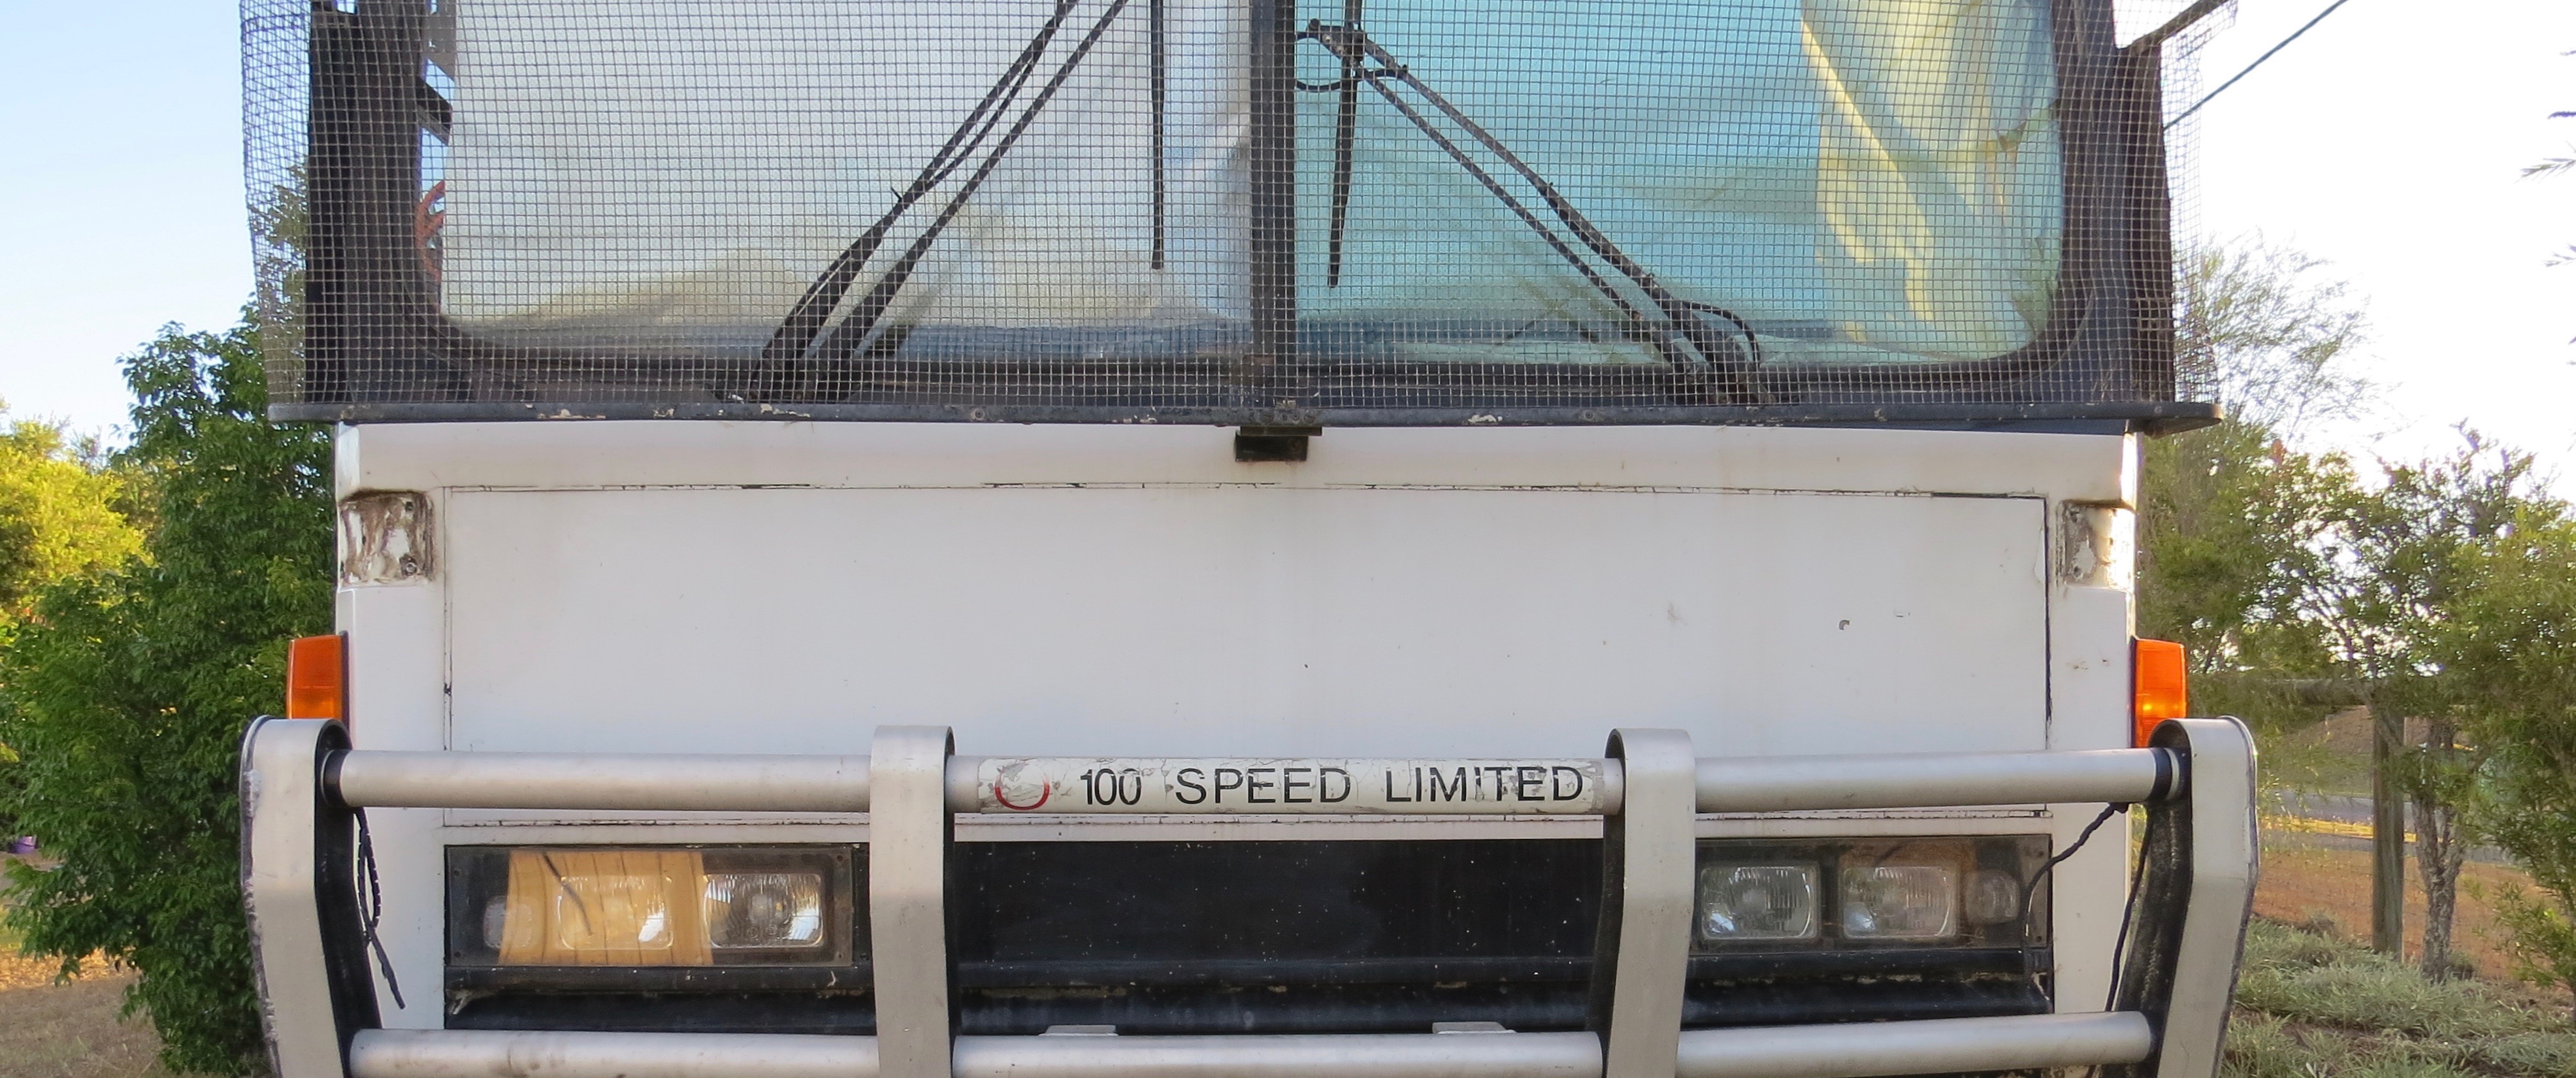
the coach looks a bit weird with out the mirrors on.
All the part are off to the powder coat shop for a good sand blasting, then a coat of satin black. Also I’ve been of to O’Brians Glass to get new mirrors cut too, so now it’s a waiting game.
From a coach to our motorhome and the bits between