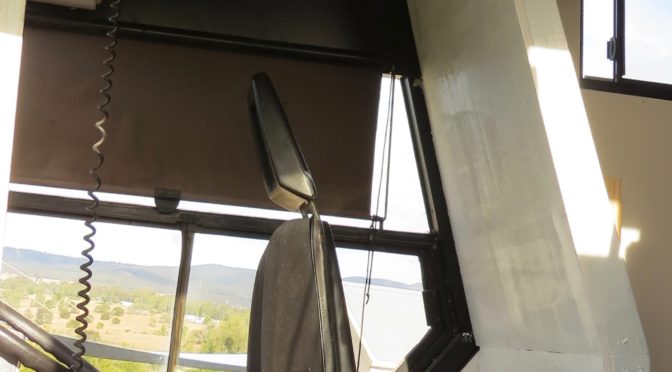
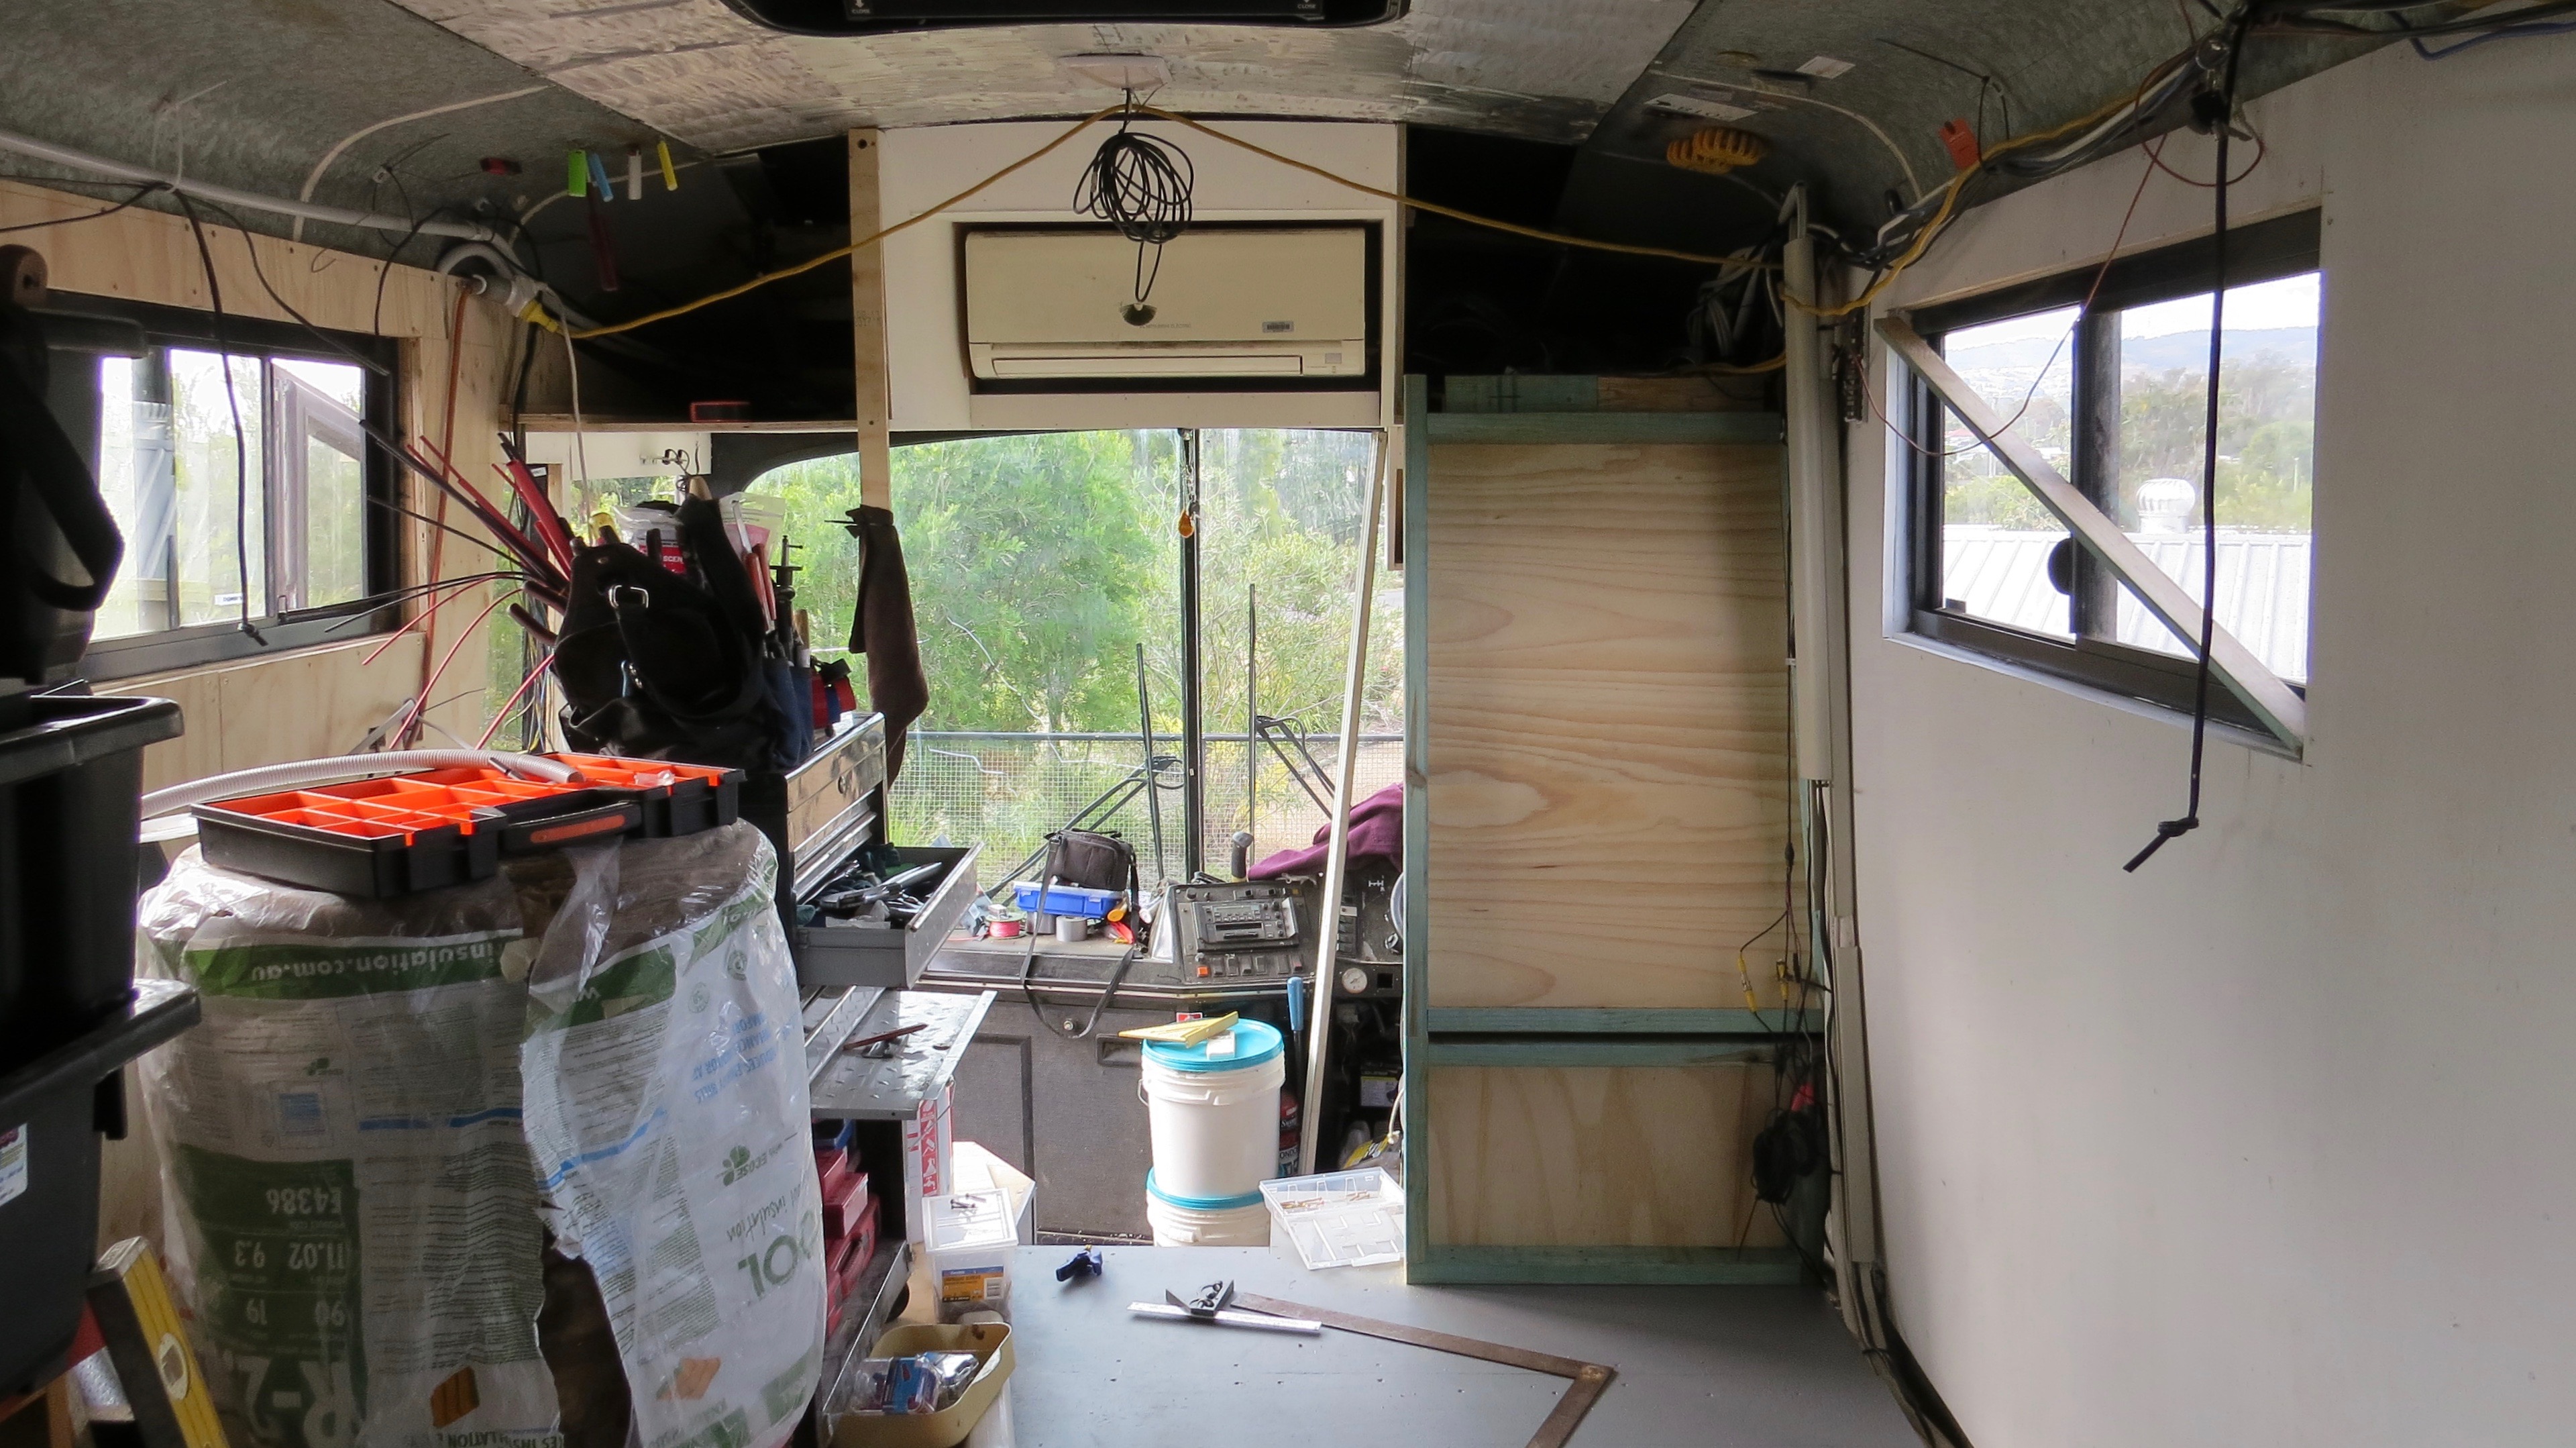
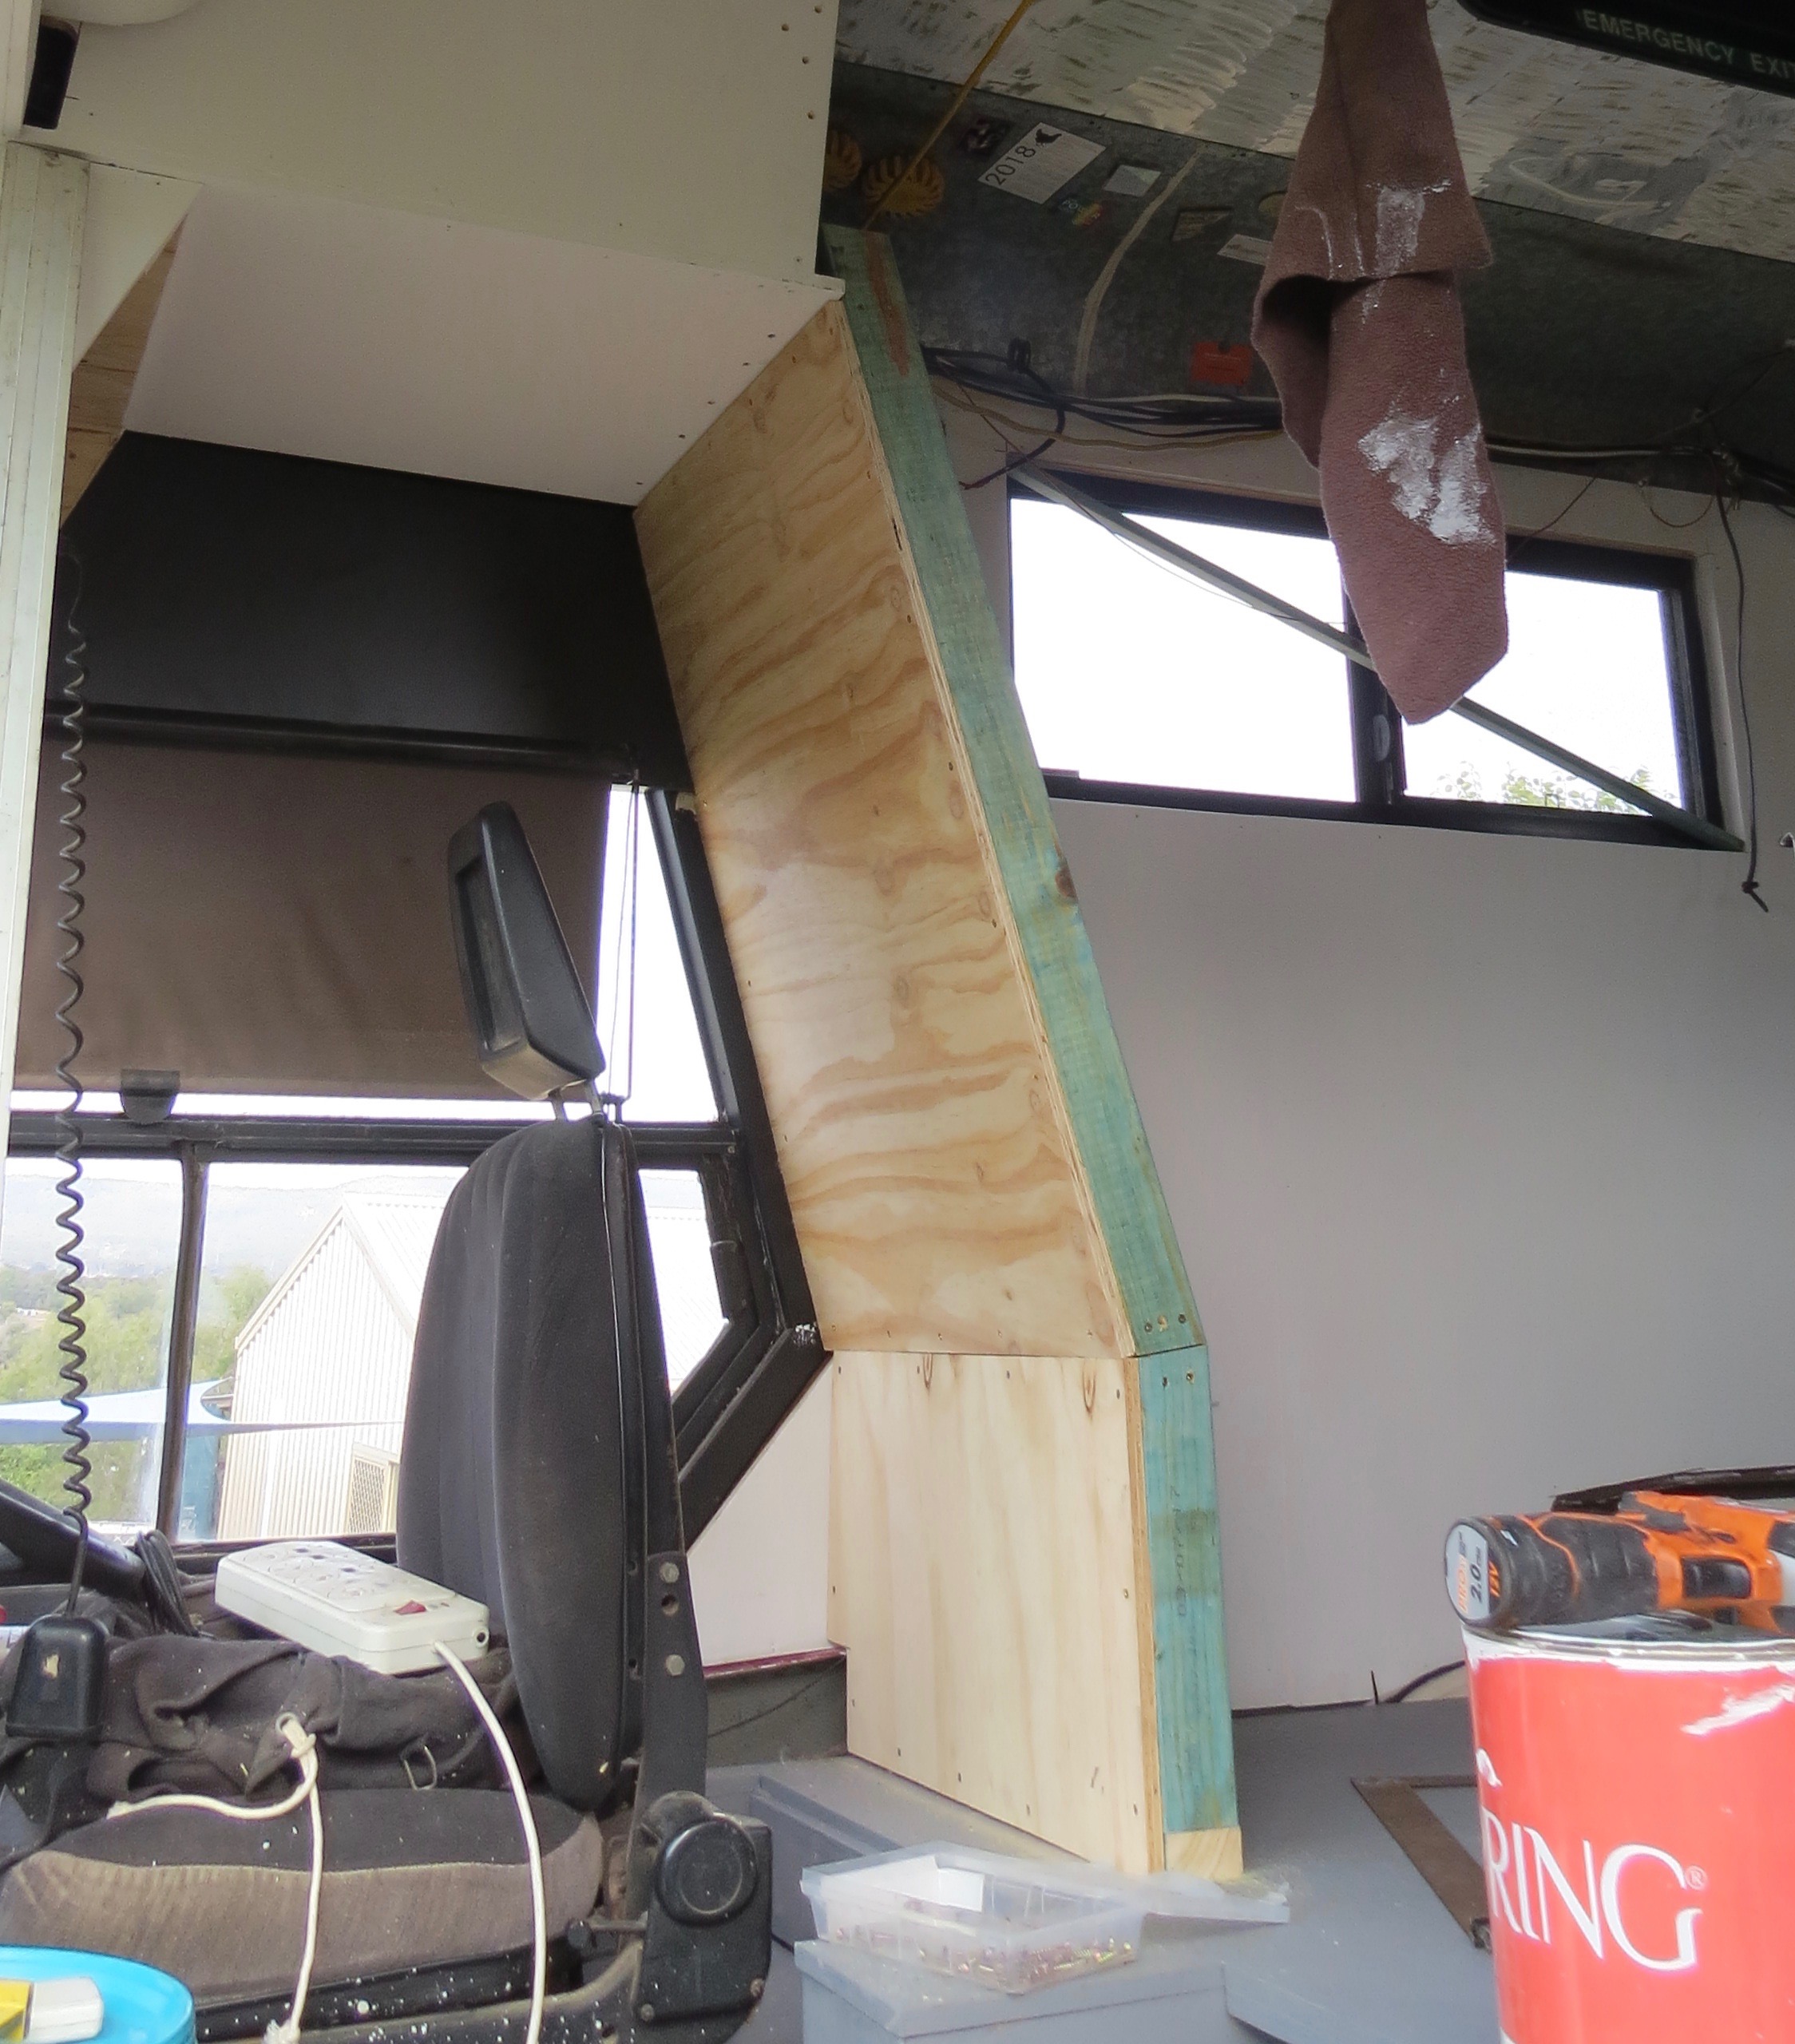
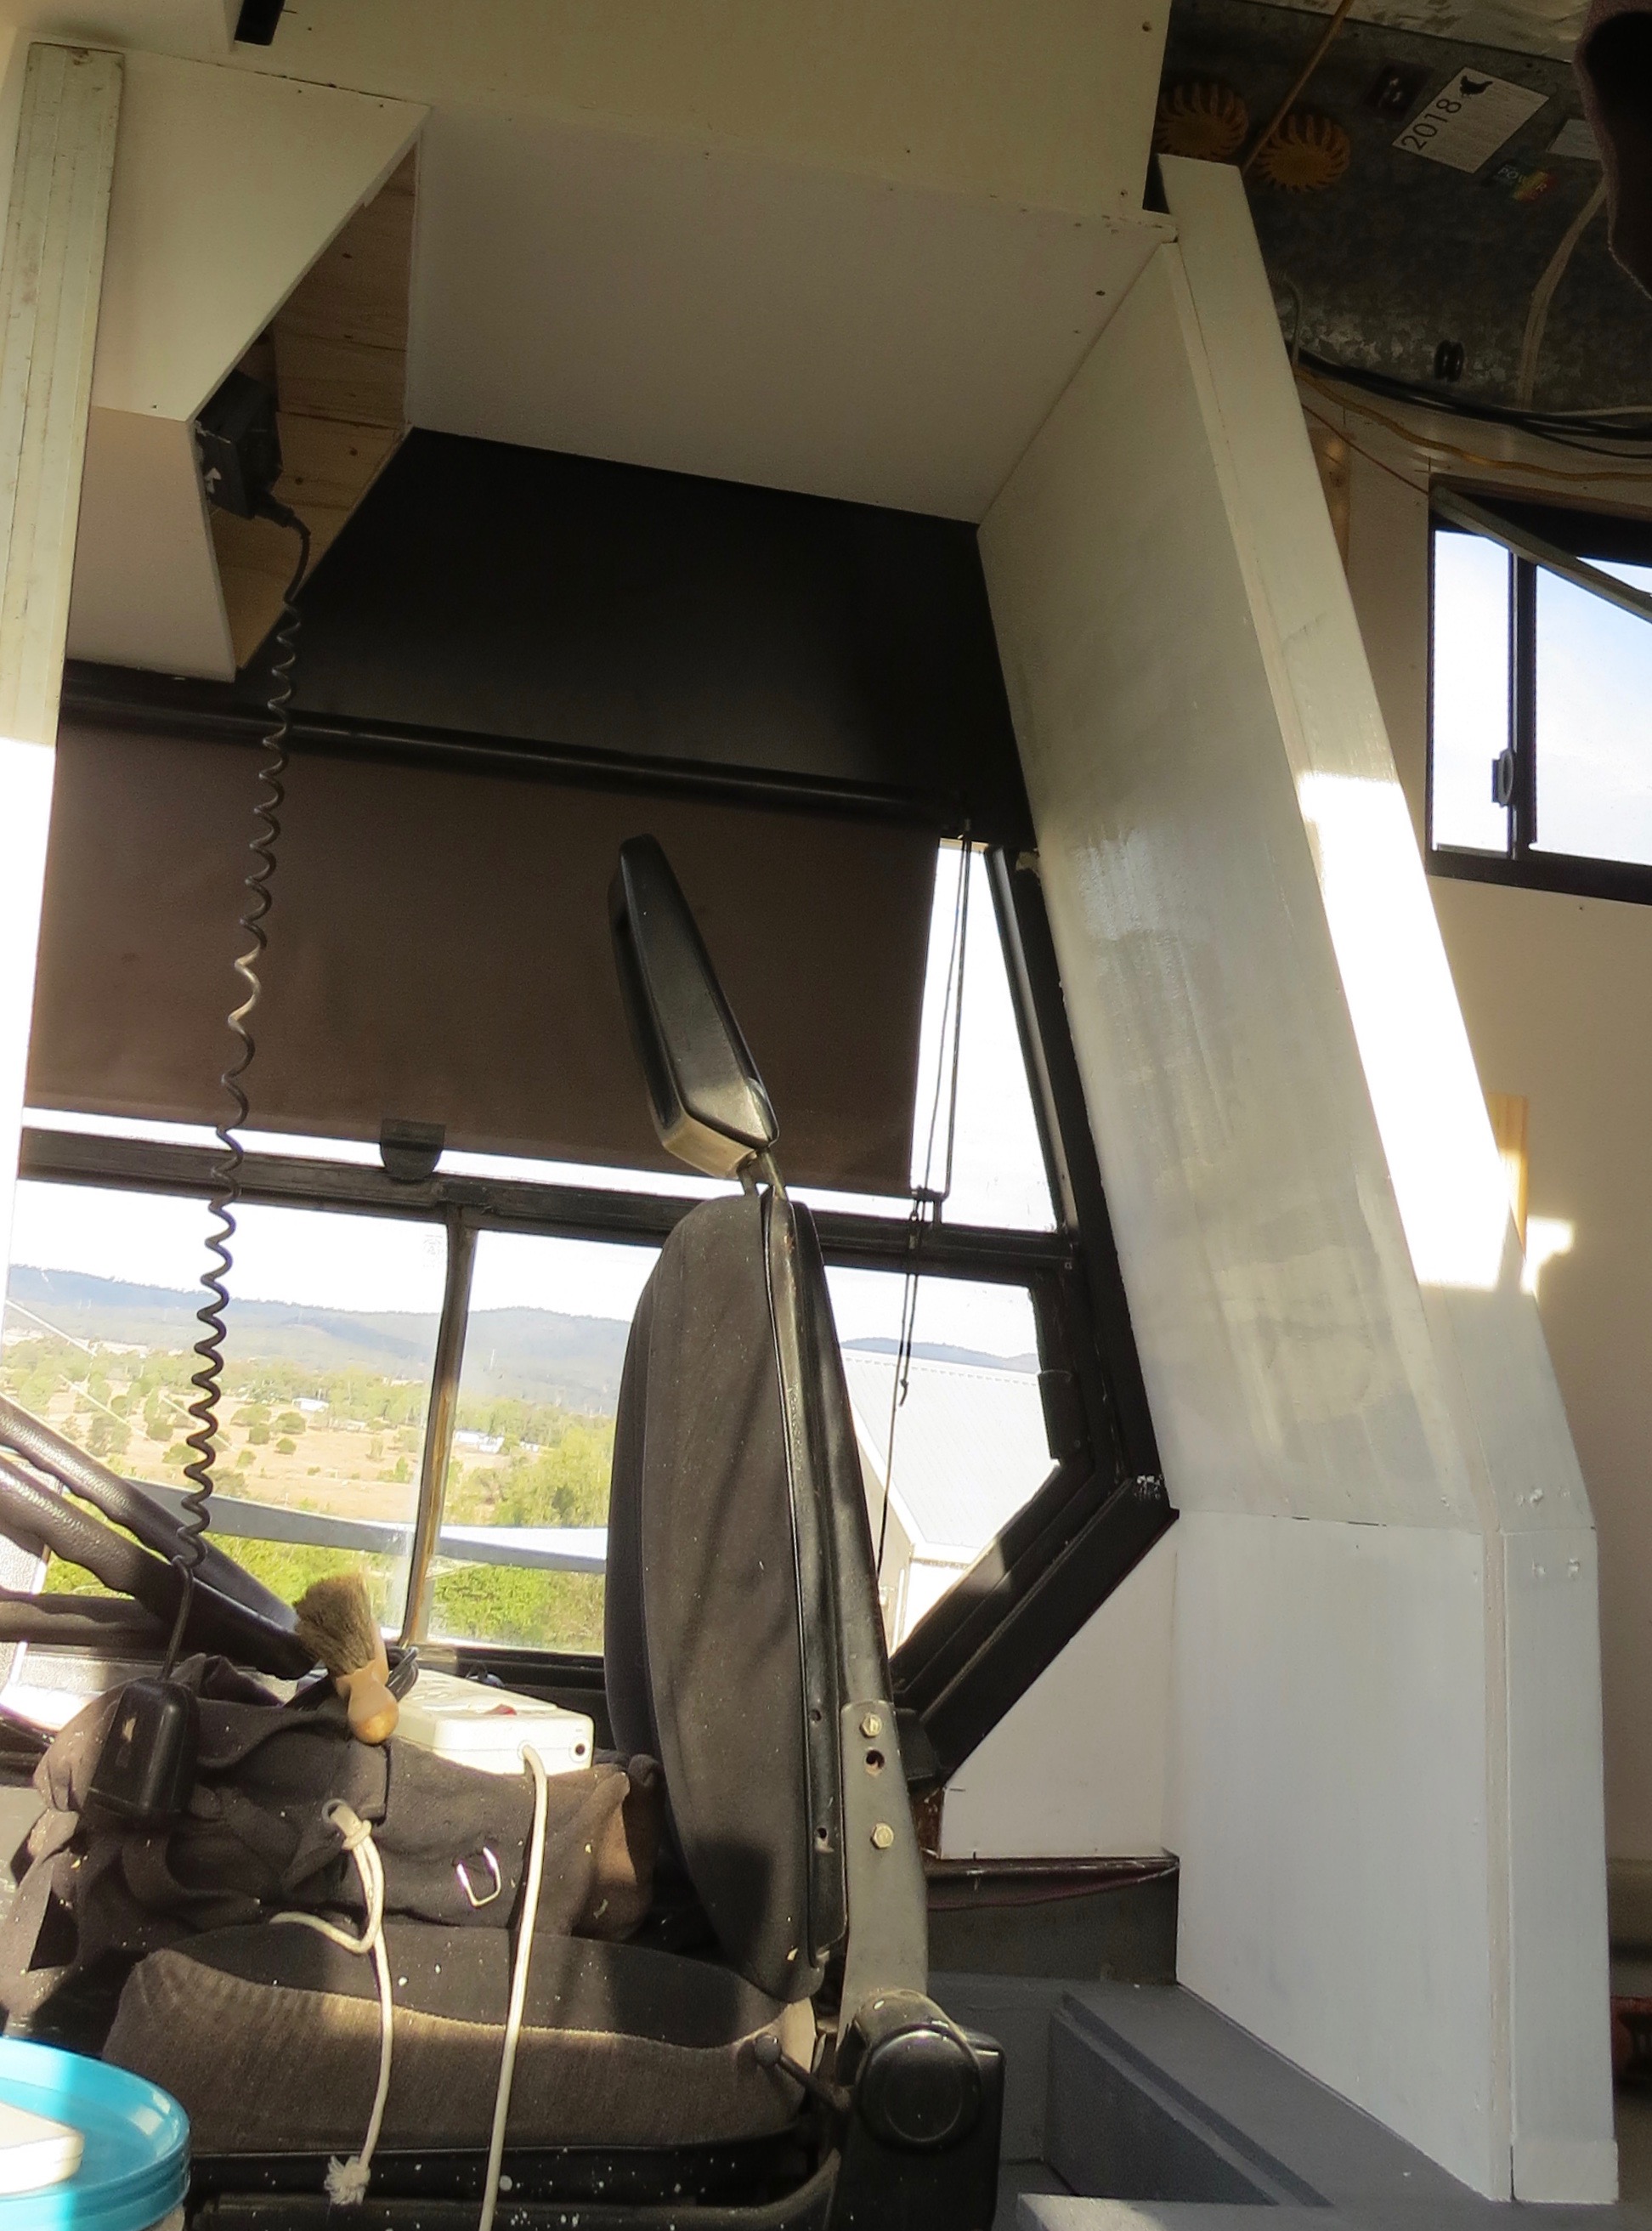
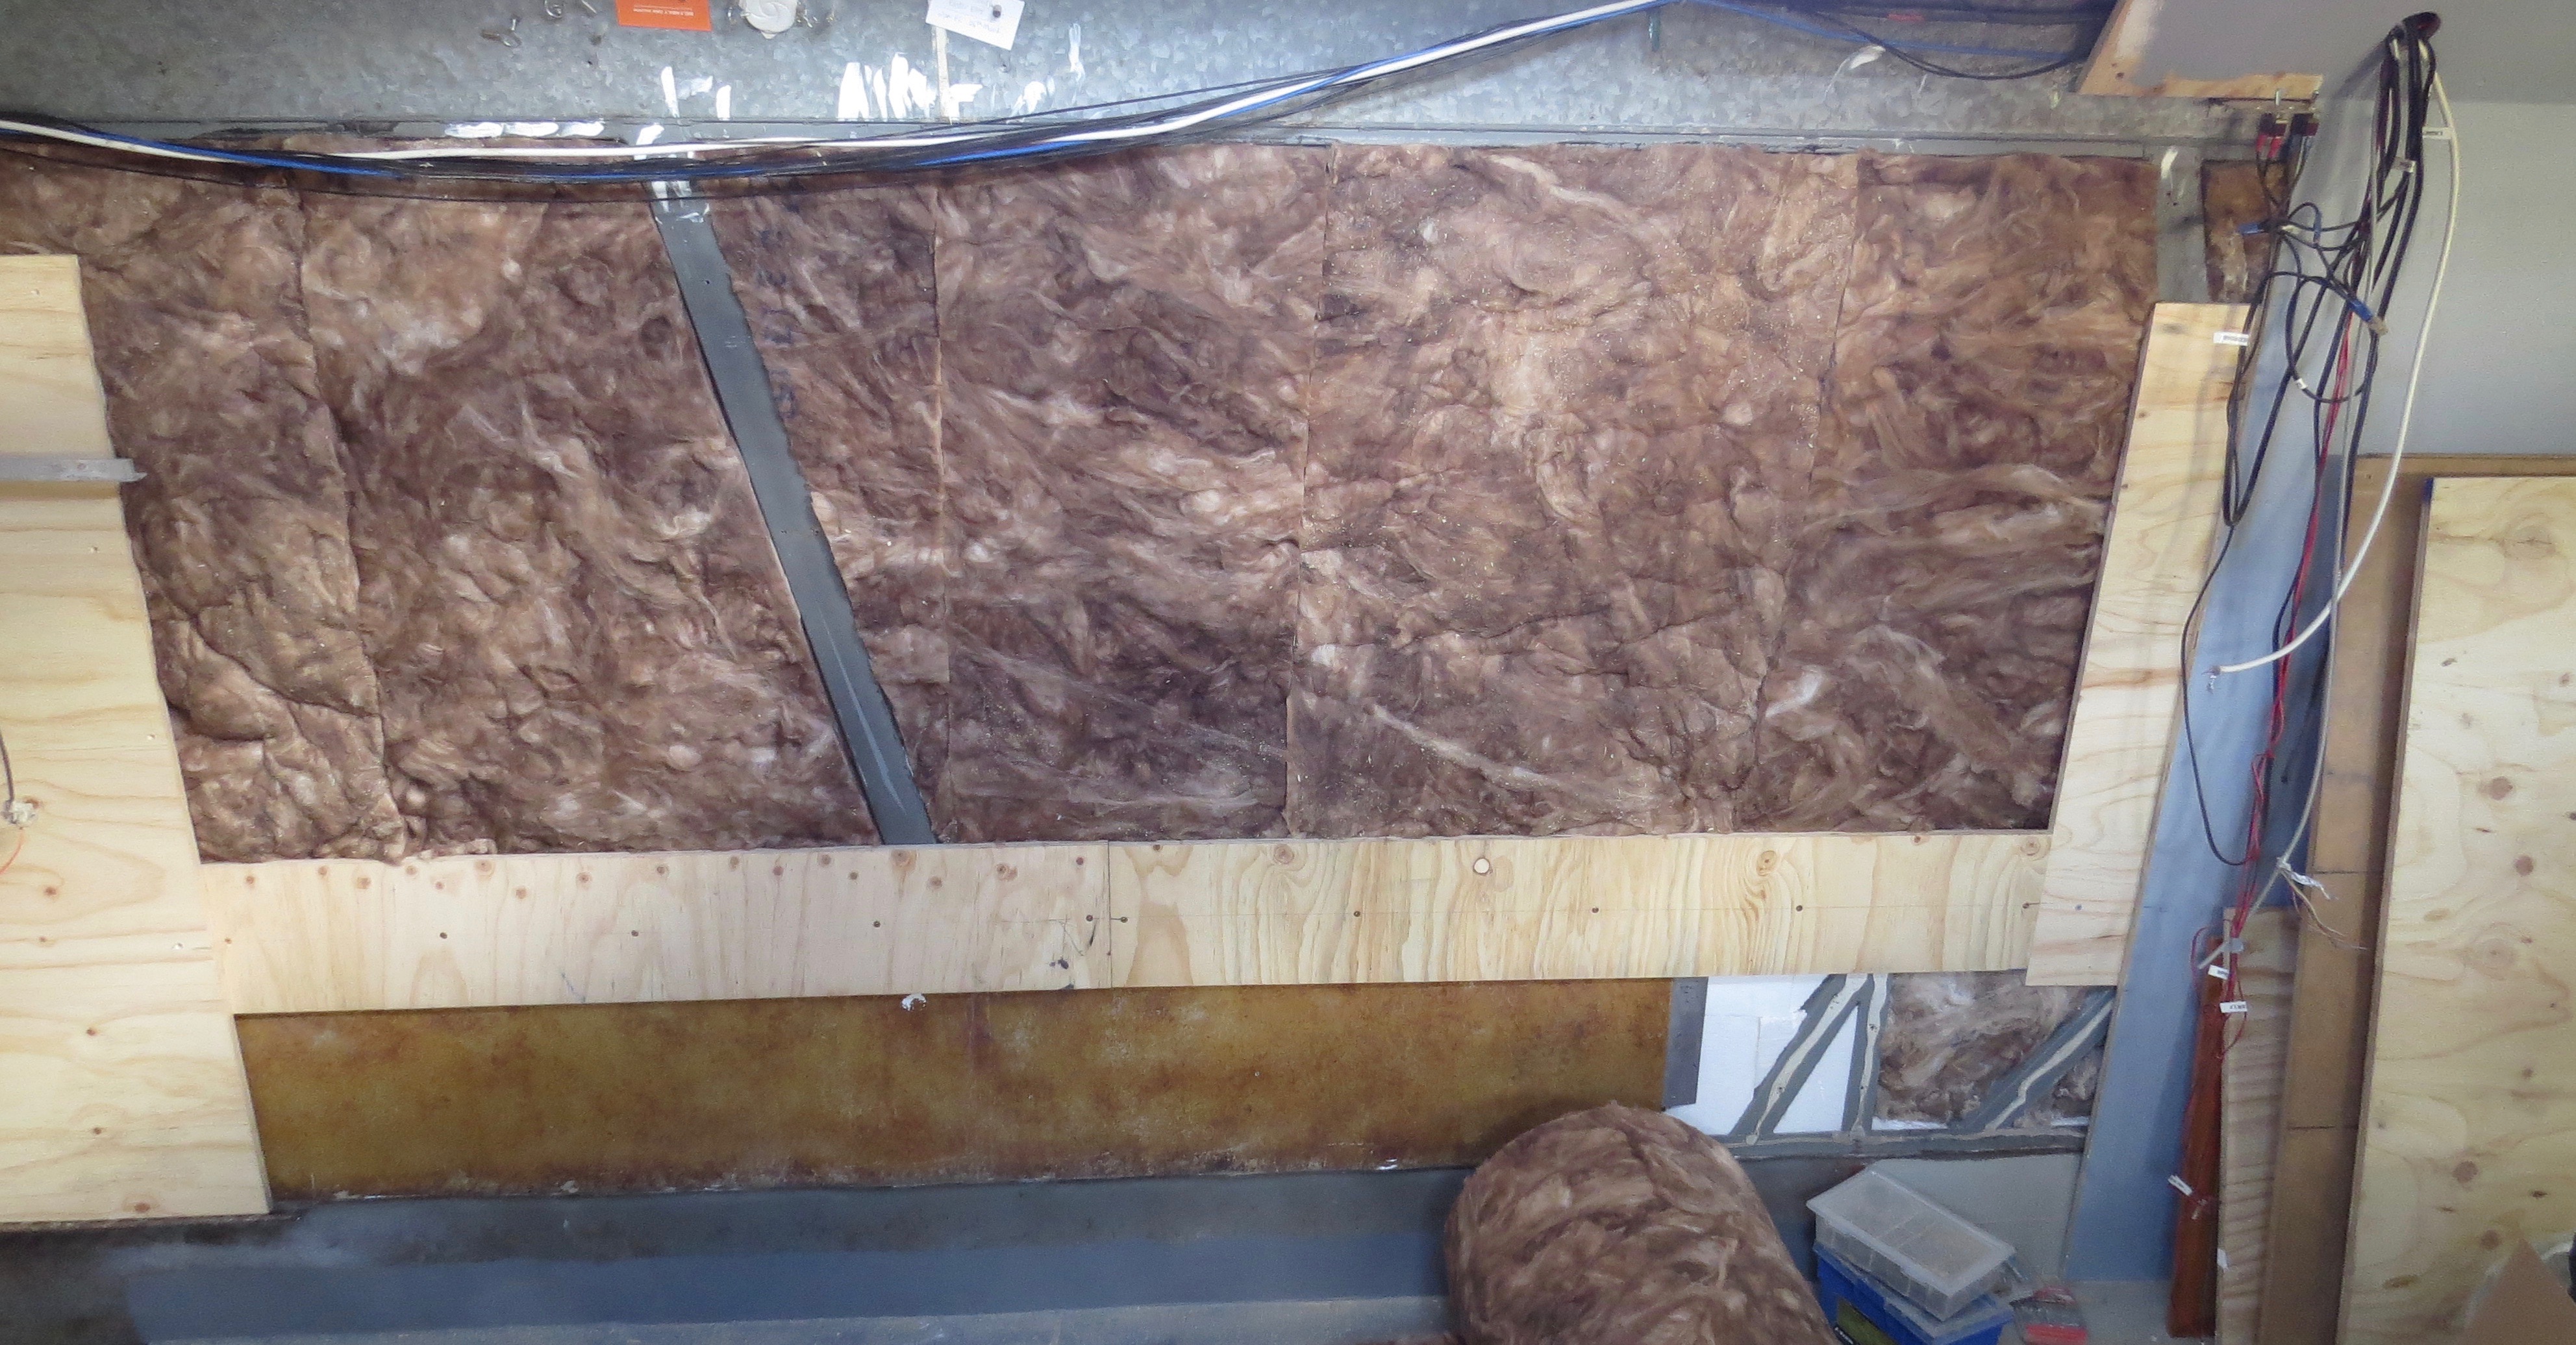
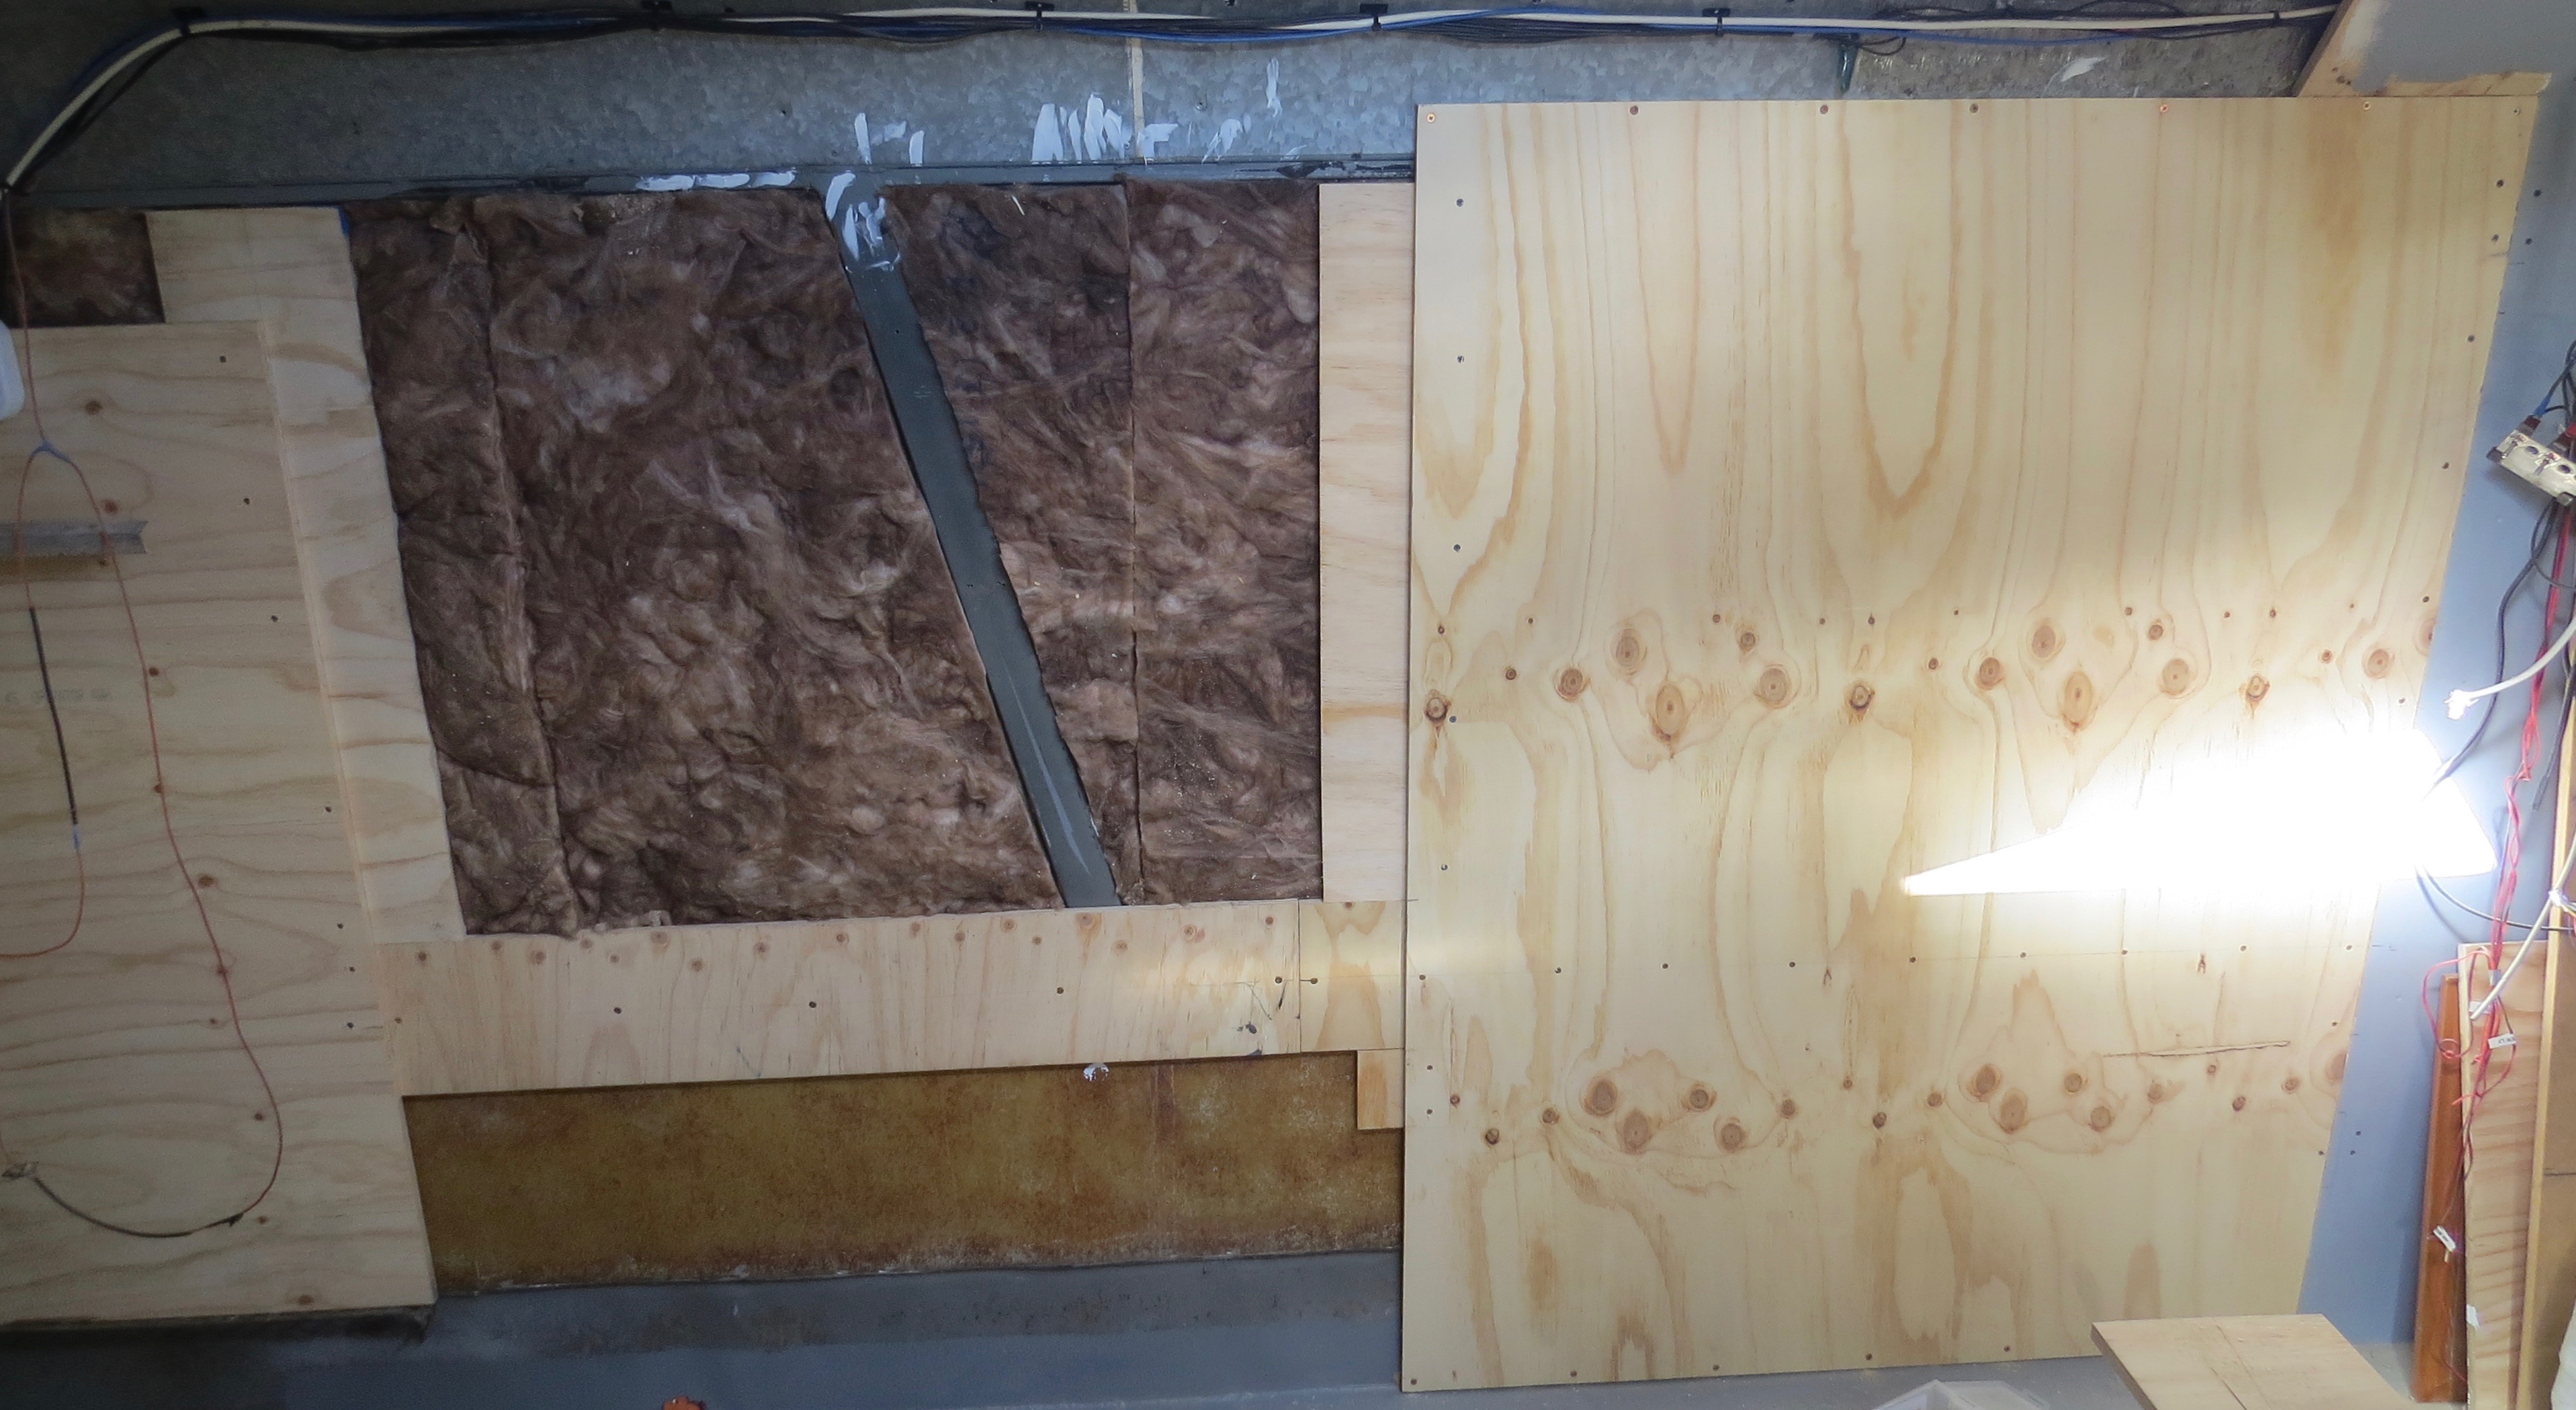
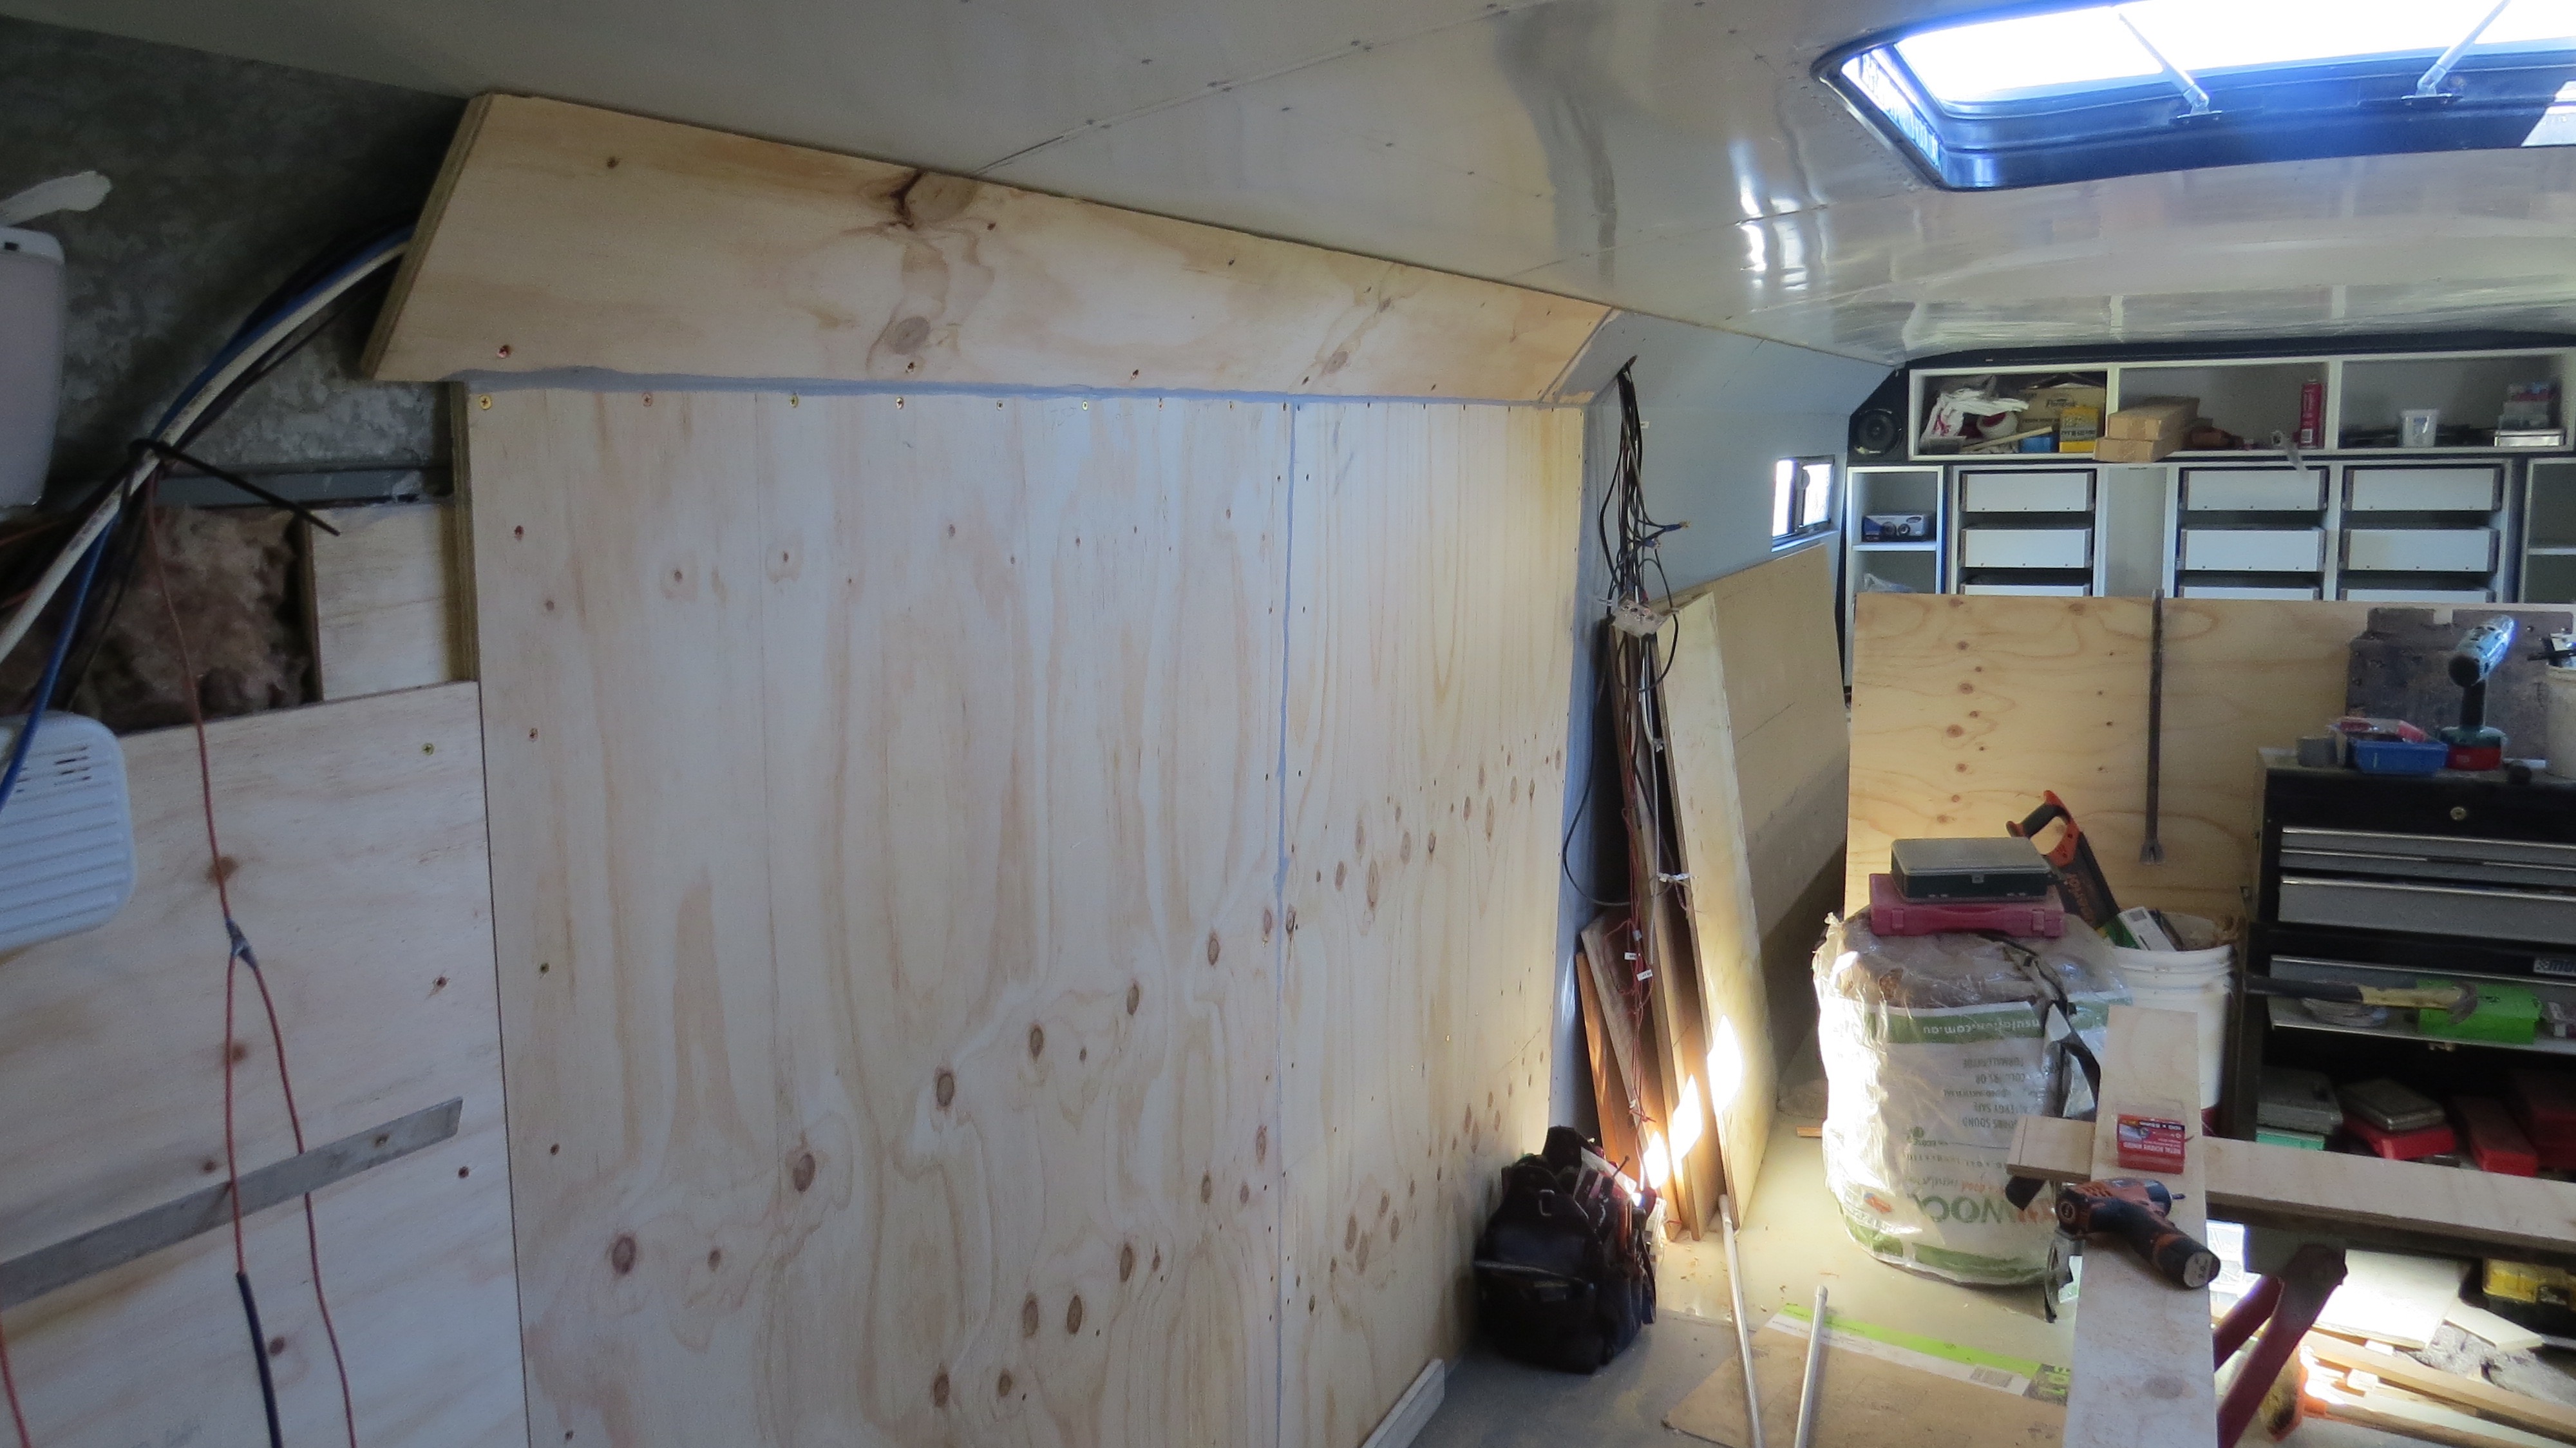
Finishing off behind the driver’s seat was only a small job, that had to be done. This meant that the driver’s side wall would be finished till I put the final cladding on later on sometime. This will also stop things hitting me in the back of the head later when I’m driving down the road.
Small wall behind the driver’s seat to build now.View from the back.Bottom panel in place.Makes a difference.We are just making it up as we go a long.Just some undercoat to finish it off for now.
Well that’s all for the front of the coach for now, I have some small job that have to be done now in the bathroom and kitchen.
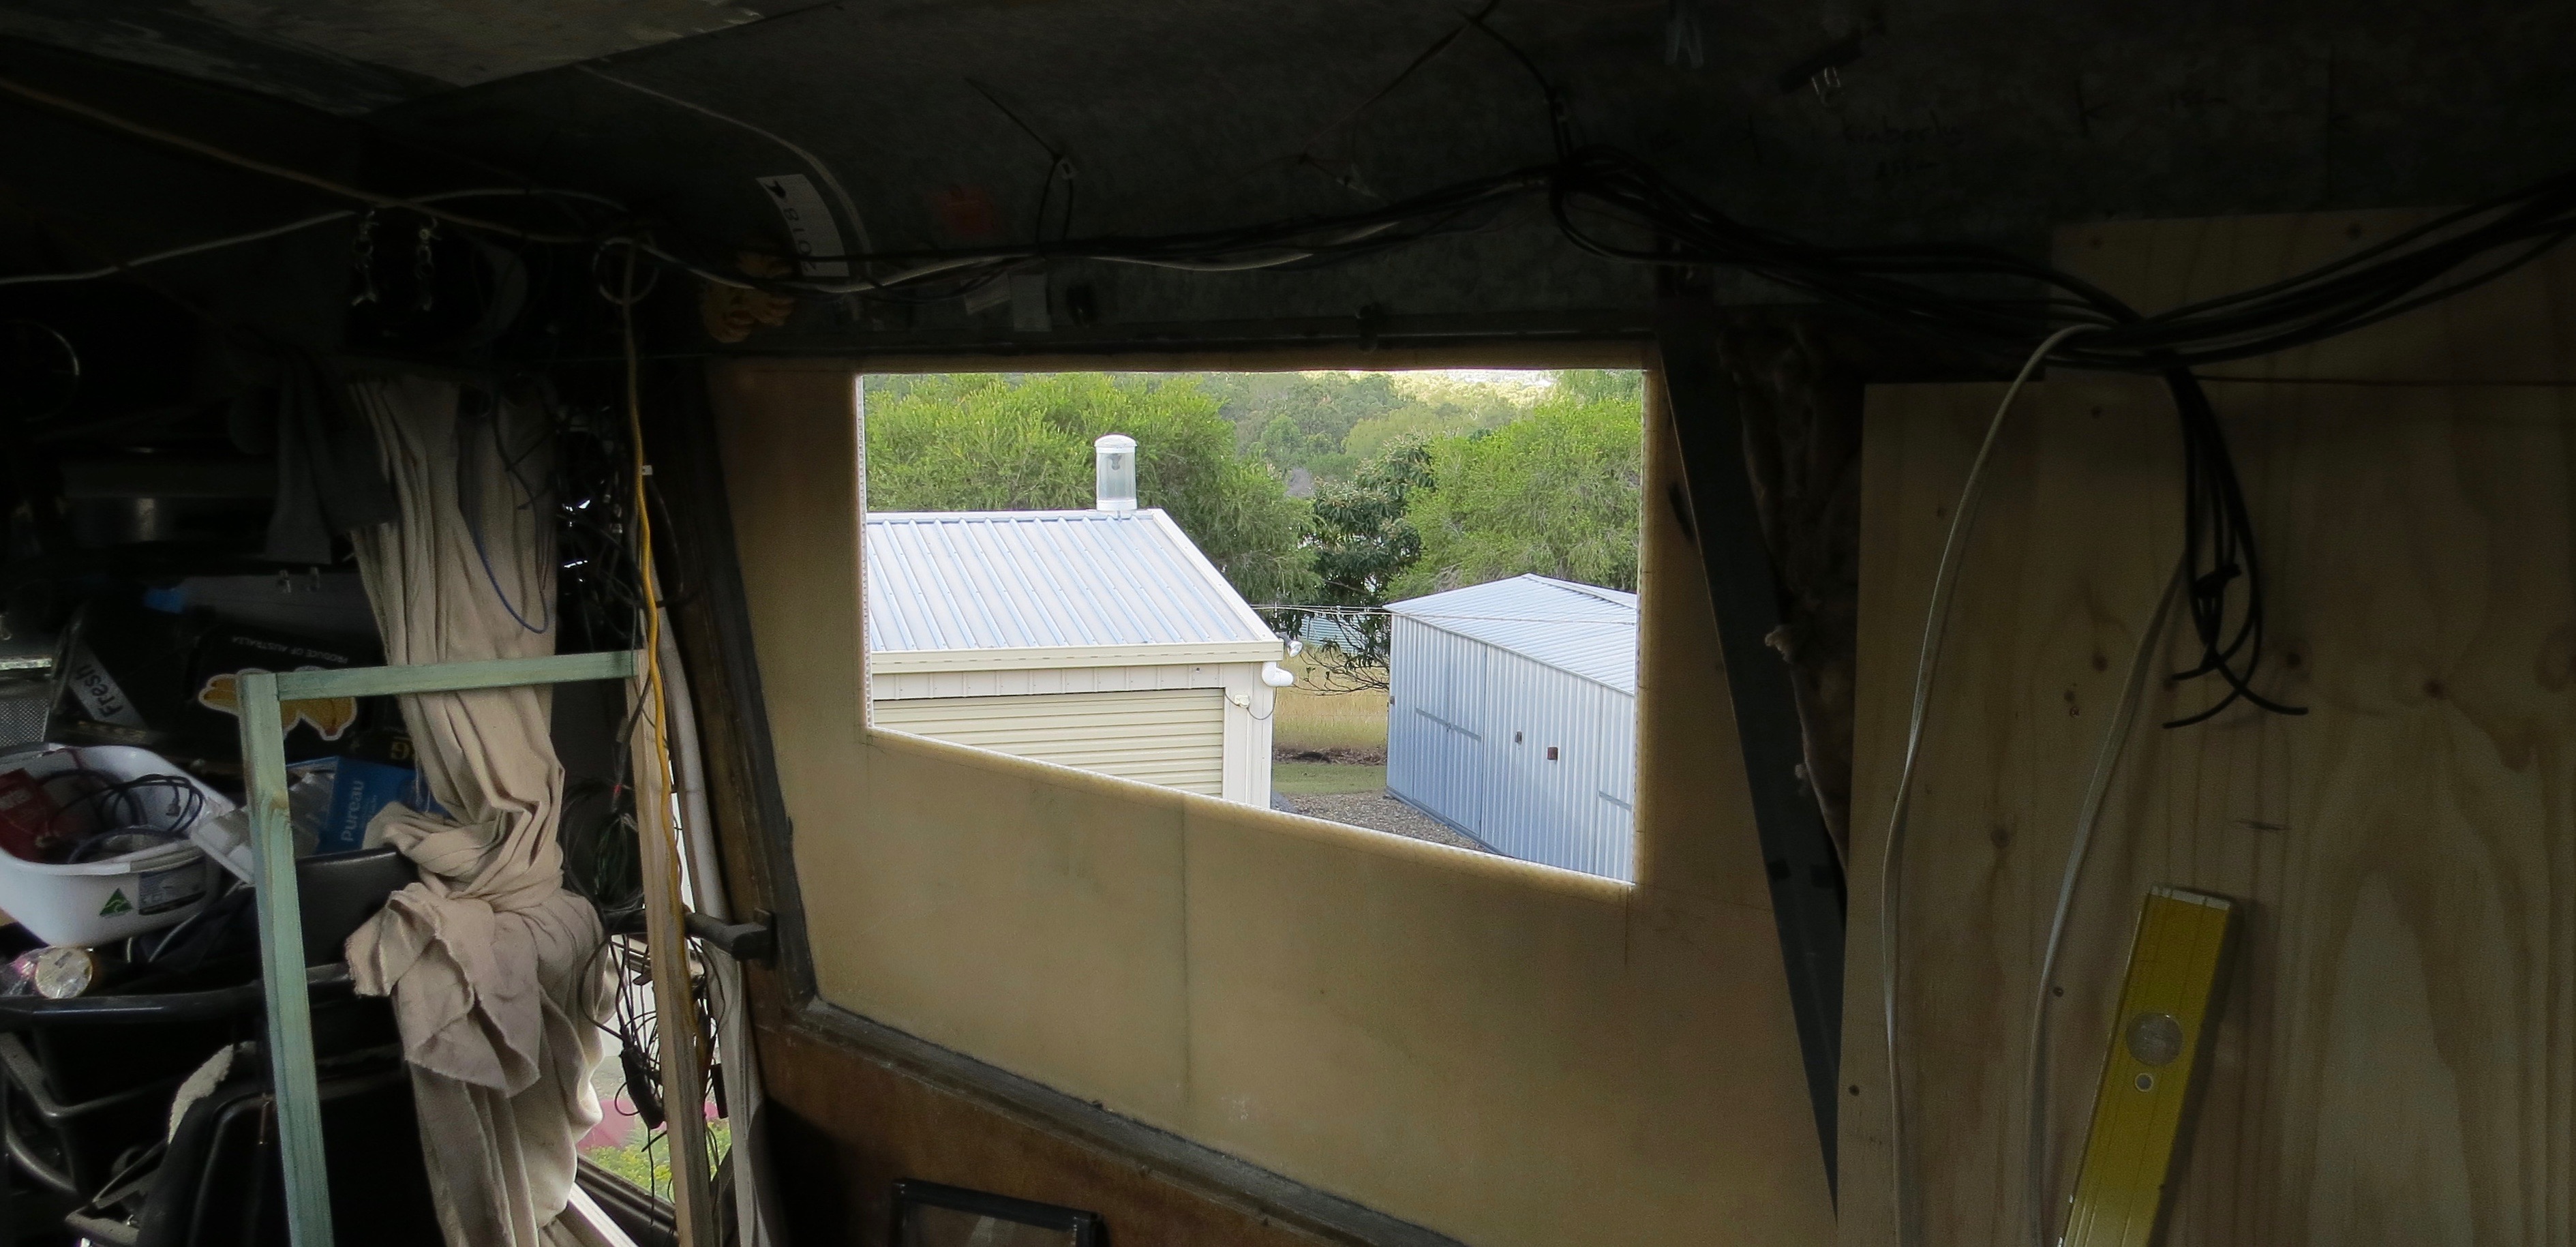
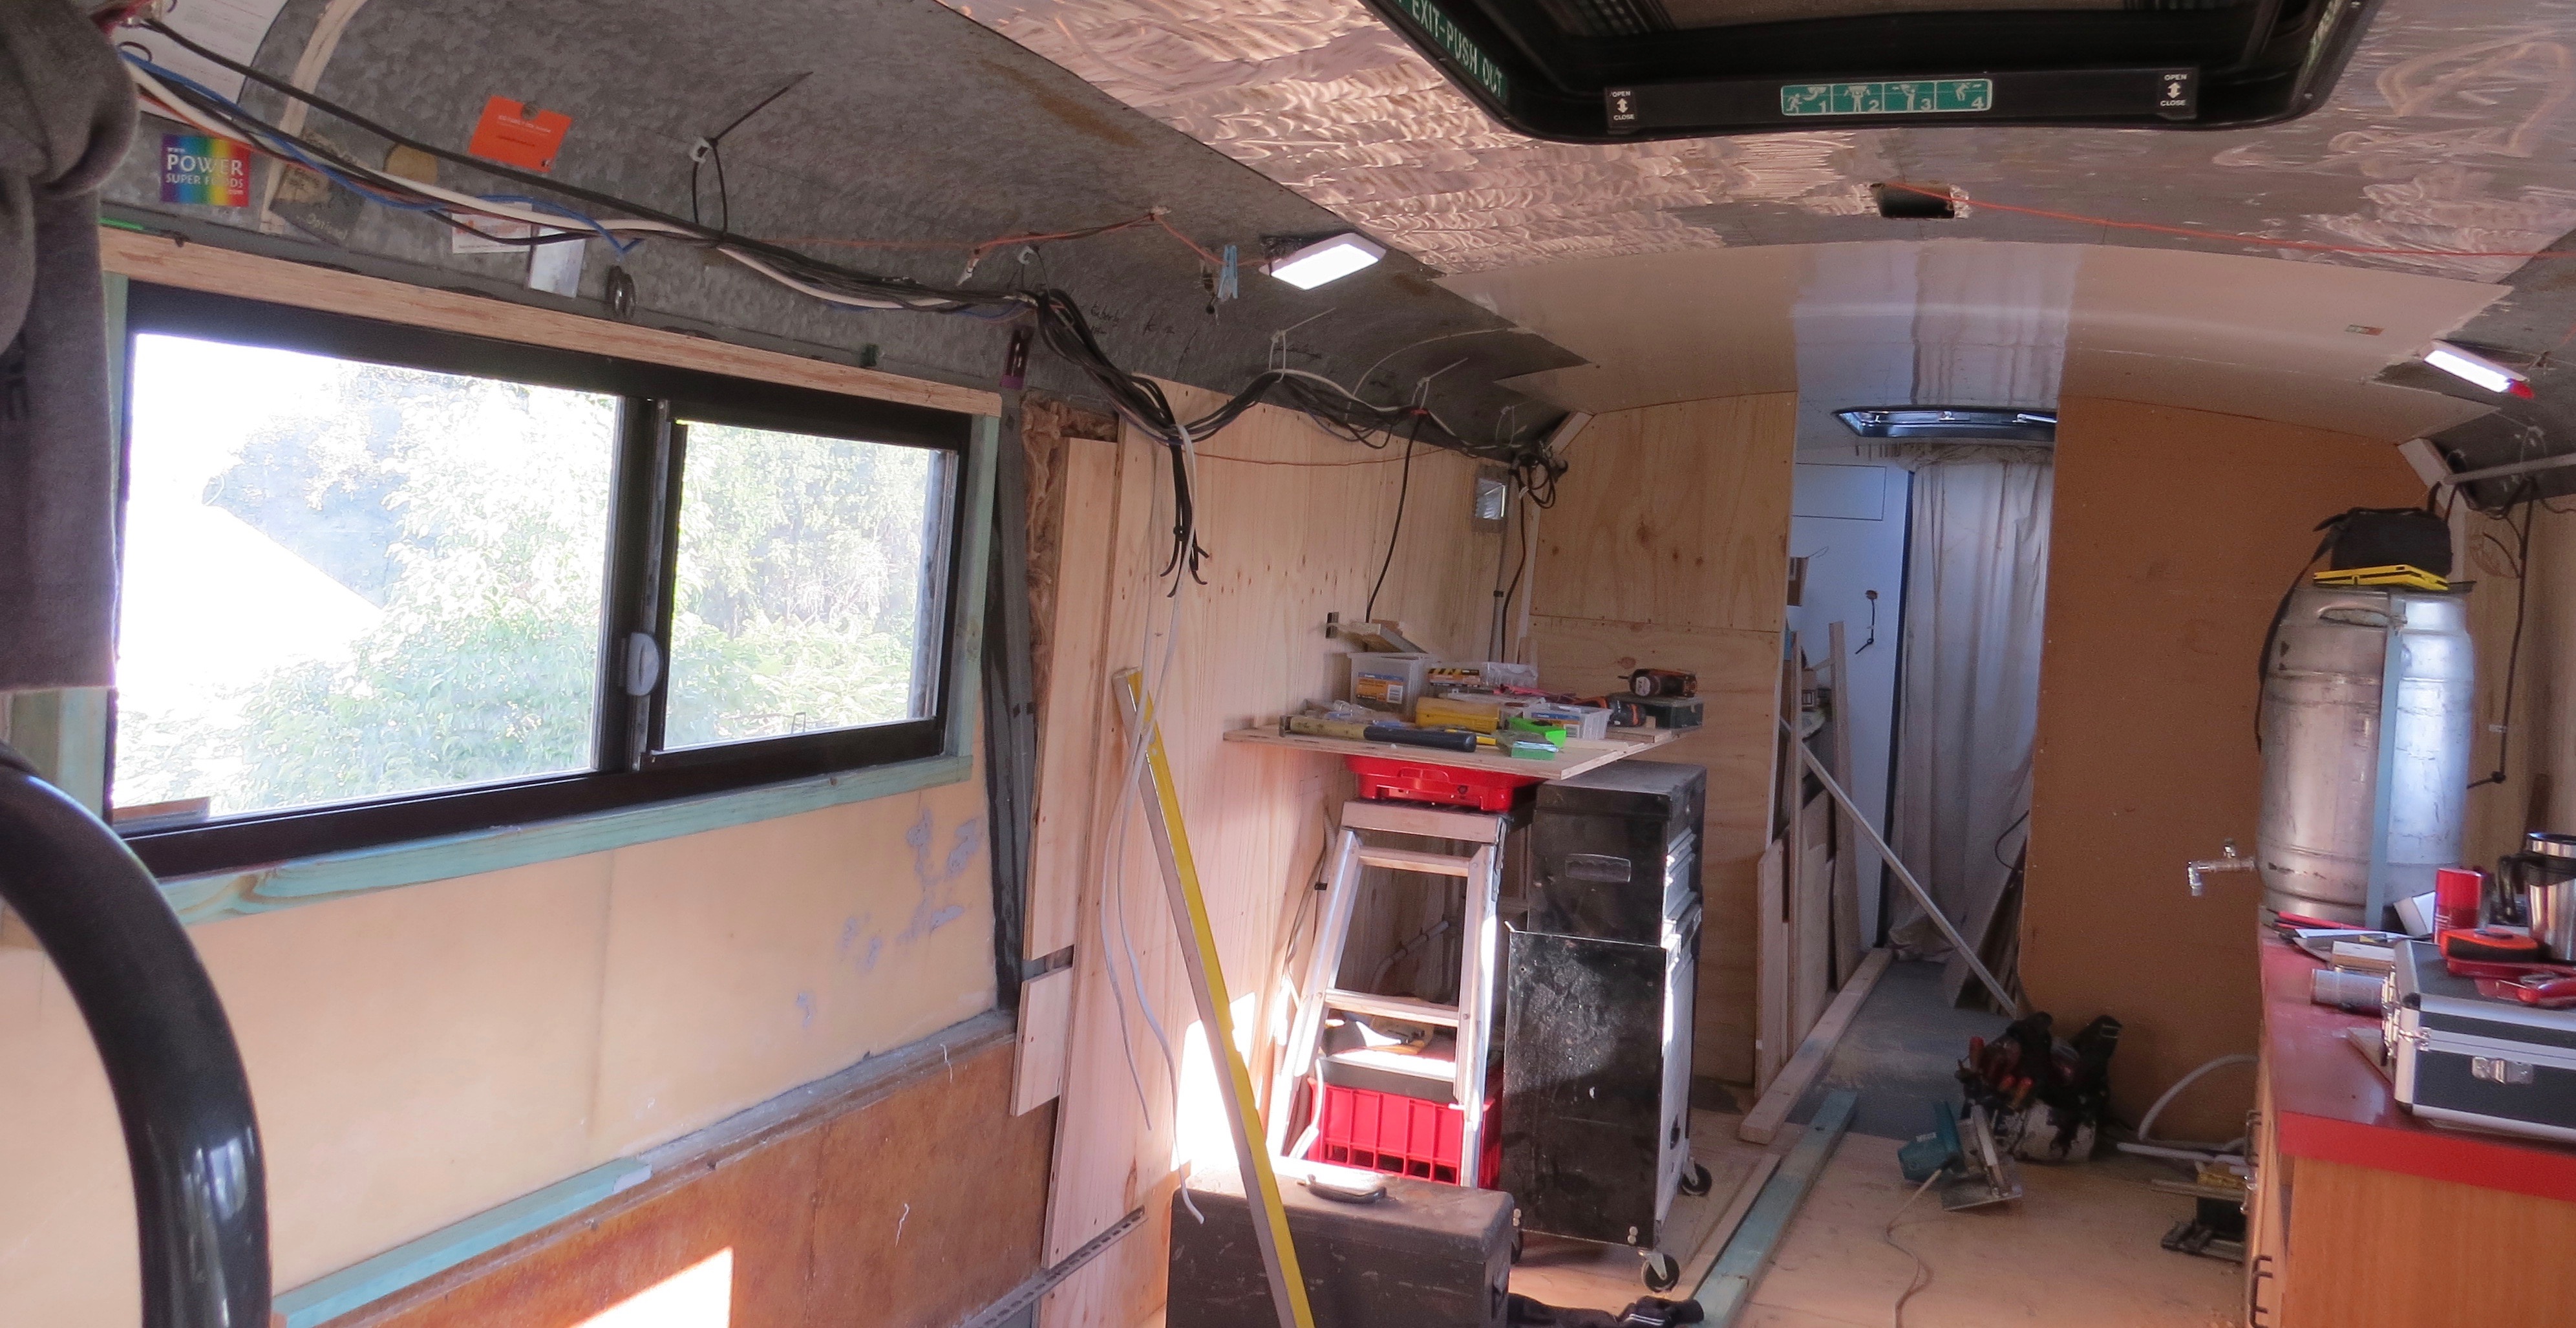
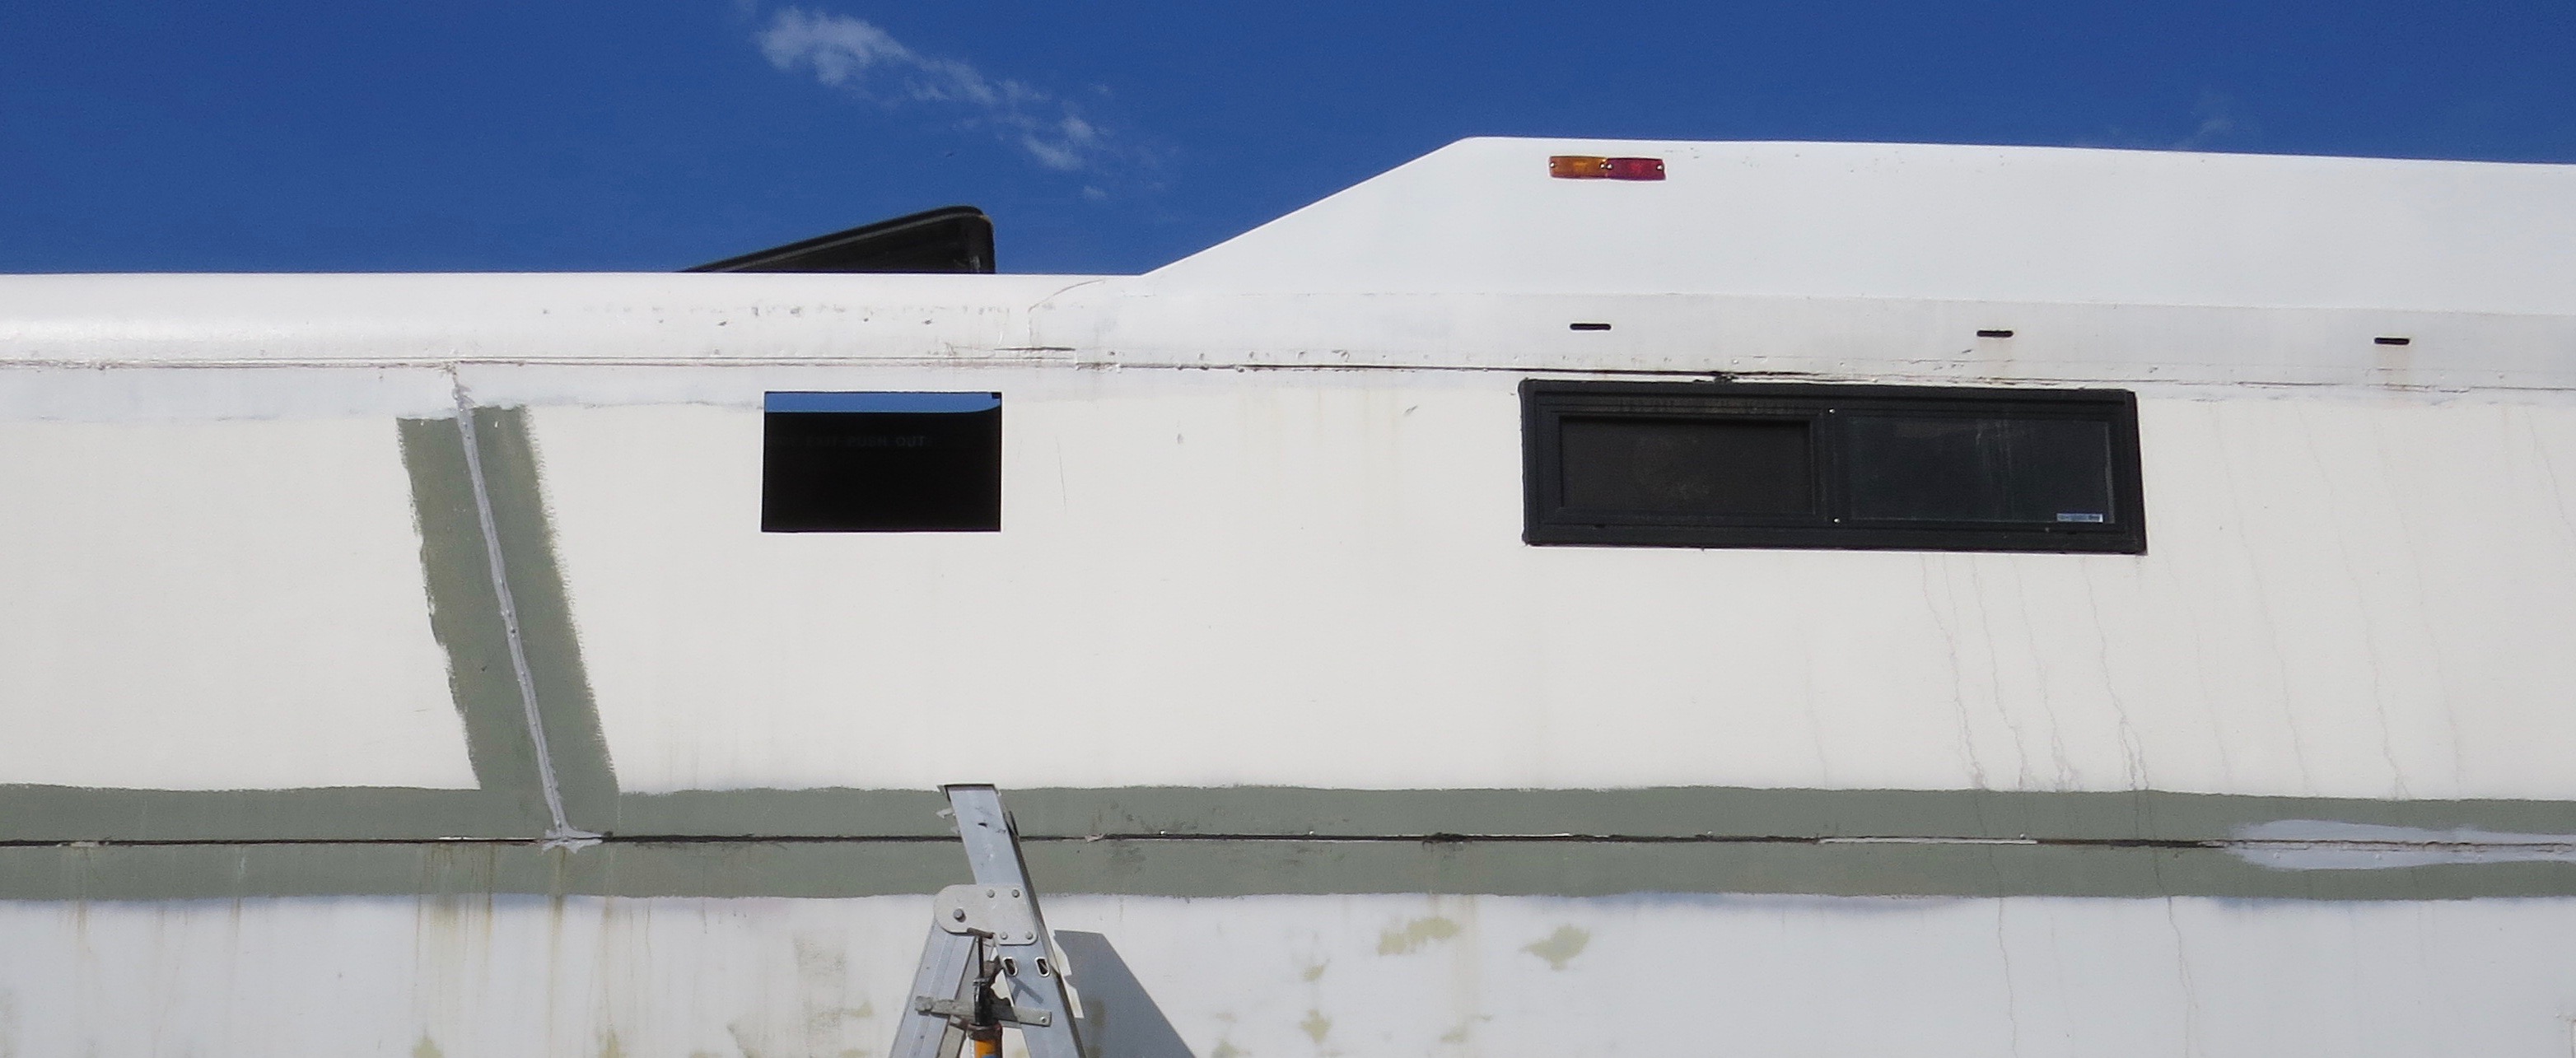
This is the last window to be fitted and that means one less job that needs to be done. Just have to mark out where the window has to go first, then double check it to make sure it’s in the right place.
Another hole in the side of the coach.The last major cut has been done.
Now all I have to do is rip down some timber for the size to fit around the window hole. A little bit more gluing, screwing and that job is all done.
Timber surround in place.The last window is now in.
The window frame has been sealed and screwed from the out side.
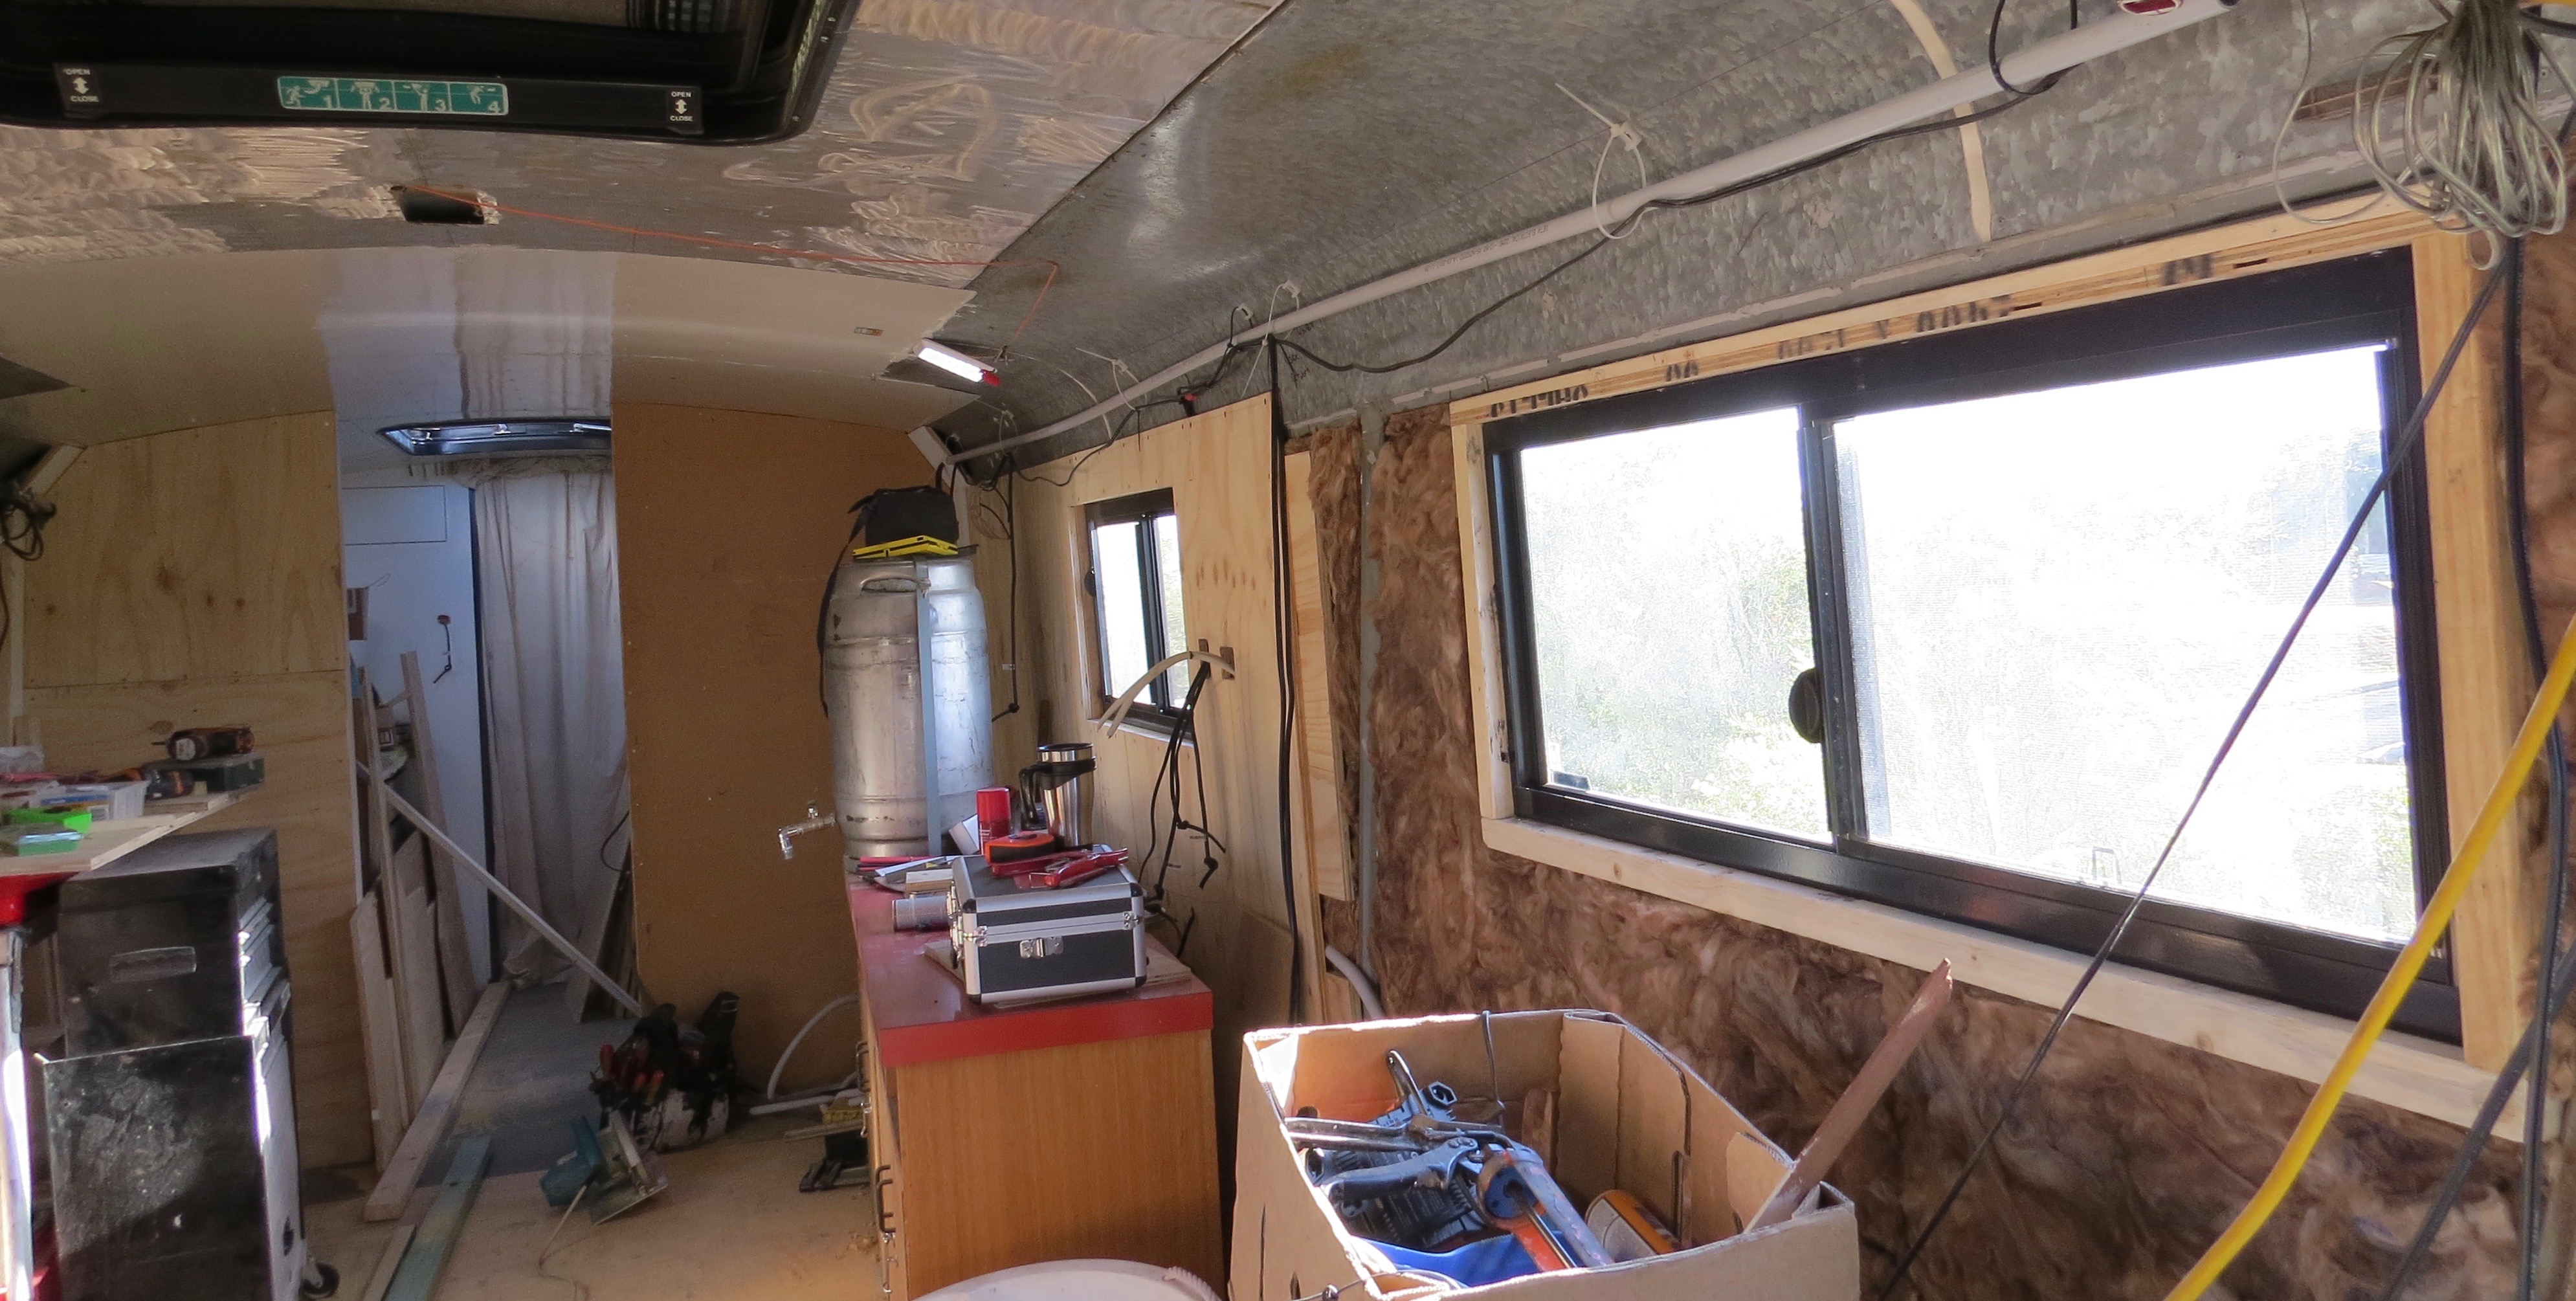
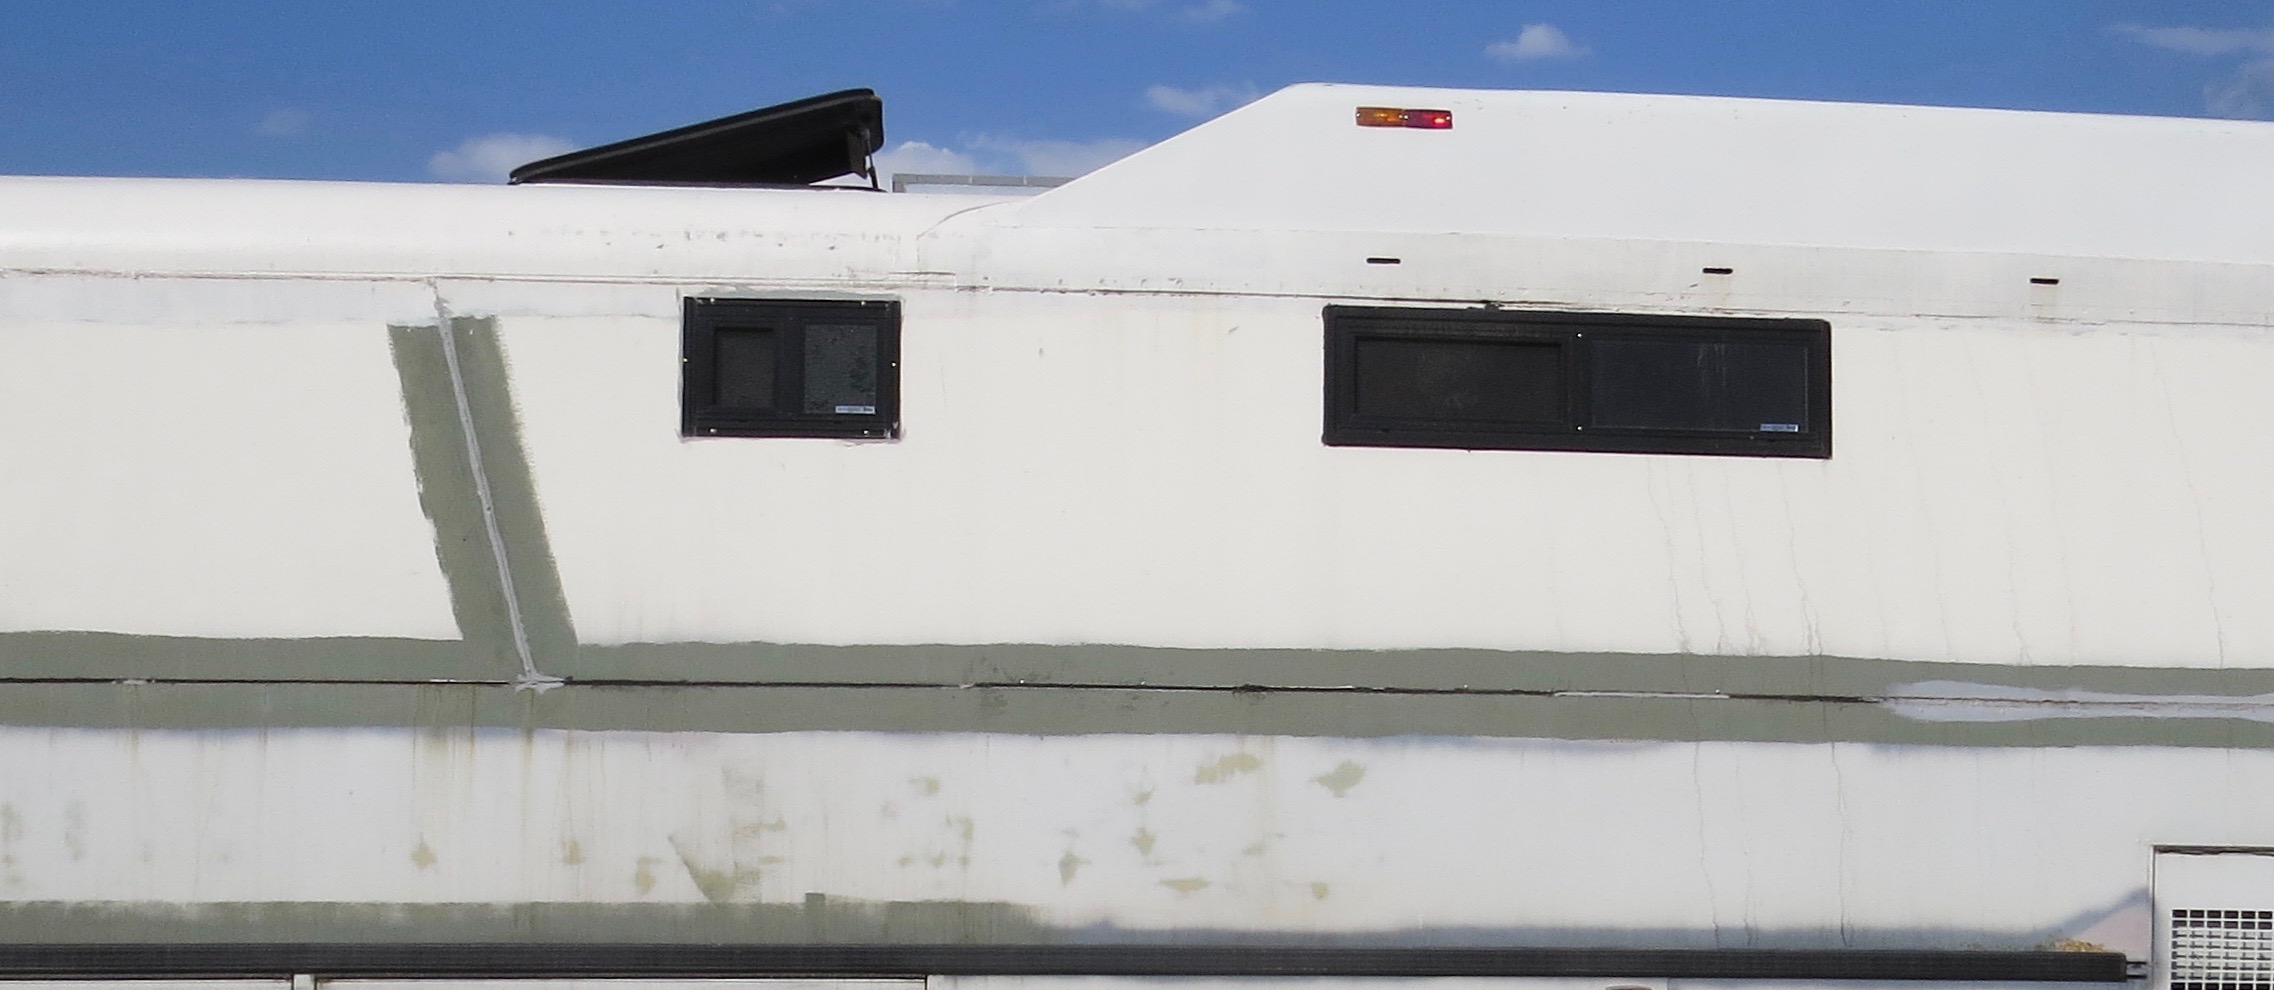
Now that is the last one finished.The other side.From outside.Drivers side.Passengers side.
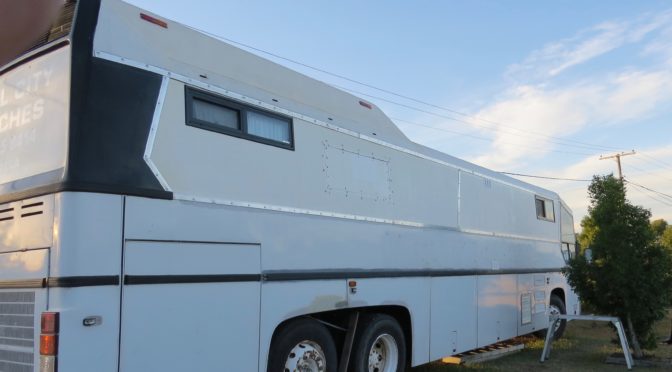
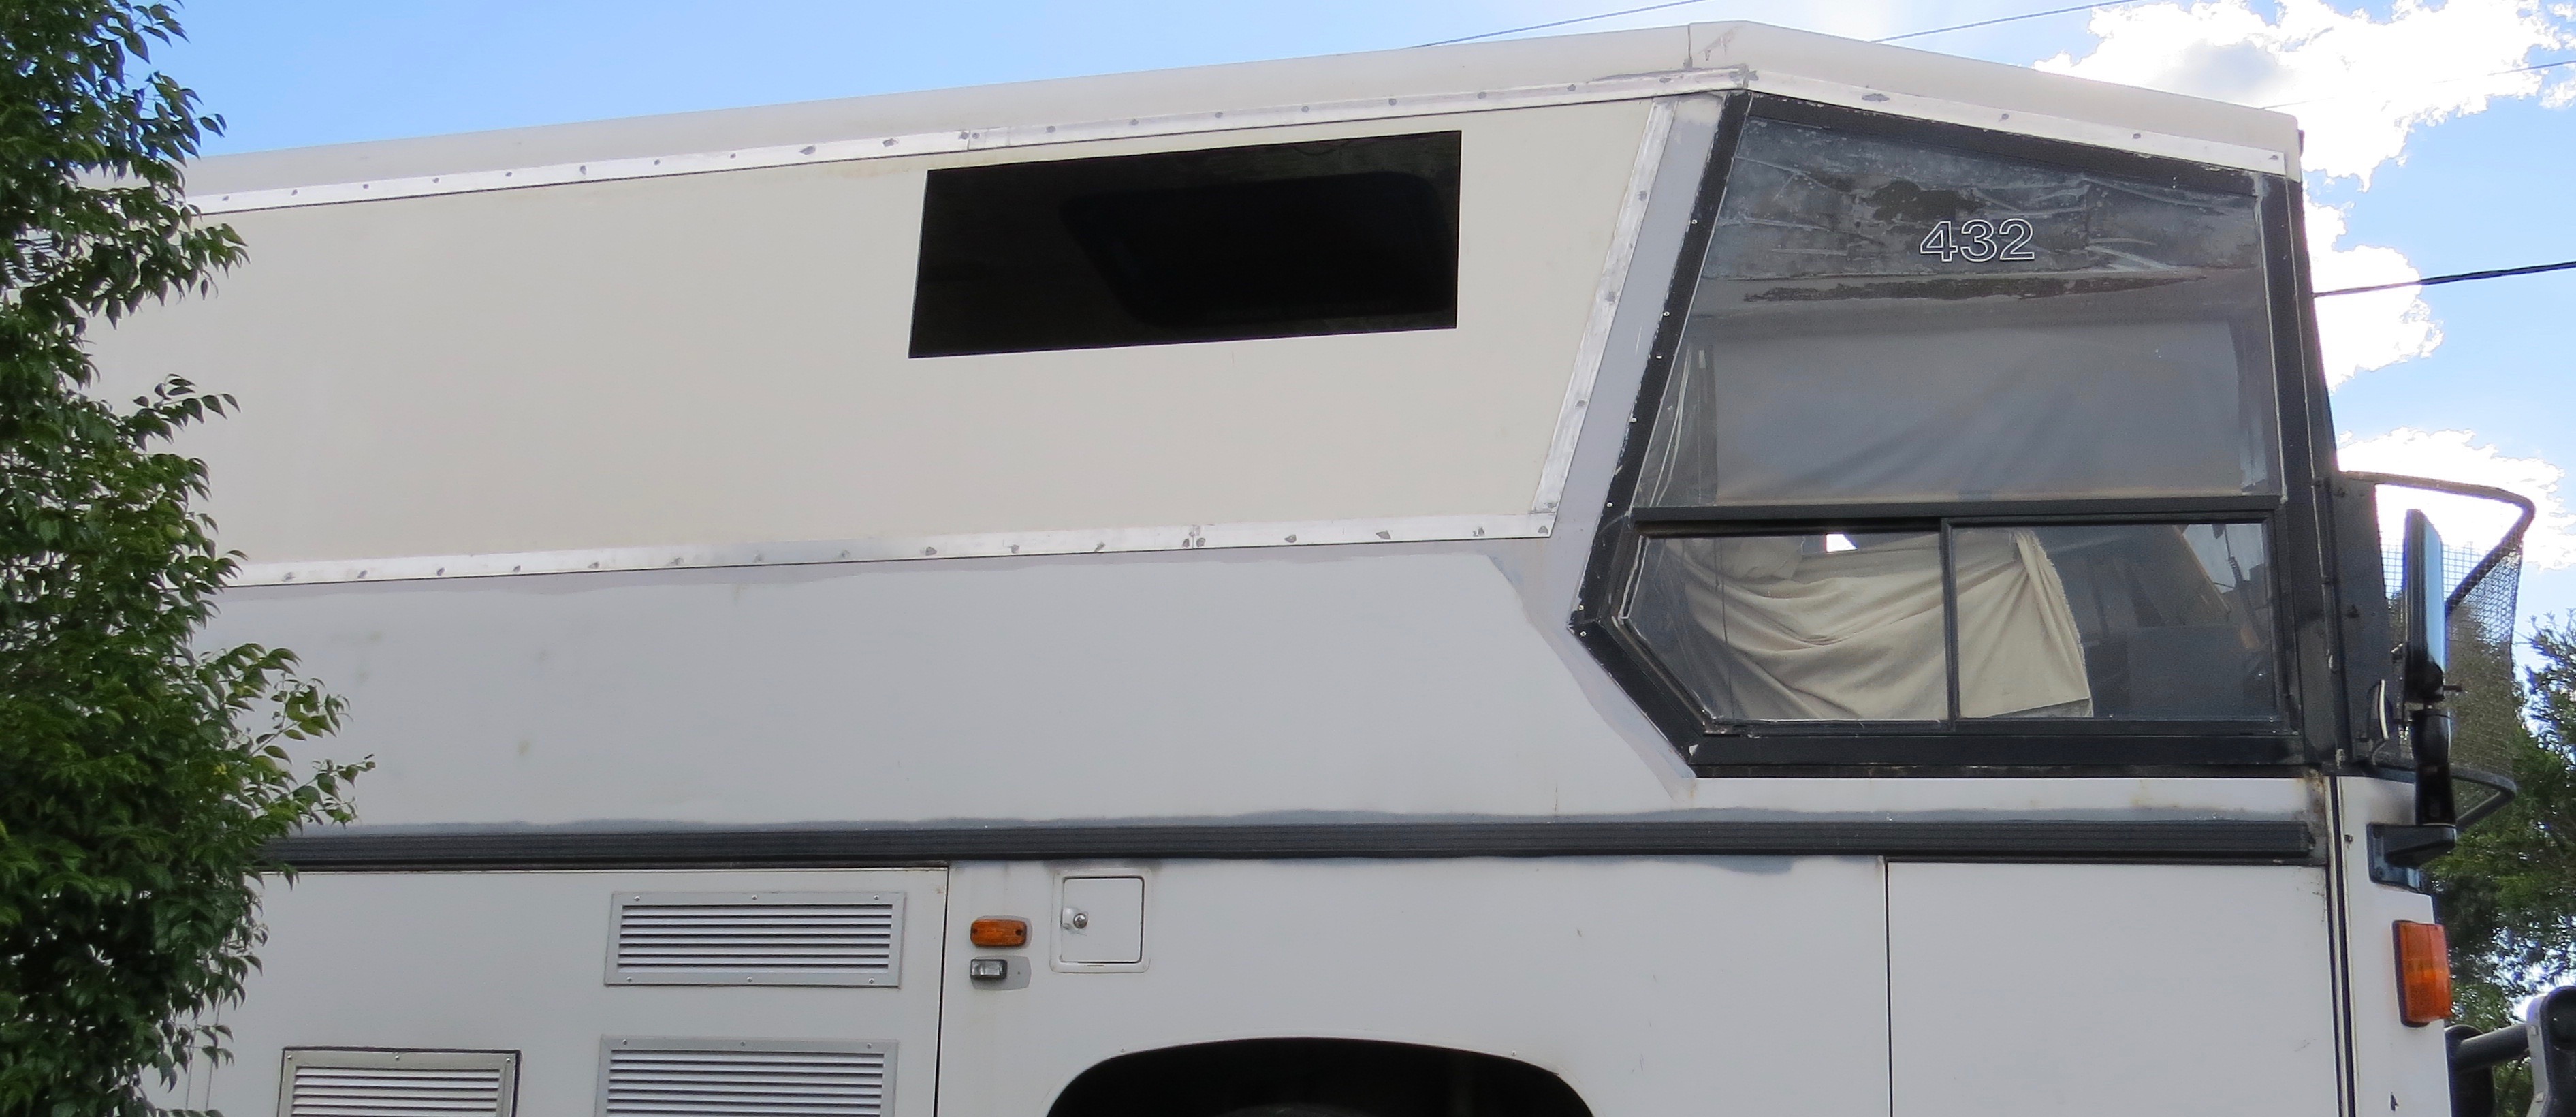
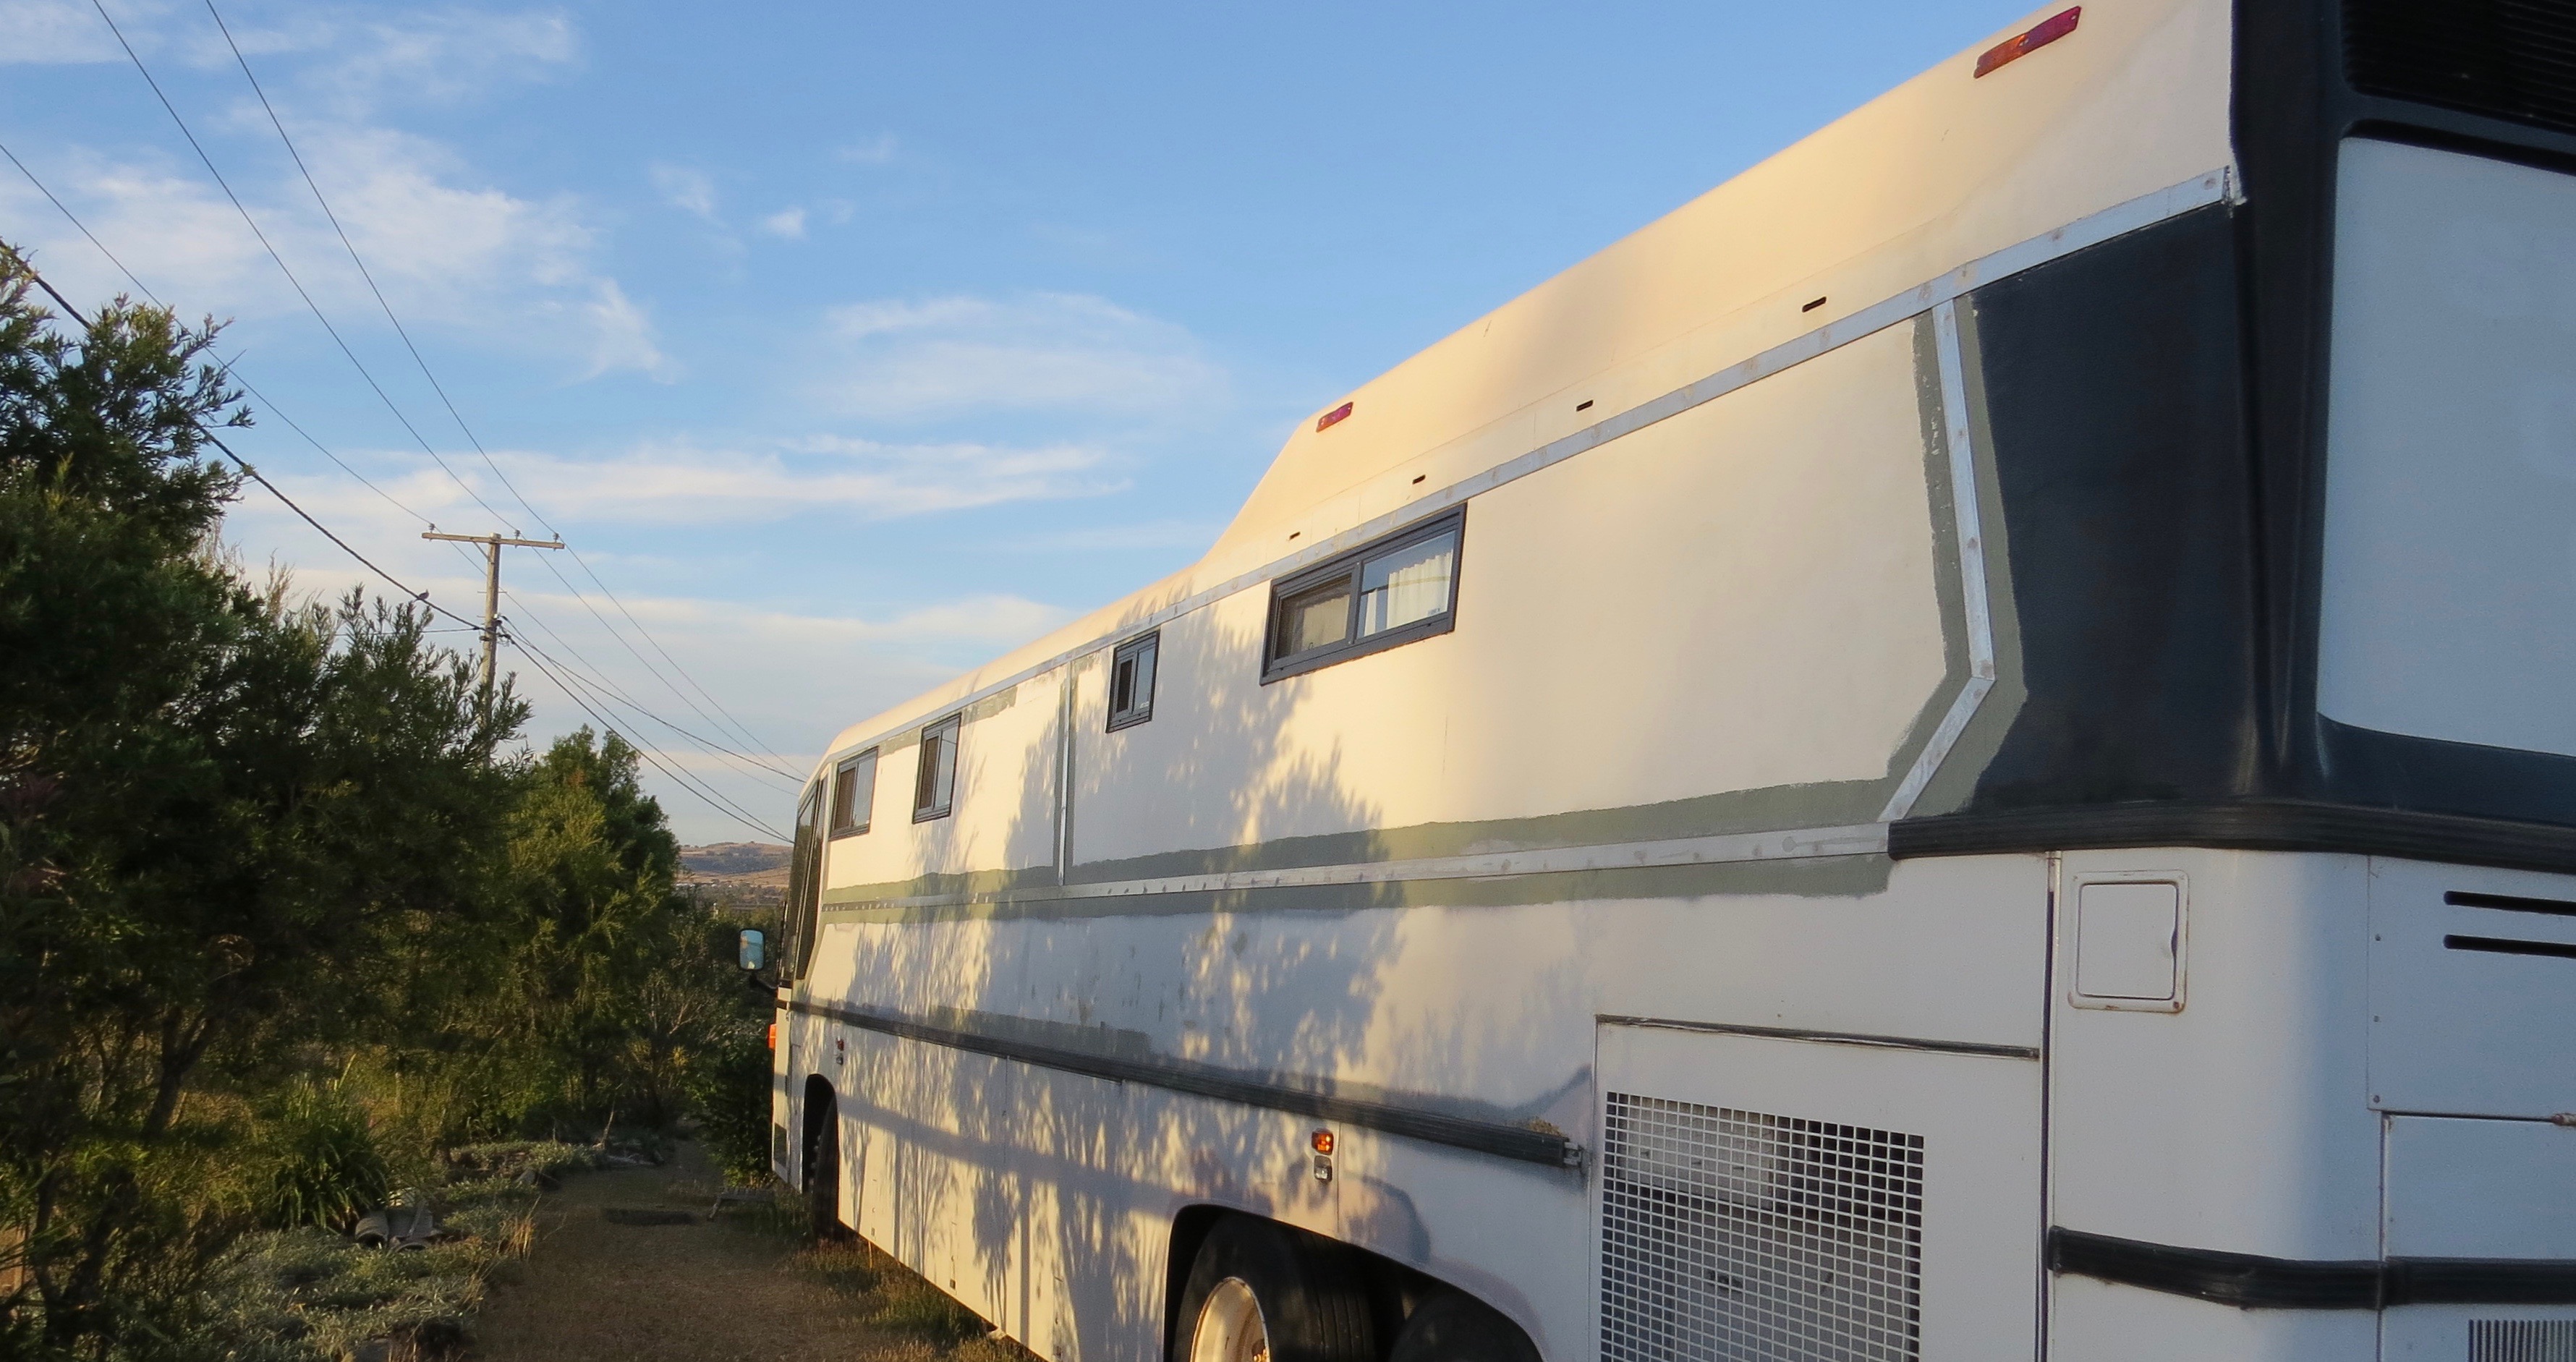
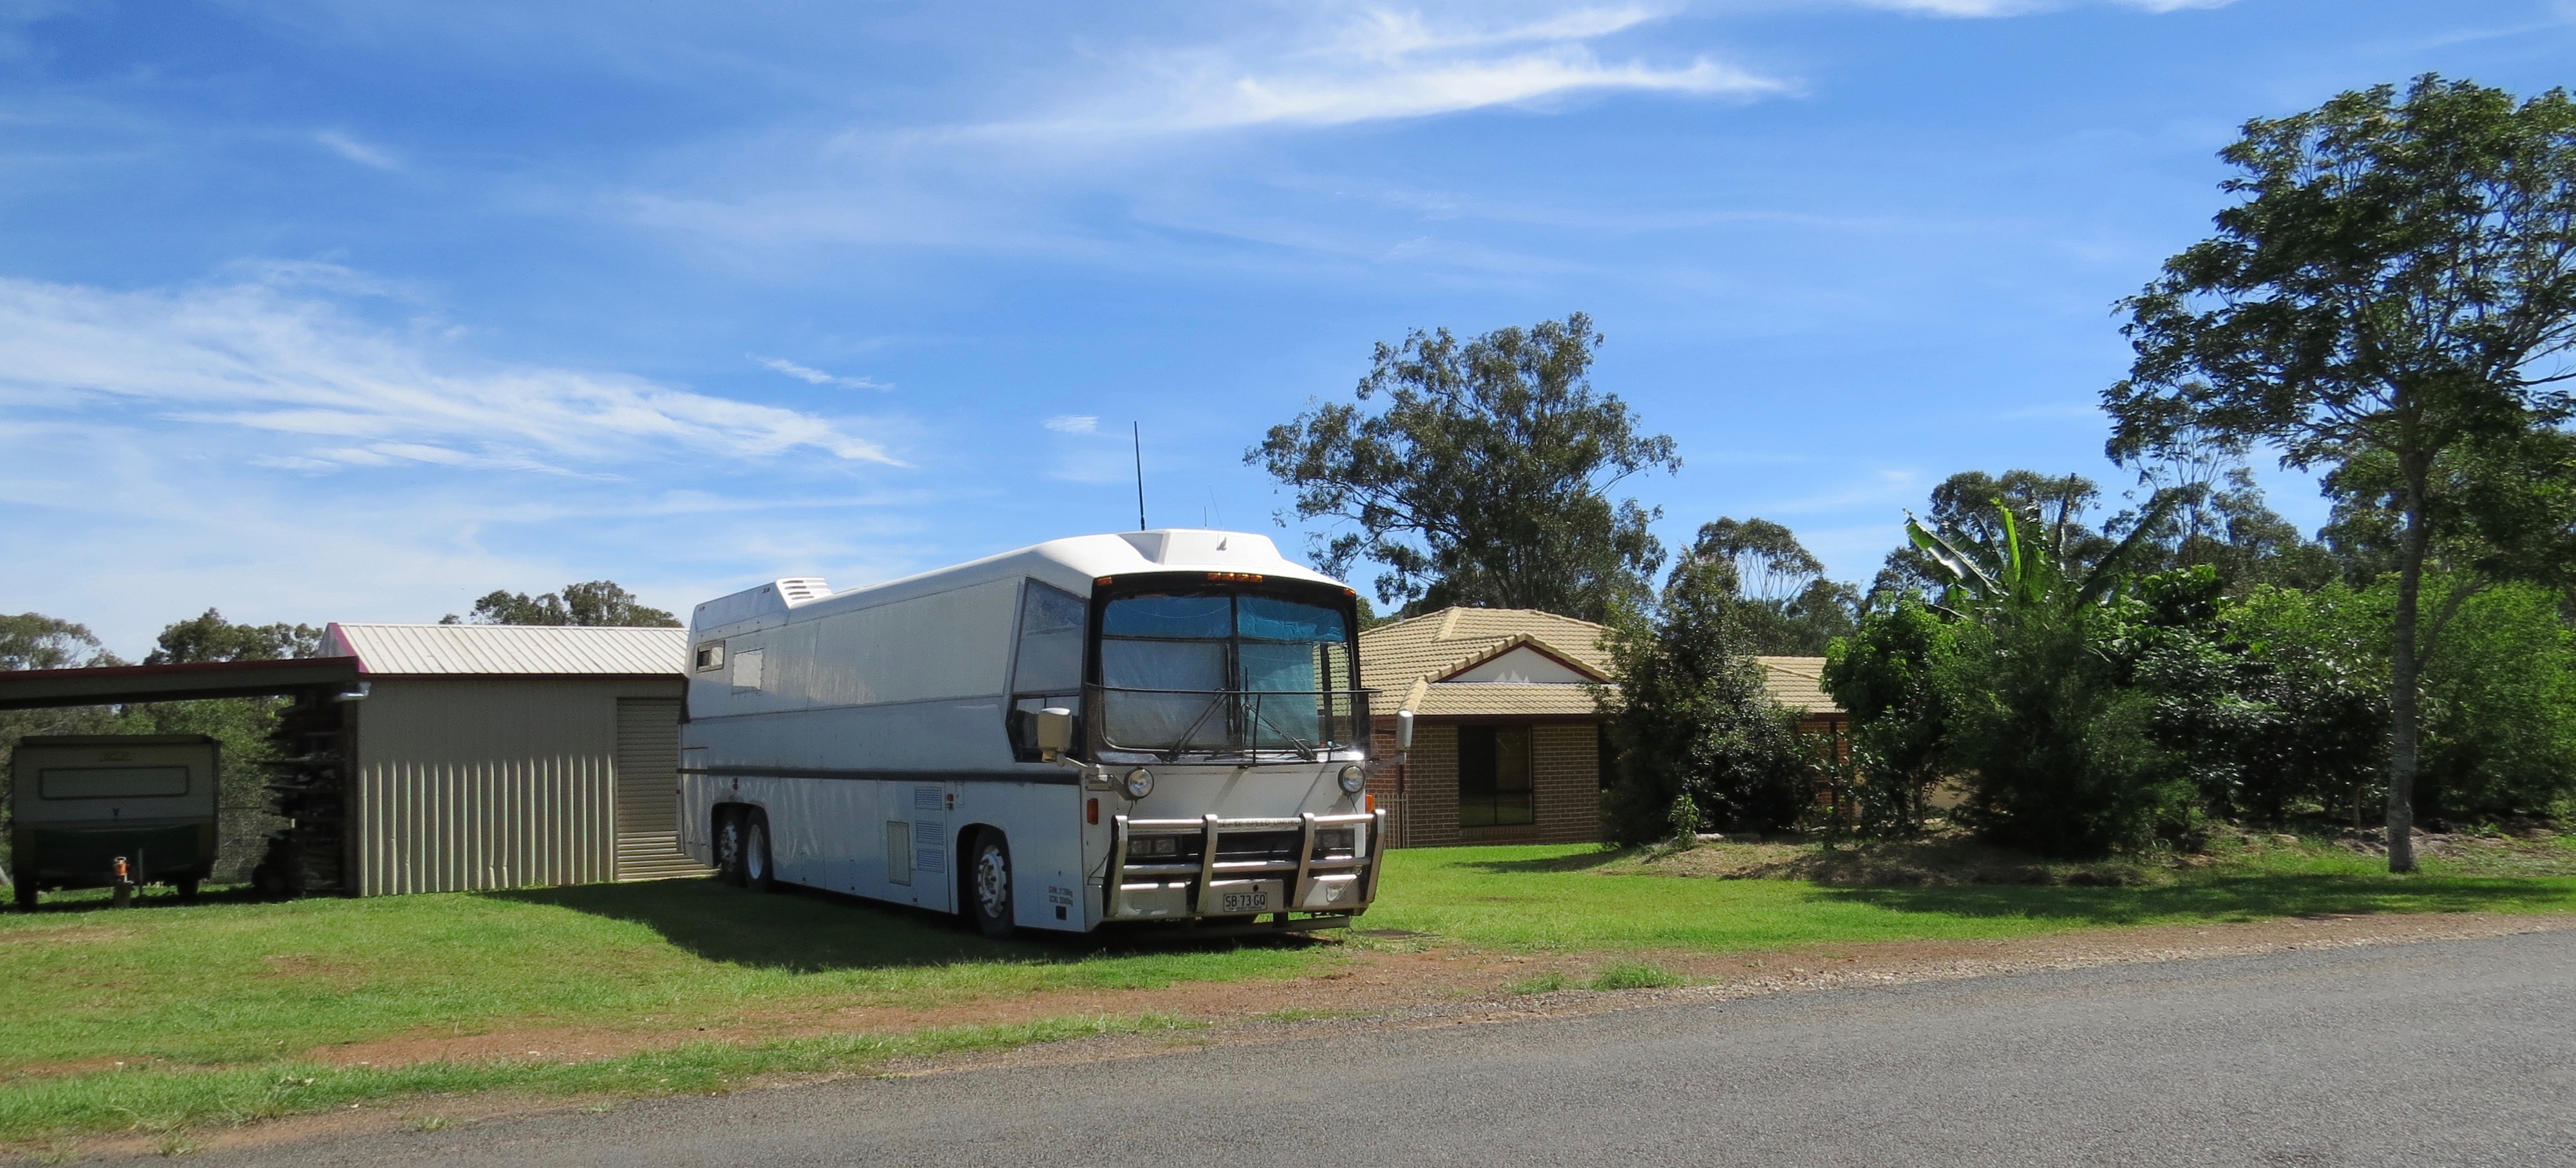
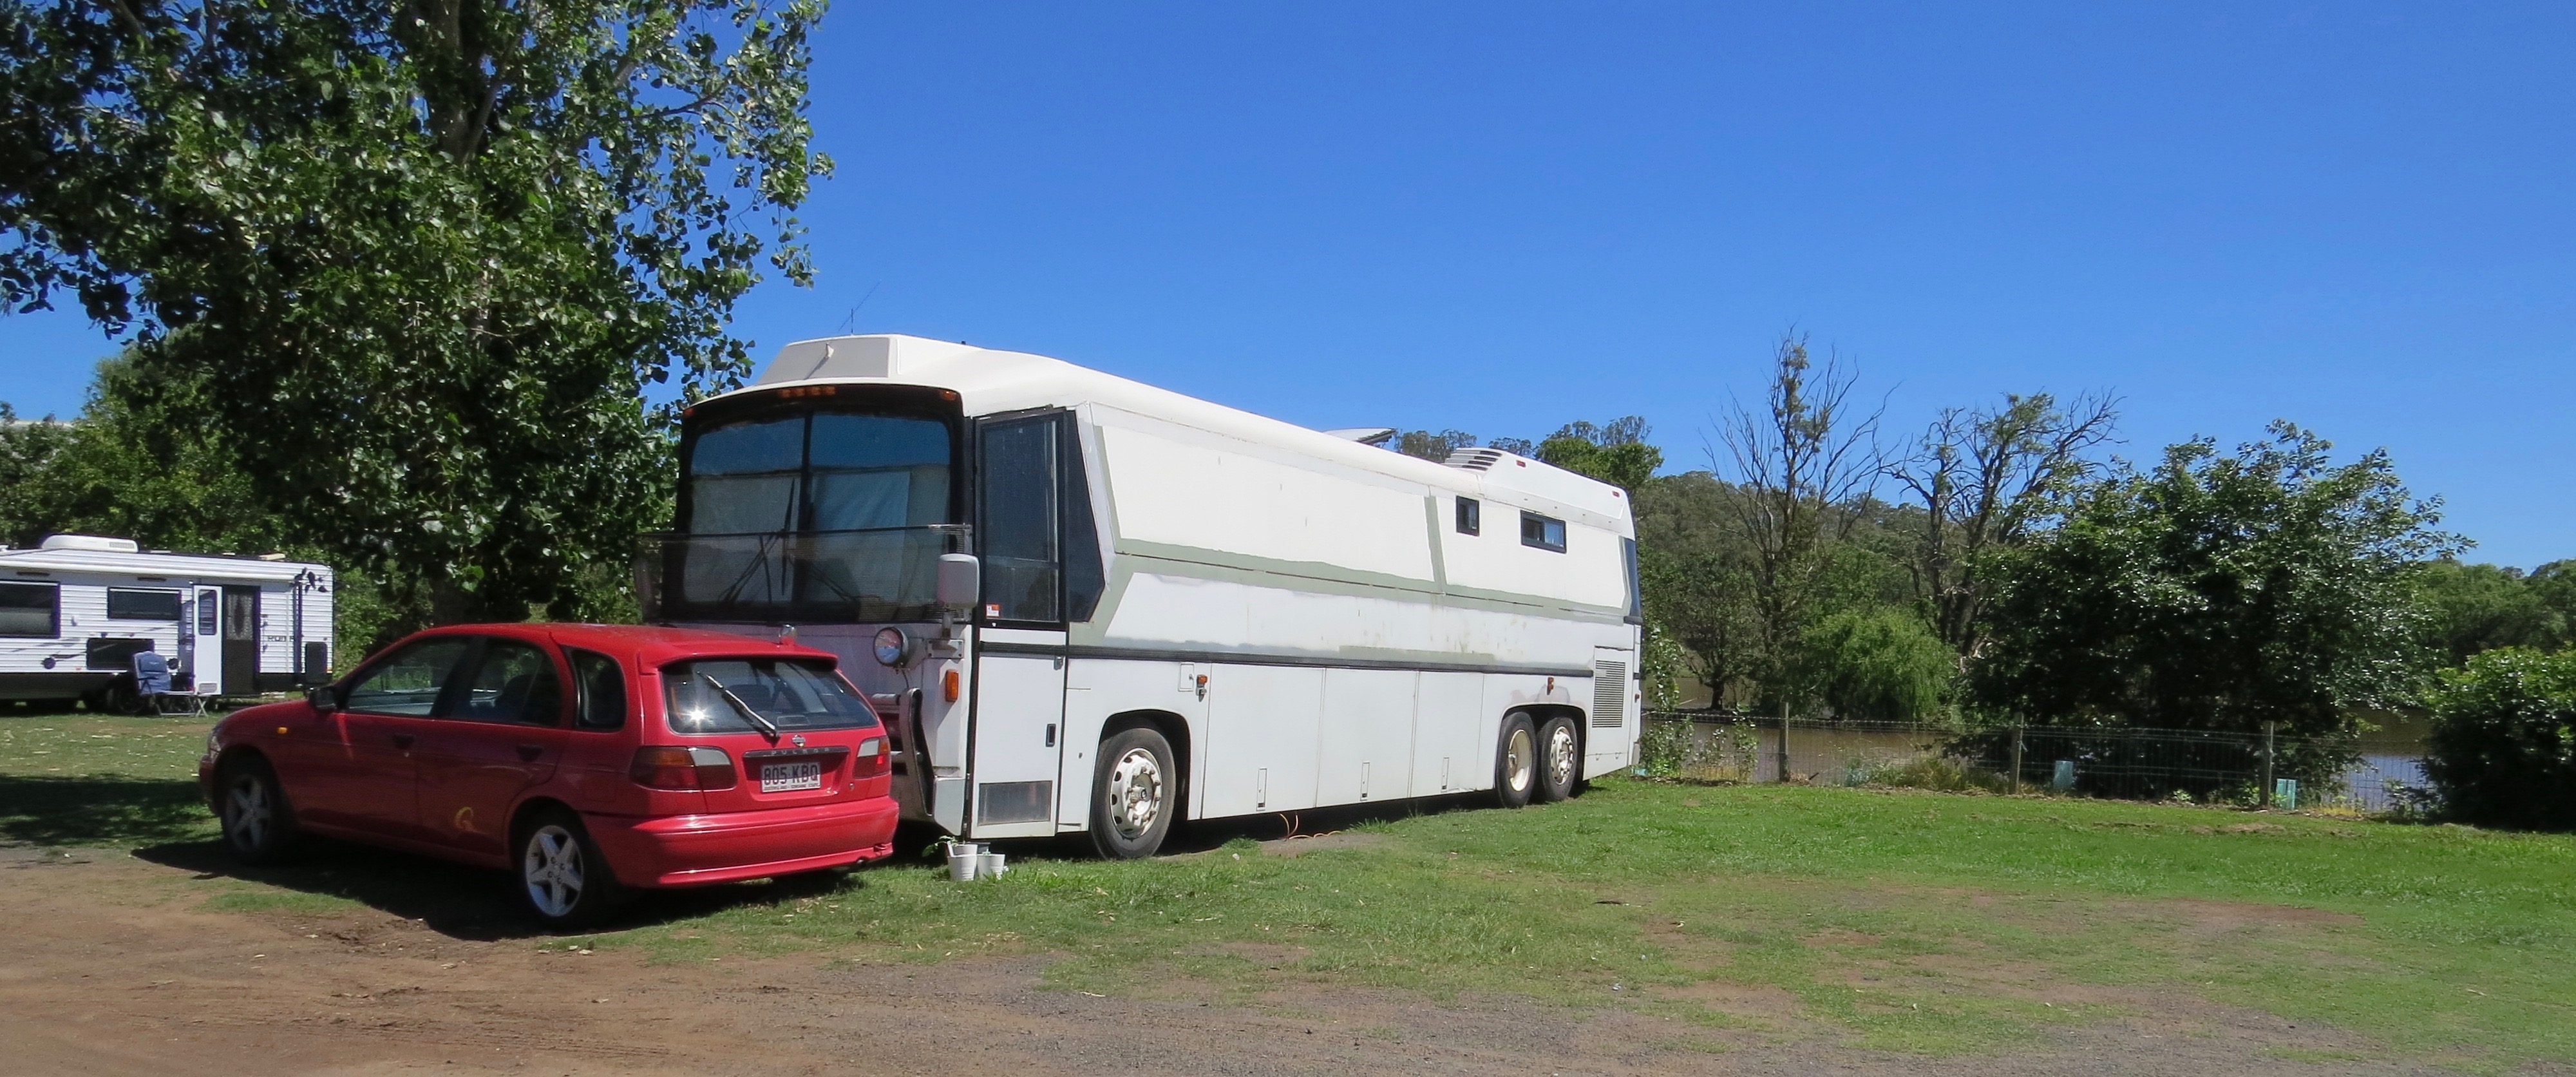
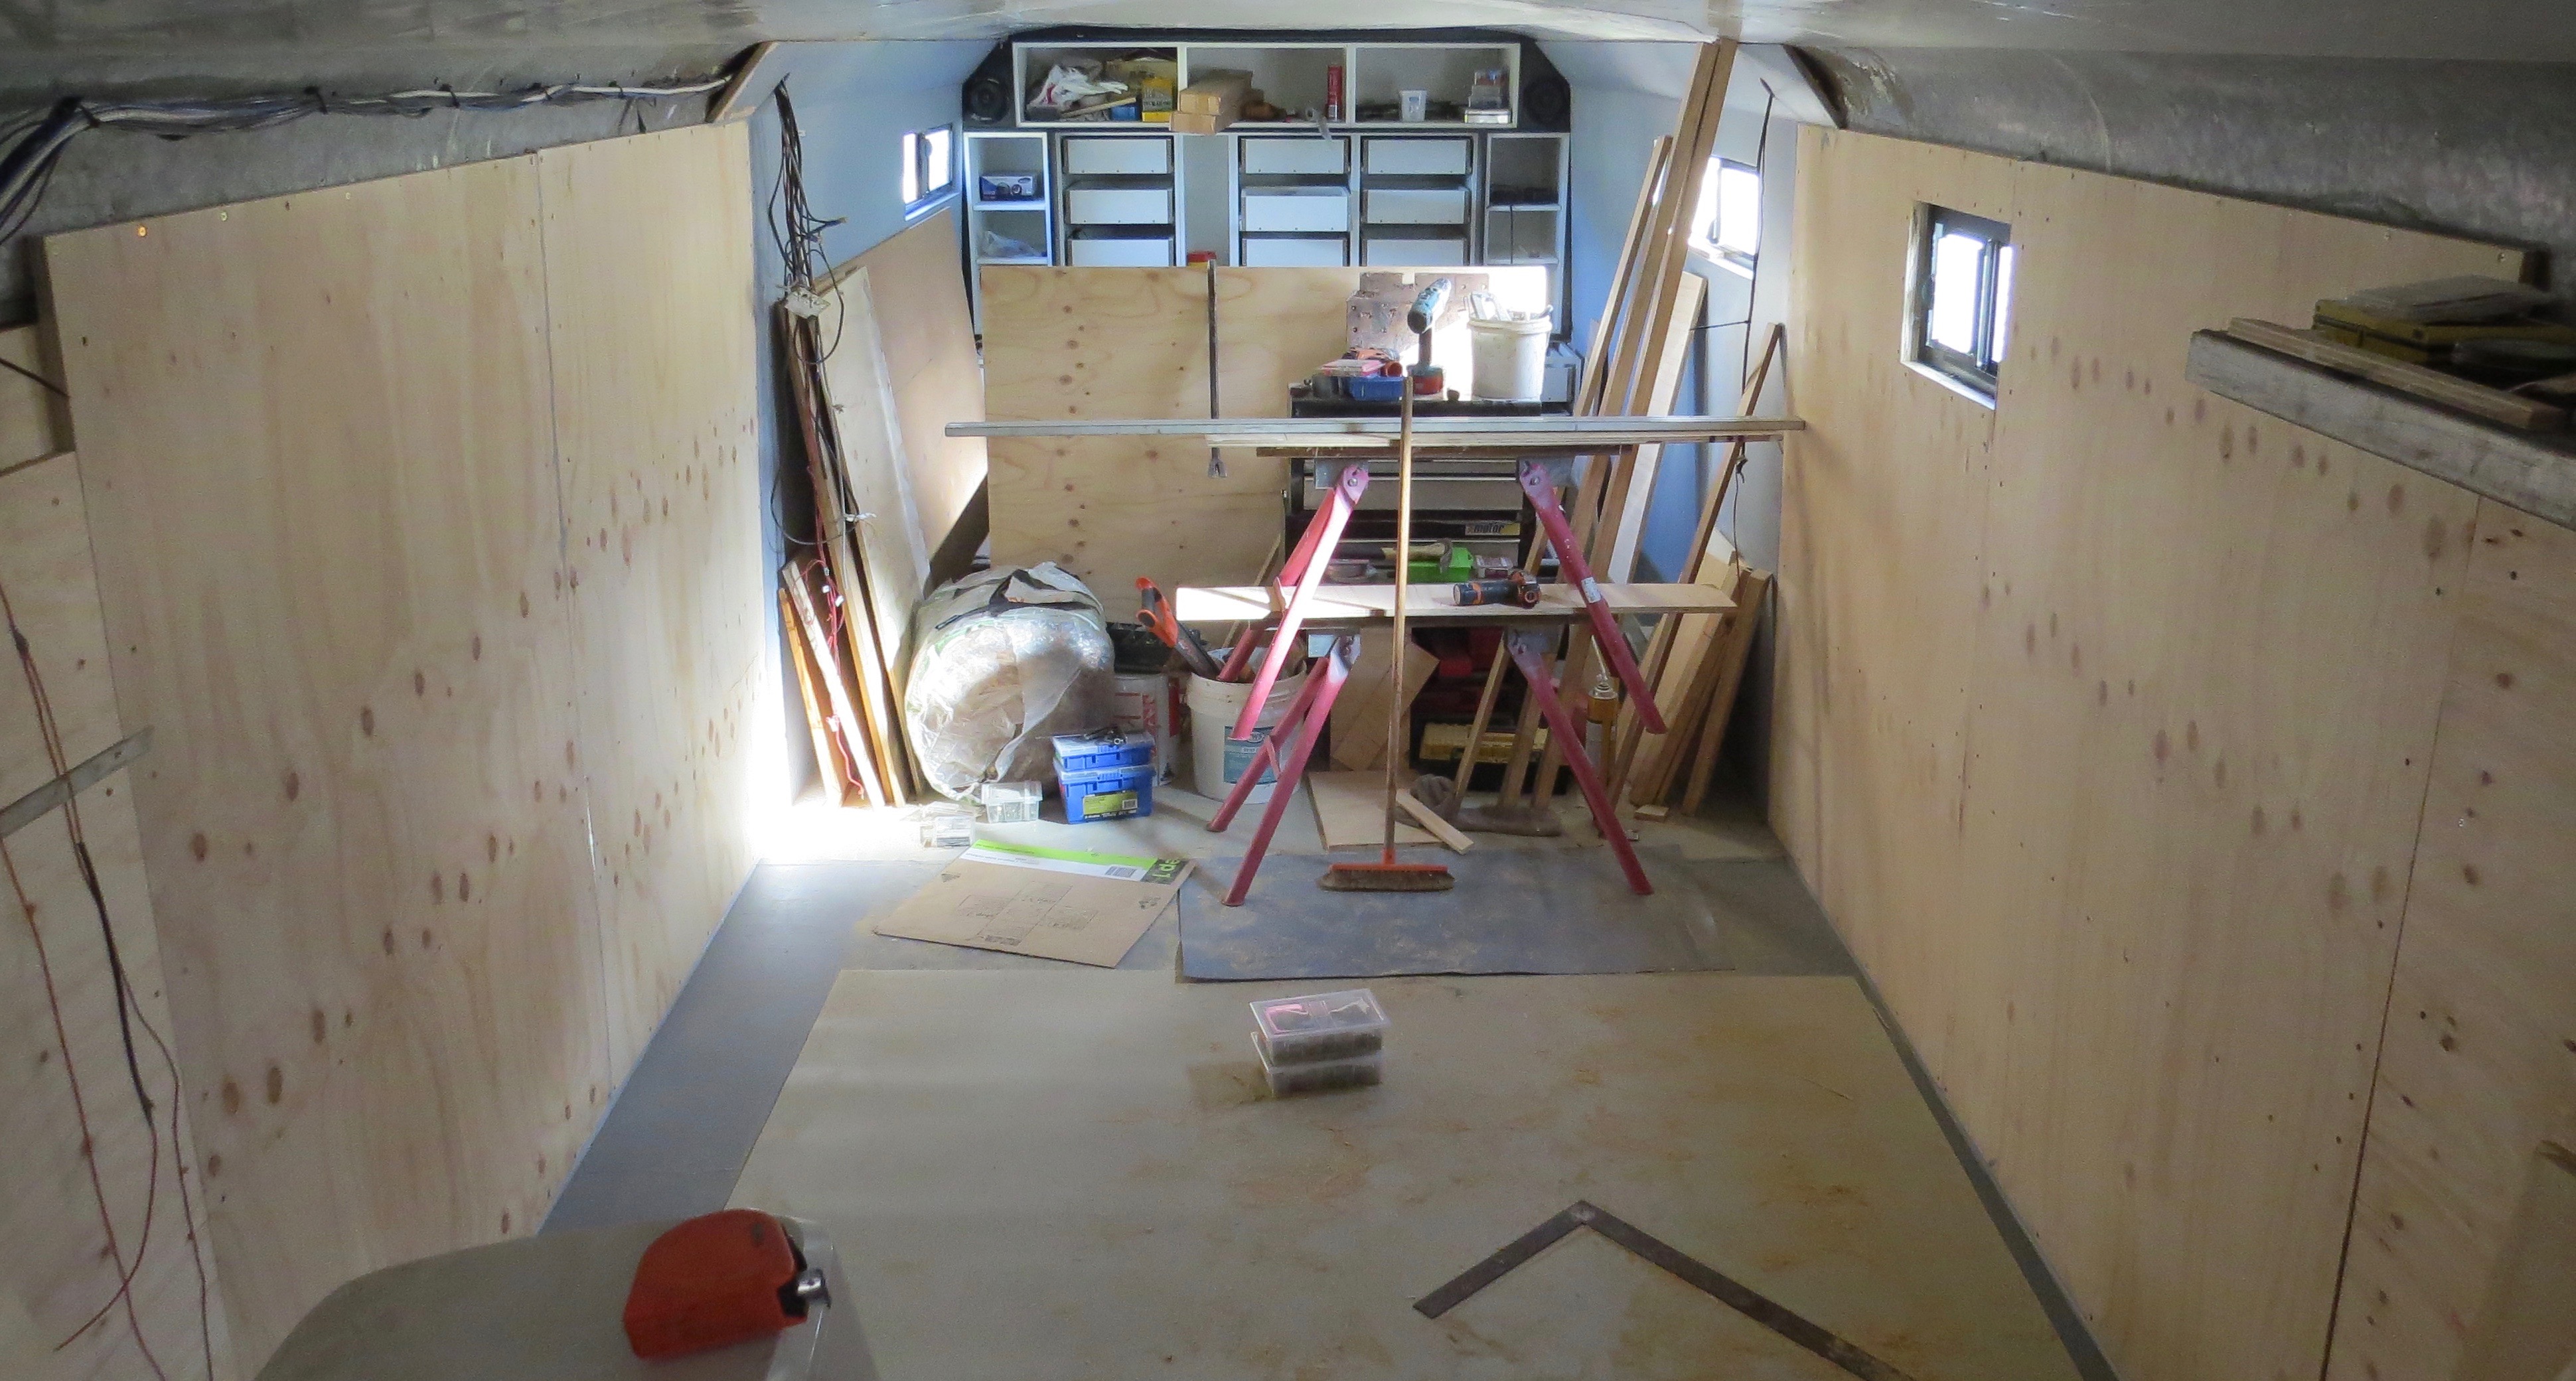
Well that makes a big difference to the outside, now it’s starting to look like our home on wheels. It’s so nice to see the job list being ticked off one by one. Once I have worked on finishing the front floor and walls,… all that will be left to do is fitting out.
Just one of those days, Charmaine had gone to work and I was packing up the coach to move to a new house sit in Laidley Heights. While going down the road driving, I decided ro stop on the side of the road to check everything was ok inside and out. After checking things I jumped back into the driver’s seat turned the key and nothing happened apart from some clicking. So there I was on the side of the road…. the only good thing was I parked under a nice big tree, so I had some shade.
I gave Charmaine a call and when she had finished work she came back so at least I could jump-start the coach. That didn’t work either and we were going to have to spend some money and get some help. A $110 and a 1hr later help arrived, we hooked up two 12v batteries to make 24v and even that didn’t work until he put power straight to the starter motor bypassing the solenoid the Detroit started like nothing happened.
That was not the only problem
So back on the road again, I had tested the engine brakes on the flat but now it was down the Toowoomba range to give them the real test. Charmaine went on ahead down the range in front of me, as I put it in second gear and switch on the engine breaks and down the hill I went no problem. Finally something worked right, I made it down the range in one pice.
The next thing to go wrong was the inline diesel filter under the bus started to block about 10 klms from a our next house sit, so I had to pull over, stop to clean the inline filter and the main filters too. On the side of the road for the second time in one day with no way to start the coach by myself, so another call to Charmaine to come to the rescue again. This time Charmaine was inside the coach to turn the key while I did the 24v power bypass to the starter motor and back on the road again.
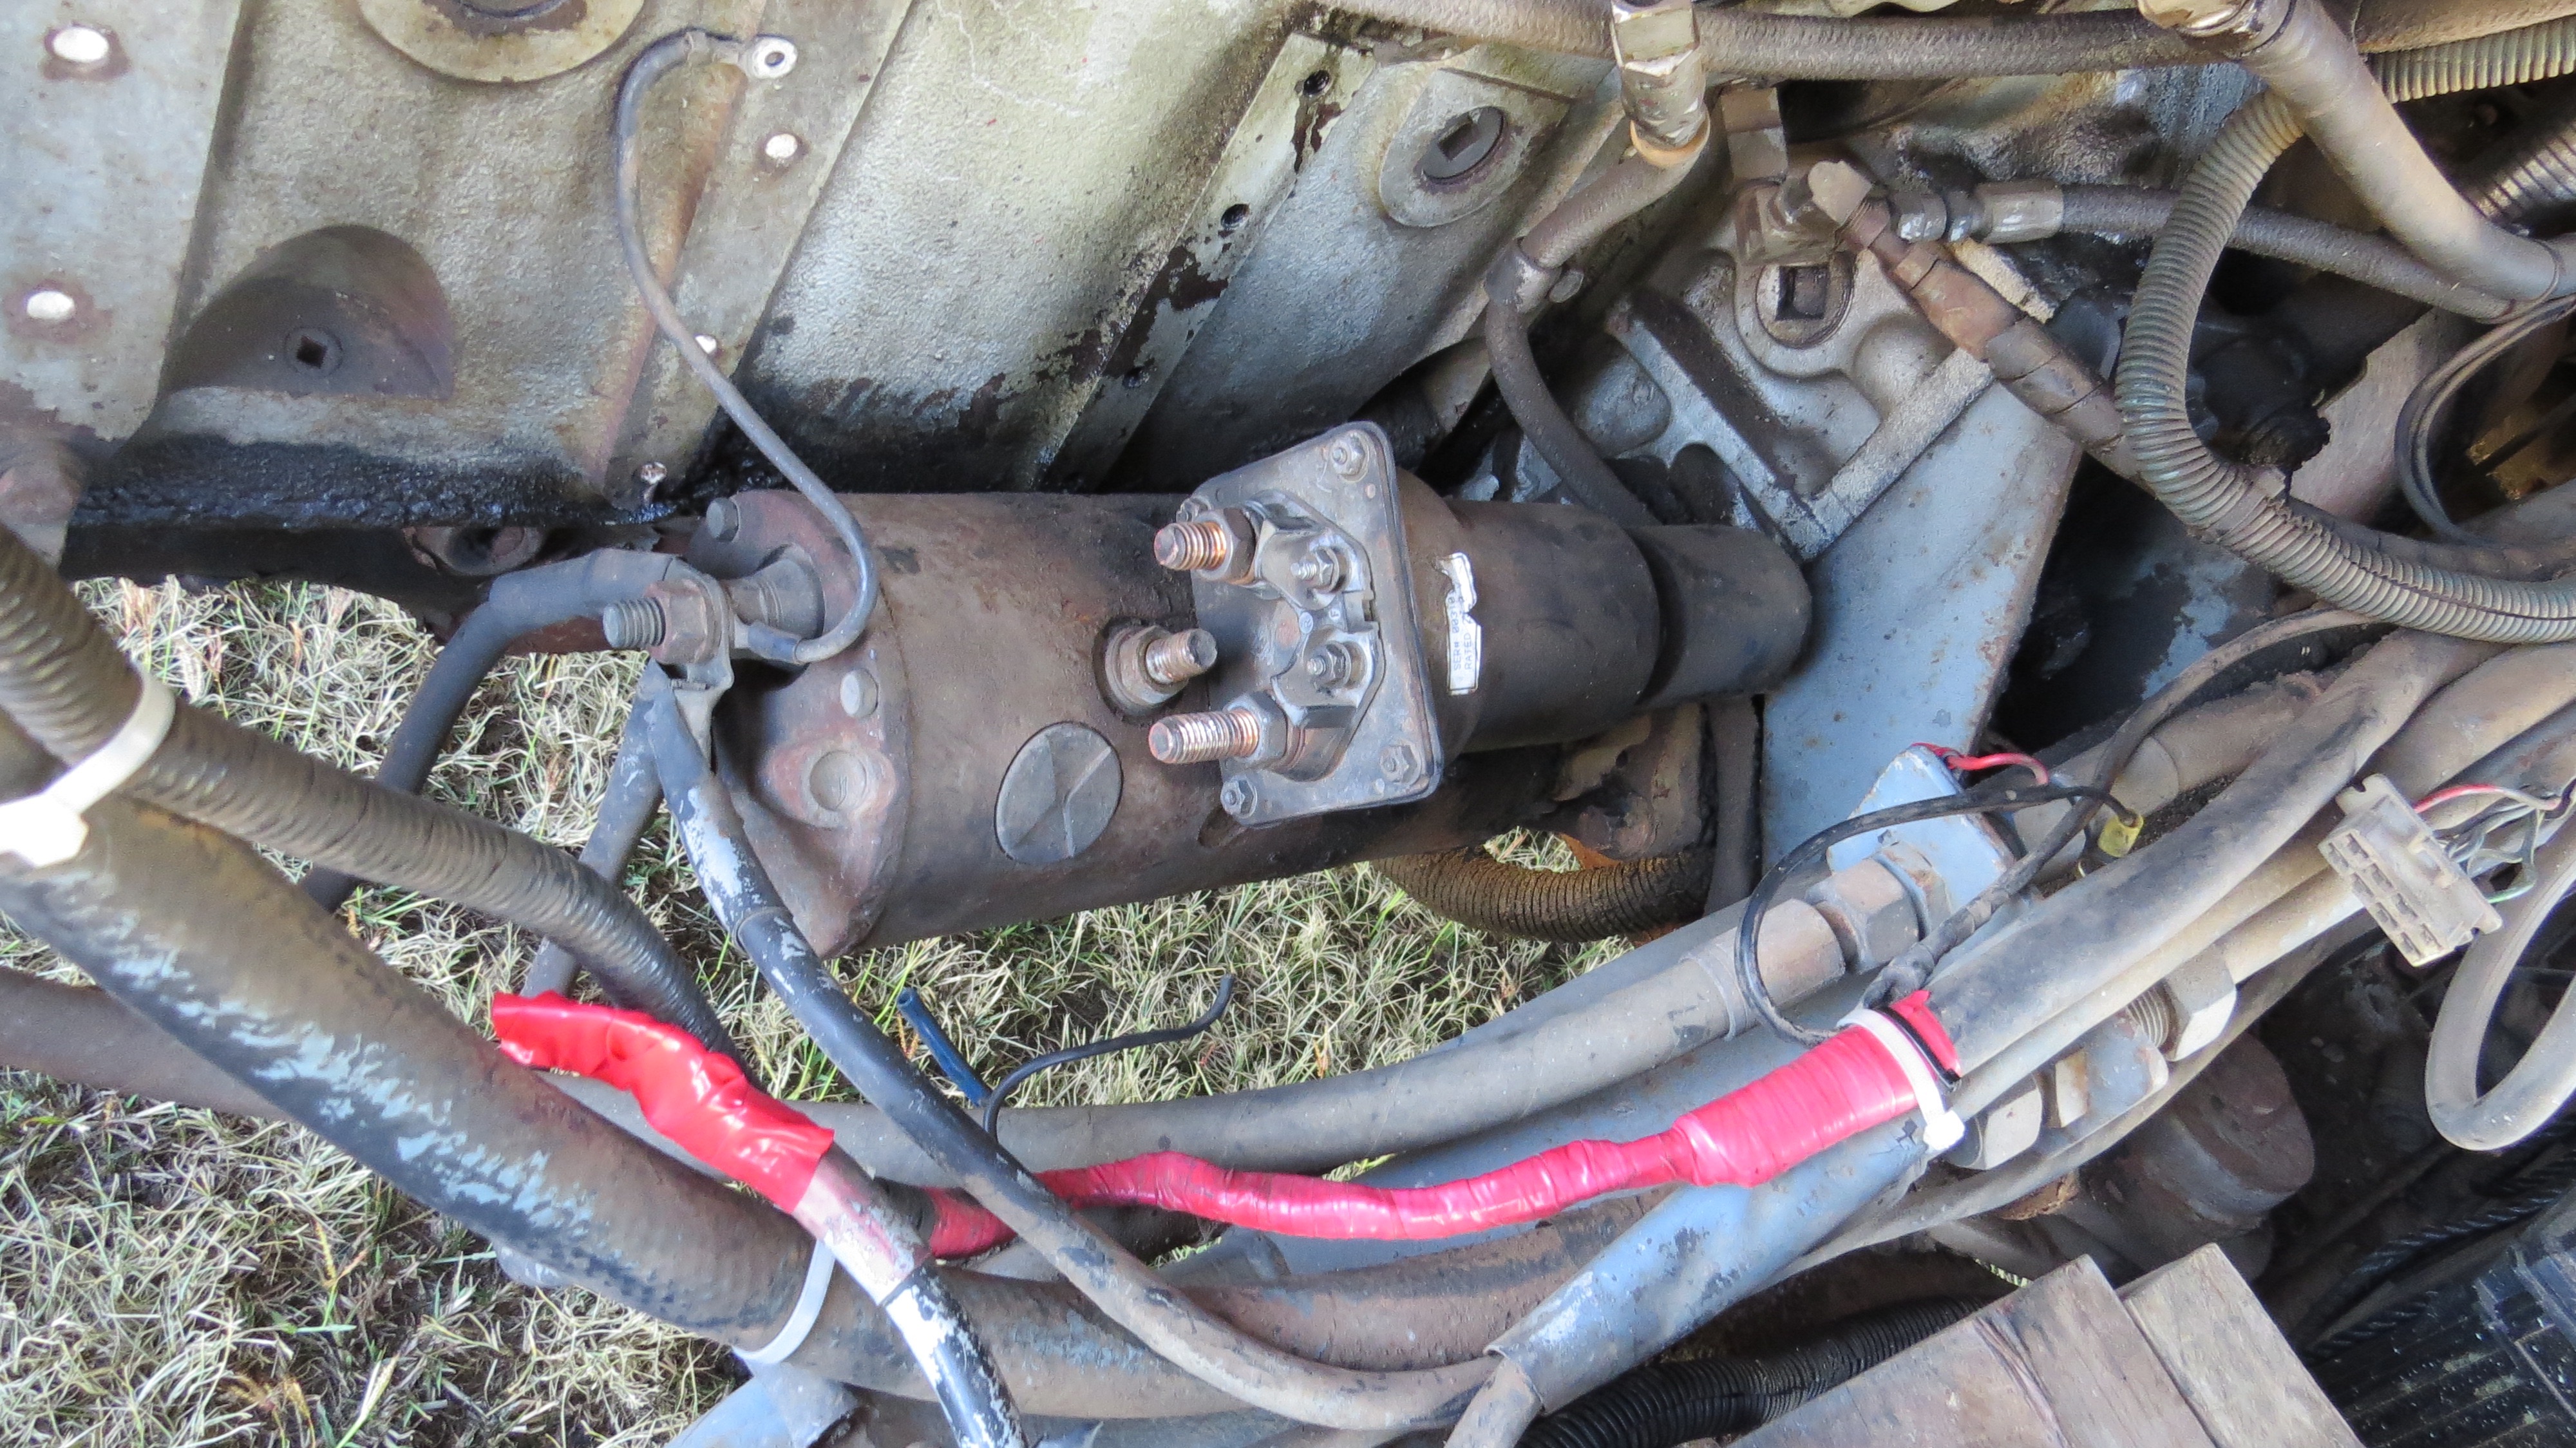
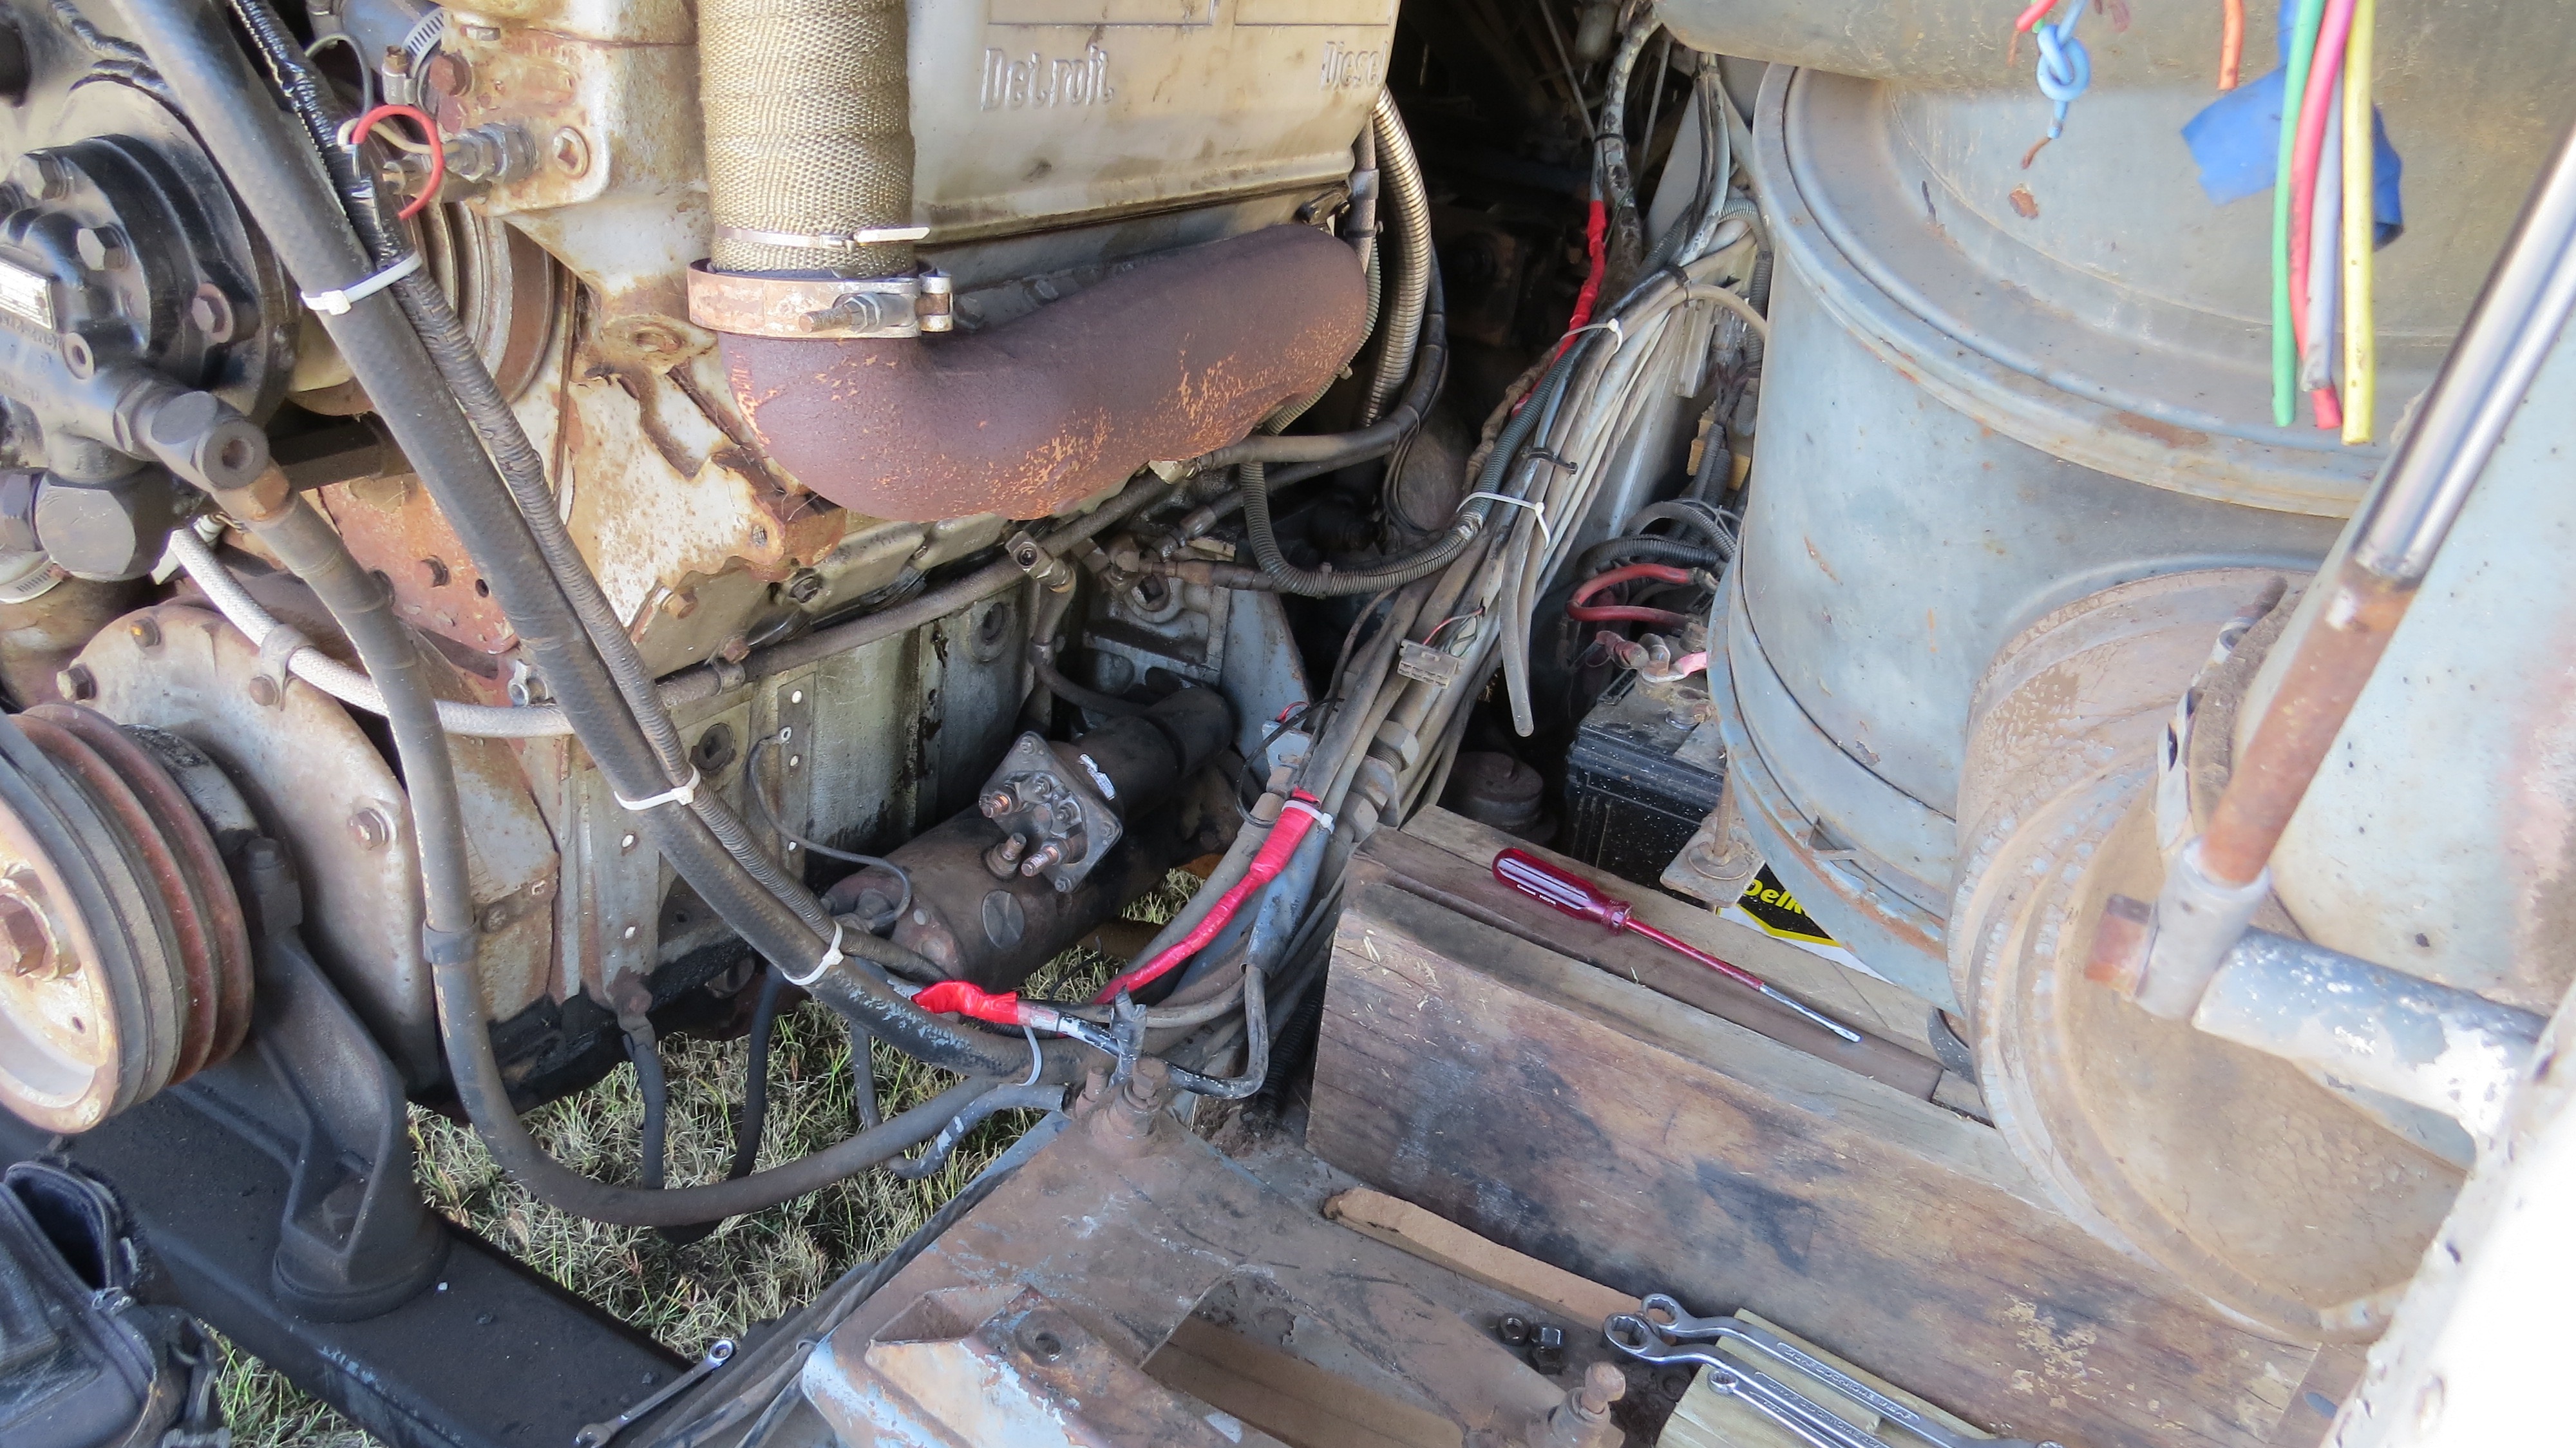
Now to fix the starter motor
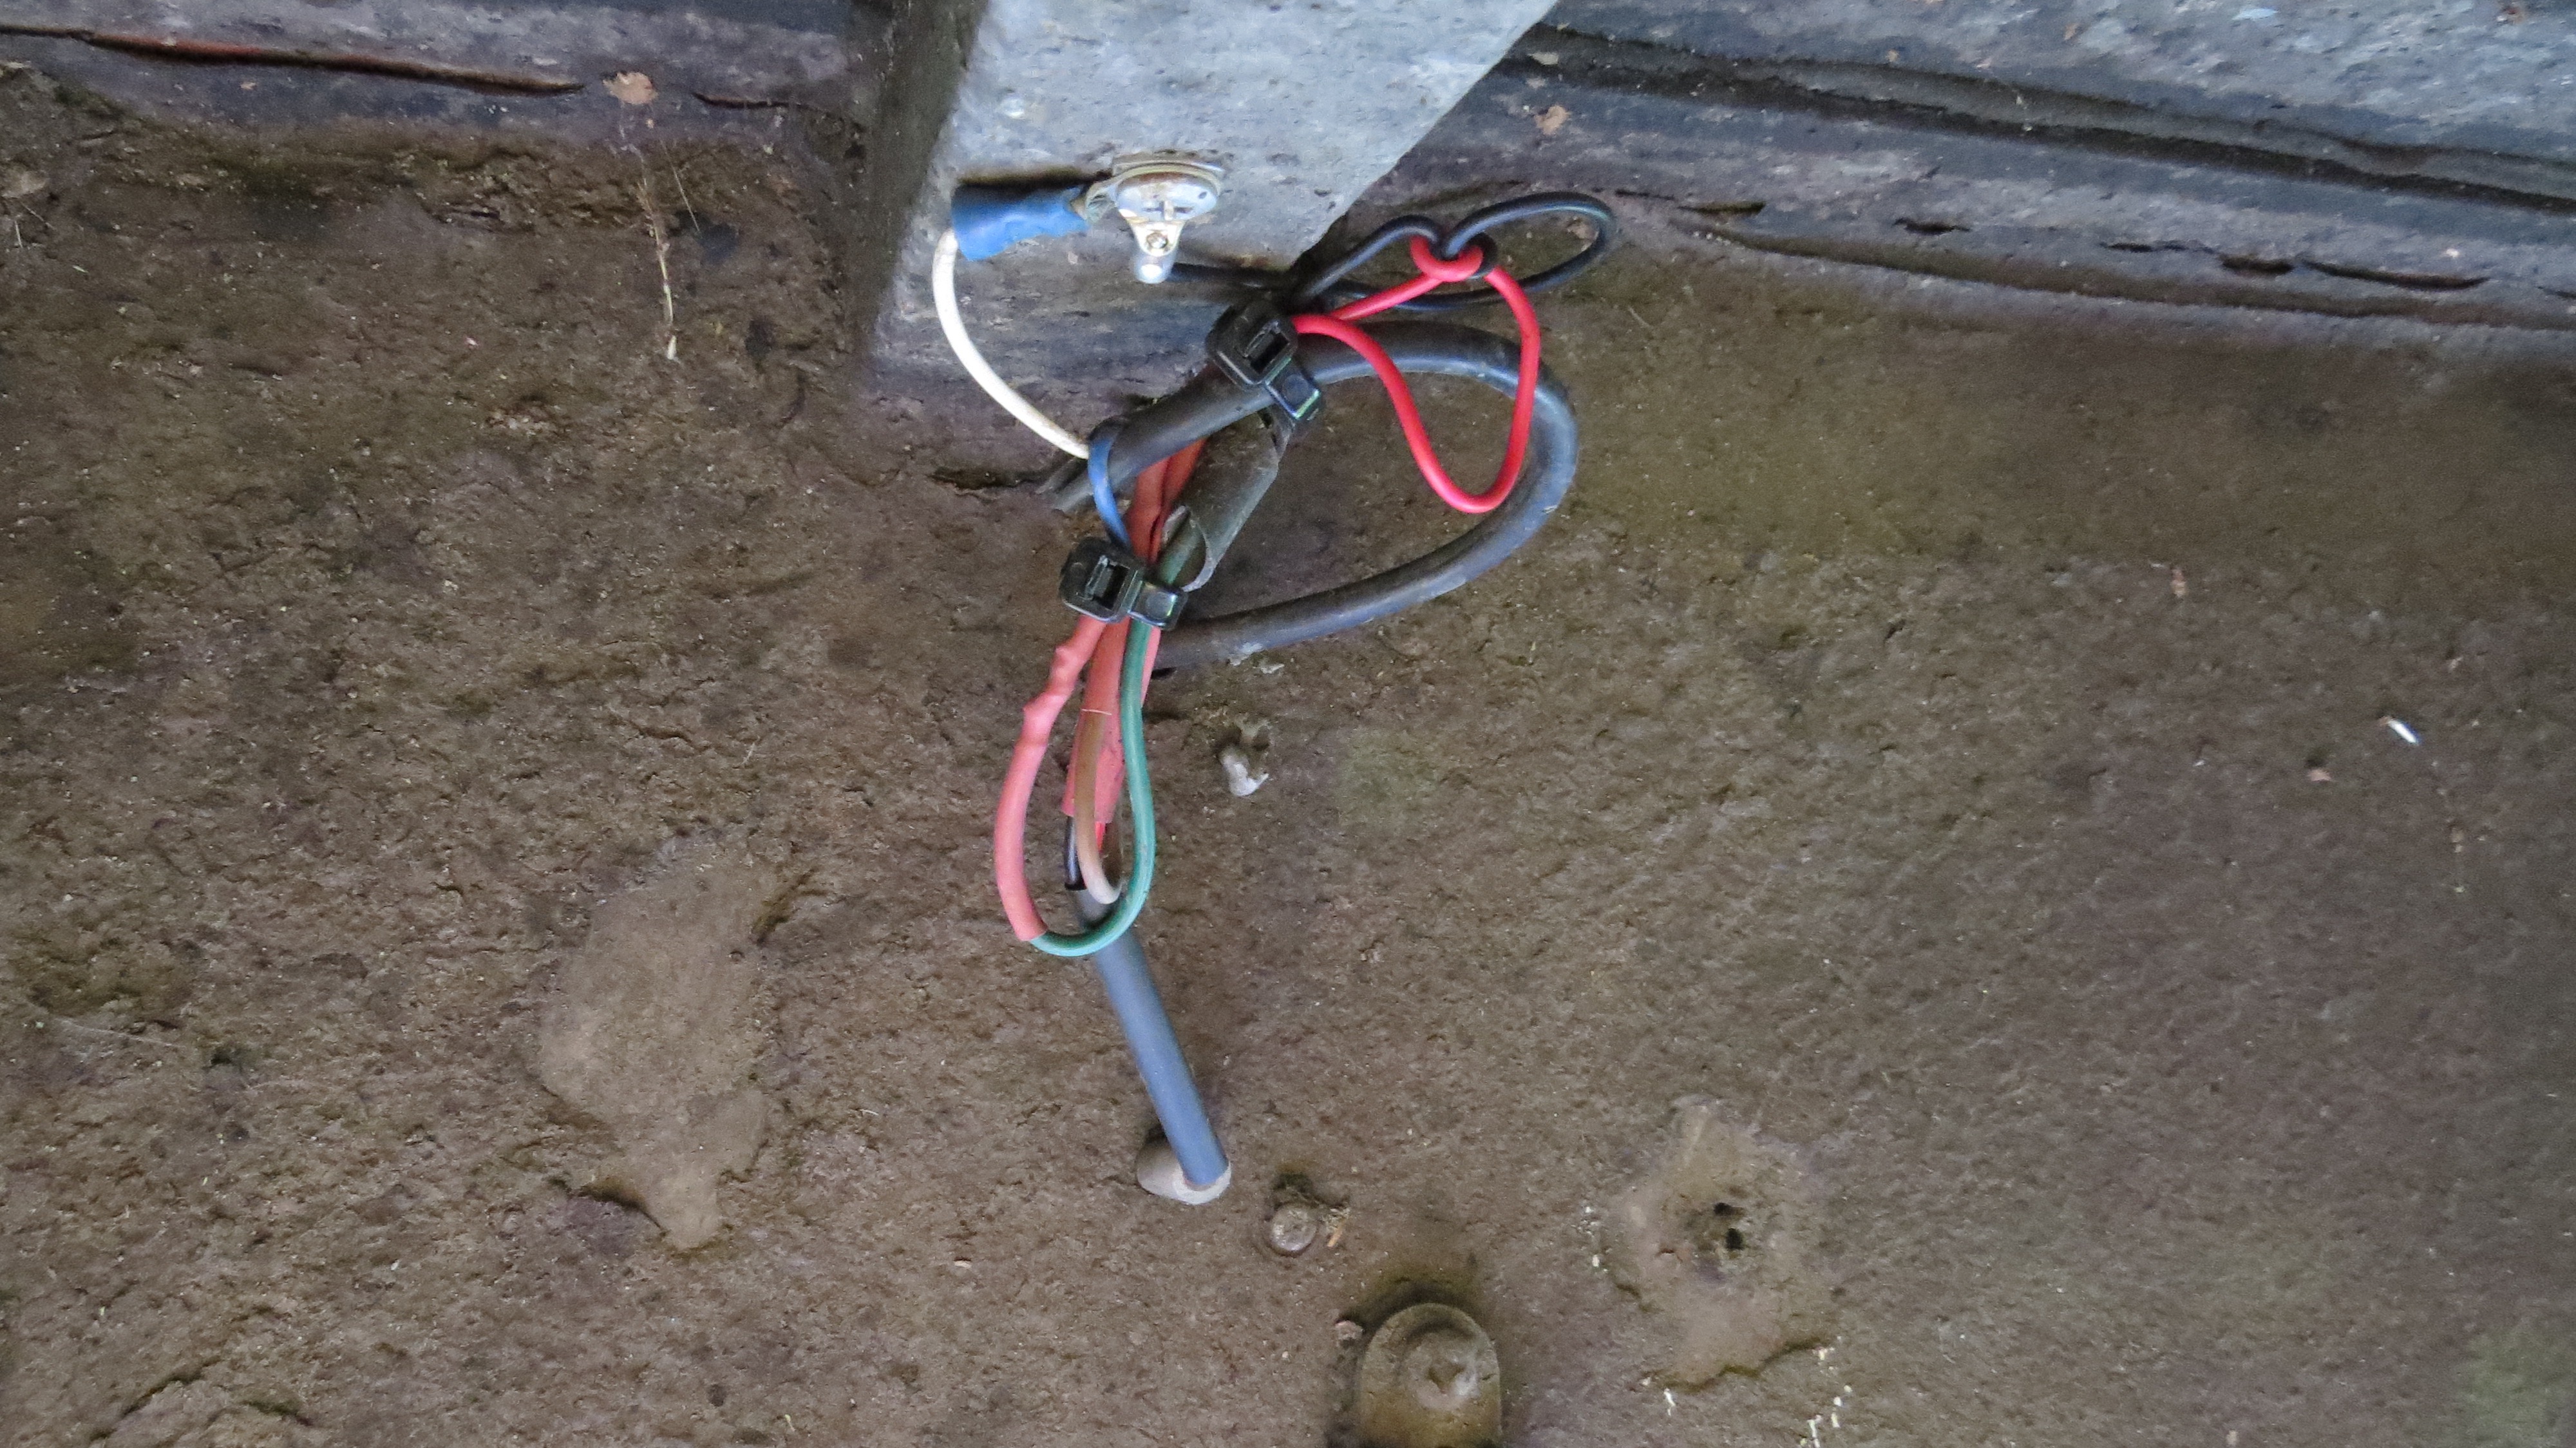
It turns out the contacts in the solenoid is stuffed, so another thing to fix. Good thing about big motors there’s lots of room around them to work.
Easy access to the starter motor.
Just have to remove the end plate to the solenoid.All fixed just forgot to take pic of it apart. oops…Just the wires to go and it will be as good as new.
I forgot to take photo’s again, I just had to clean up the contacts for the 24v solenoid till I can find some new one. This job was a lot easer than working on a car. Well the starter motor doing it’s thing again and turning over the Detroit 6V92TA, got to love that sound.
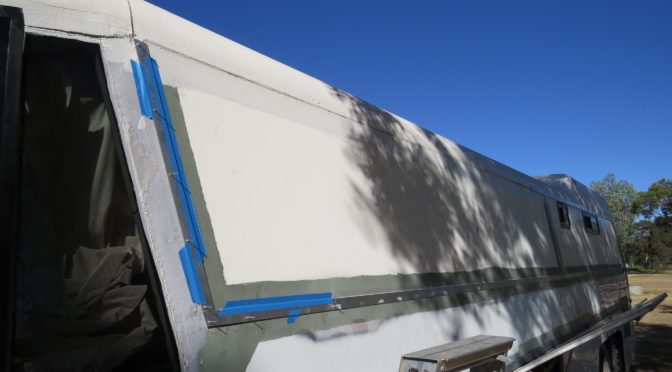
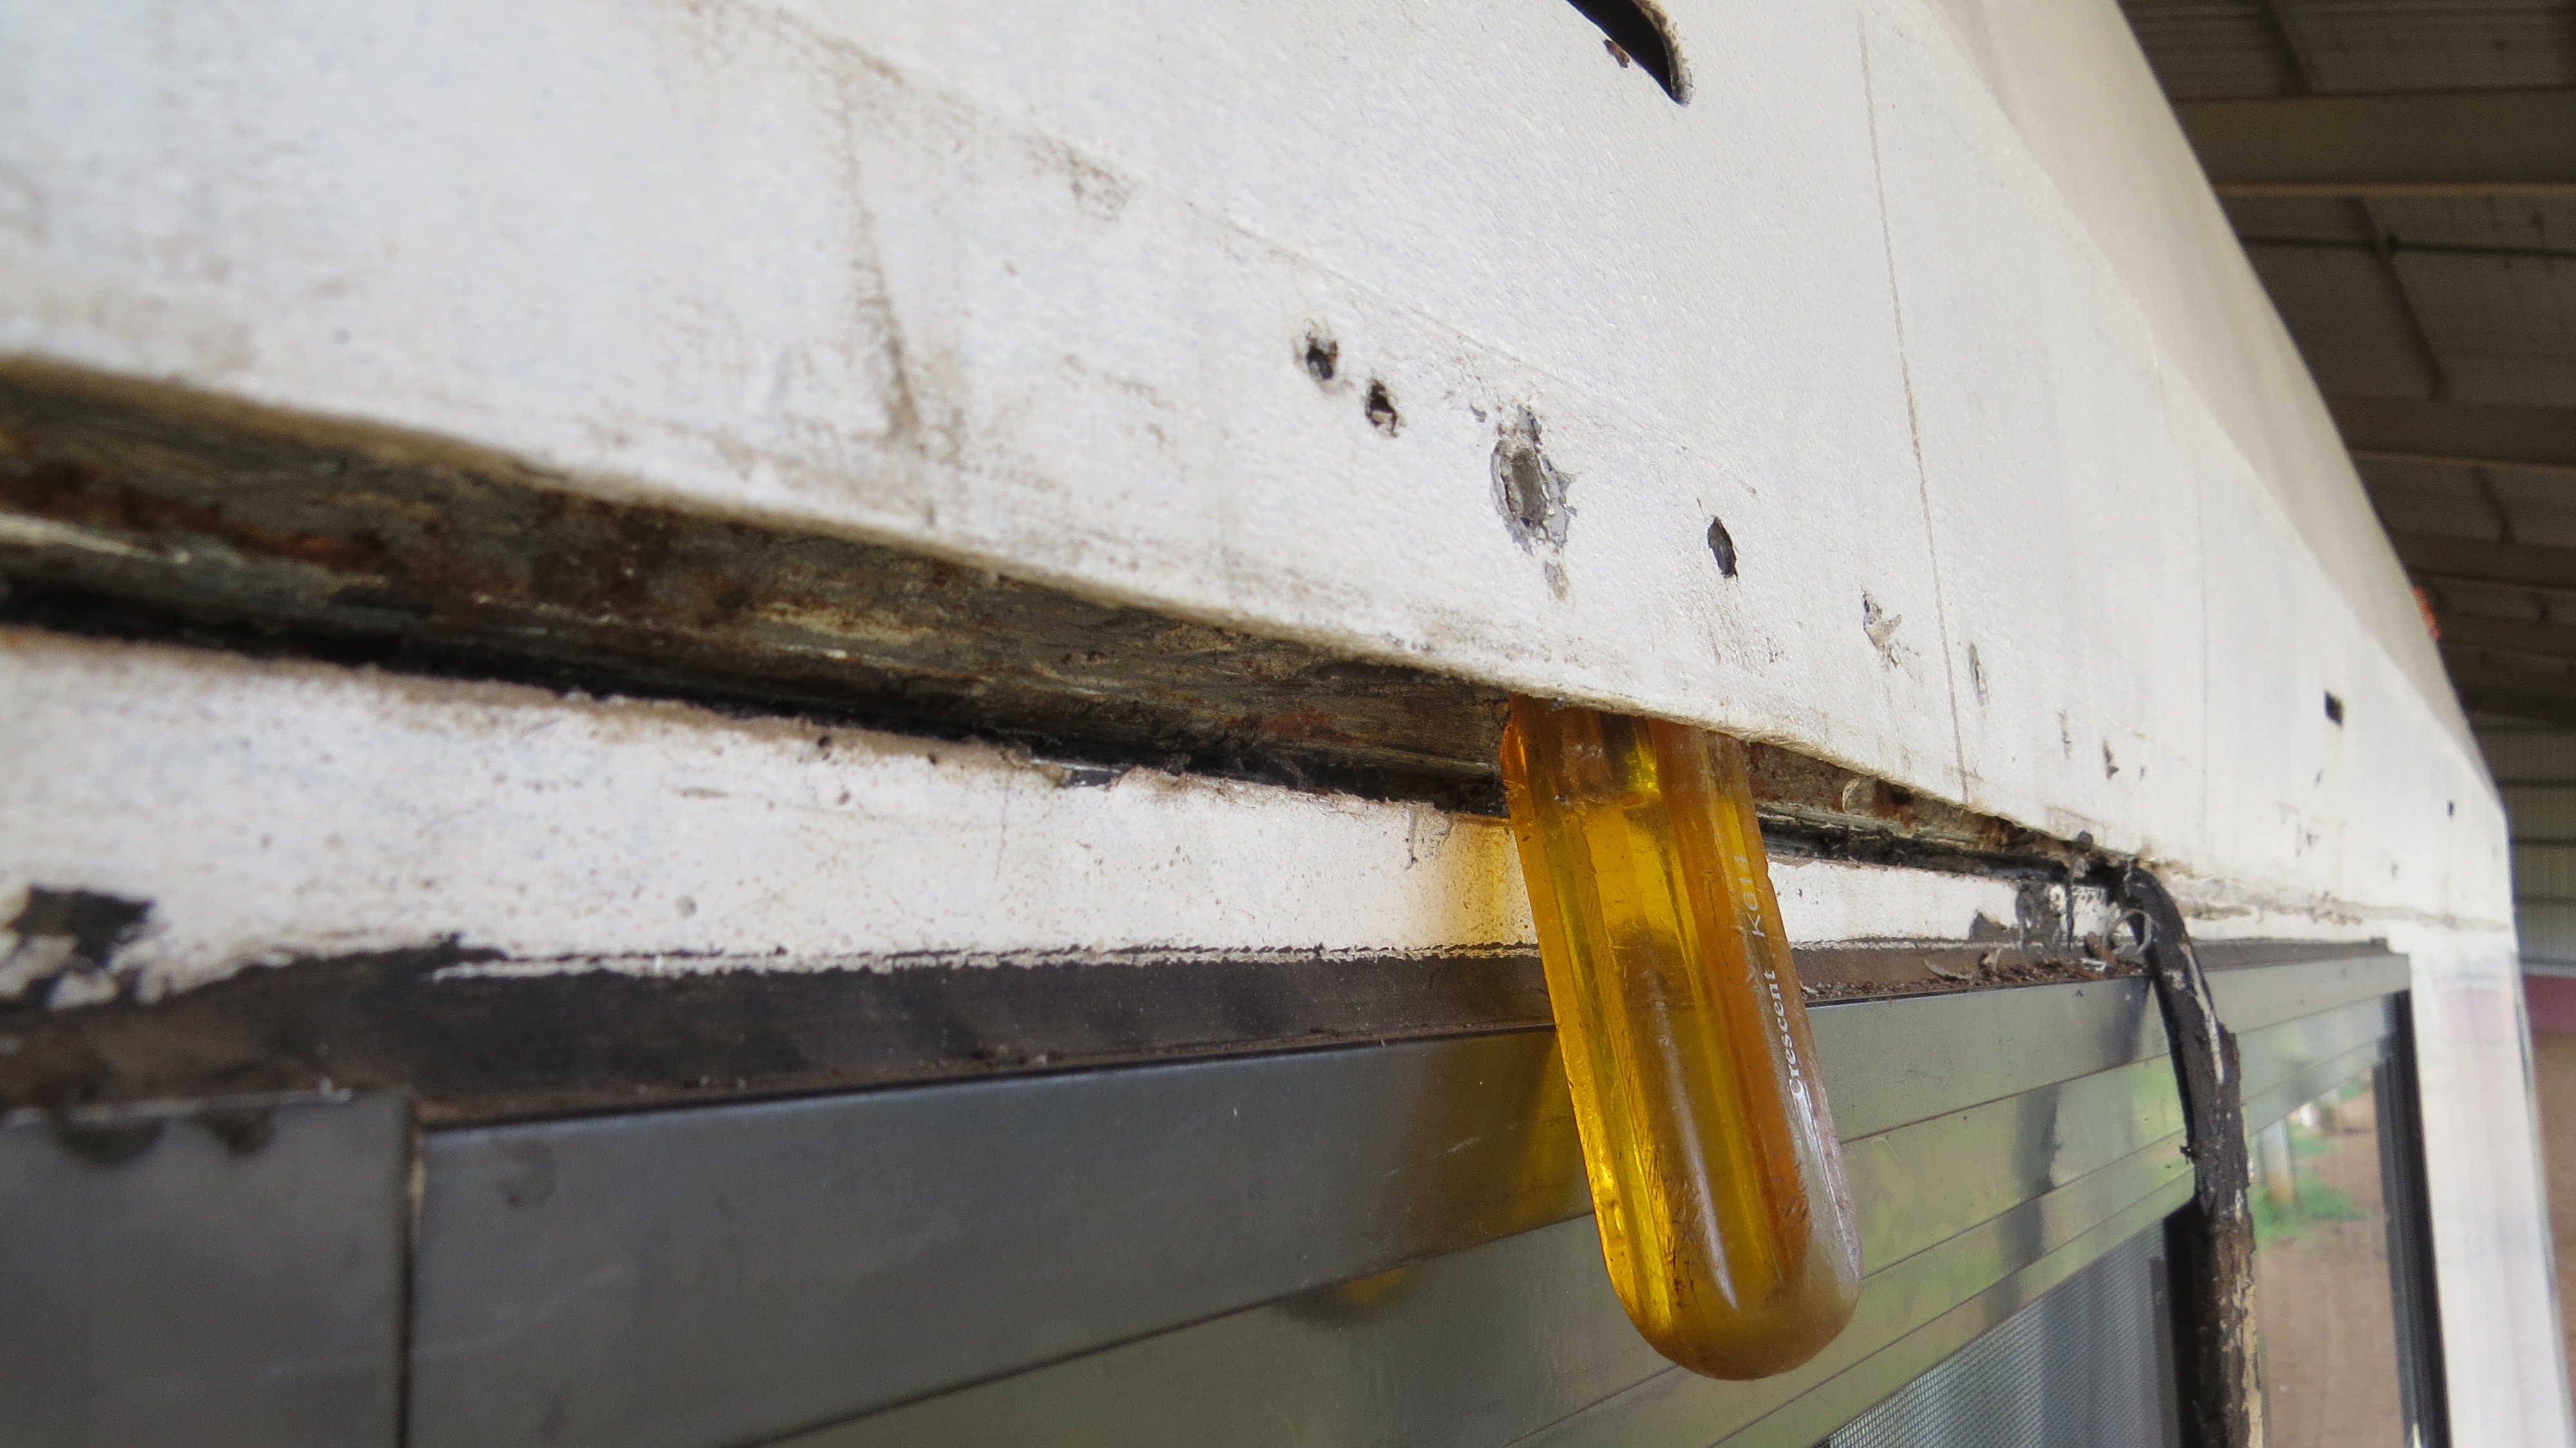
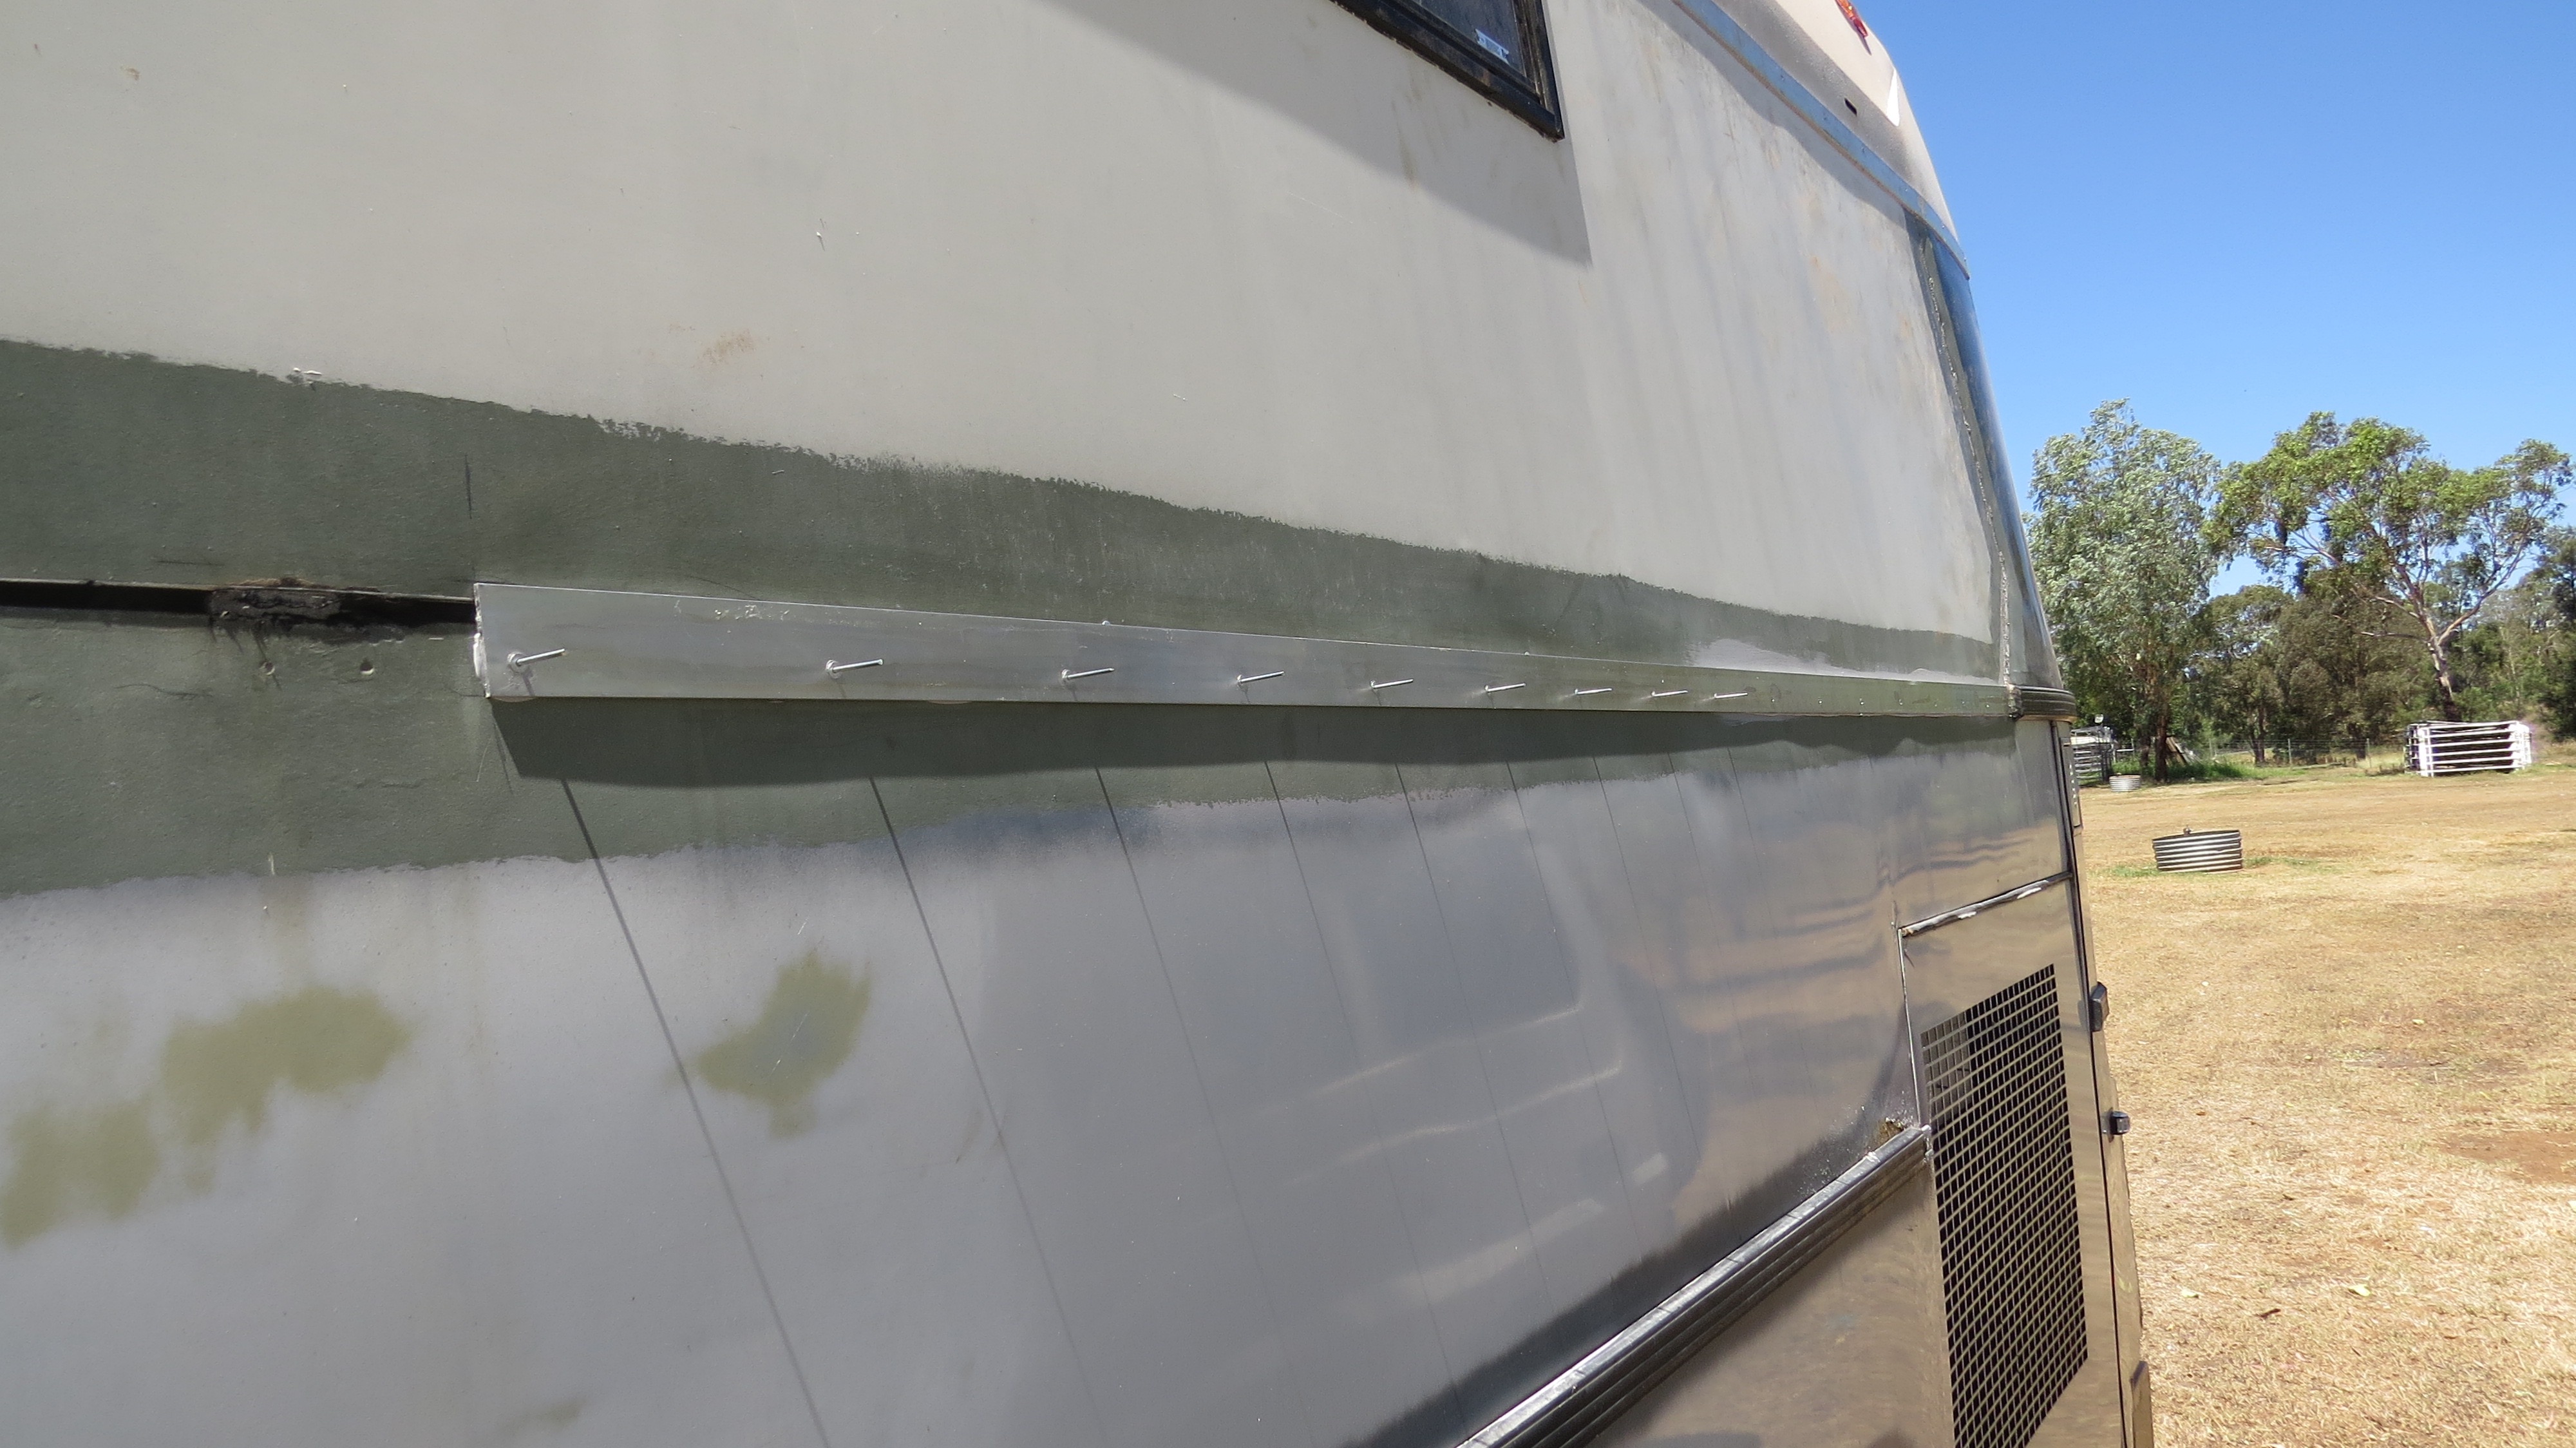
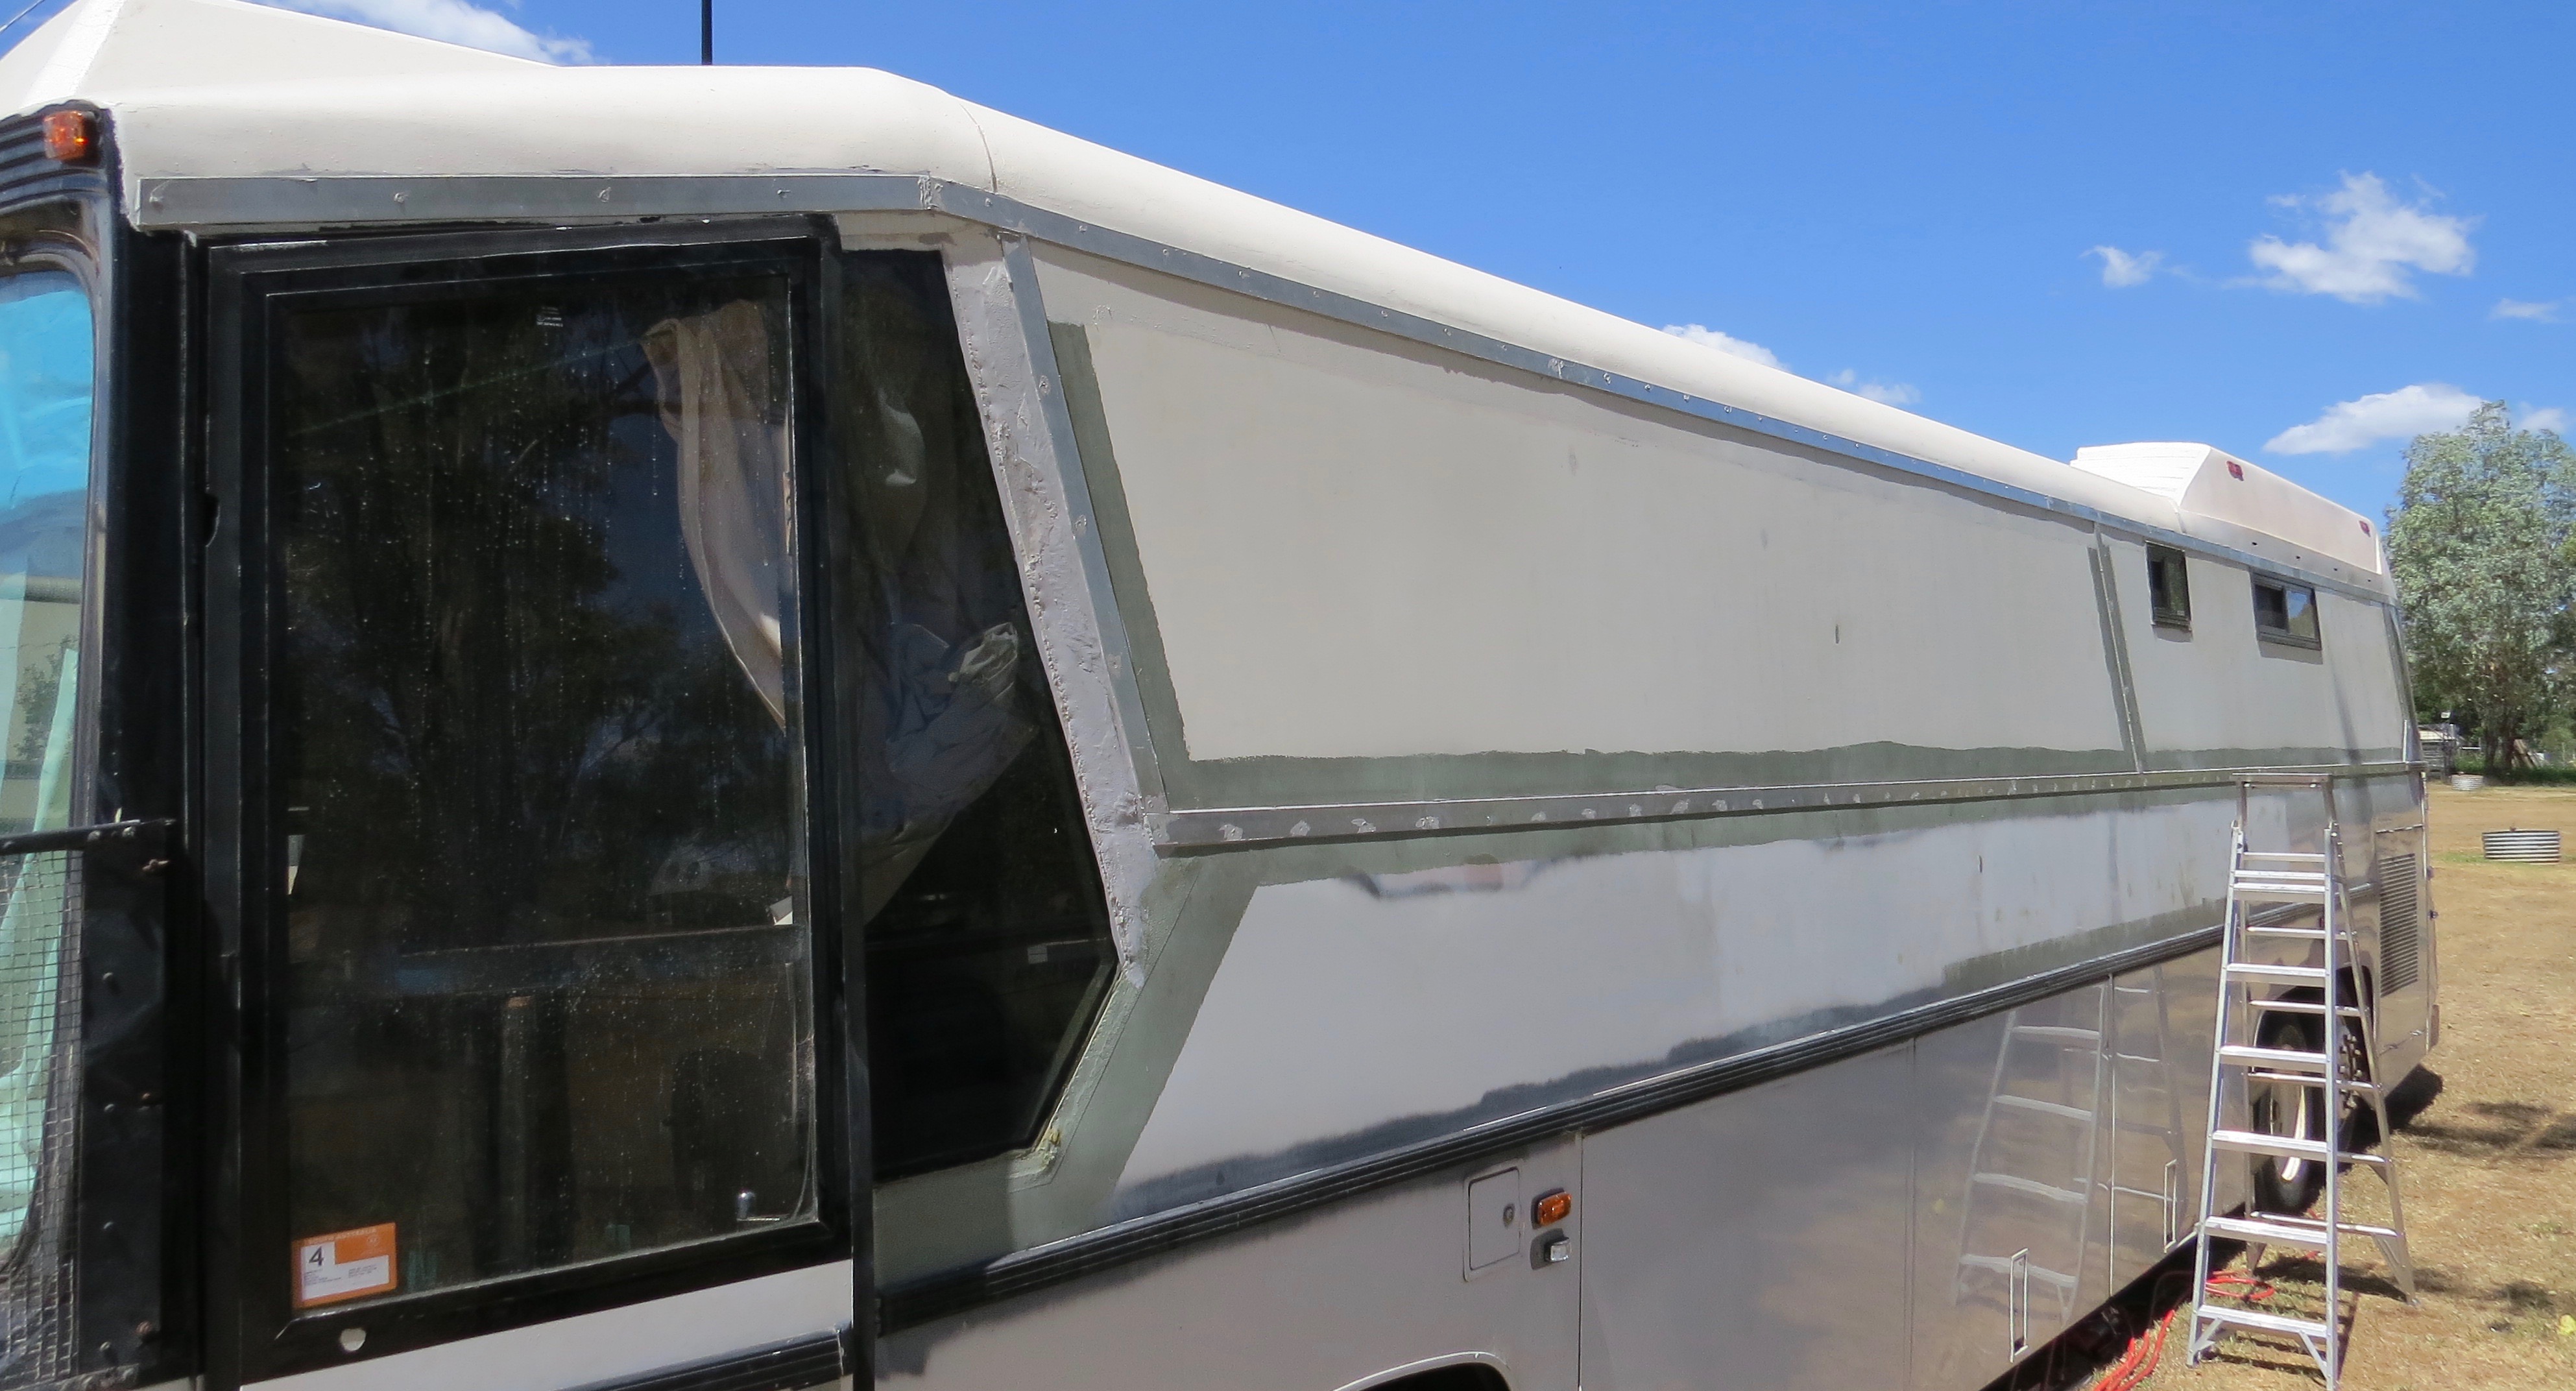
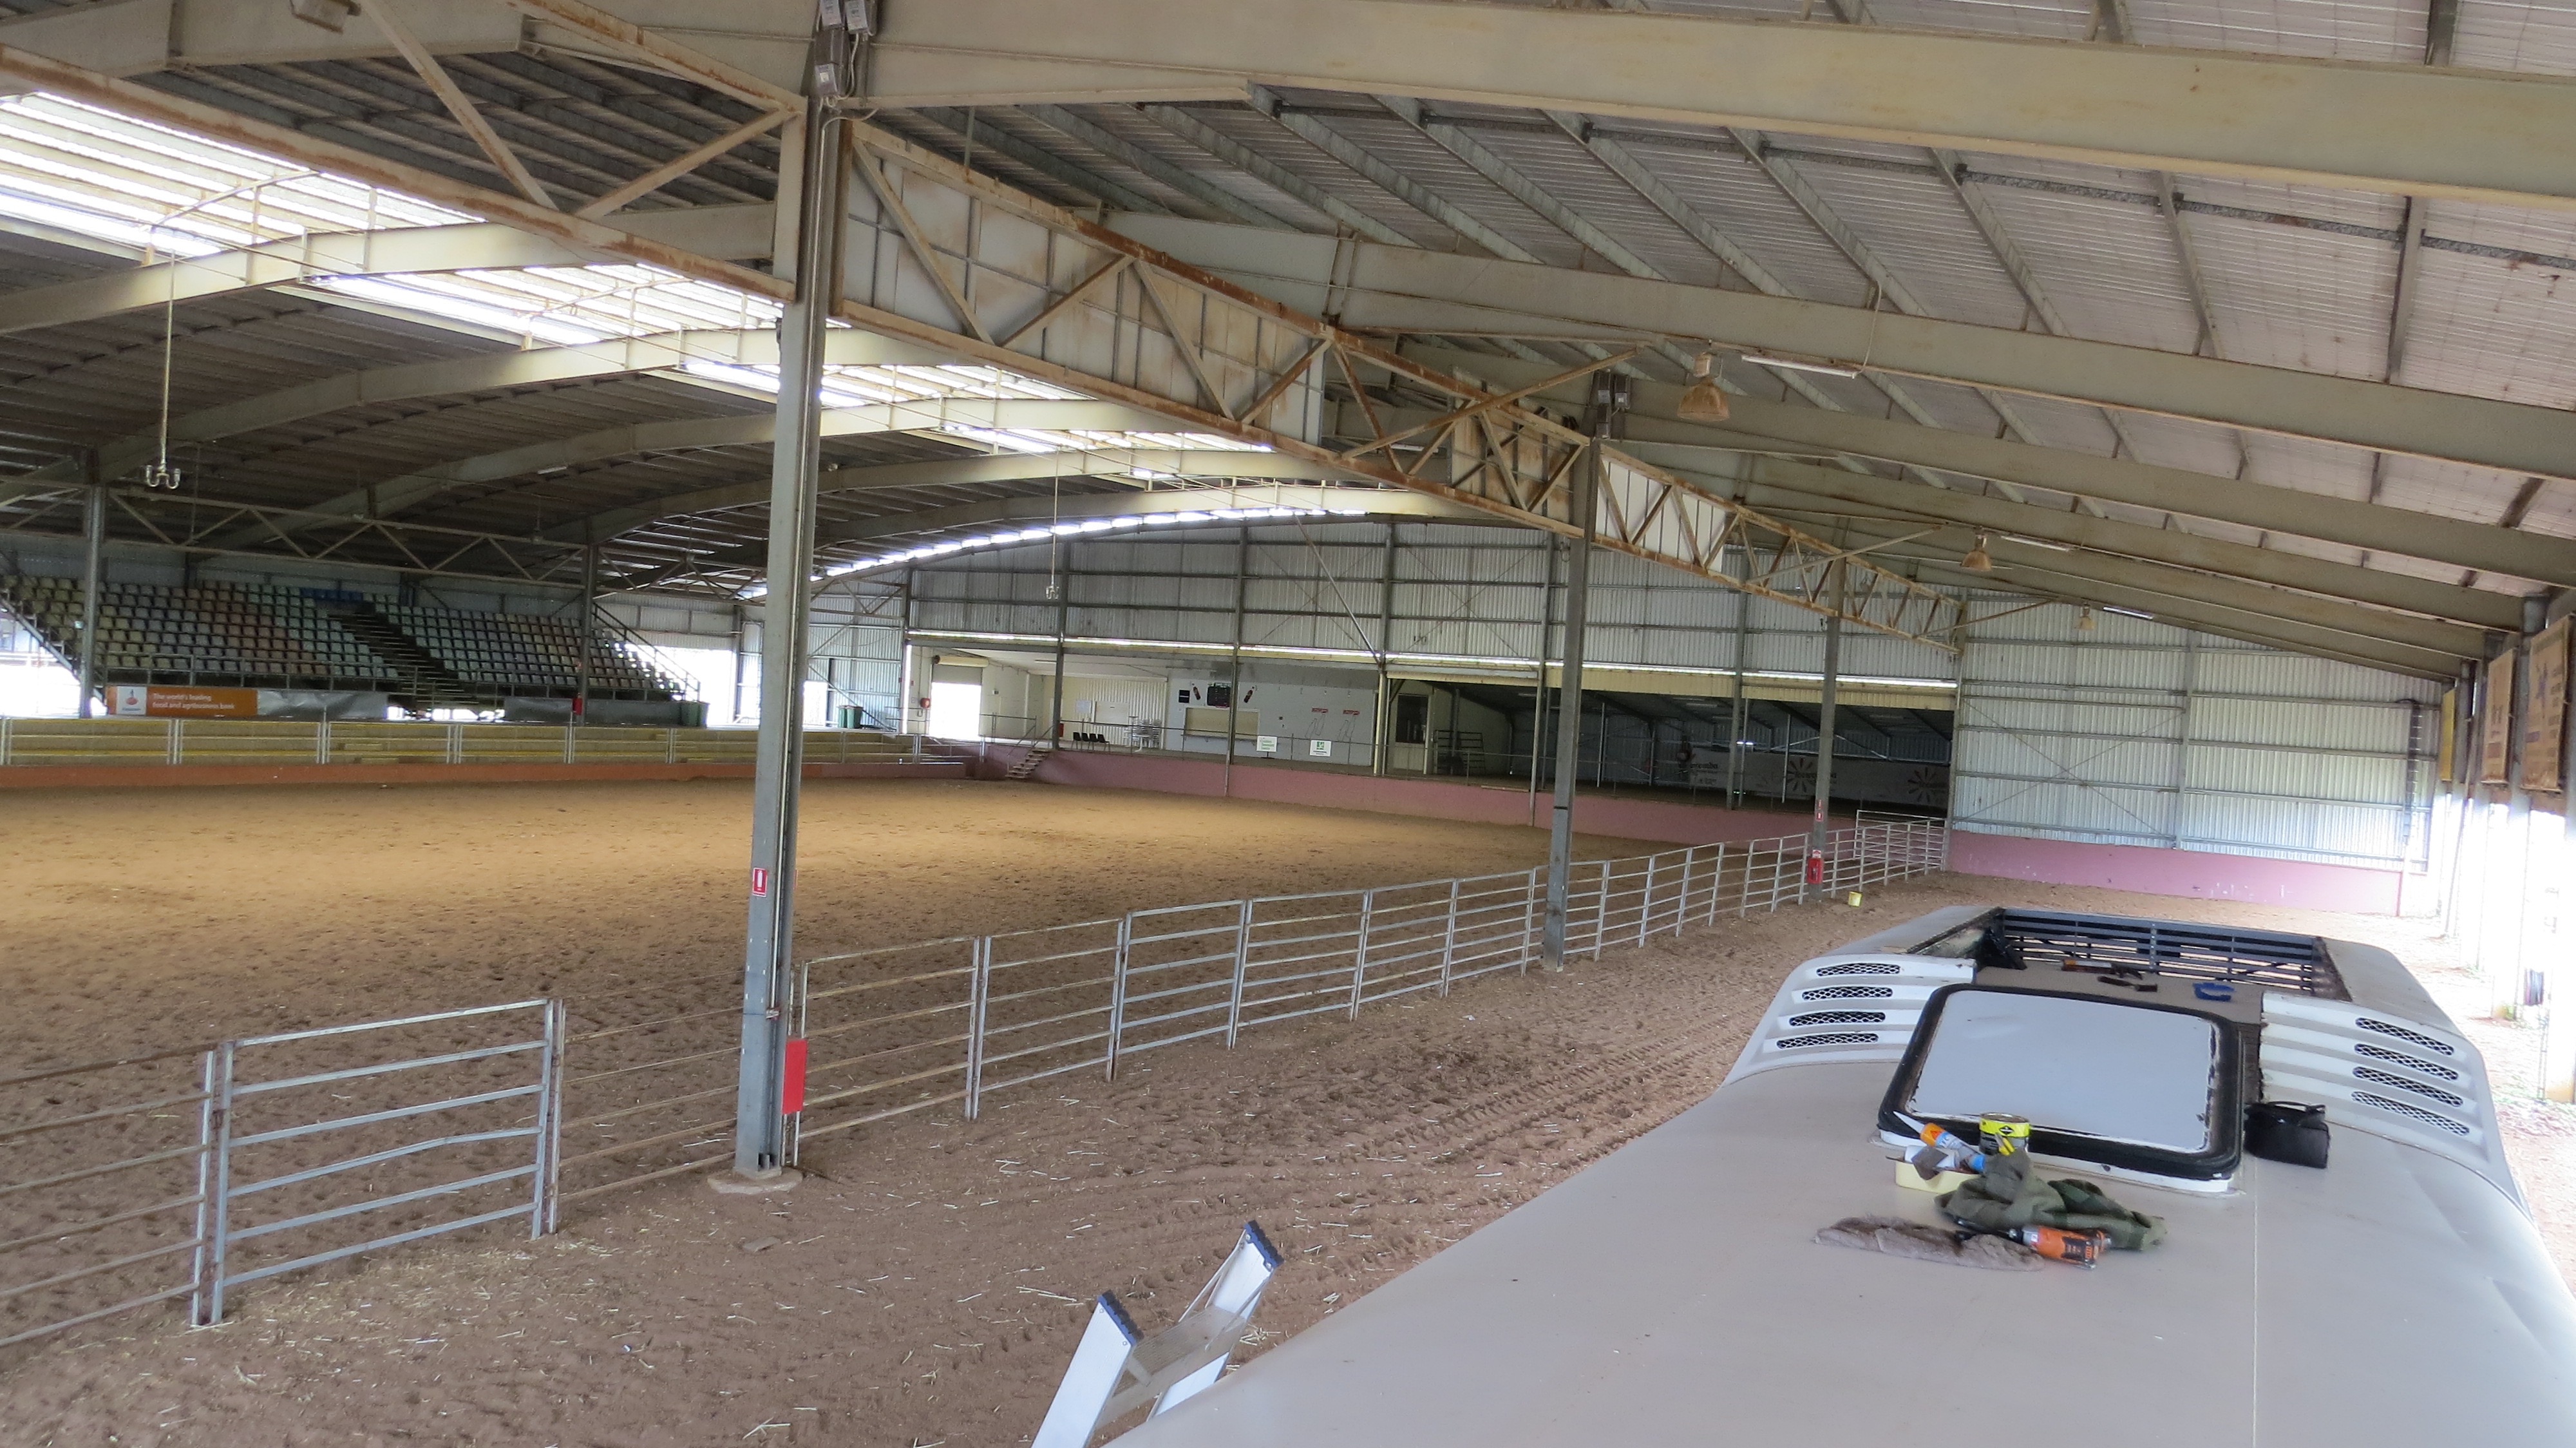
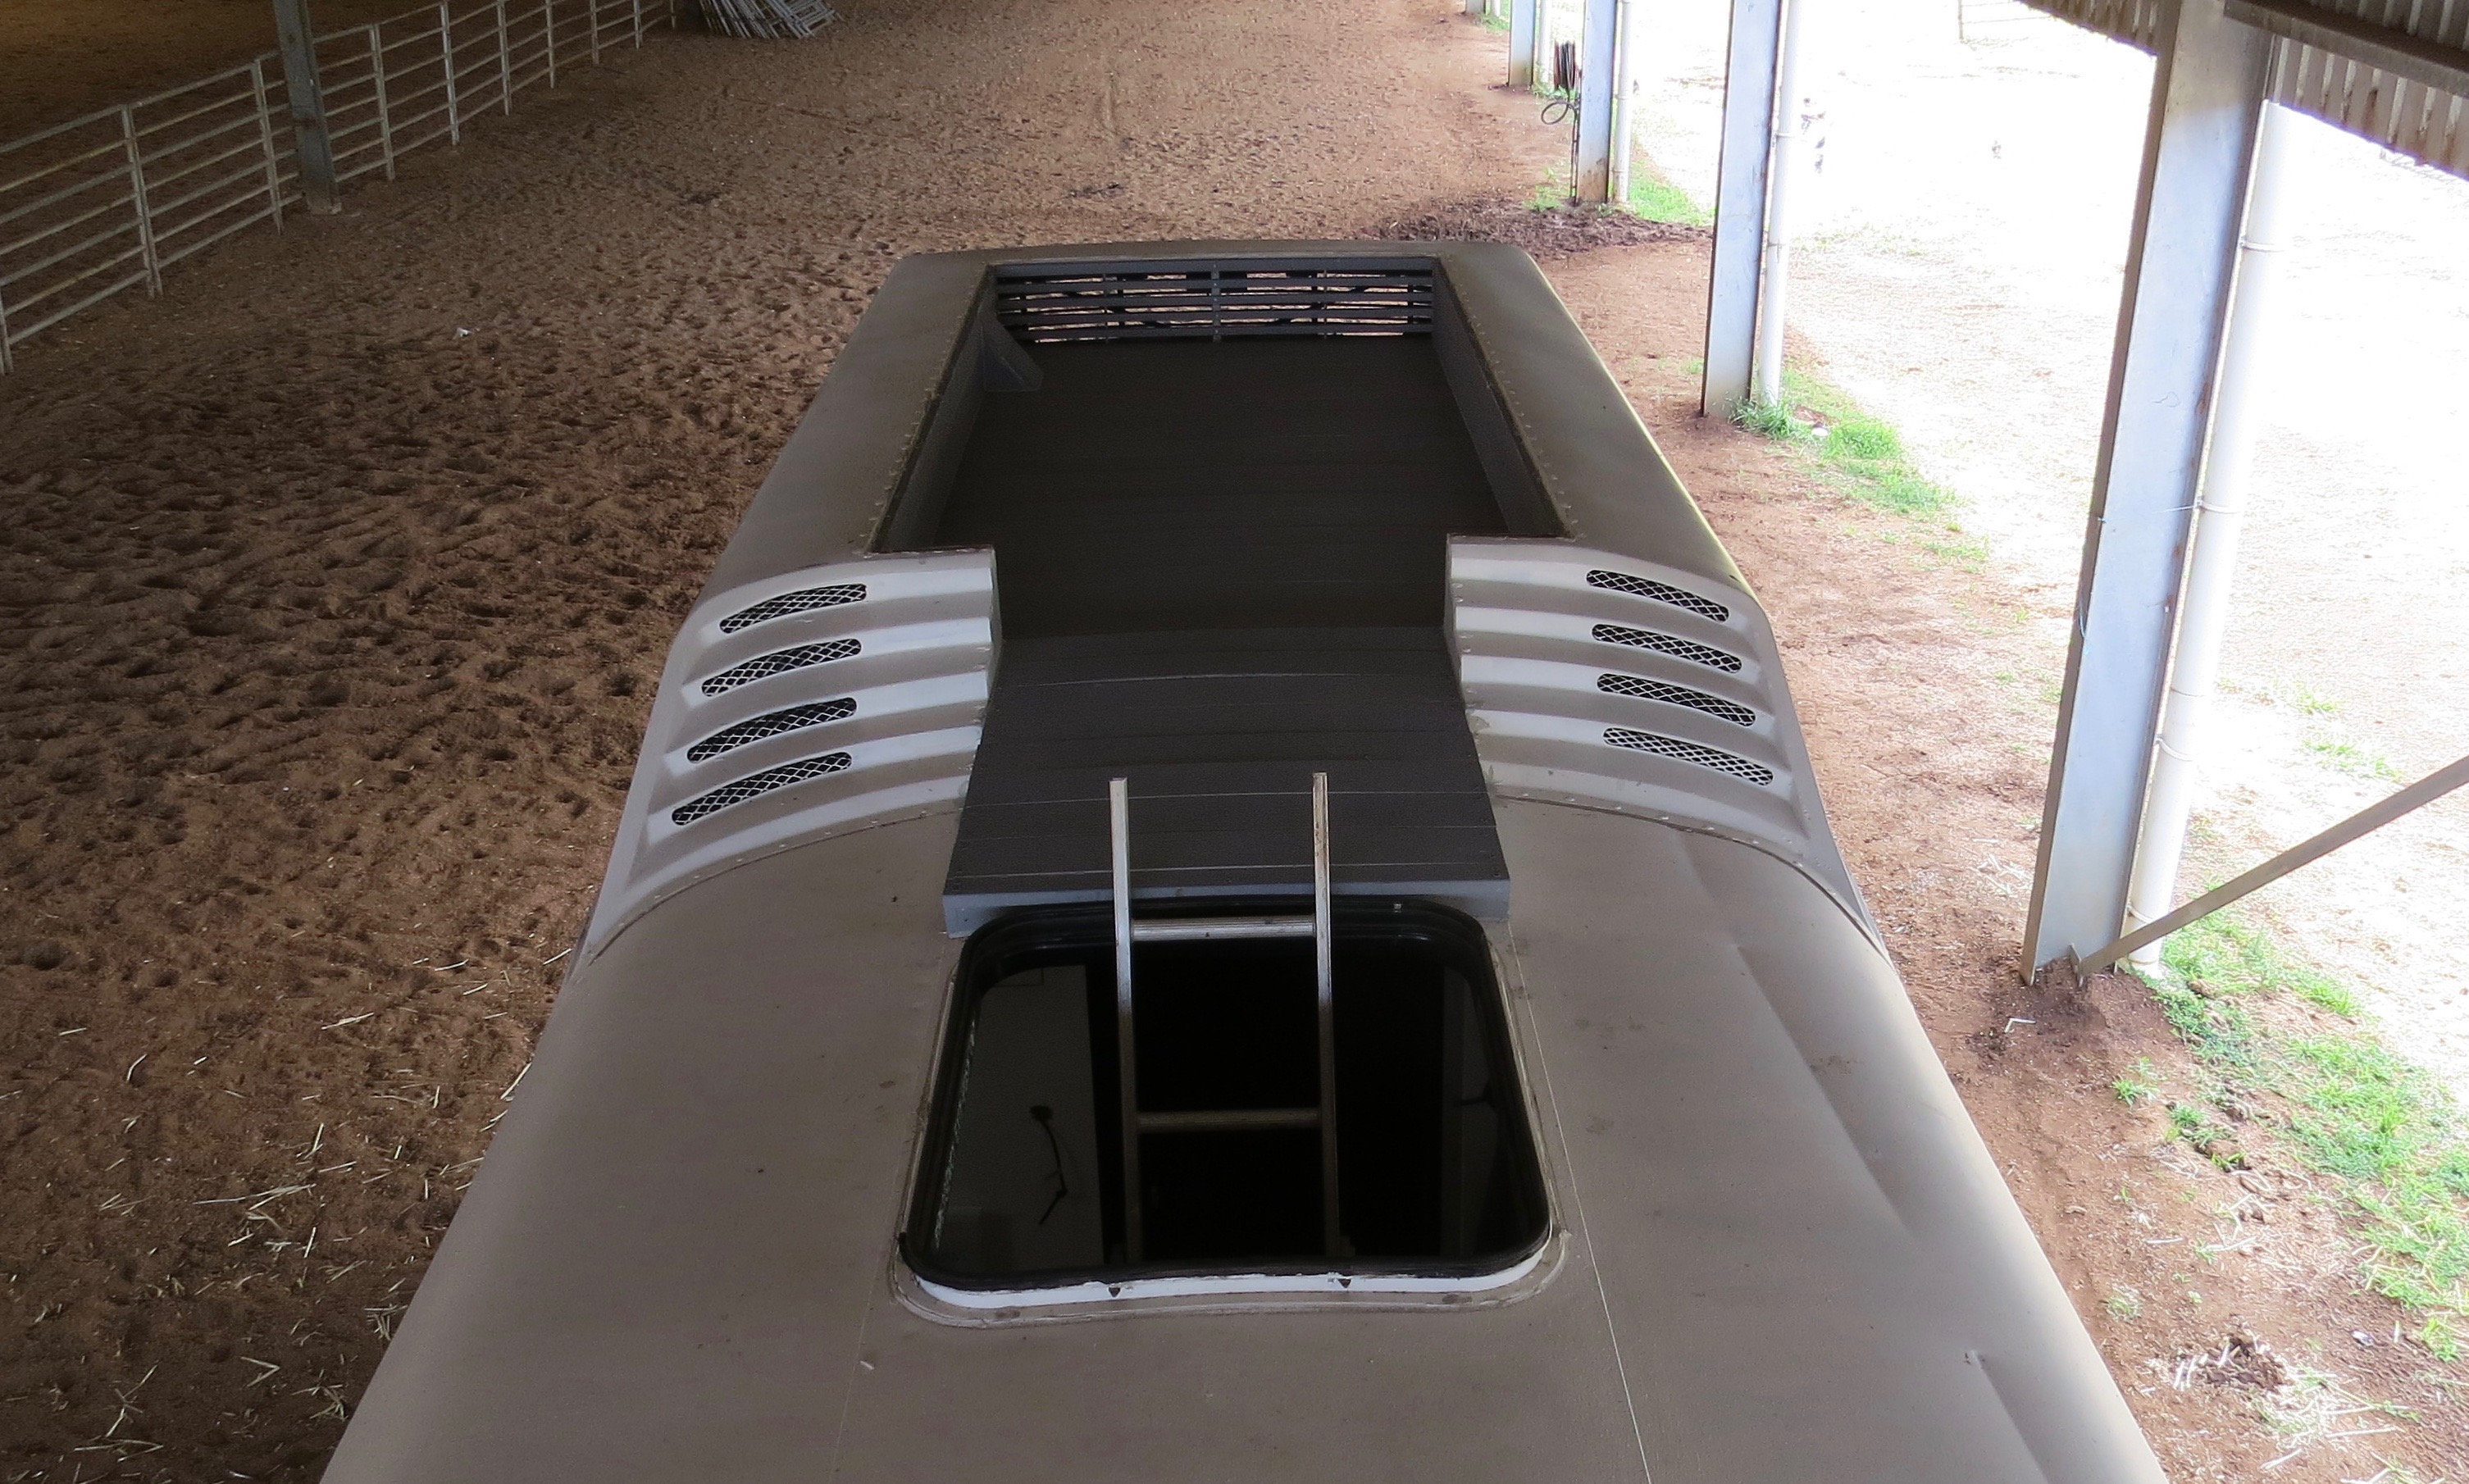
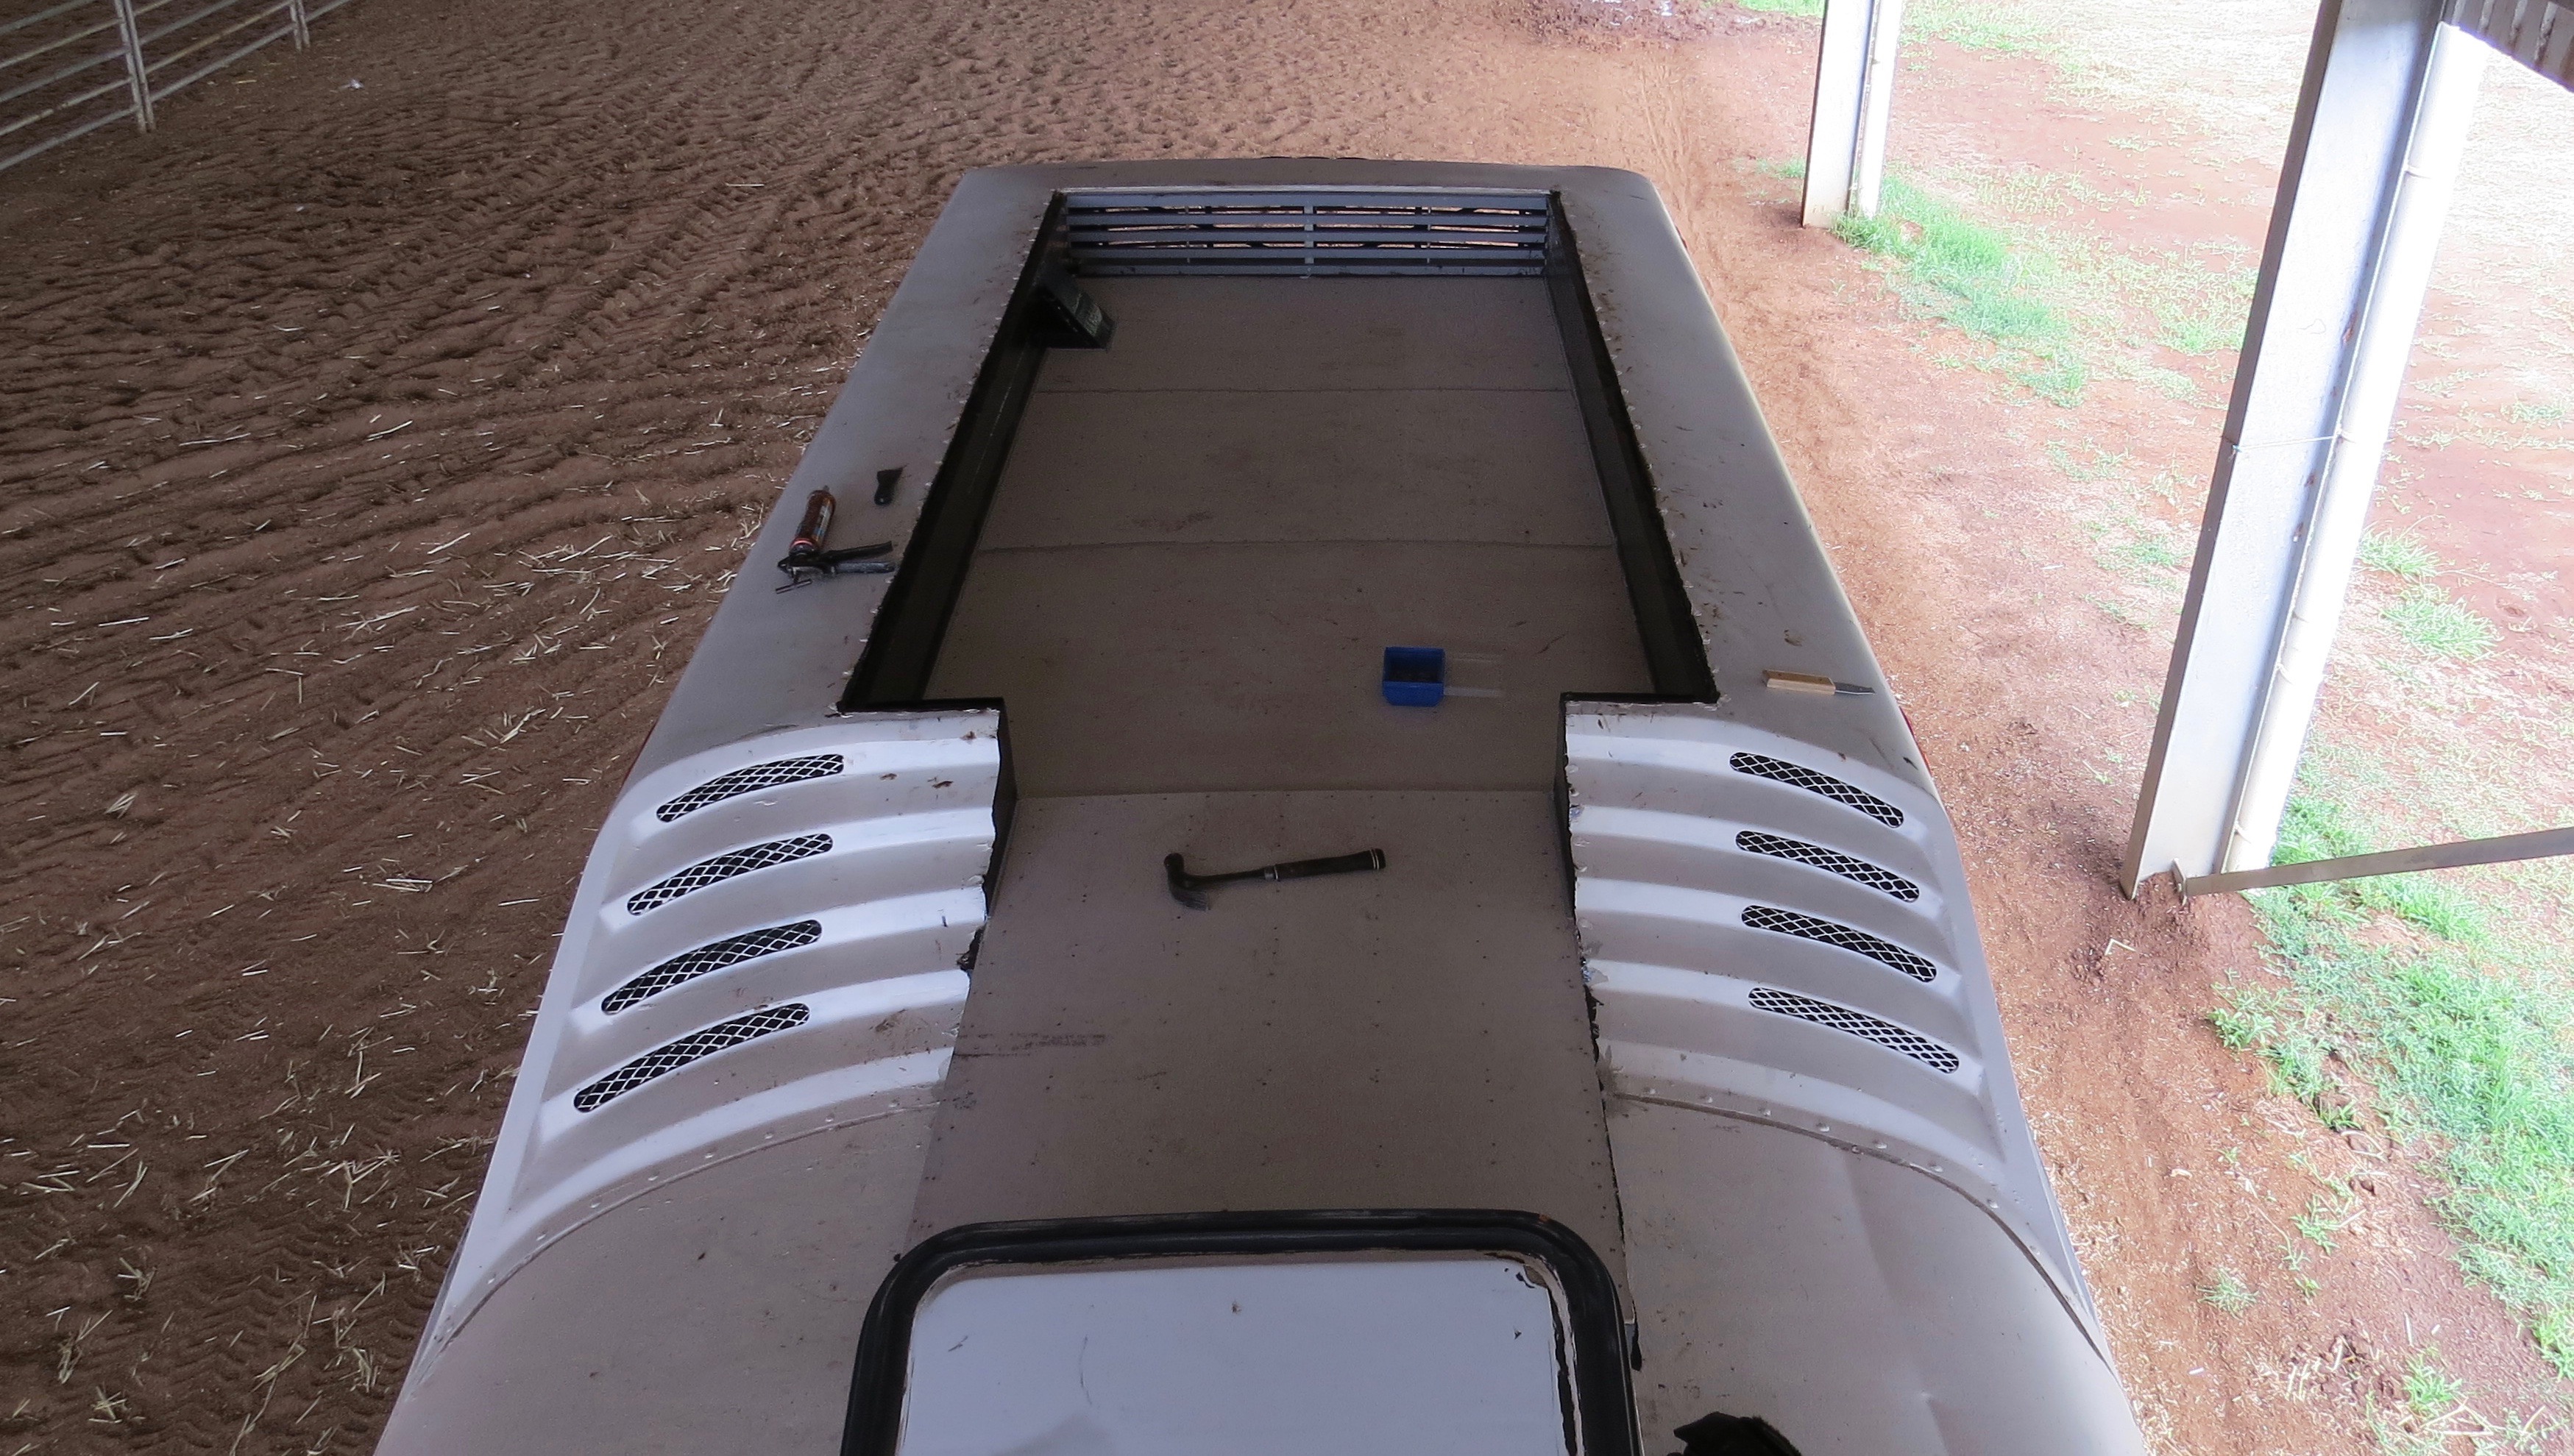
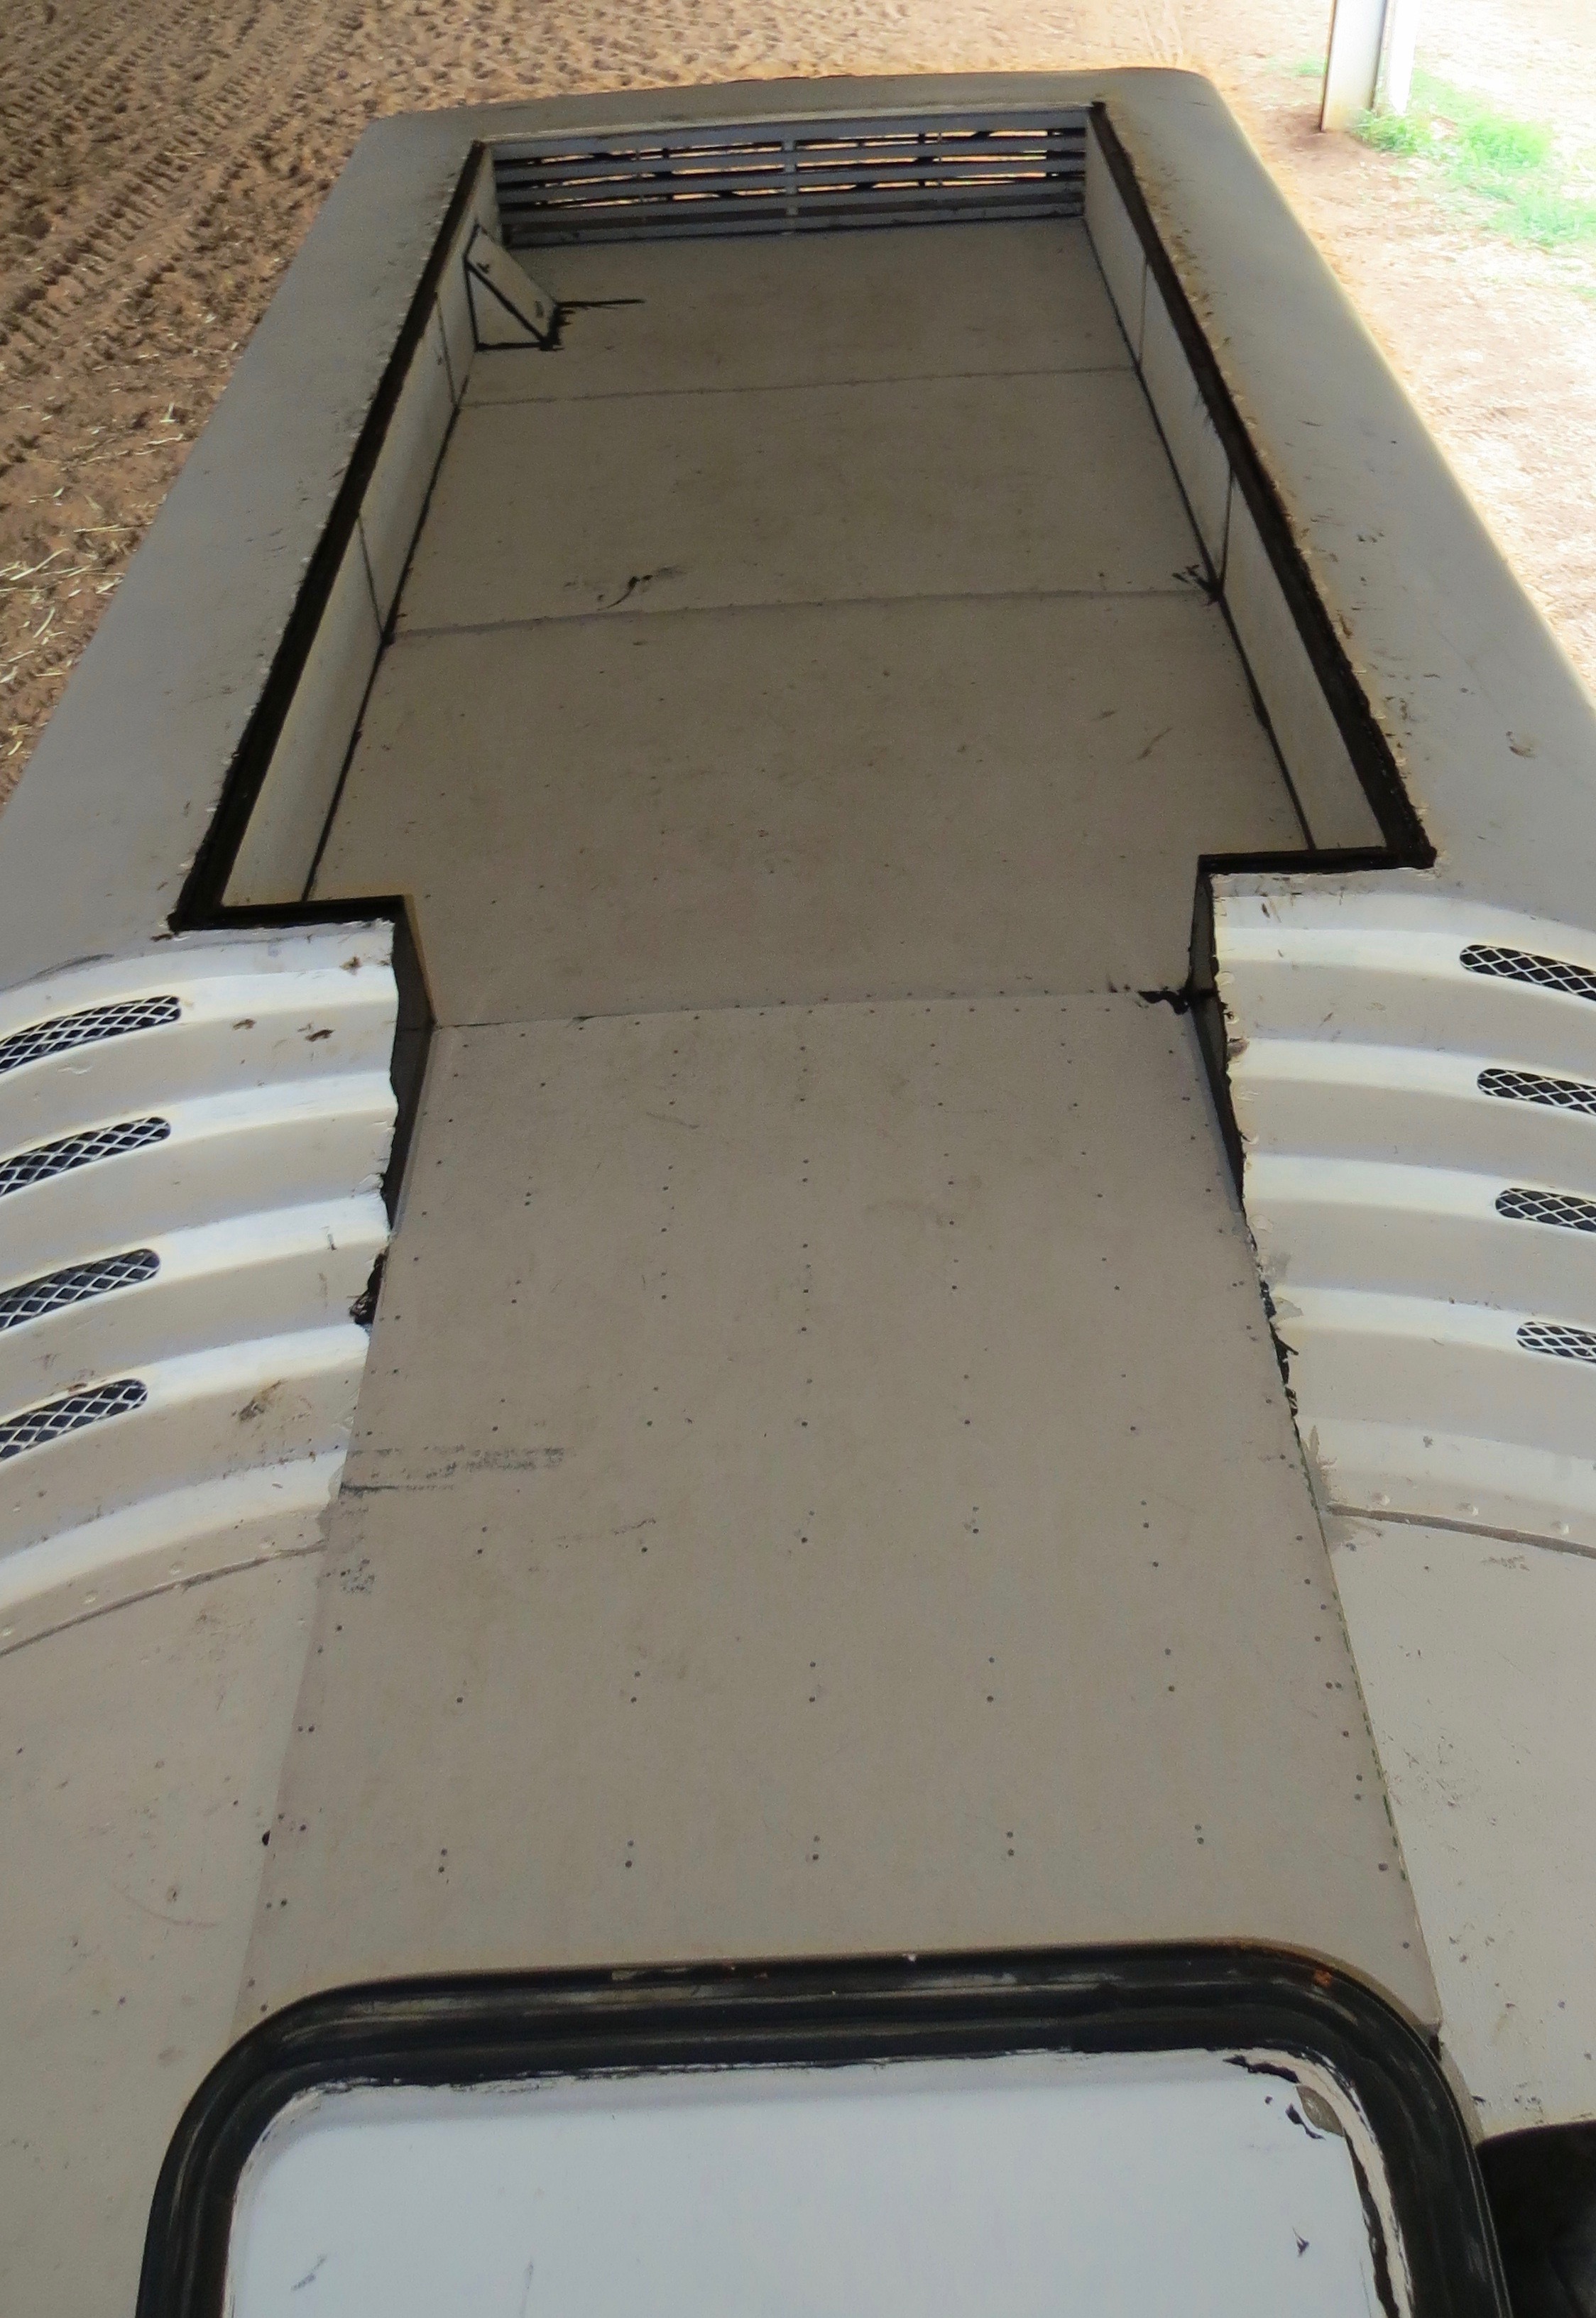
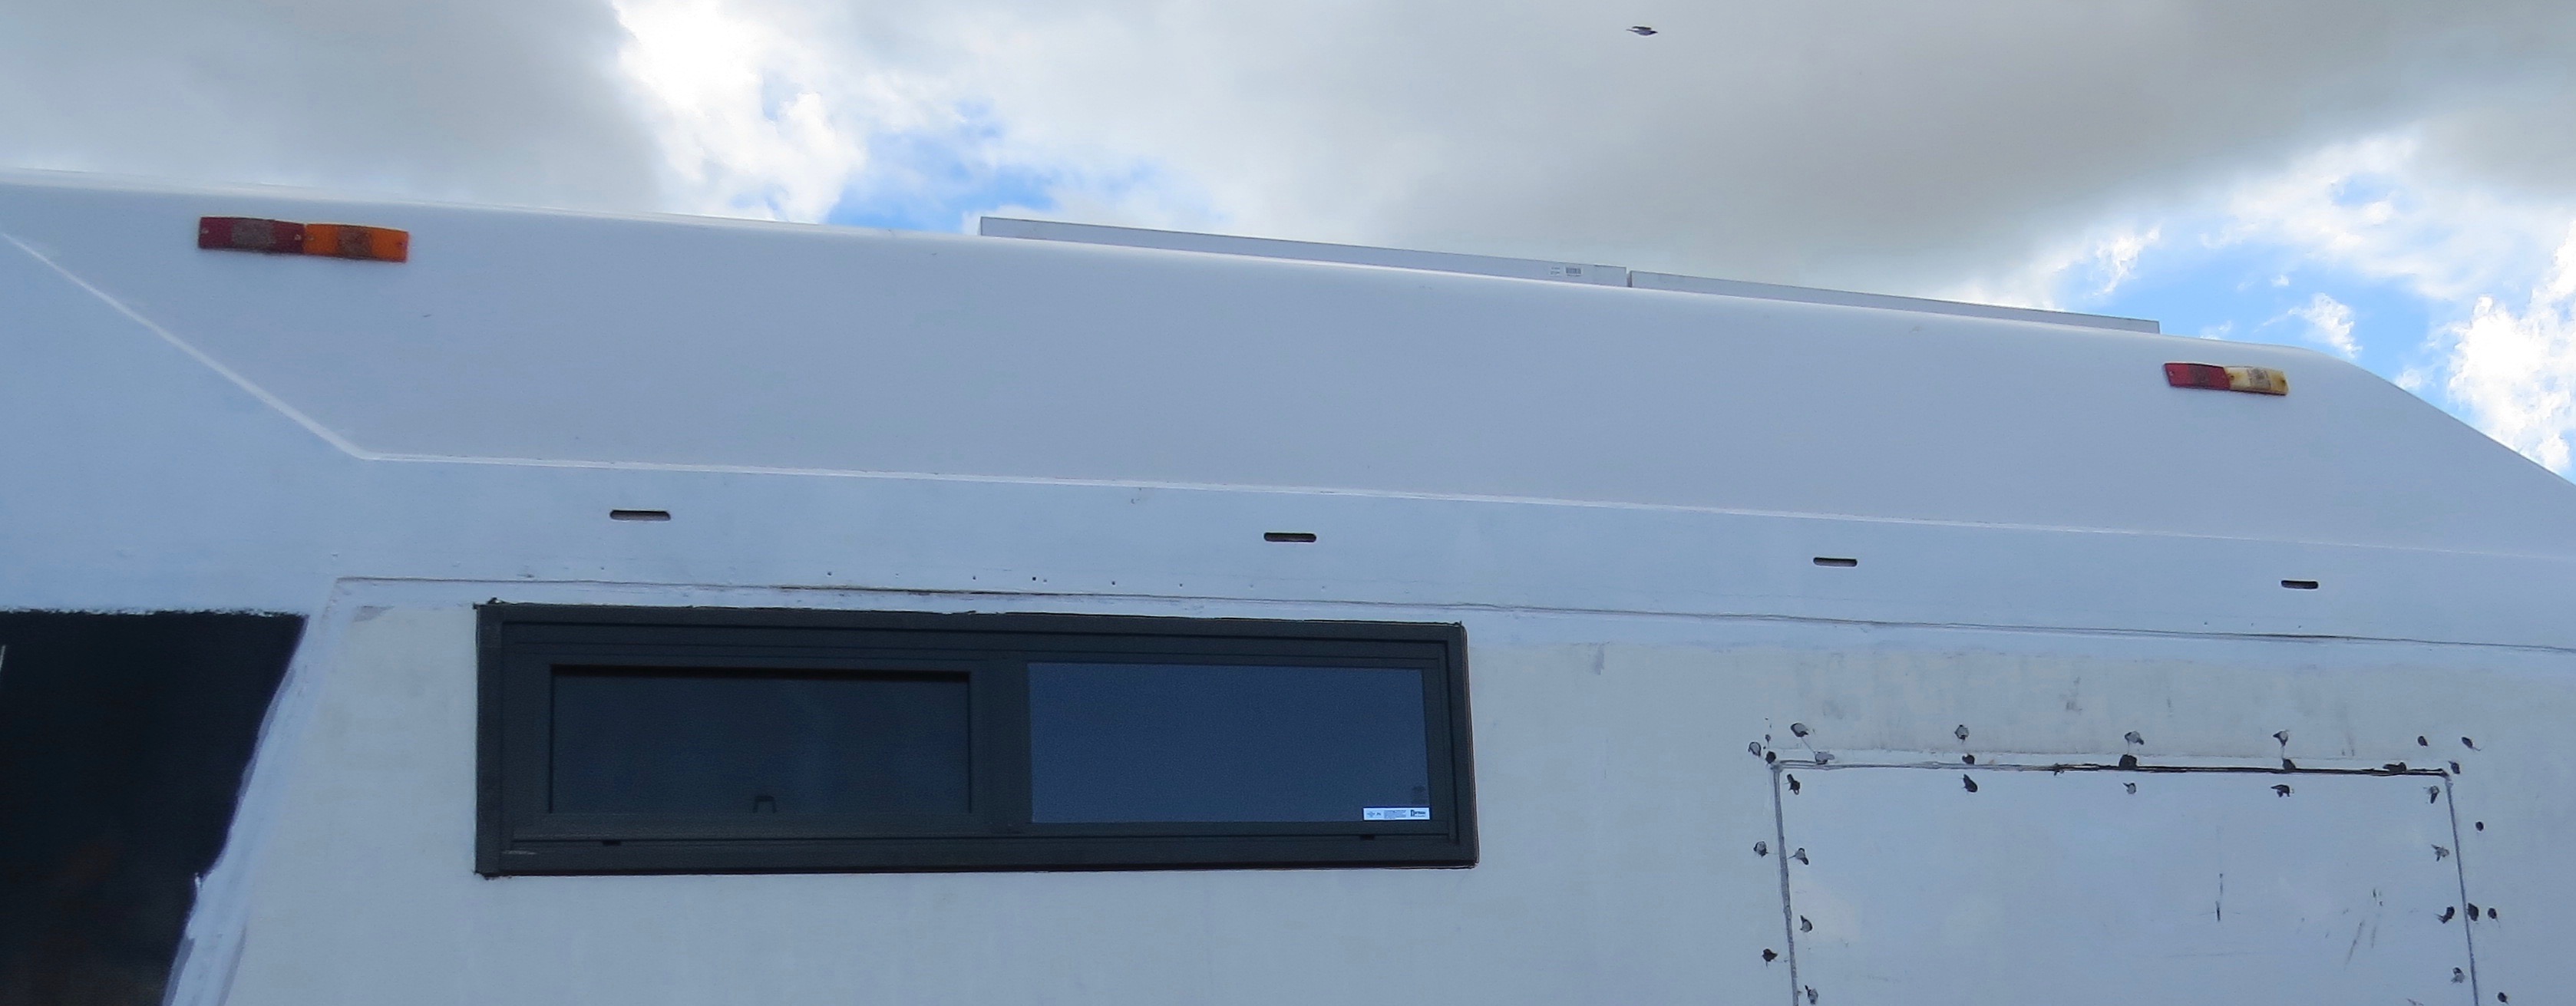
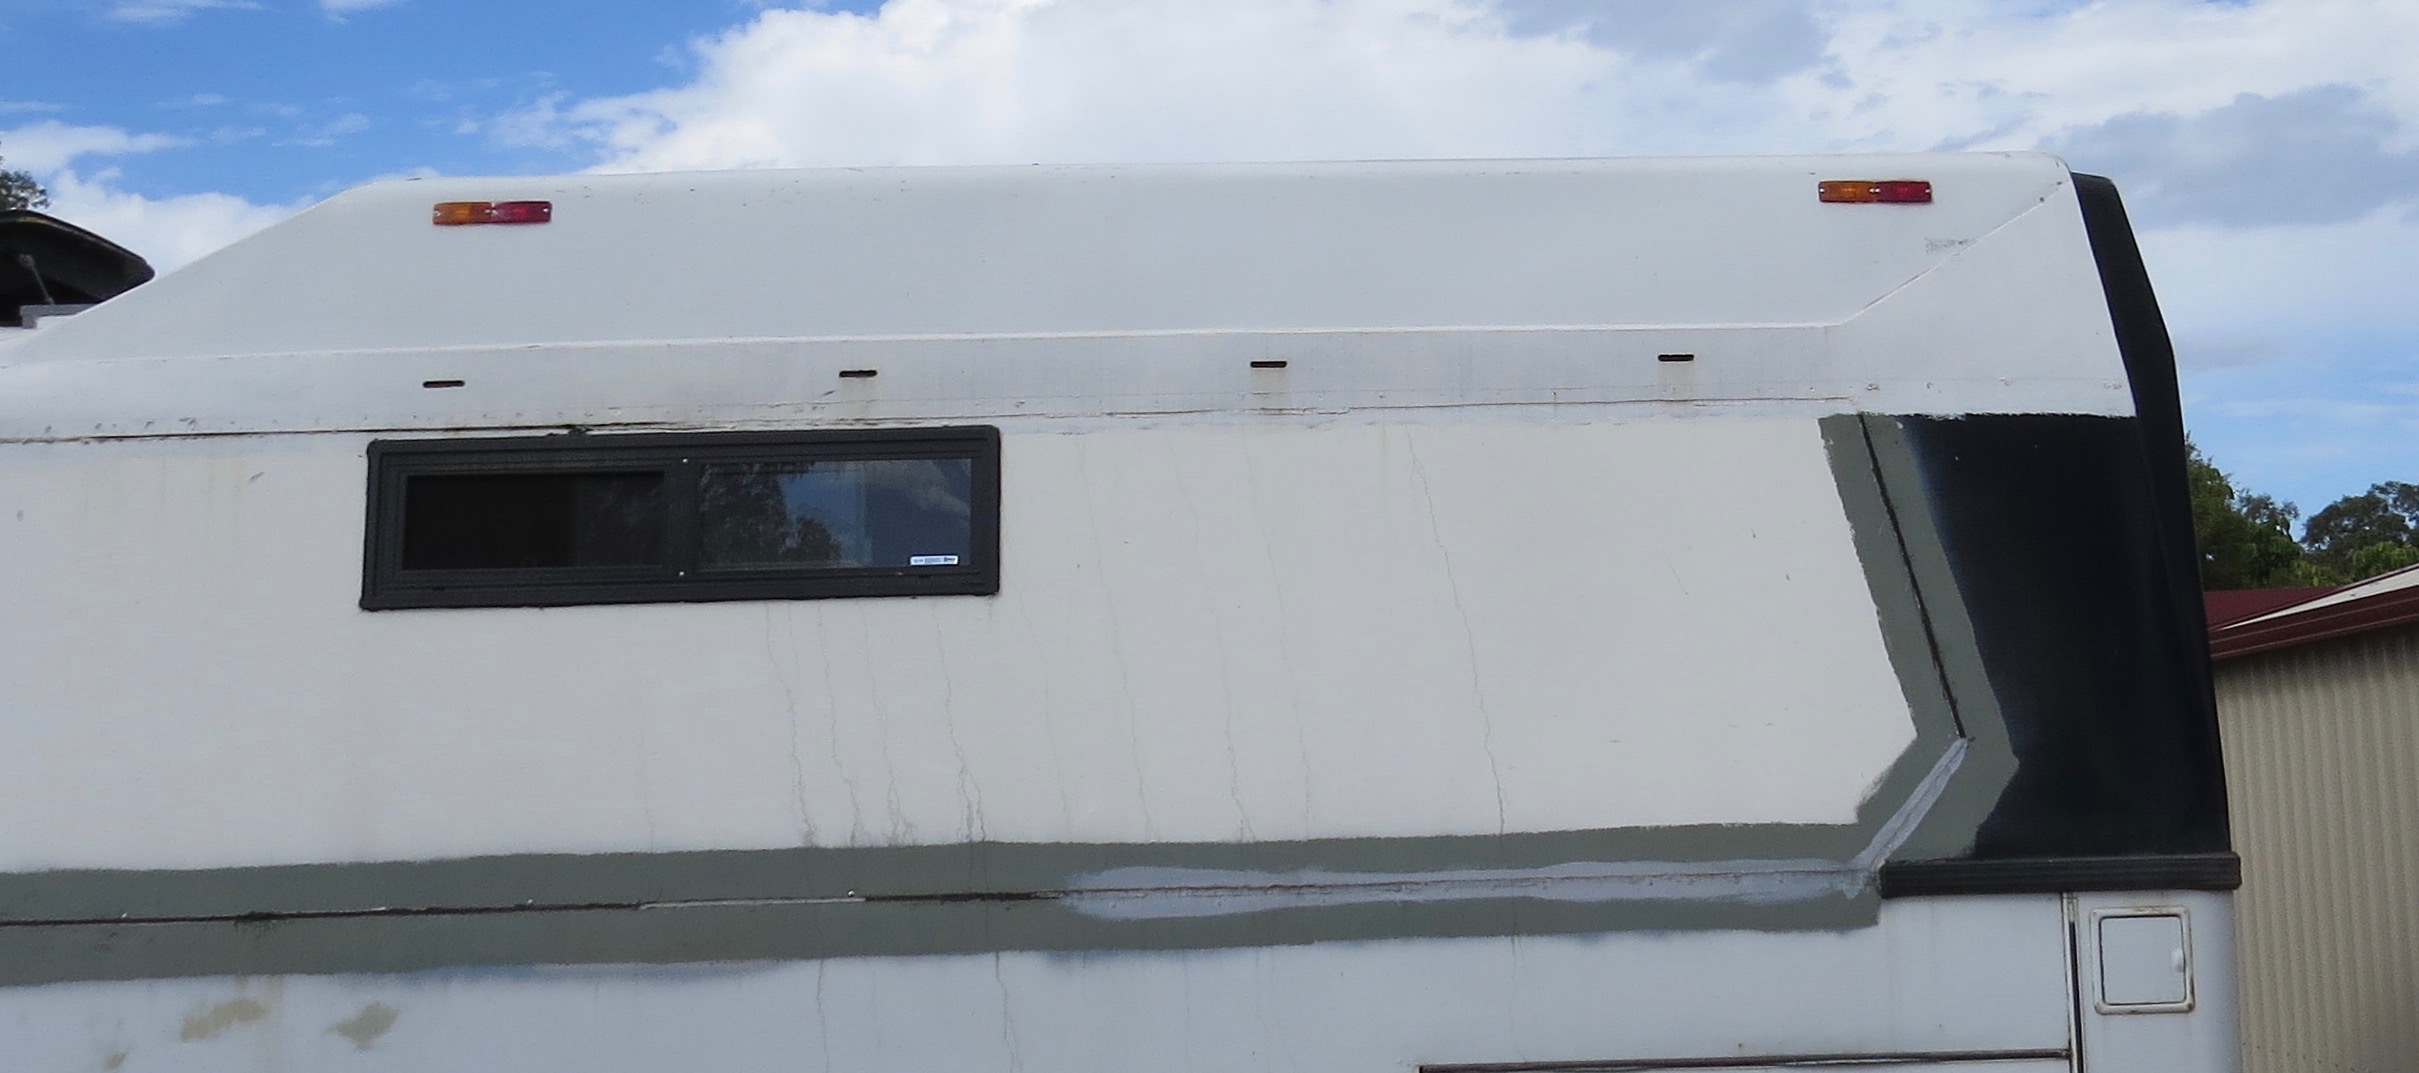
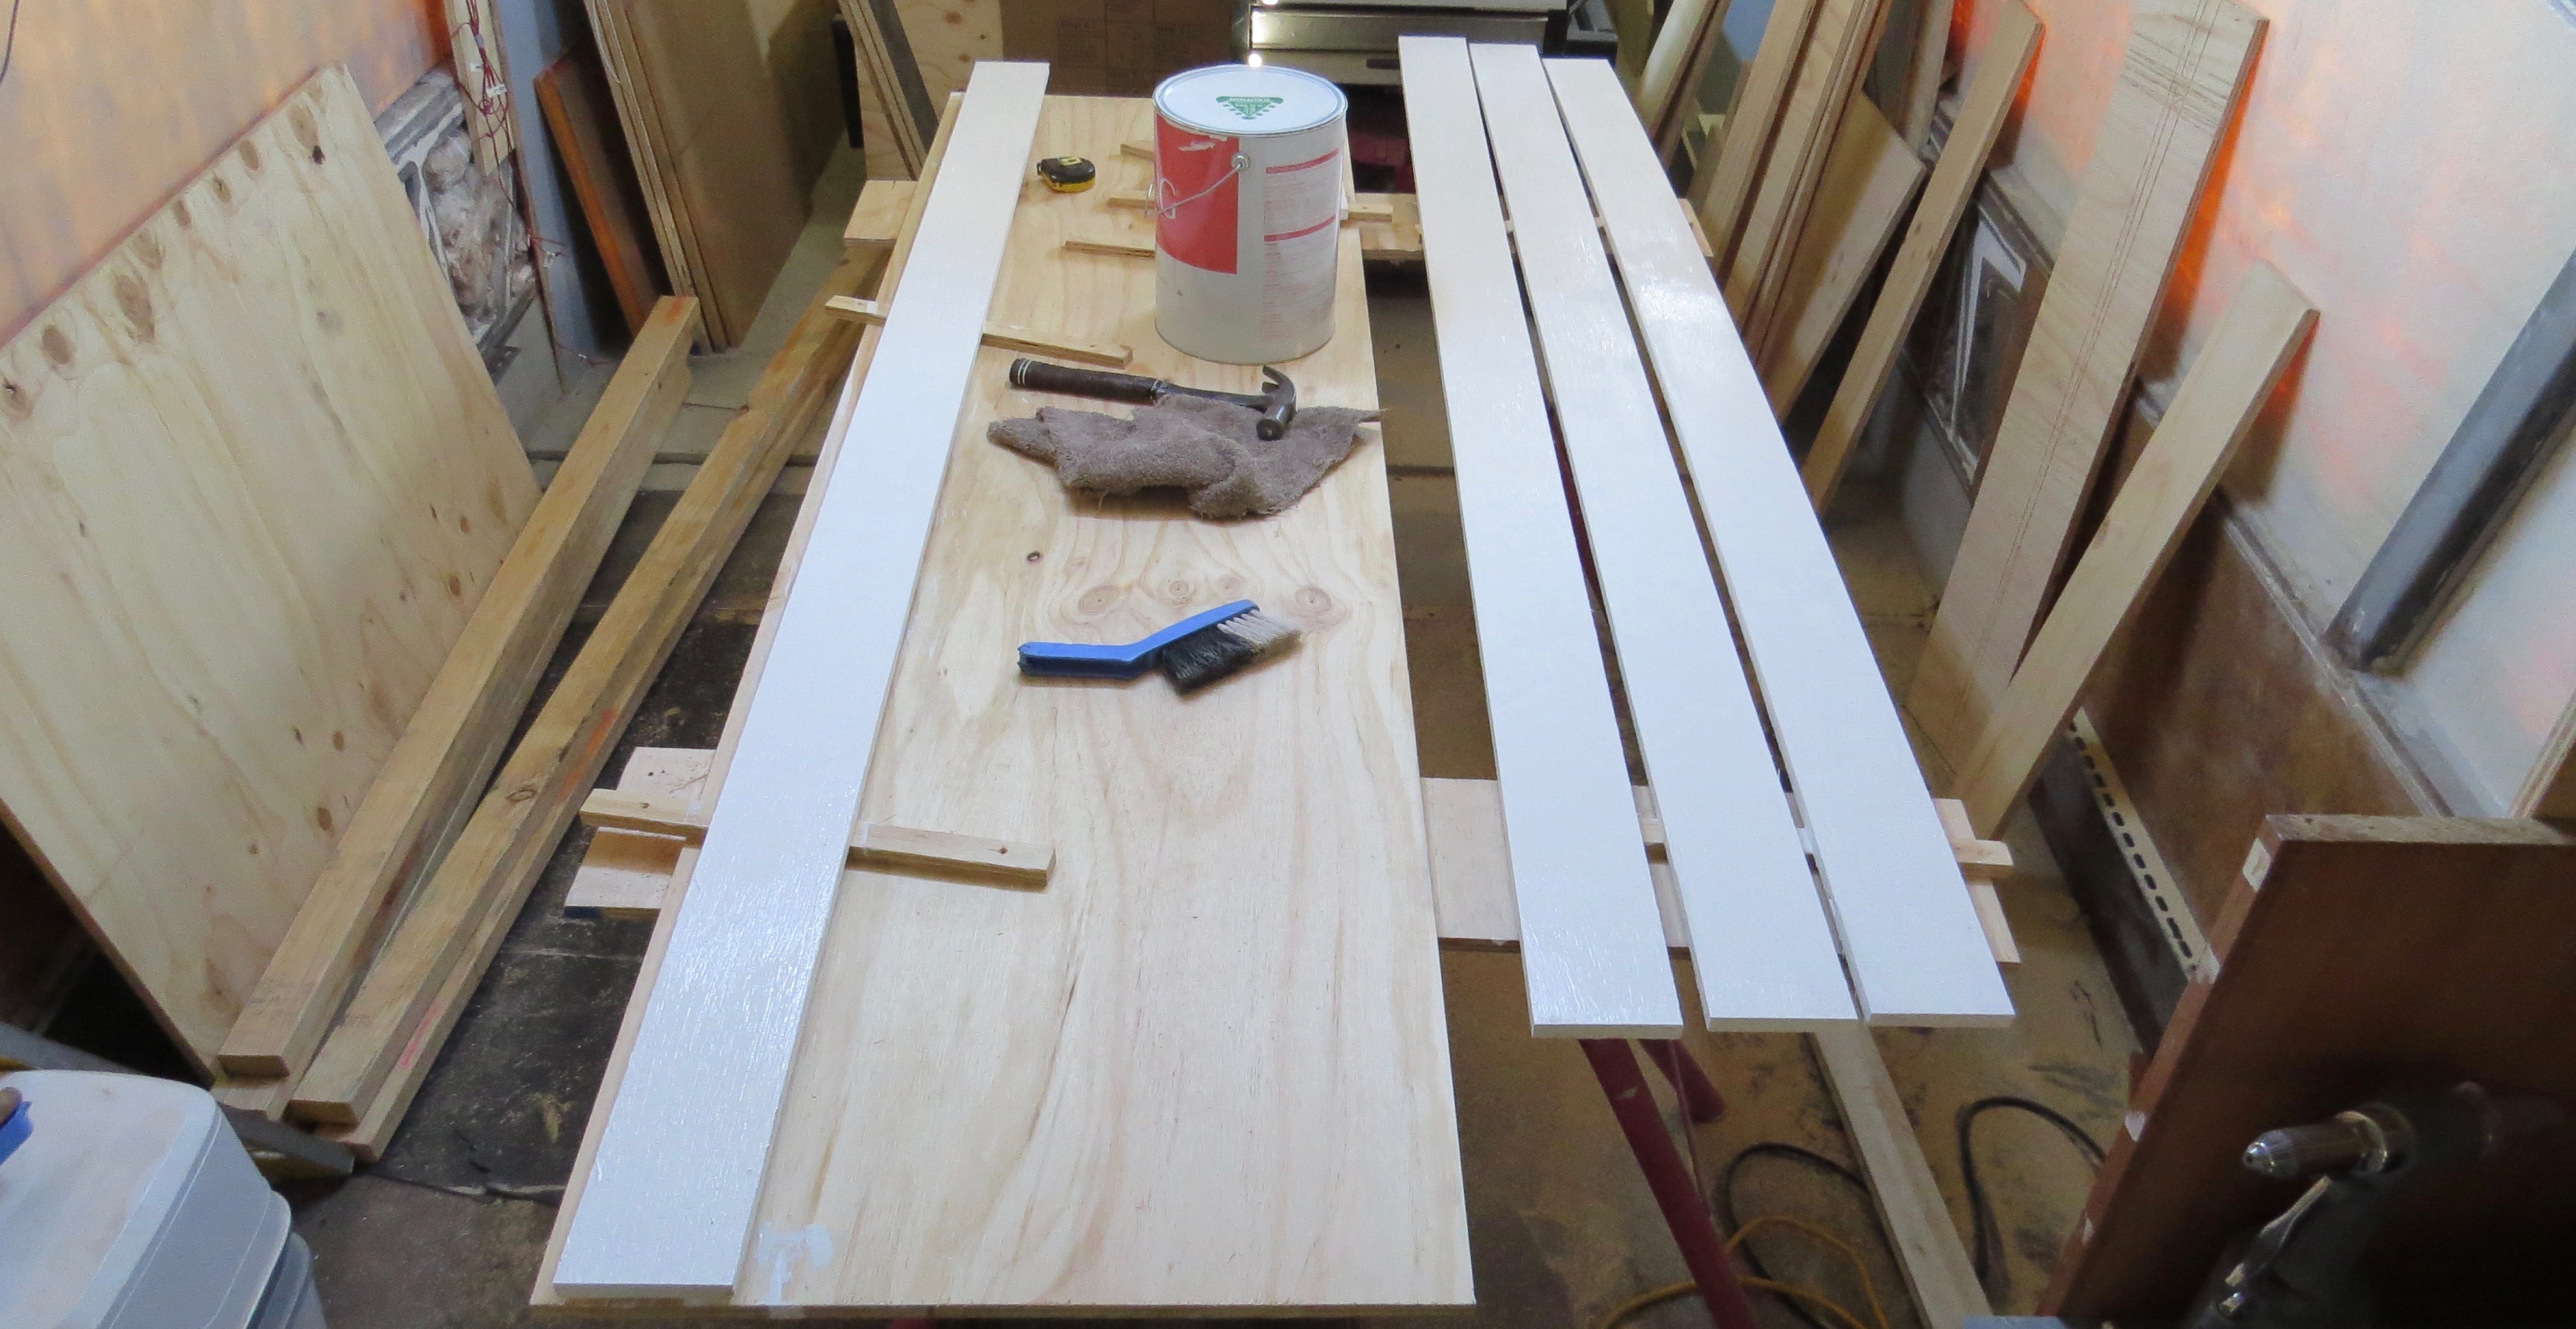
The fiberglass panels needed to be finish off by putting aluminium around them. So off to the shops again, I think I should have shares in Bunnings. I though this was going to be an easy job of just cutting the aluminium to length and gluing then pop rivet into place.
Prep time
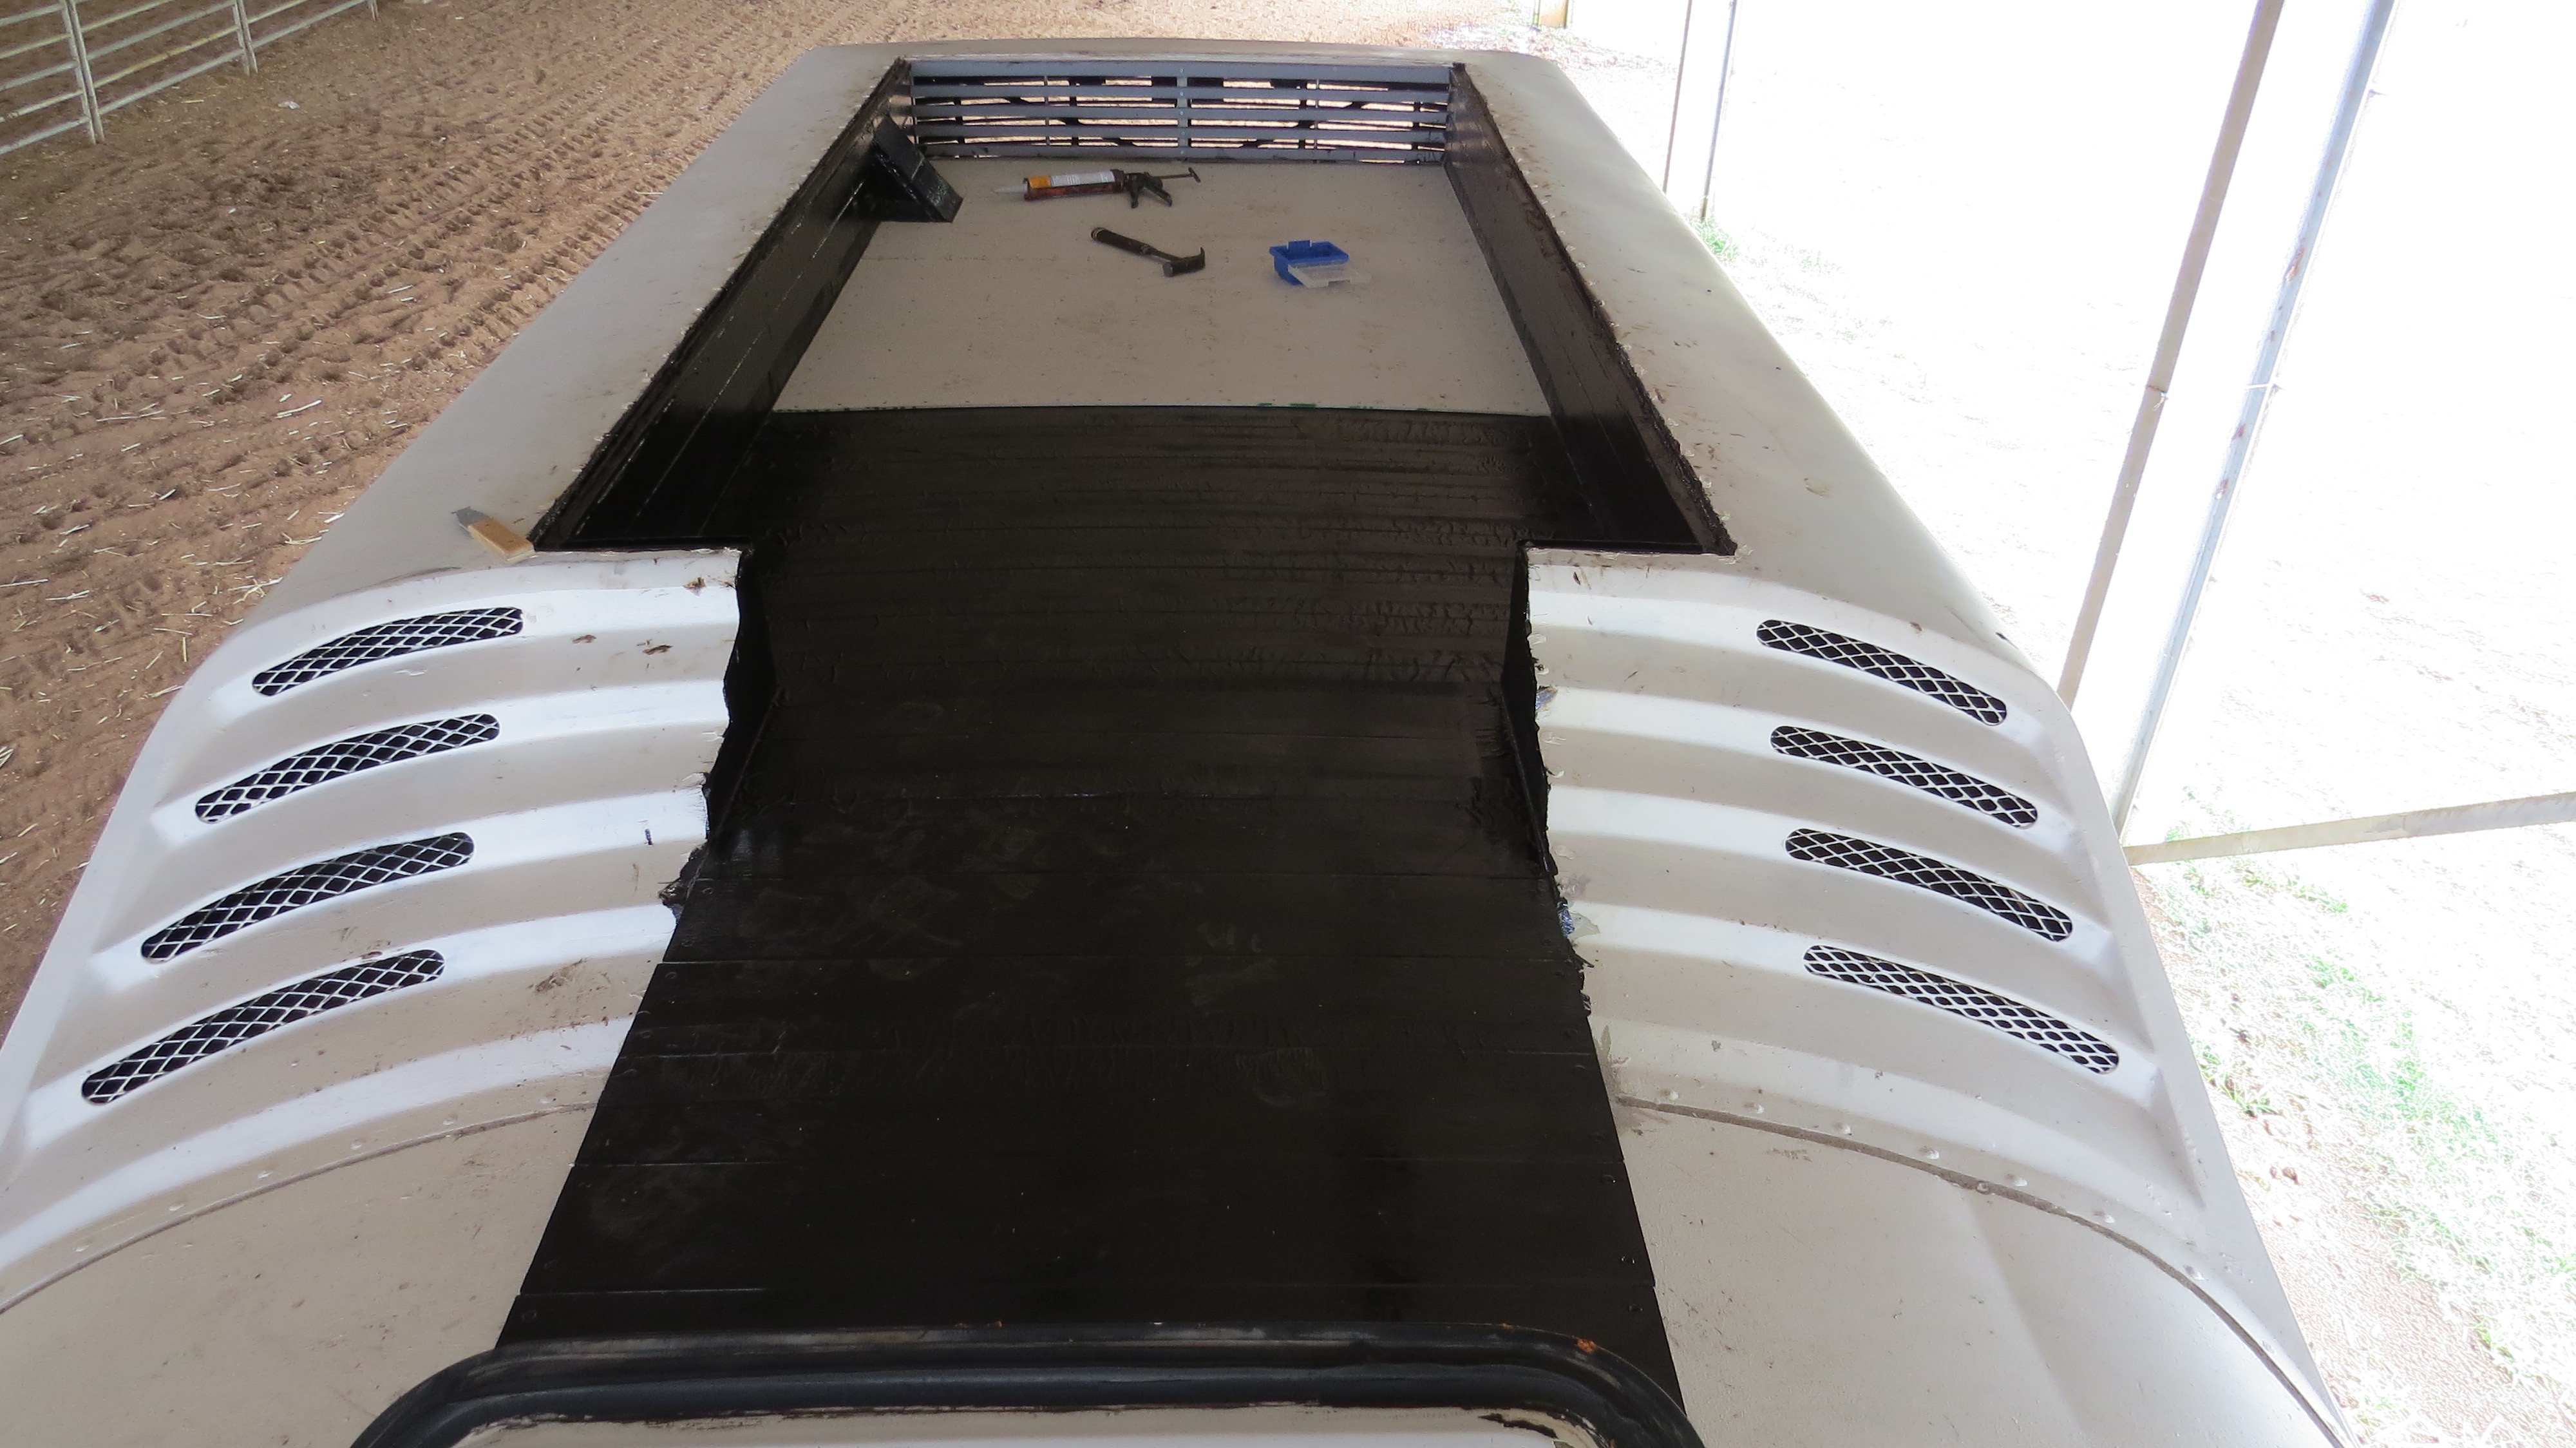
To start with I had to remove the old pop rivets that held the old air-con fiberglass top in place. This was a job in itself as it was glued well in place, then clean out all the dust that had built up over 30 years.
Slow job cutting the old glue to lift the fiberglass out.
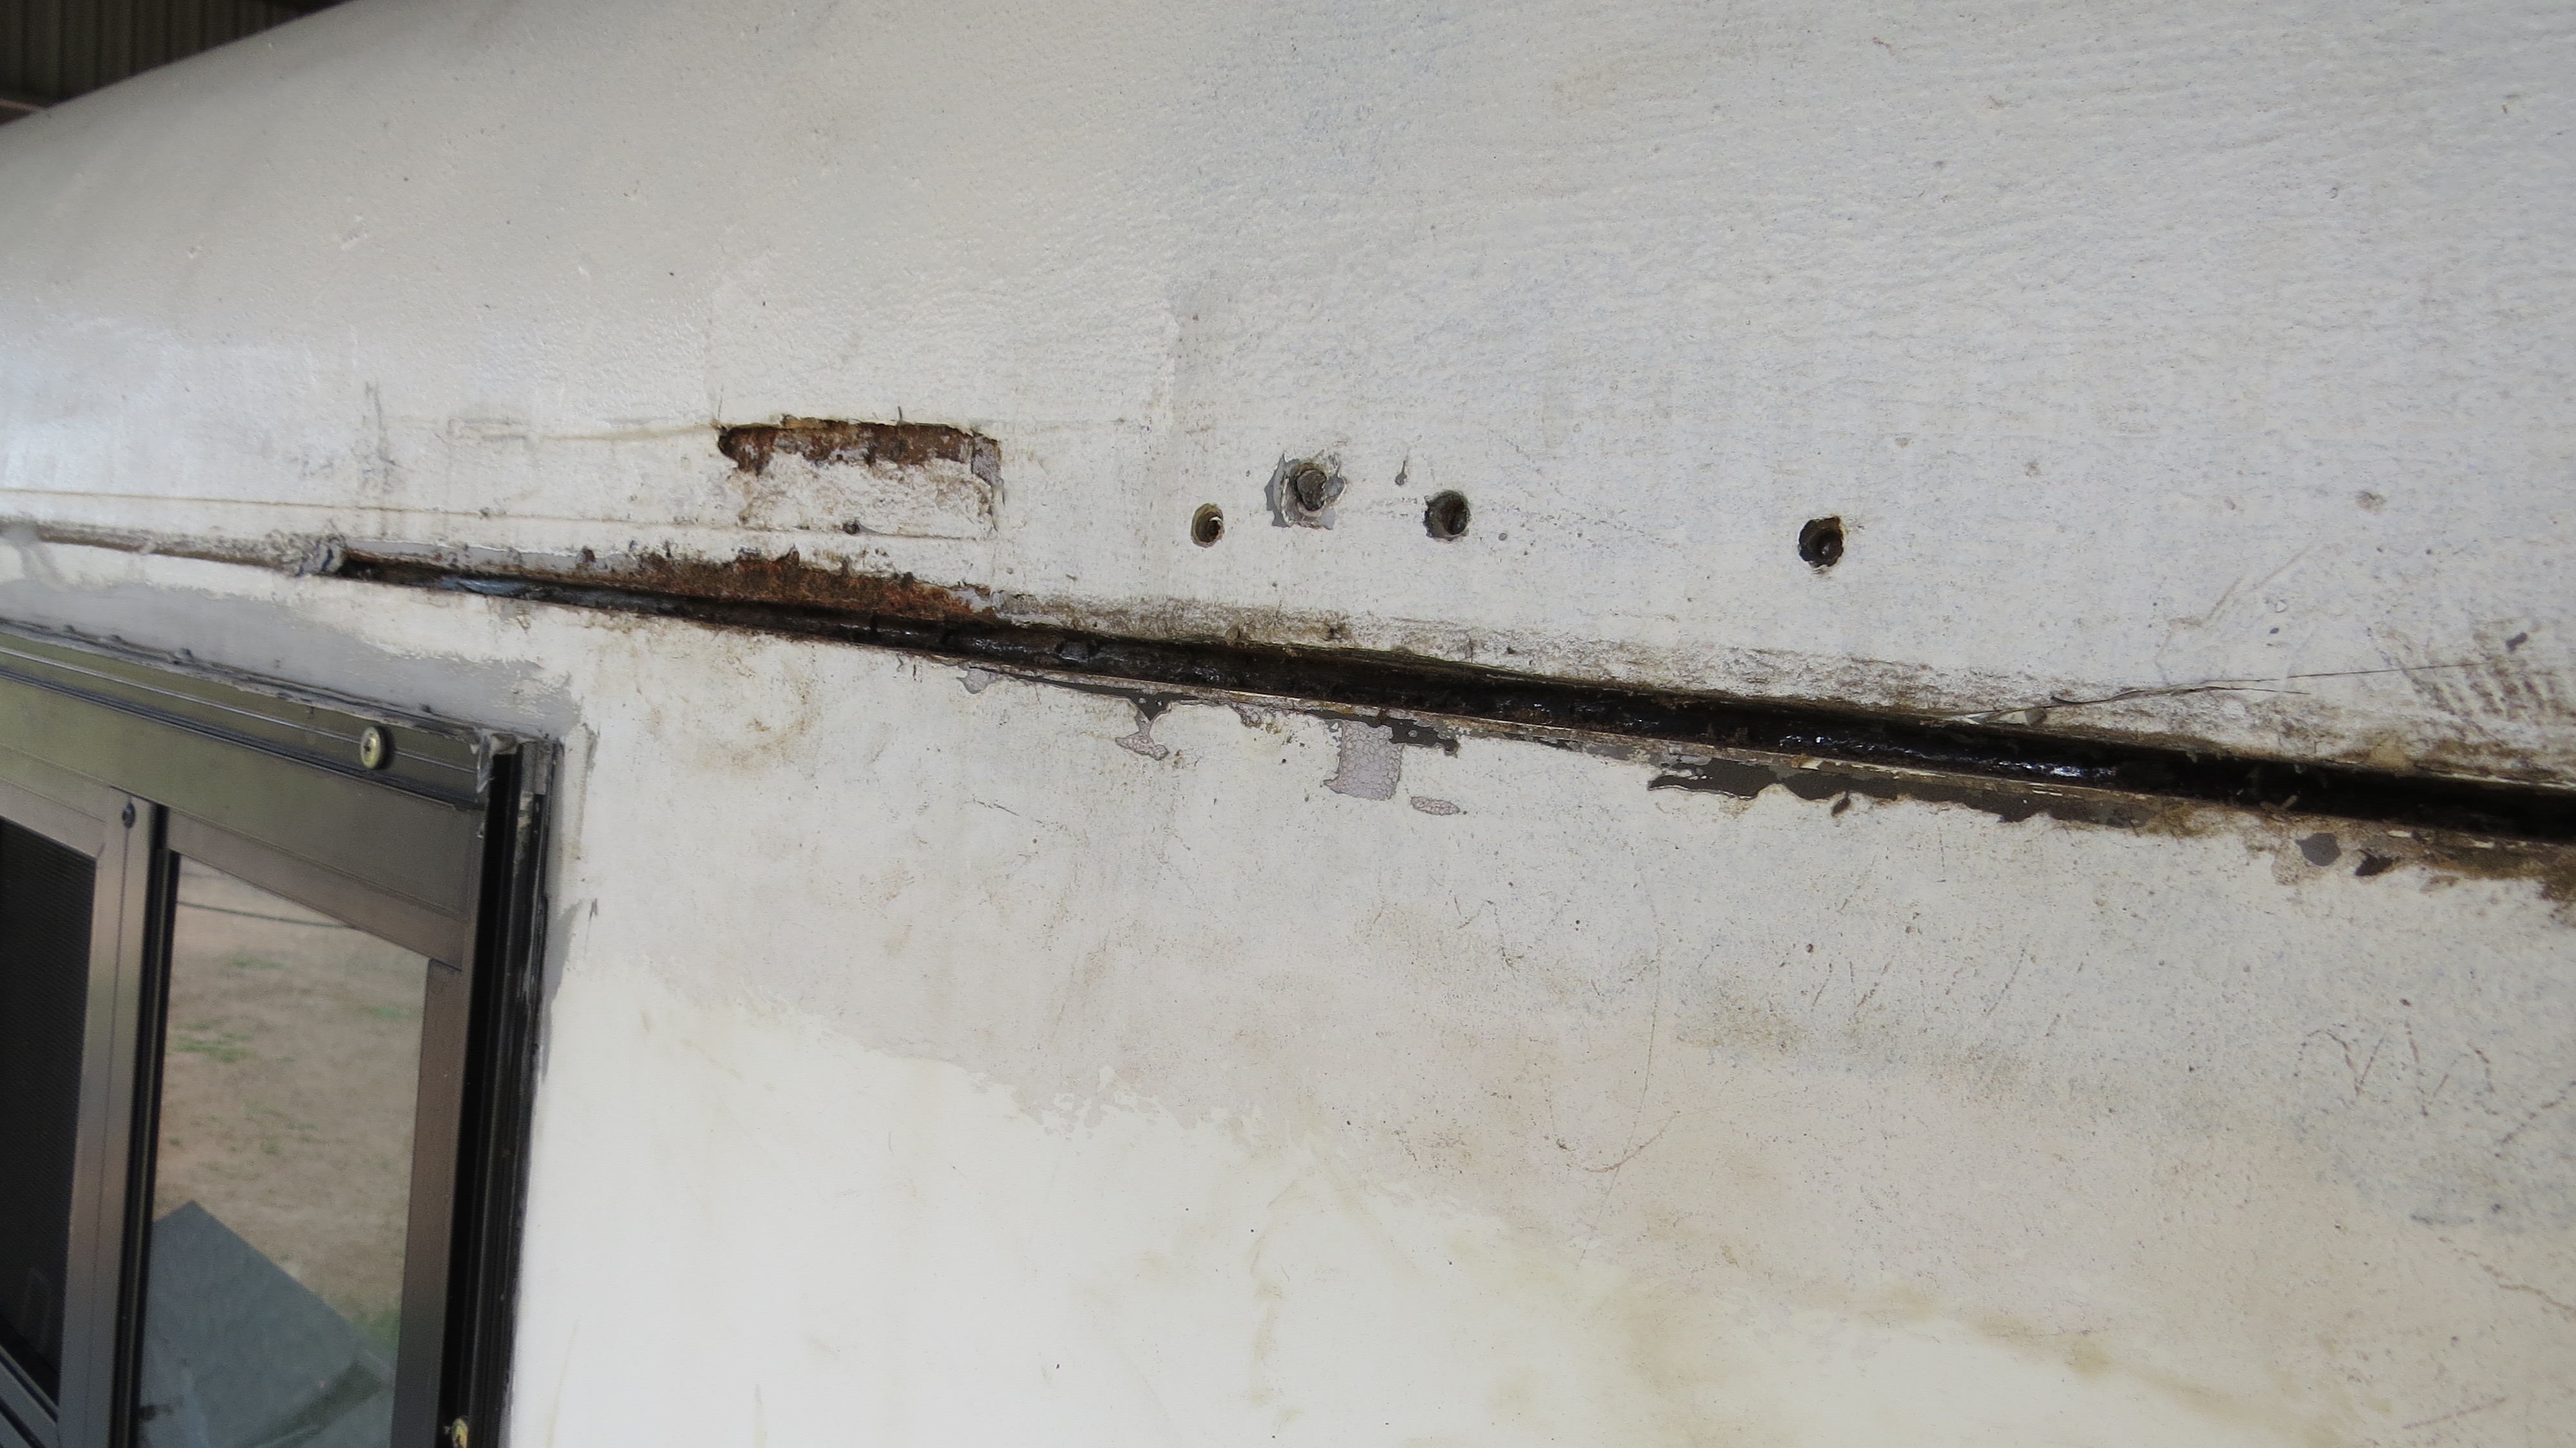
I’m glad I started this job early in the fixing as I found another place where water could get in that was hidden. This should be the last of them as there is no more places left to fix.
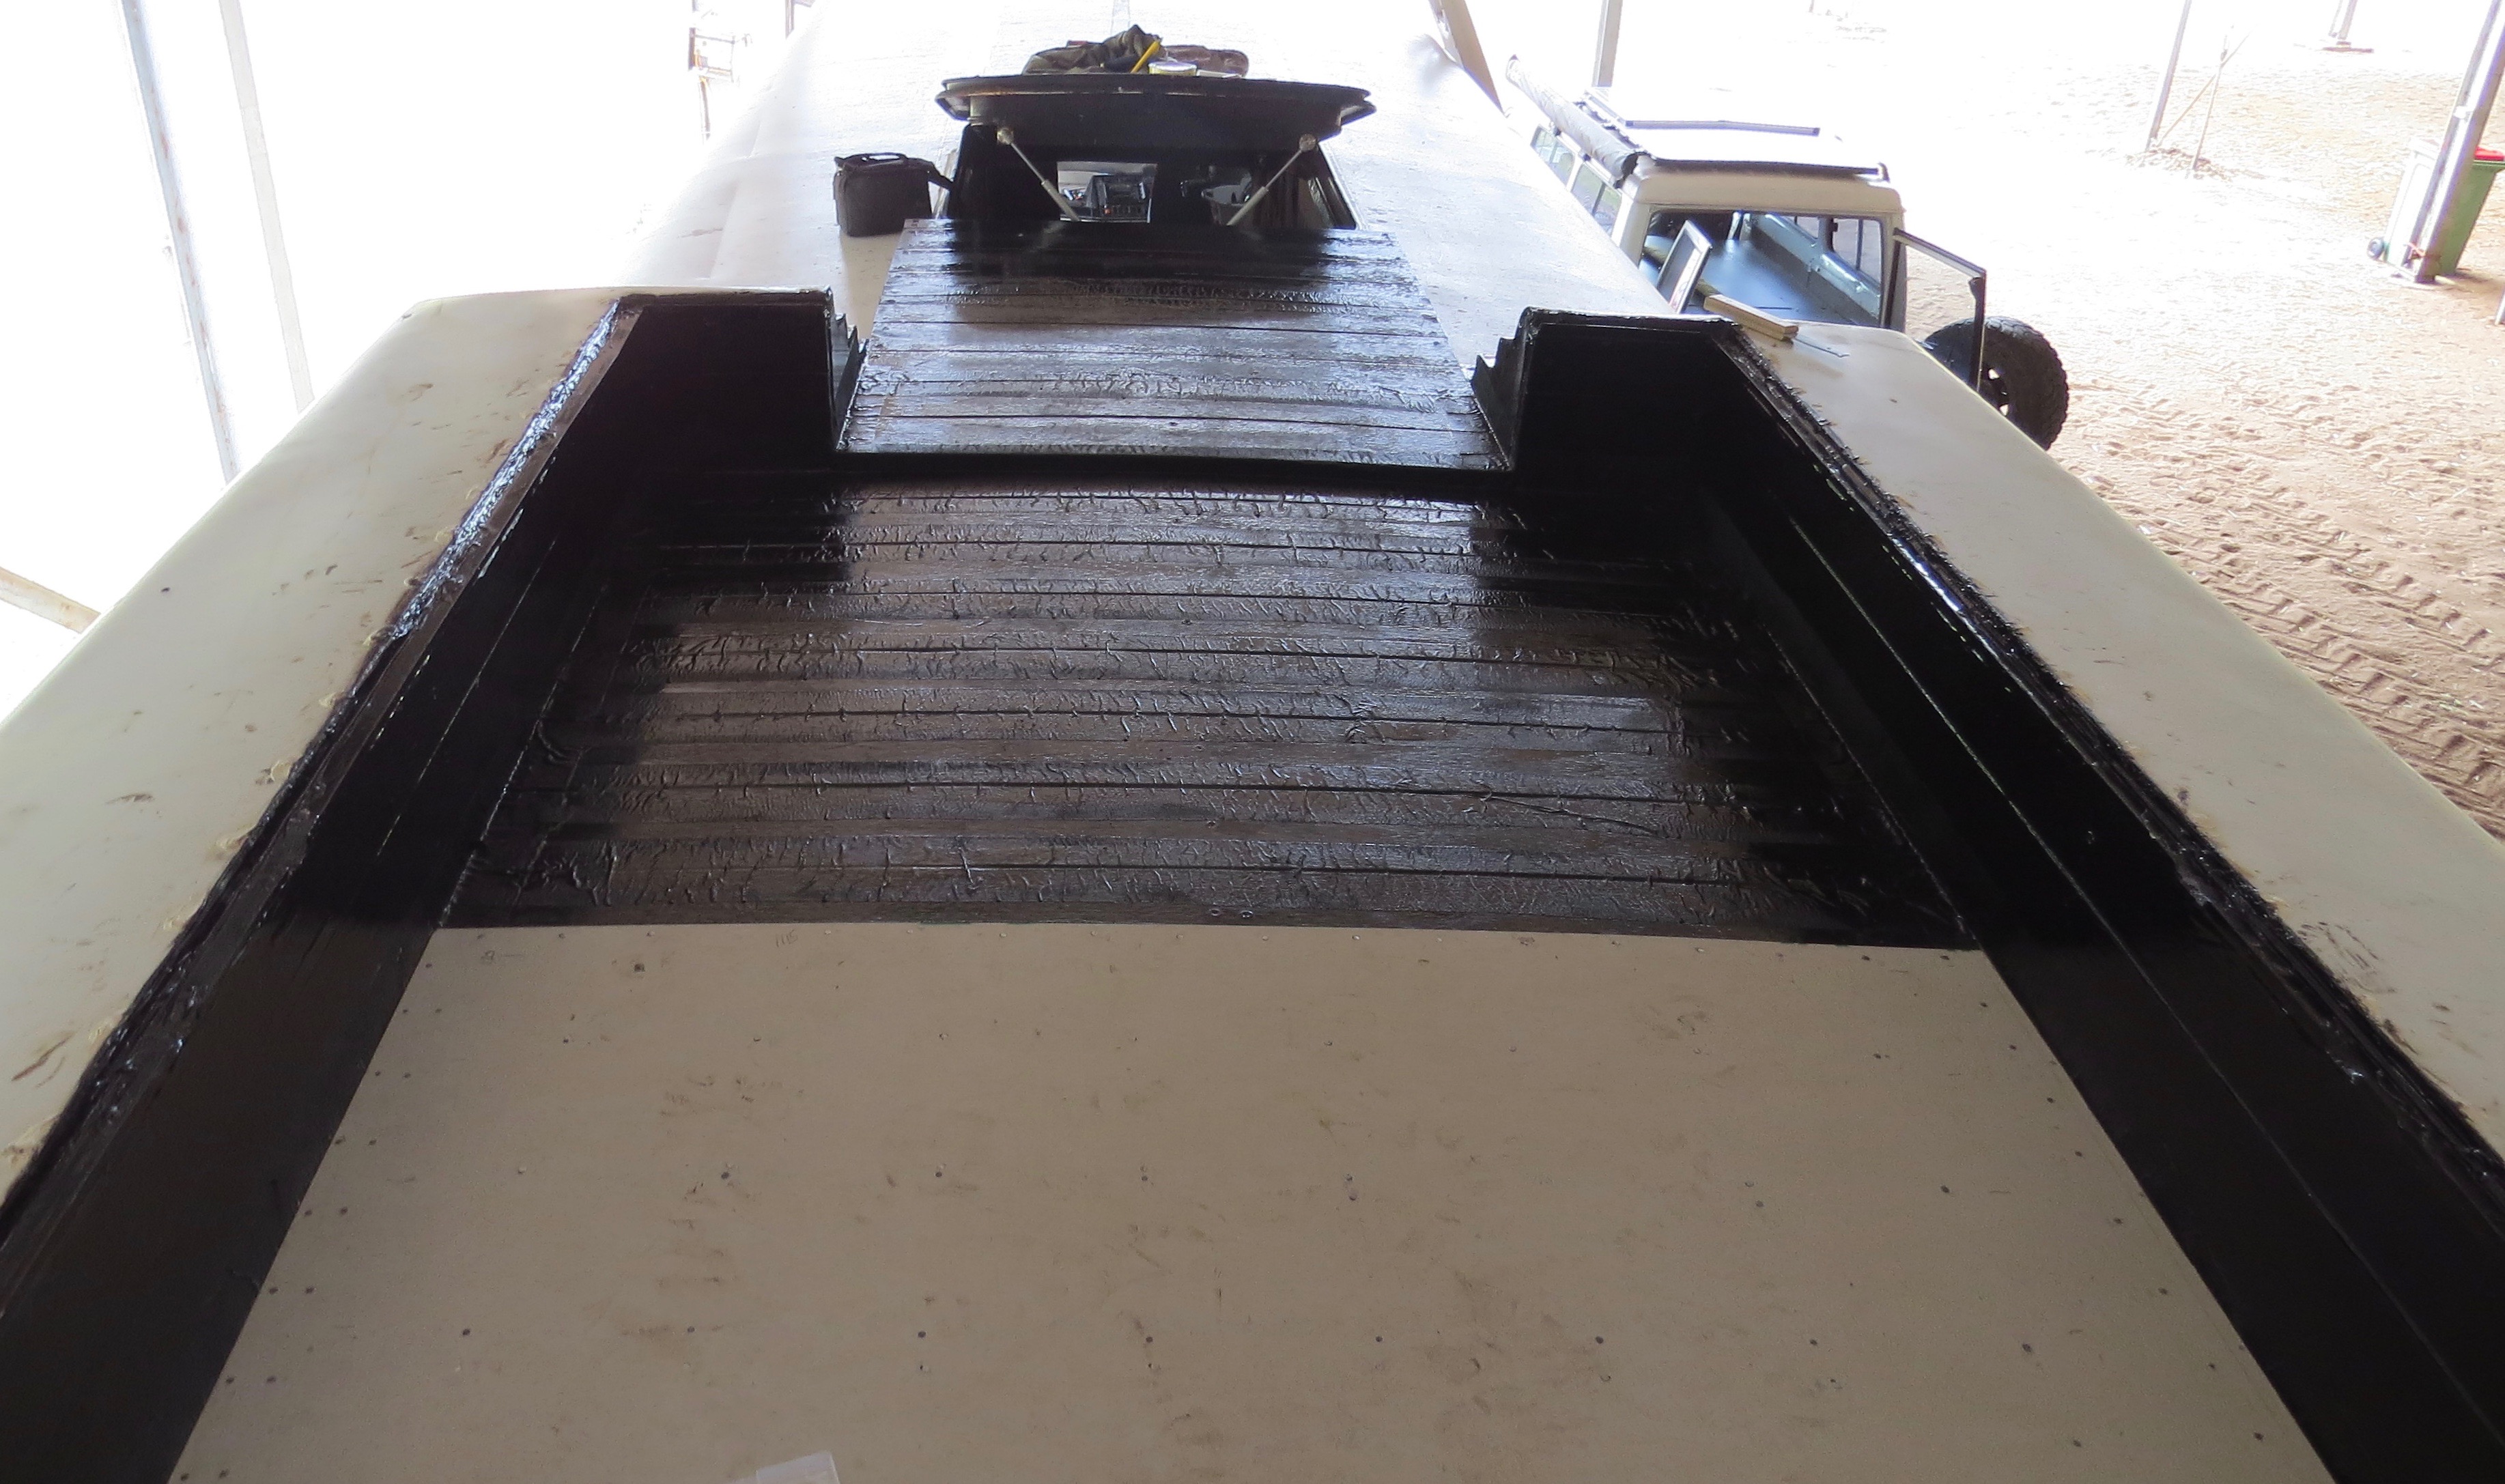
Found another leak.This back part took one day to free up, not happy.
I even had the reciprocal saw going to cut out the old glue and on this part, but the saw died with only 300mm to go. They knew how to glue things back then, too well. The only good news was there was more room under the coach now the saw was in the bin.
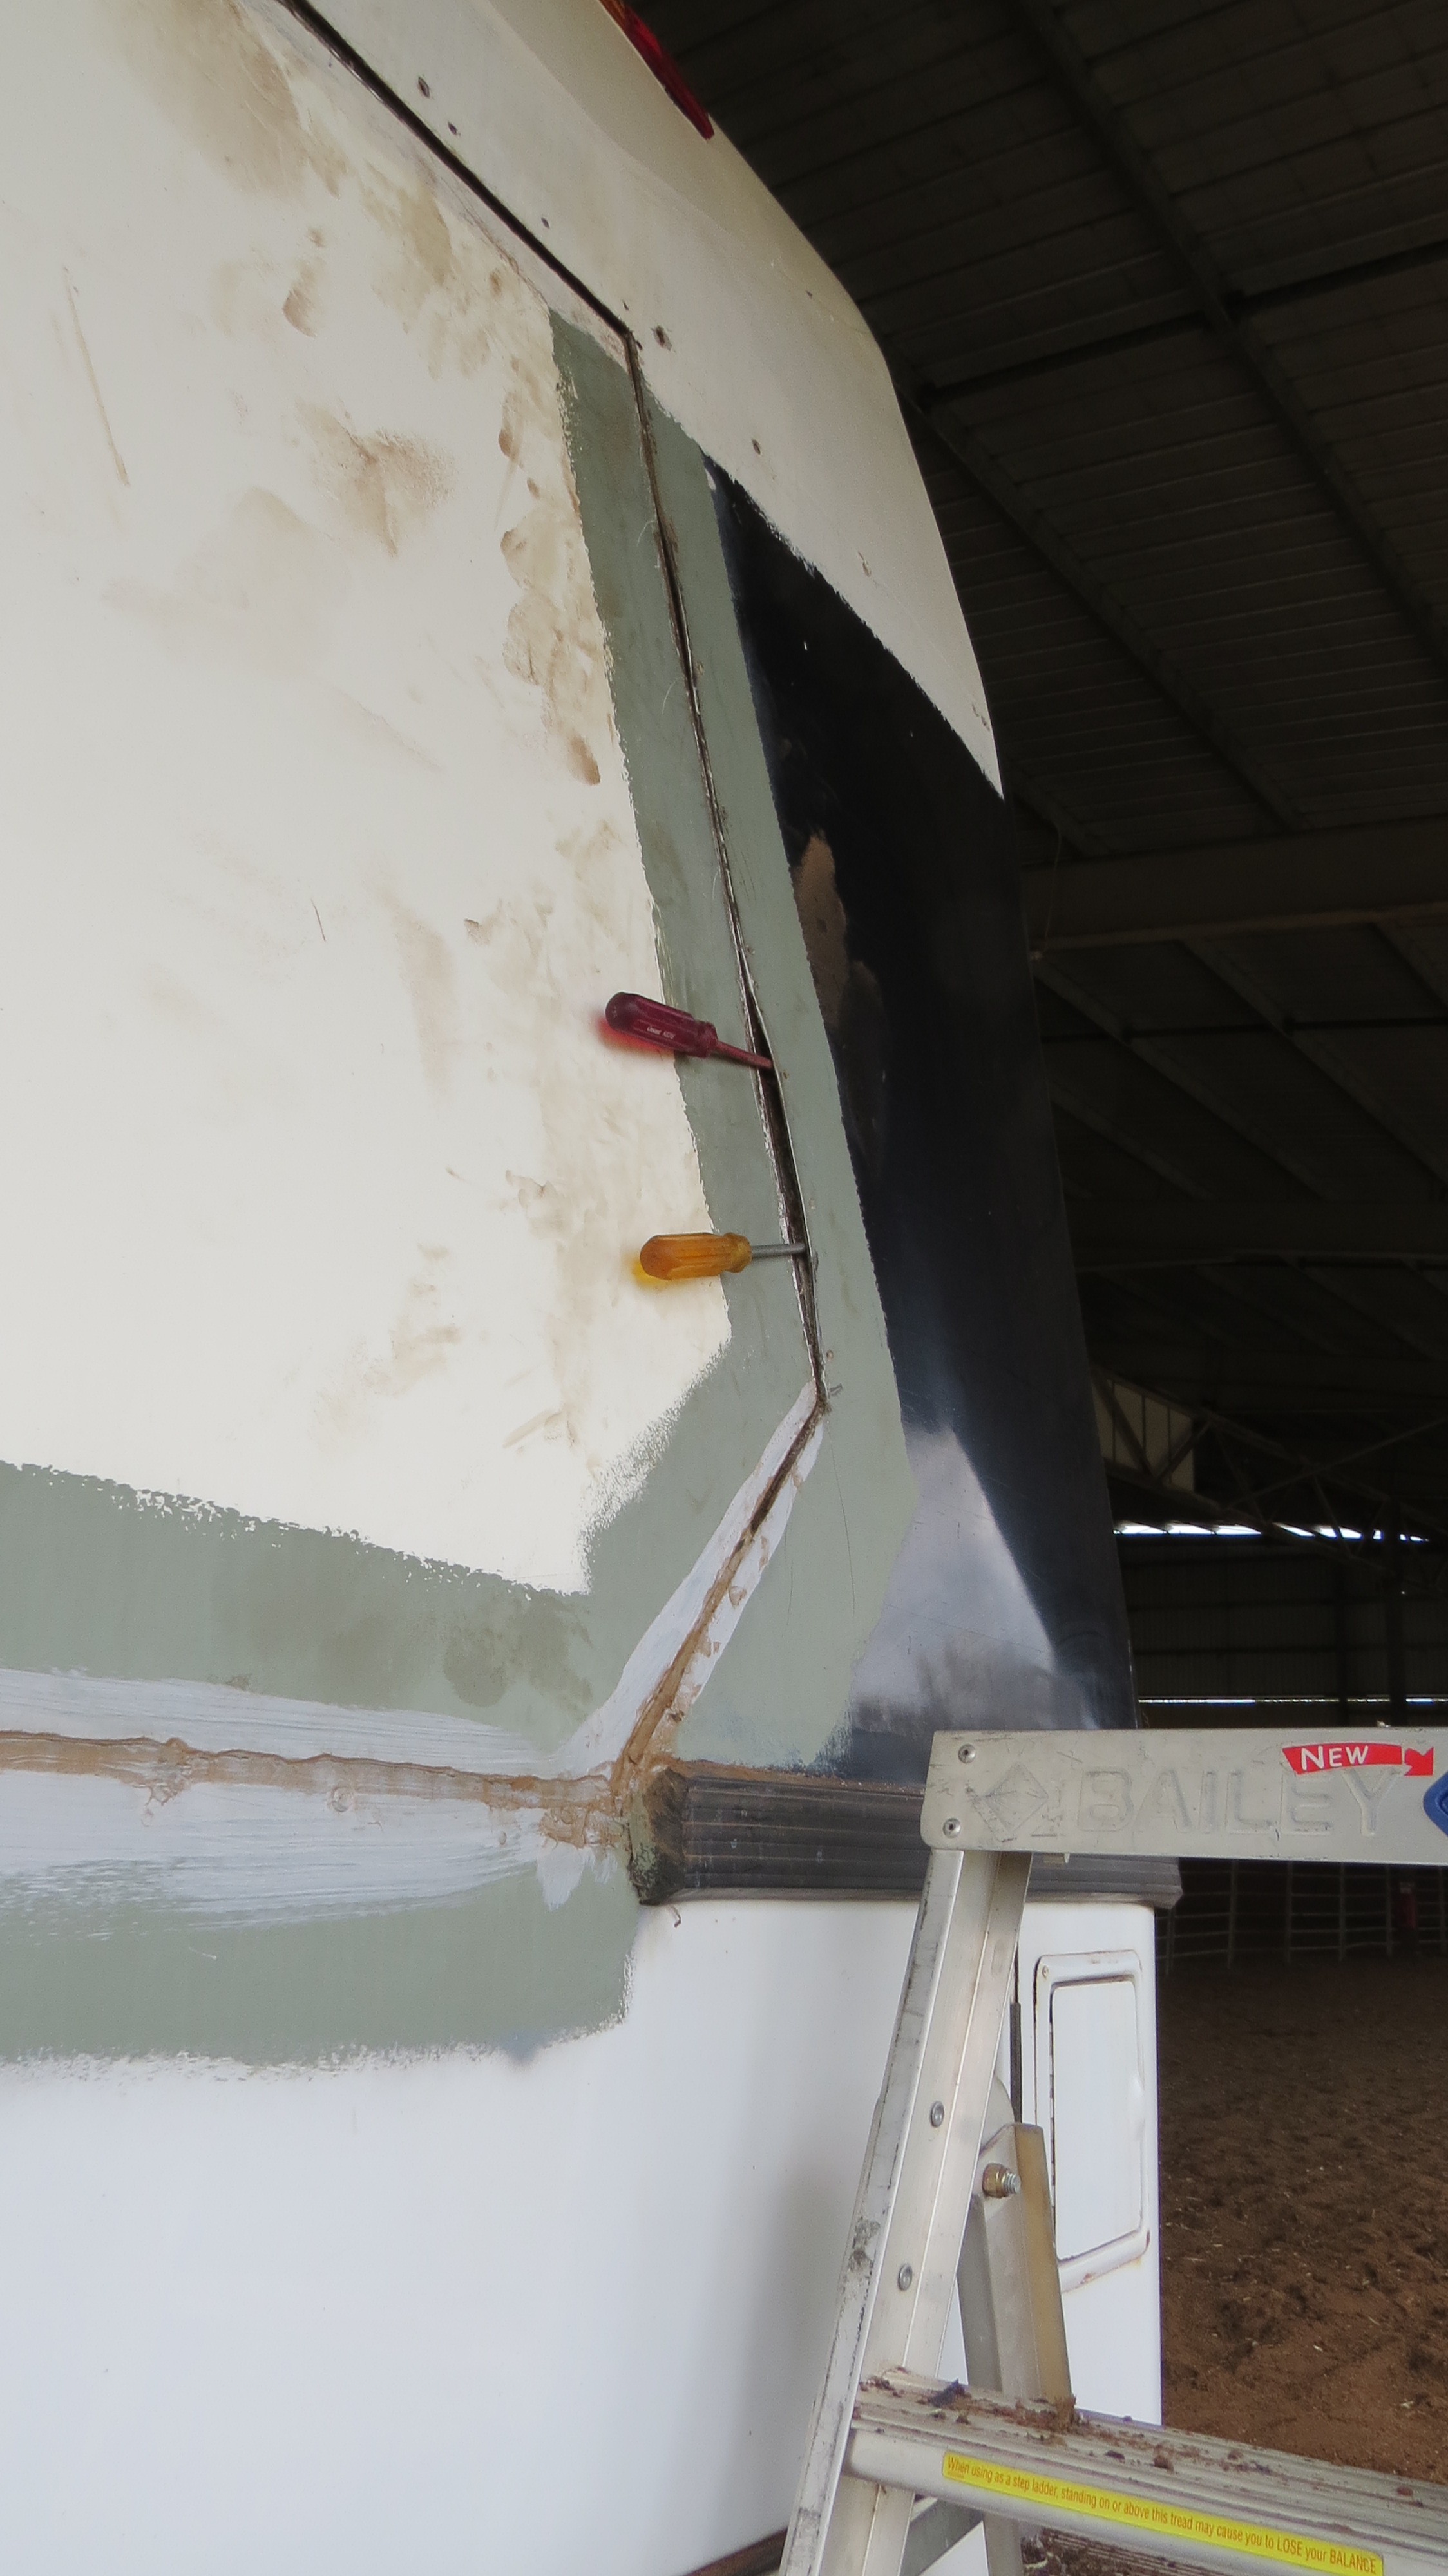
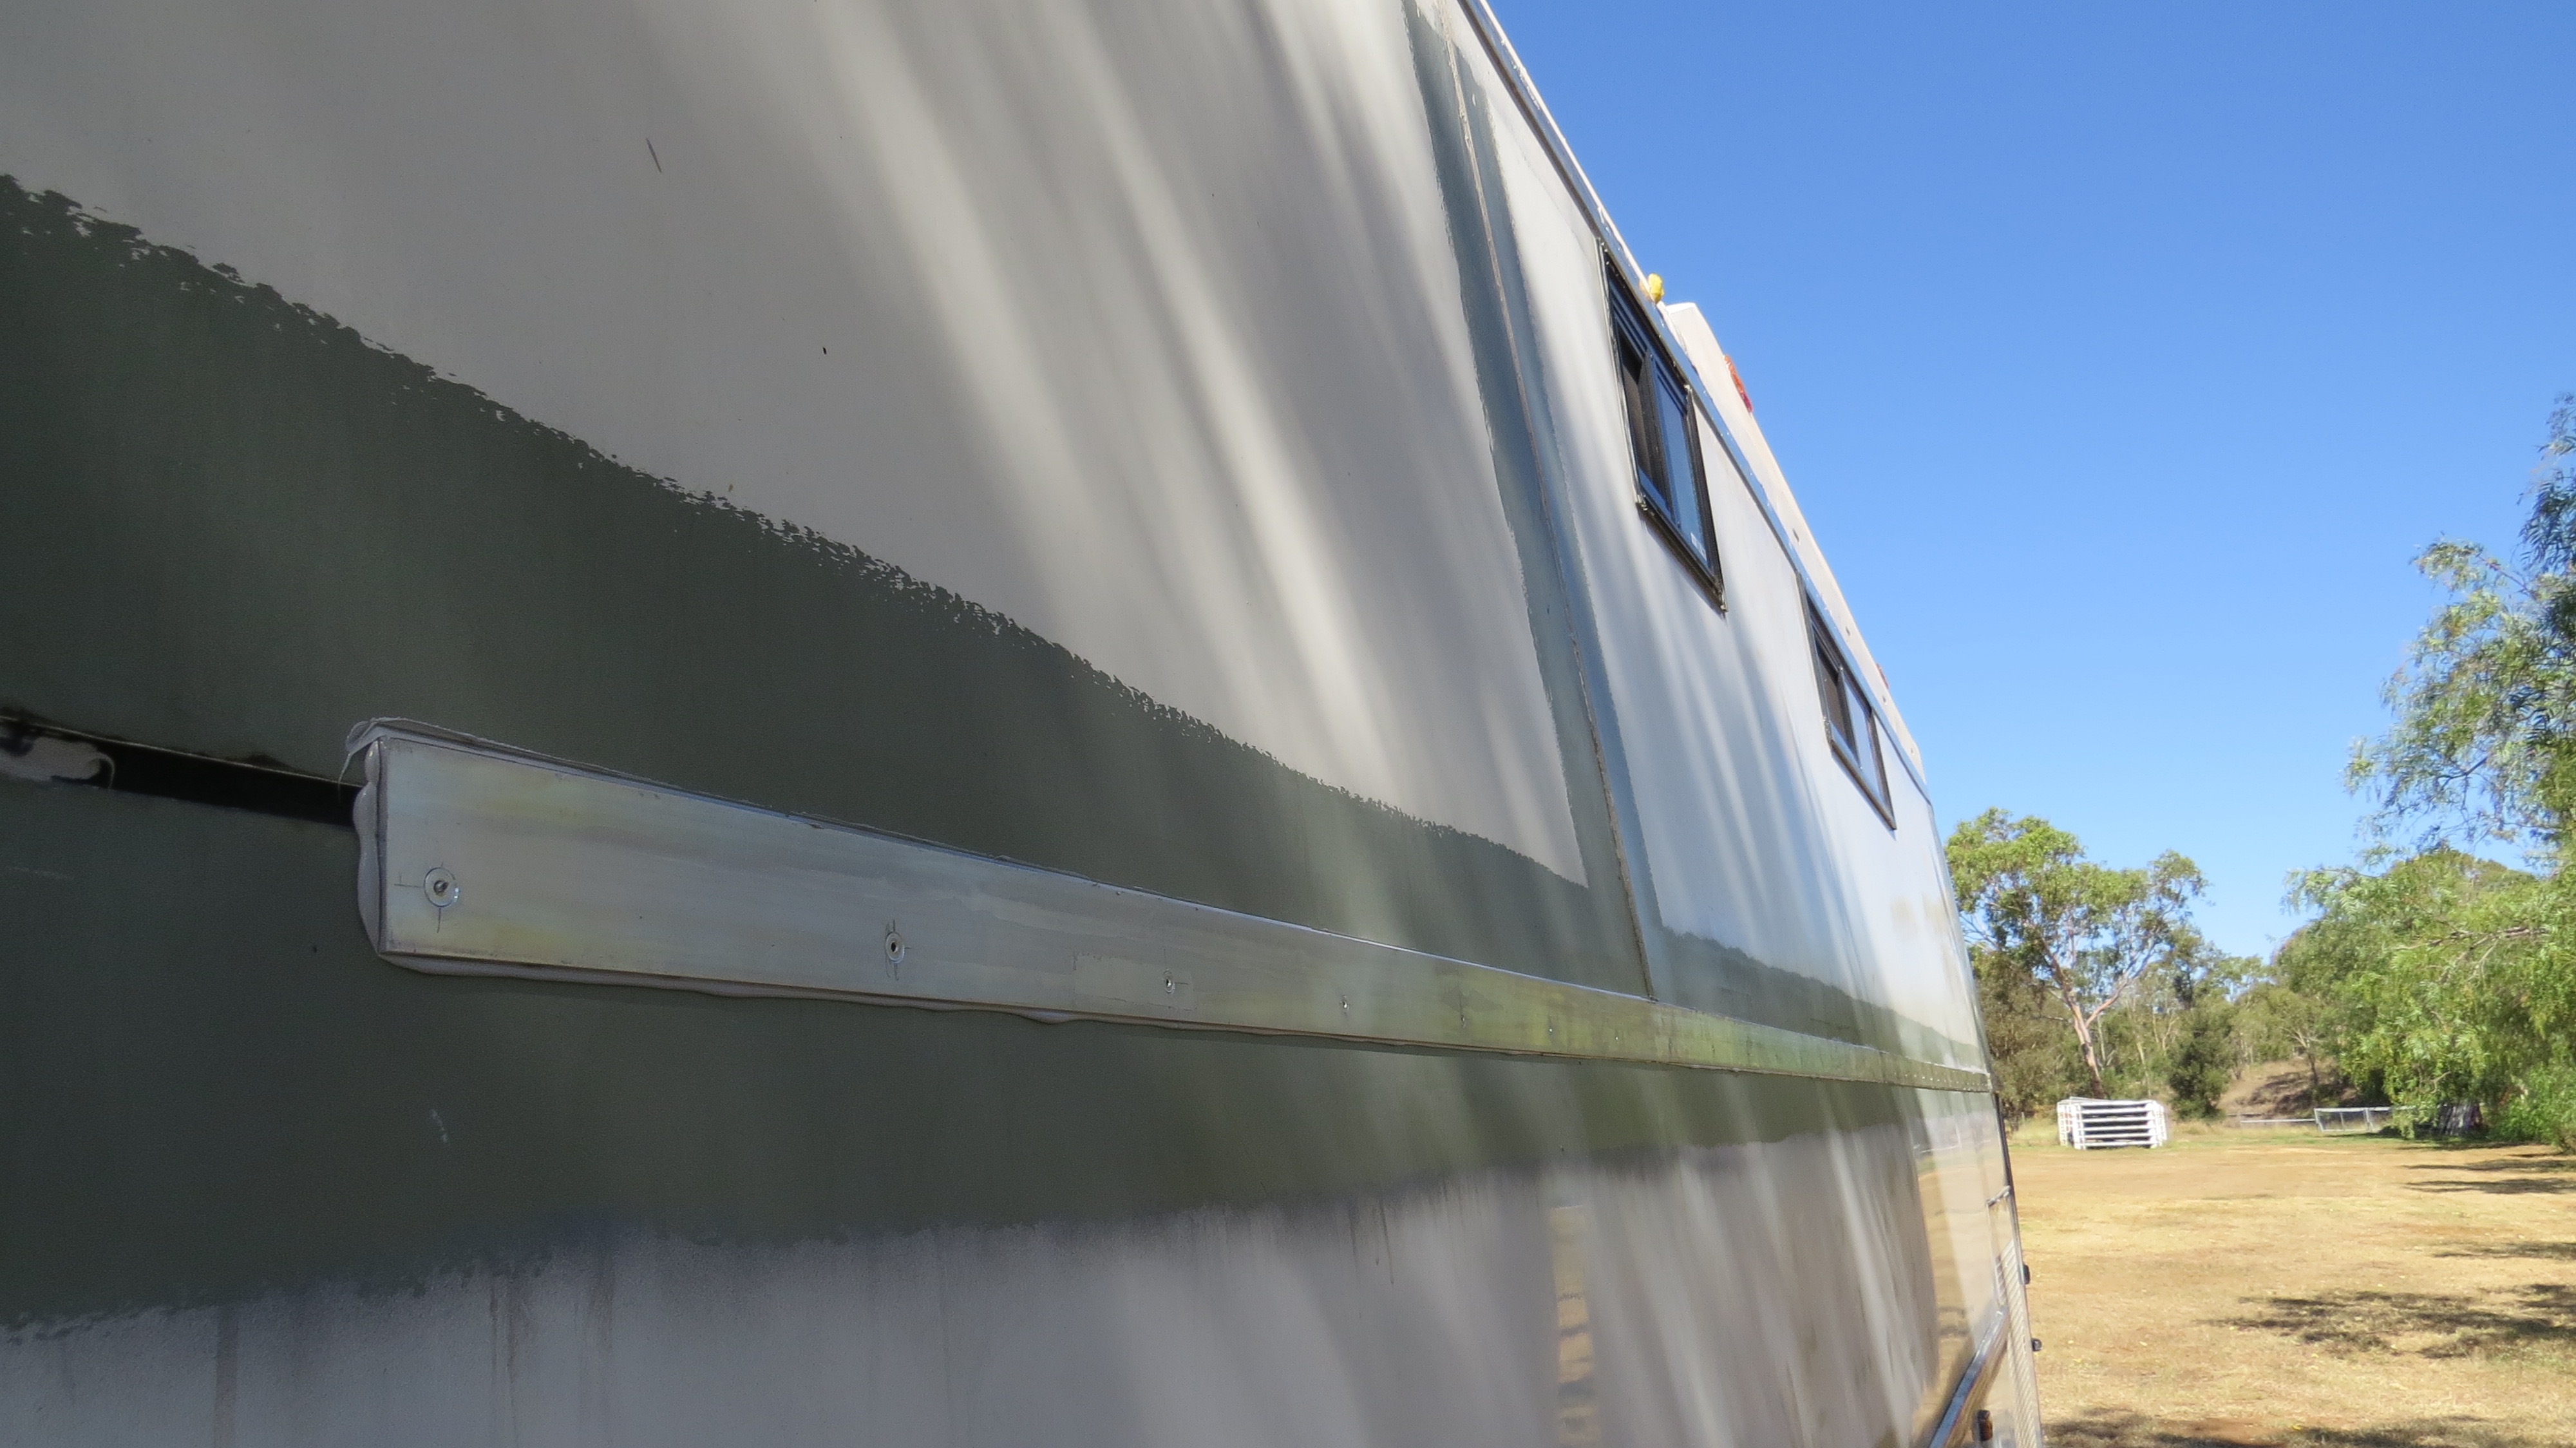
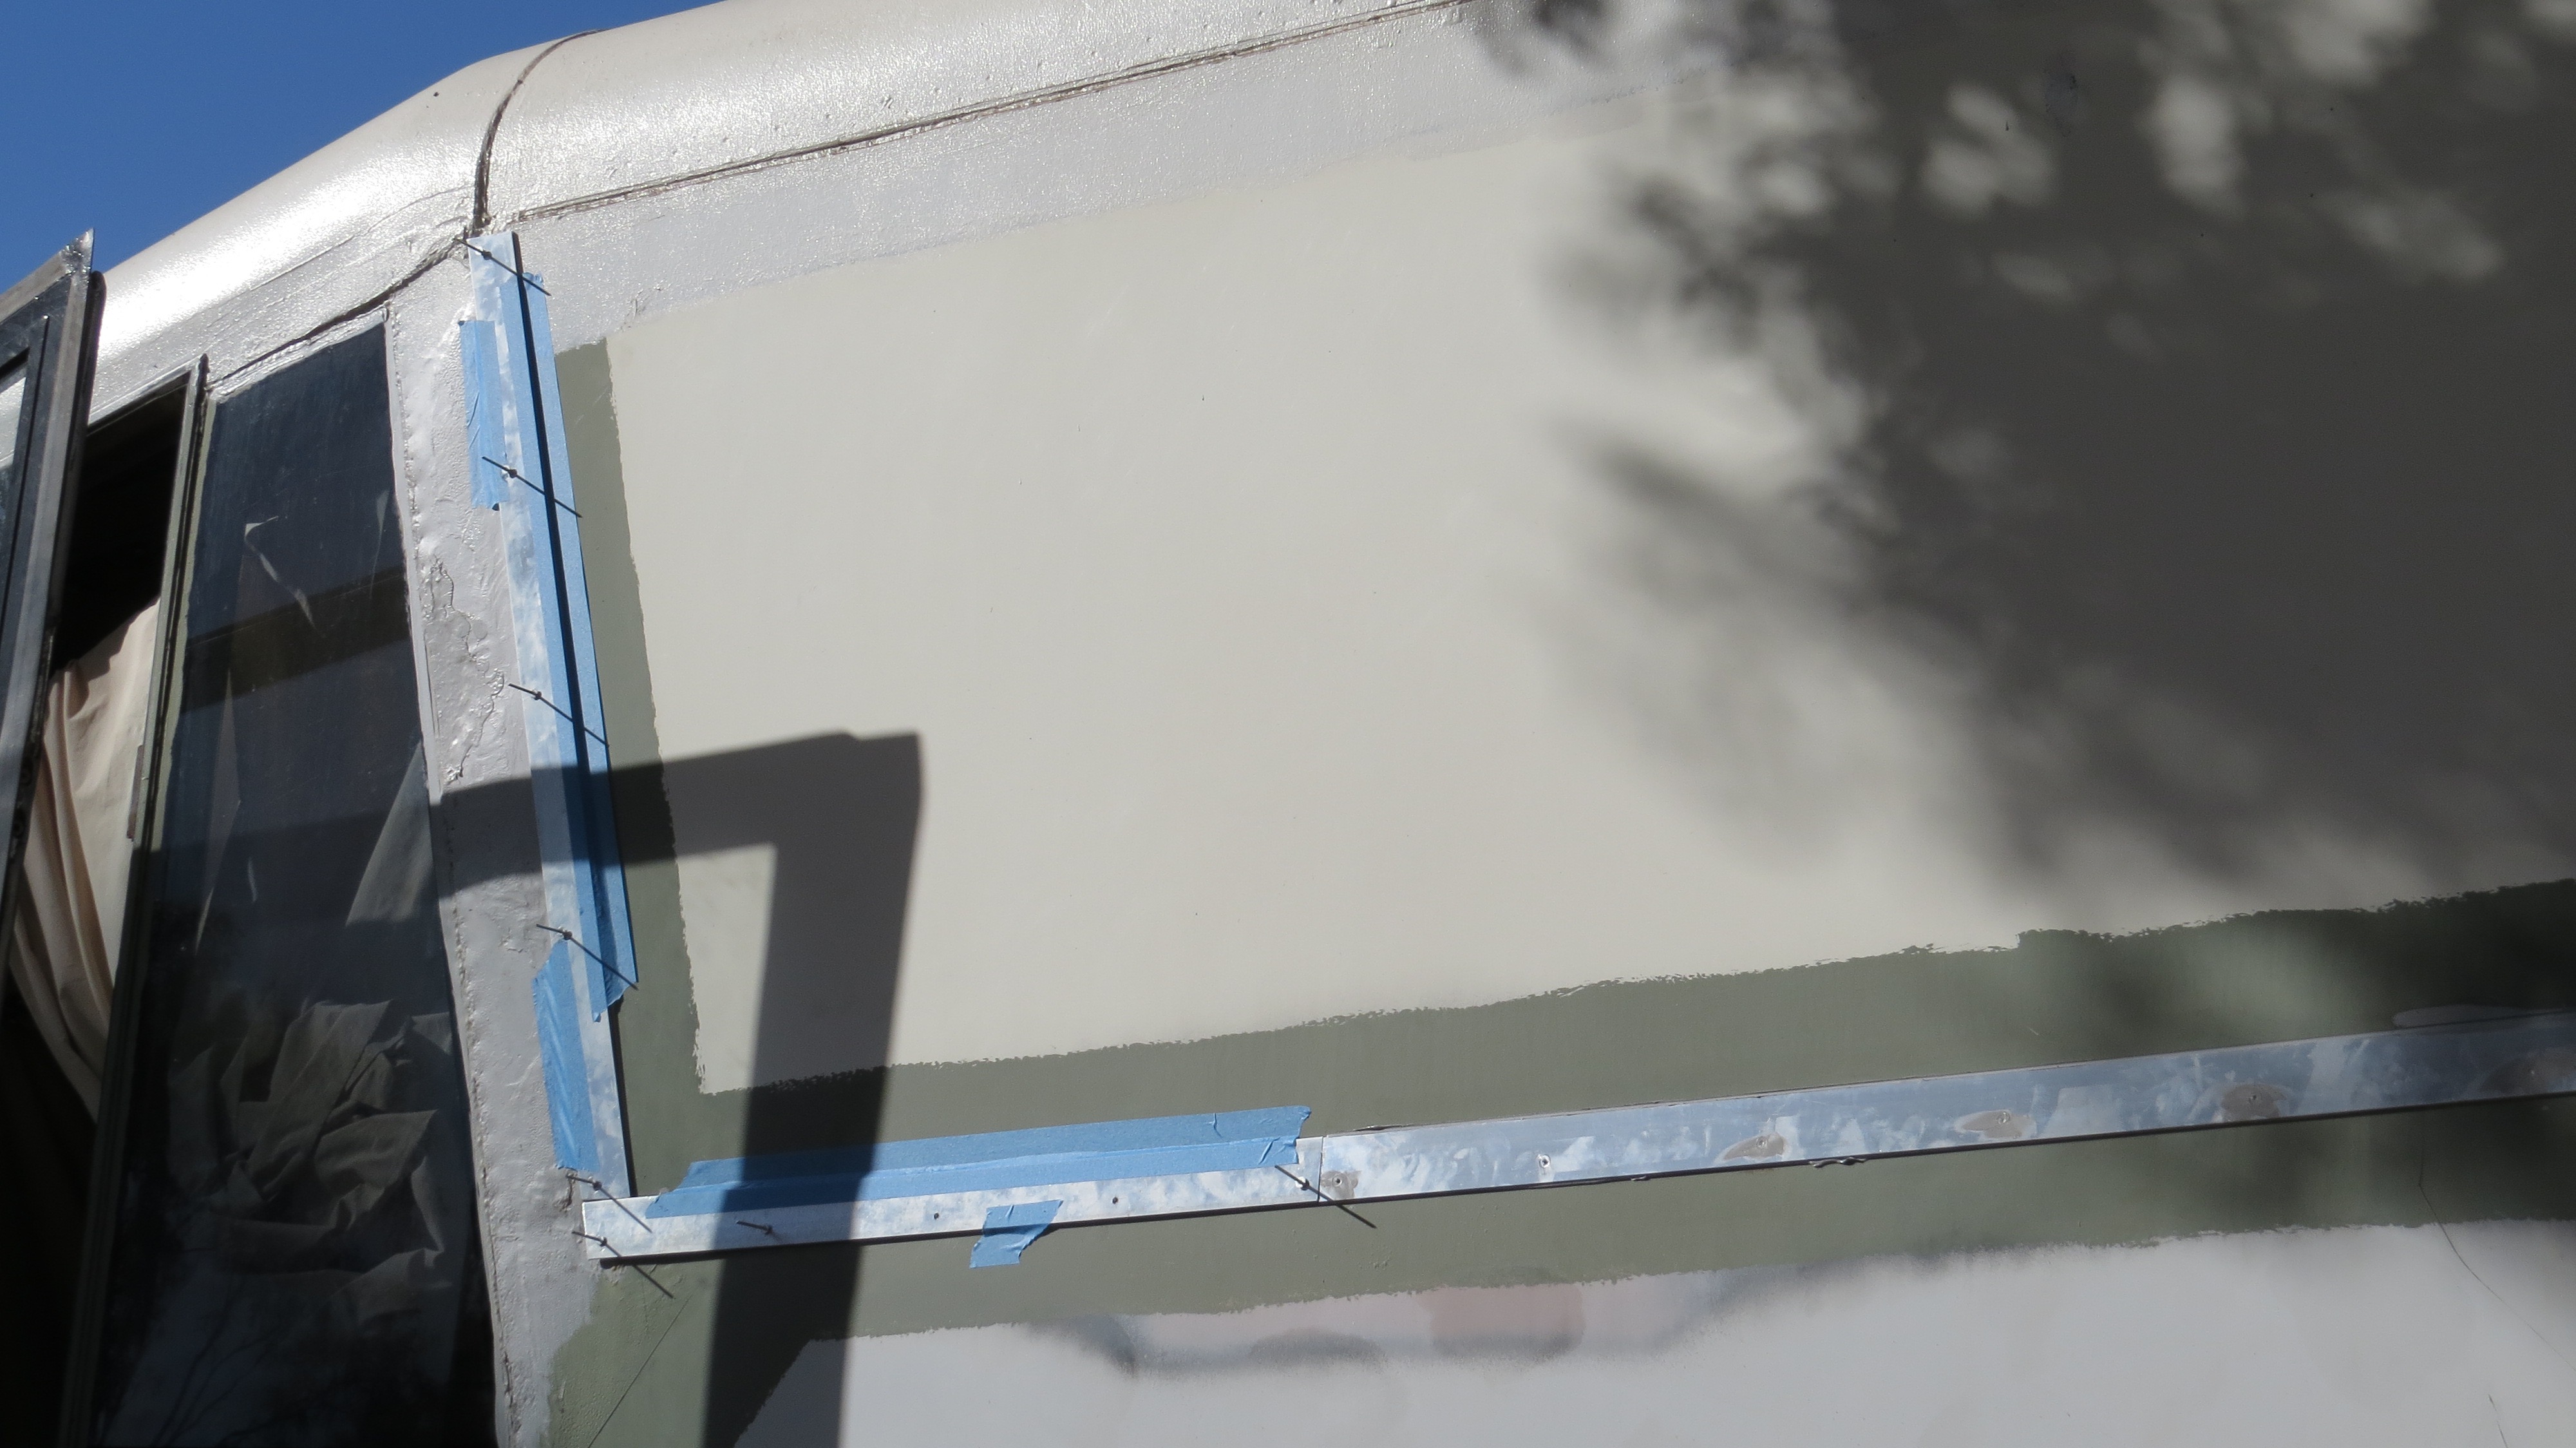
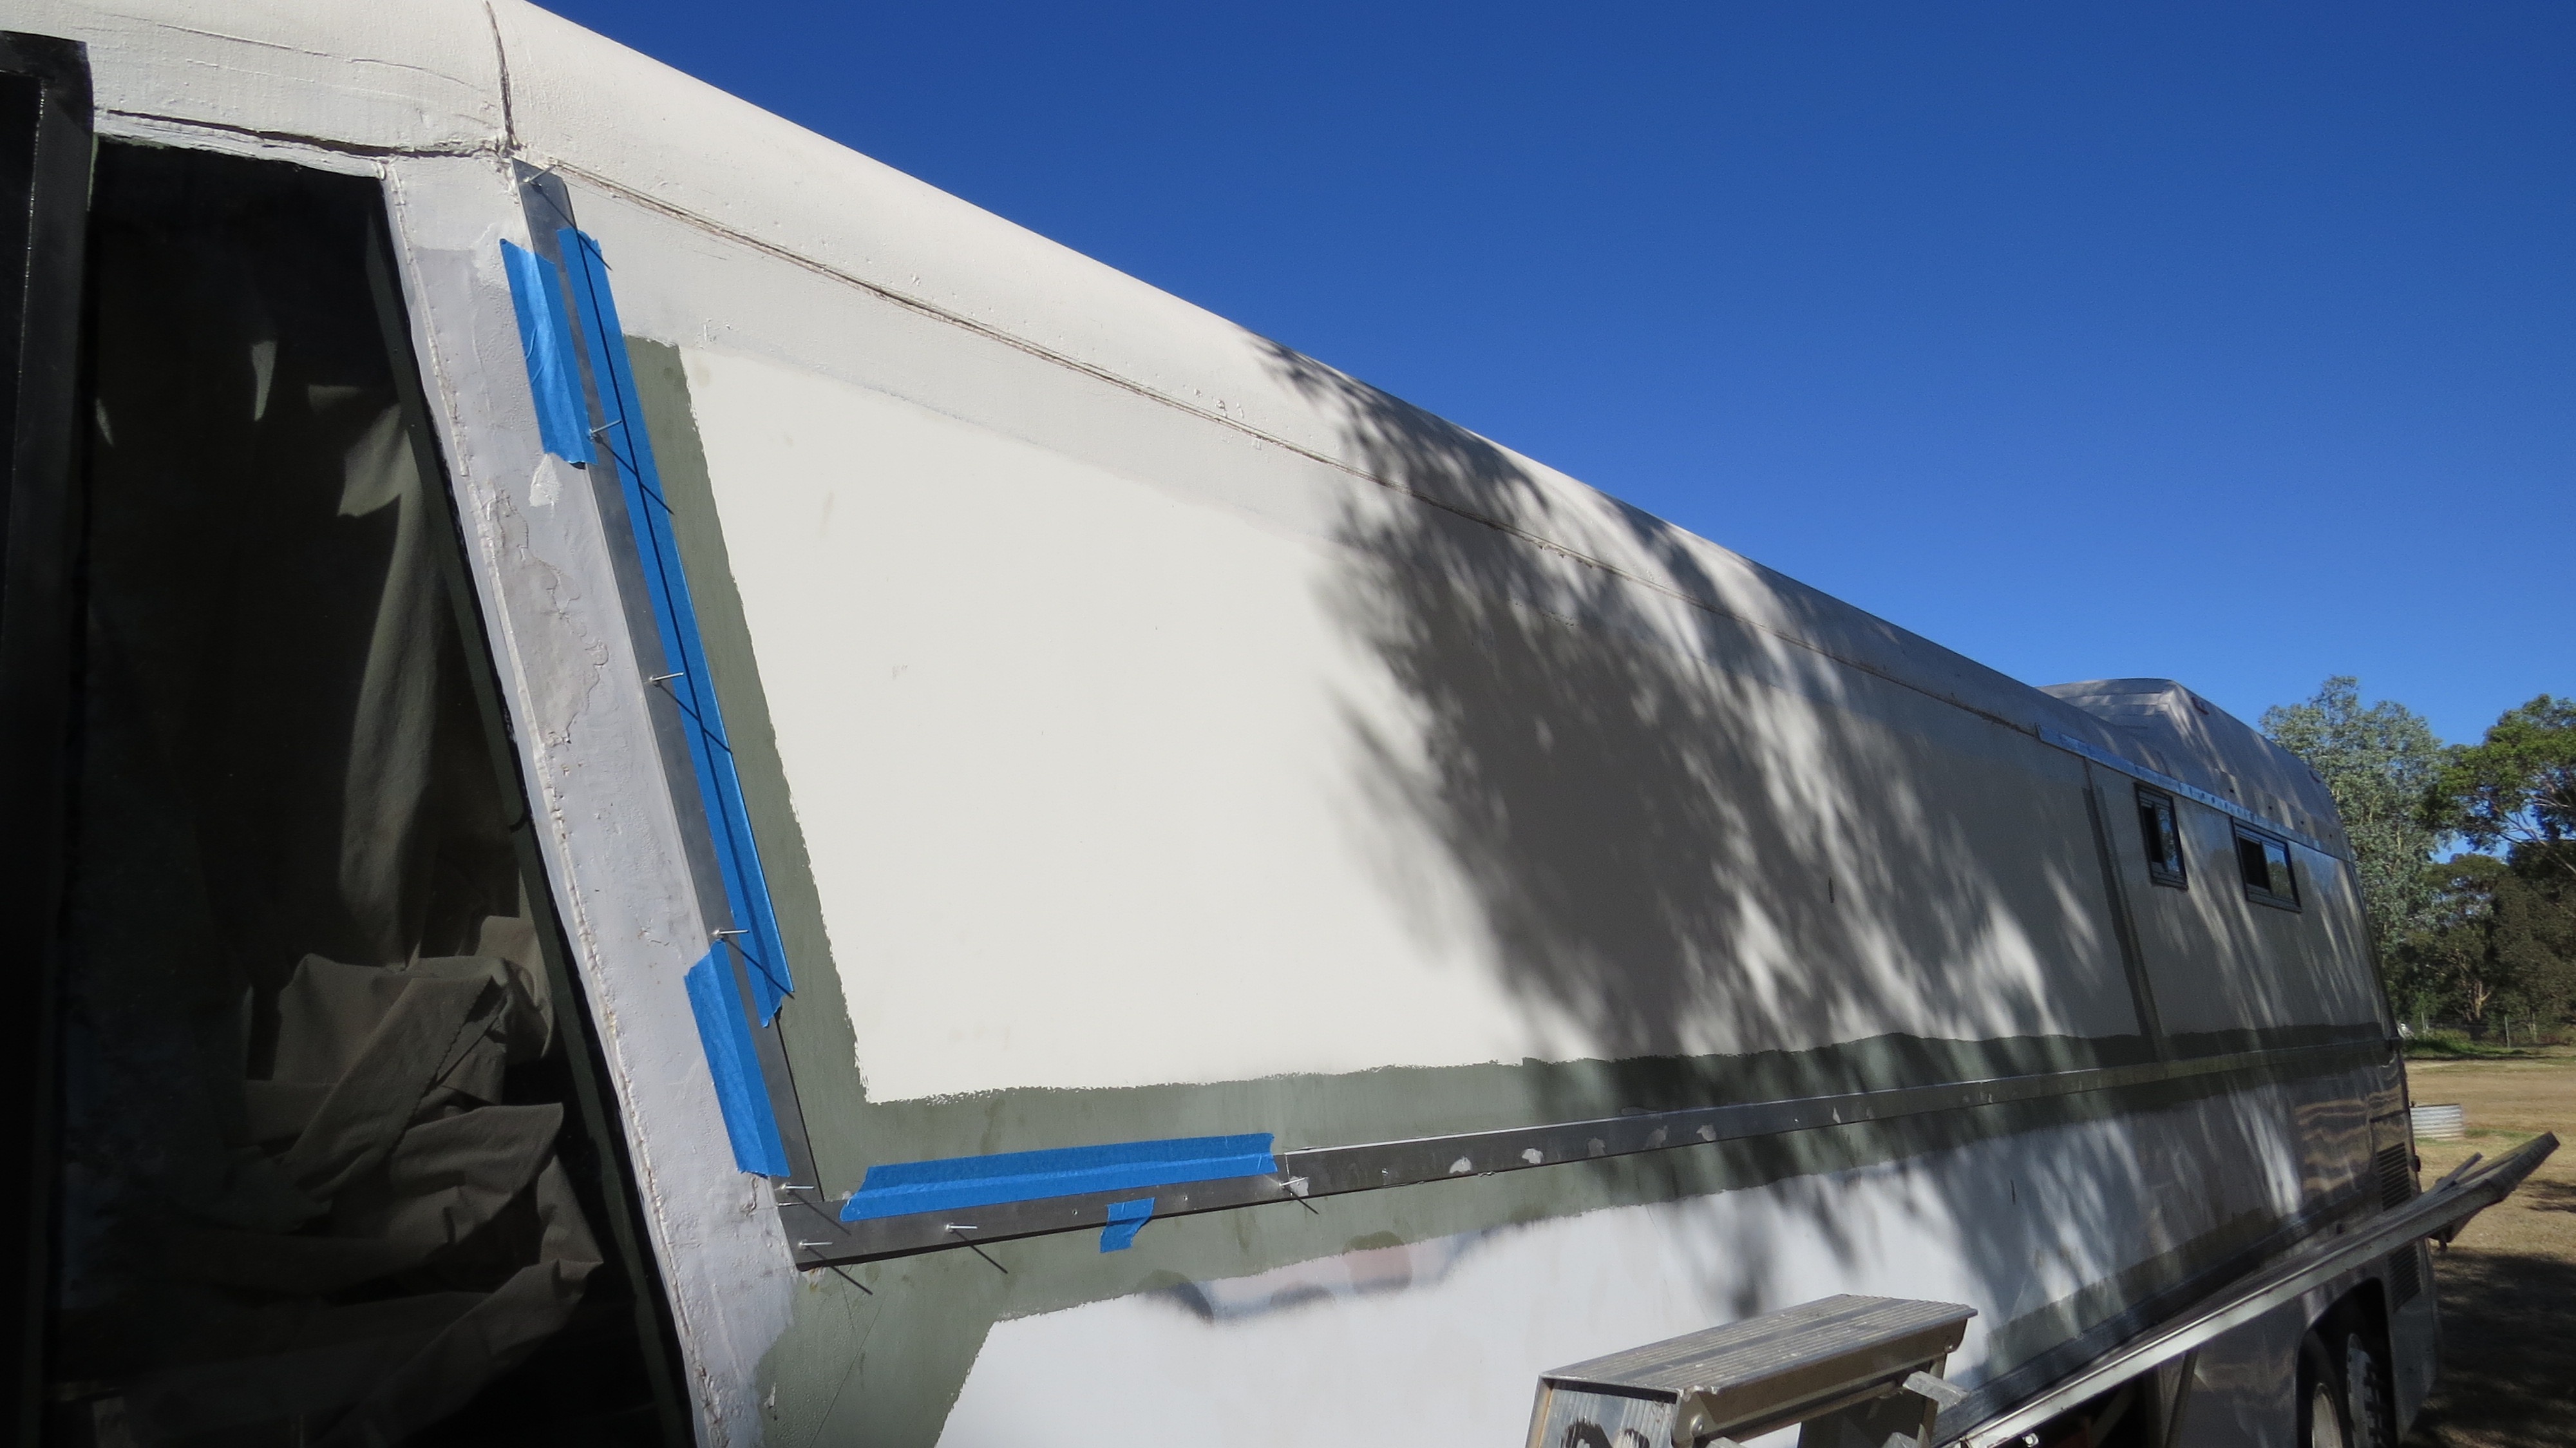
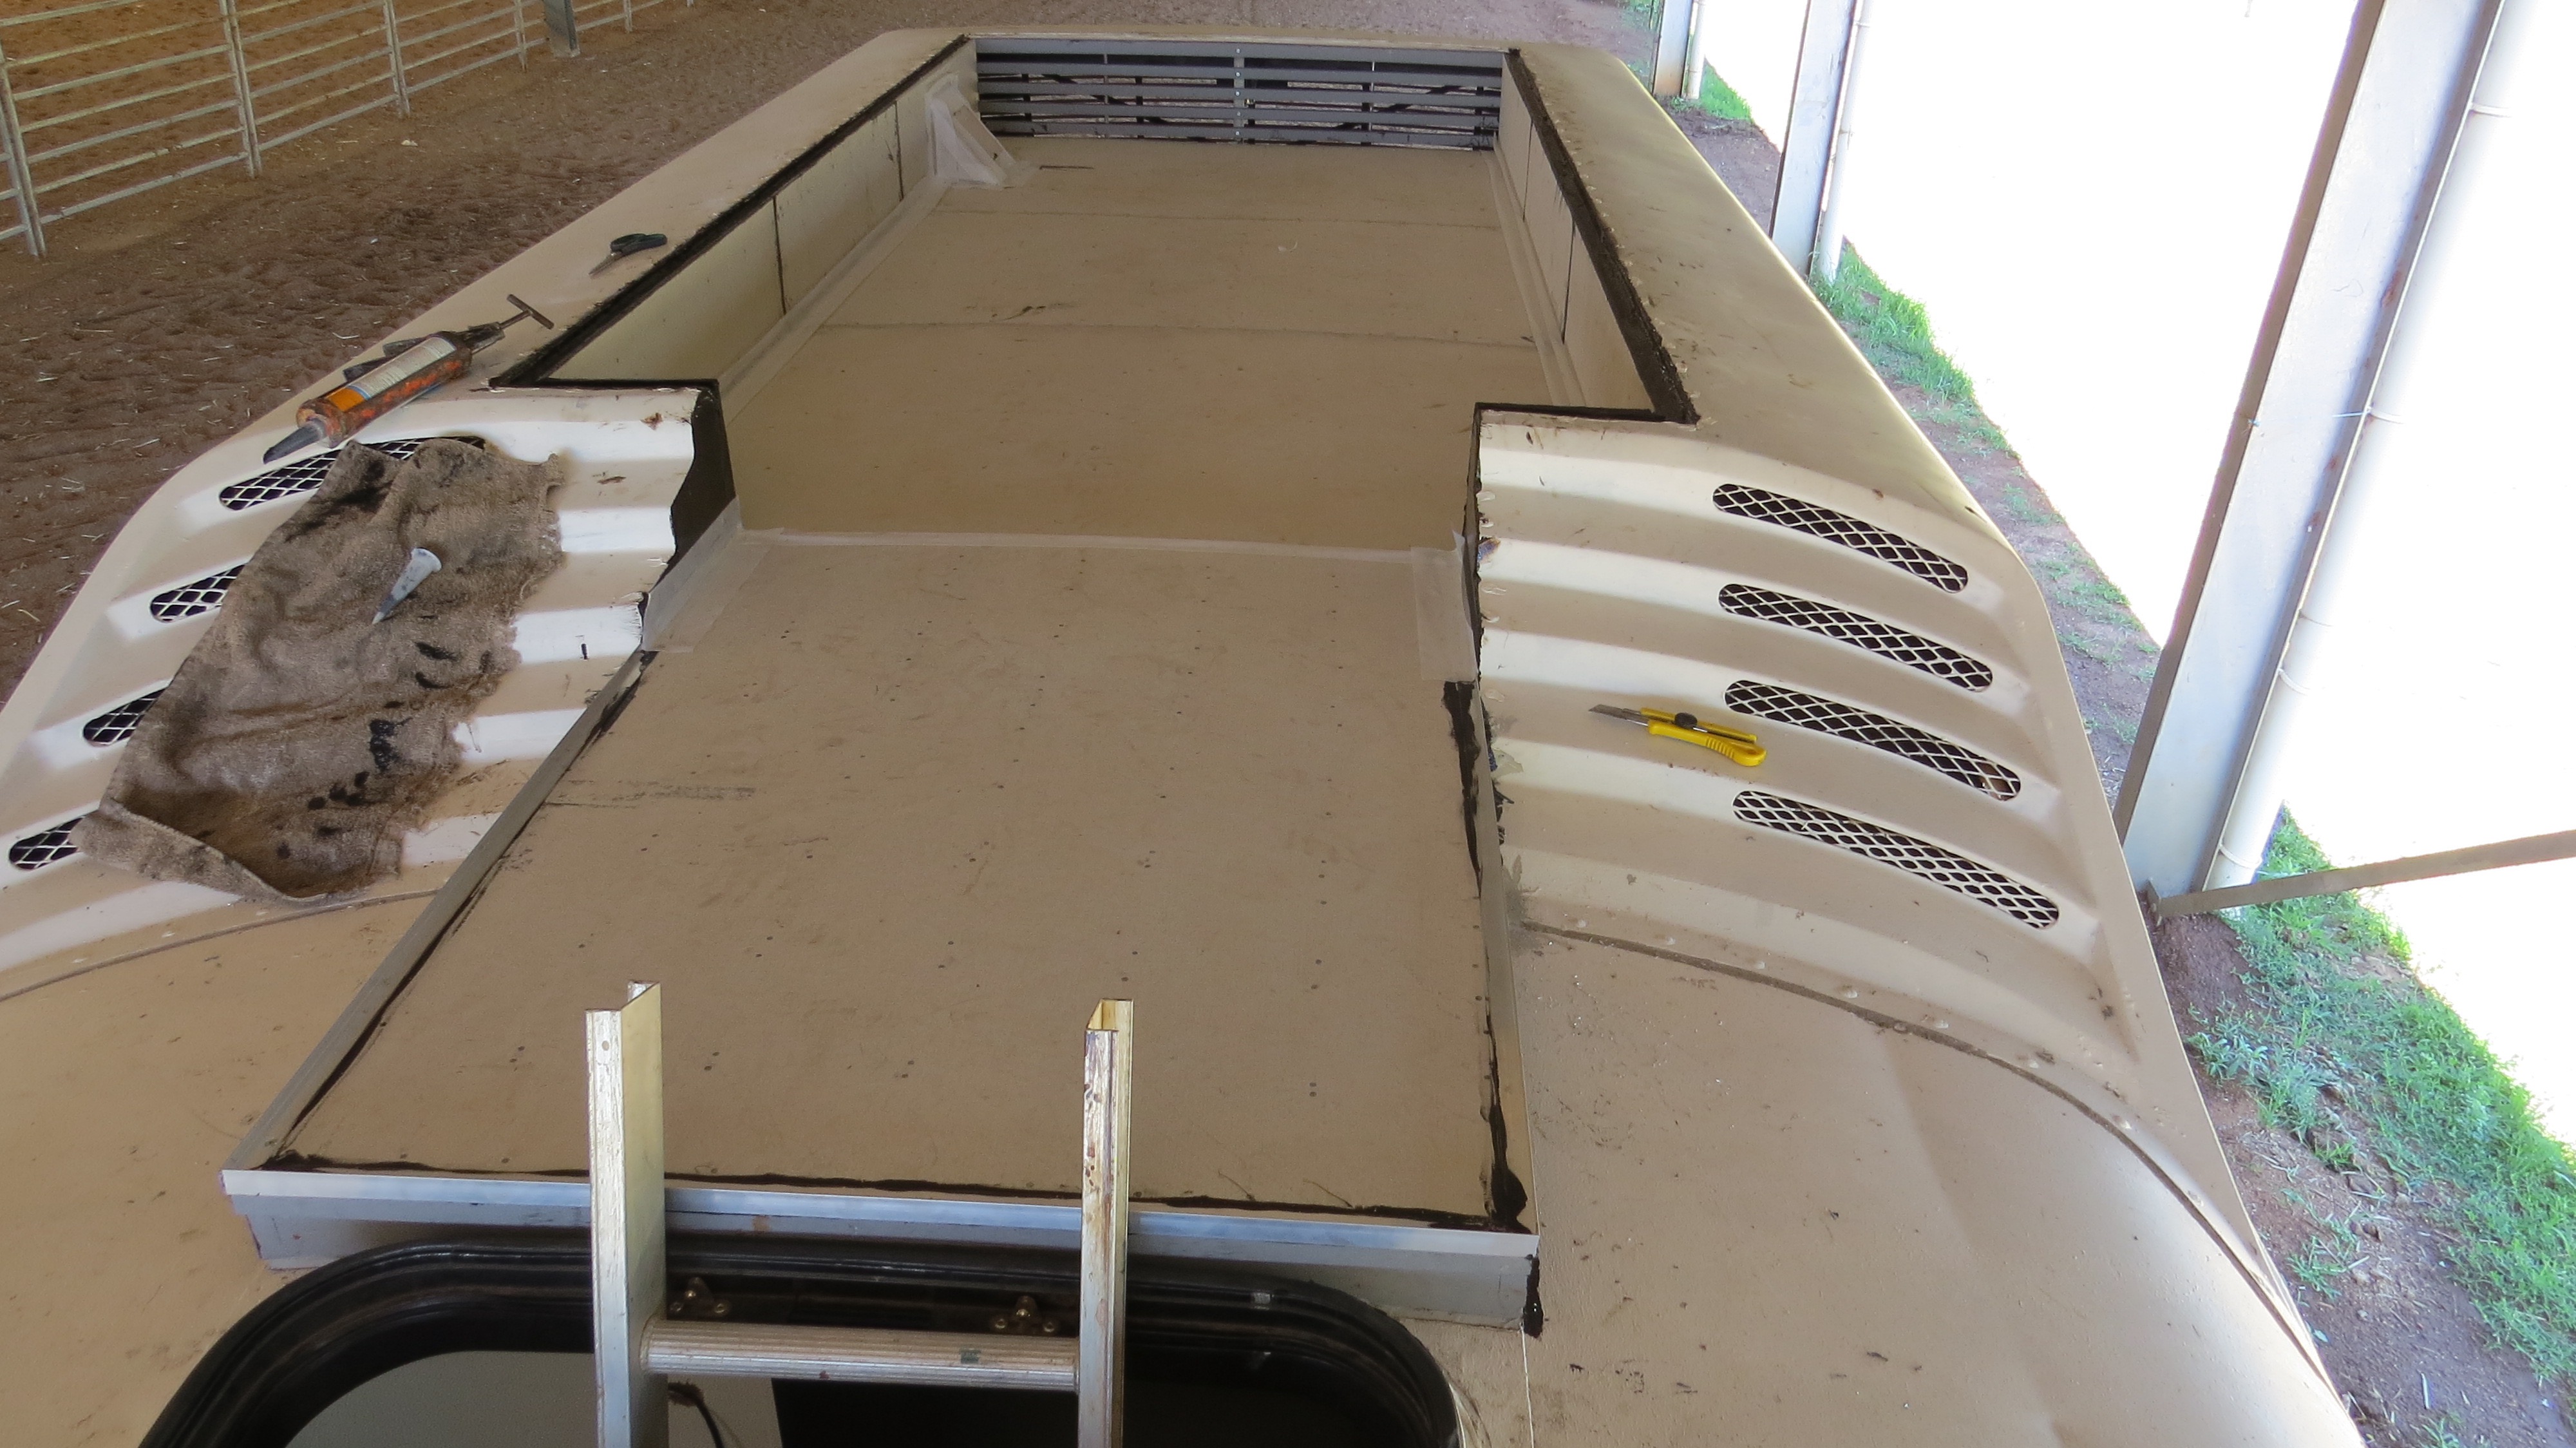
Aluminium flat bar time
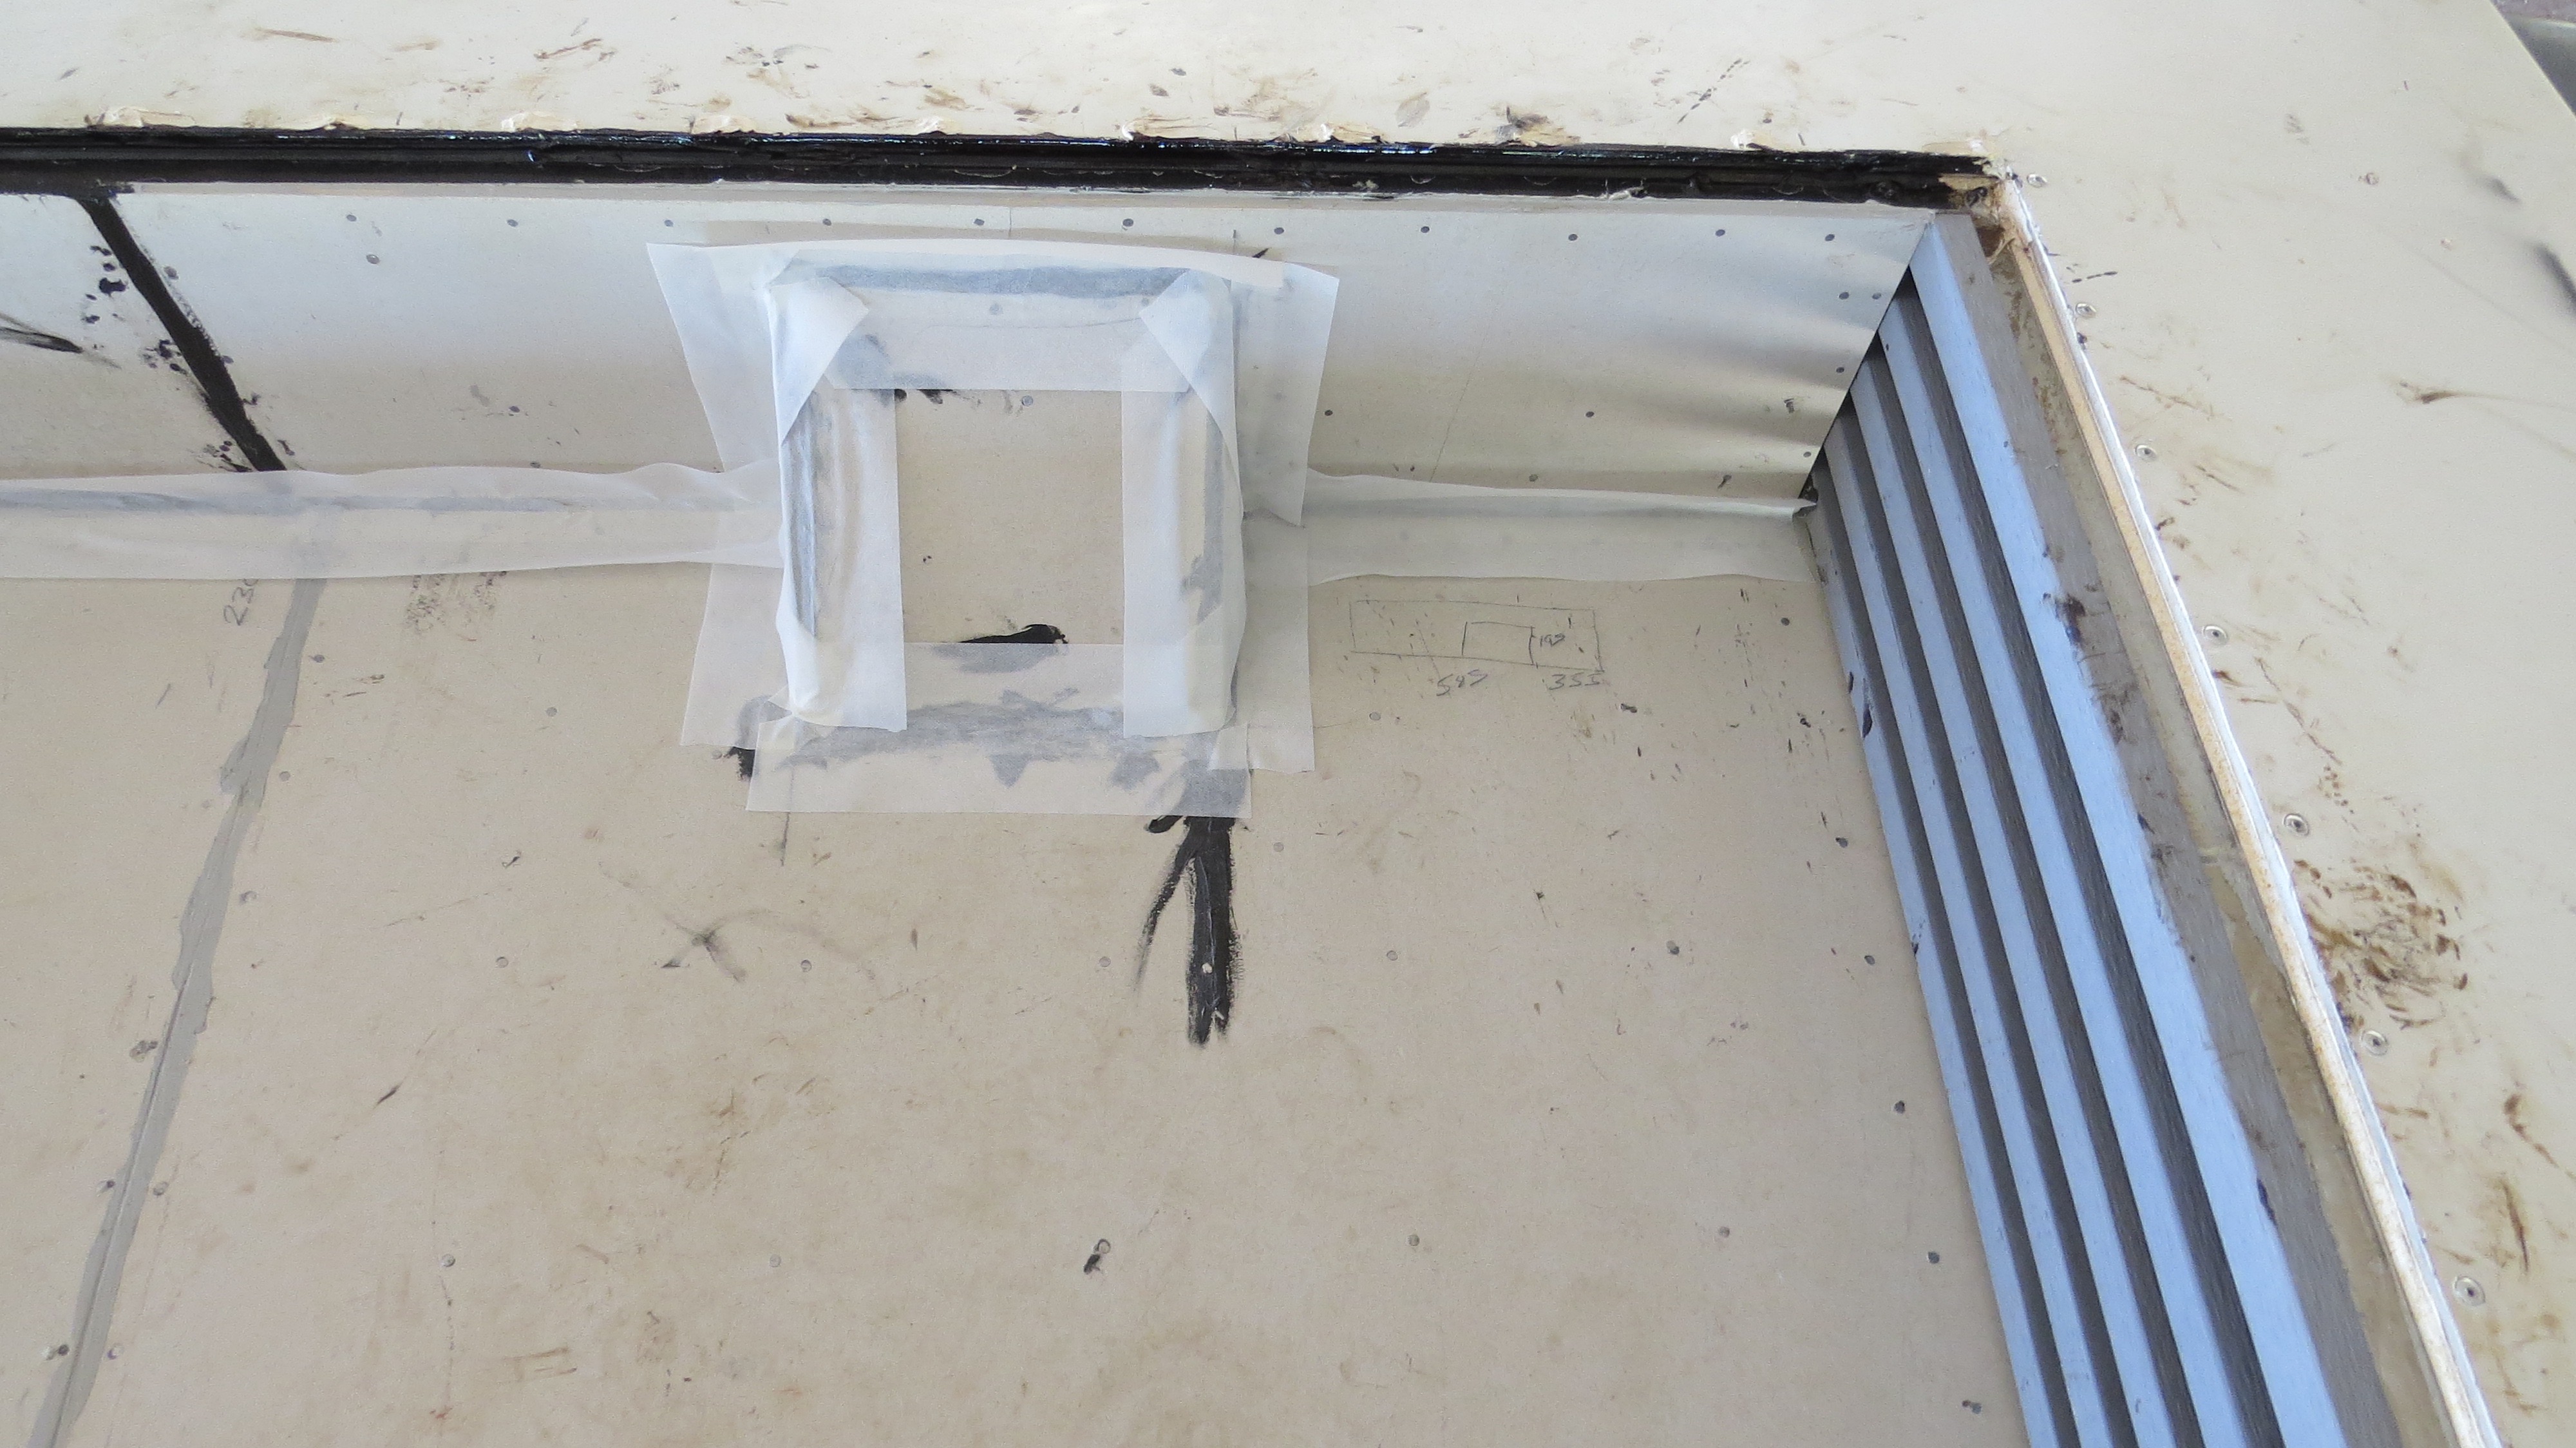
Well now it’s out with the measuring tape and start cutting things to length, or just make it up as I go along. I made up a templet so they would all end up in a straight line, well that is the plan.
50 X 3mm aluminium flat going into place.
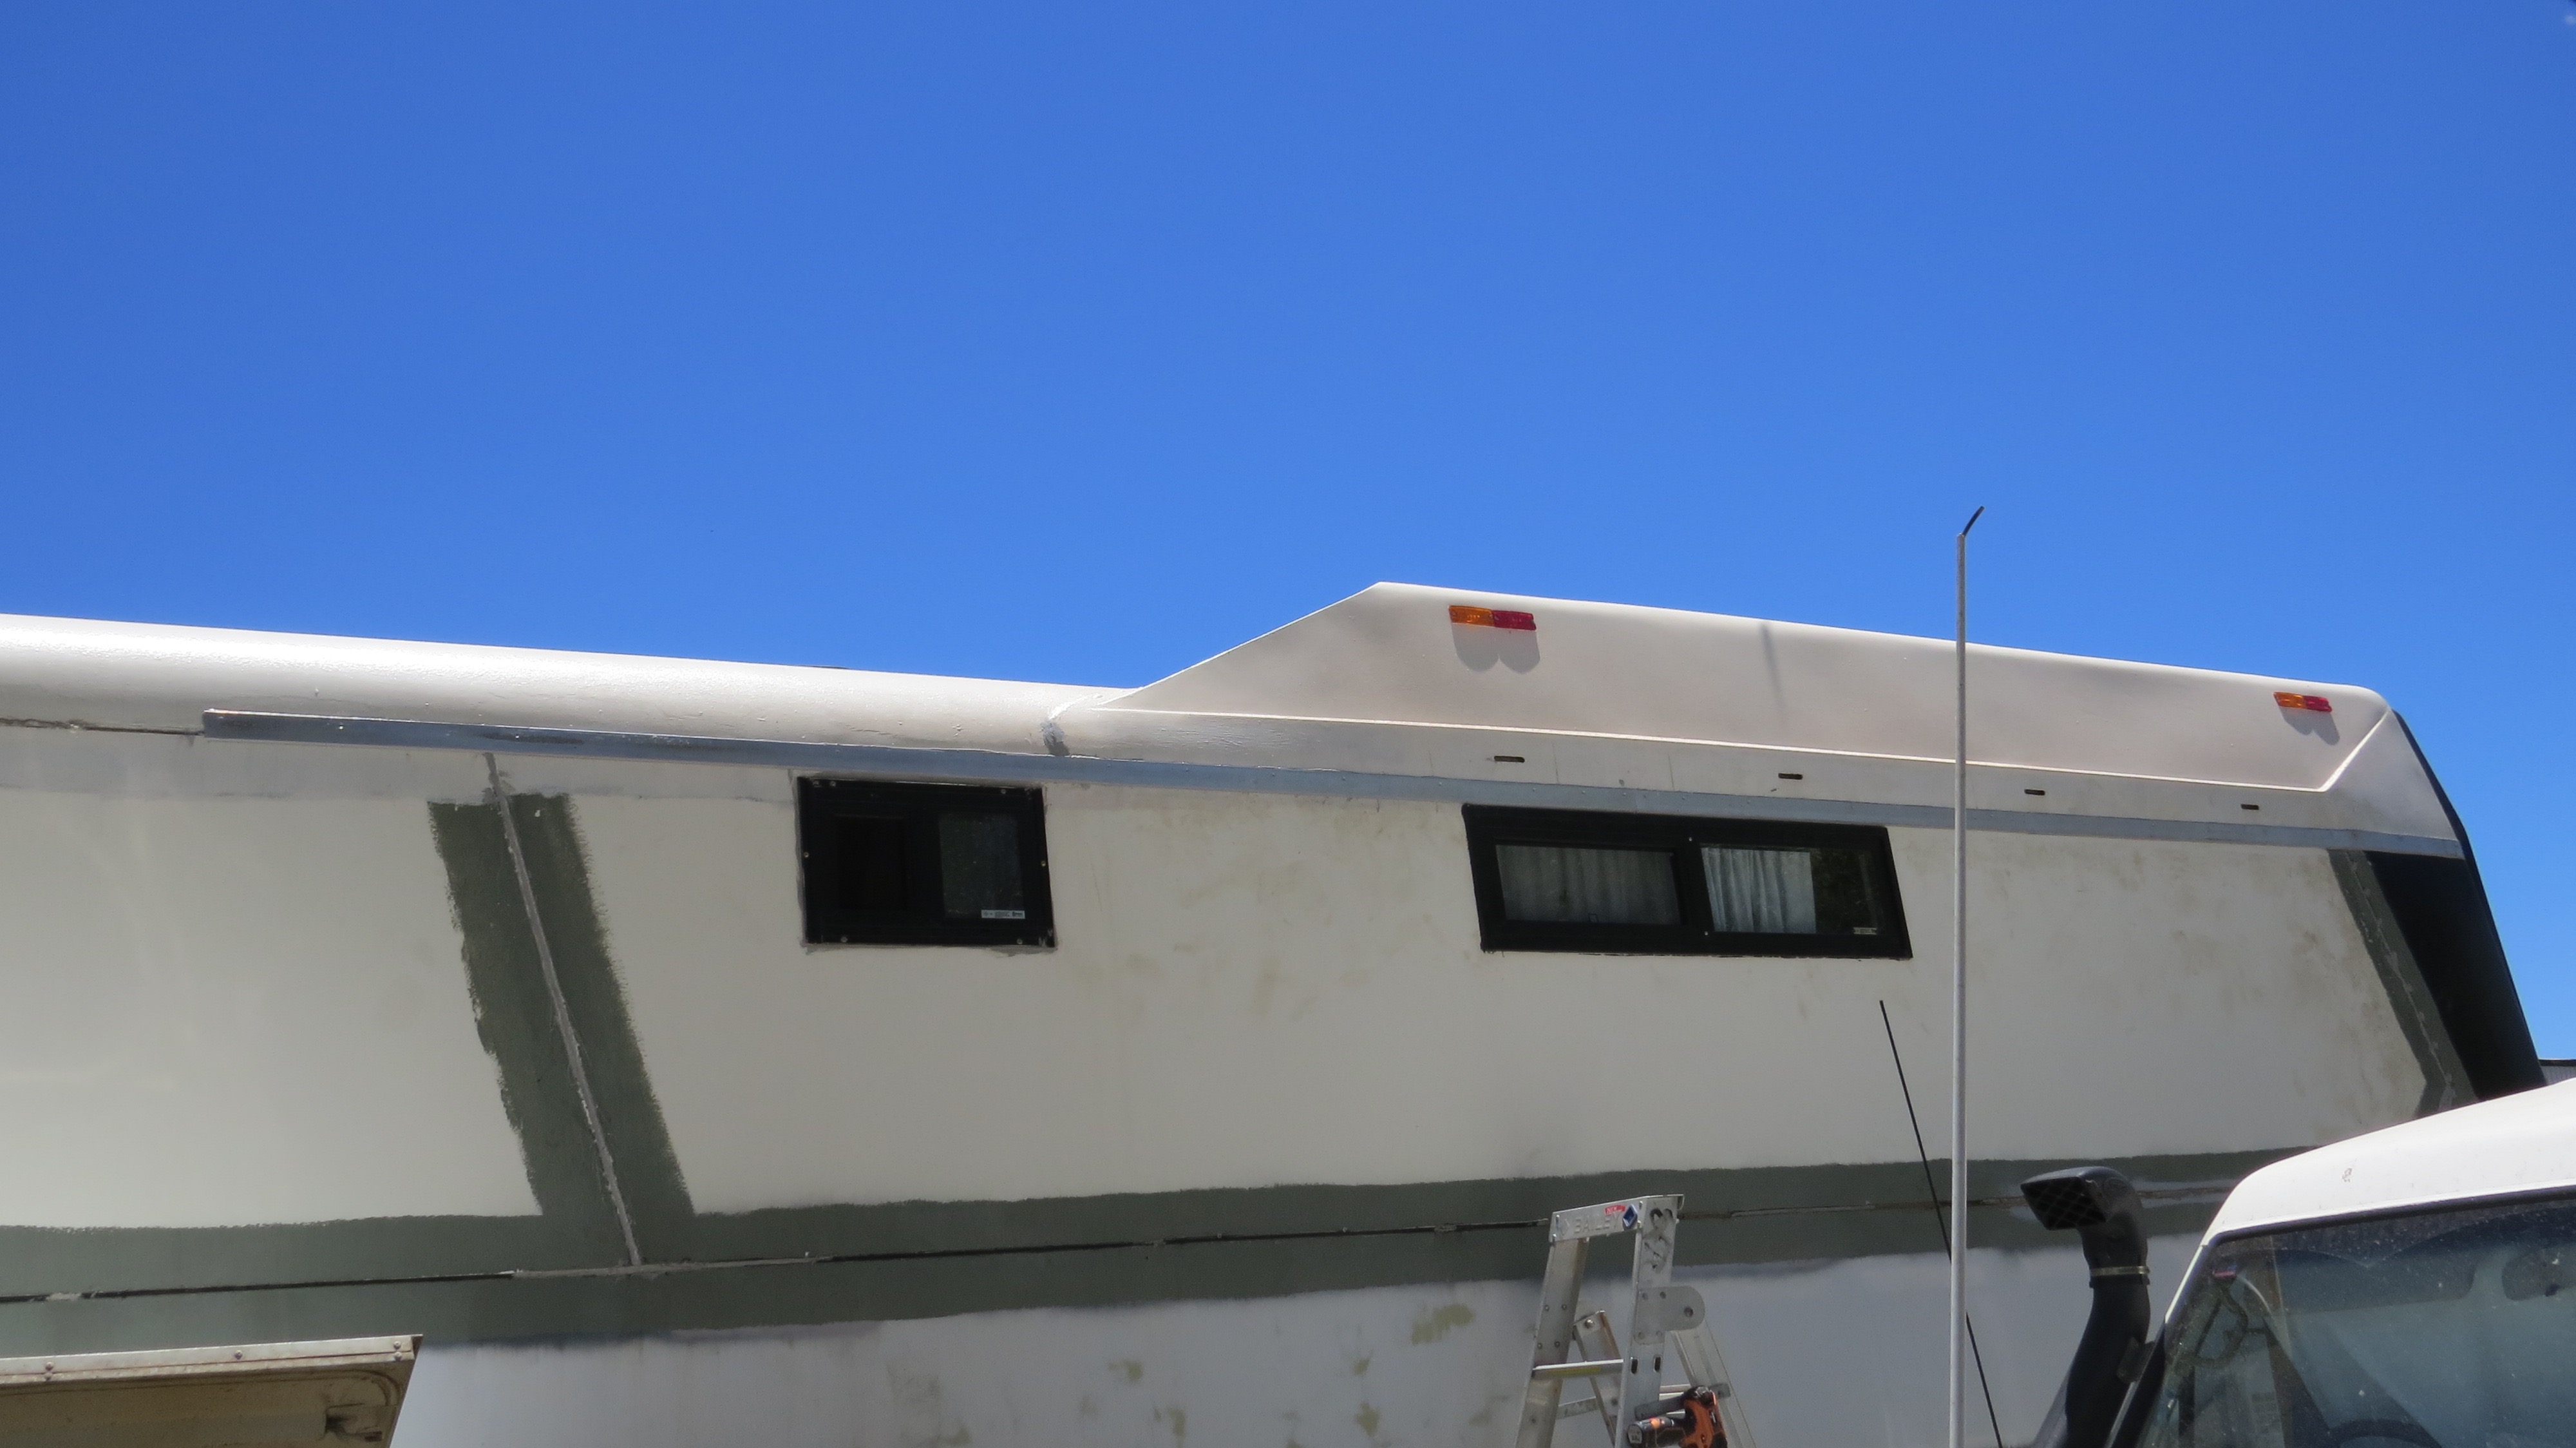
Working off one ladder is not the best idea, but that is all we have. So now the sequence was marking out the holes for the pop rivets, then pre-drill 3mm holes. I had to hold the aluminium in place with tape, and drill into the coach, then drill them out to 5mm C/S pop rivets to fit. Next was to take the aluminium down, counter sink the holes for the pop rivets, put Sikaflex on the back, to fit it into place. I had to put two pop rivet in at arm’s length, climb the ladder holding the aluminium by the pop rivets. This was difficult! Even allocating the pop rivets into their holes to fit the rest of the pop rivets in place was a feat! I had to buy a pneumatic pop rivet gun which made my life much easier 🙂 happy days.
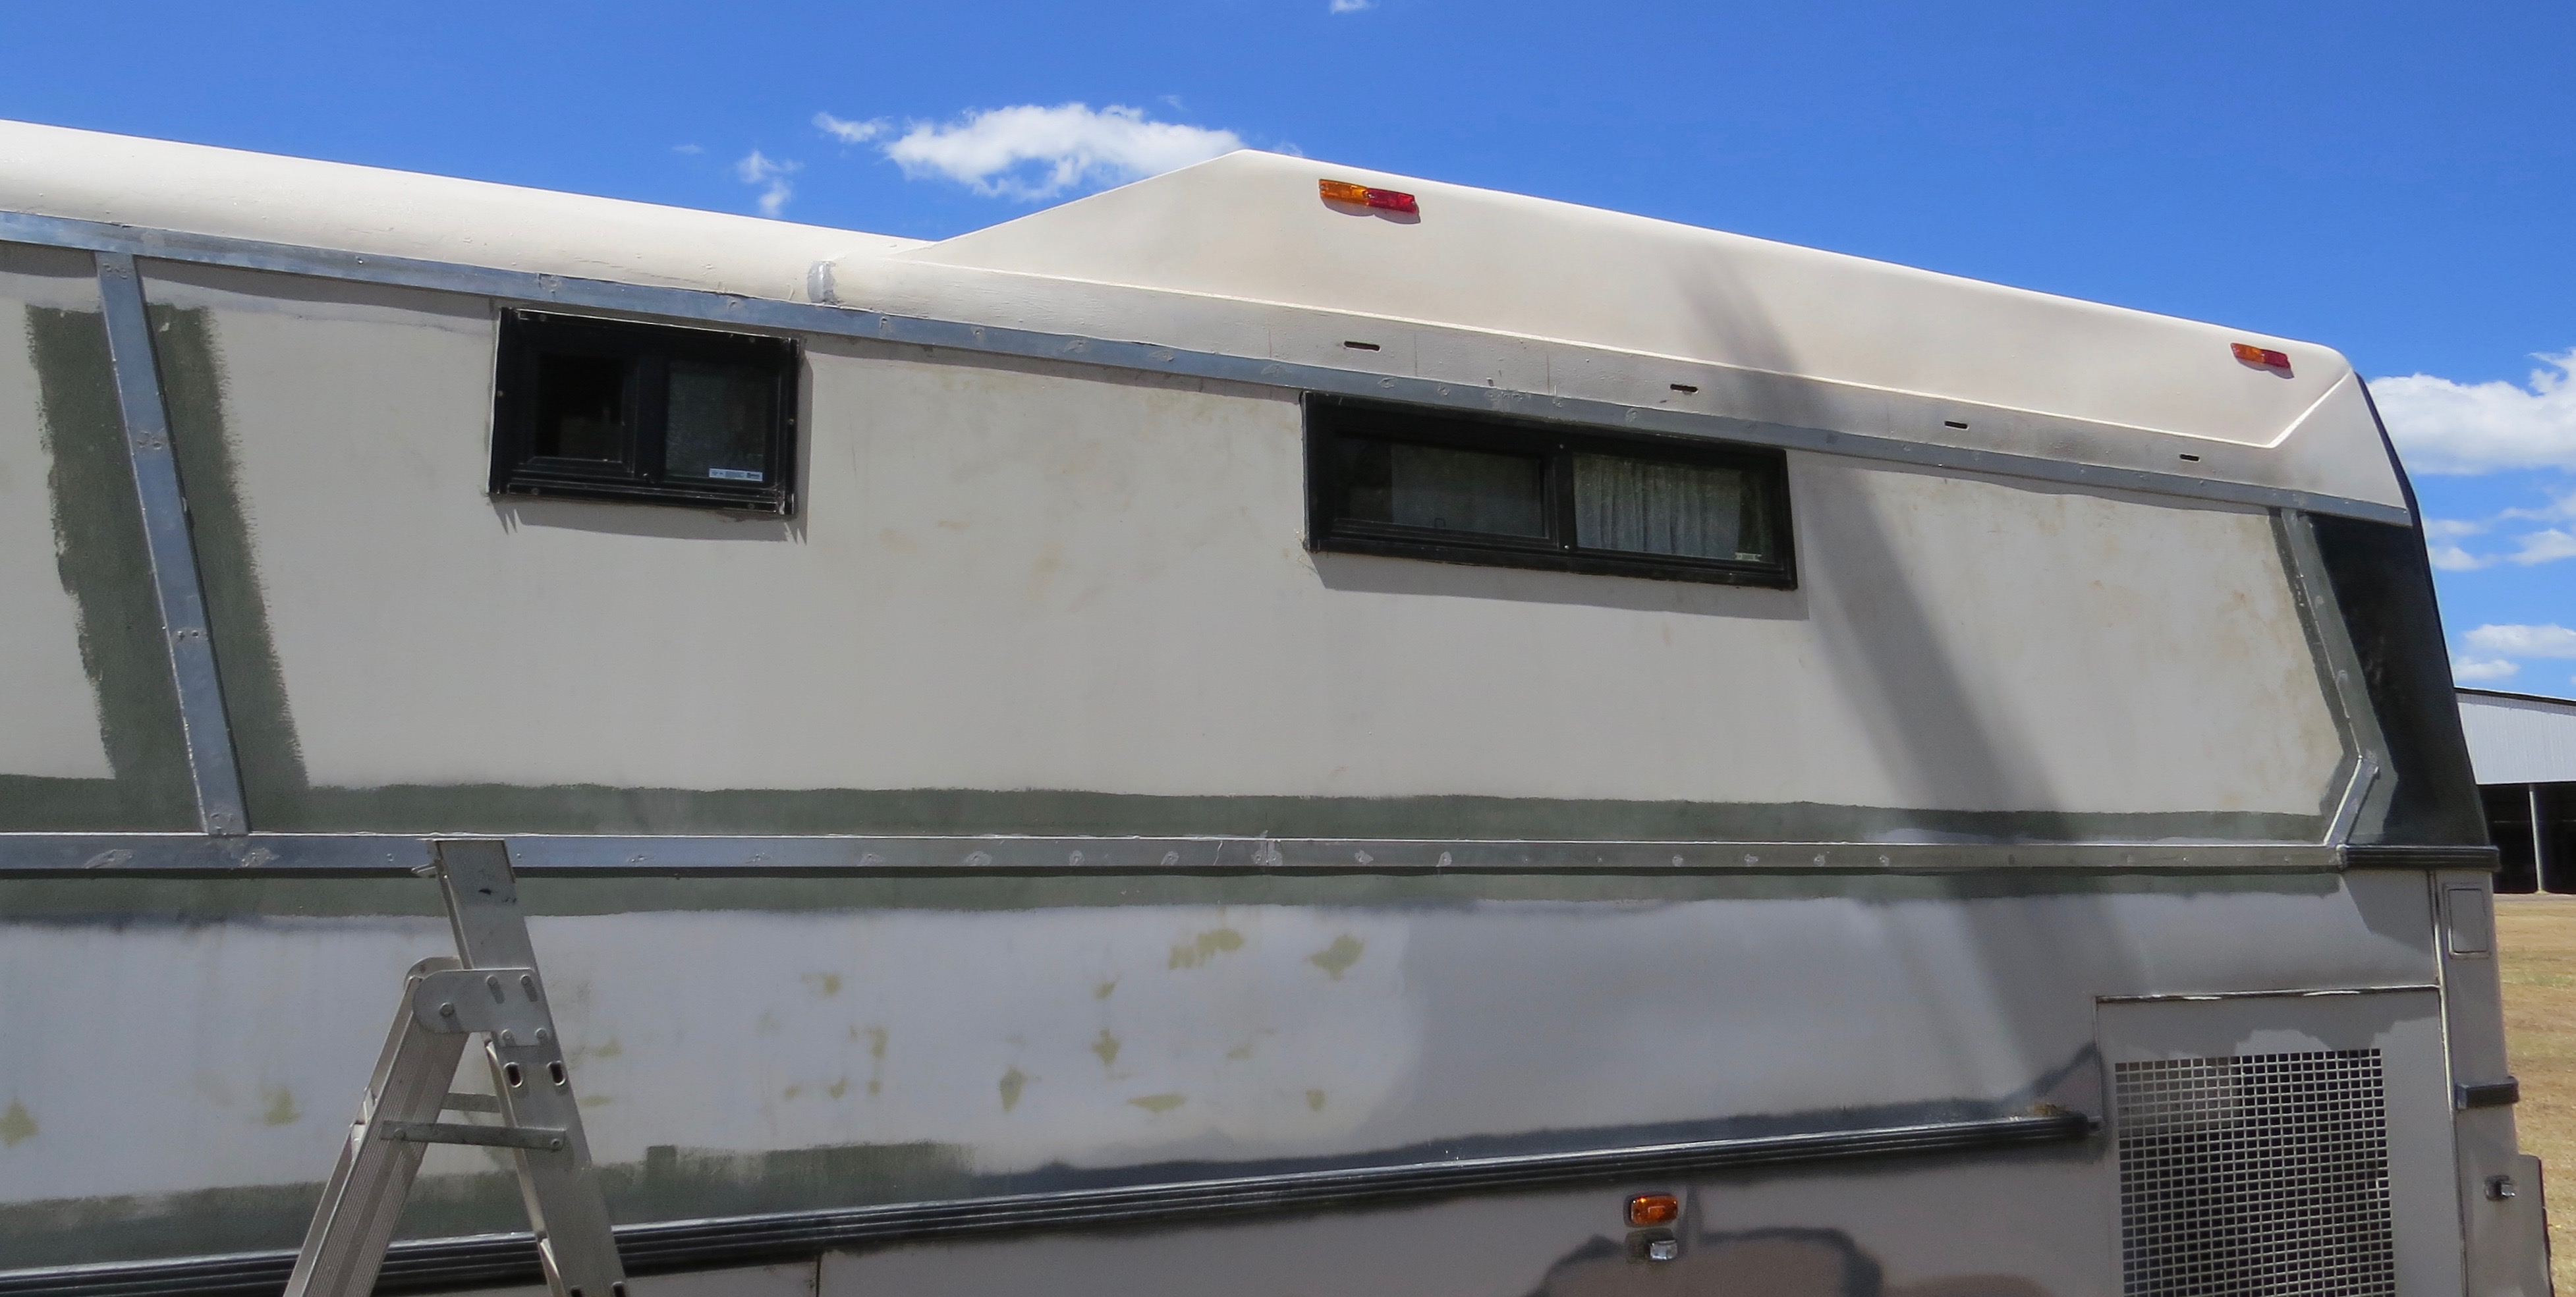
A lot of counter sunk pop rivet.It’s even straight!More pop rivets….Just the top to go on this side.One more side to go.The back end.Parked in a new spot for the other side.
The troopy came in handy with the side awning up to work under for the drilling and cutting the aluminium flat bar.
No leak on this side so shouldn’t be as painful as the other side.
So now it’s time to repeat the same process on the driver’s side, I even have some shade from a tree too this time. Life is great some times.
Thank goodness that I’ve been able to park the coach undercover for this job as there has been raining on and off. The Showgrounds have let us use one of the sheds for three weeks, thank you.
Nice to be under cover.
Now the fun begins
After trying to get the decking up and failing to do so, as I’d done a too good of a job gluing it down. Great! I had to come up with another solution.
Going over the top of the deck and sealing it instead, this way I can lay down some tiles to finish it off.
Now where is the leak???
Time to seal it up
For some reason the Sikaflex didn’t stick between the decking boards. So after scraping it all out I troweled in some bitumen putty to take its place. The next step was three coats of bitumen paint to go over the decking boards. After the bitumen paint had dried the next day I got the fire hose out and flooded the area for one hour with no water leaking any more.
Now the tile underlay goes down, after cutting it to size. A box of nails later it’s all in place ready for the wet area under tile waterproofing.
The deck painted with bitumen waterproofing paint.Tile underlay going down.Floor nailed down.Now time to start more waterproofing.
Next will be cutting the reinforcing bandage with bond-breaker for the edges. This will stop any damage to the waterproofing membrane if there is any movement.
Reinforcing bandage just to make it boom proof.Now to start wet area tile waterproofing.
The under-tile waterproof membrane just paint on nice and easy thank goodness, so after going over the bandage and nail first. Then it was time for the first coat of three.
Joints and nail areas done.Three coats should do I think.
Next blog will be about the tile set out and the gluing of them in place, with all the other fiddle bits to finish it off.
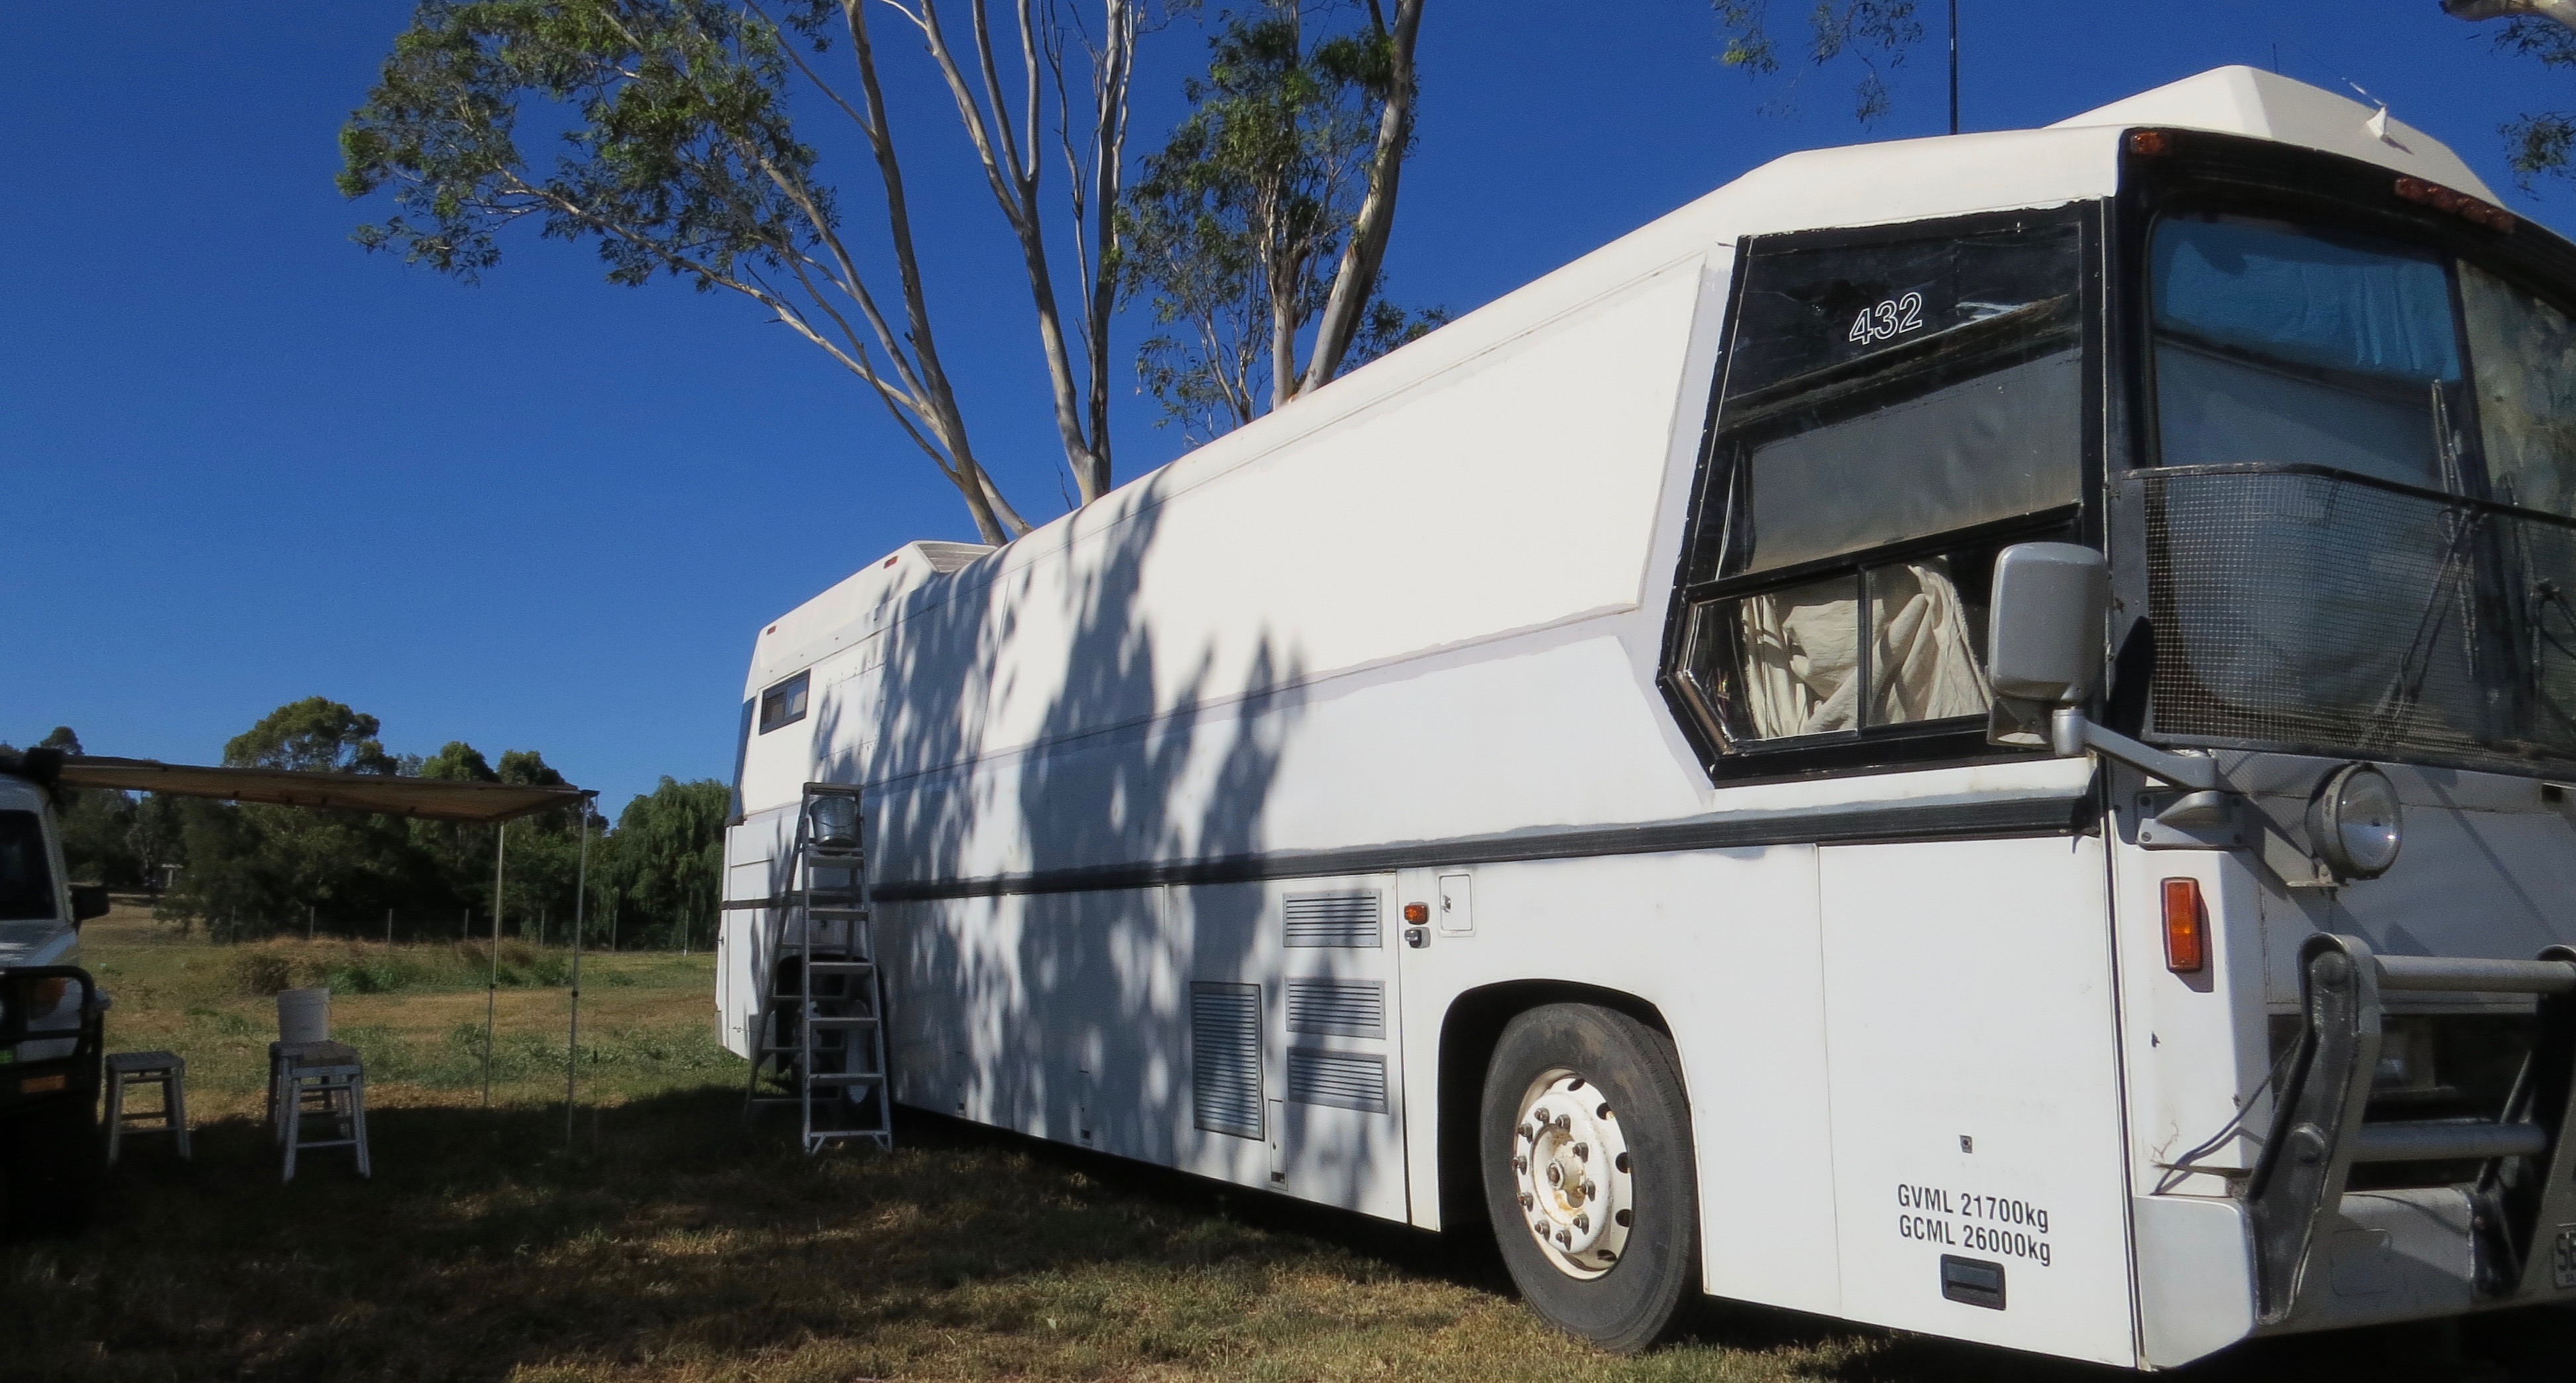
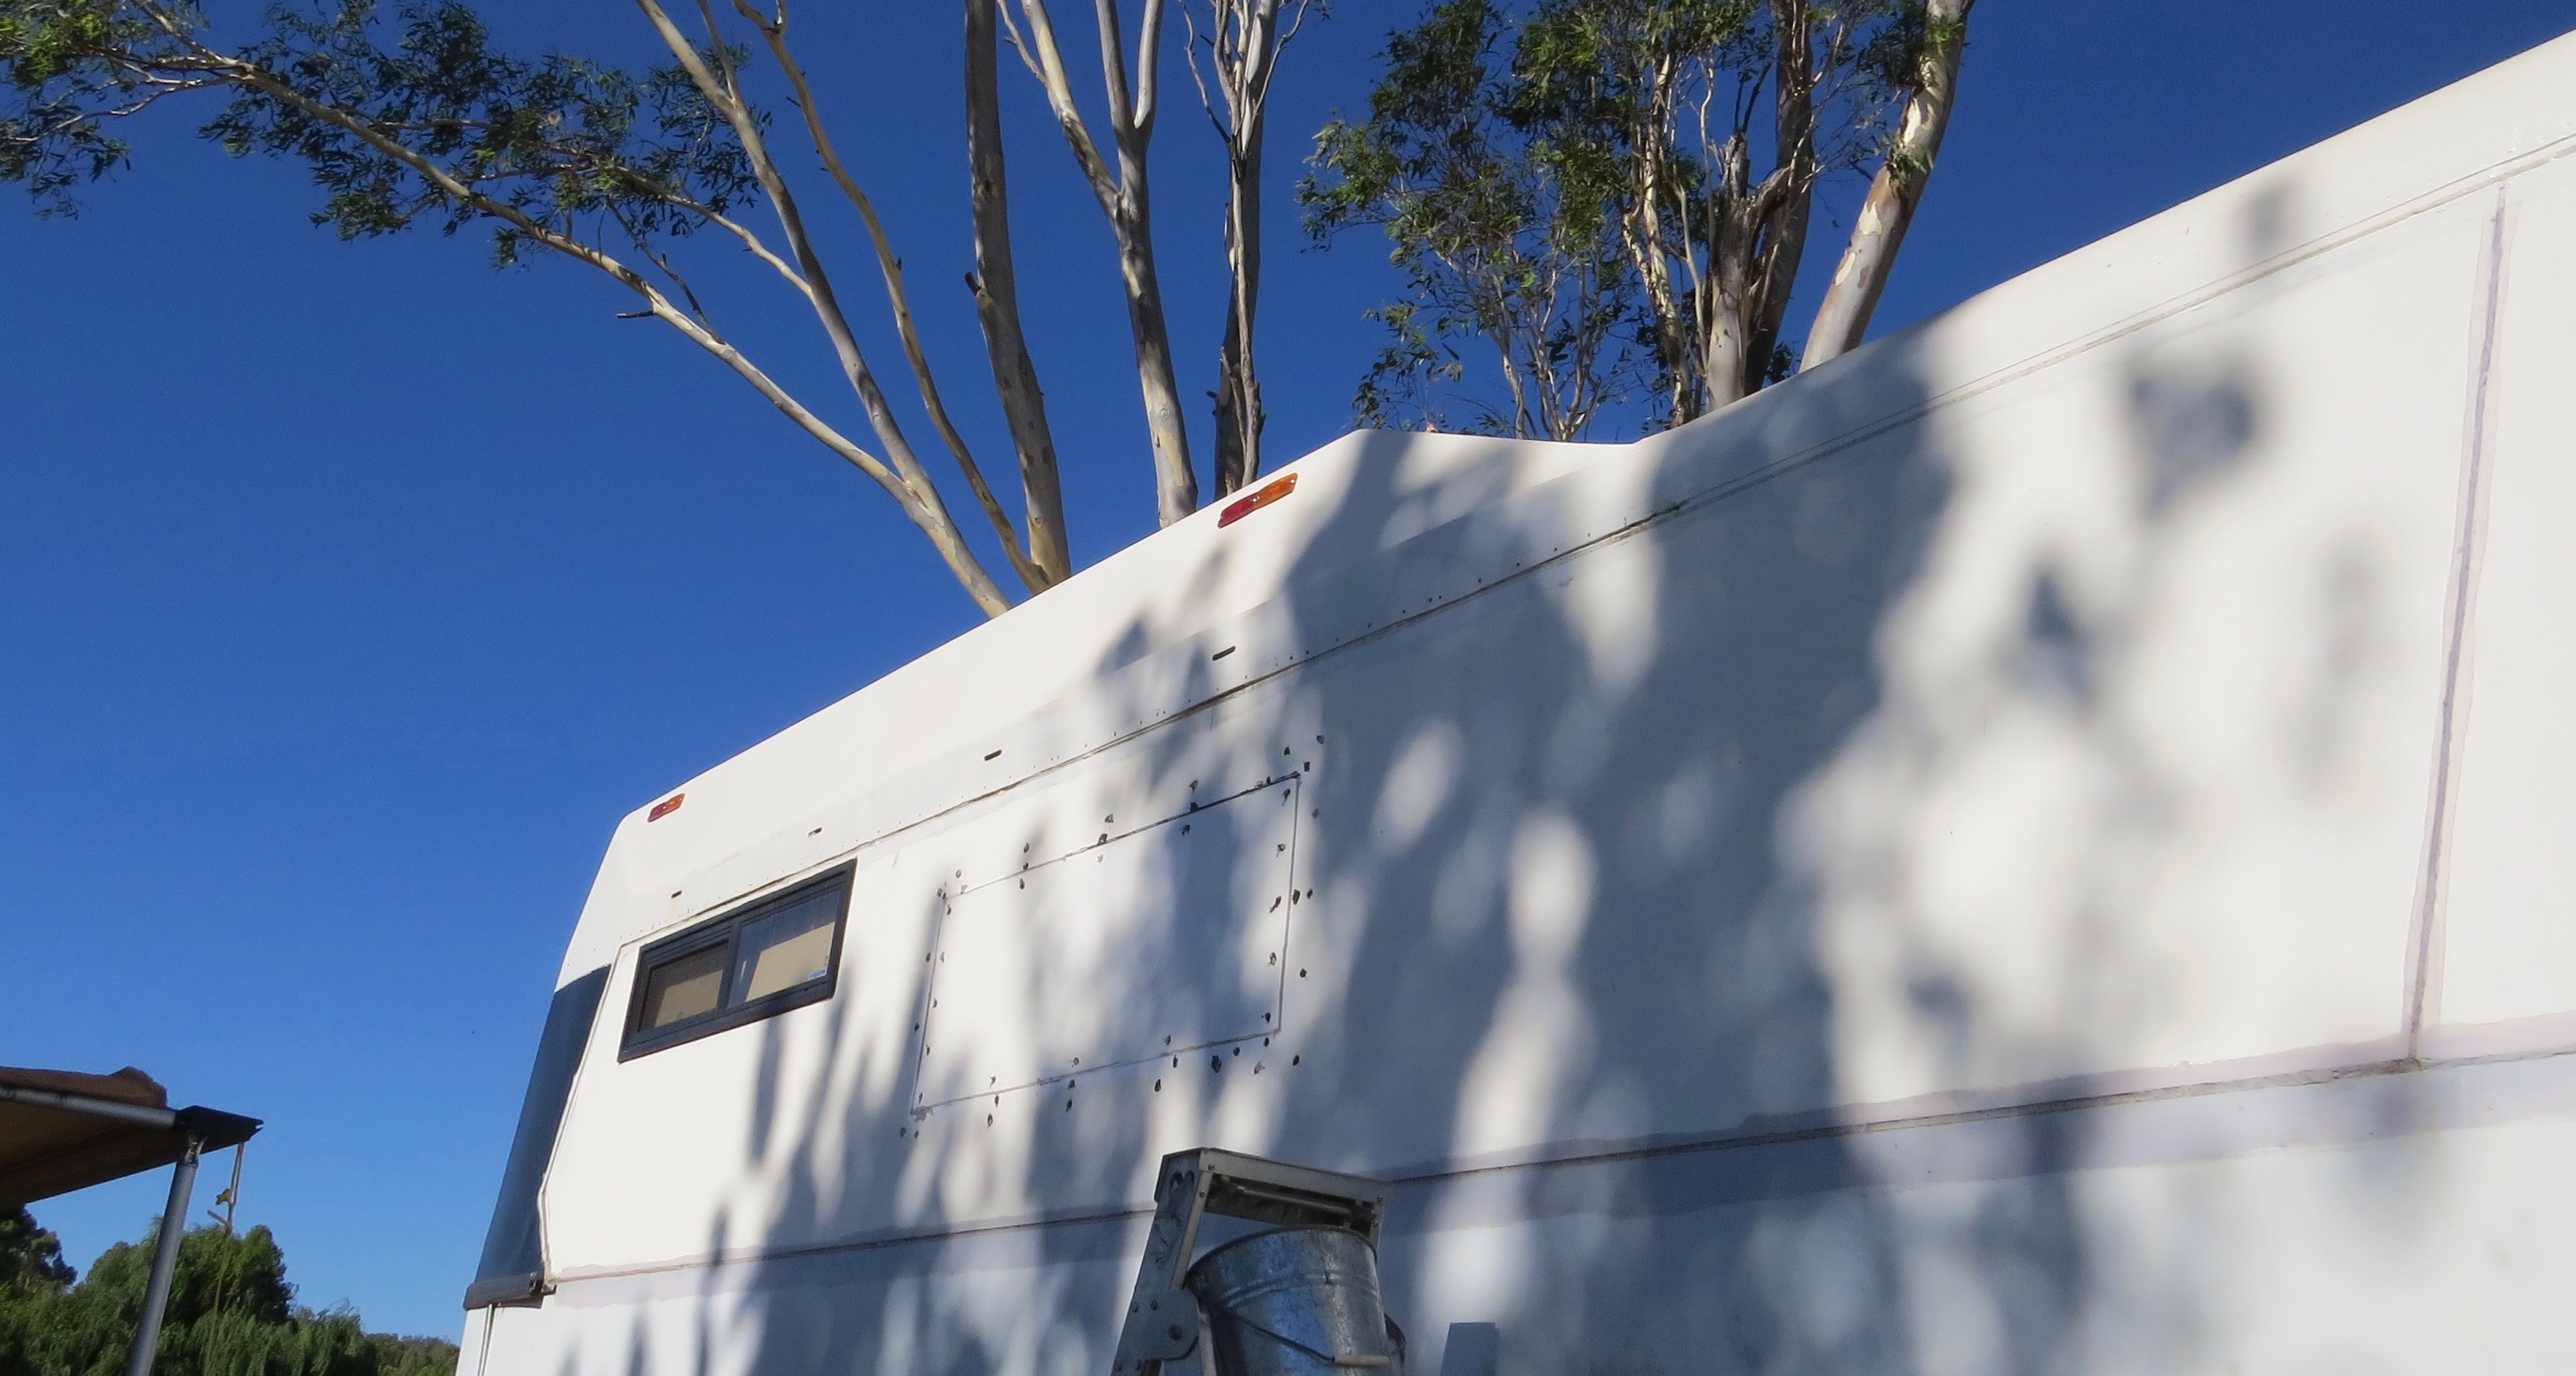
It was one of the jobs that was started down at Leigh Creek, but I ran out of time before heading up north to Yulara. The old running lights did make it to QLD with a quick fix up here and there. We are waiting to move under cover in to the big equestrian indoor arena at the Toowoomba Showgrounds to start fixing the roof leak found on a good down pour while up here.
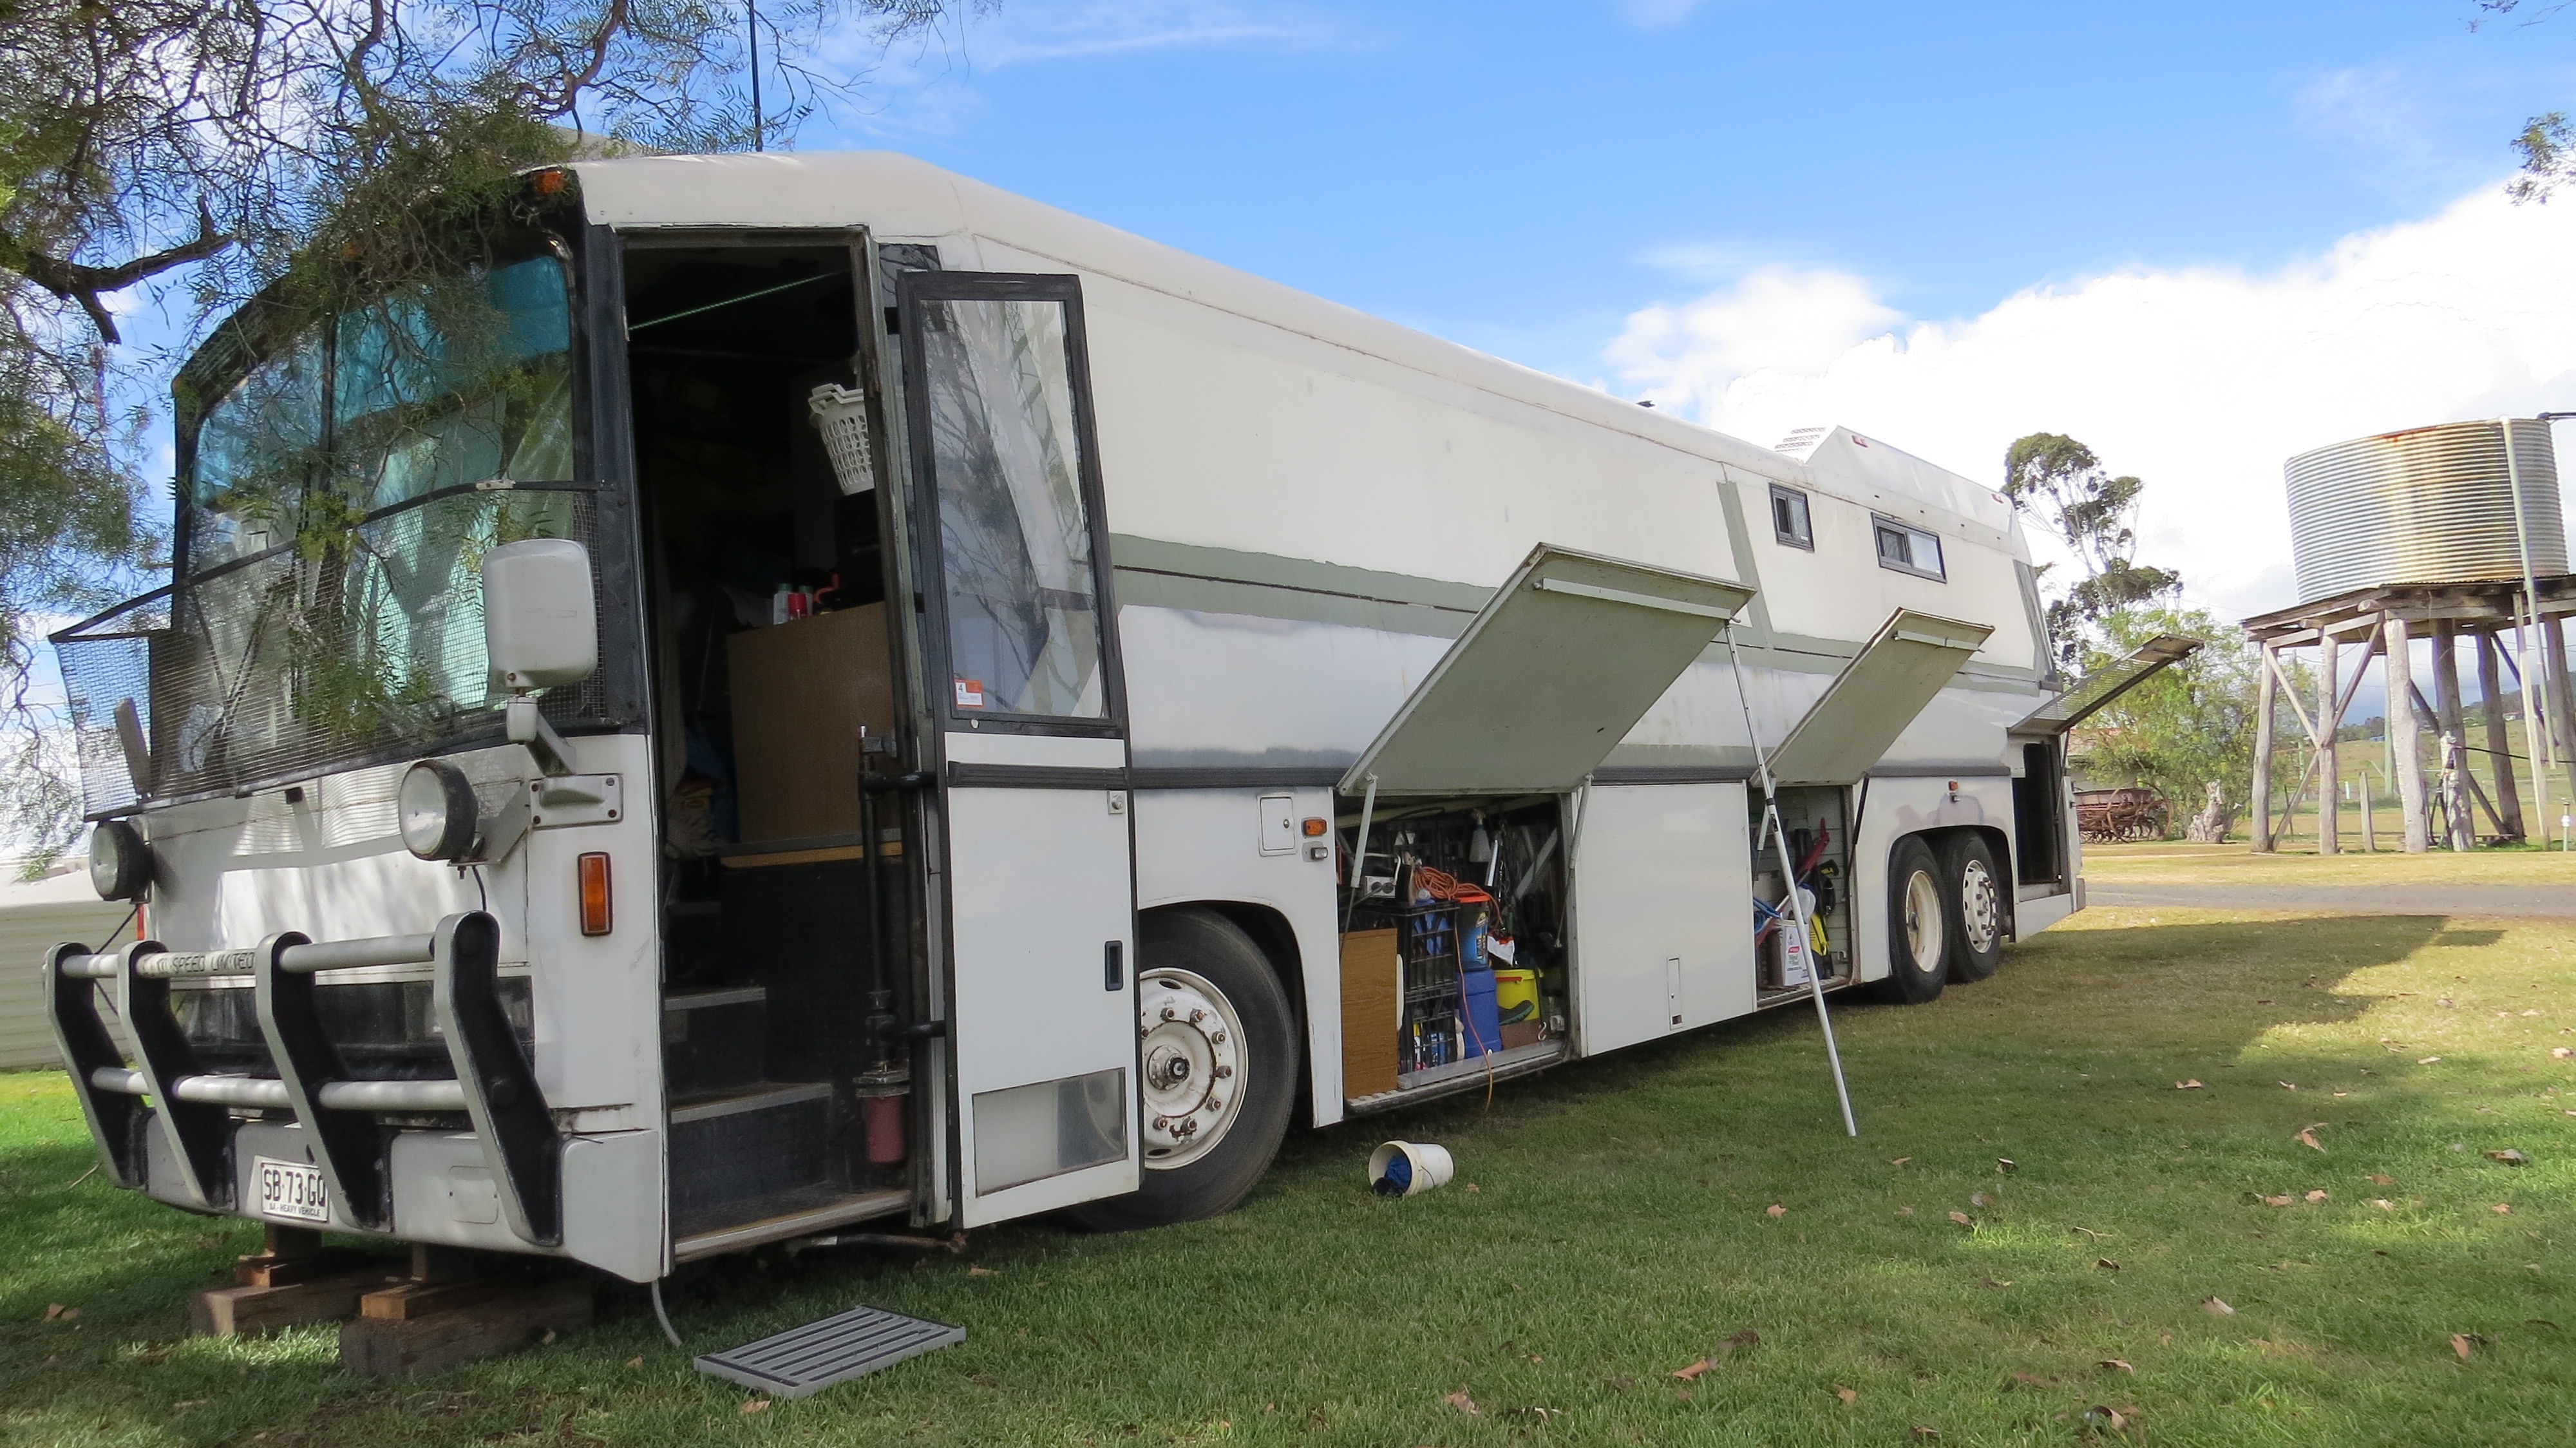
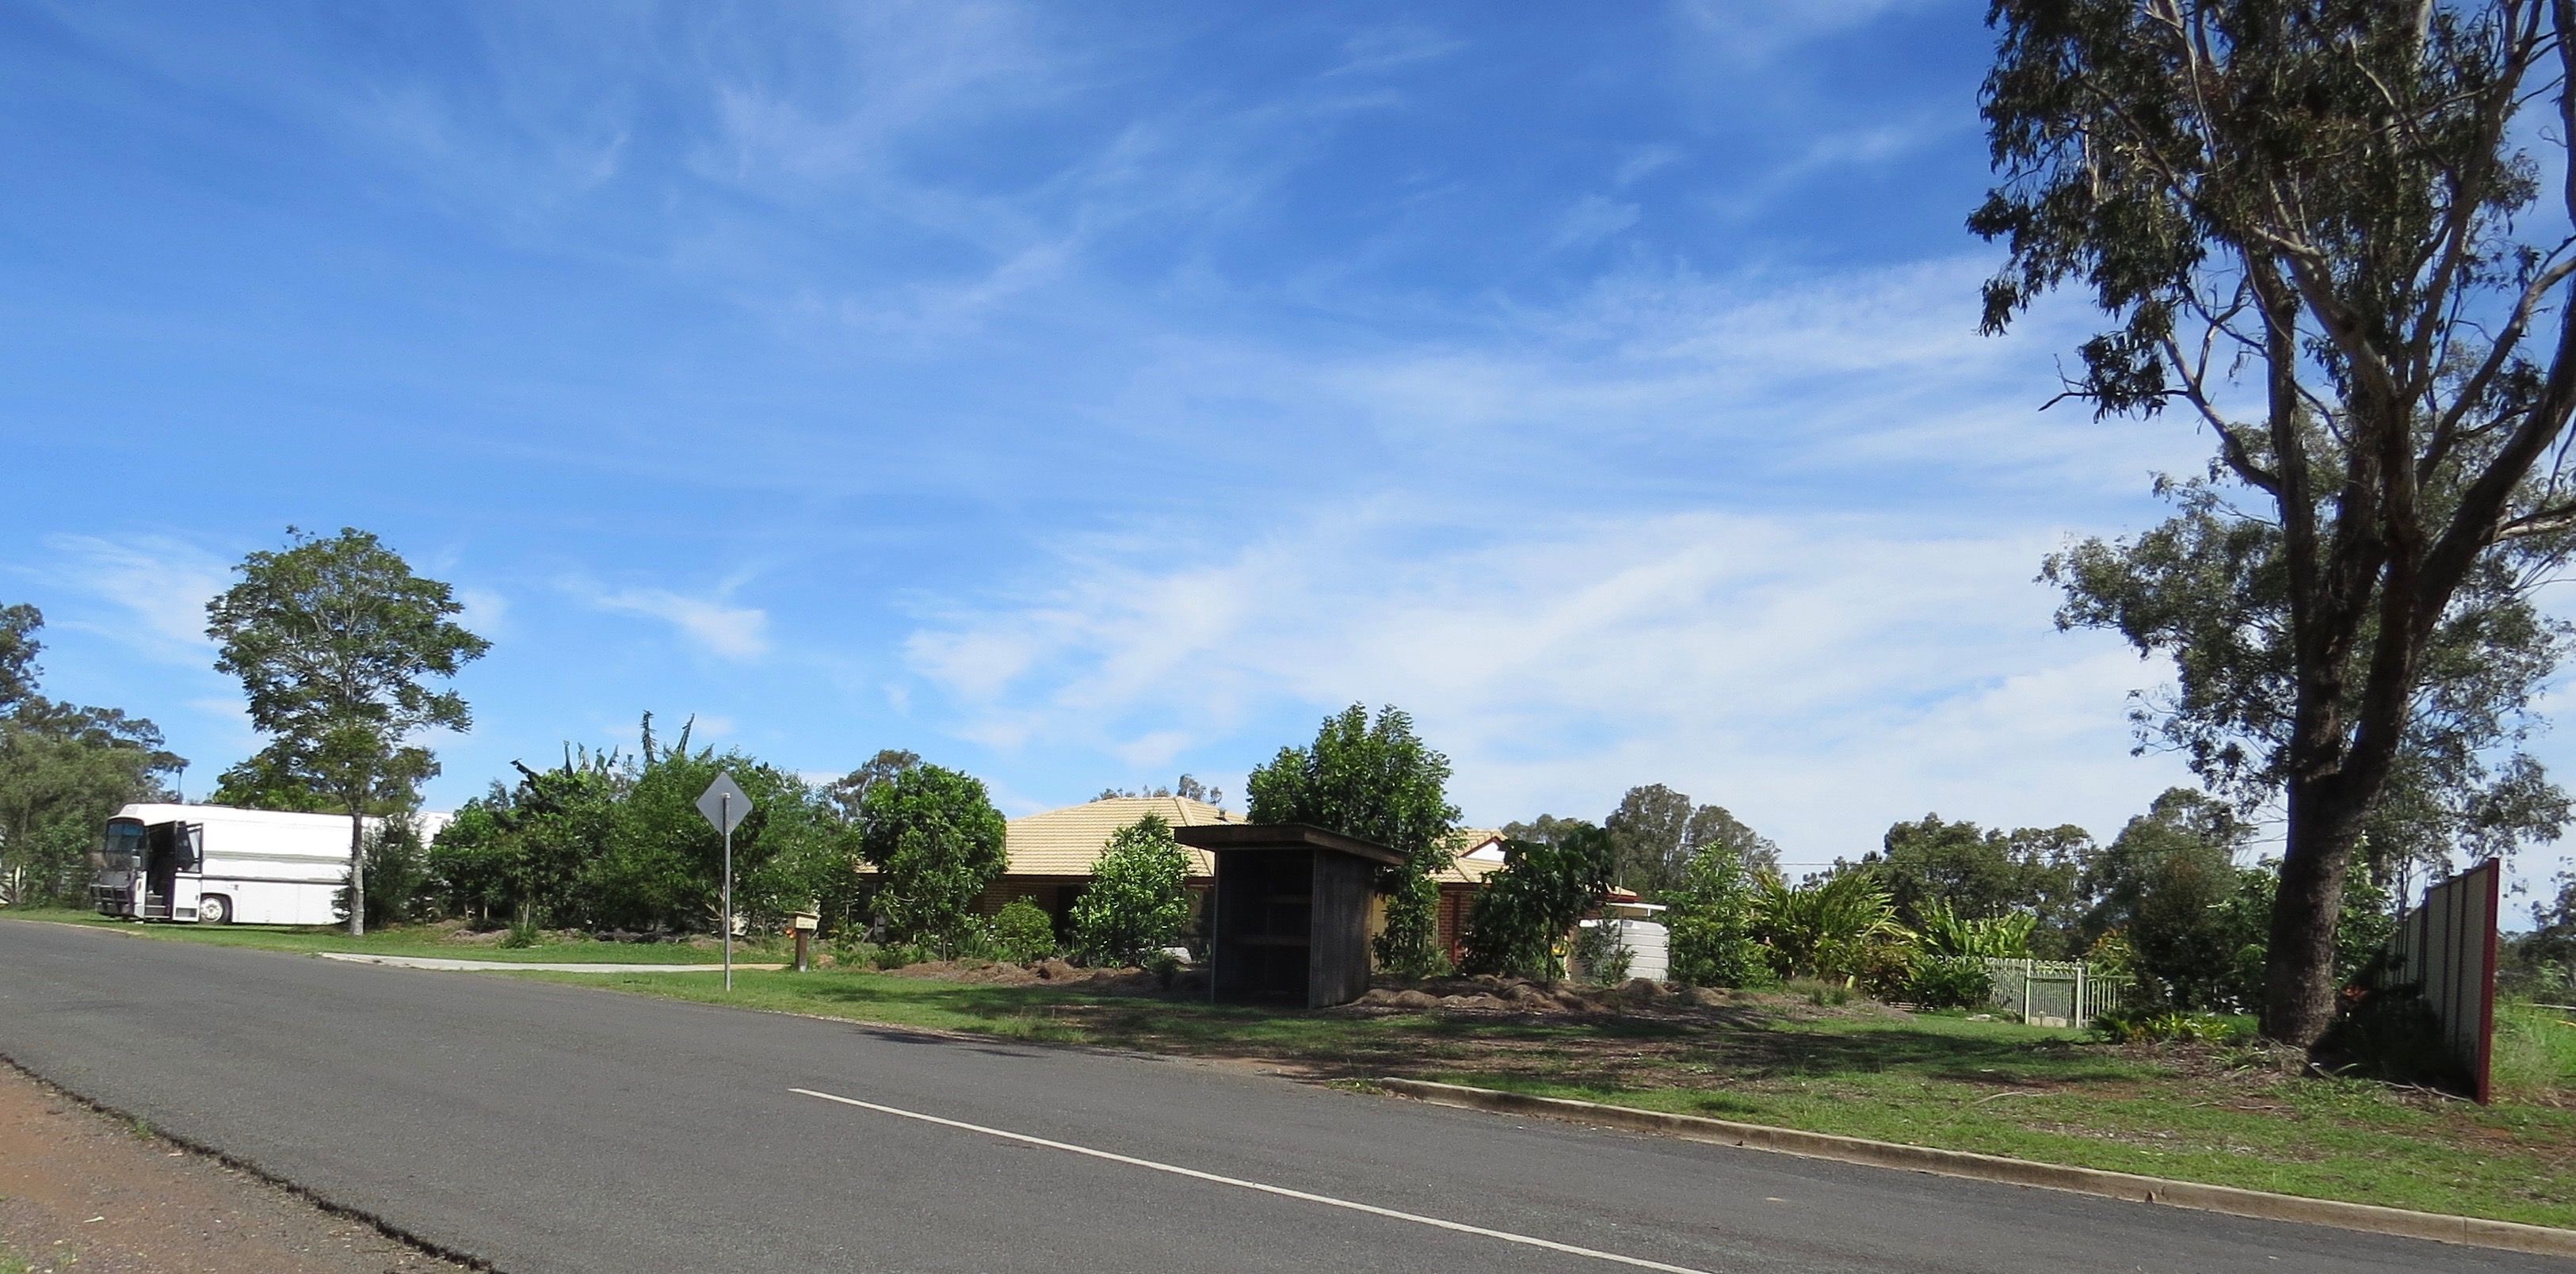
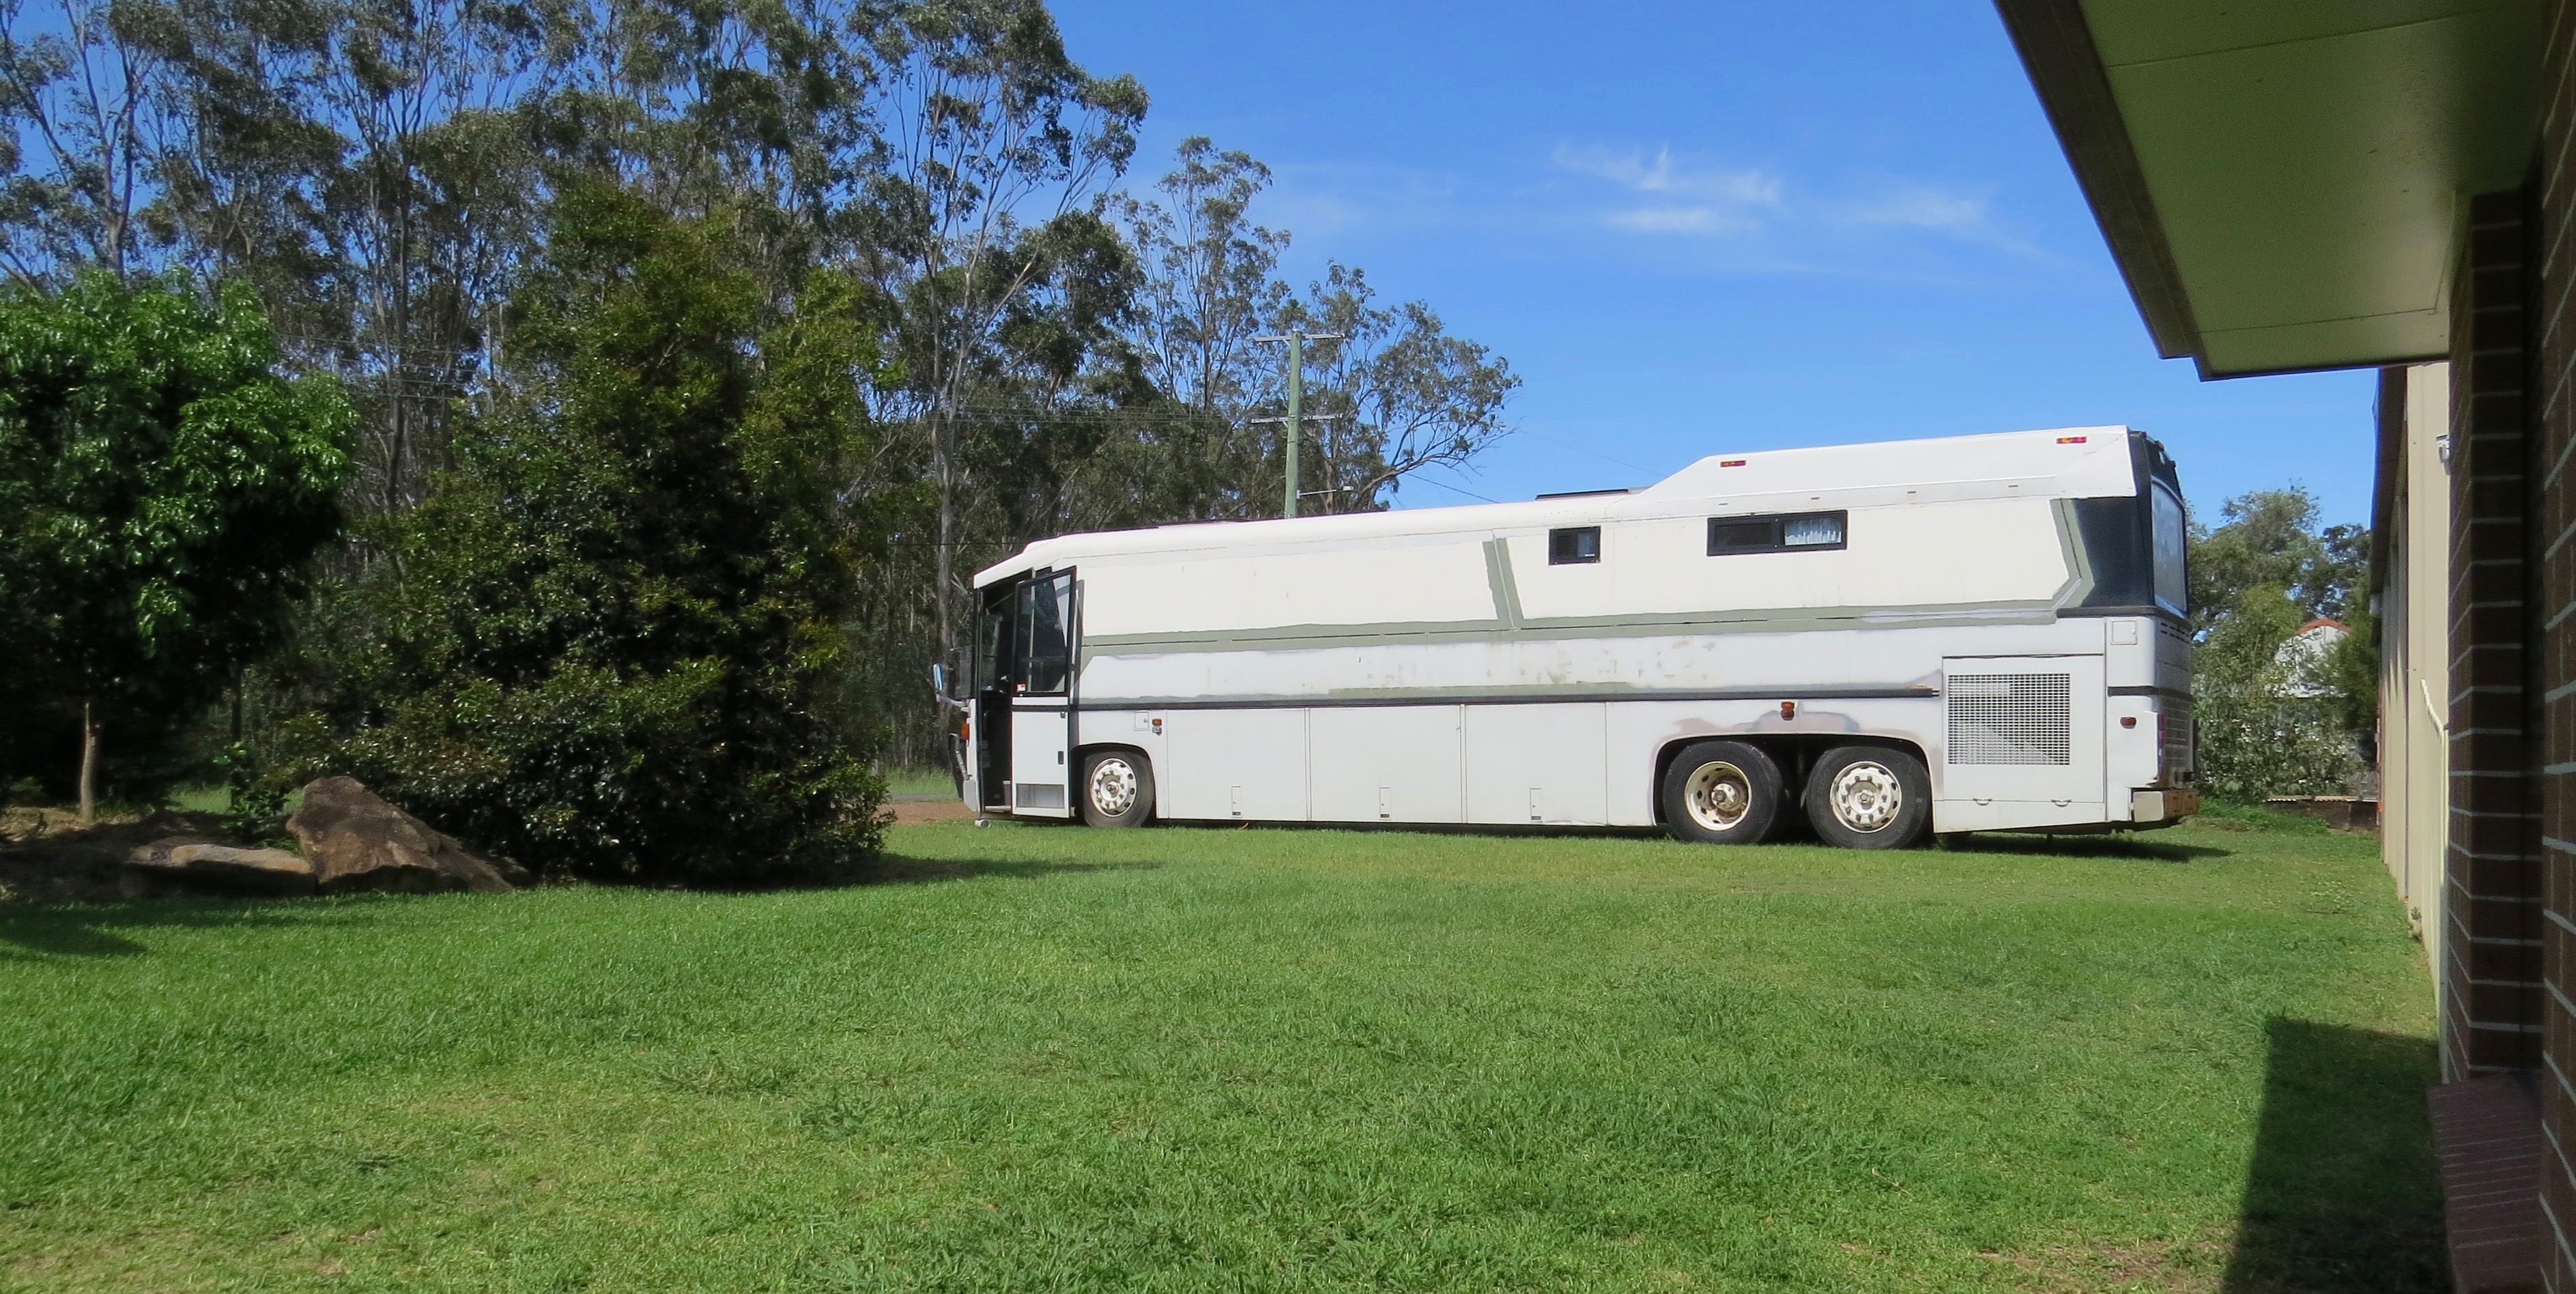
We have been in the Toowoomba area now for four weeks and I must say it’s quite a nice place. Apart from having to move out of the Showgrounds for one week as the place was booked out. We decided to stayed on a farm for that week at a farmstay called The Chookhouse. It was great, the owners were very nice, it was the first time for them having a 12m motorhome parked there.
The Chookhouse stay
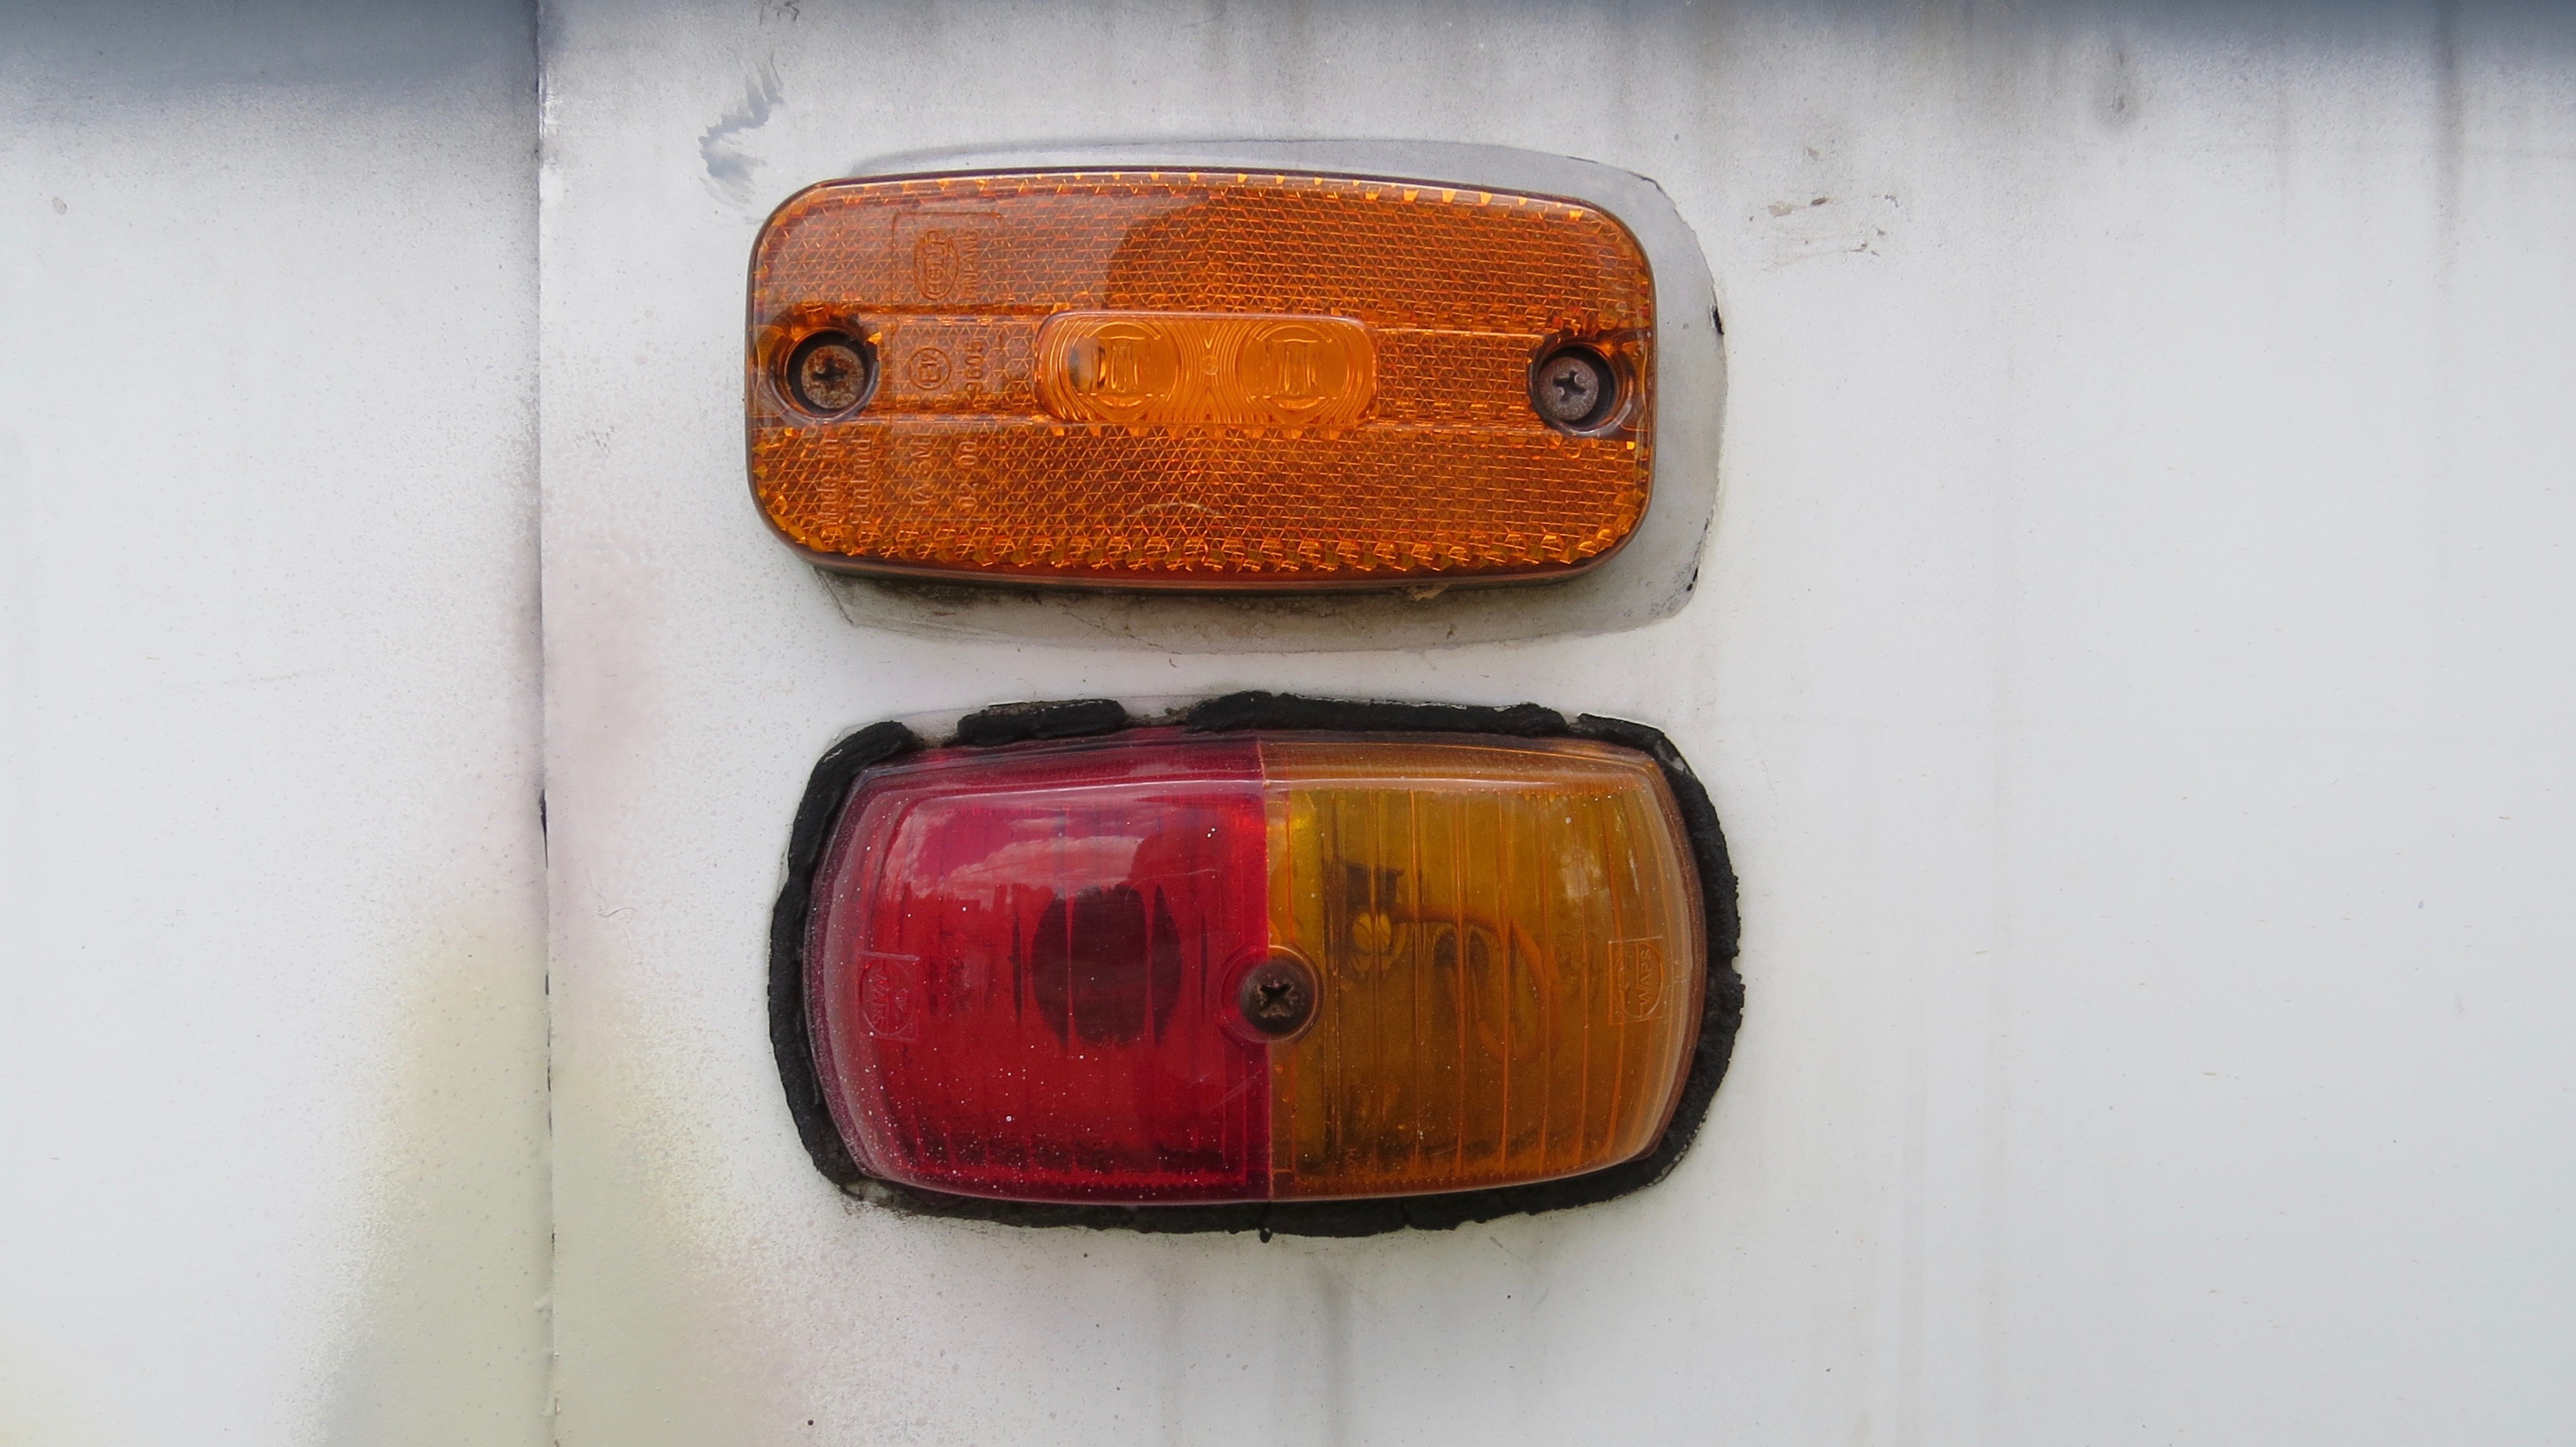
LED light time
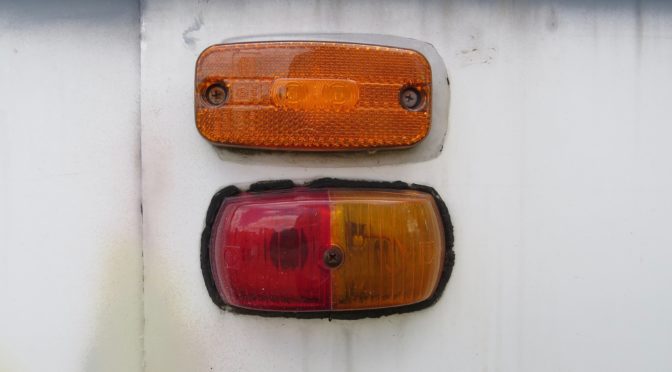
The old running light had seen better days and as the front of the coach had already been fix in S.A , we now thought it was a good time to finish them.
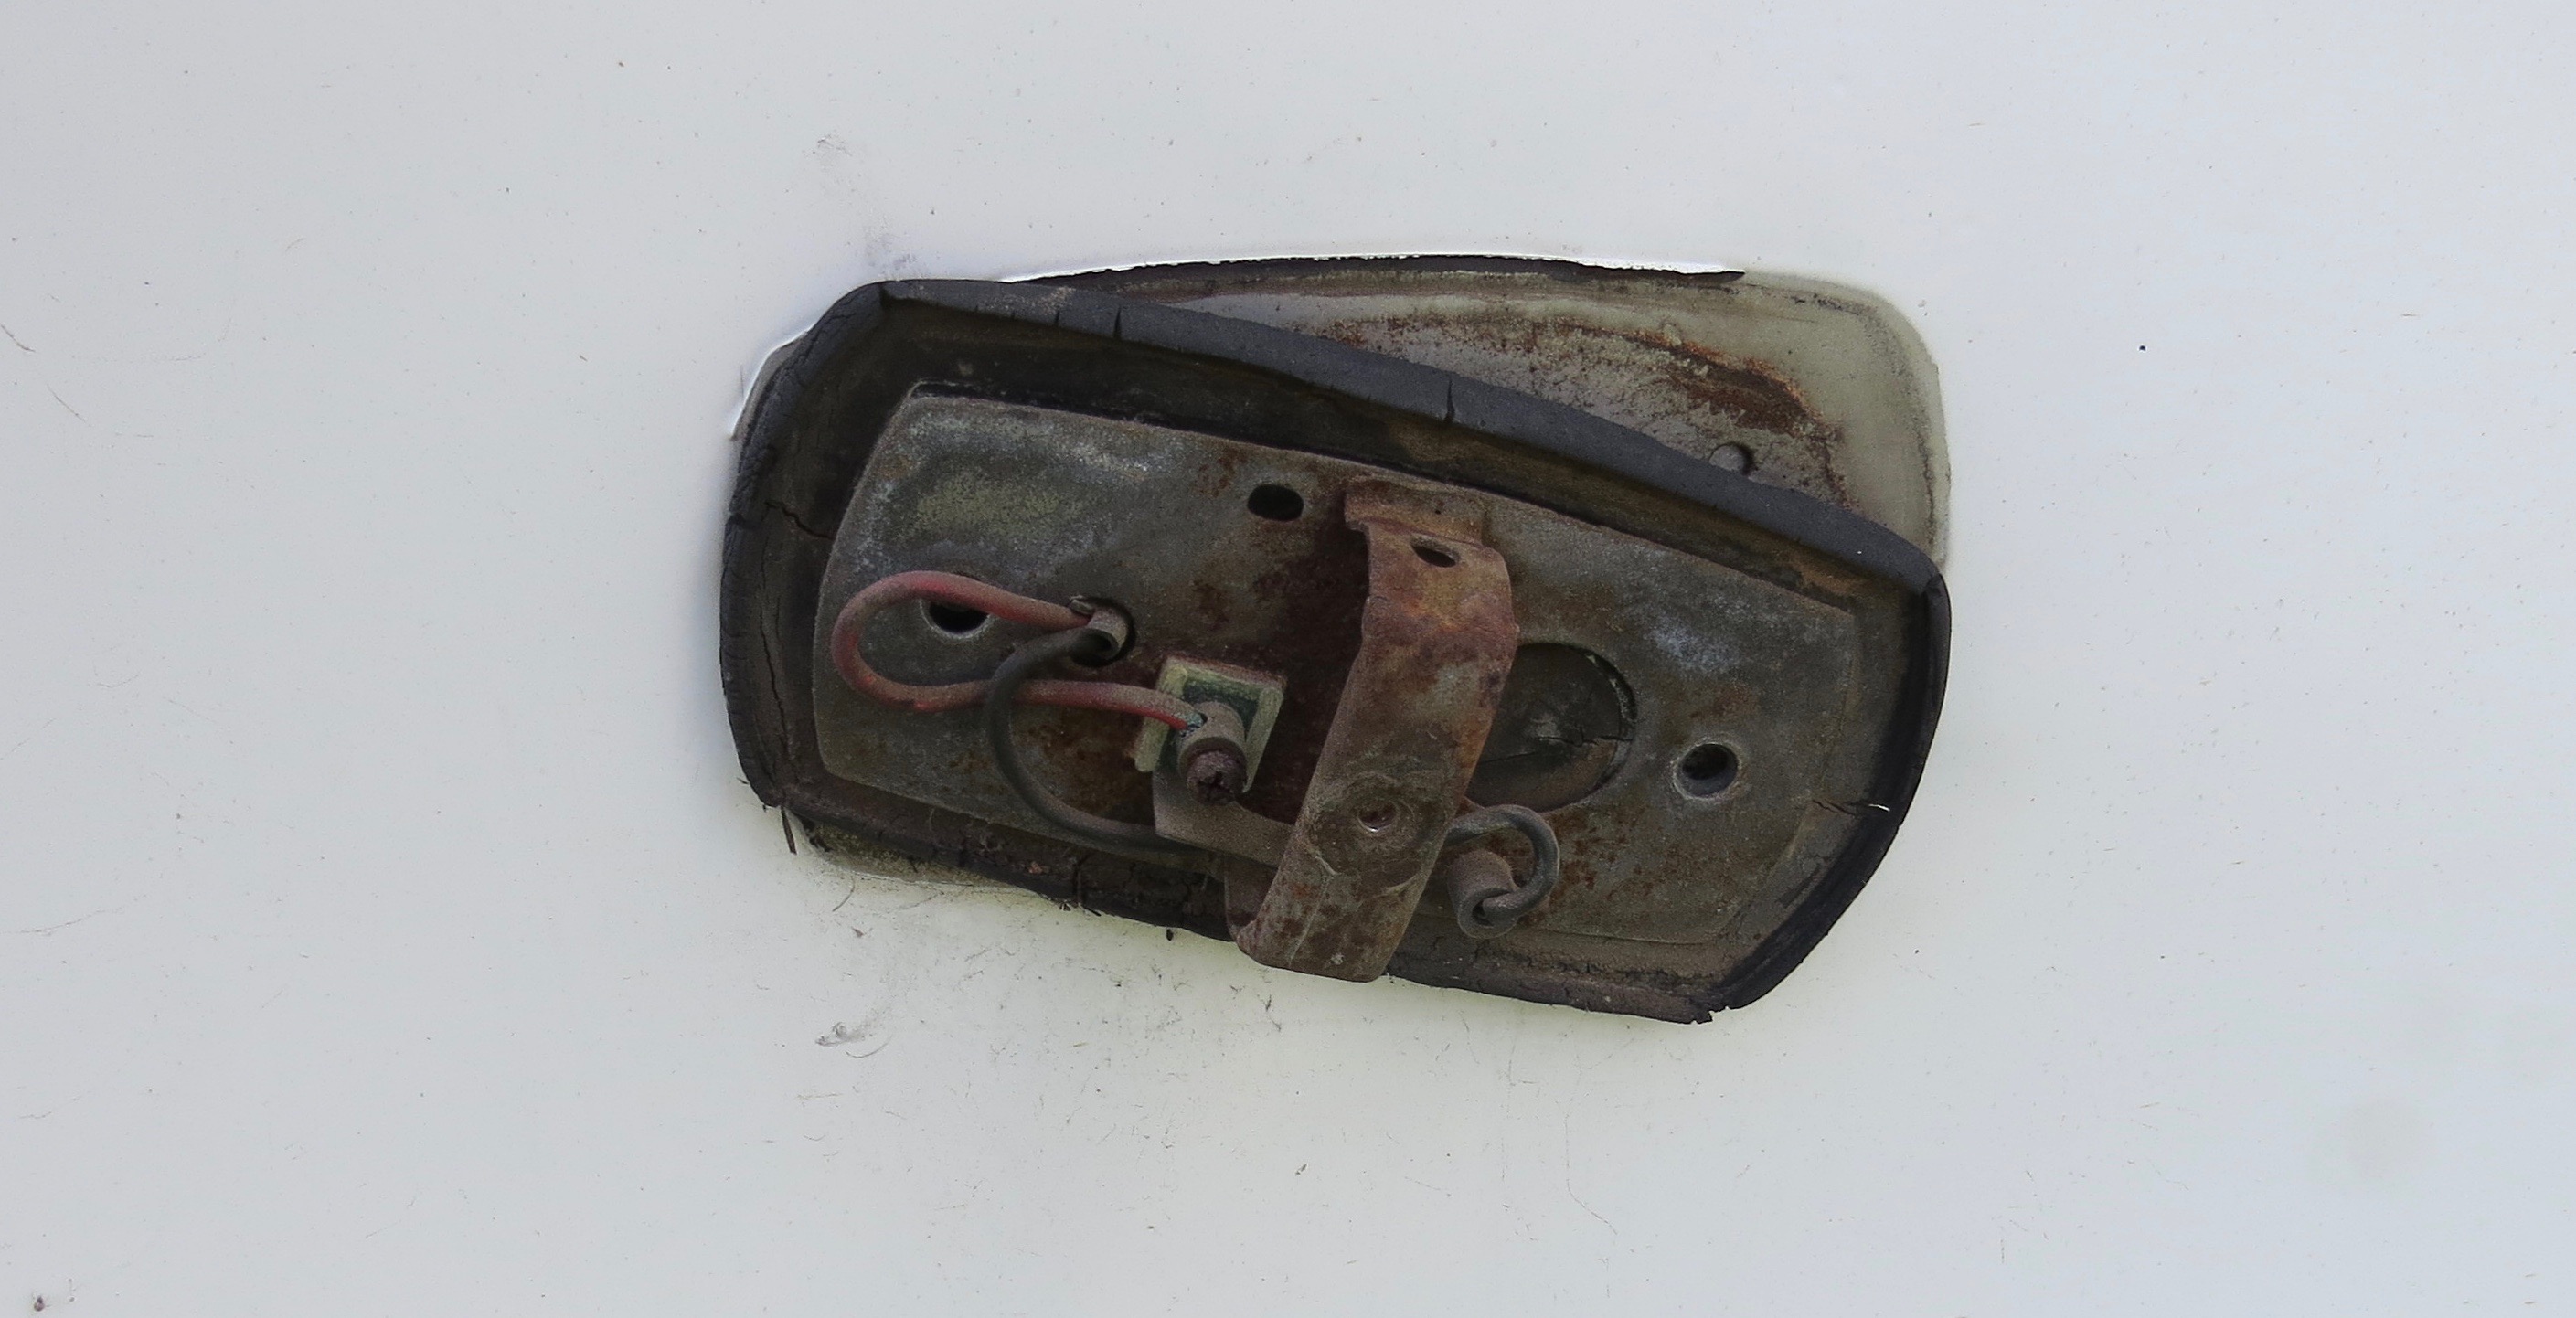
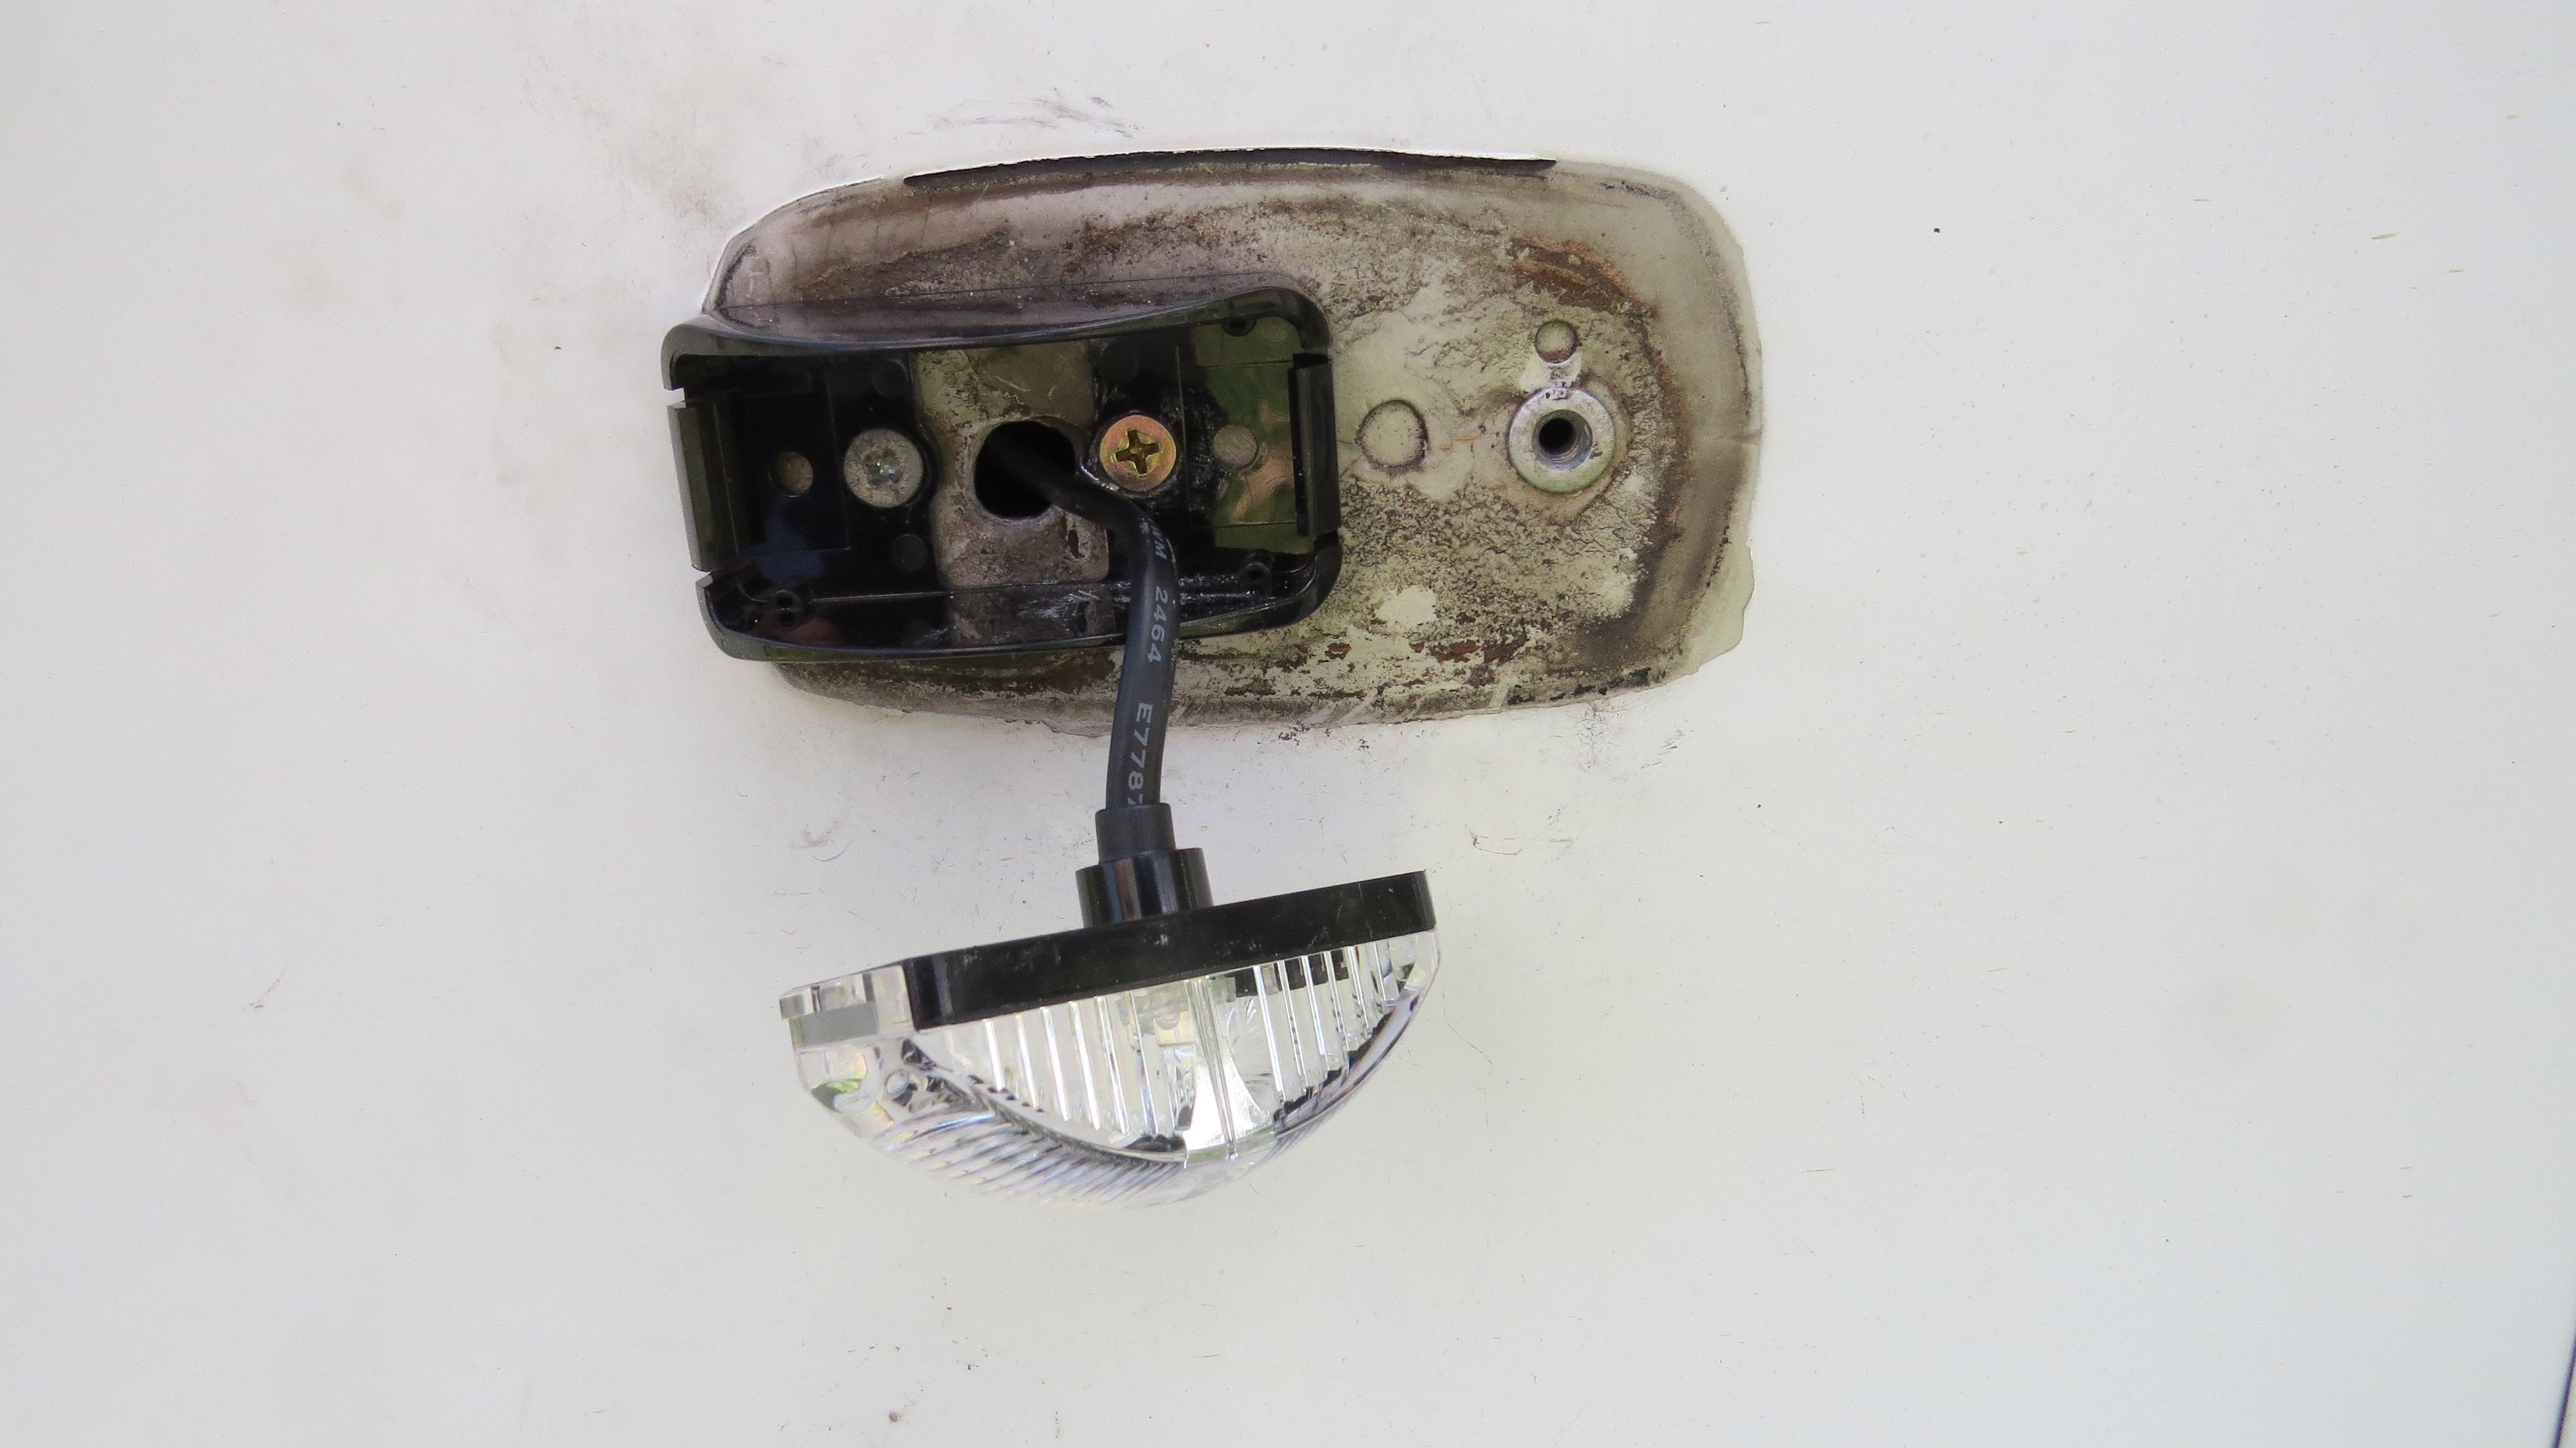
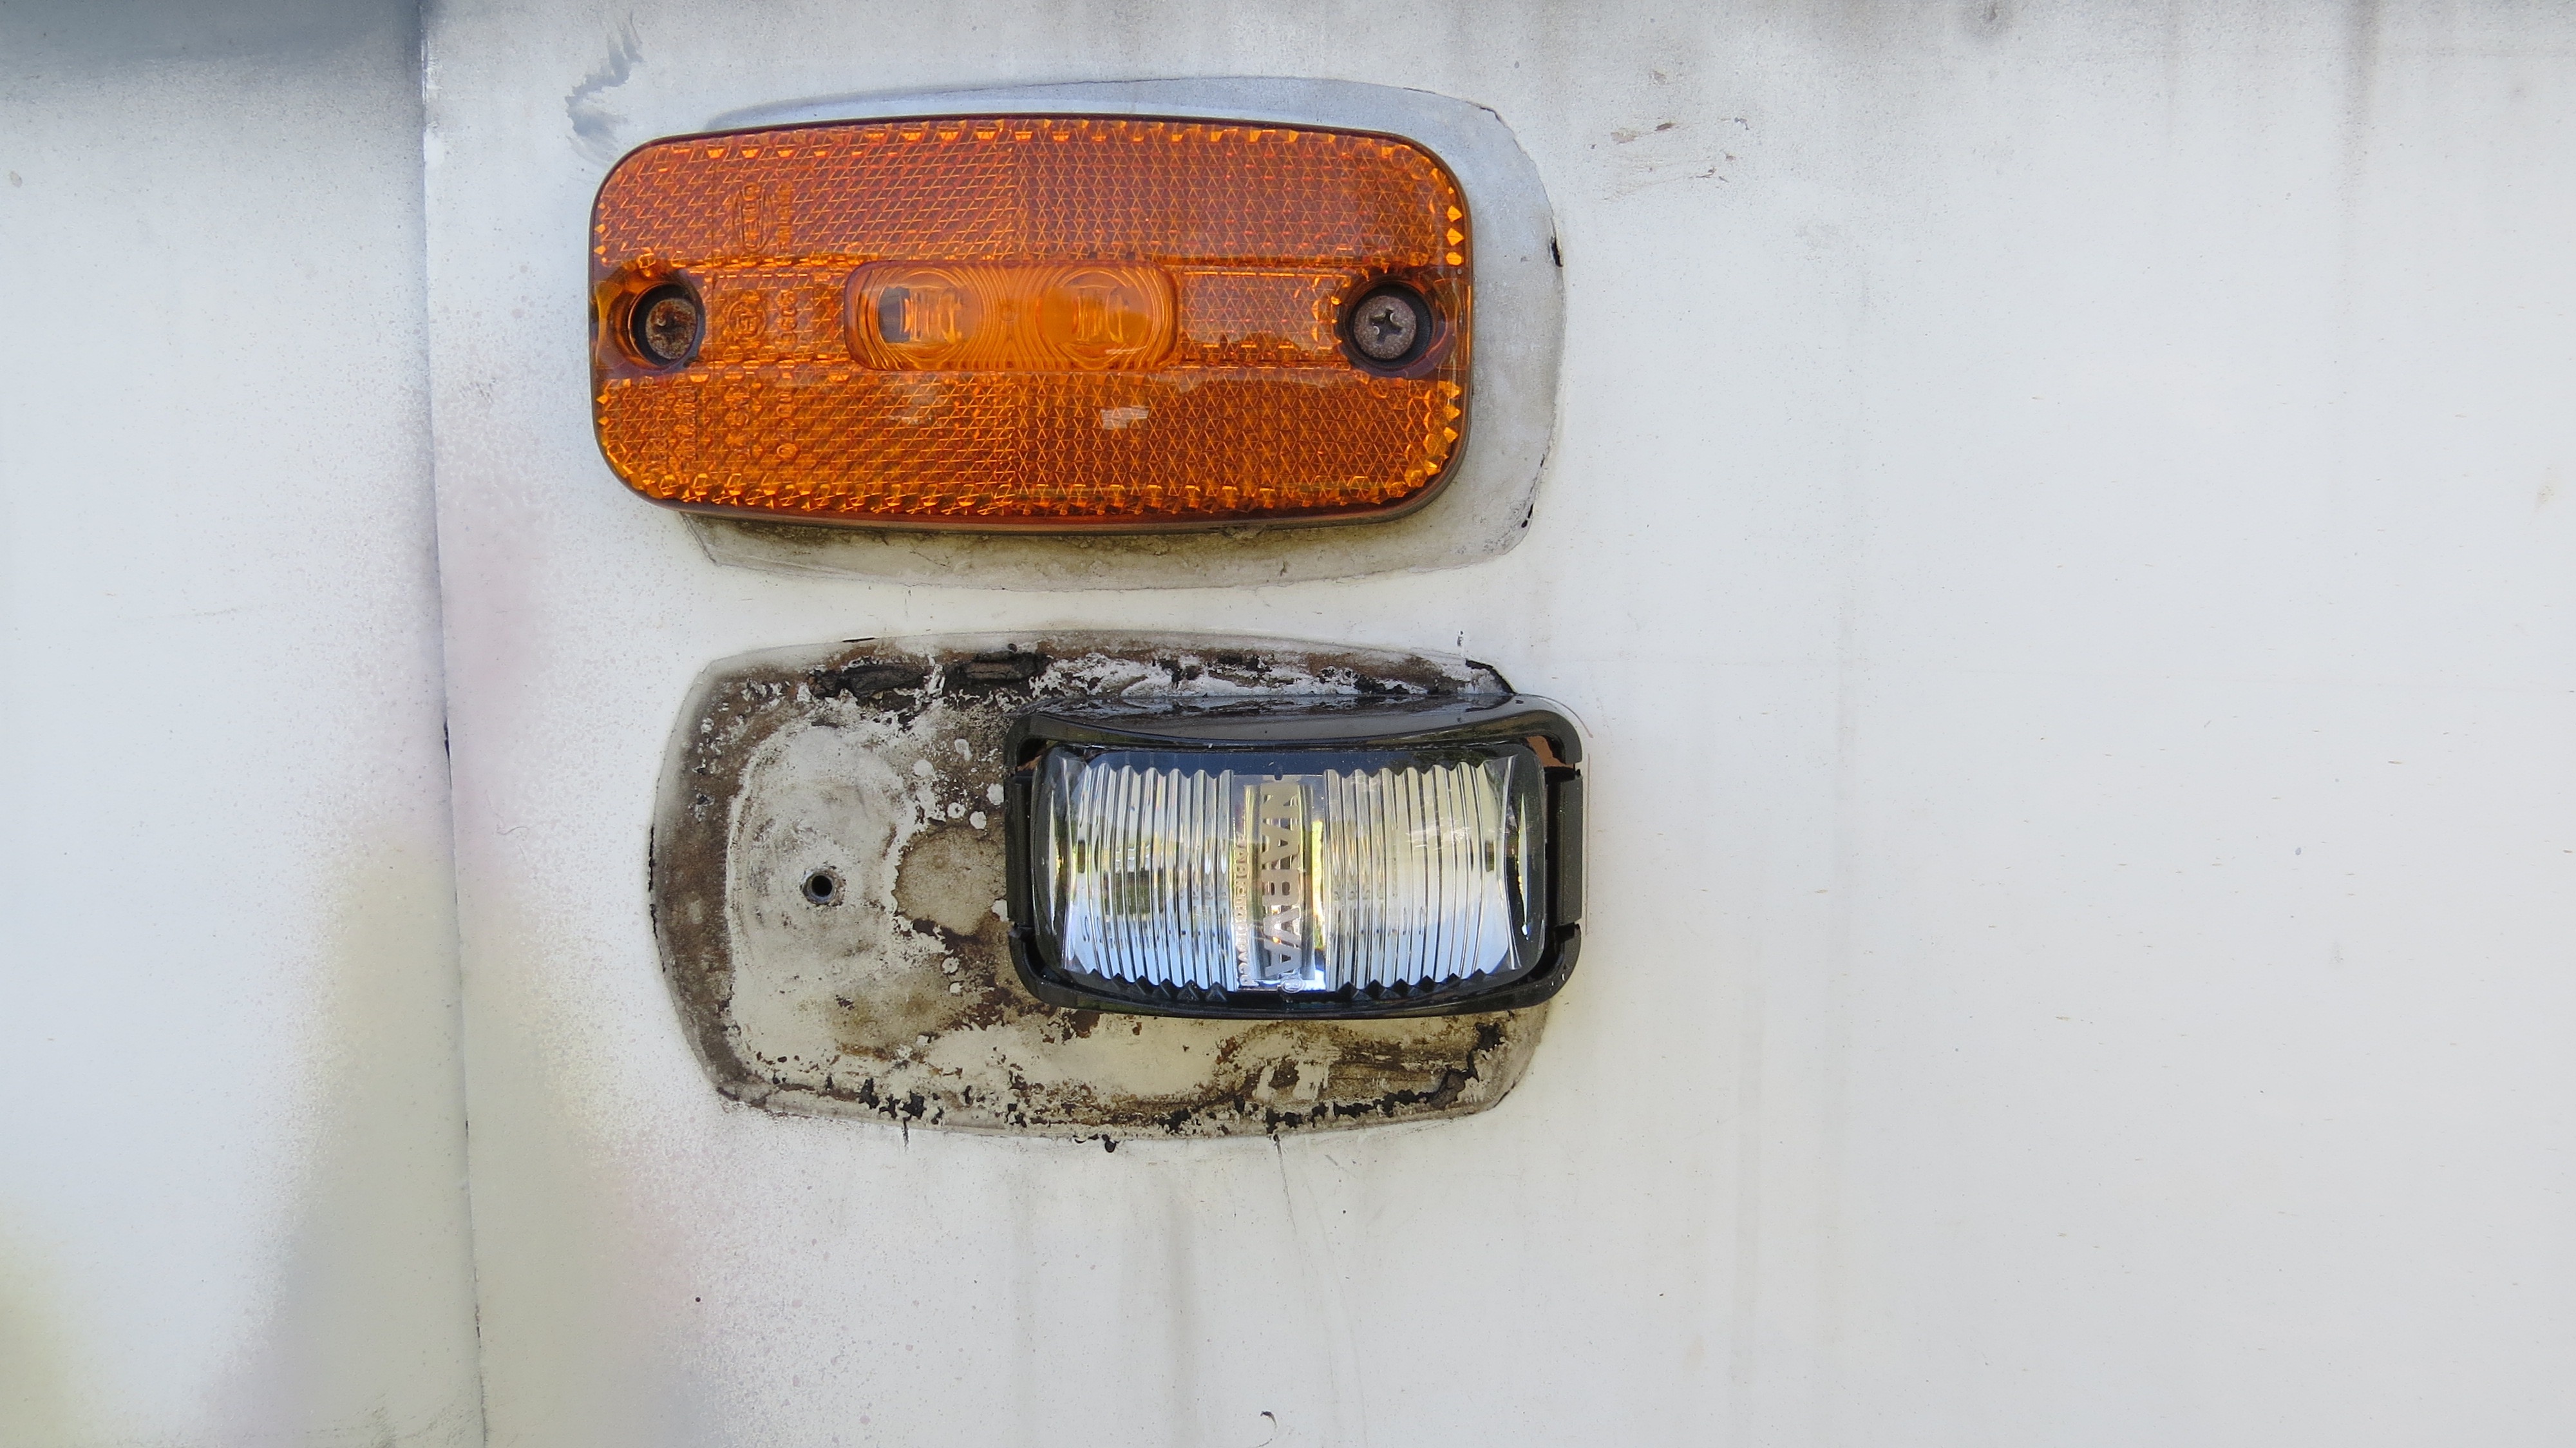
Out with the old running lights.
The former owner had already fitted new LED indicators/reflectors which made the old running lights at the side of the bus look even older.
Just a little bit stuffed, how where they even working?New wires solidered and insulated.I’ll have to patch up the holes later before the paint job.Nice new LED’sMore soldered and insulation under the coach.Top ones need fixing too.Think they will see us now.
That will do for now
Until the inside is finished, the outside will have to stay looking like someone does not love it. I’m really looking forward to the outside being all painted, it’s going to make such a big difference, that will have to wait for another day.
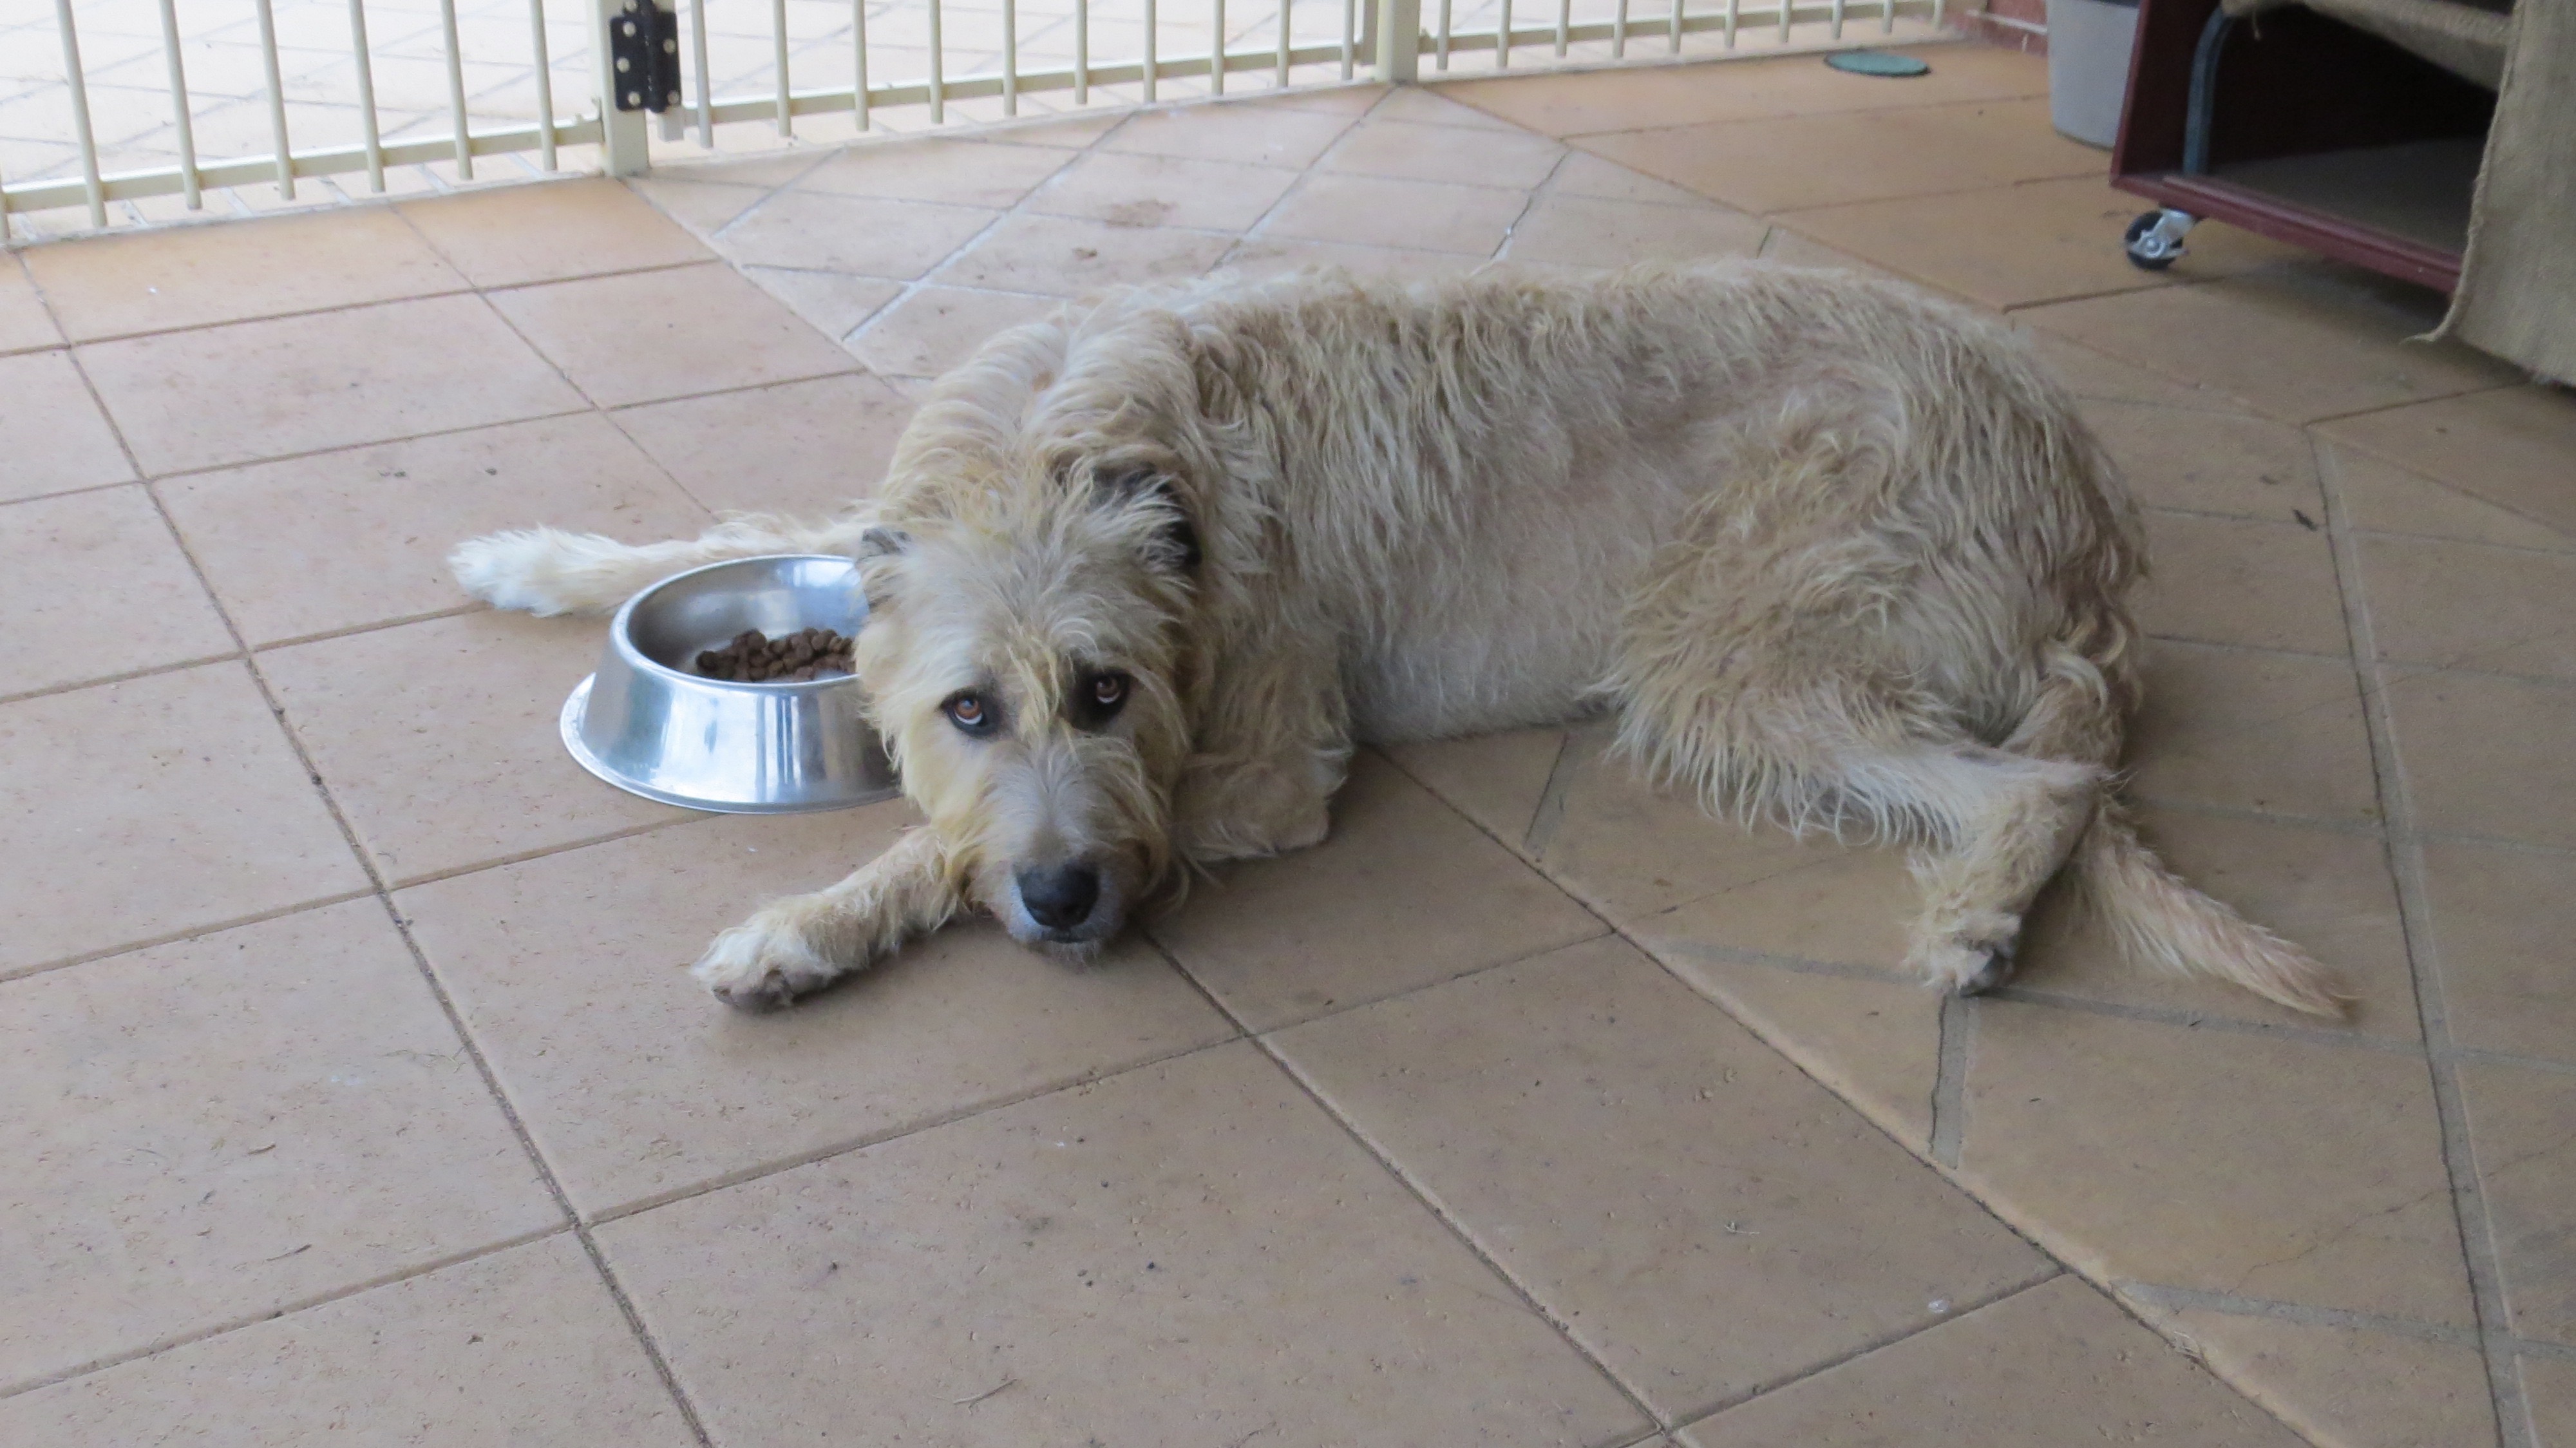
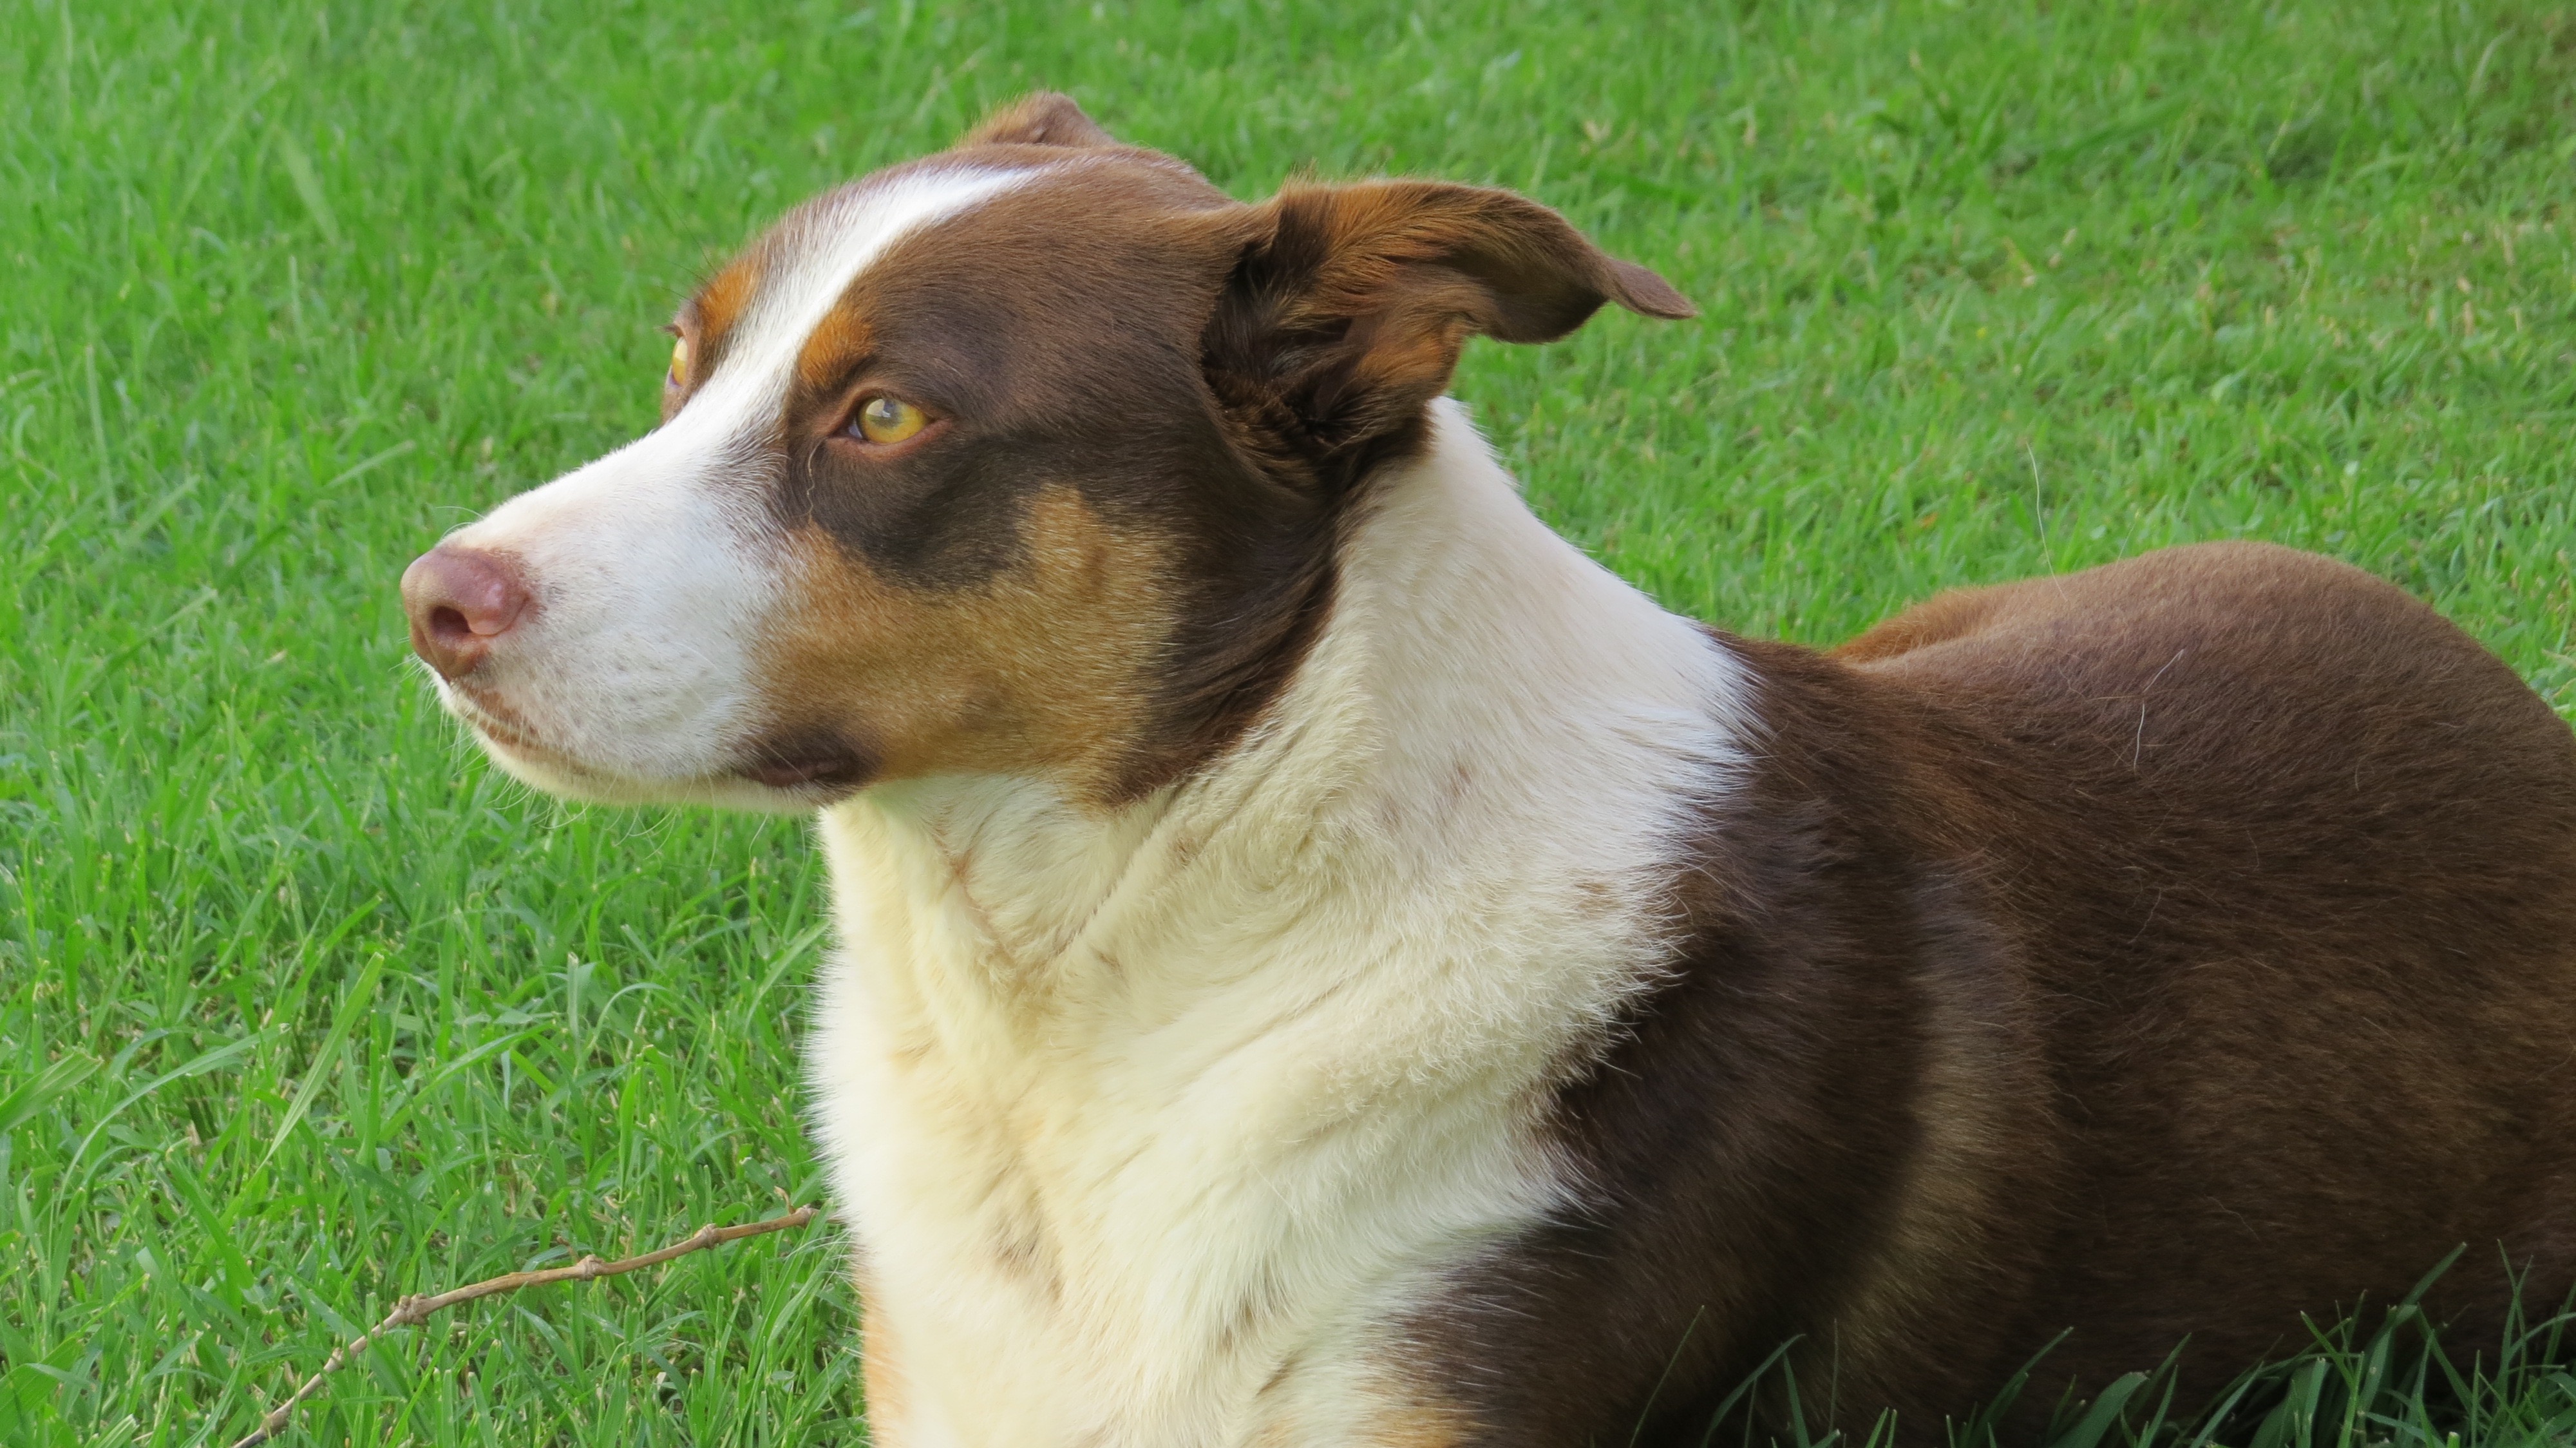
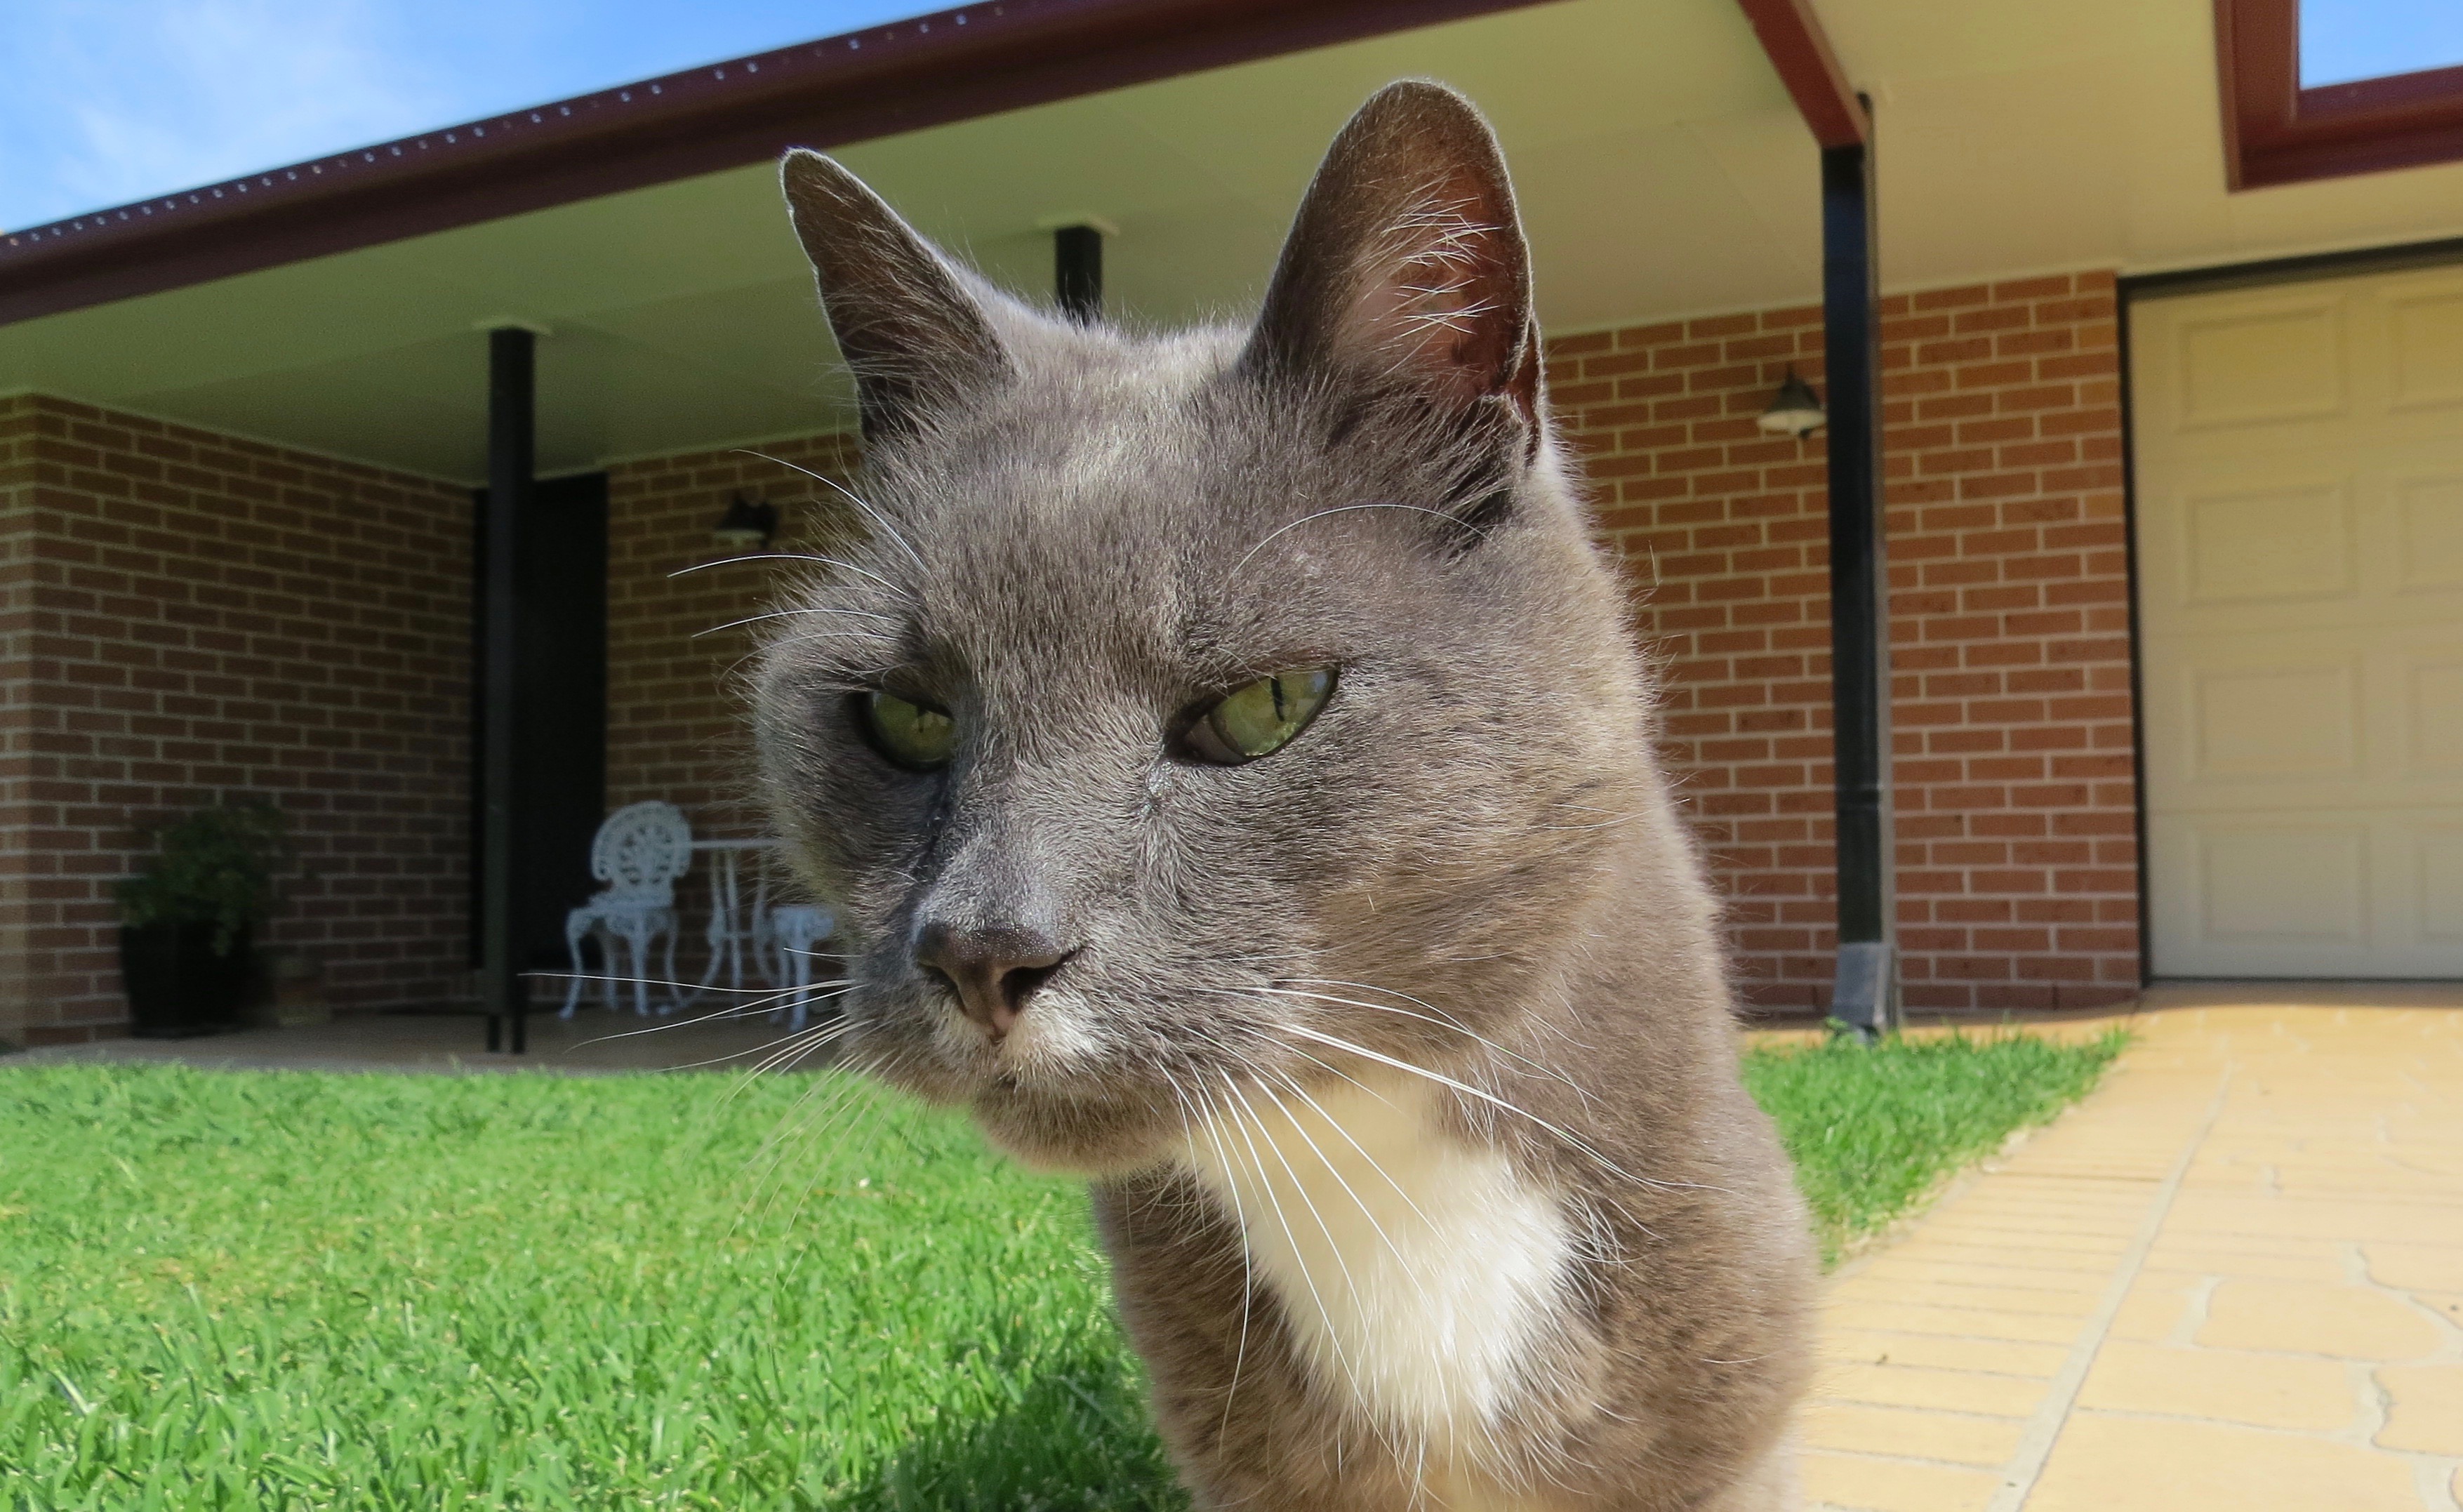
With the bedroom done to a point that we are happy with it’s time to clean up. The house sit has been great! We looked after two dogs, Lexy and Kingston. The cat, Charlie who had a swagger about him strutting around like he owned the place. Walking the dogs every day kept them happy and me a bit fitter.
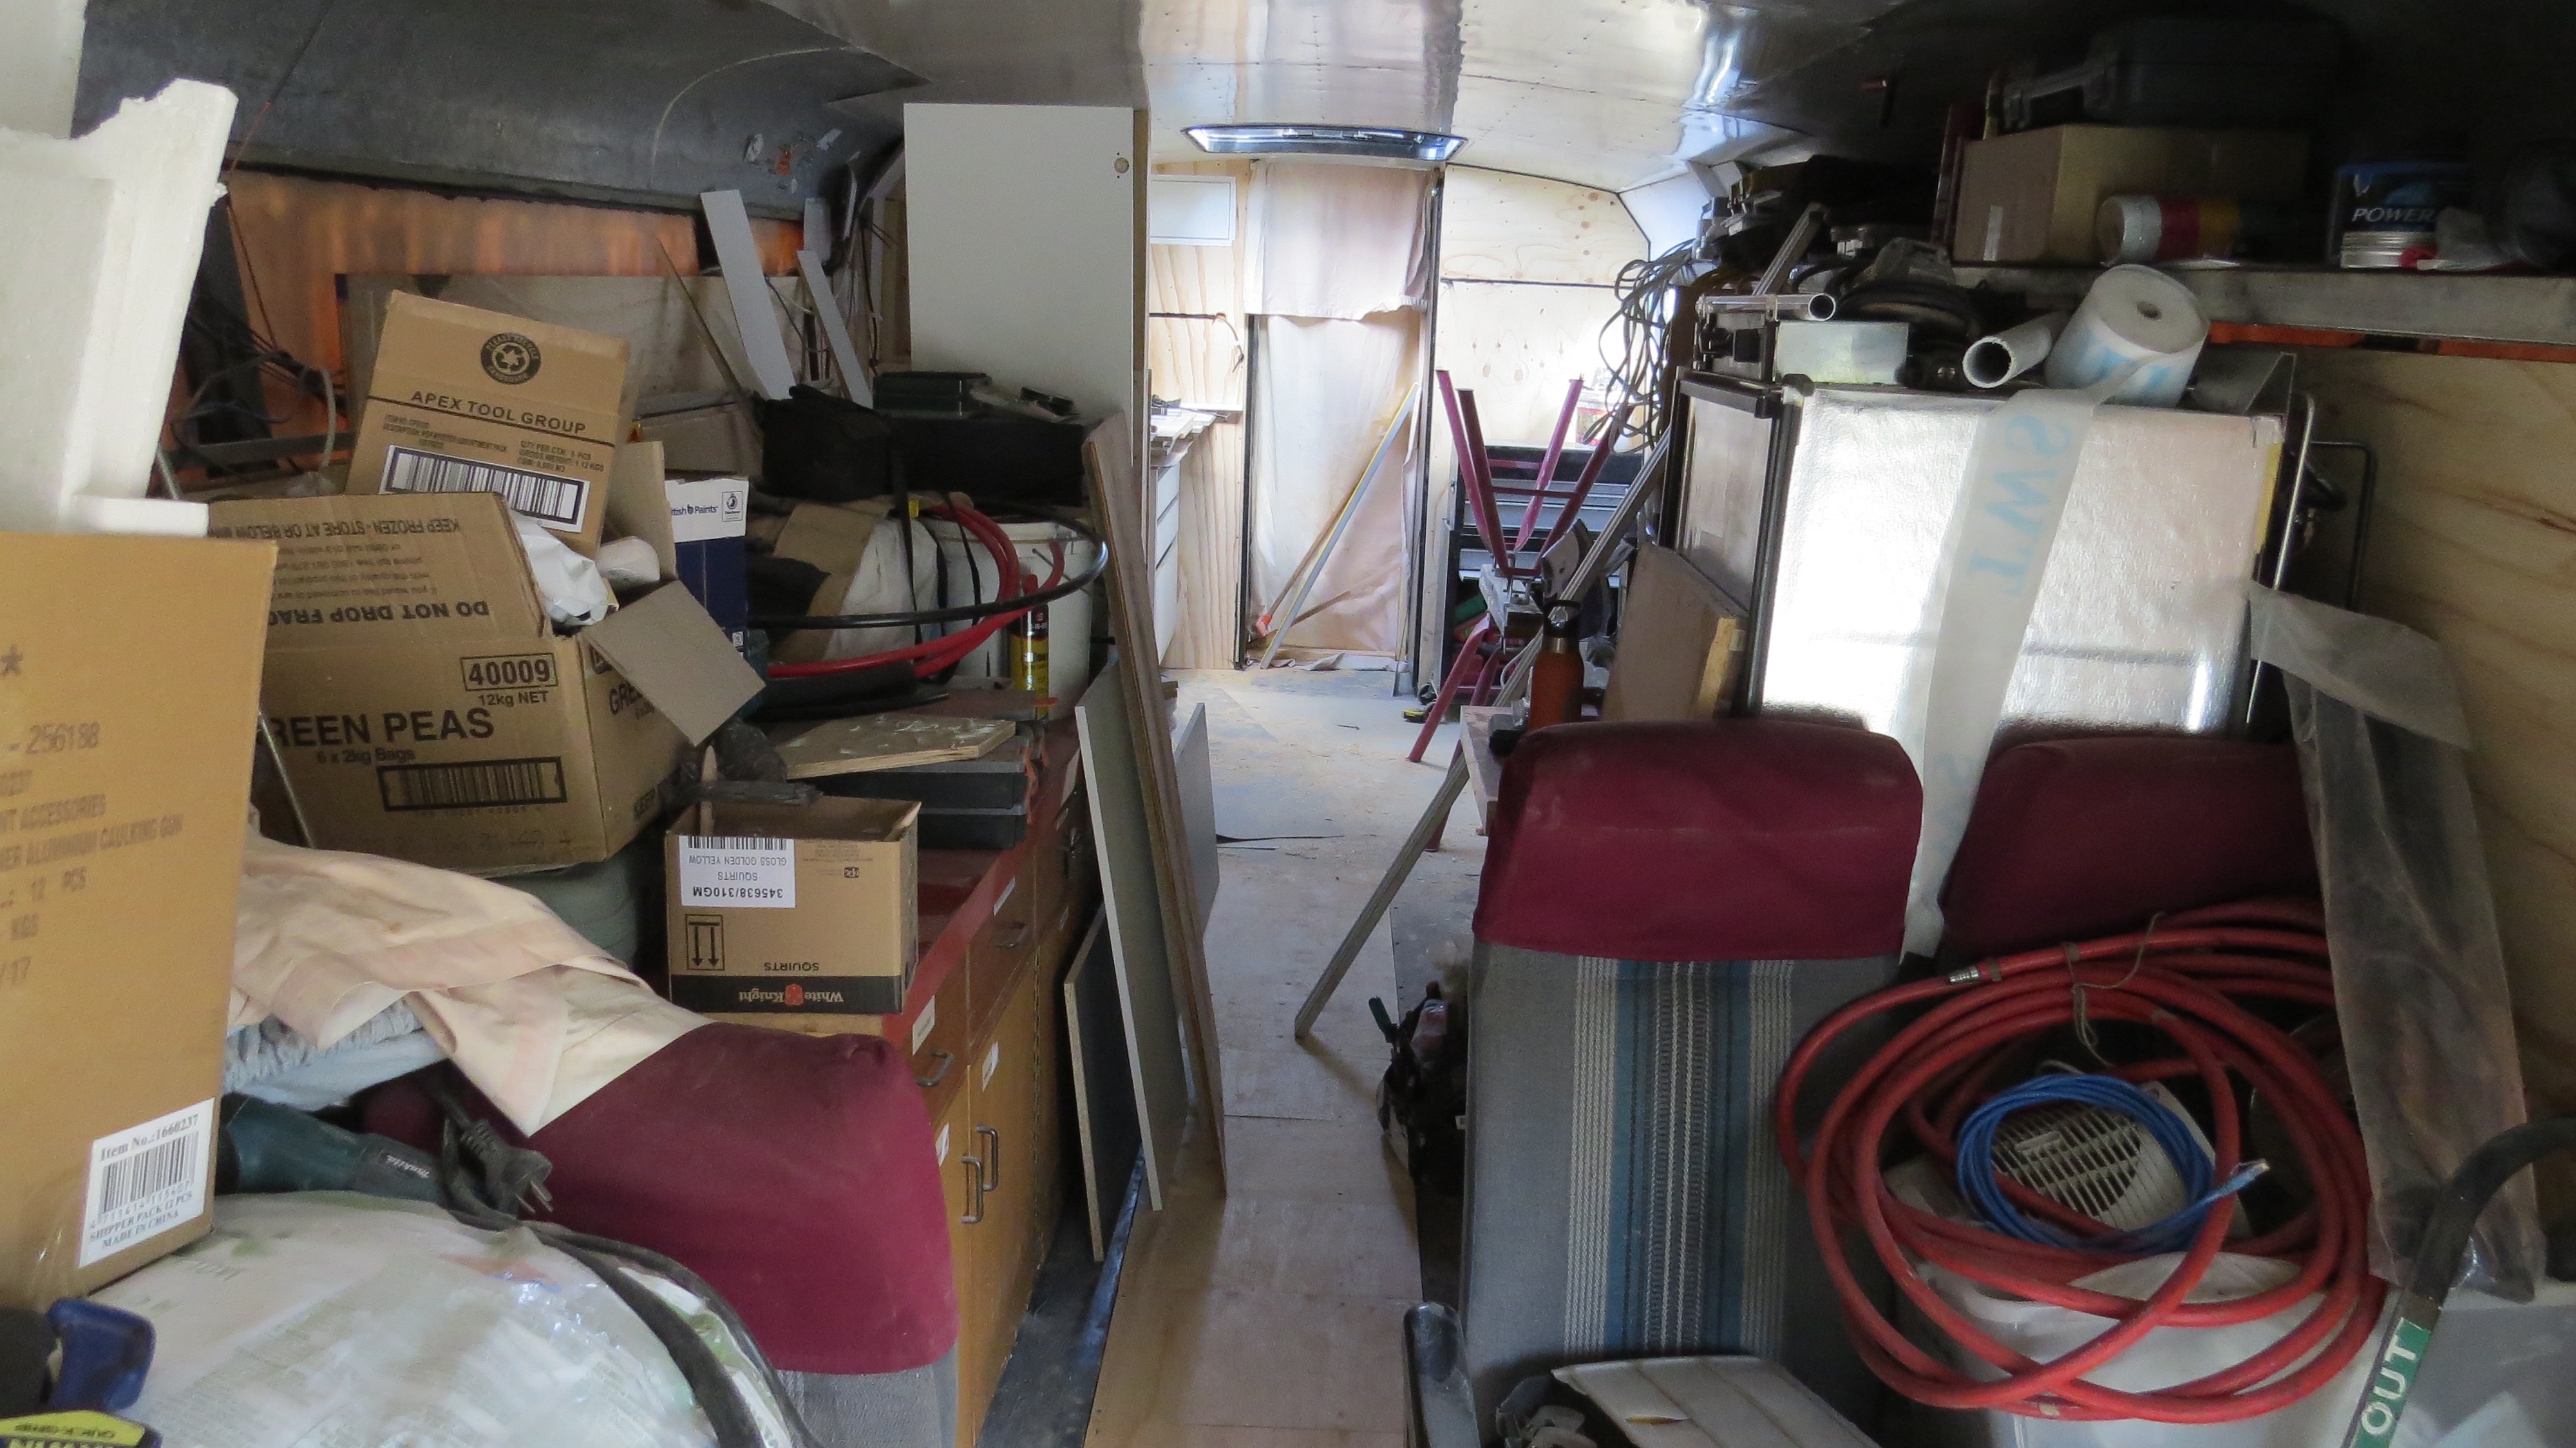
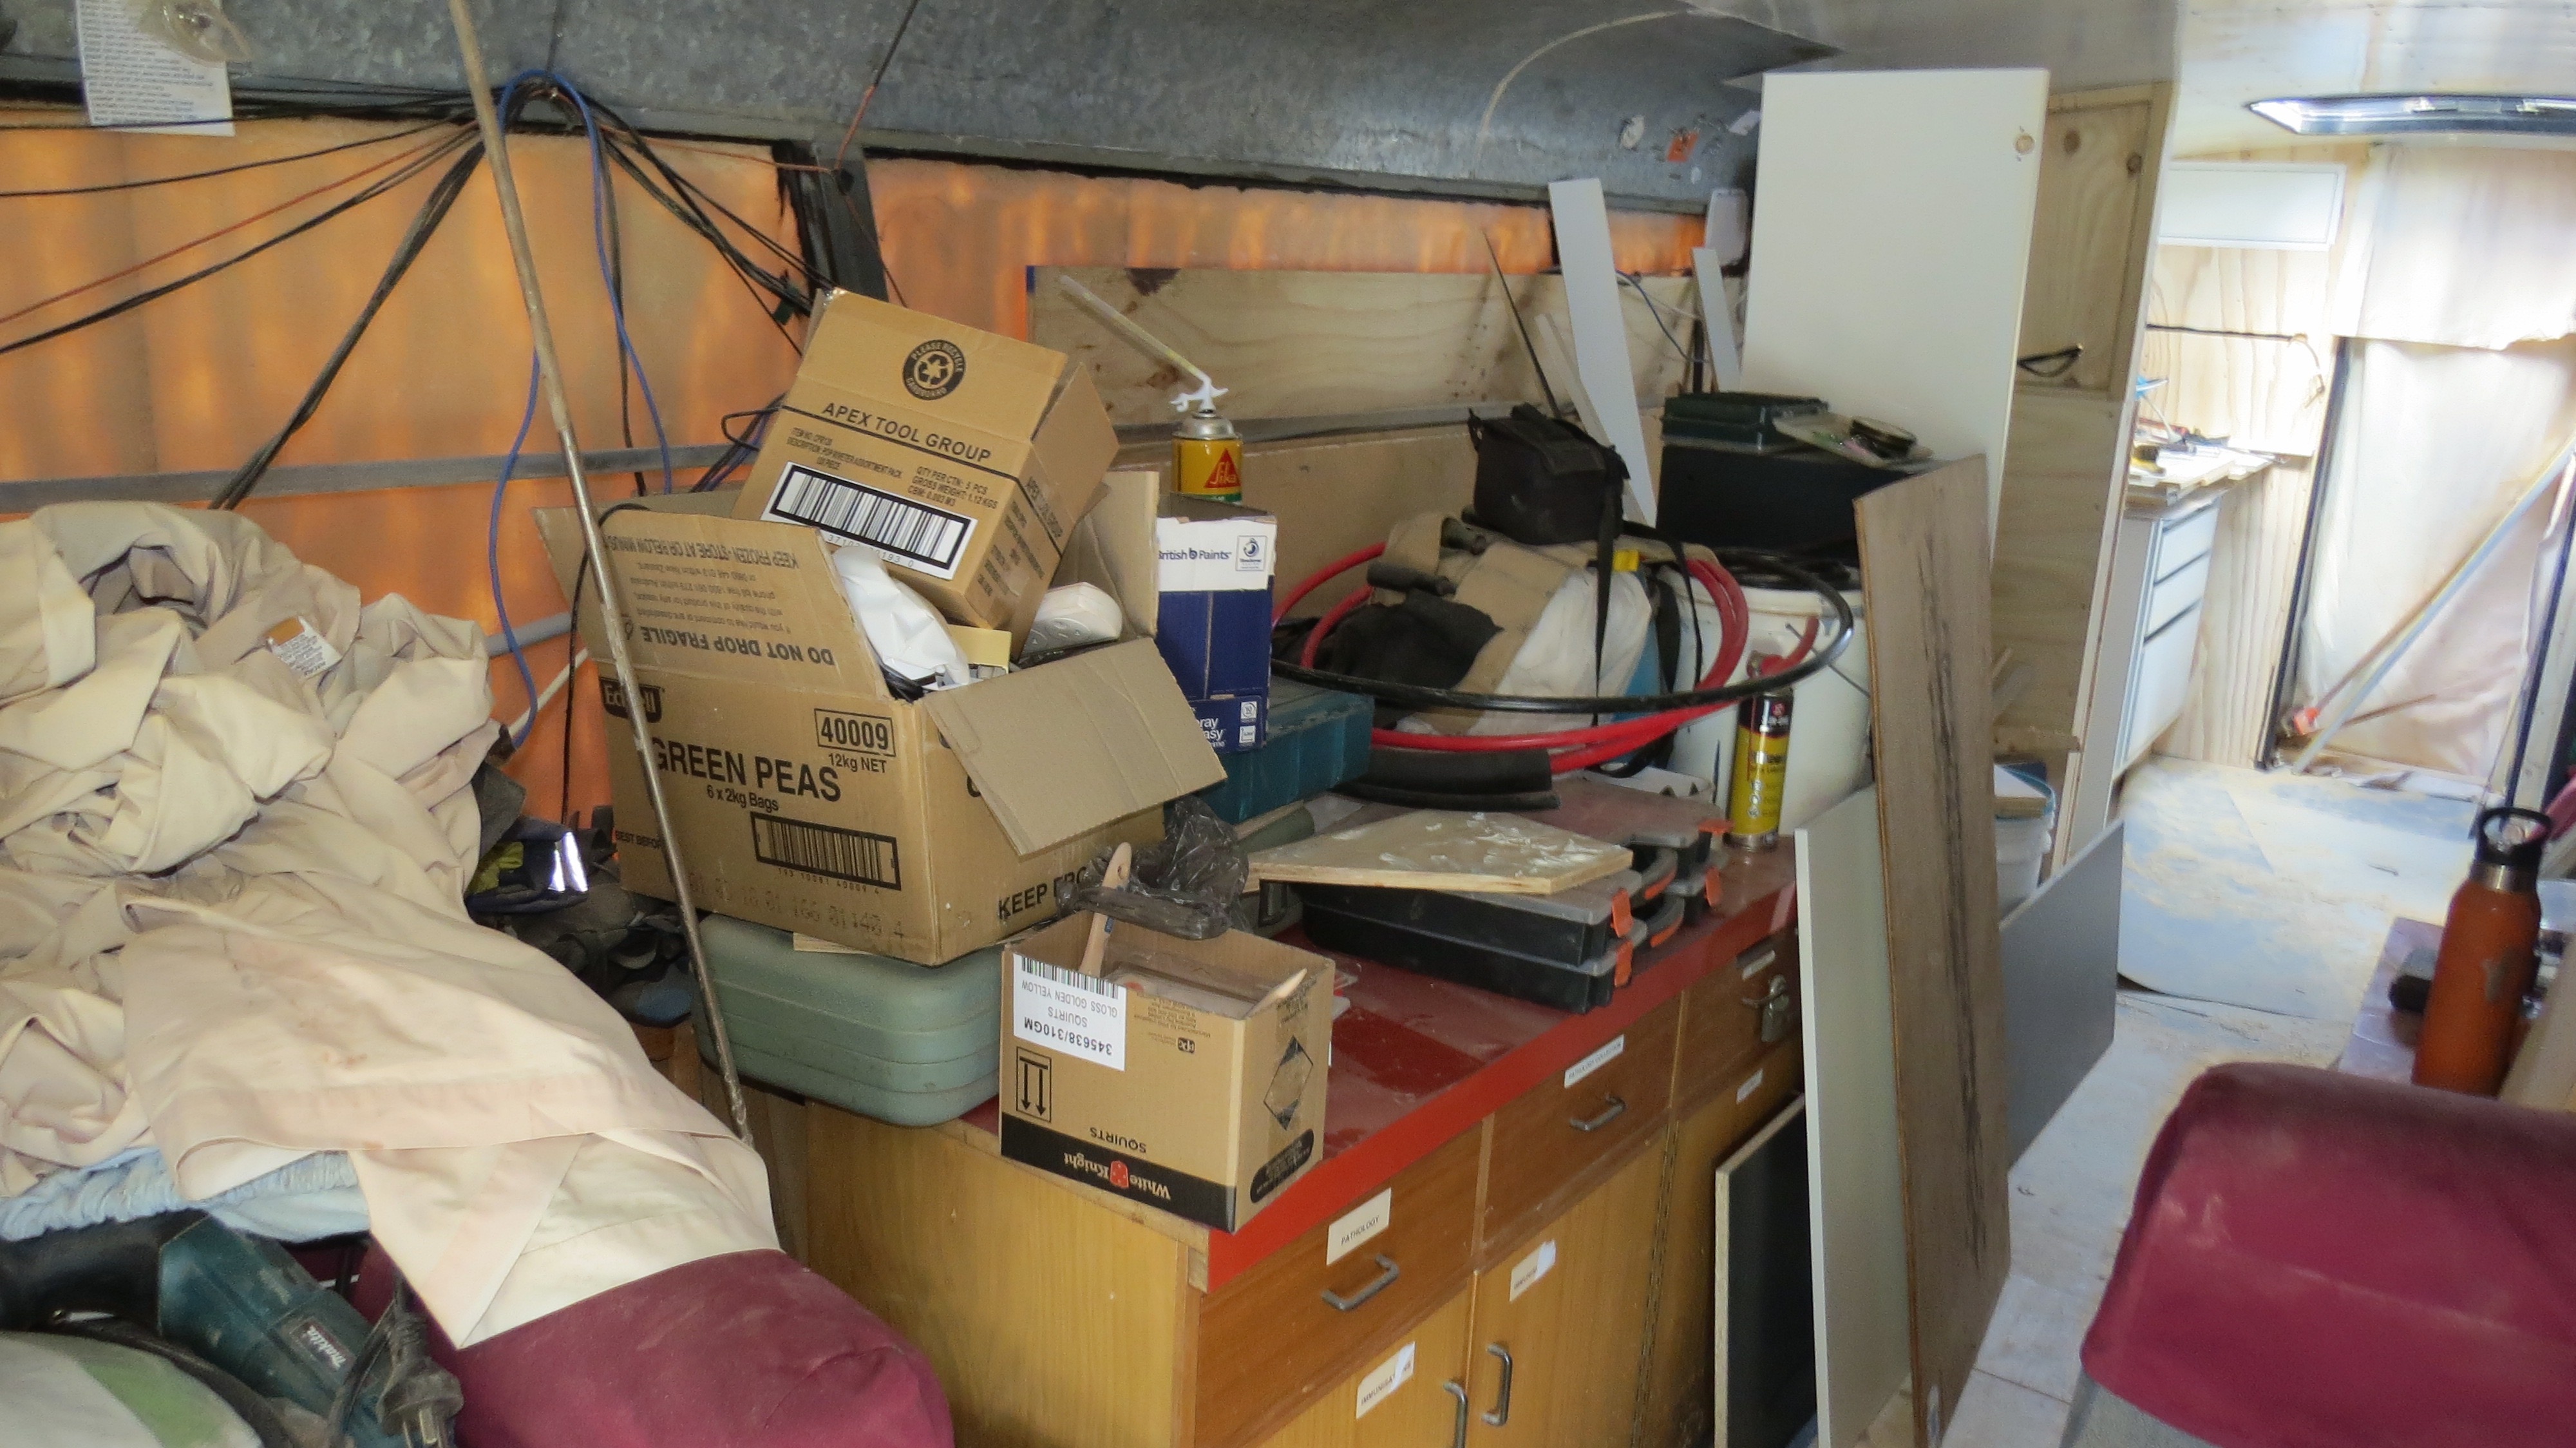
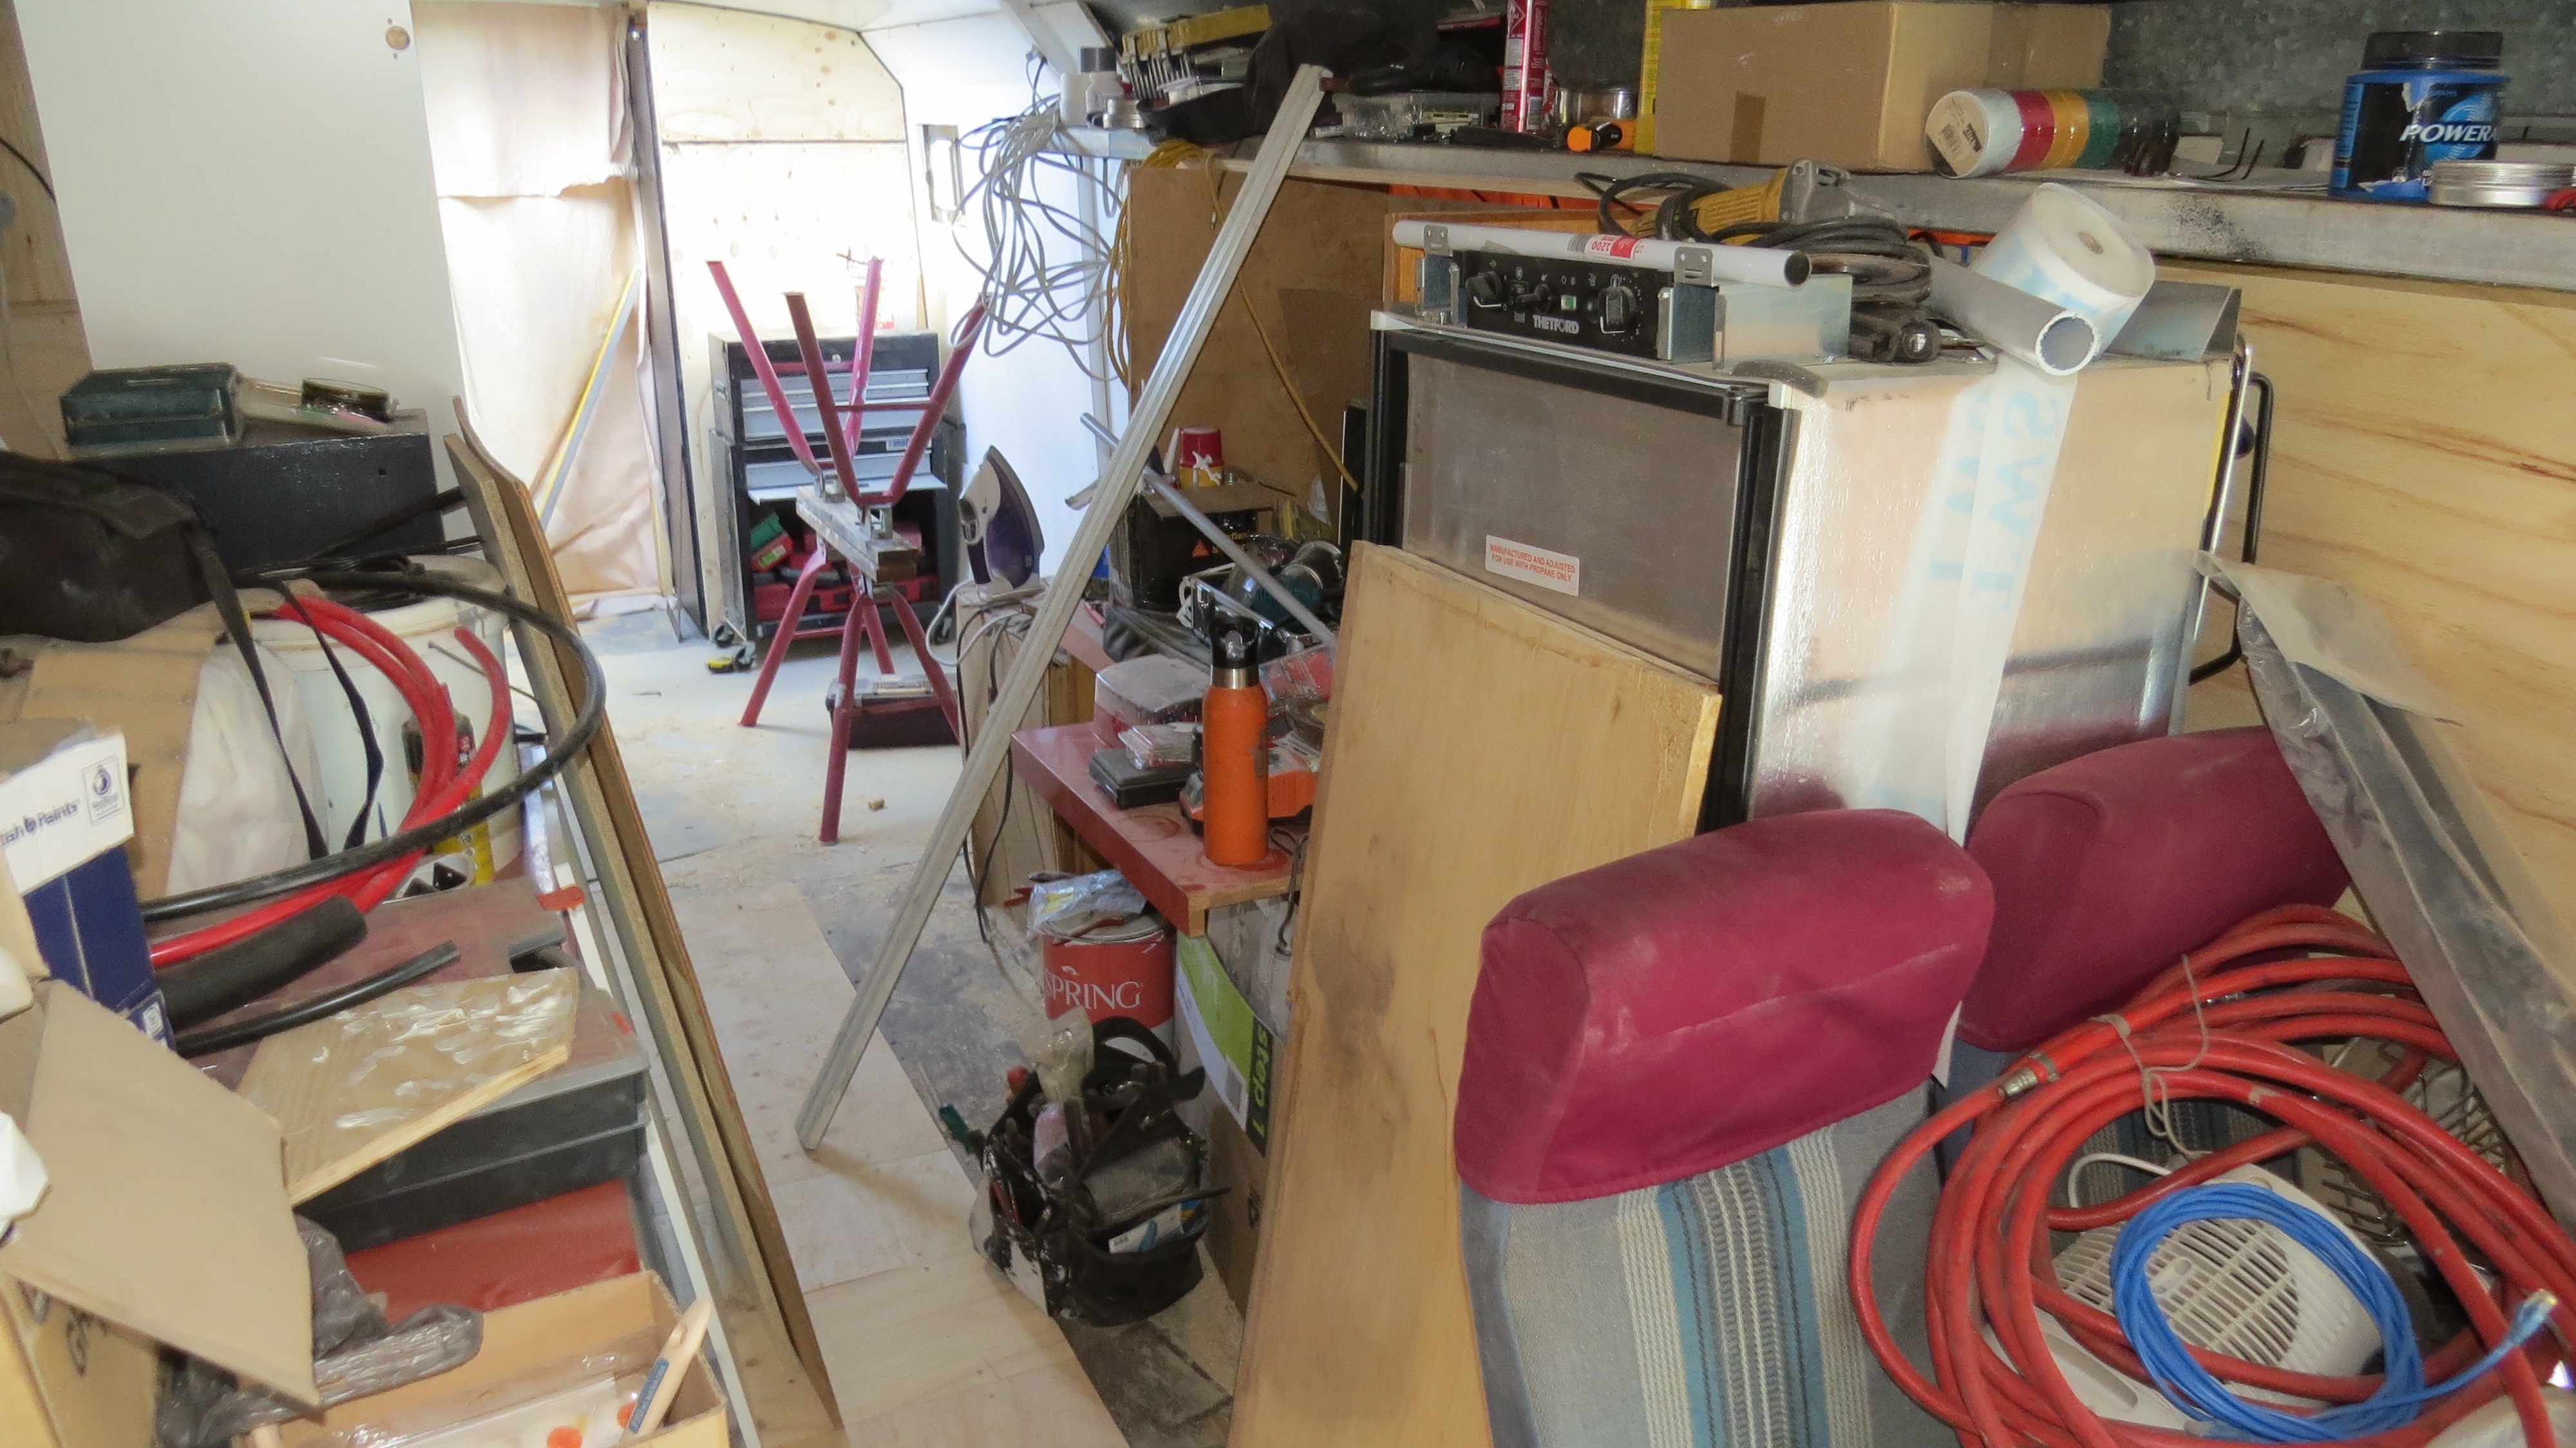
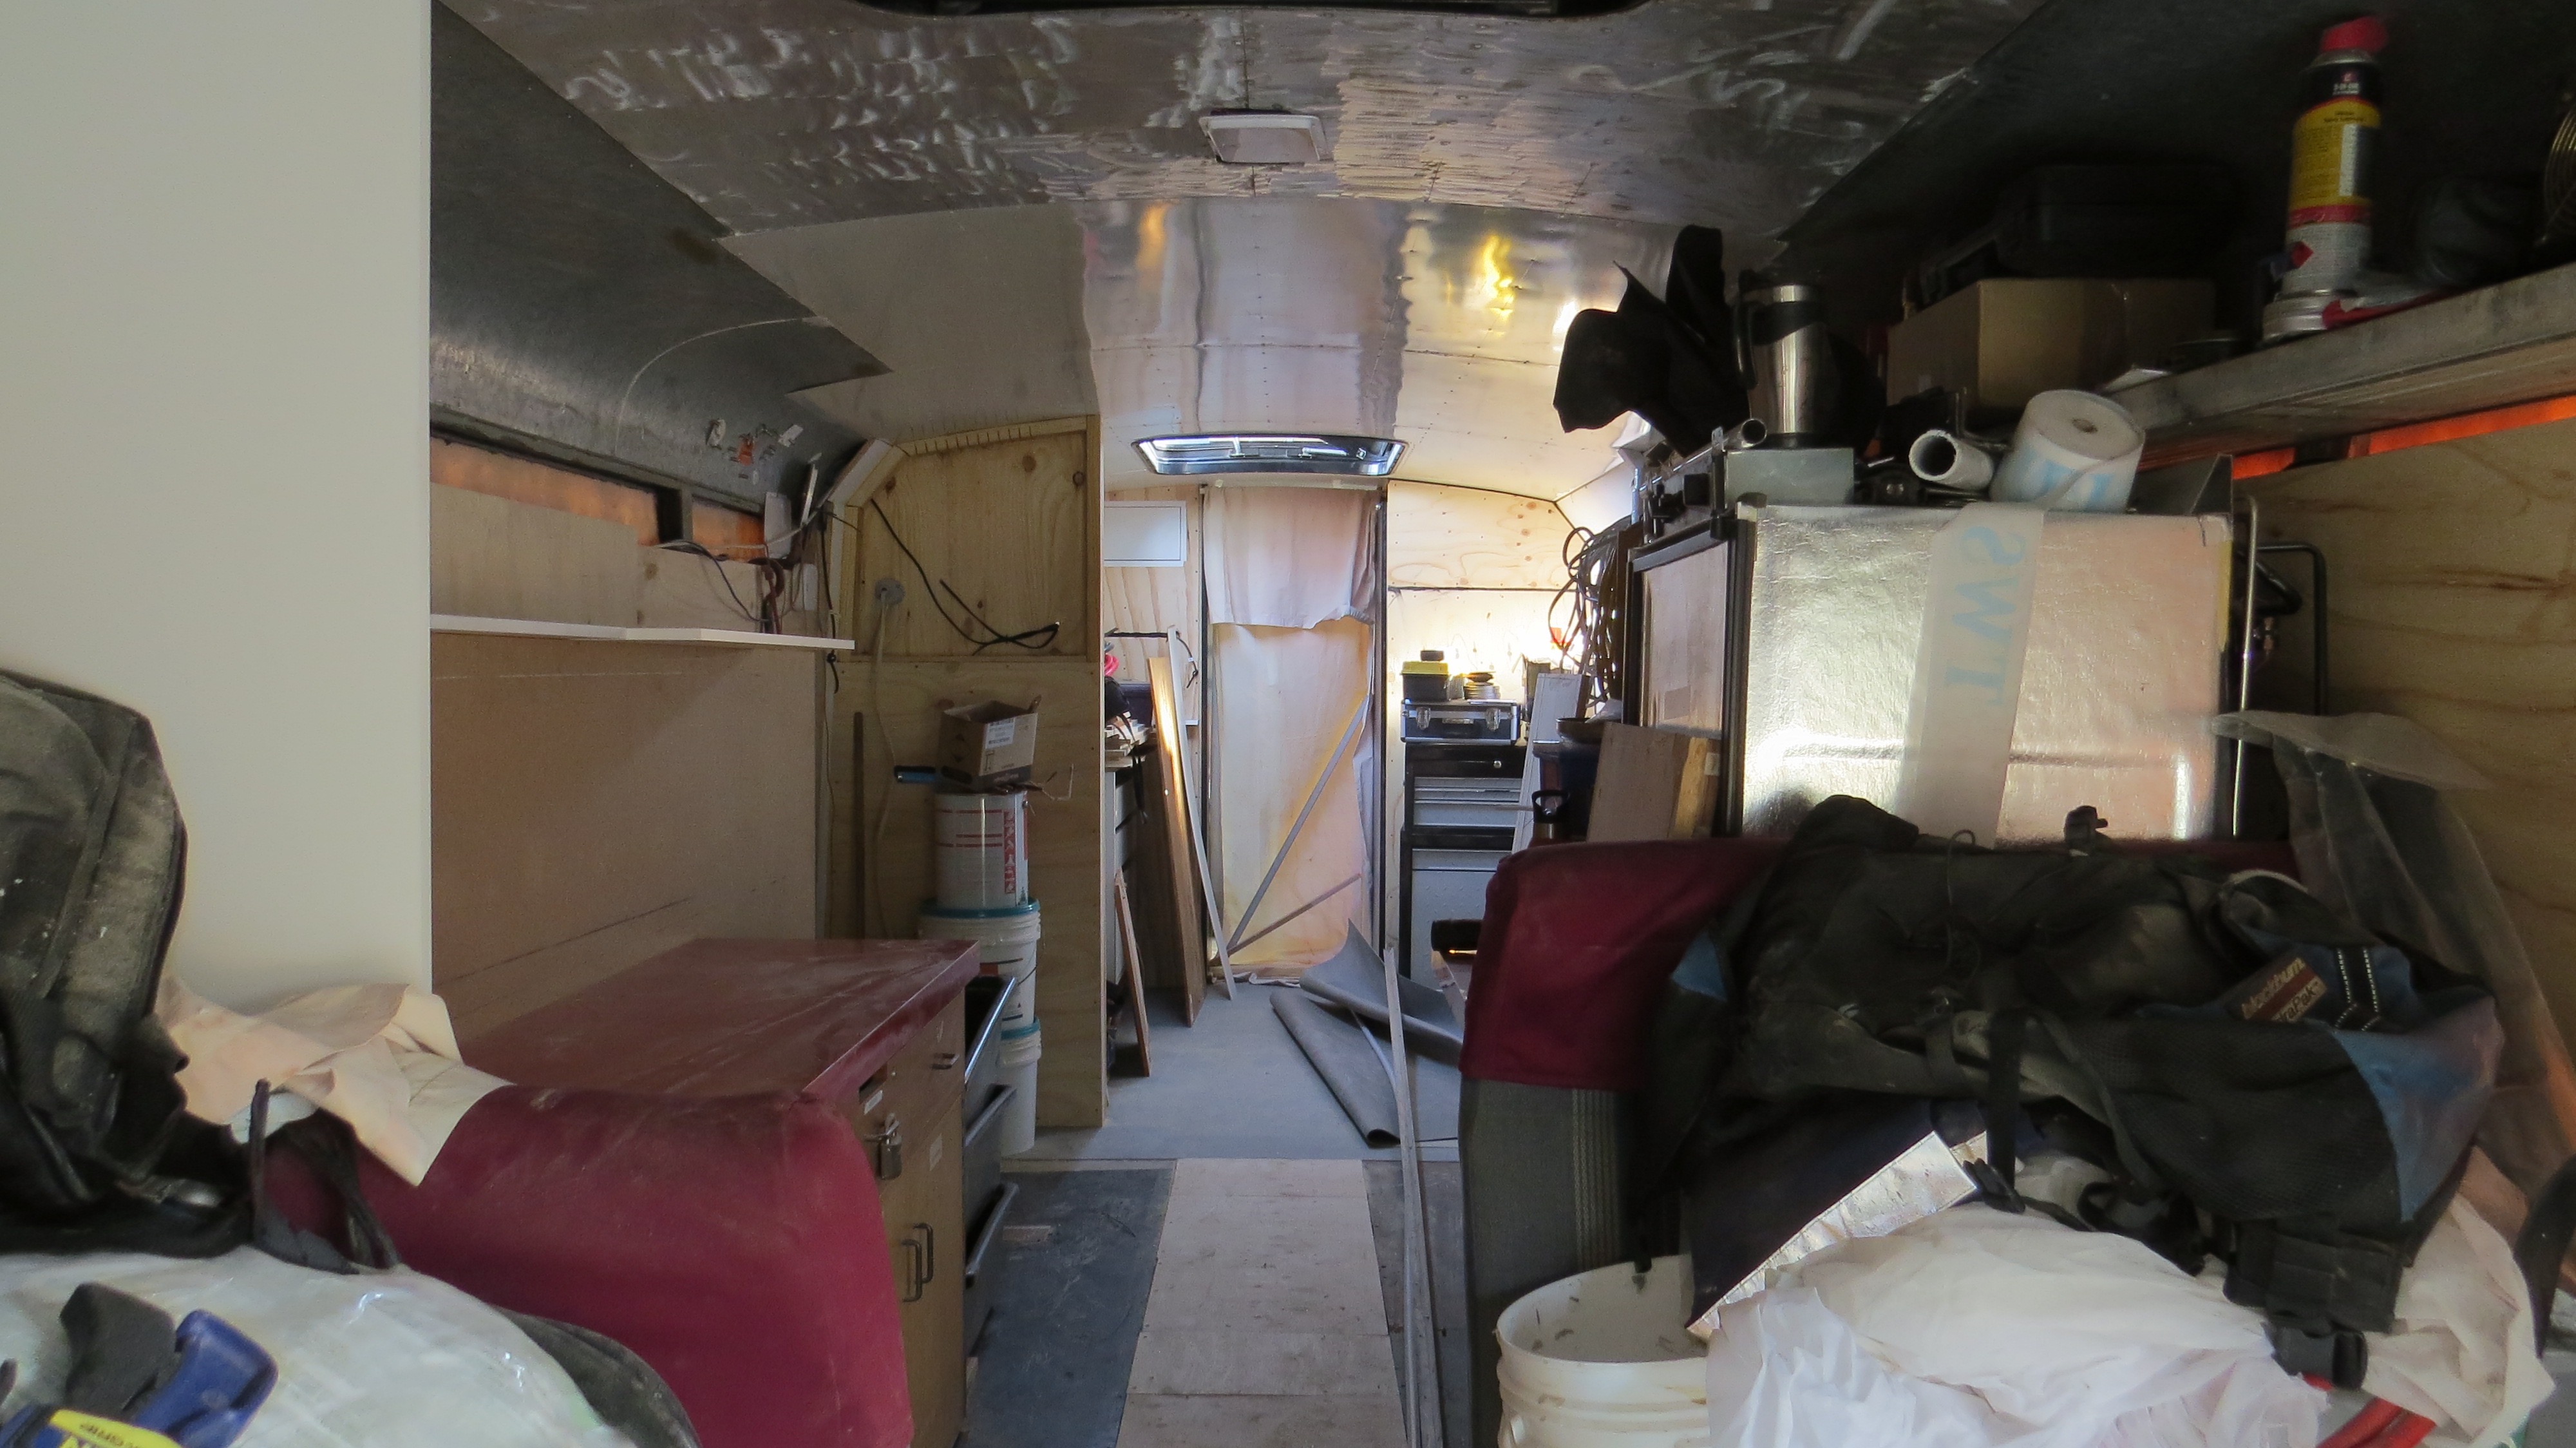
A bit of a mess
What a mess we have
The rubbish bin’s were full for about 2-3 weeks as we cleaned up and set up the trailer for a tip run to get rid for more stuff …..that we really don’t need.
I have too much crap.We need to sort out if we store it or get rid of it ?The fun of it all.
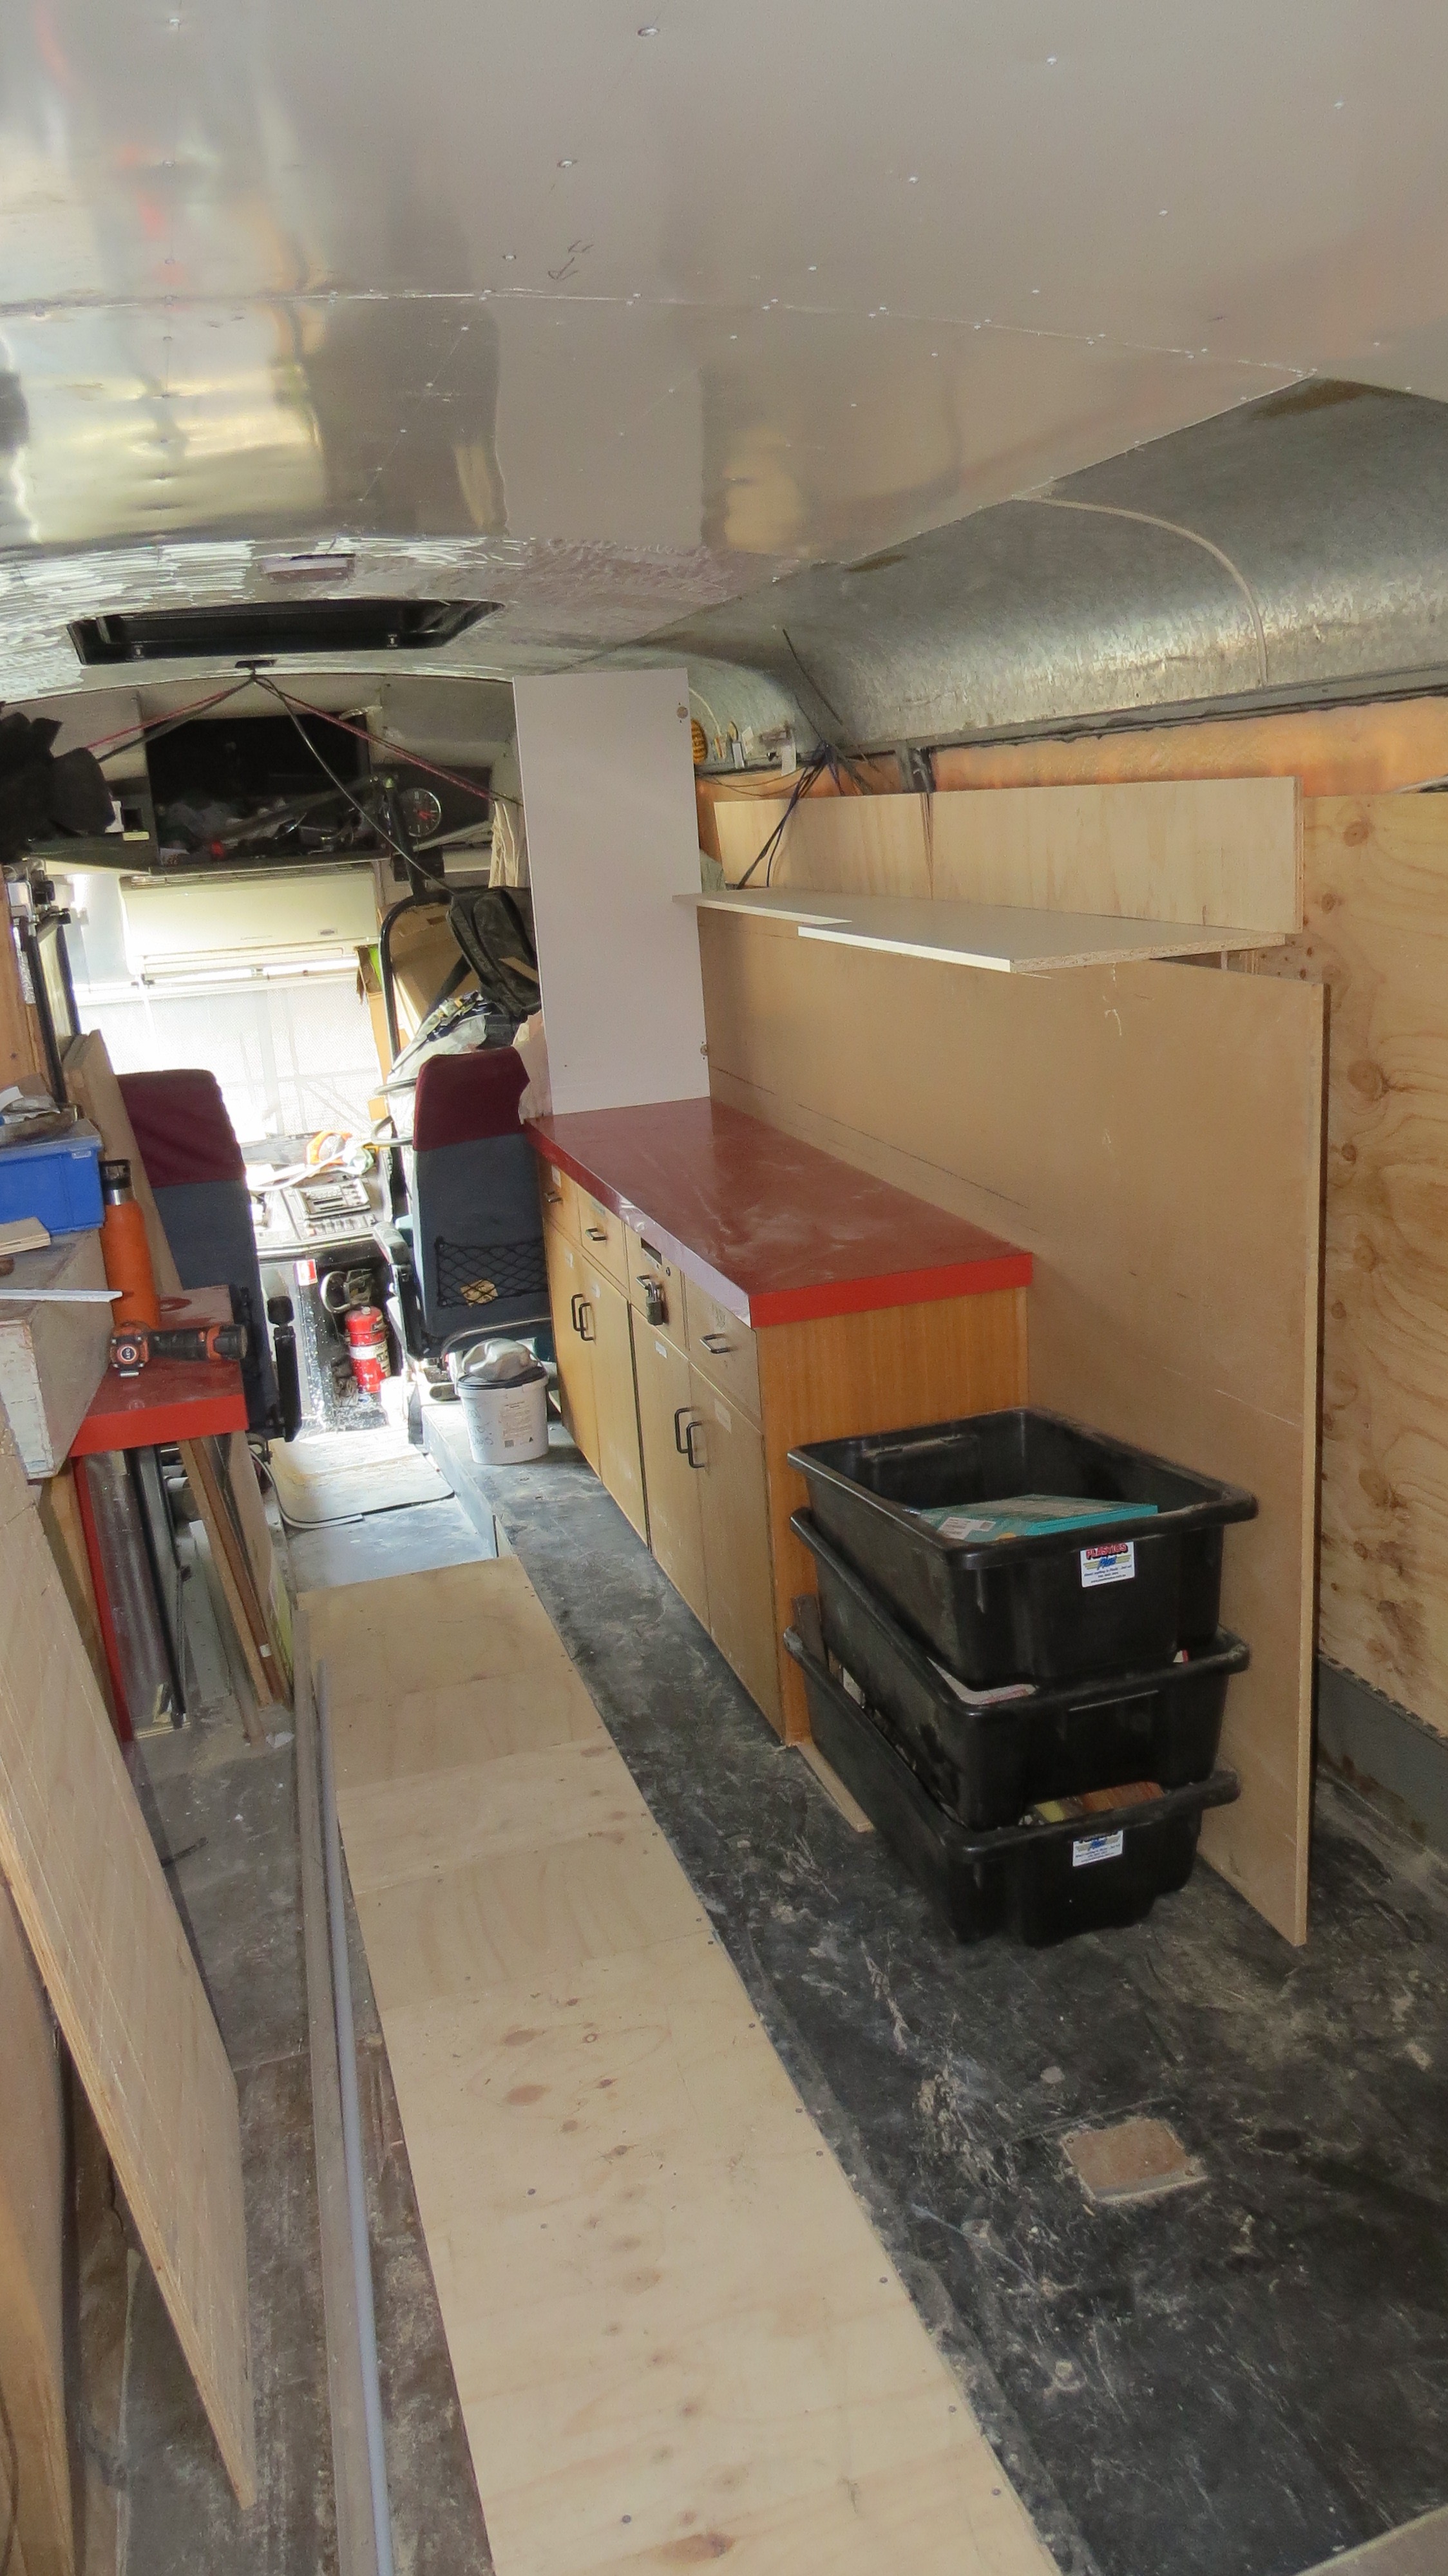
Setting up for a kitchen
For the time being (as we will be living onboard again), we need a make shift kitchen again. This time it’s going to be a bit bigger then last time with more storage and bench space.
This will do for the time being, on this side.Looking down towards the back.
Still have a lot more to set up, but for now this is stage of the cleaning up, a lot more will be done later. I have to cleaning out the bins under the coach so we can start packing the tools from the shed away.
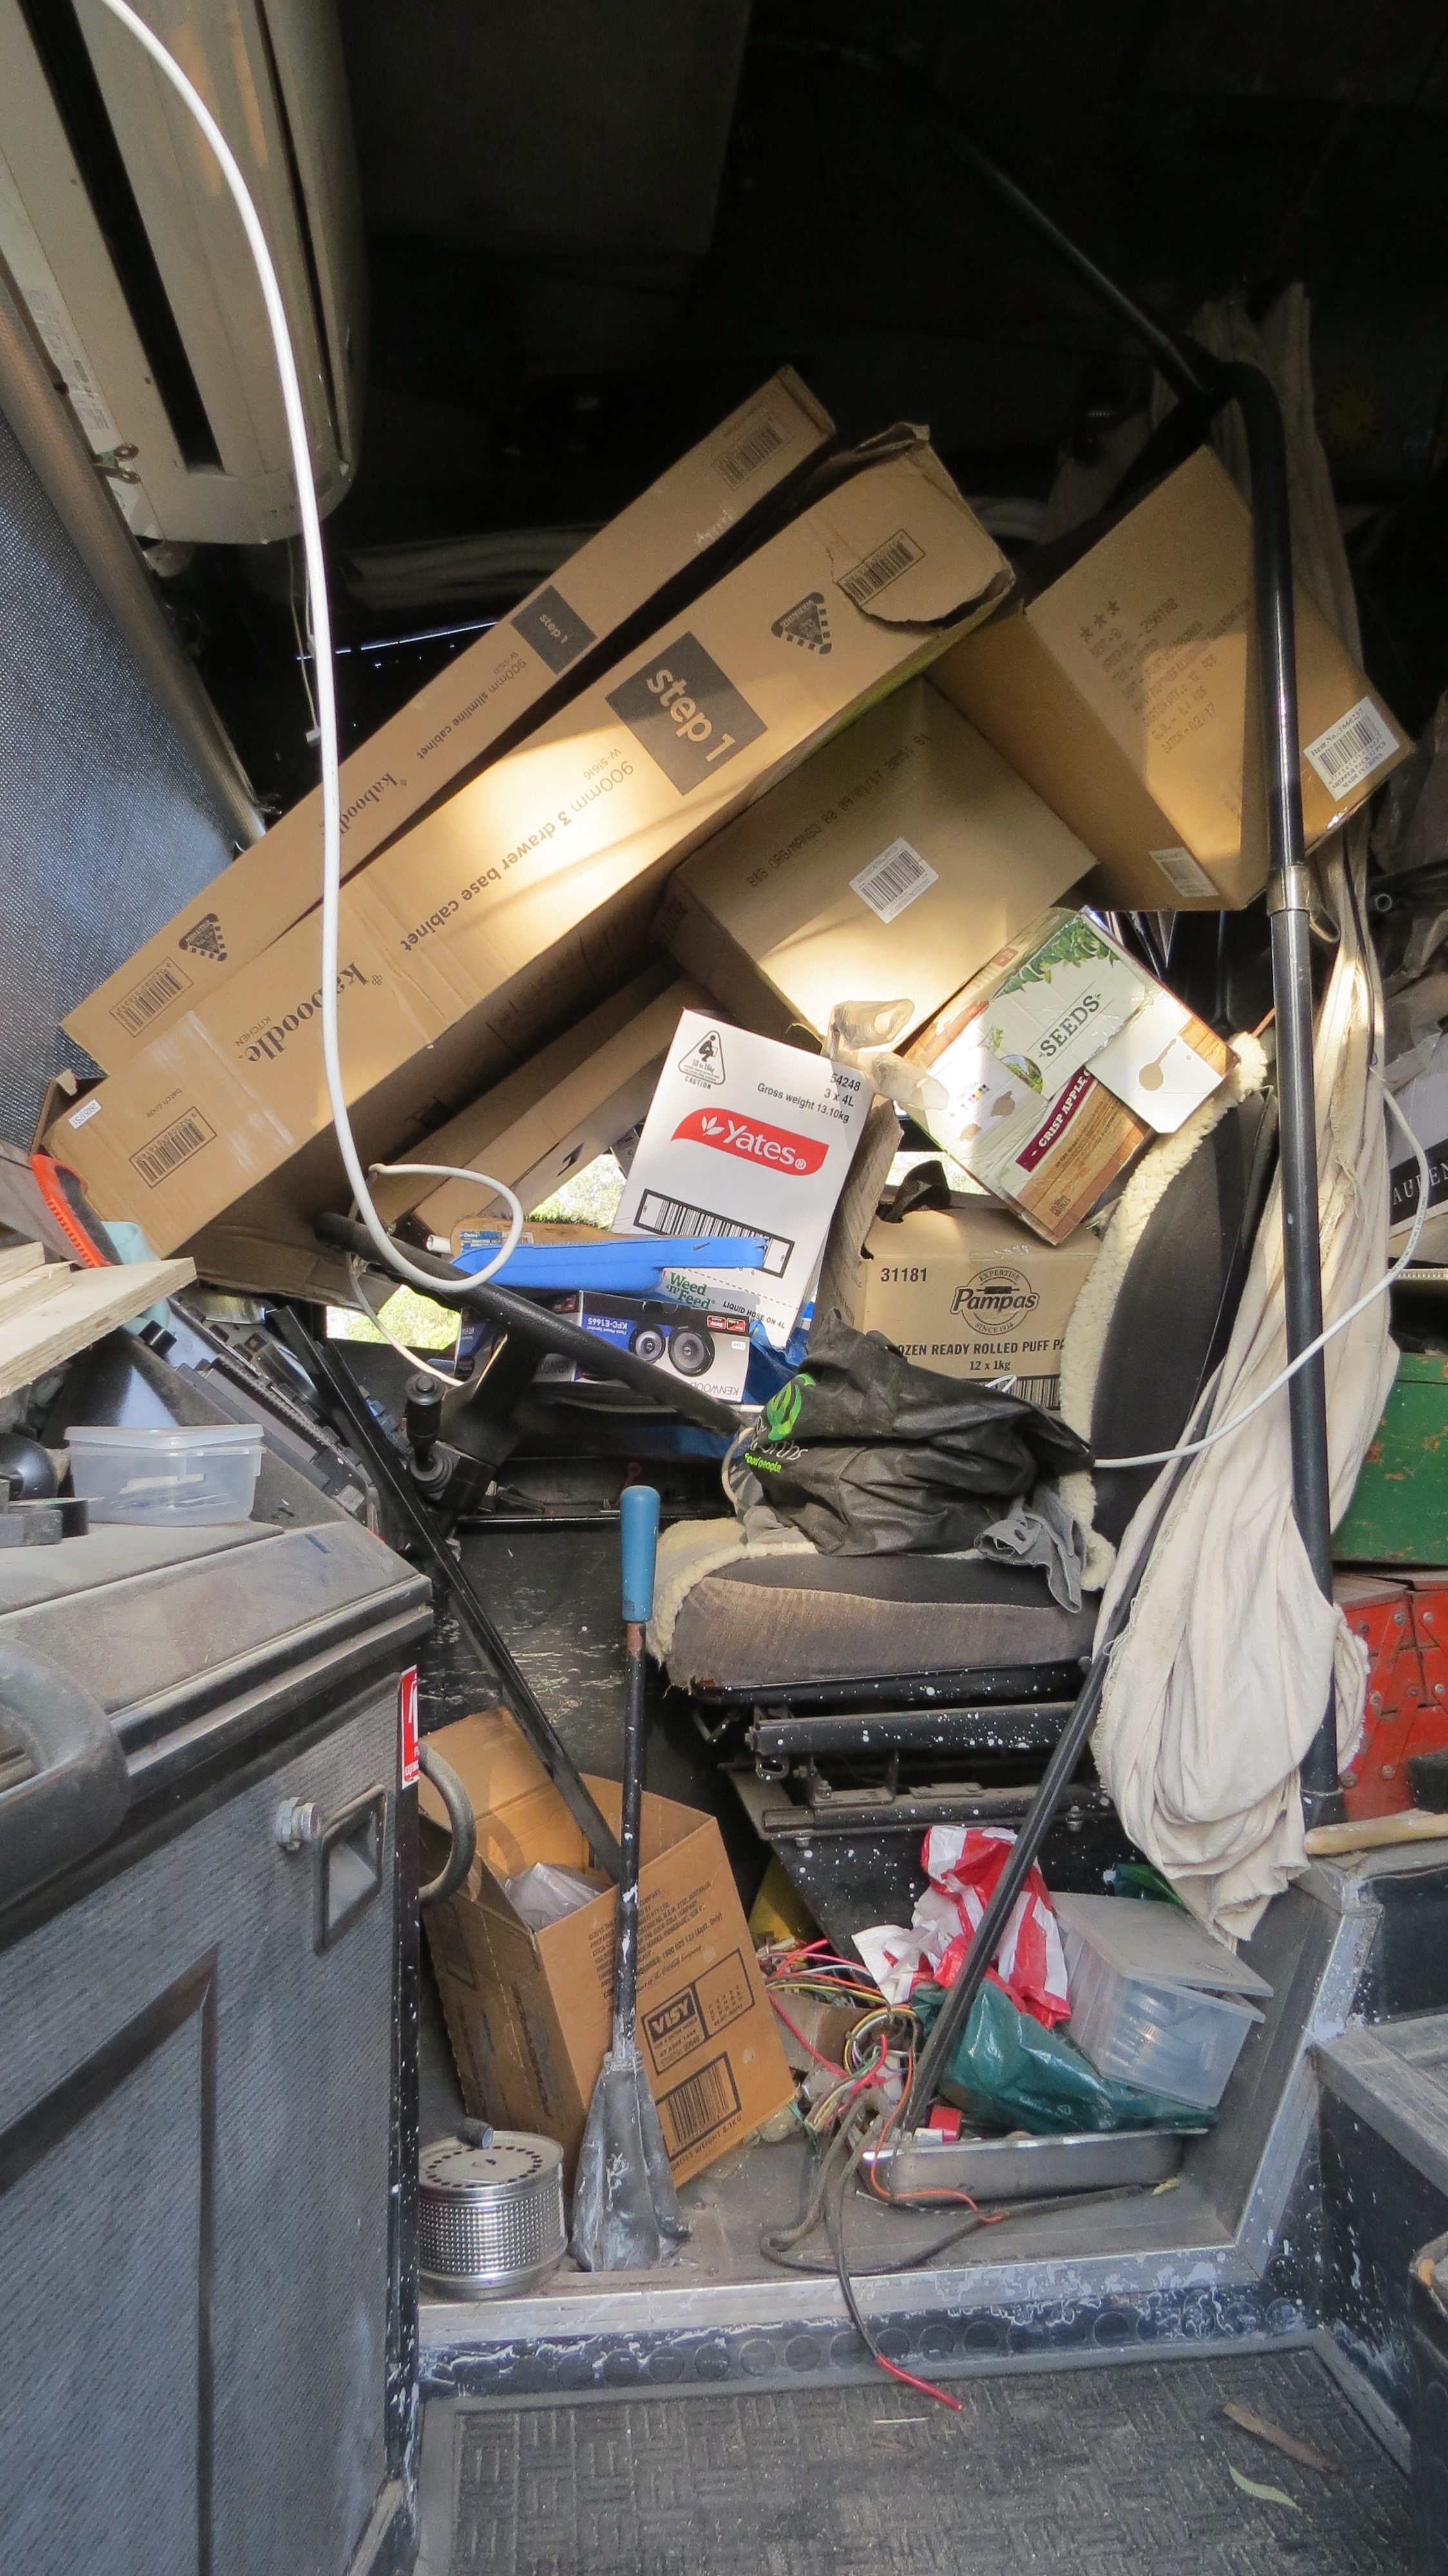
Where is the drivers seat?
Think the driver’s seat is here some where ?
Sometimes I think we are mad fitting out a motorhome on the road while at the different times living in it. It has had it’s moments, but life is good and we are having fun most of the time. But now it’s time to head off up the range to Toowoomba. Charmaine will be much happy with no more having to sleep in the troopy for a week at a time.
Time to leave ChuwarNow it’s back to living in the coach.What a great 6 months we had.
Kingston
Can I have some more please?
Lexy
Sexy Lexy, sitting still OMG!
Charlie
Charlie, the old man doing his thing
An interesting next 12 months
The next 6-12 months are going to be more interesting as we will be living and working on the coach at the same time, not sure how that’s going to work out at this stage, but we are thinking of how we are going to manage it.
Toowoomba Time
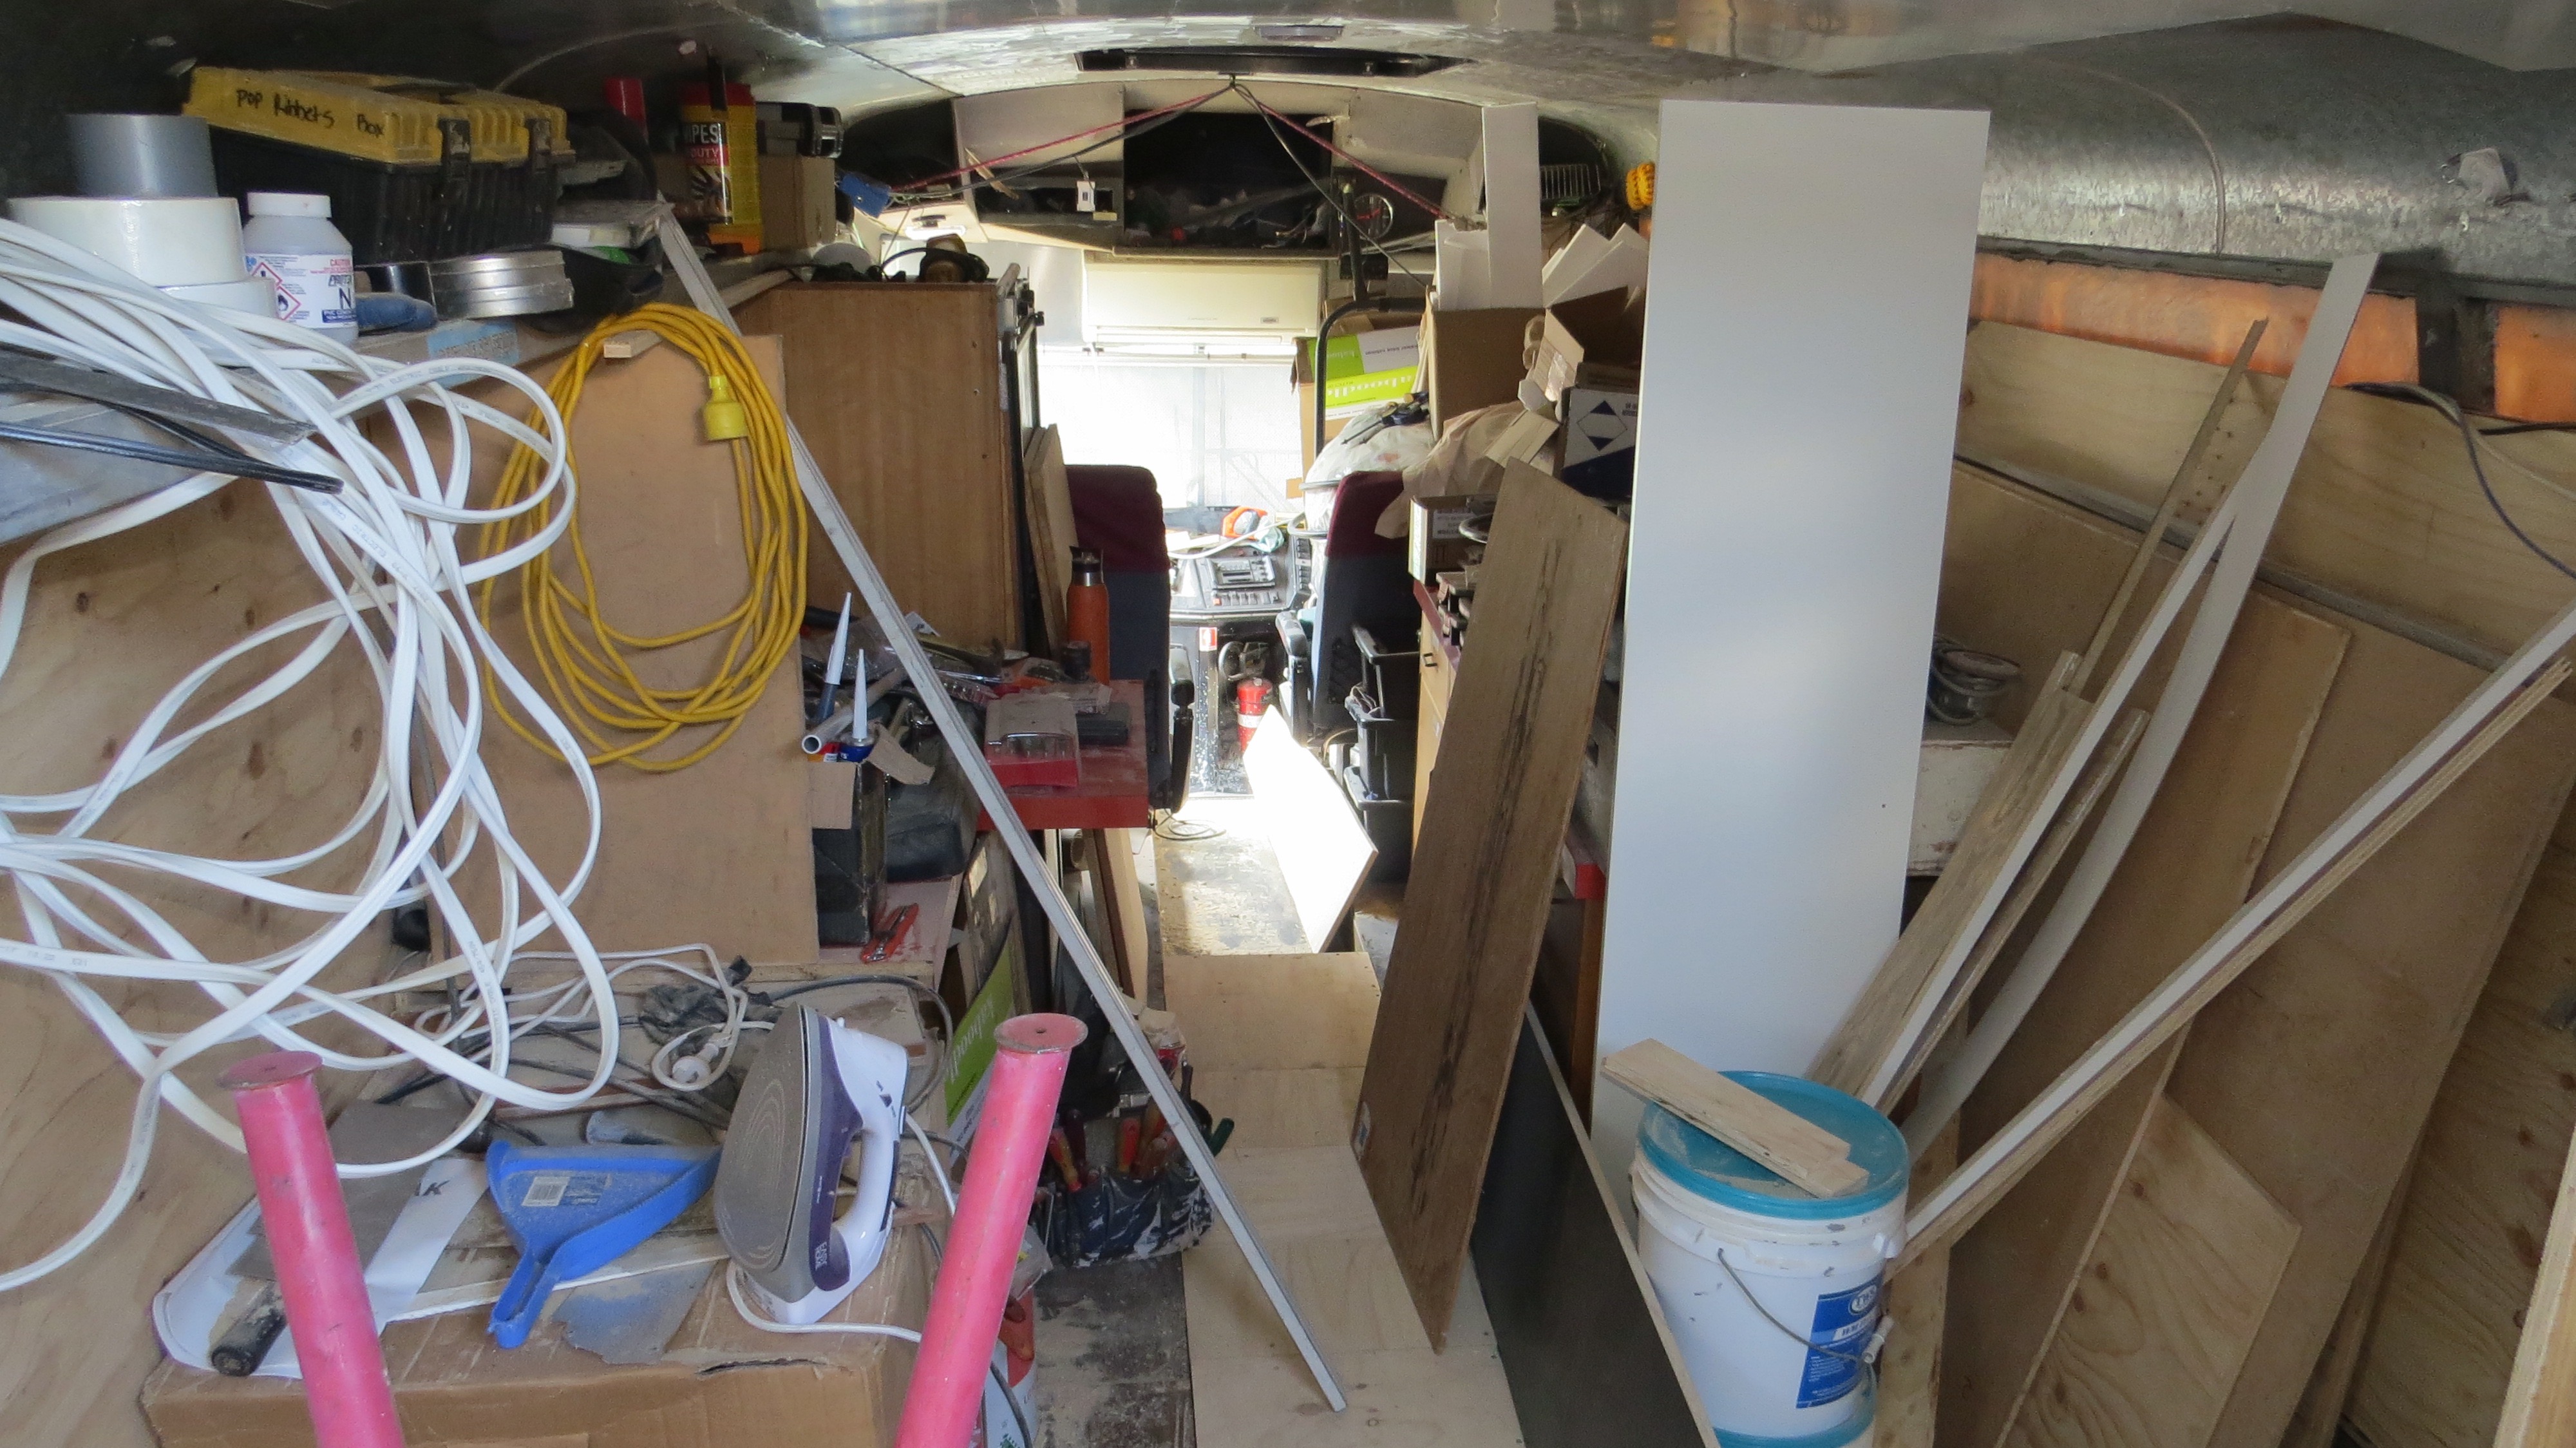
Living back in the coach for now, it’s nice to be back on the road. I am thinking about looking for some part time work while still working on the coach. I’ve fortunately found a small water leak on the roof with all that ran we got the last few weeks, so will be fixing that first. I have some sparky stuff in and around the coach that’s needs a good redoing and rewiring, then onto the water tanks with some plumbing work.
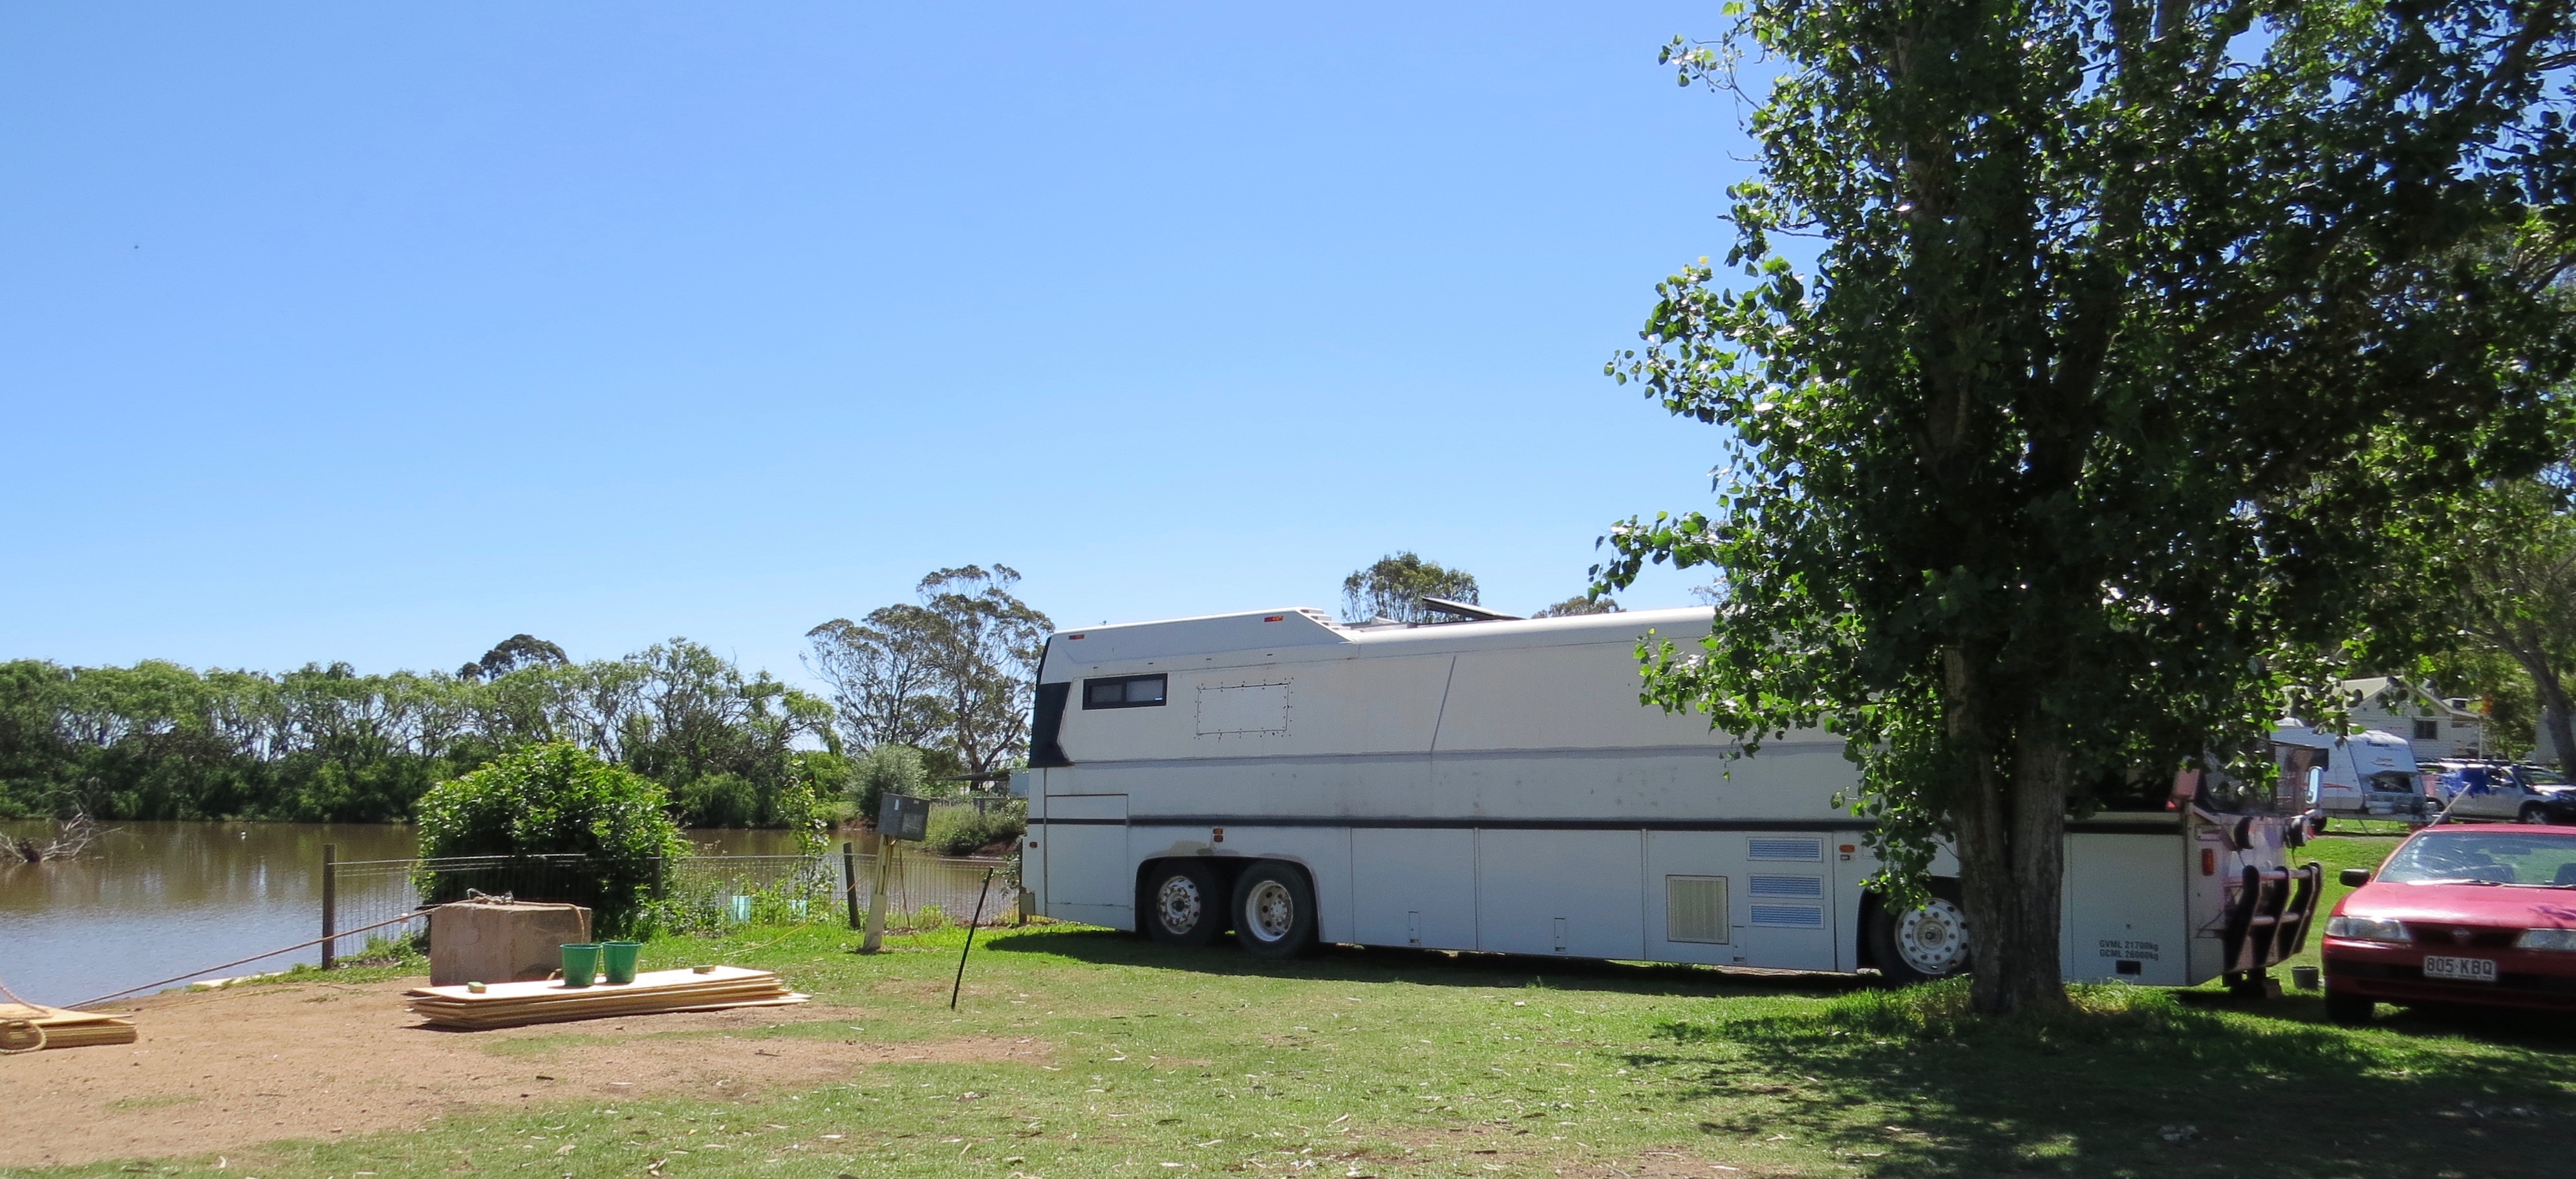
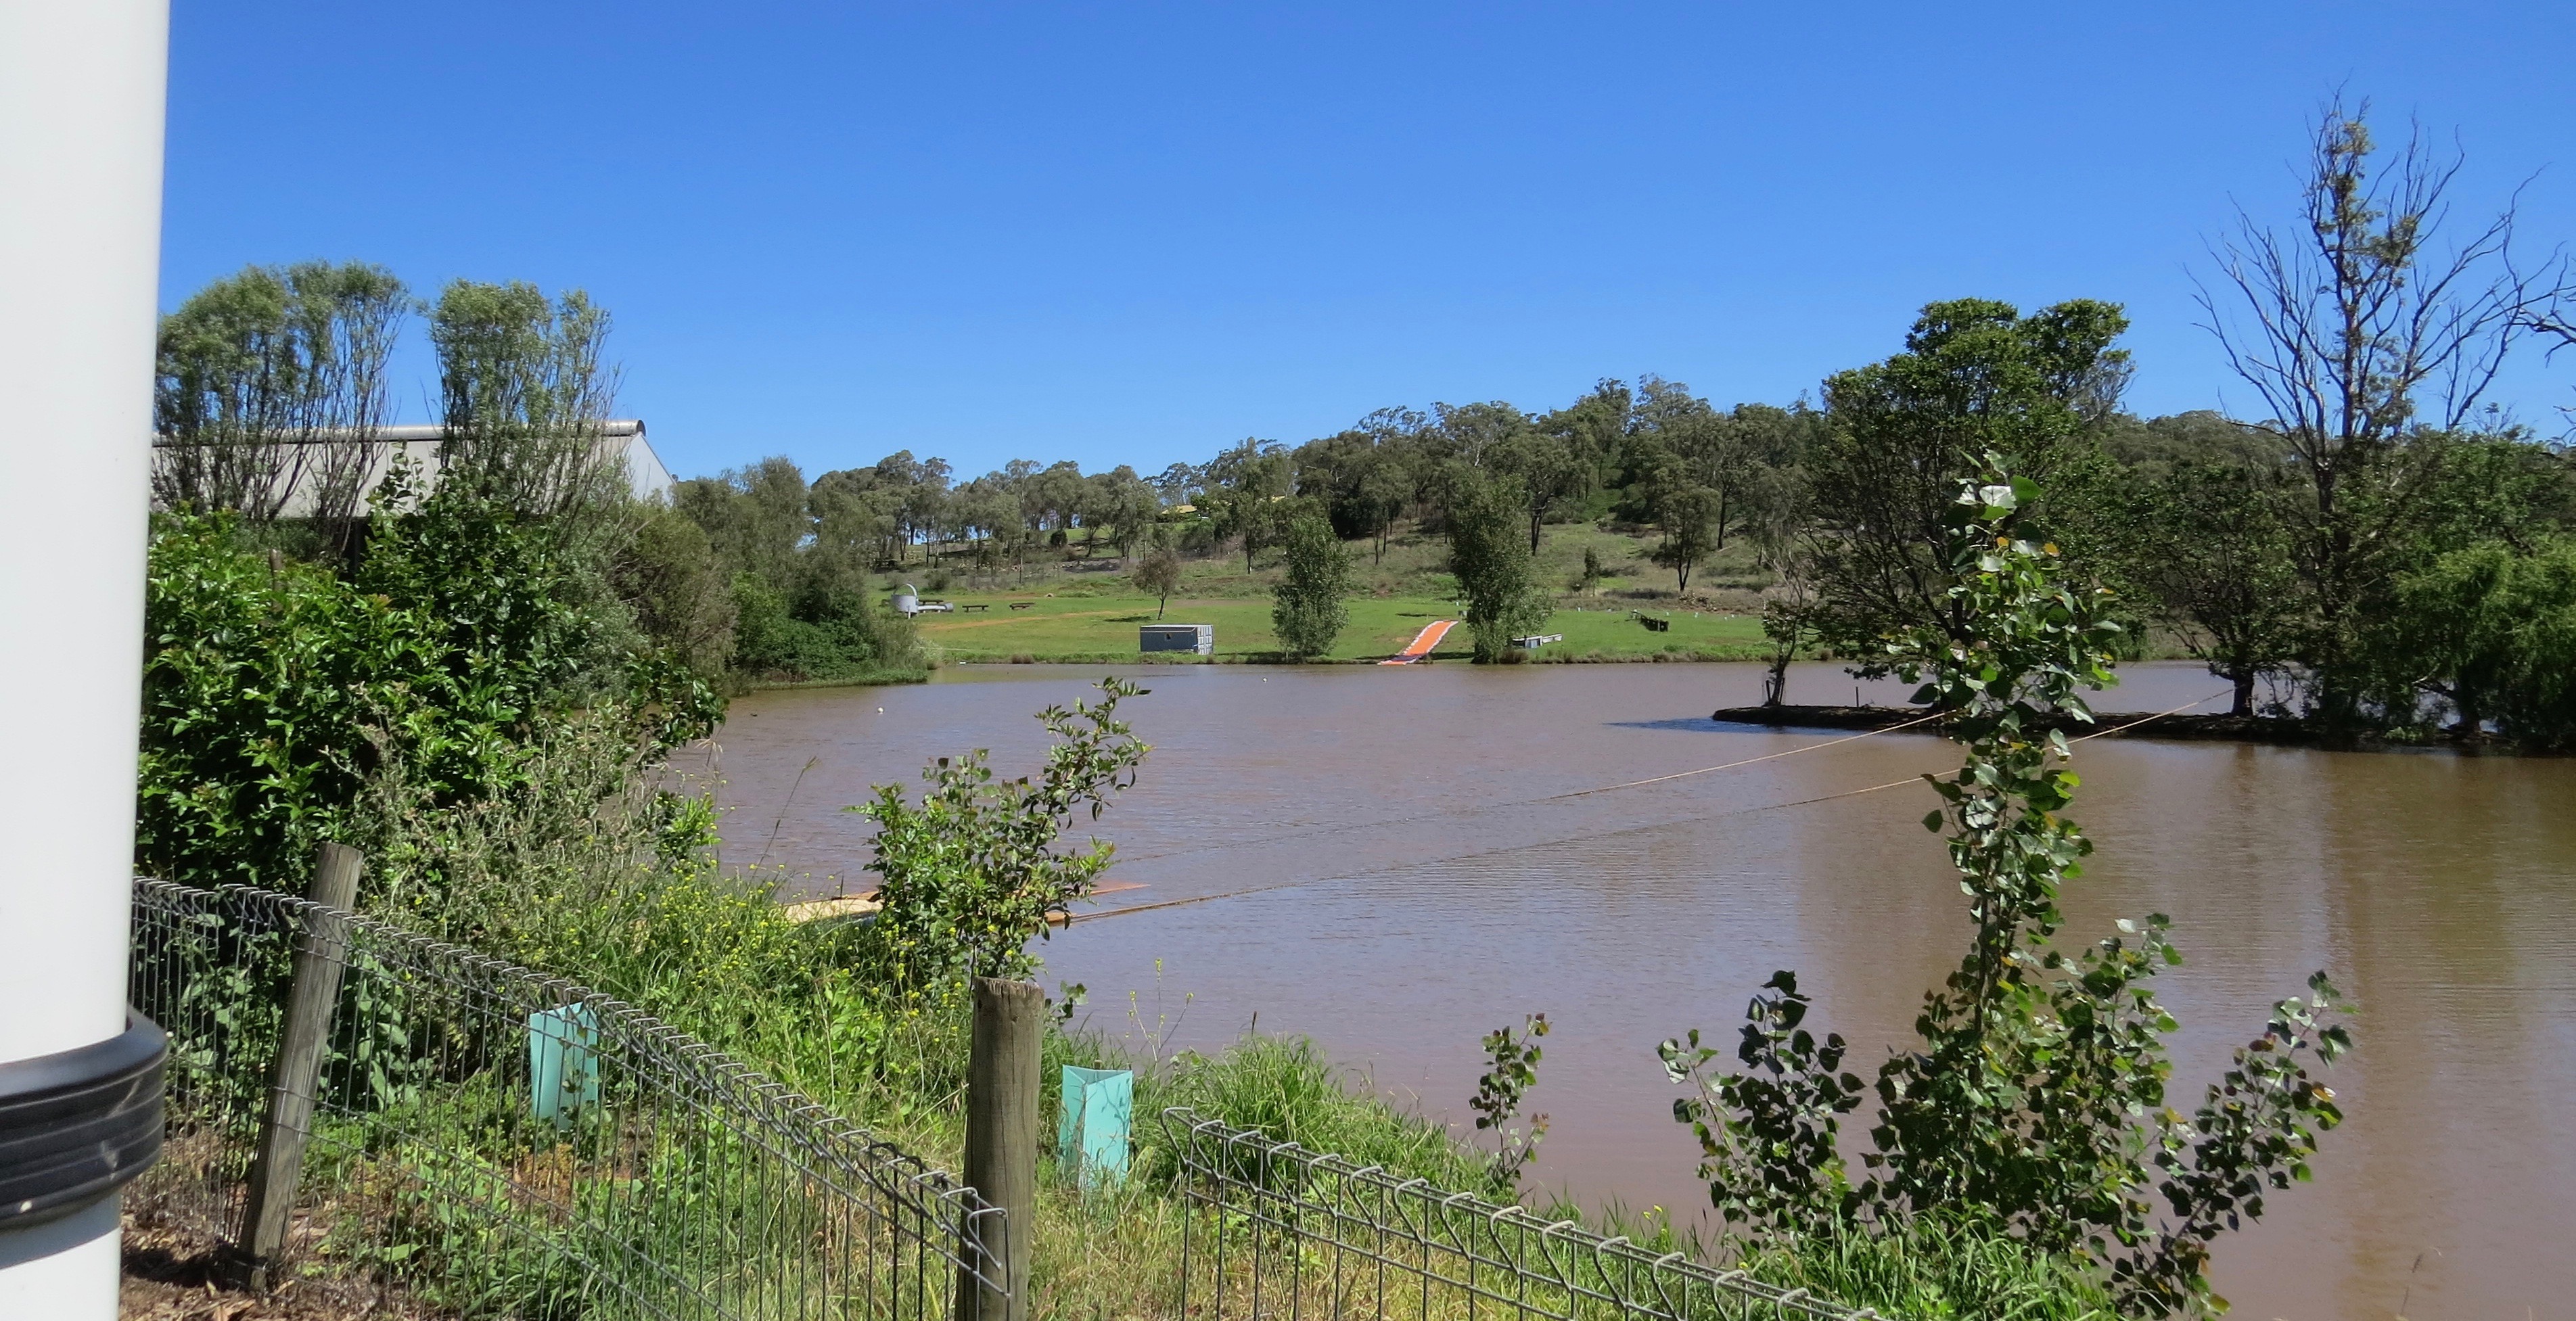
Camping time at Toowoomba Showgrounds.Lake side viewsVery nice place at the Showgrounds.
Temporary living
Ok it’s still needs lots of work, but who cares. We are in our own place and it’s a comfy home for us.
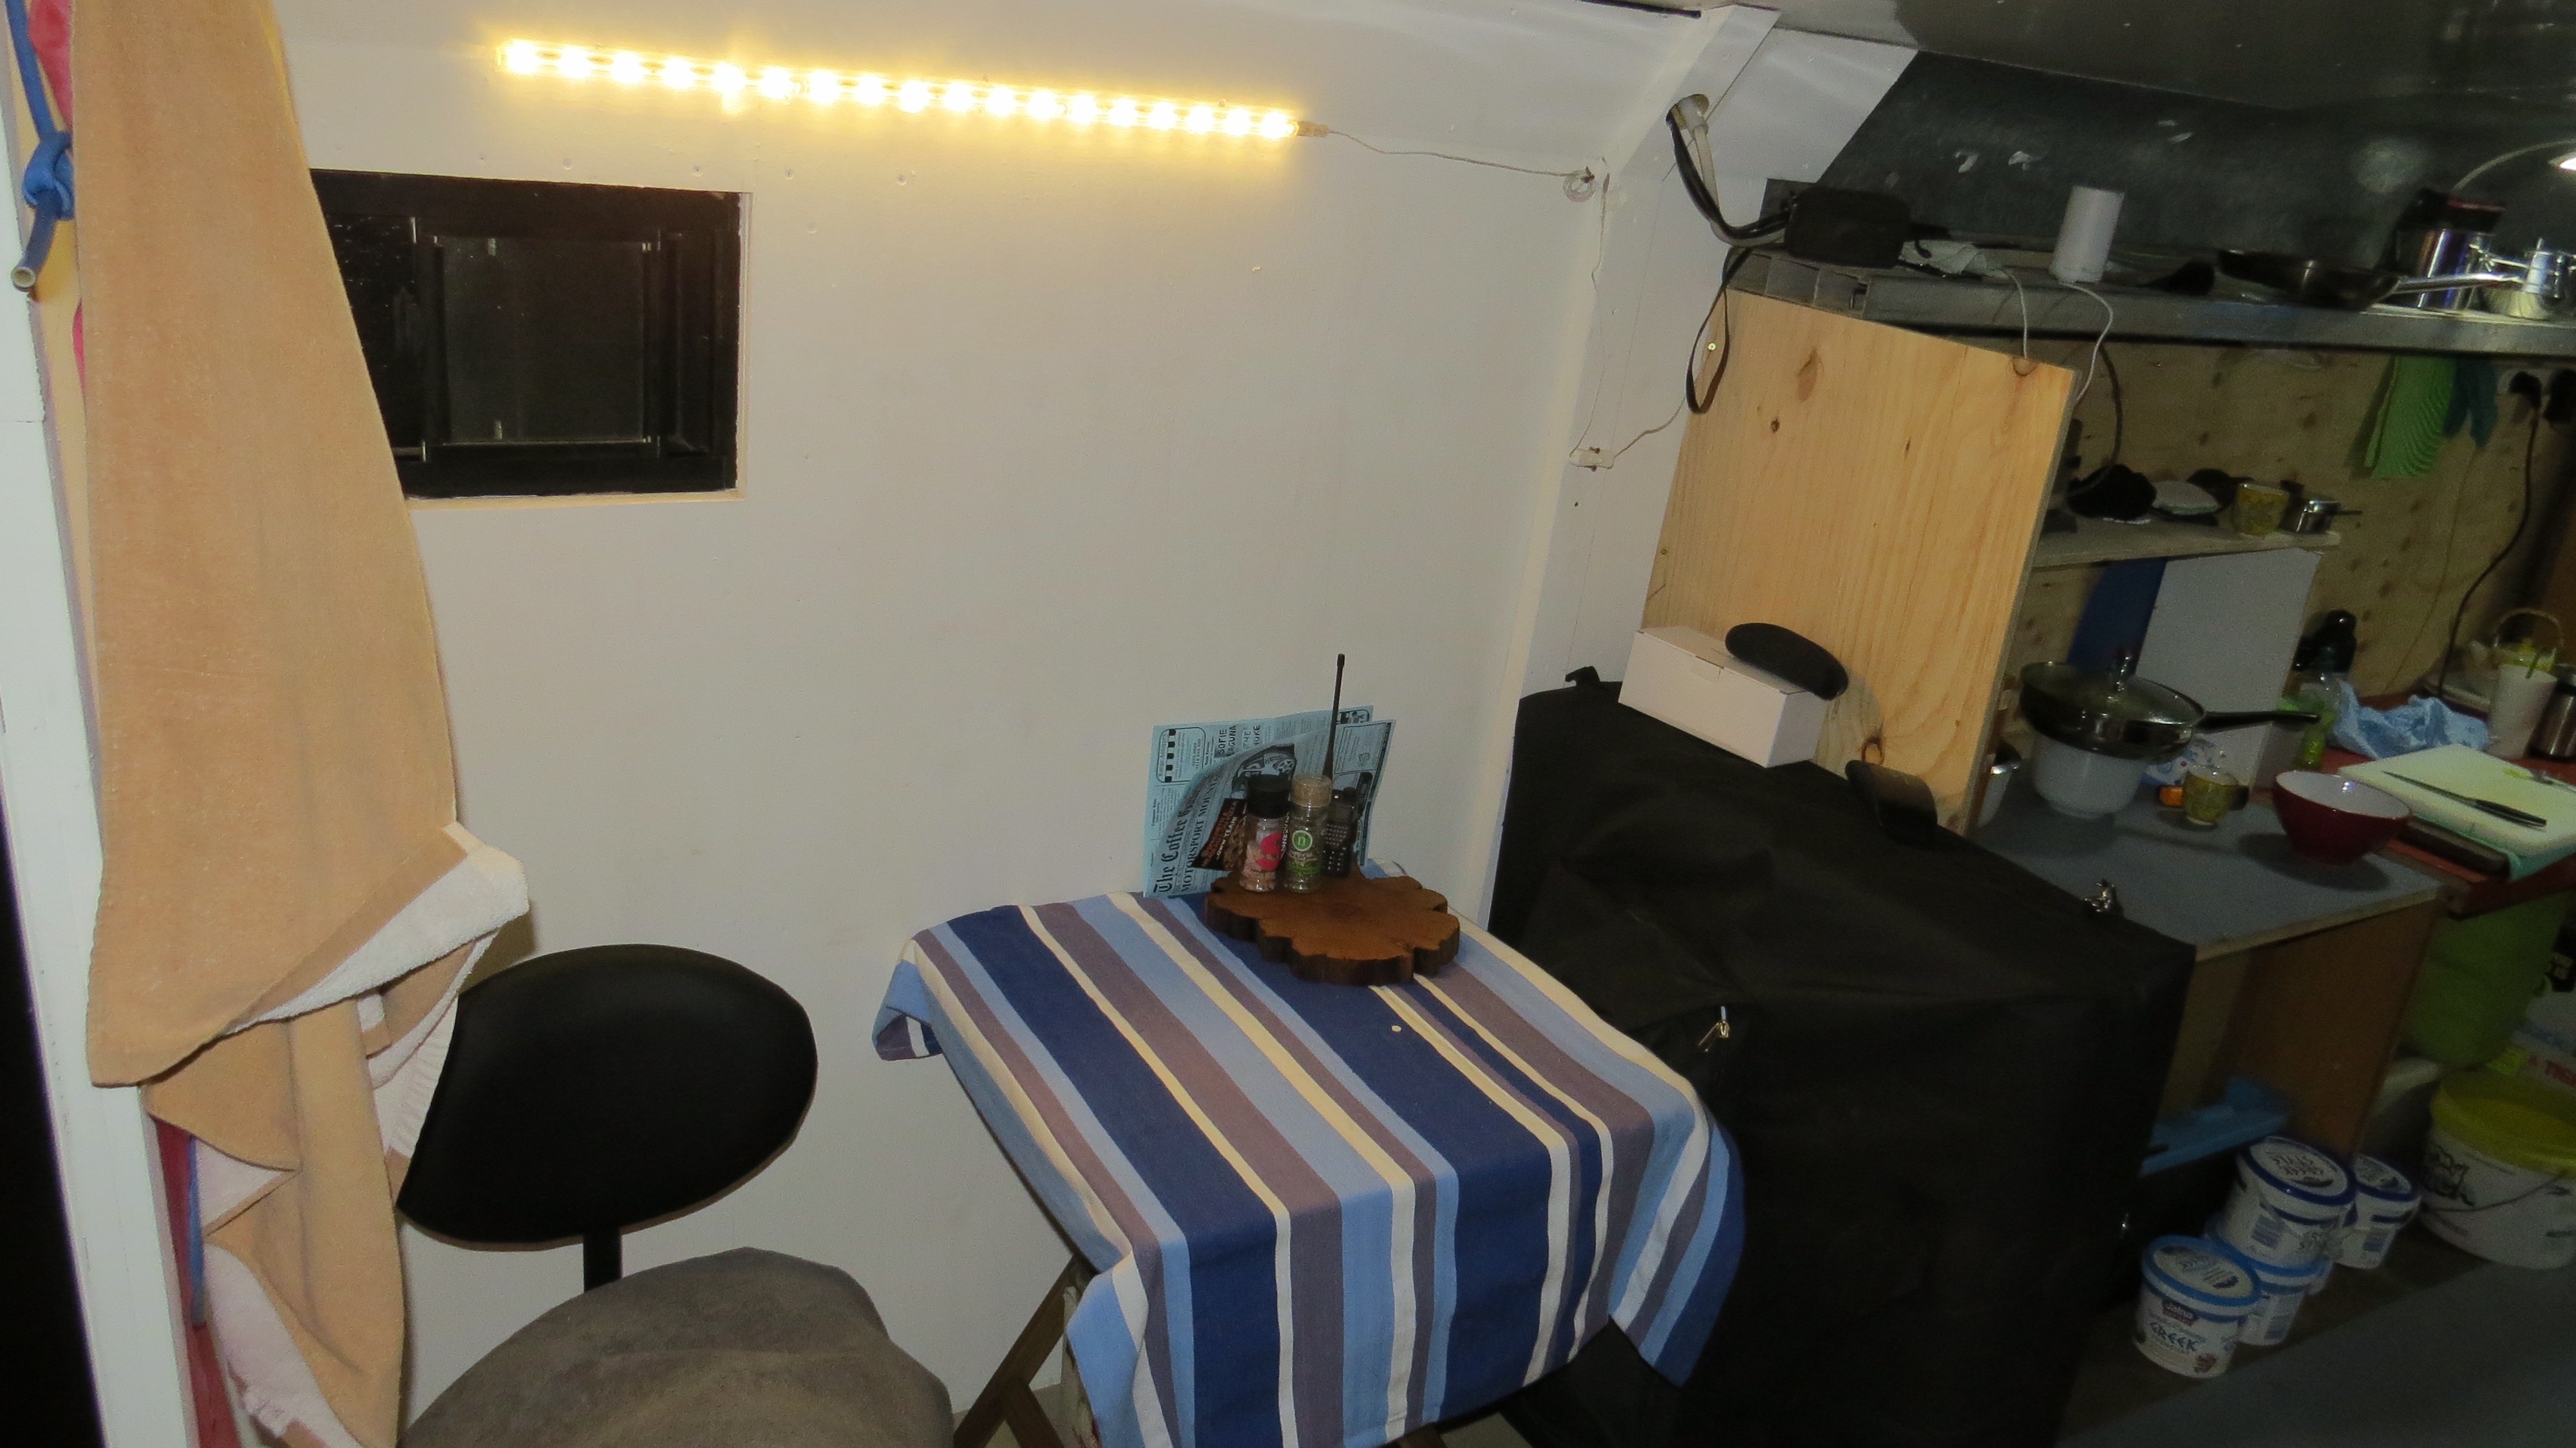
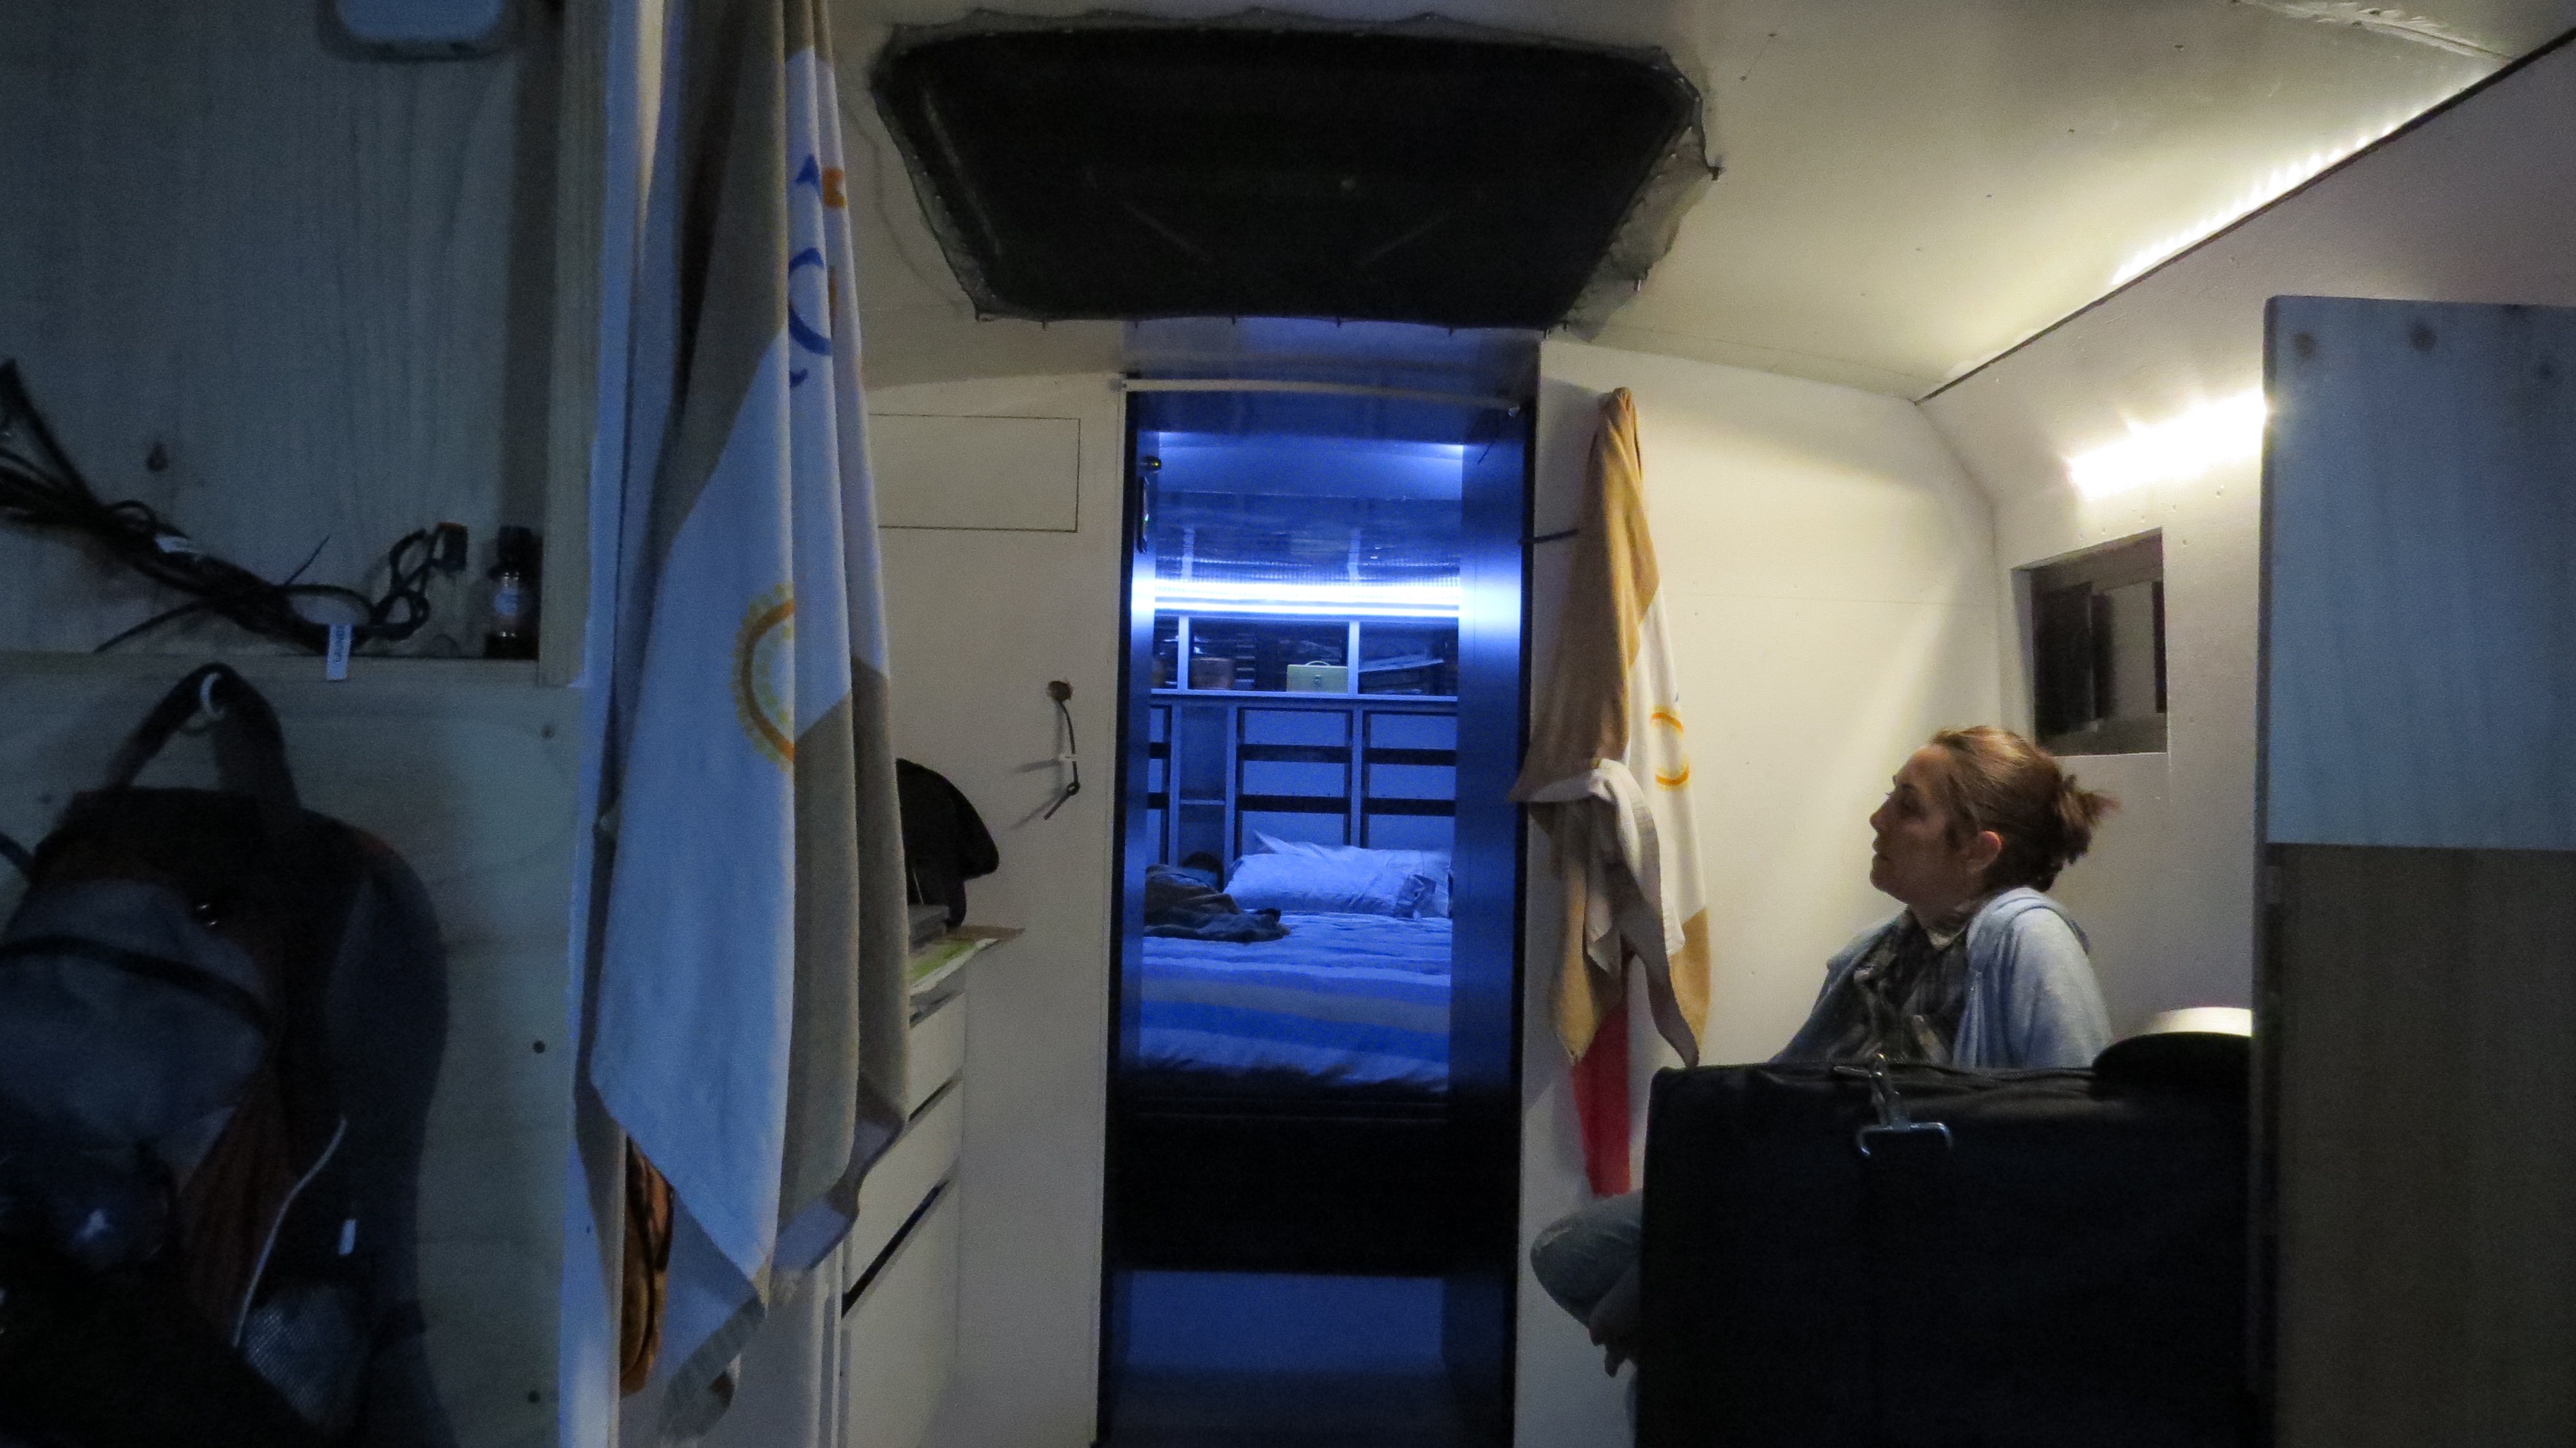
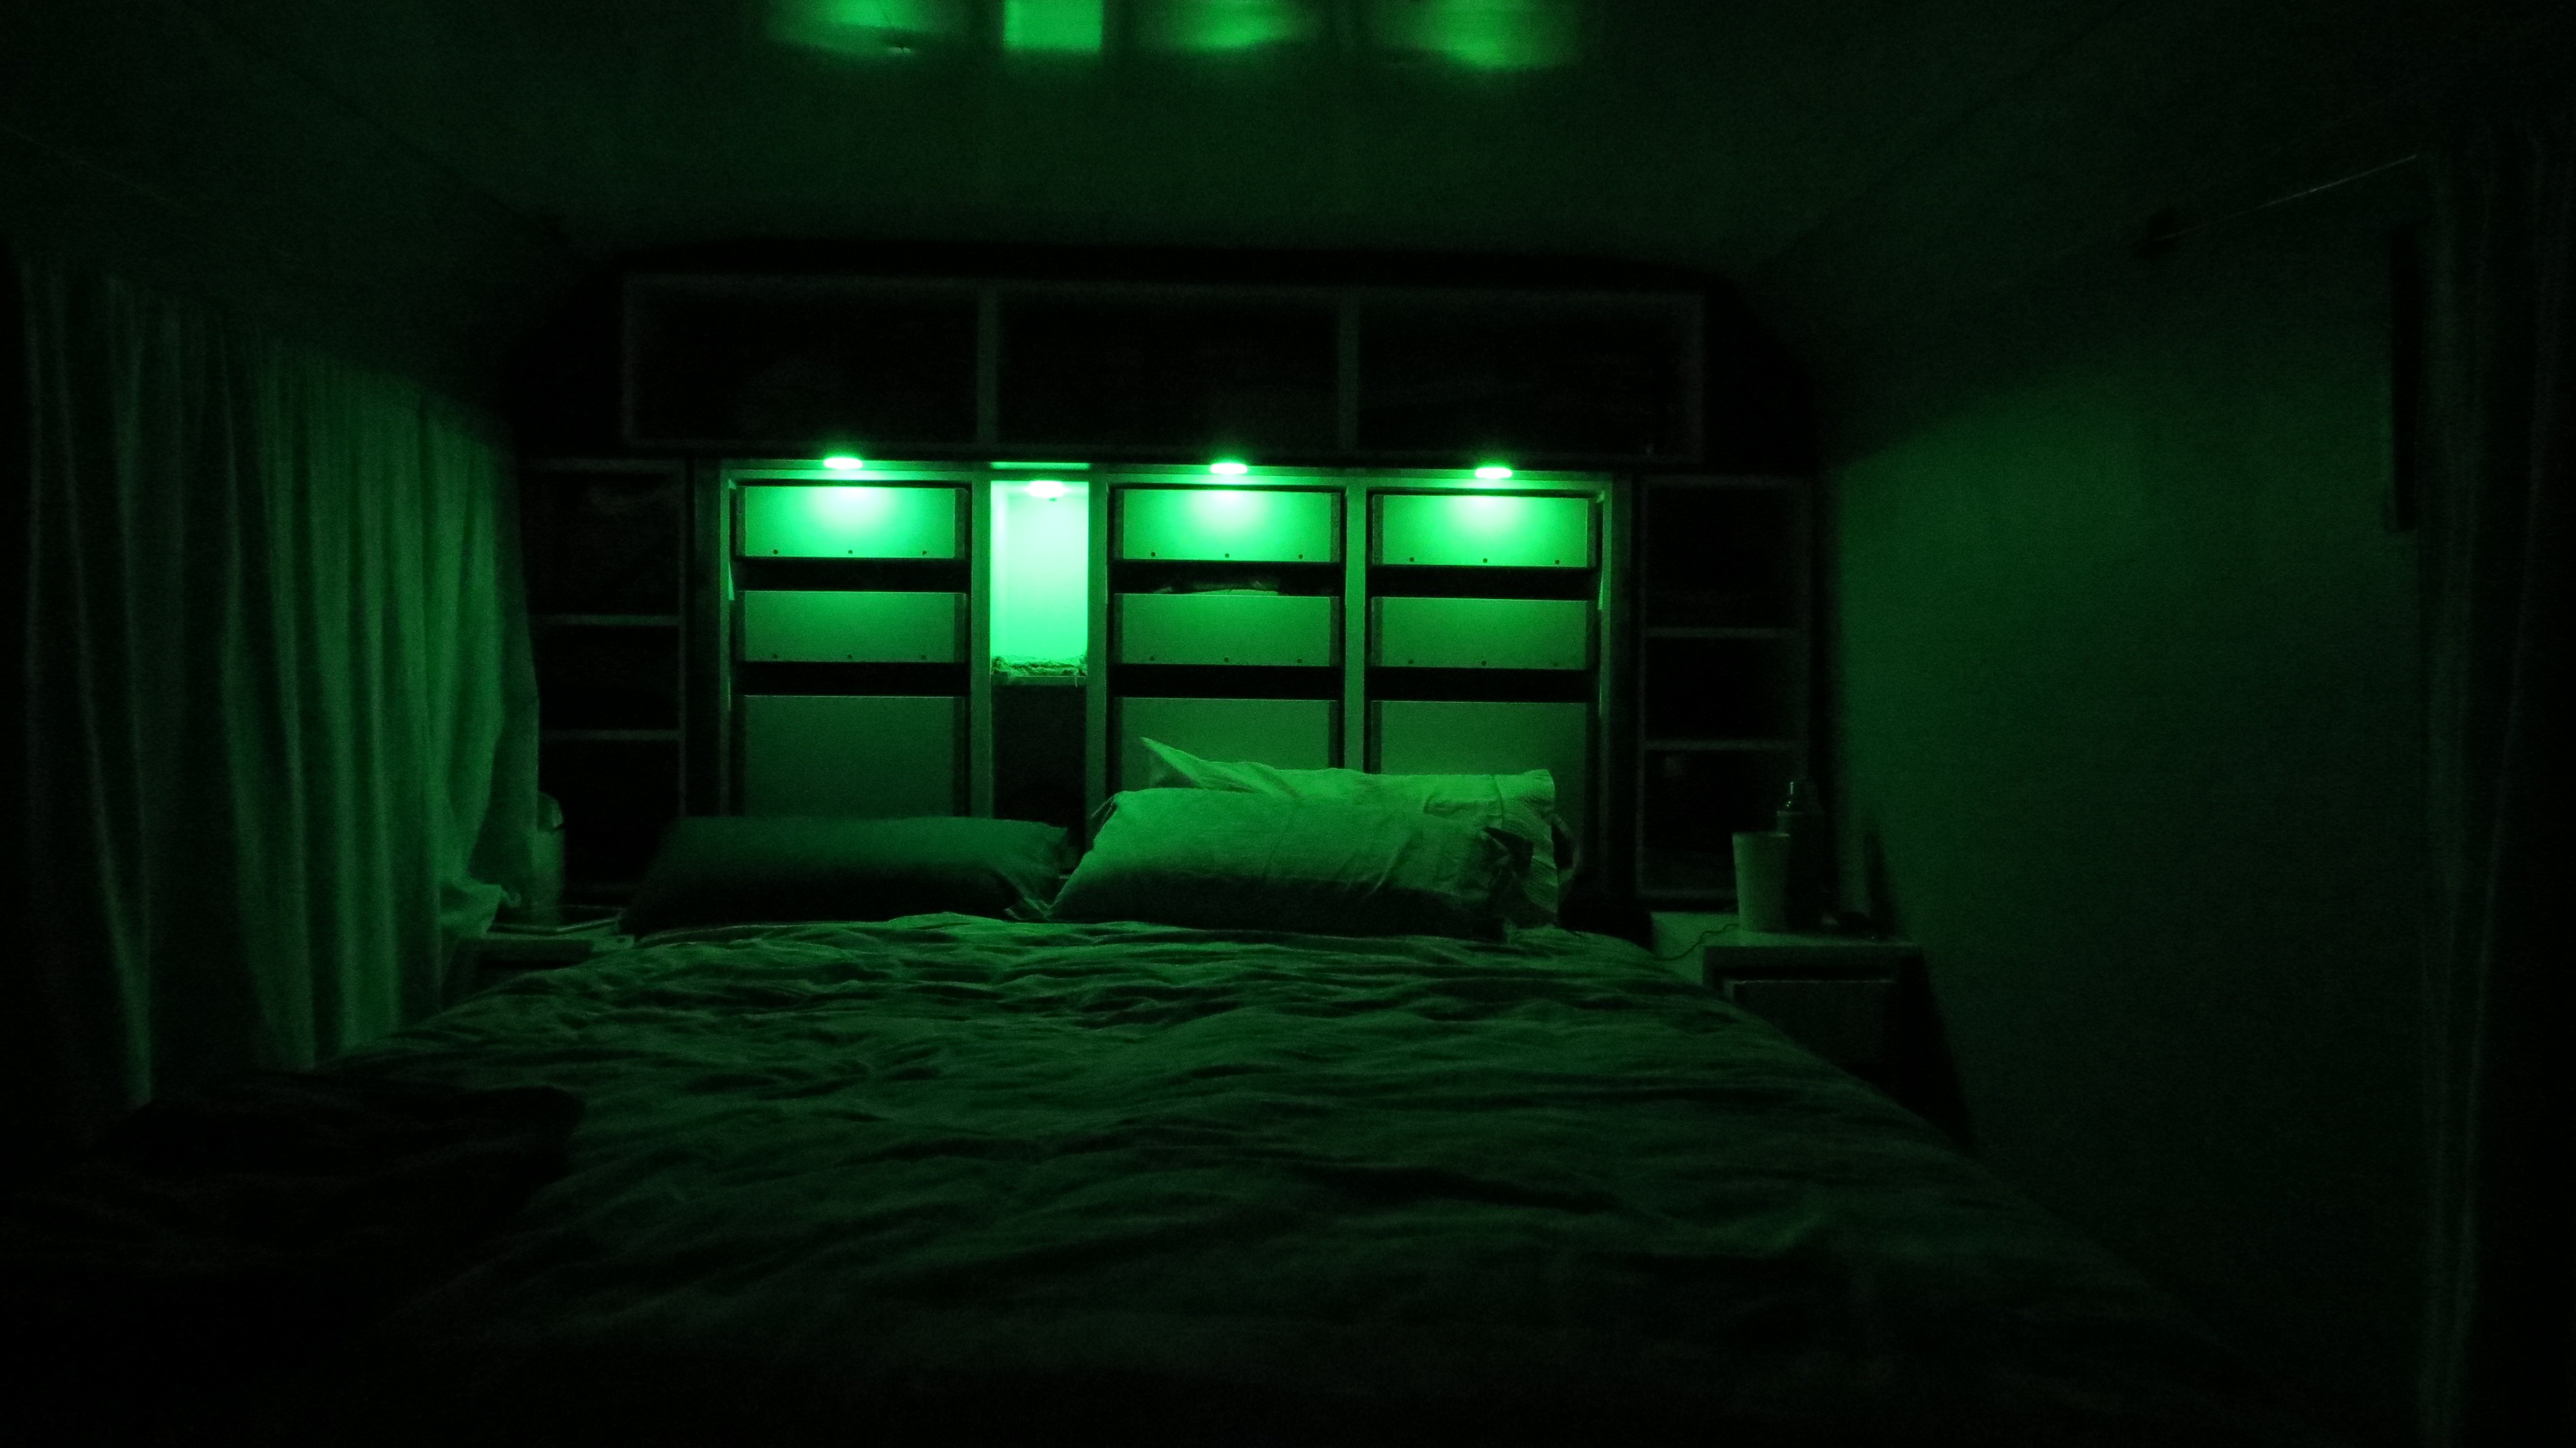
Tea for two.Temporary dinning area till the bathroom is finished.Feeling a bit green tonight…lol
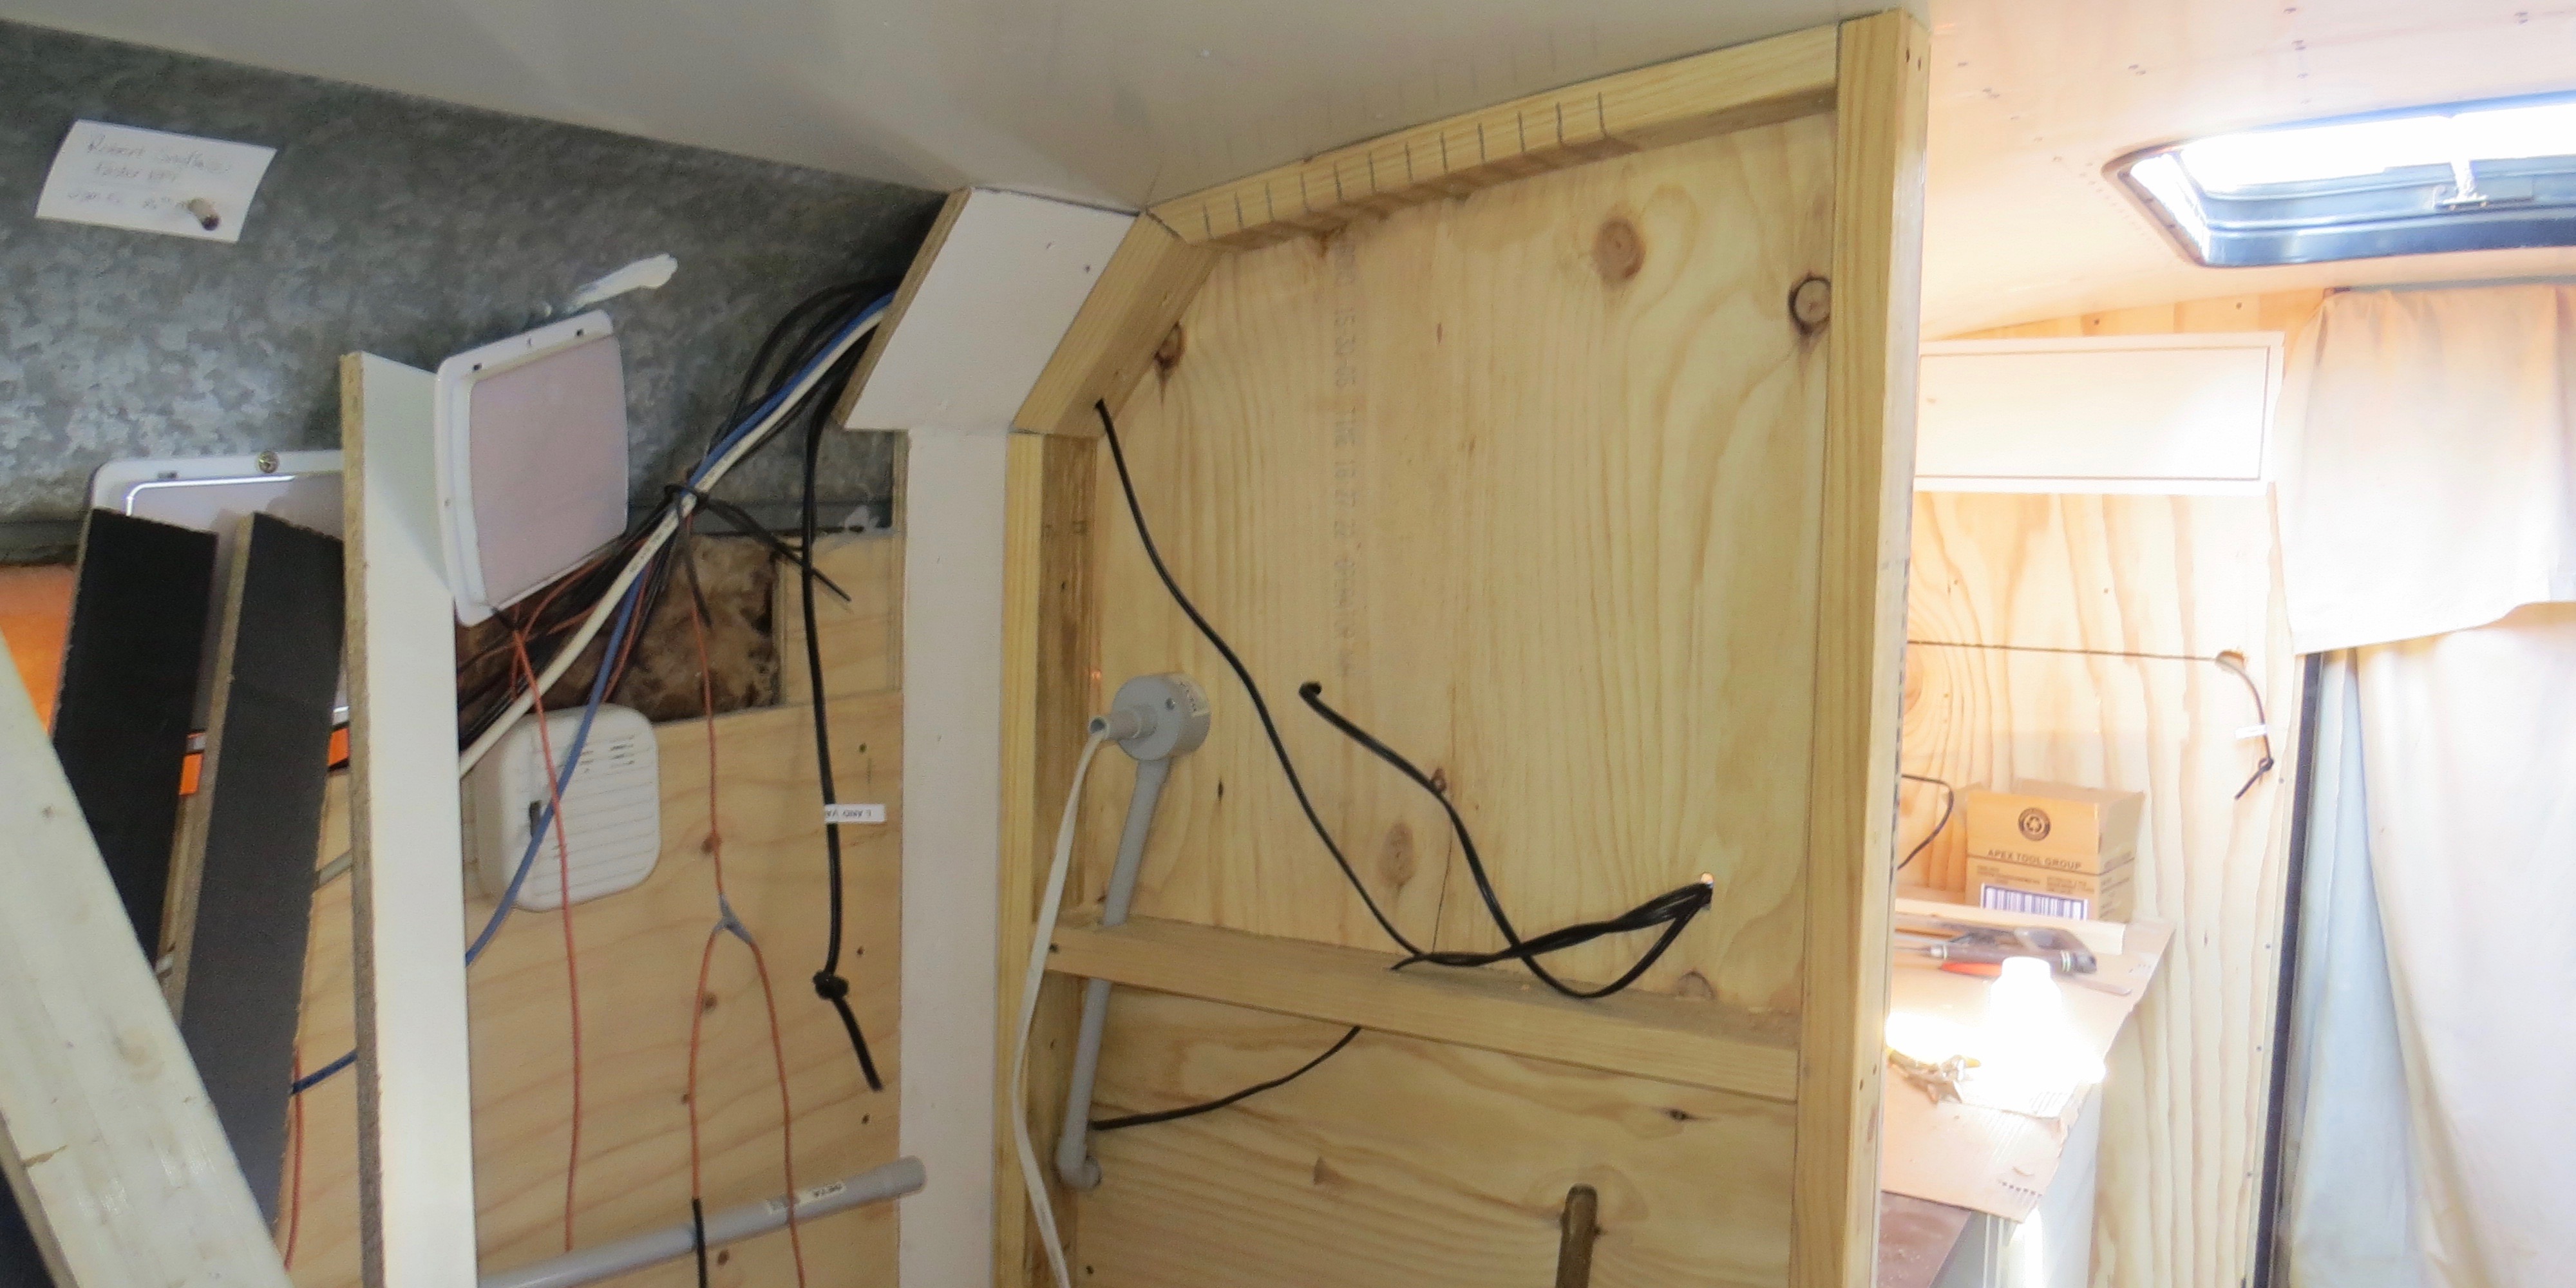
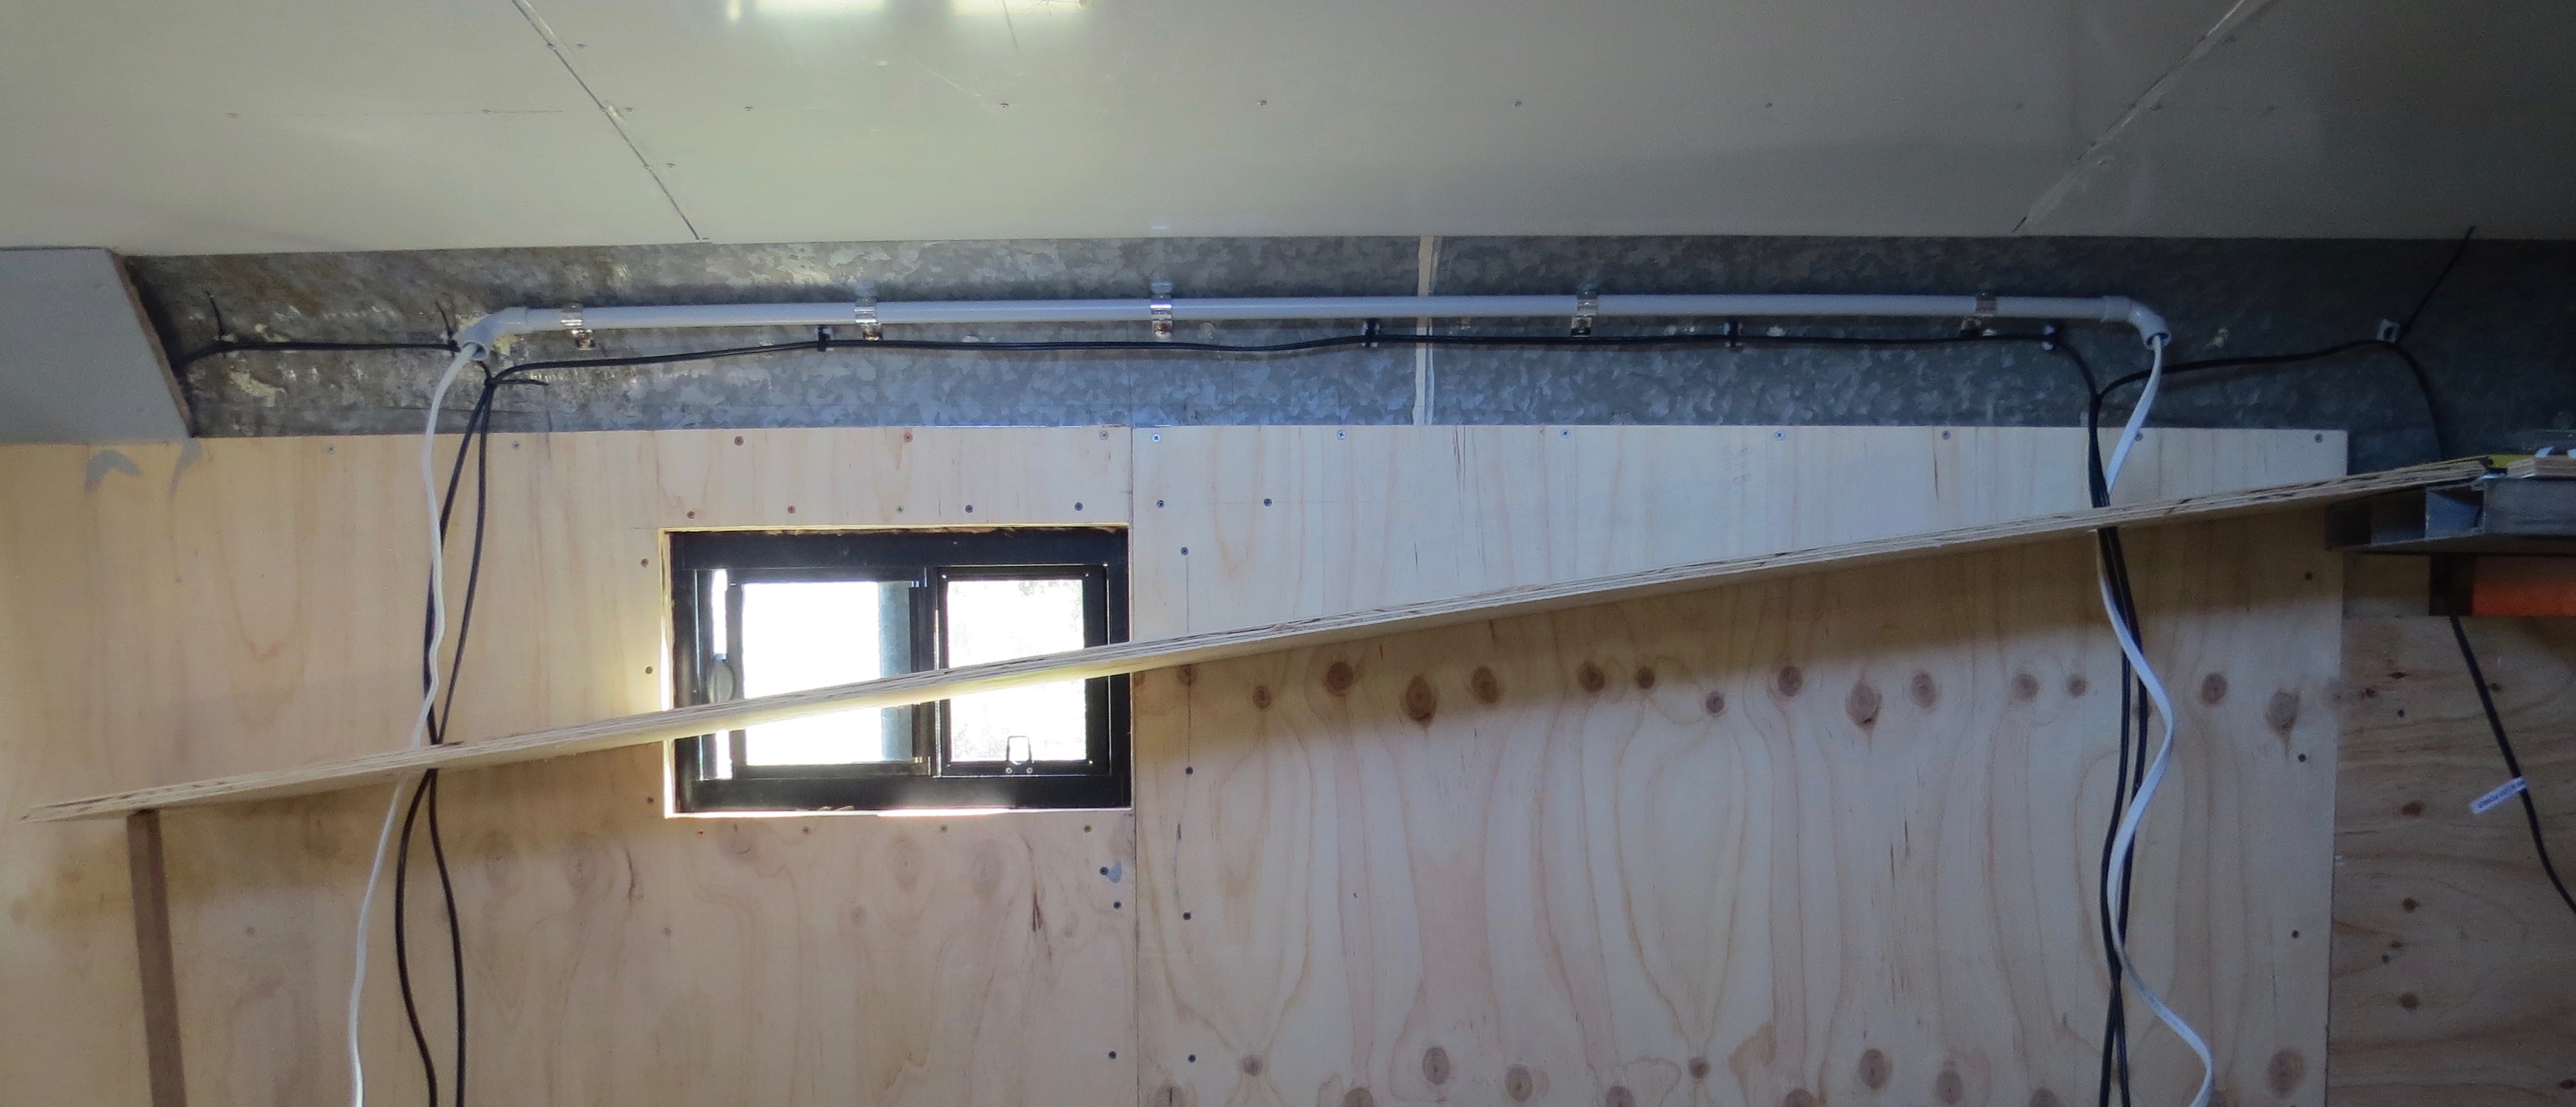
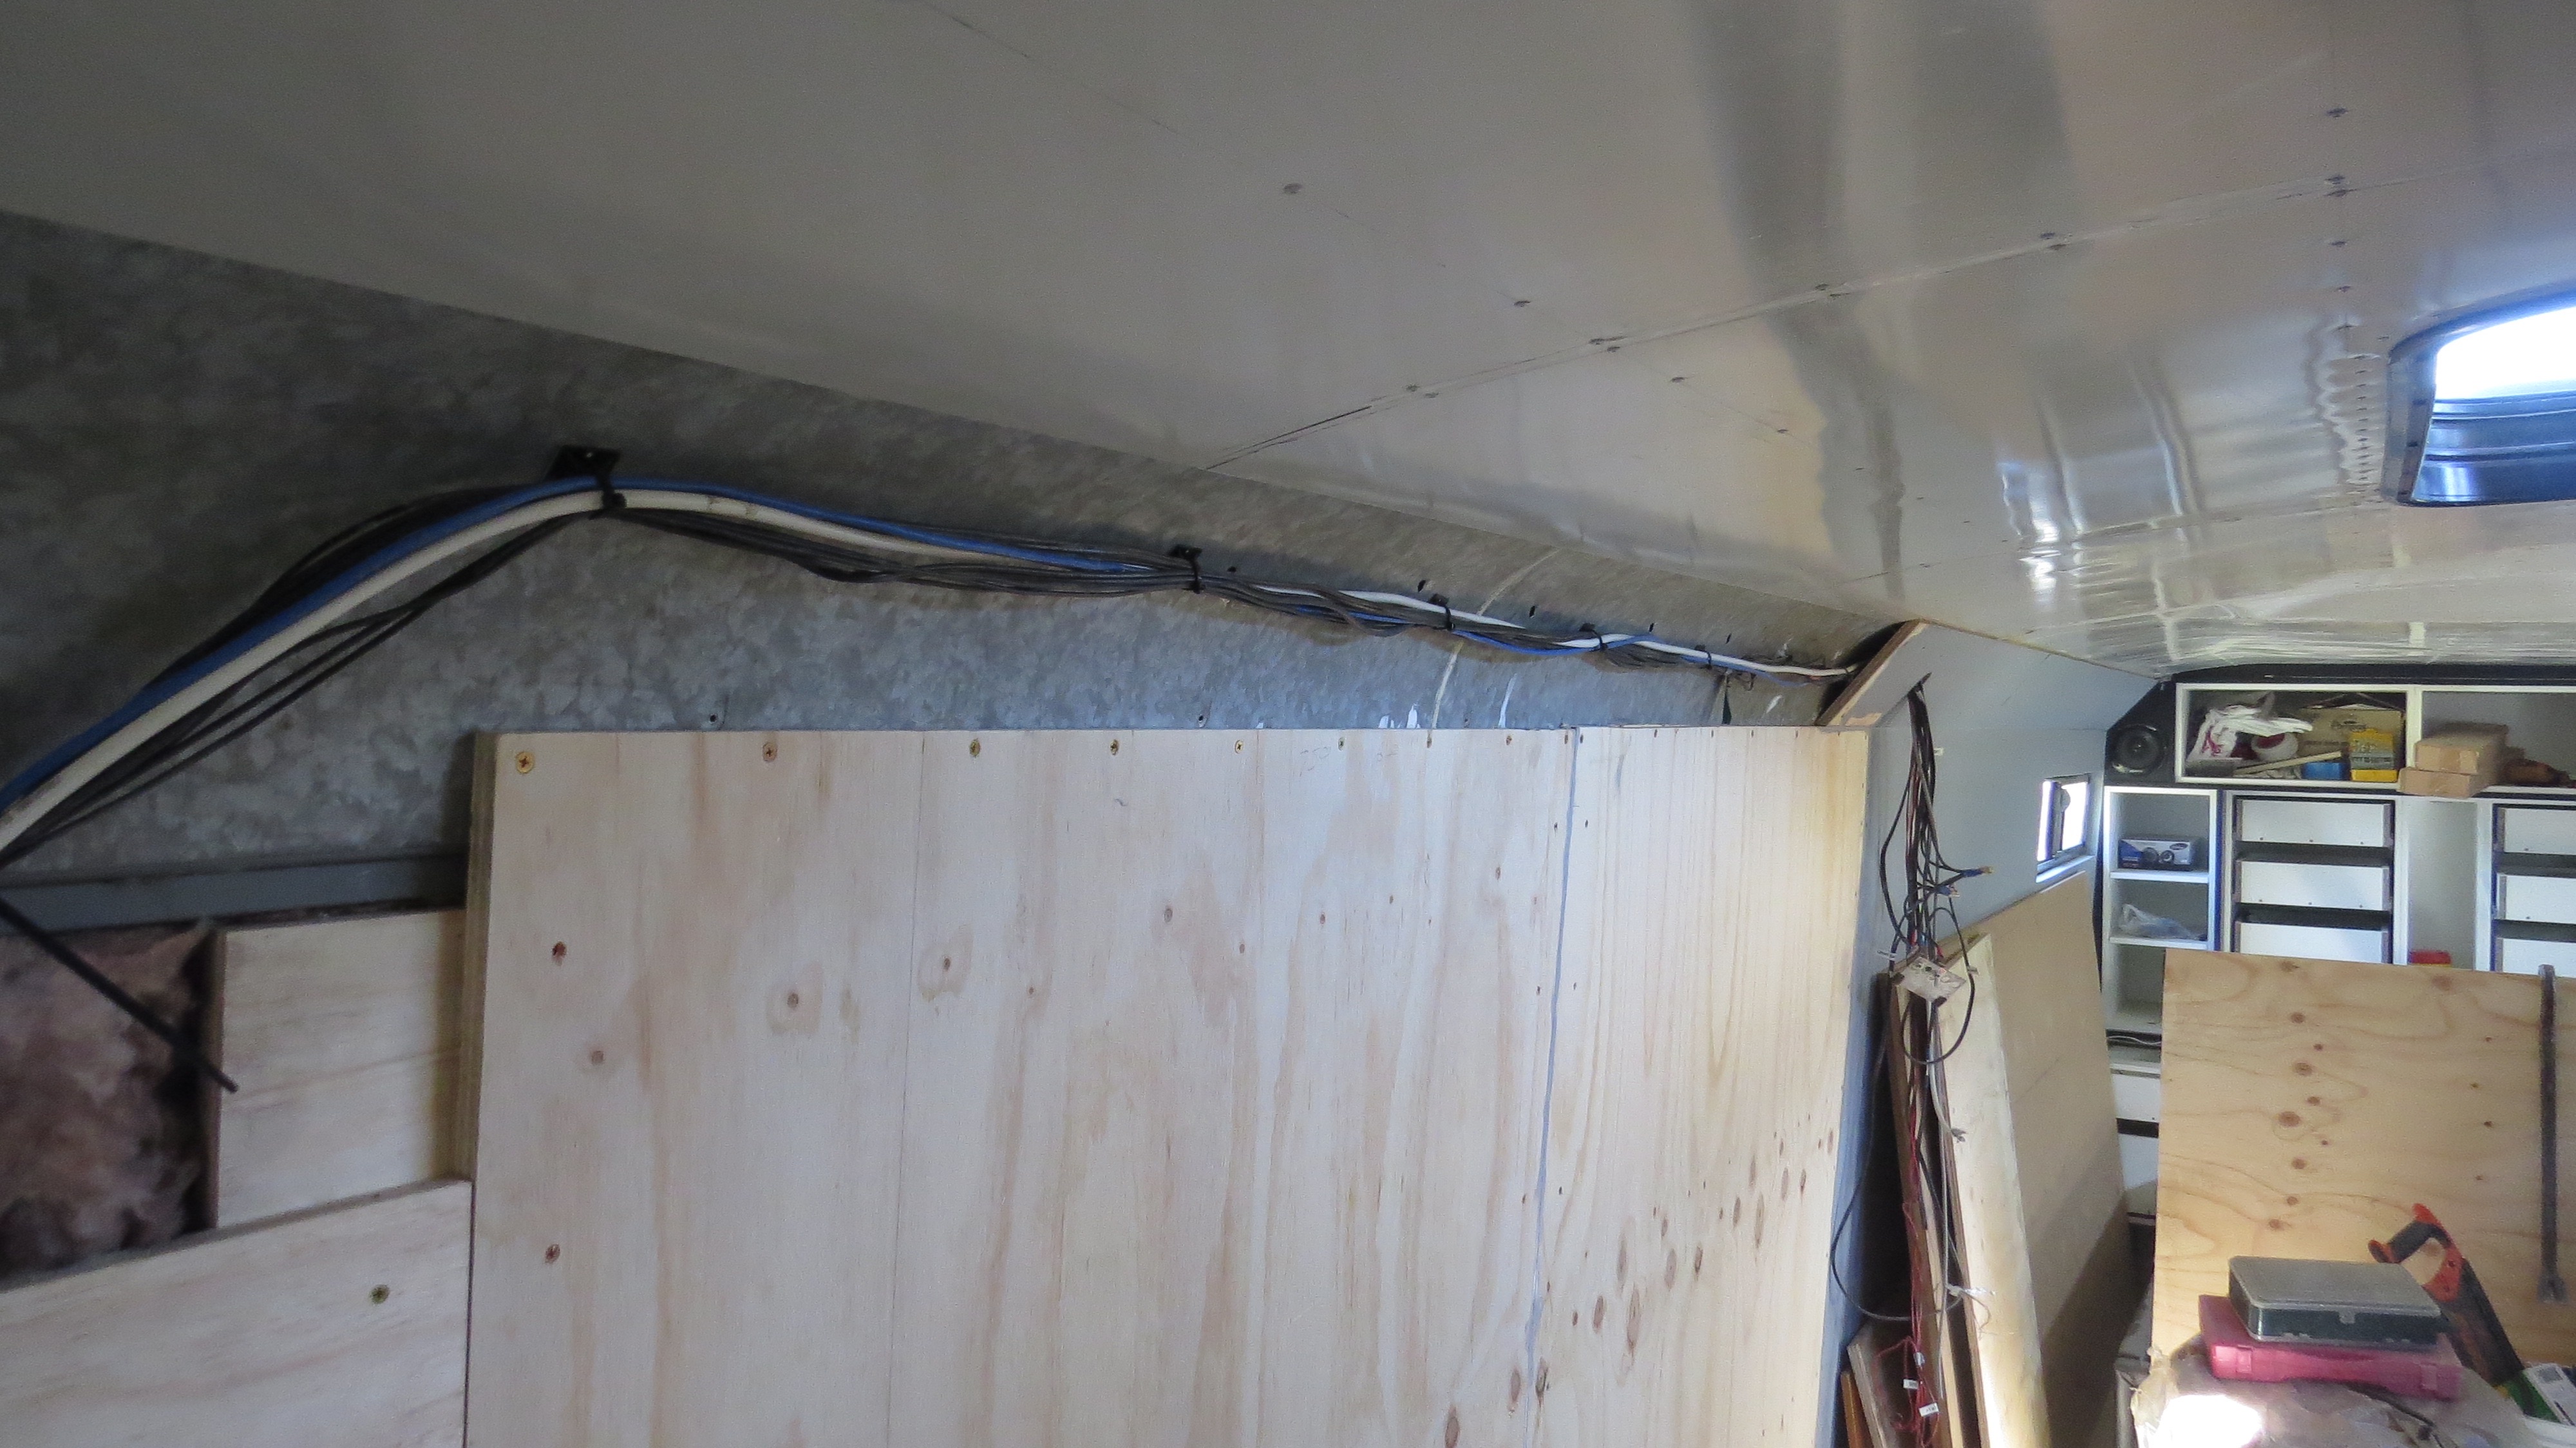
But first I’ll have to run some 12v cables for the LED lights for the vanity as well as the laundry area so they can be switch on by them self. Than we will need 240v power for the front load washing machine under the bench, some were as well as a power point.
Power for the washing machine.240v ran in the conduit and 12v for the vanity light.More power bits. On this side will be the start of the kitchen.12v power for the LED lights and a 240v power point.I’m leaning the wall back at the top so I can see in the mirror.First ply board in place.That side is finish for now.
Clean up time
Now that is done it will be time to start cleaning up as I’ve made a mess, our house sit is getting close to ending and we will need time to organize the coach back into some kind of a place we can live in again. I’ve still have to put the sola panels back on and rewire then and a bit more to tidy up outside before we can start packing up.
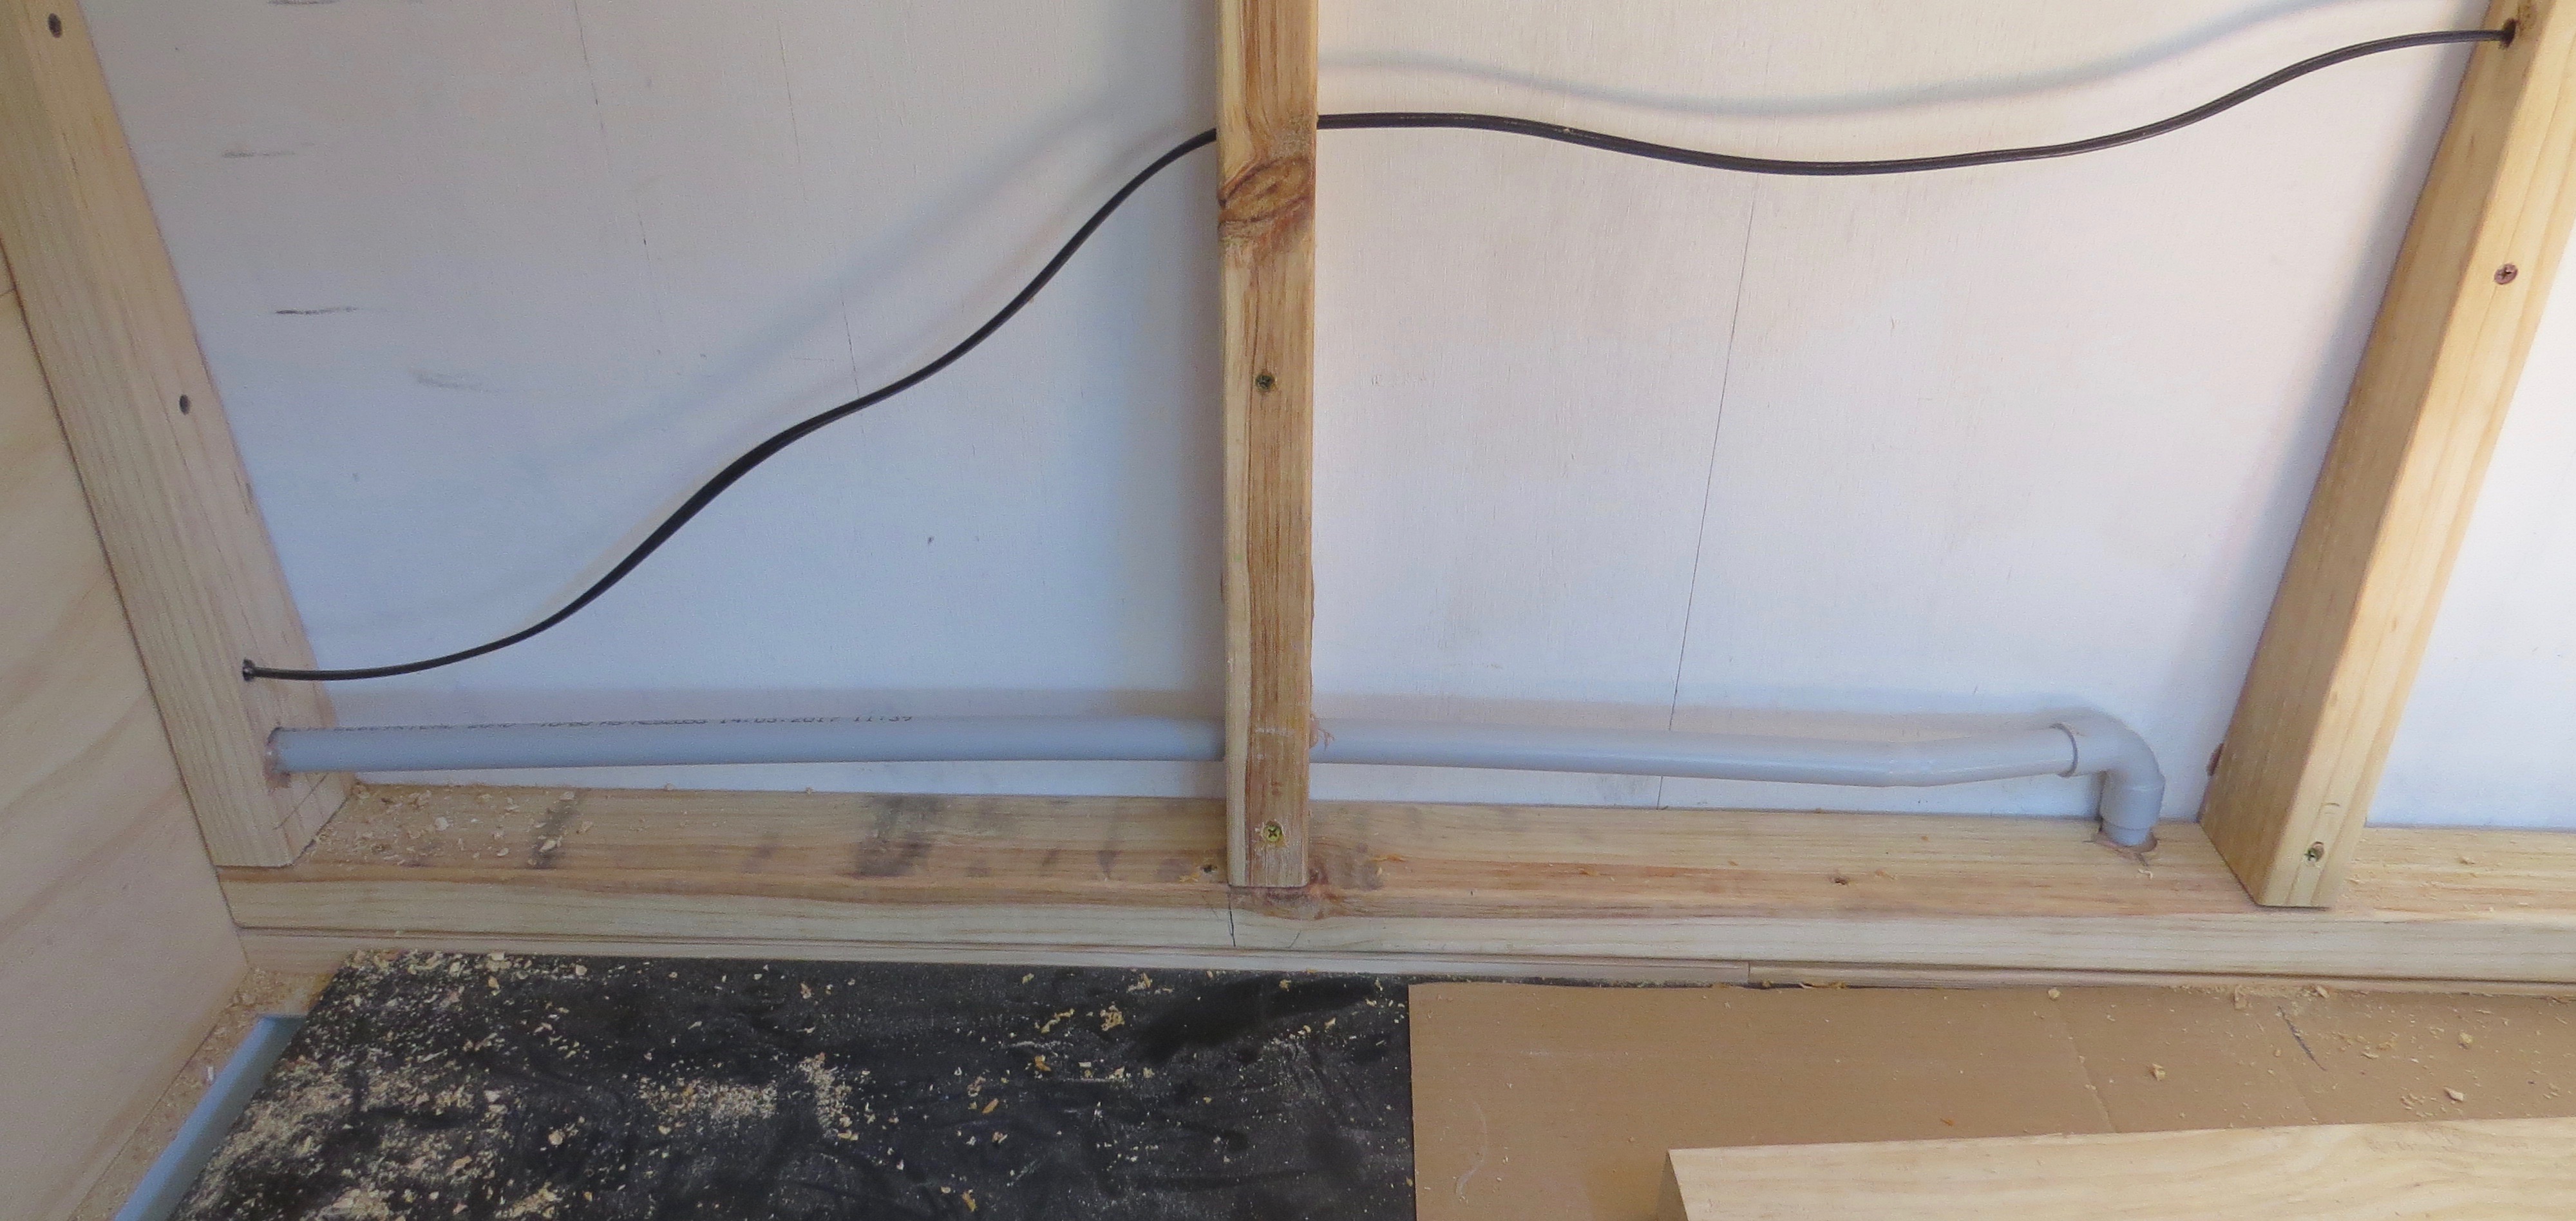
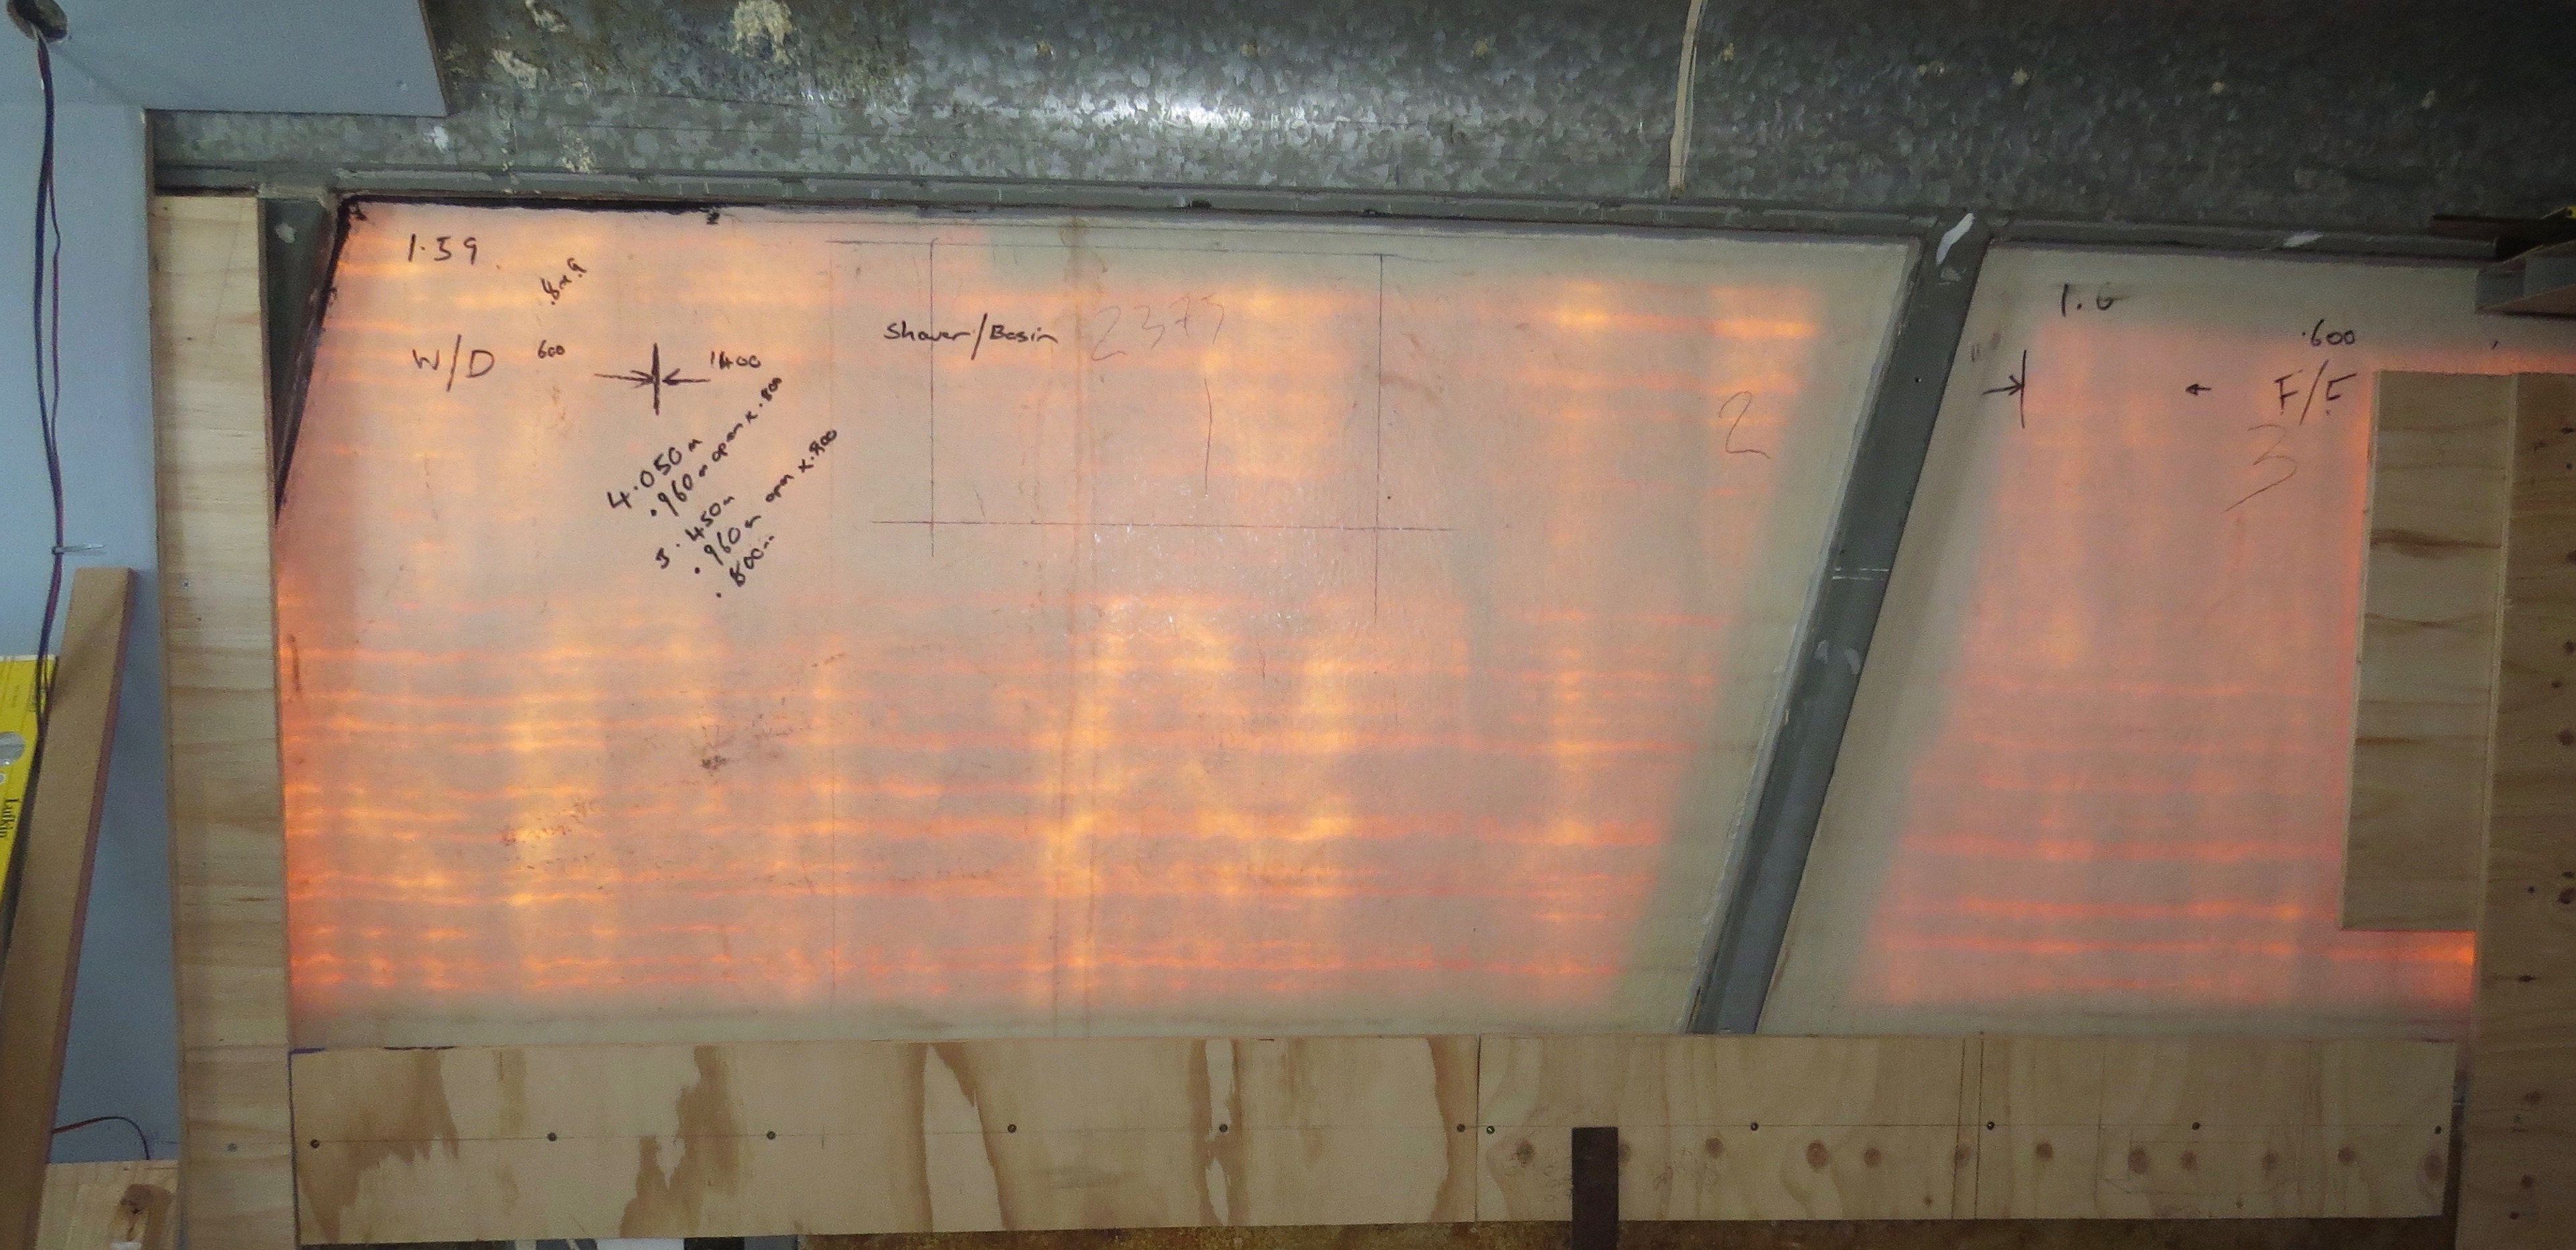
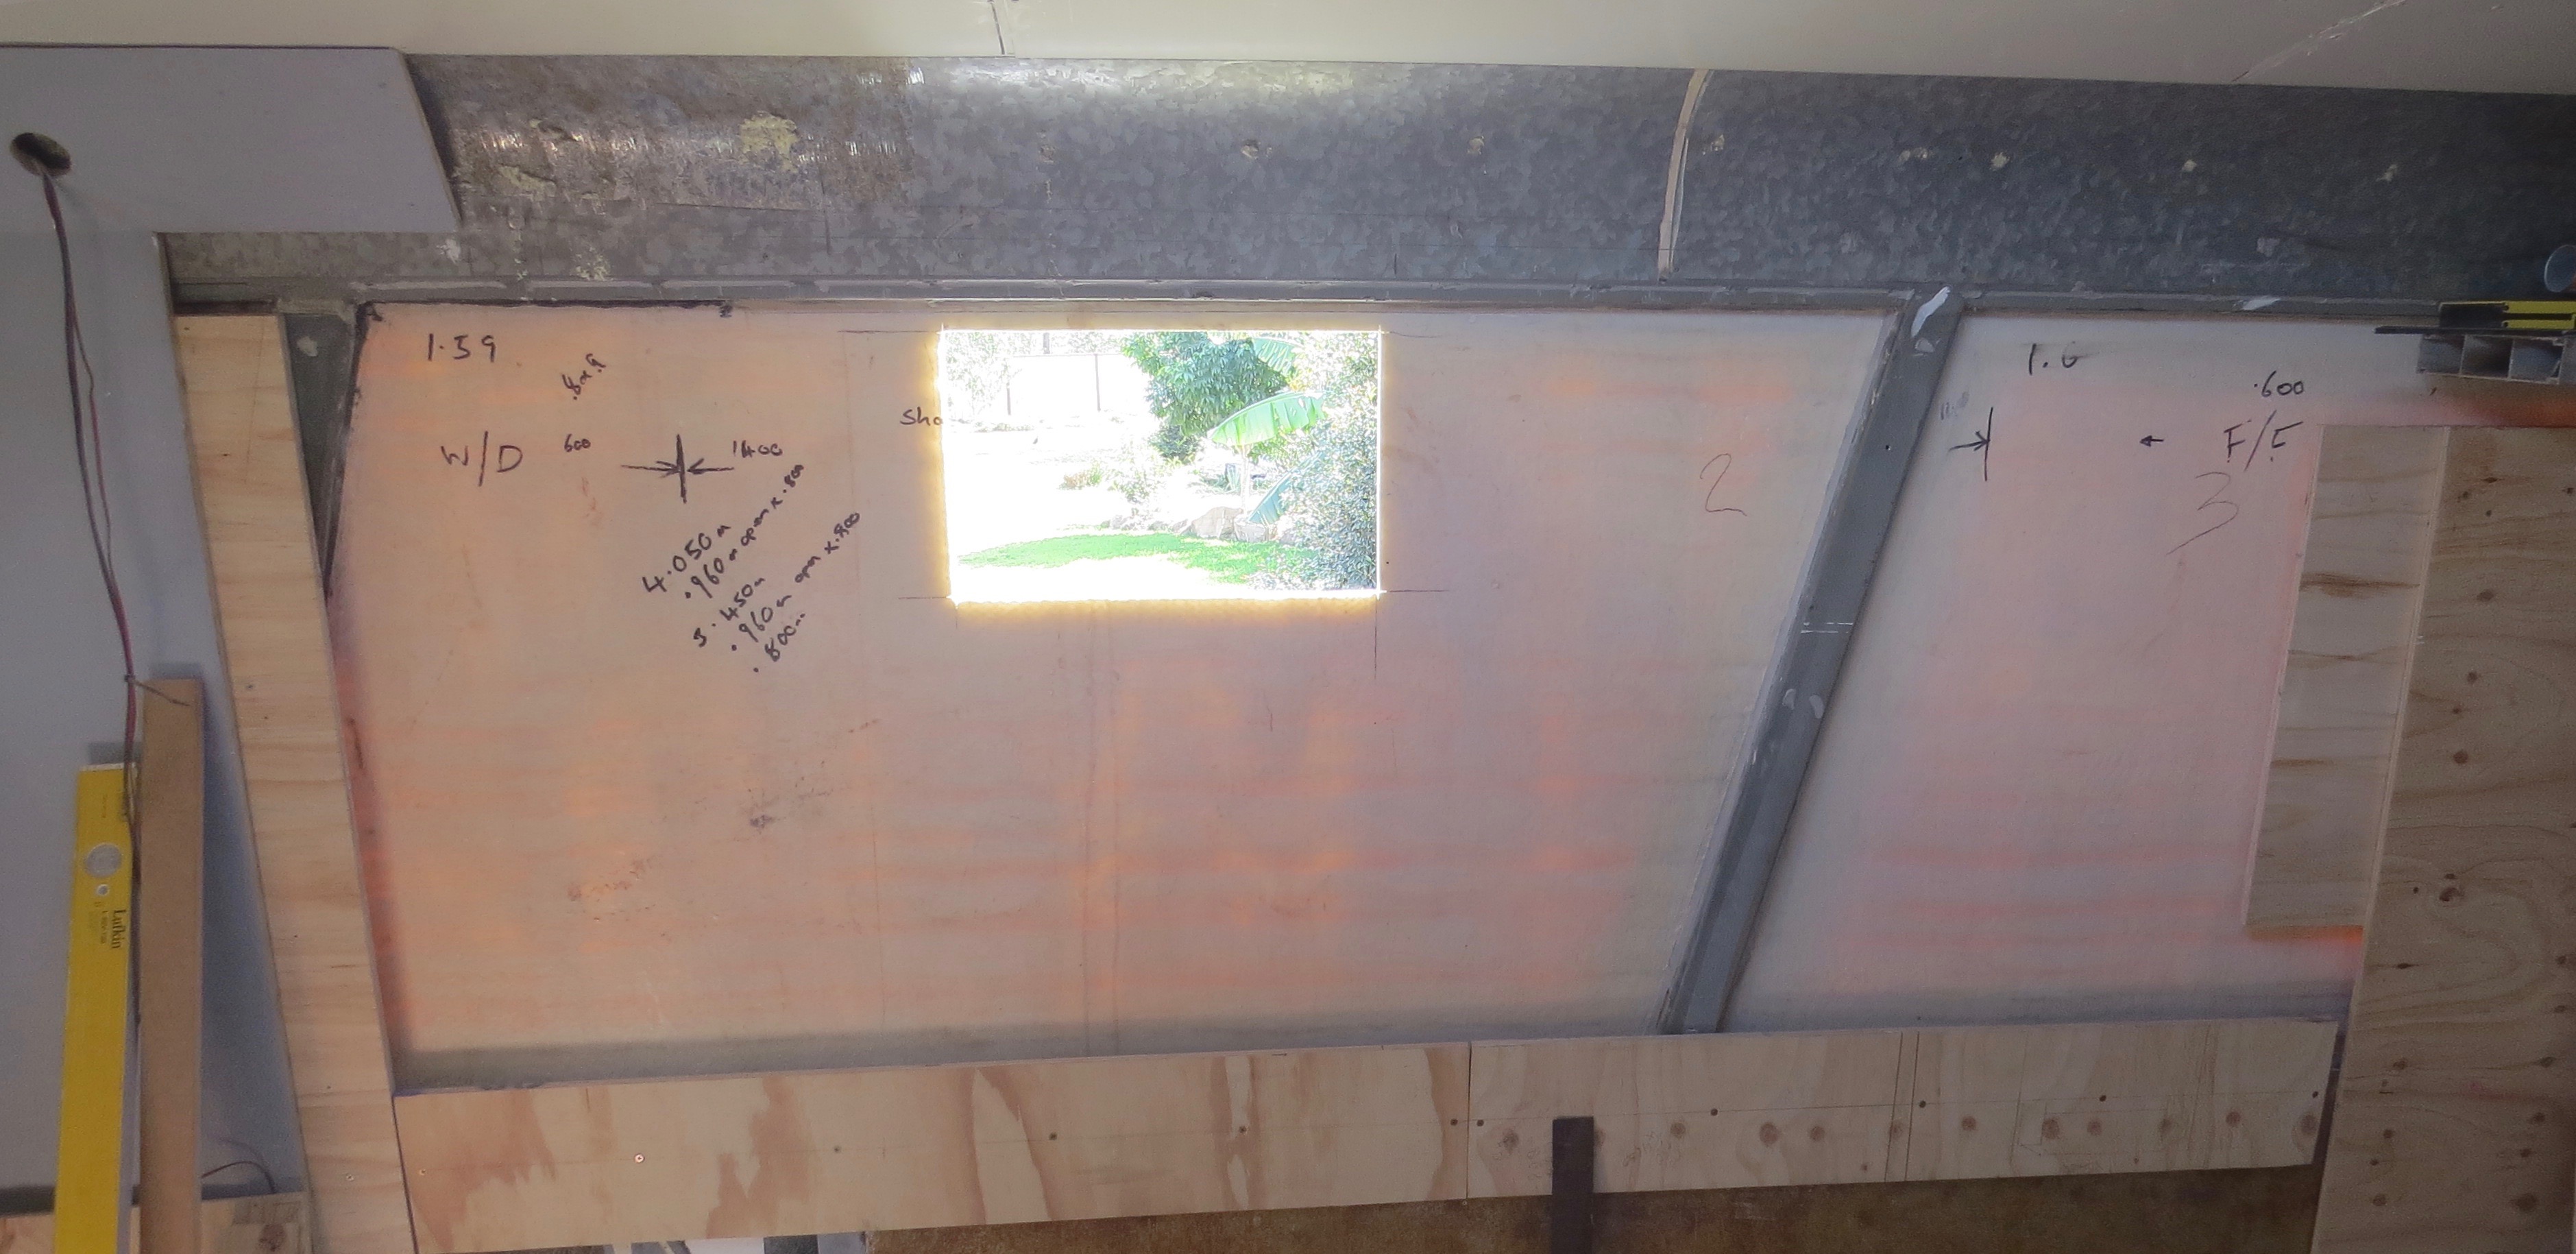
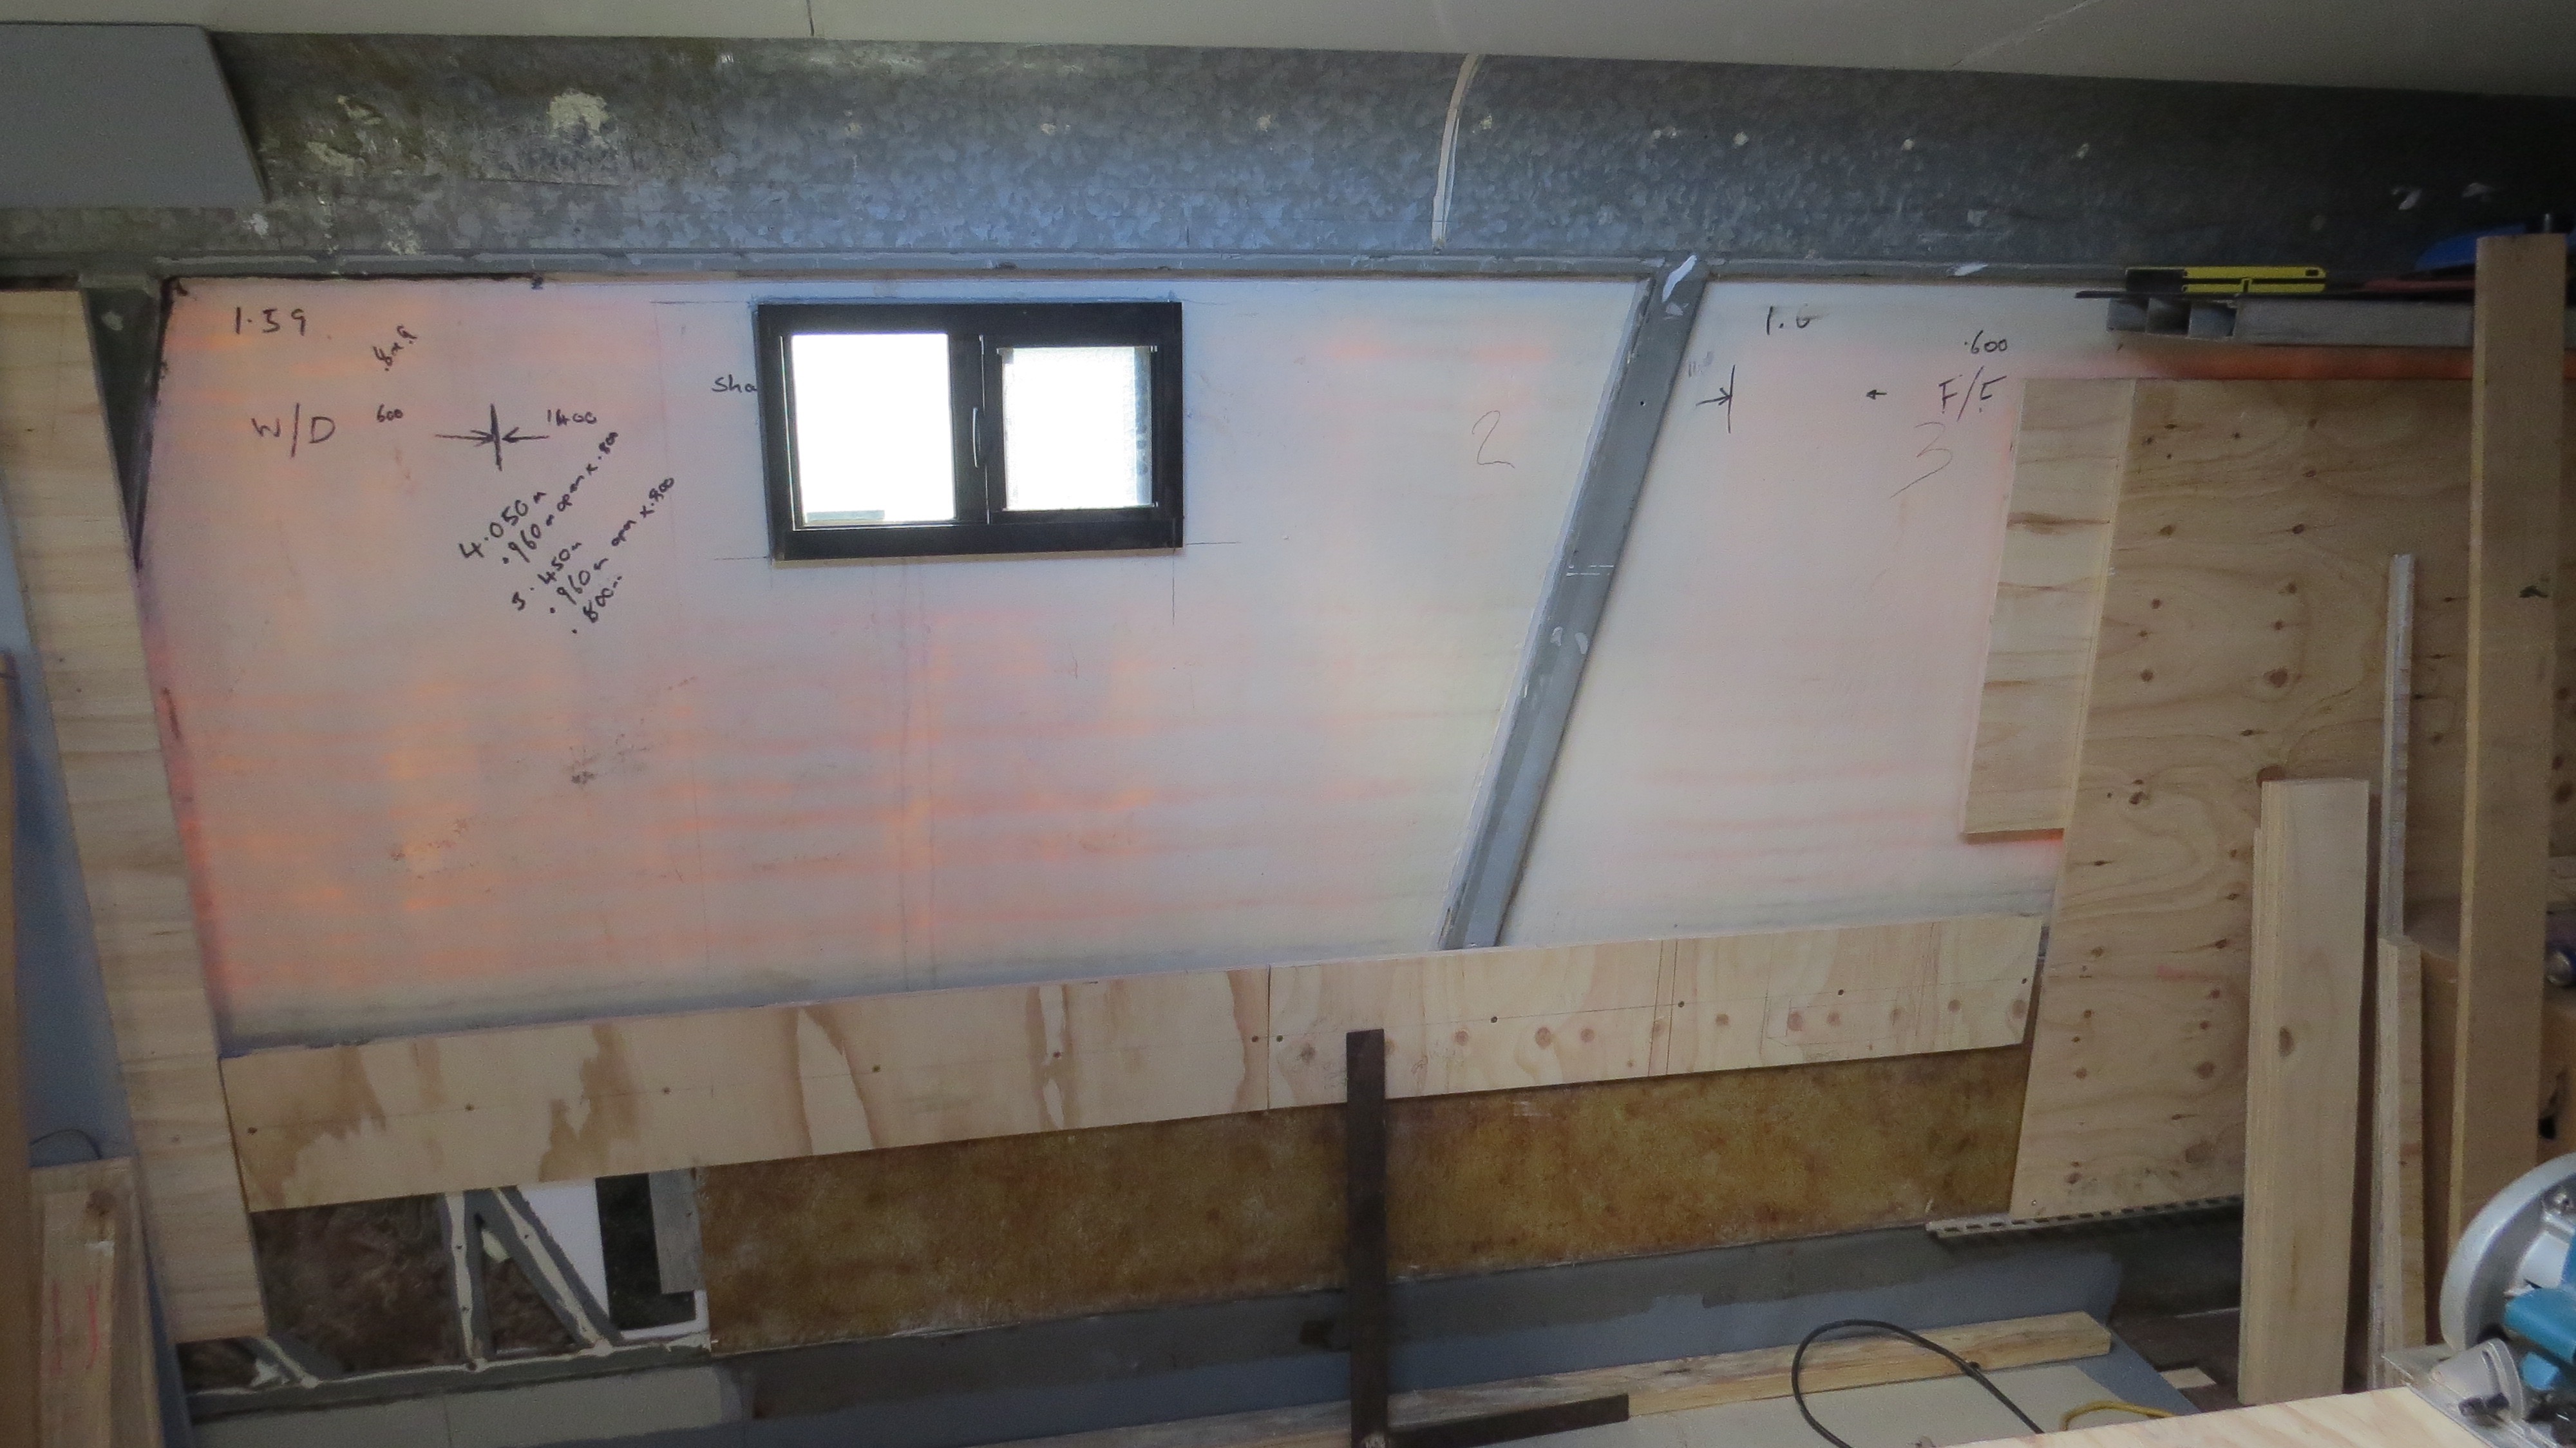
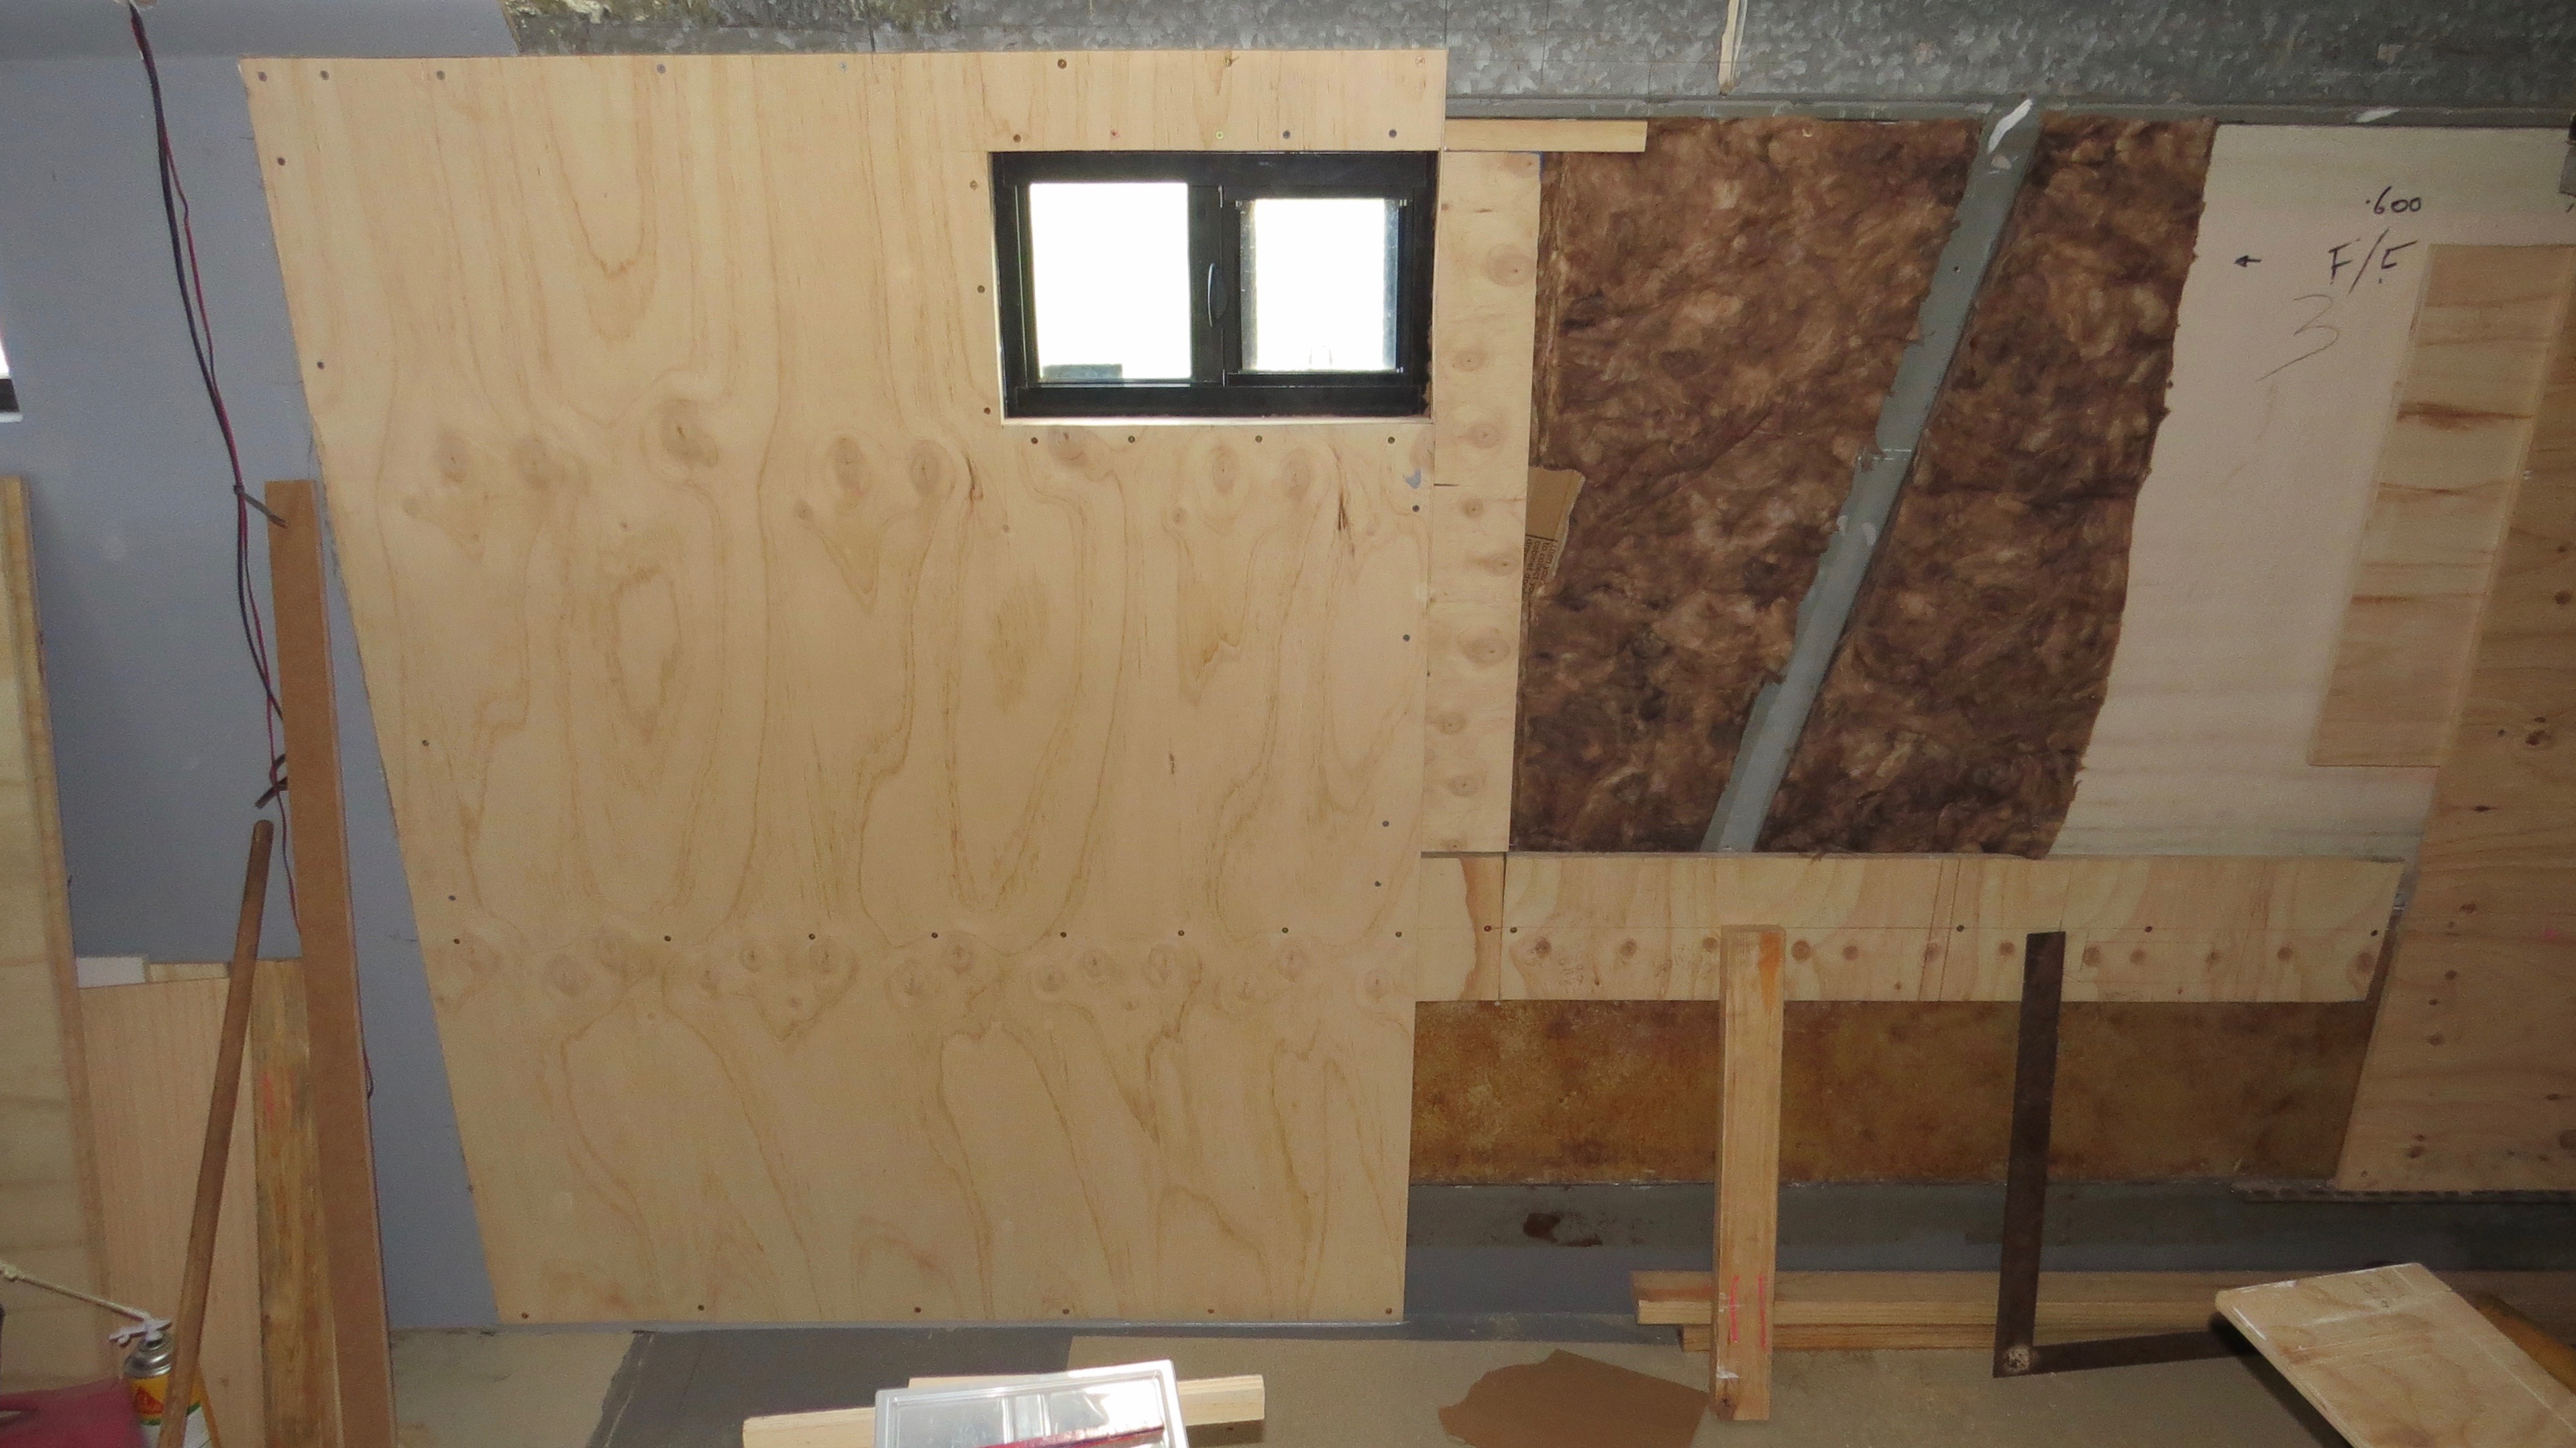
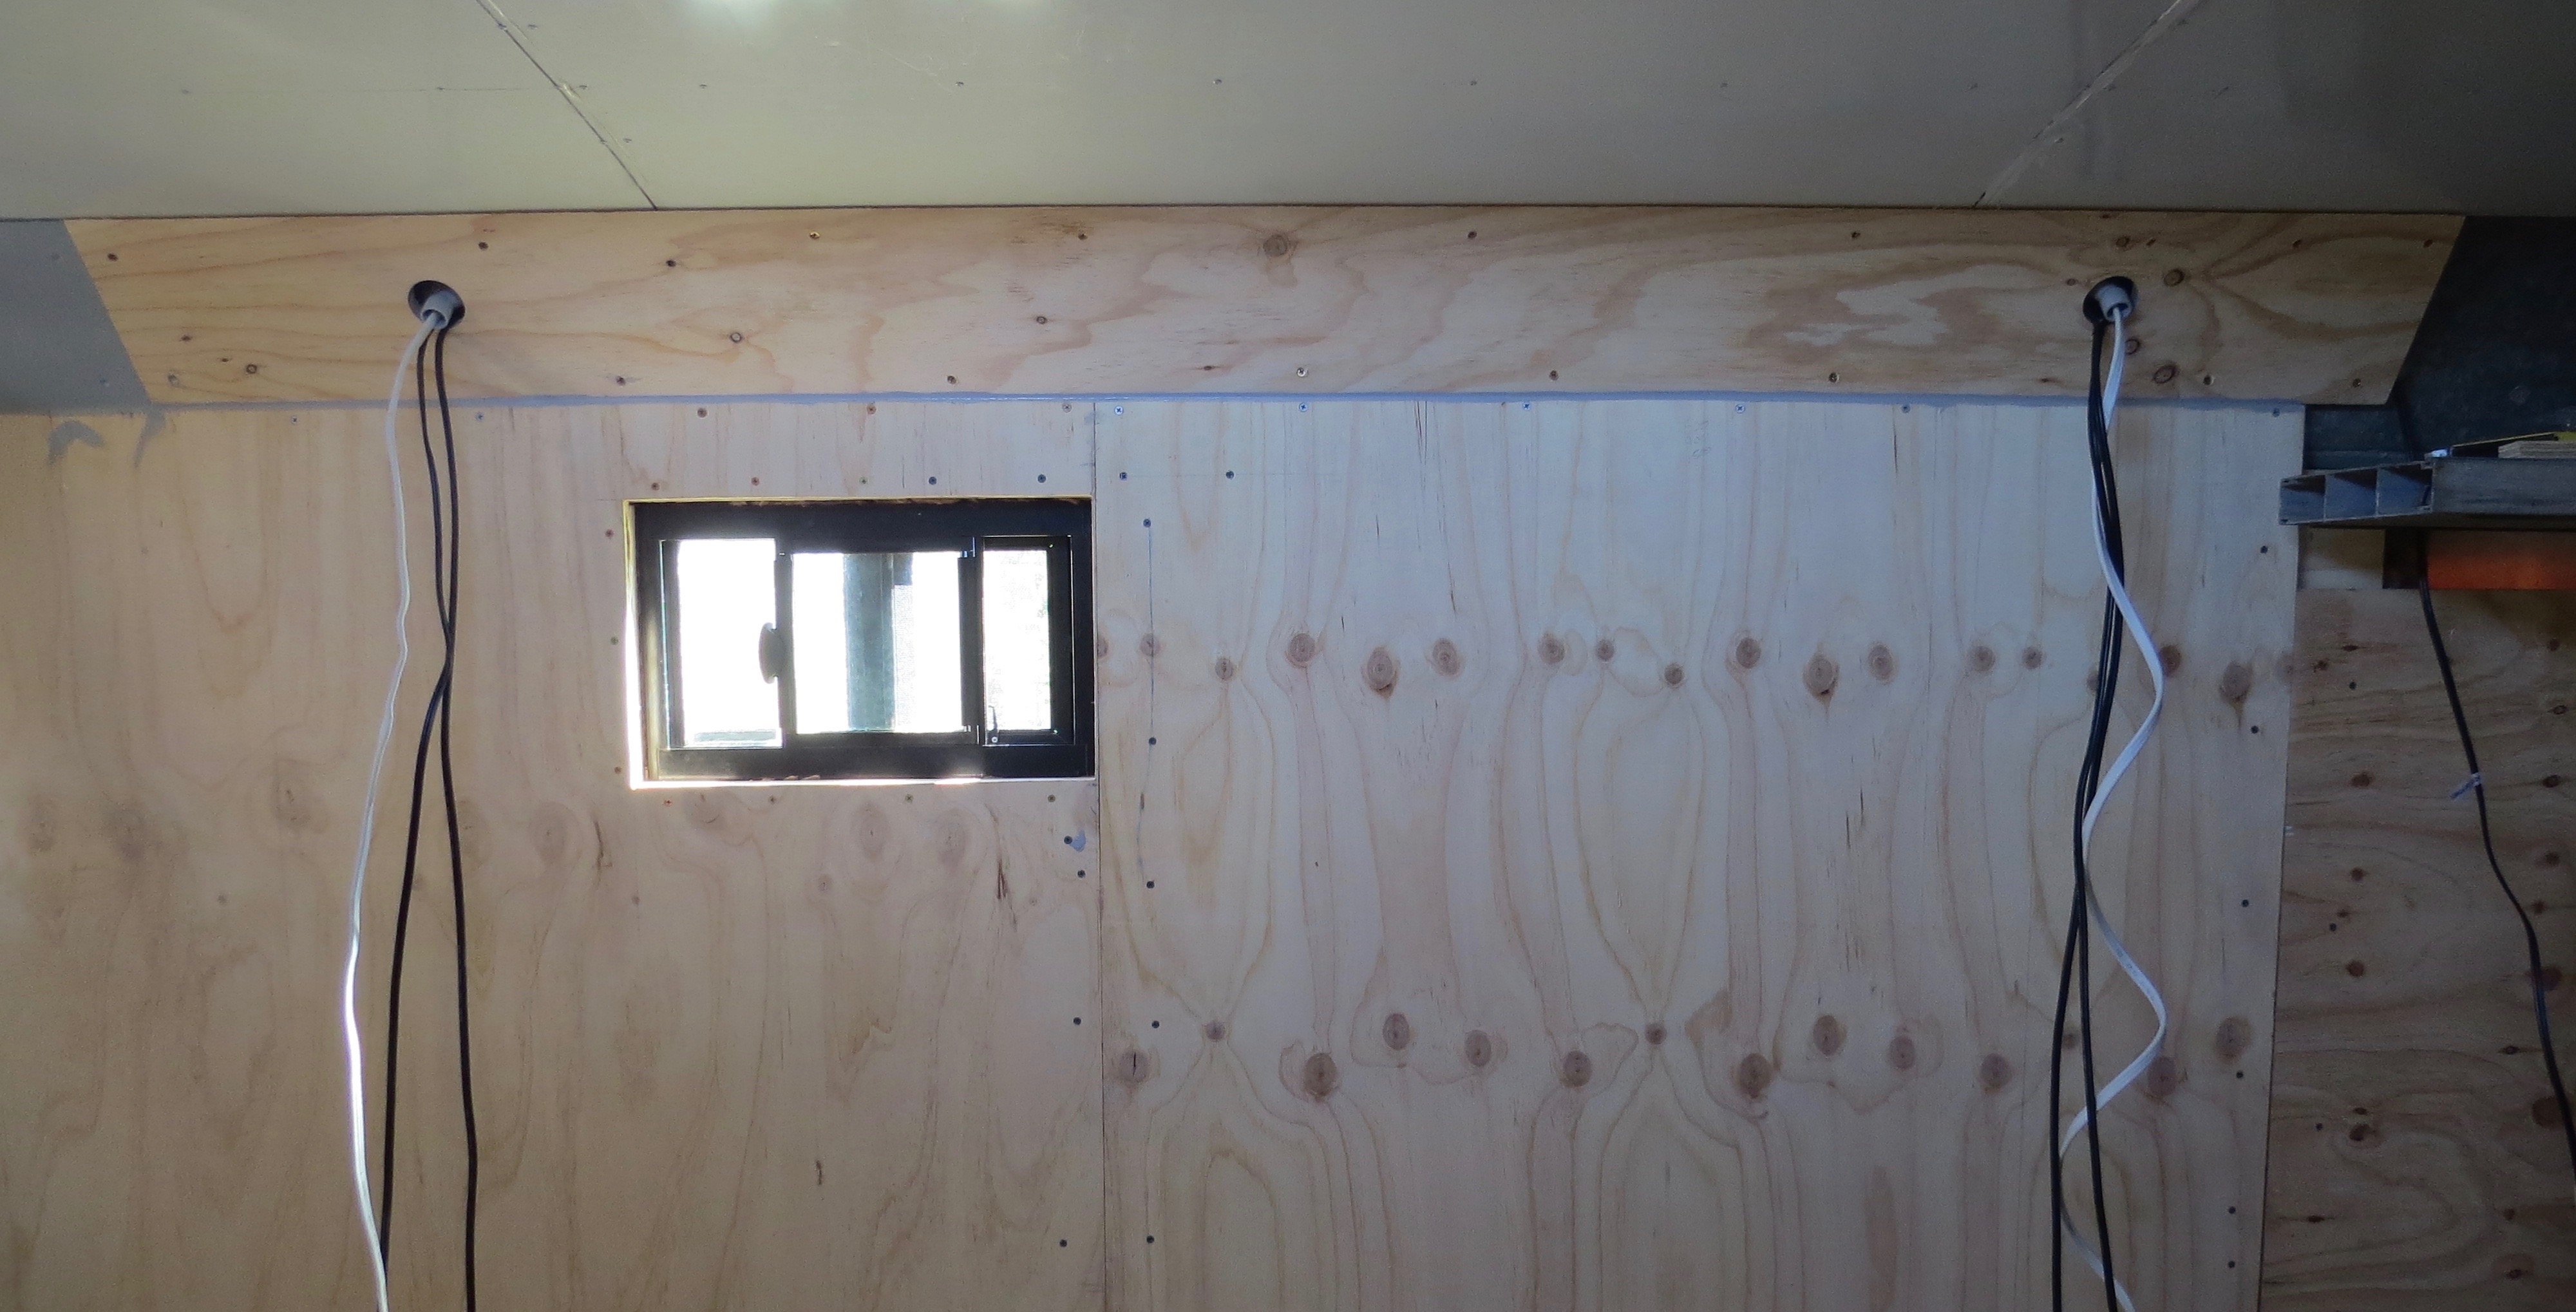
With the bathroom floor in place and water proofed it’s now time to start on the walls. But first we have to work out were the toilet window will go and lets hope it’s in the right place.
Passenger side marking out for toilet window.Let’s hope it’s in the right place.We have a hole in the side of the motorhome.One toilet window in place.Window from the inside.
Now to start on the wall’s
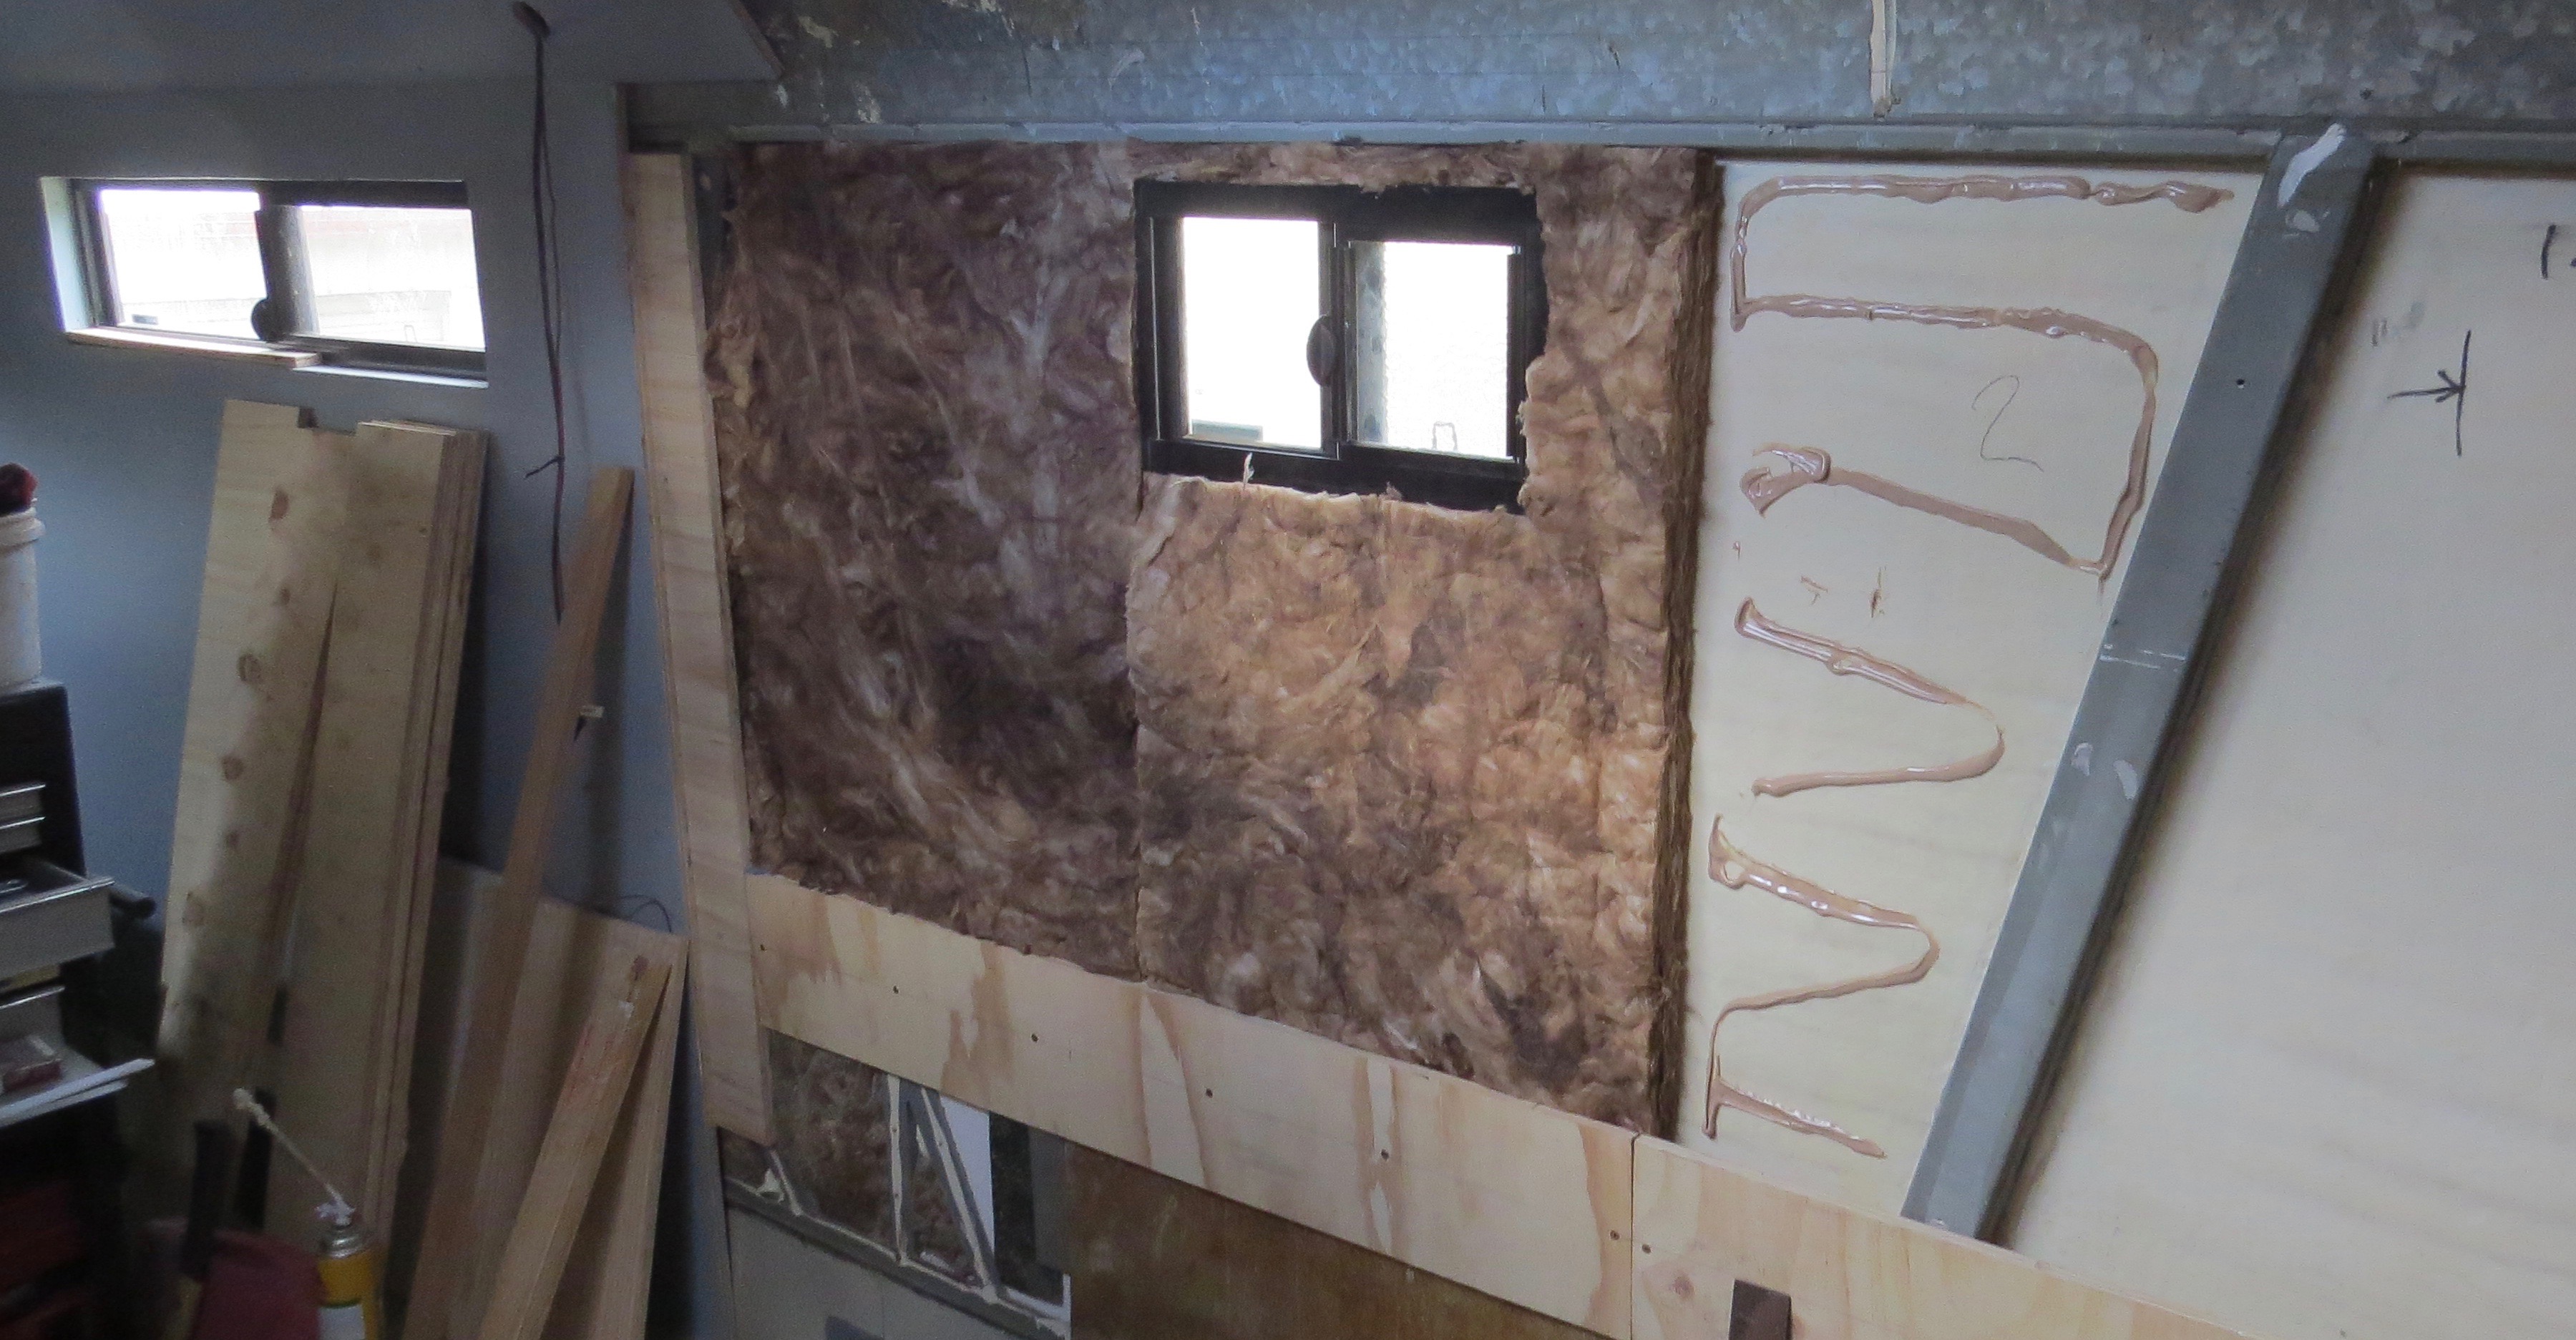
First off is to cut the insulation followed by gluing it in place, a job I love to hate. Second stage is to cut the first sheet of ply to size and making sure the window is cut out in the place. Now it’s time to start fitting it to the side of the coach.
Gluing the insulation in place.That will do for now.1st wall sheet up with window cut out.
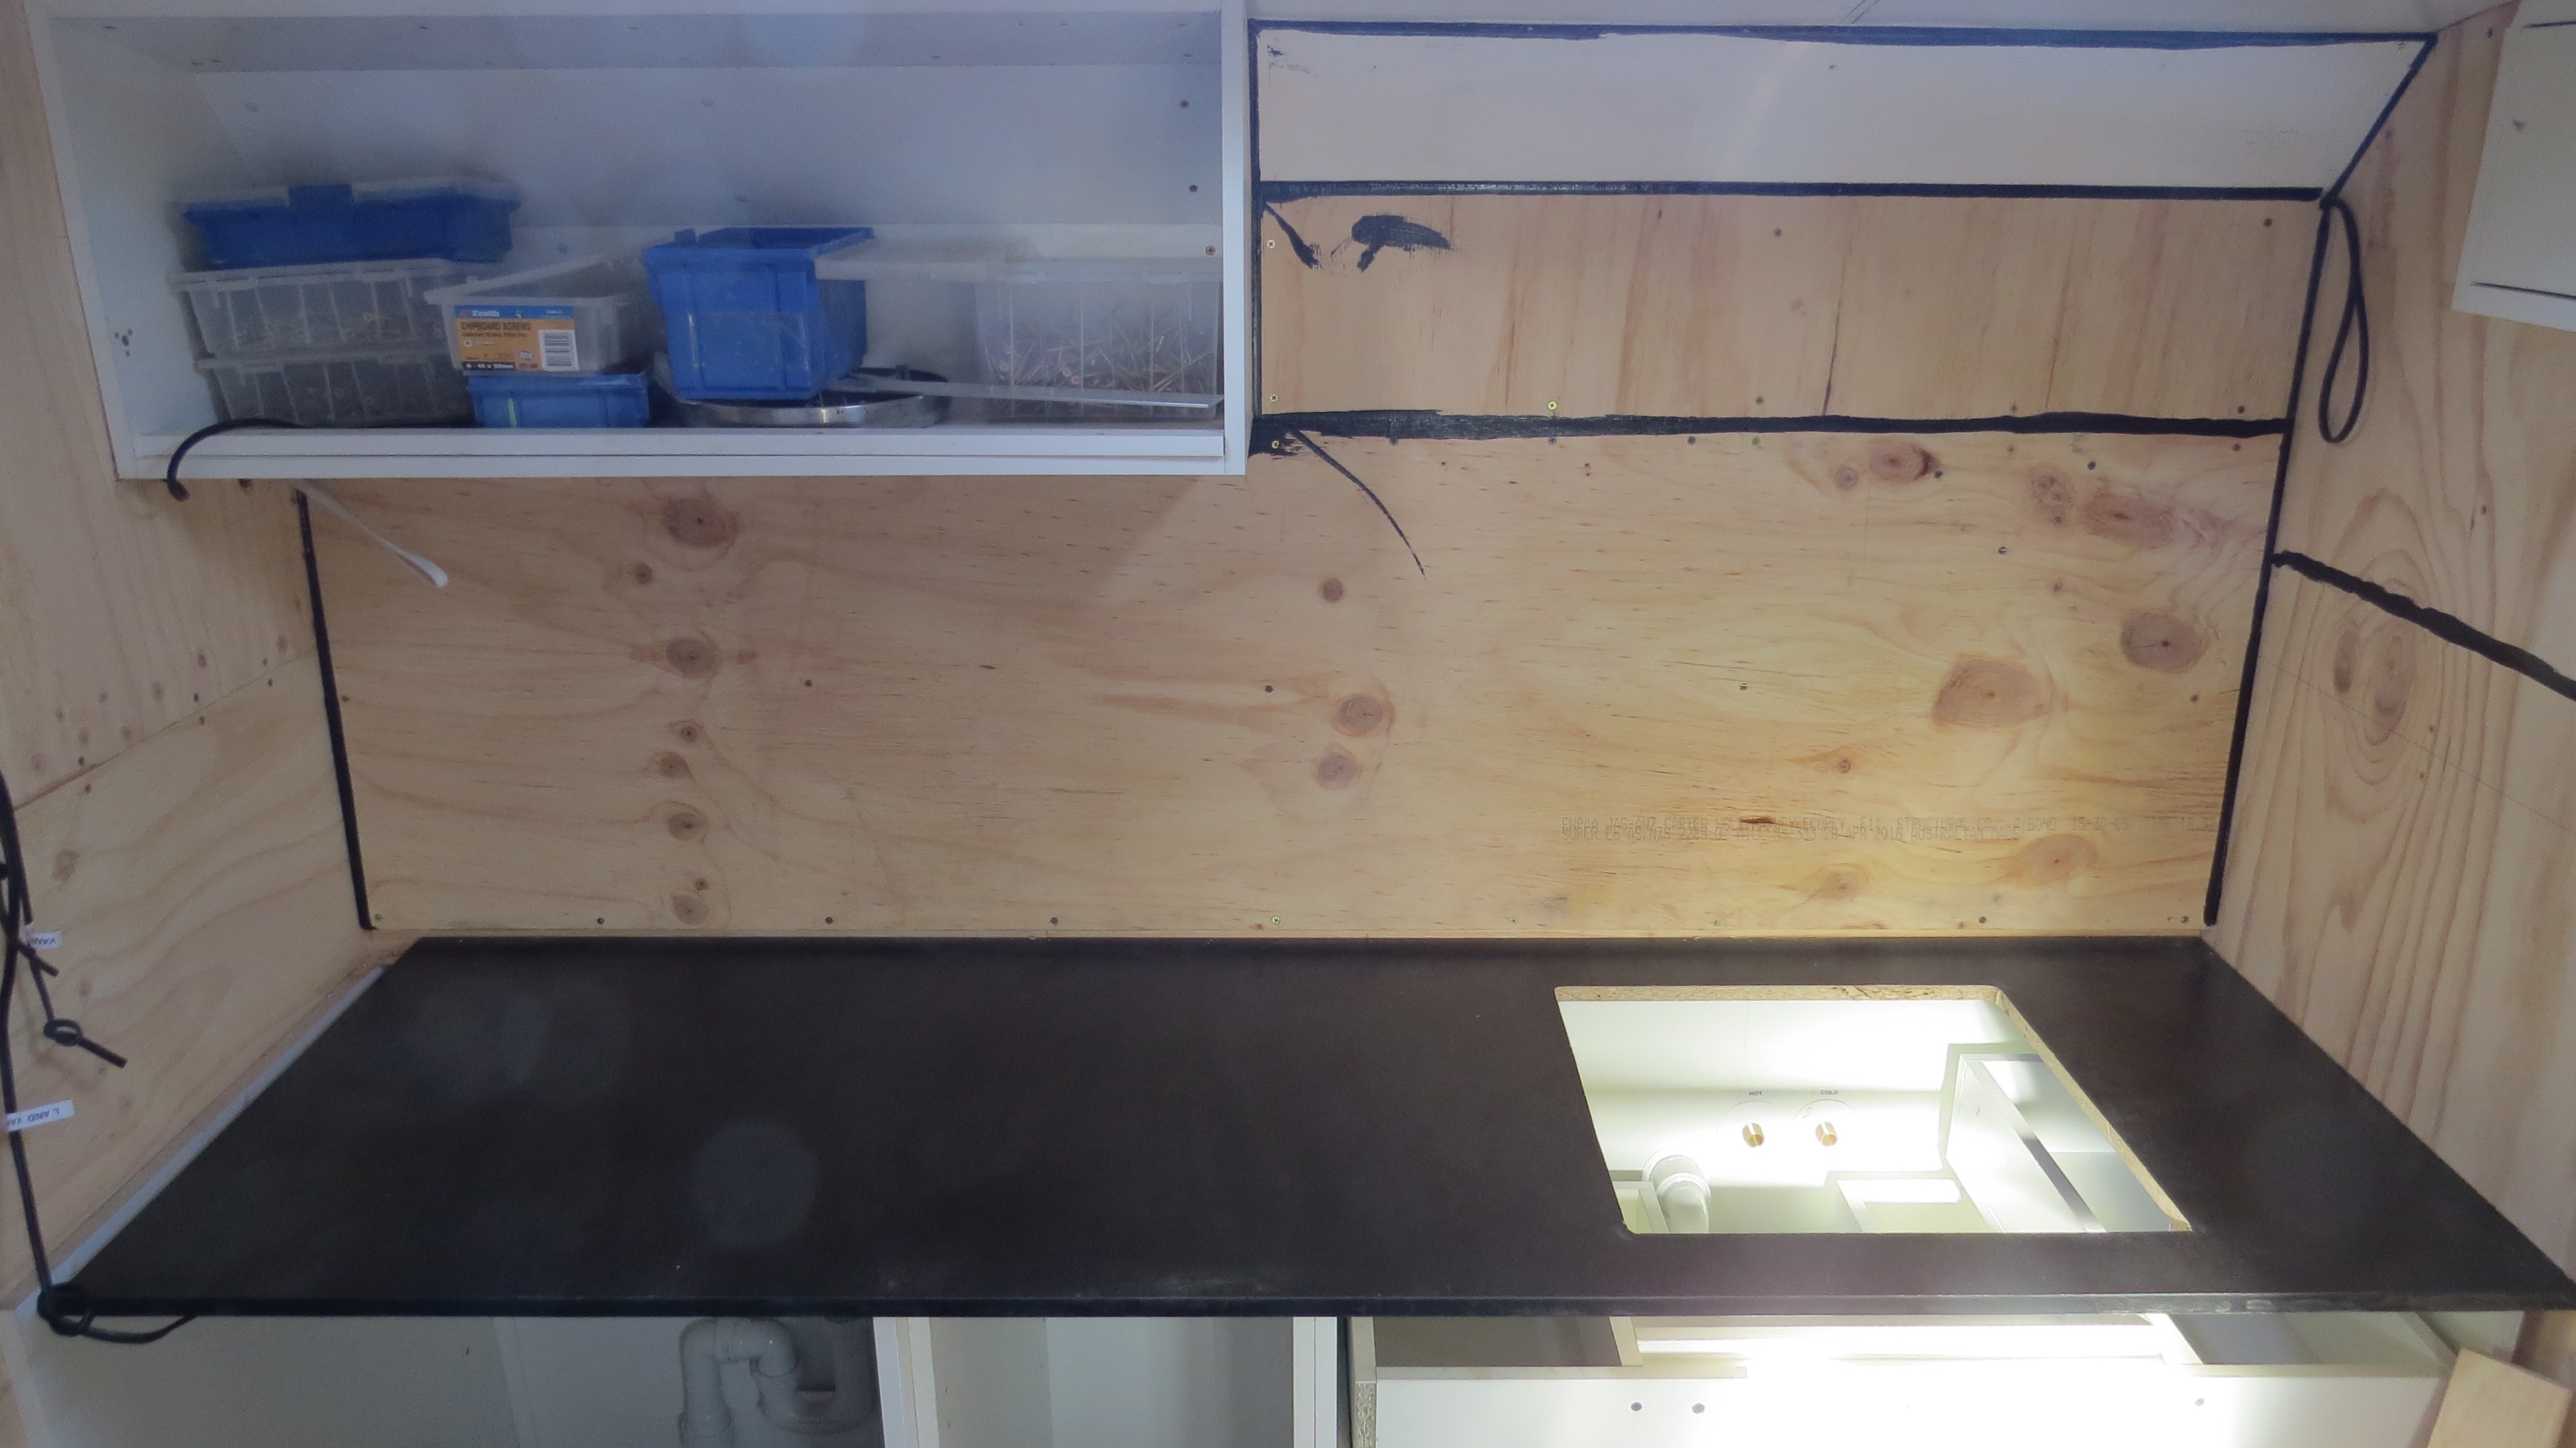
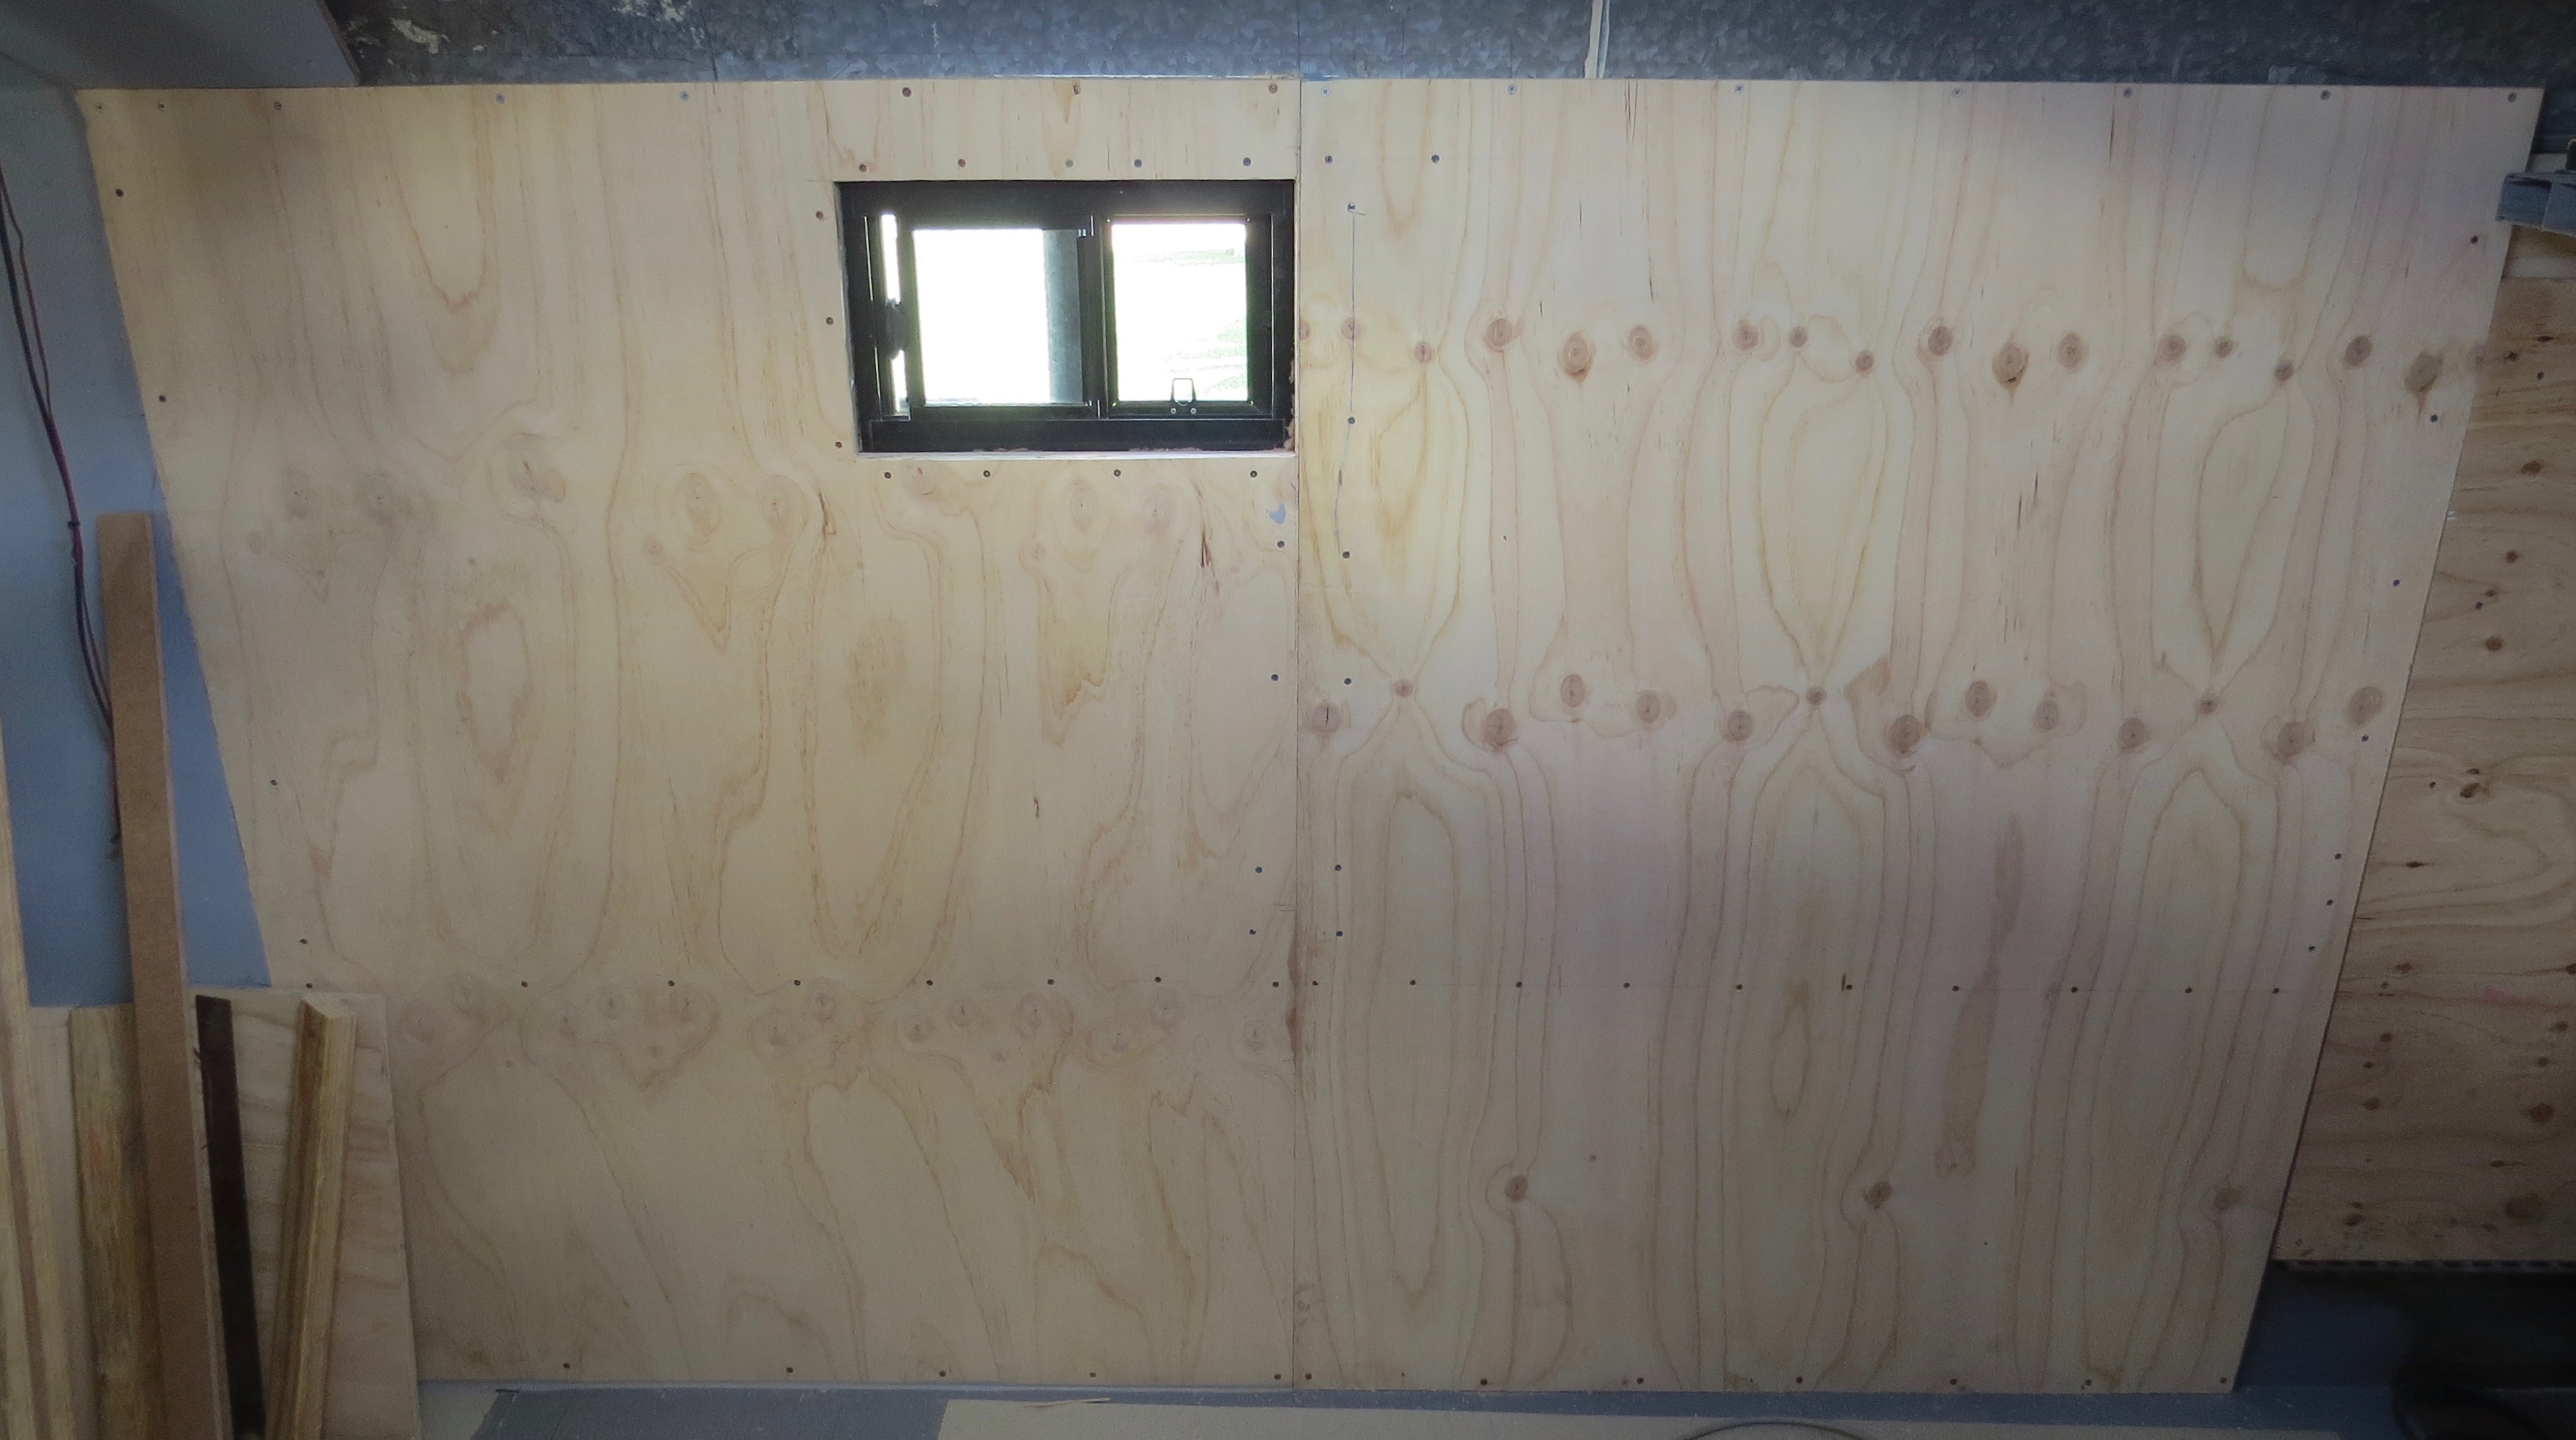
There will be one more sheet put up on this side for the moment which will finish off the bathroom wall and part of the kitchen.
The shower and toilet side is done.
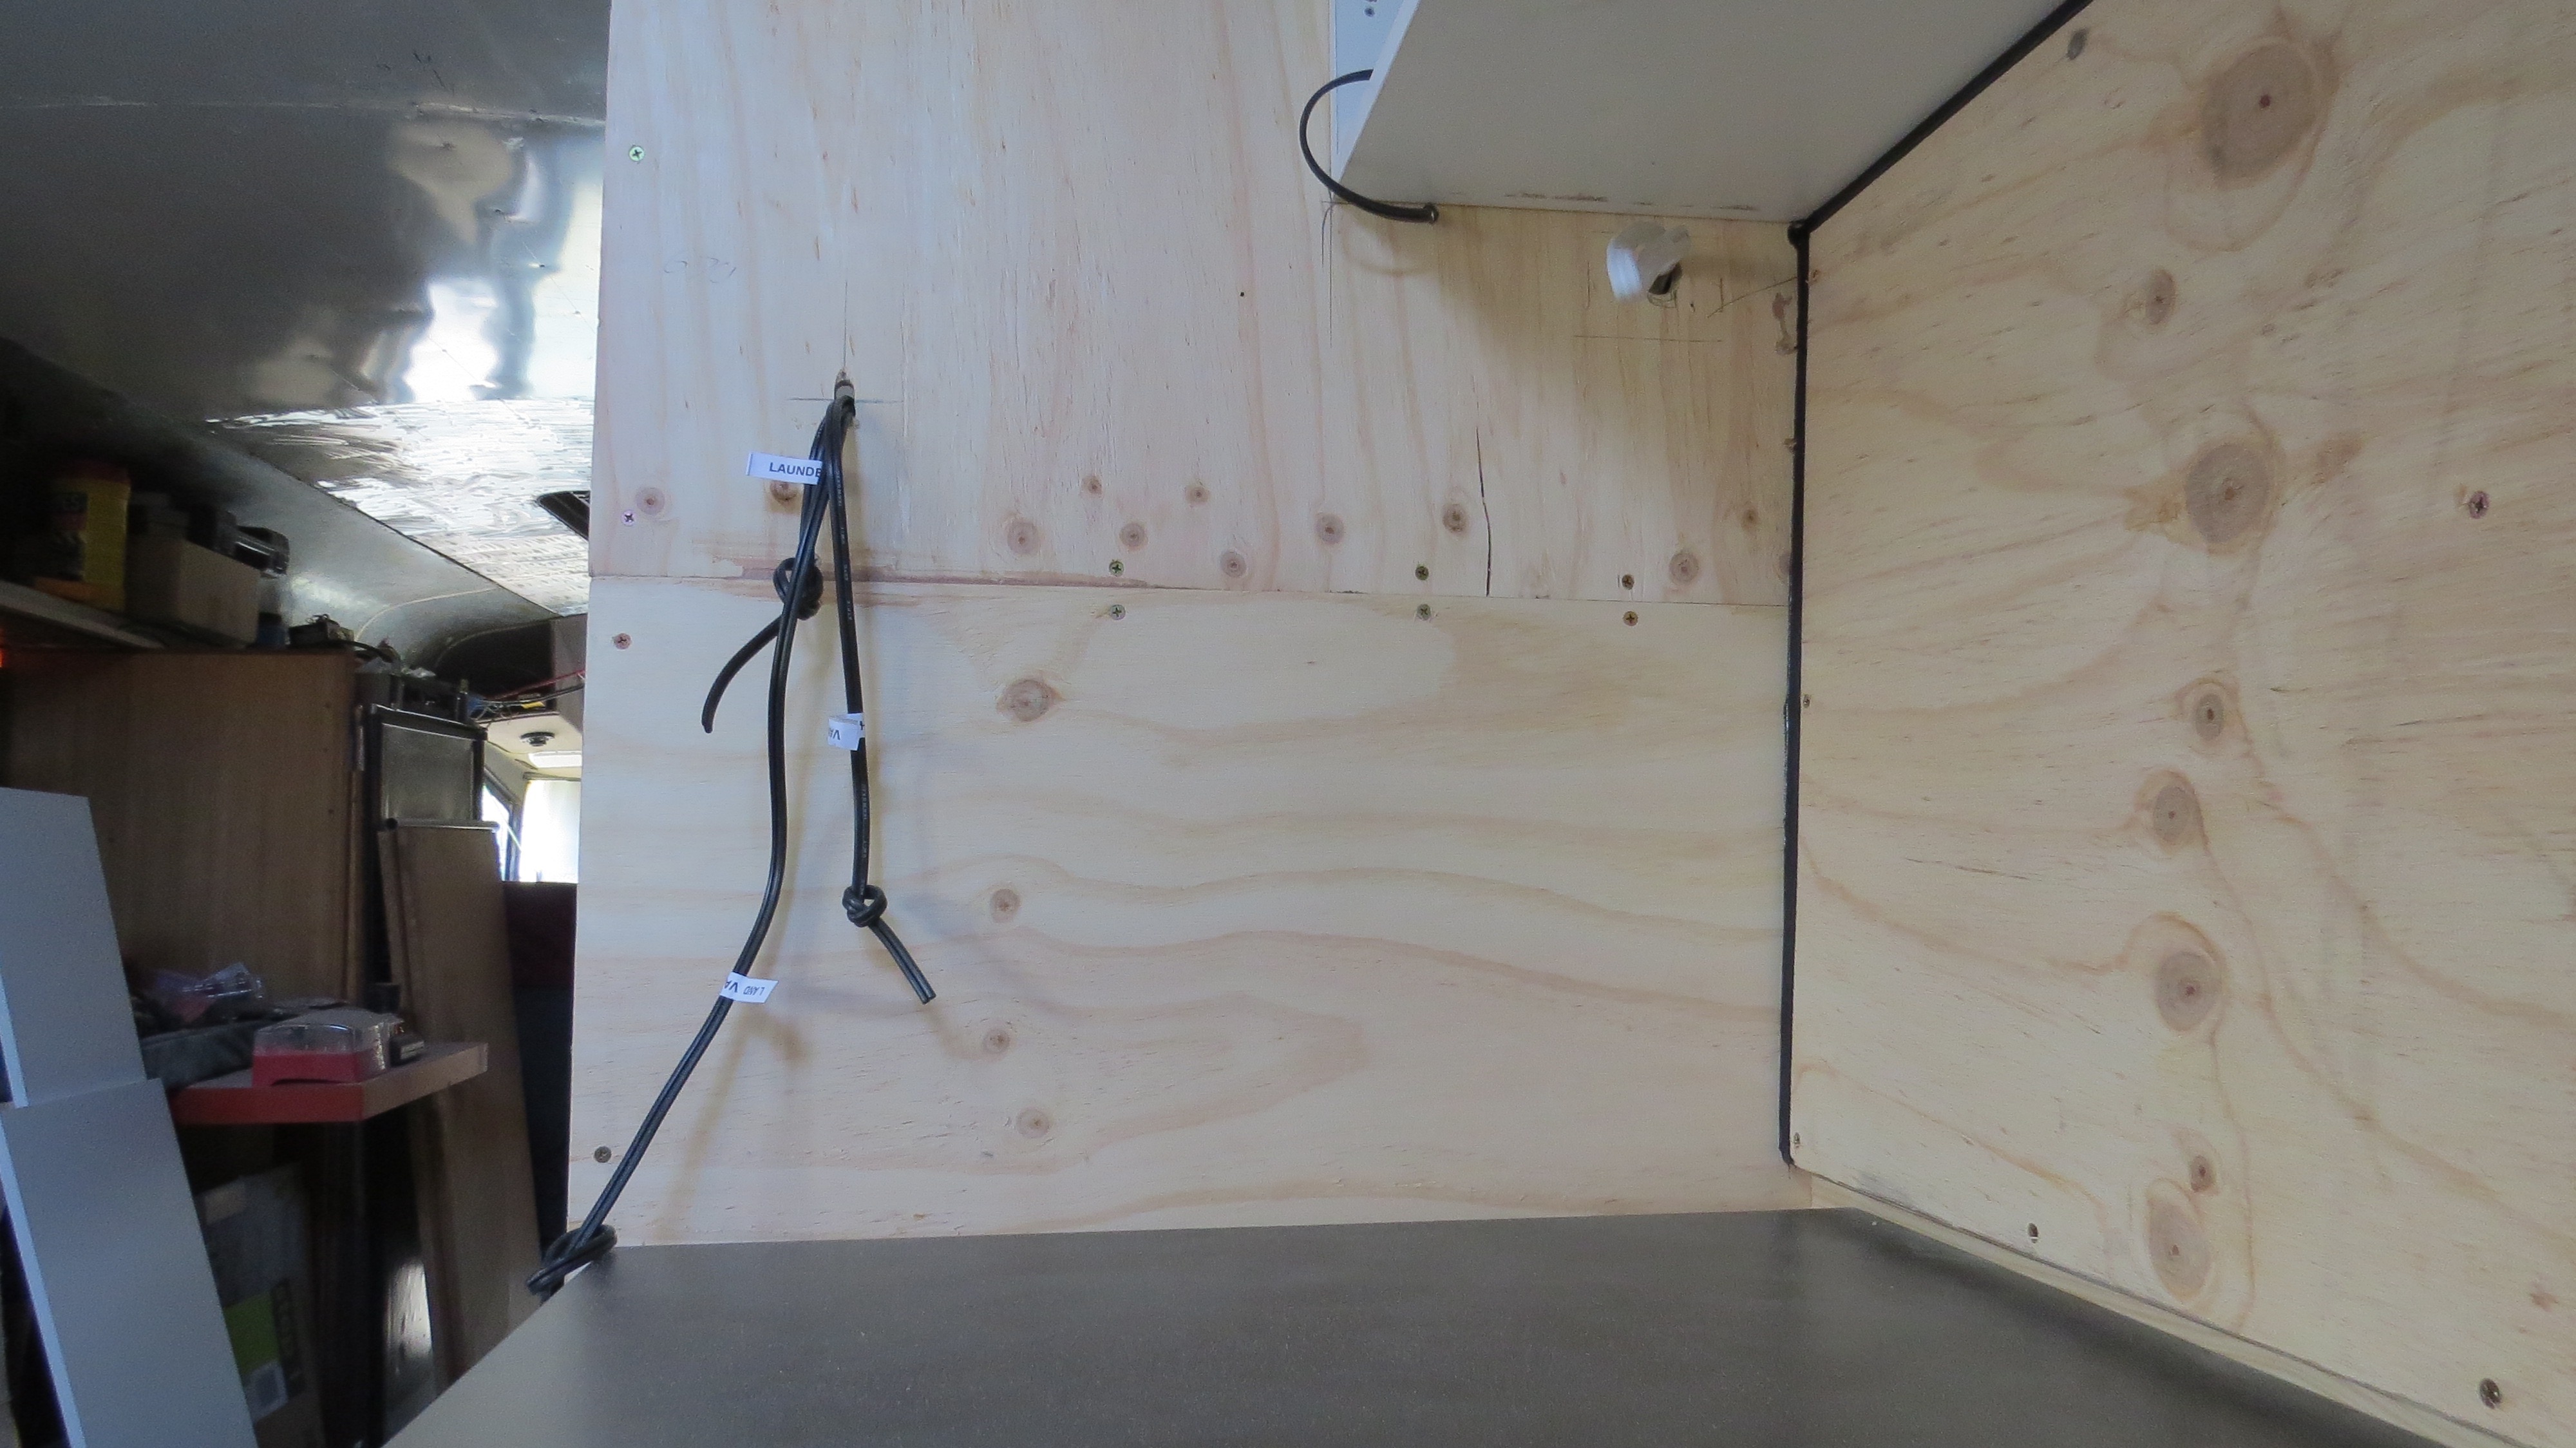
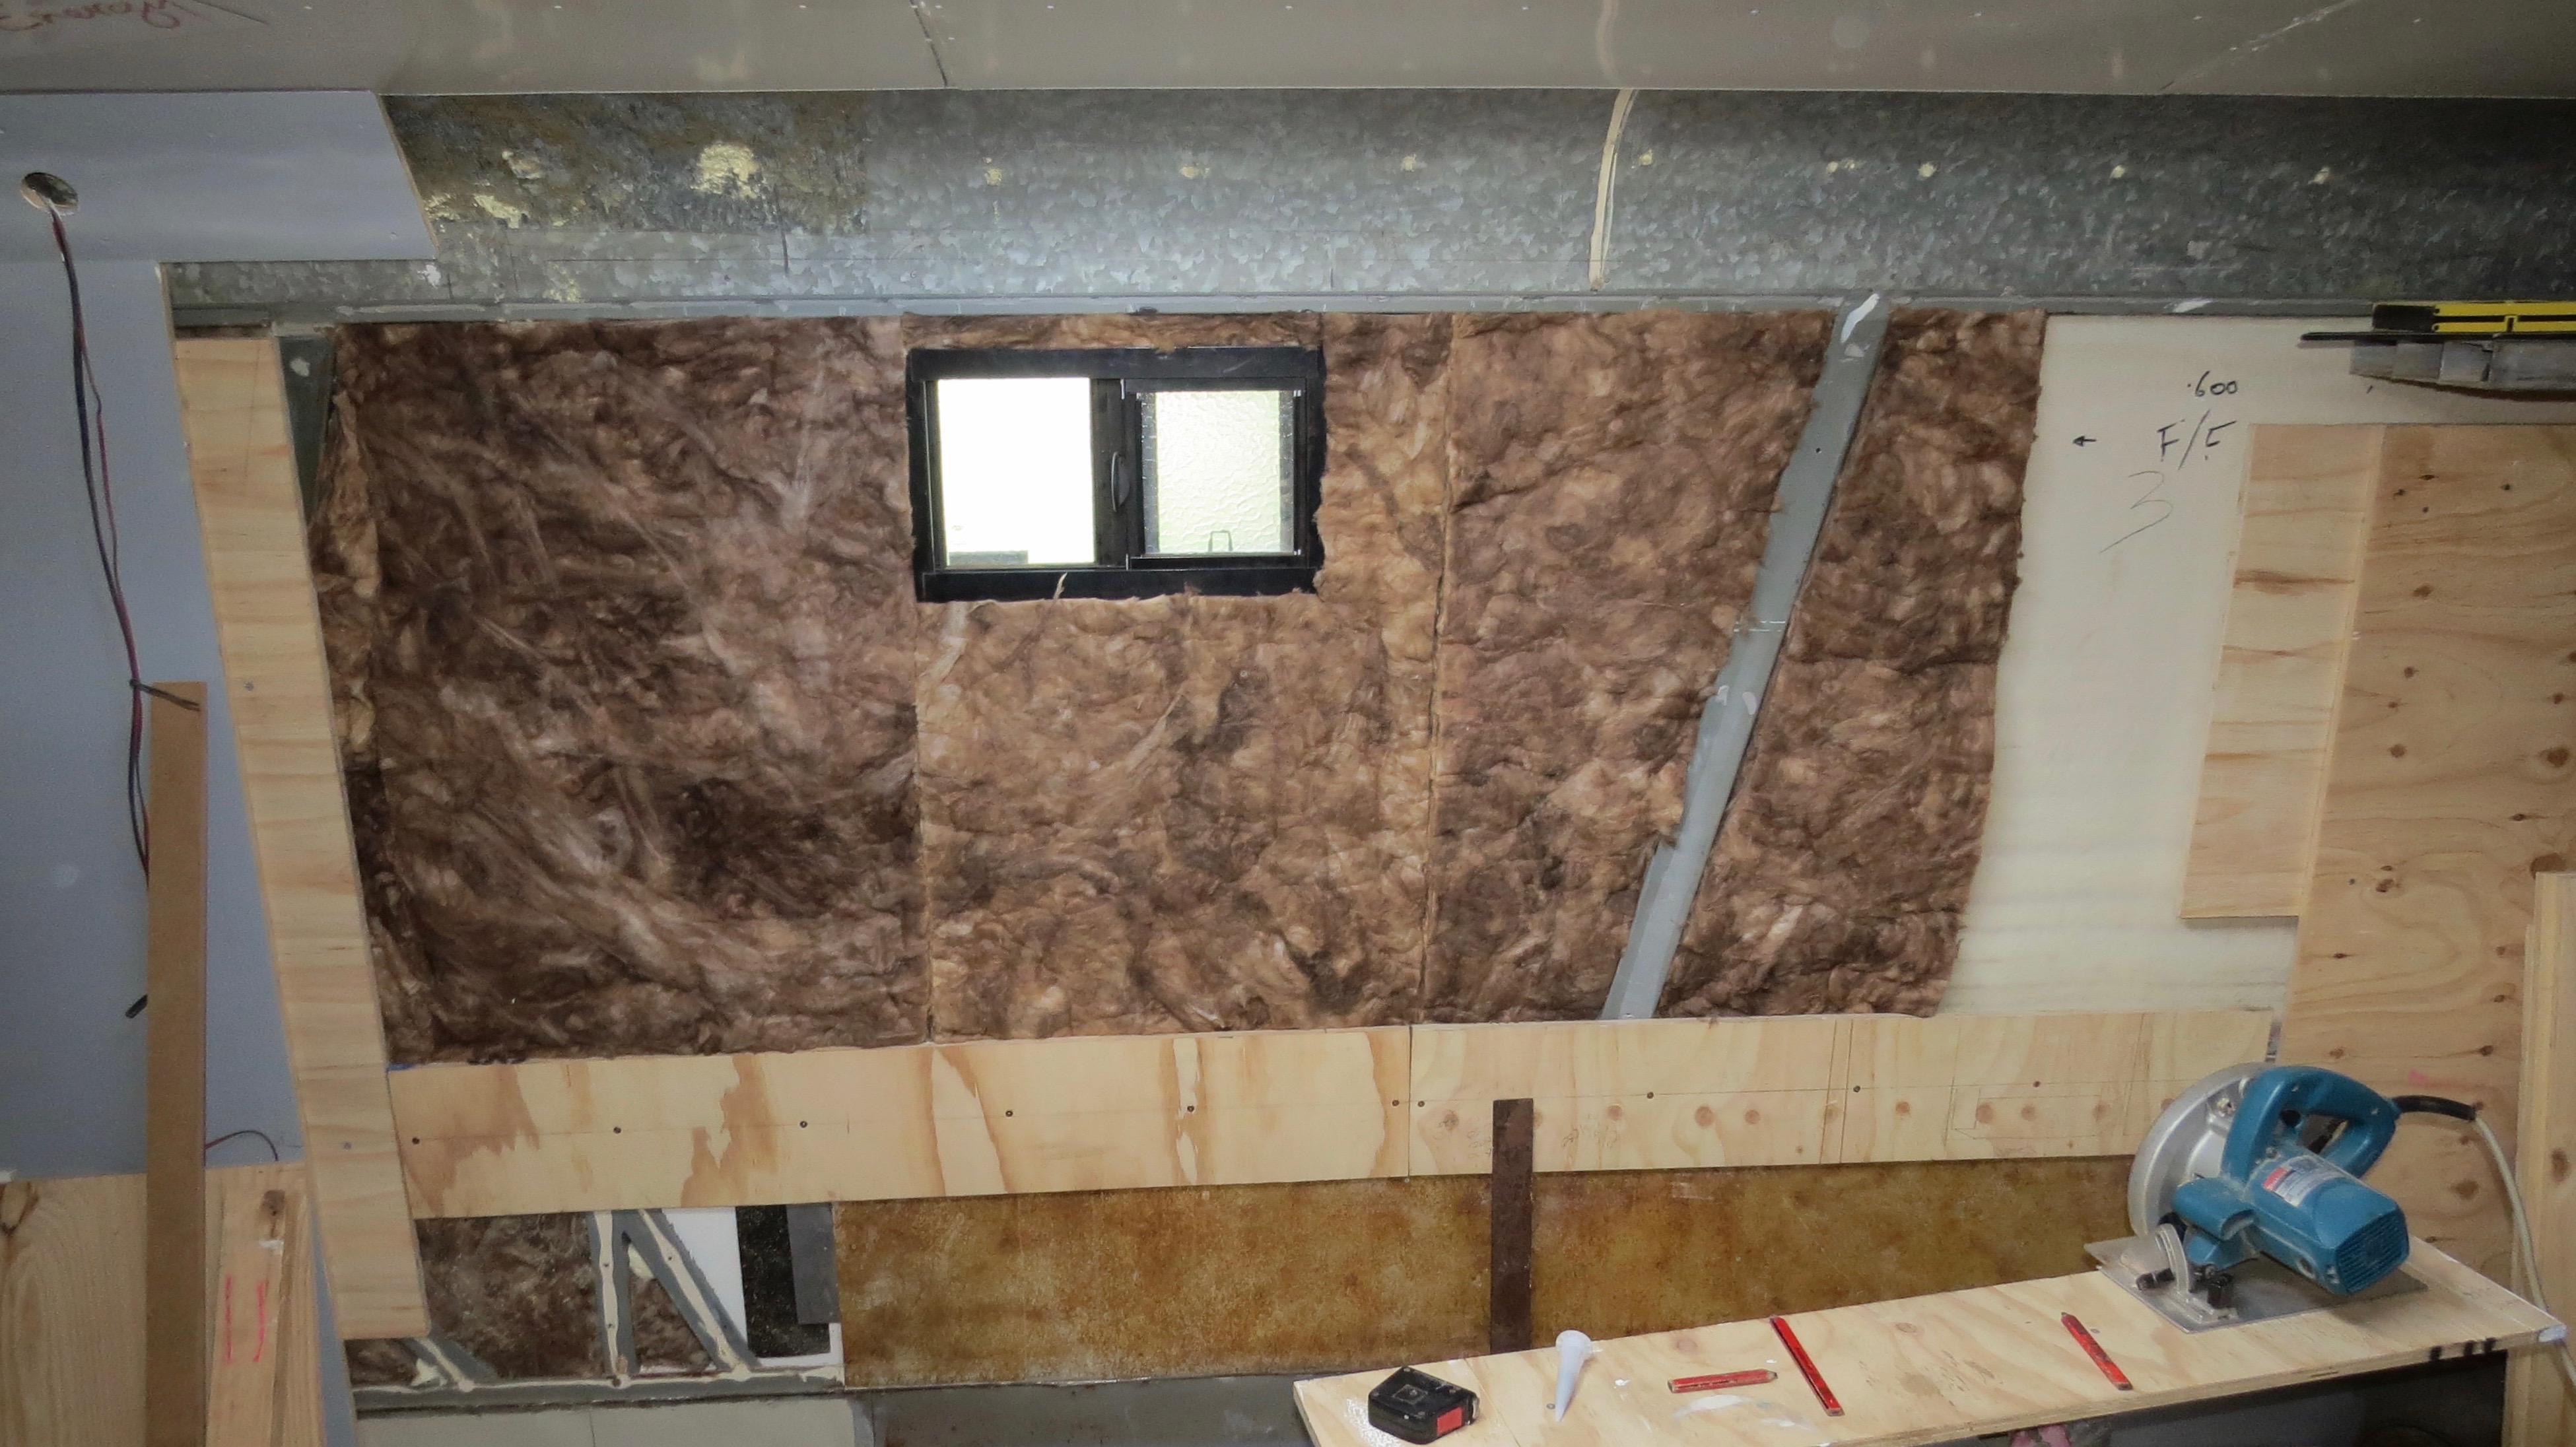
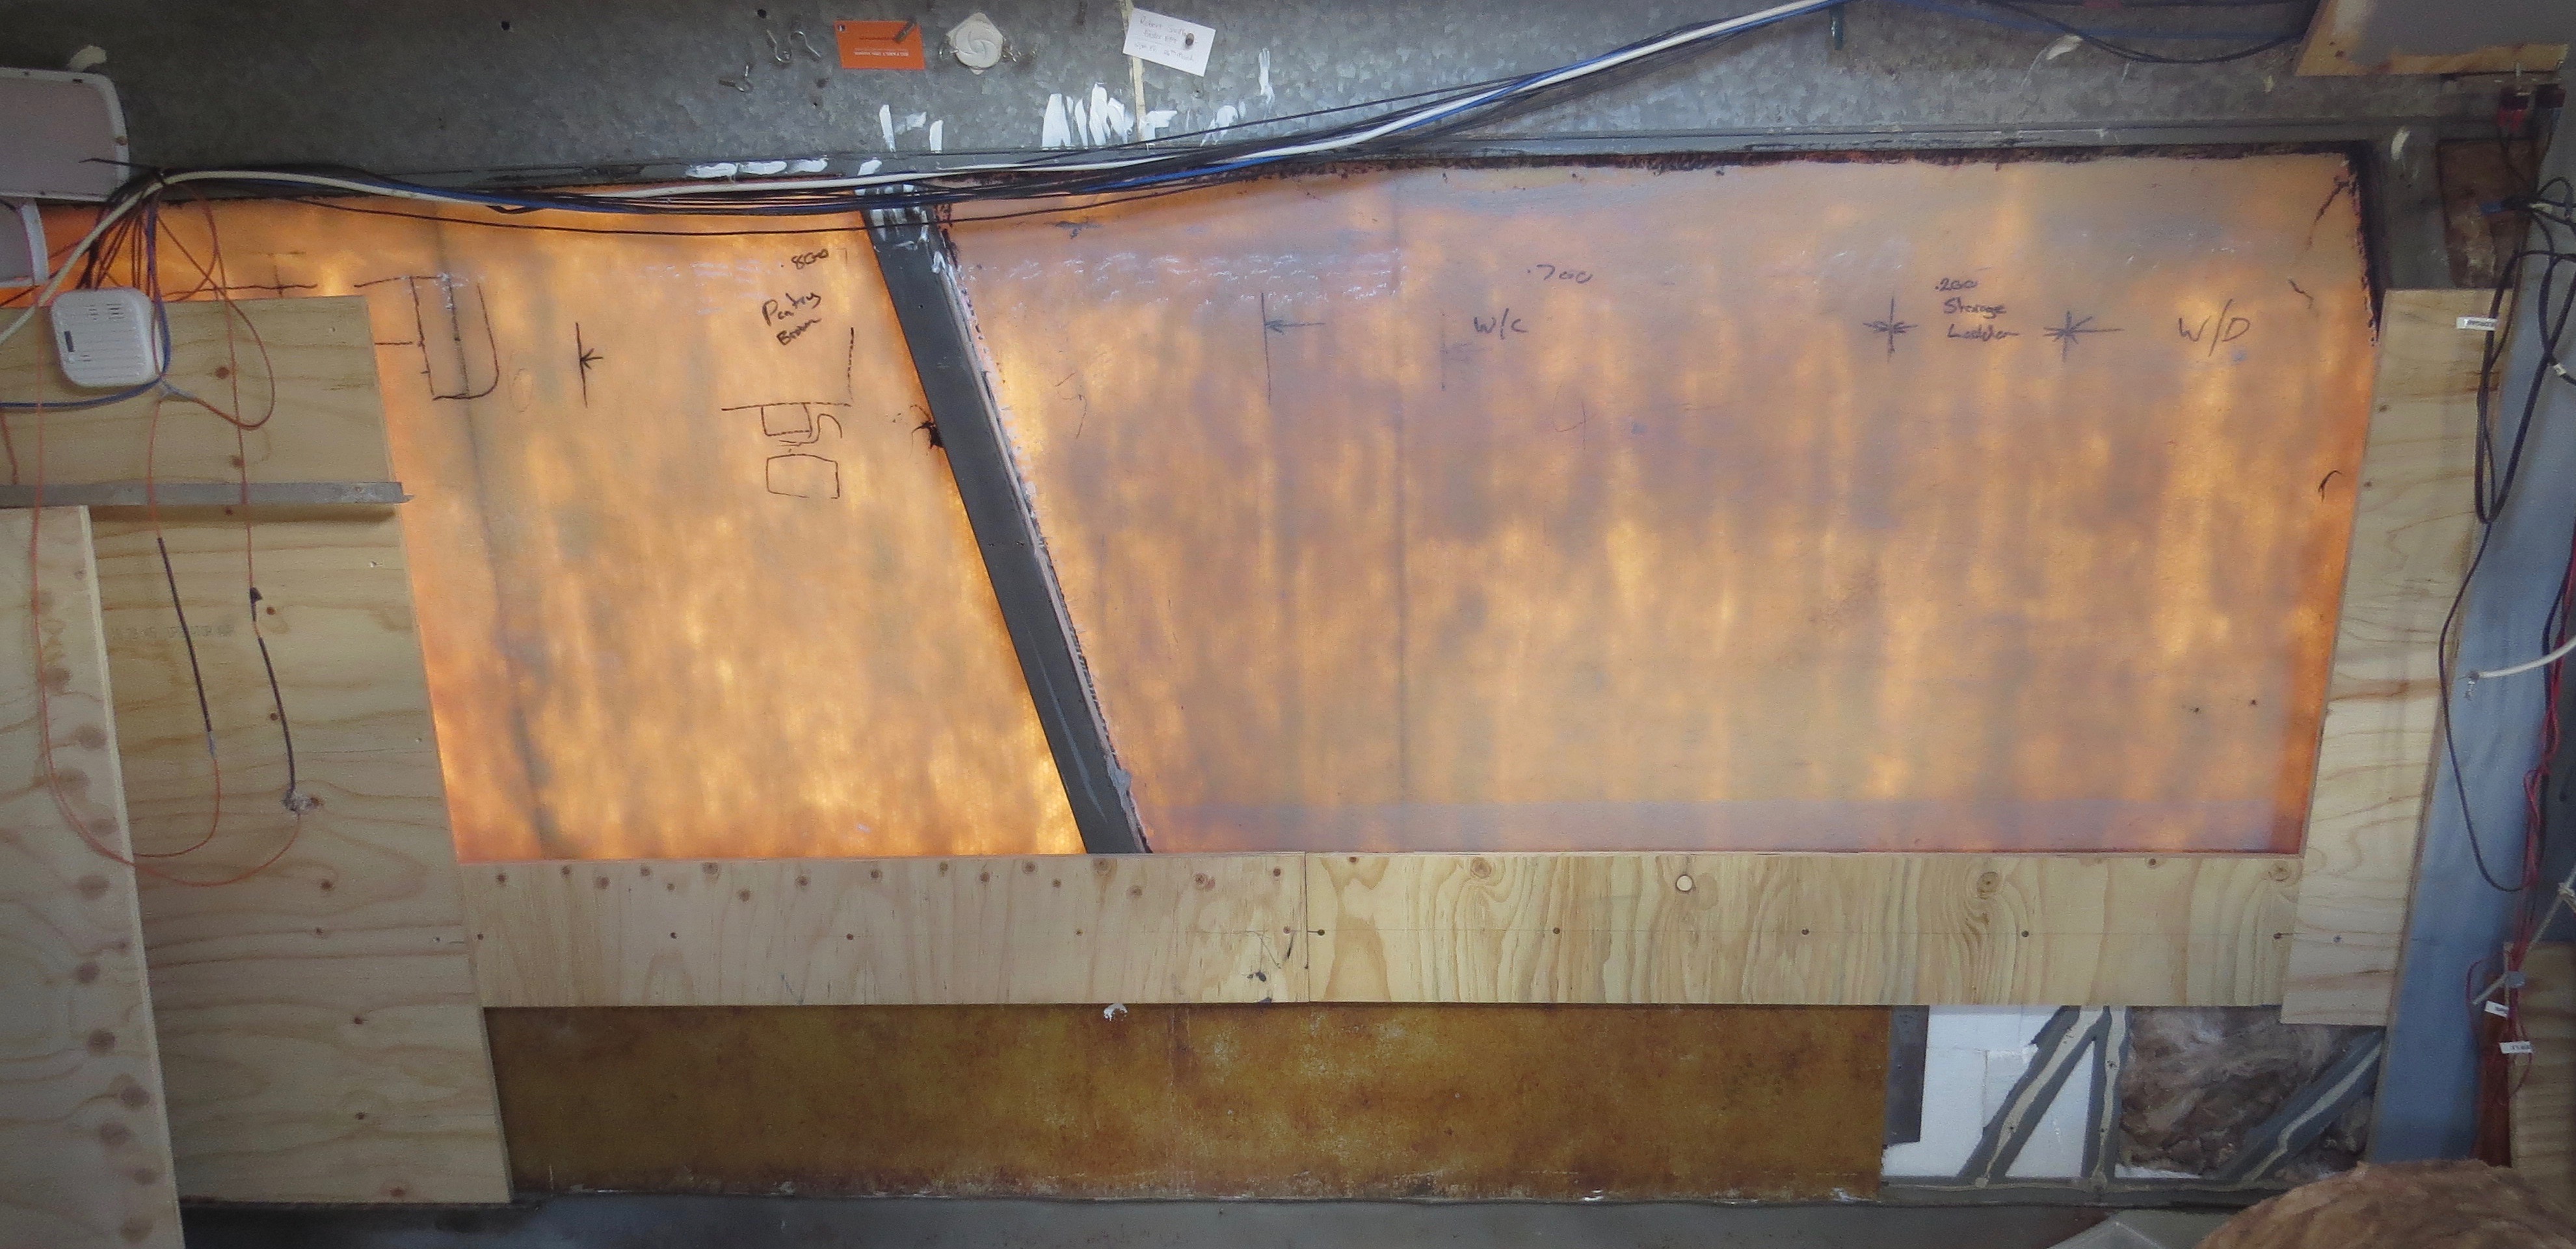
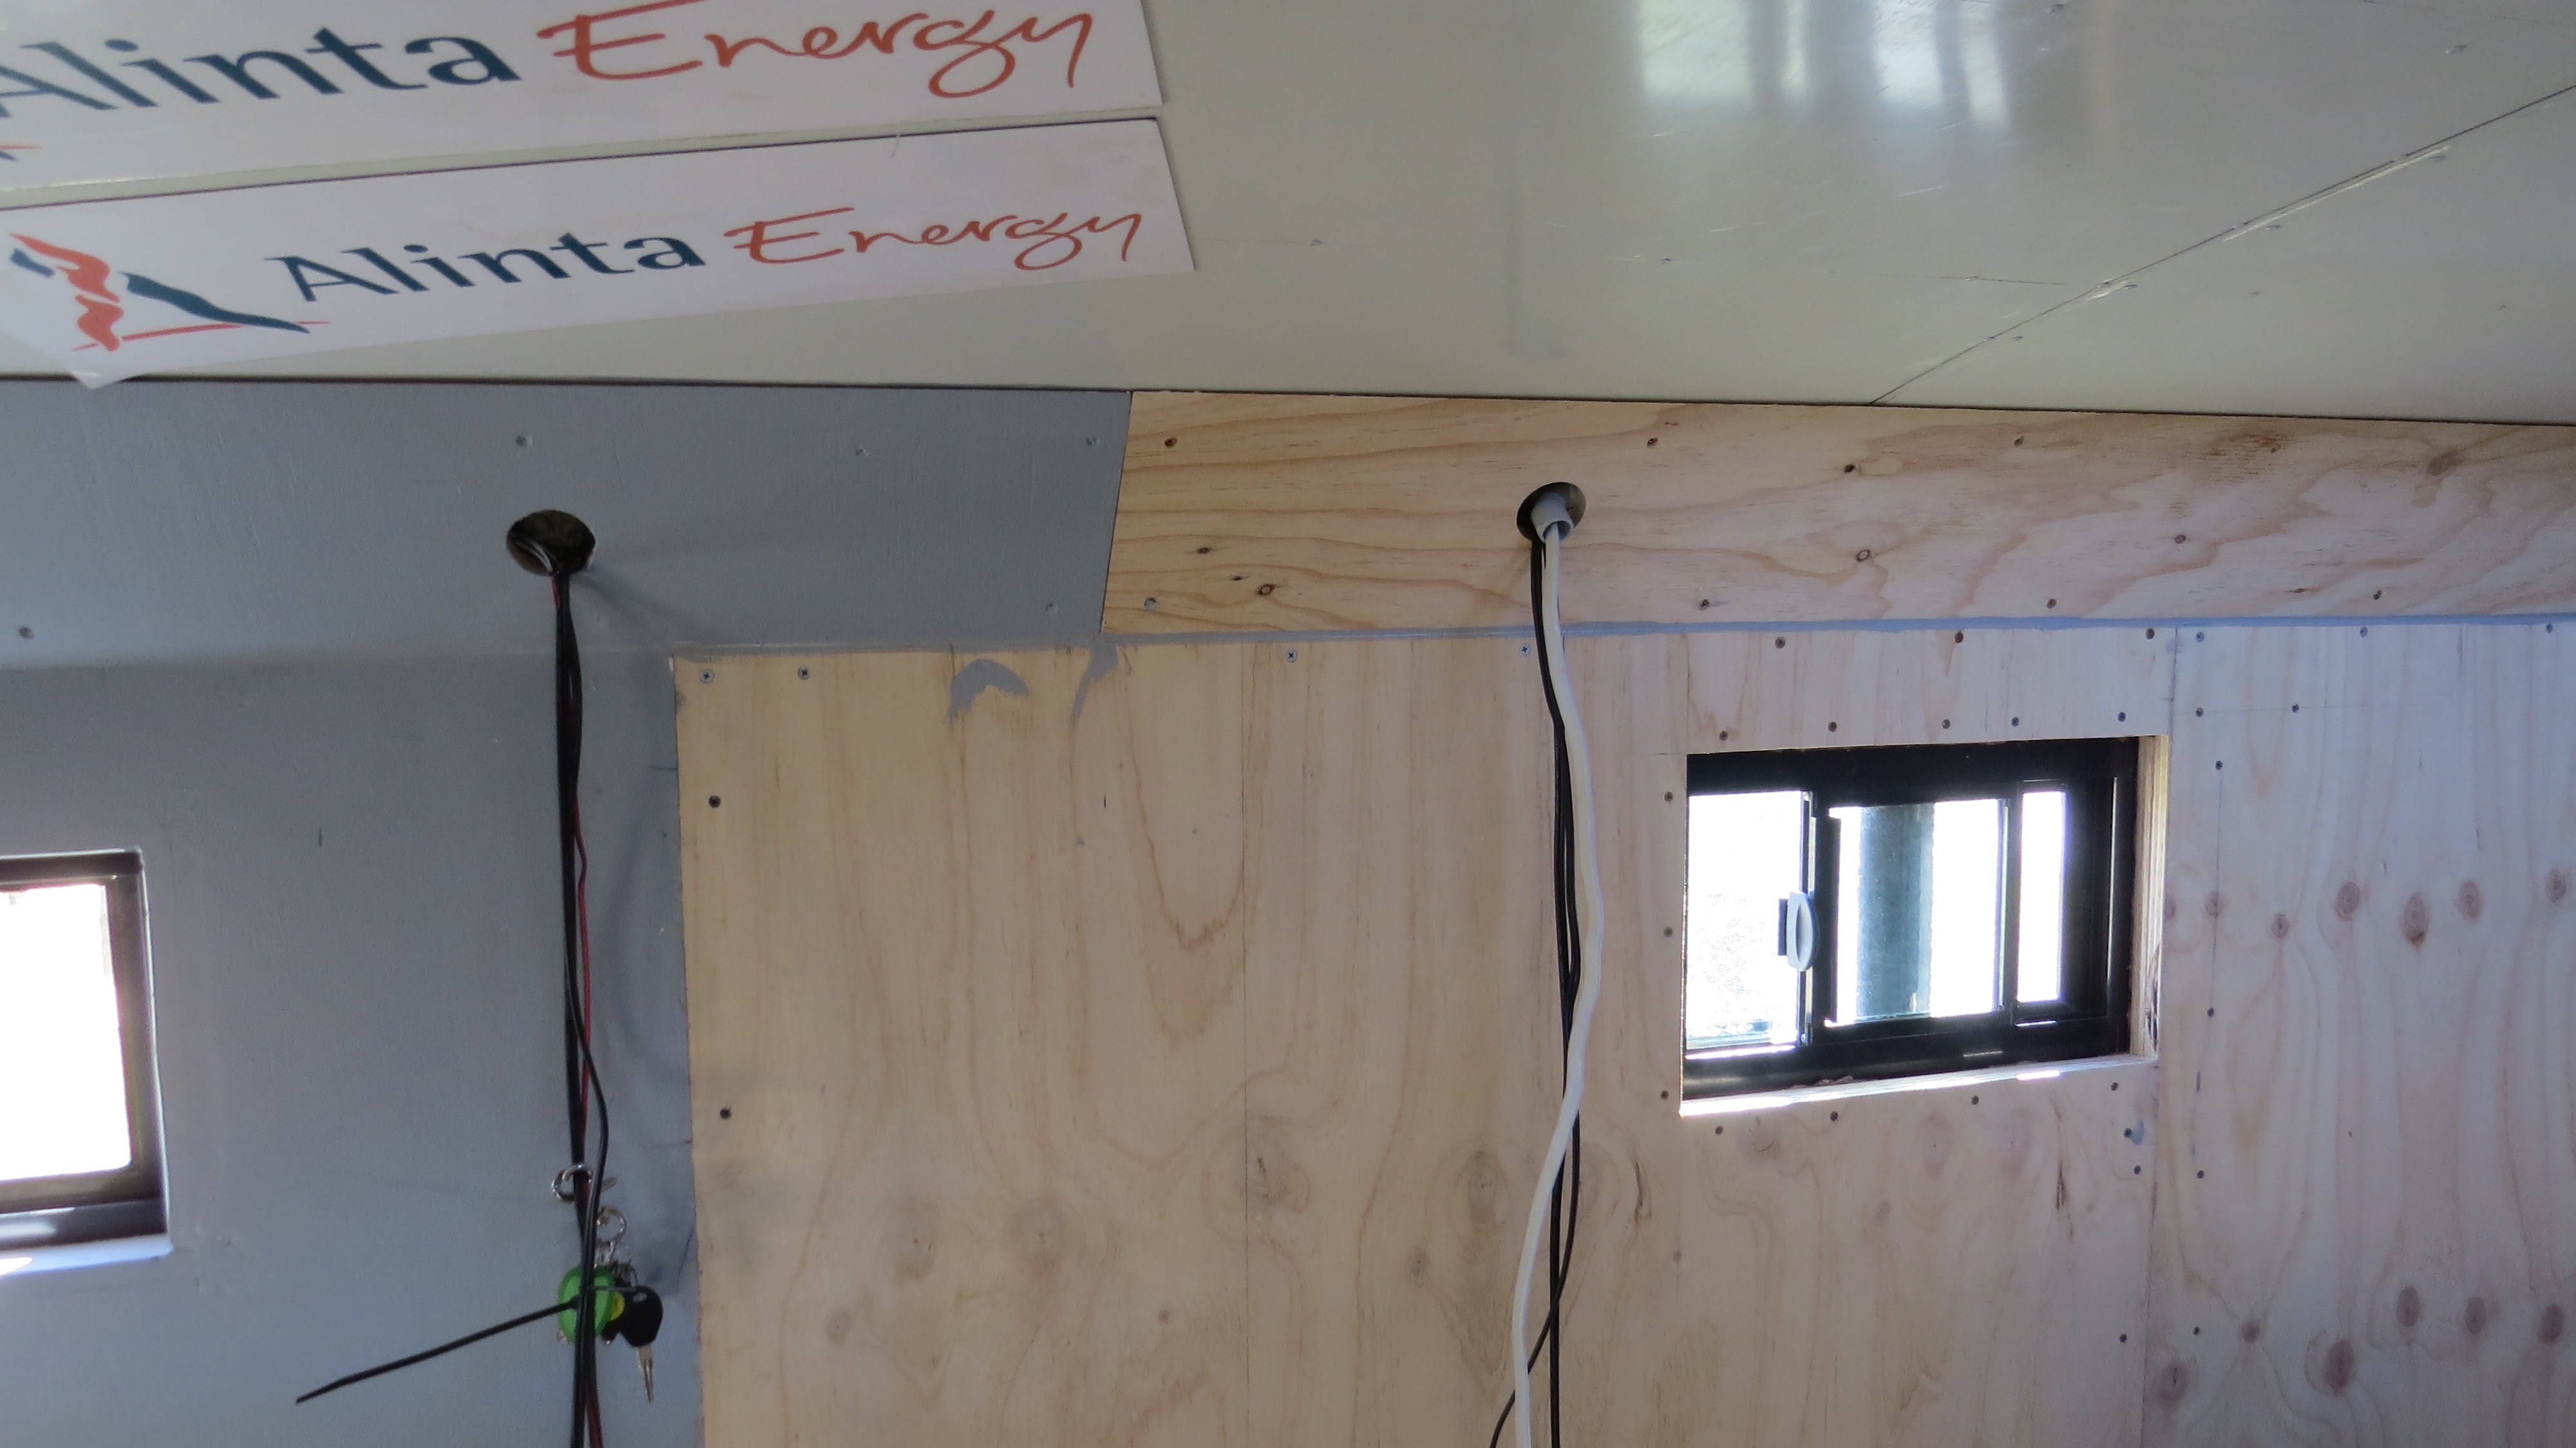
The vanity and laundry side
This side will be straight forward as there is no window to go on this wall at all. So it’s just gluing the insulation in place then cutting the ply to size. Screw some packing in place so I can glue and screw the ply to the wall.
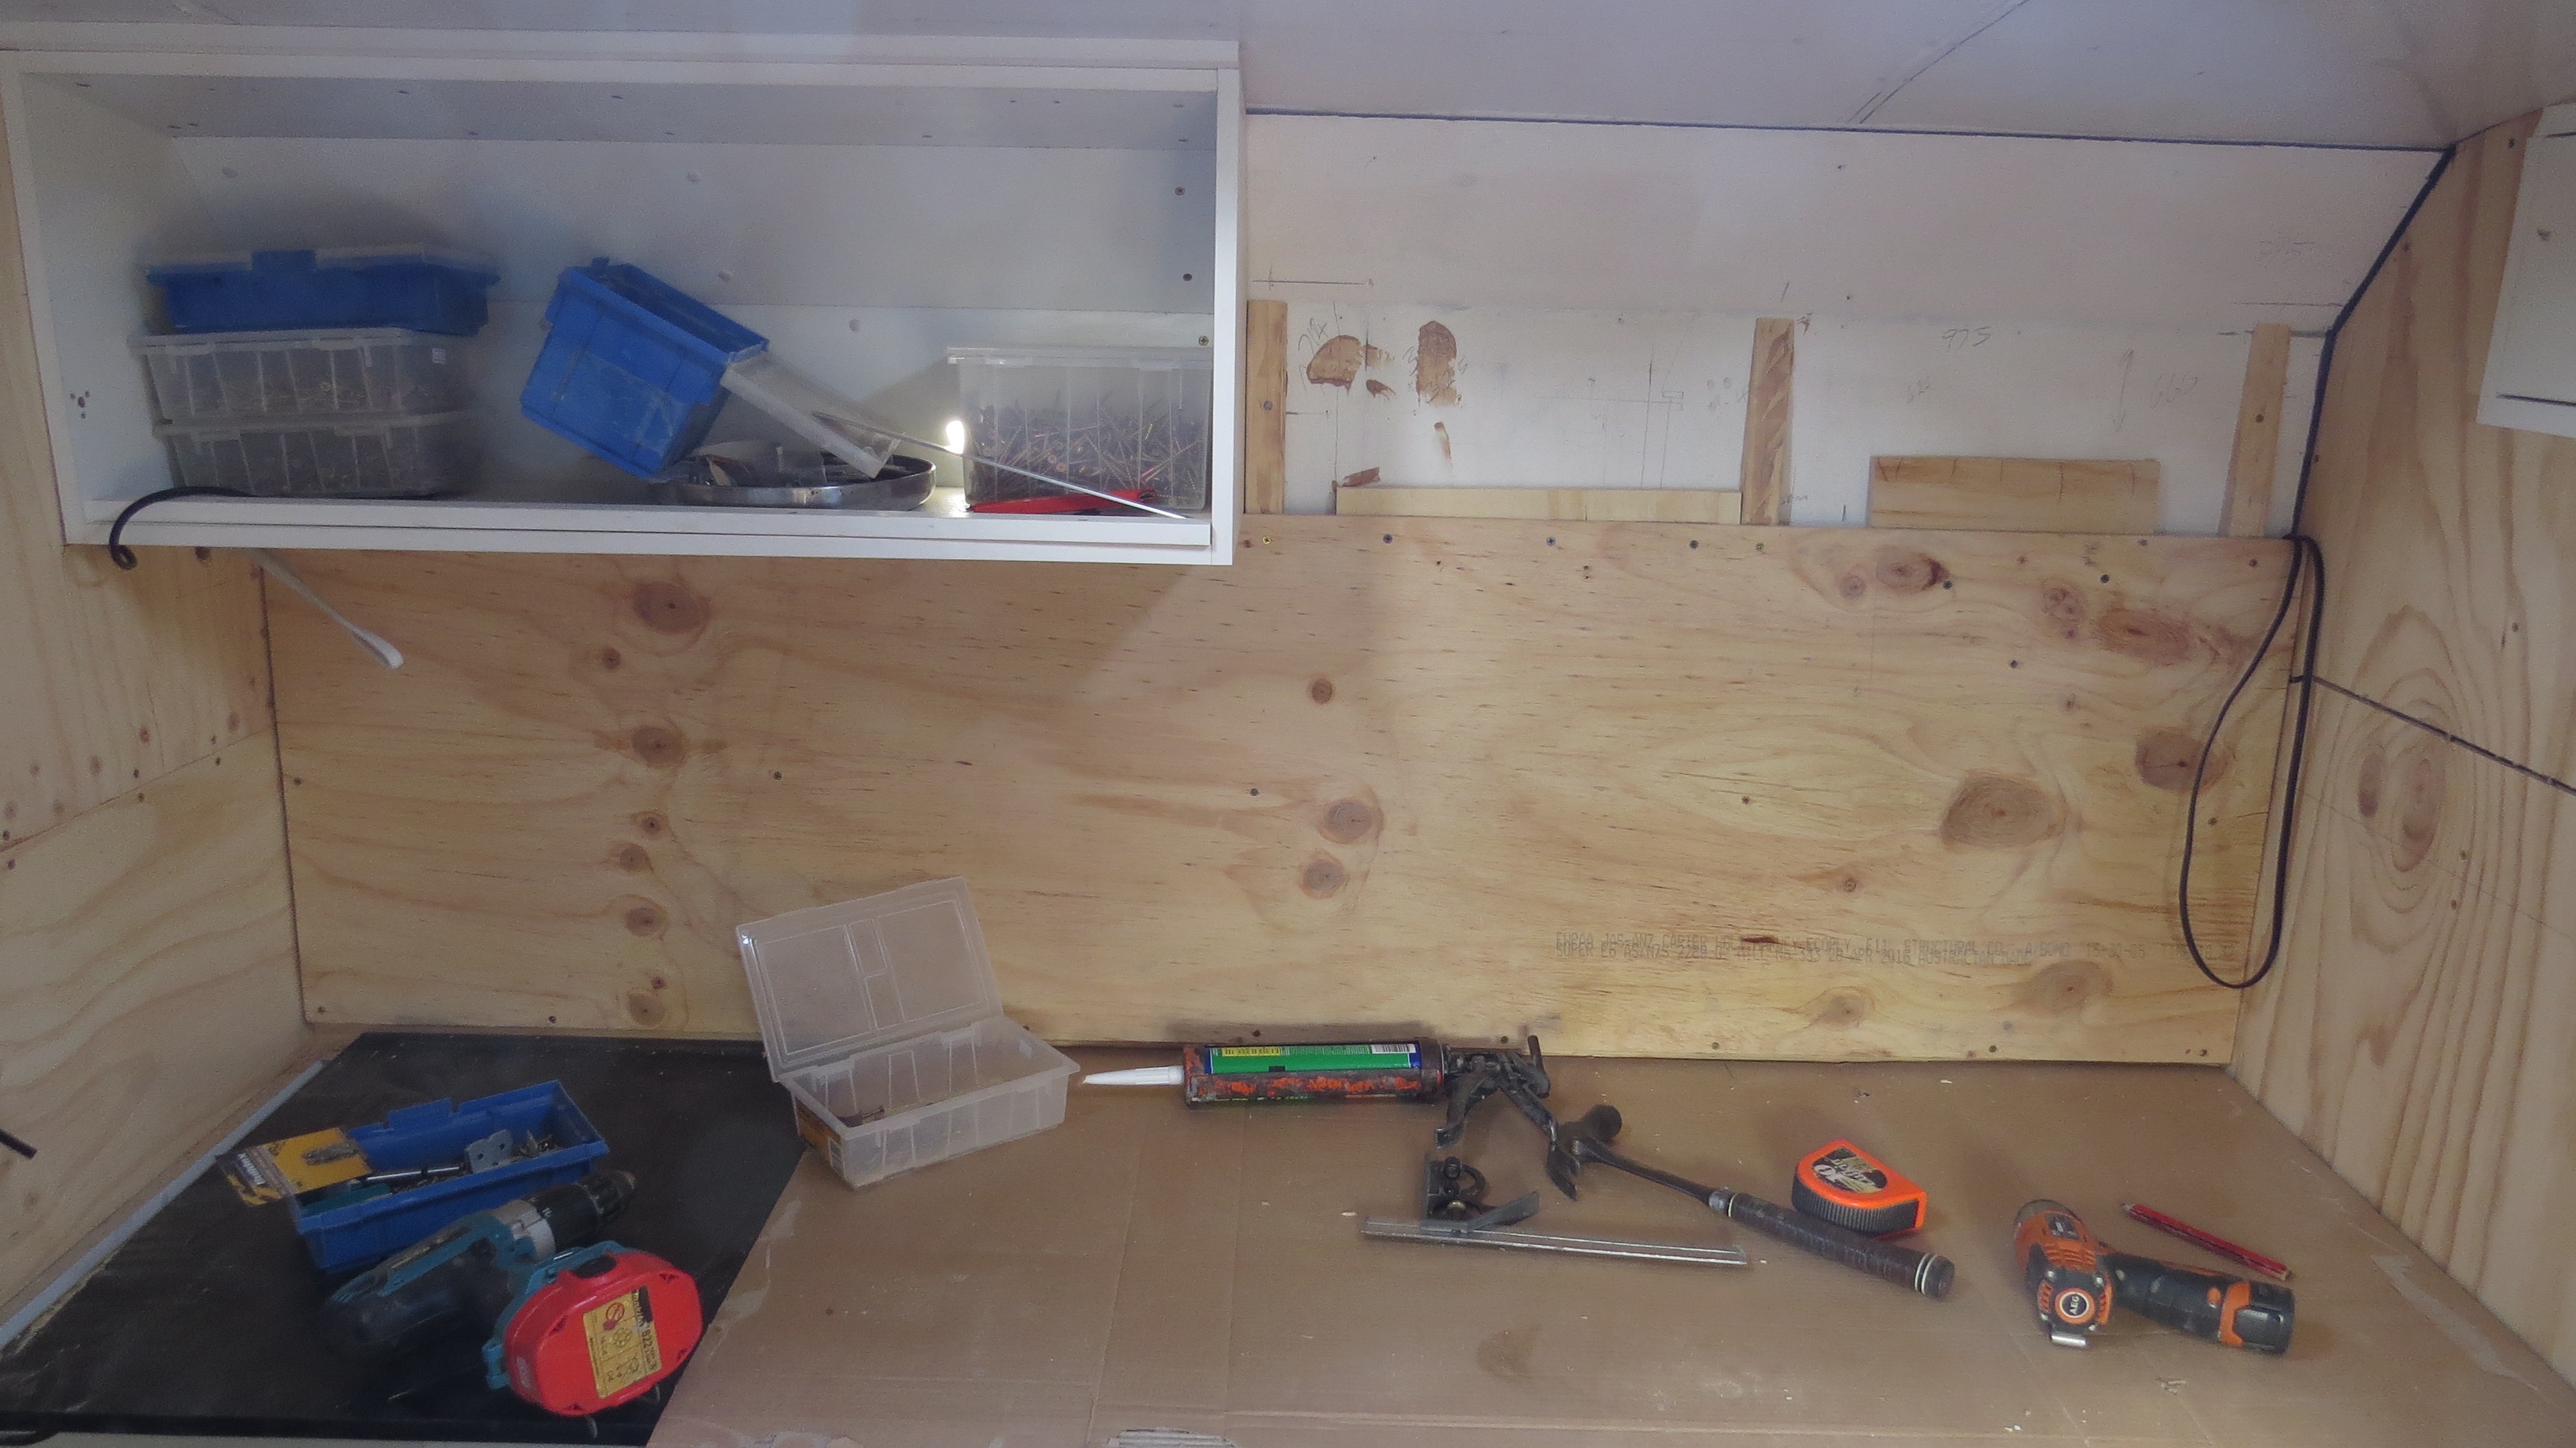
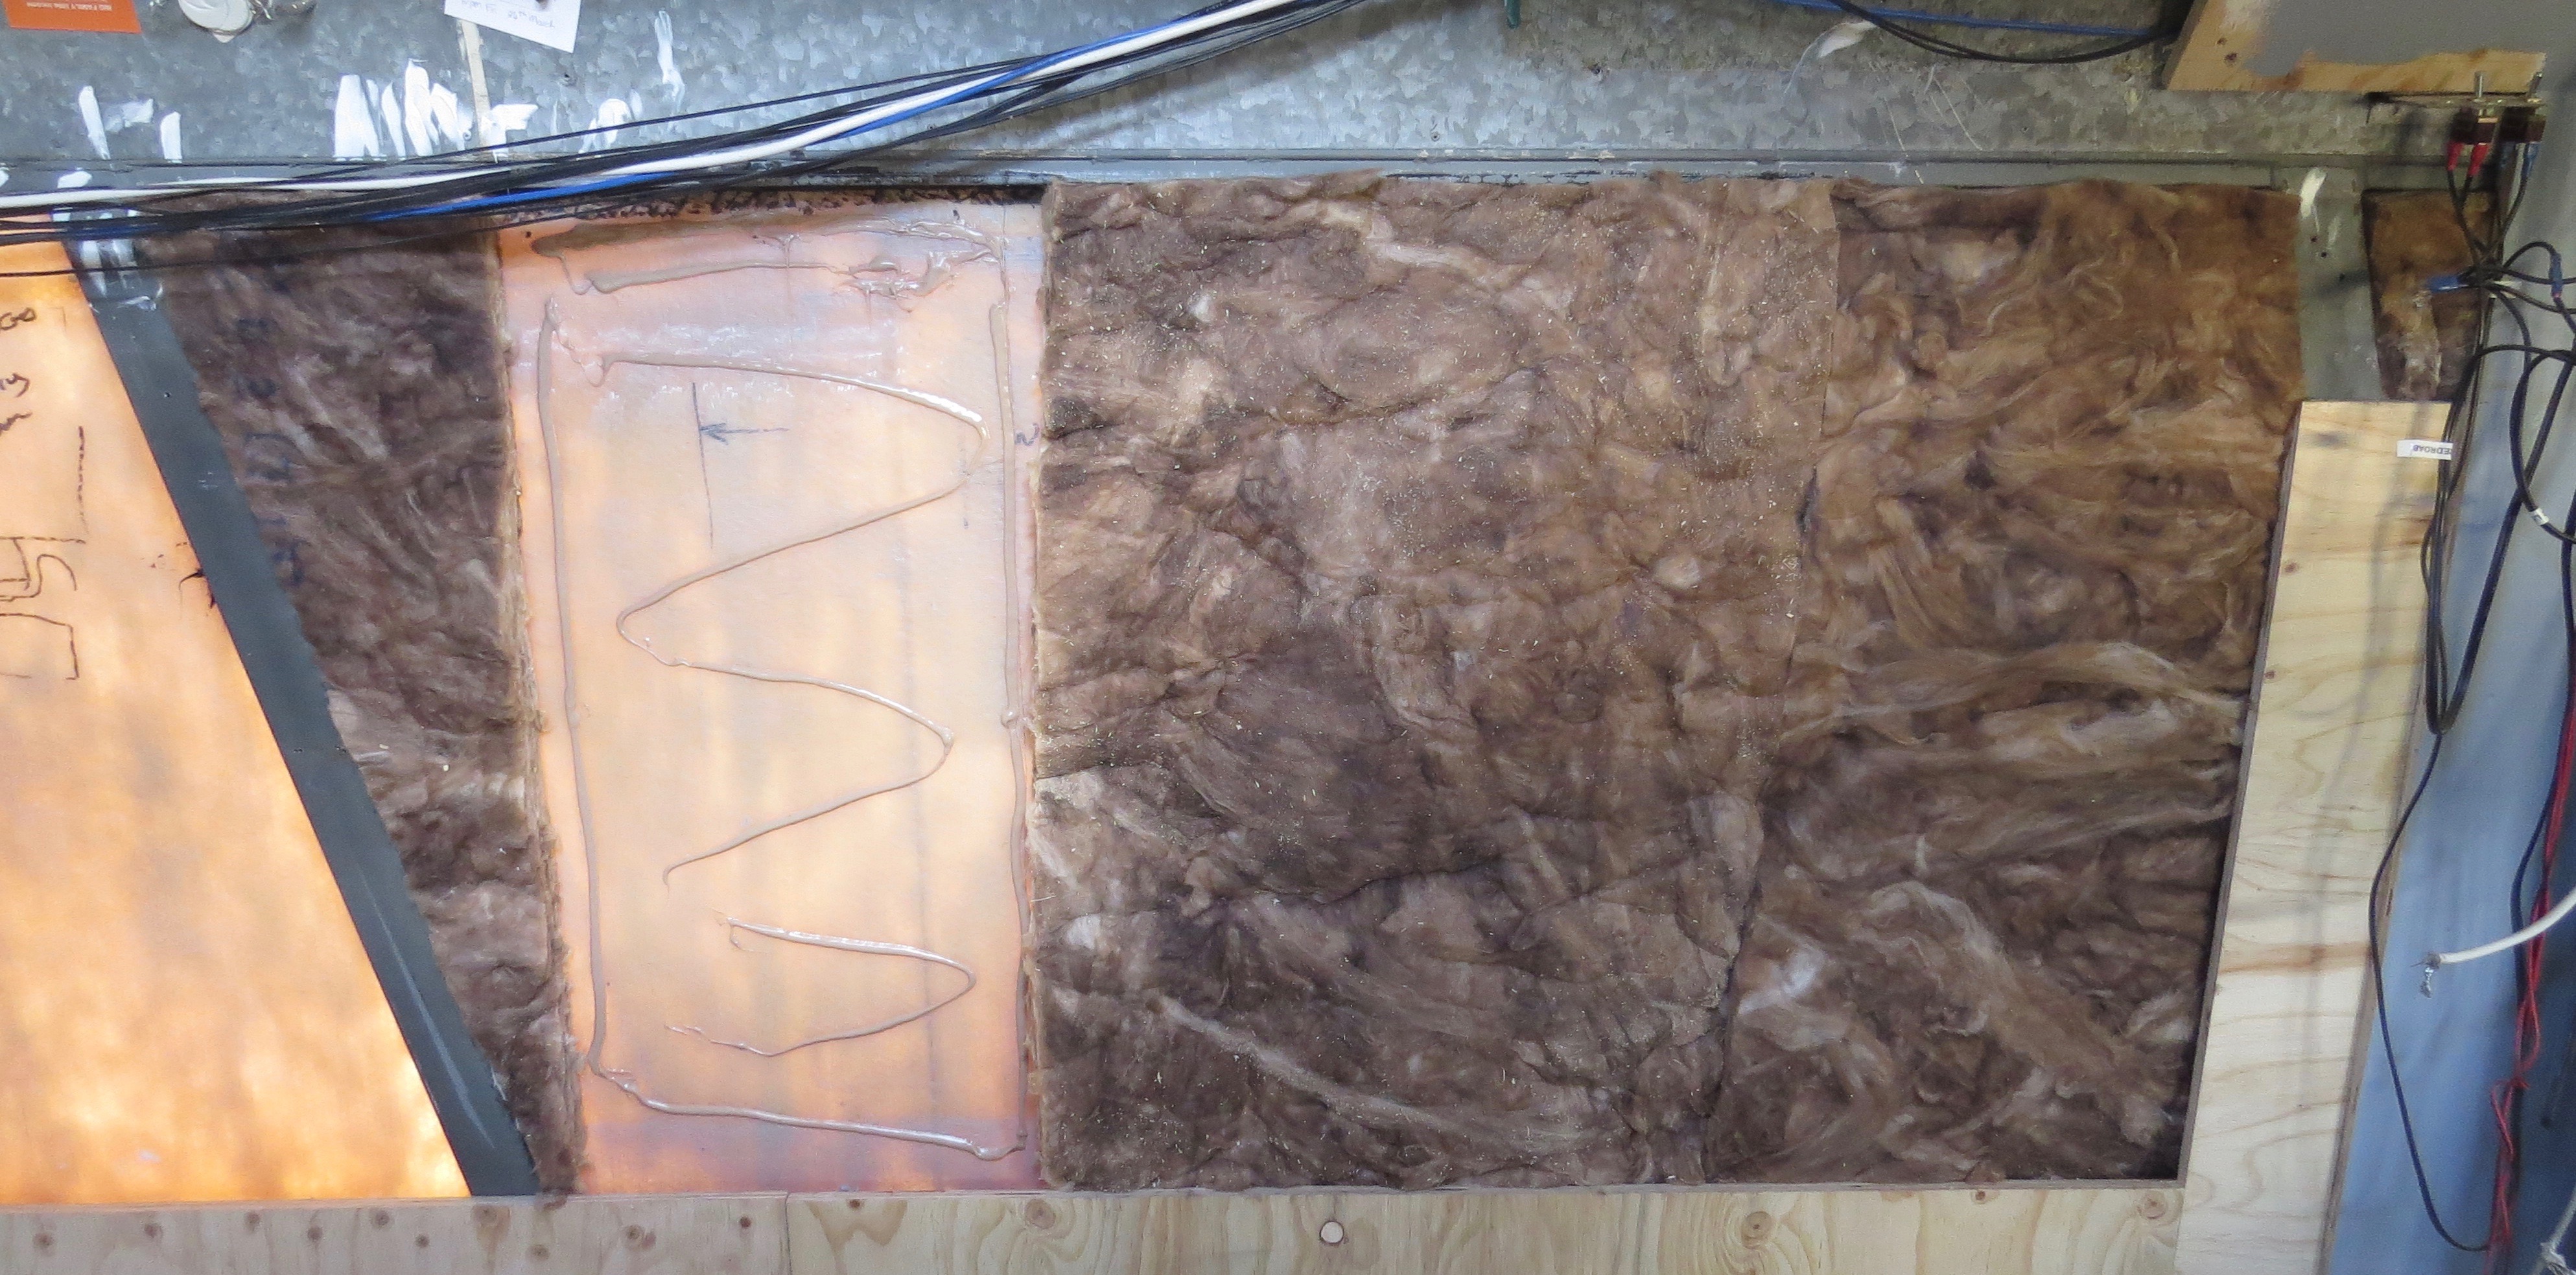
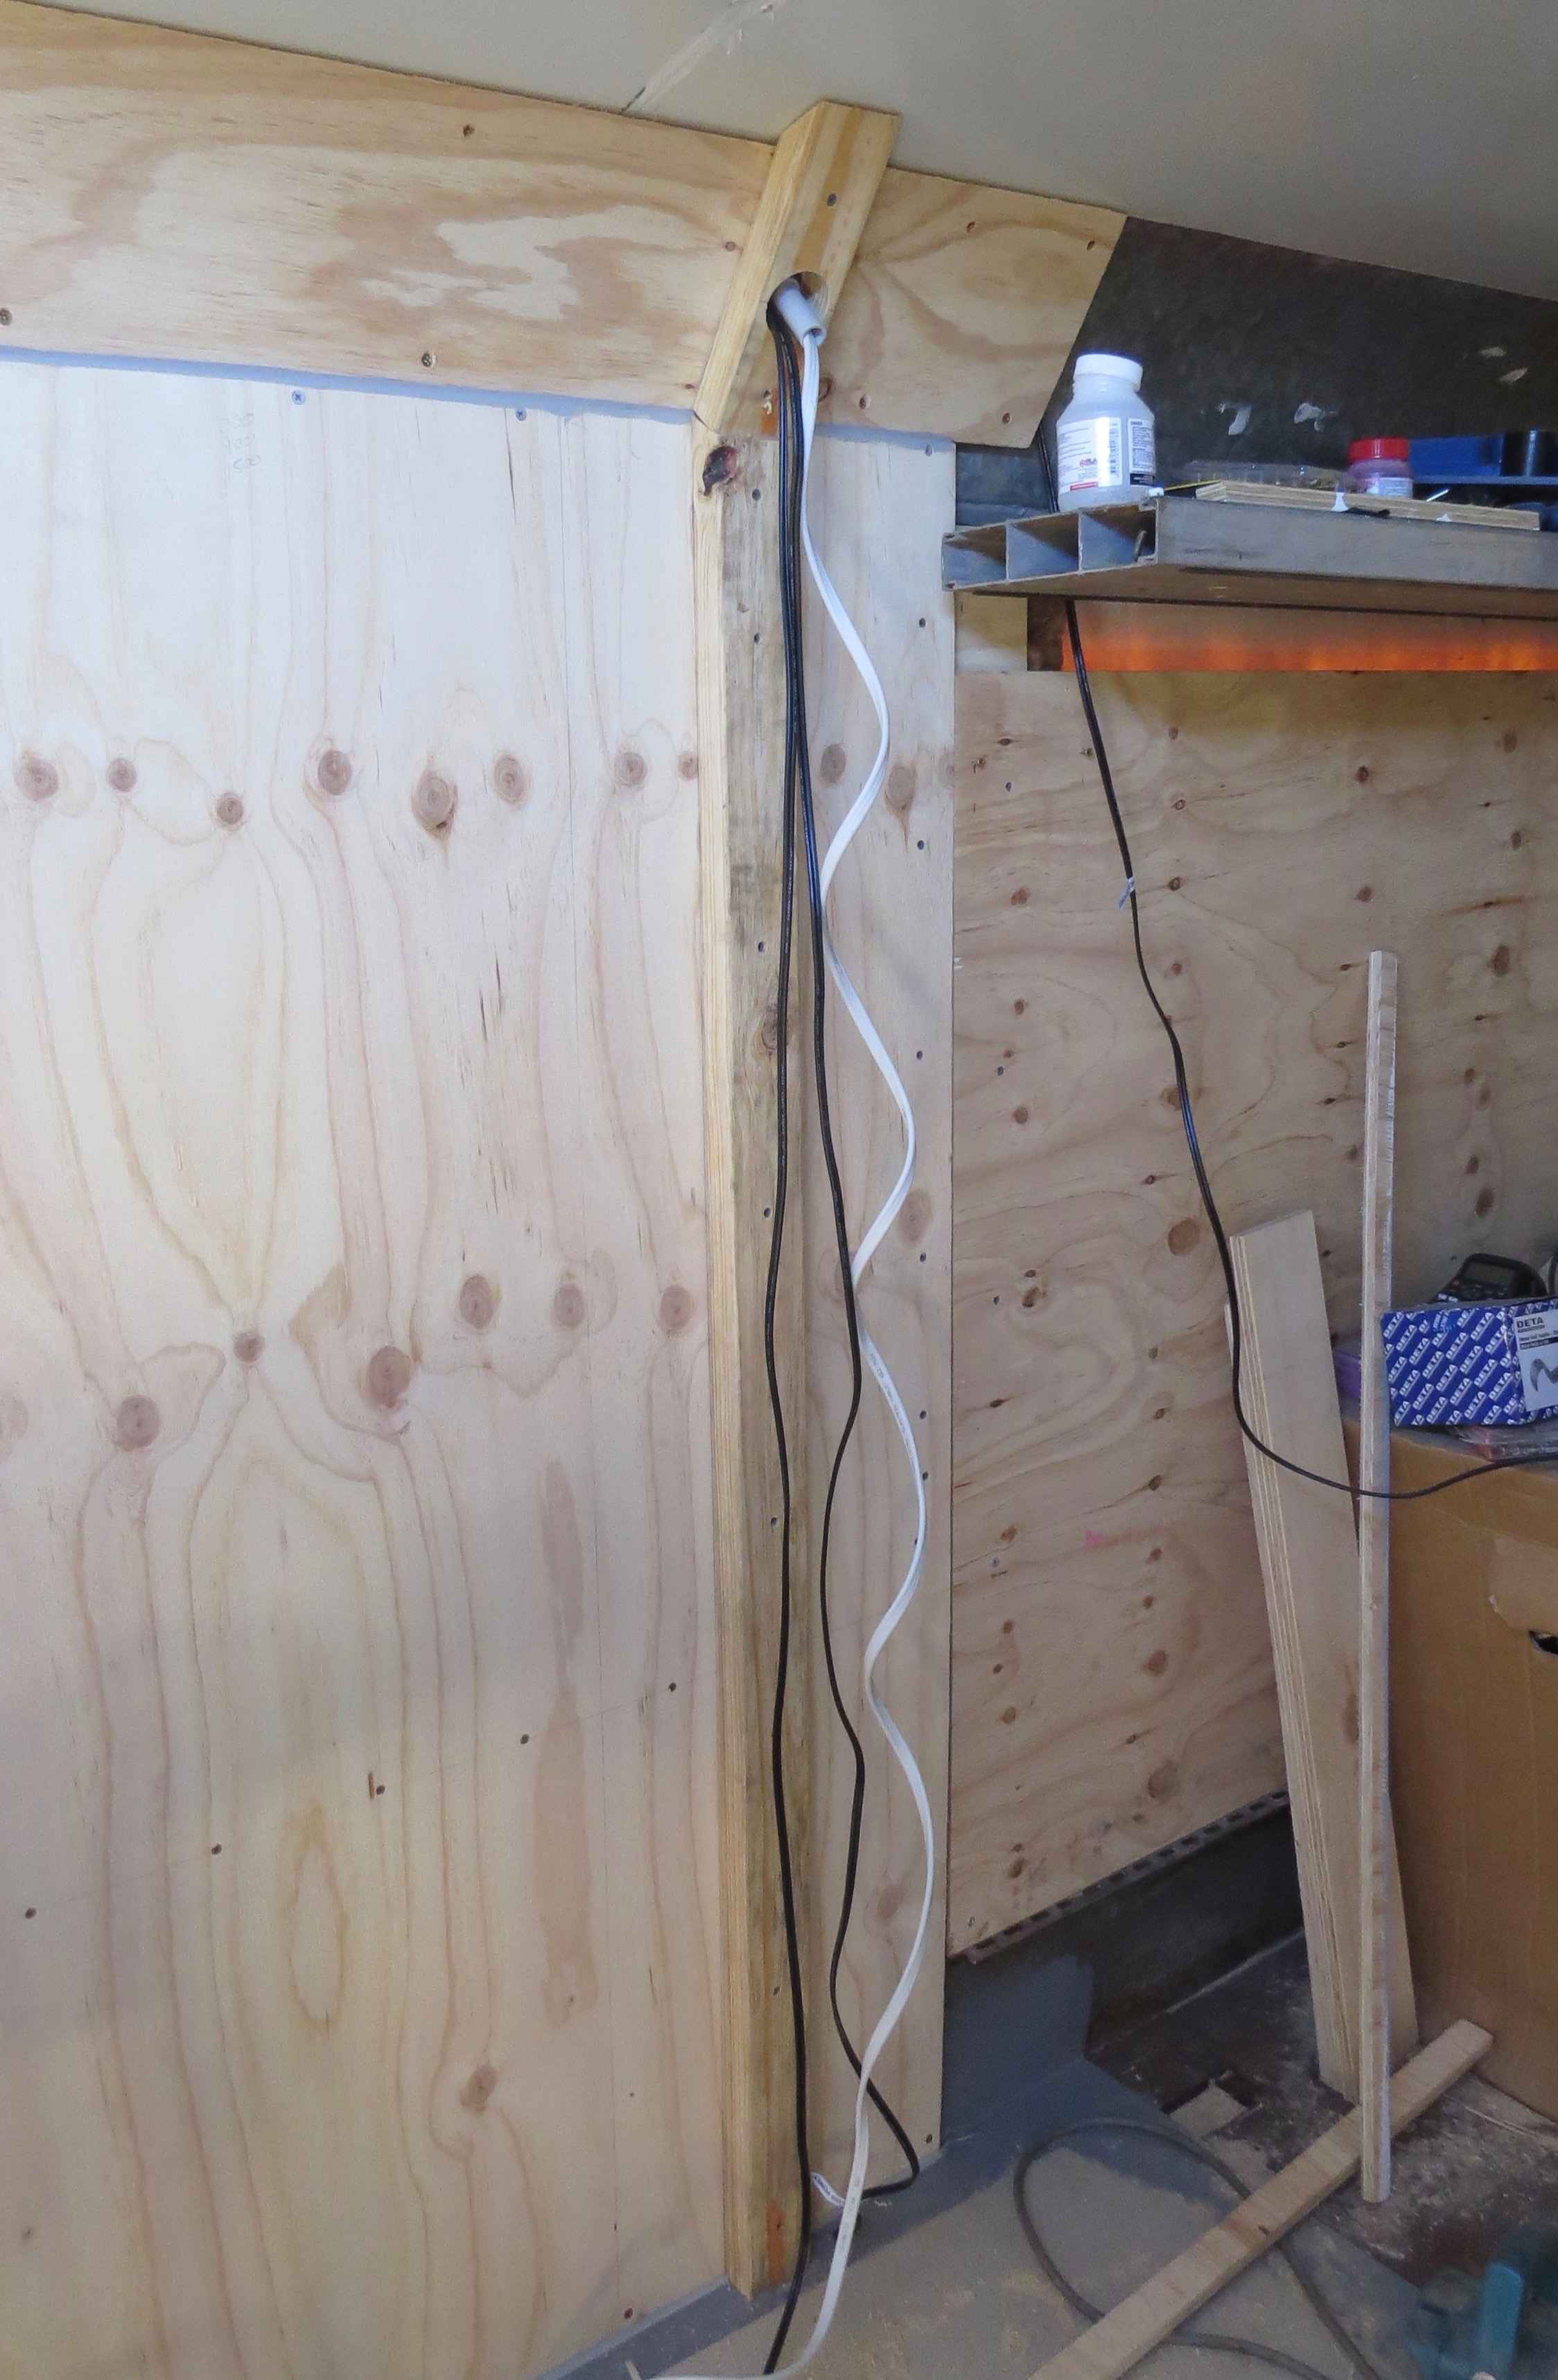
Vanity and laundry side, with packing screwed into place.More insulation in the wall cavity.Insulation all in.One more sheet to go.Drivers side done in the bathroom.Looking from the front of the coach at the bathroom.Some more sparky stuff.Top of the toilet and shower wall finished.240v for a power point in the vacuum cupboard and 12v for a toilet light.Start of the wall between the bathroom and kitchen.Bathroom / laundry side.Just needs painting now.
After running some more power cables around the top of the walls and finishing off the transition from the walls to the ceiling. Just some more painting for Charmaine to do to finish off the bathroom walls for now. Look’s like the next project will be to build some wardrobes to close off the bedroom from the bathroom.
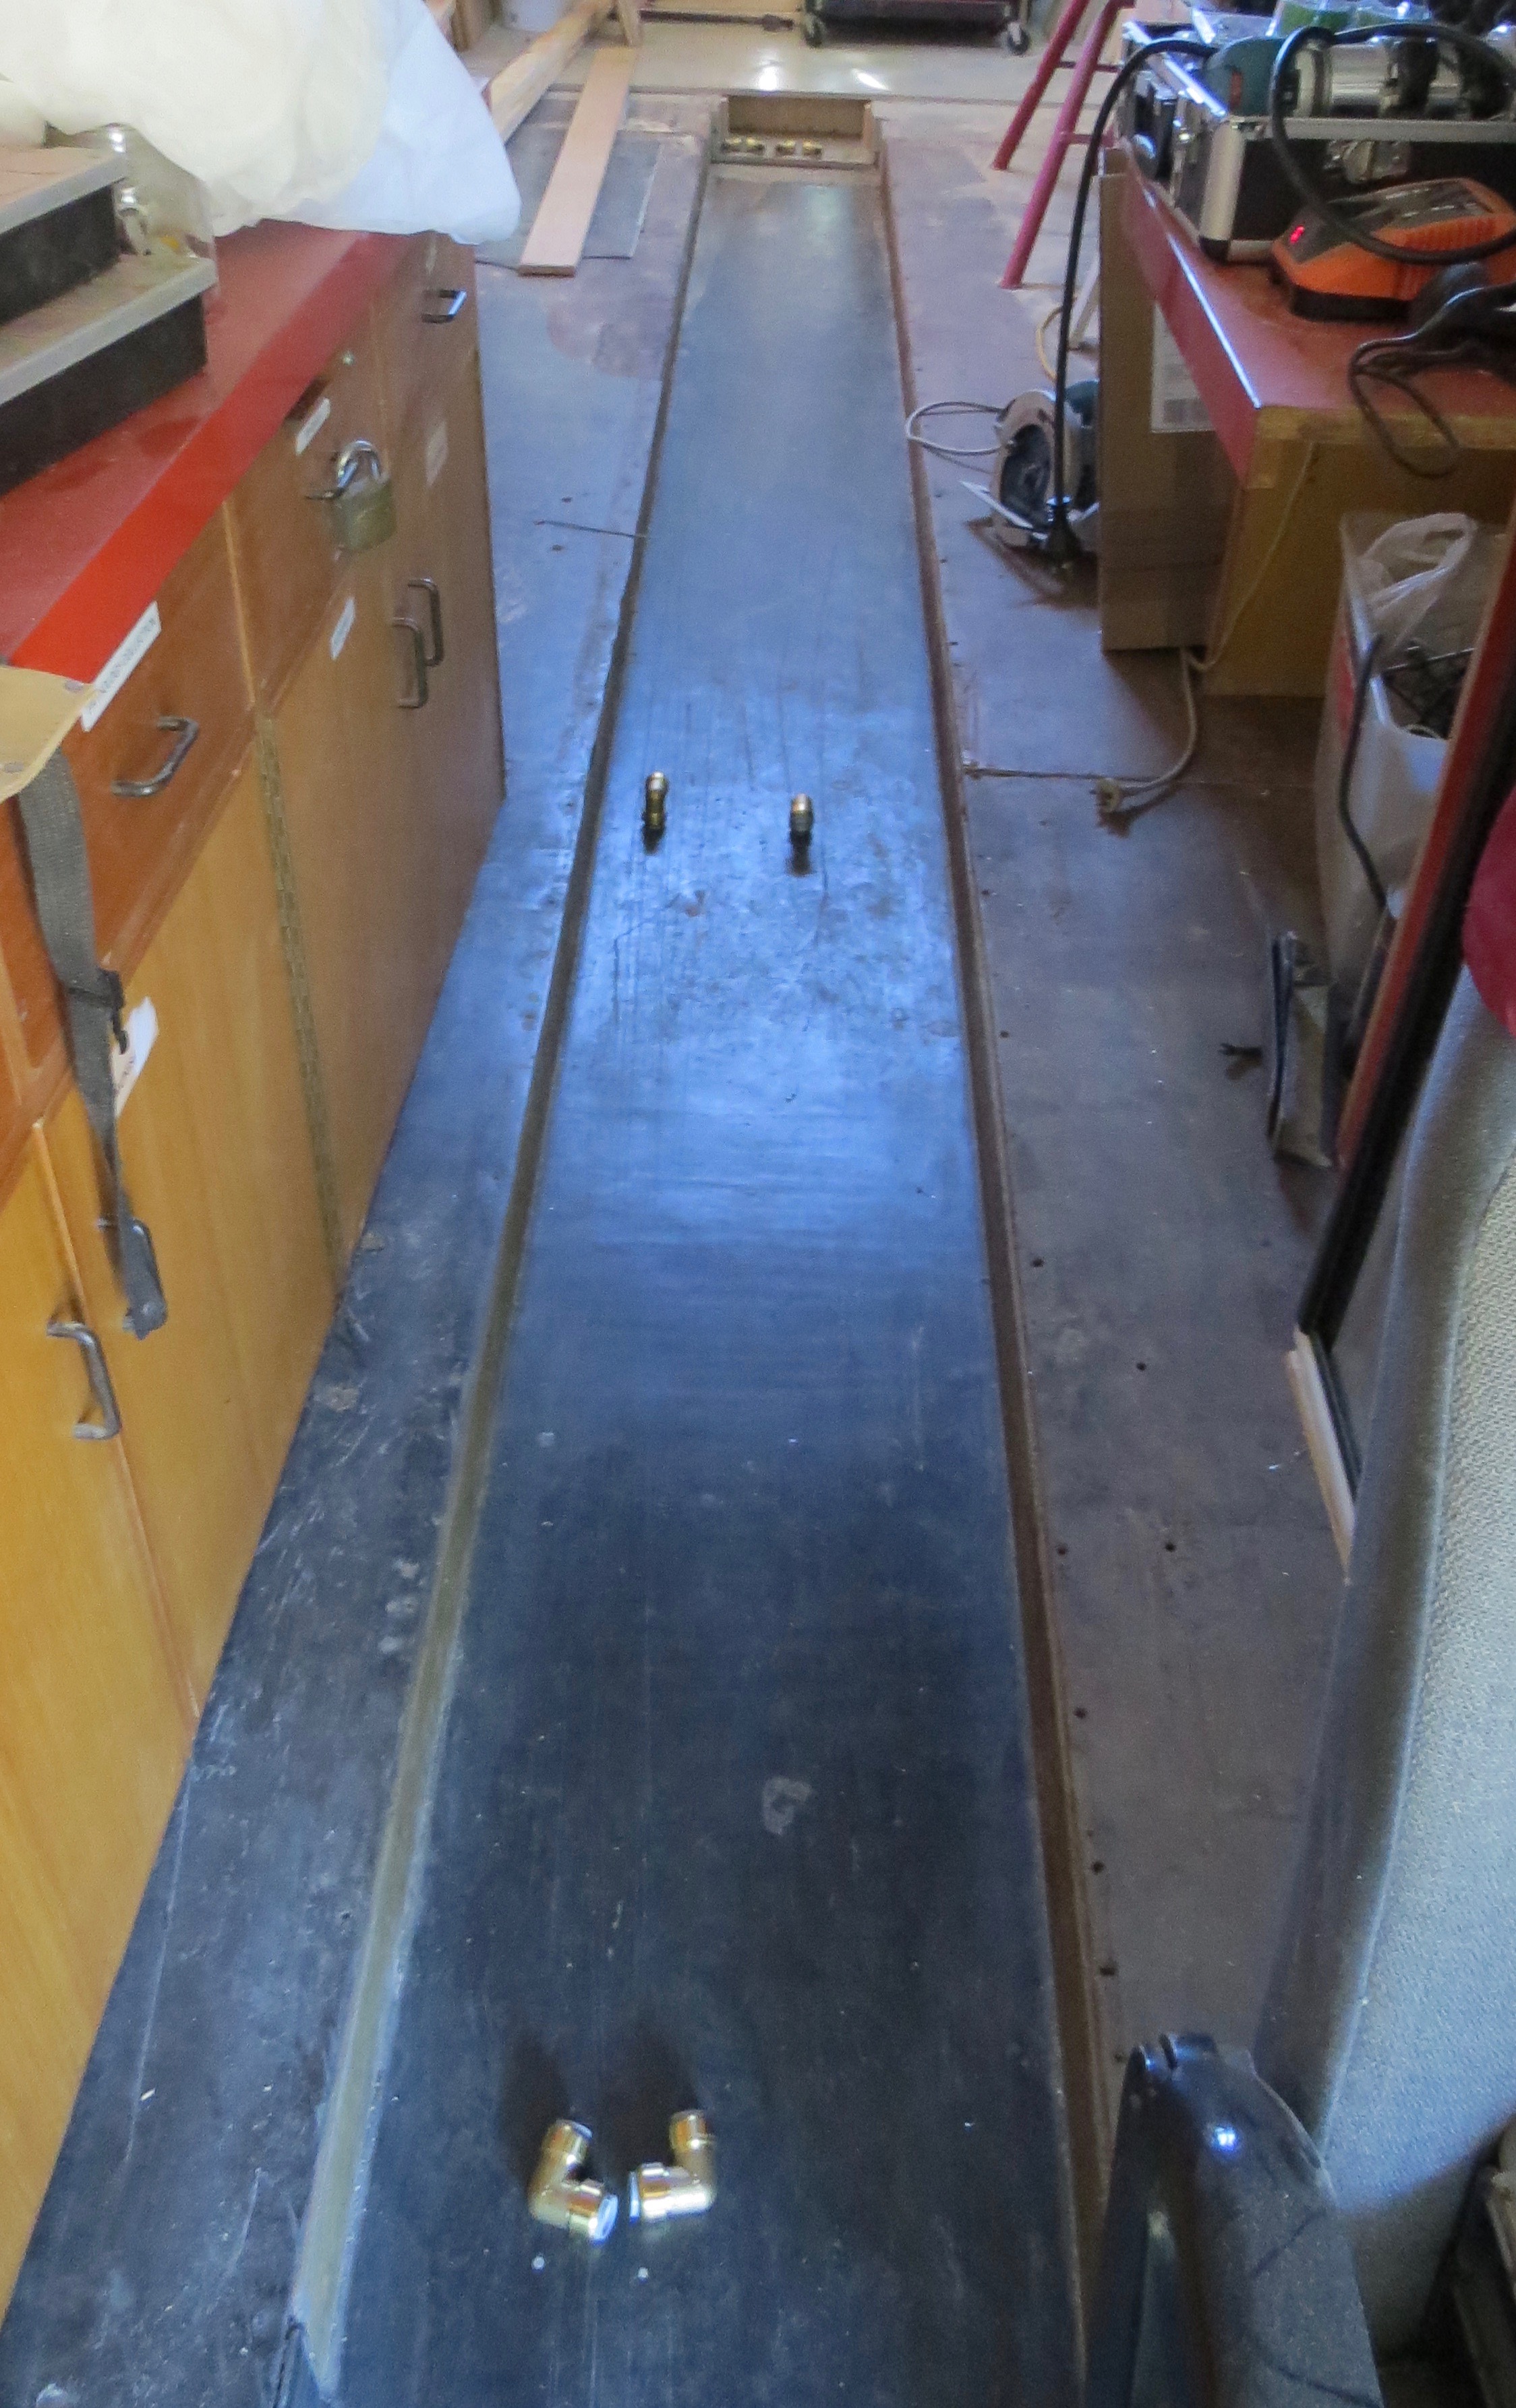
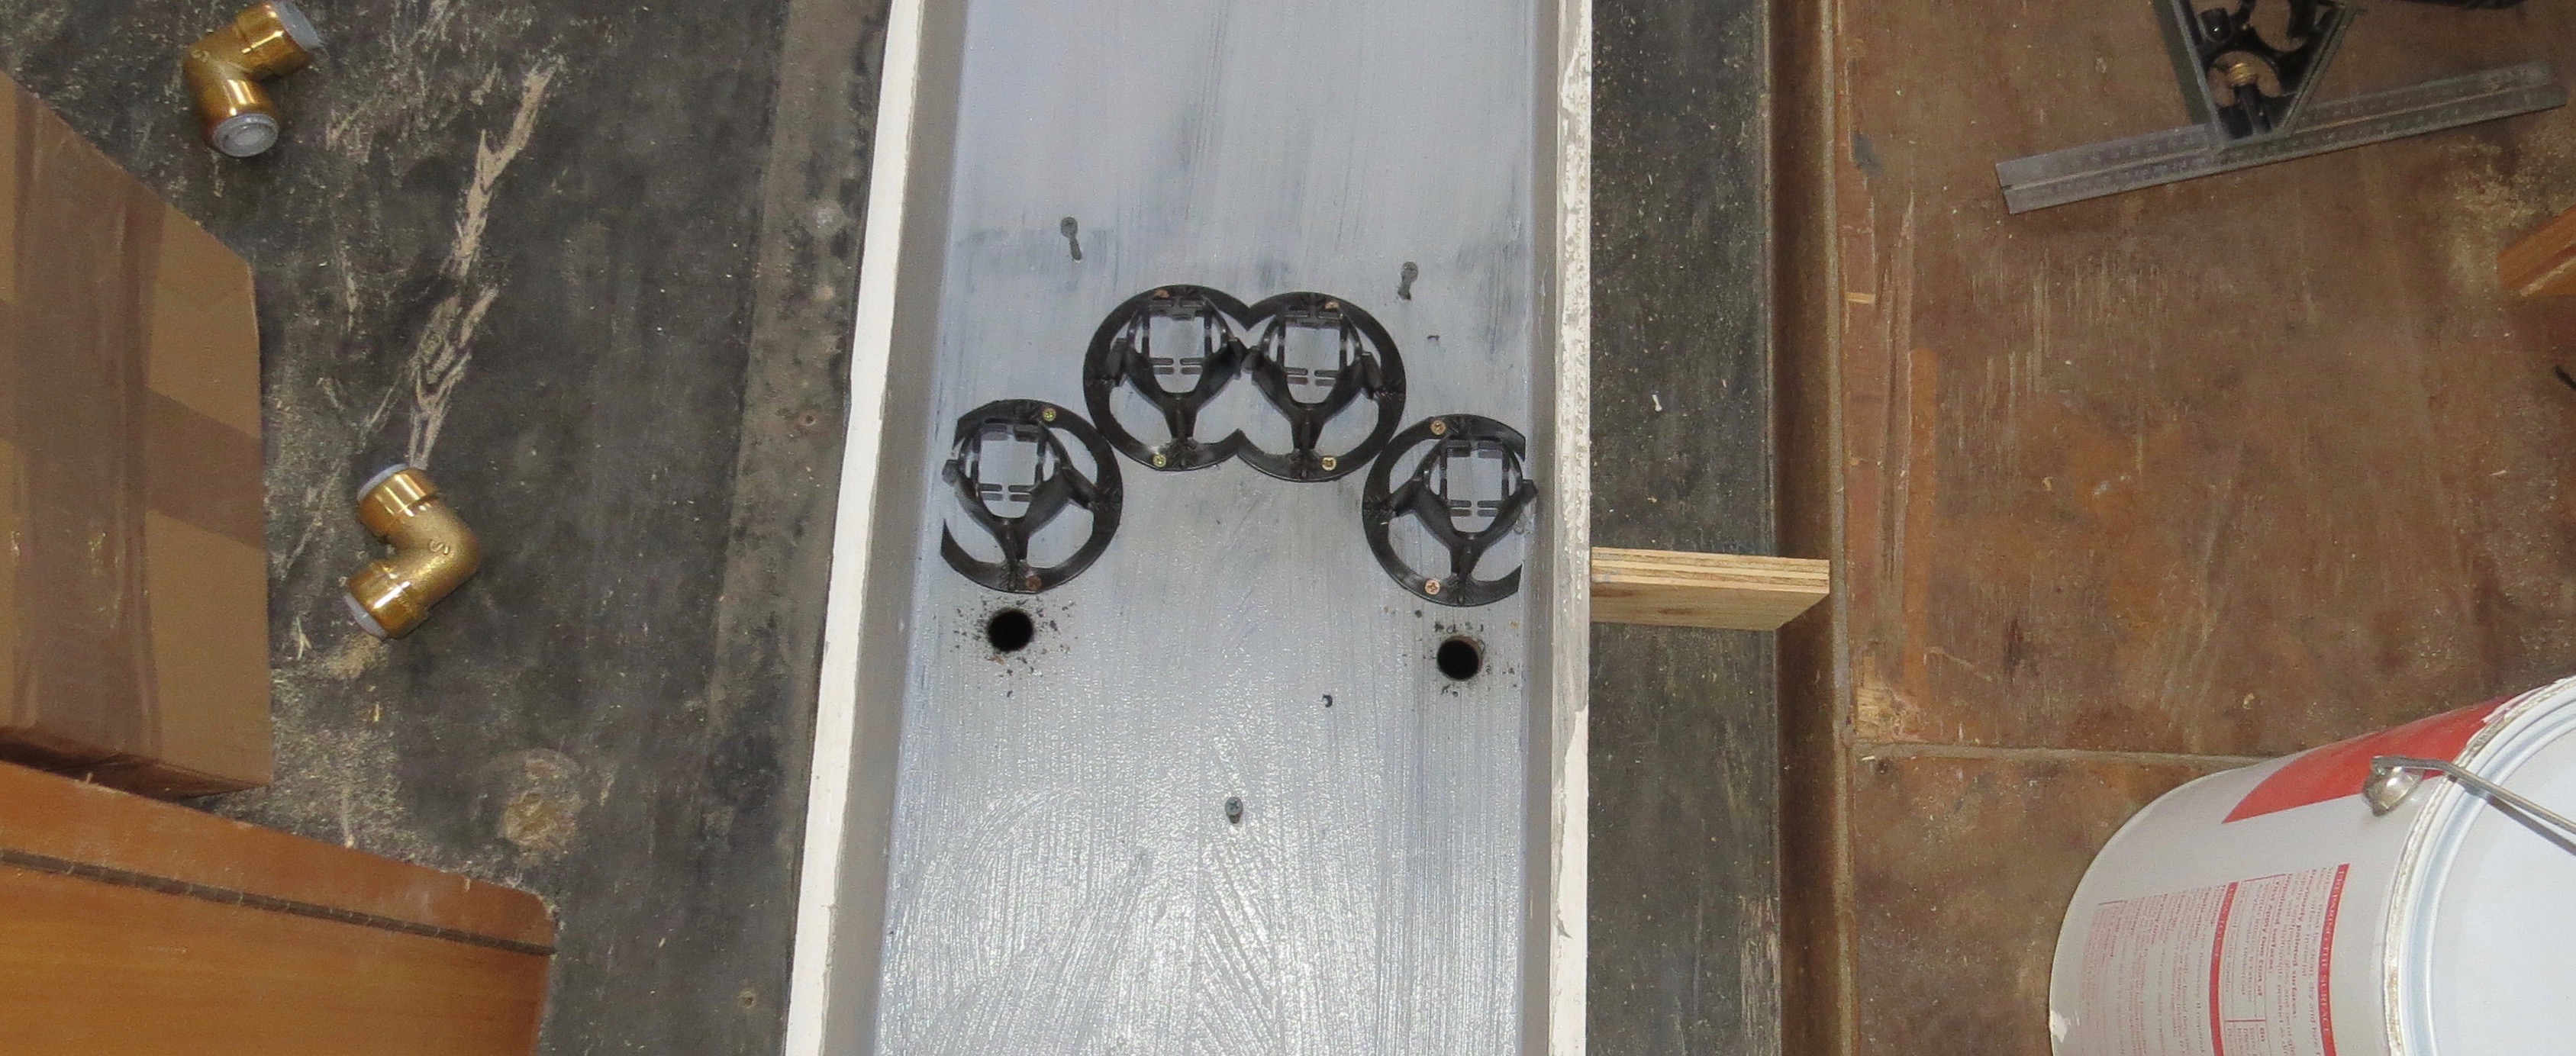
As this will be our home we had the a thought of under floor heating, not a bad thing when living in the colder area’s of Australia. We will be putting in a KIMBERLY™ Wood Stove with a heat exchange unit in to heat a 50-80lt hot water tank, then the hot water will be pumped through pipe work under the floor, so keeping warm shouldn’t be a problem. The thermal mass heating idea looks the best for us, as once it’s warmed up you can leave it off over night. I’ll all so run a thermostat to turn the water pump on or off while it’s running so we don’t cook our feet.
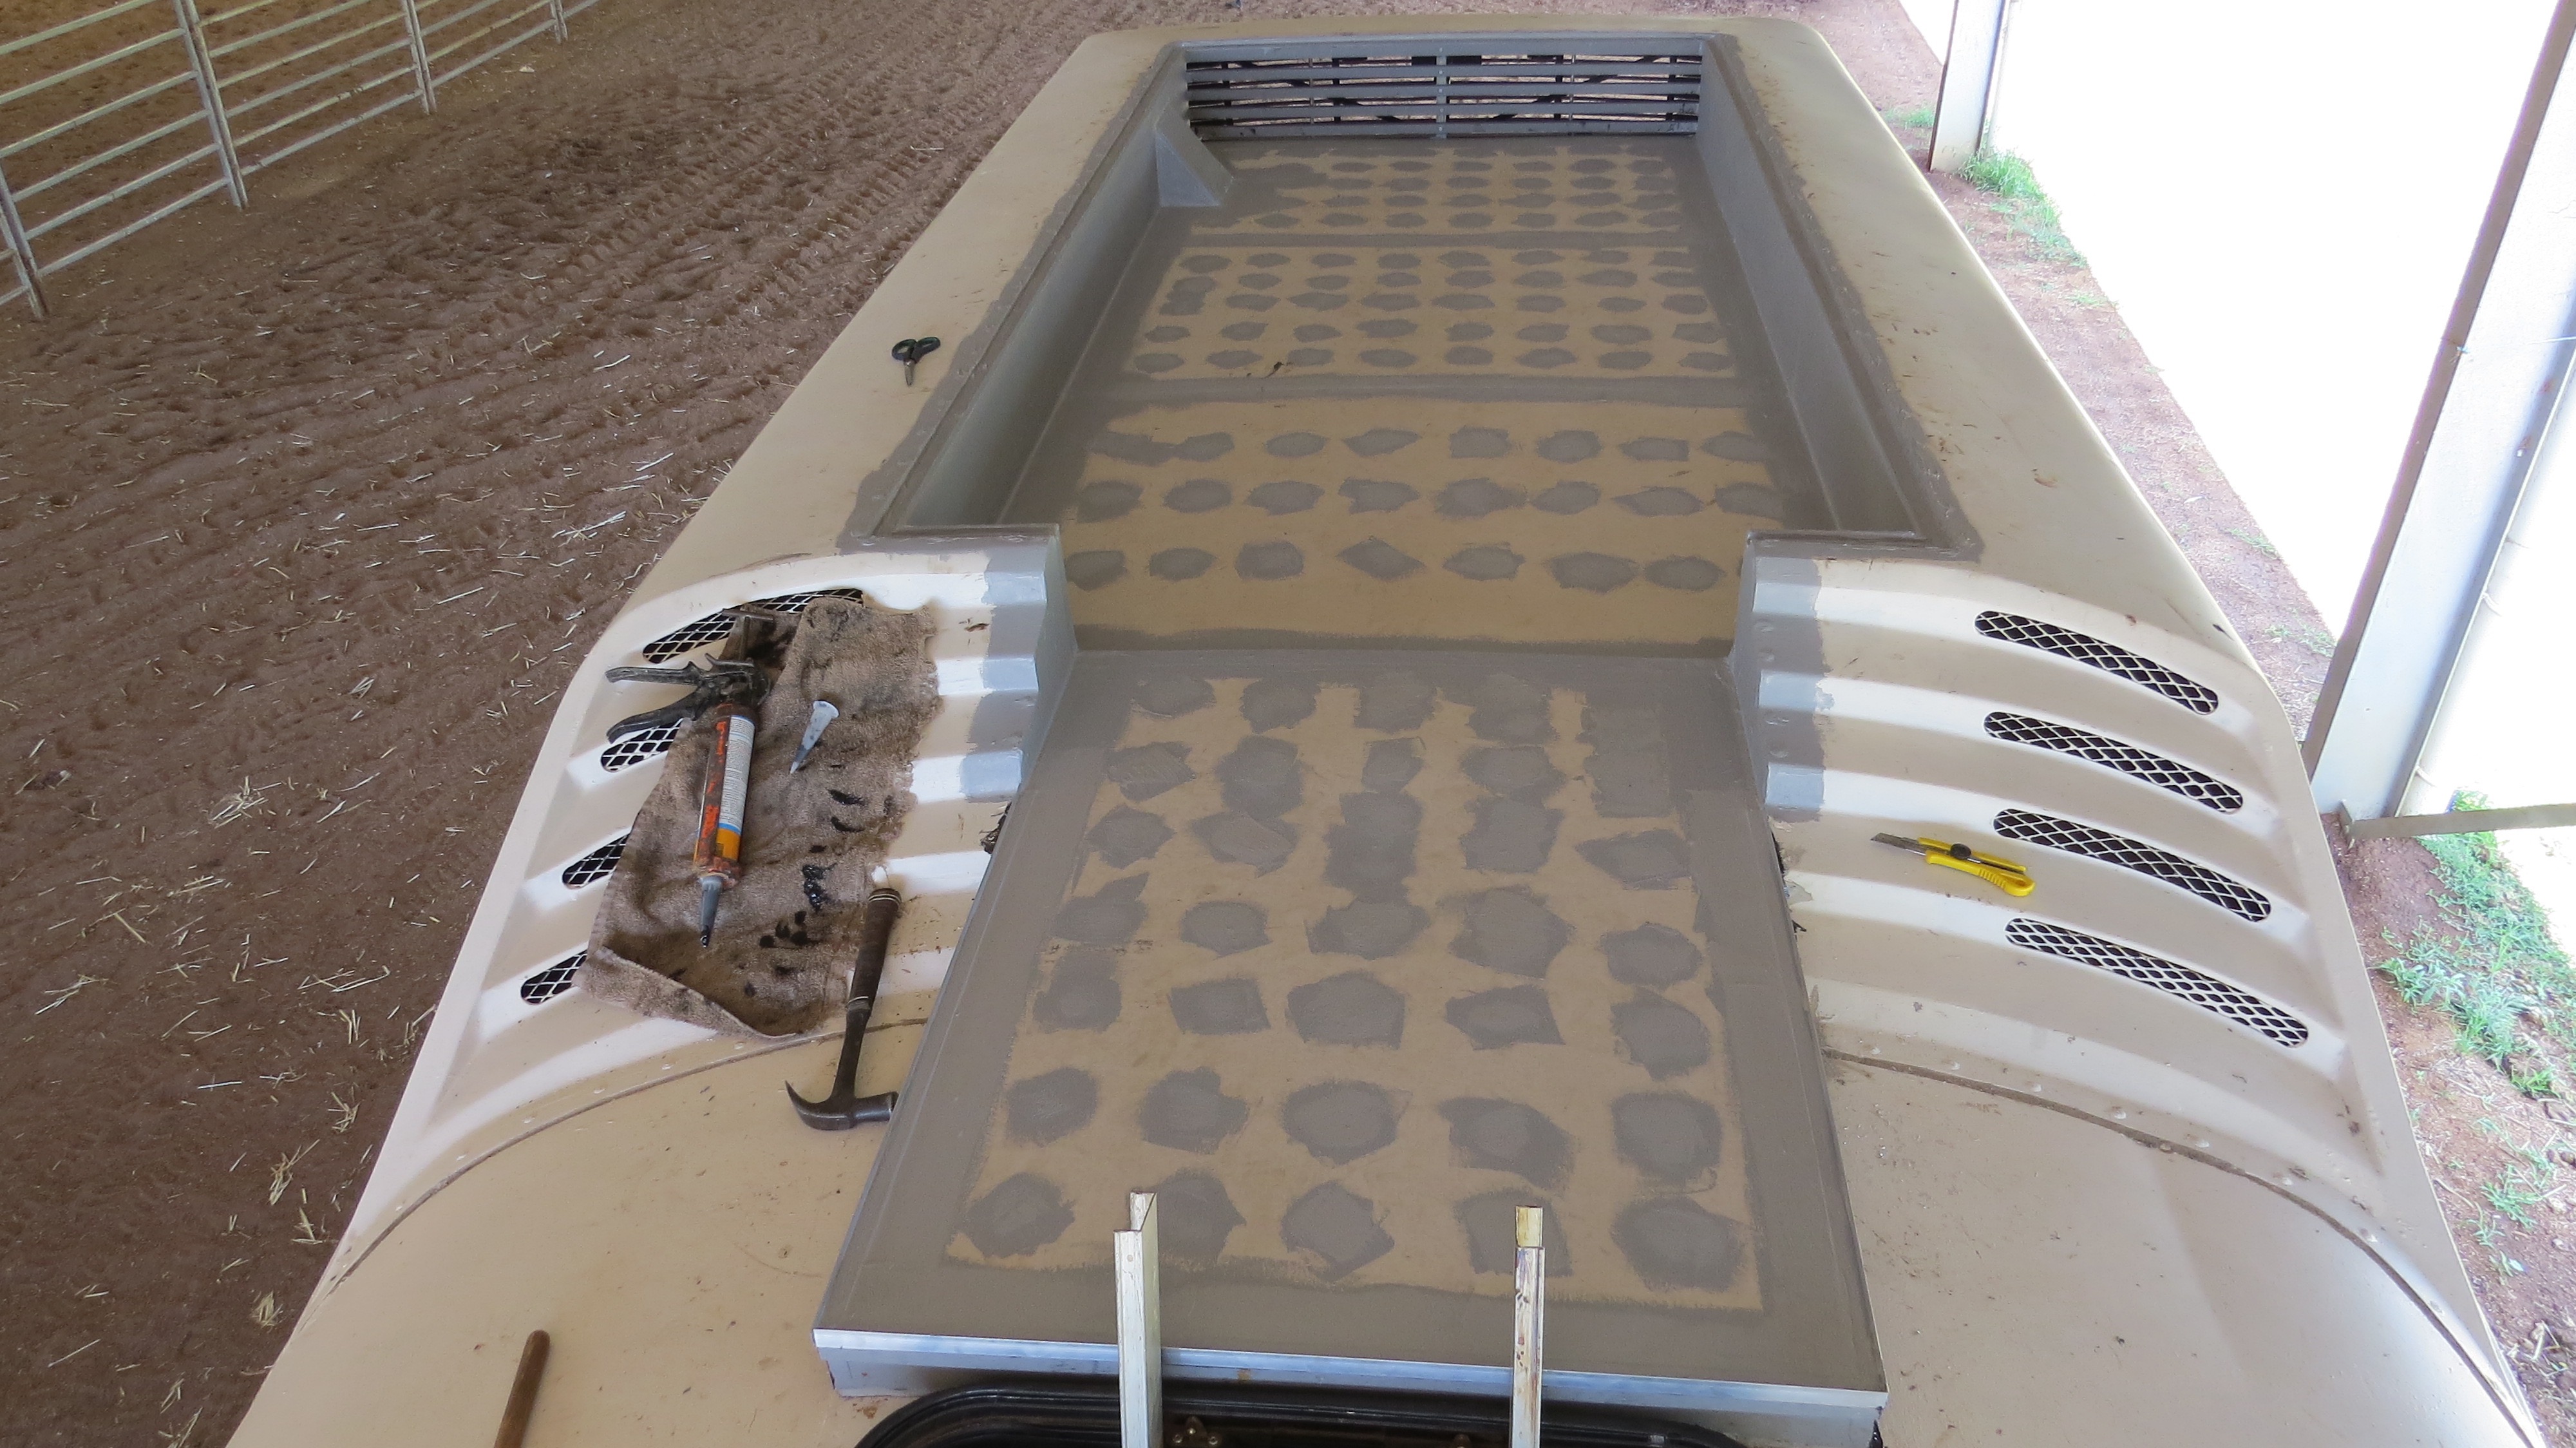
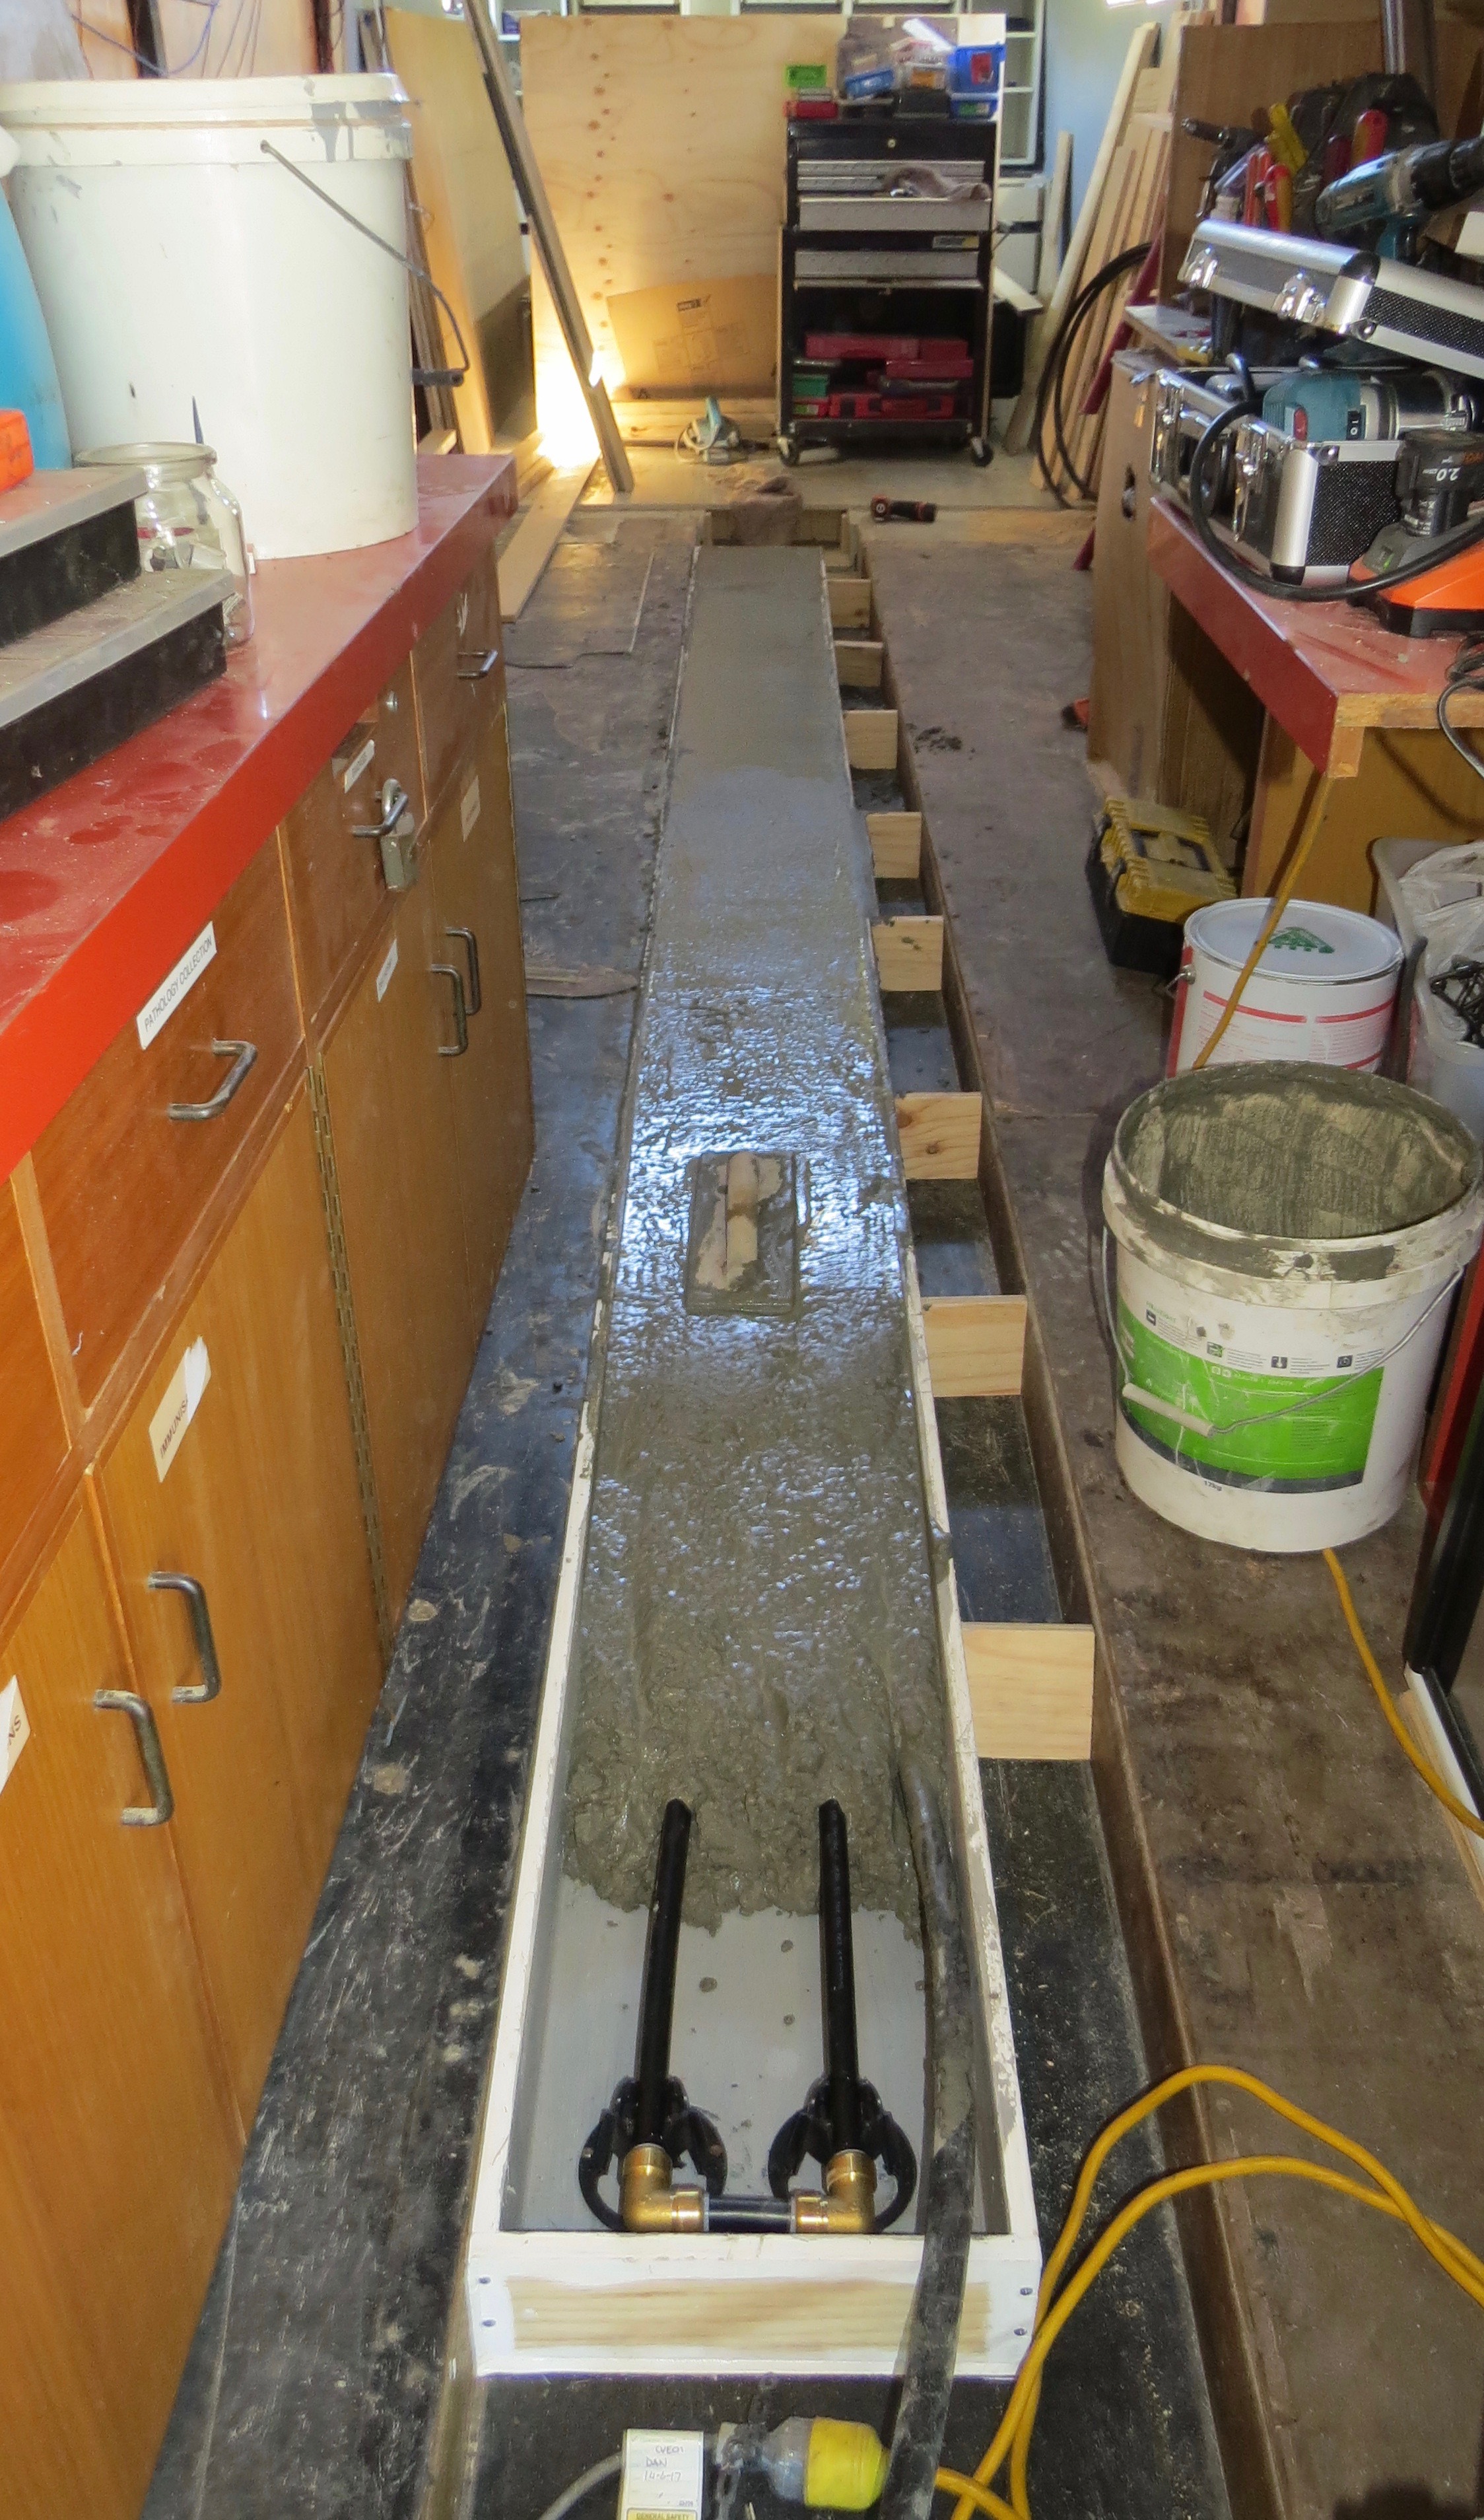
Now where is this going to going???
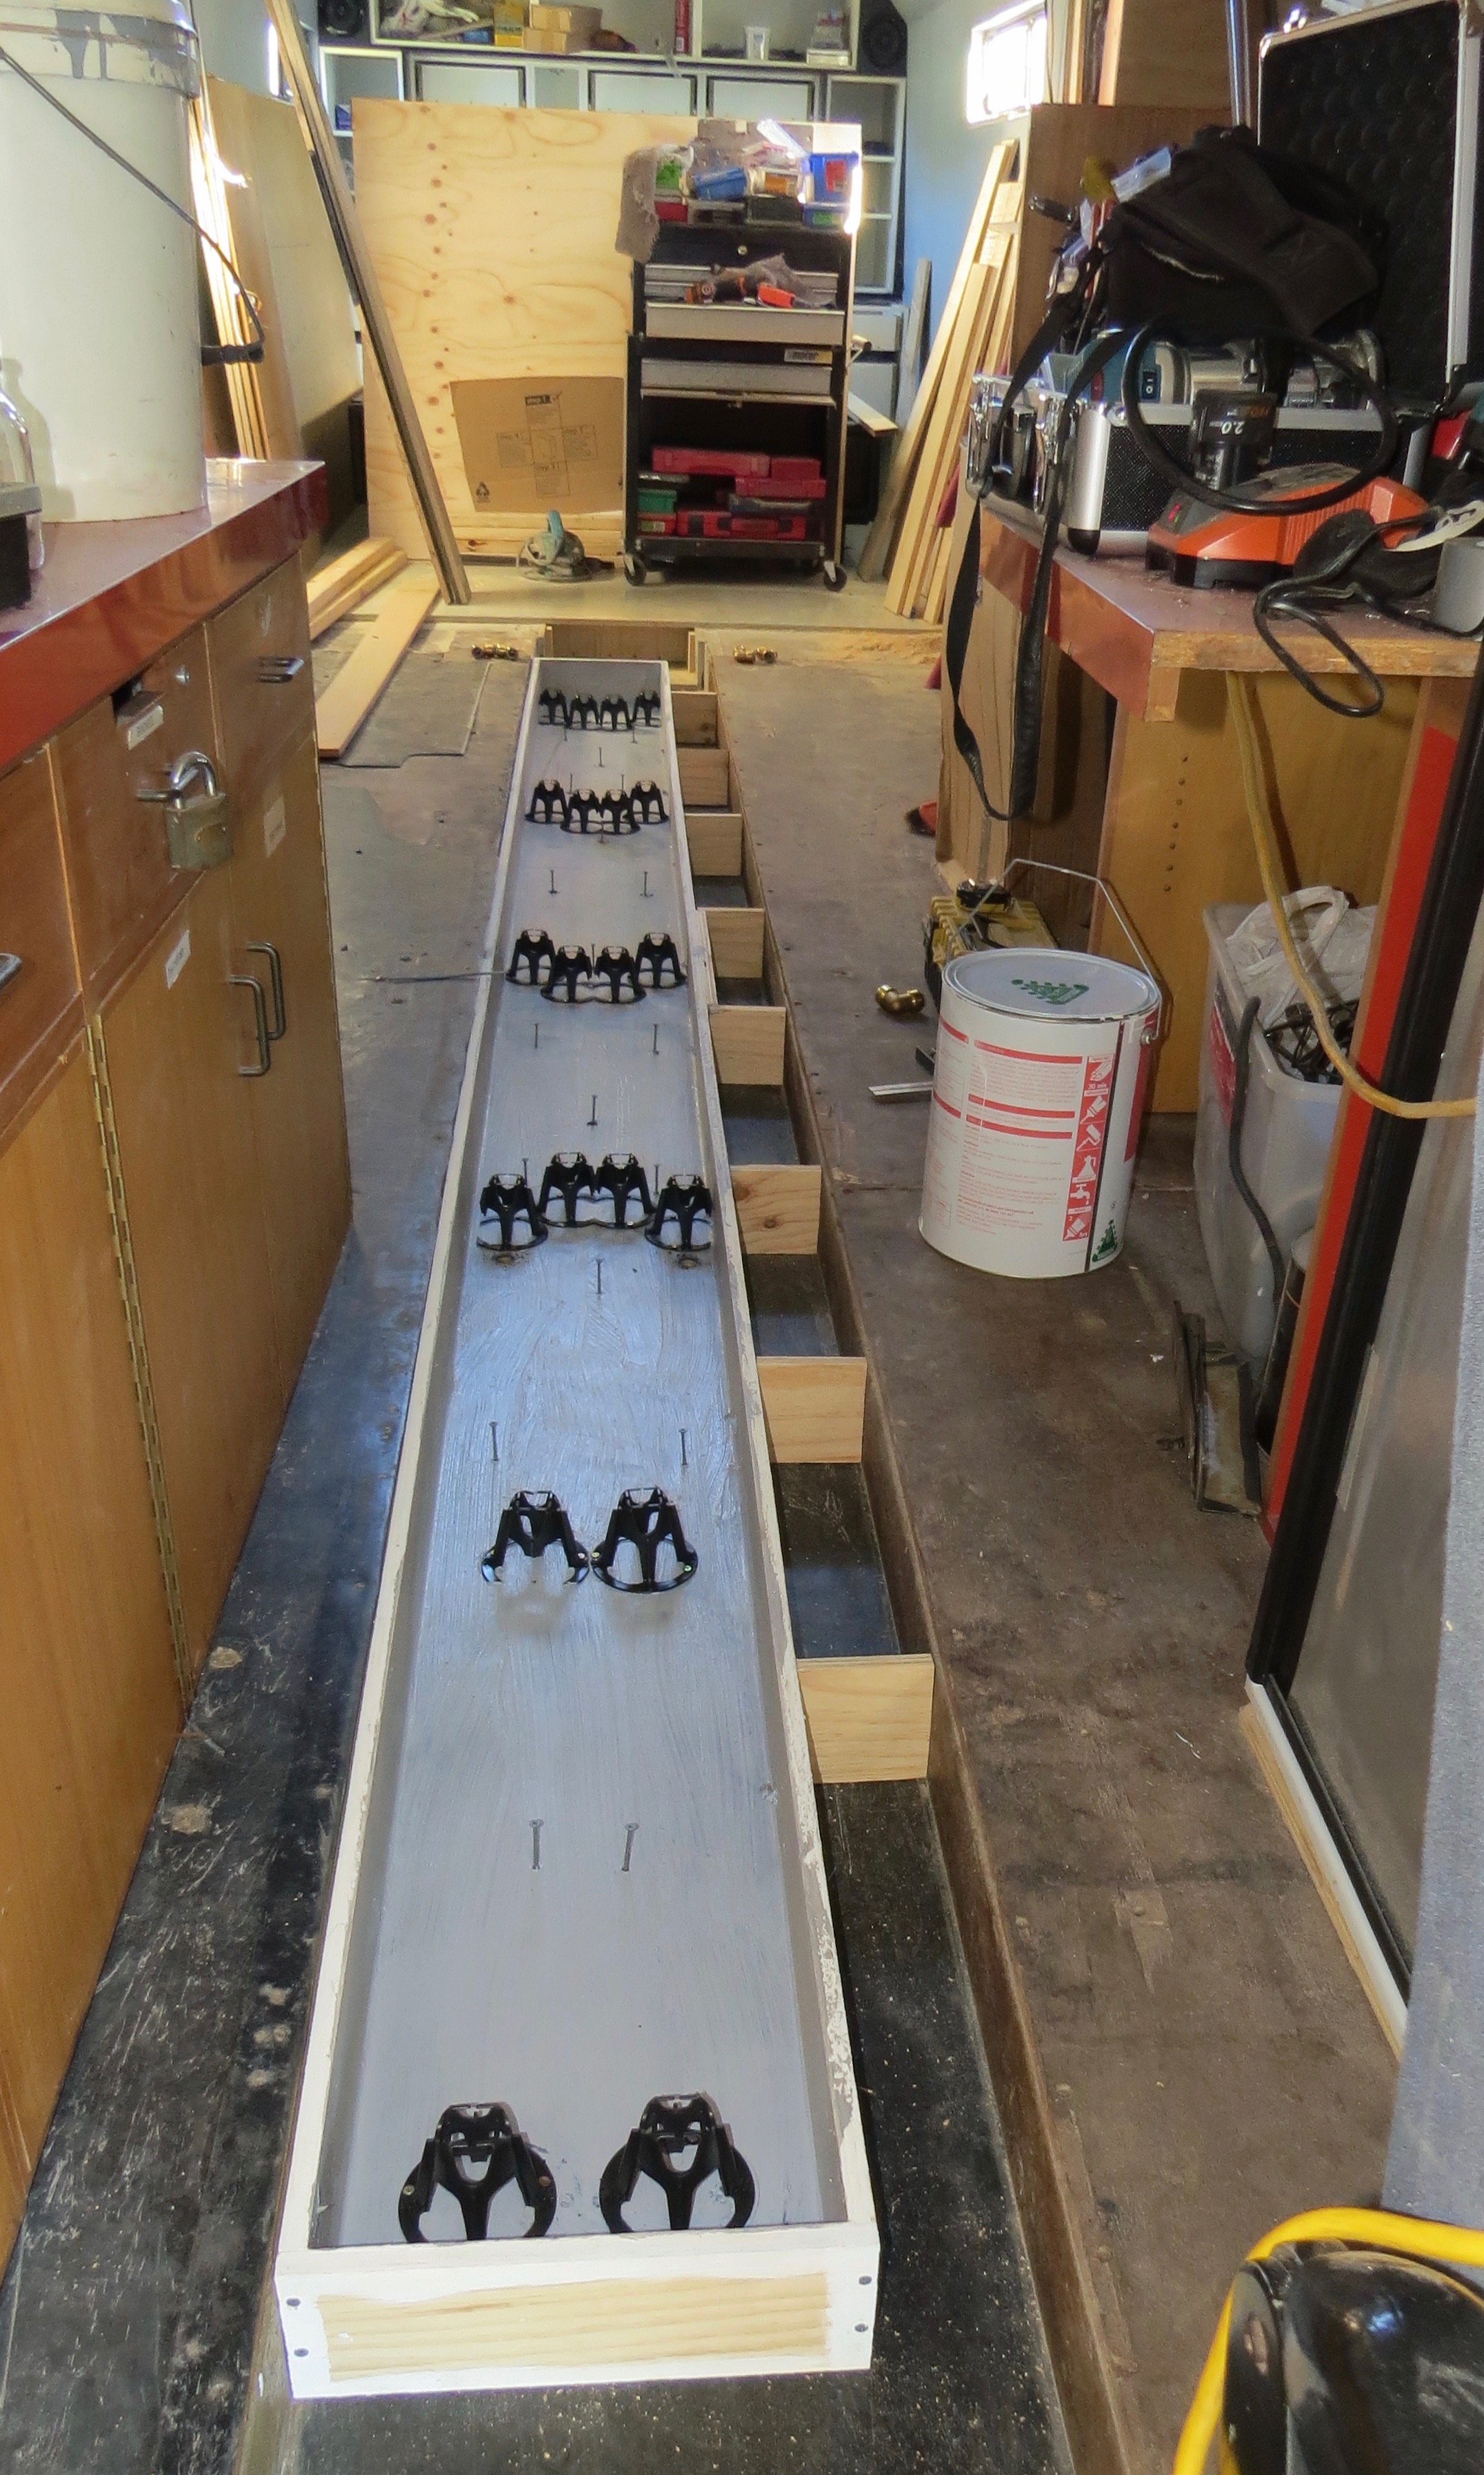
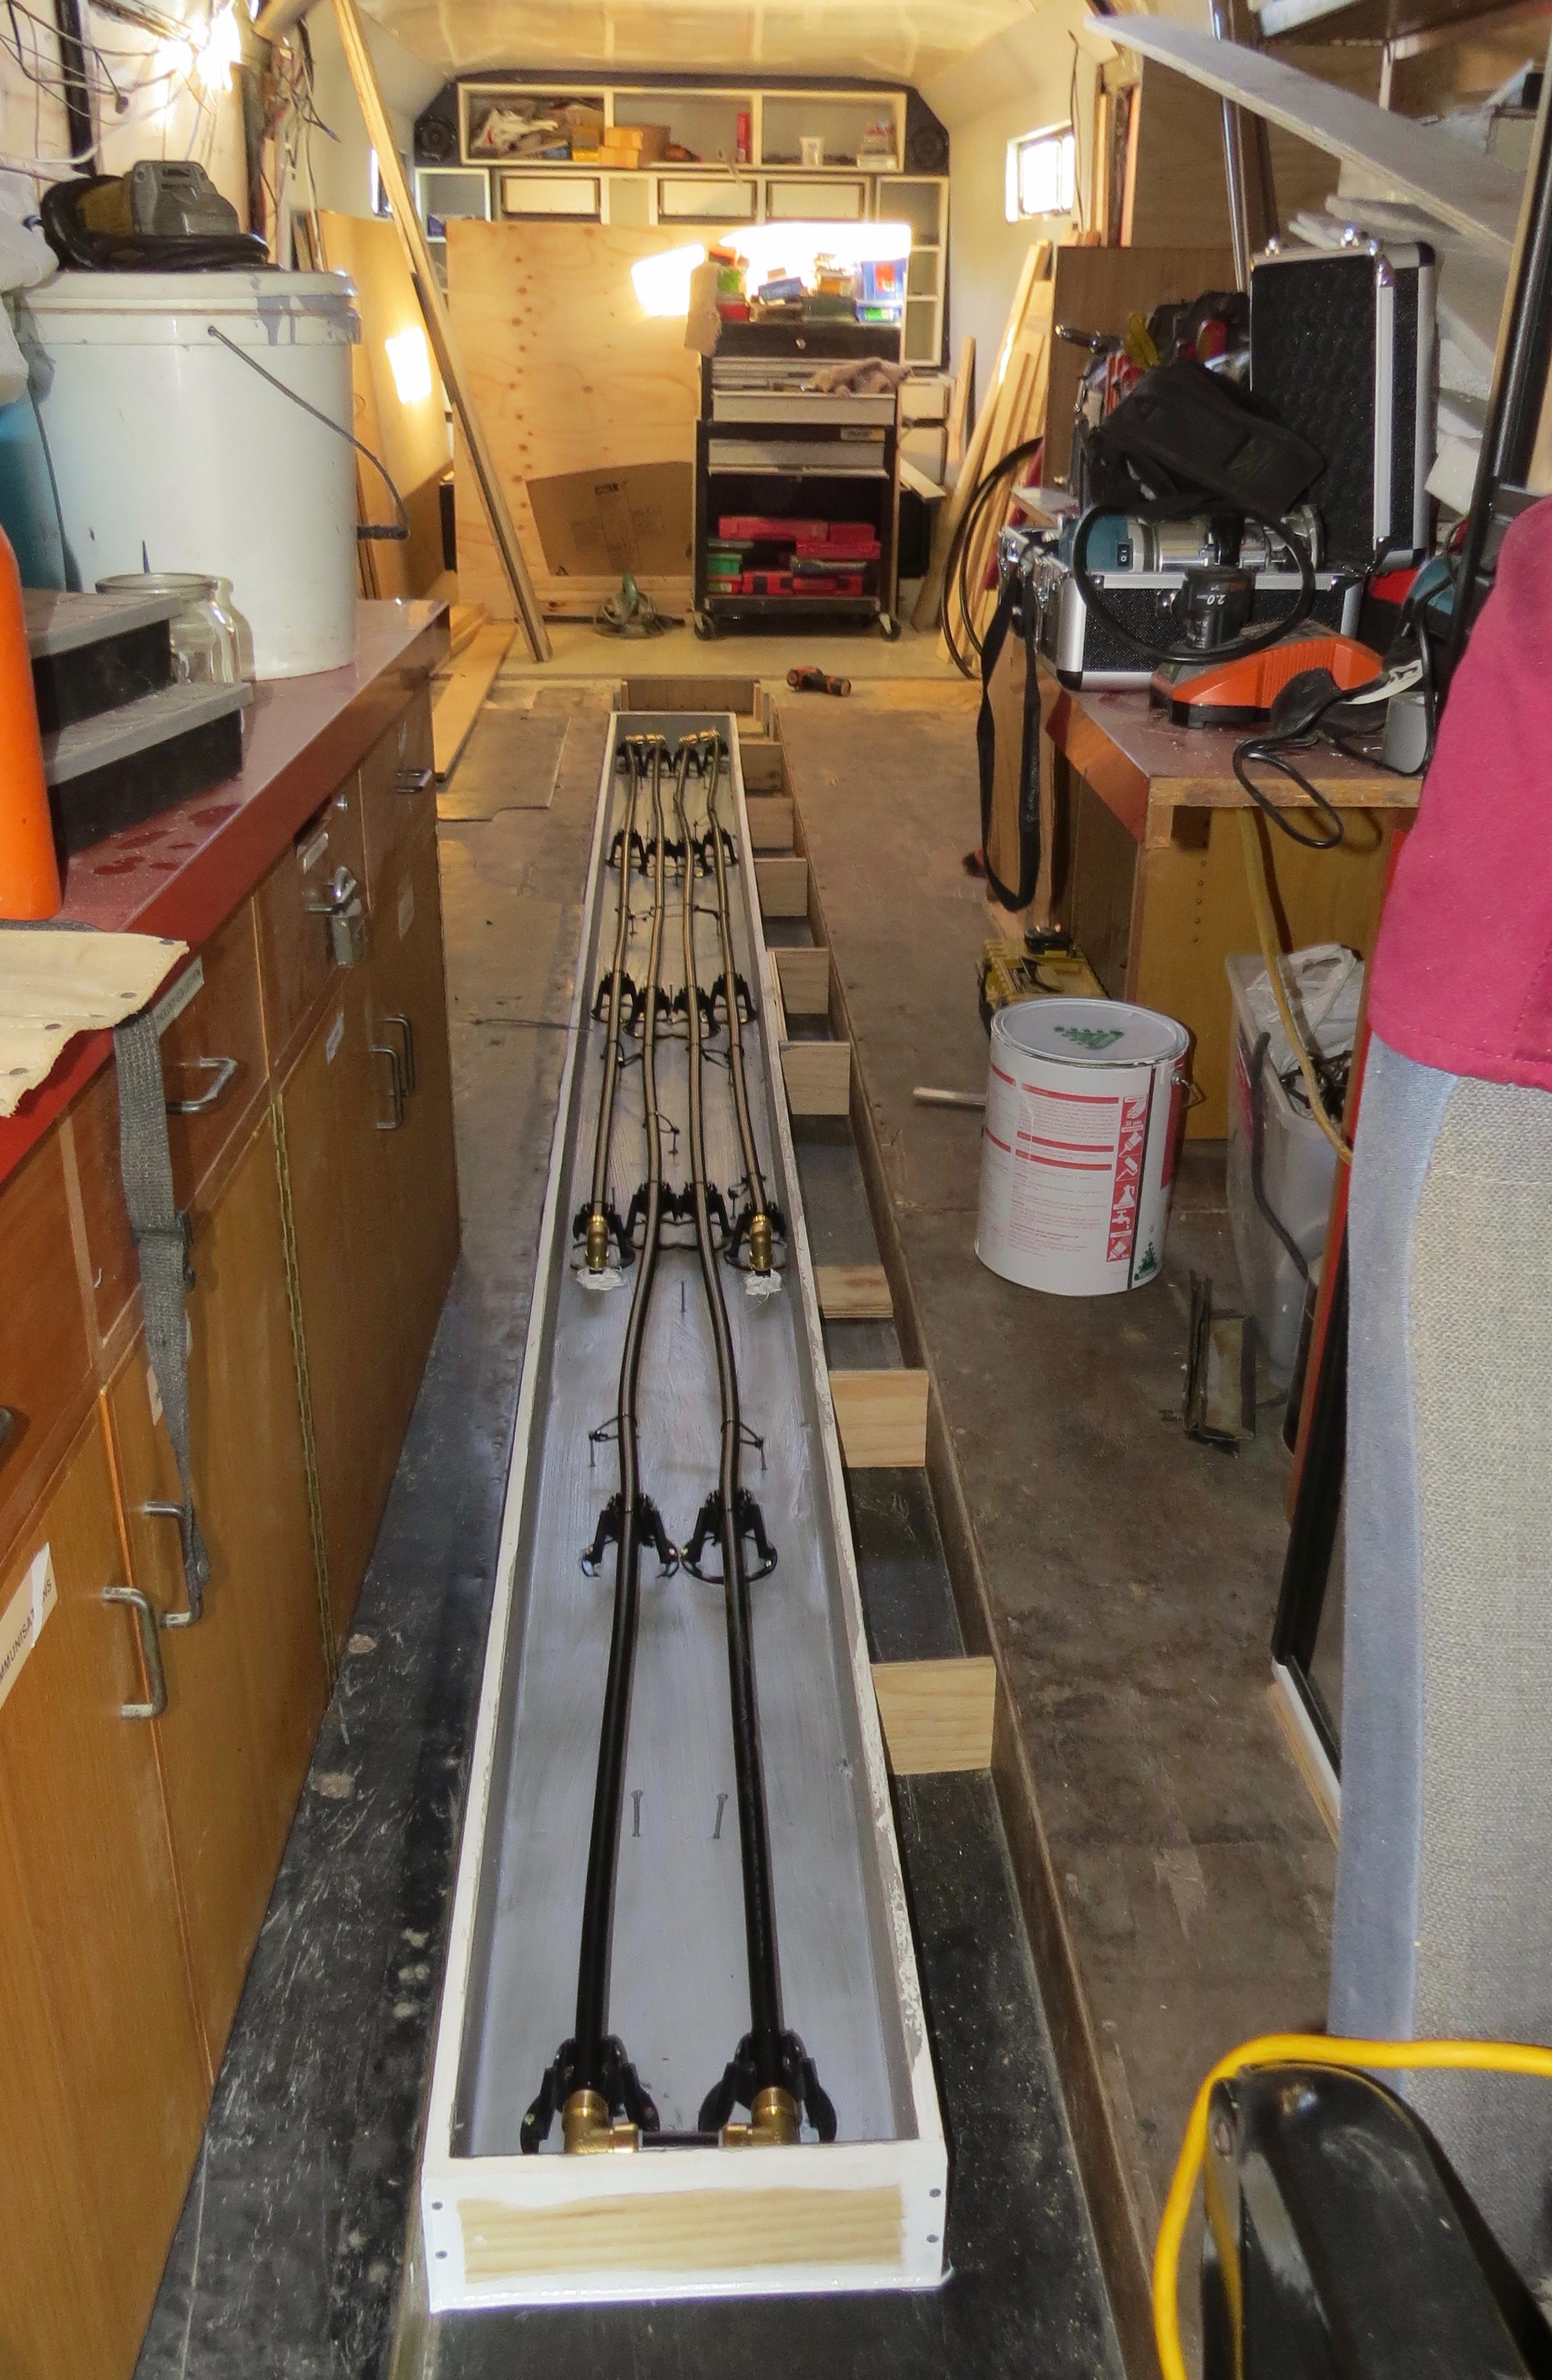
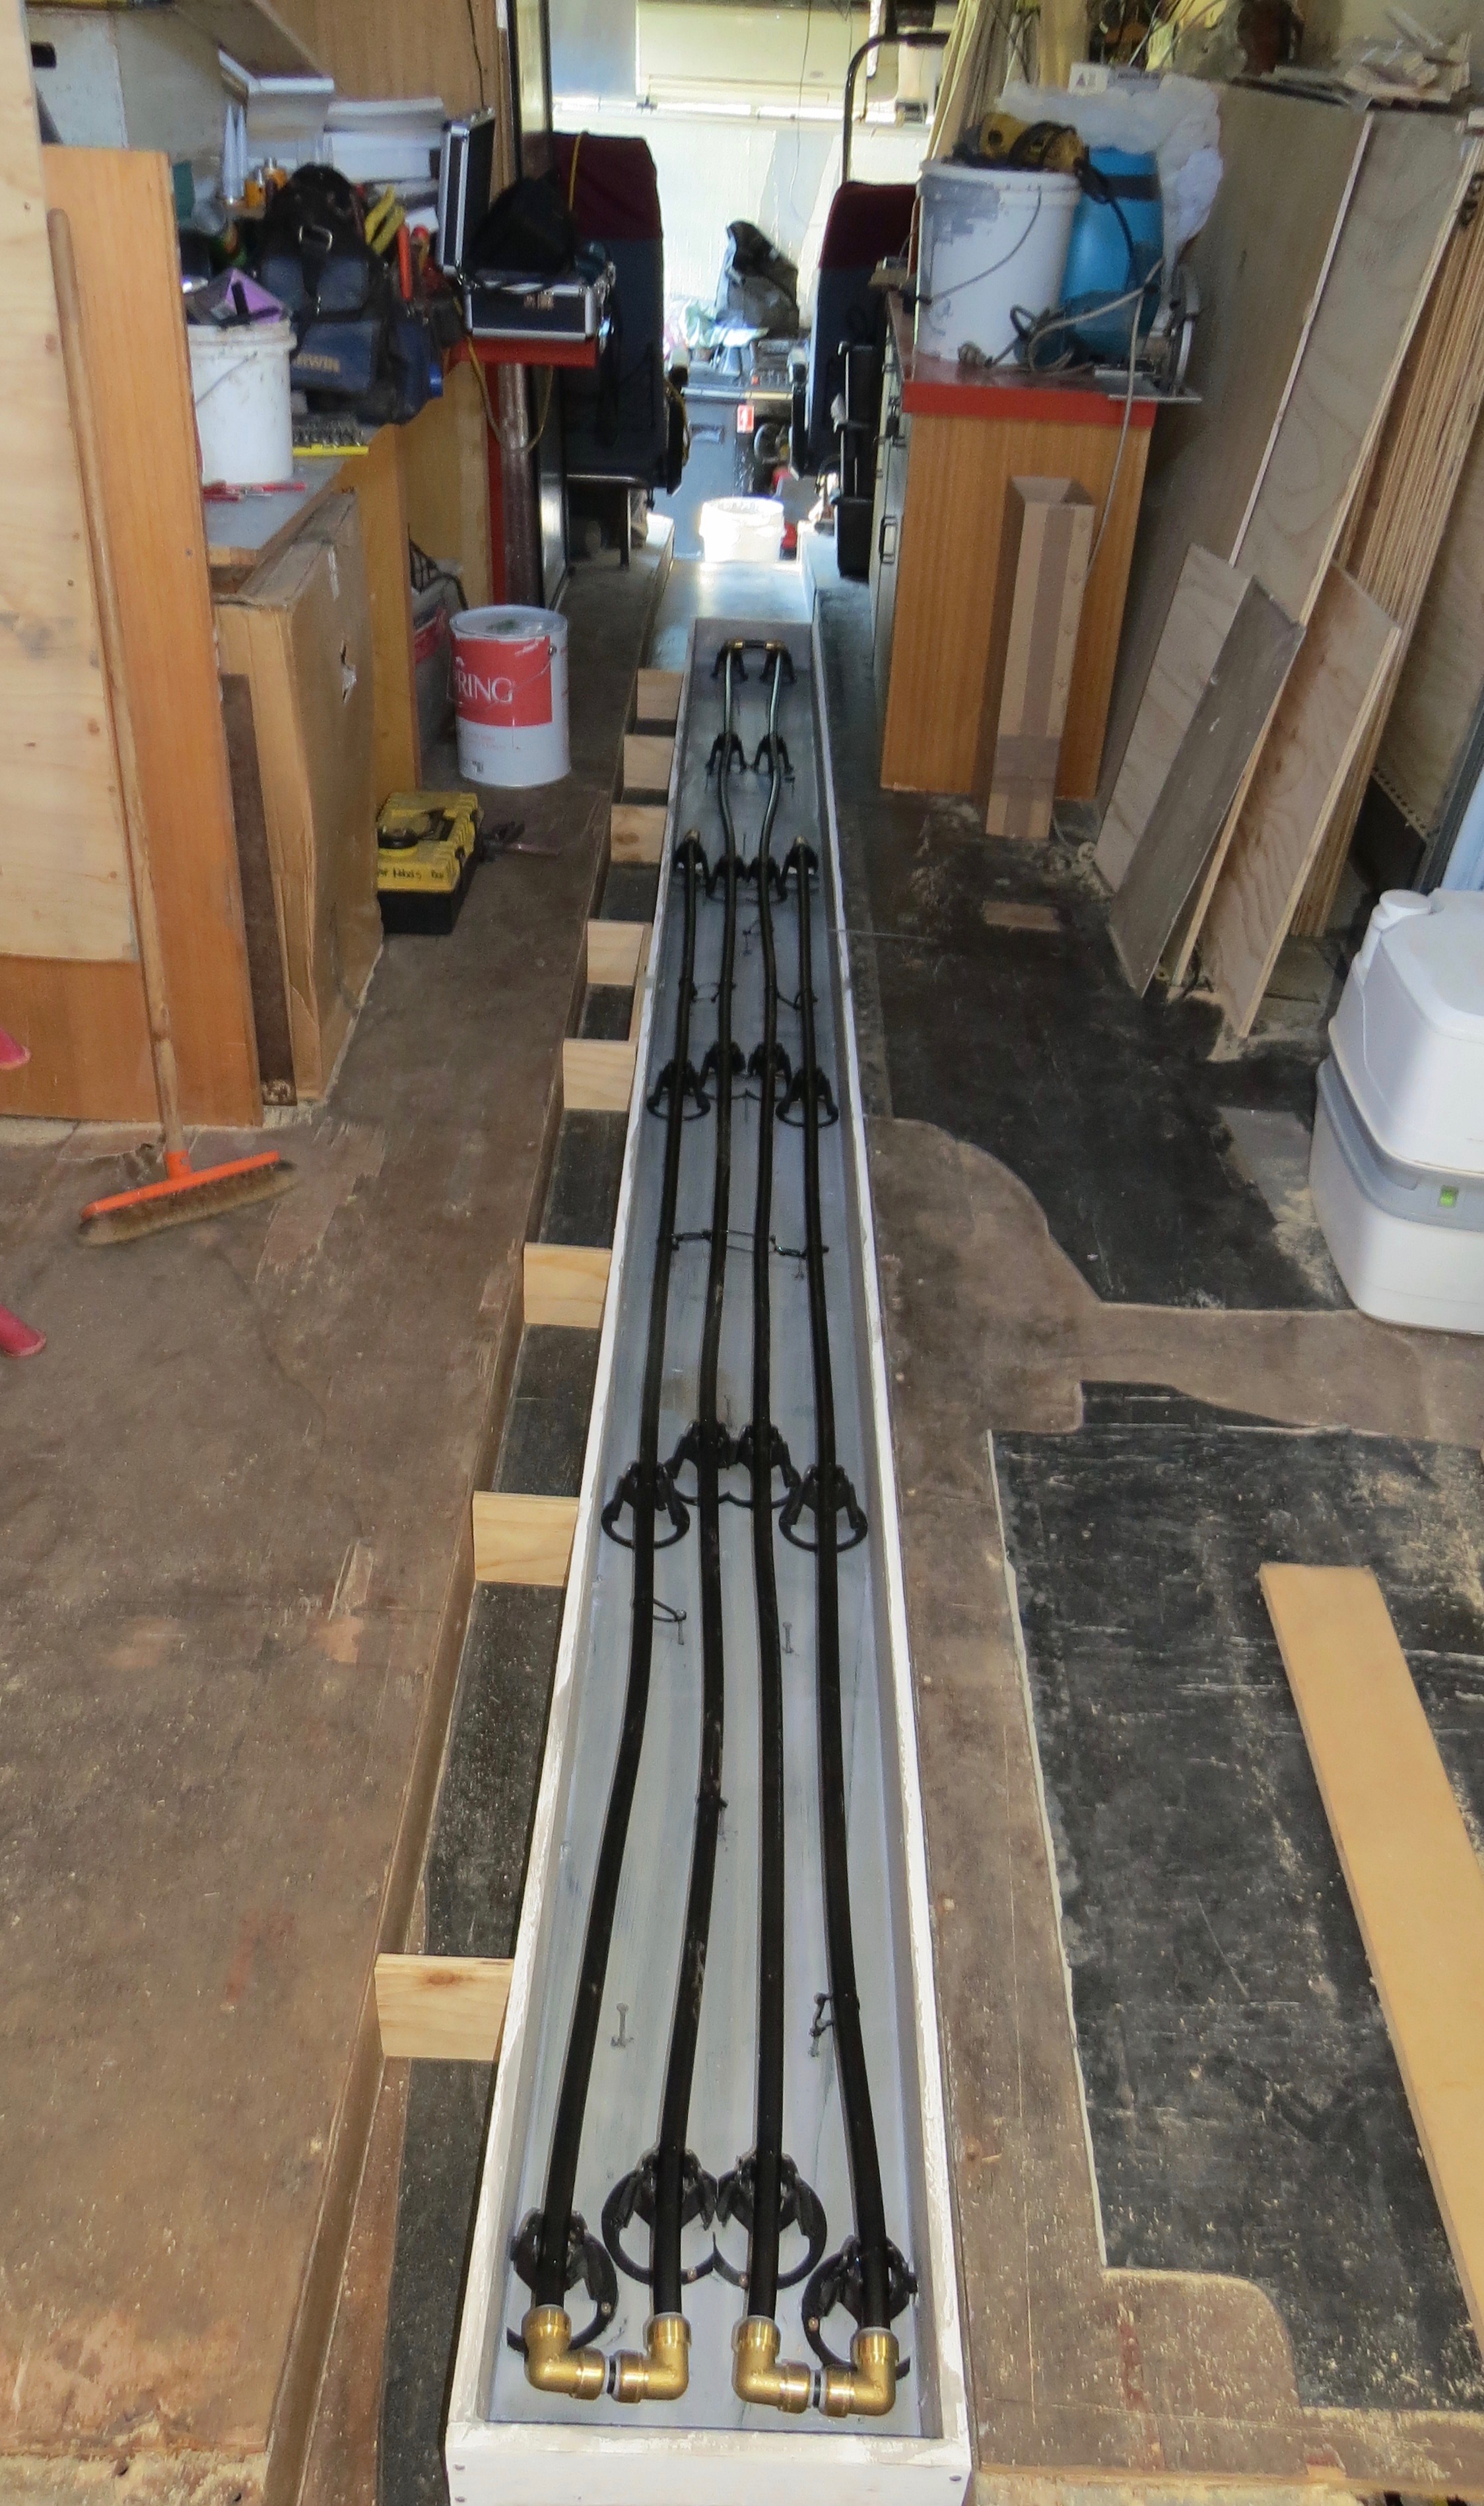
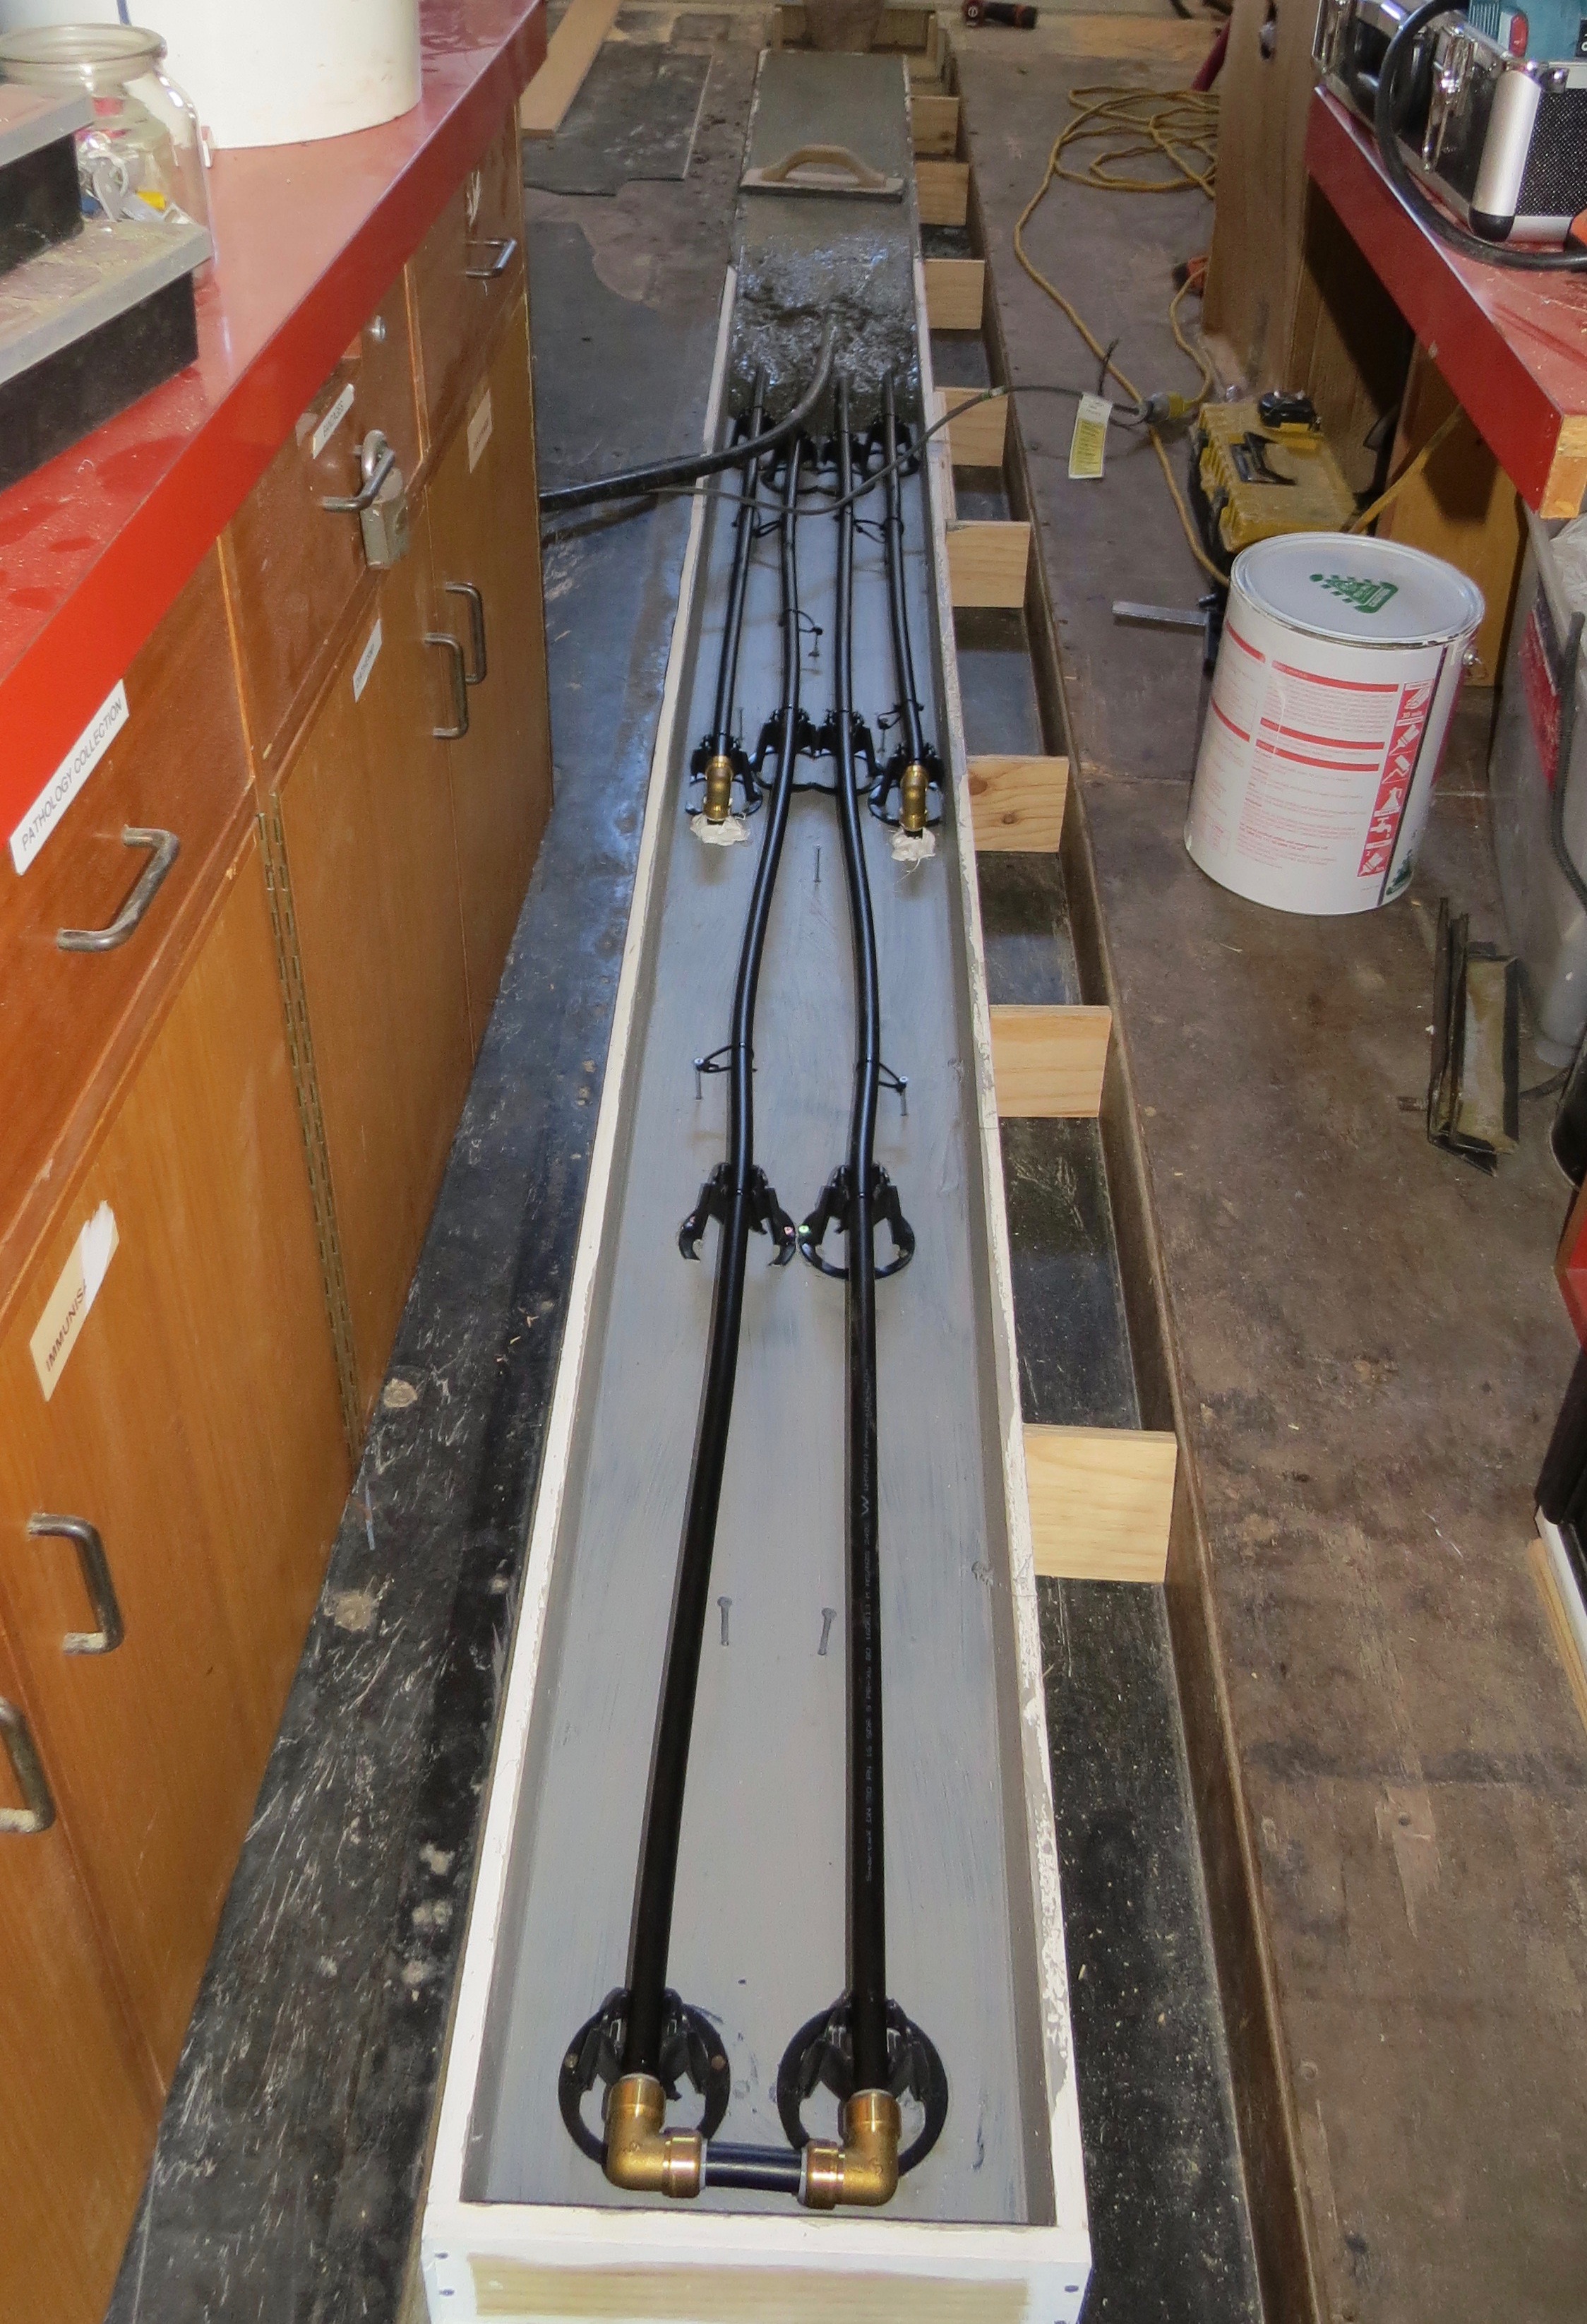
Cutting up and painting the form work.Form work screwed and glued into place.Plastic pipe supports in place and water proofing painted on.Inlet and outlet holes drilled into the floor.Pipe work in place.Looking from the back.
Concrete time fun fun fun……. not !!!
It’s not that bad as it’s only 4400mm x 300mm x 110mm so only 0.13m3. This is going to be a strong mix one bag each sand, gravel and cement with a water proofing agent mixed in. I’m going to make the mix as dry as possible, this will make it as strong as I can. I’ll also be using a concrete vibrator as this will get all the air bubbles out of the mix. Now it’s time to start mixing in the wheelbarrow then bring it in one bucket at a time into the coach.
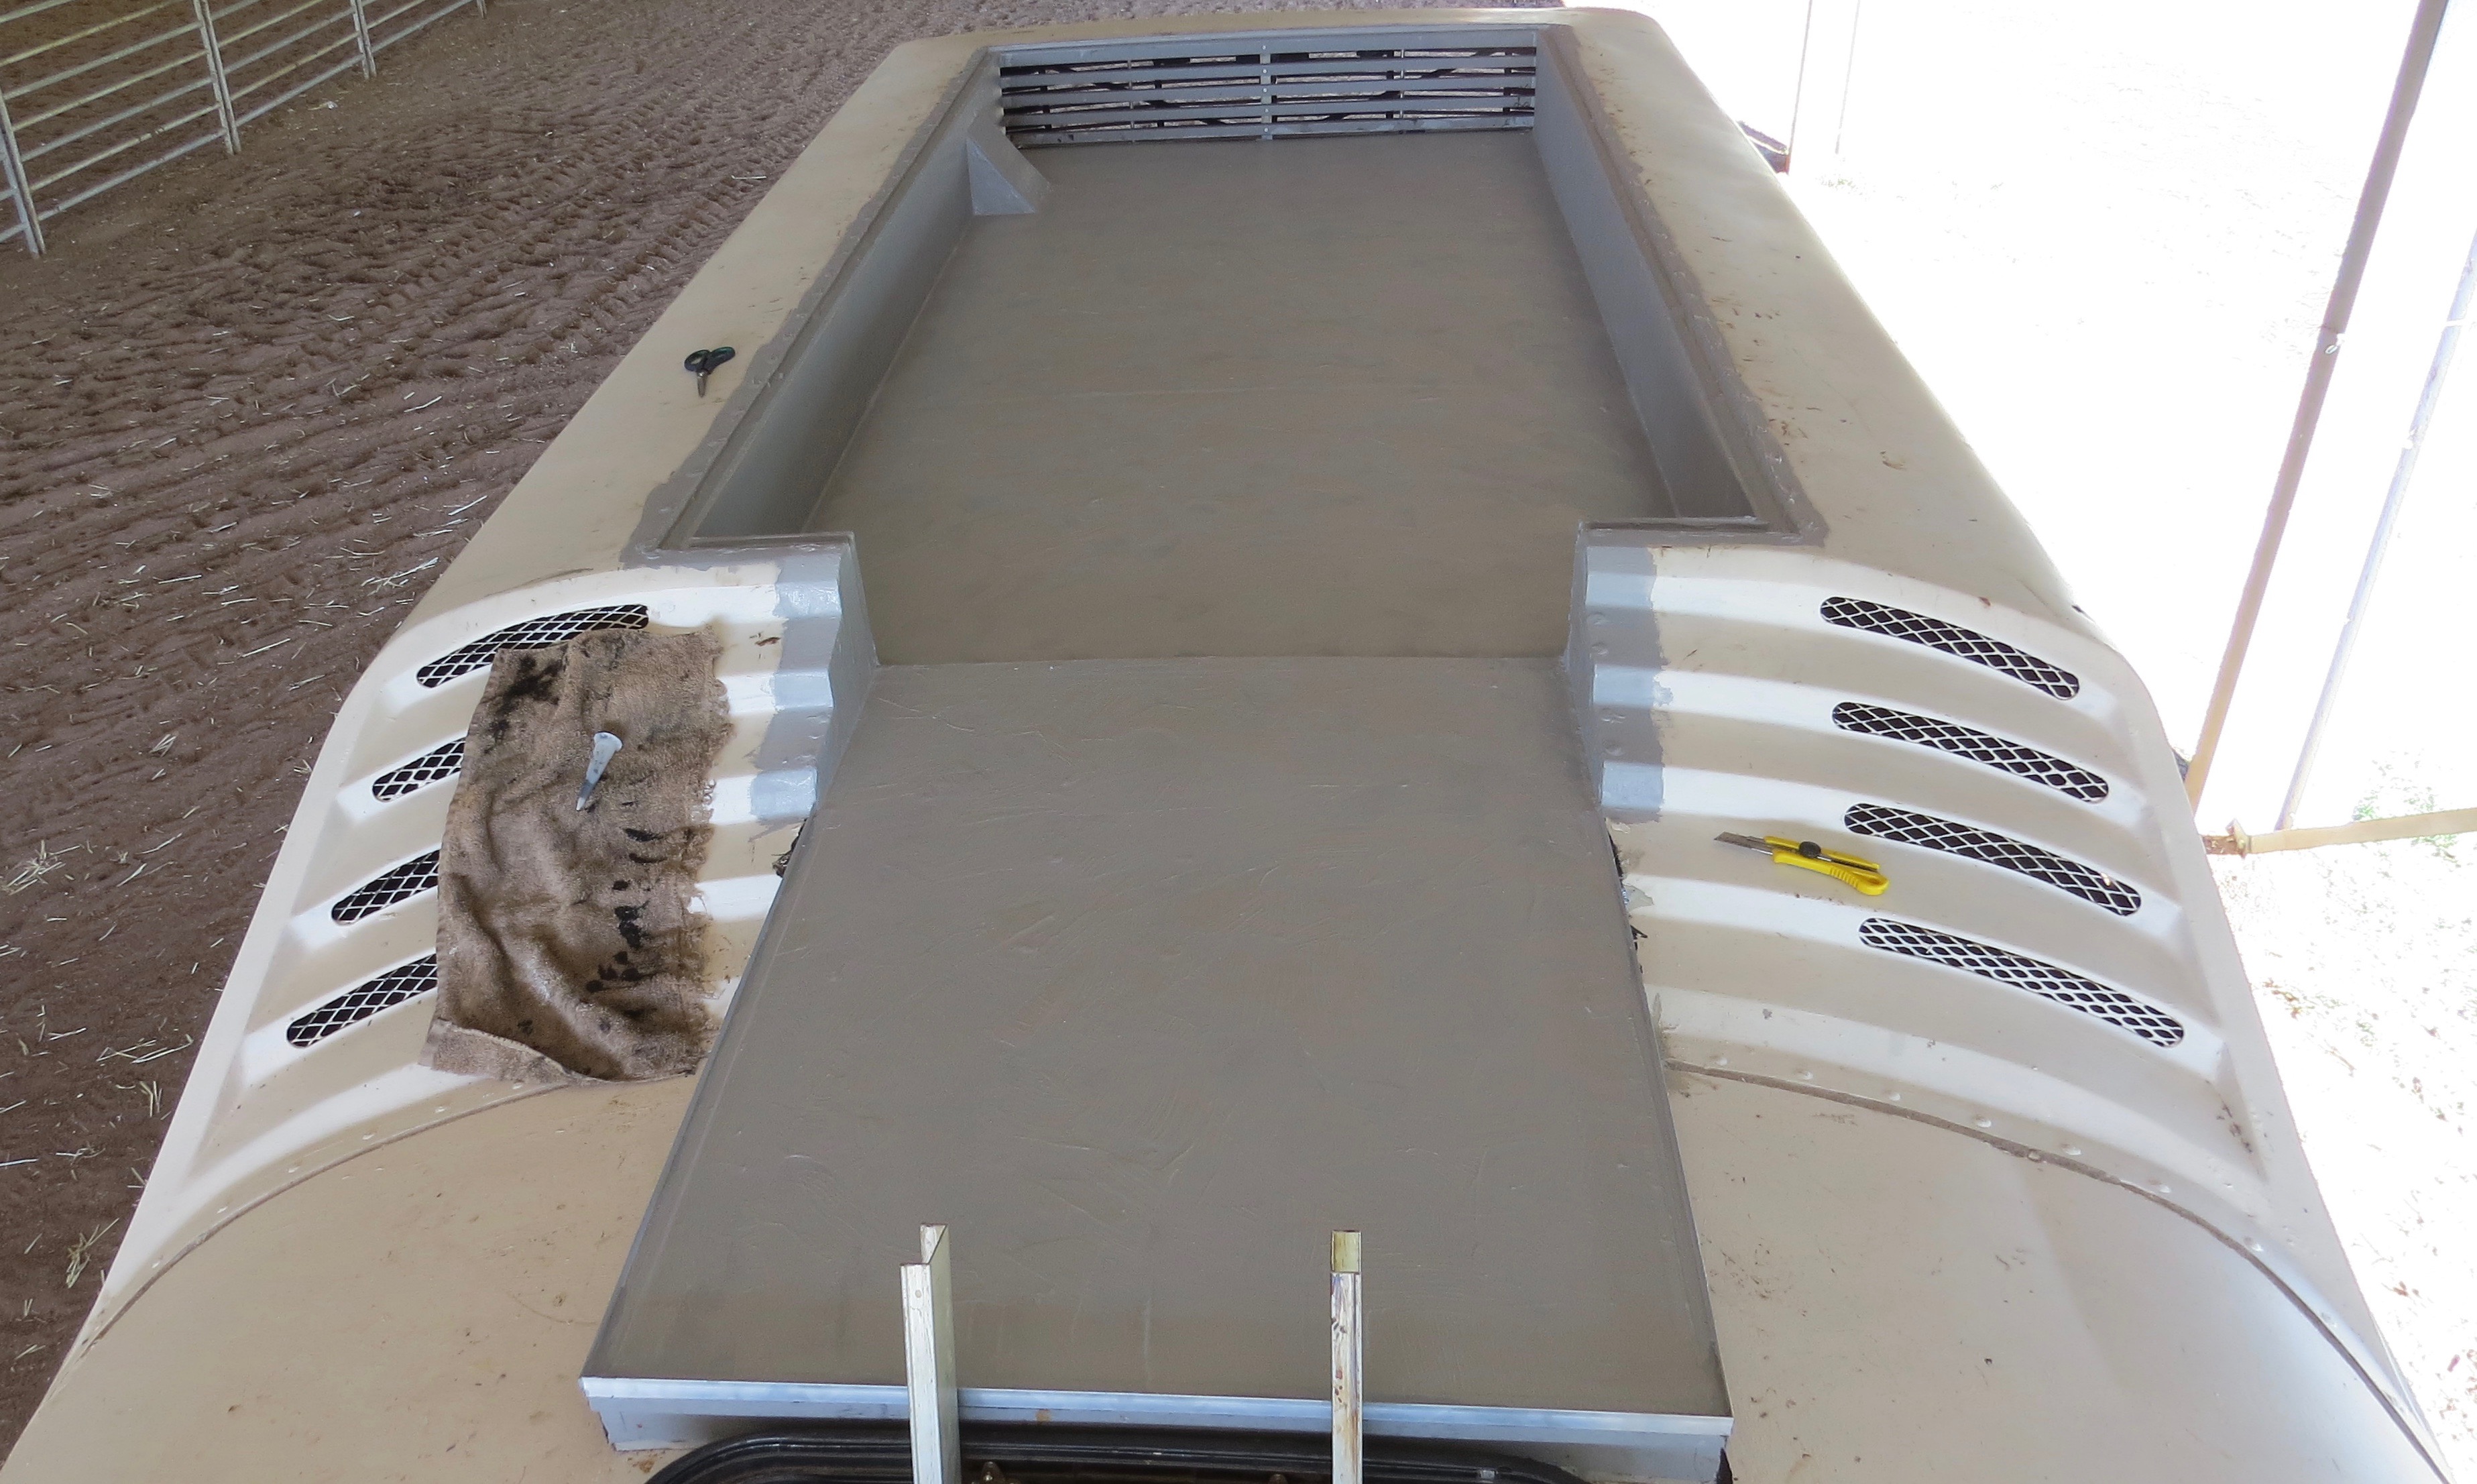
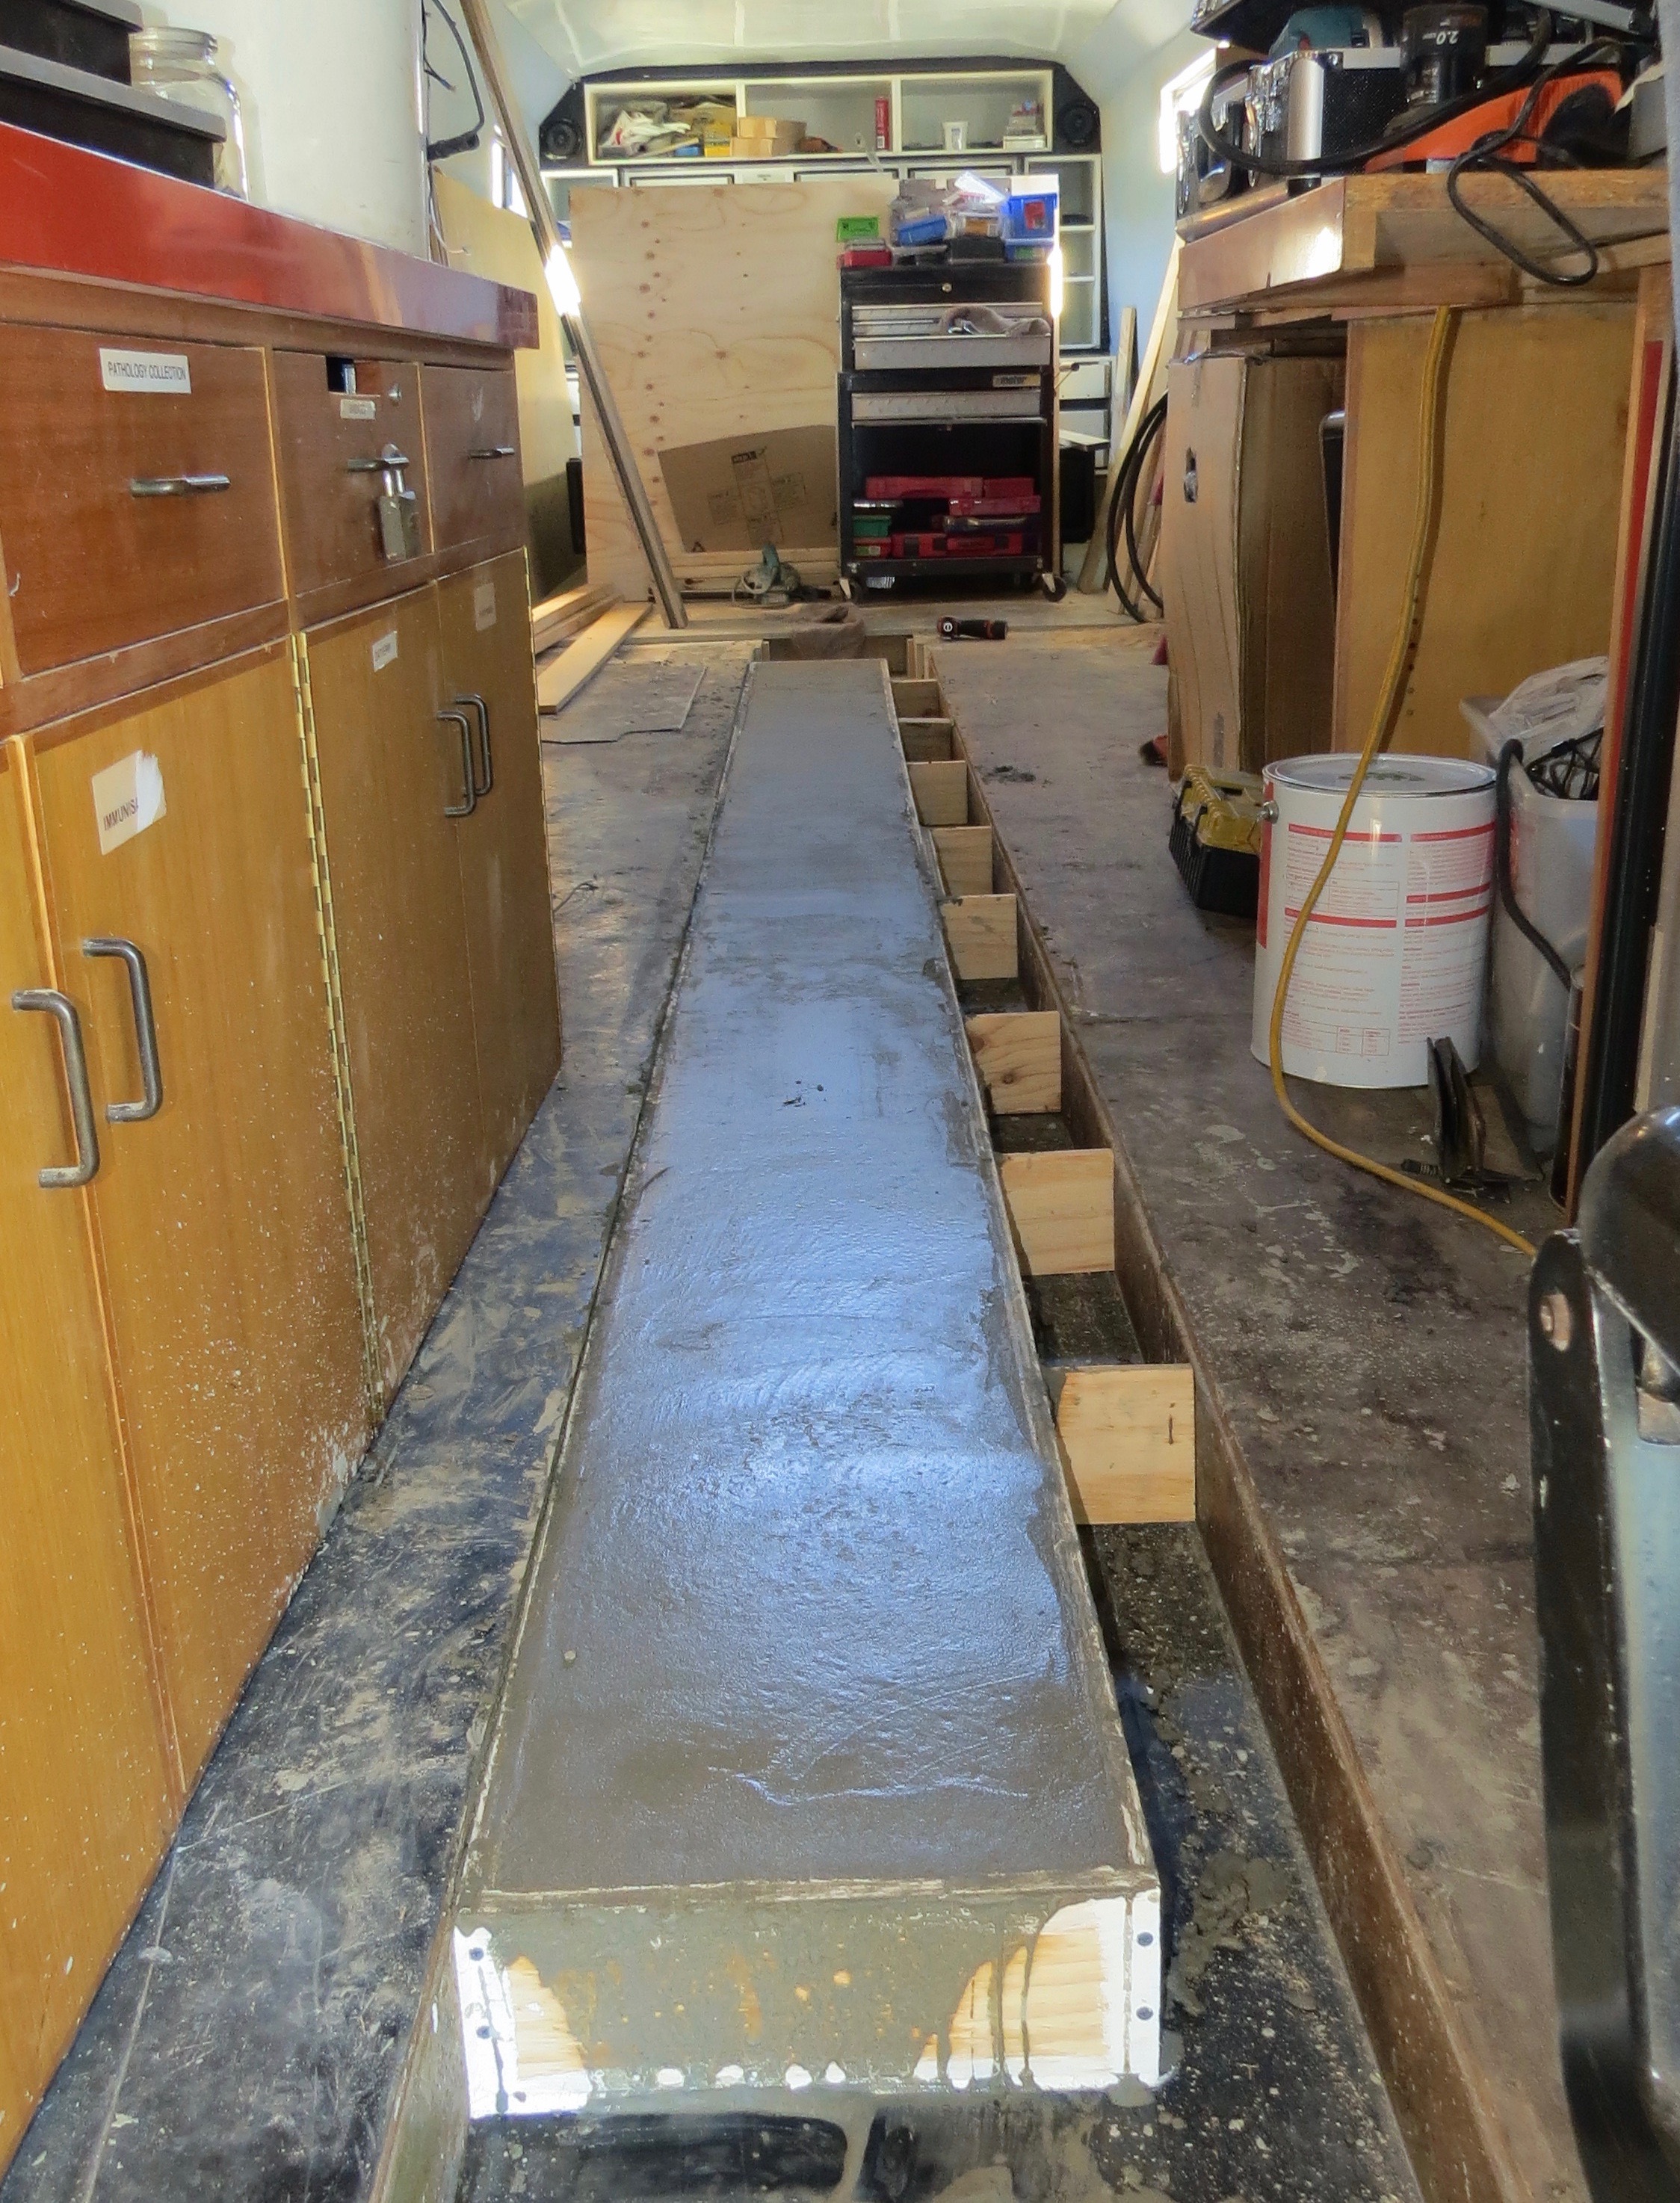
And the concerting starts.One bucket at a time.Just need to go over it one or two more times with trowel.That’s one more job done.
We will be leaving the formwork in place to insulate the concrete and have a 100mm gap down one side, that will be used for air flow later on to circulate air up the back of the motorhome. As you can see we are making things up as we go along, but it’s the first time we have made anything like this and it will be a one of a kind coach design.
From a coach to our motorhome and the bits between